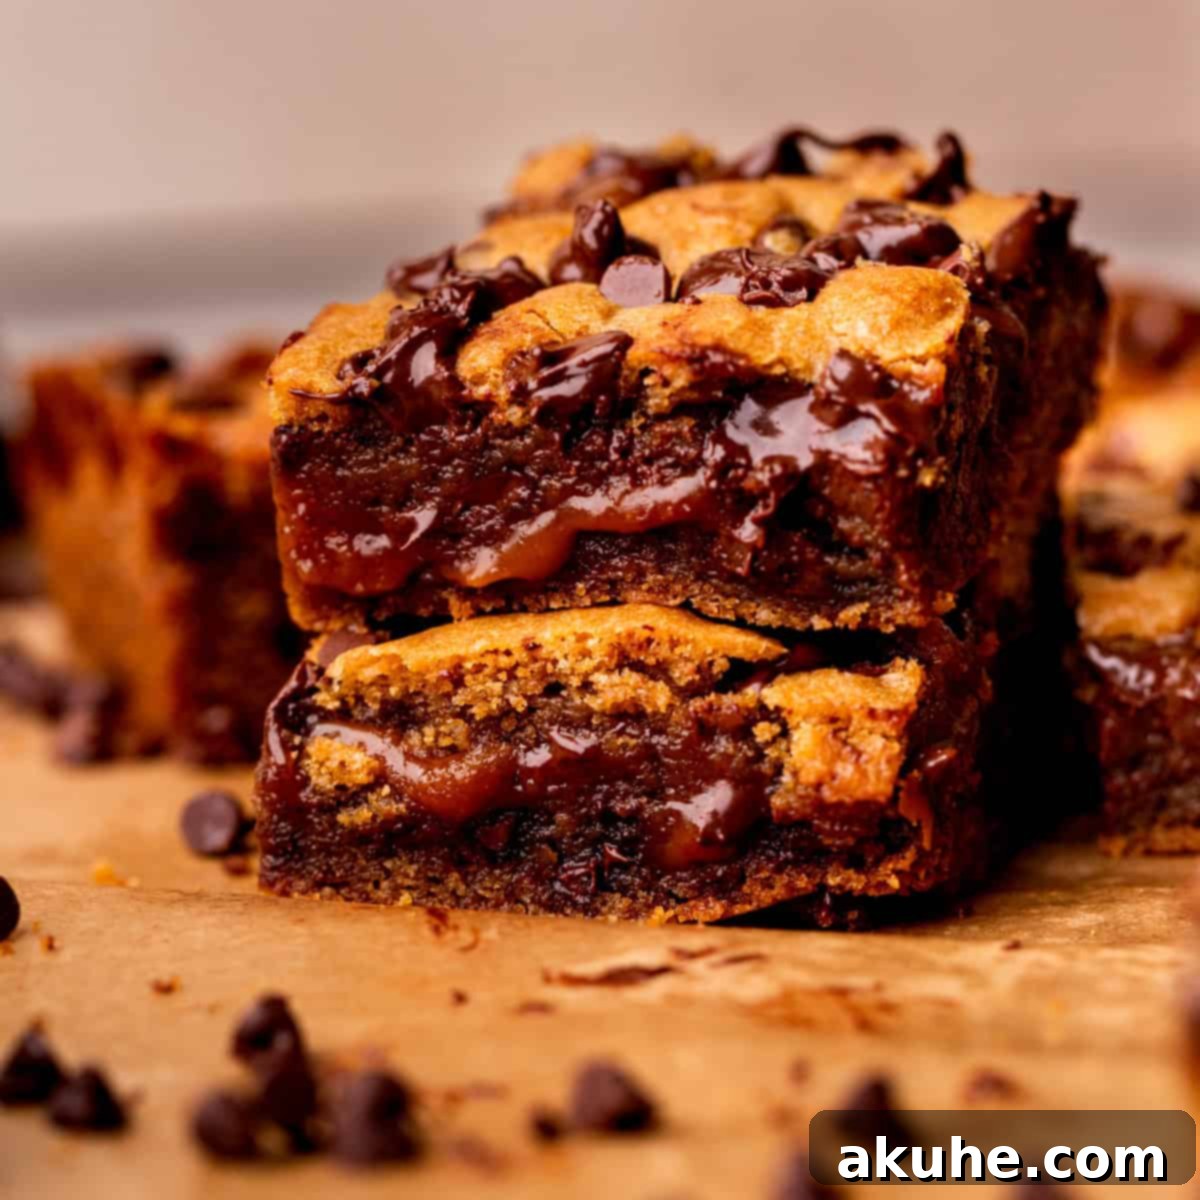
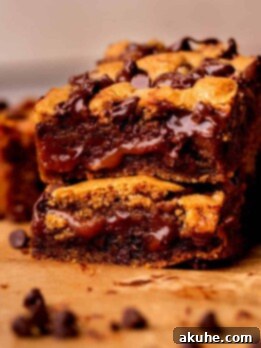
Welcome to the ultimate guide for crafting the most irresistible dessert experience: homemade Caramel Cookie Bars. Imagine sinking your teeth into a decadent treat that perfectly balances the chewy delight of a classic chocolate chip cookie with the luscious, gooey embrace of rich, homemade caramel. These aren’t just any cookie bars; they are an elevated symphony of textures and flavors, designed to captivate your senses and leave a lasting impression. Our recipe ensures soft, tender cookie layers encasing a thick, non-melting caramel core, making every bite a heavenly indulgence. Get ready to transform your baking game and impress everyone with these truly spectacular bars.
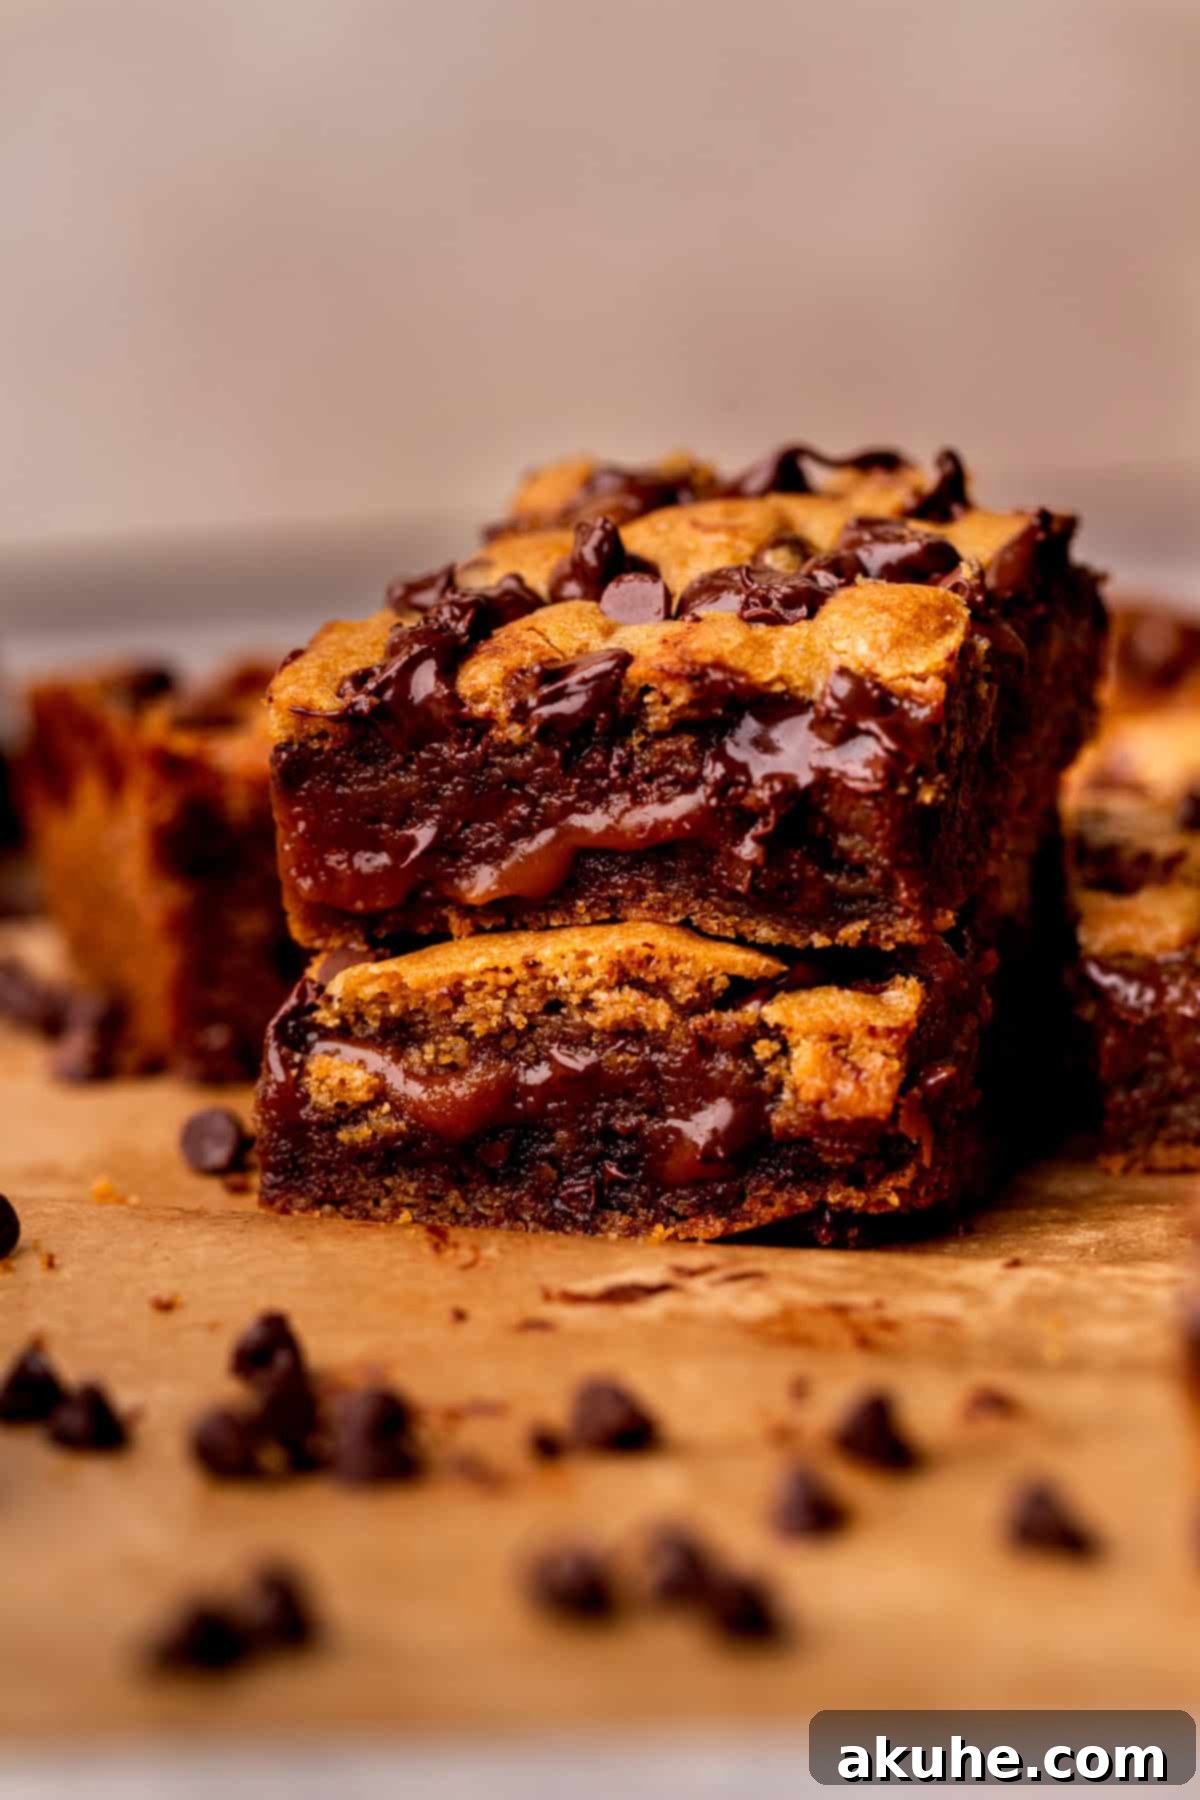
While traditional cookies are always a crowd-pleaser, these caramel cookie bars take comfort baking to an entirely new level. The foundation remains a straightforward, familiar cookie dough, but the magic truly happens with the addition of our special homemade caramel. This isn’t just a simple filling; it’s a rich, buttery, and slightly salty layer that elevates the entire dessert from delicious to absolutely unforgettable. For those who adore the deep, complex notes of caramel, this recipe is a game-changer, offering a superior flavor and texture that store-bought alternatives simply can’t match. If you’re a true caramel enthusiast, we highly recommend exploring our detailed Homemade Salted Caramel recipe for an even deeper dive into caramel perfection.
Why These Caramel Cookie Bars Are an Absolute Must-Try
These exquisite cookie bars are more than just a treat; they’re an experience. Filled with a rich, melt-in-your-mouth homemade caramel, they offer a unique combination of textures and flavors that will undoubtedly become a new favorite. Here are the compelling reasons why every dessert lover should try their hand at making these:
- The Unrivaled Excellence of Homemade Caramel: While the idea of making caramel might seem daunting, our recipe simplifies the process, making it surprisingly accessible. The reward? A luxuriously smooth, deeply flavorful caramel that far surpasses anything you’ll find pre-packaged. It’s gooey, chewy, and perfectly balanced with a hint of salt, creating a dynamic contrast with the sweet cookie layers. This homemade touch is what truly sets these bars apart, offering an unparalleled depth of flavor and a silky texture that melts in your mouth without disappearing into the cookie.
- Effortless Baking for Every Skill Level: Despite their sophisticated taste and appearance, these caramel cookie bars boast an incredibly straightforward recipe. The cookie dough comes together with minimal fuss, using staple pantry ingredients. The caramel, while homemade, follows a simple, step-by-step process. This combination makes it an ideal baking project for both seasoned bakers looking for a quick yet impressive dessert and beginners eager to explore more advanced techniques without feeling overwhelmed. It’s a fun and rewarding bake that guarantees delicious results every time.
- A Beloved Classic Elevated: Chocolate chip cookies hold a special place in the hearts of many, revered for their comforting familiarity and irresistible taste. This recipe takes that beloved classic and elevates it to new heights by introducing the luxurious element of caramel. The rich, buttery cookie dough, studded with plenty of chocolate chips, provides the perfect canvas for the gooey caramel filling. The result is a harmonious blend of classic comfort and gourmet decadence, making these bars an instant classic in their own right.
This caramel chocolate chip cookie bar recipe promises not just a fun and easy baking experience, but also an incredibly rewarding one. The combination of chewy cookie, melty chocolate, and luscious caramel creates a dessert that is simply impossible to resist. Don’t just take our word for it; you absolutely need to try them yourself!
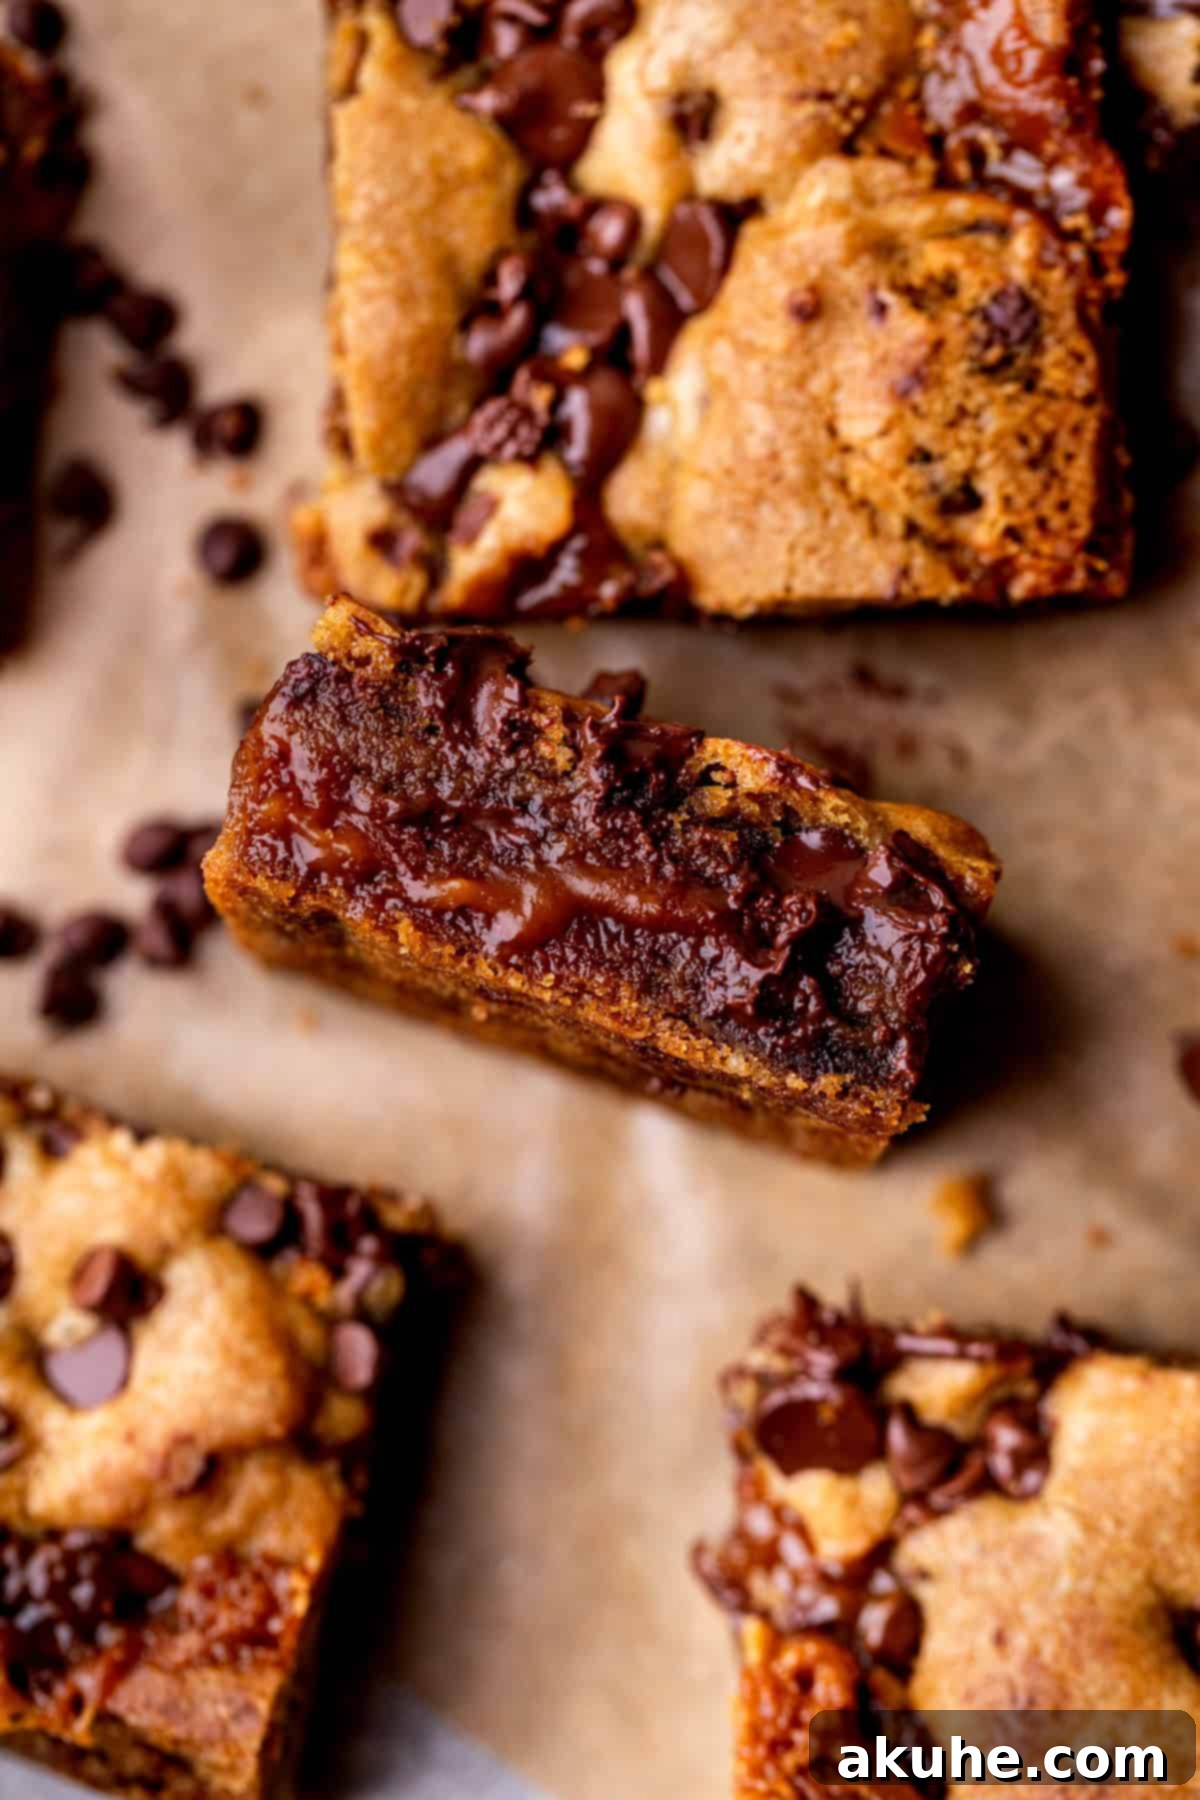
Expert Tips for Crafting Perfect Caramel Cookie Bars
Achieving bakery-quality caramel cookie bars is simpler than you might think, especially with a few insider tips. Follow these guidelines to ensure your bars are soft, gooey, and feature that beautiful, distinct layer of caramel every single time:
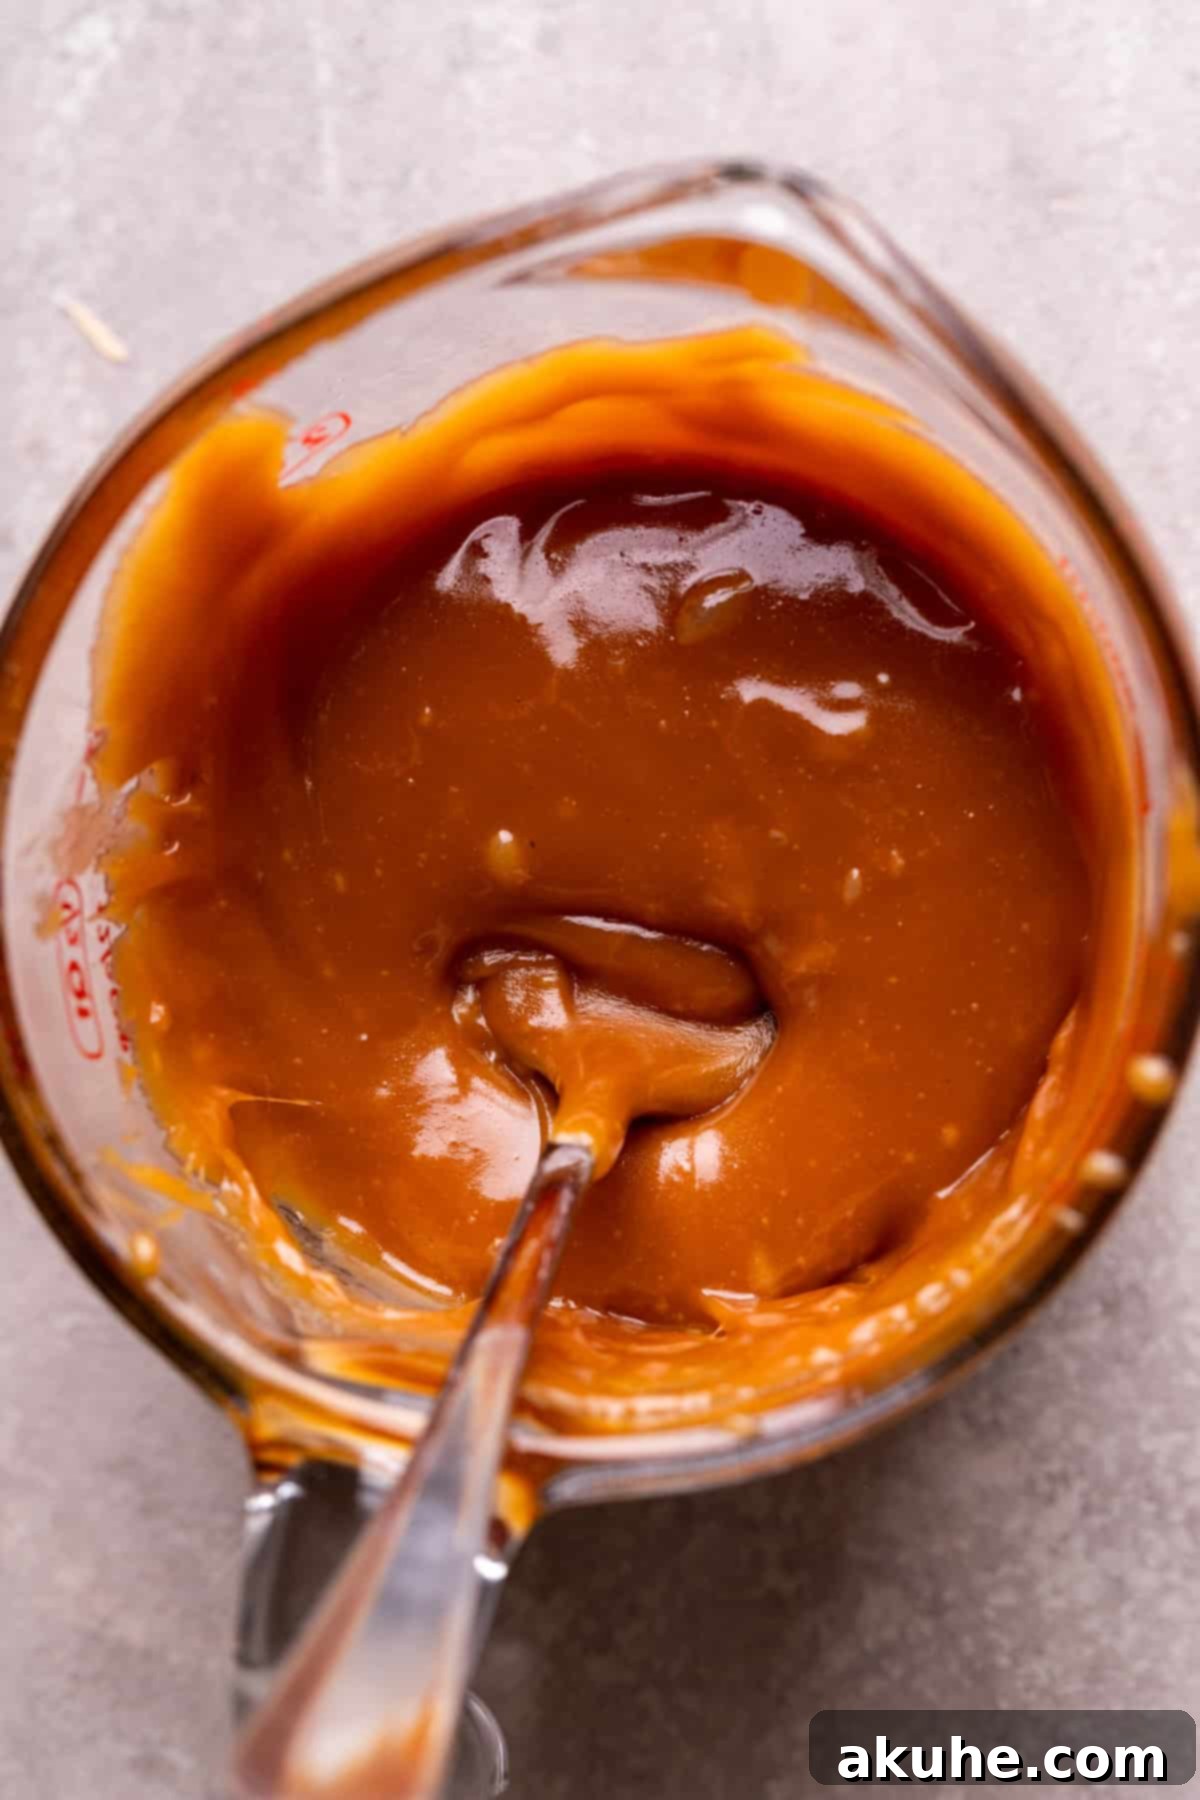
Mastering the Salted Caramel
- Tip 1: Dive Deeper into Caramel Making: For those who truly want to perfect their caramel-making skills, we highly recommend consulting our comprehensive salted caramel guide. This detailed post offers in-depth instructions, visual cues, and troubleshooting advice that will empower you to create flawless caramel with confidence. Understanding the nuances of sugar crystallization and temperature control is key to achieving that perfect silky texture.
- Tip 2: The Secret to a Thick, Stable Caramel: After incorporating the wet ingredients (butter, cream, vanilla, salt) into your melted sugar, return the mixture to the heat and continue to cook it for precisely 2 minutes while stirring continuously. This crucial step is vital for thickening the caramel sufficiently. A thicker caramel is less prone to melting and spreading excessively during baking, ensuring it maintains its distinct, gooey layer within the cookie bars. This extra cook time allows the caramel to reach the ideal consistency for holding its form.
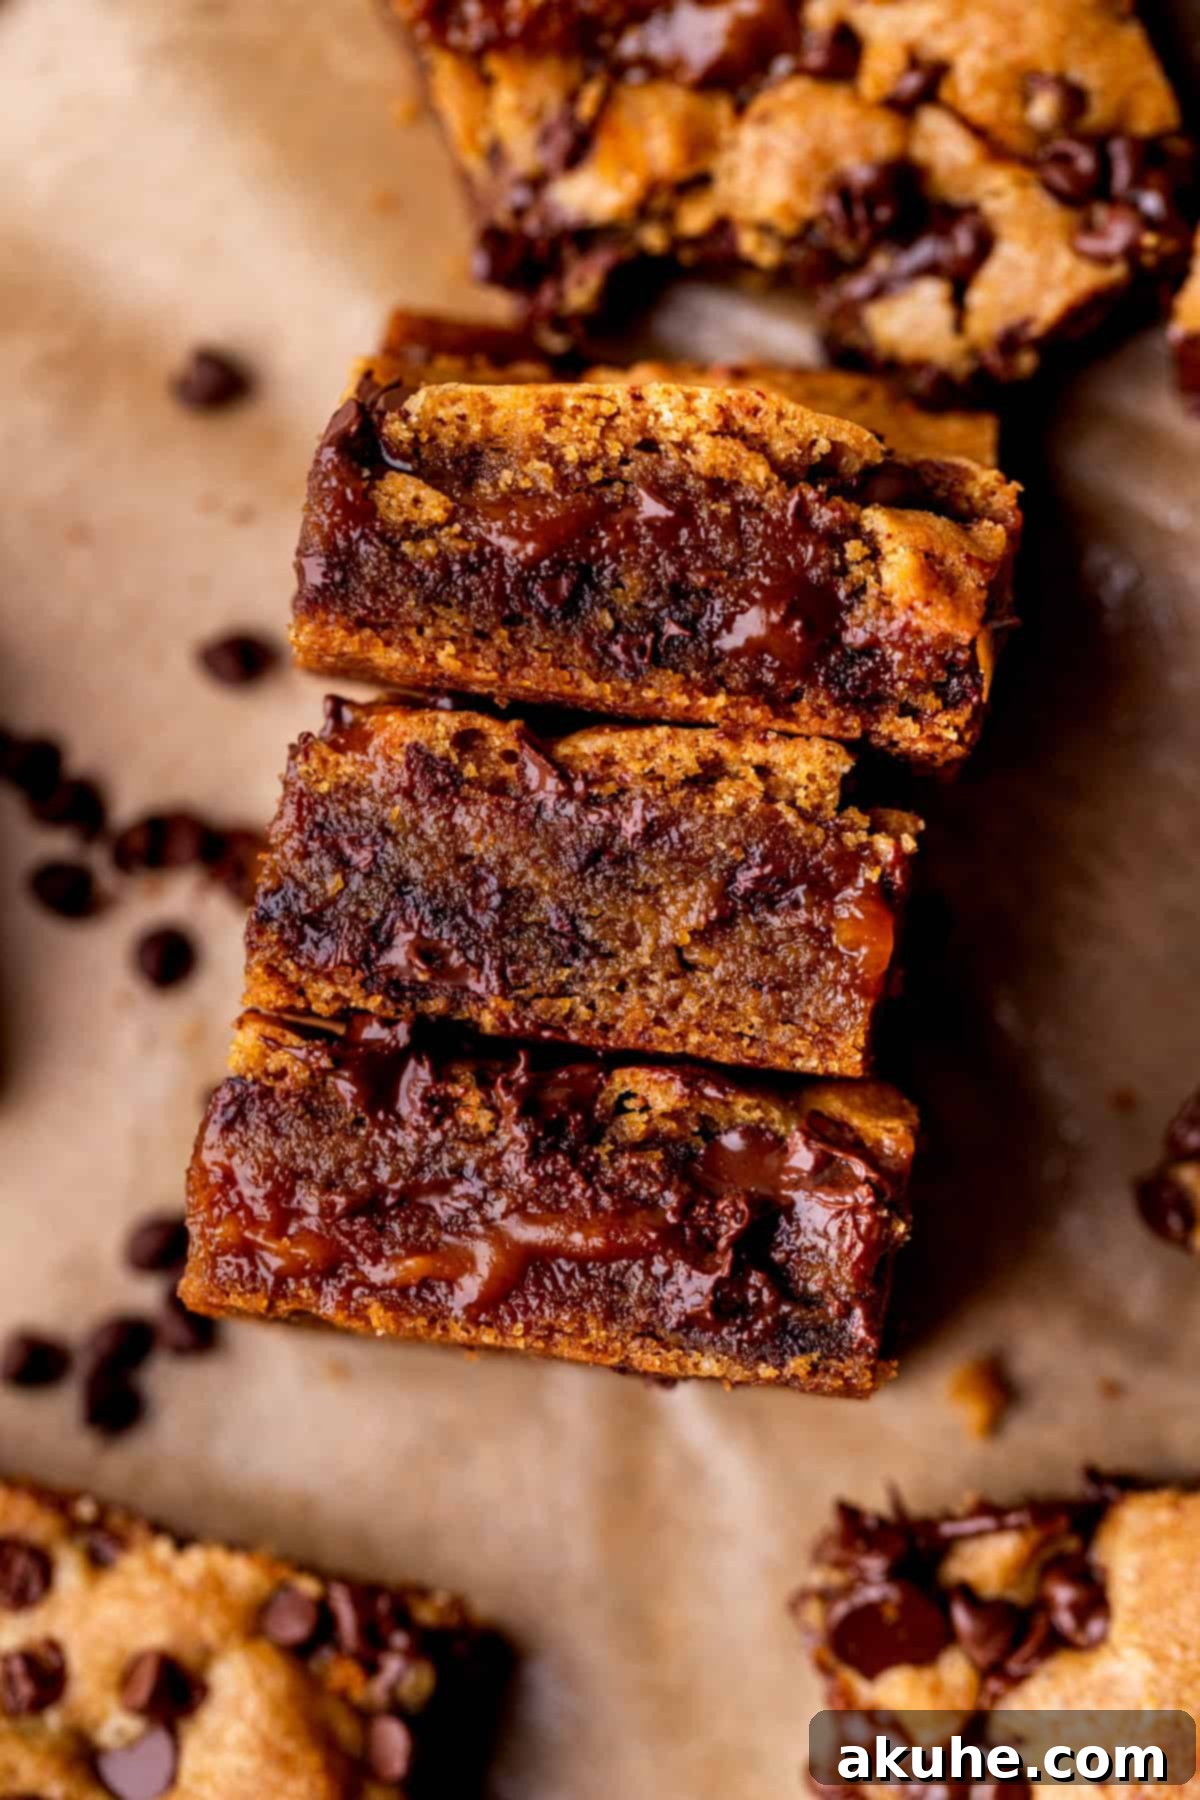
- Tip 3: Flour for Structural Integrity: The addition of a small amount of all-purpose flour to your finished caramel might seem unconventional, but it plays a critical role. This flour helps to stabilize the caramel, increasing its viscosity and making it more resistant to heat. By integrating flour, you create a caramel layer that is less likely to fully melt and blend into the cookie dough during baking. This ensures that when you slice into your bars, you are greeted with a beautiful, visible layer of soft, chewy caramel, making each bar as appealing to the eye as it is to the palate.
Crafting the Perfect Chocolate Chip Cookie Bars
- Tip 1: Precision in Flour Measurement is Key: Baking is a science, and accurate ingredient measurement is paramount. When measuring flour, always use the “spoon and level” method. Gently spoon the flour into your measuring cup until it overflows, then use the back of a knife or a straight edge to level off the excess. Never scoop the measuring cup directly into the flour container, as this compacts the flour, leading to an excess amount. Too much flour will result in dense, dry, or cakey cookie bars, rather than the desired soft and gooey texture. For ultimate accuracy, a kitchen scale is always recommended.
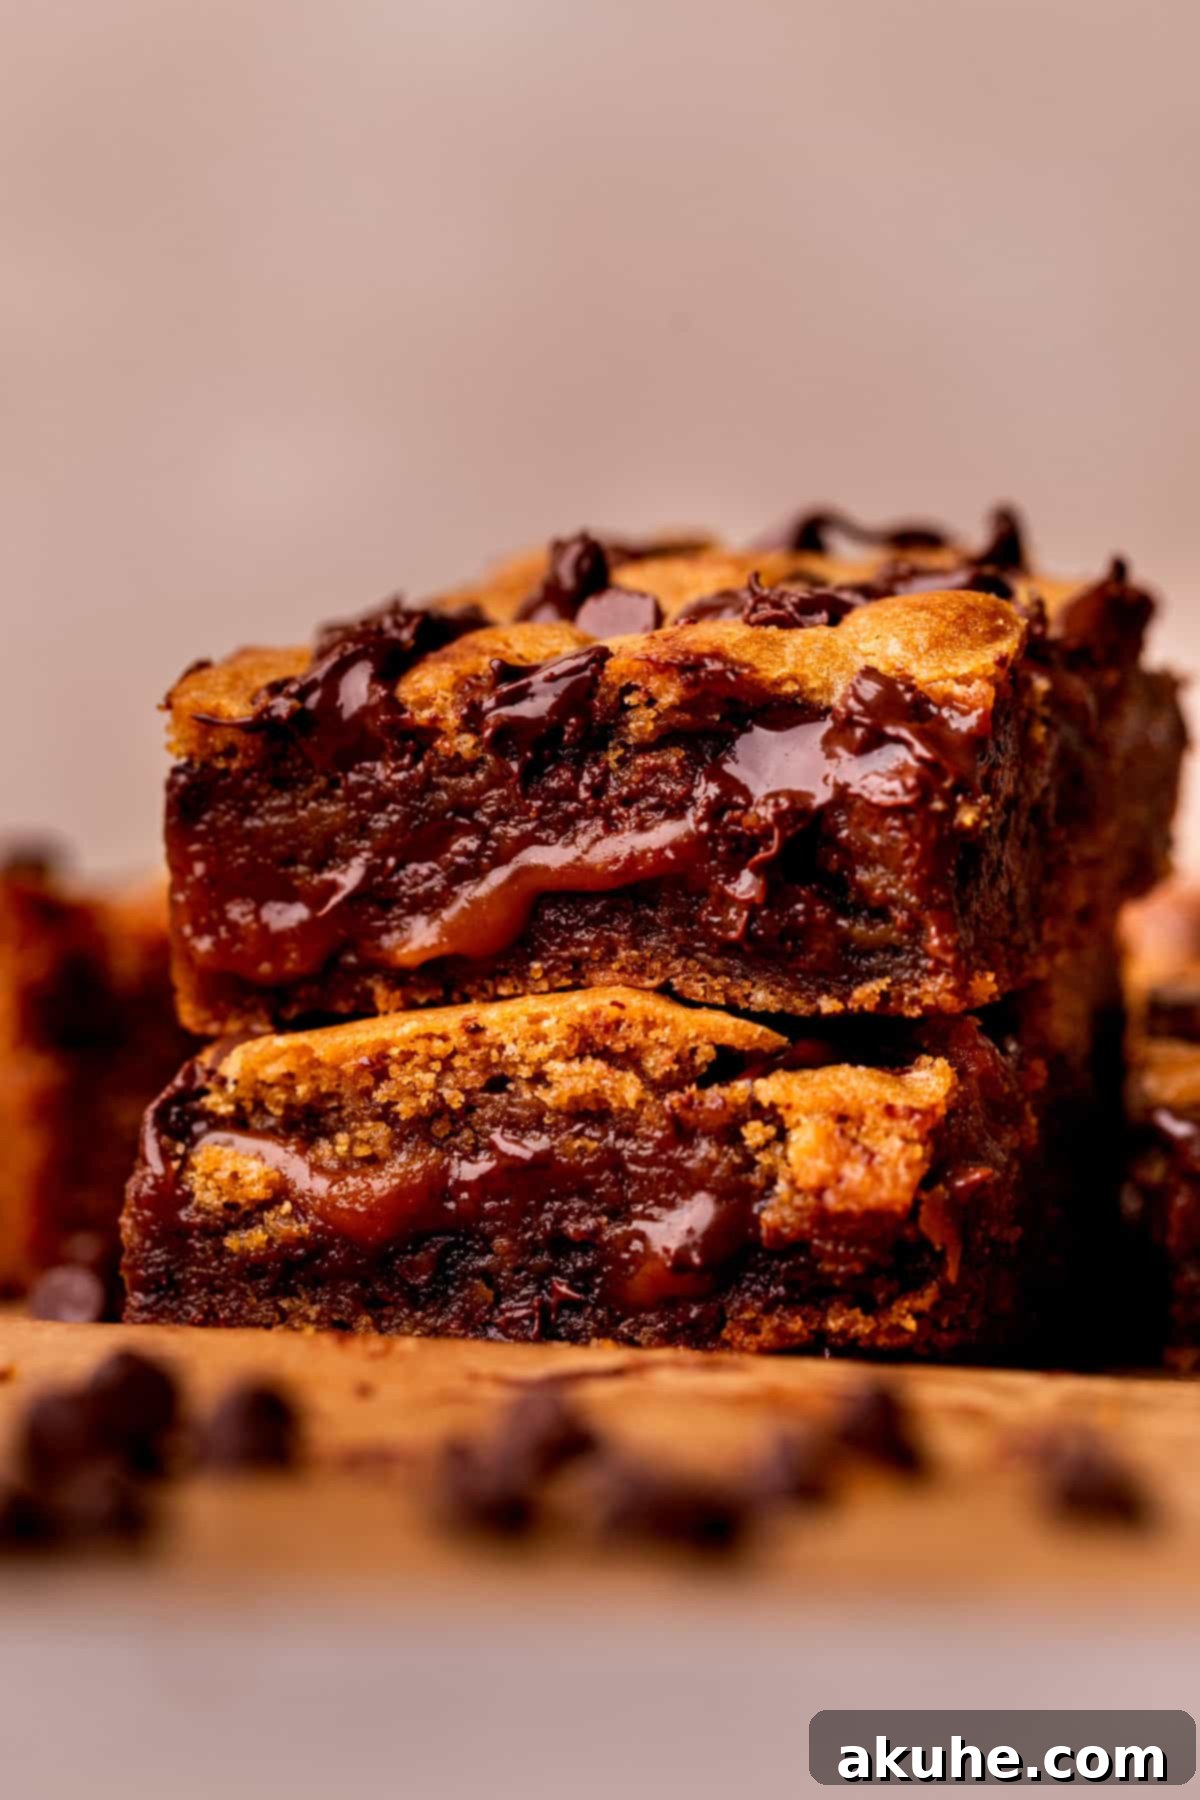
- Tip 2: The Art of Slow Cooling: Patience is a virtue, especially when it comes to cooling your baked cookie bars. Once removed from the oven, your cookie bars will continue to cook and set through a process known as “carryover cooking.” Attempting to rush this cooling process, perhaps by placing them in the refrigerator or freezer, can have detrimental effects on both the cookie and the caramel. Rapid temperature changes can cause the caramel to become excessively liquid and melt into the cookie dough, losing its distinct layer. Slow cooling on a wire rack allows the bars to gradually firm up, ensuring the caramel sets beautifully and the cookie maintains its soft, chewy texture. This step is crucial for achieving those picture-perfect, neatly layered bars.
The Anatomy of a Perfect Caramel Cookie Bar
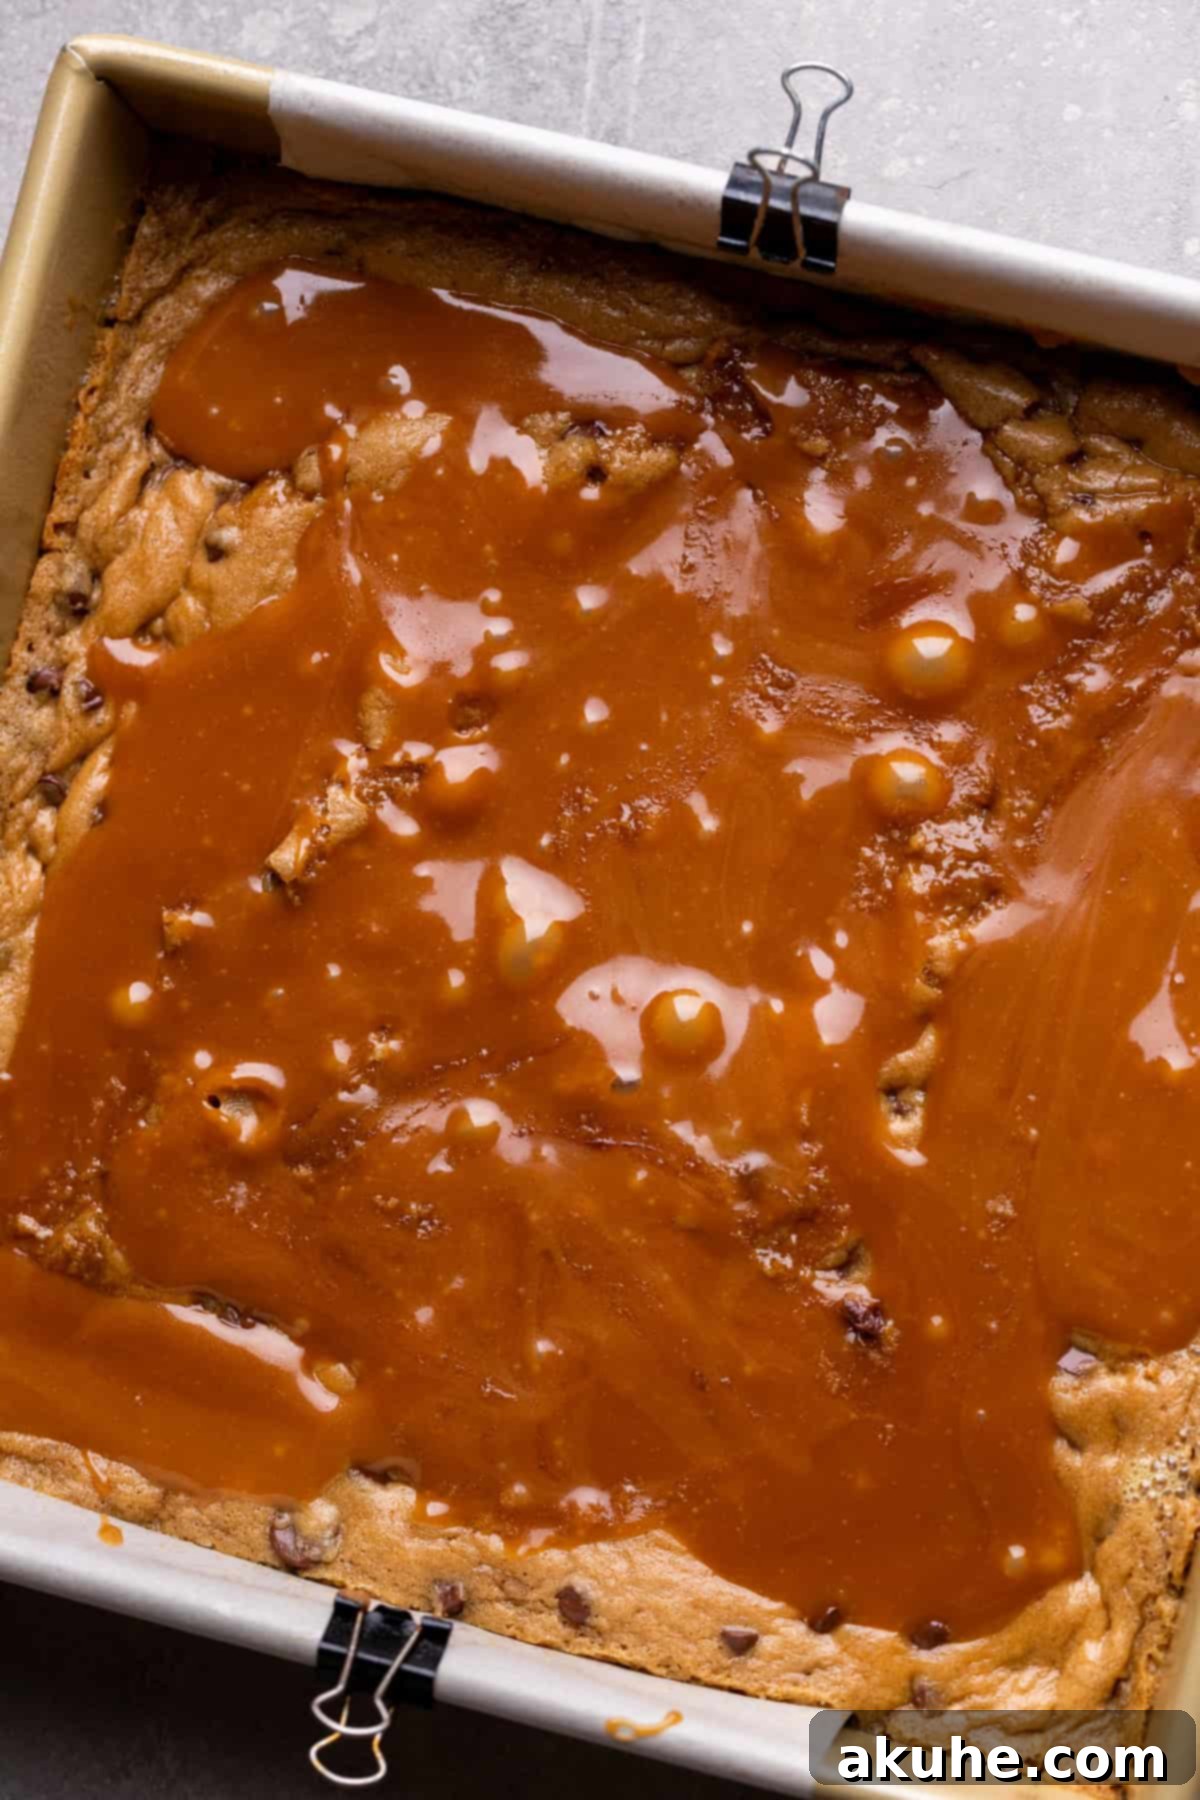
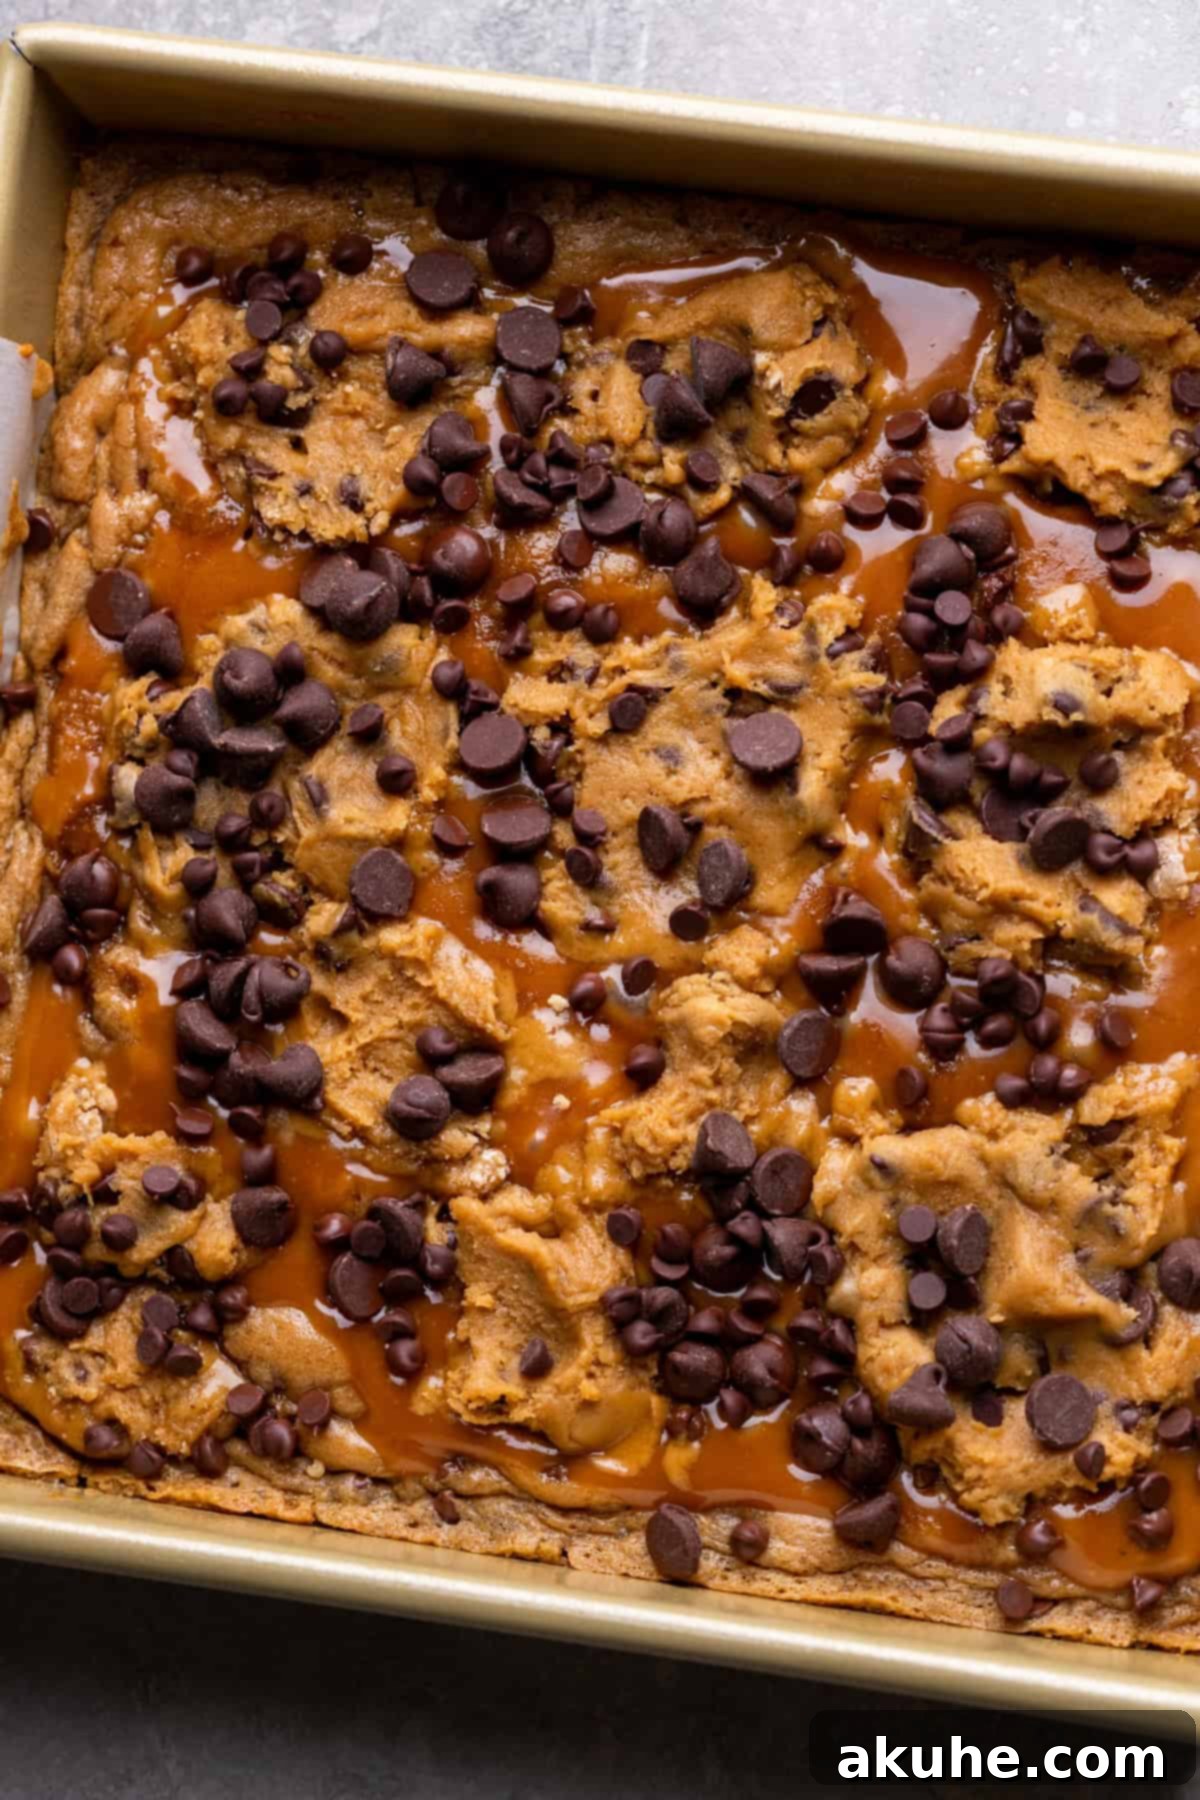
What makes these bars truly stand out is the thoughtful construction of their layers. At the base, you have a generous foundation of our rich chocolate chip cookie dough, baked just enough to form a tender, slightly chewy crust. This initial bake prevents the caramel from soaking too deeply into the bottom layer. Next, a generous, luscious layer of our homemade, flour-stabilized caramel is spread over the warm cookie base, creating that signature gooey center. Finally, dollops of the remaining cookie dough are strategically placed on top, allowing them to bake into soft, delicate islands over the caramel. This architectural design ensures that each bite delivers a harmonious blend of crisp edges, soft cookie, and that unforgettable gooey caramel core.
Can I Use Store-Bought Caramel for Convenience?
While we passionately advocate for the superior flavor and texture of homemade caramel, we understand that sometimes convenience is key. Yes, you can certainly use store-bought caramel in this recipe, but there’s a crucial modification needed to ensure it performs as intended. Most commercial caramels are too thin to withstand the baking process without completely melting into the cookie dough. To prevent this, pour approximately 1 cup of your preferred store-bought caramel into a medium saucepan. Gently heat it over medium heat until it’s warm and fluid, then stir in the specified amount of all-purpose flour from our recipe. Mix thoroughly until no lumps remain. This simple step will thicken the caramel, helping it maintain its distinct layer and gooey consistency within the cookie bars. After this preparation, proceed with the rest of the recipe as directed.
How Do You Know When Your Caramel Cookie Bar Is Perfectly Baked?
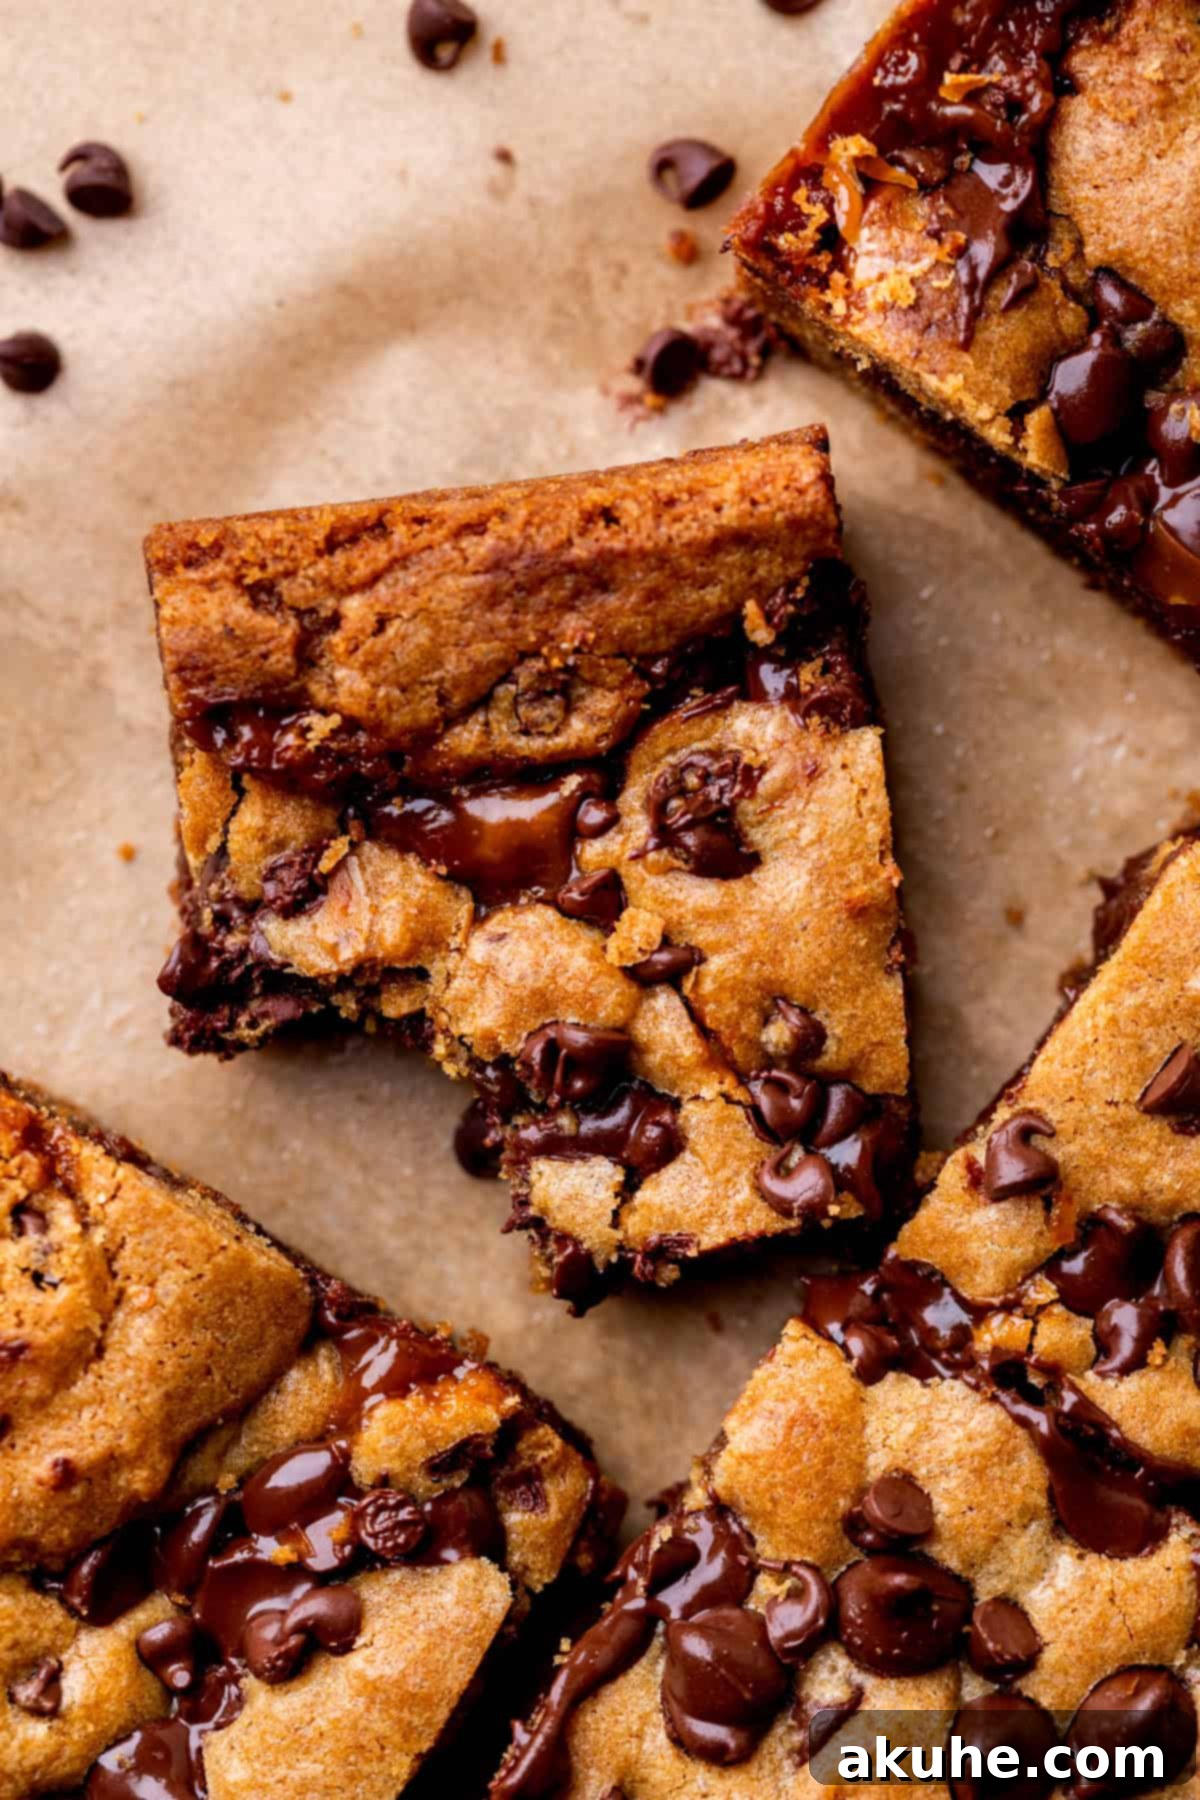
Knowing when your cookie bars are done is crucial for achieving that ideal soft, chewy texture with a gooey center. Keep a close eye on the edges of the bars; they should appear beautifully golden brown. The center, however, might still seem slightly soft or underbaked, and this is exactly what you want! Remember, just like our cooling tip mentioned, the bars will continue to cook and firm up as they cool on the wire rack. Pulling them out when the center is still a bit jiggly ensures they don’t become dry or overbaked, leaving you with that sought-after moist and tender interior balanced by the irresistible caramel.
Frequently Asked Questions About Caramel Cookie Bars
We’ve gathered some of the most common questions about making these delightful caramel cookie bars to help you troubleshoot and achieve perfect results every time.
Can I bake these cookie bars in a different pan size?
Absolutely! The recipe is designed for a 9×9-inch pan, which yields bars of a good, manageable thickness. If you prefer a much thicker cookie bar, you can certainly use an 8×8-inch pan. Be aware that a smaller pan will result in taller, denser bars and will likely require an extended baking time. You may need to add an additional 5-10 minutes to the bake time, keeping a close eye on the golden-brown edges and slightly soft center for doneness. Conversely, if using a larger pan (e.g., a 9×13-inch), your bars will be thinner and bake faster, so reduce the baking time accordingly.
Why did my caramel melt completely into my cookies?
There are a few key reasons why your beautiful caramel layer might have vanished into the cookie dough. The most common culprit is that the caramel wasn’t cooked long enough to achieve the necessary thickness for this recipe. Our tip about cooking the caramel for an additional 2 minutes after adding wet ingredients is crucial for this. A caramel that is too thin will simply liquefy and absorb into the cookie. Another factor could be rapid cooling; if the bars were cooled too quickly, the sudden temperature drop could prevent the caramel from setting properly, causing it to remain too fluid and integrate into the cookie. Ensure you follow the slow cooling process on a wire rack to allow the caramel ample time to set.
Why is it not necessary to chill the dough for this recipe?
Unlike many traditional cookie recipes that require chilling the dough to prevent excessive spreading, these cookie bars are specifically designed to be baked without this extra step. The reason is simple: the dough is contained within the confines of a baking pan. The edges of the pan act as a natural barrier, preventing the dough from spreading out too much, regardless of its temperature. This means you can mix your dough and get straight to baking, saving you valuable time and making this recipe even more convenient for those spontaneous baking urges.
What causes clumpy caramel, and how can I fix it?
Clumpy caramel typically arises from two main issues. Firstly, if all the sugar crystals weren’t completely melted and dissolved at the initial stage, they can recrystallize and cause clumps. Secondly, adding cold butter or heavy cream to hot sugar can cause a sudden temperature shock, making the caramel seize up and become lumpy. To avoid this, ensure your butter is at room temperature and cubed, and your heavy cream is also at room temperature before adding them. If your caramel does become clumpy, don’t despair! You can often remedy it by returning the saucepan to low heat and stirring continuously. The gentle warmth can sometimes be enough to re-melt the sugar crystals and smooth out the caramel. If this doesn’t work after a few minutes, unfortunately, you may need to start over, but careful attention to initial sugar melting and ingredient temperatures will help prevent this issue.
What are the best ways to store caramel cookie bars?
Proper storage ensures your caramel cookie bars remain fresh and delicious. For short-term enjoyment, store the baked and completely cooled cookie bars in an airtight container at room temperature. They will retain their freshness, softness, and gooey texture for up to 5 days. If you’re planning to enjoy them later or want to make a larger batch, these bars freeze beautifully. Place the fully cooled bars in an airtight, freezer-safe container, separating layers with parchment paper if stacking. They can be frozen for up to 30 days. When you’re ready to indulge, simply thaw them at room temperature for 1-2 hours before serving. They’ll taste just as good as if they were freshly baked!
Serving Suggestions for Your Decadent Caramel Cookie Bars
While these caramel cookie bars are undeniably delicious on their own, pairing them with a few complementary elements can elevate the experience even further. Serve them warm with a scoop of vanilla bean ice cream, allowing the ice cream to gently melt over the gooey caramel for an extra layer of decadence. A drizzle of extra homemade caramel sauce or a sprinkle of flaky sea salt can also enhance their rich flavor profile. For a comforting treat, enjoy them with a tall glass of cold milk, a hot cup of coffee, or a cozy mug of spiced cider. These bars are perfect for potlucks, parties, or simply as an indulgent treat to enjoy at home with loved ones.
Explore More Irresistible Caramel Dessert Recipes!
If you’ve fallen in love with the luscious flavor of caramel in these cookie bars, you’ll be thrilled to discover more of our exquisite caramel-infused desserts. Caramel truly is a versatile ingredient, bringing warmth and depth to a variety of treats. Be sure to check out these other favorites from our collection:
- Chewy Caramel Chocolate Chip Cookies
- Velvety Caramel Cheesecake
- Fluffy Caramel Cinnamon Rolls
- Scrumptious Caramel Apple Cheesecake Bars
- Decadent Salted Caramel Fudge Brownies
We hope you thoroughly enjoy making and sharing these incredible caramel cookie bars. Your feedback means the world to us! If you loved this recipe, please make sure to leave a STAR REVIEW below. We’d also love to see your creations on Instagram; tag us @stephaniesweettreats. For even more delicious baking ideas and inspiration, be sure to follow us on Pinterest. Happy baking!
Caramel Cookie Bars
Print Recipe
Pin Recipe
Leave a Review
40 mins
32 mins
1 hr 12 mins
16 bars
Ingredients
Salted Caramel
- 1 cup White granulated sugar
- 4 TBSP Unsalted butter, room temperature and cubed
- 1/2 cup Heavy cream, room temperature
- 1 tsp Pure vanilla extract
- 1/2 tsp Salt
- 1/3 cup All-purpose flour, sifted
Chocolate Chip Cookie Bars
- 2 cups All-purpose flour
- 1/2 tsp Baking soda
- 1/2 tsp Salt
- 3/4 cup Unsalted butter, melted
- 3/4 cup Brown sugar, packed light or dark
- 1/3 cup White granulated sugar
- 1 tsp Pure vanilla extract
- 2 Large eggs, room temperature
- 1 cup Semi-sweet chocolate chips, plus more to top the bars
- 1/3 cup Mini chocolate chips, plus more to top the bars
Instructions
Salted Caramel
- Pull out all of your ingredients. Make sure the butter and cream are room temperature, if it is too cold the caramel will clump up.
- In a medium saucepan over medium heat, add in the sugar. Let the sugar melt completely. Use a whisk to mix the sugar to make sure all the sugar crystals melt. I let the sugar sit until it starts to melt before mixing. (1 cup White granulated sugar)
- Once all the sugar is melted, let it sit for less than 30 seconds until it turns amber in color. This process goes so fast and it is easy to burn it.
- Remove from heat, add in the butter and mix using a whisk. It will be bubbly. Add in half of the cream and mix. It will bubble and steam. Then, add the rest of the cream and the vanilla and salt. (4 TBSP Unsalted butter, 1/2 cup Heavy cream, 1 tsp Pure vanilla extract, 1/2 tsp Salt)
- Return the pot to the heat. Continuously mix for 2 minutes to thicken the caramel. Remove from heat and add in the flour. Mix well, so there is no flour lumps remaining. (1/3 cup All-purpose flour)
- Set aside while you make the cookie dough.
Chocolate Chip Cookie Bars
- Preheat the oven to 350℉. Spray a 9X9-inch pan with baking spray. Line the bottom and 2 sides of the pan with parchment paper and spray again.
- In a medium bowl, mix the flour, baking soda, and salt. Set aside. (2 cups All-purpose flour, 1/2 tsp Baking soda, 1/2 tsp Salt)
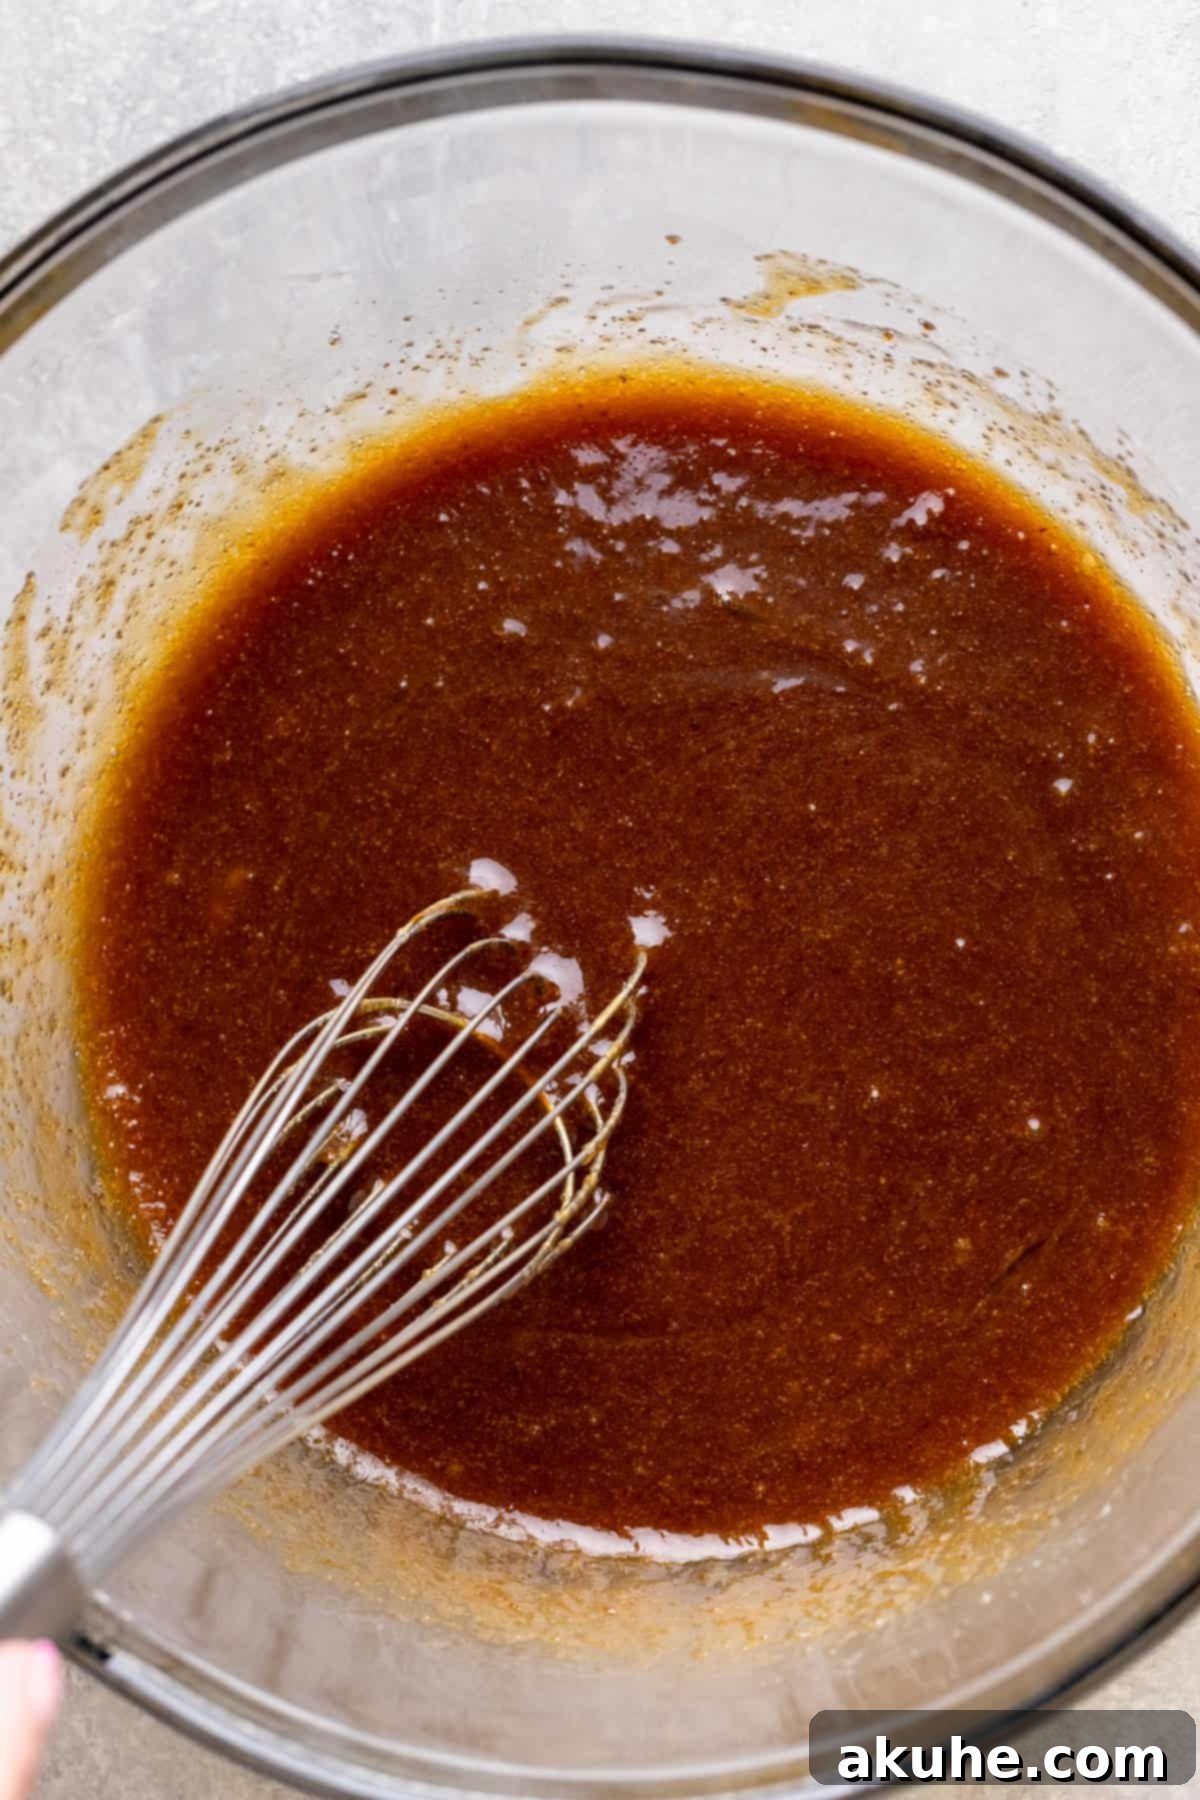
- In a large bowl, add in melted butter, brown sugar, sugar, vanilla, and eggs. Use a whisk to mix well. (3/4 cup Unsalted butter, 3/4 cup Brown sugar, 1/3 cup White granulated sugar, 1 tsp Pure vanilla extract, 2 Large eggs)
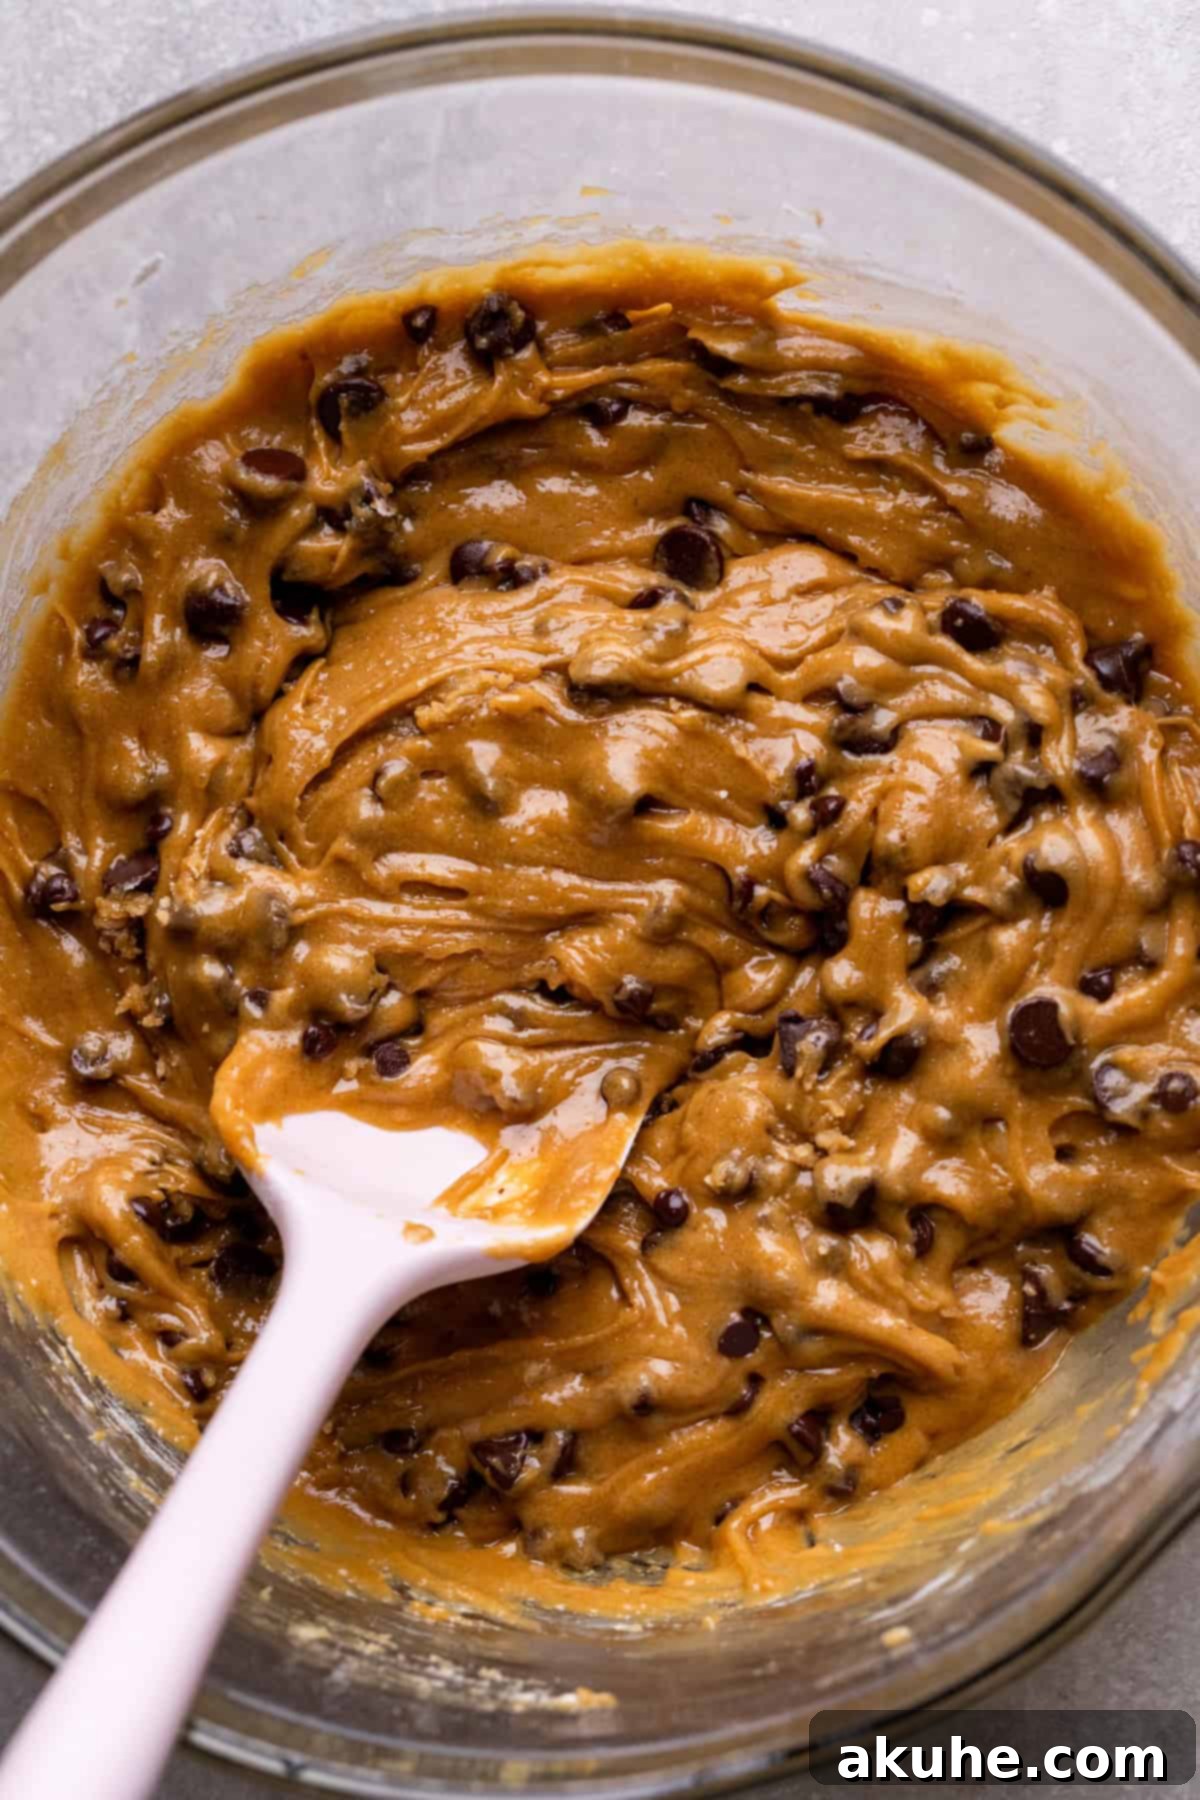
- Add in the dry ingredients and use a baking rubber spatula to mix the flour into the dough. Add in the chocolate chips and mini chocolate chips and mix in. (1 cup Semi-sweet chocolate chips, 1/3 cup Mini chocolate chips)
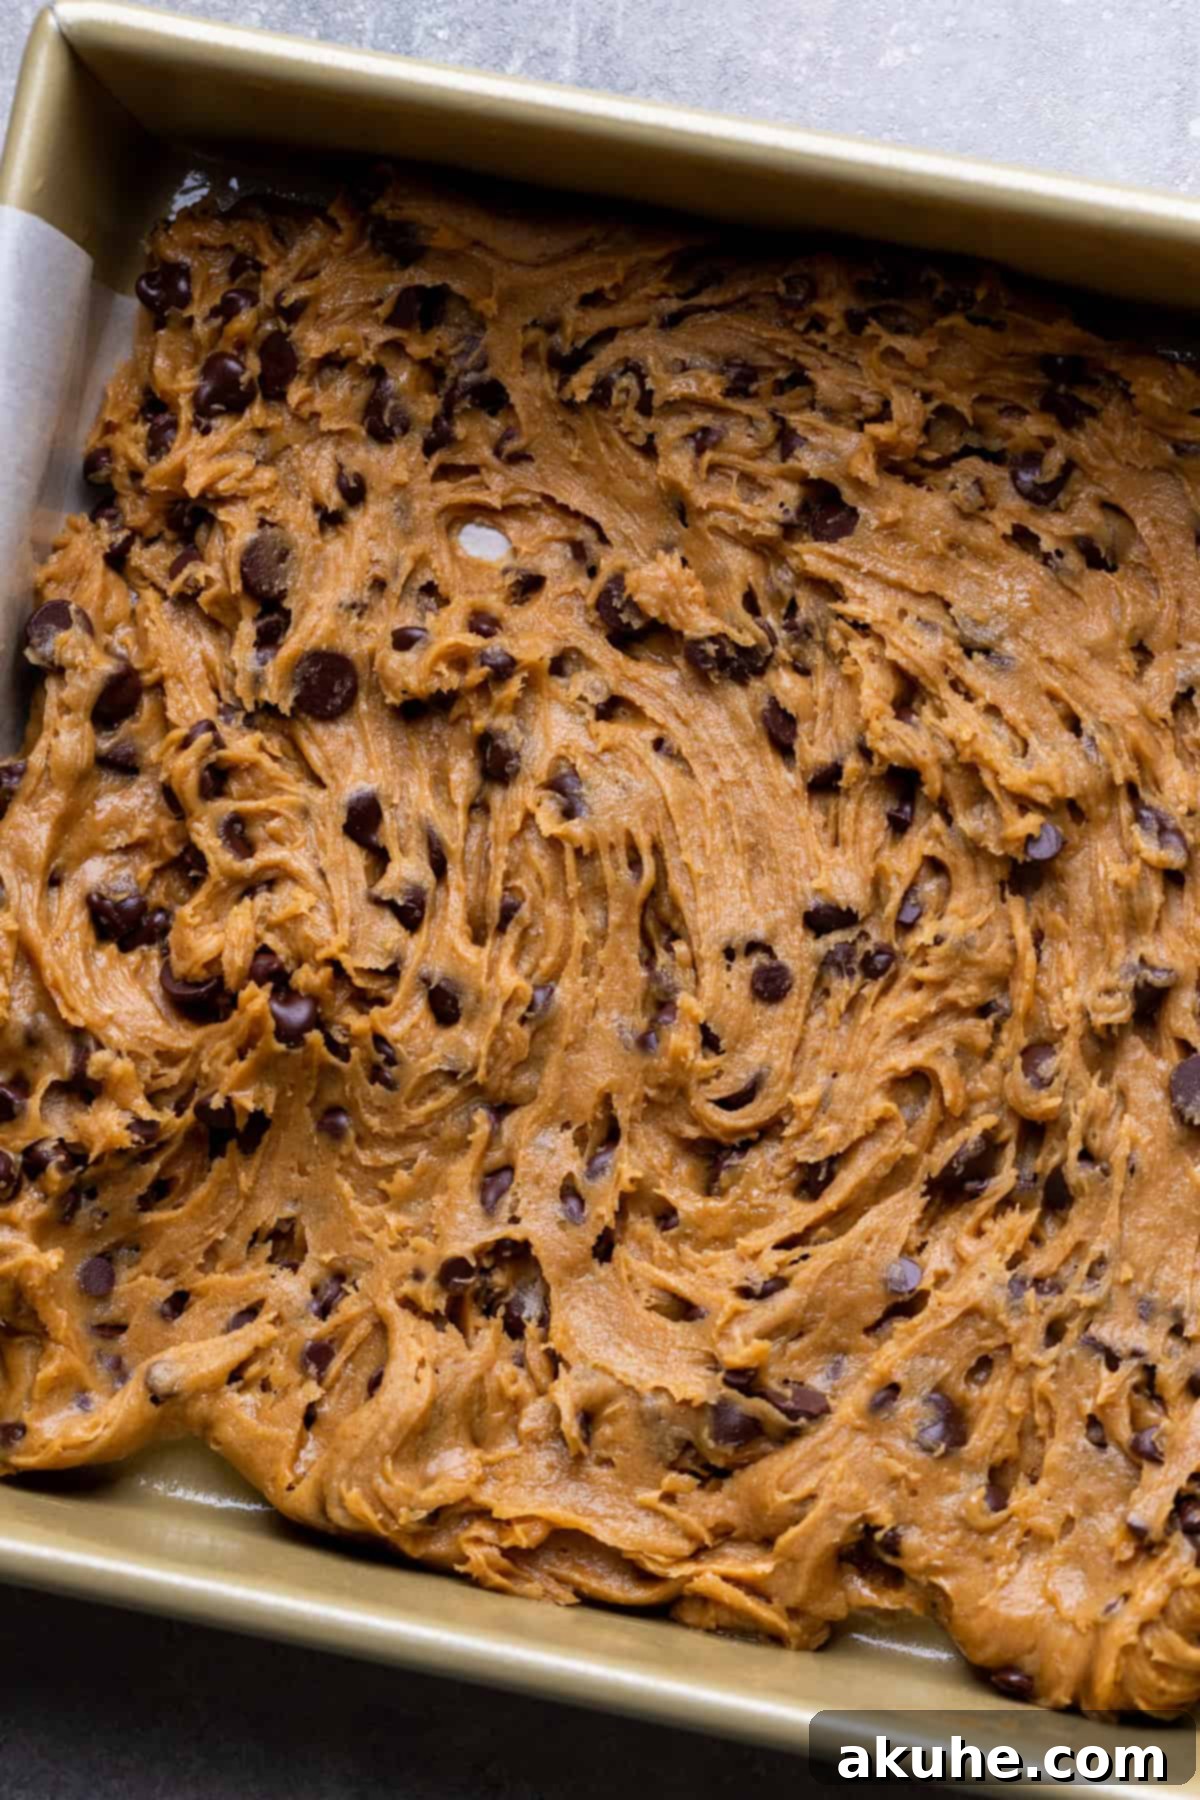
- Pour 2/3rds of the dough into the pan, and spread evenly.
- Bake for 9 minutes. Place the remaining cookie dough in the fridge while it bakes.
- Pour the caramel on top of the baked cookie dough. Spread the caramel evenly. Leave 1 inch on the edges free from caramel.
- Take small amounts of cookie dough and place dollops of cookie dough on top of the caramel. Top with extra chocolate chips.
- Bake for 20-25 minutes until the top is lightly golden brown.
- Place the hot pan on a cooling rack and let it cool completely before removing the cookie bars from the pan.
Notes
Flour – Make sure flour is spooned and leveled or use a kitchen scale. Compacted flour can dry out the cookie bars.
High altitude baking – Add an extra 2 TBSP of flour.
Pull out dairy ingredients 2 hours before baking to ensure they are at room temperature.
Nutrition Information (per serving)
- Calories: 382kcal
- Carbohydrates: 49g
- Protein: 3g
- Fat: 20g
- Saturated Fat: 12g
- Polyunsaturated Fat: 1g
- Monounsaturated Fat: 5g
- Trans Fat: 0.5g
- Cholesterol: 40mg
- Sodium: 190mg
- Potassium: 109mg
- Fiber: 1g
- Sugar: 33g
- Vitamin A: 477IU
- Vitamin C: 0.1mg
- Calcium: 31mg
- Iron: 2mg
Did you make this recipe?
Please leave a star rating and review below!
