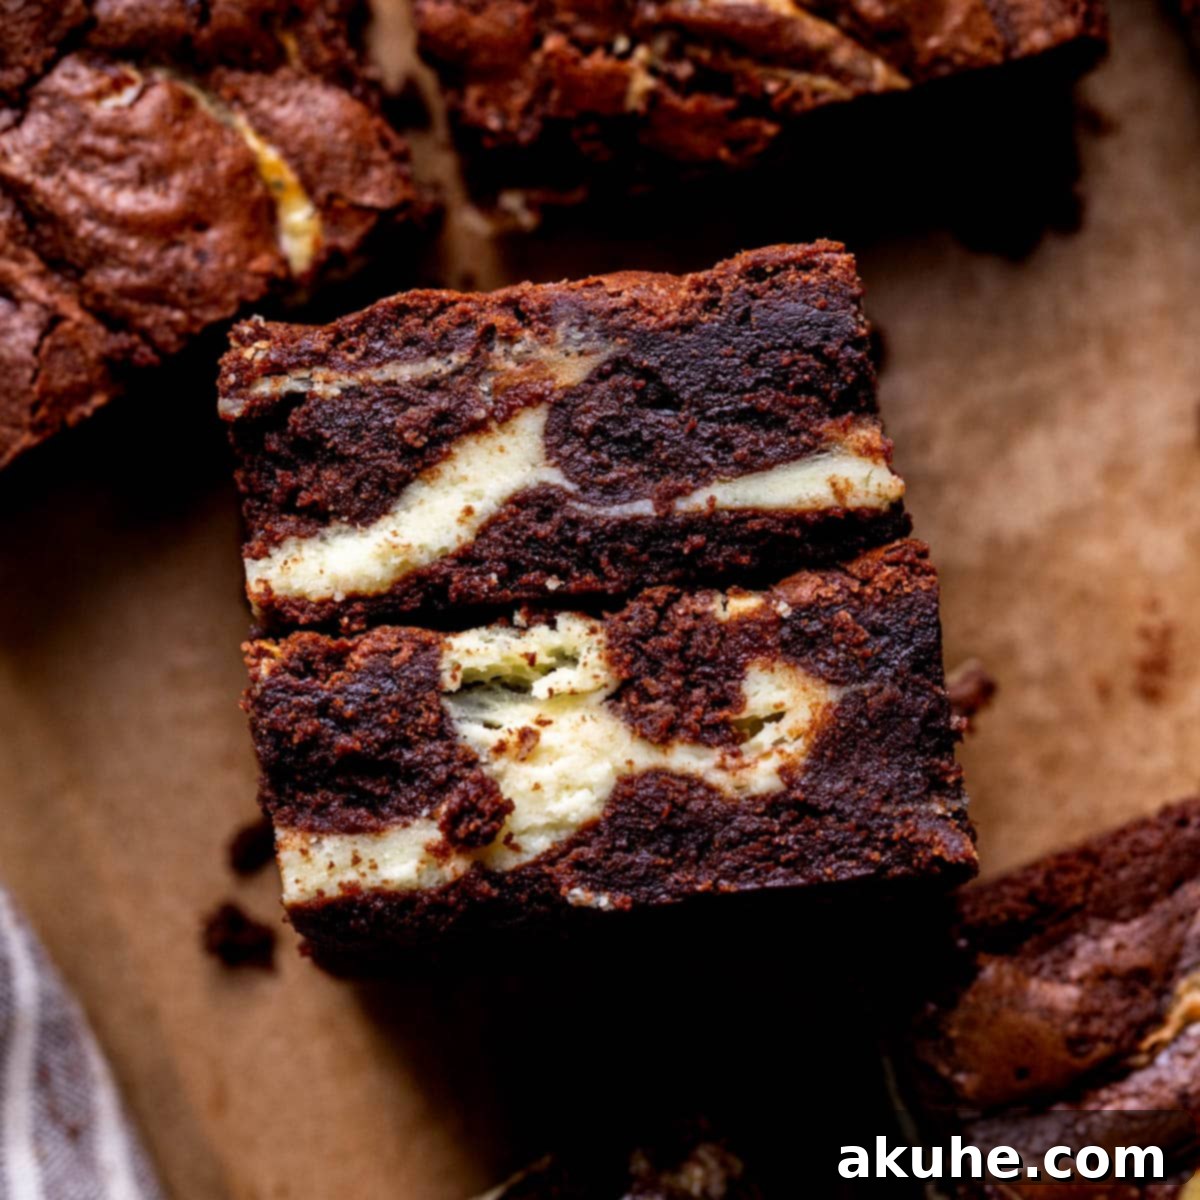
Welcome to the ultimate guide for crafting the most exquisite **Cheesecake Brownies**. Imagine the rich, deep chocolate intensity of a perfectly fudgy brownie, crowned with a smooth, tangy layer of creamy cheesecake, all swirled together in a mesmerizing pattern. This isn’t just a dessert; it’s a culinary masterpiece that combines two beloved classics into one utterly irresistible treat. Whether you’re a seasoned baker or new to the kitchen, this recipe promises to elevate your homemade brownie experience, delivering a dessert that is as visually stunning as it is delicious.
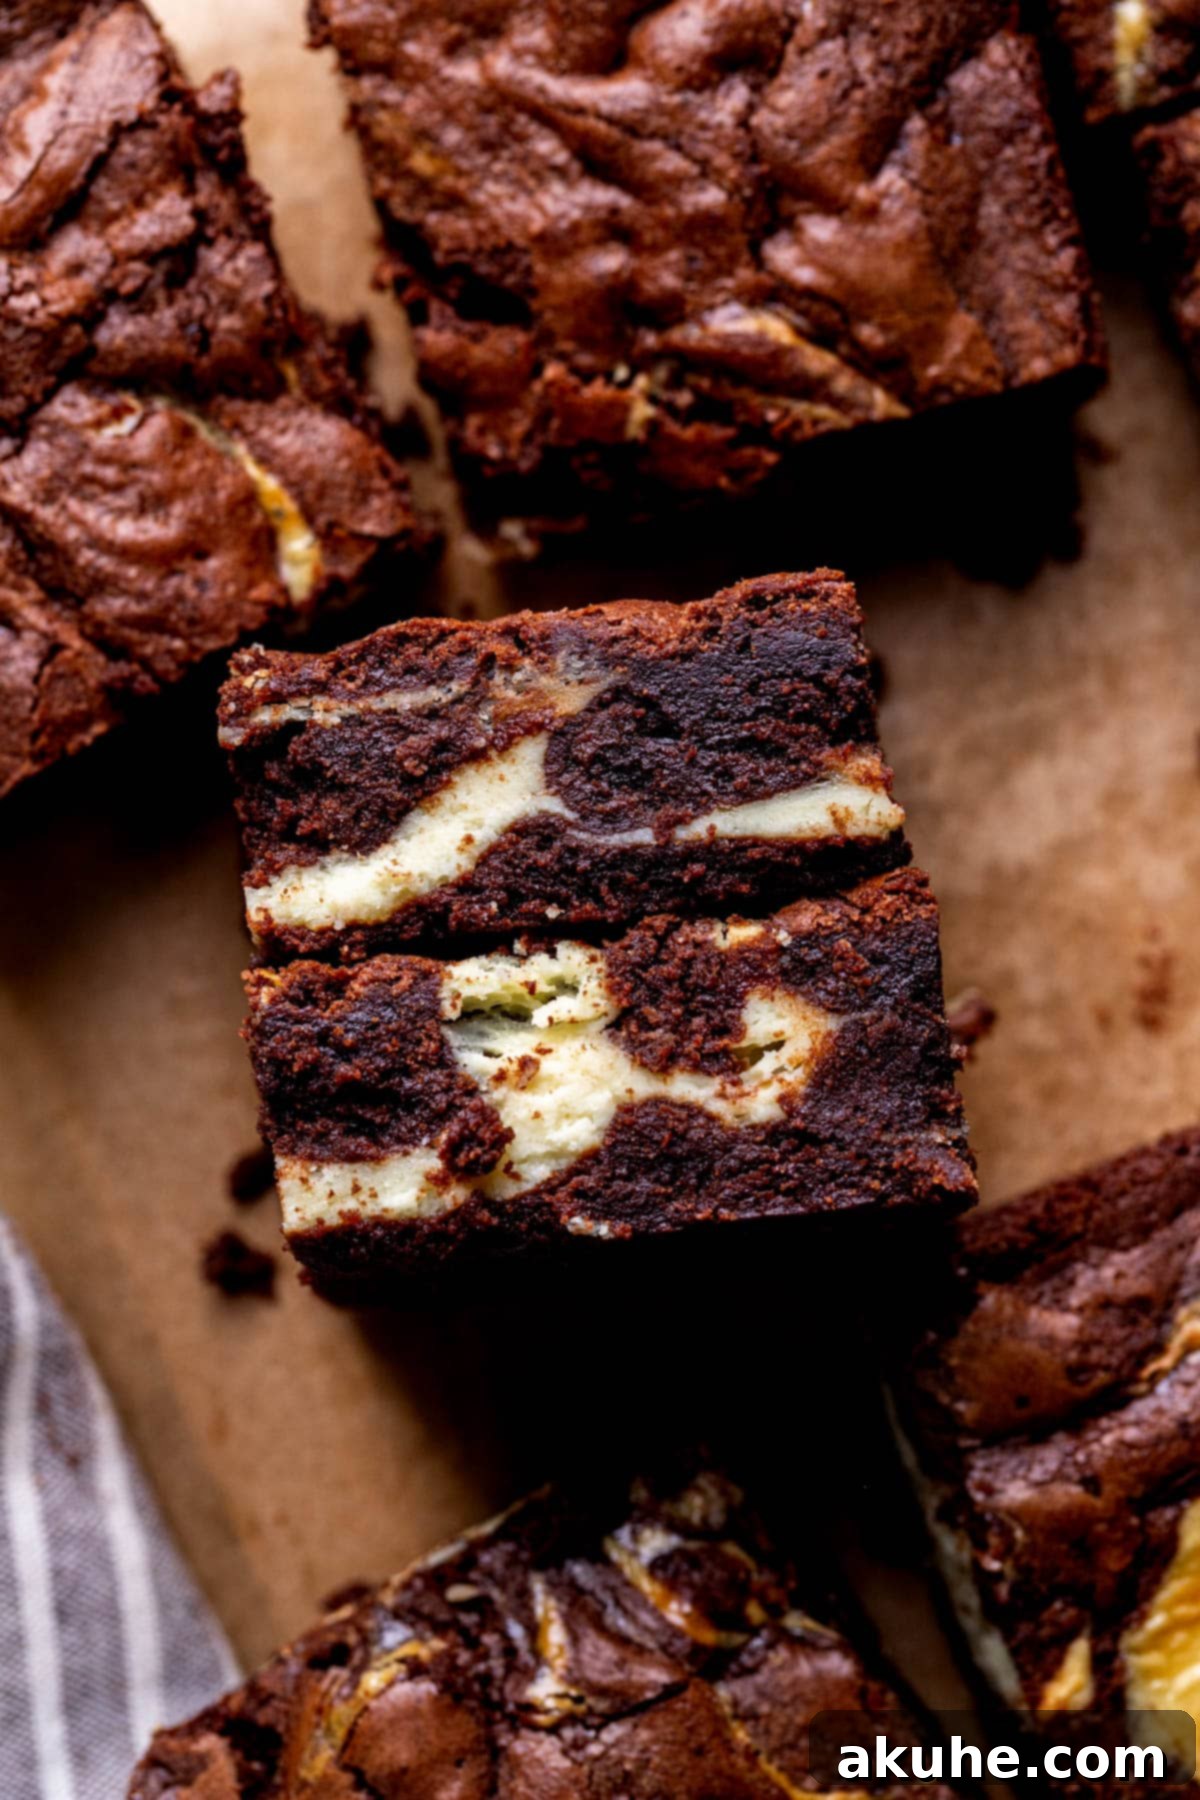
These **decadent cheesecake brownies** are designed for those moments when you want to truly impress. They’re perfect for dinner parties, potlucks, special celebrations, or simply indulging your sweet tooth with something extraordinary. The harmonious blend of textures – the dense, **fudgy brownie** and the light, creamy cheesecake – creates a flavor profile that is truly unique. Each bite offers a delightful journey through velvety chocolate and rich cream cheese, making this **cheesecake brownie recipe** a guaranteed showstopper every single time.
If you’re captivated by the luscious possibilities of cheesecake fillings, explore more delightful creations like Oreo Cheesecake Cookies, Strawberry Cheesecake Cookies, and Pumpkin Cheesecake Cookies for further inspiration.
Why This Cheesecake Brownie Recipe Is a Must-Try
Discover what makes these **homemade cheesecake brownies** stand out from the crowd. This recipe isn’t just easy; it’s designed to deliver perfection with every batch.
- Unparalleled Fudgy Brownies: At the heart of this dessert lies a profoundly rich and **fudgy brownie** base. Unlike cakey brownies, ours boast an intensely moist, dense texture that melts in your mouth, thanks to a carefully balanced ratio of ingredients and expert techniques. This chocolate layer is so good, it could easily stand alone as a favorite brownie recipe.
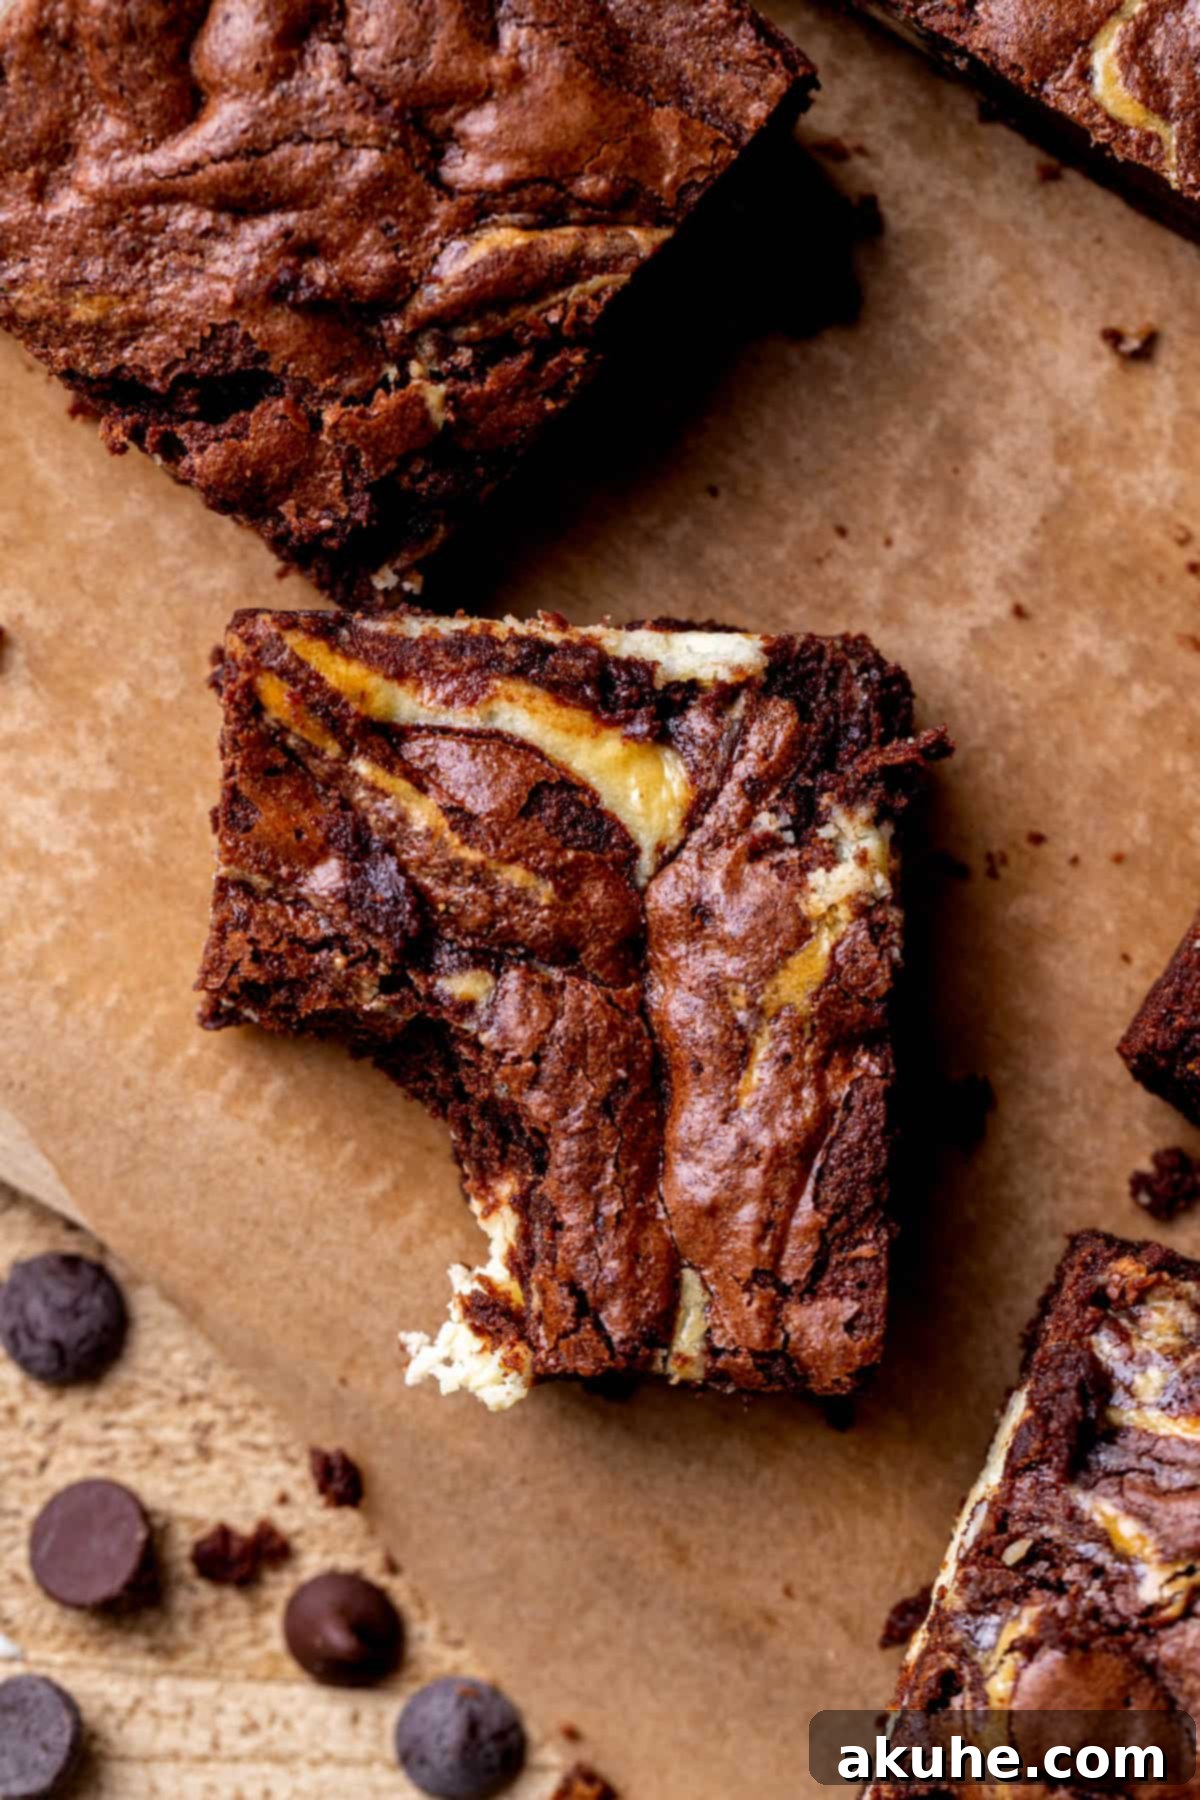
- Irresistible Cheesecake Swirl: The addition of a smooth, tangy cheesecake layer transforms these into something truly special. The creamy texture of the cheesecake beautifully complements the intense chocolate, creating a delightful contrast. Beyond flavor, the elegant **cheesecake swirl** on top adds a sophisticated visual appeal, making these brownies look as professional as they taste.
- Surprisingly Easy to Make: Don’t let the gourmet appearance fool you; this is an incredibly straightforward recipe. Utilizing simple, readily available ingredients, anyone can master these **easy cheesecake brownies**. Forget about boxed mixes – once you experience the superior flavor and texture of these homemade treats, you won’t look back. The cheesecake topping comes together with minimal effort, requiring no complex techniques.
- Perfect Flavor Balance: The magic of this recipe lies in its exquisite balance. The slight tanginess of the cheesecake cuts through the richness of the dark chocolate brownies, preventing the dessert from being overly sweet or heavy. It’s a harmonious blend that keeps you coming back for more.
- Crowd-Pleasing & Impressive: Whether you’re baking for a family gathering, a holiday party, or a simple get-together, these cheesecake brownies are guaranteed to be a hit. Their unique combination and elegant presentation make them an impressive dessert that will earn you rave reviews.
Essential Ingredient Notes for Perfect Cheesecake Swirl Brownies
Achieving the perfect **fudgy cheesecake brownie** starts with understanding your ingredients. Here are some key notes to ensure your success. A full list of precise measurements can be found in the recipe card below.
- Cream Cheese (for cheesecake layer): Always opt for full-fat block cream cheese, not the spreadable kind from a tub. For the smoothest, lump-free cheesecake batter, ensure your cream cheese is at **room temperature**. This allows it to cream easily with sugar without curdling or leaving small unmixed bits.
- Granulated Sugar (White Sugar): Essential for both sweetness and texture in the brownies, and crucial for the cheesecake layer. In the brownies, it contributes to the signature crinkly top.
- Powdered Sugar (Confectioners’ Sugar): Used in the brownie batter for its finer texture, which helps achieve that desirable fudgy, dense consistency and contributes to the glistening top crust. For the best results, be sure to **sift this ingredient** as it’s prone to clumping, which can lead to a gritty texture in your finished brownies.
- Large Eggs and Egg Yolks: This recipe calls for a specific combination of whole large eggs and an extra egg yolk for the brownies, and one egg for the cheesecake. Using **room temperature eggs** is paramount as they emulsify more effectively with other ingredients, creating a smoother, more cohesive batter and a better final texture. The additional egg yolk in the brownie batter is a secret weapon for ultimate fudginess, contributing extra fat and richness.
- Unsalted Butter: Melted unsalted butter is crucial for a rich, deep flavor and moistness in the brownies. **Melt it ahead of time** so it has a chance to cool slightly before being incorporated into the batter. This prevents it from cooking the eggs.
- Oil (Canola or Vegetable Oil): Incorporating oil alongside butter enhances the fudgy texture and ensures the brownies remain moist for longer. Vegetable or canola oil are excellent choices due to their neutral flavor.
- Pure Vanilla Extract: A splash of high-quality vanilla extract elevates the flavor profile of both the brownie and cheesecake layers, adding warmth and depth.
- All-Purpose Flour: The structural backbone of your brownies. For precise measurements, always use the spoon-and-level method: spoon flour into your measuring cup and level off with a straight edge, rather than scooping directly from the bag, which can compact the flour and lead to dry brownies.
- Unsweetened Cocoa Powder: This is where the chocolate magic happens! I highly recommend using **Dutch-processed cocoa powder** for a richer, darker chocolate flavor and a less acidic taste. Dutch-processed cocoa powder has been treated to reduce its acidity, resulting in a smoother, mellow chocolate note. This is a great option.
- Cornstarch: A powerful ingredient for enhancing fudginess. Cornstarch helps to inhibit gluten development in the flour, resulting in a softer, more tender, and indeed, fudgier brownie texture.
- Salt: A pinch of salt is vital in any baking recipe. It balances the sweetness, intensifies the chocolate flavor, and brings all the other flavors into harmony. Don’t skip it!
Recommended Equipment for Baking Cheesecake Brownies
Having the right tools makes the baking process smoother and more enjoyable. Here’s what you’ll need for these **cheesecake swirl brownies**:
- 9×9 Inch Square Baking Pan: The ideal size for achieving the perfect thickness for these brownies. A light-colored metal pan is recommended for even baking.
- Parchment Paper: Essential for easy removal of the brownies from the pan. Line the bottom and two sides, leaving an overhang to use as “handles.”
- Nonstick Baking Spray: For ensuring no sticking and easy release.
- Electric Mixer: A hand mixer or a stand mixer fitted with the paddle attachment will be invaluable for creaming the cheesecake batter and whipping the brownie ingredients. It ensures a smooth, aerated mixture.
- Large and Medium Mixing Bowls: You’ll need separate bowls for the cheesecake batter, dry brownie ingredients, and wet brownie ingredients.
- Rubber Spatula: For scraping down the sides of the bowls and folding ingredients gently.
- Large Cookie Scoop (or Ice Cream Scoop): This is fantastic for neatly portioning the brownie and cheesecake batters onto the base layer, crucial for creating that distinct swirl pattern.
- Butter Knife or Skewer: For gently creating the signature swirl pattern without overmixing the batters.
- Measuring Cups and Spoons: For accurate ingredient measurements.
- Cooling Rack: To allow the brownies to cool completely and evenly after baking.
Step-By-Step Instructions: Crafting the Creamy Cheesecake Layer
Let’s begin by preparing the luscious cheesecake swirl that will crown your fudgy brownies. This recipe utilizes an electric mixer for ease and efficiency, whether a hand mixer or a stand mixer with a paddle attachment.
STEP 1: Prepare Your Pan and Preheat Oven. Begin by preheating your oven to a consistent 350°F (175°C). This ensures the oven is at the correct temperature when your batters are ready. Next, take a 9×9 inch square baking pan and lightly spray it with nonstick baking spray. Line the bottom and two opposing sides of the pan with parchment paper, allowing the paper to extend beyond the edges. This overhang will serve as convenient handles to lift the cooled brownies out of the pan later. Spray the parchment paper again lightly.
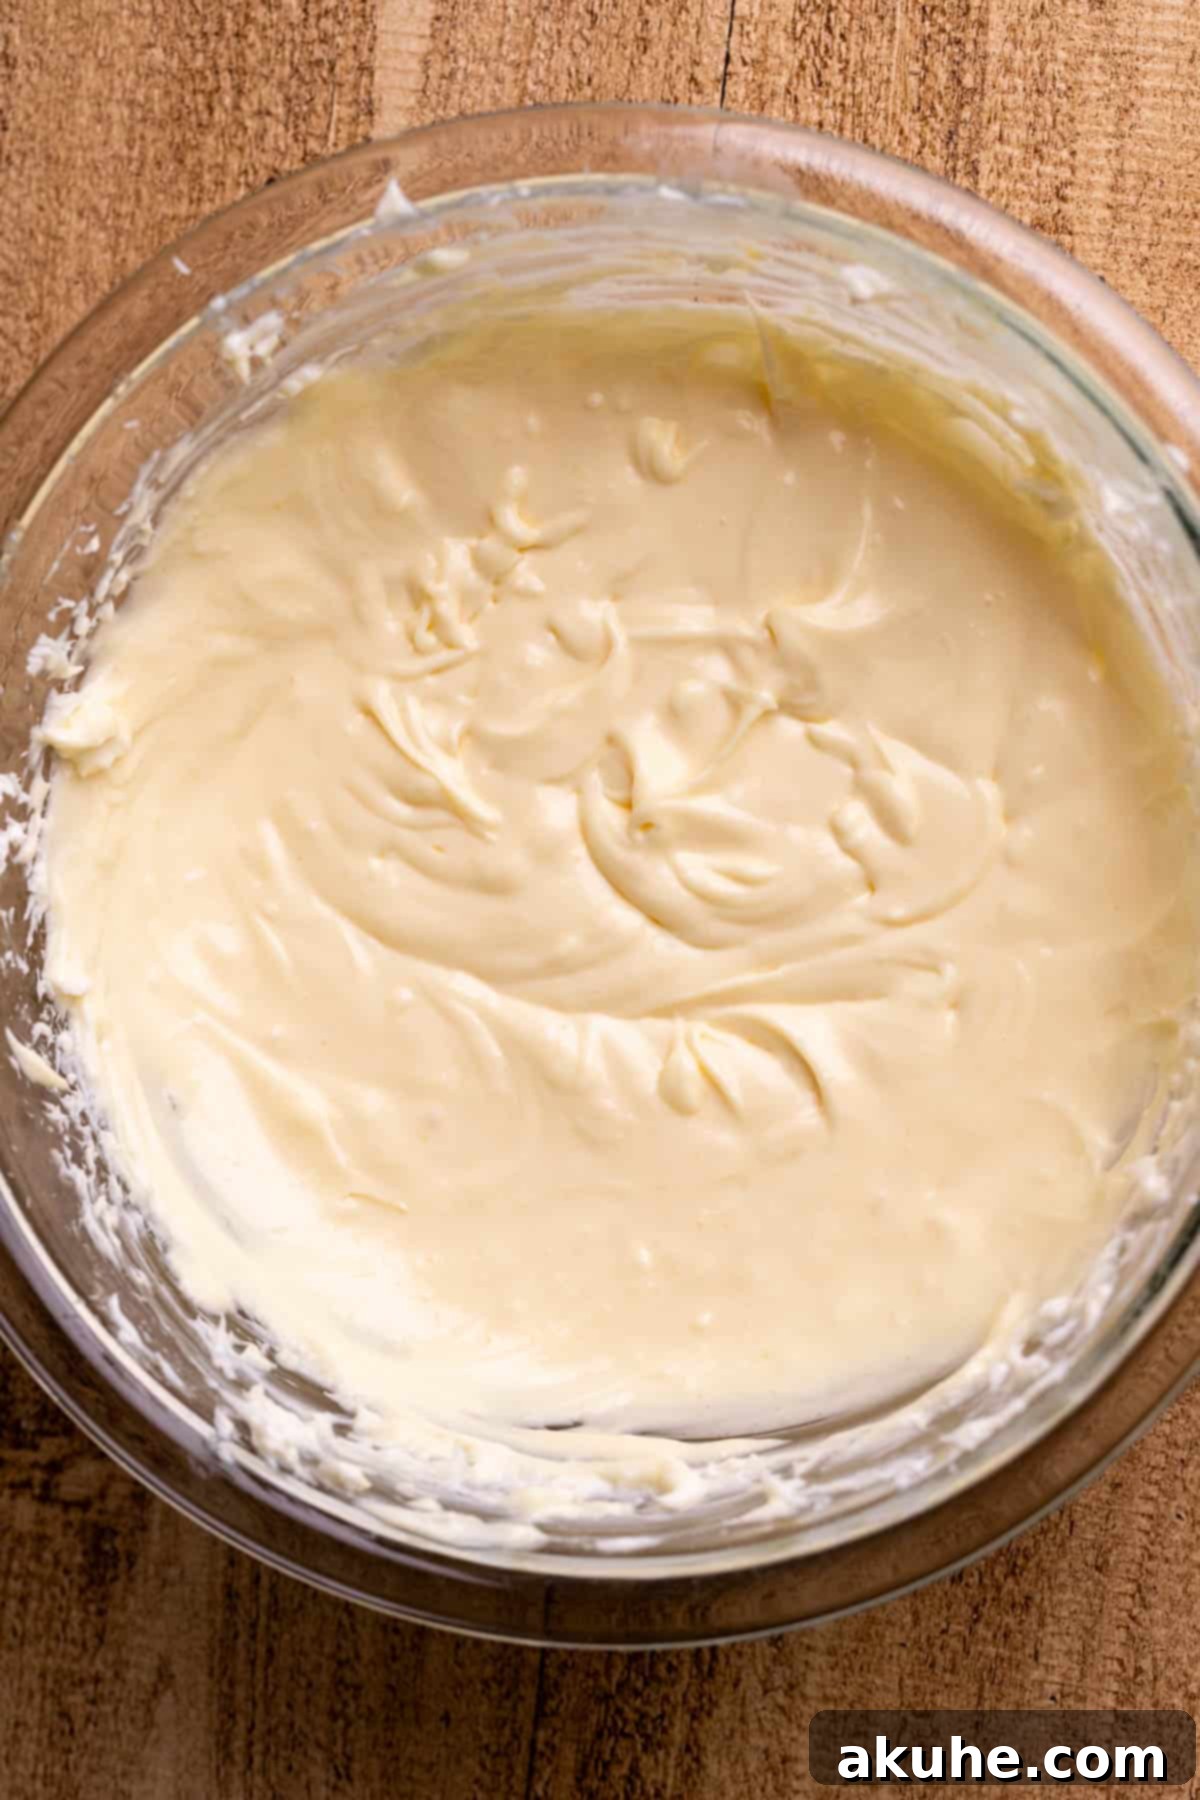
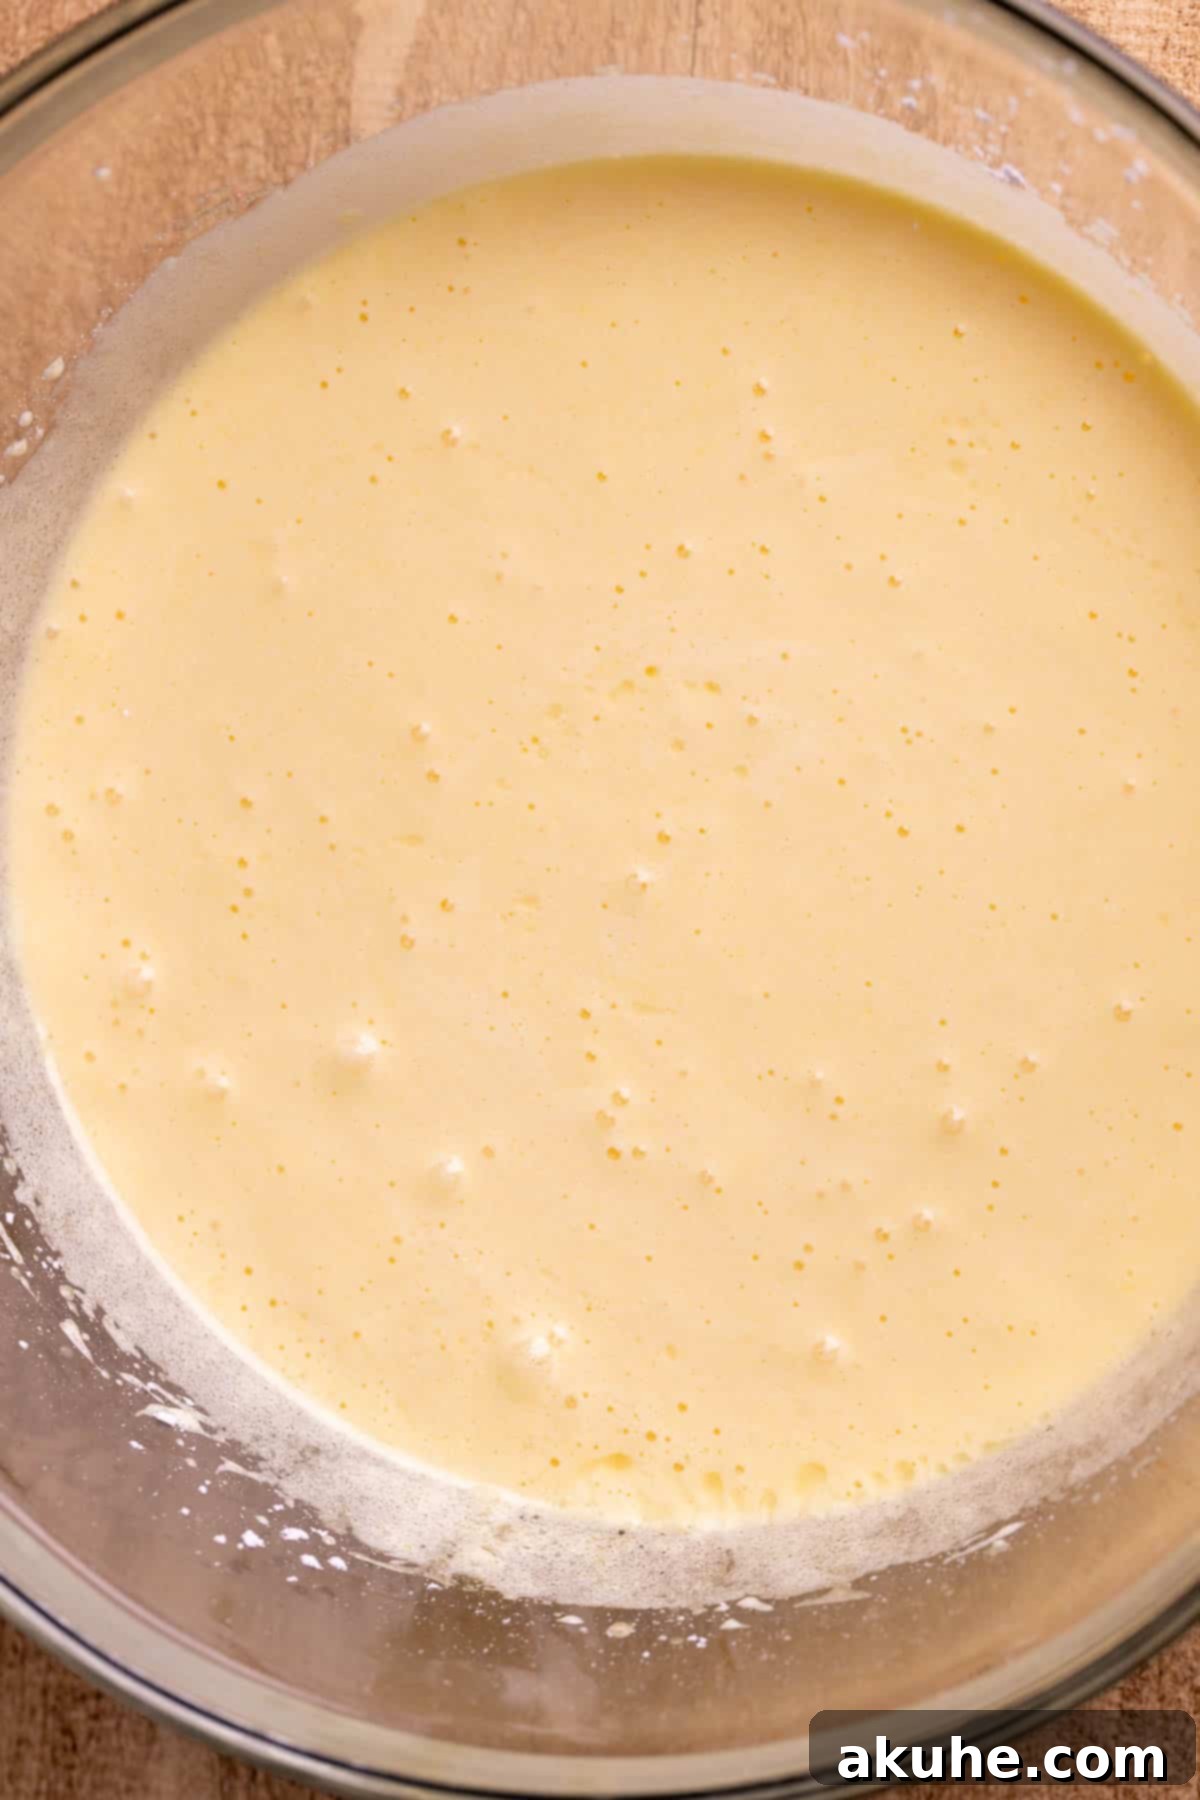
STEP 2: Cream Together Cream Cheese, Sugar, and Vanilla. In a medium-sized mixing bowl, add the softened room temperature cream cheese, granulated sugar, and pure vanilla extract. Using your electric mixer, beat these ingredients together on high speed for approximately 2 minutes. The goal is to achieve a wonderfully smooth, light, and airy consistency, ensuring there are no lumps of cream cheese remaining.
STEP 3: Incorporate the Egg. Stop the mixer and use a rubber spatula to scrape down the sides of the bowl, ensuring all ingredients are fully incorporated. Add the large room temperature egg to the cream cheese mixture. Mix on low speed, just until the egg is fully combined into the batter. Be careful not to overmix at this stage, as excessive air can lead to cracks in the cheesecake as it bakes. Set this creamy cheesecake batter aside while you prepare the brownie base.
Step-By-Step Instructions: Baking the Fudgy Brownie Base and Swirling
Now, let’s create the rich, fudgy brownie layer and bring these two incredible components together for baking.
STEP 1: Combine Dry Ingredients for Brownies. In a medium bowl, whisk together the all-purpose flour, unsweetened cocoa powder, cornstarch, and salt. Make sure these dry ingredients are thoroughly combined to ensure even distribution throughout the batter. Set this bowl aside for later use.
STEP 2: Beat Sugars and Eggs for Structure and Shine. In a large mixing bowl (or the bowl of your stand mixer), combine the granulated sugar, sifted powdered sugar, the three large room temperature eggs, and the extra room temperature egg yolk. Using an electric mixer, beat these ingredients on high speed for a full 2 minutes. This crucial step incorporates air, creating a light, fluffy mixture and contributing to the signature shiny, crinkly top on your finished brownies.
STEP 3: Incorporate Wet Ingredients, Then Dry. Reduce the mixer speed to low. Gradually add the cooled melted unsalted butter, vegetable or canola oil, and pure vanilla extract to the sugar and egg mixture. Mix until just combined; avoid overmixing. Next, gently add the reserved dry ingredients to the wet mixture. Mix on low speed until the flour streaks have just disappeared. Be very careful not to overmix, as this can develop gluten and lead to tougher, cakey brownies instead of the desired fudgy texture.
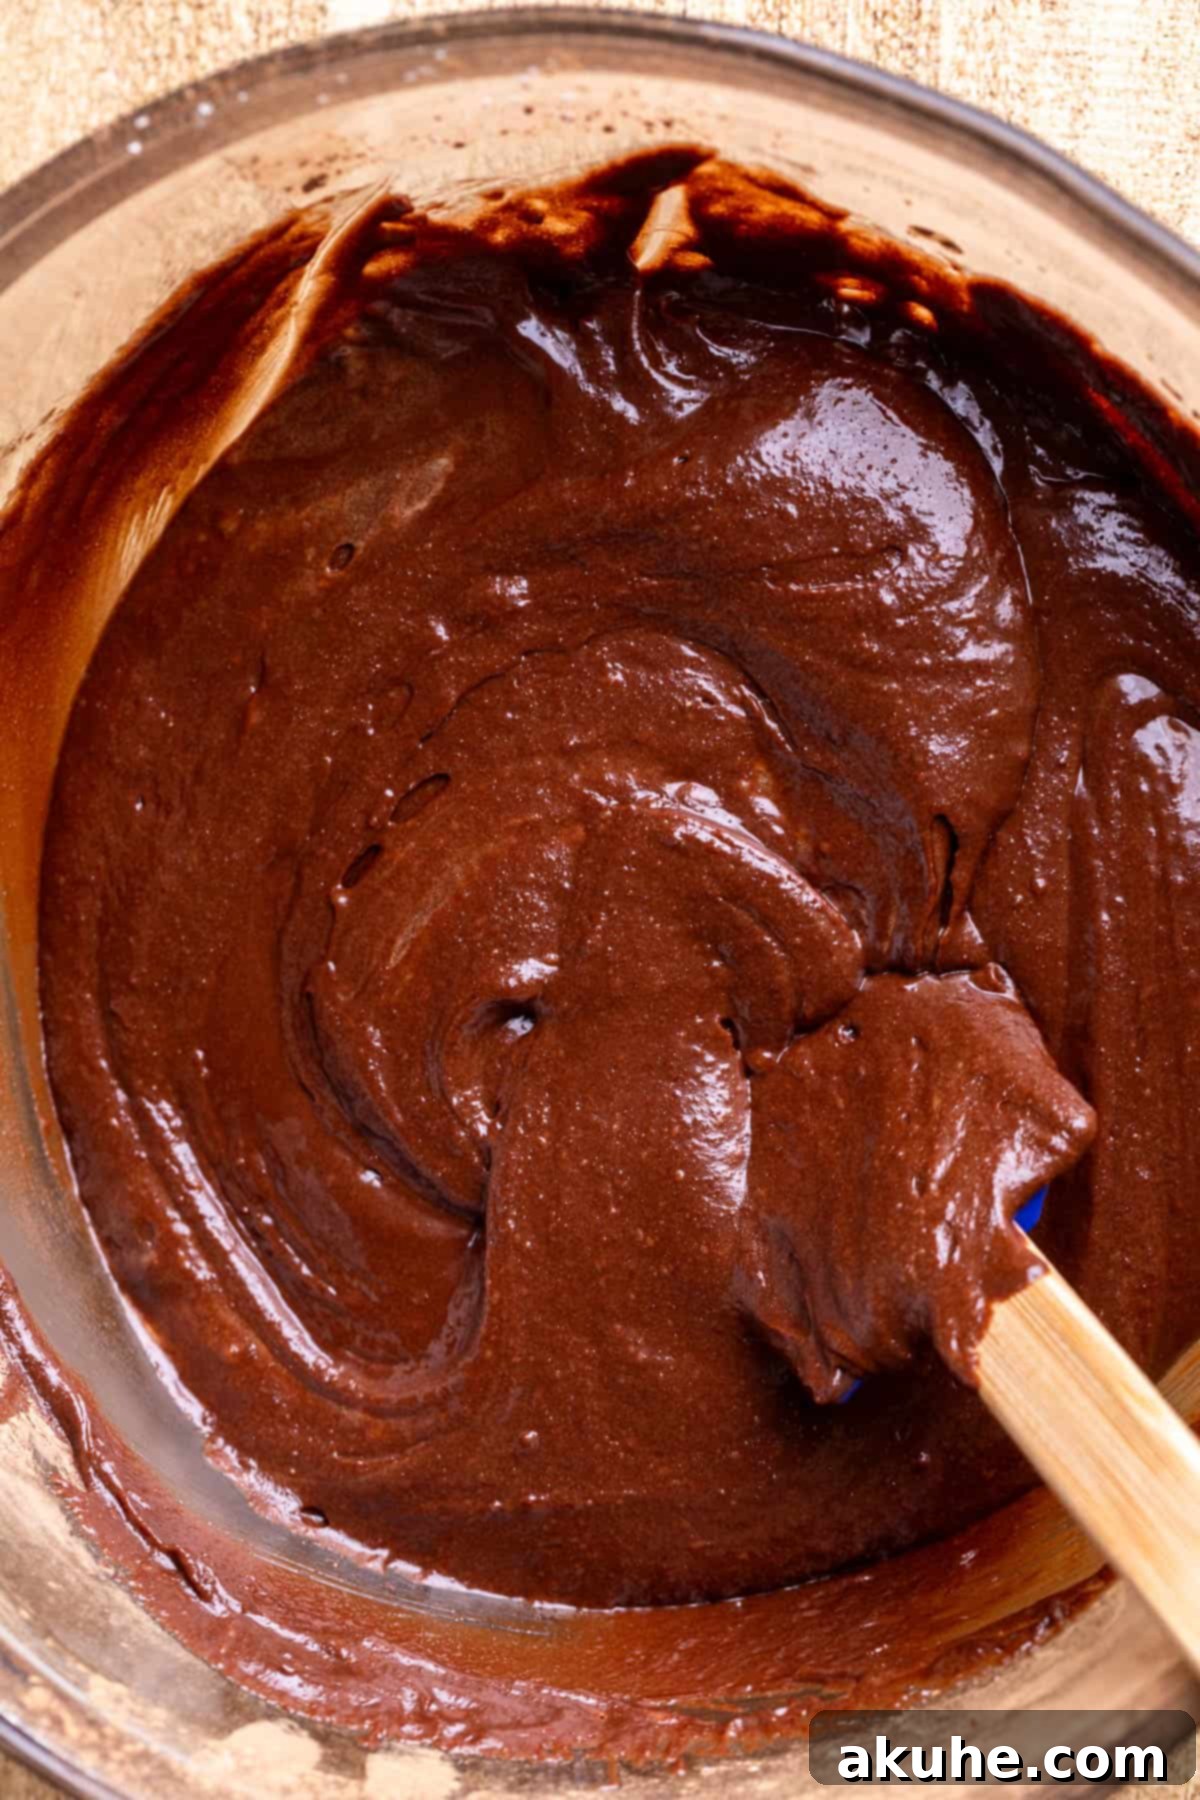
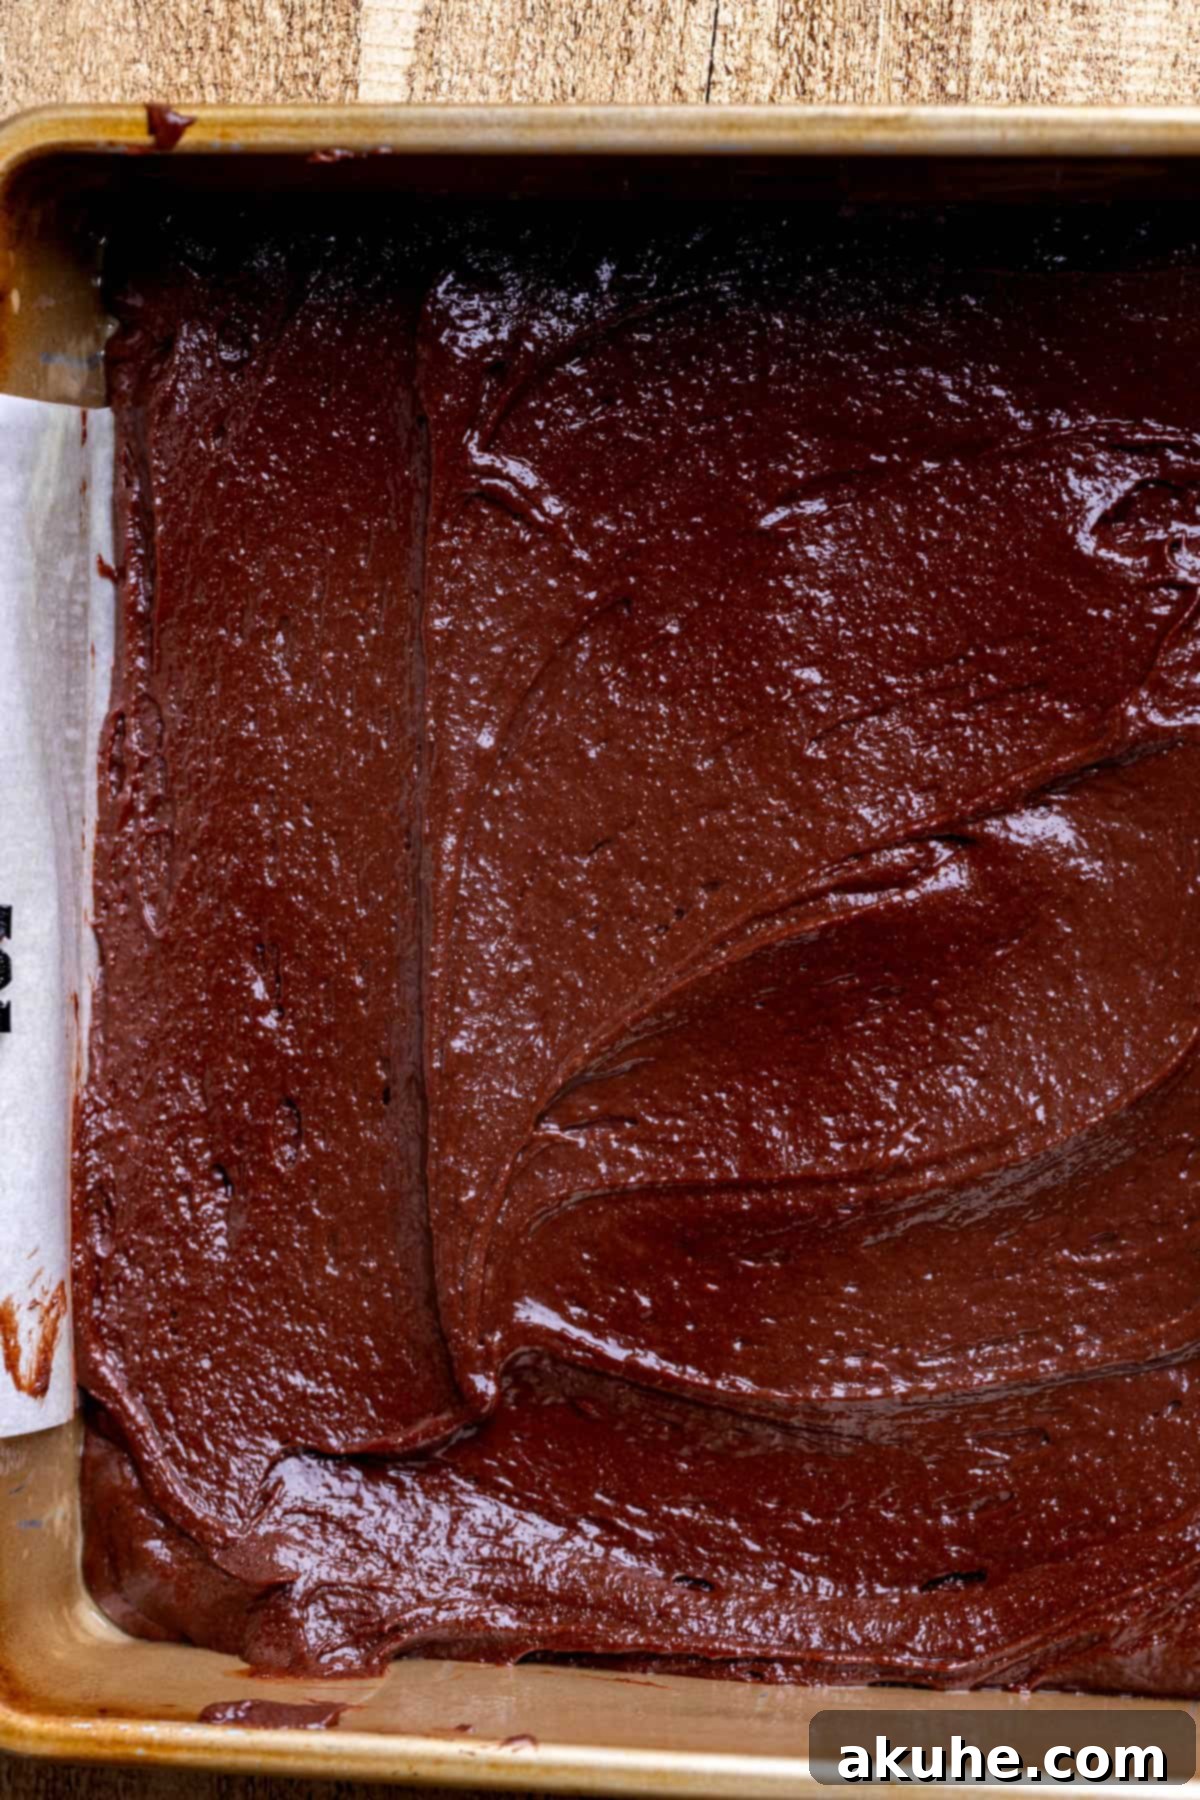
STEP 4: Layer and Dollop the Batters. Pour half of the prepared brownie batter evenly into your parchment-lined baking pan. Use an offset spatula or the back of a spoon to spread it into a smooth, even layer across the bottom of the pan. Now, take your large cookie scoop and scoop all of the cheesecake batter, dropping large dollops randomly over the brownie layer. There’s no need to be precise, just ensure the dollops are well-distributed. Finally, scoop the remaining reserved brownie batter and place it in randomly spaced dollops on top of the cheesecake layer.
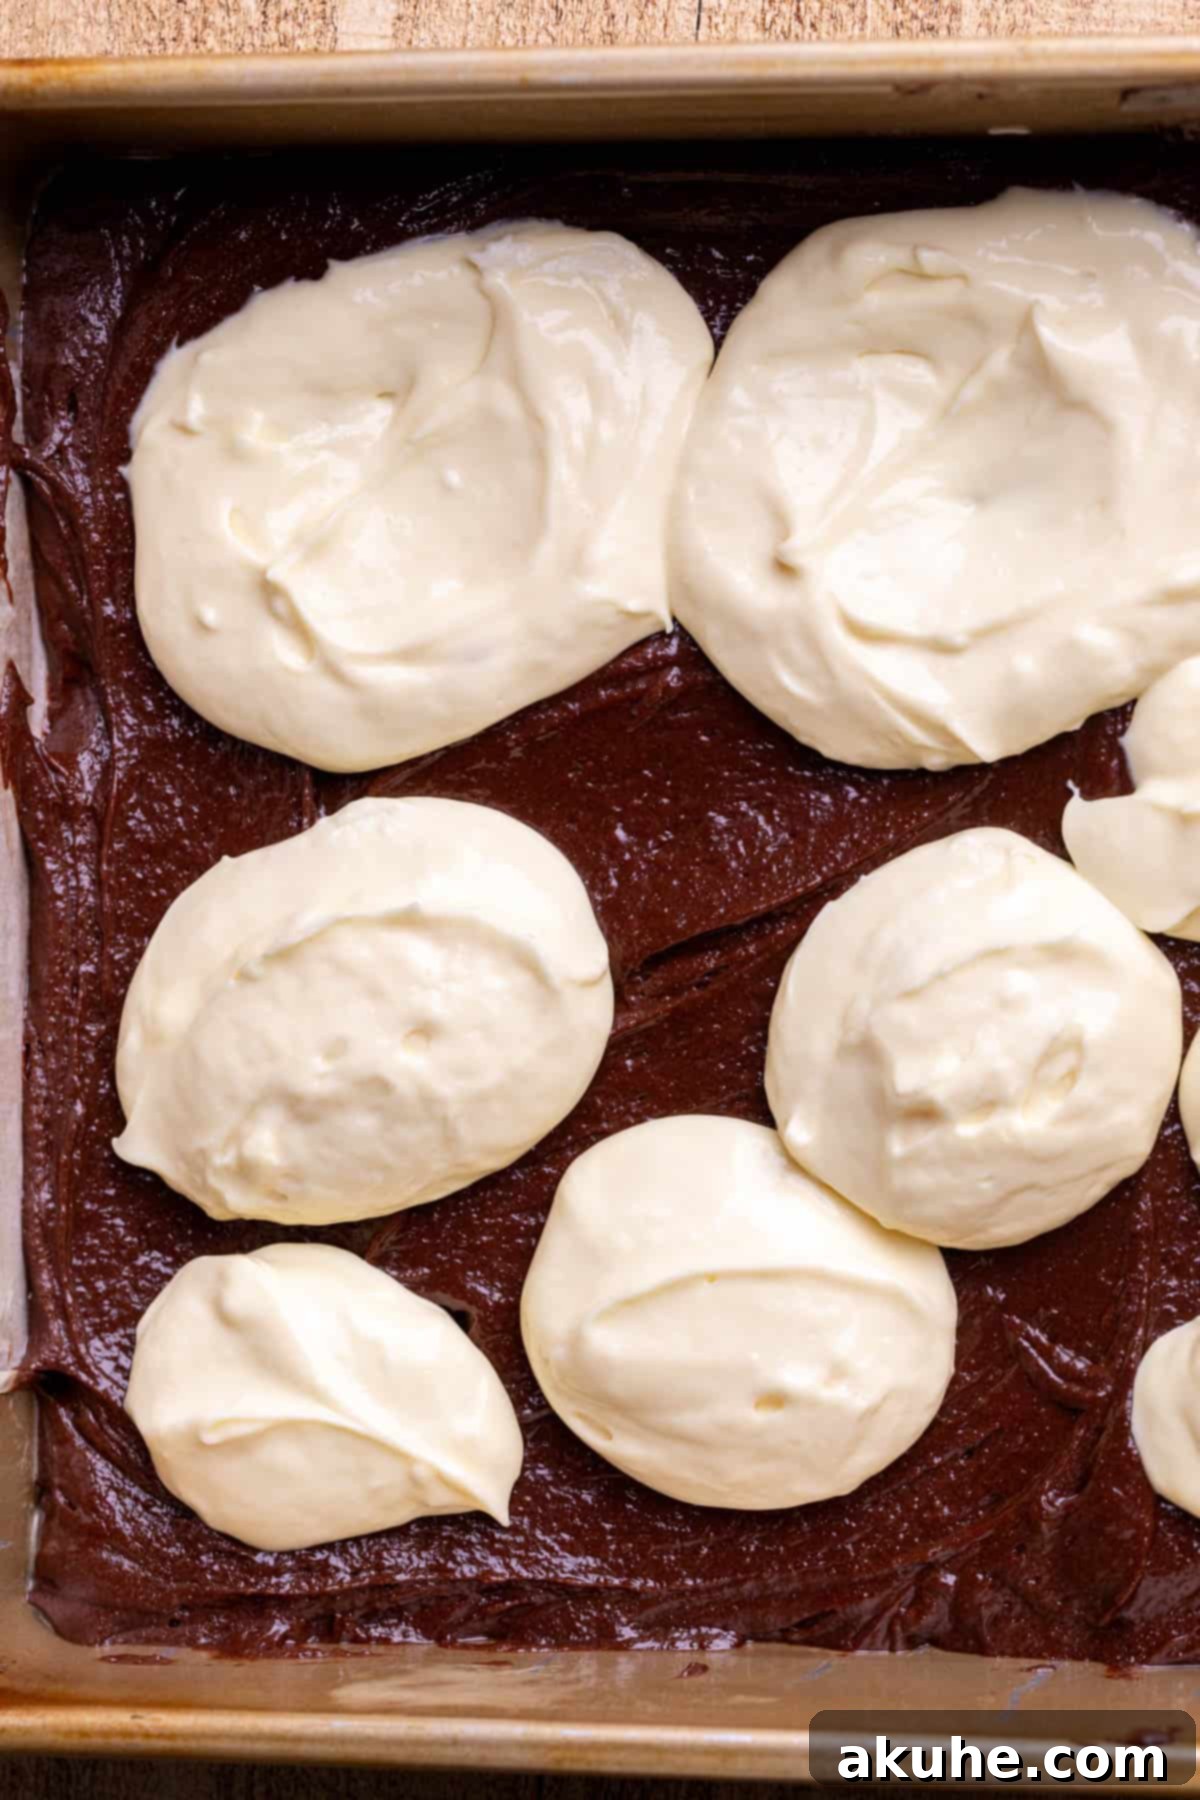
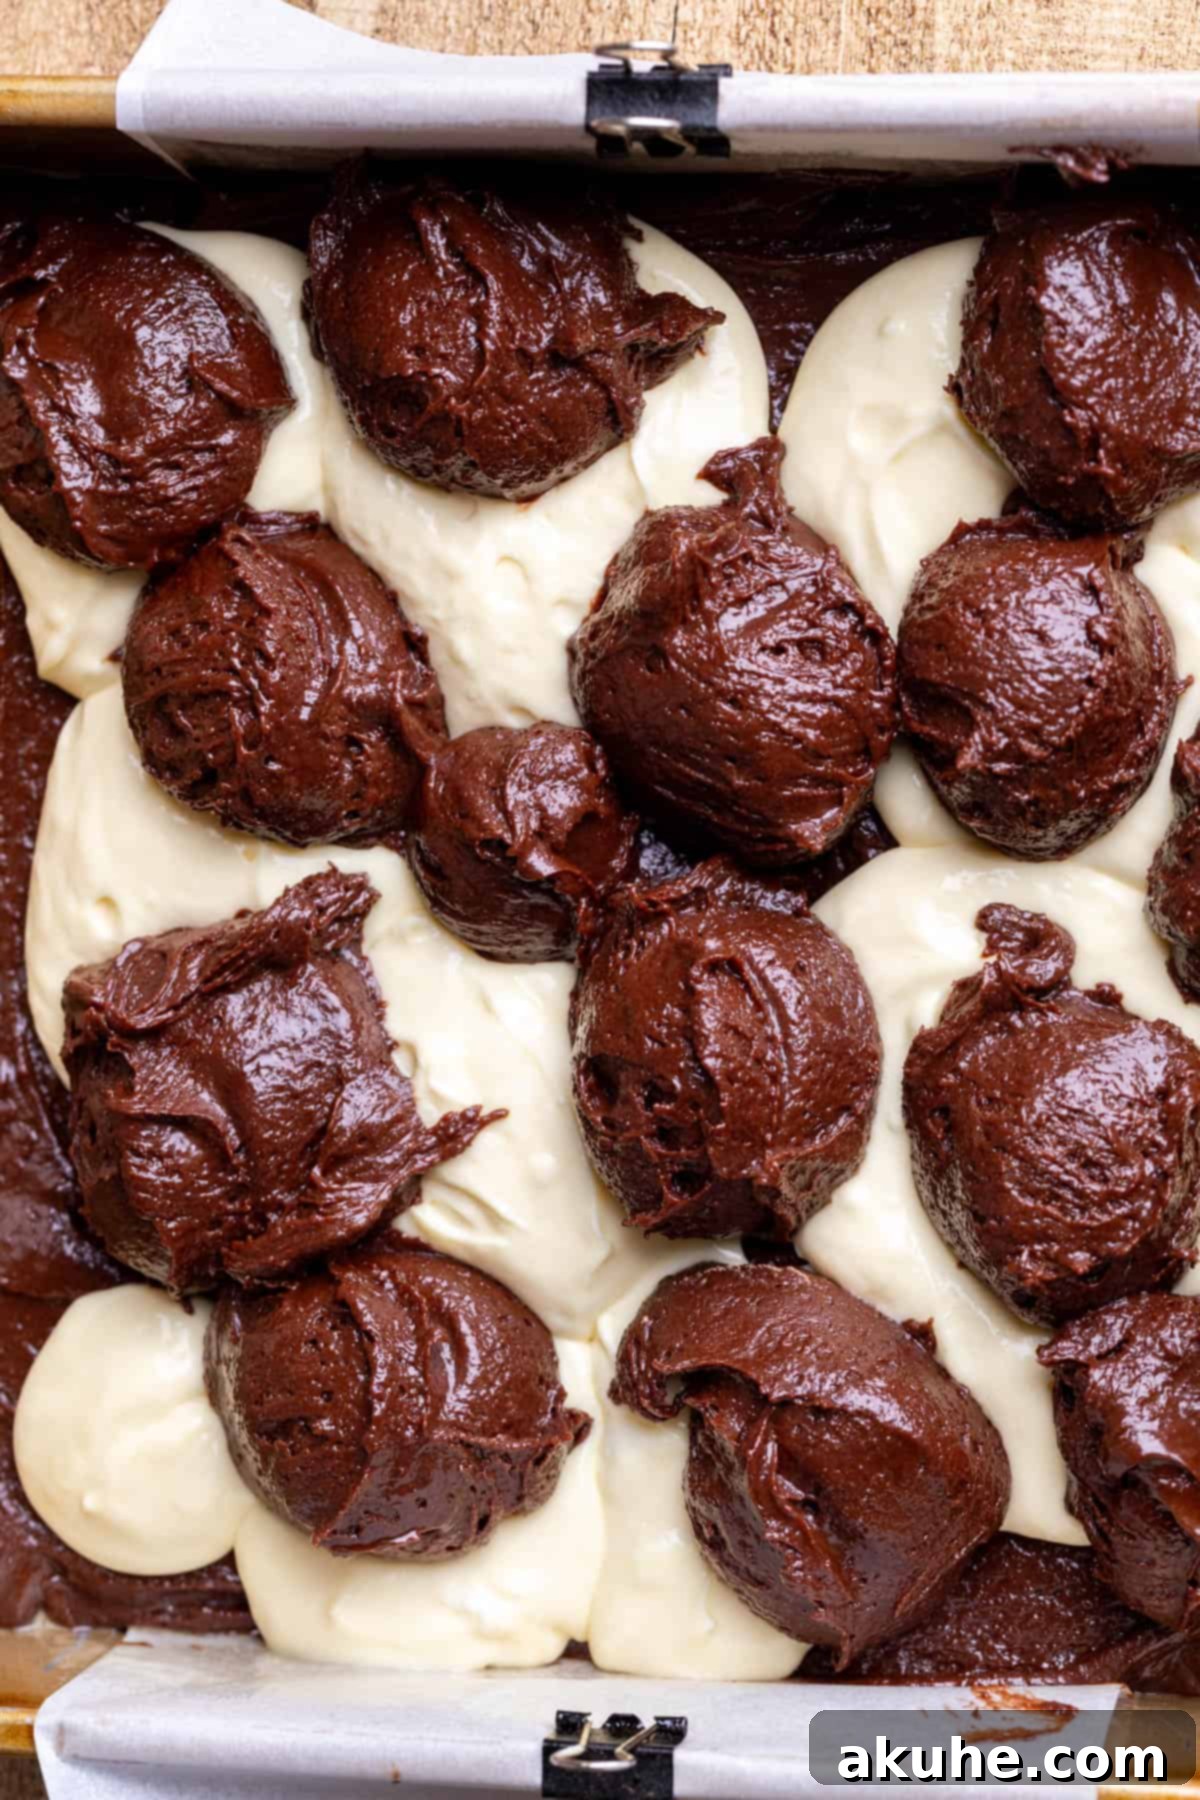
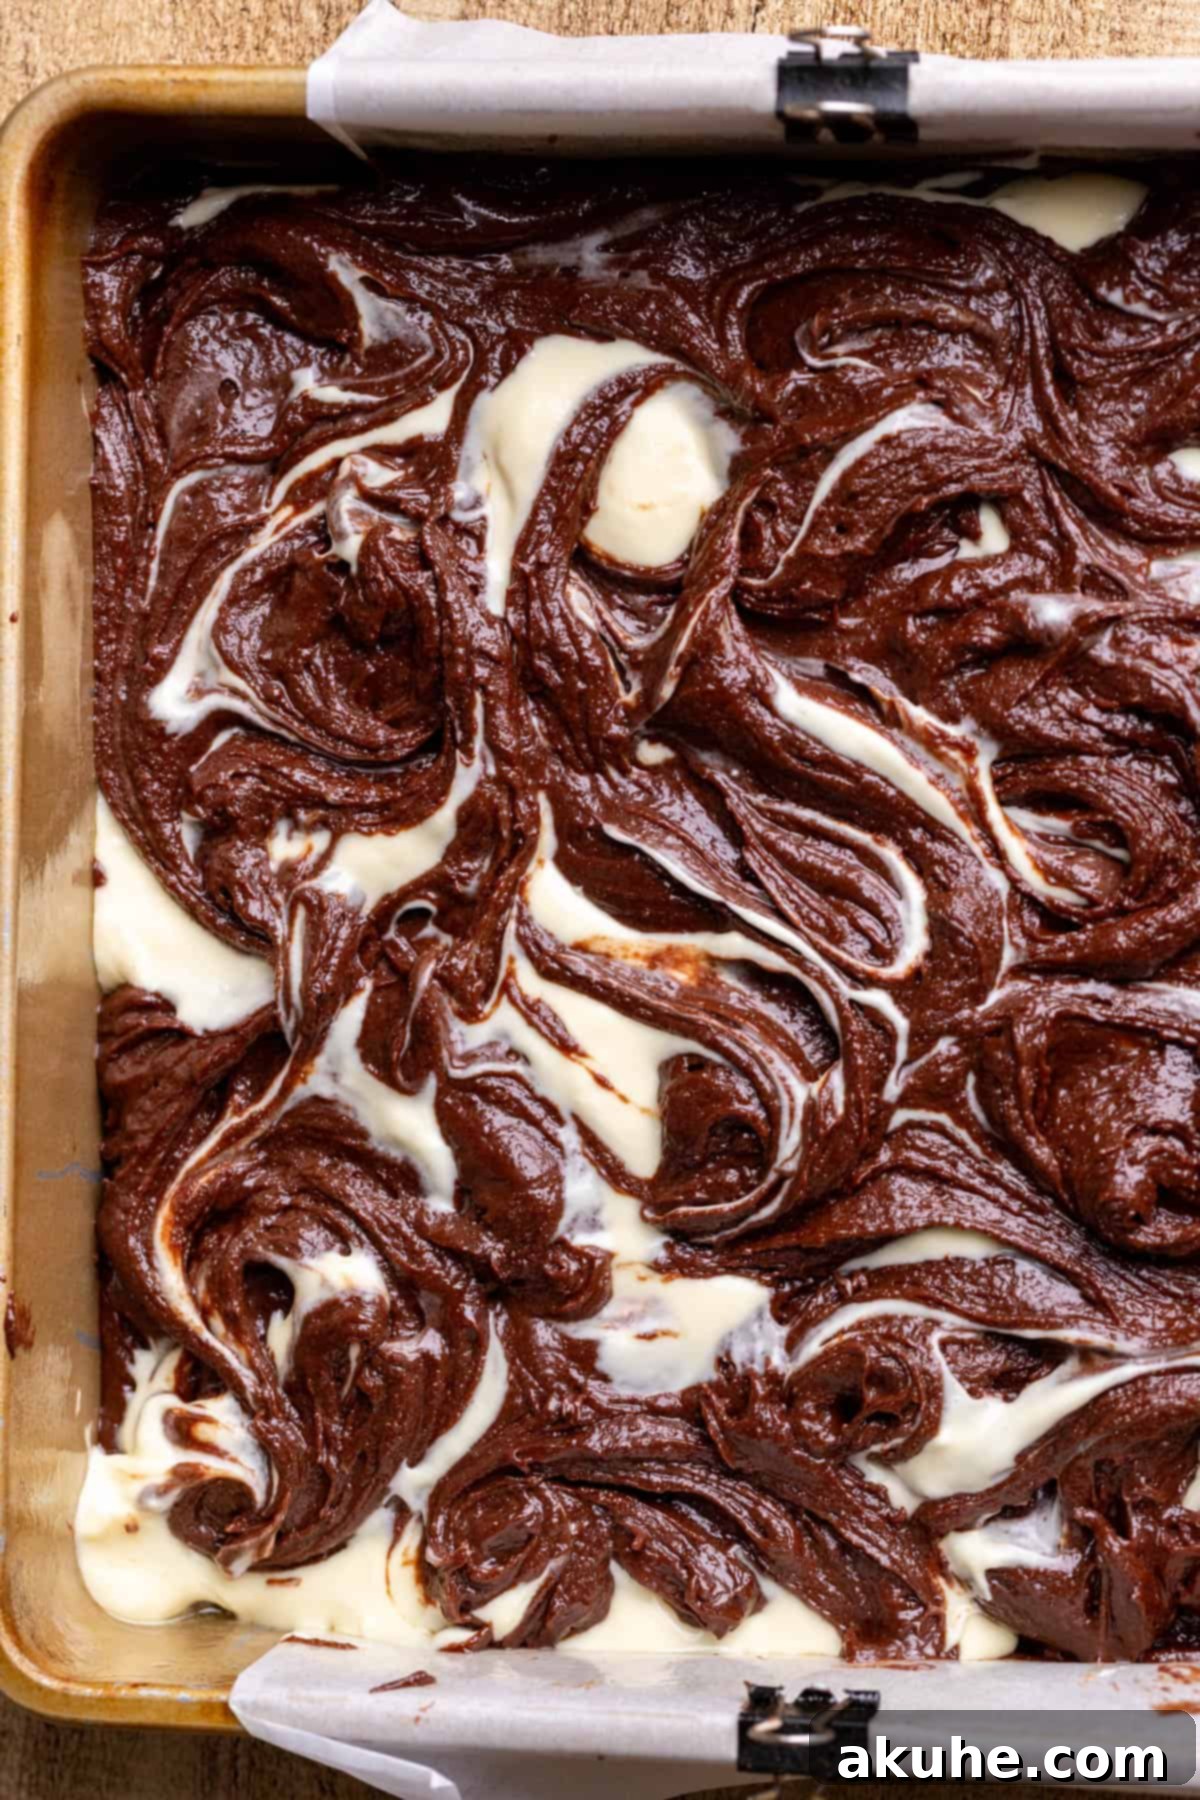
STEP 5: Create the Signature Swirl. This step is key for the beautiful marble effect. Gently take a butter knife or a skewer and draw it through the batters in a swirling motion. Work carefully and lightly, avoiding deep cuts into the base layer or excessive mixing. The goal is to create distinct swirls of chocolate and cream cheese, not to fully combine them. A few gentle passes are all you need to achieve that perfect marbled look.
STEP 6: Bake to Perfection. Place your pan in the preheated oven and bake for 40-50 minutes. The brownies are done when a toothpick inserted into the center comes out with moist crumbs attached, but no wet batter. If the toothpick shows raw batter, return the pan to the oven and bake for an additional 5 minutes before testing again. Remember, slight underbaking is preferred for fudgy brownies; overbaking can lead to a dry, cakey texture.
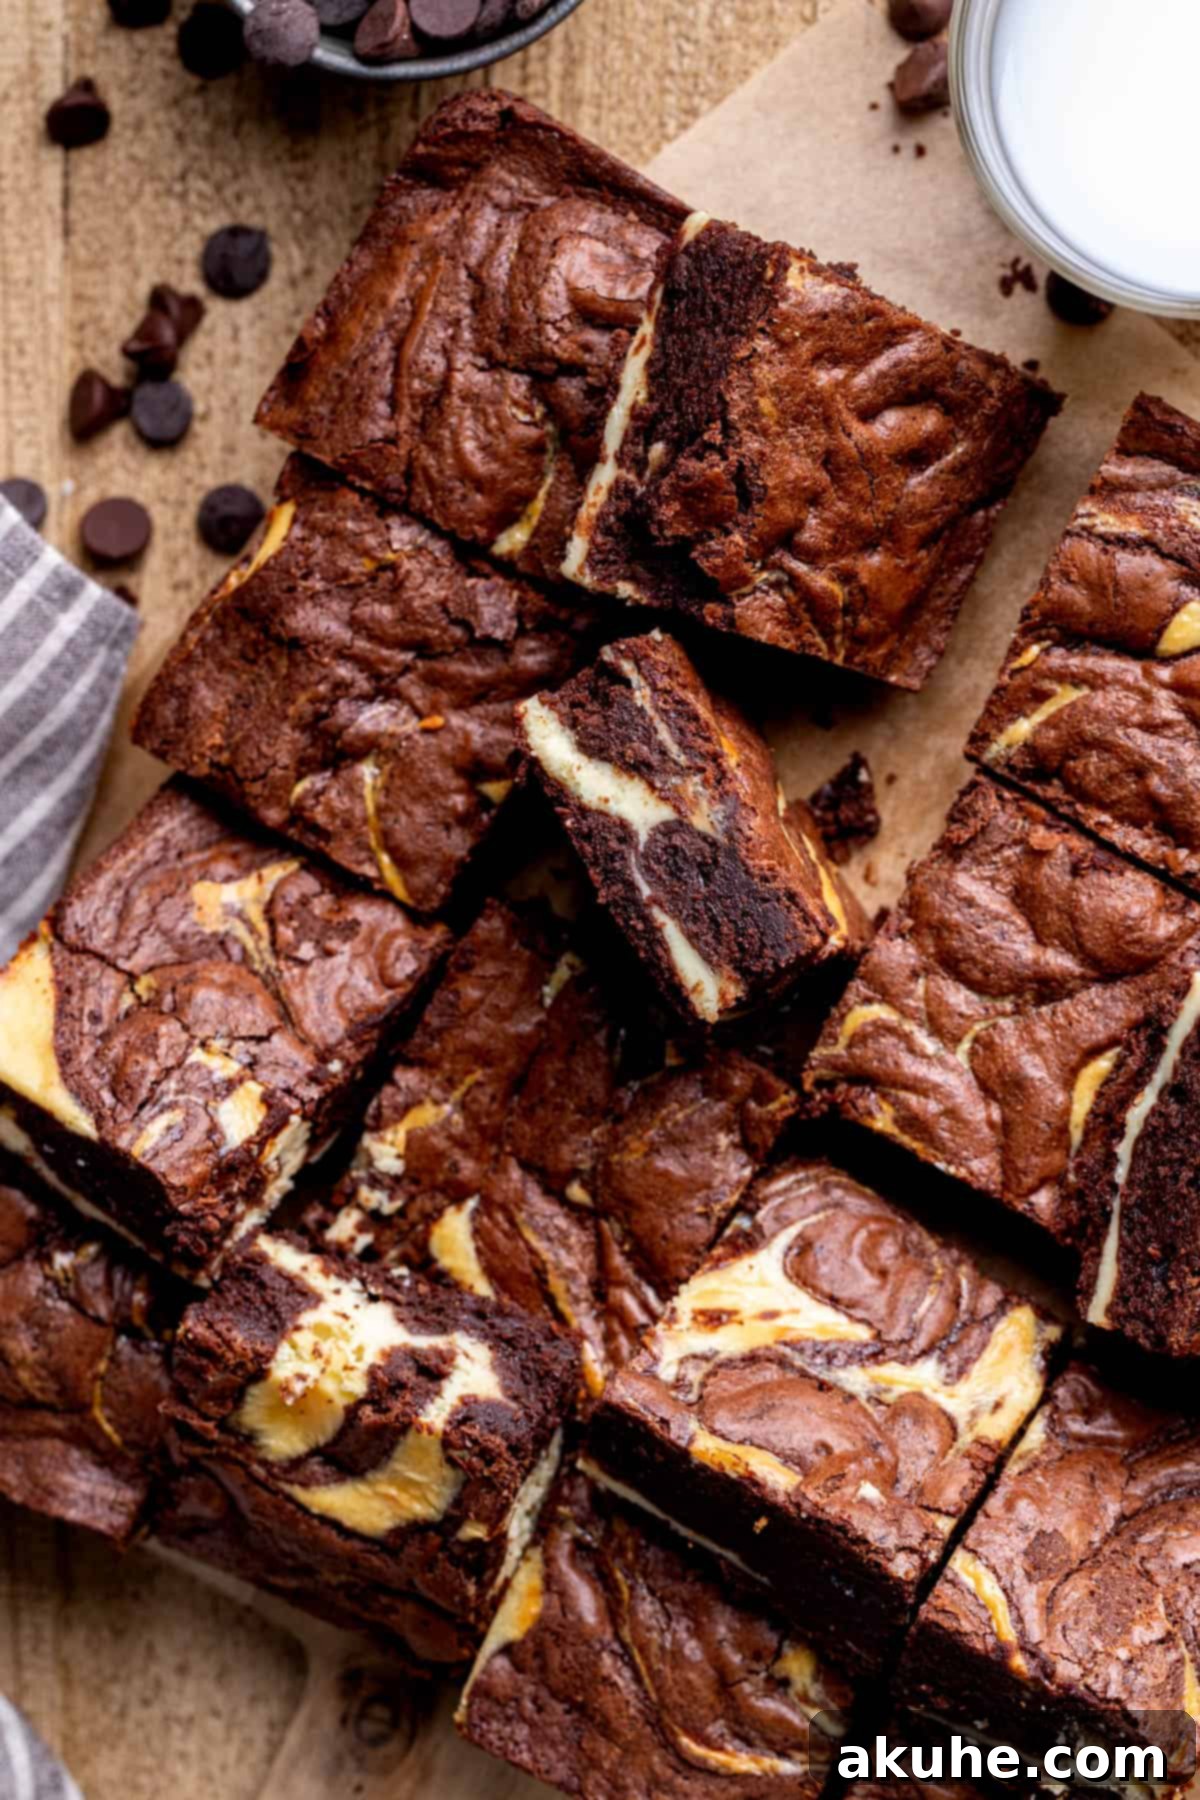
STEP 7: Cool and Chill for Optimal Texture. Once baked, remove the pan from the oven and place it on a wire cooling rack. Allow the brownies to cool completely in the hot pan at room temperature. This gradual cooling process is essential for setting the texture. Once fully cooled, transfer the pan to the refrigerator and chill for a minimum of 3 hours. Chilling firms up both the brownie and cheesecake layers, making them easier to cut and enhancing their dense, fudgy consistency. After chilling, use the parchment paper overhangs to lift the slab of brownies from the pan, then cut them into 16 even squares.
Expert Baking Tips for the Fudgiest Cheesecake Brownies
Mastering **cheesecake brownies** means understanding a few crucial baking principles. These tips will help you achieve consistently perfect, fudgy, and delicious results every time.
- Embrace the Power of Egg Yolks and Cornstarch for Fudginess: To achieve that coveted ultra-fudgy texture in your brownie recipes, increasing the amount of egg yolk and adding cornstarch is a game-changer. The extra egg yolk introduces more fat into the batter, which is essential for creating a moist, rich, and soft texture. Unlike the gluten in flour, which can lead to a tougher, more cakey brownie, the fats from the egg yolk contribute to a dense, chewy interior.
- Cornstarch is a Gluten Buster: Cornstarch plays a vital role by inhibiting and breaking down the gluten strands that form from the flour. Less gluten development means a more tender crumb and a significantly fudgier brownie. It essentially acts as a tenderizer, preventing your brownies from becoming tough or rubbery.
- The “Moist Crumbs” Toothpick Test: When checking for doneness, resist the urge to bake until the toothpick comes out completely clean. For truly fudgy brownies, a toothpick inserted into the center should come out with **moist crumbs**, not wet batter. If you see raw, liquid batter, bake for another 3-5 minutes and re-test. If it’s completely clean, your brownies might be on their way to being overbaked and dry. Aim for that perfect crumbly-but-not-liquid stage.
- Don’t Overmix the Batter: Both the brownie and cheesecake batters require careful mixing. Overmixing the brownie batter, especially after adding the flour, can overdevelop the gluten, resulting in tough, cake-like brownies. For the cheesecake, overmixing after adding the egg can incorporate too much air, leading to cracks in the cheesecake layer during baking. Mix just until ingredients are combined.
- Room Temperature Ingredients are Key: As mentioned in the ingredient notes, ensure your cream cheese, butter, and eggs are all at room temperature. This allows them to emulsify properly, creating a smooth, homogenous batter for both layers, which contributes significantly to the final texture and appearance.
- The Importance of Cooling and Chilling: Patience is a virtue when it comes to these brownies. Cooling completely at room temperature allows the structure to set without cracking. Chilling in the refrigerator for at least 3 hours (or even overnight) is non-negotiable. This step firms up both layers, intensifies their flavors, and makes the brownies much easier to cut into clean, perfect squares. Rushing this step will result in a messy, soft brownie.
- Pan Size Matters: While this recipe is optimized for a 9×9 inch pan, you can adapt it. Using an 8×8 inch pan will result in thicker brownies, which will require a longer baking time (and potentially more chilling time). Keep a close eye on them and adjust baking time accordingly.
- Avoid Opening the Oven Door Frequently: Every time you open the oven door, the temperature inside drops, which can disrupt the baking process, particularly for the delicate cheesecake layer. Resist peeking too often, especially during the first 30 minutes of baking.
Frequently Asked Questions About Cheesecake Brownies
If your brownies sink in the middle, it typically indicates they were under-baked. While we aim for fudginess, a significant sink suggests the center hasn’t fully set. Don’t worry, they’ll likely still be incredibly fudgy! To prevent this next time, ensure your toothpick test yields moist crumbs, not raw batter. If you notice sinking during cooling, you can often pop them back in the oven for an additional 5-10 minutes to finish cooking. Remember that the chilling process helps to firm them up significantly as well.
Hard or dry brownies are usually a sign of overbaking. The key to a fudgy brownie is a slightly underdone center. Make sure to rely on the “moist crumbs” toothpick test. As soon as the toothpick comes out with moist crumbs (not wet batter and not completely clean), remove them from the oven. Also, ensure you’re using the correct amount of flour; too much flour (often from compacting it into a measuring cup) can also lead to dry brownies.
Yes, you absolutely can! Using an 8×8 inch pan will result in thicker brownies, which some people prefer. However, because they are thicker, they will require a longer baking time. Start checking for doneness around the 50-minute mark and continue baking in 5-minute increments until the toothpick test indicates they are ready (moist crumbs, no raw batter). You might also find they benefit from an extra hour or two of chilling time due to their increased thickness.
The secret to a beautiful, distinct swirl lies in your technique during Step 5 of the brownie instructions. First, ensure your batters are of similar consistency; the brownie batter should be thick but pourable, and the cheesecake batter smooth. When swirling with a butter knife or skewer, be very gentle and make only a few passes. Avoid pressing down too hard or making too many motions, as this will cause the batters to fully combine rather than create distinct swirls. Think of it as gently marbleizing, not stirring.
Room temperature ingredients (especially butter, cream cheese, and eggs) are essential for creating a smooth, well-emulsified batter. Cold ingredients don’t blend evenly and can lead to a lumpy cheesecake or a brownie batter with uneven pockets of fat and sugar. Bringing them to room temperature allows them to combine seamlessly, resulting in a superior texture and consistency in your final product. Plan to take them out of the fridge at least 2 hours before you start baking.
Storing and Freezing Your Delicious Cheesecake Brownies
Once you’ve baked and chilled these incredible **cheesecake brownies**, proper storage is key to maintaining their freshness and fudgy texture.
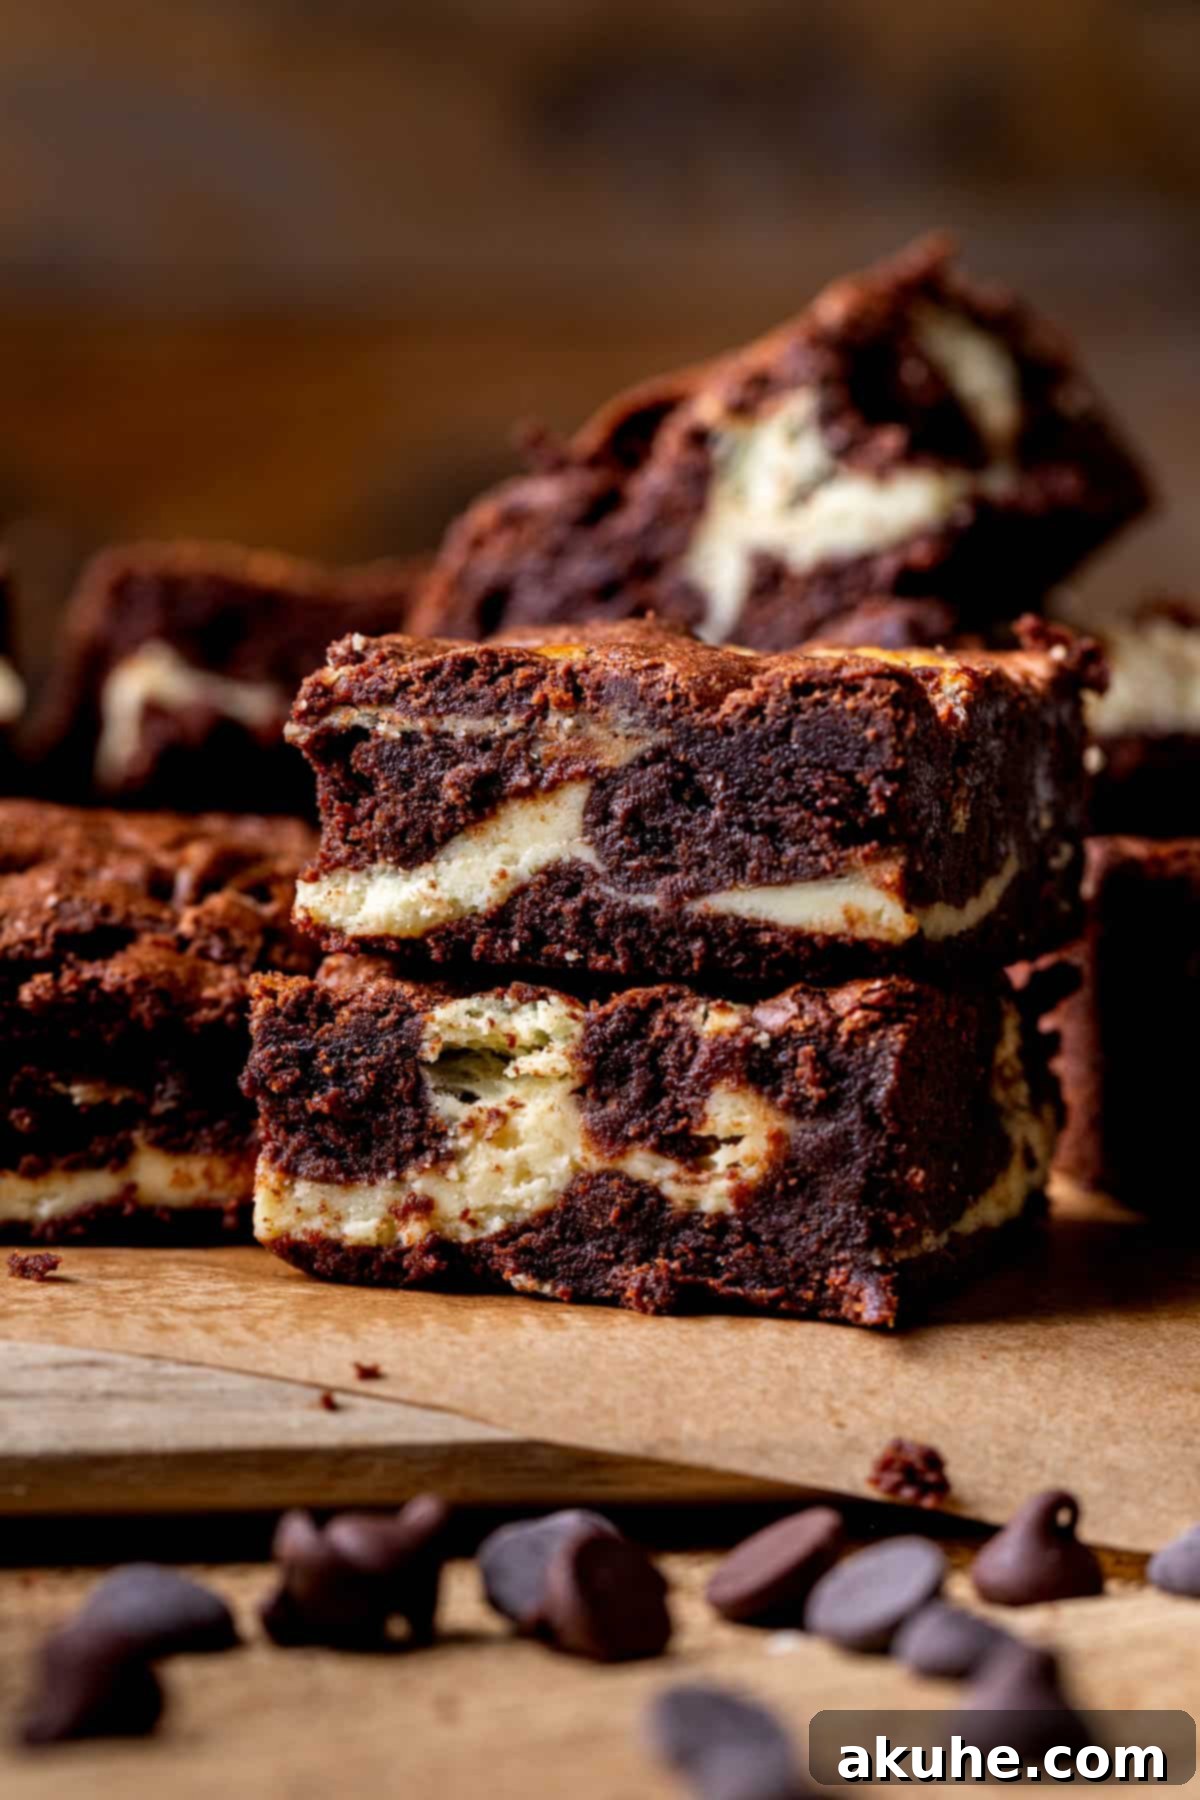
Store these delectable treats in an airtight container, such as a cake carrier or a sealed food storage container. Due to the cream cheese layer, they must be kept in the refrigerator. When stored correctly, your **cheesecake swirl brownies** will remain fresh and delicious for up to 5 days. For the best taste and texture, allow them to sit at room temperature for about 15-20 minutes before serving, which will soften the cream cheese slightly.
Freezing Cheesecake Brownies
These brownies freeze beautifully, making them perfect for meal prep or enjoying a single serving whenever a craving strikes. To freeze:
- Once the brownies are completely chilled and cut into individual squares, arrange them in a single layer on a baking sheet lined with parchment paper.
- Place the baking sheet in the freezer for about 1-2 hours, or until the brownies are solid. This “flash freezing” prevents them from sticking together.
- Once firm, transfer the individual brownie slices to an airtight freezer-safe container or a heavy-duty freezer bag. You can place parchment paper between layers to prevent sticking.
Frozen **cheesecake brownies** can be stored for up to 30 days. To enjoy, simply remove a desired number of brownies from the freezer and let them thaw in the refrigerator for a few hours, or at room temperature for about 30-60 minutes, until softened to your liking. They taste just as amazing after thawing!
Other Brownie Recipes to Try
If you’ve fallen in love with these cheesecake brownies, you might also enjoy exploring other delightful brownie variations and rich chocolate desserts. Keep an eye out for recipes that feature unique mix-ins, different chocolate intensities, or inventive toppings to expand your baking repertoire.
We hope you loved this recipe! If you did, please consider leaving a STAR REVIEW below. We love hearing from you! And don’t forget to tag us on Instagram @stephaniesweettreats with your creations. For more delicious ideas and inspiration, be sure to follow us on Pinterest.
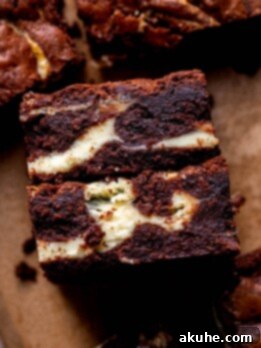
Cheesecake Brownies
Print Recipe
Pin Recipe
Ingredients
Cheesecake
- 8 oz Cream cheese, room temperature
- 1/4 cup White granulated sugar
- 1 tsp Pure vanilla extract
- 1 Large egg, room temperature
Brownies
- 1 1/2 cups White granulated sugar
- 1/2 cup Powdered sugar
- 3 Large eggs, room temperature
- 1 Egg yolk, room temperature
- 1/2 cup Unsalted butter, melted and cooled
- 1/2 cup Oil (canola or vegetable)
- 1 tsp Pure vanilla extract
- 1 cup All-purpose flour
- 1 cup Unsweetened cocoa powder (Dutch-processed recommended)
- 1 TBSP Cornstarch
- 1 tsp Salt
Instructions
Cheesecake Layer
- Preheat the oven to 350℉ (175°C). Spray a 9×9-inch square baking pan with nonstick spray. Line the bottom and two sides of the pan with parchment paper, leaving an overhang to use as handles. Spray the parchment paper again lightly.
- In a medium bowl, using an electric mixer, beat the room temperature cream cheese, granulated sugar, and vanilla extract on high speed for 2 minutes until smooth and creamy.
- Scrape down the sides of the bowl. Add the room temperature egg and mix on low speed until just combined. Do not overmix. Set the cheesecake batter aside.
Brownie Layer & Assembly
- In a medium bowl, whisk together the all-purpose flour, cocoa powder, cornstarch, and salt. Set aside.
- In a large bowl (or stand mixer bowl), beat the granulated sugar, powdered sugar, 3 large eggs, and 1 egg yolk with an electric mixer on high speed for 2 minutes until light and fluffy.
- Reduce mixer speed to low. Add the cooled melted butter, oil, and vanilla extract to the sugar and egg mixture. Mix until just combined. Next, gradually add the dry ingredients and mix on low speed until just combined and no streaks of flour remain. Be careful not to overmix.
- Pour half of the brownie batter into the prepared pan and spread it into an even layer. Use a large cookie scoop to randomly place dollops of the cheesecake batter on top of the brownie layer. Then, scoop the remaining brownie batter in randomly placed dollops over the cheesecake layer.
- Gently use a butter knife or skewer to create a swirl pattern by drawing it through the batters. Be careful not to overswirl or press too deep, aiming for distinct marble patterns rather than fully mixed batters.
- Bake for 40-50 minutes in the preheated oven. The brownies are done when a toothpick inserted into the center comes out with moist crumbs, not raw batter. If raw batter is present, bake for an additional 5 minutes and test again.
- Remove the pan from the oven and place it on a wire cooling rack. Allow the brownies to cool completely in the pan at room temperature. Once fully cooled, transfer the pan to the refrigerator and chill for at least 3 hours. Once thoroughly chilled, use the parchment paper handles to lift the brownies from the pan and cut them into 16 squares.
Notes
High Altitude Baking: For those baking at high altitudes, consider adding an extra 1 tablespoon of all-purpose flour to the brownie batter.
Room Temperature Dairy: Ensure all dairy ingredients (cream cheese, butter, eggs) are at room temperature. Take them out of the fridge at least 2 hours before you plan to start baking for best results.
Carbohydrates: 36g,
Protein: 3g,
Fat: 19g,
Saturated Fat: 8g,
Polyunsaturated Fat: 2g,
Monounsaturated Fat: 8g,
Trans Fat: 0.3g,
Cholesterol: 42mg,
Sodium: 193mg,
Potassium: 113mg,
Fiber: 2g,
Sugar: 23g,
Vitamin A: 384IU,
Calcium: 25mg,
Iron: 1mg
