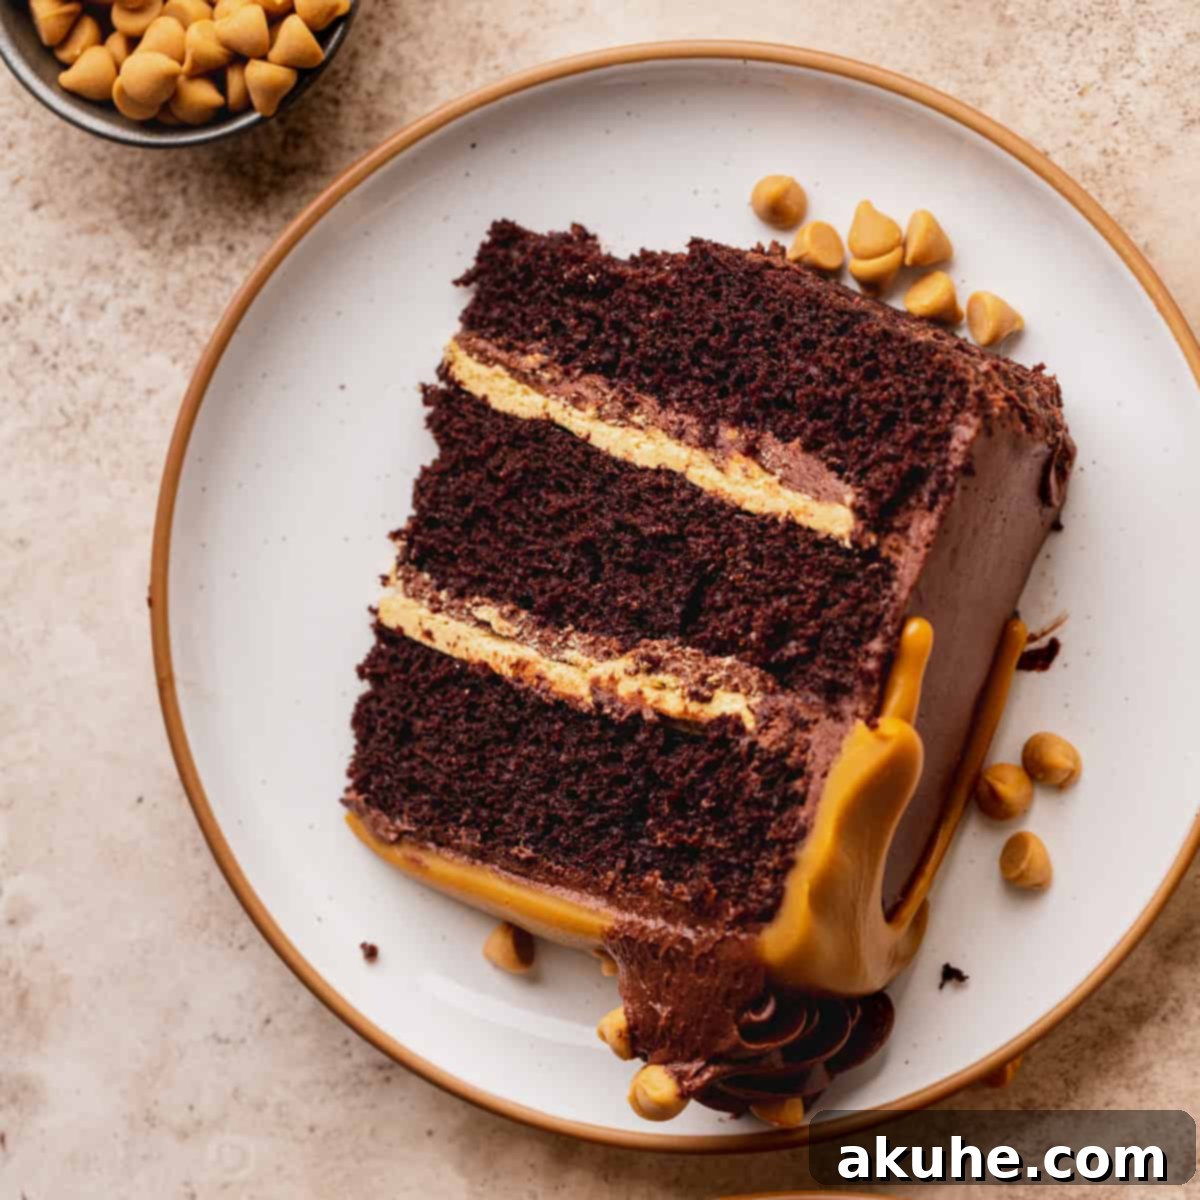
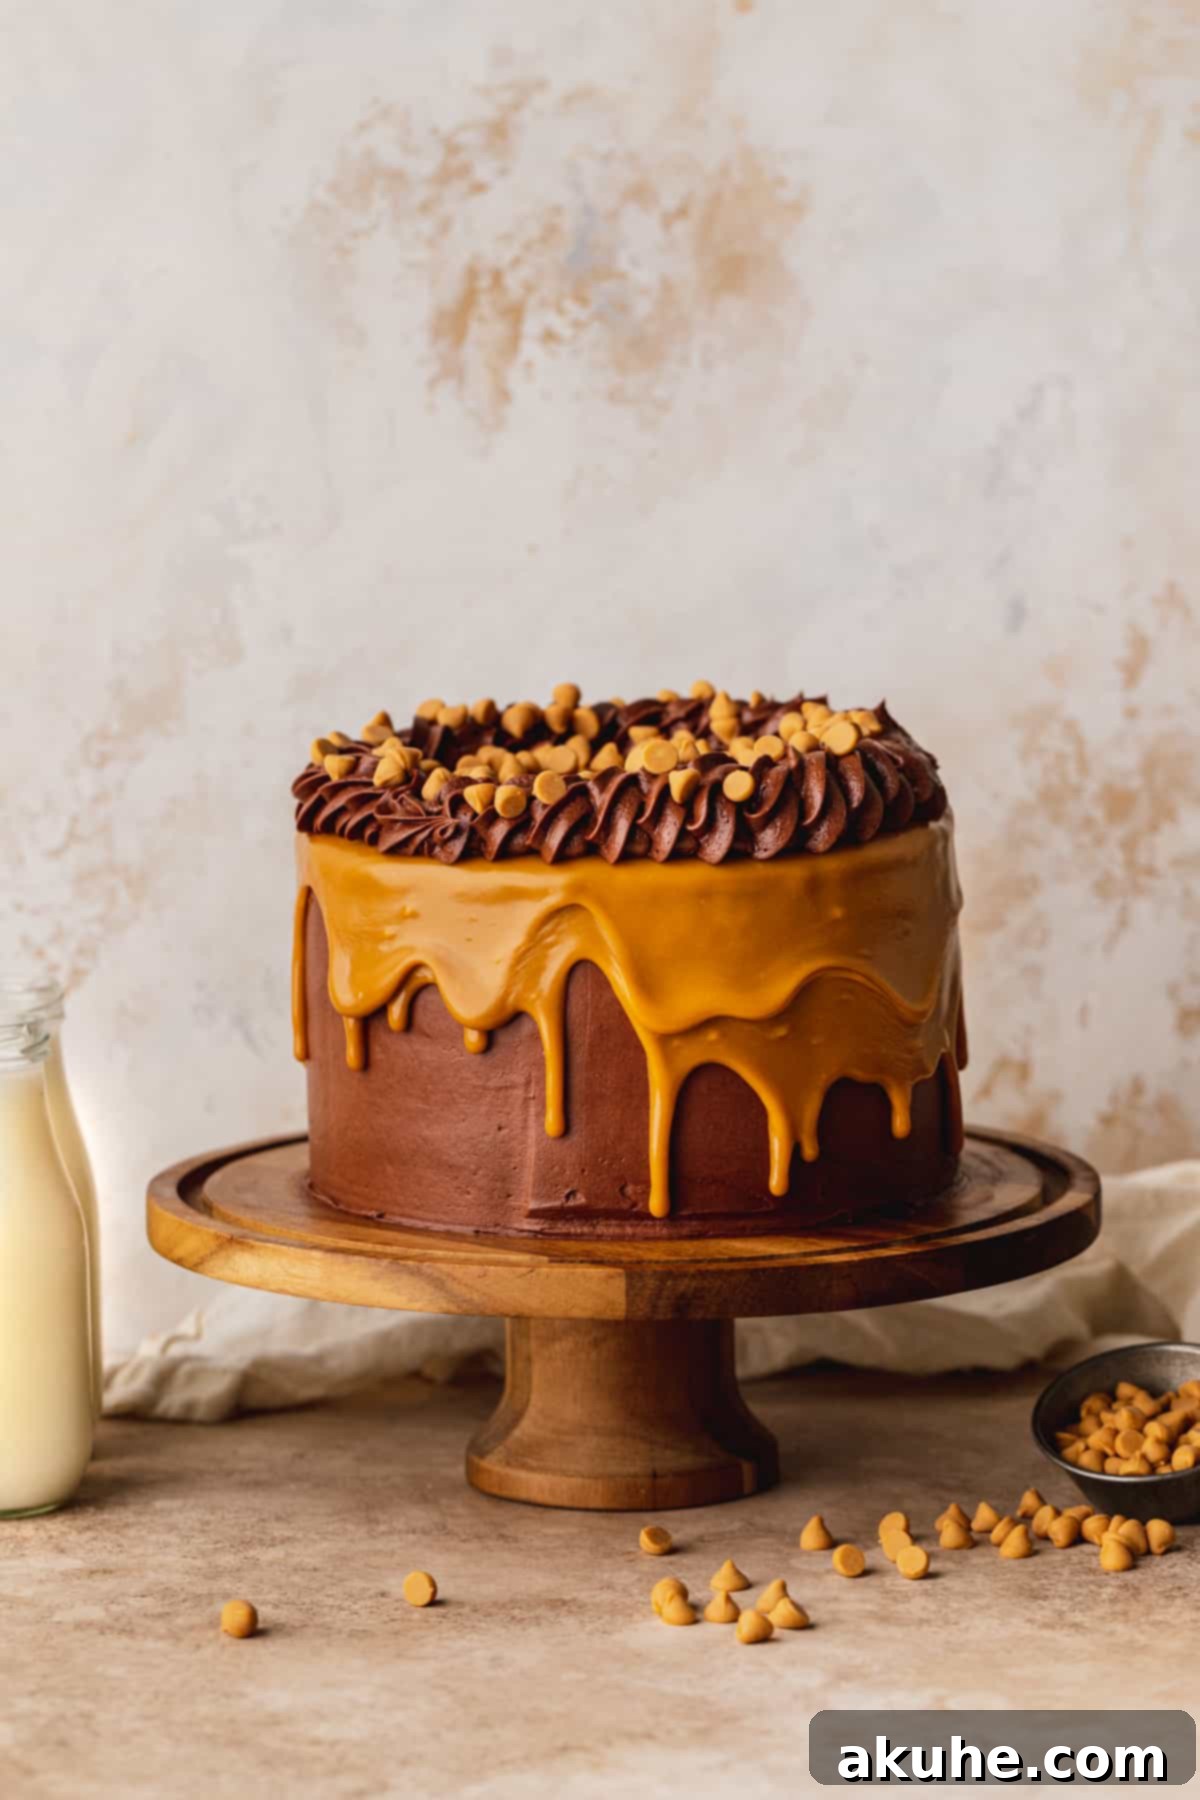
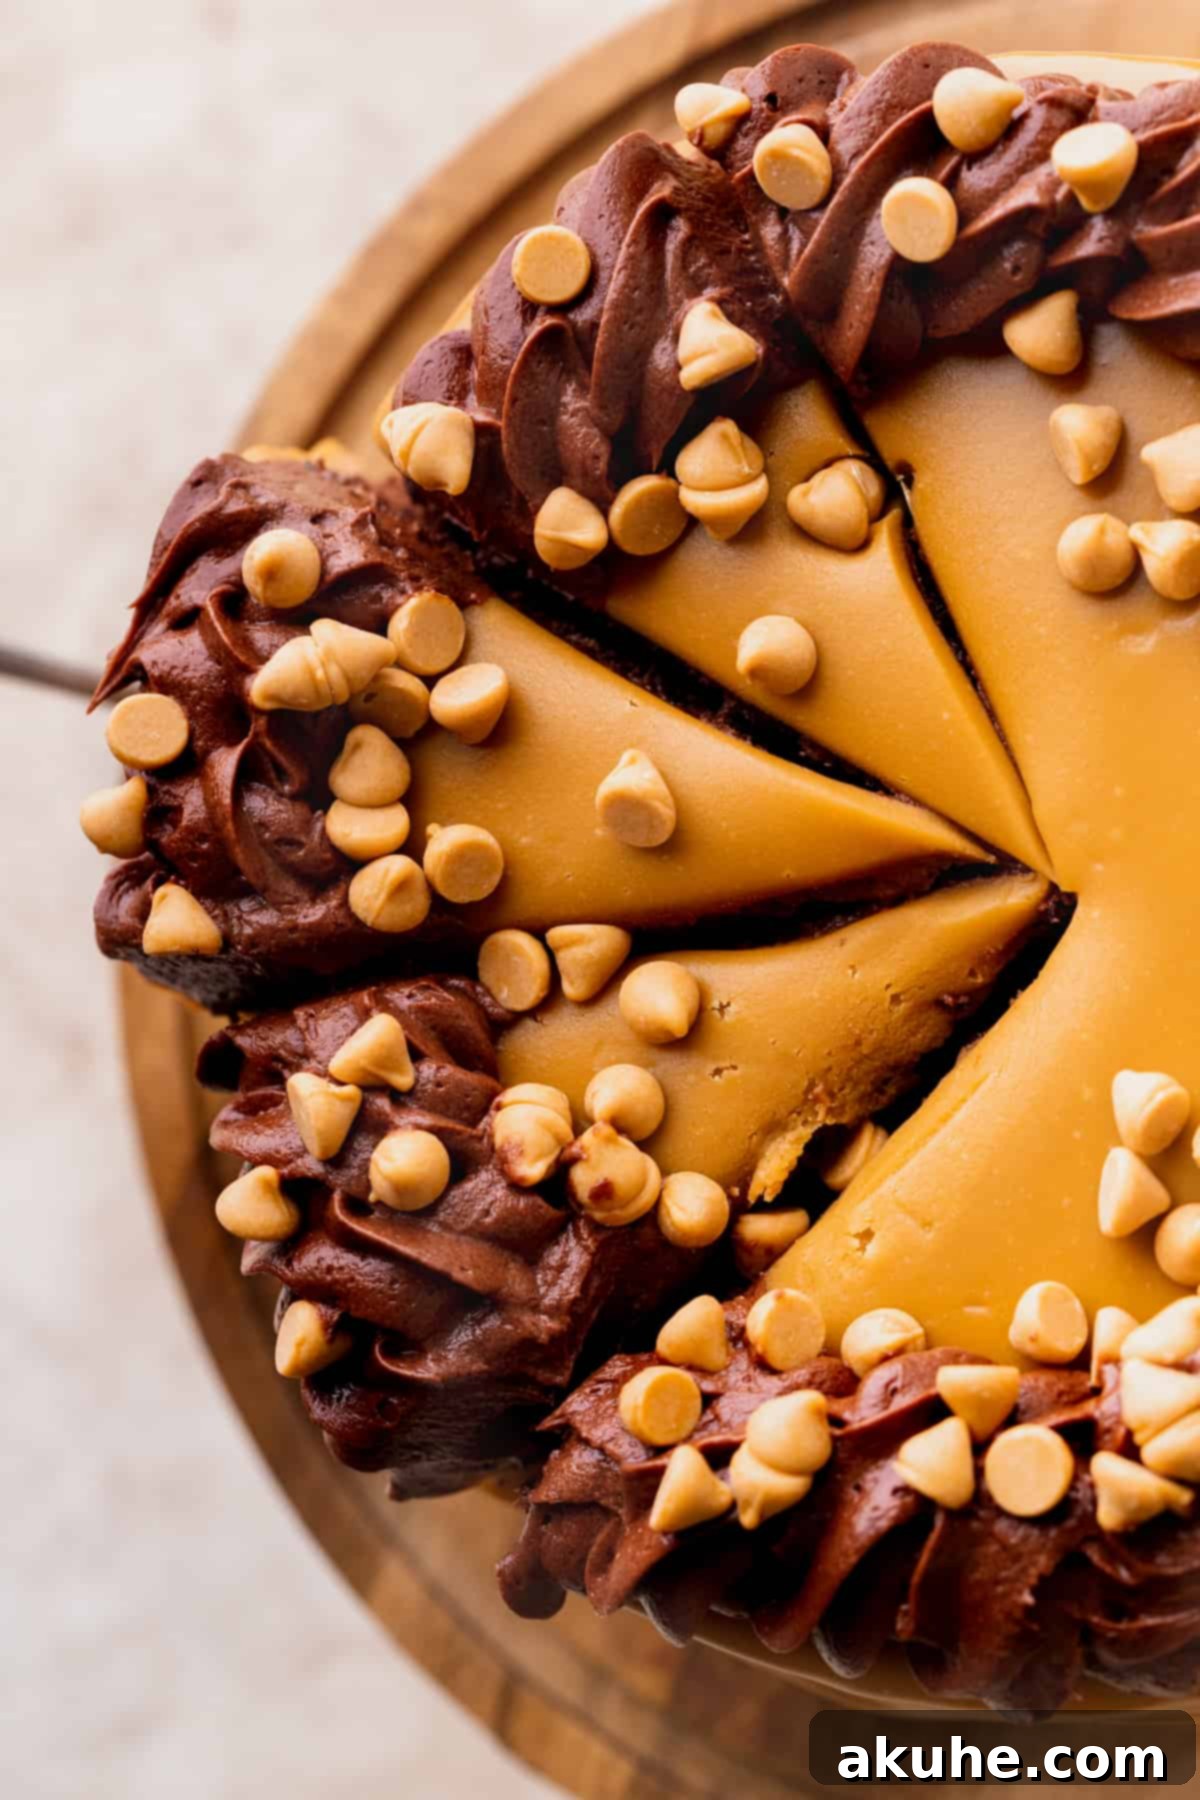
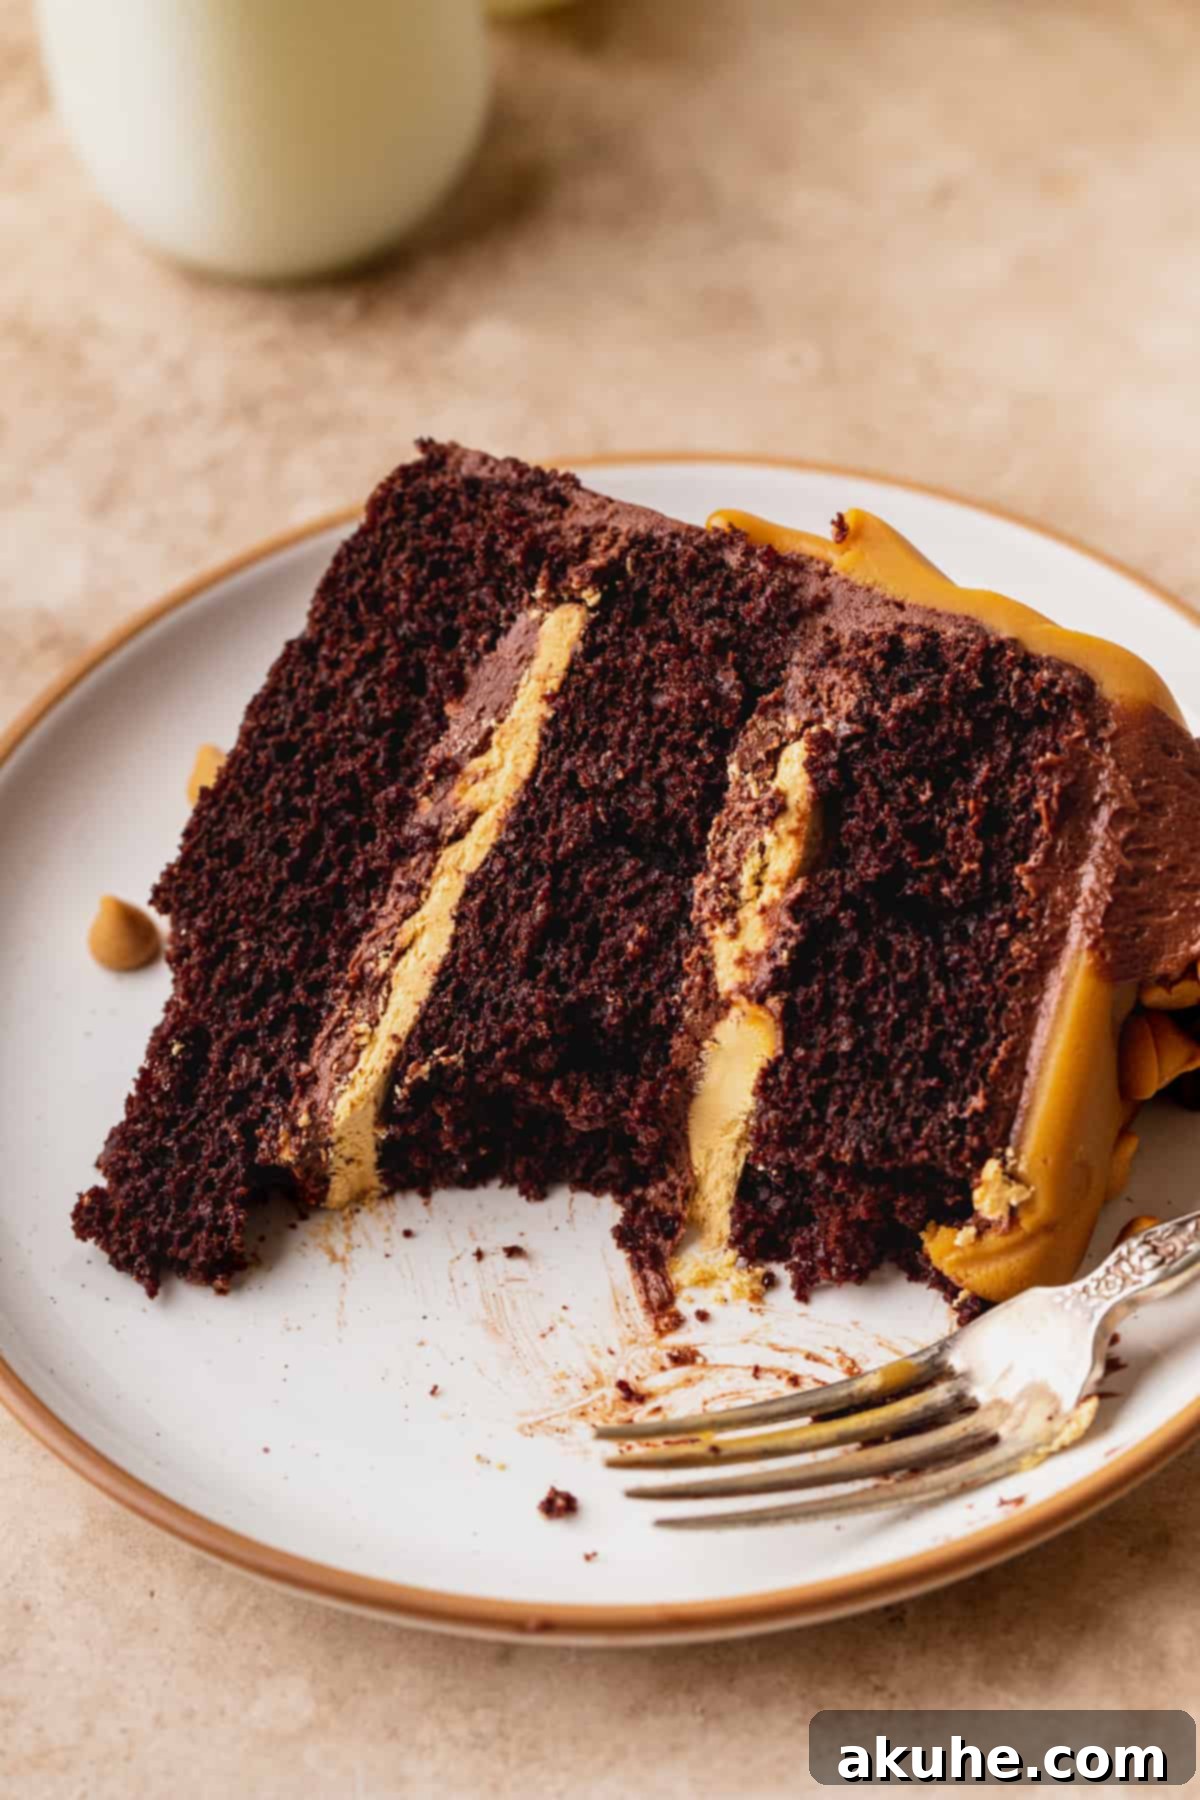
Prepare to embark on a culinary journey with this truly exceptional Chocolate Butterscotch Cake. Imagine layers of intensely moist chocolate cake, generously filled with a cloud-like whipped butterscotch ganache, enveloped in a rich chocolate cream cheese frosting, and crowned with a gleaming butterscotch drip. This isn’t just any dessert; it’s a symphony of flavors and textures designed to delight your senses and impress at any gathering. Whether you’re a seasoned baker or new to the art, this comprehensive guide will help you create a show-stopping cake that tastes as incredible as it looks.
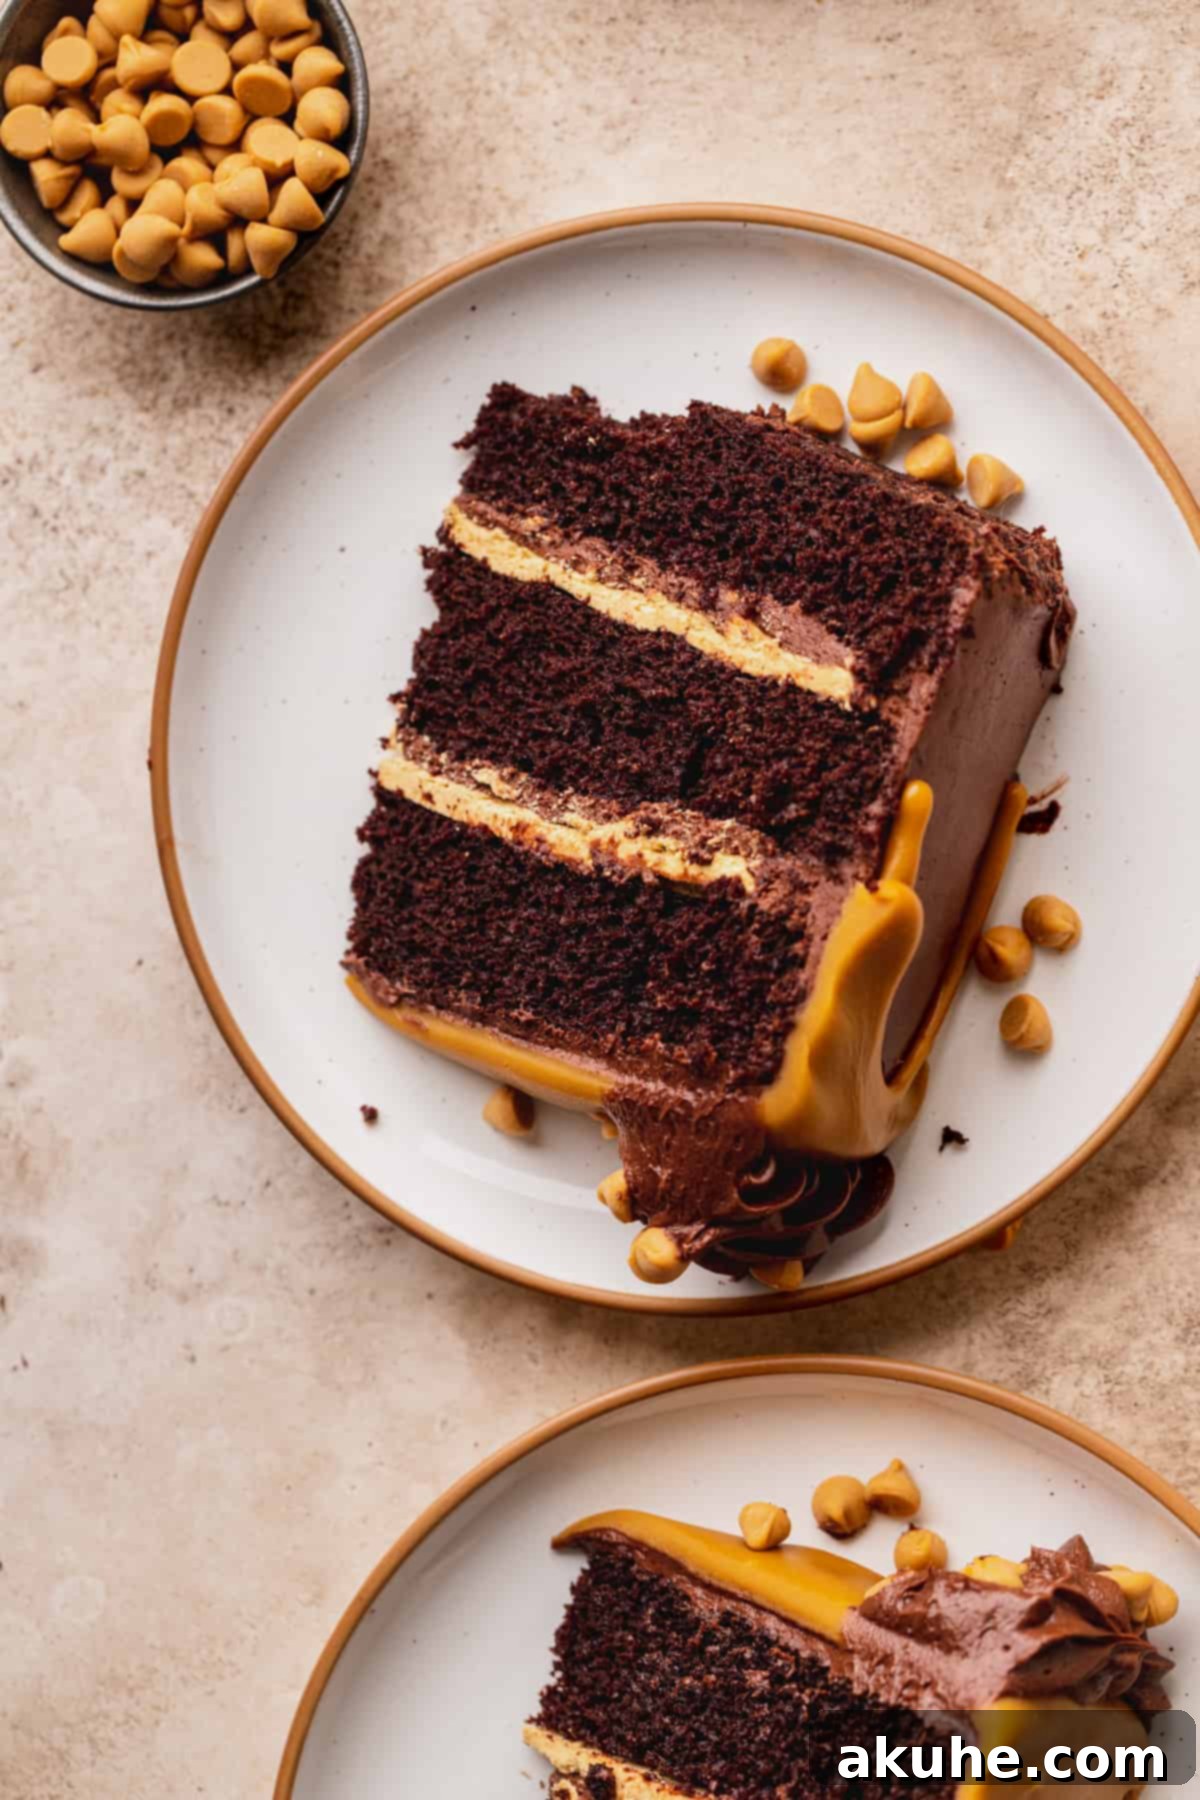
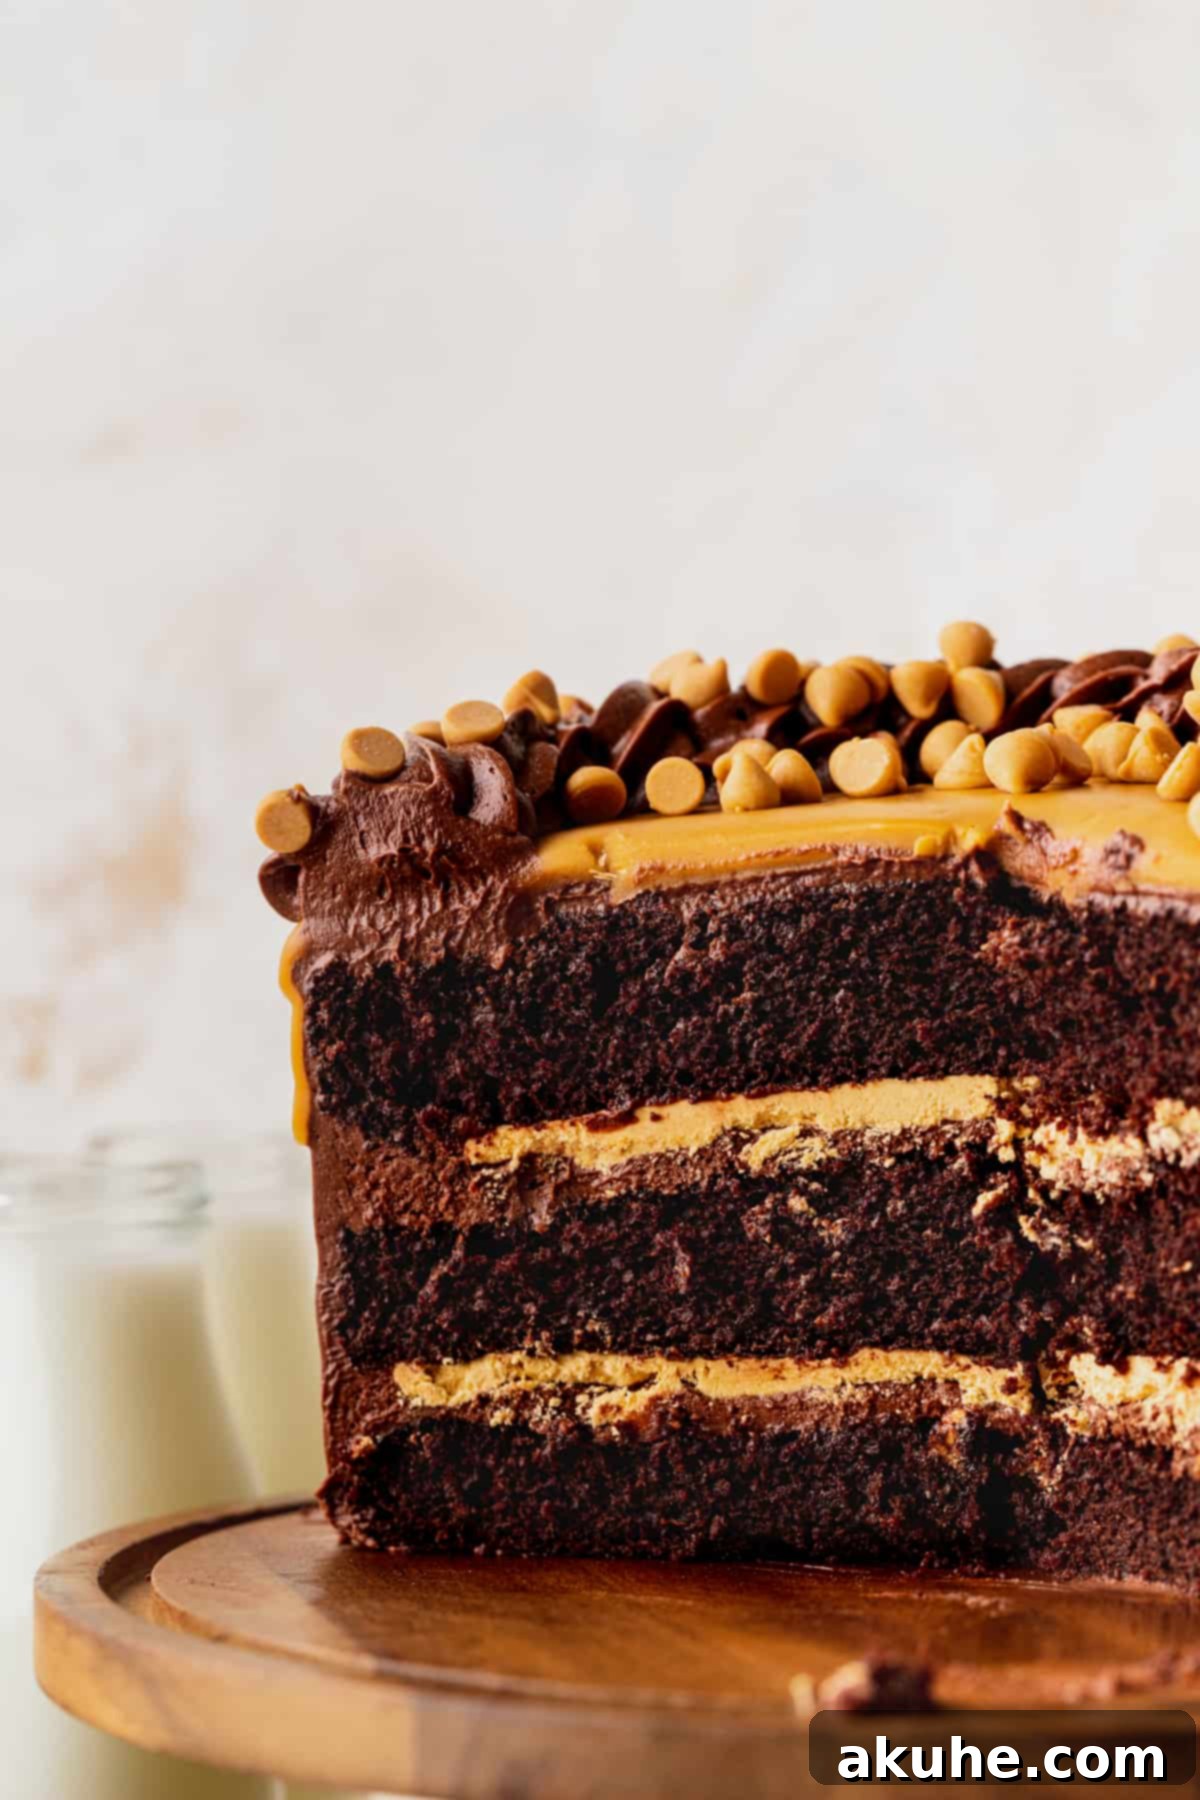
What makes this particular chocolate butterscotch cake truly stand out is its unparalleled softness. From the moment it’s baked, each forkful promises a melt-in-your-mouth experience that remains incredibly tender, even when the cake is thoroughly chilled. This remarkable texture is achieved through a carefully balanced recipe that ensures moisture retention and a delicate crumb, making it a dessert that truly transcends expectations. The star of the show, however, might just be the whipped butterscotch ganache – a light, airy, and intensely flavorful filling made from butterscotch chips, transformed into a fluffy dream.
If the alluring combination of chocolate and butterscotch has captured your imagination, you’ll be thrilled to explore more butterscotch-infused delights. Consider trying our delightful Butterscotch Chocolate Chip Cookies for a chewy treat, the elegant Butterscotch Pear Turnovers for a sophisticated pastry, or delve deeper into butterscotch heaven with our classic Butterscotch Cake. Each recipe offers a unique way to enjoy the rich, caramelized notes of butterscotch.
Why This Chocolate Butterscotch Cake Will Be Your New Favorite
This isn’t just another cake recipe; it’s a culinary masterpiece crafted to deliver an unforgettable dessert experience. Here’s why you’ll fall head over heels for this exquisite creation:
- Incredibly Moist Chocolate Cake: Our foundational chocolate cake recipe is renowned for its exceptional softness and profound moisture, making it my ultimate go-to for any chocolate cake endeavor. Its rich flavor and tender crumb consistently deliver perfection, proving itself time and again, as seen in our Chocolate Peanut Butter Cake. This cake stays moist for days, ensuring every slice is as good as the first.
- Heavenly Whipped Butterscotch Ganache: The true heart of this cake lies in its luxurious whipped butterscotch filling. Crafted with just three simple ingredients – premium butterscotch chips, a pinch of salt to enhance flavor, and rich heavy cream – this ganache transforms into an ethereal, super-fluffy cloud that melts in your mouth, providing a delightful contrast to the dense chocolate cake.
- Decadent Chocolate Cream Cheese Frosting: Beyond its role as a delicious topping, this chocolate cream cheese frosting is a treat in itself. Its perfect balance of tangy cream cheese and sweet, rich chocolate creates a frosting so utterly irresistible, you might be tempted to eat it by the spoonful! It’s smooth, decadent, and pipes beautifully.
- Irresistible Butterscotch Drip: The final flourish on this magnificent cake is a glossy, golden butterscotch drip. Made with high-quality butterscotch chips, this elegant topping not only adds a stunning visual appeal but also infuses every bite with an extra layer of deep, caramelized butterscotch flavor, elevating the cake to gourmet status.
- Perfect for Any Occasion: Whether it’s a birthday, an anniversary, a holiday celebration, or simply a weekend treat, this chocolate butterscotch cake is guaranteed to impress. Its sophisticated flavor profile and stunning presentation make it suitable for the grandest events, yet its comforting taste ensures it’s cherished by all.
Essential Ingredient Notes for Perfection
Achieving the perfect chocolate butterscotch cake begins with understanding your ingredients. Here’s a breakdown of key components and why they matter:
- Dutch Process Cocoa Powder: For a strikingly dark color and a profoundly rich, mellow chocolate flavor, Dutch process cocoa powder is non-negotiable. Unlike natural cocoa, it has been treated with an alkali to reduce its acidity, resulting in a smoother, less bitter taste. This is the brand I highly recommend for consistent, outstanding results.
- Oil (Canola, Vegetable, or Light Olive Oil): Oil contributes to the cake’s supreme moistness and tender crumb, often more so than butter in certain cake recipes. You can confidently use canola oil, vegetable oil, or a light-flavored olive oil. Choose one that is neutral in taste so it doesn’t overpower the chocolate and butterscotch.
- Buttermilk: This acidic ingredient is crucial for activating the baking soda, creating a light and airy texture. It also tenderizes the cake, resulting in an exceptionally moist crumb. For best results, use full-fat buttermilk. If you don’t have buttermilk on hand, you can make a substitute by adding 1 tablespoon of lemon juice or white vinegar to a measuring cup and filling the rest with whole milk; let it sit for 5-10 minutes until it slightly curdles.
- Hot Water or Hot Coffee: Using hot liquid (steaming, not boiling) is vital for “blooming” the cocoa powder. This process intensifies the chocolate flavor significantly and helps create a finer, more tender crumb. Hot coffee can be used as an alternative to hot water to further enhance the chocolate notes without adding a distinct coffee flavor.
- Butterscotch Chips: The quality of your butterscotch chips directly impacts the flavor of your ganache and drip. While many brands work, for a consistent and delightful butterscotch flavor, a widely available brand like Nestle is a reliable choice. Ensure they are fresh for optimal melting and flavor.
- Full-Fat Cream Cheese: For the chocolate cream cheese frosting, full-fat cream cheese is essential. It provides the necessary structure, richness, and classic tangy flavor that lighter versions simply cannot replicate. Make sure it’s at room temperature for smooth, lump-free frosting.
- Slightly Cold Unsalted Butter: The butter for your frosting should not be ice cold, nor fully softened. Leaving it out for approximately 30 minutes before use typically achieves the “slightly cold” consistency, which is ideal for creating a stable, fluffy, and perfectly textured cream cheese frosting.
- All-Purpose Flour: Always measure your flour correctly. Spoon it into your measuring cup and level it off with a straight edge to avoid over-compacting, which can lead to a dense, dry cake. Better yet, use a kitchen scale for precision.
- Baking Powder & Baking Soda: These leavening agents work in harmony with the acidic buttermilk and cocoa to give the cake its lift and tender texture. Ensure they are fresh and not expired for proper activation.
- Large Eggs (Room Temperature): Room temperature eggs incorporate more easily and evenly into the batter, creating a smoother emulsion and a more uniform cake texture. This helps the cake rise better and results in a lighter, fluffier crumb.
Step-by-Step Instructions: Crafting Your Chocolate Butterscotch Masterpiece
Follow these detailed instructions to bake and assemble your magnificent chocolate butterscotch cake:
Creating the Moist Chocolate Cake Layers
- Prepare Your Pans and Oven: Preheat your oven to 350°F (175°C). Lightly spray three 8-inch round cake pans with non-stick baking spray. Line the bottoms of each pan with parchment paper circles and spray again. This ensures your cakes release effortlessly.
- Combine Dry Ingredients: In a large mixing bowl, sift together the all-purpose flour and Dutch process cocoa powder. This step helps prevent lumps and ensures a smooth batter. Whisk in the white granulated sugar, baking powder, baking soda, and salt until well combined. Set this dry mixture aside. Meanwhile, heat 1 cup of water (or coffee) on the stove until it’s steaming hot but not rapidly boiling.
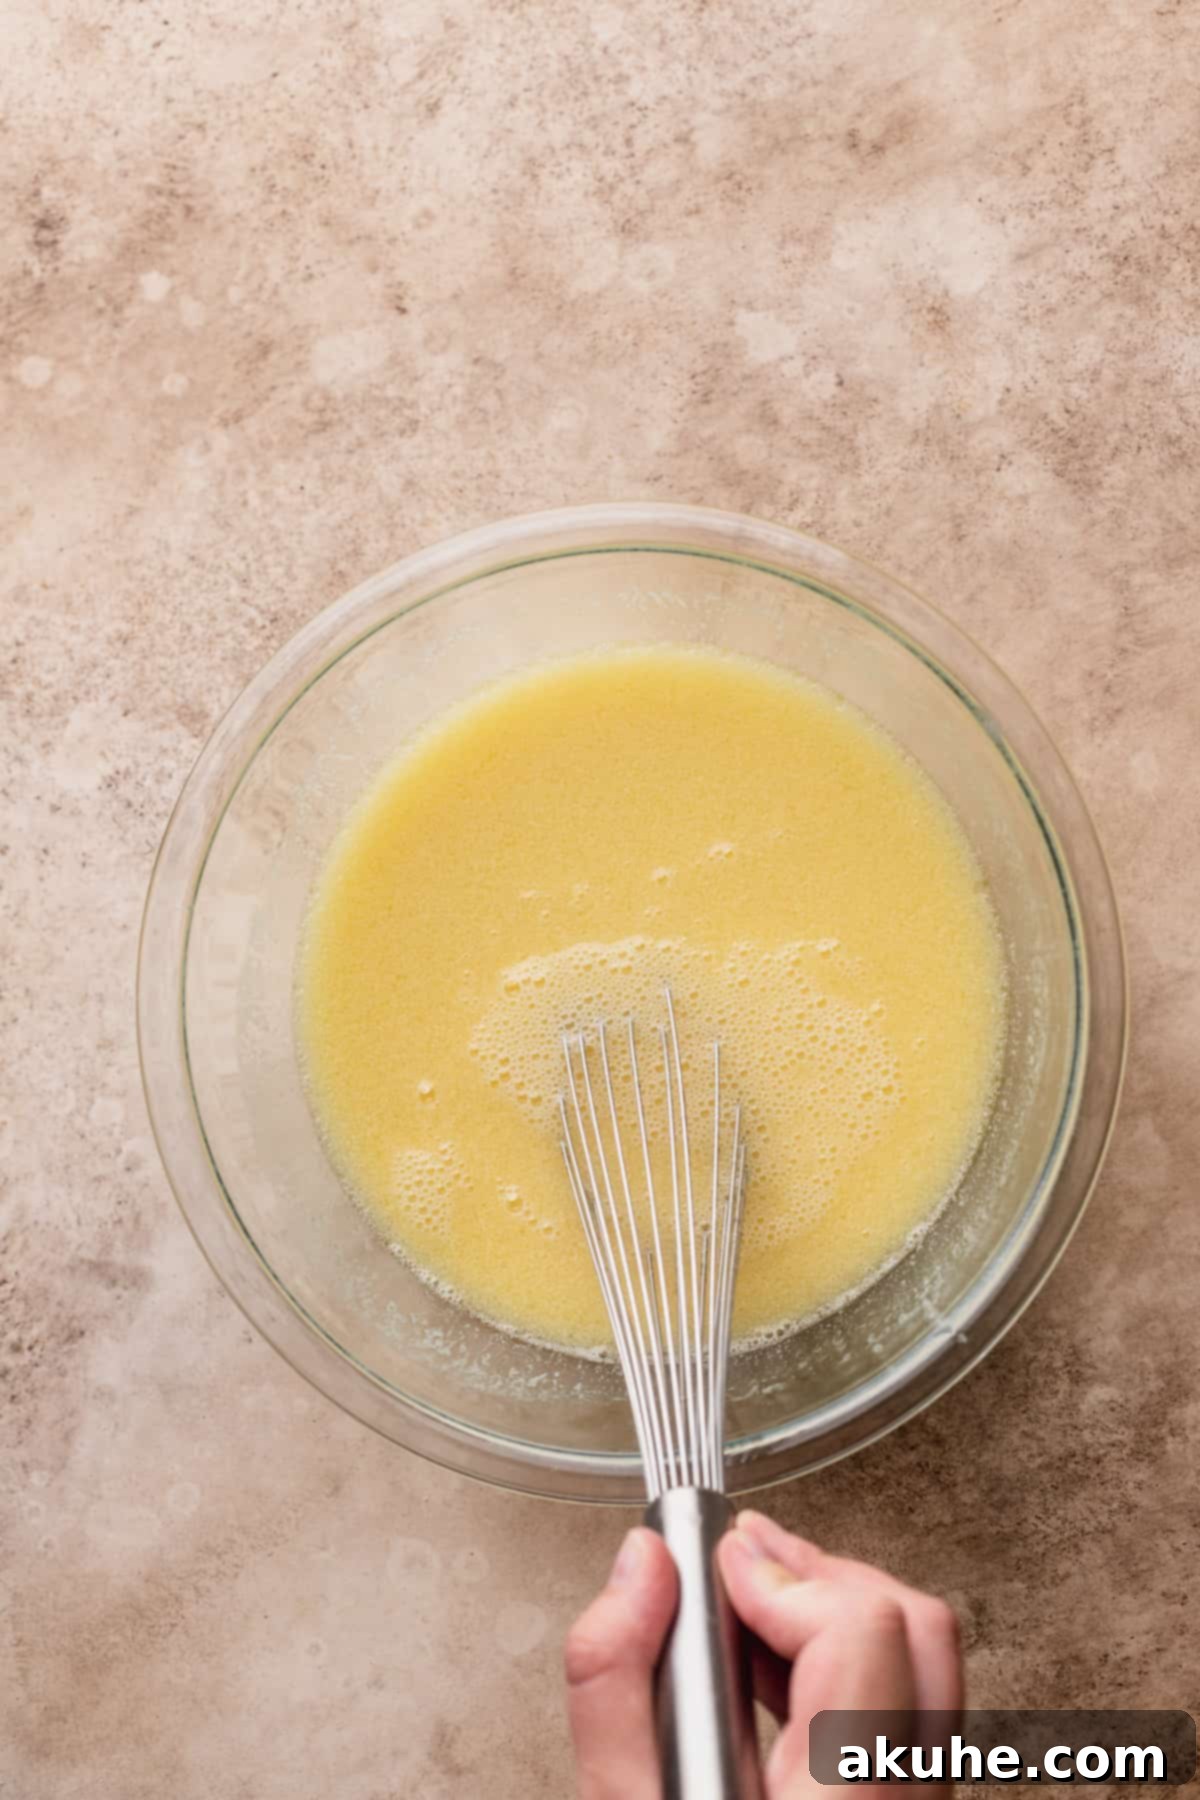
- Mix Wet Ingredients: In a separate bowl, whisk together the oil, pure vanilla extract, room temperature buttermilk, and large eggs until thoroughly combined. With the mixer running on low speed, very slowly pour in the hot water. This gradual addition helps to bloom the cocoa and prevents the eggs from “cooking.”
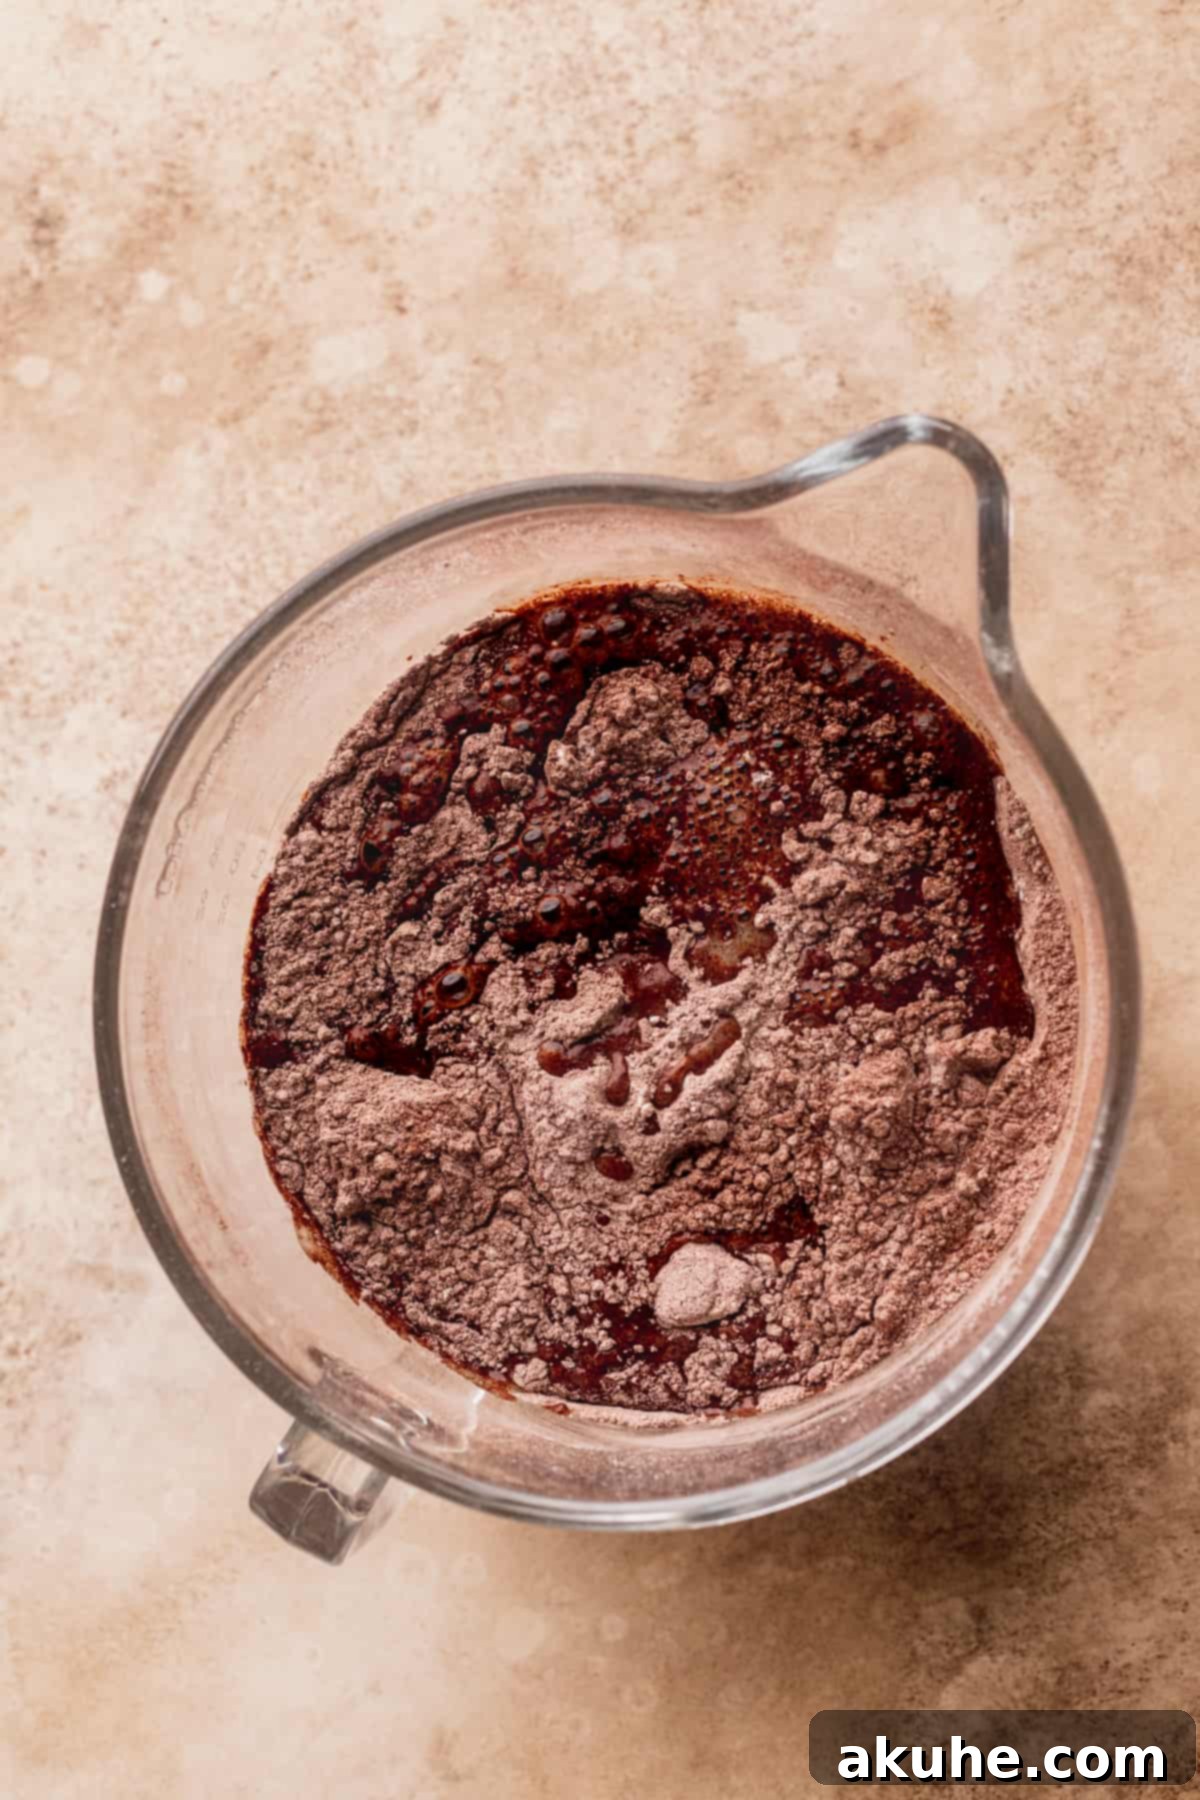
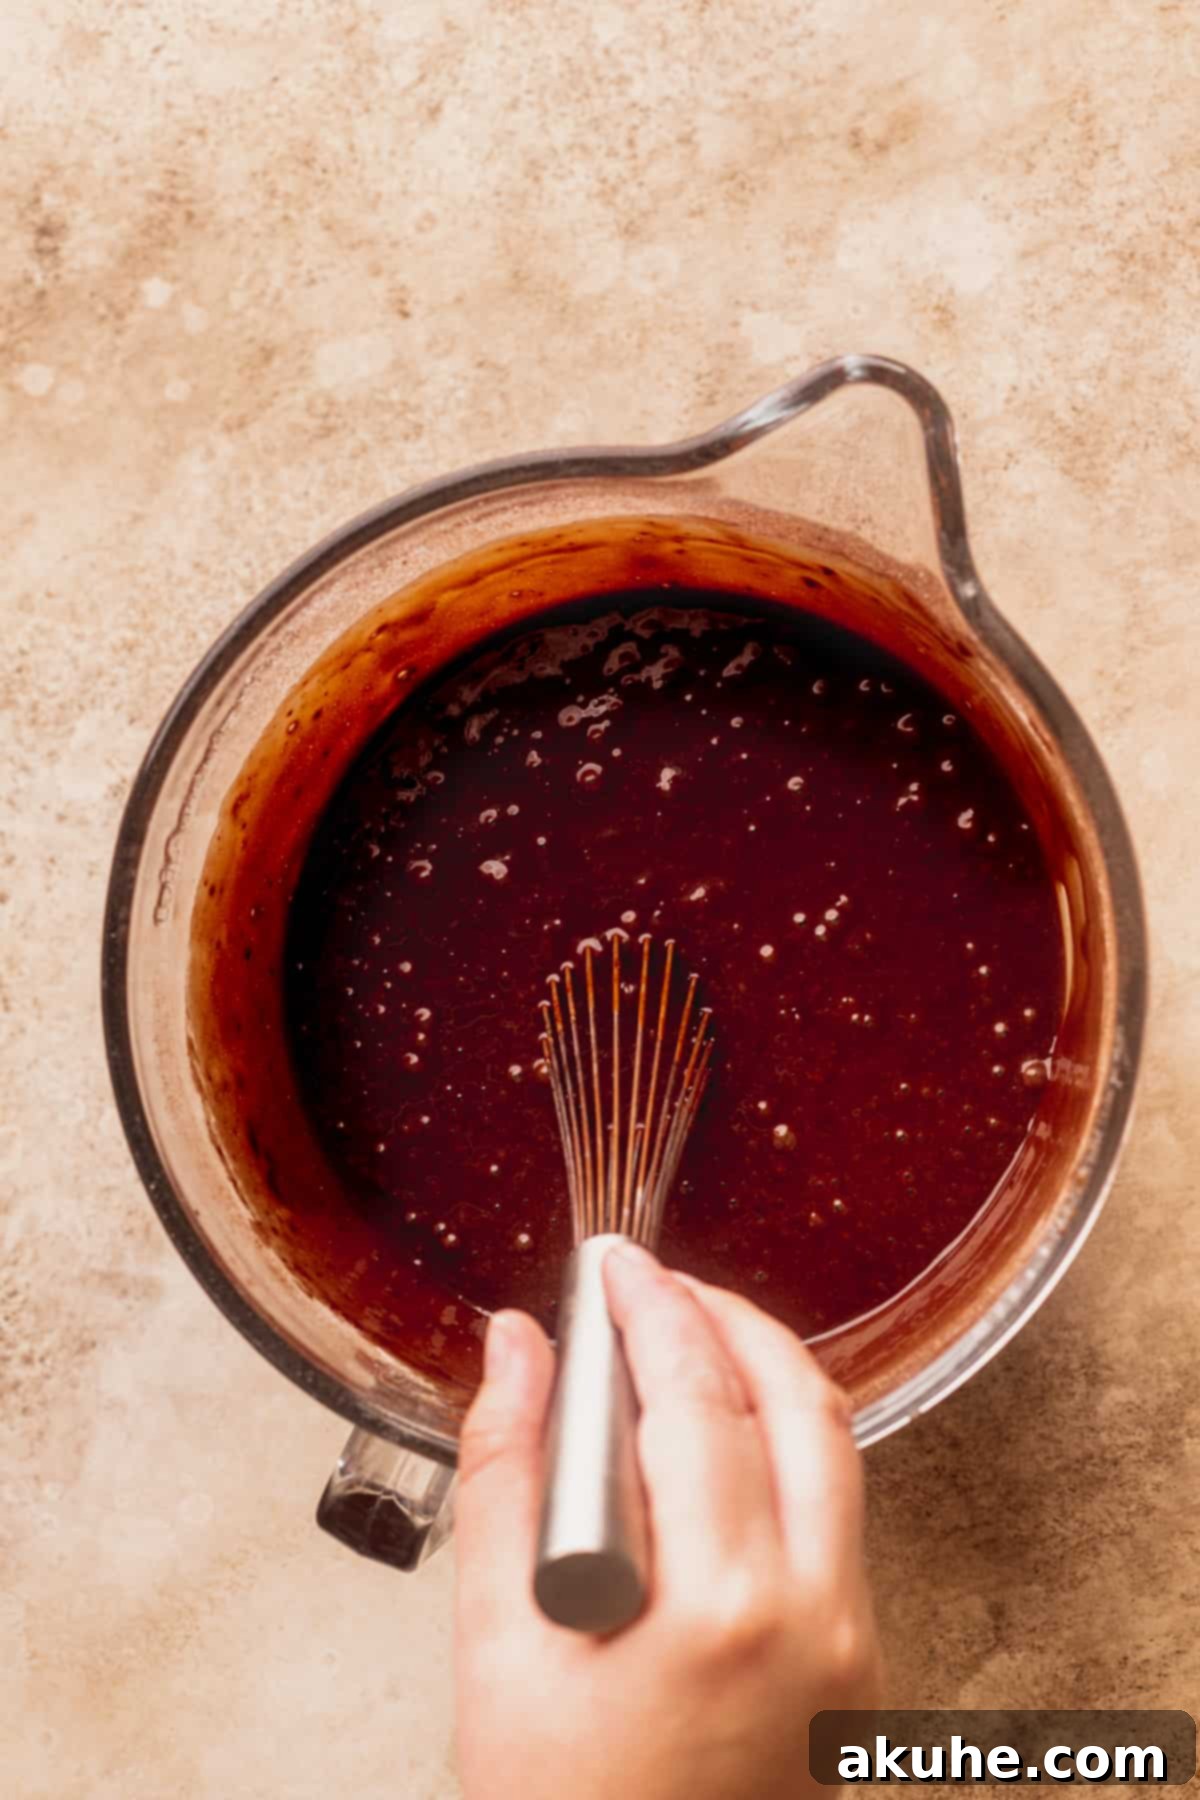
- Combine Wet and Dry Mixtures: Pour the wet ingredients into the dry ingredient mixture. Mix on low speed until just combined. Be careful not to overmix the batter; overmixing can develop the gluten too much, resulting in a tough cake. A few small lumps are perfectly fine.
- Bake the Cake Layers: Evenly divide the cake batter among the three prepared 8-inch cake pans. Bake for 25-28 minutes, or until a wooden skewer or toothpick inserted into the center of a cake comes out clean. The cakes should spring back lightly when touched.
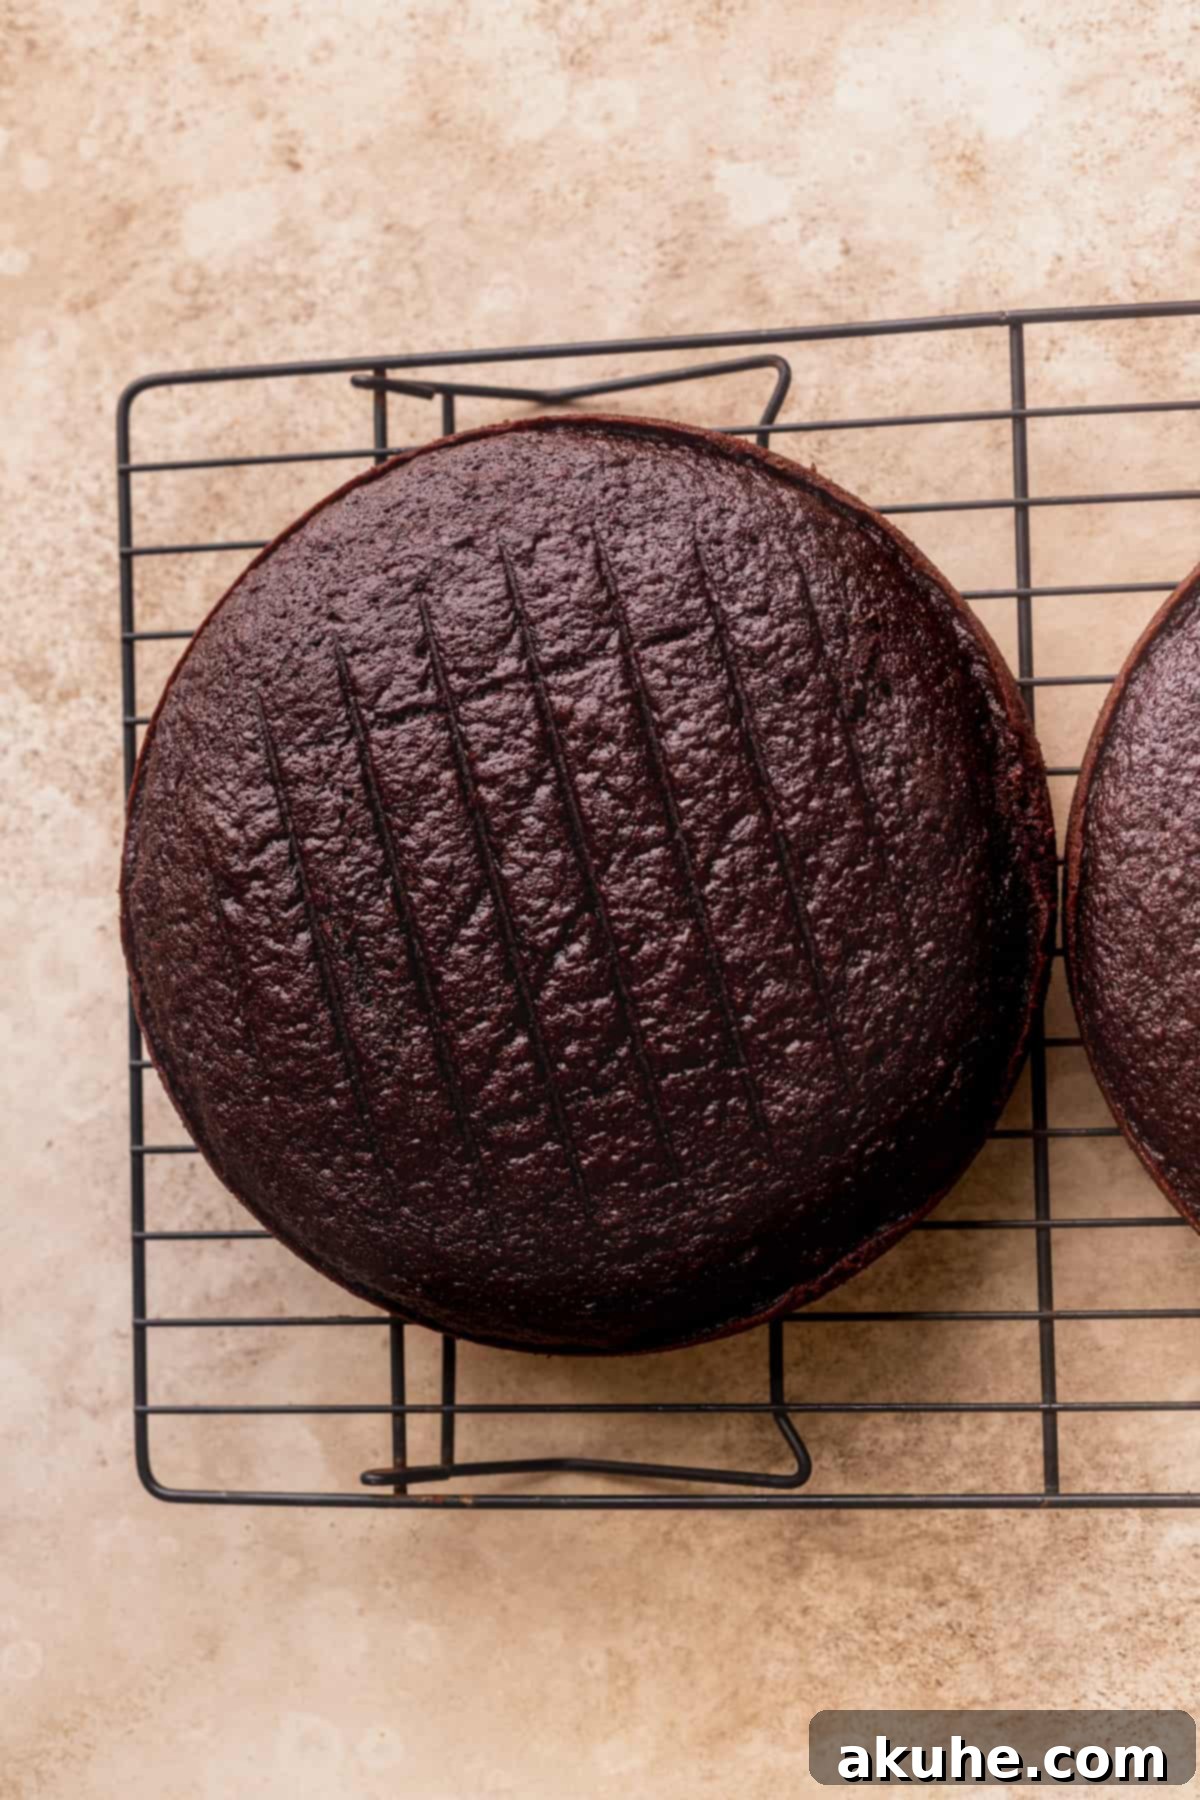
- Cooling the Cakes: Allow the baked cakes to cool in their pans for 10 minutes. Then, carefully invert them onto a wire cooling rack to cool completely. Ensure the cakes are entirely cool before attempting to frost or assemble them, as warm cakes will melt your frosting.
Preparing the Whipped Butterscotch Ganache Filling
- Melt the Butterscotch: In a small saucepan, gently heat the heavy cream over medium-low heat until it’s steaming, but not boiling. Reduce the heat to low, then add the butterscotch chips and salt. Allow the chips to sit in the warm cream for a few minutes to soften before stirring.
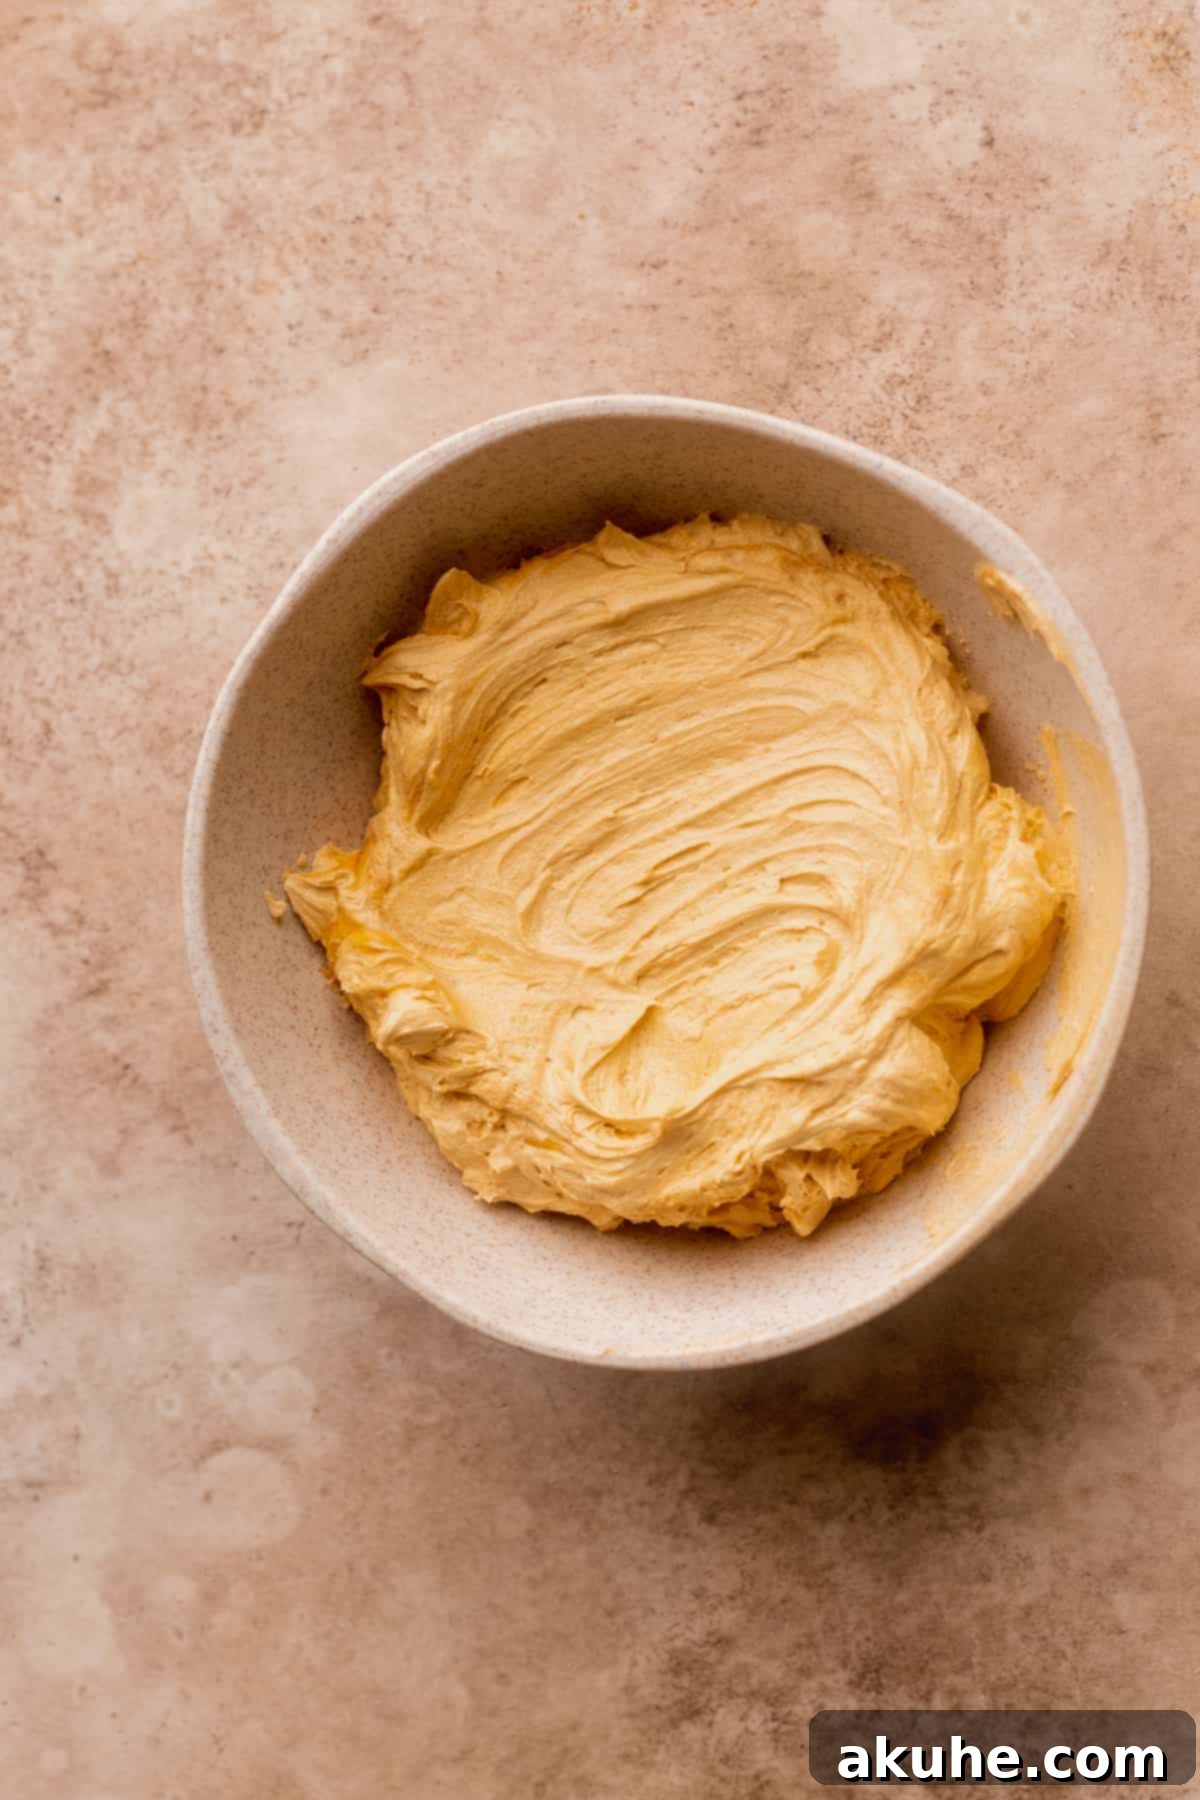
- Form the Ganache: Using a rubber spatula, stir the mixture continuously until all the butterscotch chips are completely melted and the mixture is smooth and homogenous. This may take several minutes, so be patient.
- Cool and Whip: Pour the butterscotch ganache into a clean, heatproof bowl. Let it cool at room temperature for at least 2 hours, stirring occasionally every 10-15 minutes. It will thicken considerably, resembling a pudding-like consistency. Once cooled and thick, use an electric mixer with a whisk attachment to whip the ganache on high speed for 2 minutes. It will transform, becoming significantly lighter in color and wonderfully fluffy, making it the perfect filling.
Crafting the Rich Chocolate Cream Cheese Frosting
- Prepare Ingredients: Allow your unsalted butter to sit out for about 30 minutes to become slightly cold, not fully softened. While it’s reaching the ideal temperature, sift the powdered sugar and cocoa powder together into a bowl. Sifting is crucial for preventing a gritty frosting texture.
- Cream Butter and Cream Cheese: In the bowl of a stand mixer fitted with the paddle attachment (or using a hand mixer), beat the room temperature full-fat cream cheese and slightly cold butter together on high speed for 3 minutes until light and fluffy. Scrape down the sides of the bowl as needed.
- Add Dry Ingredients: Gradually add the sifted powdered sugar and cocoa powder mixture to the creamed butter and cream cheese, mixing on low speed until just incorporated. The mixture will be quite thick at this stage. Scrape the bowl thoroughly.
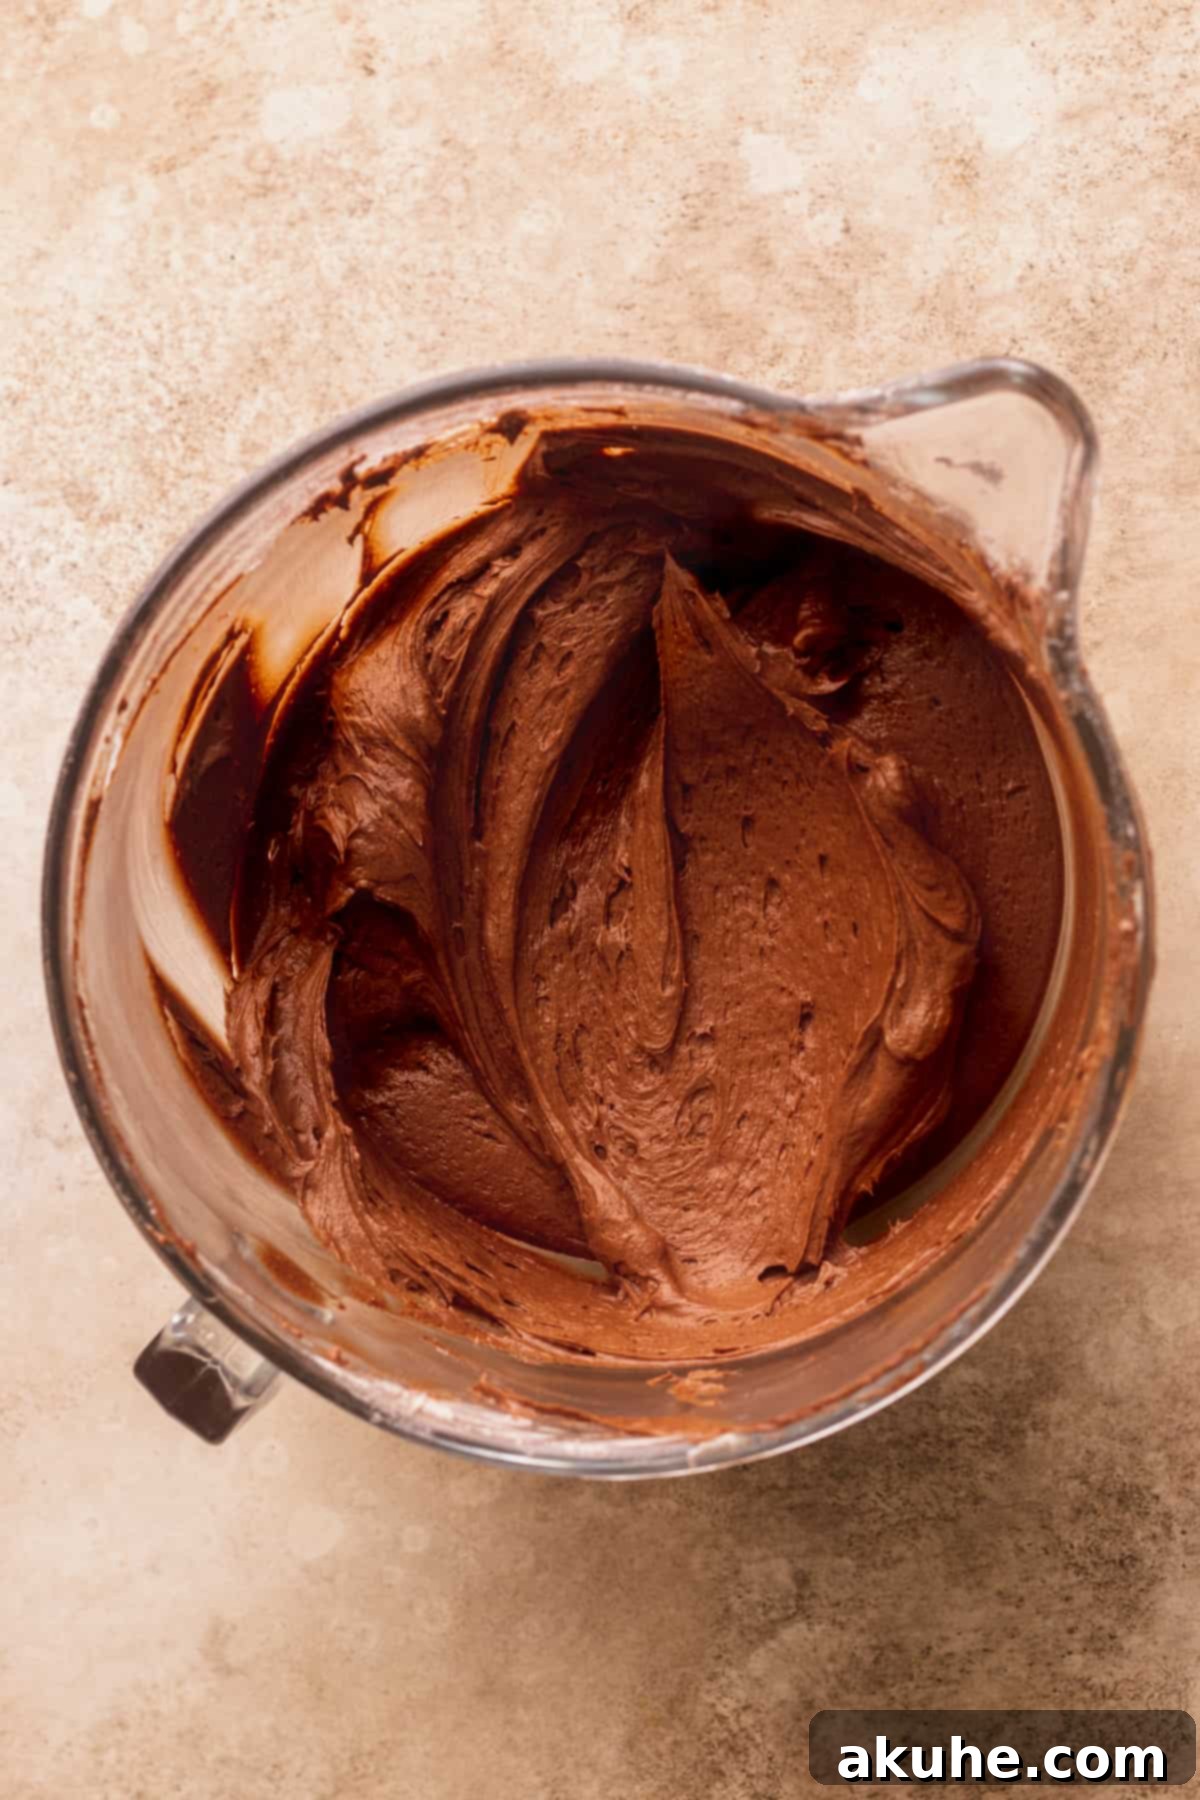
- Finish the Frosting: Pour in the pure vanilla extract, salt, and heavy cream. Increase the mixer speed to high and beat the frosting for another 2-3 minutes until it becomes light, airy, and beautifully fluffy.
Assembling Your Layered Chocolate Butterscotch Cake: Expert Tips
Assembling a layered cake can seem daunting, but with these tips, you’ll create a professional-looking dessert. Always prepare your whipped butterscotch ganache, frosting, and drip fresh right before assembly for the best texture and consistency.
- Chill Your Cake Layers: Cold cake layers are significantly easier to handle and frost. Place your completely cooled chocolate cake layers in the freezer for about 15 minutes before you begin decorating. This firms them up, preventing crumbling and shifting.
- Leveling the Cake: If any of your cake layers have domes or uneven tops, use a serrated knife or a cake leveling tool to carefully slice off the excess, creating flat, even surfaces. This is crucial for a stable and beautiful stacked cake.
- Secure the Base: Apply a small dollop of chocolate cream cheese frosting to the center of your cake board or serving platter. This acts as an adhesive, keeping the first cake layer firmly in place while you decorate.
- First Layer Placement: Place the first cake layer onto the frosted board, ensuring the actual bottom side of the cake is facing down. This provides a flat, sturdy base.
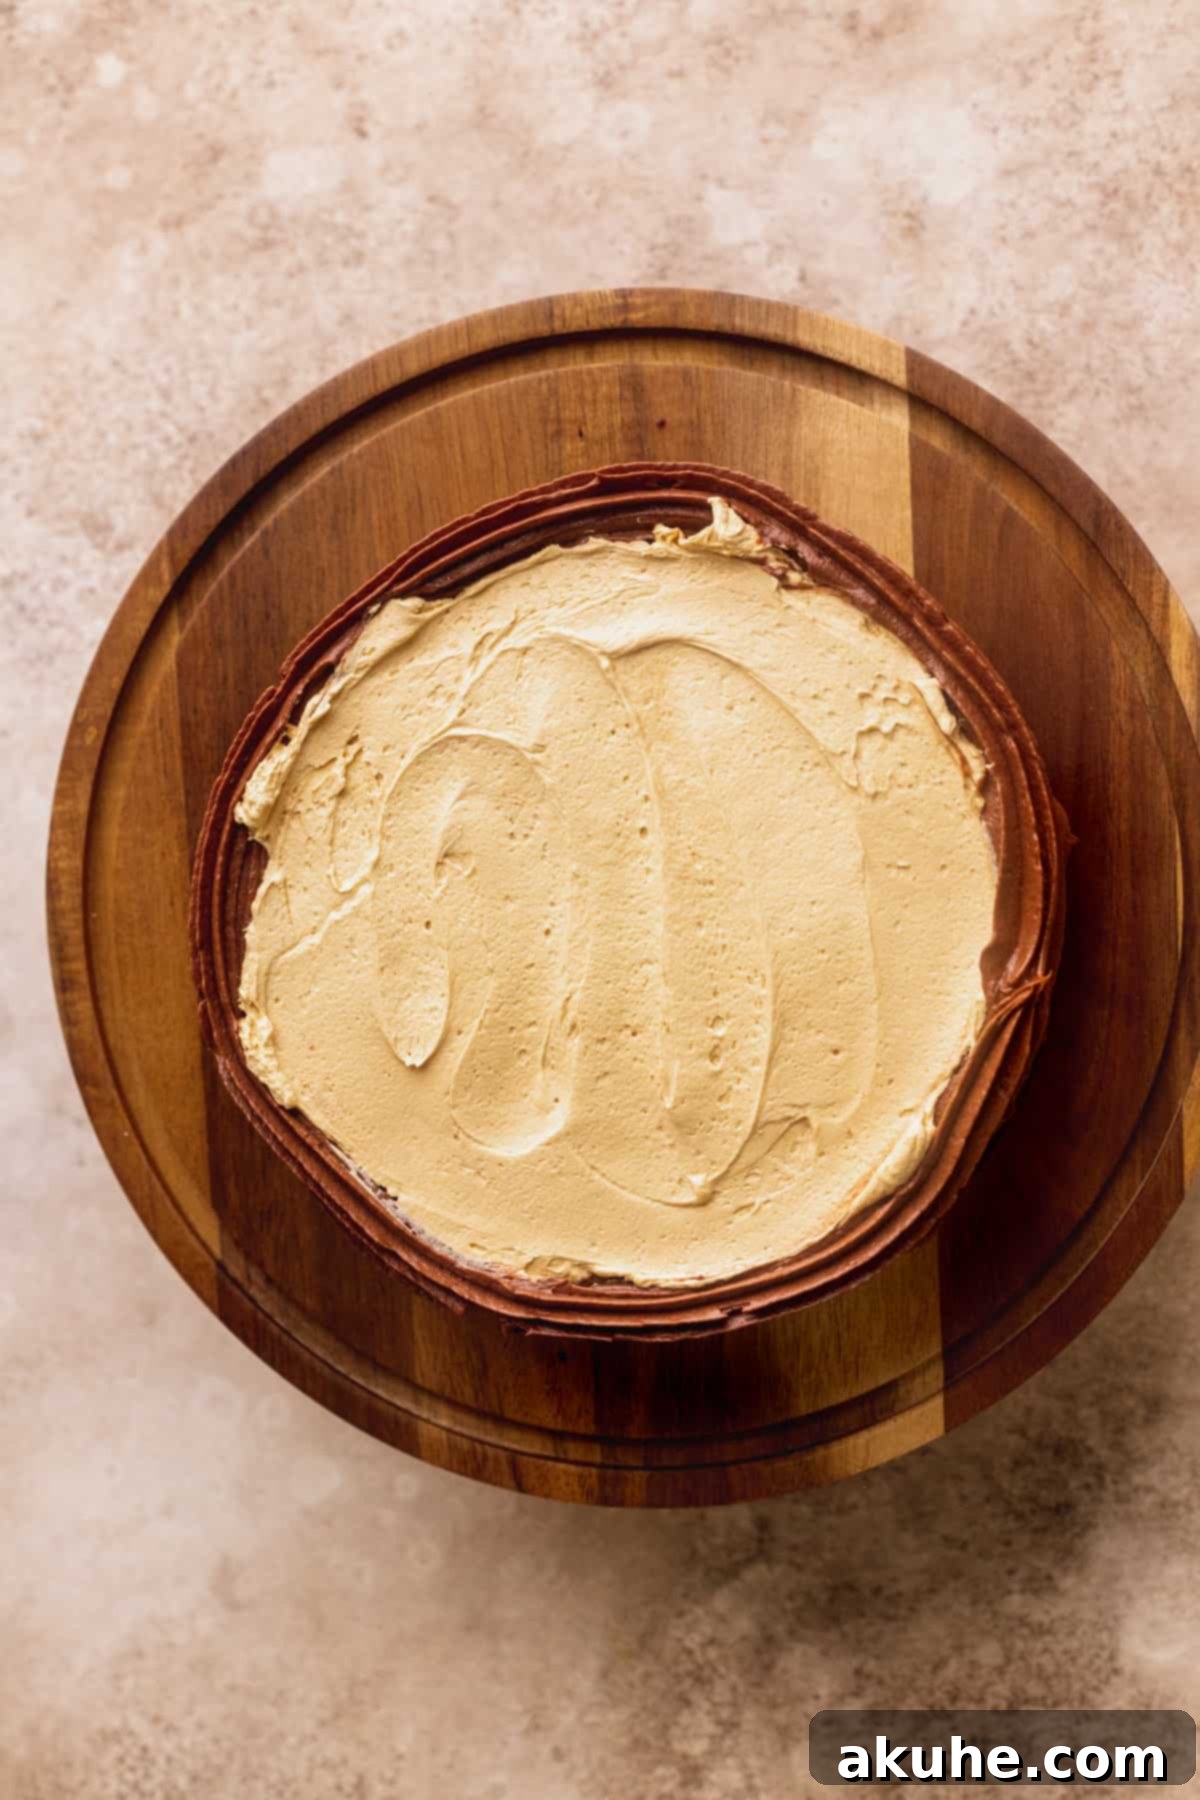
- Piping the Frosting Dam: Using a piping bag fitted with a round tip (or simply snipping the corner off a Ziploc bag), pipe a double ring of chocolate cream cheese frosting around the outer edge of the first cake layer. This “dam” will contain the softer whipped butterscotch ganache.
- Fill with Ganache: Carefully spread half of the whipped butterscotch ganache within the piped frosting dam, ensuring it is evenly distributed across the cake layer.
- Add Chocolate Frosting: Next, gently spread about 3/4 cup of the chocolate cream cheese frosting over the butterscotch ganache. This creates another layer of flavor and ensures stability.
- Repeat and Top Layer: Carefully place the second cake layer on top and repeat the steps: pipe a frosting dam, spread the remaining whipped butterscotch ganache, and then another 3/4 cup of chocolate cream cheese frosting. For the final layer, place the cake bottom side up. This technique gives you the flattest, most level top for a polished finish.
Flawless Decorating: The Finishing Touches
With the cake assembled, it’s time for the final aesthetic touches that make this dessert truly shine.
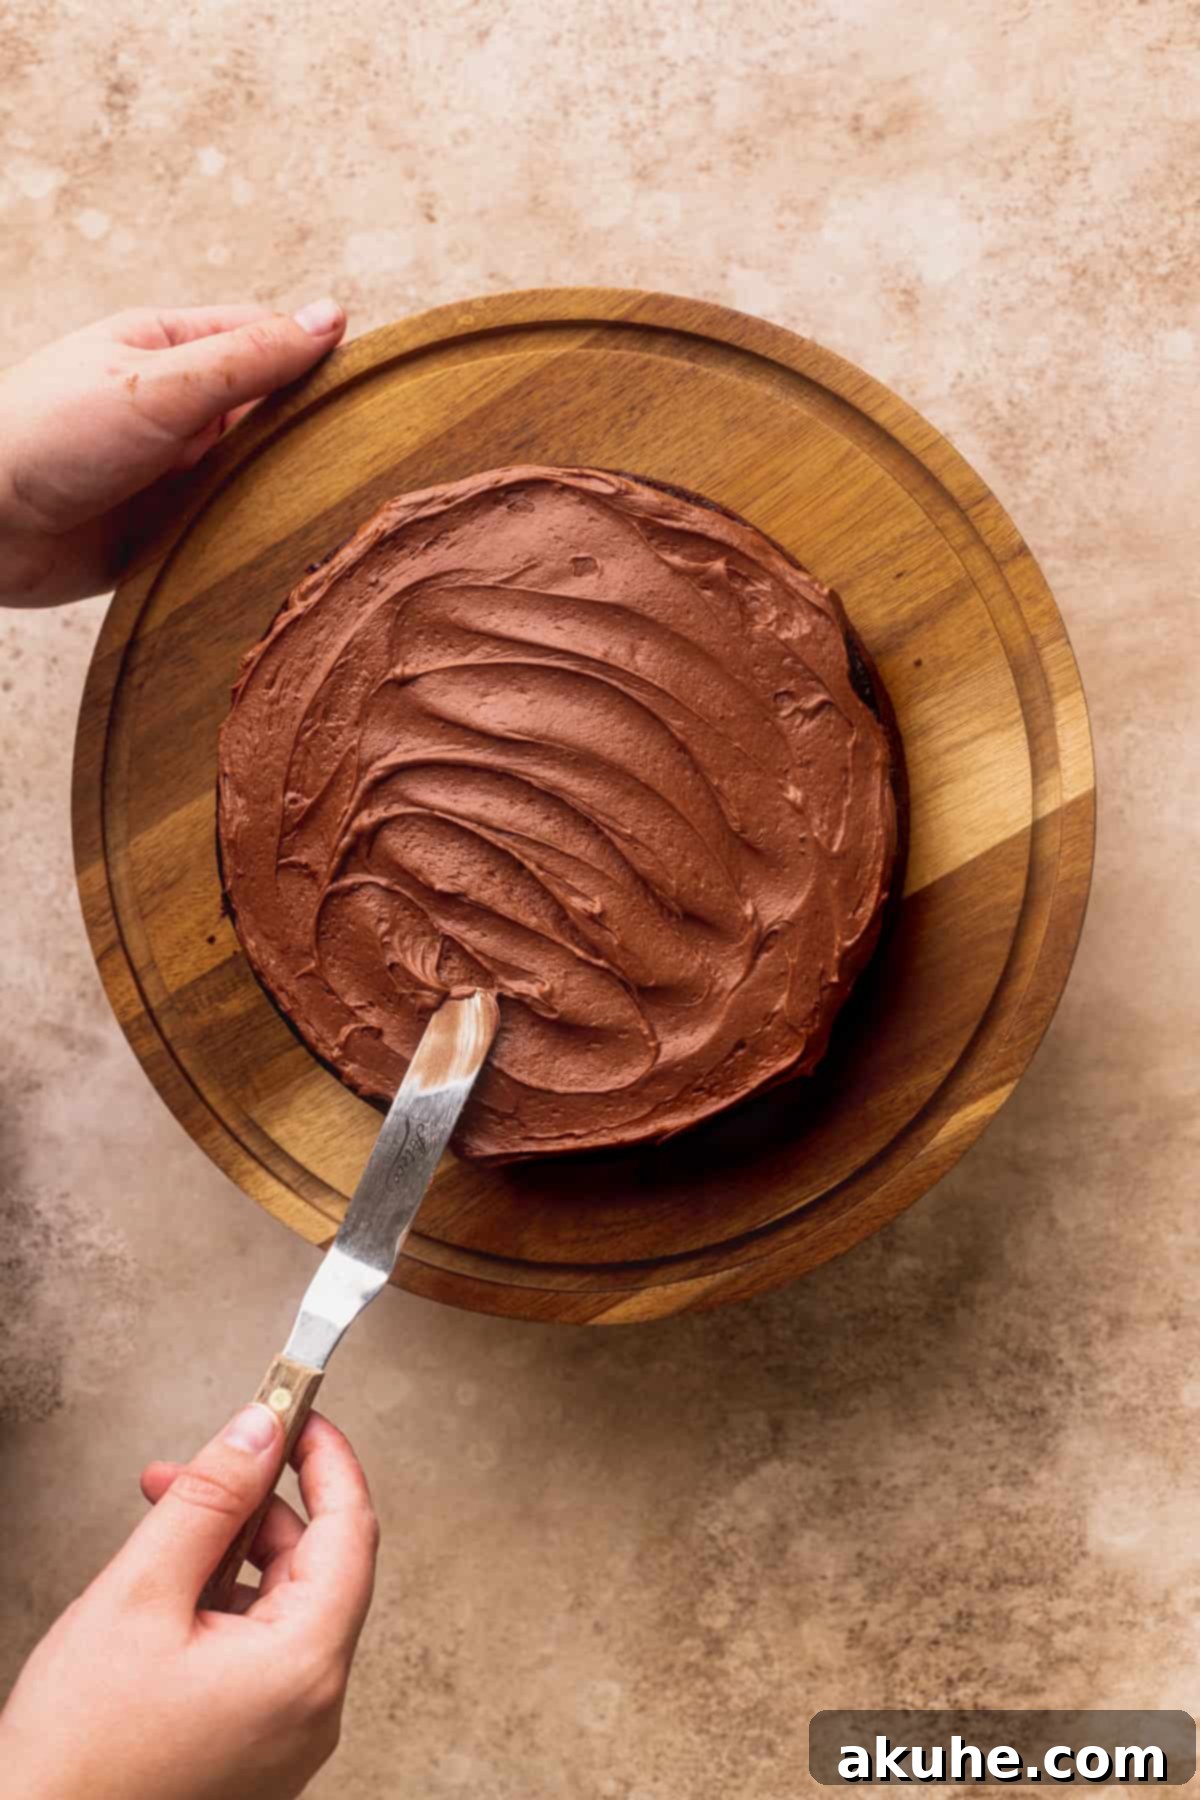
- Apply a Crumb Coat: Using an offset spatula or a small knife, apply a very thin, even layer of chocolate cream cheese frosting all over the entire cake (sides and top). This is known as a “crumb coat” and its purpose is to seal in any loose crumbs, preventing them from mixing into your final frosting layer. Once applied, freeze the cake for 15 minutes to firm up the crumb coat.
- Final Frosting Layer: After the crumb coat is chilled, apply the remaining chocolate cream cheese frosting, creating a smooth, even, and beautifully finished surface. Use an offset spatula or cake scraper to achieve clean sides and a flat top. Freeze the frosted cake again for 10 minutes to ensure the frosting is firm before applying the drip. A cold cake and firm frosting are essential to prevent the butterscotch drip from running off the cake too quickly.
- The Butterscotch Drip: Prepare your butterscotch drip fresh. Heat 1/3 cup heavy cream until steaming. Add 1 cup butterscotch chips and 1/8 tsp salt. Let it sit, then stir until smooth. Cool the drip in the freezer for 15-20 minutes, stirring every 5 minutes, until it’s only very slightly warm (body temperature) and has a pourable but not watery consistency. Transfer the slightly cooled drip to a squeeze bottle or a piping bag with a tiny snip. Carefully apply the drip around the edge of the cake, allowing it to gently cascade down the sides. Then, pour the rest of the drip over the top of the cake, spreading it evenly with an offset spatula. For an extra touch of glamour, you can top it with a sprinkle of extra butterscotch chips or a light dusting of sea salt.
- Optional Decorations: If you wish to add piped decorations (like swirls or rosettes) on top of the cake, allow the butterscotch drip to set in the freezer for about 10 minutes first. This prevents your piped designs from sinking into the drip.
Frequently Asked Questions About This Chocolate Butterscotch Cake
Several factors can cause cake layers to sink. If you reside at a high altitude, you may need to adjust the recipe; typically, this involves adding an extra 2 tablespoons of flour and potentially reducing leavening agents slightly. Another common reason is expired rising agents (baking powder or baking soda), which lose their effectiveness over time. Always ensure your leavening agents are fresh. Additionally, opening the oven door too early or underbaking can cause sinking.
A gritty texture in frosting is almost always due to undissolved powdered sugar or cocoa powder. To achieve a perfectly smooth, silky frosting, it is absolutely essential to sift both the powdered sugar and the cocoa powder before incorporating them into the butter and cream cheese mixture. This removes any lumps and ensures a fine, uniform texture.
While you can chill the butterscotch ganache in the refrigerator to speed up the thickening process, it’s important to stir it every 10-15 minutes to ensure even cooling and prevent it from becoming too solid on the edges. Be aware that if the ganache gets too cold, it may not whip up as light and fluffy as it would if it cooled naturally at room temperature to a pudding-like consistency. Aim for it to be cool but still pliable before whipping.
Absolutely! This cake is excellent for make-ahead preparation. Once the cake layers are completely cooled, individually wrap each layer tightly in plastic cling wrap. You can then freeze them for up to 30 days. When you’re ready to decorate, simply thaw the frozen cake layers at room temperature for about 1 hour before assembling and frosting.
This particular recipe has not been tested with egg substitutes. Eggs play a crucial role in the cake’s structure, moisture, and rise. Substituting them without proper testing may significantly alter the final outcome. For best results, we recommend following the recipe as written or finding a specifically formulated egg-free chocolate cake recipe.
Yes, this versatile chocolate cake batter works wonderfully for cupcakes! This recipe will yield approximately 24 standard-sized cupcakes. If you only need a smaller batch, you can halve the recipe to make about 12 cupcakes. Baking times will need to be adjusted; typically, cupcakes bake for 18-22 minutes at 350°F (175°C).
Yes, this recipe can be adapted for a 9×13 inch sheet cake. Keep the cake batter quantities exactly the same, as it provides enough volume for a generously thick sheet cake. However, you will want to divide the chocolate cream cheese frosting recipe in half, as a sheet cake typically requires less frosting than a layered cake. The baking time will also need to be adjusted, usually around 30-40 minutes, or until a toothpick comes out clean.
While Dutch process cocoa is highly recommended for its dark color and mellow flavor profile in this recipe, you can substitute natural cocoa powder. If you do, you might want to slightly reduce the amount of baking soda (perhaps by 1/4 to 1/2 teaspoon) to account for the increased acidity of natural cocoa and ensure proper leavening balance. The color and intensity of the chocolate flavor will be slightly different.
While you can make a white chocolate ganache using the same method, it will completely change the flavor profile of the cake. If you’re looking for a chocolate and white chocolate combination, that would be delicious, but it wouldn’t be a “Chocolate Butterscotch Cake” anymore. For the intended butterscotch flavor, stick with butterscotch chips.
Storing and Freezing Your Chocolate Butterscotch Cake
Proper storage is key to enjoying your magnificent cake for days to come.
Storage
To maintain its moistness and fresh flavor, store this chocolate butterscotch cake in an airtight container in the refrigerator. It will stay fresh and delicious for up to 5 days. Be sure the container is truly airtight to prevent the cake from drying out or absorbing refrigerator odors.
Freezing
For longer preservation, you can freeze individual slices of the cake. Wrap each slice tightly in plastic cling wrap, then place them in an airtight freezer-safe container or freezer bag. The cake slices can be frozen for up to 30 days.
When you’re ready to indulge, simply remove a slice from the freezer and let it thaw at room temperature for approximately 1 hour. This brings it back to its perfect soft and moist texture, ready to be enjoyed as a delightful treat.
Explore More Decadent Cake Recipes
Loved this recipe? Don’t forget to leave us a star review below to share your experience with other bakers!
We absolutely adore seeing your baking creations! Make sure to tag us on Instagram @stephaniesweettreats so we can admire your stunning Chocolate Butterscotch Cakes. We truly hope you cherished making and tasting this recipe. For more inspiring baking ideas, make sure to follow us on Pinterest!
5 from 13 reviews
Chocolate Butterscotch Cake
Print Recipe
Pin Recipe
Leave a Review
2 hrs
25 mins
1 hr
3 hrs 25 mins
16
slices
Ingredients
Chocolate Cake
- 2 1/2 cups All-purpose flour
- 1 cup Dutch process cocoa powder
- 1 3/4 cup White granulated sugar
- 2 1/2 tsp Baking powder
- 1 1/2 tsp Baking soda
- 1 tsp Salt
- 3/4 cup Oil (canola or vegetable)
- 2 tsp Pure vanilla extract
- 1 cup Buttermilk (room temperature)
- 4 Large eggs (room temperature)
- 1 cup Hot water
Whipped Butterscotch Ganache Filling
- 1 cup Butterscotch chips (approx. 1 1/2 bags)
- 1/8 tsp Salt
- 1/3 cup Heavy cream
Chocolate Cream Cheese Frosting
- 8 oz Cream cheese (room temperature, full-fat)
- 1 1/2 cups Unsalted butter (slightly cold)
- 5 cups Powdered sugar (sifted)
- 1 cup Cocoa powder (sifted)
- 2 tsp Pure vanilla extract
- 1/4 tsp Salt
- 1/4 cup Heavy cream
Butterscotch Drip
- 1 cup Butterscotch chips
- 1/8 tsp Salt
- 1/3 cup Heavy cream
Instructions
Chocolate Cake
- Preheat the oven to 350°F (175°C). Spray three 8-inch cake pans with non-stick baking spray. Line the bottoms with 8-inch parchment circles, then spray again.
- In a large mixing bowl, sift the all-purpose flour and Dutch process cocoa powder. Stir in the granulated sugar, baking powder, baking soda, and salt. Set aside. Heat the hot water (or coffee) on the stove until steaming.1 cup Dutch process cocoa powder, 1 3/4 cup White granulated sugar, 2 1/2 tsp Baking powder, 1 1/2 tsp Baking soda, 1 tsp Salt, 1 cup Hot water
- In a separate mixing bowl, whisk together the oil, vanilla, buttermilk, and 4 large eggs until well combined. Slowly add in the hot water, mixing continuously.3/4 cup Oil, 2 tsp Pure vanilla extract, 1 cup Buttermilk, 4 Large eggs
- Pour the wet ingredients into the dry. Mix on low speed until just combined. Do not overmix the cake batter.
- Divide the batter evenly into the three prepared cake pans. Bake for 25-28 minutes, or until a toothpick inserted into the center comes out clean.
- Let the cakes sit in their pans for 10 minutes before transferring them to a wire cooling rack to cool completely. The cakes must be completely cooled before assembly.
Whipped Butterscotch Ganache Filling
- Heat the heavy cream in a saucepan over medium-low heat until steaming. Turn the heat to low. Add butterscotch chips and salt into the cream.1 cup Butterscotch chips, 1/3 cup Heavy cream
- Let sit for a few minutes until the butterscotch chips begin to melt. Stir with a rubber spatula until everything is melted together and smooth. Pour the ganache into a bowl.
- Let it cool at room temperature for 2 hours, stirring occasionally. It will become thick, like pudding. Using an electric mixer with a whisk attachment, whip the ganache on high speed for 2 minutes until it becomes light in color and very fluffy.
Chocolate Cream Cheese Frosting
- Let the unsalted butter sit on the counter for 30 minutes to get slightly cold. While waiting, sift the powdered sugar and cocoa powder together.1 1/2 cups Unsalted butter, 5 cups Powdered sugar, 1 cup Cocoa powder
- Using a mixer, beat the cream cheese and butter on high speed for 3 minutes until light and fluffy. Slowly add in the sifted powdered sugar/cocoa powder mixture until combined. The mixture will be thick. Scrape down the bowl.8 oz Cream cheese
- Add in the vanilla extract, salt, and heavy cream. Beat on high speed until the frosting is fluffy and slightly lightened in color.2 tsp Pure vanilla extract, 1/4 tsp Salt, 1/4 cup Heavy cream
Butterscotch Drip
- Heat the heavy cream in a saucepan over medium-low heat until steaming. Turn the heat to low. Add the butterscotch chips and salt into the cream.1 cup Butterscotch chips, 1/3 cup Heavy cream
- Let sit until the butterscotch chips start to melt. Stir with a rubber spatula until everything is melted together and smooth. Pour into a bowl.
- Place the drip in the freezer for 15-20 minutes, stirring every 5 minutes, until it is only very slightly warm and has a pourable but not watery consistency.
Assembly
- Place the cooled chocolate cake layers in the freezer for 15 minutes to chill thoroughly. Use a serrated knife to level off any domes from the cakes if needed.
- Place a small amount of chocolate frosting on your cake board or serving plate. Place the first cake layer, bottom side down, onto the frosted board.
- Pipe a sturdy ring of chocolate frosting around the border of the cake layer. Spread half of the whipped butterscotch ganache evenly within this ring. Then, spread about 3/4 cup of the chocolate cream cheese frosting over the ganache layer.
- Carefully place the second cake layer on top and repeat the filling process. For the final layer, place the third cake layer bottom side up for the flattest top.
- Apply a very light “crumb coat” layer of chocolate frosting over the entire cake. This seals in any loose crumbs. Freeze the cake for 15 minutes to set the crumb coat.
- Frost the rest of the cake with the remaining chocolate cream cheese frosting, creating a smooth finish. Then, freeze the cake for 10 minutes to ensure the frosting is firm before applying the drip.
- Apply the butterscotch drip over the cold cake. Pour about half of the prepared drip onto the center of the cake. Use an offset spatula to gently push the butterscotch over the edge, allowing it to elegantly drip down the sides. Then, pour the remaining drip over the top. Optionally, garnish with extra butterscotch chips.
Notes
High Altitude Baking: If you live at a high altitude, add an extra 2 tablespoons of all-purpose flour to the cake batter to help with structure and prevent sinking.
Dairy Temperature: For optimal mixing and consistency in both the cake and frosting, ensure all dairy ingredients (butter, cream cheese, buttermilk, eggs) are pulled out 2 hours before baking to reach room temperature.
Calories: 617kcal
,
Carbohydrates: 103g
,
Protein: 6g
,
Fat: 41g
,
Saturated Fat: 19g
,
Polyunsaturated Fat: 4g
,
Monounsaturated Fat: 15g
,
Trans Fat: 1g
,
Cholesterol: 84mg
,
Sodium: 542mg
,
Potassium: 243mg
,
Fiber: 4g
,
Sugar: 41g
,
Vitamin A: 969IU
,
Vitamin C: 1mg
,
Calcium: 100mg
,
Iron: 3mg
Did you make this recipe?
Please leave a star rating and review below!
