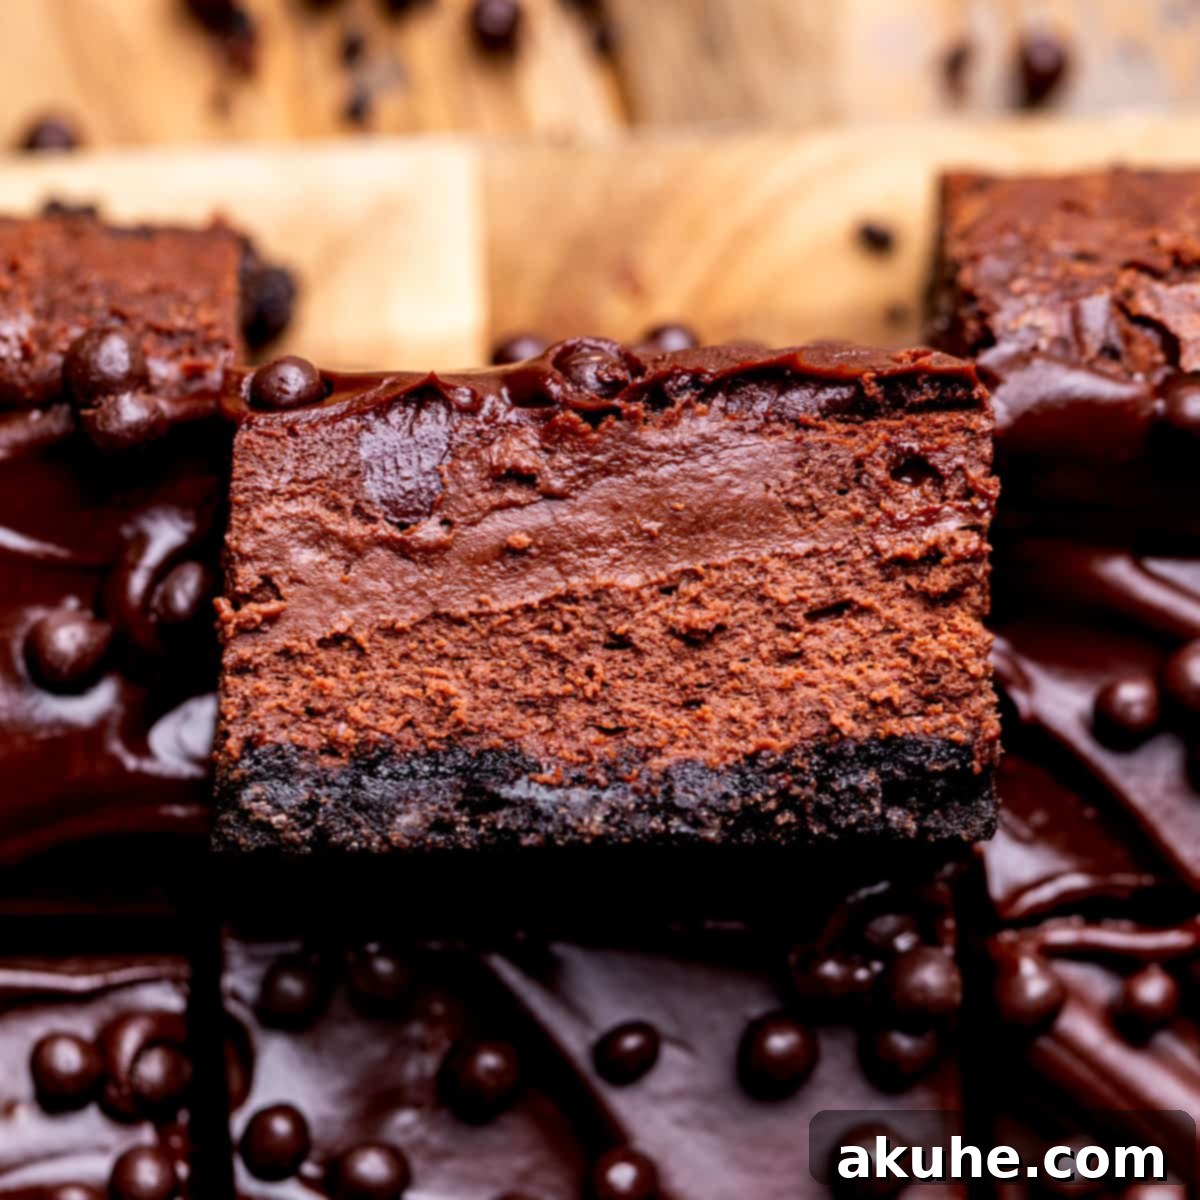
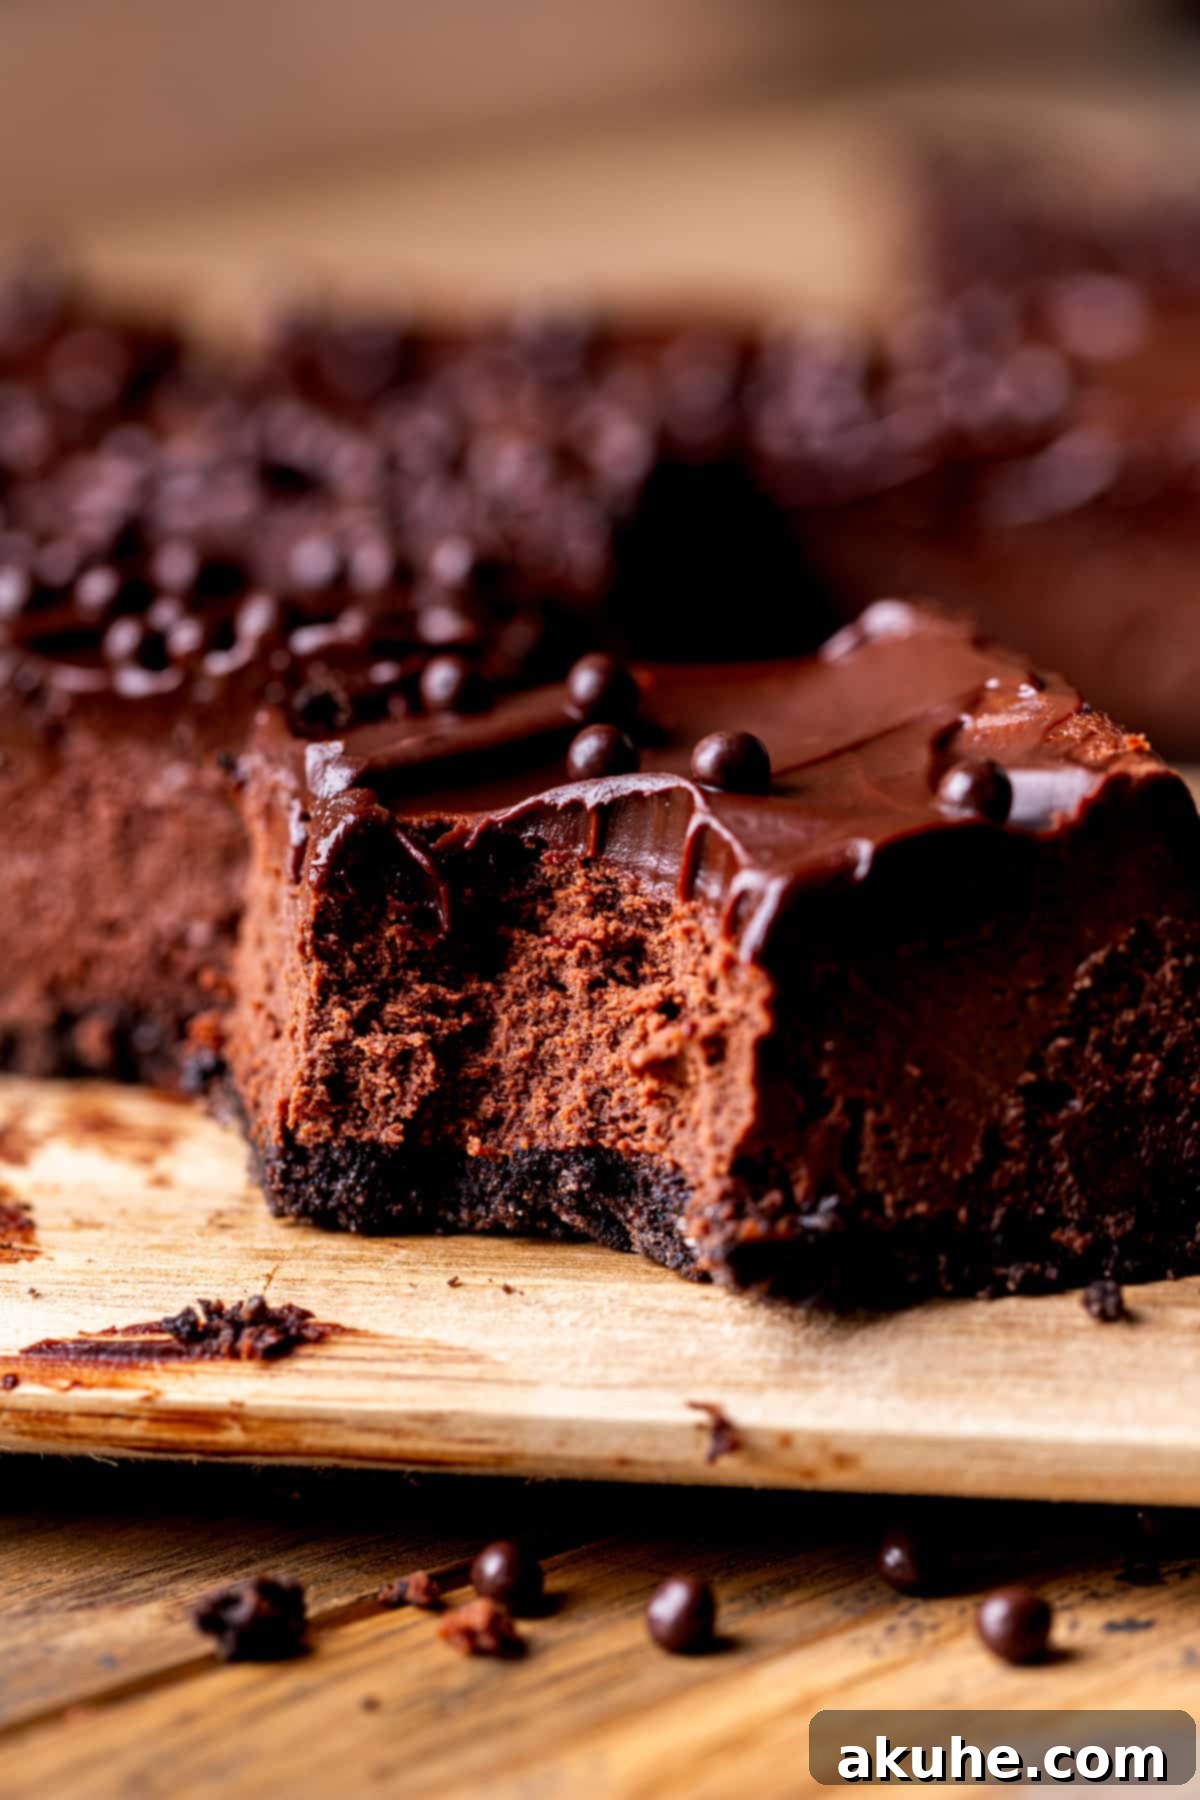
Prepare to embark on a delightful culinary journey with these extraordinary chocolate cheesecake bars. Imagine a rich, crumbly Oreo crust, a velvety cheesecake filling infused with both decadent melted chocolate and deep cocoa powder, all crowned with a luscious, glossy chocolate ganache. These aren’t just any cheesecake bars; they are a celebration of chocolate in every bite, delivering unparalleled decadence without the fuss of a traditional water bath. Perfect for both seasoned bakers and beginners, this recipe promises a show-stopping dessert that’s remarkably easy to achieve.
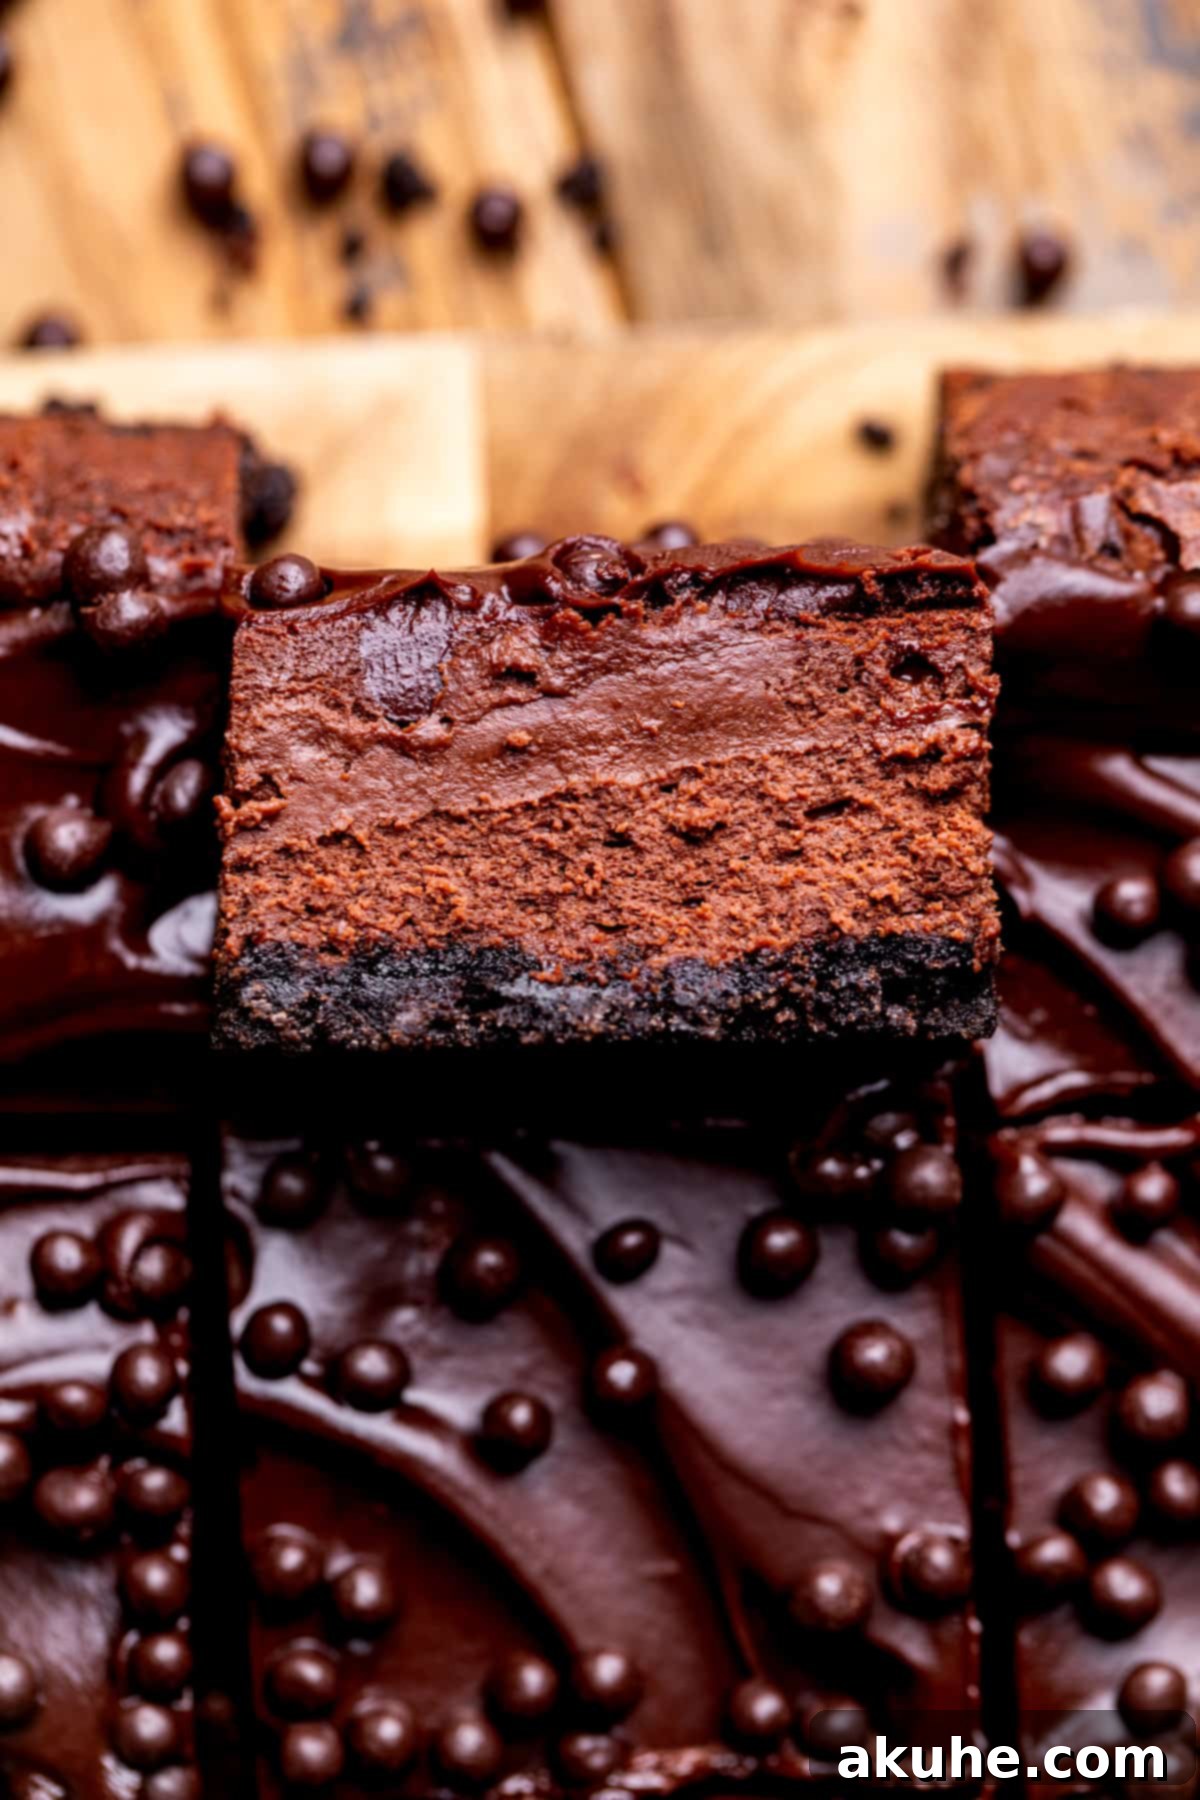
If you crave the opulent flavor of a classic chocolate cheesecake but prefer a more straightforward baking experience, these chocolate cheesecake bars are your ultimate solution. They offer all the intense chocolate goodness in a fraction of the time and with significantly less stress than their traditional counterparts. Forget about complicated water baths, worrying about cracks, or dealing with a sunken center. This recipe is designed for ease and success, making it the perfect choice for a low-stress baking adventure. Indulge your deepest chocolate cravings the simple and satisfying way!
Why These Chocolate Cheesecake Bars Are an Absolute Must-Try
These chocolate cheesecake bars stand out for their incredible flavor and user-friendly preparation. Every element is carefully crafted to deliver a rich, deeply satisfying chocolate experience from top to bottom, all while ensuring a smooth, stress-free baking process.
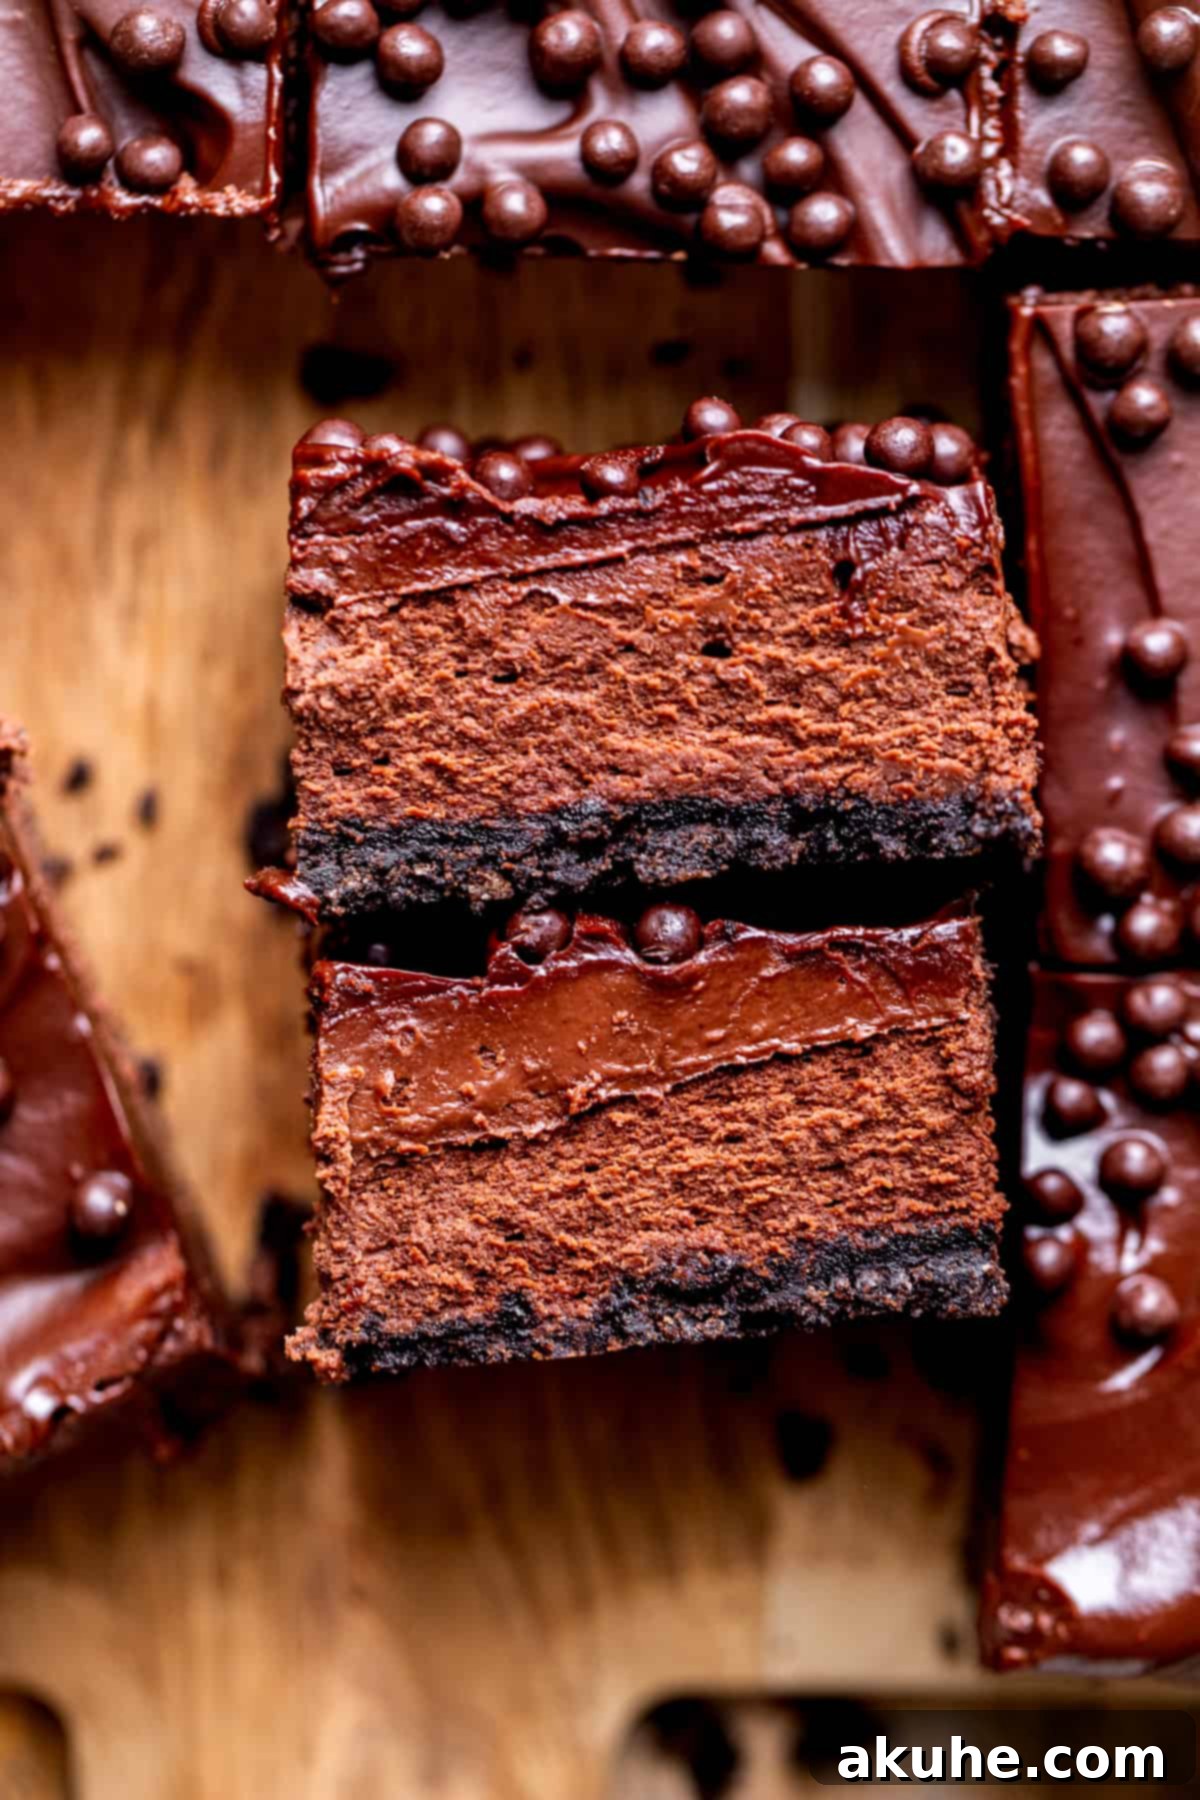
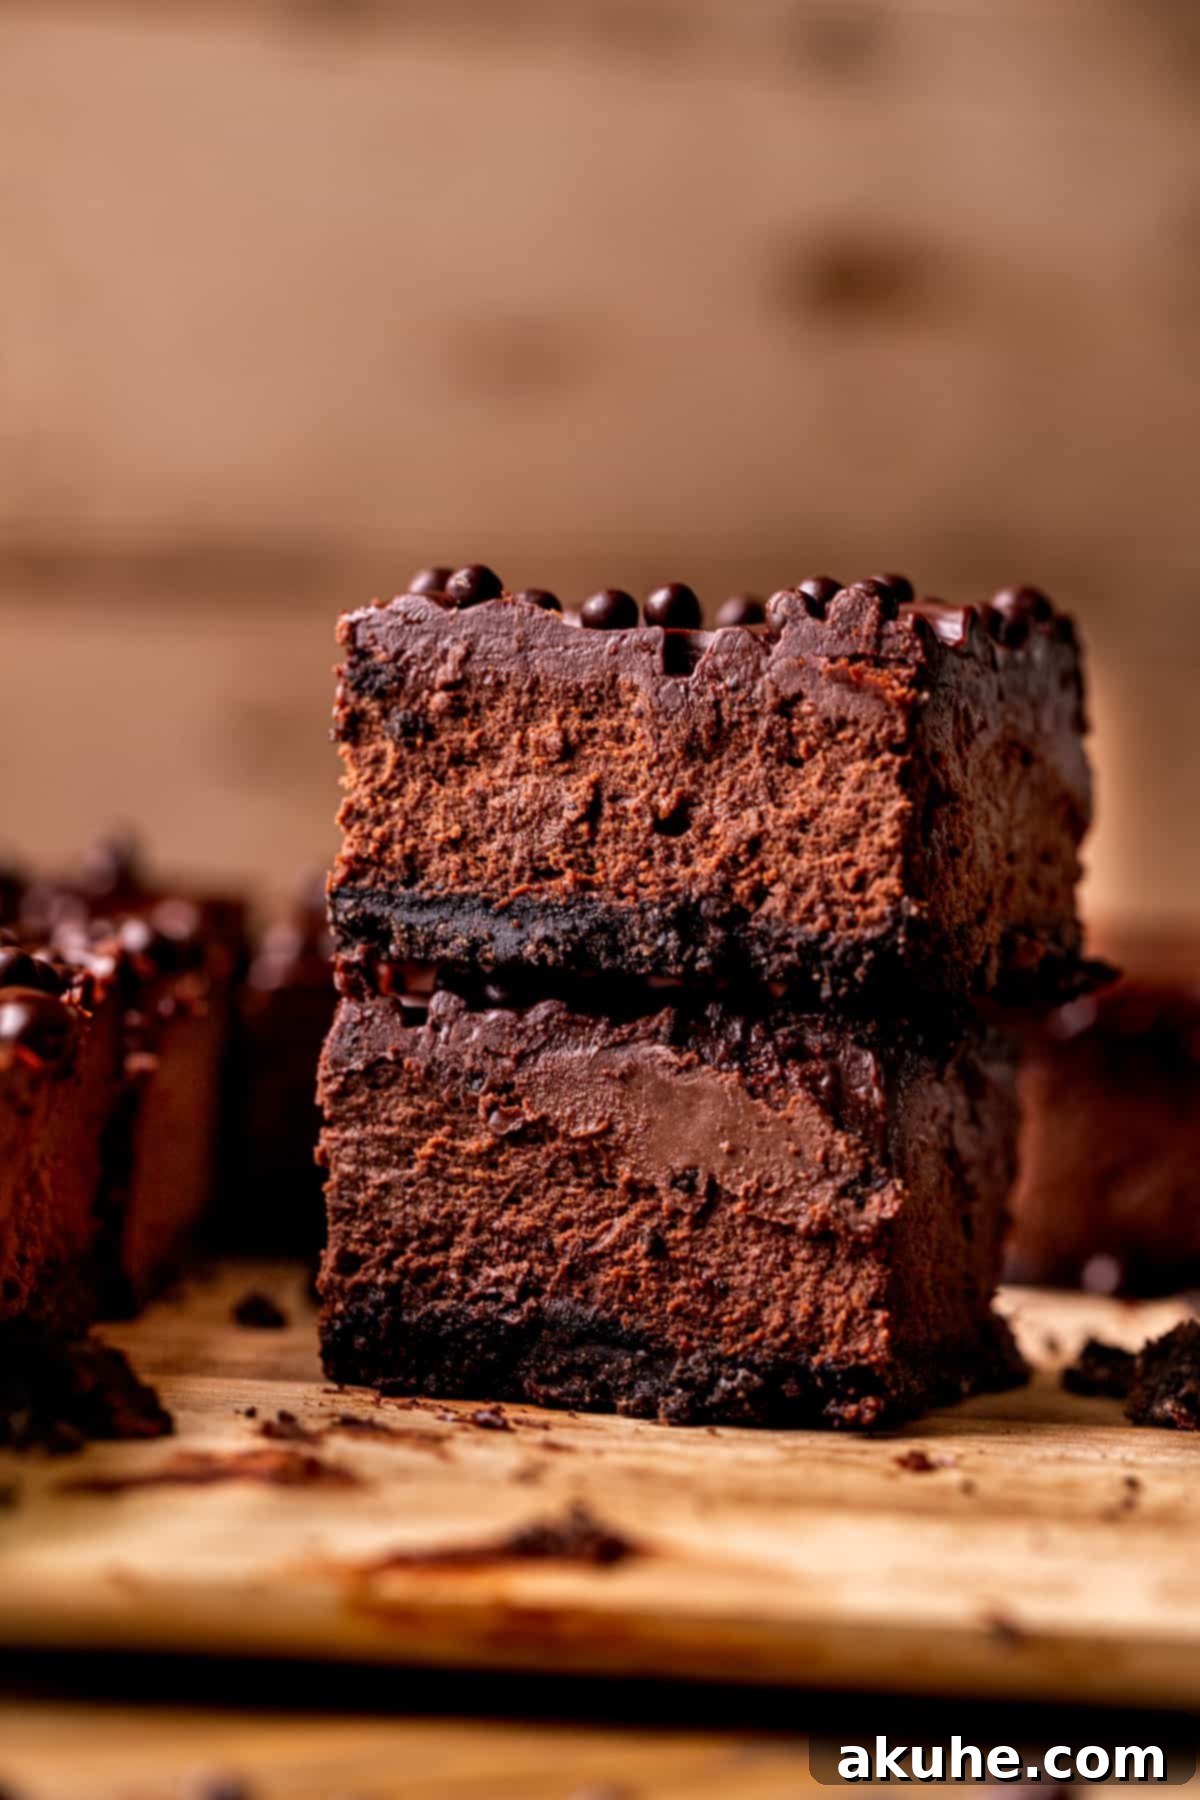
- A Symphony of Triple Chocolate: From the moment you take your first bite, you’ll be treated to a symphony of chocolate. The journey begins with a robust and crunchy Oreo crust, followed by a luxuriously rich chocolate cheesecake filling, and culminates with a silky, irresistible chocolate ganache topping. This layering of chocolate in different forms creates an incredible depth of flavor and texture that is truly unparalleled. It’s a chocolate lover’s dream, offering varied chocolate experiences in one harmonious dessert.
- Unrivaled Richness and Flavor Depth: What sets this cheesecake apart is its profound chocolate flavor. Unlike many recipes that rely on just one source, our cheesecake batter incorporates both premium melted chocolate and high-quality unsweetened cocoa powder. This combination is key to achieving a truly complex and intense chocolate profile. The melted chocolate provides a smooth, fudgy richness, while the cocoa powder adds a robust, slightly bitter undertone that balances the sweetness and enhances the overall chocolate experience. The result is a cheesecake that is profoundly flavorful, not just sweet.
- Effortless and Forgiving Baking: Traditional cheesecakes can be intimidating, often requiring precise techniques like water baths to prevent cracks and ensure even baking. These cheesecake bars, however, are designed to be much more forgiving. Their compact nature and the robust ganache topping mean that minor imperfections are easily concealed, and the risk of cracking or sinking is significantly reduced. This makes them an ideal choice for bakers of all skill levels, allowing you to enjoy the process without constant worry. It’s a truly low-stress dessert that delivers high-impact results every time.
These cheesecake bars are unequivocally crafted for serious chocolate enthusiasts who understand the art of treating themselves. They offer a luxurious, deeply satisfying indulgence that is perfect for special occasions or simply elevating an ordinary day. Prepare to fully embrace and satisfy your most intense chocolate cravings!
For an elegant finishing touch, consider garnishing your bars with exquisite chocolate pearls, adding both visual appeal and a delightful crunch.
Expert Tips for Crafting Perfect Chocolate Cheesecake Bars
Achieving bakery-quality chocolate cheesecake bars at home is entirely within reach with these essential tips. Follow these guidelines to ensure your bars turn out perfectly smooth, rich, and utterly delicious, just like the ones pictured in this recipe.
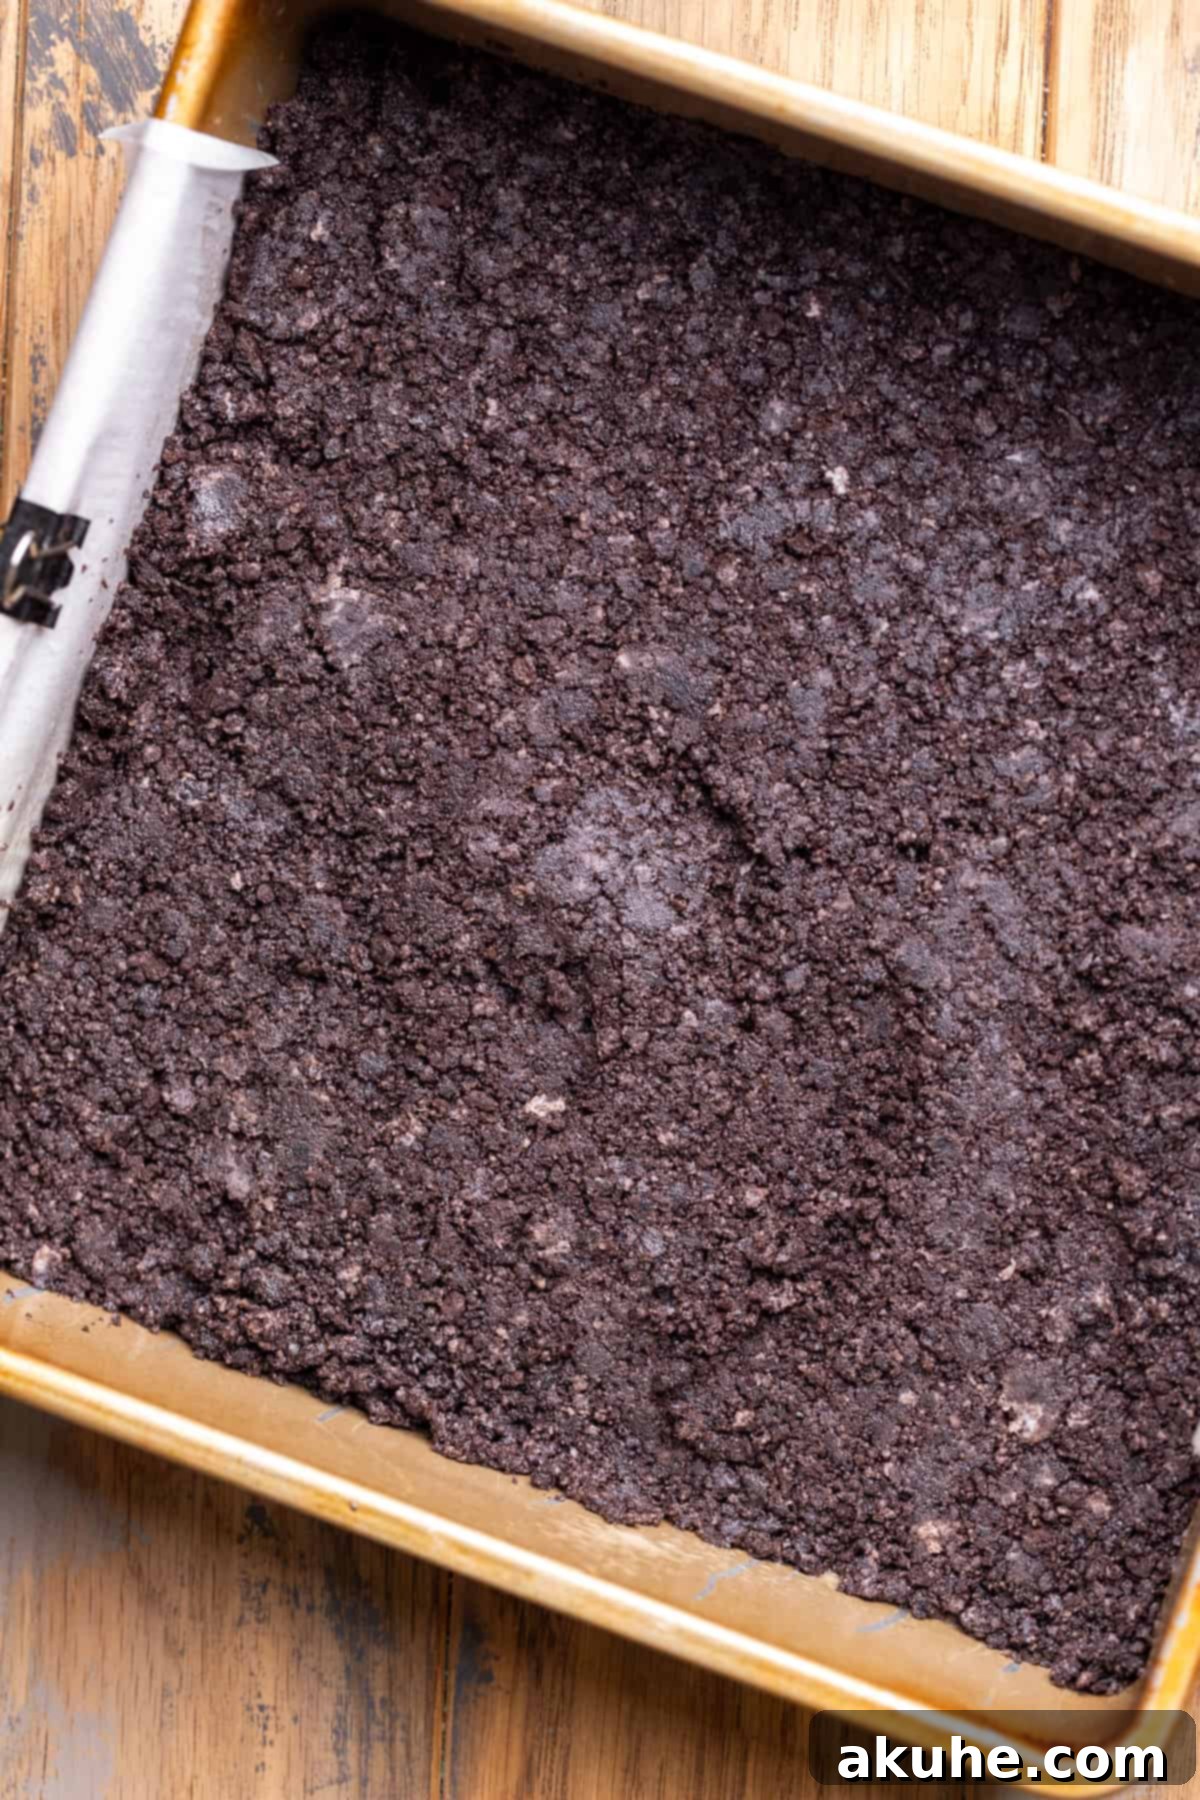
- Mastering the Oreo Crust: The foundation of these bars is the incredibly flavorful Oreo crust. When preparing it, focus on spreading the crushed Oreo crumbs evenly across the bottom of your baking pan. It’s crucial for this recipe that you do not push the crumbs up the sides of the pan. This ensures a clean, distinct base layer for your cheesecake. For a perfectly compact and sturdy crust, use the flat bottom of a measuring cup or a glass to press the crumbs down firmly and uniformly. A well-compacted crust prevents crumbling and creates a solid base that supports the creamy cheesecake layer beautifully.
- The Importance of Room Temperature Dairy: This tip is a game-changer for any cheesecake, and especially for achieving that signature smooth, lump-free texture in your chocolate cheesecake filling. Ensure that your cream cheese and heavy cream are at true room temperature before you begin mixing. Cold dairy ingredients tend to clump together, making it difficult to achieve a silky-smooth batter. By allowing them to soften, they will incorporate much more easily and uniformly with the sugar and other ingredients, resulting in a perfectly homogeneous mixture that bakes beautifully. Planning ahead by pulling these ingredients out of the fridge at least two hours before you start baking will make a significant difference.
- Preventing Cracks with Gentle Cooling: One of the most common anxieties with cheesecake baking is the dreaded surface crack. While these bars are more forgiving, a sudden temperature change can still cause cracks. To minimize this risk, employ a gradual cooling method. Once your cheesecake bars are baked and the edges are set with a slight jiggle in the center, turn off your oven. Prop the oven door open slightly (about 1-2 inches) and allow the cheesecake to cool slowly within the oven for approximately 20 minutes. This gentle, gradual temperature reduction helps the cheesecake to set without contracting too quickly, which is often the cause of cracking. After this initial cooling period, transfer the pan to a wire rack to cool completely at room temperature before chilling in the refrigerator.
- Don’t Overmix the Batter: While you want a smooth batter, overmixing cheesecake after adding the eggs can incorporate too much air. This excess air can cause the cheesecake to puff up too much during baking and then collapse or crack as it cools. Mix the cream cheese, sugar, and cocoa powder until smooth, then add the melted chocolate, cream, and vanilla. Only add the eggs at the very end and mix on low speed just until they are fully incorporated, and no streaks remain. Stop mixing as soon as everything is combined.
- Quality Chocolate Matters: The chocolate in this recipe is a star, so choose wisely. Using a good quality chocolate bar (like Lindt 70% as suggested, or another premium brand you enjoy) for melting will elevate the flavor of your cheesecake significantly. Similarly, for the ganache, semi-sweet chocolate chips of a decent brand will ensure a smooth, delicious topping. The quality of your ingredients directly impacts the final taste of your decadent dessert.
Mastering the Art of Decorating with Chocolate Ganache
The chocolate ganache topping is the crowning glory of these cheesecake bars, adding another layer of rich chocolate flavor and a stunning, glossy finish. Properly applying it ensures each bar looks as incredible as it tastes.
To effortlessly remove your baked and chilled cheesecake from the pan for decorating, first ensure the cheesecake is fully cooled and firm. Use a thin butter knife or an offset spatula to gently run along the two un-lined sides of the pan, separating the cheesecake from the metal. Once these sides are released, you can use the extended parchment paper flaps on the other two sides to carefully lift the entire cheesecake slab out of the pan and onto a cutting board or serving platter. This method minimizes damage and keeps your beautiful cheesecake intact.
If your parchment paper isn’t sticking up or if you prefer an alternative method, you can gently flip the entire pan over onto a sturdy cutting board. Before doing so, make sure to place the cutting board directly over the pan and hold them firmly together. This technique allows the cheesecake to slide out smoothly without any risk of dropping or breaking. It’s a confident move that yields excellent results!
When preparing your chocolate ganache, aim for a perfectly smooth, luscious consistency. If you notice any small lumps of chocolate that haven’t fully melted after stirring, a quick fix is to place the bowl back into the microwave for a very short interval, about 10-15 seconds. Immediately remove and stir vigorously until the ganache becomes completely smooth and glossy. Be careful not to overheat, as this can cause the chocolate to seize.
Once your cheesecake is out of the pan and the ganache is smooth, pour the warm (but not hot) ganache evenly over the top of the chilled cheesecake. Use an offset spatula to gently spread the ganache all the way to the edges, creating a uniform, mirror-like surface. Work swiftly but carefully to ensure an even coating before the ganache starts to set.
For pristine, professional-looking cuts, it’s crucial to set the ganache properly. After spreading the ganache, place the entire cheesecake slab in the freezer for about 10-15 minutes. This quick chill will firm up the ganache, preventing it from oozing or smudging when you slice the bars. The result will be clean, sharp edges that make your chocolate cheesecake bars even more appealing to serve.
Chocolate Cheesecake Bar FAQs: Your Questions Answered
New to baking cheesecake bars or simply have some queries about this specific recipe? Here are answers to common questions to help you bake with confidence and achieve the best possible results.
Can I use a graham cracker crust instead of an Oreo crust?
Absolutely, you can certainly substitute the Oreo crust with a classic graham cracker crust if that’s your preference or what you have on hand. This cheesecake recipe is versatile enough to accommodate different crust options. However, I highly recommend sticking with the Oreo crust for these particular bars. The deep chocolate flavor of the Oreo harmonizes exceptionally well with the rich chocolate cheesecake filling and ganache, creating an unparalleled triple-chocolate experience that truly enhances the overall decadence. It’s also incredibly easy to make, adding to the low-stress appeal of this dessert.
What if my cheesecake still cracks despite the cooling tips?
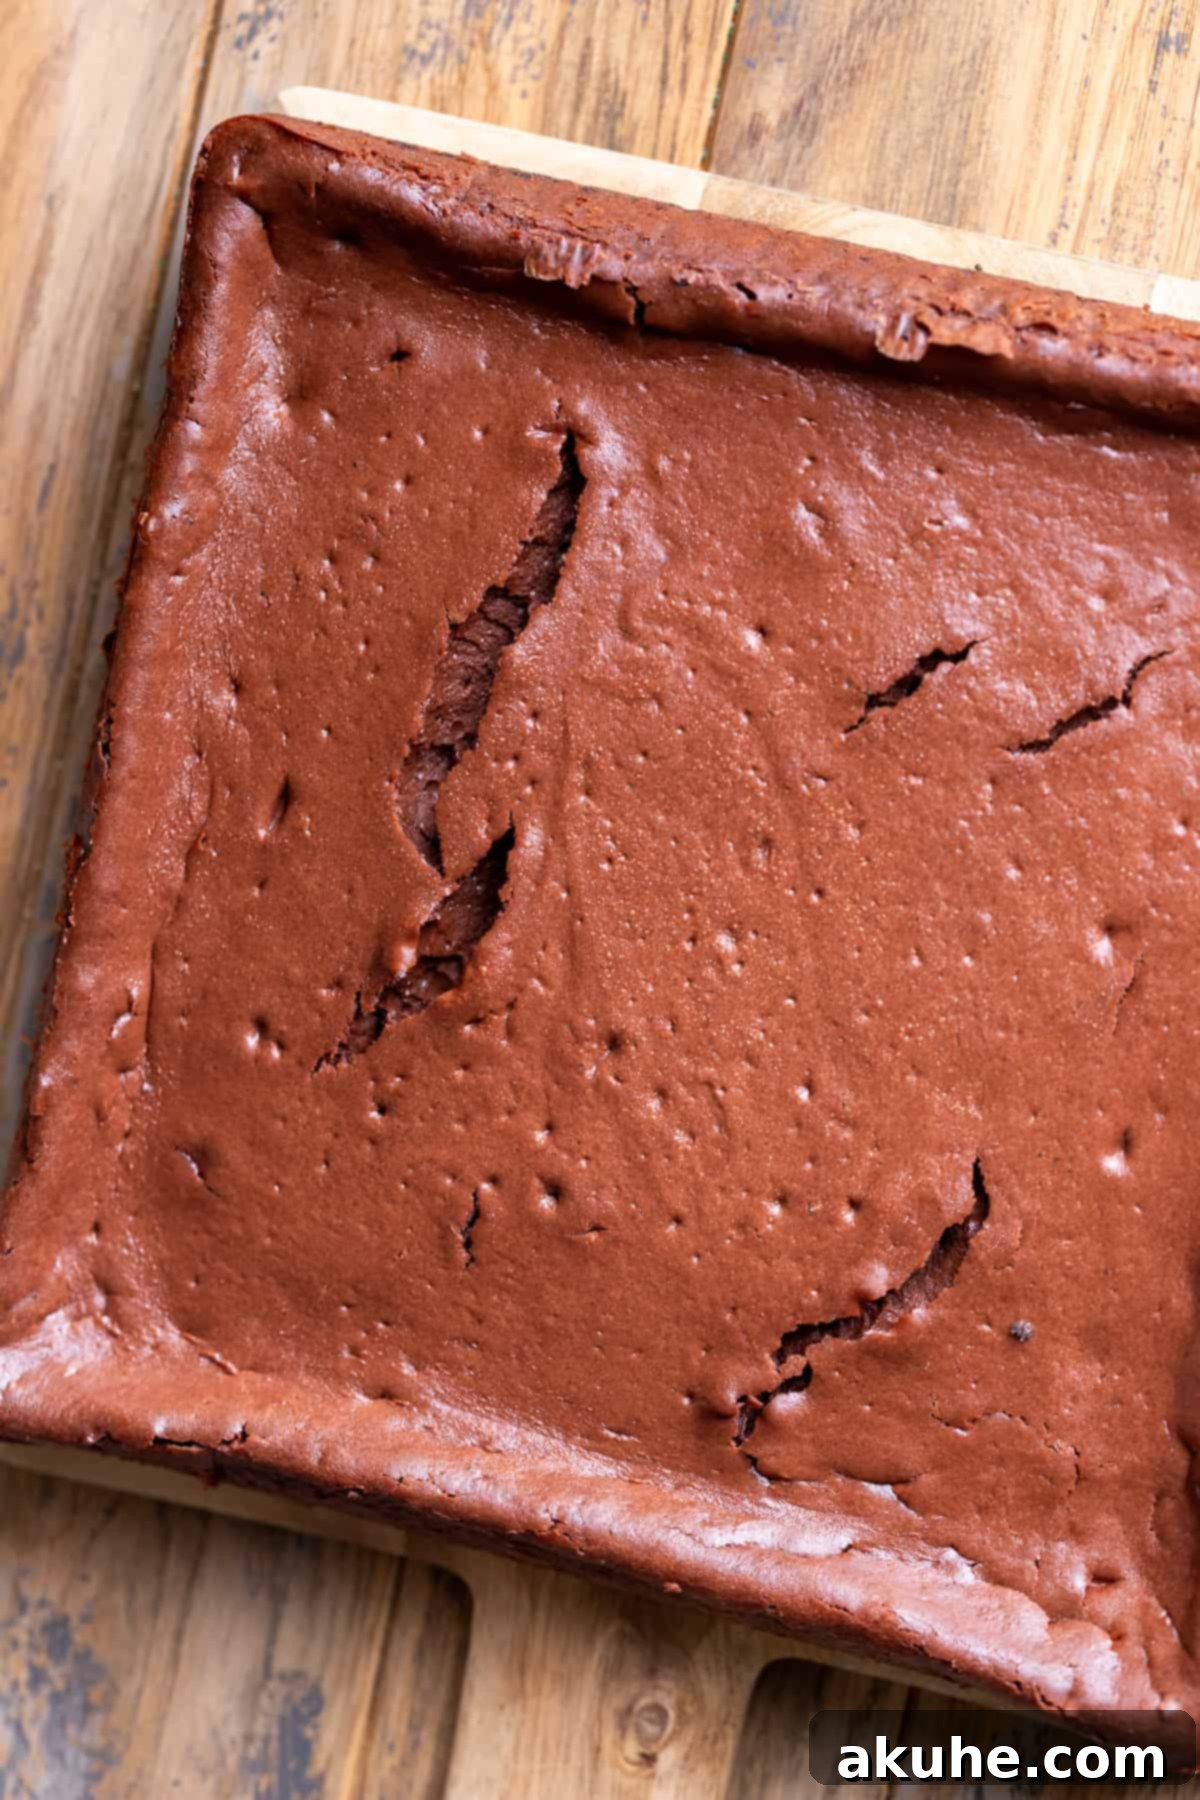
While these cheesecake bars are designed to be more crack-resistant than a full-sized traditional cheesecake, minor surface cracks can still occasionally occur, especially since we’re skipping the water bath. Don’t fret if you notice a hairline crack! The beauty of these bars is that they are not overly thick, and more importantly, they are generously topped with a luscious chocolate ganache. This ganache acts as a beautiful, delicious camouflage, covering any imperfections and ensuring your bars look perfectly polished and inviting. The taste and texture will remain unaffected, so no one will ever know!
Can I bake this recipe in an 8×8 inch pan instead of a 9×9 inch pan?
Yes, you can definitely use an 8×8 inch square pan for this recipe. However, be aware that doing so will result in thicker cheesecake bars. Due to the increased thickness, you will need to adjust the baking time. Thicker bars typically require an additional 10-15 minutes (or even more) in the oven compared to those baked in a larger 9×9 inch pan. Always check for doneness by ensuring the edges are set and the center has a slight jiggle. Keep an eye on them and use a toothpick or knife inserted near the edge to check for clean withdrawal.
What are the best methods for storing these chocolate cheesecake bars?
Proper storage is key to maintaining the freshness and deliciousness of your chocolate cheesecake bars. For short-term storage, place the bars in an airtight container and refrigerate them. They will remain wonderfully fresh and delightful for up to 5 days. For longer enjoyment, these cheesecake bars freeze exceptionally well. I highly recommend cutting them into individual slices or serving sizes before freezing. This makes it much easier to thaw only what you need. Place the cut bars in an airtight freezer-safe container, separating layers with parchment paper to prevent sticking. They can be stored in the freezer for up to 30 days. When you’re ready to enjoy, simply remove them from the freezer and let them thaw at room temperature for 1-2 hours, or in the refrigerator overnight, before serving.
How can I achieve perfectly clean slices?
For neat, clean cuts that showcase the beautiful layers of your cheesecake bars, a sharp, thin knife is essential. After the ganache has set (ideally after a quick freezer chill), run your knife under hot water and then wipe it completely dry. Make a single, decisive cut through the bar. Clean the knife thoroughly with hot water and wipe it dry after each cut. This prevents the ganache and cheesecake from sticking to the knife and ensures crisp, clean edges on every single bar. For extra precision, you can score the top of the ganache before cutting.
Can I prepare these cheesecake bars ahead of time for an event?
Absolutely! These chocolate cheesecake bars are an excellent make-ahead dessert, making them perfect for parties, gatherings, or simply having a delicious treat ready when cravings strike. You can prepare the entire recipe, including the ganache topping, up to 2-3 days in advance and store them in an airtight container in the refrigerator. If you plan to freeze them, complete all steps up to the ganache topping and freezing as detailed in the storage section. Thaw and cut just before serving for optimal freshness. This flexibility allows you to enjoy your event without last-minute baking stress.
Discover More Decadent Cheesecake Recipes
If you’ve fallen in love with these chocolate cheesecake bars, you’ll be thrilled to explore our other beloved cheesecake creations. Each recipe offers a unique flavor profile, promising more delightful baking adventures:
- Hot Chocolate Cheesecake: A comforting classic, transformed into a rich, creamy cheesecake.
- S’mores Cheesecake: All the campfire magic, layered into an irresistible dessert.
- Banana Pudding Cheesecake: A southern classic meets creamy cheesecake, pure comfort.
- New York Style Cheesecake: The ultimate classic, dense, creamy, and iconic.
- Carrot Cake Cheesecake: A delightful fusion of two beloved desserts, spiced and rich.
We hope you thoroughly enjoy creating and devouring these amazing chocolate cheesecake bars. This recipe is more than just a dessert; it’s an experience designed to bring joy and satisfying indulgence to your kitchen. We encourage you to try it, share it, and revel in every chocolatey bite.
Chocolate Cheesecake Bars
By Stephanie Rutherford
These chocolate cheesecake bars feature a delightful Oreo crust, a rich cheesecake batter infused with both melted chocolate and cocoa powder, and are elegantly finished with a smooth chocolate ganache topping. These bars are incredibly decadent and require no water bath, making them surprisingly easy to bake.
Print Recipe |
Pin Recipe |
Leave a Review
Prep Time: 40 mins
Cook Time: 45 mins
Chilling Time: 6 hrs
Total Time: 7 hrs 25 mins
Servings: 16 squares
Ingredients
Oreo Crust
- 2 cups Oreo crumbs (about 2 rows of Oreos in a regular pack)
- 4 TBSP Unsalted butter, melted
Chocolate Cheesecake
- 24 oz Cream cheese, room temperature
- 1 cup White granulated sugar
- 1/2 cup Unsweetened cocoa powder (use Dutch process for best results)
- 8 oz Chocolate bar, melted (e.g., Lindt 70% dark chocolate)
- 1/2 cup Heavy cream, room temperature
- 1 tsp Pure vanilla extract
- 4 Large eggs, room temperature
Chocolate Ganache
- 1 cup Semi-sweet chocolate chips
- 1/2 cup Heavy cream
Instructions
Oreo Crust
- Preheat oven to 325℉ (160°C). Spray a 9×9-inch (23×23 cm) square pan with nonstick baking spray. Line the bottom and two sides of the pan with parchment paper, leaving an overhang to easily lift the bars later. Spray the parchment paper again.
- Using a food processor, blend the Oreos into a fine, uniform crumb. Pour the crumbs and melted butter into a small bowl and mix thoroughly with a fork until well combined.
- Pour the Oreo crumbs into the prepared pan. Use the bottom of a flat measuring cup or a glass to firmly compact the crust down. Ensure the crust covers only the bottom of the pan and does not extend up the sides.
- Bake the crust for 12 minutes. While it bakes, prepare the chocolate cheesecake batter.
Chocolate Cheesecake
- In a microwave-safe bowl, add the chocolate bar broken into pieces. Melt in the microwave for 30 seconds, then stir. Heat for another 20 seconds, then stir again. Continue heating in 15-second intervals, stirring well after each, until the chocolate is completely smooth and melted. Set aside to cool slightly.
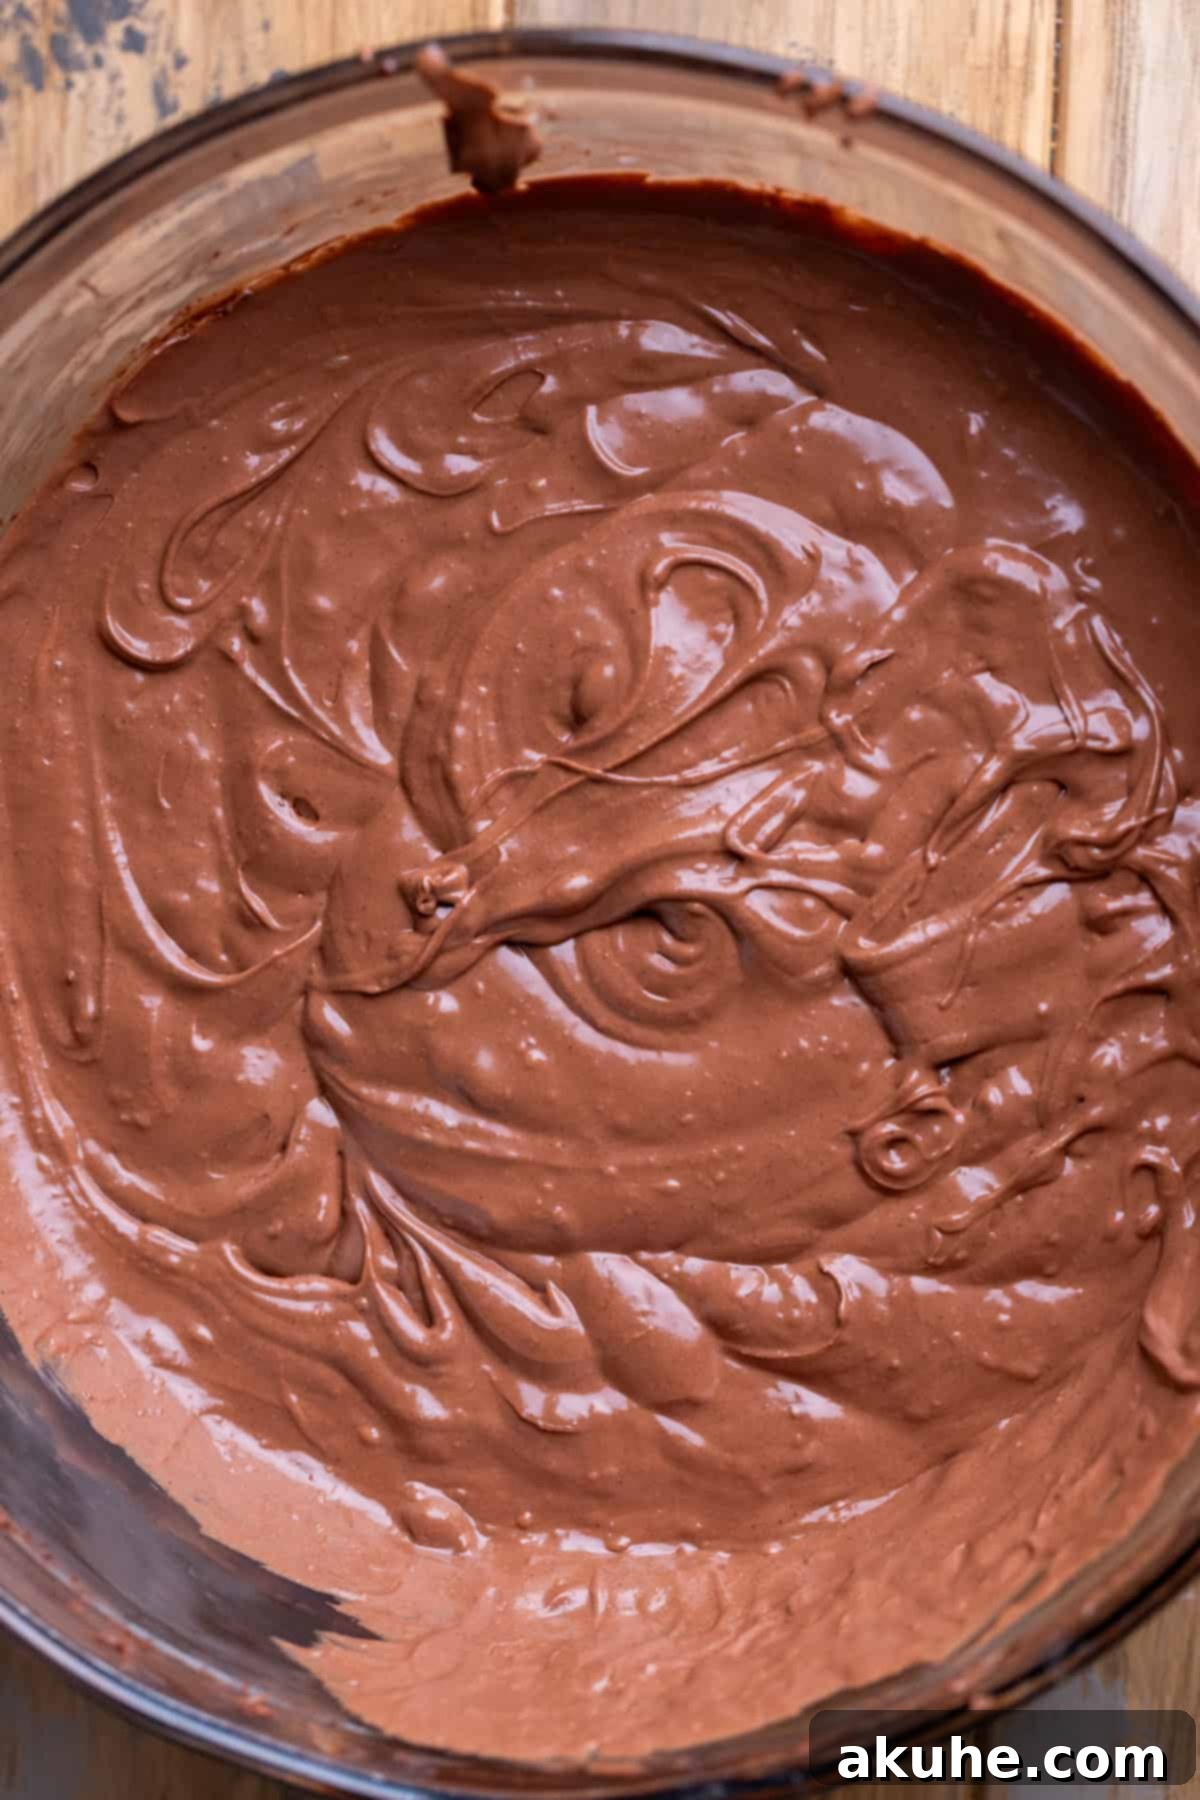
- In a large mixing bowl, using an electric mixer, beat the room temperature cream cheese, white granulated sugar, and unsweetened cocoa powder on high speed for 2 minutes, until smooth and creamy. Scrape down the sides of the bowl with a spatula.
- Add the slightly cooled melted chocolate, room temperature heavy cream, and pure vanilla extract to the cream cheese mixture. Mix on medium speed until the batter is smooth and well combined.
- Finally, add the room temperature large eggs, one at a time, mixing on low speed until just combined. Be careful not to overmix at this stage, as too much air can cause cracking.
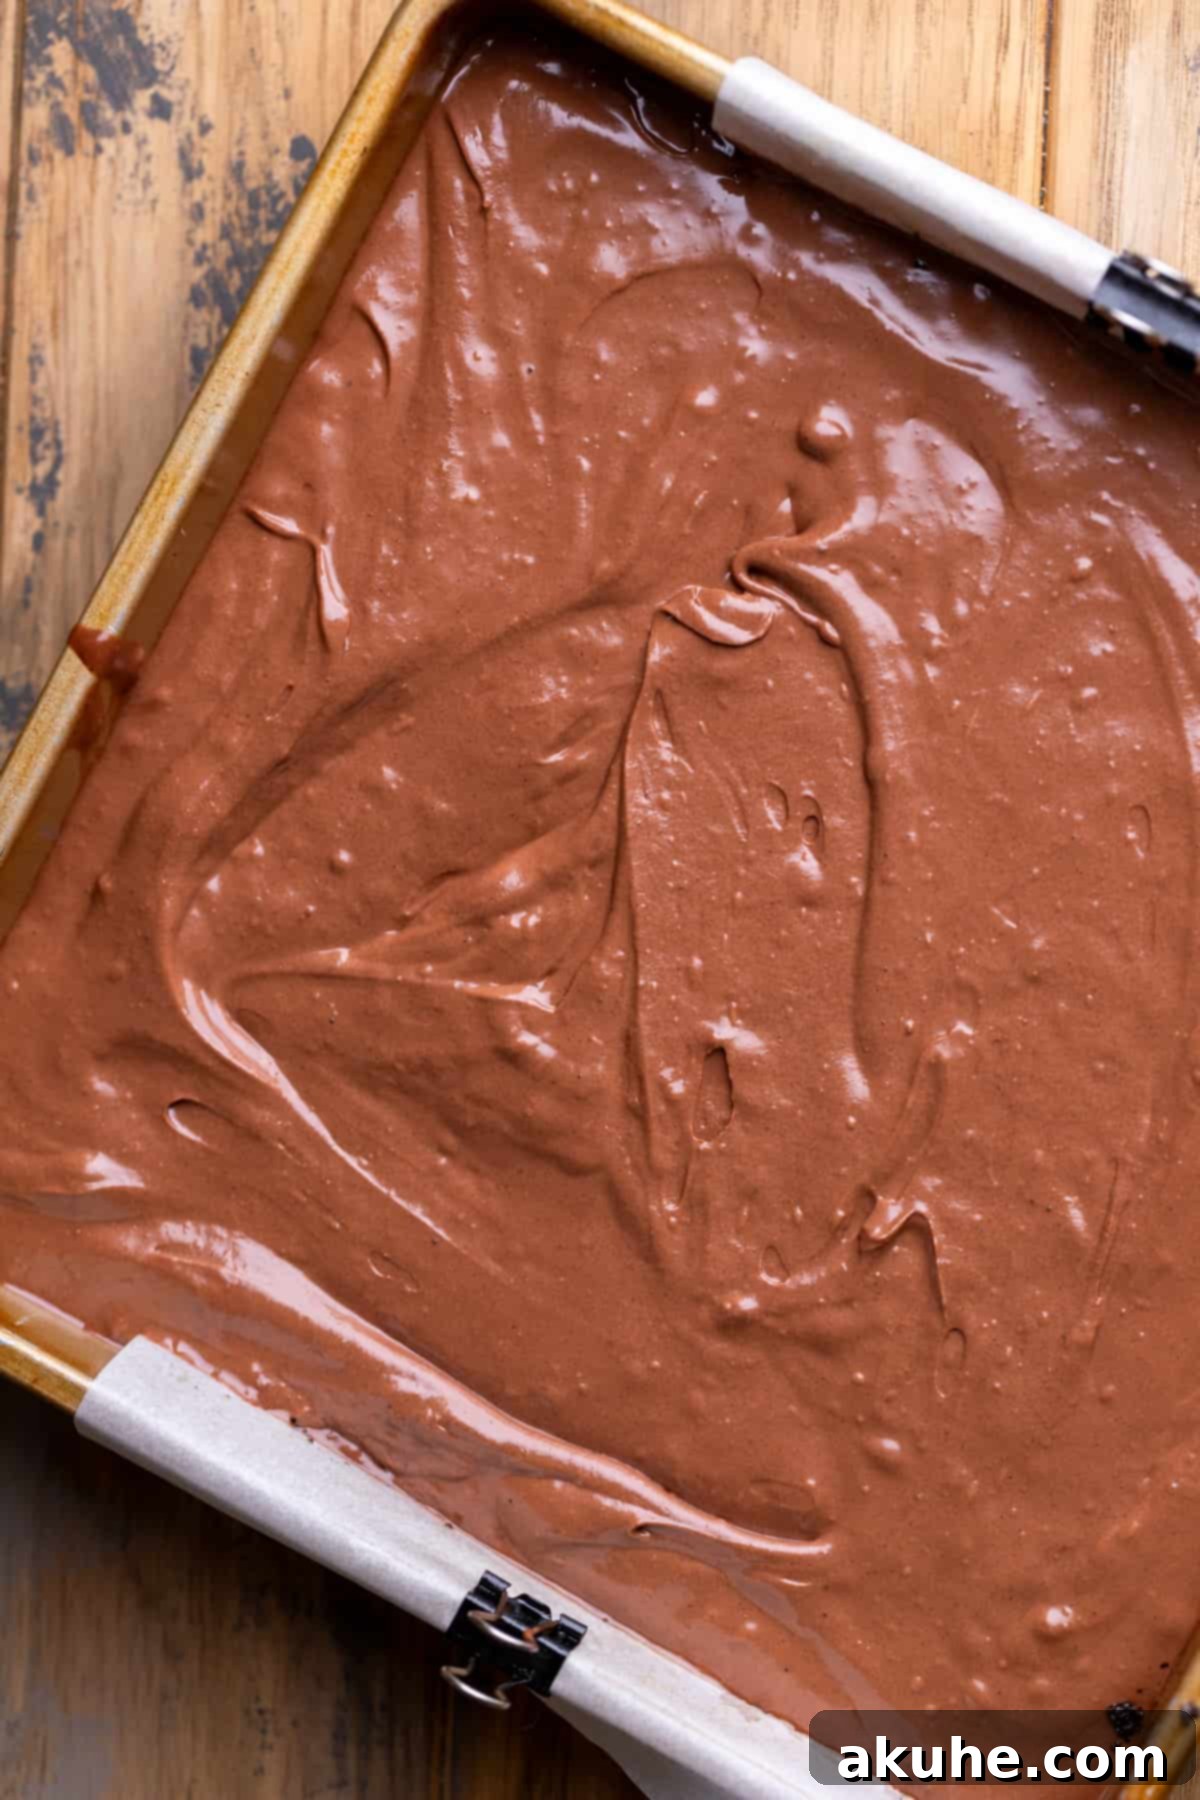
- Pour the chocolate cheesecake batter evenly over the pre-baked Oreo crust in the prepared pan.
- Bake for 40-50 minutes. The cheesecake is done when the edges are set and firm, but the very center still has a slight, gentle jiggle when the pan is lightly shaken.
- Once baked, turn off the oven. Crack open the oven door (about 1-2 inches) and allow the cheesecake to cool slowly in the oven for 20 minutes. This gradual cooling helps prevent cracks. After 20 minutes, transfer the pan to a wire rack to cool completely at room temperature.
- Cover the cooled cheesecake loosely with foil or plastic wrap and chill in the refrigerator for at least 6 hours, or ideally overnight, until thoroughly set and firm.
Chocolate Ganache
- In a small heatproof bowl, place the semi-sweet chocolate chips. In a small saucepan, heat the heavy cream over medium-low heat until it just begins to steam and simmer around the edges (do not boil).
- Pour the hot cream directly over the chocolate chips. Let it sit undisturbed for 2 minutes to allow the chocolate to melt. Then, stir gently from the center outwards until the ganache is completely smooth, glossy, and combined. If there are any lumps, microwave for 10-15 seconds and stir again until smooth.
- Once the cheesecake bars are fully chilled and firm, carefully remove them from the pan using the parchment paper overhang. Discard the parchment paper. Place the cheesecake slab on a clean cutting board or serving platter.
- Pour the warm (but not hot) ganache over the top of the chilled cheesecake and use an offset icing spatula to spread it evenly to all edges, creating a beautiful, smooth layer.
- If serving immediately, place the entire cheesecake slab in the freezer for 10-15 minutes to allow the ganache to set firmly before cutting. This ensures clean, sharp slices. If serving later, store the ganache-topped cheesecake in the fridge until ready to cut and serve. For the cleanest cuts, clean your knife with hot water and wipe dry after each slice.
Notes
For the best results and a smooth batter, remember to pull out all dairy ingredients (cream cheese, heavy cream, eggs) from the fridge at least 2 hours before you plan to start baking, allowing them to come to room temperature.
Nutrition Information (per serving)
Calories: 429kcal, Carbohydrates: 29g, Protein: 5g, Fat: 34g, Saturated Fat: 20g, Polyunsaturated Fat: 1g, Monounsaturated Fat: 9g, Trans Fat: 0.1g, Cholesterol: 68mg, Sodium: 143mg, Potassium: 278mg, Fiber: 3g, Sugar: 22g, Vitamin A: 888IU, Vitamin C: 0.1mg, Calcium: 73mg, Iron: 3mg
Did you try this irresistible recipe? We’d love to hear your thoughts! Please leave a star rating and review below to let us know how your chocolate cheesecake bars turned out. Don’t forget to tag us on Instagram @stephaniesweettreats with your delicious creations. For more baking inspiration and sweet ideas, be sure to follow us on Pinterest!
