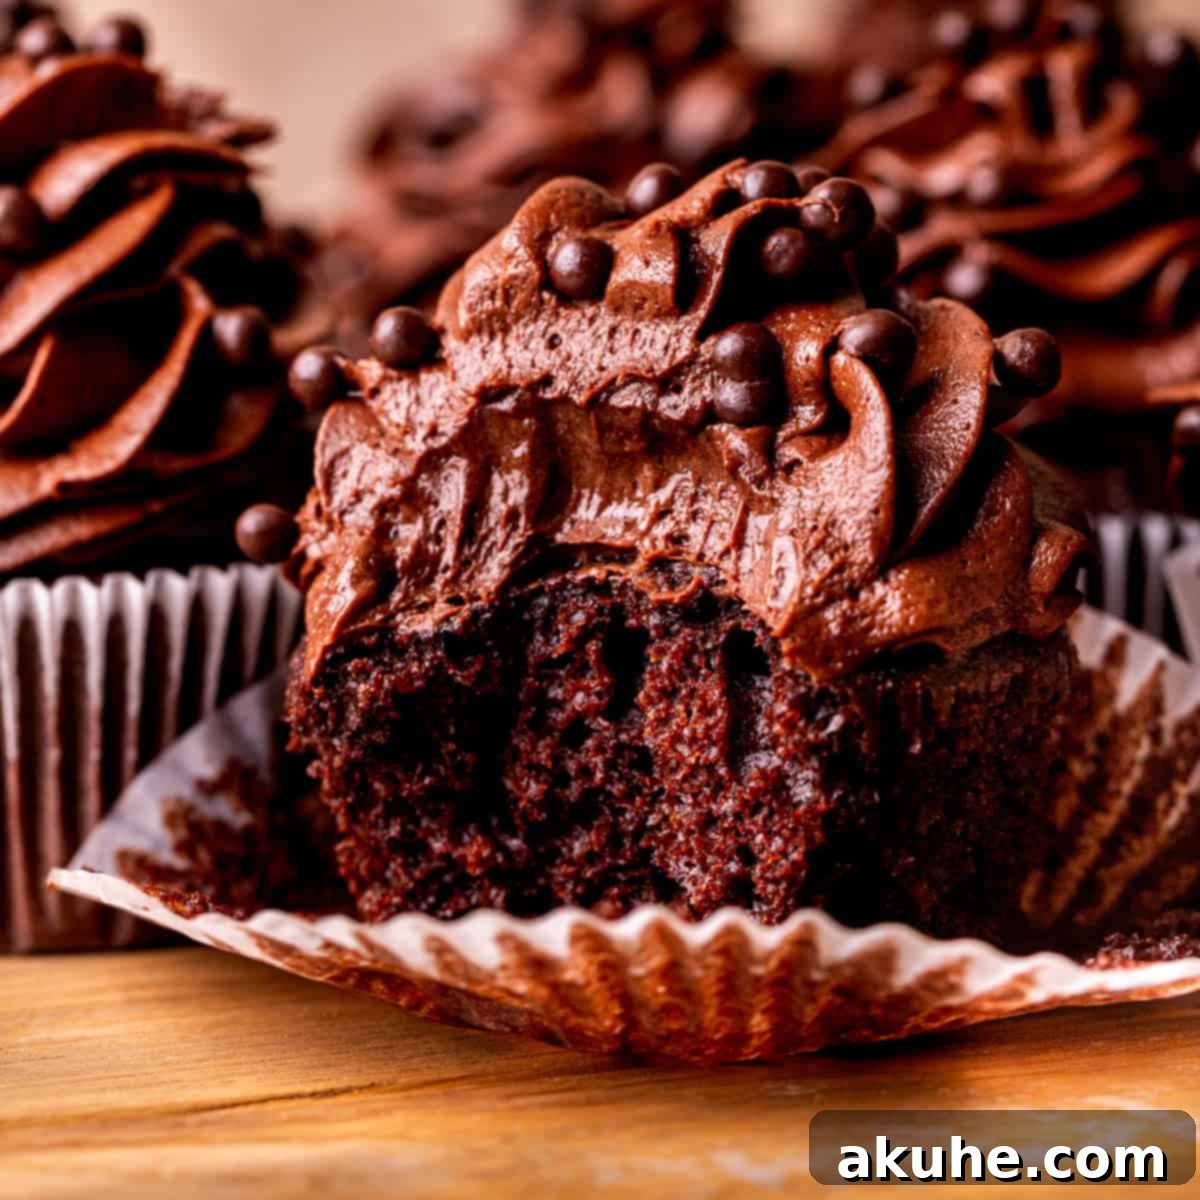
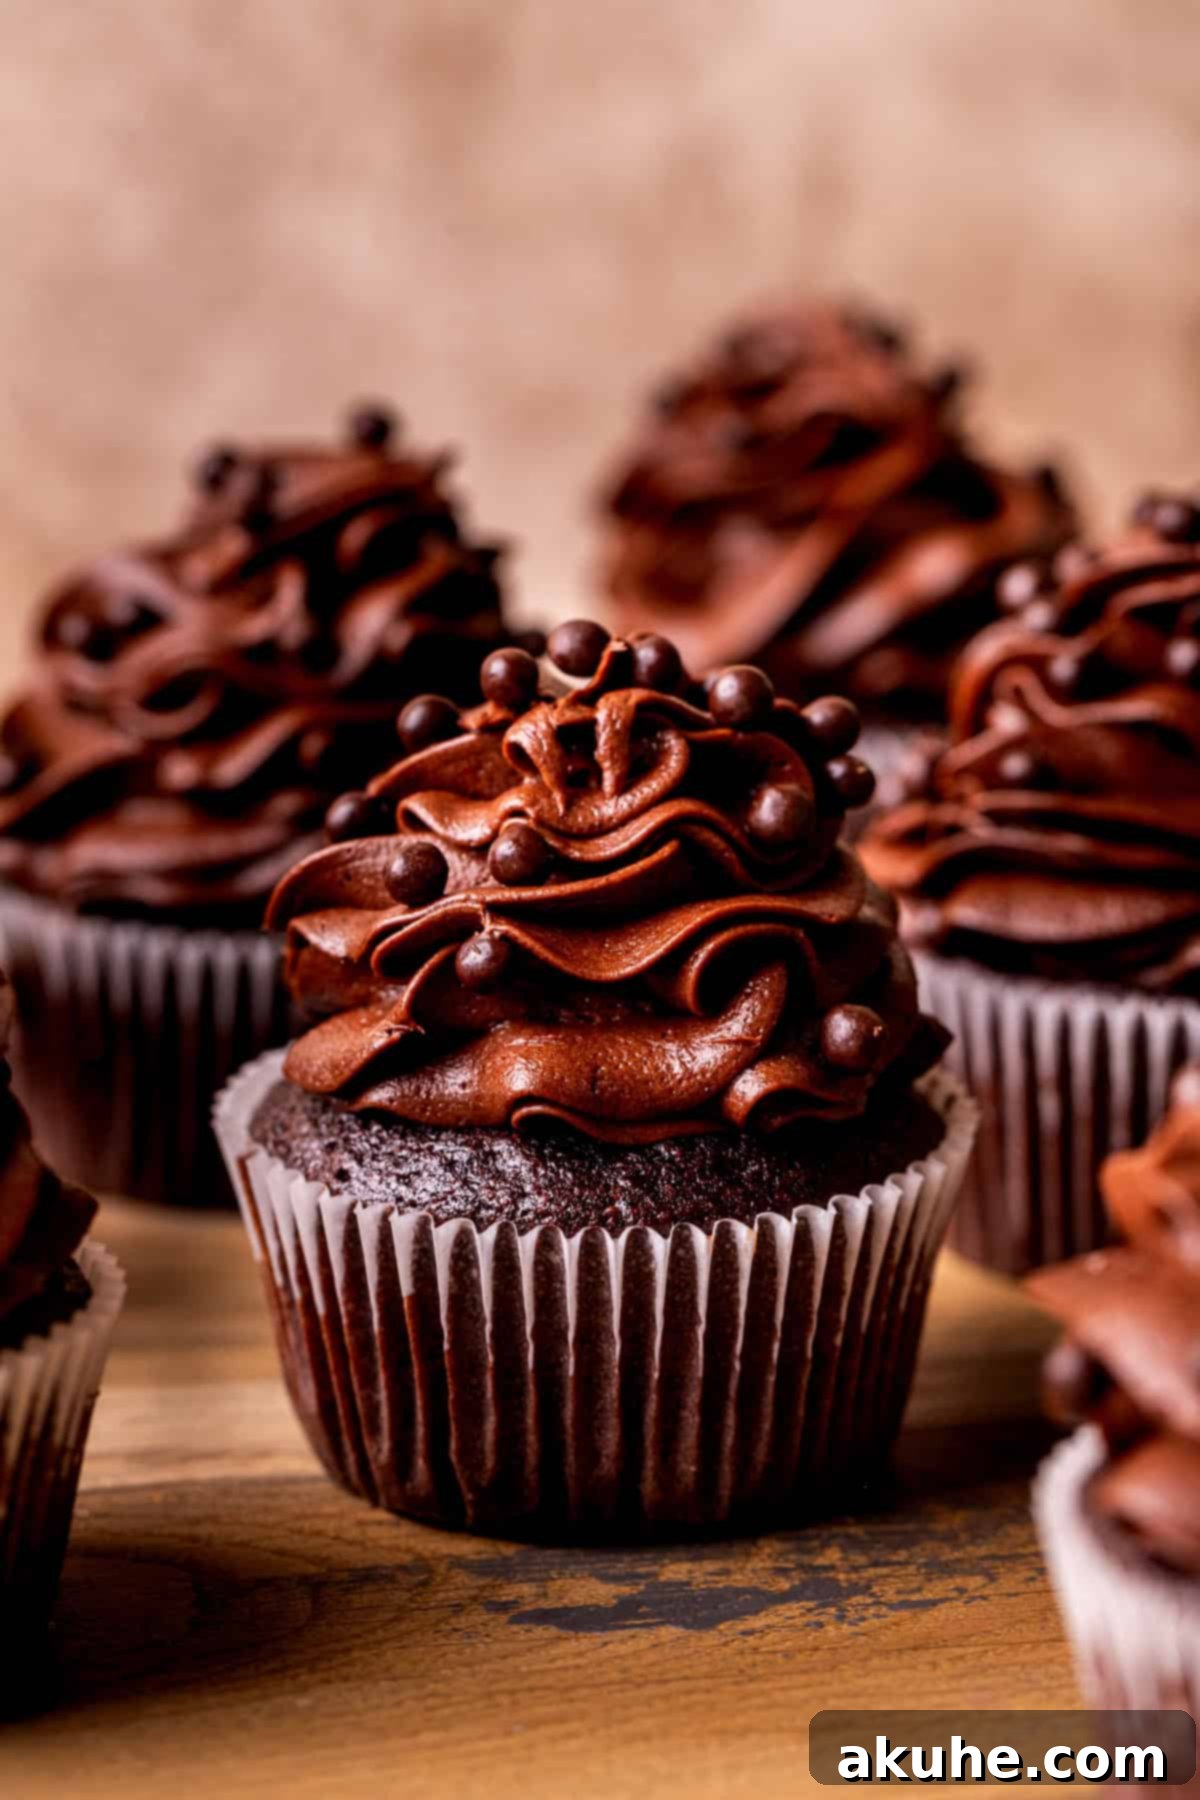
Welcome to the ultimate guide for creating the best chocolate cupcakes you’ve ever tasted. These aren’t just any cupcakes; they are a masterpiece of moist, fluffy chocolate sponge topped with an unbelievably soft, creamy, and decadent chocolate cream cheese frosting. Prepare to delight your senses with a dessert that redefines perfection, whether for a special celebration or a simple, indulgent treat.
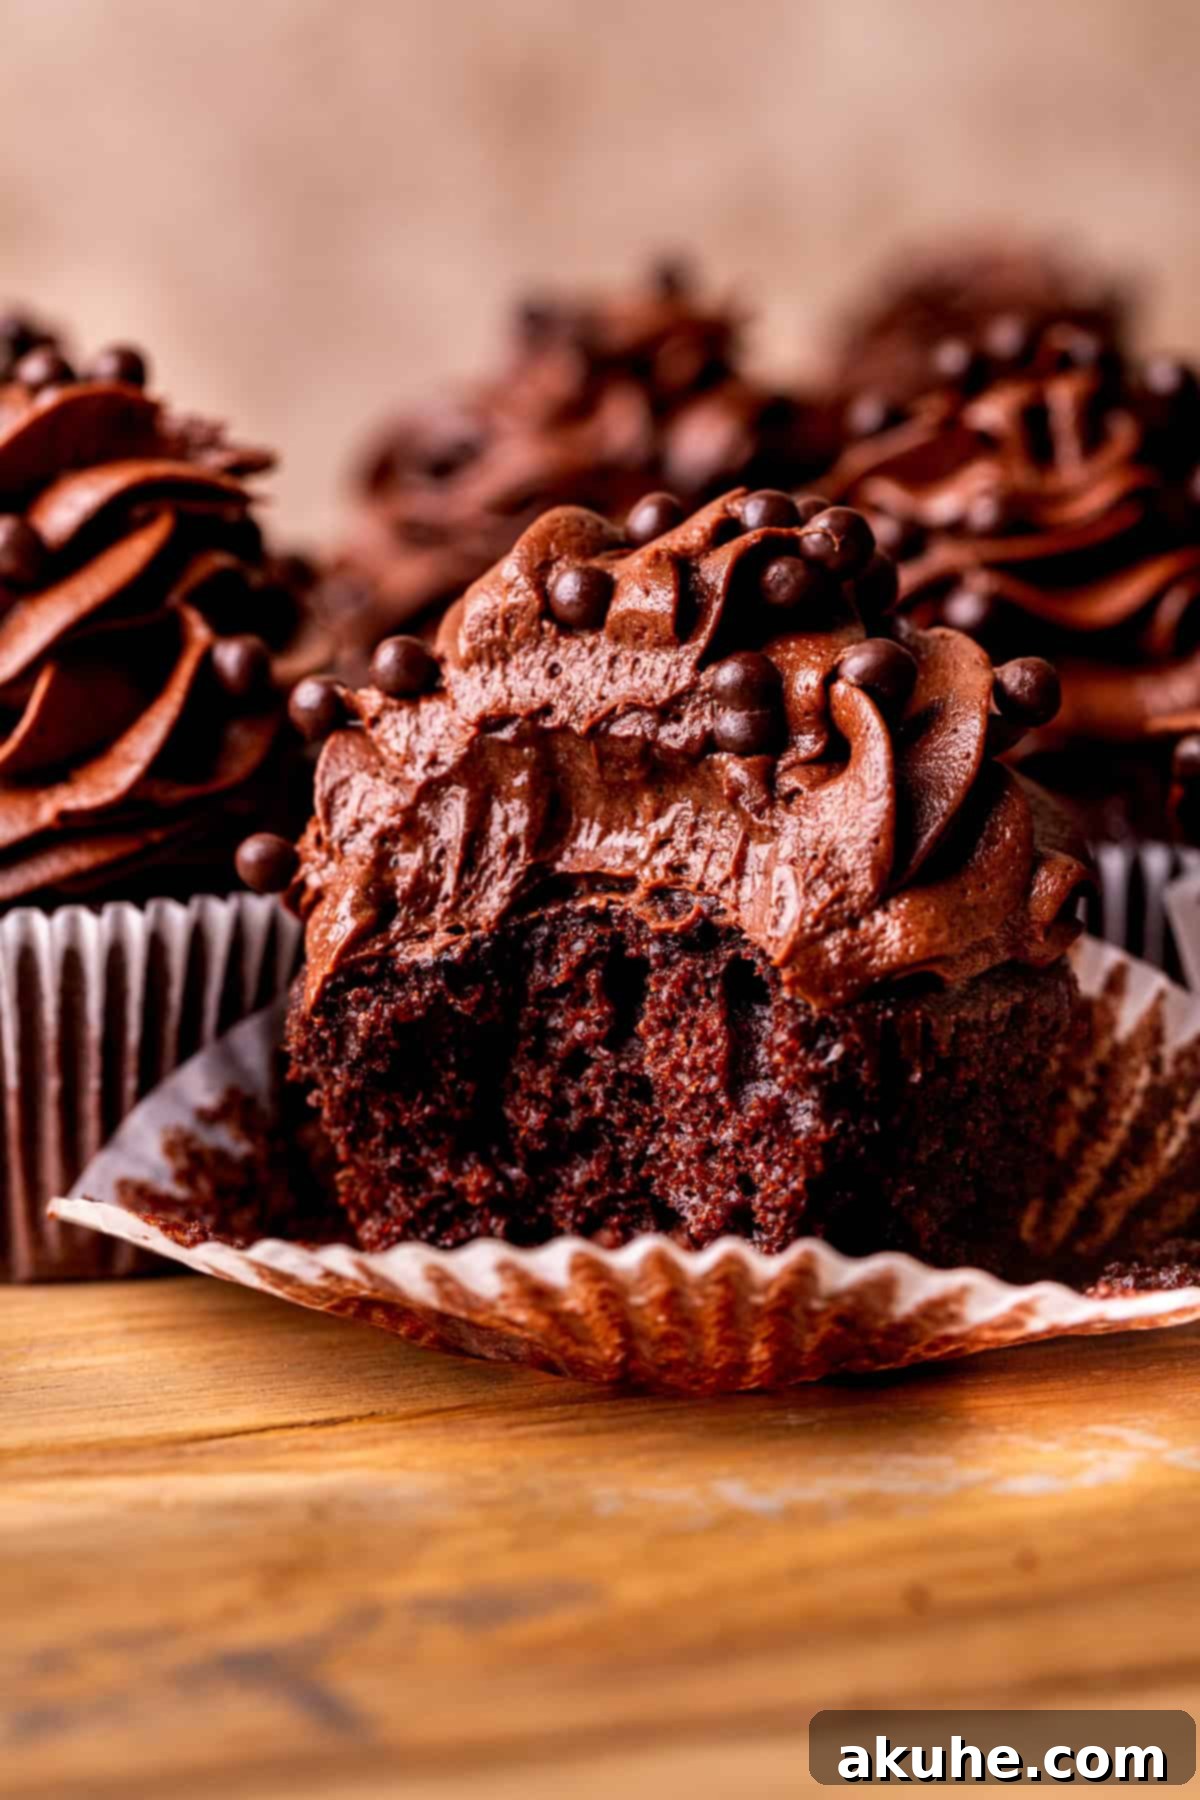
For every true chocolate lover, finding the perfect chocolate cupcake recipe can be a quest. Look no further! This recipe delivers consistently ultimate chocolate cupcakes, distinguished by their irresistibly moist texture and profound, rich chocolate flavor. The secret lies in mastering a few fundamental techniques and utilizing quality ingredients, ensuring a dessert that is not only delicious but also remarkably easy to make. These cupcakes promise to be the star of any occasion, leaving a lasting impression with every delectable bite.
Craving more exquisite chocolate desserts? Explore our other delightful recipes: Chocolate Mousse Cake, Brownie Rolls, and Brownie Bites. Each offers a unique way to enjoy the timeless allure of chocolate.
Why This Recipe Creates the Best Moist Chocolate Cupcakes
What makes these chocolate cupcakes truly exceptional? It’s a harmonious blend of simple ingredients and straightforward steps, resulting in an unforgettable dessert experience. Here’s why this particular recipe stands out as the definitive choice for the ultimate chocolate cupcake:
- Unrivaled Rich Chocolate Flavor: Chocolate is a beloved classic for a reason, and these cupcakes celebrate its depth. From the first bite of the tender cake to the last lick of the frosting, a robust and authentic chocolate flavor shines through, making them a dream come true for cocoa enthusiasts. We use a generous amount of unsweetened cocoa powder to achieve this intense flavor profile, ensuring a truly decadent experience.
- Effortlessly Easy Chocolate Cupcakes: Don’t let the gourmet taste fool you; this is an incredibly simple chocolate cupcake recipe. Designed with ease in mind, it allows even novice bakers to achieve stunning results without extensive effort or complex techniques. You’ll be amazed at how quickly you can create such a delicious and impressive treat.
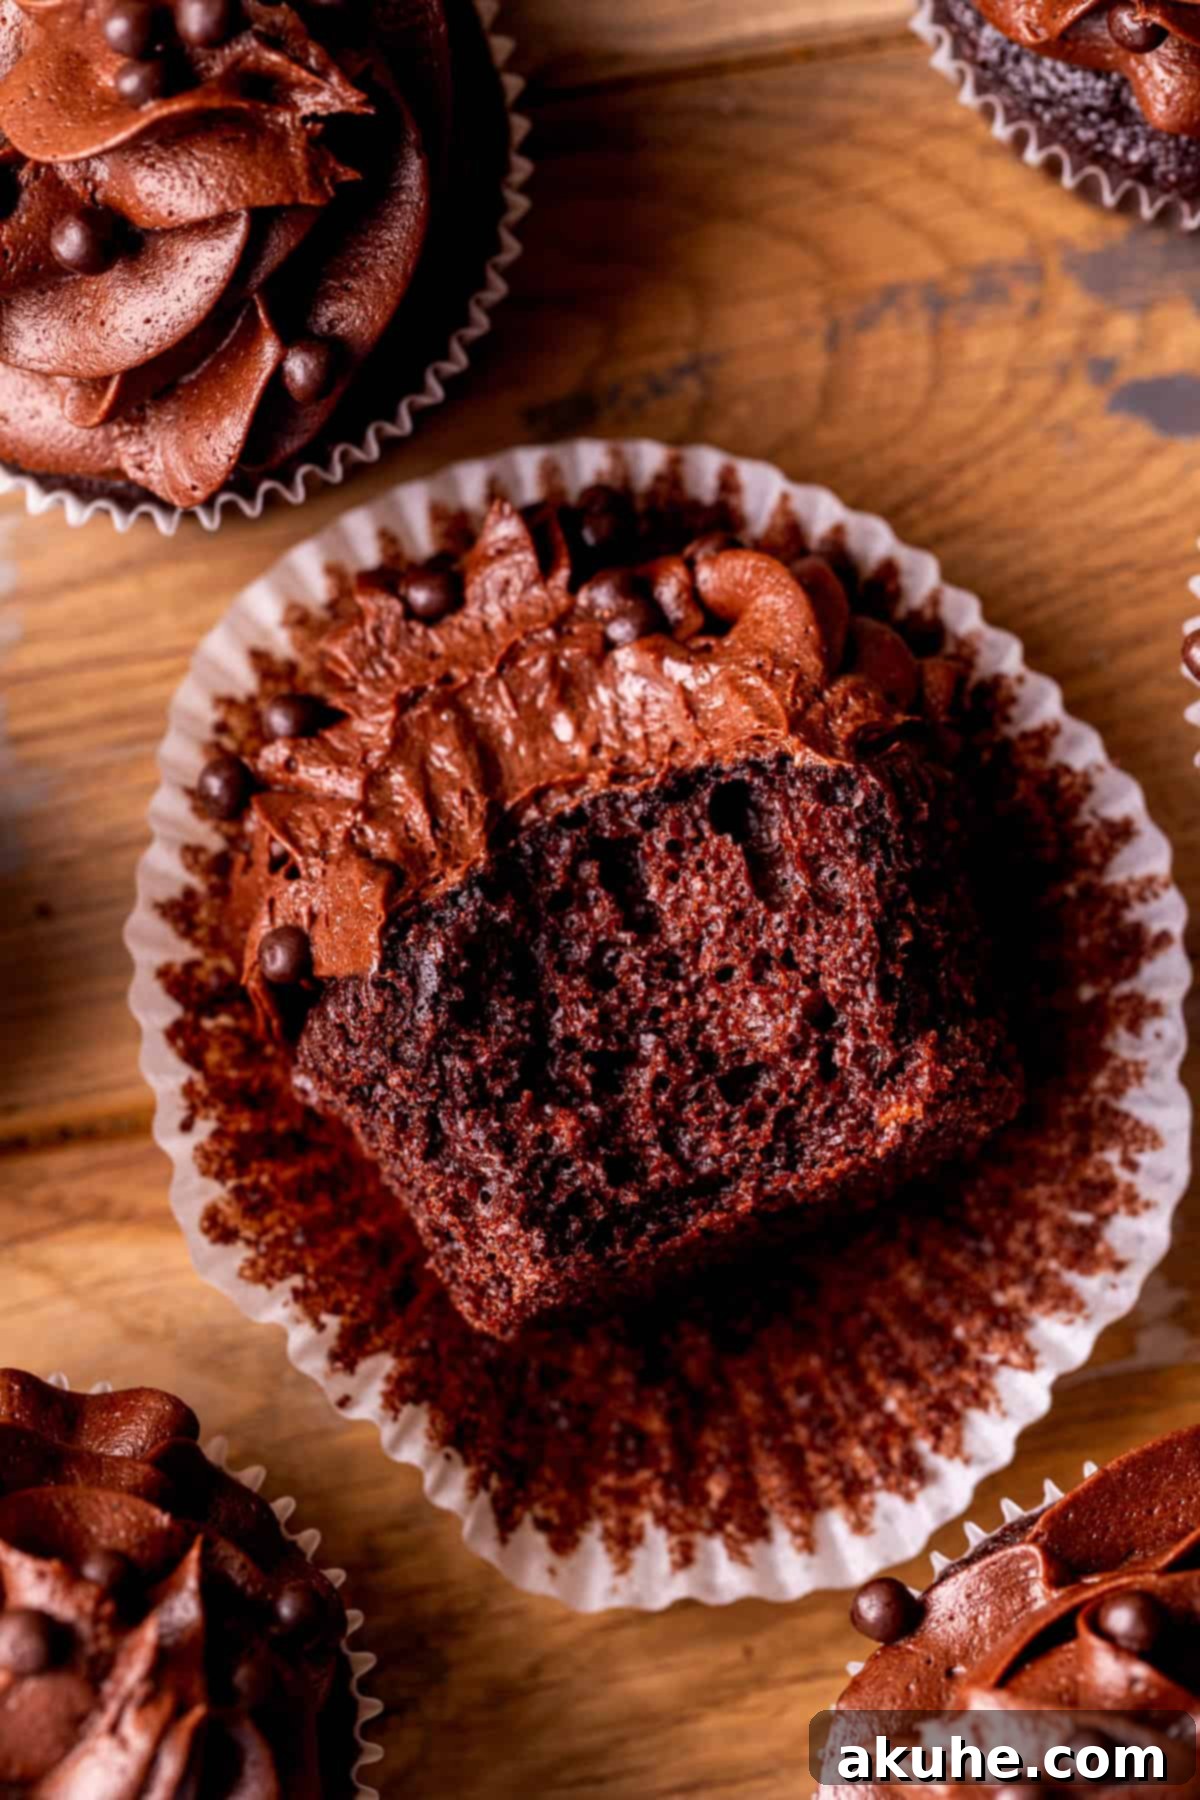
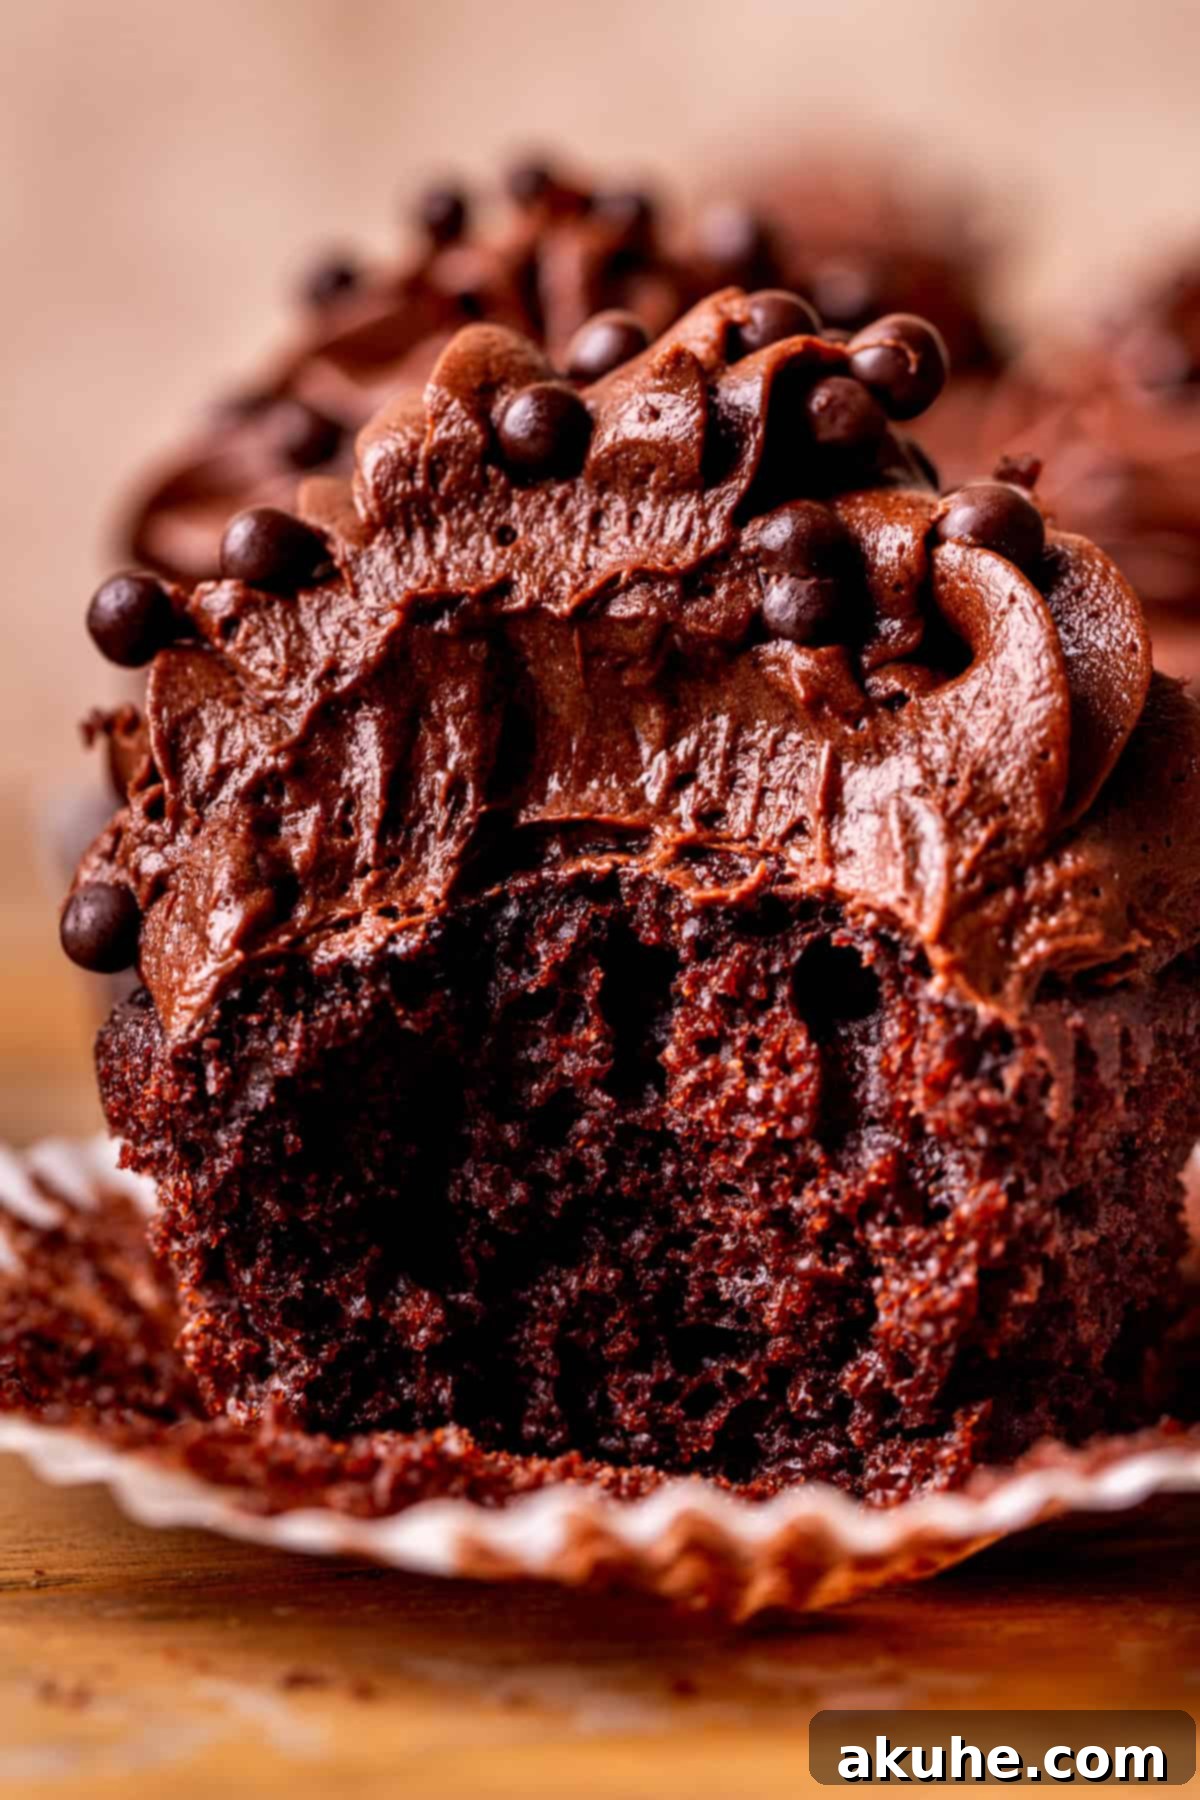
- Supreme Moist Texture: The hallmark of a truly great cupcake is its moisture, and these moist chocolate cupcakes excel in this aspect. They boast a wonderfully soft, tender, and melt-in-your-mouth texture that stays fresh longer. The careful balance of sour cream and buttermilk is key, contributing to their remarkable moistness and adding a subtle tang that perfectly complements the chocolate.
- Decadent Chocolate Cream Cheese Frosting: Capping off these perfect cupcakes is a luscious chocolate cream cheese frosting. This isn’t just any frosting; it’s a rich, tangy, and incredibly smooth topping that adds another layer of chocolate goodness. The slight tartness of the cream cheese cuts through the sweetness, creating a balanced and utterly addictive finish that makes these cupcakes truly irresistible.
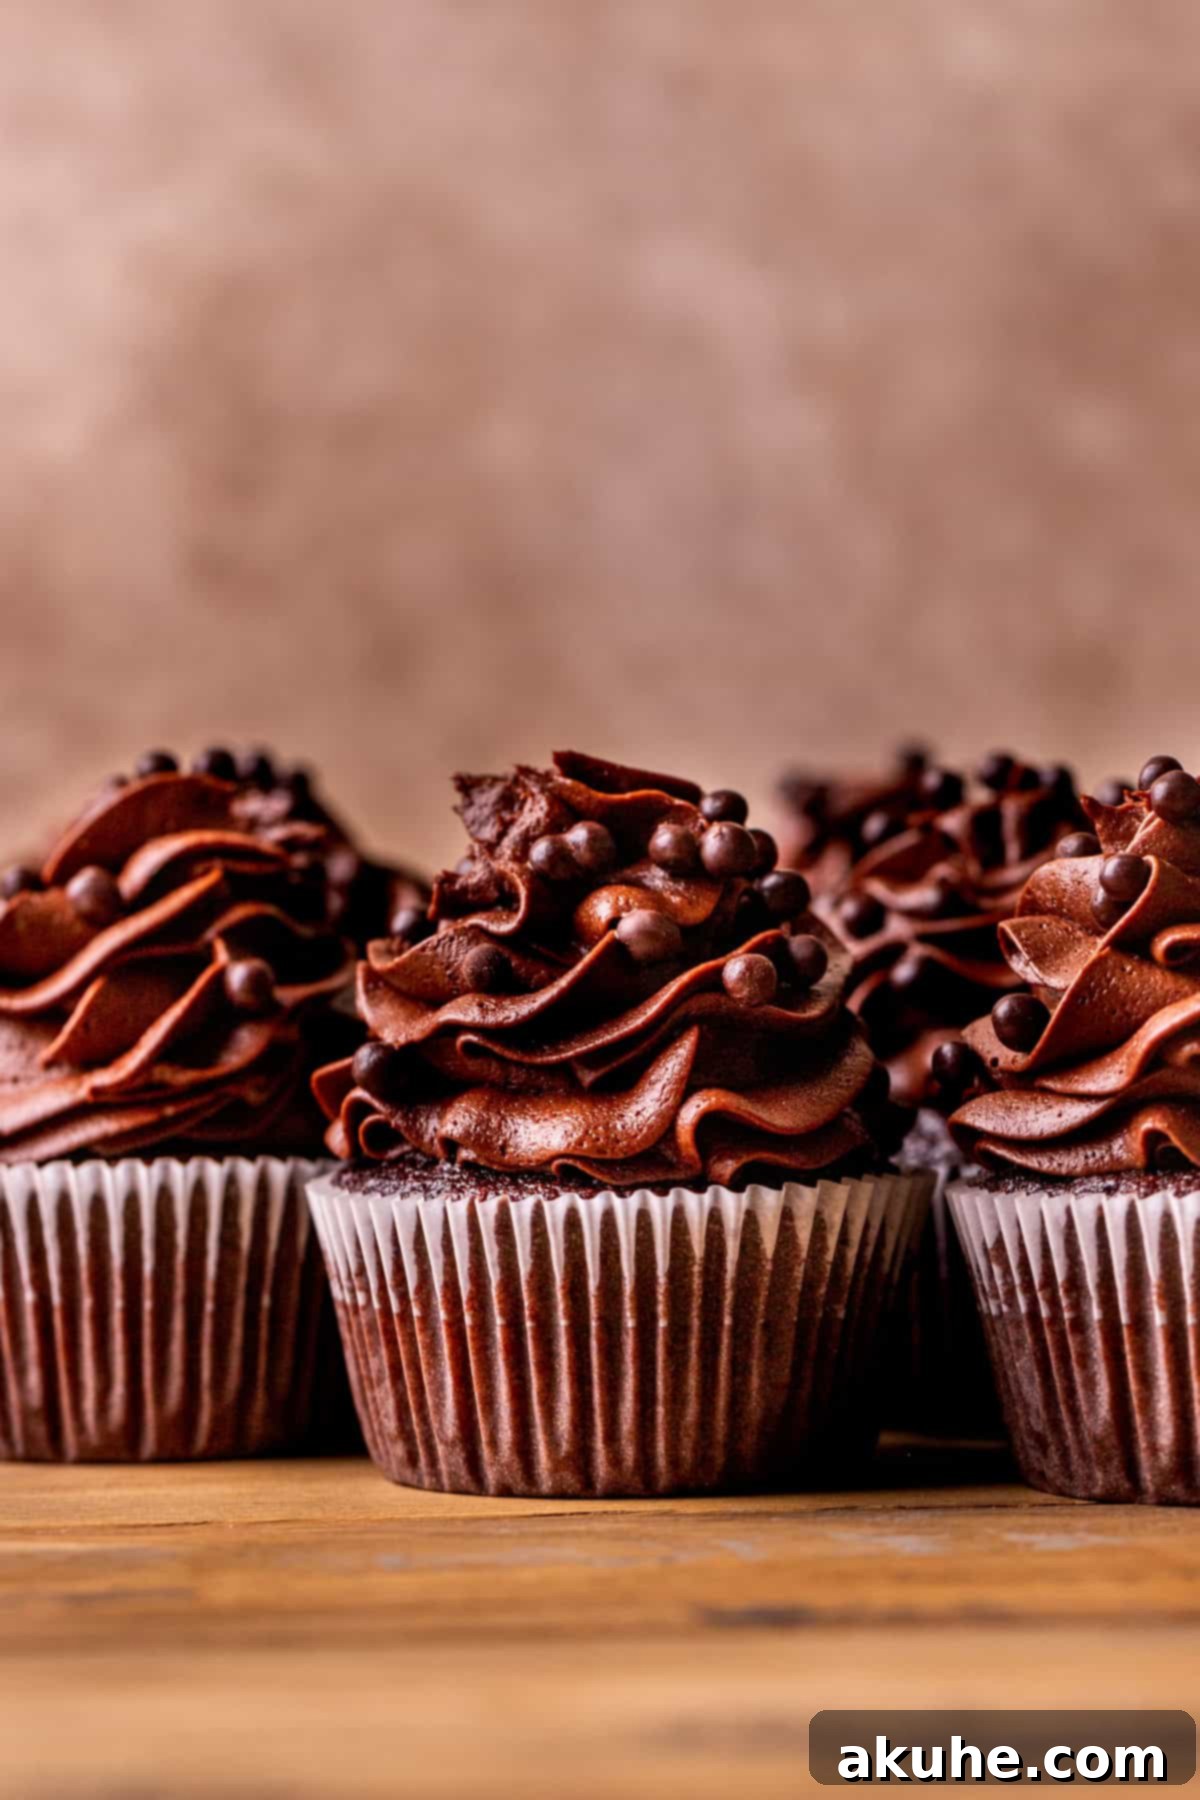
Essential Ingredient Notes for Moist Chocolate Cupcakes
The quality and preparation of your ingredients are crucial for achieving the perfect moist chocolate cupcakes. Here are detailed notes on what you’ll need and why specific preparation steps are recommended. For a complete list of precise measurements, please refer to the comprehensive recipe card further down the page.
- Oil: Opt for a neutral-flavored oil like regular vegetable oil or canola oil. Oil contributes significantly to the cupcakes’ moistness and tender crumb, often more so than butter alone, ensuring a lovely, soft texture that stays that way for days.
- Large Eggs: For optimal emulsification and a uniform batter, it’s vital to bring your large eggs to room temperature. This typically requires taking them out of the refrigerator at least 2 hours before you plan to start baking. Room temperature eggs combine more easily with other ingredients, creating a smoother batter and a more consistent final product.
- Unsalted Butter: Similar to eggs, unsalted butter should also be at room temperature. Softened butter creams beautifully with sugar, incorporating air and creating a light, fluffy base for both the cupcakes and the frosting. Allow it to sit out for about 2 hours prior to use.
- Cream Cheese: For the frosting, room temperature cream cheese is non-negotiable. Cold cream cheese will result in a lumpy frosting that’s difficult to spread and won’t achieve that coveted smooth, creamy consistency. Plan to remove it from the fridge at least 2 hours before you begin preparing the frosting.
- Powdered Sugar: To ensure your chocolate cream cheese frosting is wonderfully smooth and free of any grittiness, sifting the powdered sugar is an absolute must. This step breaks up any clumps and guarantees a silky texture that melts in your mouth.
- Sour Cream: This ingredient is a secret weapon for moisture and flavor. Room temperature sour cream integrates seamlessly into the batter, lending a rich, tender crumb and a subtle tang that enhances the chocolate. Bring it to room temperature about 2 hours before baking.
- Buttermilk: Another key player in achieving ultimate moistness, buttermilk reacts with the baking soda to create a light and airy texture. Like sour cream, it should be at room temperature for the best results, allowing it to blend smoothly with other wet ingredients. Remove it from the fridge 2 hours in advance.
- Brown Sugar: We recommend using light brown sugar for this recipe, which contributes to the cupcakes’ moistness and adds a delicate caramel note to the chocolate flavor. However, if you prefer a deeper, more molasses-rich taste, dark brown sugar can be used as an alternative.
Smart Ingredient Substitutions for Your Chocolate Cupcakes
While this recipe is crafted for optimal results, we understand the need for flexibility. Here are some potential ingredient substitutions to accommodate various dietary preferences or pantry limitations. Please note that while we offer these suggestions, the original recipe provides the best, most consistent outcome.
- Dairy-Free Option: If you’re looking to make these cupcakes dairy-free, you can absolutely substitute your favorite dairy-free alternatives for the buttermilk, sour cream, butter, and cream cheese. Look for plant-based milks, dairy-free sour cream, vegan butter sticks, and dairy-free cream cheese brands that are specifically designed for baking and frosting to achieve similar textures and flavors. While results may vary slightly, many enjoy successful dairy-free versions.
- Gluten-Free Exploration: This recipe has not been personally tested with gluten-free flour. However, many bakers find success substituting all-purpose flour with a 1:1 gluten-free baking flour blend that contains xanthan gum. If you try this, we’d love to hear about your experience! Baking times might need slight adjustments, so keep an eye on your cupcakes.
- Buttermilk Alternative: No buttermilk on hand? No problem! You can easily create a homemade substitute. Simply combine 1 cup of regular milk (dairy or non-dairy) with 1 tablespoon of white vinegar or lemon juice. Stir gently and let the mixture sit for about 10 minutes. It will curdle slightly, indicating it’s ready to use as a buttermilk replacement.
Step-by-Step Instructions: Baking the Best Chocolate Cupcakes
Follow these detailed steps carefully to create the moist, rich, and utterly delicious chocolate cupcakes that will become your new go-to recipe.
STEP 1: Prepare Your Baking Environment. Begin by preheating your oven to 350°F (175°C). This ensures your oven is at the correct temperature when the batter is ready, promoting an even bake. While the oven heats, line a standard 12-cup cupcake pan with paper liners. Set the prepared pan aside, ready for the batter.
STEP 2: Combine Dry Ingredients. In a large mixing bowl, whisk together all the dry ingredients: the all-purpose flour, unsweetened cocoa powder, cornstarch, baking powder, baking soda, and salt. Whisk thoroughly for about 30 seconds to ensure they are well combined and evenly distributed. This step is crucial for the cupcakes to rise properly and have a consistent texture.
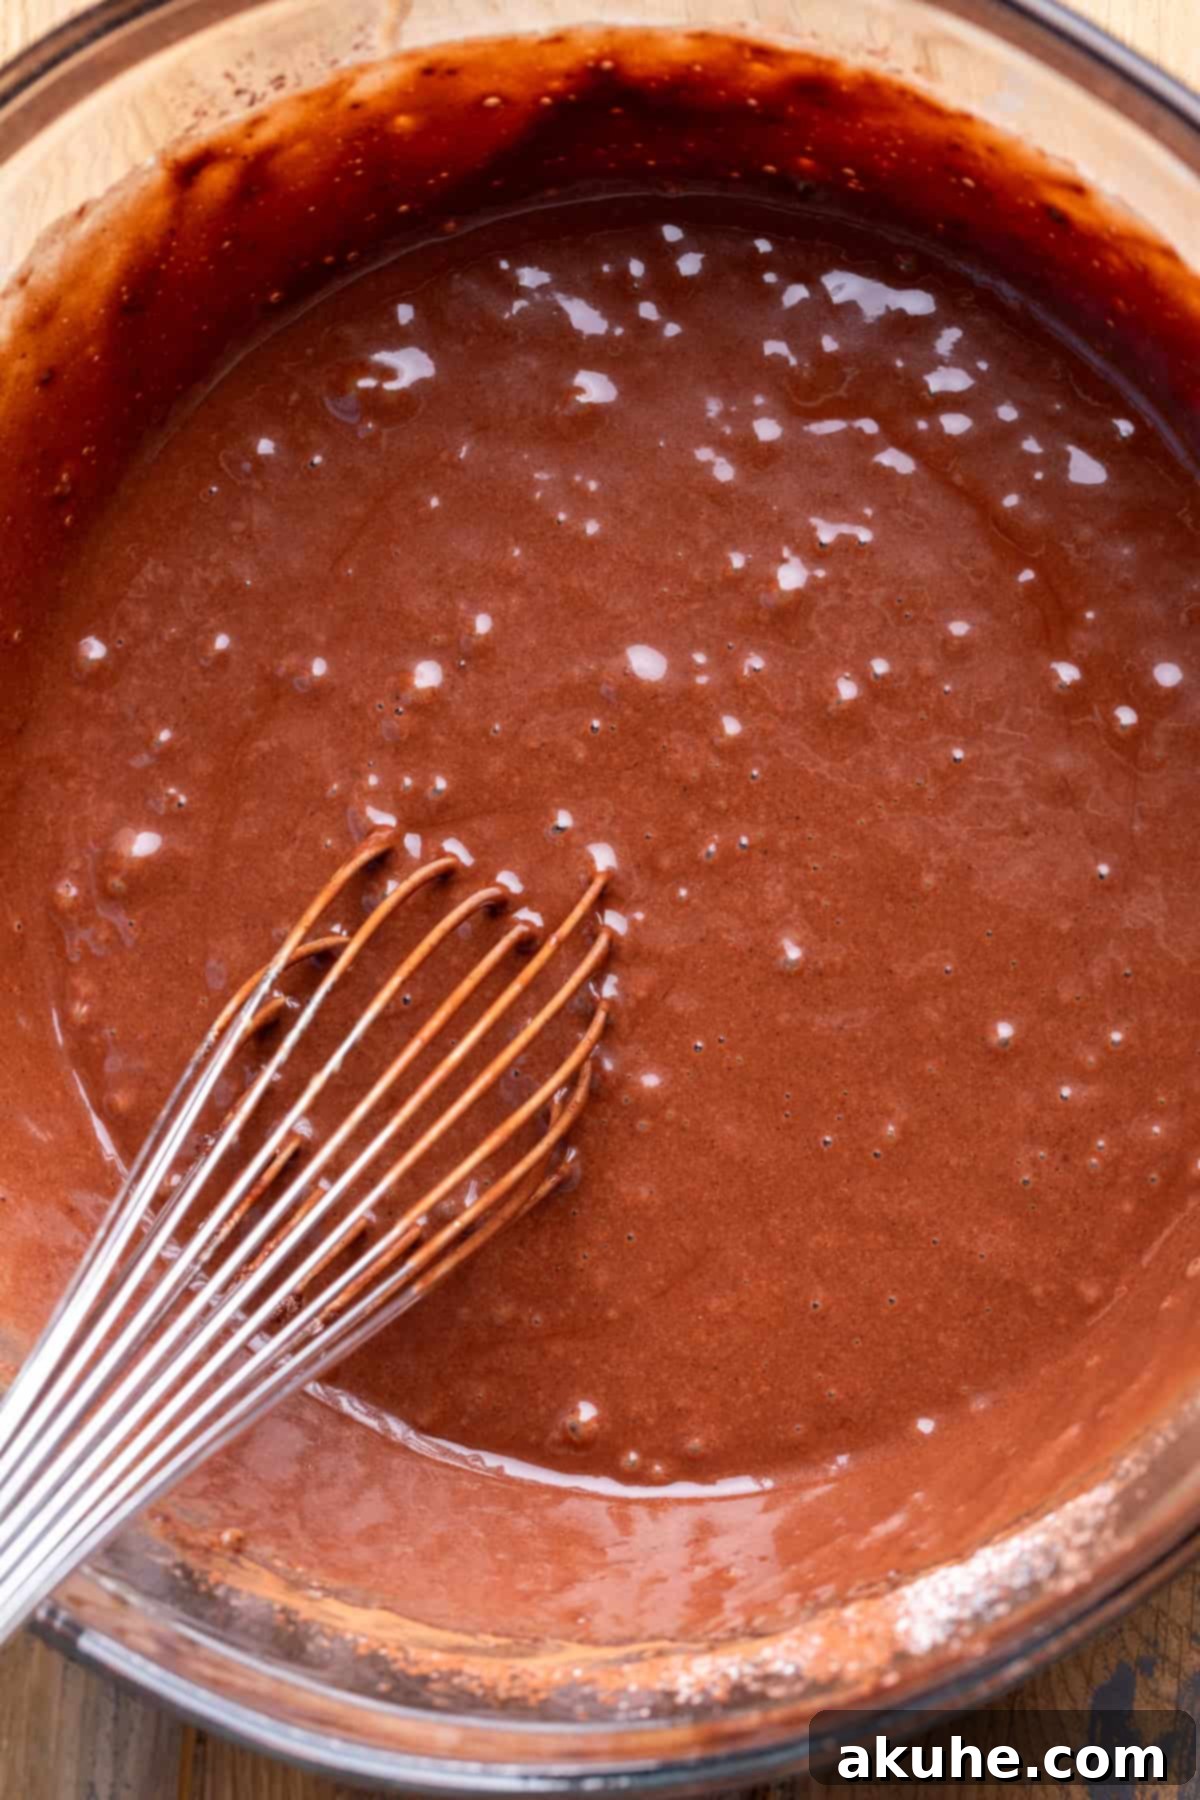
STEP 3: Mix Wet Ingredients. In a separate, medium-sized bowl, combine the oil, granulated sugar, brown sugar, room temperature eggs, pure vanilla extract, white vinegar, room temperature buttermilk, and room temperature sour cream. Whisk these ingredients until they are thoroughly combined and smooth. Next, slowly and carefully pour in the hot (steaming, but not boiling) water while continuously whisking. Ensure you add the hot water gradually to prevent cooking the eggs prematurely. The hot water helps to bloom the cocoa powder, intensifying the chocolate flavor.
STEP 4: Combine Wet and Dry Mixtures. Gently pour the wet ingredients mixture into the bowl containing the dry ingredients. Using a whisk, mix them together until just combined. It’s important not to overmix; a few small flour lumps are perfectly acceptable and often lead to a more tender cupcake. Overmixing can develop the gluten in the flour, resulting in dense or tough cupcakes.
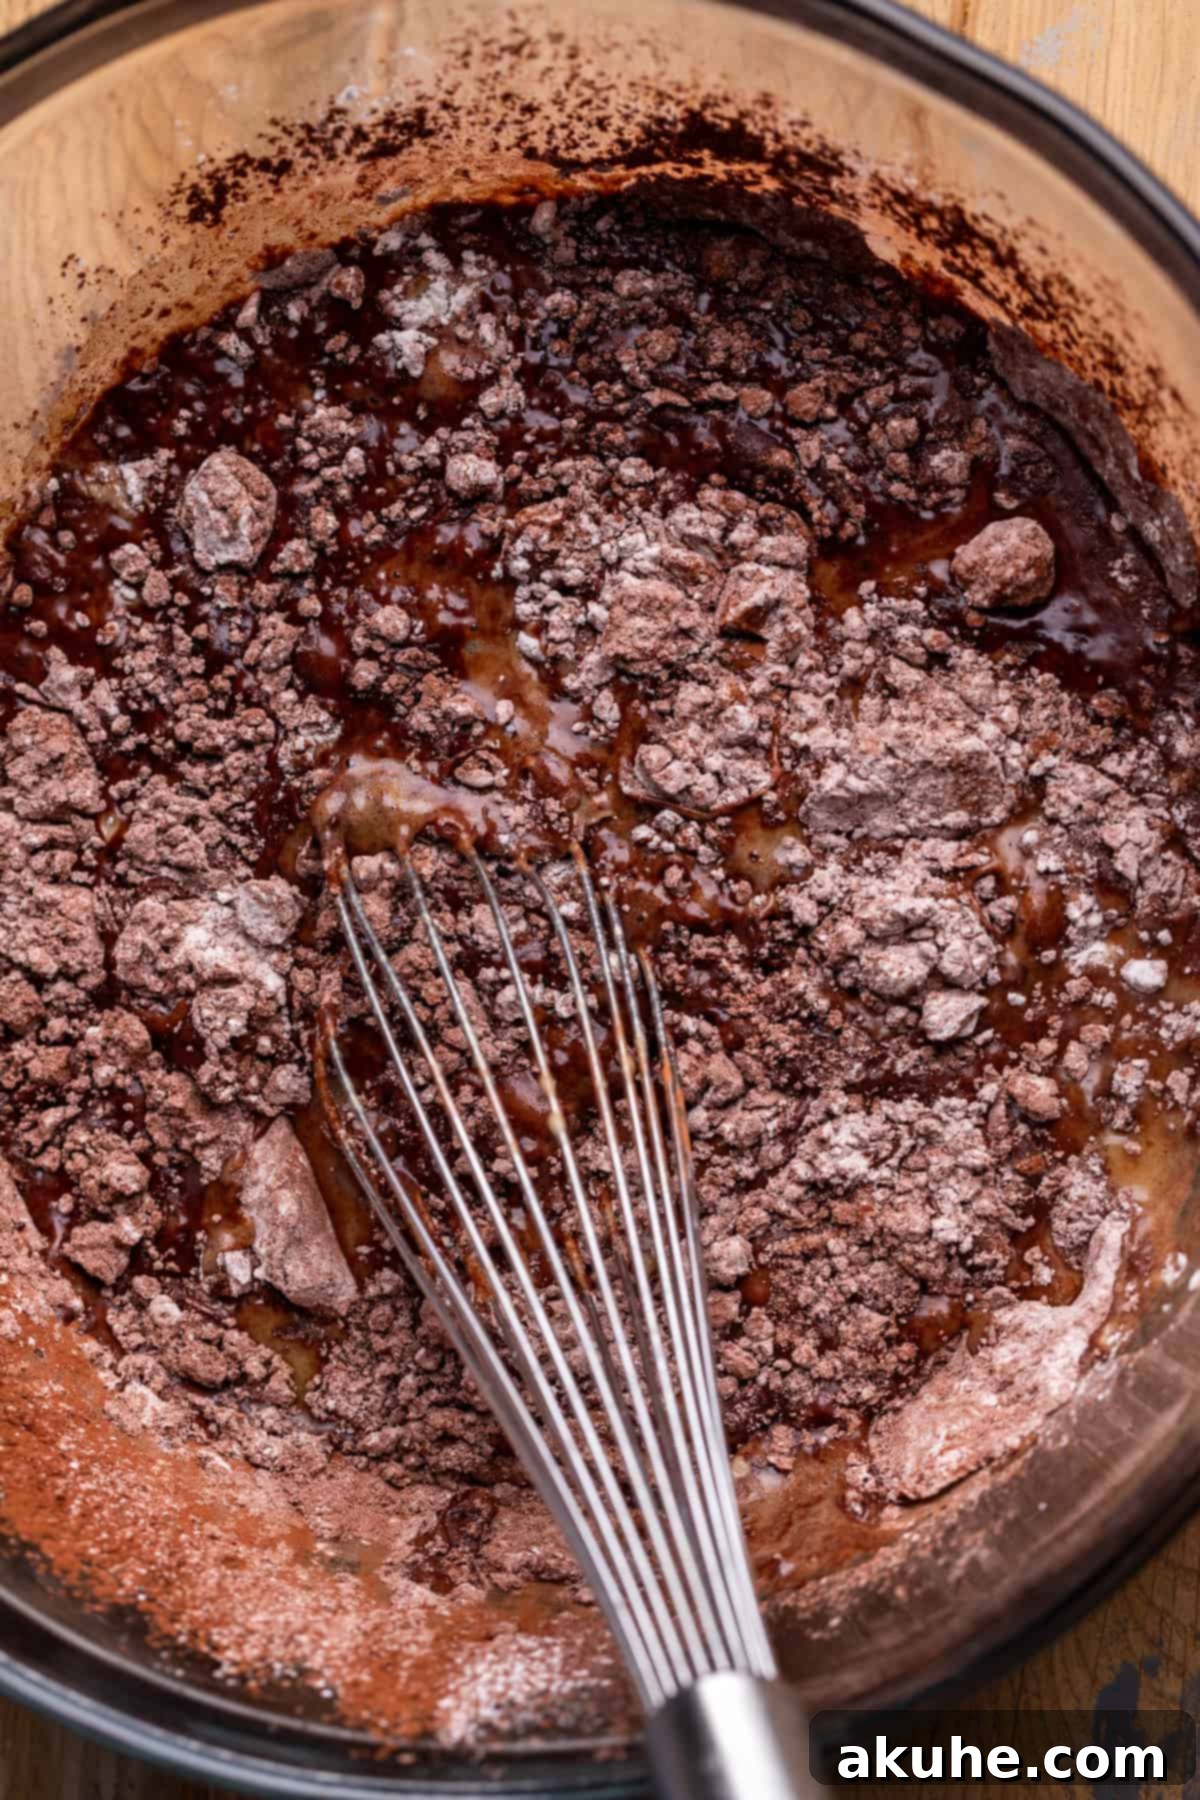
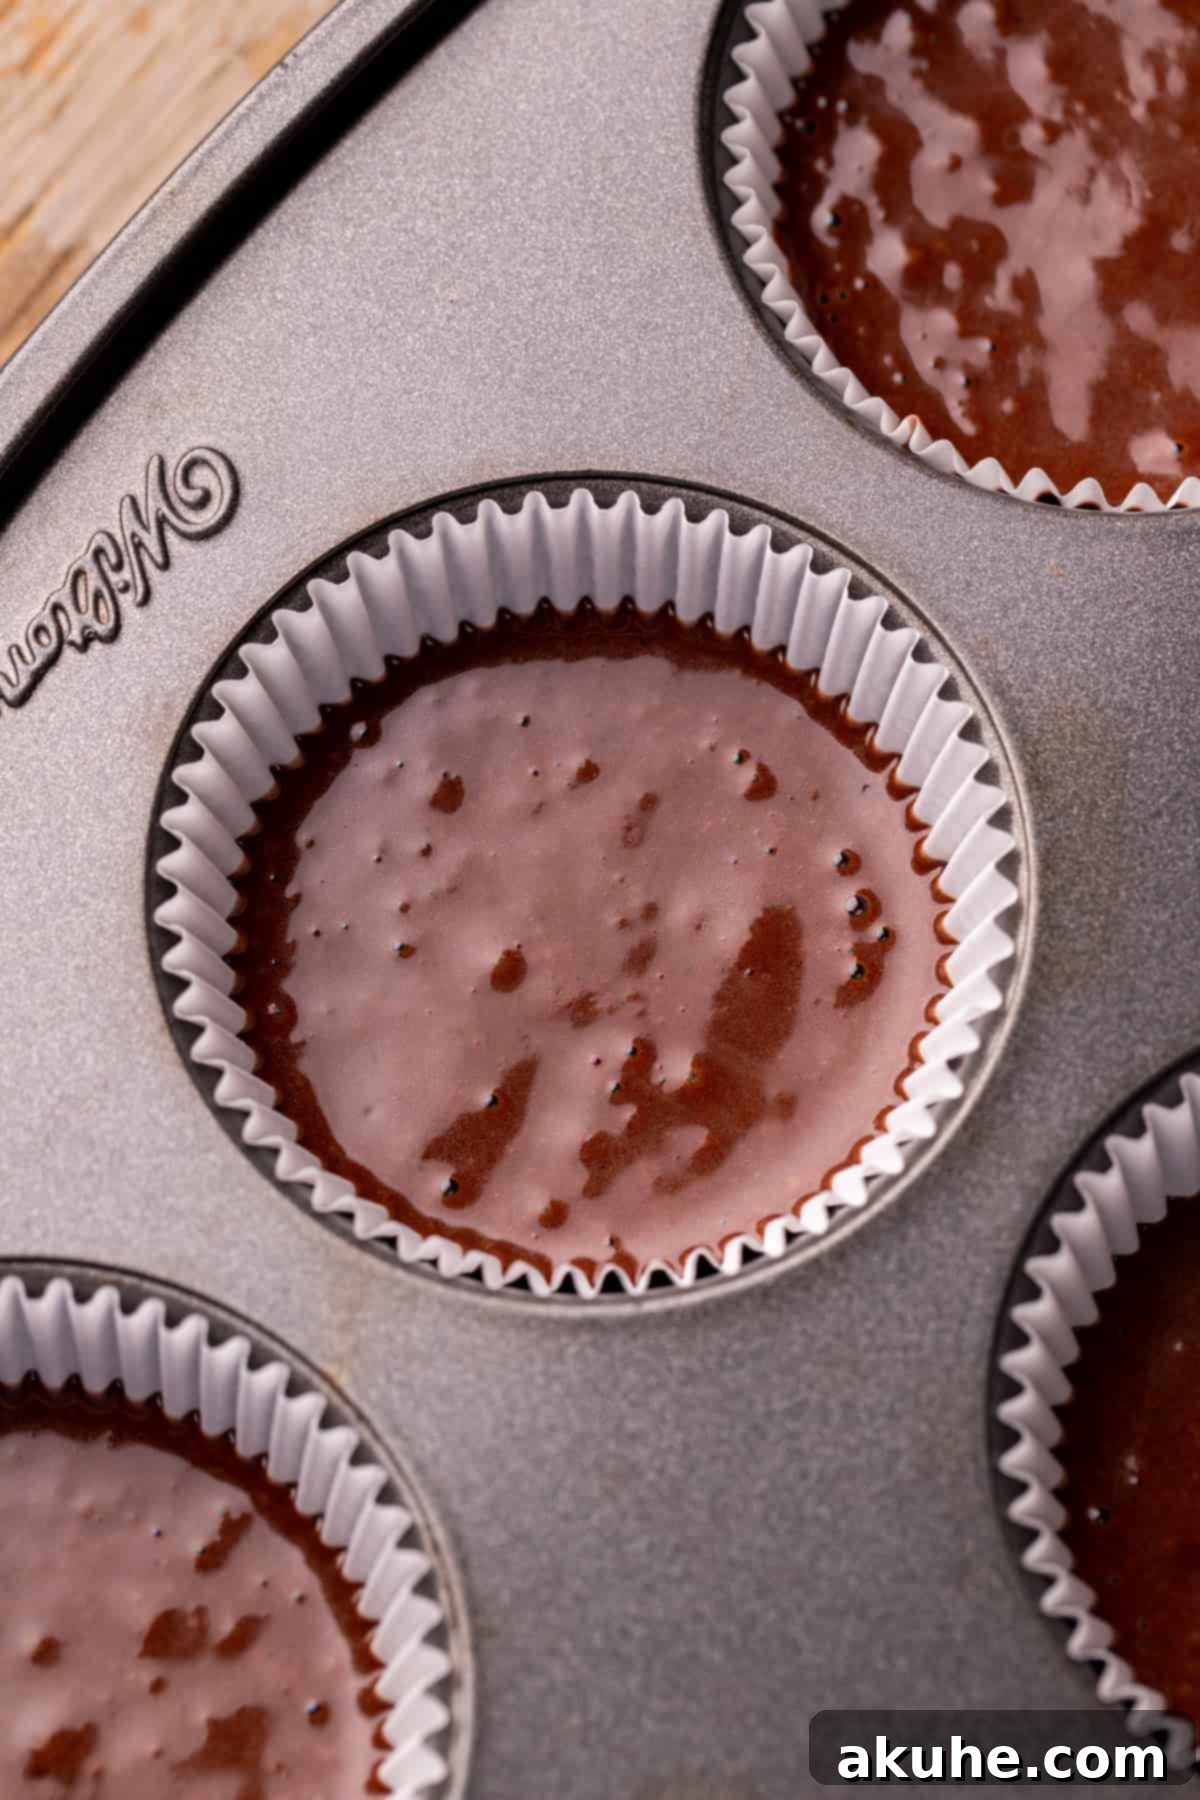
STEP 5: Fill Cupcake Liners. Using a large cookie scoop (or an ice cream scoop), carefully portion the chocolate cupcake batter into each prepared liner. Aim to fill each liner about two-thirds full. This allows enough room for the cupcakes to rise without overflowing, ensuring beautifully shaped final products.
STEP 6: Bake the Cupcakes. Transfer the cupcake pan to the preheated oven and bake for 16-19 minutes. Baking times can vary slightly depending on your oven, so begin checking for doneness around the 16-minute mark. The cupcakes are ready when a toothpick inserted into the center of a cupcake comes out with moist crumbs attached, but no wet batter.
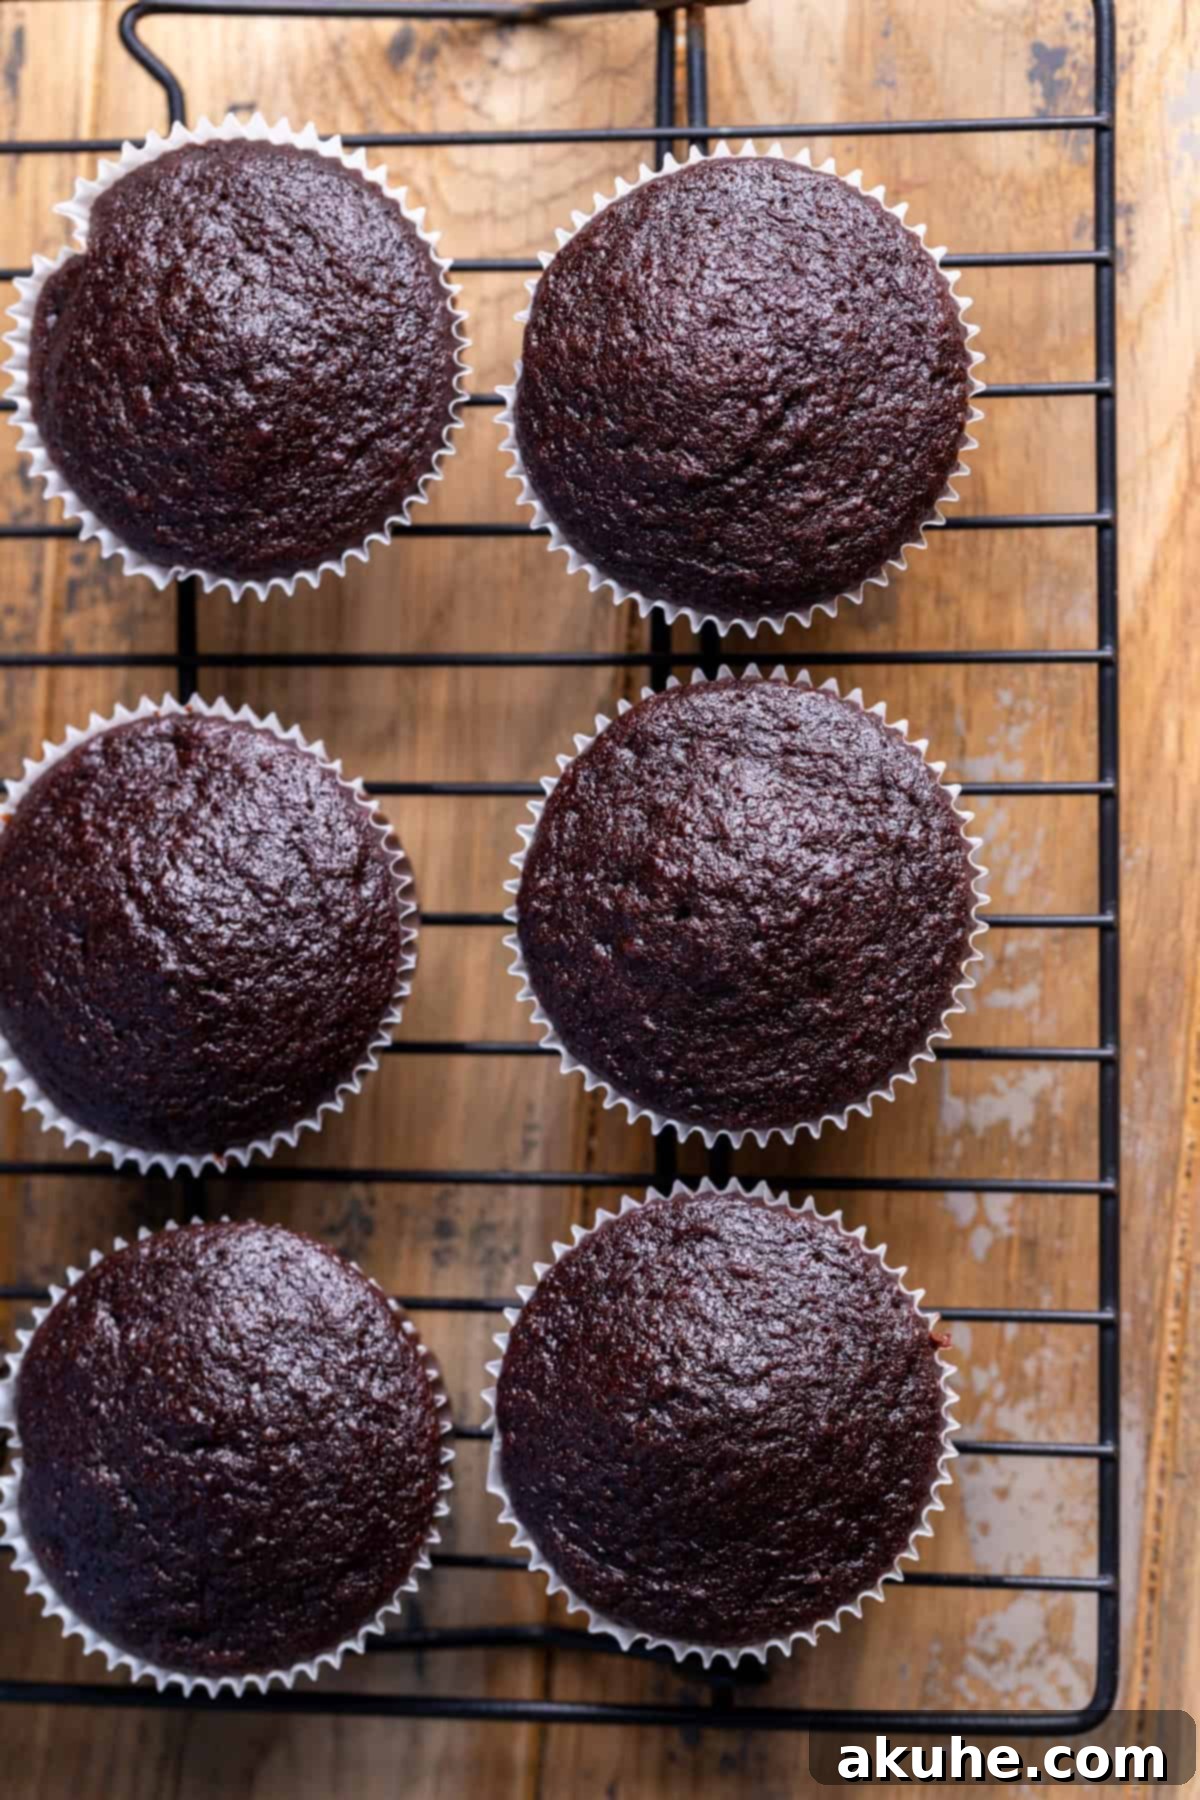
STEP 7: Cool Completely. Once baked, remove the pan from the oven and let the cupcakes rest in the hot pan for 10 minutes. This allows them to firm up slightly before being moved. After 10 minutes, carefully transfer the cupcakes to a wire rack to cool completely. It is absolutely essential that the cupcakes are fully cooled before you even think about frosting them. Attempting to frost warm cupcakes will result in melted, messy frosting and a disappointing finish.
Step-by-Step Instructions: Crafting Chocolate Cream Cheese Frosting
This rich and creamy chocolate cream cheese frosting is the perfect complement to your moist chocolate cupcakes. Follow these steps for a perfectly smooth and decadent topping.
STEP 1: Sift Dry Ingredients. In a large mixing bowl, sift together the powdered sugar and unsweetened cocoa powder. Sifting these dry ingredients is crucial to prevent lumps in your frosting and achieve a wonderfully smooth texture. Set this bowl aside for later use.
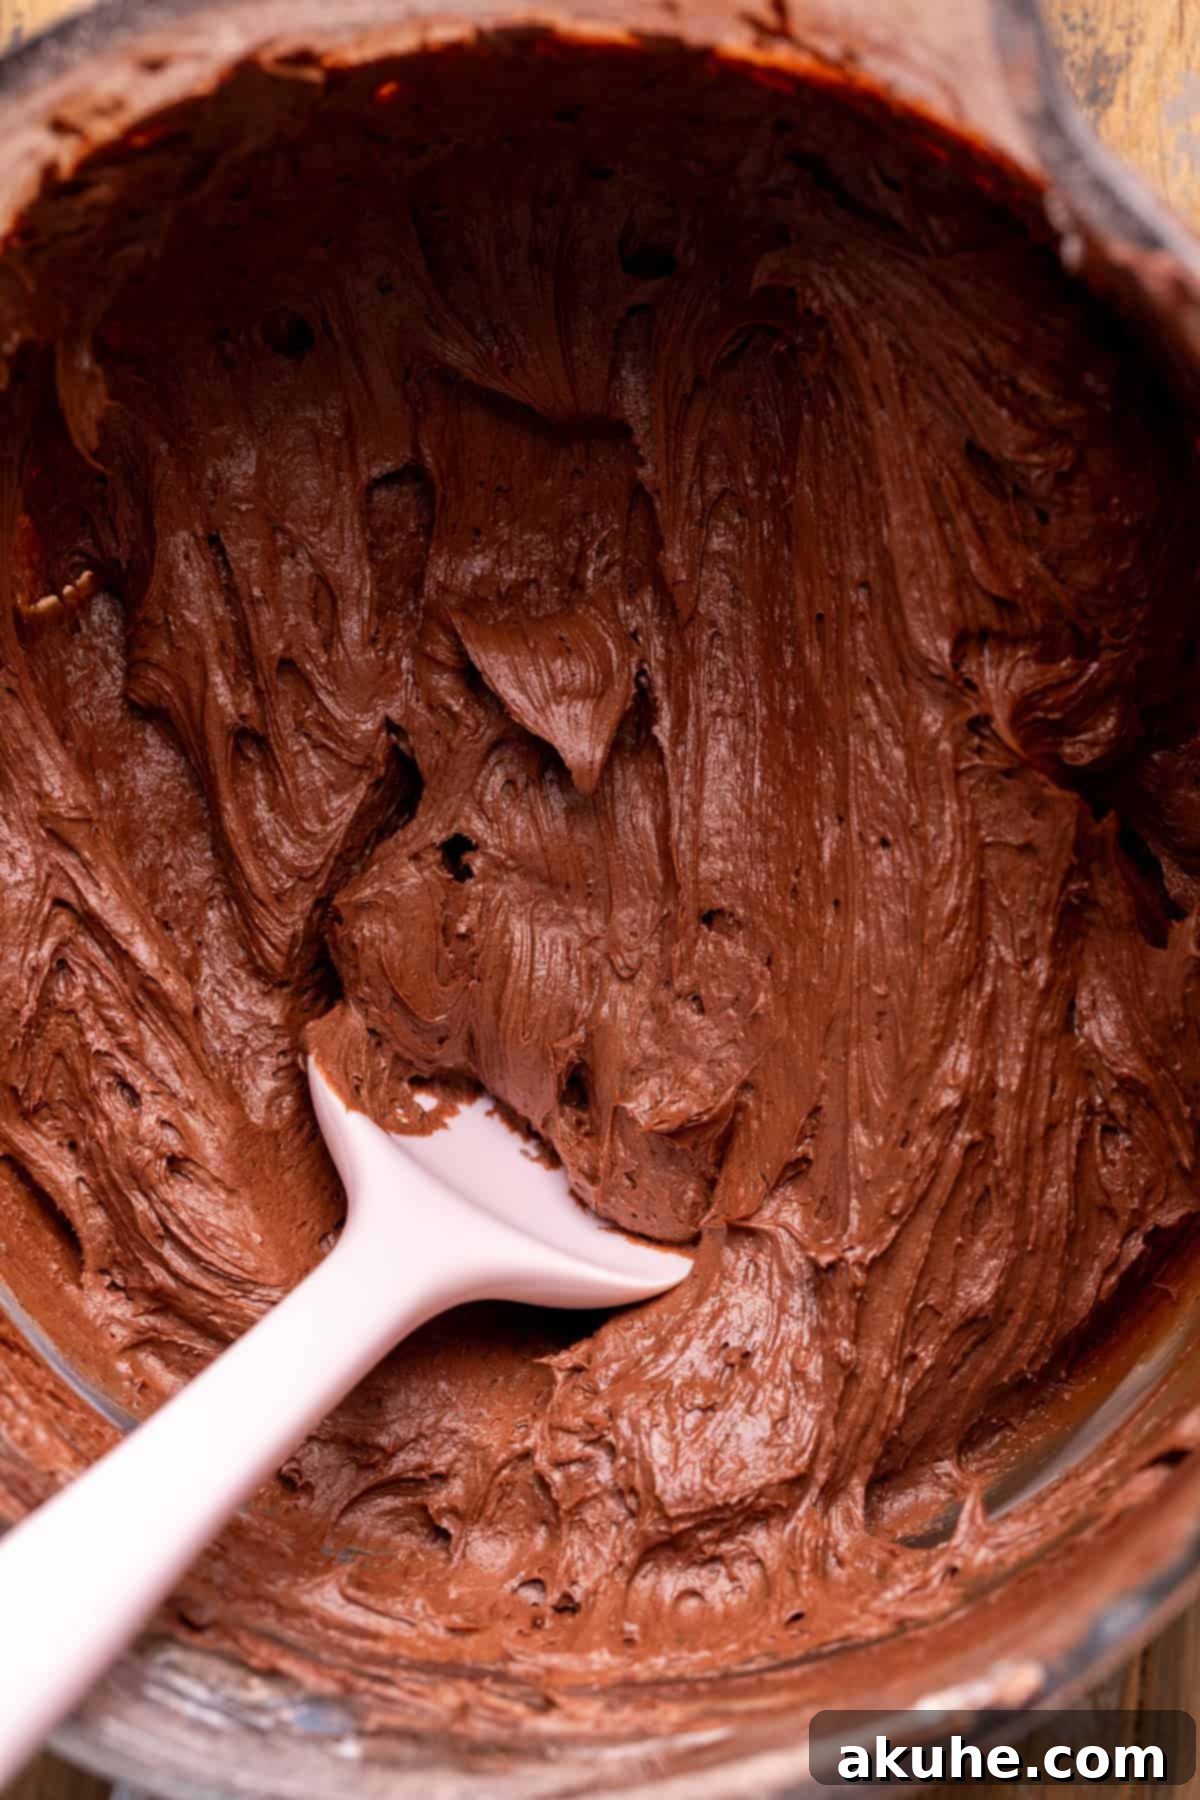
STEP 2: Cream Butter and Cream Cheese. In the bowl of a stand mixer fitted with a paddle attachment (or using a hand mixer), beat the softened unsalted butter and room temperature cream cheese together on high speed for approximately 2 minutes. Beat until the mixture is light, fluffy, and well combined. Periodically, stop the mixer and use a rubber spatula to scrape down the sides and bottom of the bowl, ensuring all ingredients are fully incorporated and no unmixed butter or cream cheese remains.
STEP 3: Prepare the Frosting. Reduce the mixer speed to low. Gradually add about half of the sifted powdered sugar and cocoa powder mixture to the butter and cream cheese. Mix on low speed until just combined. Then, add the remaining powdered sugar and cocoa powder, continuing to mix on low speed until fully incorporated. Finally, add the pure vanilla extract and increase the mixer speed to high. Beat the frosting on high for another 1-2 minutes until it becomes exceptionally creamy, light, and airy. Again, remember to scrape down the sides of the bowl with your spatula to ensure everything is thoroughly mixed and no butter streaks are left behind.
STEP 4: Decorate Your Cupcakes. Once the cupcakes are completely cooled and the frosting is ready, it’s time to decorate! Transfer the chocolate cream cheese frosting to a piping bag fitted with your desired tip. For a classic swirl, we highly recommend using a Wilton 1M tip, which creates beautiful, professional-looking rosettes. Pipe the frosting onto each cooled cupcake, starting from the outside and working your way inward to create a lovely swirl.
Expert Baking Tips for Flawless Chocolate Cupcakes
Achieving bakery-quality chocolate cupcakes at home is easier than you think with these expert tips. Pay attention to these details, and your baking success will be guaranteed!
- Accurate Flour Measurement is Key: When measuring flour, always spoon it into your measuring cup and then level it off with the back of a knife. Never scoop the measuring cup directly into a bag of flour, as this compacts the flour, leading to an excess amount. Too much flour will result in dry, dense, and unappetizing cupcakes. For ultimate precision, consider using a kitchen scale to measure your flour by weight.
- Patience with Cooling: This tip cannot be stressed enough: ensure your cupcakes are absolutely, entirely cooled before you attempt to frost them. Even slightly warm cupcakes will cause your beautiful, creamy chocolate cream cheese frosting to melt and slide right off, creating a sticky mess. Patience here will be rewarded with perfectly decorated treats.
- Customize with Delightful Decorations: Once frosted, these chocolate cupcakes are a canvas for your creativity! You can add an extra touch of elegance or fun with various decorations. We often use chocolate pearls for a sophisticated look, but sprinkles are a fantastic option for a festive feel. Other great ideas include chocolate shavings, a dusting of cocoa powder, a drizzle of caramel, or even a fresh raspberry on top.
- Don’t Overmix the Batter: After combining wet and dry ingredients, mix just until the flour streaks disappear. Overmixing develops gluten, which can lead to tough, chewy cupcakes rather than soft and tender ones. A few small lumps are perfectly fine!
- Room Temperature Ingredients Matter: As mentioned in the ingredient notes, room temperature dairy (eggs, butter, sour cream, buttermilk, cream cheese) emulsifies better, creates a smoother batter, and yields a lighter, more uniform crumb structure in your cupcakes and a smoother frosting. Plan ahead!
- Oven Calibration: Ovens can vary widely in temperature. If your cupcakes consistently bake too quickly or too slowly, consider investing in an oven thermometer to ensure your oven is truly heating to the temperature you set. Consistent oven temperature is crucial for consistent baking results.
Frequently Asked Questions (FAQ) About Chocolate Cupcakes
Here are answers to some common questions about making and enjoying these amazing chocolate cupcakes, helping you troubleshoot and plan ahead.
Can these chocolate cupcakes be made ahead of time?
Absolutely! You can prepare the cupcakes in advance. After they have completely cooled, wrap them tightly in plastic wrap (unfrosted) and freeze them for up to 30 days. When you’re ready to serve, thaw them at room temperature for about 1 hour before applying the chocolate cream cheese frosting and decorating.
Can this recipe be adapted for mini chocolate cupcakes?
Yes, this recipe works wonderfully for mini cupcakes! To make mini chocolate cupcakes, simply adjust the baking time. Instead of 16-19 minutes, bake them for approximately 8-10 minutes. Keep a close eye on them, as mini cupcakes bake much faster. A toothpick inserted into the center should come out clean or with moist crumbs.
Can I turn this chocolate cupcake recipe into a full chocolate cake?
Indeed! This versatile recipe can easily be converted into a rich chocolate cake. Pour the batter into an 8×8 inch or 9×9 inch baking pan for a delicious chocolate sheet cake. Adjust baking time accordingly; a full cake will take longer to bake than cupcakes, typically around 25-35 minutes, or until a toothpick comes out clean from the center.
Delicious Recipe Variations to Explore
While the classic chocolate cream cheese frosting is phenomenal, sometimes it’s fun to experiment! Here are a couple of delightful variations to customize your chocolate cupcakes:
- Classic Chocolate Buttercream Frosting: If you prefer a chocolate frosting without cream cheese, you can easily substitute it with a rich chocolate buttercream. For a tried-and-true recipe, refer to the frosting section of this moist chocolate cake recipe. It offers a wonderfully smooth and intensely chocolatey topping.
- Simple Chocolate Ganache Frosting: For a quick yet elegant topping, a two-ingredient chocolate ganache is always a winner. It provides a glossy, rich chocolate finish. You can find a fantastic recipe for a simple chocolate ganache frosting by checking out this chocolate fudge cupcake recipe.
Recommended Special Baking Tools
Having the right tools can make your baking experience smoother and your results more professional. Here are a few items that will help you create these perfect chocolate cupcakes:
- Piping Bags: For hassle-free frosting, we recommend using good quality piping bags. These 18-inch piping bags are excellent because their larger size means you won’t need to refill them as often, making the decorating process more efficient.
- Piping Tip: To achieve that beautiful, classic swirl on your cupcakes, the right piping tip is essential. We absolutely love and highly recommend the Wilton 1M star tip. It’s versatile, easy to use, and creates gorgeous, professional-looking frosting designs.
- 12-Cup Muffin Pan: A sturdy and reliable muffin pan is fundamental for baking cupcakes. The muffin pans we use ensure even heat distribution and consistent baking results for all 12 cupcakes.
- Muffin Liners: To prevent sticking and for easy serving, good quality muffin liners are a must. These muffin liners perform wonderfully, keeping your cupcakes neat and presentable.
Storing and Freezing Your Decadent Chocolate Cupcakes
To keep your chocolate cupcakes fresh and delicious for as long as possible, proper storage is key. Whether you’re planning to enjoy them over a few days or save them for a later treat, here’s how to store and freeze them effectively.
Frosted chocolate cupcakes should be stored in an airtight container to prevent them from drying out. Place the container in the refrigerator, where they will remain fresh for up to 5 days. For the best flavor and texture, allow the refrigerated cupcakes to sit at room temperature for about 1 hour before serving. This brings the frosting back to its creamy consistency and softens the cake slightly.
If you wish to extend their shelf life, frosted chocolate cupcakes can also be frozen. Arrange them in a single layer in an airtight, freezer-safe container. They can be frozen for up to 30 days. When you’re ready to enjoy them, transfer them from the freezer to the refrigerator overnight, then let them thaw at room temperature for 1-2 hours before eating. This gradual thawing process helps maintain their moistness and the integrity of the frosting.
Other Chocolate Recipes to Indulge In
If you can’t get enough of chocolate, be sure to explore these other fantastic recipes that celebrate cocoa in all its glory:
- Decadent Chocolate Mousse Cake
- Irresistible Brownie Rolls
- Perfectly Portioned Brownie Bites
Explore More Delicious Cupcake Creations!
Beyond chocolate, a world of delightful cupcake flavors awaits. Expand your baking repertoire with these exciting cupcake recipes:
- Festive Easter Cupcakes
- Unique Maple Bacon Cupcakes
- Seasonal Pumpkin Cupcakes (Chocolate Stuffed!)
- Bright Lemon Bar Cupcakes
- Sweet Biscoff Cupcakes
We hope you adore this recipe for the best chocolate cupcakes! If you loved baking and tasting them, please consider leaving a STAR REVIEW below. We’d also love to see your creations! Tag us on Instagram @stephaniesweettreats. For even more delicious inspiration and baking ideas, make sure to follow us on Pinterest. Happy baking!
The Best Chocolate Cupcakes
These are the best chocolate cupcakes. They are super moist chocolate spongy cupcakes with a soft and creamy chocolate cream cheese frosting.
45 mins
18 mins
15 mins
1 hr 18 mins
12 cupcakes
Ingredients
Chocolate Cupcakes
- 3/4 cup All-purpose flour
- 1 1/2 TBSP Cornstarch
- 1/3 cup Unsweetened cocoa powder
- 1 tsp Baking powder
- 1/2 tsp Baking soda
- 1/2 tsp Salt
- 1/3 cup Oil (canola or vegetable)
- 1/3 cup White granulated sugar
- 1/4 cup Brown sugar (packed light or dark)
- 2 Large eggs (room temperature)
- 1 tsp Pure vanilla extract
- 1 tsp White vinegar
- 1/3 cup Buttermilk (room temperature)
- 1/3 cup Sour cream (room temperature)
- 1/3 cup Hot water (steaming)
Chocolate Cream Cheese Frosting
- 1 1/2 cups Unsalted butter (room temperature)
- 8 oz Cream cheese (room temperature)
- 3 cups Powdered sugar (sifted)
- 2/3 cup Unsweetened cocoa powder (sifted)
- 1 tsp Pure vanilla extract
Instructions
Chocolate Cupcakes
- Preheat the oven to 350℉ (175°C). Line a 12-cup cupcake pan with cupcake liners. Set aside.
- In a large bowl, mix the flour, cocoa powder, cornstarch, baking powder, baking soda, and salt until well combined.
- In a separate bowl, mix the oil, sugar, brown sugar, eggs, vanilla, vinegar, buttermilk, and sour cream. Then, slowly add in the hot water while mixing.
- Pour the wet ingredients into the dry ingredients. Use a whisk to mix until most of the flour lumps are incorporated. Do not overmix.
- Use a large cookie scoop to scoop the batter, filling each cupcake liner about 2/3rds full.
- Bake for 16-19 minutes, or until a toothpick inserted into the center comes out with moist crumbs.
- Let the cupcakes sit in the hot pan for 10 minutes before transferring them to a wire rack. Cool the cupcakes completely before decorating.
Chocolate Cream Cheese Frosting
- In a large bowl, sift the powdered sugar and cocoa powder together. Set aside.
- Using a mixer, beat the butter and cream cheese together on high speed for 2 minutes. Scrape down the sides of the bowl with a rubber spatula.
- Add in half of the sifted powdered sugar mixture and mix on low speed until combined. Add the remaining powdered sugar and mix on low speed. Then, add in the vanilla extract and beat on high speed until creamy. Scrape the bowl again to ensure everything is mixed in.
- Decorate the cooled cupcakes. A Wilton 1M tip is recommended for frosting these cupcakes.
Notes
Flour – Make sure flour is spooned and leveled or use a kitchen scale for accuracy. Compacted flour can dry out the cupcakes.
High altitude baking – Add an extra 1 TBSP of flour.
Pull out dairy ingredients 2 hours before baking to ensure they are at room temperature.
Nutrition Information (Approximate per serving)
Calories: 431kcal, Carbohydrates: 54g, Protein: 4g, Fat: 38g, Saturated Fat: 20g, Polyunsaturated Fat: 3g, Monounsaturated Fat: 12g, Trans Fat: 1g, Cholesterol: 85mg, Sodium: 252mg, Potassium: 173mg, Fiber: 3g, Sugar: 11g, Vitamin A: 1014IU, Vitamin C: 0.1mg, Calcium: 73mg, Iron: 1mg
