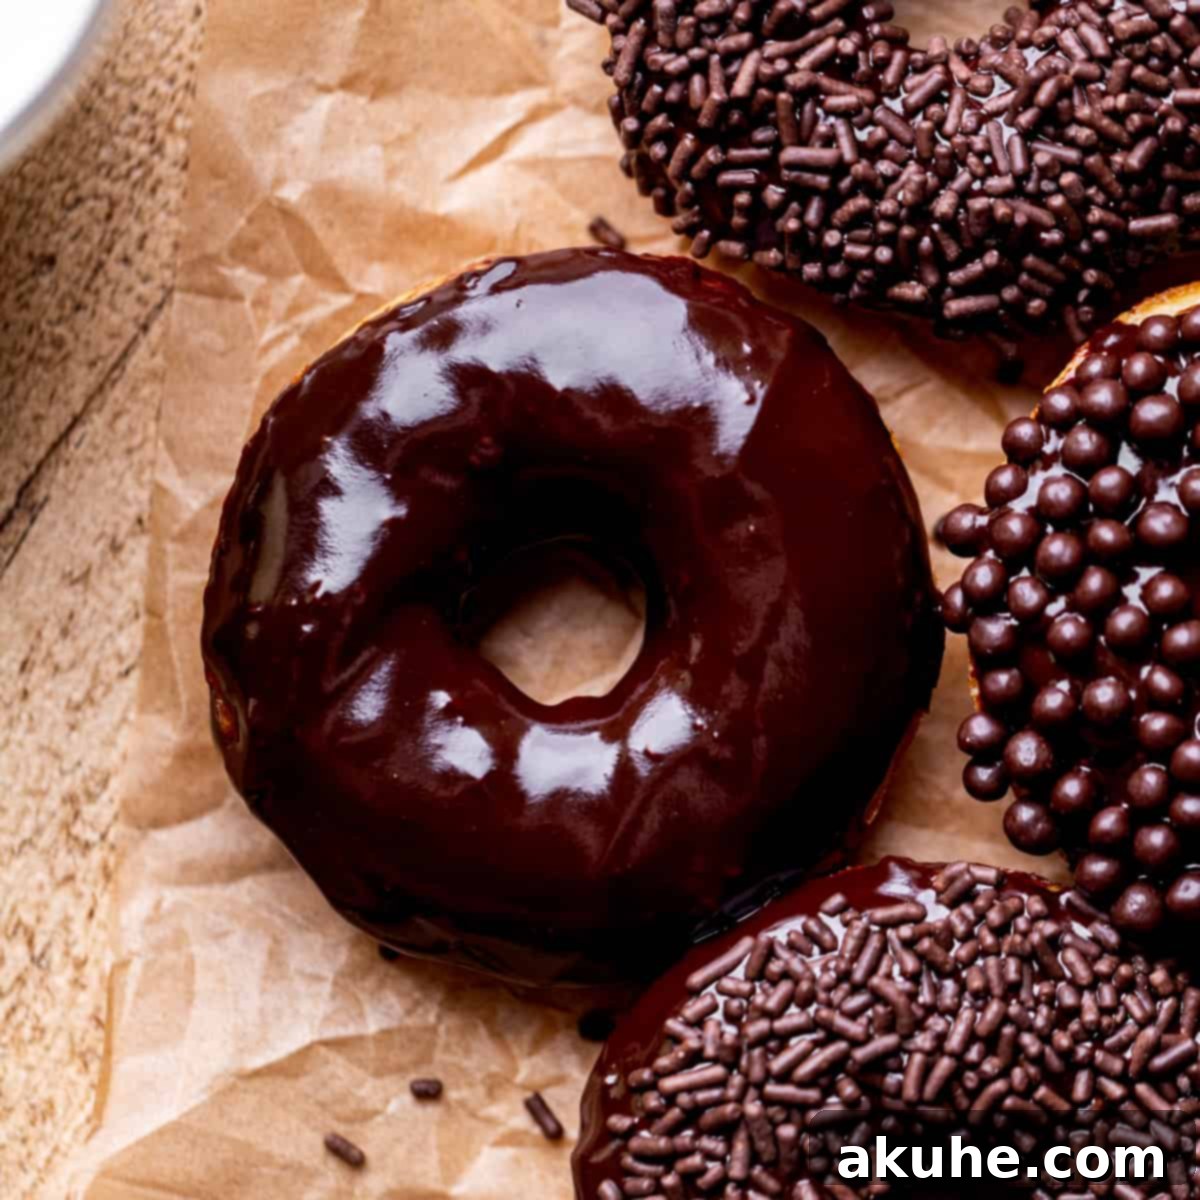
There’s nothing quite like the comforting aroma of freshly baked goods filling your kitchen, especially when those goods are fluffy, tender, and generously coated in a rich, decadent chocolate glaze. These aren’t just any donuts; these are the ultimate classic baked chocolate glazed donuts, crafted with love right in your own home. Forget the hassle of deep-frying and the need for a stand mixer – this recipe is designed for simplicity without compromising on that irresistible donut shop taste and texture. Each bite offers a delightful combination of a soft, cake-like donut base and a smooth, creamy chocolate topping that will surely bring a smile to your face and make any morning feel special. Perfect for weekend brunches, family treats, or a well-deserved personal indulgence, these homemade delights are a game-changer for any dessert or breakfast enthusiast.
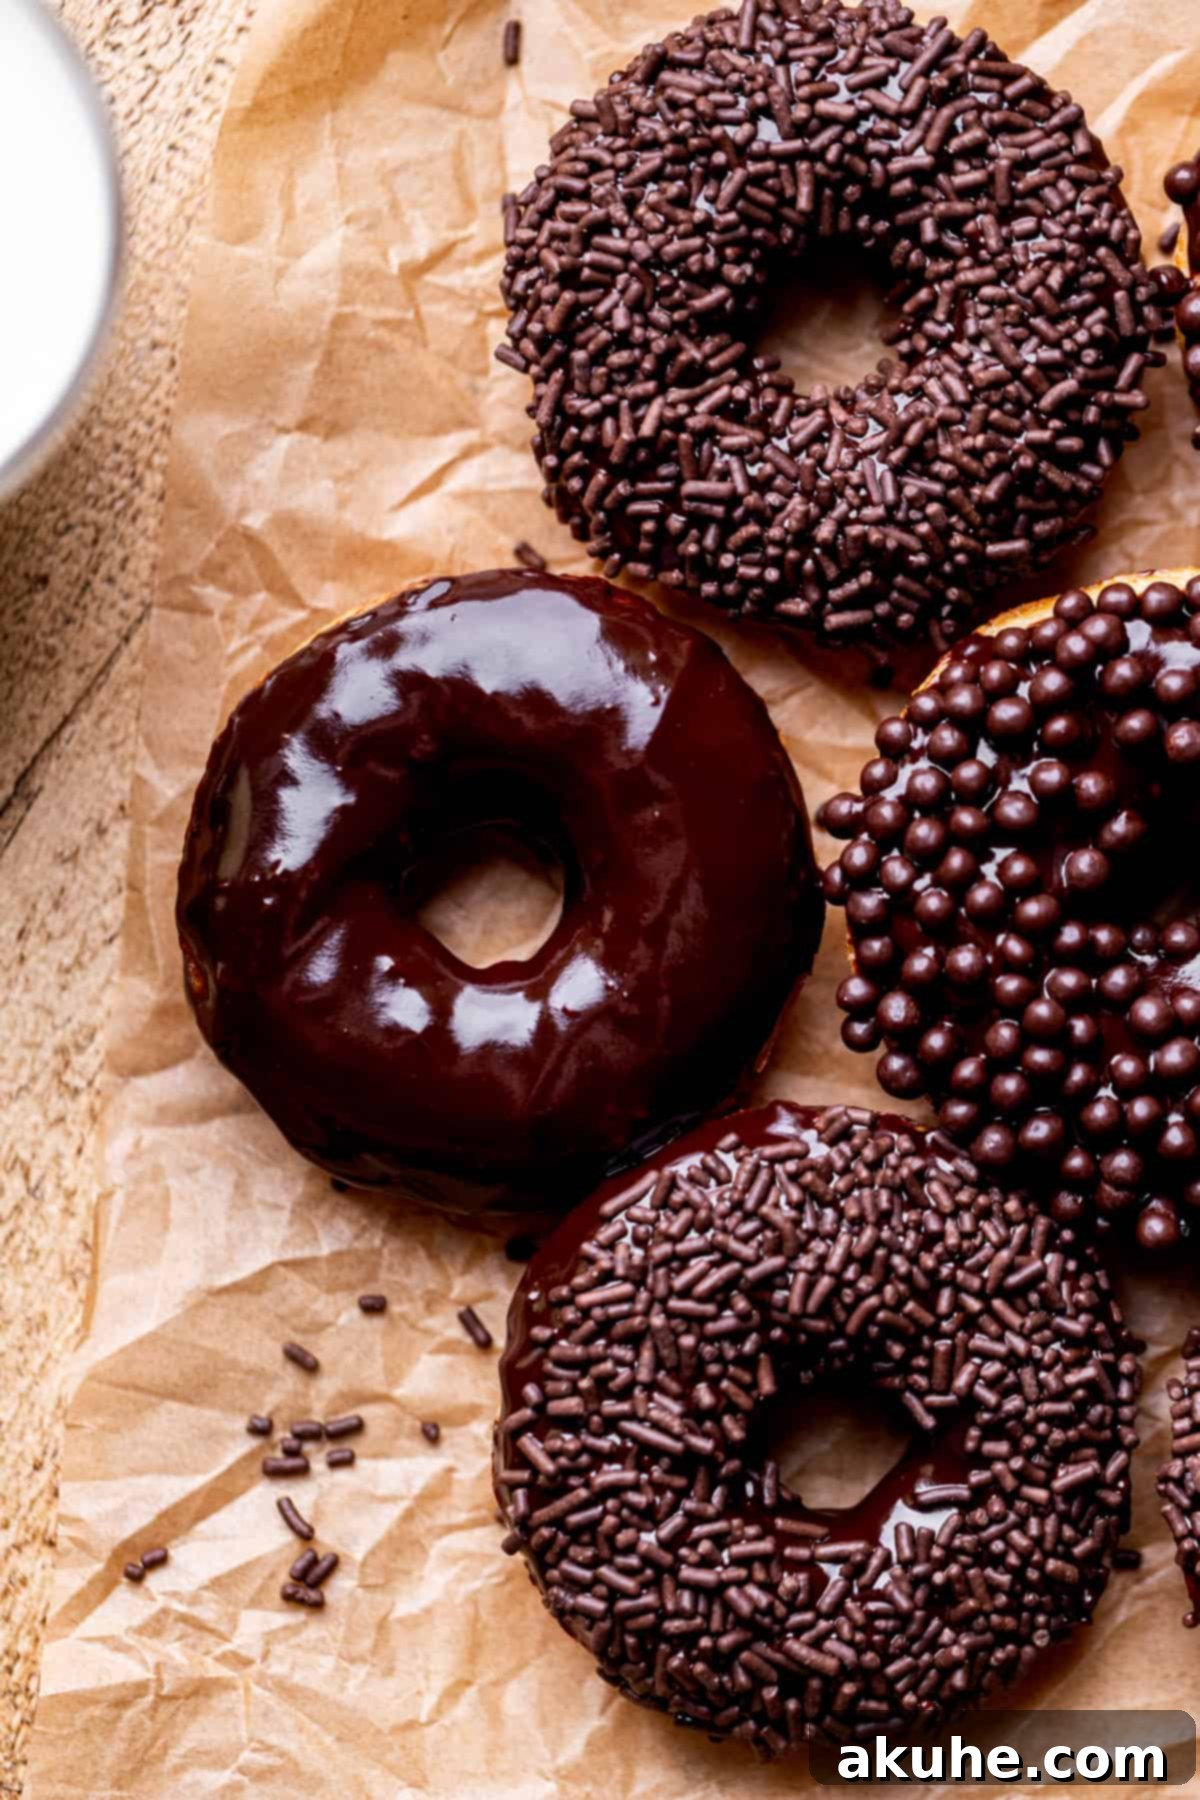
Imagine waking up to the sweet scent of warm chocolate and knowing that within minutes, you can enjoy a fresh, soft donut without leaving your house. Our easy baked chocolate glazed donut recipe brings that dream to life. These classic donuts are incredibly simple to prepare, making them an ideal project for bakers of all skill levels, even first-timers. They’re not only a delightful treat but also a wonderful way to create memorable moments, transforming ordinary weekend mornings into extraordinary family events. Serve them alongside a tall, cold glass of milk for the perfect pairing, and watch as they disappear faster than you can make them!
If you’re a true chocolate connoisseur and crave more rich, chocolatey desserts, be sure to explore some of our other favorites:
- Chocolate Ganache Cake: A rich sheet cake crowned with a luscious ganache.
- Chocolate Fudge Cookies: Chewy, intensely chocolatey cookies that melt in your mouth.
- Ding Dong Cake: A nostalgic, layered chocolate cake with a creamy filling and smooth glaze.
Why This Baked Donut Recipe is a Must-Try
This isn’t just another donut recipe; it’s a carefully crafted guide designed to deliver exceptional results with minimal fuss. Here’s why these homemade baked chocolate glazed donuts will become your new go-to:
- Unbeatable Freshness & Flavor: Nothing compares to the taste of a donut made fresh in your own kitchen. The moment you pull these warm, fluffy treats from the oven, you’ll understand. The aroma alone is enough to start your day on a high note, promising a tender interior and a melt-in-your-mouth experience that store-bought versions simply can’t replicate. It’s a sensory delight that makes every bite truly special, allowing you to enjoy a warm, soft dessert or breakfast item that’s superior in every way.
- Incredibly Easy and Accessible: Say goodbye to the intimidating process of deep-frying! This baked donut recipe eliminates the need for hot oil, which means less mess, less stress, and a healthier alternative that’s perfect for the whole family. You won’t require an electric mixer or even a specialized donut cutter, making it perfect for beginner bakers or anyone looking for a straightforward, fuss-free baking project. All you need are a couple of bowls, a whisk, and a donut pan, and you’re well on your way to homemade perfection that fits seamlessly into your busy schedule.
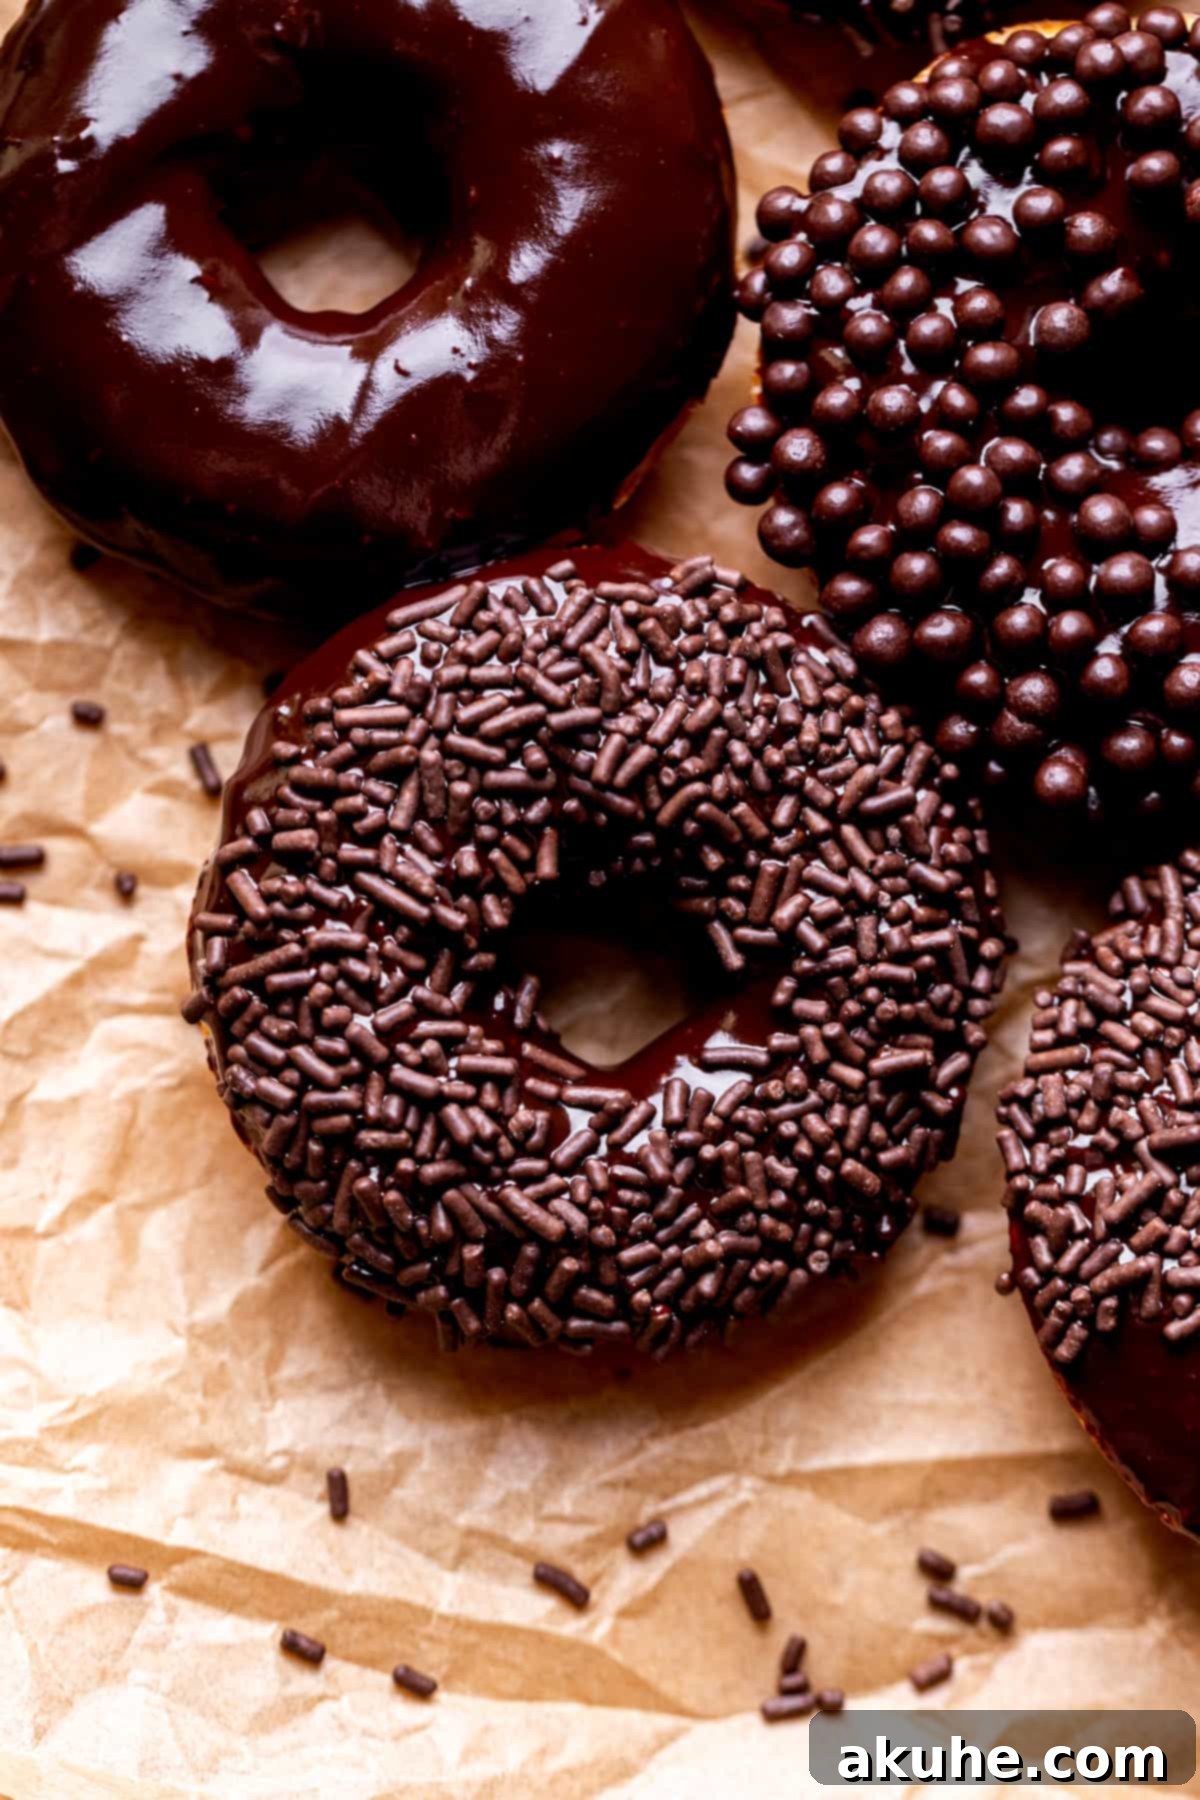
- Luxuriously Rich Chocolate Glaze: The crowning glory of these donuts is undoubtedly their thick, creamy, and intensely chocolatey glaze. This isn’t just a thin coating; it’s a luscious blanket of melted chocolate goodness that sets beautifully, providing a delightful contrast to the soft donut beneath. It’s a chocolate lover’s dream and perfectly explains why chocolate glazed remains the most popular donut flavor worldwide – a truly irresistible finish to an already perfect treat that will have everyone asking for more. The homemade glaze is smooth, shiny, and packed with deep cocoa flavor, making these baked donuts an absolute indulgence.
Essential Ingredients for Perfect Chocolate Glazed Donuts
Crafting the perfect baked chocolate glazed donuts begins with understanding your ingredients. While a full list can be found in the comprehensive recipe card below, here are some crucial notes and tips to ensure your donuts turn out light, fluffy, and utterly delicious:
- All-Purpose Flour: This forms the essential structure of our tender donut. It’s vital to sift your flour before measuring to prevent any clumps and ensure a smooth, uniform batter. Furthermore, avoid compacting the flour in your measuring cup; spoon it lightly into the cup and level it off with a straight edge (like the back of a knife). Too much flour can lead to dry, dense donuts, so precision here is key for that desirable fluffy, cake-like texture.
- Granulated Sugar: Beyond sweetness, sugar plays a vital role in baked goods. It contributes to the beautiful golden-brown color of your baked donuts and helps retain moisture, enhancing their overall appeal and flavor.
- Large Eggs: Eggs are critical in this recipe, acting as a binder, adding richness, and contributing to the donut’s structure and leavening. For the best results, always ensure your eggs are at room temperature. This allows them to incorporate more evenly into the batter, creating a smoother emulsion and a more consistent, tender crumb. Plan to take them out of the fridge at least two hours before you start baking.
- Milk: Like eggs, milk should be at room temperature. Using room temperature milk helps the batter come together smoothly and ensures that the leavening agents (baking powder and soda) activate properly, resulting in a lighter and airier donut. Any type of milk (dairy or non-dairy) can be used, but whole milk will lend the richest flavor and texture.
- Sour Cream (or Greek Yogurt): This is truly a secret ingredient for ultra-moist and tender donuts. The acidity in sour cream reacts with the baking soda, enhancing the rise, while its fat content contributes to a rich, soft crumb that melts in your mouth. Make sure it’s also at room temperature for optimal incorporation. If sour cream isn’t available, plain, full-fat Greek yogurt can be a fantastic substitute, offering similar moisture and a slight tang.
- Unsalted Butter: Butter adds incredible flavor and richness to the donut batter. Melt it gently and then allow it to cool completely before incorporating it into the wet ingredients. Adding hot butter could scramble the eggs, so ensure it’s cooled to lukewarm or room temperature before mixing. Using unsalted butter gives you better control over the overall saltiness of the recipe.
- Leavening Agents (Baking Powder & Baking Soda): These powerful agents work in tandem to give your donuts their wonderful rise and airy texture. Baking powder provides the initial lift, while baking soda reacts with the acidic sour cream to create additional carbon dioxide, ensuring a light and fluffy result. Always check the expiration dates to ensure they are fresh for maximum effectiveness.
- Salt & Nutmeg: A pinch of salt is essential for balancing the sweetness and enhancing all the other flavors in the donut. Nutmeg, a classic spice used in traditional donut recipes, adds a warm, subtly spiced background note that elevates their taste profile without being overpowering.
- Pure Vanilla Extract: A splash of good quality pure vanilla extract brightens and rounds out all the flavors in the donut batter, adding a layer of aromatic sweetness that complements the chocolate beautifully.
- Semi-Sweet Chocolate Chips: These are the star ingredient for our rich, homemade chocolate glaze. Semi-sweet chocolate provides a balanced flavor that is not overly sweet, allowing the deep cocoa notes to shine through. While you could use dark chocolate chips for a more intense flavor, we highly recommend avoiding milk chocolate chips, as they can make the glaze excessively sweet and sometimes difficult to work with. Opt for good quality chocolate for the best melting and flavor in your glaze.
Step-by-Step Guide to Baking Perfect Chocolate Glazed Donuts
Creating these delightful baked chocolate glazed donuts is a straightforward and rewarding process. Follow these detailed instructions to achieve perfect results every time:
STEP 1: Prepare Your Workspace and Oven. Begin by preheating your oven to 350°F (175°C). This ensures your oven is at the correct temperature when the donuts are ready to bake, which is crucial for a consistent rise and even baking. Next, lightly spray two standard donut pans with a high-quality baking non-stick spray that contains flour. This combination creates an extra layer of protection, helping to prevent sticking and ensuring your beautifully baked donuts release easily from the pan after baking. Set the prepared pans aside on your countertop.
STEP 2: Combine Dry Ingredients. In a medium-sized mixing bowl, combine the sifted all-purpose flour, baking powder, baking soda, salt, a pinch of aromatic nutmeg, and the granulated sugar. Using a whisk, thoroughly combine these dry ingredients. Whisking ensures they are evenly distributed throughout the mixture, which is essential for the donut’s consistent texture and proper rise during baking. Once mixed, set this bowl aside for a moment.
STEP 3: Mix Wet Ingredients and Gently Combine with Dry. In a separate, larger bowl, gently whisk together the room temperature large eggs, milk, sour cream (or Greek yogurt), cooled melted unsalted butter, and pure vanilla extract until they are well combined and smooth. The room temperature ingredients will emulsify better, creating a more uniform batter. Now, carefully pour the wet ingredient mixture into the bowl containing your dry ingredients. Using a whisk or a rubber spatula, gently mix them together just until they are combined. It’s crucial not to overmix; overmixing can develop too much gluten in the flour, leading to tough, dense donuts instead of the desired light and fluffy texture. A few small lumps are perfectly acceptable.
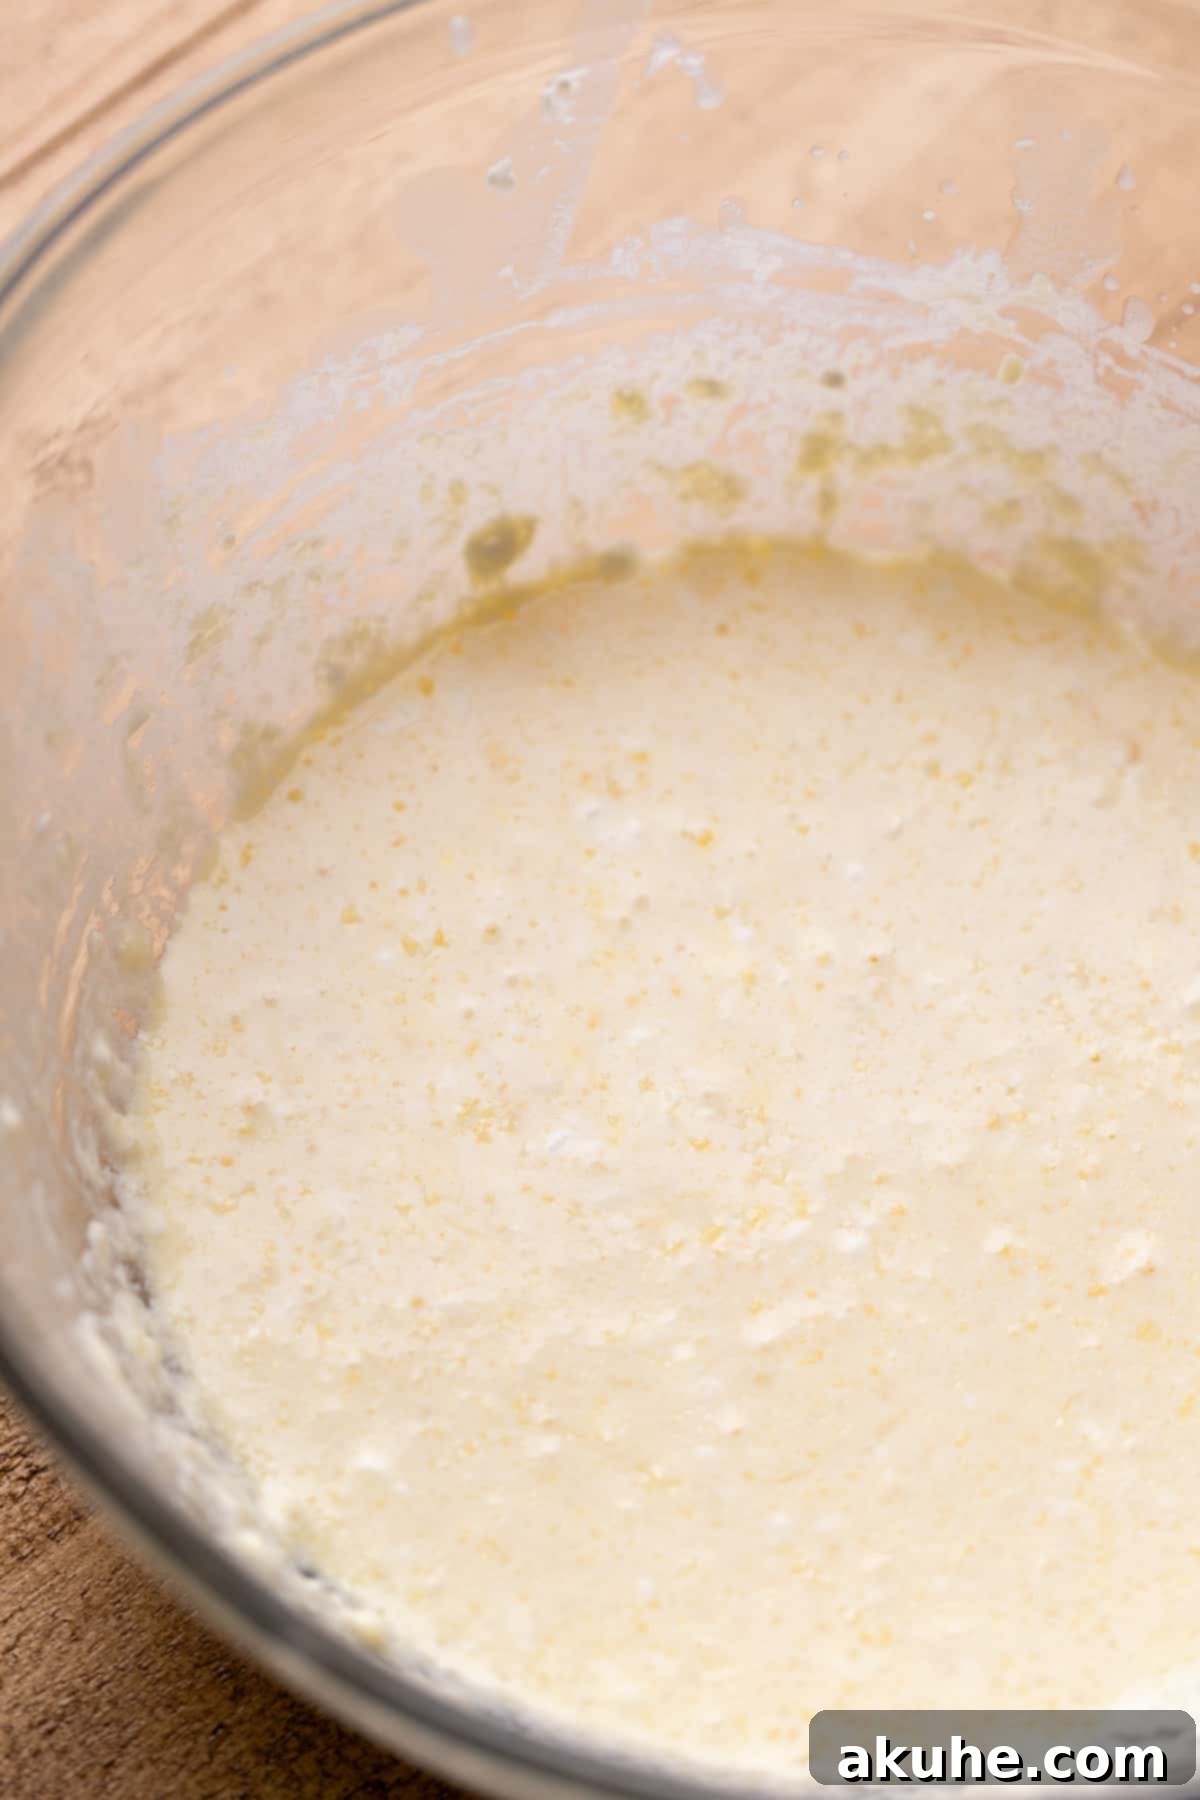
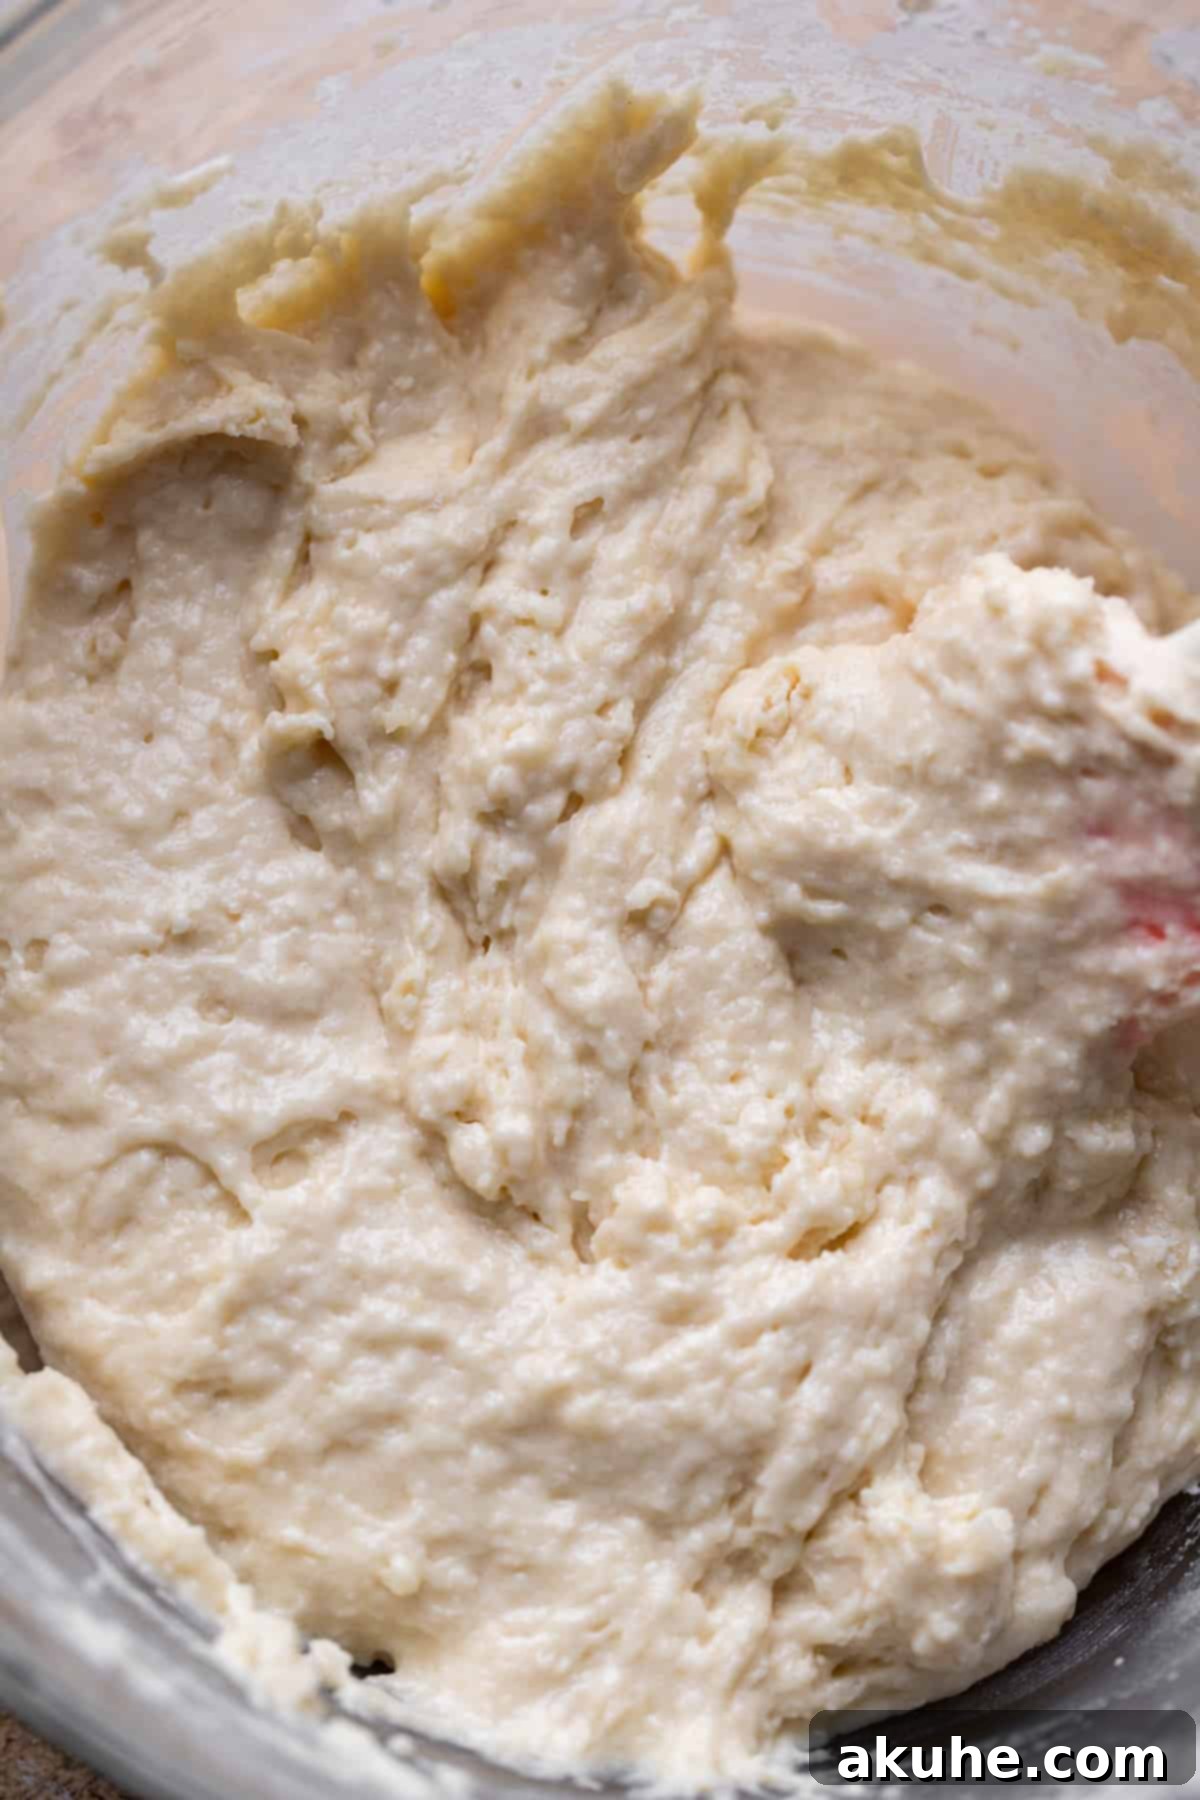
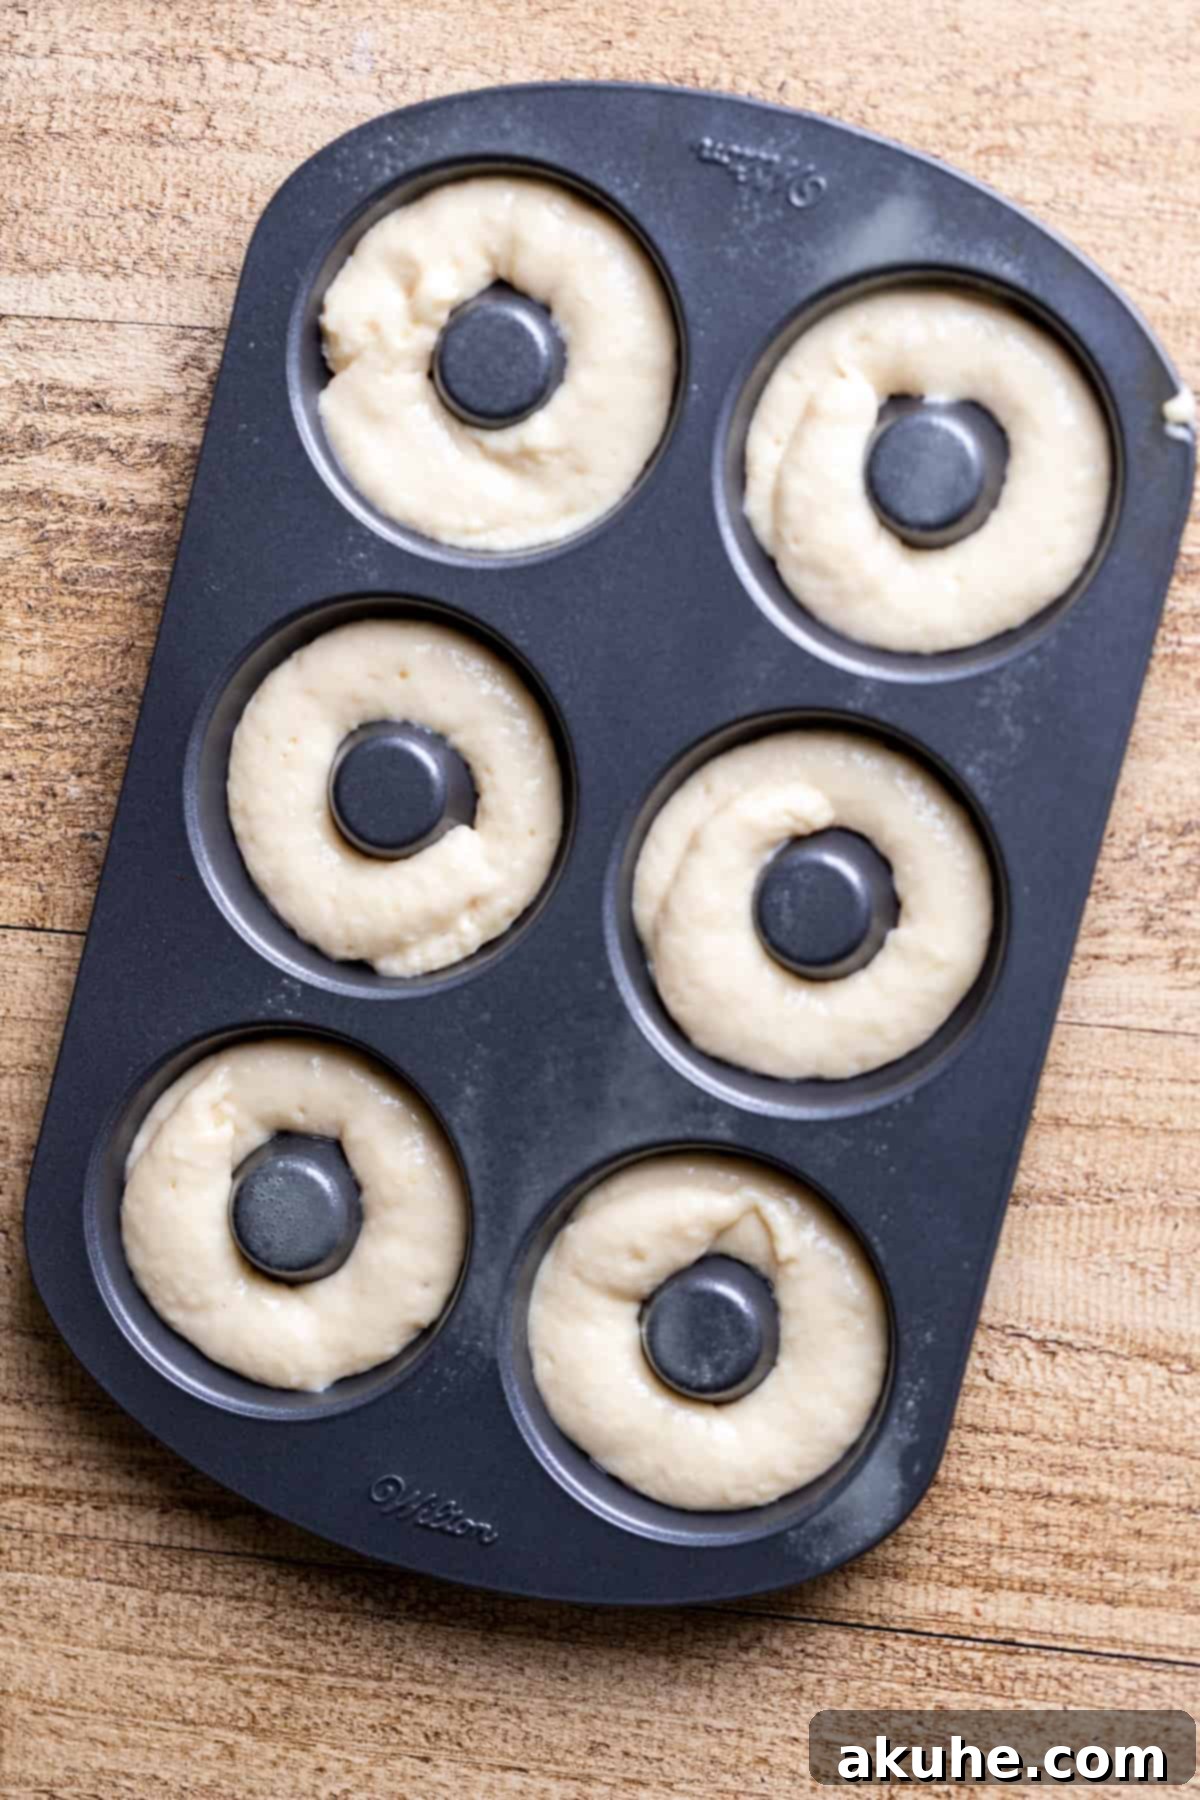
STEP 4: Pipe the Donut Batter Evenly. For clean and evenly shaped donuts, transfer your prepared donut batter into a piping bag. If you don’t have a piping bag, a large resealable plastic bag with one corner snipped off will work just as well as a makeshift piping tool. Carefully pipe the batter into the prepared donut pans, filling each cavity approximately halfway. It’s crucial not to overfill the trays, as the donuts will expand significantly during baking, and overfilling can cause them to lose their characteristic shape and overflow into a messy pan.
STEP 5: Bake Your Donuts to Golden Perfection. Place the donut pans into your preheated oven and bake for 9-11 minutes. Baking times can vary slightly depending on your oven’s calibration, so it’s always wise to keep a close eye on them. The donuts are perfectly done when they are light golden brown around the edges and a toothpick inserted into the center of a donut comes out clean, indicating that they are cooked through without being overbaked or dry.
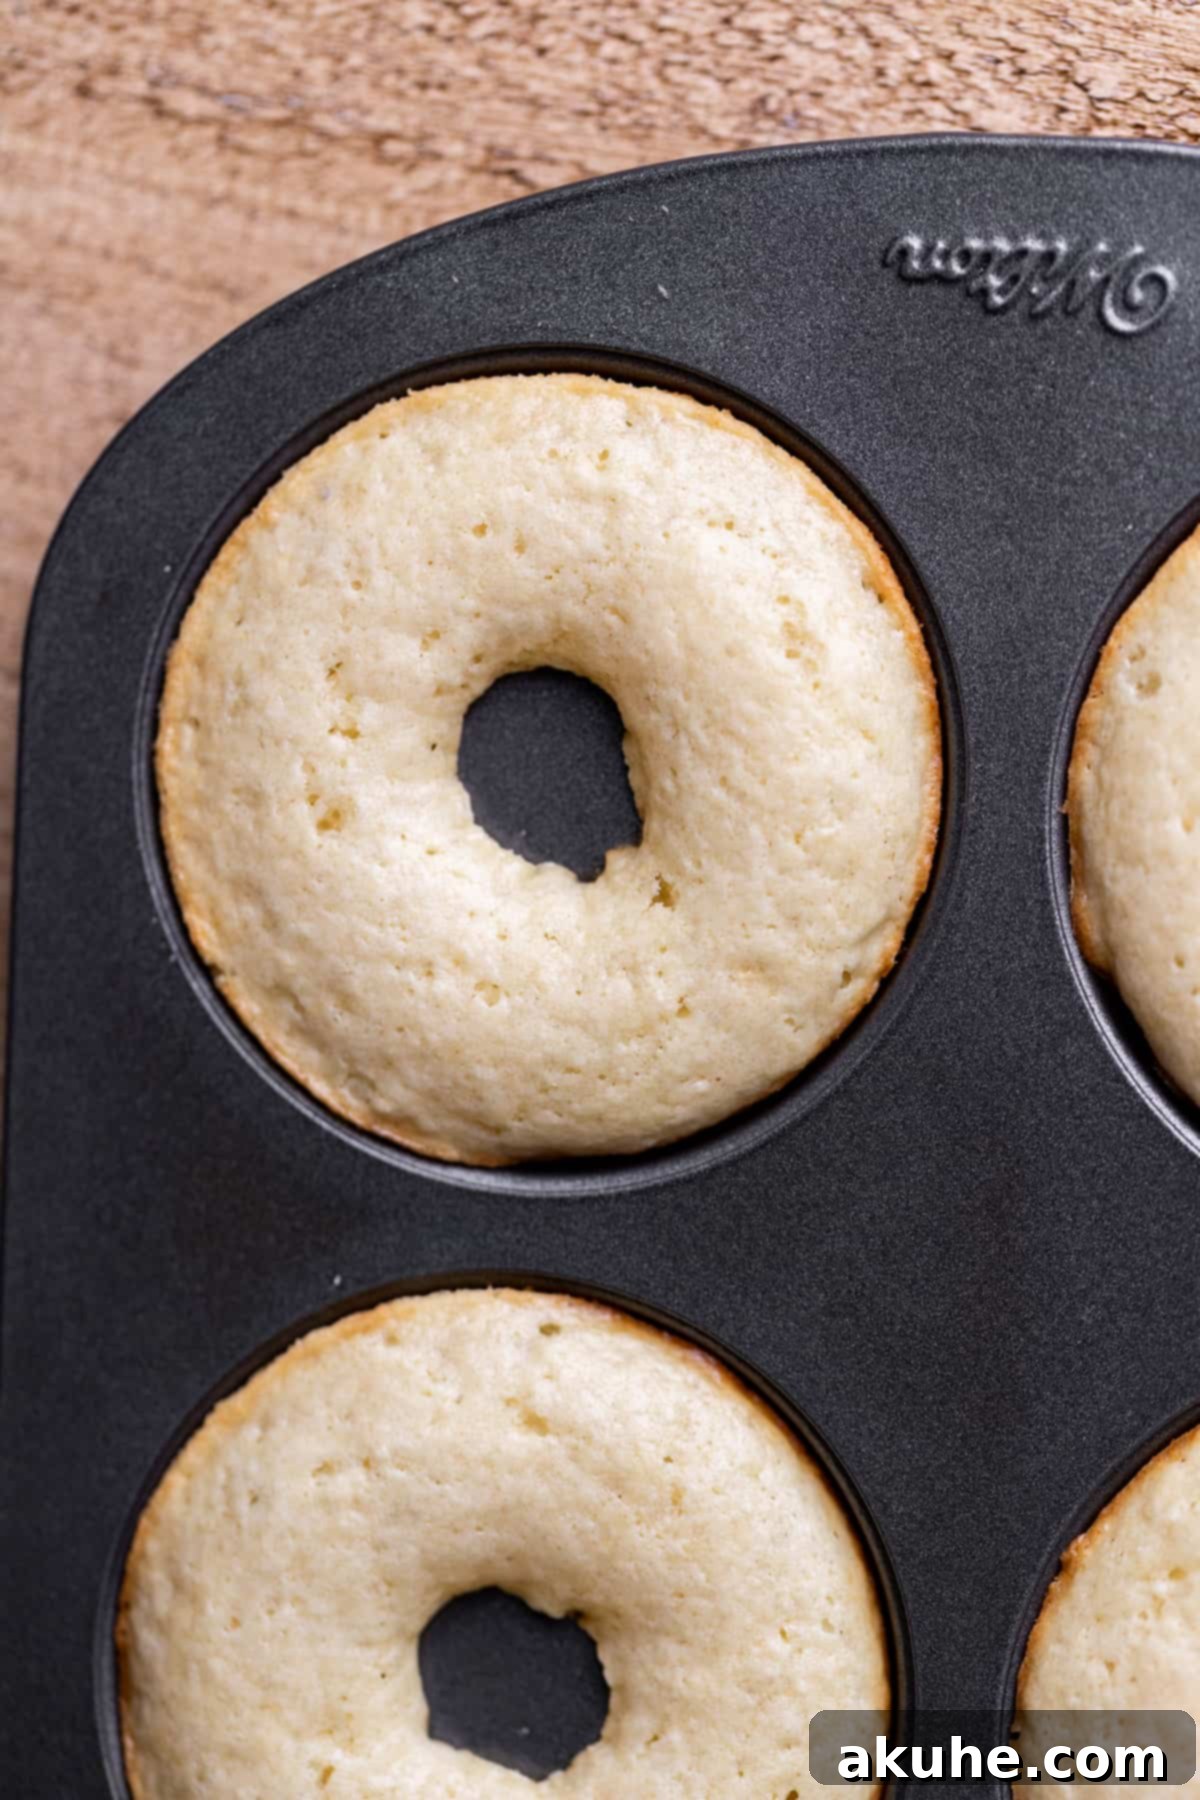
STEP 6: Cool Properly for Optimal Glazing. Once baked, carefully remove the pans from the oven. Allow the donuts to cool in the pans for about 10 minutes. This initial cooling period allows them to firm up slightly and prevents them from breaking when you transfer them. After 10 minutes, carefully transfer the warm donuts to a wire cooling rack to cool completely. Cooling completely is crucial before glazing, as a warm donut will cause the chocolate glaze to melt and run off, rather than setting into a beautiful, smooth coating.
STEP 7: Prepare the Rich Chocolate Glaze. In a glass, heat-safe bowl or a large measuring cup, combine the semi-sweet chocolate chips, 1 tablespoon of butter, and 1/3 cup of milk. Heat this mixture in the microwave in short 20-second intervals. After each interval, remove the bowl and stir the mixture thoroughly with a spoon or whisk until the chocolate chips are fully melted and the glaze is smooth, shiny, and lump-free. Be patient and stir well between heating cycles to prevent the chocolate from scorching, which can lead to a grainy texture.
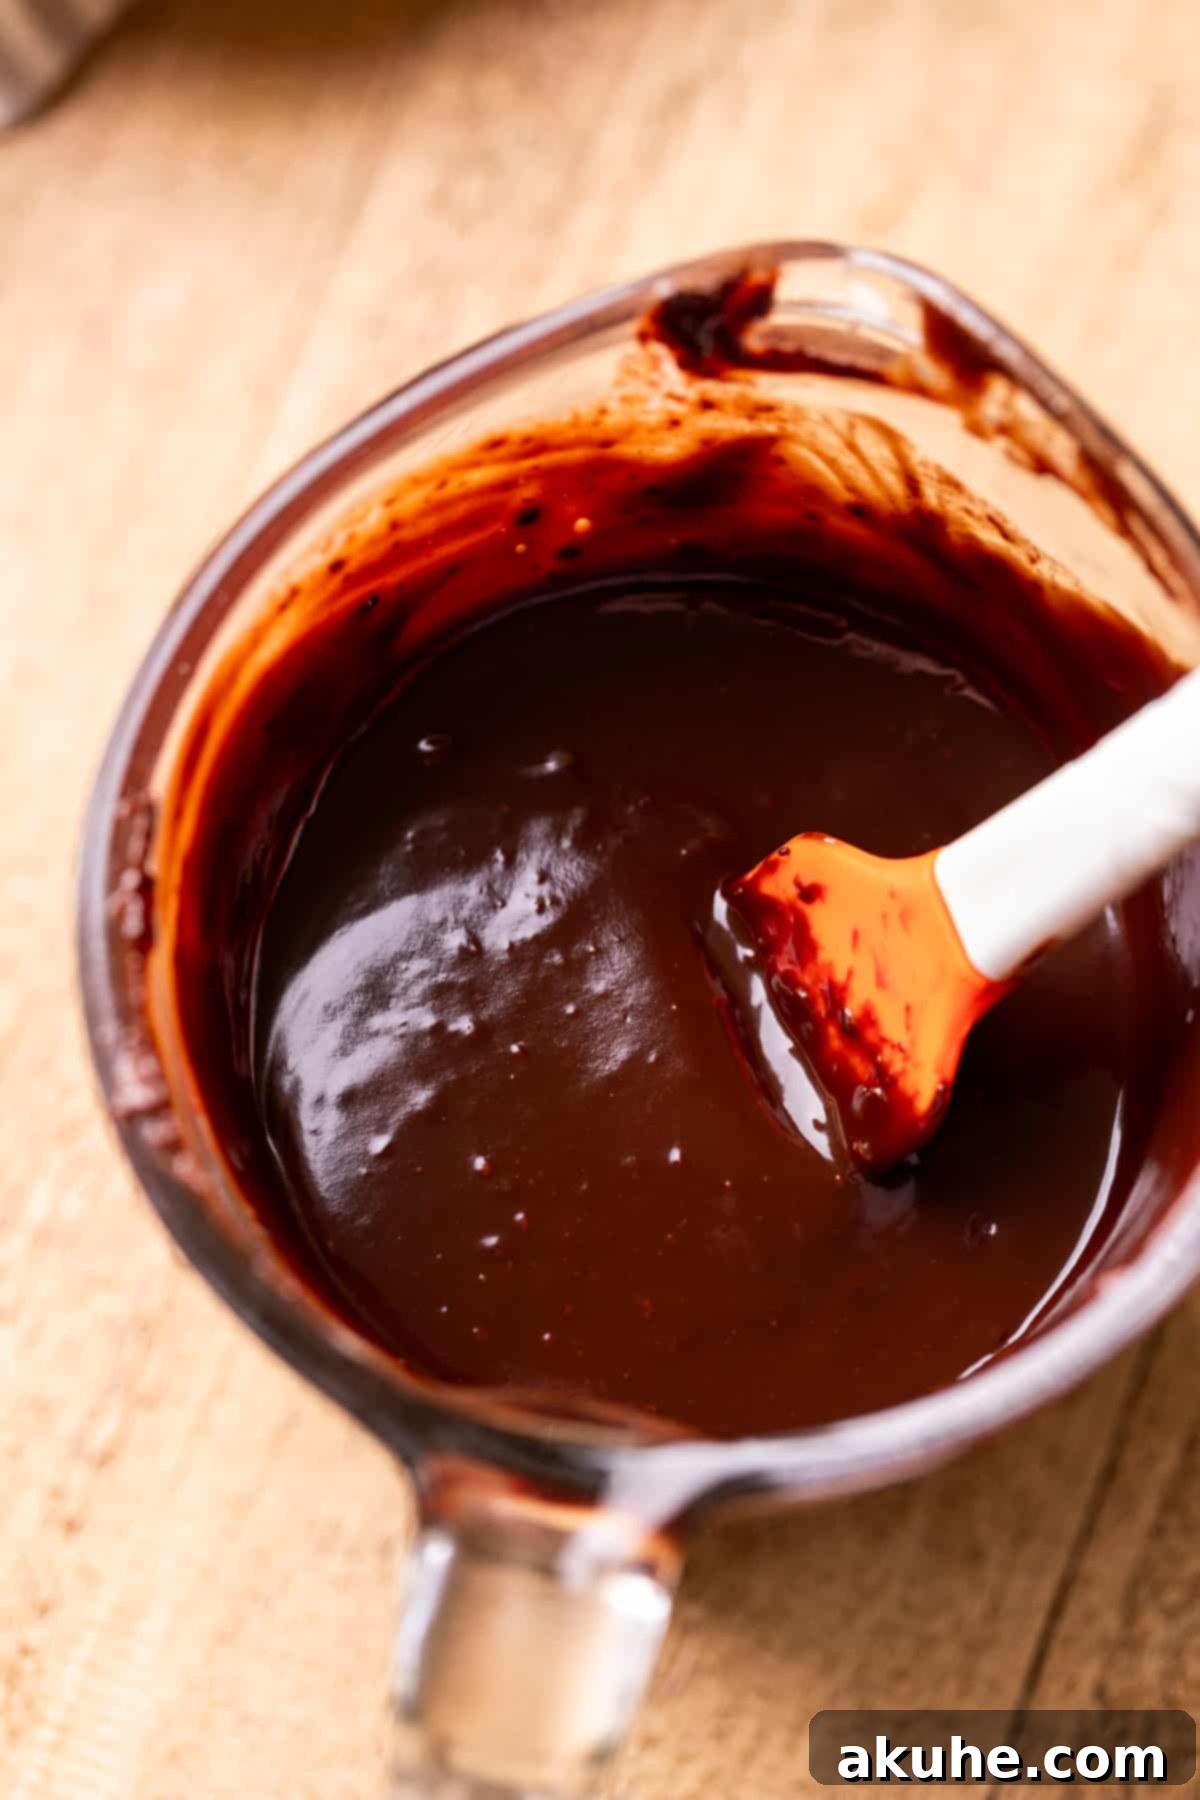
STEP 8: Glaze Your Delicious Donuts. Pour your perfectly prepared chocolate glaze into a shallow bowl, wide enough to easily dip the donuts. Take each completely cooled donut and gently dip the top side into the chocolate glaze, ensuring it’s evenly coated. Lift the donut, allowing any excess glaze to drip back into the bowl, and then place each glazed donut back onto a wire rack. If you wish to add sprinkles, chopped nuts, or other toppings, do so immediately while the glaze is still wet, so they adhere properly before it sets. Let the glazed donuts sit on the wire rack for about 15-30 minutes, or until the glaze has fully set and hardened. Now, your irresistible homemade baked chocolate glazed donuts are ready to be savored!
Expert Baking Tips for Flawless Baked Donuts
Achieving bakery-quality baked chocolate glazed donuts at home is easier than you think, especially with these insider tips and tricks:
- Mastering Flour Measurement: The single most common mistake in baking is incorrect flour measurement, which can easily lead to dry, dense donuts. Always use the “spoon and level” method: spoon flour lightly into your measuring cup until it overflows, then level off the top with a straight edge (like the back of a knife) without compacting it. For ultimate precision and consistently perfect results, consider using a kitchen scale; 2 cups of all-purpose flour typically weigh around 240-250 grams.
- The Power of Room Temperature Ingredients: This tip is repeated for a reason! Eggs, milk, and sour cream at room temperature emulsify better, meaning they combine more smoothly and evenly with the other ingredients. This creates a homogeneous batter that traps air more effectively, resulting in a lighter, fluffier crumb and a more consistent texture in your finished donuts. Cold ingredients can cause the batter to seize up and result in an inferior texture.
- Donut Pan Preparation is Key: Don’t just grab any cooking spray. Invest in a baking non-stick spray that contains flour (often labeled as “baking spray” or “flour spray”). This provides an extra layer of non-stick protection that cooking oil sprays alone can’t match, ensuring your delicate baked donuts release cleanly from the pan without tearing or leaving bits behind. Properly greased pans are non-negotiable for beautiful donuts.
- Prevent Overmixing at All Costs: Once you combine the wet and dry ingredients, mix only until just combined. A few small lumps in the batter are perfectly fine and even desirable. Overmixing develops the gluten in the flour, which will result in tough, chewy donuts rather than the soft, cake-like texture you’re aiming for. Stop mixing as soon as no dry streaks of flour remain.
- Achieving Perfectly Shaped Donuts: When piping the batter into your donut pans, it can sometimes settle unevenly, creating an imperfect shape. For a perfectly smooth, round donut, gently use a clean finger or the back of a small spoon to smooth out the batter in each cavity before baking. This simple step makes a big difference in the final aesthetic of your homemade treats.
- Smart Glazing Setup for Easy Cleanup: To make cleanup a breeze and ensure maximum glaze coverage, place a baking sheet lined with parchment paper or foil directly under your wire cooling rack before you start glazing. This ingenious trick will catch any excess chocolate glaze that drips off, keeping your countertops clean and allowing you to easily reuse any collected glaze if desired for another batch or to double-dip.
- Cool Completely Before Glazing: Patience is a virtue here. Glazing warm donuts will cause the chocolate to melt, become runny, and slide right off, resulting in a messy and uneven coating. Ensure your donuts are entirely cool to the touch before dipping them into the glaze. This allows the glaze to set properly into a firm, shiny, and delicious coating that adheres beautifully to the donut.
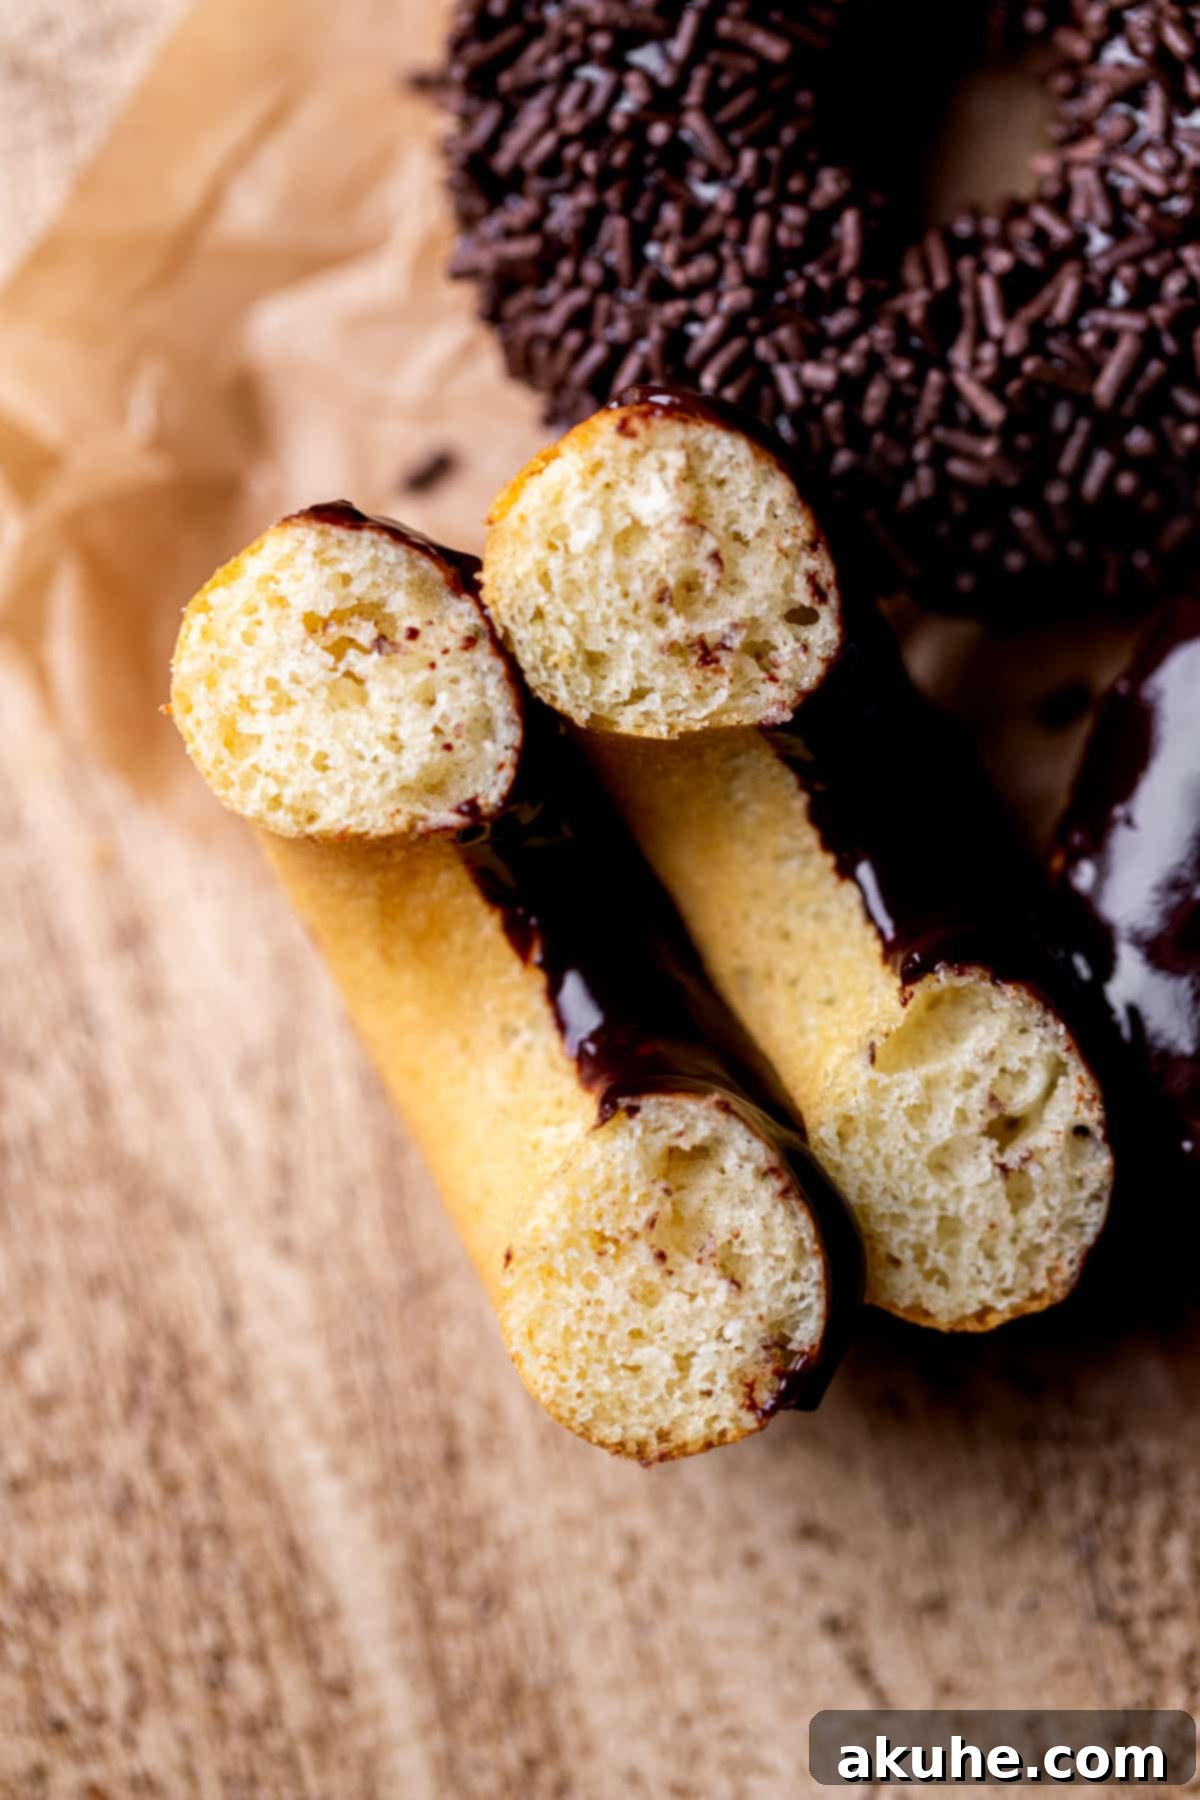
Frequently Asked Questions About Baked Chocolate Glazed Donuts
While a donut pan is ideal for achieving the classic ring shape, it’s not strictly necessary. You can easily adapt this recipe to make delicious chocolate glazed muffins! Simply use a standard muffin pan lined with paper liners. Fill the muffin cups about two-thirds full with batter and bake for approximately the same amount of time (9-12 minutes), or until a toothpick inserted into the center comes out clean. Once cooled, you can dip the tops of your muffins into the chocolate glaze for a delightful alternative that’s equally tasty.
Yes, you can! These donuts are fantastic fresh, but they also freeze exceptionally well. For best results, allow the baked donuts to cool completely after baking, but *before* applying the glaze. Once cooled, wrap each donut tightly in plastic wrap and then place them in an airtight freezer-safe bag or container. They can be frozen for up to 30 days without losing much quality. When you’re ready to enjoy them, simply remove the frozen donuts and let them thaw at room temperature for about an hour before preparing and applying the chocolate glaze.
This particular recipe has not been extensively tested with egg substitutes, so we cannot guarantee the same results or texture. Eggs contribute significantly to the donut’s structure, moisture, binding, and leavening. If you do attempt to make them egg-free, common substitutes include applesauce, mashed banana, flax eggs (1 tbsp ground flaxseed + 3 tbsp water per egg), or commercial egg replacers. Please be aware that the texture, rise, and overall flavor may vary. If you try an egg-free version, we’d love to hear about your experience and results!
The key to a silky-smooth chocolate glaze is gentle, gradual heating and thorough stirring. When melting the chocolate chips with butter and milk in the microwave, use short 20-second intervals. After each interval, remove the bowl and stir vigorously with a whisk or spoon, even if the chocolate doesn’t look fully melted. The residual heat will continue to melt the chocolate as you stir, preventing scorching and ensuring a uniform, glossy consistency. If it seems too thick after melting, you can add a tiny bit more milk (1/2 teaspoon at a time) to reach your desired dipping consistency. Avoid overheating, as this can cause the chocolate to seize.
There are a few common culprits for dry or dense baked donuts. The most frequent is over-measuring flour; make sure to use the “spoon and level” method or a kitchen scale for accuracy. Another common issue is overmixing the batter, which develops too much gluten, leading to a tough and chewy texture instead of light and fluffy. Furthermore, ensure your wet ingredients (eggs, milk, sour cream) are at room temperature; cold ingredients don’t emulsify as well, affecting the final texture. Lastly, baking for too long can also dry them out, so always rely on the toothpick test for doneness and remove them from the oven promptly.
Storing and Freezing Your Delicious Chocolate Glazed Donuts
To enjoy your homemade baked chocolate glazed donuts at their best, proper storage is essential. While they are undoubtedly most delicious fresh from the oven, you can certainly store them for later enjoyment.
Once the chocolate glaze has fully set and hardened at room temperature, place the donuts in a single layer in an airtight container. If stacking, place a piece of parchment paper between layers to prevent sticking. Store them in the refrigerator for up to 3-5 days. Be aware that the glaze might soften slightly and become a little sticky in an airtight container due to moisture, especially in humid conditions. For optimal flavor and texture, bringing them to room temperature for 15-20 minutes before serving can enhance the experience, allowing the donut to soften and the chocolate flavor to bloom.
Freezing Instructions for Baked Donuts
If you wish to extend the life of your baked donuts, freezing is an excellent option, particularly if you plan to make a large batch. For the best results, freeze the donuts before applying the chocolate glaze. This ensures the glaze will be fresh and perfectly set when you are ready to serve them.
Once the donuts have cooled completely after baking, wrap each individual donut tightly in plastic wrap to prevent freezer burn. Then, place the wrapped donuts in an airtight freezer-safe bag or container. They can be frozen for up to 30 days without significant loss of quality. When you’re ready to enjoy them, simply remove the desired number of donuts from the freezer and let them thaw at room temperature for approximately 1 hour. Once thawed, you can proceed with making and applying the fresh chocolate glaze as per the recipe instructions. This method ensures that the glaze remains perfectly smooth and fresh, giving you delicious, seemingly freshly made donuts whenever a craving strikes.
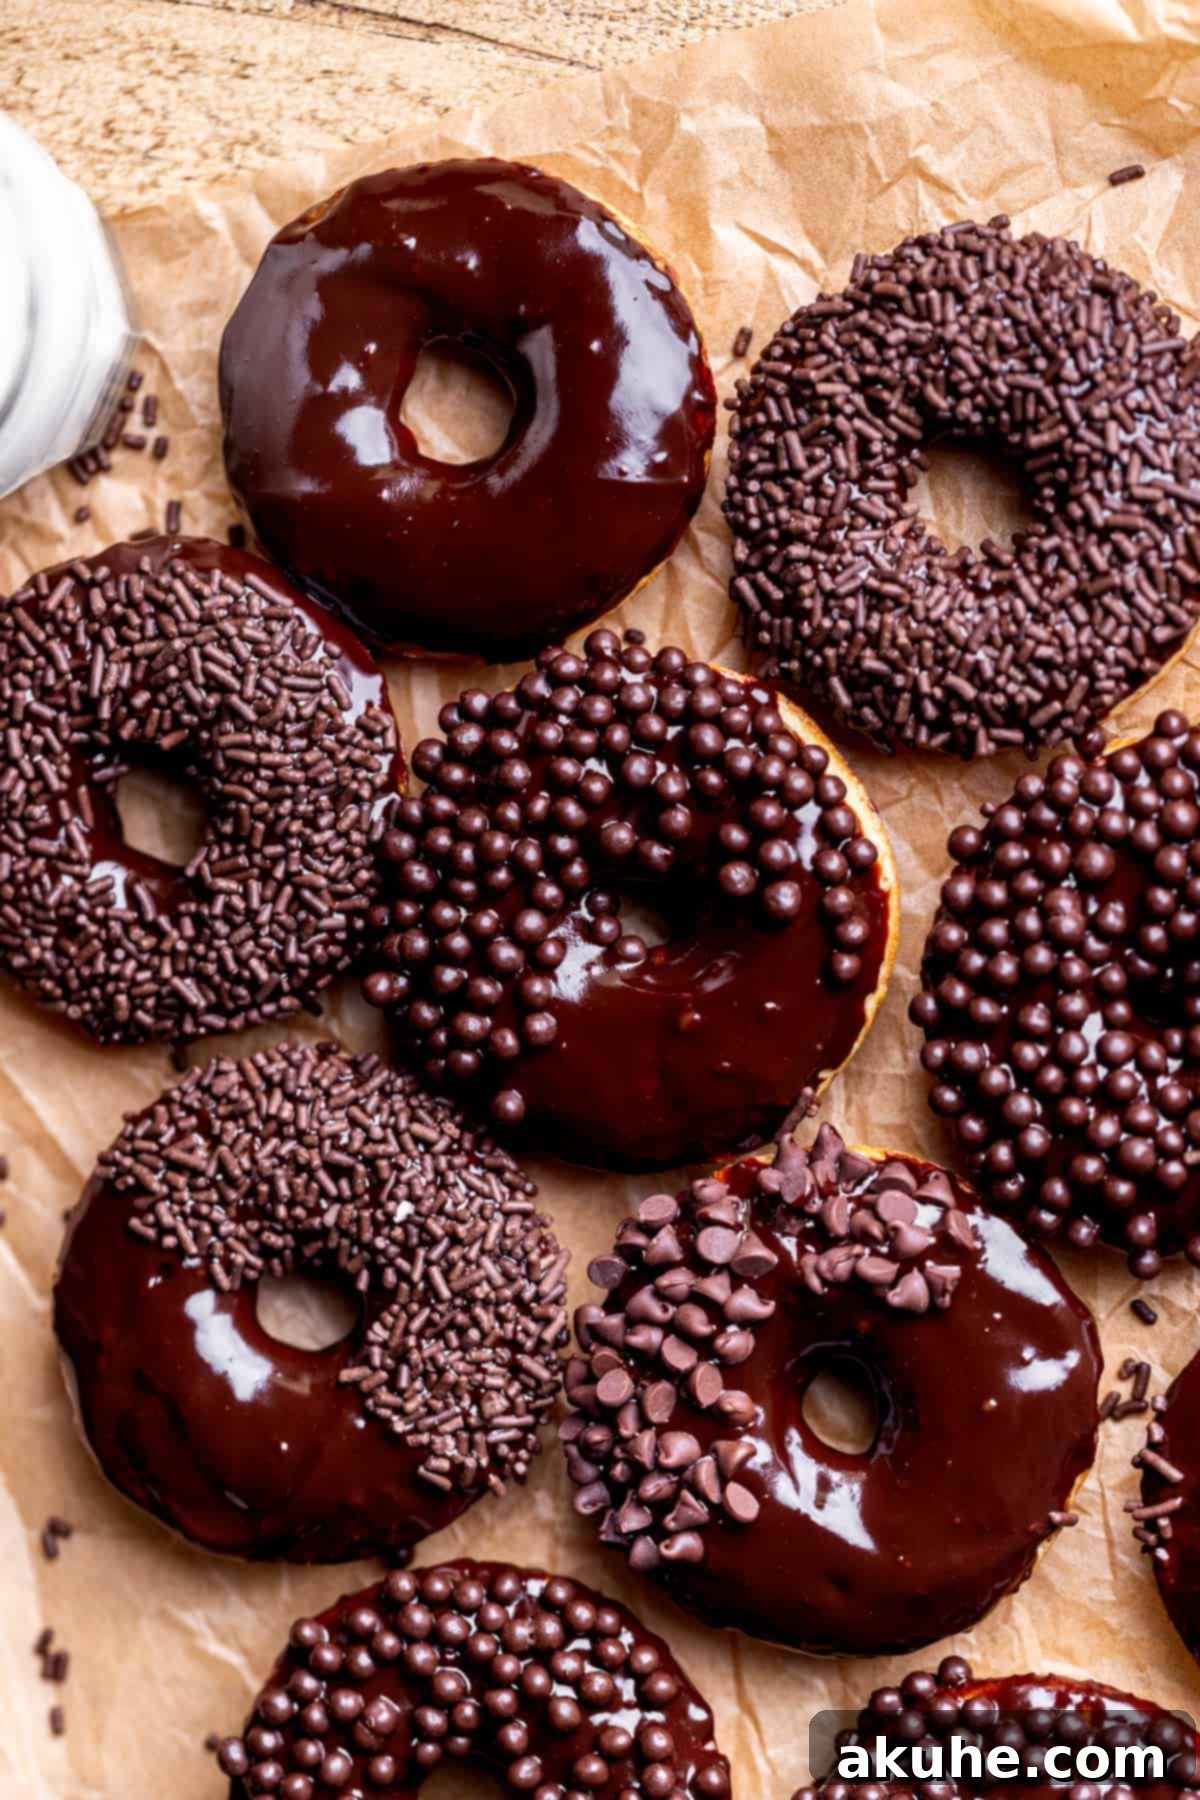
Beyond Donuts: Other Irresistible Breakfast Recipes to Try
If you’ve loved making these chocolate glazed donuts, you might be looking for more ways to elevate your breakfast or brunch menu. Our collection of breakfast recipes offers a wide range of options, from sweet and decadent to savory and satisfying. Explore our site for fluffy pancakes, crispy waffles, comforting casseroles, and delightful pastries that are perfect for any morning occasion. Expand your baking repertoire and discover new family favorites that will make every meal a special one!
Full Recipe Card: Baked Chocolate Glazed Donuts

Chocolate Glazed Donuts
These are classic baked chocolate glazed donuts. They are soft baked donuts topped with a creamy chocolate glaze. No mixer needed!
Print Recipe |
Pin Recipe |
Leave a Review
30 mins
10 mins
40 mins
12 donuts
Ingredients
Donuts
- 2 cups All-purpose flour
- 2 tsp Baking powder
- 1/2 tsp Baking soda
- 1 tsp Salt
- Pinch of nutmeg
- 2/3 cup White granulated sugar
- 2 Large eggs, room temperature
- 1/2 cup Milk, room temperature
- 1/2 cup Sour cream, room temperature or greek yogurt
- 4 TBSP Unsalted butter, melted
- 1 tsp Pure vanilla extract
Chocolate Glaze
- 1 cup Semi-sweet chocolate chips
- 1 TBSP Butter
- 1/3 cup Milk
Instructions
Donuts
- Preheat the oven to 350℉ (175°C). Spray two donut pans lightly with baking nonstick spray. Set aside.
- In a medium bowl, mix the flour, baking powder, baking soda, salt, pinch of nutmeg, and sugar. Set aside.
- In a separate bowl, mix the eggs, milk, sour cream, melted butter, and vanilla. Pour the wet ingredients into the dry ingredients. Whisk until just combined, being careful not to overmix.
- Pour the donut batter into a piping bag (or a large Ziploc bag with a corner snipped off). Pipe the donut batter into the donut pan, filling each cavity halfway. Do not overfill!
- Bake for 9-11 minutes, or until a toothpick inserted into the center comes out clean and the edges are golden.
- Let the donuts sit in the hot pan for 10 minutes before carefully transferring them to a wire cooling rack to cool completely.
Chocolate Glaze
- In a glass measuring cup (or a microwave-safe bowl), add the chocolate chips, butter, and milk. Heat in 20-second intervals in the microwave, stirring well after each interval, until melted and smooth.
- Pour the glaze into a shallow bowl. Dip the top of each completely cooled donut into the glaze. Place on a wire rack to set. If adding sprinkles, do so immediately while the glaze is still wet.
Notes
Flour: Make sure flour is spooned and leveled or use a kitchen scale. Compacted flour can dry out the donuts.
High Altitude Baking: If baking at high altitude, add an extra 2 tablespoons of flour to the dry ingredients.
Room Temperature Ingredients: For best results, pull out dairy ingredients and eggs at least 2 hours before baking.
Nutrition Information
Carbohydrates: 36g,
Protein: 4g,
Fat: 13g,
Saturated Fat: 8g,
Polyunsaturated Fat: 1g,
Monounsaturated Fat: 4g,
Trans Fat: 0.2g,
Cholesterol: 21mg,
Sodium: 330mg,
Potassium: 147mg,
Fiber: 2g,
Sugar: 18g,
Vitamin A: 240IU,
Vitamin C: 0.1mg,
Calcium: 84mg,
Iron: 2mg
Did you make this recipe?
Please leave a star rating and review below! We’d love to see your creations! Tag us on Instagram @stephaniesweettreats. For more delicious inspiration, follow us on Pinterest.
