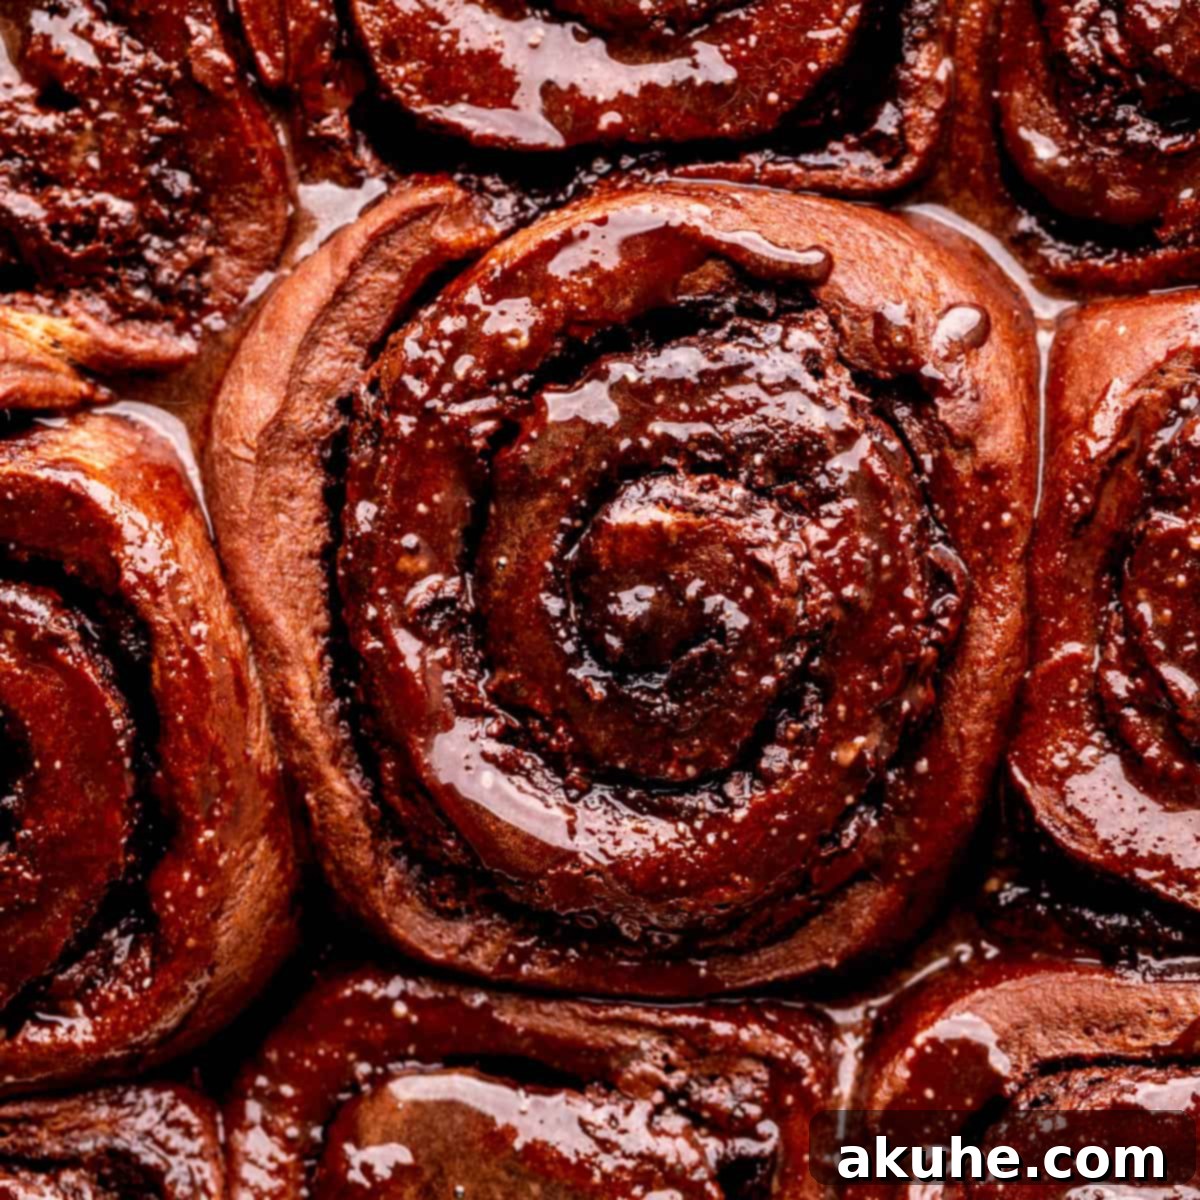
Ultimate Decadent Chocolate Rolls: A Brownie-Like Breakfast Experience
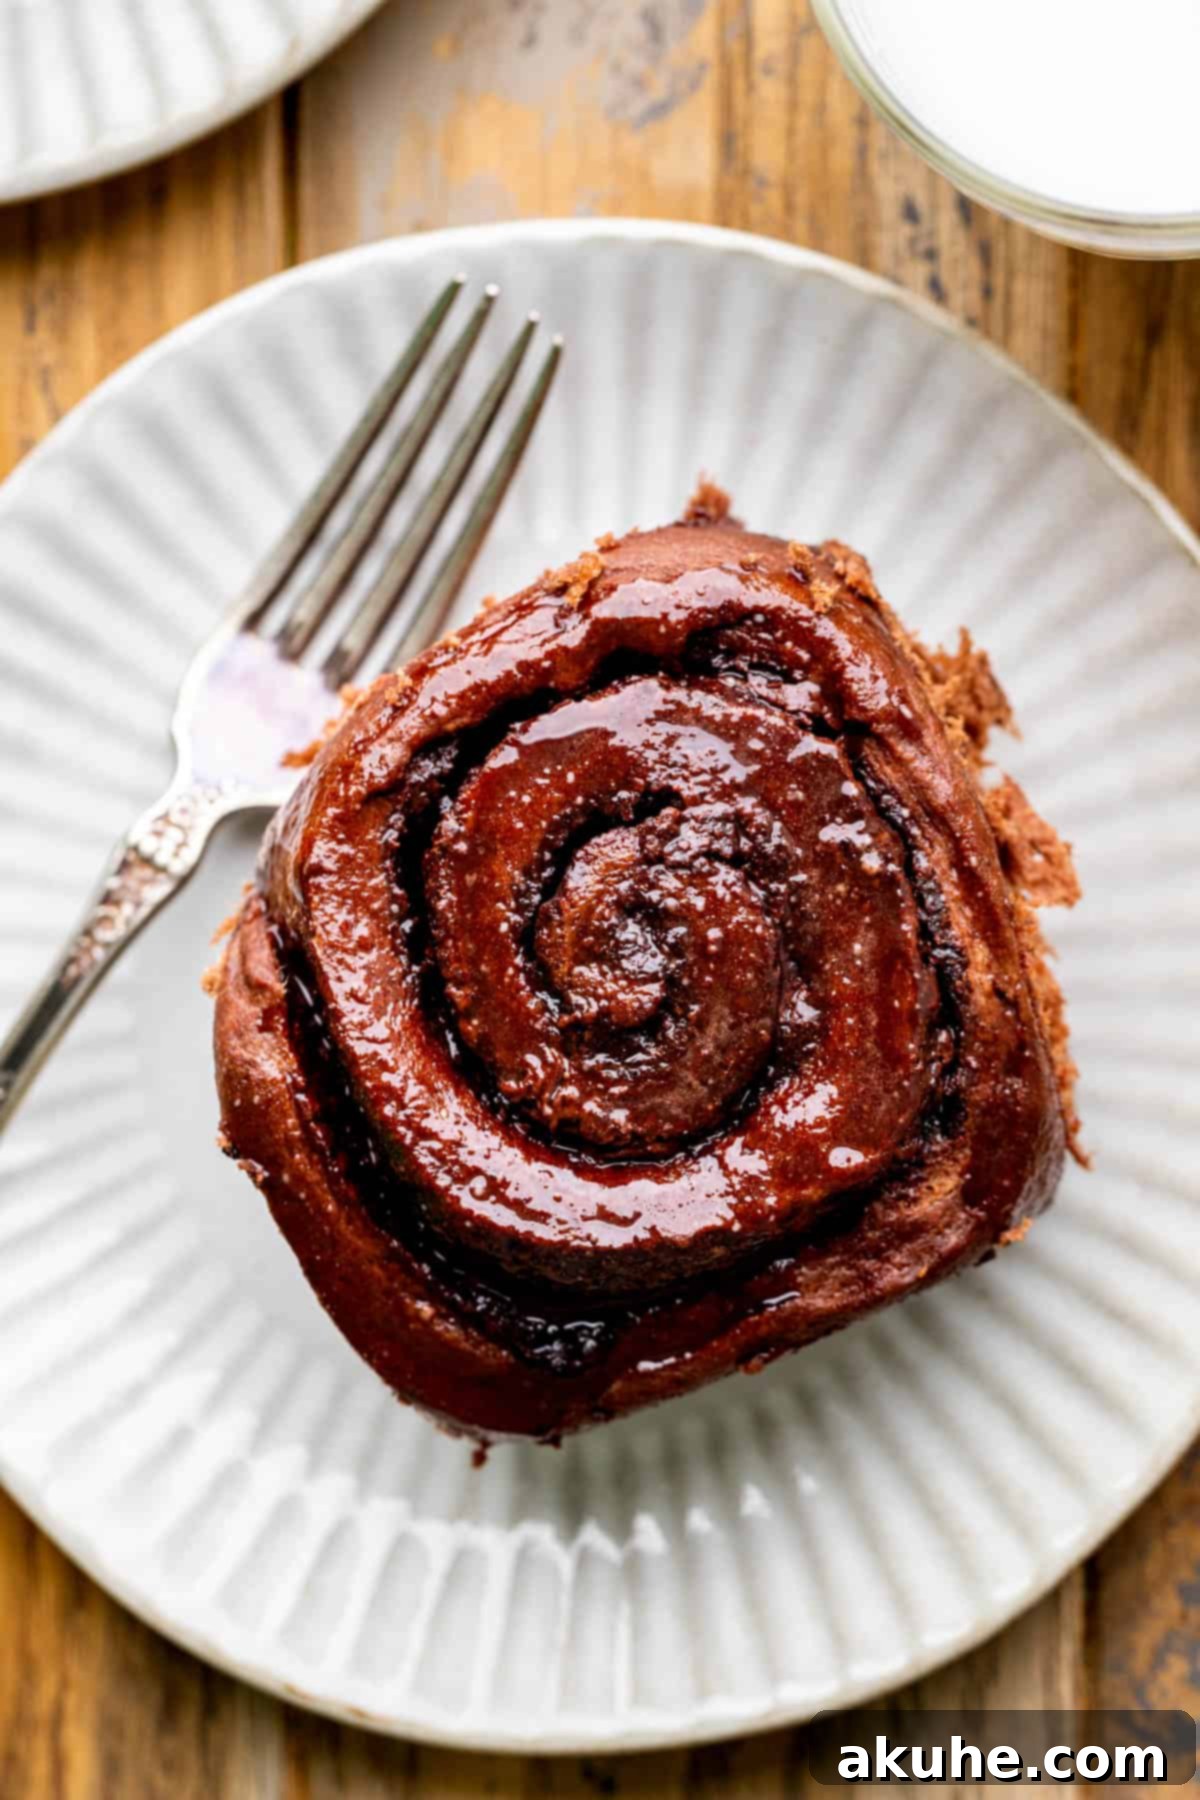
Prepare to elevate your mornings with these truly exceptional chocolate rolls, a delightful treat that blurs the line between breakfast pastry and a rich, fudgy brownie. Each roll features a super soft, cocoa-infused dough, generously filled with a luscious brown sugar chocolate mixture and an abundance of rich chocolate pieces. To top it all off, a velvety smooth chocolate icing crowns these magnificent creations, ensuring an unparalleled chocolate experience with every single bite.
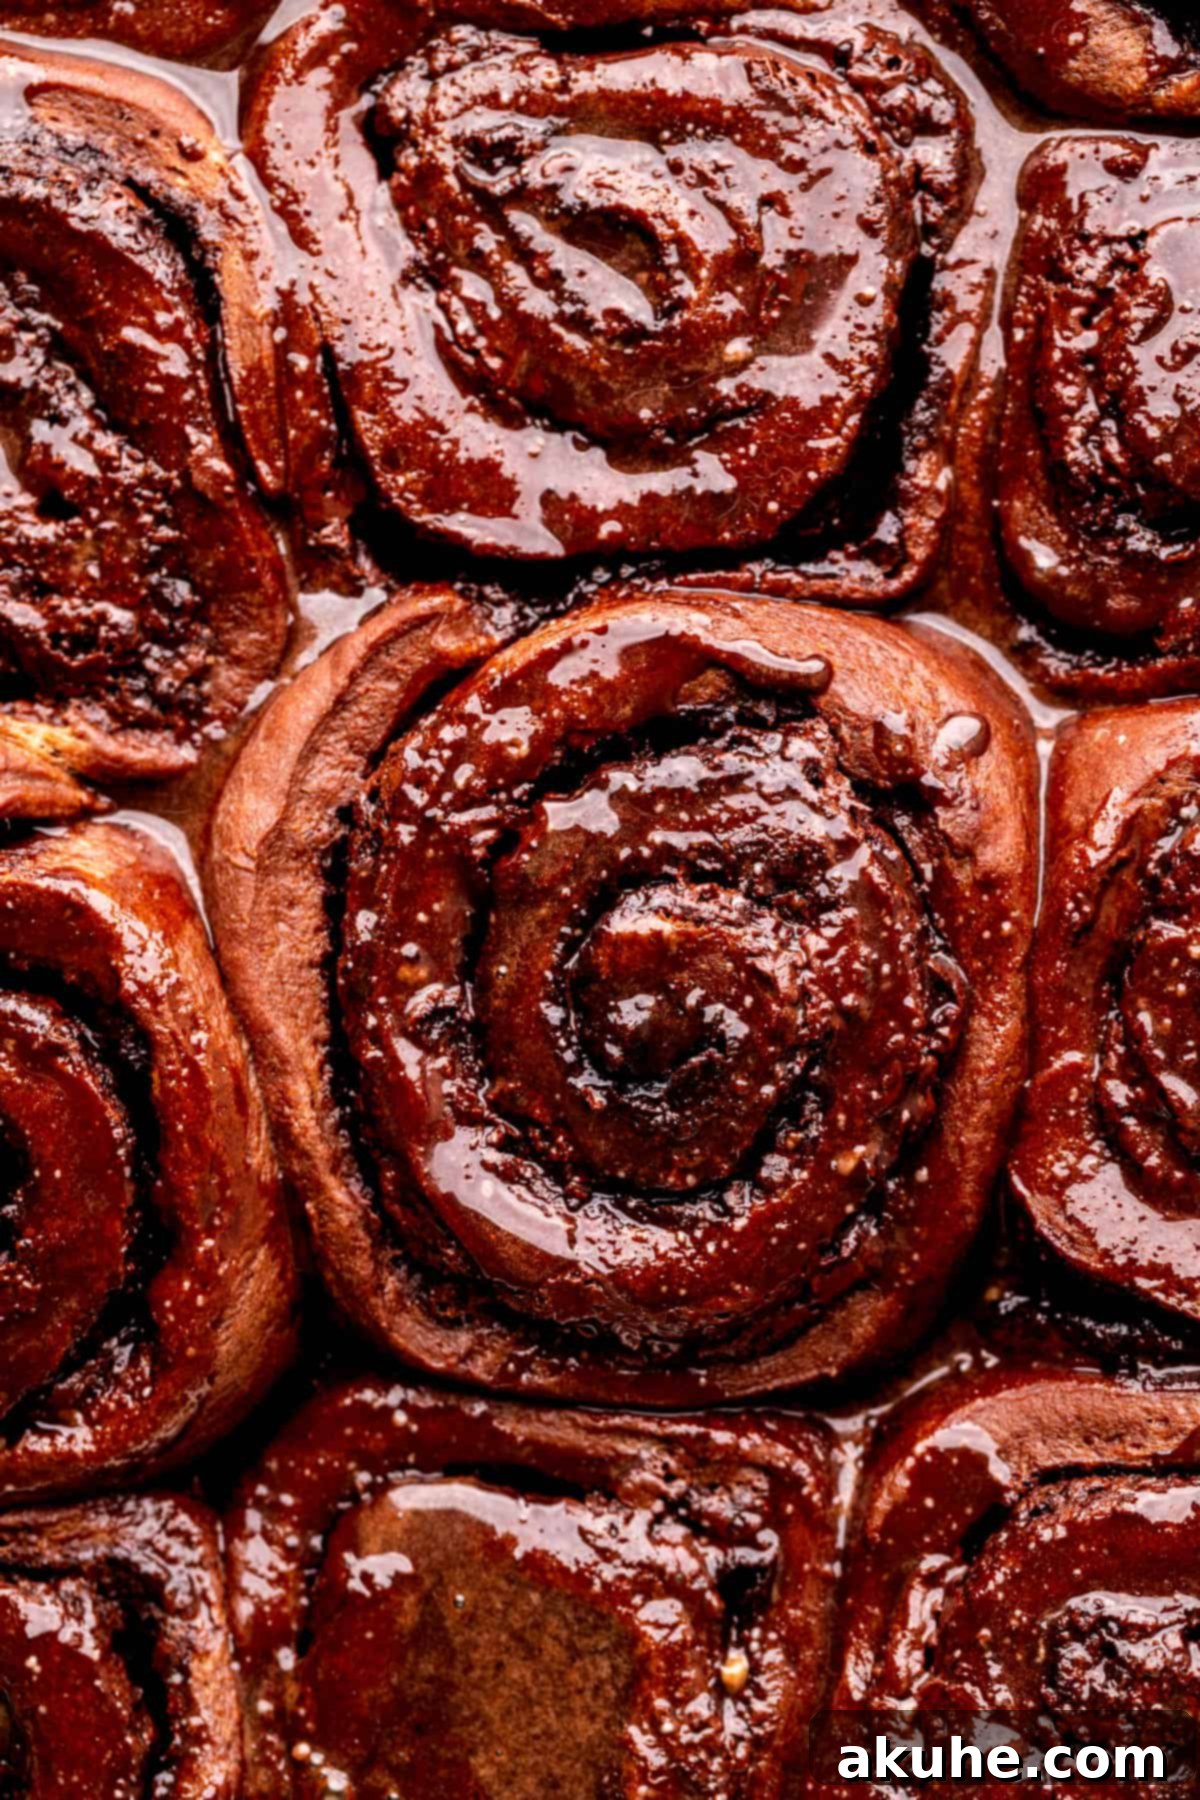
For avid chocolate lovers, there’s no better way to begin your day than with these triple-chocolate wonders. From the moment you take your first bite, you’ll be captivated by the symphony of chocolate bread, a decadent chocolate filling, and a luxurious chocolate glaze. These rolls aren’t just a breakfast item; they’re a celebration, guaranteed to bring smiles and happiness to any family table. Imagine the aroma wafting through your home as these bake, promising a morning filled with warmth and bliss.
If your heart truly yearns for more chocolatey goodness, be sure to explore other delectable recipes like our Chocolate Ganache Cake, the vibrant Chocolate Raspberry Cake, and the deeply satisfying Brownie Cake.
Why You’ll Love These Homemade Chocolate Rolls
- Unforgettable Rich Chocolate Flavor: Designed for true chocoholics, these rolls deliver an incredibly deep, satisfying, and balanced chocolate taste. We layer the chocolate intensity through the dough, the filling, and the icing, ensuring a consistently decadent experience that truly satisfies those cocoa cravings. It’s not just a hint of chocolate; it’s a full-on embrace of rich, sweet cocoa.
- The Comfort of Homemade Perfection: Forget store-bought pastries; nothing compares to the warm, gooey, and fresh-baked goodness of homemade rolls. These chocolate rolls offer all the comforting appeal of classic cinnamon rolls, but with a luxurious chocolate twist that makes them utterly irresistible. The effort of baking them yourself is richly rewarded by the incredible aroma and superior taste.
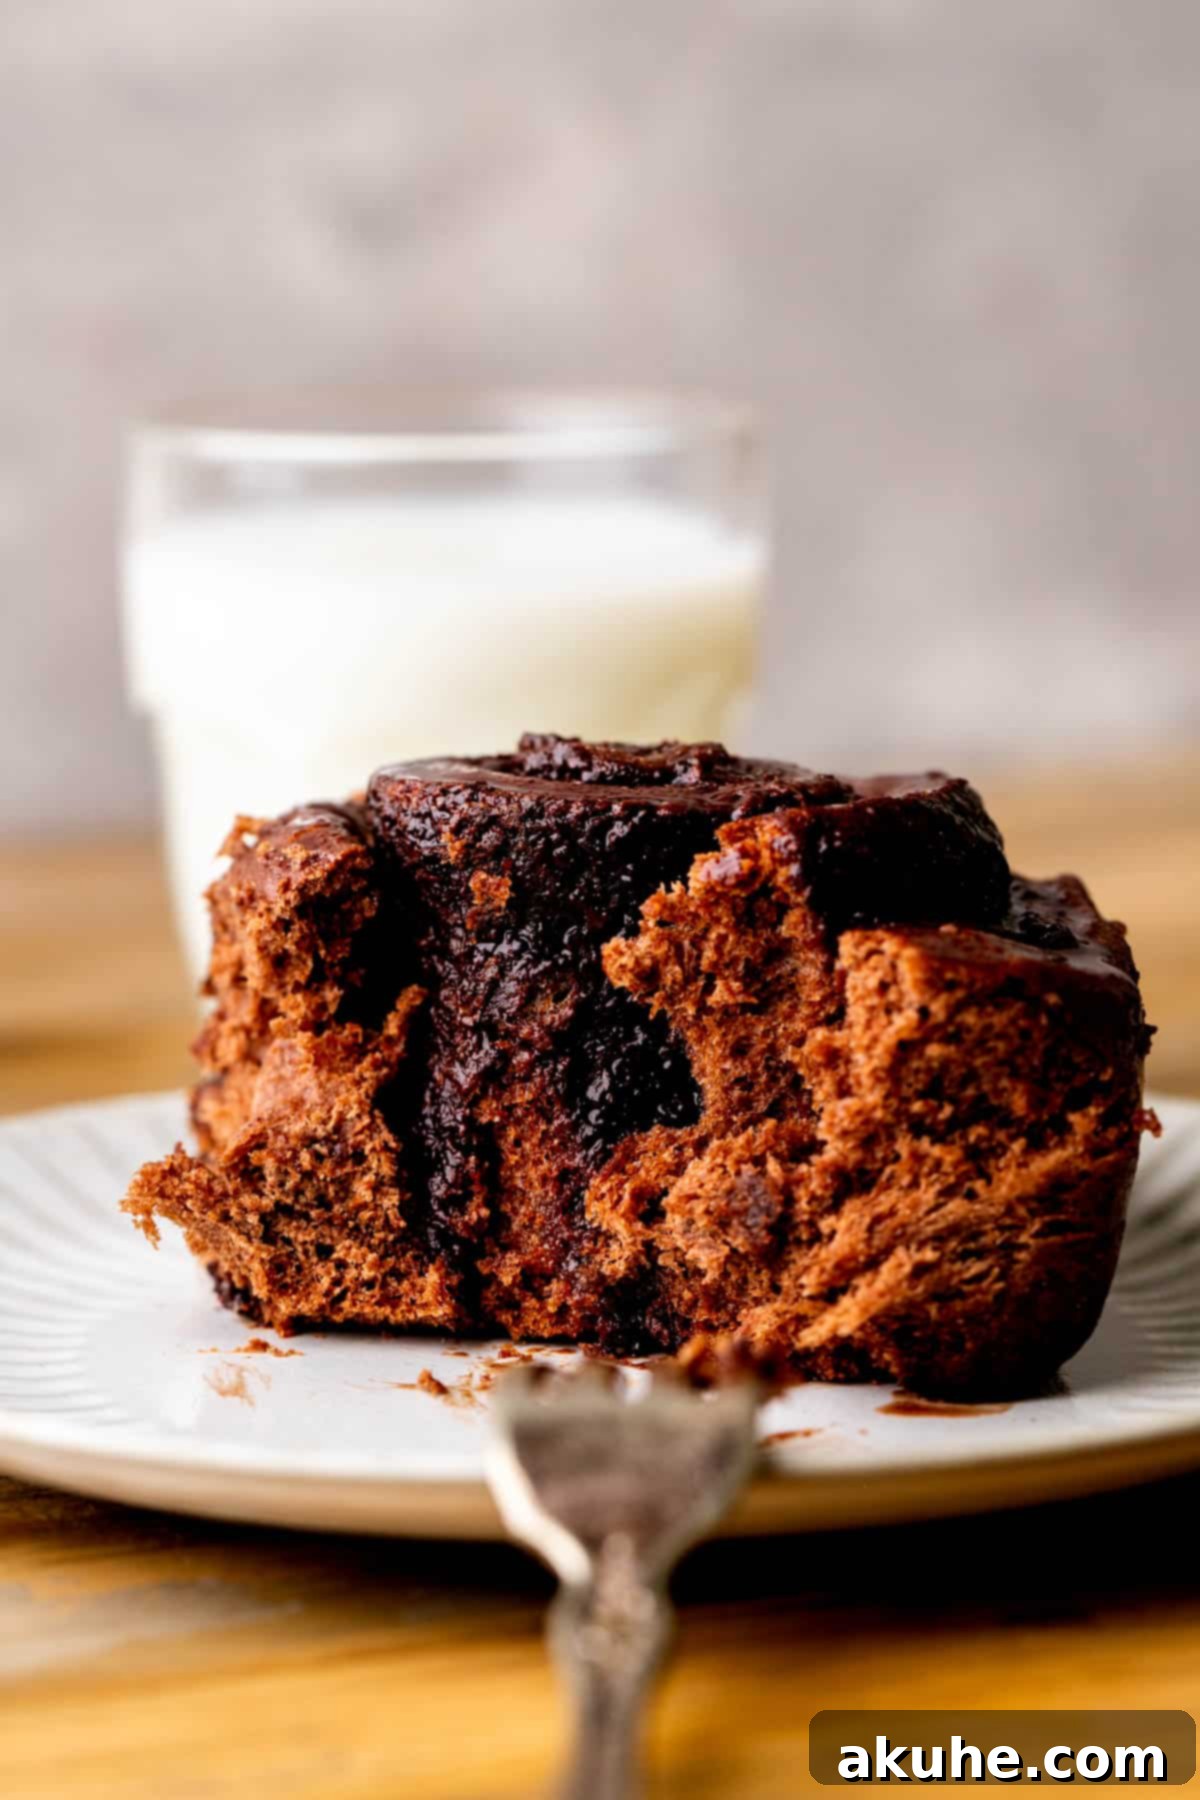
- Remarkably Tender and Gooey Texture: Achieve that coveted warm, soft, and slightly sticky consistency that only fresh-out-of-the-oven rolls can provide. The carefully crafted dough, combined with the melting chocolate filling, creates a textural masterpiece that is impossible to beat. Each bite offers a delightful contrast between the fluffy bread and the luscious, molten interior.
- Convenient Make-Ahead Option: Our recipe includes an overnight preparation method, allowing you to get most of the work done the day before. This means you can wake up to a nearly ready batch of rolls, minimizing morning stress and maximizing your enjoyment of a special breakfast. Imagine fresh-baked chocolate rolls without the early wake-up call!
- Perfect for Any Occasion: While fantastic for a special breakfast or brunch, these chocolate rolls are also ideal for dessert, a delightful snack, or even a unique gift. Their impressive presentation and incredible flavor make them suitable for holiday gatherings, birthdays, or simply a cozy weekend indulgence.
Essential Ingredients for Perfect Chocolate Rolls
Understanding the role of each ingredient is key to baking success. Here are some detailed notes on what you’ll need. For the complete list of quantities, please refer to the recipe card below.
- Unsalted Butter: Always use unsalted butter to control the overall saltiness of your bake. For optimal dough texture and easy incorporation, ensure your butter is softened to room temperature. This usually means pulling it out of the fridge at least two hours before you plan to start baking.
- Milk: Any type of milk (dairy or non-dairy) will work, but the temperature is crucial for yeast activation. Warm the milk to precisely 110°F (43°C). If the milk is too hot, it will kill the yeast, preventing your dough from rising. If it’s too cool, the yeast will activate too slowly, leading to a much longer rise time.
- Active Dry Yeast: We use one standard packet of active dry yeast for this recipe. Ensuring your yeast is fresh and properly activated is vital for a light and airy dough. The milk temperature, as mentioned, is key to this process.
- Large Eggs: Like butter, eggs should be at room temperature. This allows them to incorporate more evenly into the dough, contributing to a smoother texture and better rise. Remember to lightly beat them before adding them to the flour mixture.
- Brown Sugar: Whether you choose light or dark brown sugar, its molasses content adds a rich, caramelly depth to the chocolate filling that white sugar simply can’t replicate. It also contributes to the filling’s moist and gooey consistency.
- Powdered Sugar (Confectioners’ Sugar): Essential for a smooth, lump-free chocolate icing. Always sift your powdered sugar, especially if it’s been sitting in the pantry, to avoid any grittiness in your glaze.
- Chocolate Bar: For the chocolate chunks in the filling, a high-quality chocolate bar makes a big difference. I prefer Lindt 70% dark chocolate for a less sweet, more intense flavor that complements the richness of the rolls. If you opt for milk chocolate, be aware that the rolls will be significantly sweeter. Chocolate chips can be used as a convenient alternative, though they may not melt as smoothly.
- Unsweetened Cocoa Powder: For an exceptionally rich and deep chocolate flavor in both the dough and the filling, I highly recommend using Dutch-process cocoa powder. This type of cocoa is treated to reduce its acidity, resulting in a darker color and a smoother, less bitter taste. Hershey’s Special Dark is a great readily available option.
- All-Purpose Flour: The foundation of our soft dough. For accurate measurements and to prevent a dense dough, spoon your flour into the measuring cup and level it off, or even better, use a kitchen scale for precise results.
- Salt: A crucial ingredient that balances the sweetness and enhances all the other flavors in the rolls, especially the chocolate.
- Pure Vanilla Extract: A touch of vanilla complements and deepens the chocolate flavor in the icing, adding a layer of warmth and complexity.
- Heavy Cream: Used in the icing to create a rich, smooth, and pourable consistency. Whole milk can be substituted if heavy cream is unavailable, though the icing might be slightly less rich.
Step-By-Step Guide: Crafting the Perfect Chocolate Dough
This detailed guide outlines how to prepare the incredibly soft chocolate dough using a stand mixer equipped with a dough hook attachment. For those who prefer to knead by hand, specific instructions are provided in the notes section of the recipe card.
STEP 1: Activate the Yeast. Begin by gently warming your milk in the microwave until it reaches a temperature of precisely 110°F (43°C). This temperature is critical for proper yeast activation. Carefully pour the active dry yeast over the warmed milk, giving it a gentle stir. Allow this mixture to sit undisturbed for approximately 10 minutes. During this time, the yeast should become foamy and bubbly, indicating it’s active and ready to work its magic. Avoid overheating the milk, as temperatures above 110°F can kill the yeast, preventing your dough from rising.
STEP 2: Prepare Dry Ingredients and Cut in Butter. In a large mixing bowl, sift together the all-purpose flour, unsweetened cocoa powder, granulated sugar, and salt. Sifting helps to aerate the flour and prevents lumps, ensuring a smooth dough. Next, add the softened, cubed unsalted butter to the dry ingredients. Using a pastry cutter, or your fingertips, work the butter into the flour mixture until it resembles coarse crumbs, with the butter pieces no larger than the size of small peas. This step creates pockets of butter that will result in a tender, flaky dough.
STEP 3: Combine and Form Dough. With your stand mixer on low speed, gradually add the activated yeast mixture and the lightly beaten room-temperature eggs to the flour and butter mixture. Continue mixing on low speed until all the ingredients are just combined and a shaggy dough begins to form around the dough hook. Be careful not to overmix at this stage.
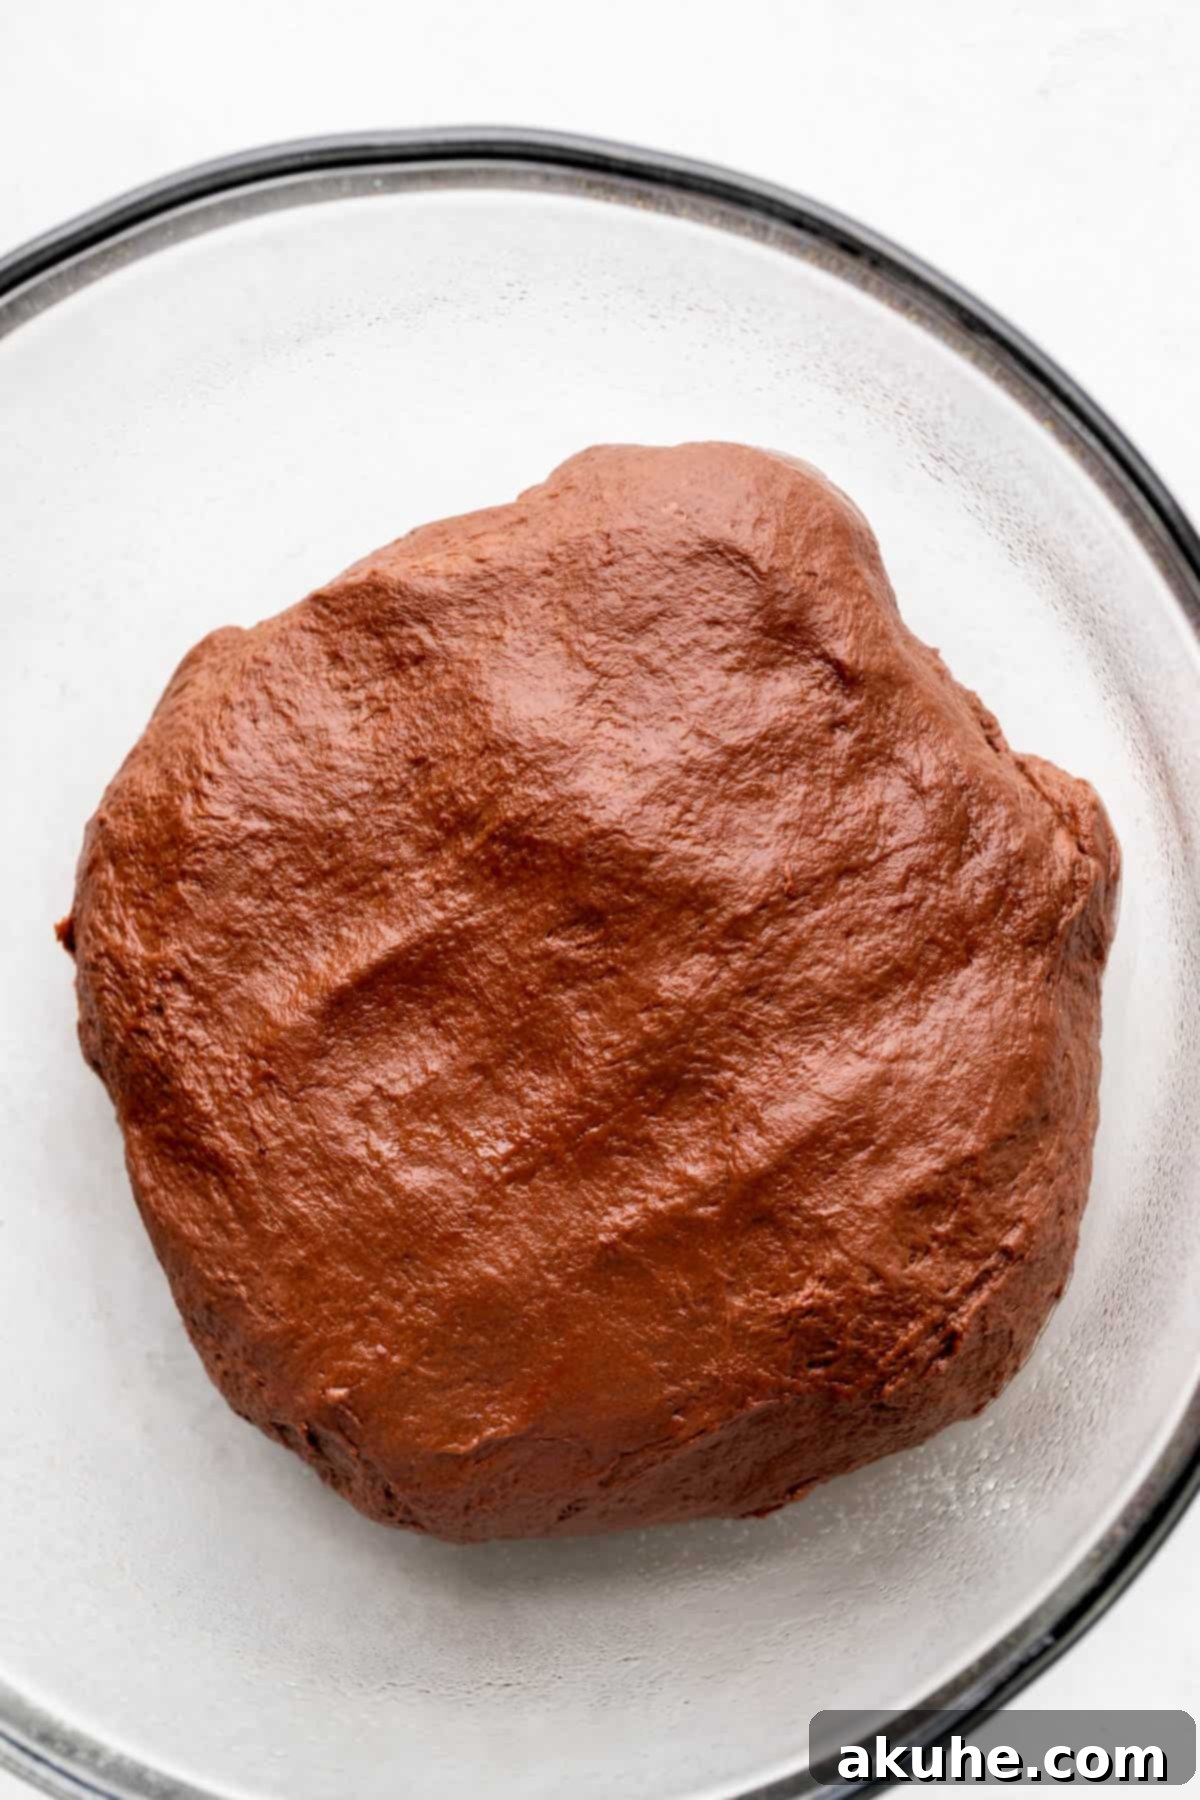
STEP 4: Knead for Elasticity. Increase the mixer speed to medium and continue kneading the dough for a full 5 minutes. As the dough kneads, it will become smoother, more elastic, and will start to pull away from the sides of the bowl. At the end of this process, you should have a very soft, pliable, and slightly tacky dough. The tackiness is a good sign, indicating proper hydration.
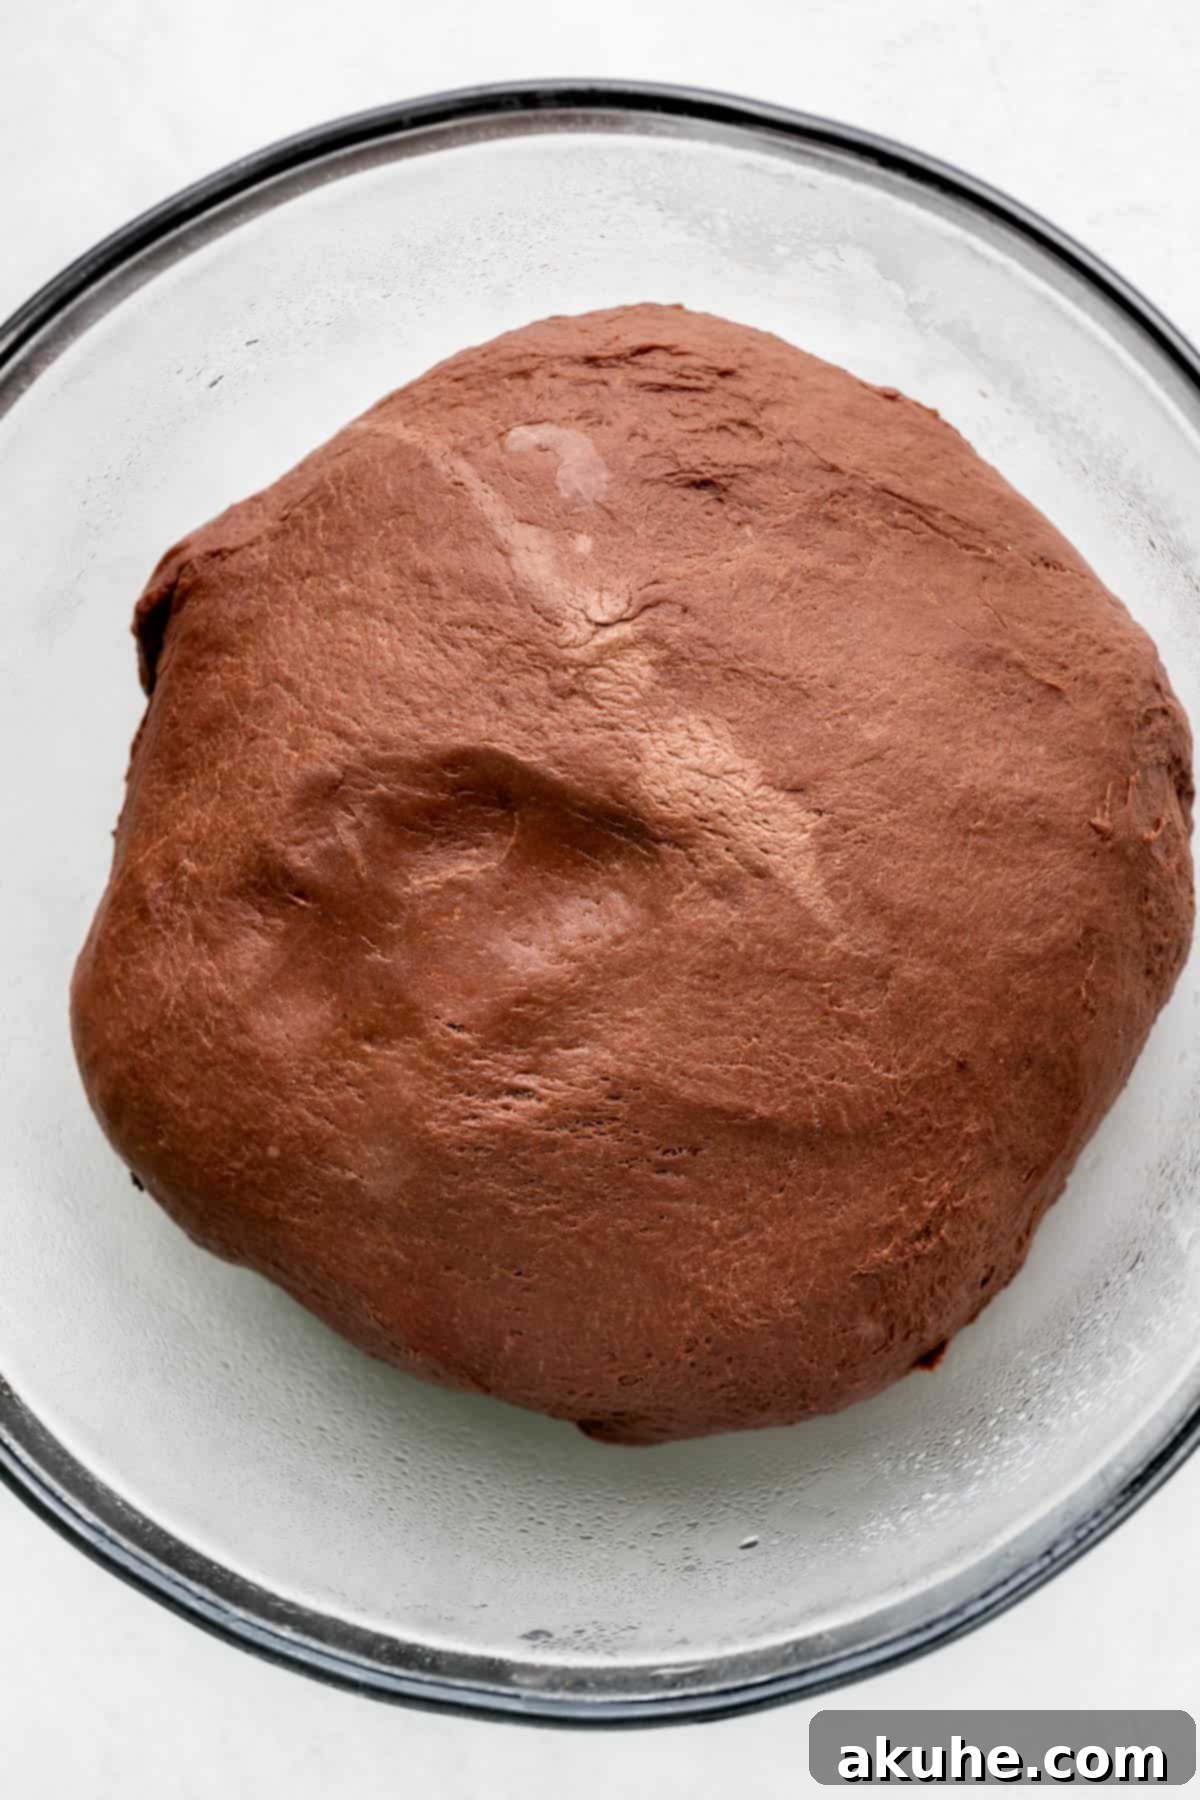
STEP 5: First Dough Rise. Preheat your oven to its lowest setting, typically 200°F (93°C), then immediately turn it off. Lightly spray a large mixing bowl with non-stick cooking spray, then transfer your chocolate dough into it. Cover the bowl loosely with a clean kitchen towel or plastic wrap. Place the covered bowl into the warm, turned-off oven, leaving the door slightly cracked open to prevent it from getting too hot. Allow the dough to rise in this warm environment for 1 hour. After this first rise, the dough should have visibly doubled in size, indicating successful yeast activity.
Crafting the Chocolate Filling and Baking Your Rolls
Once your dough has completed its first rise, it’s time to prepare the rich chocolate filling and then assemble and bake these delightful chocolate rolls. Precision in these steps will ensure maximum flavor and a beautiful presentation.
STEP 1: Prepare the Chocolate Filling. In a small mixing bowl, use a hand mixer to beat the room-temperature unsalted butter on high speed until it becomes light and fluffy. This aeration is important for the filling’s texture. Next, add the packed brown sugar and unsweetened cocoa powder to the softened butter. Continue mixing on high speed until all ingredients are thoroughly combined and form a smooth, uniform paste. This will be the gooey heart of your rolls. While the filling is mixing, take your chosen chocolate bar and finely chop it into small, manageable pieces. Smaller pieces will melt more evenly throughout the rolls.
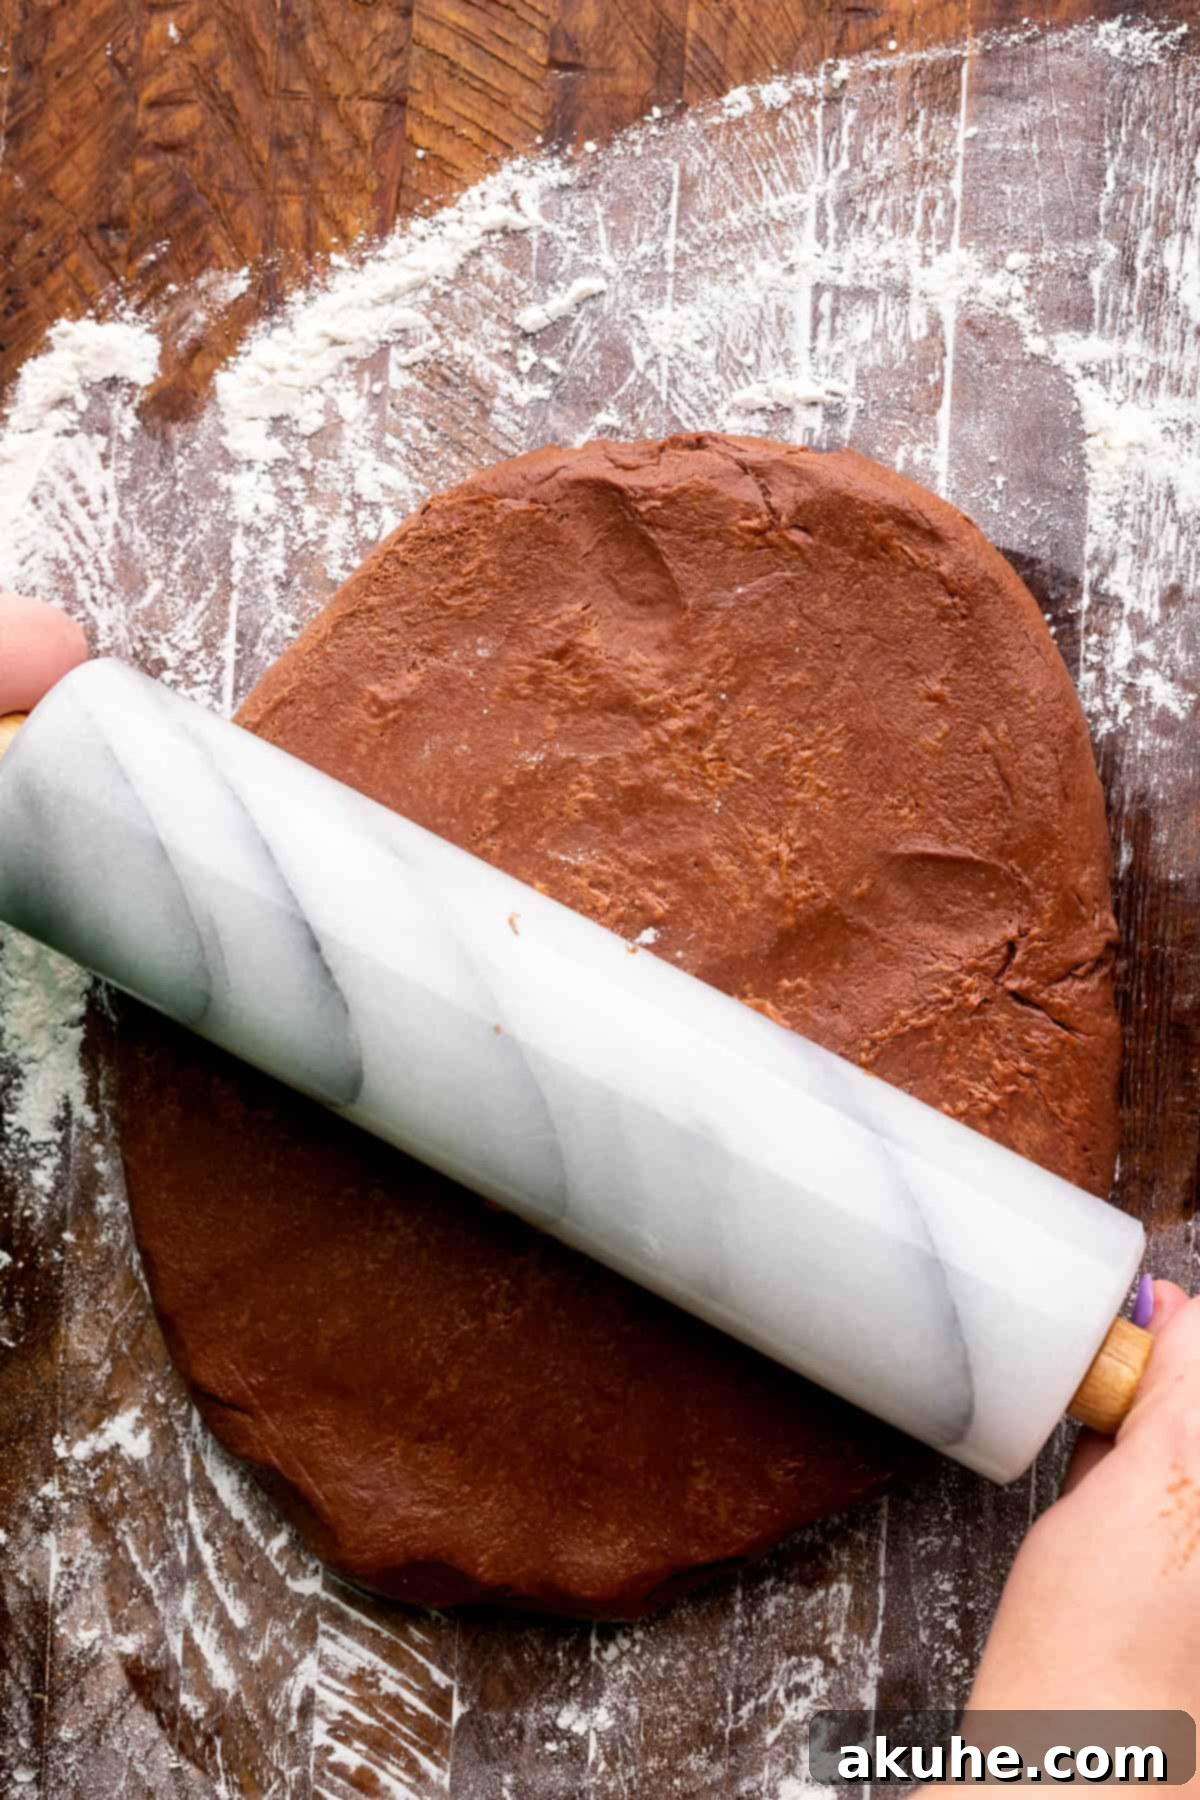
STEP 2: Roll Out the Dough. Lightly flour a clean work surface to prevent sticking. Gently transfer your risen chocolate dough onto the floured surface. Using a rolling pin, roll the dough evenly into a large rectangle, aiming for a thickness of approximately 1/4 inch. Strive for a consistent thickness across the entire rectangle to ensure your rolls bake evenly.
STEP 3: Spread the Filling and Sprinkle Chocolate. With an offset spatula or the back of a spoon, carefully spread the prepared chocolate filling mixture evenly across the entire surface of the rolled-out dough, leaving a small border (about half an inch) along one of the longer edges to help seal the roll. Then, generously sprinkle your finely chopped chocolate pieces evenly over the filling. This ensures a distribution of melty chocolate pockets throughout each roll.
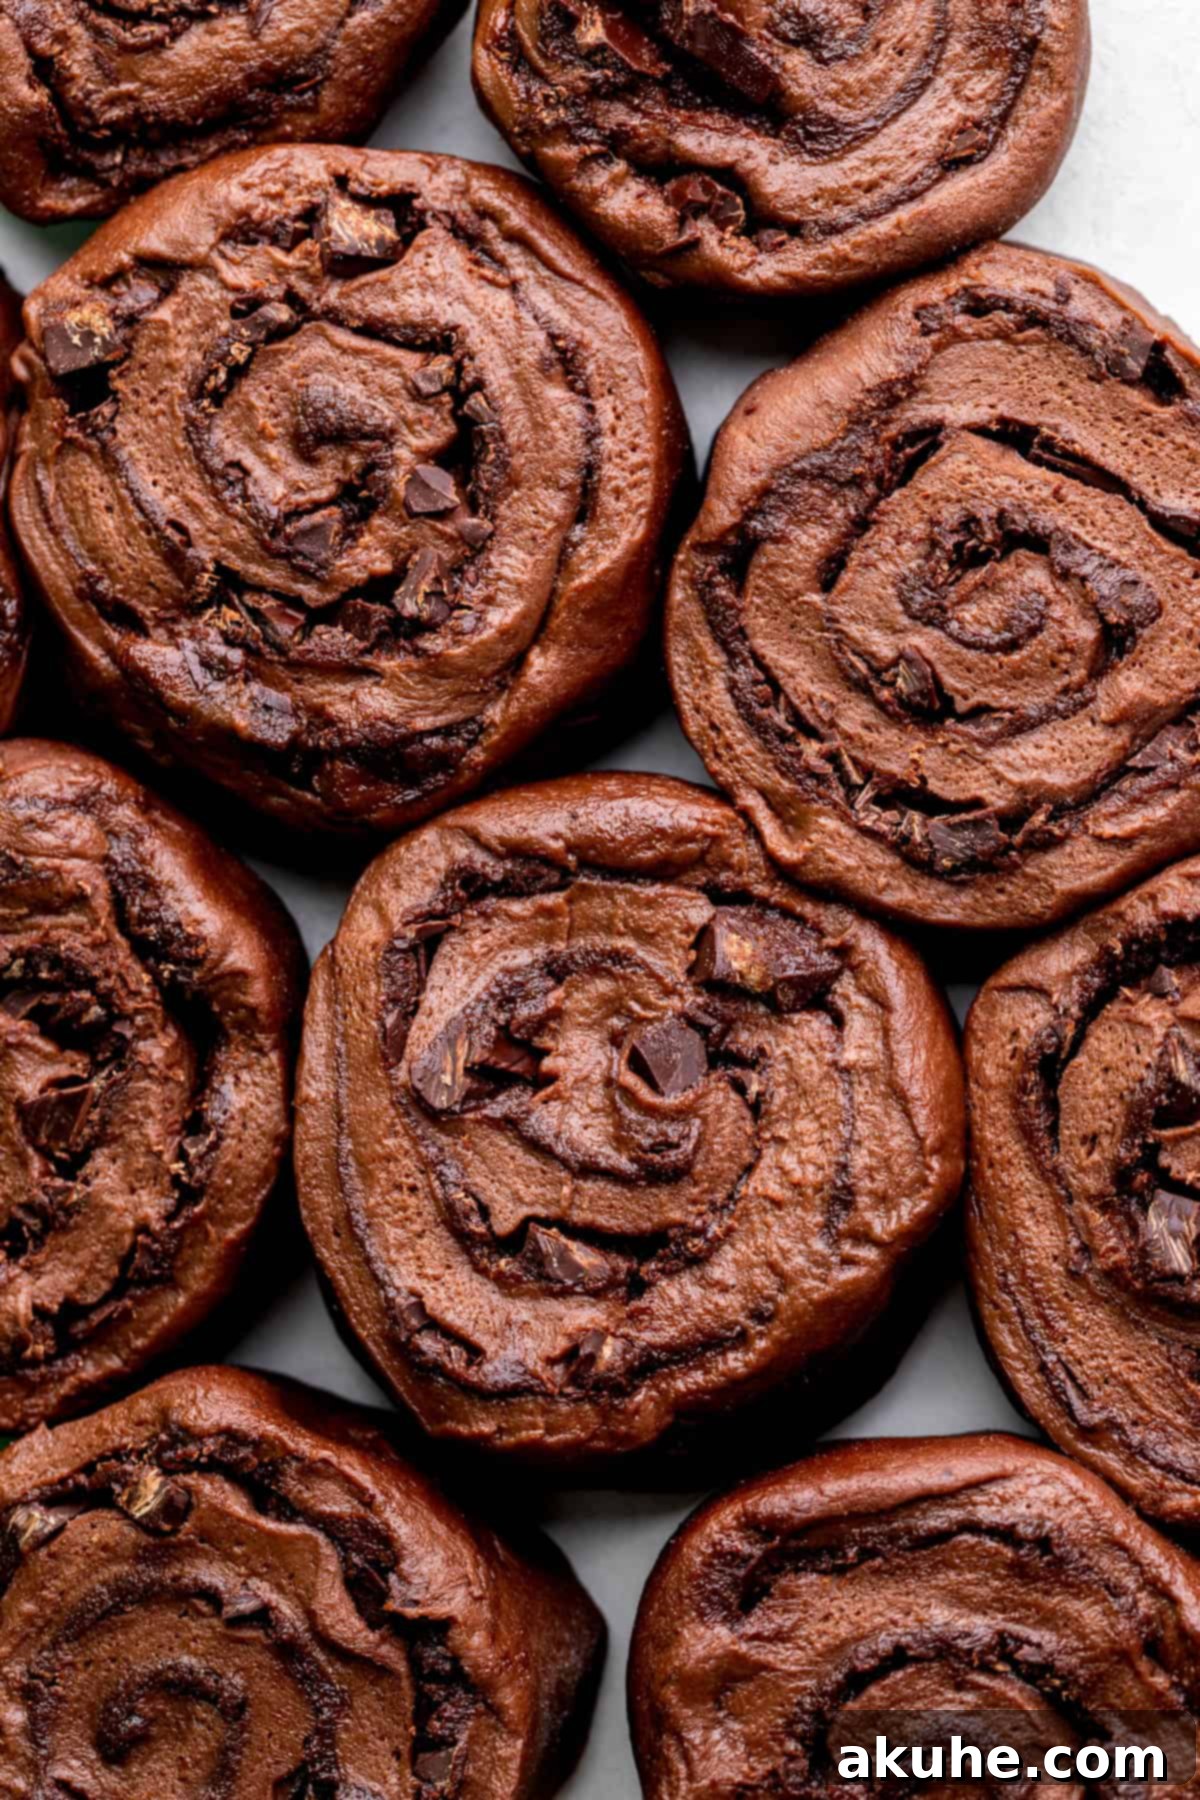
STEP 4: Roll and Cut the Log. Starting from one of the shorter sides of the rectangle, begin to tightly roll the dough into a snug log. A tight roll is essential for creating those beautiful, spiral layers. Once rolled, use a sharp serrated knife or a piece of unflavored dental floss to neatly trim off any uneven edges from both ends of the log. Then, carefully cut the log into 12 equal pieces. When cutting, use a gentle sawing motion with the serrated knife (or the floss technique) to avoid squishing the rolls and preserving their round shape.
STEP 5: Second Rise. Lightly spray a 9×13-inch baking pan (a 9×14-inch casserole pan also works well) with non-stick baking spray. Arrange the 12 cut chocolate rolls snugly in the prepared pan. Cover the pan loosely with a kitchen towel and allow the rolls to undergo their second rise for approximately 25 minutes. During this time, they will puff up slightly and become even more tender.
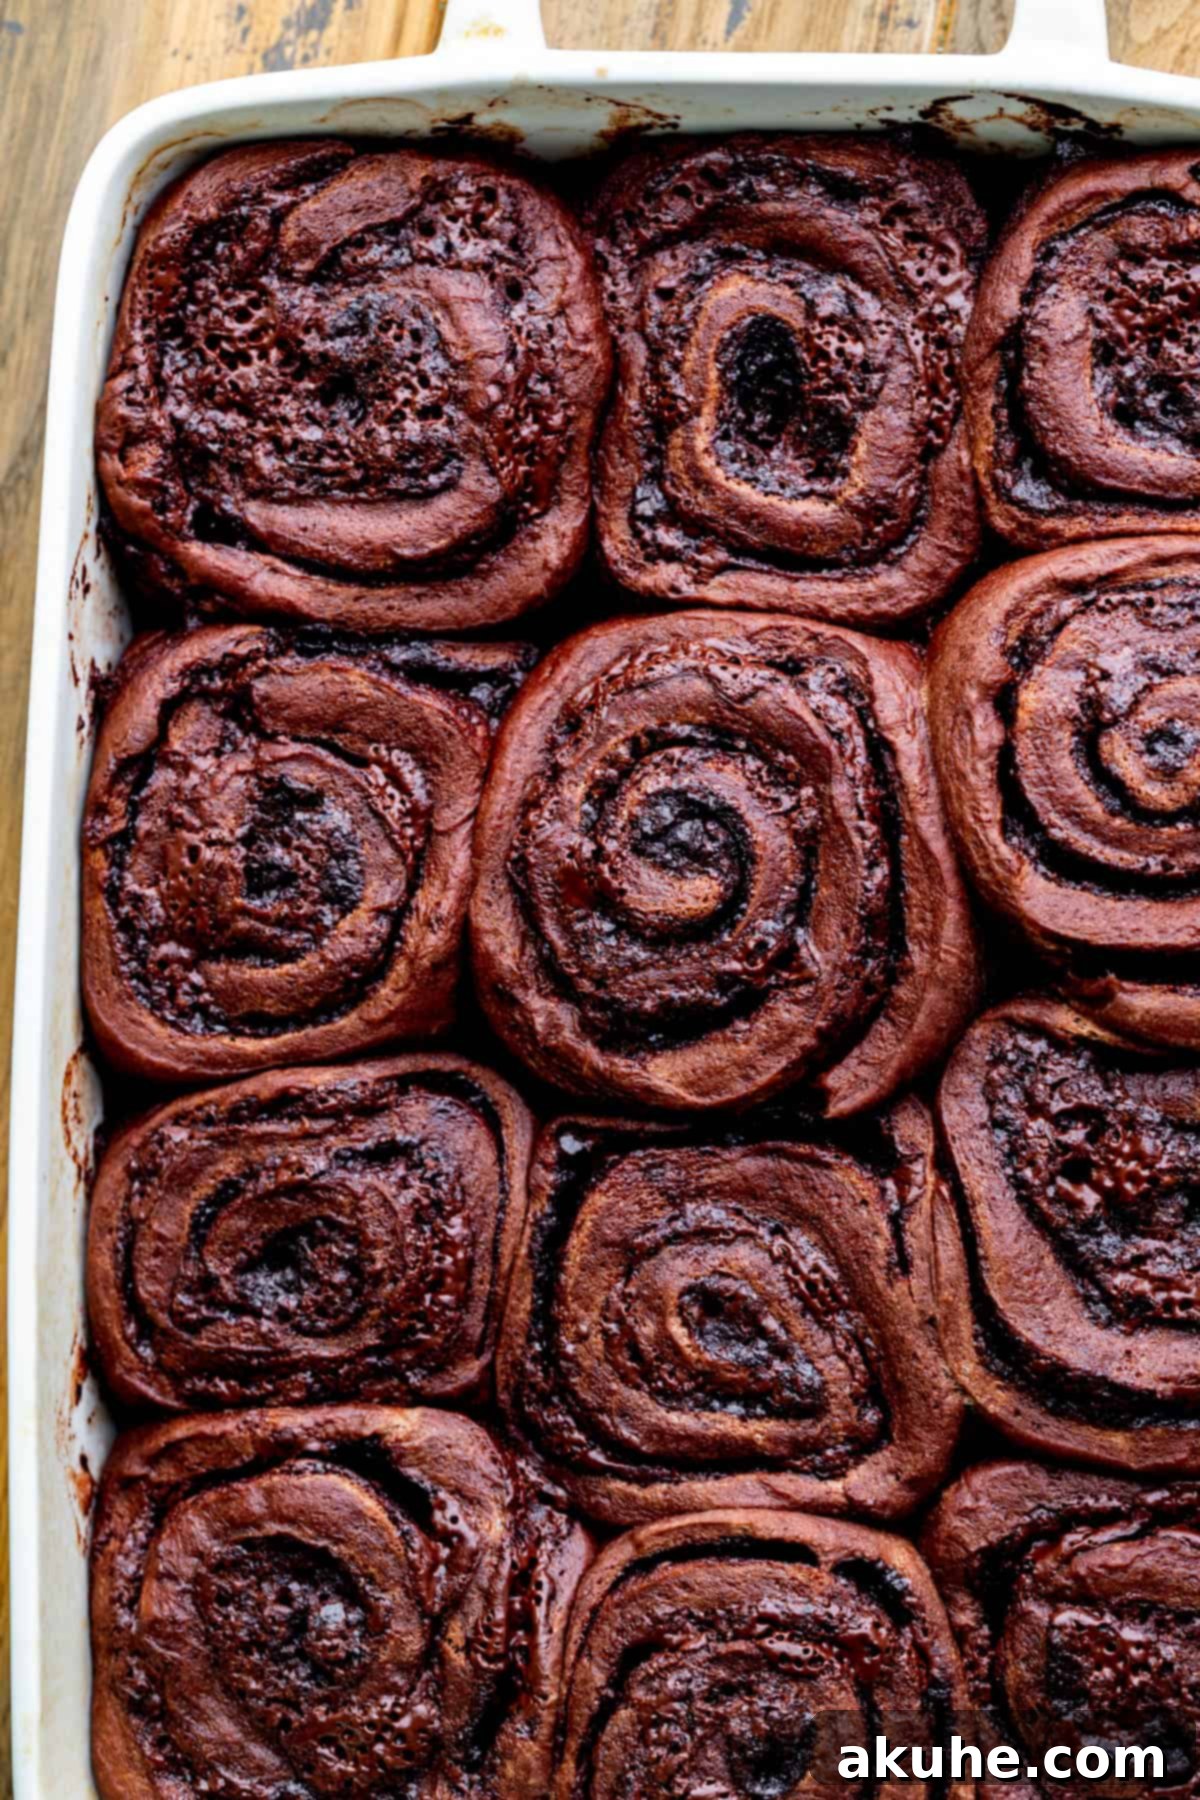
STEP 6: Bake to Perfection. Preheat your oven to 350°F (175°C). Once preheated, place the pan of risen chocolate rolls into the oven and bake for 25-30 minutes. Baking chocolate items can sometimes be tricky to gauge doneness visually due to their dark color. You’ll notice the rolls bubbling quite vigorously as they approach being done; this bubbling will slow down as they finish baking. For a precise indication, use an instant-read thermometer inserted into the center of a roll – they are perfectly baked when they reach an internal temperature of 160°F (71°C).
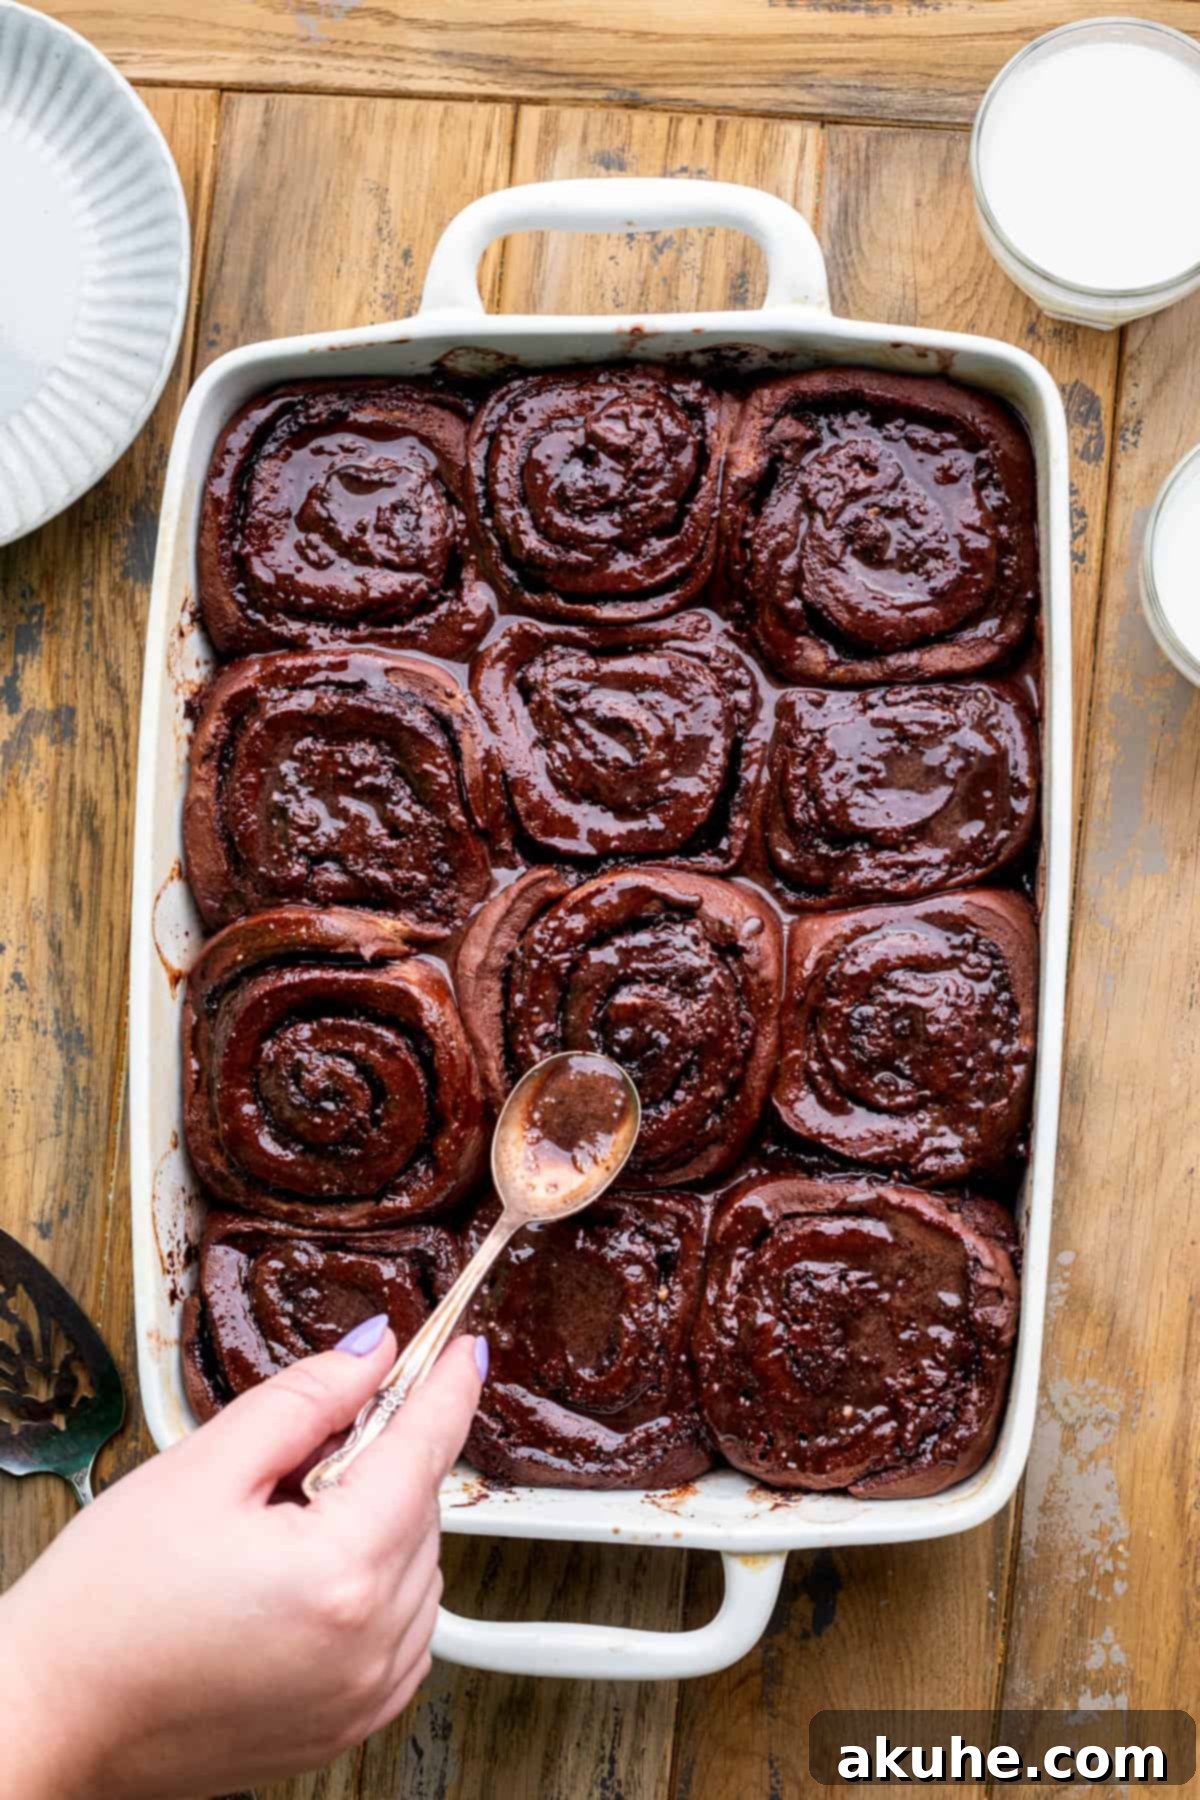
STEP 7: Prepare and Apply Chocolate Icing. While the rolls are baking, prepare the luxurious chocolate icing. In a small bowl, sift together the powdered sugar and unsweetened cocoa powder to ensure a smooth consistency. Add the pure vanilla extract and heavy cream (or milk) to the sifted dry ingredients. Whisk everything together until you achieve a smooth, pourable icing with no lumps. Once the rolls have been out of the oven for about 10 minutes – allowing them to cool slightly but still be warm – generously drizzle or spread the chocolate icing over the top. This slight cooling period prevents the icing from melting too quickly, allowing it to set beautifully on the warm rolls.
Effortless Mornings: The Overnight Rolls Method
Imagine waking up to the delightful aroma of fresh chocolate rolls with minimal effort. Our overnight option makes this dream a reality, perfect for holidays, special occasions, or simply making a weekday morning feel extraordinary. This method allows you to prepare the dough in advance, saving valuable time when you need it most.
Once you have finished the kneading process for the chocolate dough (after Step 4 of the “Chocolate Dough” instructions), instead of letting it rise at room temperature, prepare it for its overnight slumber. Lightly spray a large bowl with non-stick cooking spray, place the dough inside, and cover it tightly with plastic wrap to prevent a skin from forming. Transfer the covered bowl to your refrigerator and let it chill overnight. The dough can happily rest in the fridge for a maximum of 16 hours, developing even more flavor during this slow, cold rise.
The next morning, simply remove the dough from the fridge. At this point, you can proceed directly to rolling out the dough, spreading the filling, and cutting the rolls (beginning with Step 2 of “Chocolate Filling and Baking”). After placing the cut rolls in the baking pan, allow them to come to room temperature and complete their second rise for a full 1 hour, rather than the quicker 25 minutes. This extended rise ensures a light and fluffy texture, compensating for the cold dough. Then, bake as instructed, and get ready to enjoy warm, homemade chocolate rolls with ease!
Frequently Asked Questions (FAQ)
While a warm environment like a gently heated (and then turned off) oven is ideal for consistent and rapid rising, it’s not strictly mandatory. If your oven is unavailable or you prefer an alternative, you can certainly let the dough rise at room temperature. Just ensure your kitchen isn’t excessively cold, as this will significantly slow down the yeast activity. Finding a naturally warmer spot in your home, perhaps near a sunny window or a warm appliance, will yield the best results for a good rise.
For reheating individual rolls, simply place one on a plate and microwave it for 20-30 seconds. This will gently warm it through, making the filling gooey again. If you’re reheating an entire tray or a larger quantity of rolls, preheat your oven to 350°F (175°C) and place the rolls (covered with foil to prevent drying) in the oven for about 5-10 minutes, or until they are thoroughly heated and soft. Avoid over-baking, as this can dry them out.
Absolutely! This is a fantastic strategy for even quicker mornings. Follow the recipe instructions exactly, but reduce the initial baking time to just 10 minutes. At this point, the rolls will be lightly set but not fully cooked. Remove them from the oven, let them cool completely, and then chill them in the refrigerator. In the morning, simply pop the chilled, partially baked rolls back into a preheated 350°F (175°C) oven for an additional 15-20 minutes, or until they are golden brown, heated through, and reach the desired internal temperature. This allows for fresh-baked rolls with even less morning prep.
While the recipe is optimized for the best results, some substitutions are possible. For milk, plant-based alternatives like almond or soy milk can work, though they might slightly alter the flavor or richness. For chocolate, feel free to use your favorite variety, keeping in mind that milk chocolate will yield a sweeter roll, and different percentages of dark chocolate will impact bitterness. Always ensure butter and eggs are at room temperature for optimal dough consistency.
Storing and Freezing Your Delicious Chocolate Rolls
To ensure your homemade chocolate rolls remain fresh and delightful for as long as possible, proper storage is essential. They are incredibly versatile and can be stored in a couple of ways.
For immediate enjoyment, store any leftover baked and iced chocolate rolls in an airtight container at room temperature for up to 2 days, or in the refrigerator for up to 5 days. When you’re ready to enjoy them again, they are truly best when gently reheated in the microwave for a few seconds until warm and soft, bringing back that wonderful fresh-baked texture.
Freezing Instructions
These chocolate rolls are excellent candidates for freezing, allowing you to enjoy homemade goodness whenever a craving strikes. You have two convenient options for freezing:
- Freeze Unbaked Rolls: After cutting the log into individual rolls and placing them in the baking pan (before the second rise), you can freeze them. Wrap the pan tightly with plastic wrap and then aluminum foil to prevent freezer burn. They can be frozen for up to 30 days. When ready to bake, transfer the frozen rolls to the refrigerator overnight to thaw and then allow them to rise at room temperature for about 1 to 1.5 hours before baking as usual. While they may not rise quite as much as fresh dough, they will still yield delicious results.
- Freeze Already Baked Rolls: Once the chocolate rolls are fully baked and cooled, you can freeze them for later. It’s often best to freeze them *before* icing if you plan to store them for an extended period, adding the fresh icing just before serving. Wrap individual rolls or the entire pan tightly in plastic wrap, followed by a layer of aluminum foil. Freeze for up to 30 days. To enjoy, simply thaw them at room temperature for about 1 hour, or gently reheat in the oven or microwave until warm.
More Irresistible Breakfast Recipes to Try
If you’ve enjoyed these sensational chocolate rolls, you might also love exploring other breakfast and brunch recipes that promise to start your day on a delicious note. From fluffy pancakes to savory quiches, there’s a world of morning delights waiting to be discovered.
We hope you adore this recipe as much as we do! Please make sure to leave a STAR REVIEW and a comment below if you loved creating and tasting these chocolate rolls! Don’t forget to tag me on Instagram @stephaniesweettreats with your creations. For even more culinary inspiration and sweet ideas, make sure to follow me on Pinterest. Happy baking!
Chocolate Rolls
Stephanie Rutherford
Print Recipe
Pin Recipe
Leave a Review
1 hr
30 mins
1 hr 25 mins
2 hrs 55 mins
12
rolls
Ingredients
Chocolate Dough
- 1 cup Milk, warmed to 110°F
- 2 1/4 tsp Active dry yeast, full packet
- 2 Large eggs, room temperature lightly beaten
- 4 cups All-purpose flour
- 1/2 cup Unsweetened cocoa powder
- 1 tsp Salt
- 1/4 cup White granulated sugar
- 10 TBSP Unsalted butter, room temperature and cubed
Chocolate Filling
- 1/2 cup Unsalted butter, room temperature
- 1/2 cup Brown sugar, packed light or dark
- 2 TBSP Unsweetened cocoa powder
- 8 oz Chocolate bar, chopped (I used Lindt 70%)
Chocolate Icing
- 1 1/4 cup Powdered sugar, sifted
- 1 TBSP Unsweetened cocoa powder, sifted
- 1 tsp Pure vanilla extract
- 1/4 cup Heavy cream, or milk
Instructions
Chocolate Dough
- This section outlines instructions for using a stand mixer with a dough hook. For making by hand instructions, please refer to the notes section below.
- Heat the milk in the microwave until warmed to 110°F (43°C). Pour the active dry yeast on top and let it sit for 10 minutes. This allows the yeast to become foamy and activate properly.
- In a mixing bowl, combine the all-purpose flour, cocoa powder, granulated sugar, and salt. Add in the cubed, room-temperature unsalted butter. Use a pastry cutter or your hands to knead the butter into the flour mixture until the butter clumps are roughly the size of a pea.
- Add the activated milk/yeast mixture and the lightly beaten eggs to the flour mixture. Mix on low speed until a dough begins to form. Then, switch to medium speed and knead for 5 minutes. The dough should be very soft and slightly tacky to the touch.
- Preheat the oven to 200°F (93°C), then immediately turn it off. Spray a large bowl with nonstick spray. Place the dough in the bowl and cover it with a kitchen towel. Place the bowl in the turned-off oven, leaving the door slightly cracked open. Let the dough rise for 1 hour until it has doubled in size.
Chocolate Filling
- Using a hand mixer in a small bowl, beat the room-temperature unsalted butter on high speed until soft and fluffy. Add the brown sugar and unsweetened cocoa powder and mix on high speed until a smooth paste forms. Meanwhile, chop the chocolate bar into small pieces.
- Roll out the risen dough with a rolling pin on a lightly floured surface. Roll it into a large rectangle approximately 1/4 inch thick.
- Use an offset icing spatula to spread the chocolate filling evenly on top of the dough, leaving a small border. Sprinkle the chopped chocolate pieces evenly over the filling.
- Starting on the short side of the rectangle, tightly roll the dough into a log. Use a serrated knife or unflavored dental floss to carefully cut off any uneven ends. Then, cut the log into 12 equal pieces. Make sure to use very light sawing motions when cutting to prevent squishing the rolls.
- Spray a 9X13 inch baking pan (or a 9X14 inch casserole pan) with nonstick baking spray. Place the 12 rolls in the pan. Cover with a kitchen towel and let them rise for 25 minutes for their second proof.
- Preheat the oven to 350°F (175°C) and bake the rolls for 25-30 minutes. The rolls will bubble a lot when nearly done, and the bubbling will slow as they finish. For accuracy, an instant-read thermometer inserted into the middle of a roll should read 160°F (71°C) when fully baked.
Chocolate Icing
- In a small bowl, sift the powdered sugar and unsweetened cocoa powder together. Add the pure vanilla extract and heavy cream (or milk) and mix until combined and smooth.
- While you might be tempted to ice them immediately, wait until the rolls have been out of the oven for about 10 minutes. This allows them to cool slightly, preventing the icing from melting too quickly and ensuring a beautiful, set glaze.
Notes
Flour Measurement: Always make sure your flour is spooned and leveled into the measuring cup or, ideally, measured with a kitchen scale for accuracy. Compacted flour can result in dry, dense rolls.
High Altitude Baking: For those baking at high altitudes, an additional 3 tablespoons of all-purpose flour might be beneficial to compensate for changes in atmospheric pressure.
Room Temperature Ingredients: For best results with dough and rise, pull out all dairy ingredients (butter, milk, eggs) at least 2 hours before you plan to start baking so they can come to room temperature.
Making by Hand (Dough):
- After combining dry ingredients and butter, mix the wet ingredients into the dry using a rubber spatula. Once shaggy, switch to using your hands to mix and bring the dough together until it starts to form a cohesive ball.
- Transfer the dough to a lightly floured surface. Knead continuously using your hands for 5-8 minutes.
- To test for doneness, perform the “windowpane test”: pull a small piece of dough and gently stretch it between your fingers. If you can stretch it thinly enough to see light through it without it tearing, then your dough is sufficiently kneaded and ready for its first rise.
Calories:
510
kcal
,
Carbohydrates:
71
g
,
Protein:
8
g
,
Fat:
29
g
,
Saturated Fat:
17
g
,
Polyunsaturated Fat:
1
g
,
Monounsaturated Fat:
8
g
,
Trans Fat:
1
g
,
Cholesterol:
54
mg
,
Sodium:
214
mg
,
Potassium:
312
mg
,
Fiber:
5
g
,
Sugar:
19
g
,
Vitamin A:
641
IU
,
Vitamin C:
0.03
mg
,
Calcium:
68
mg
,
Iron:
5
mg
Did you make this recipe?
Please leave a star rating and review below!
