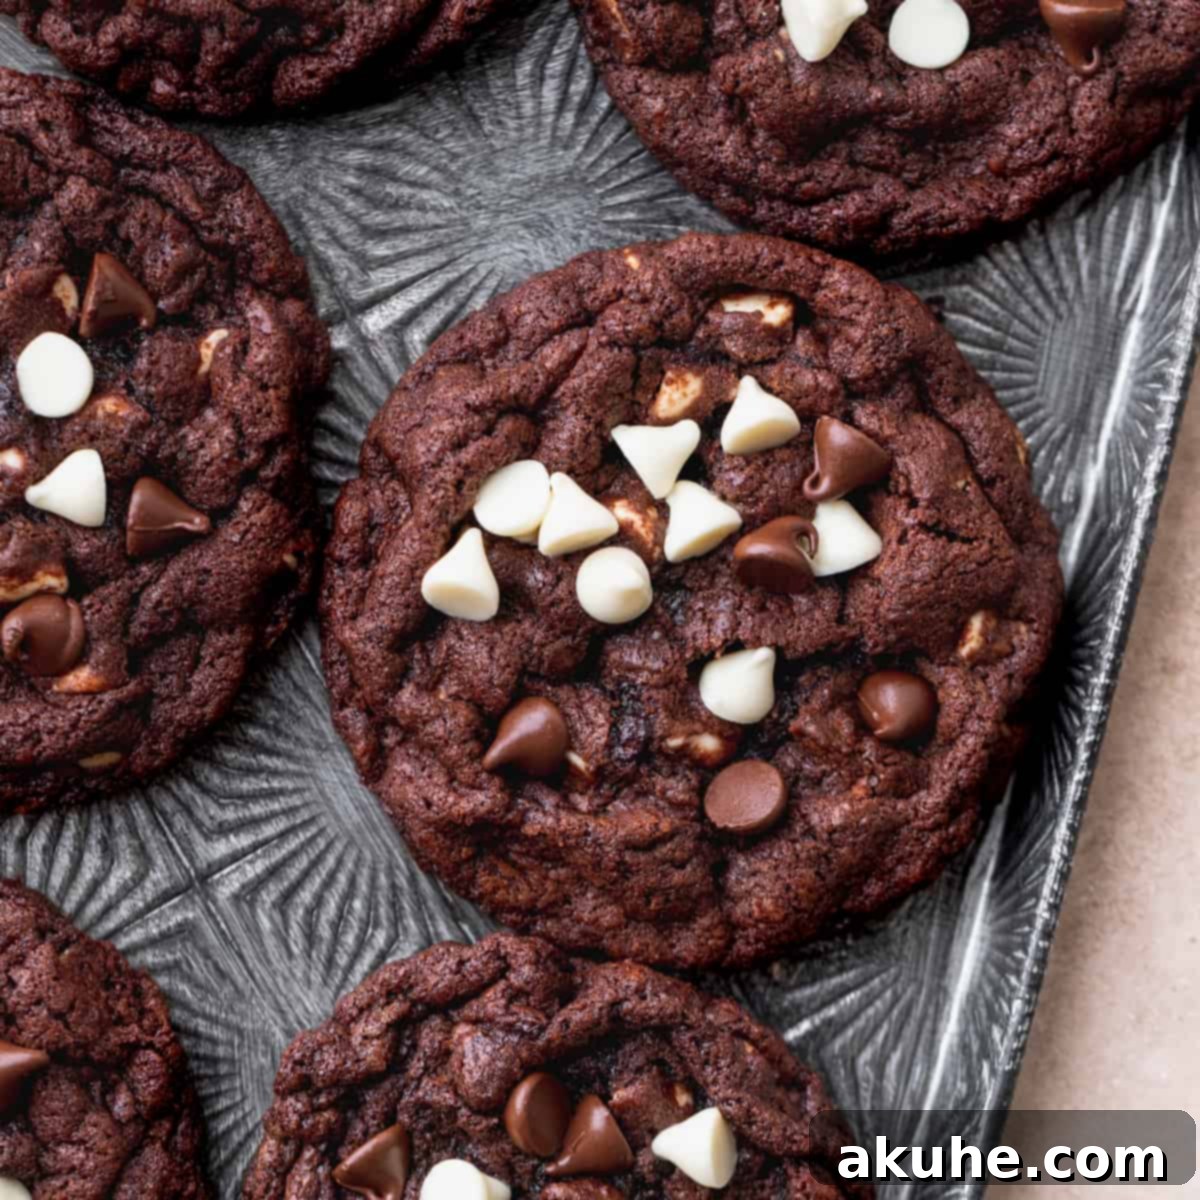
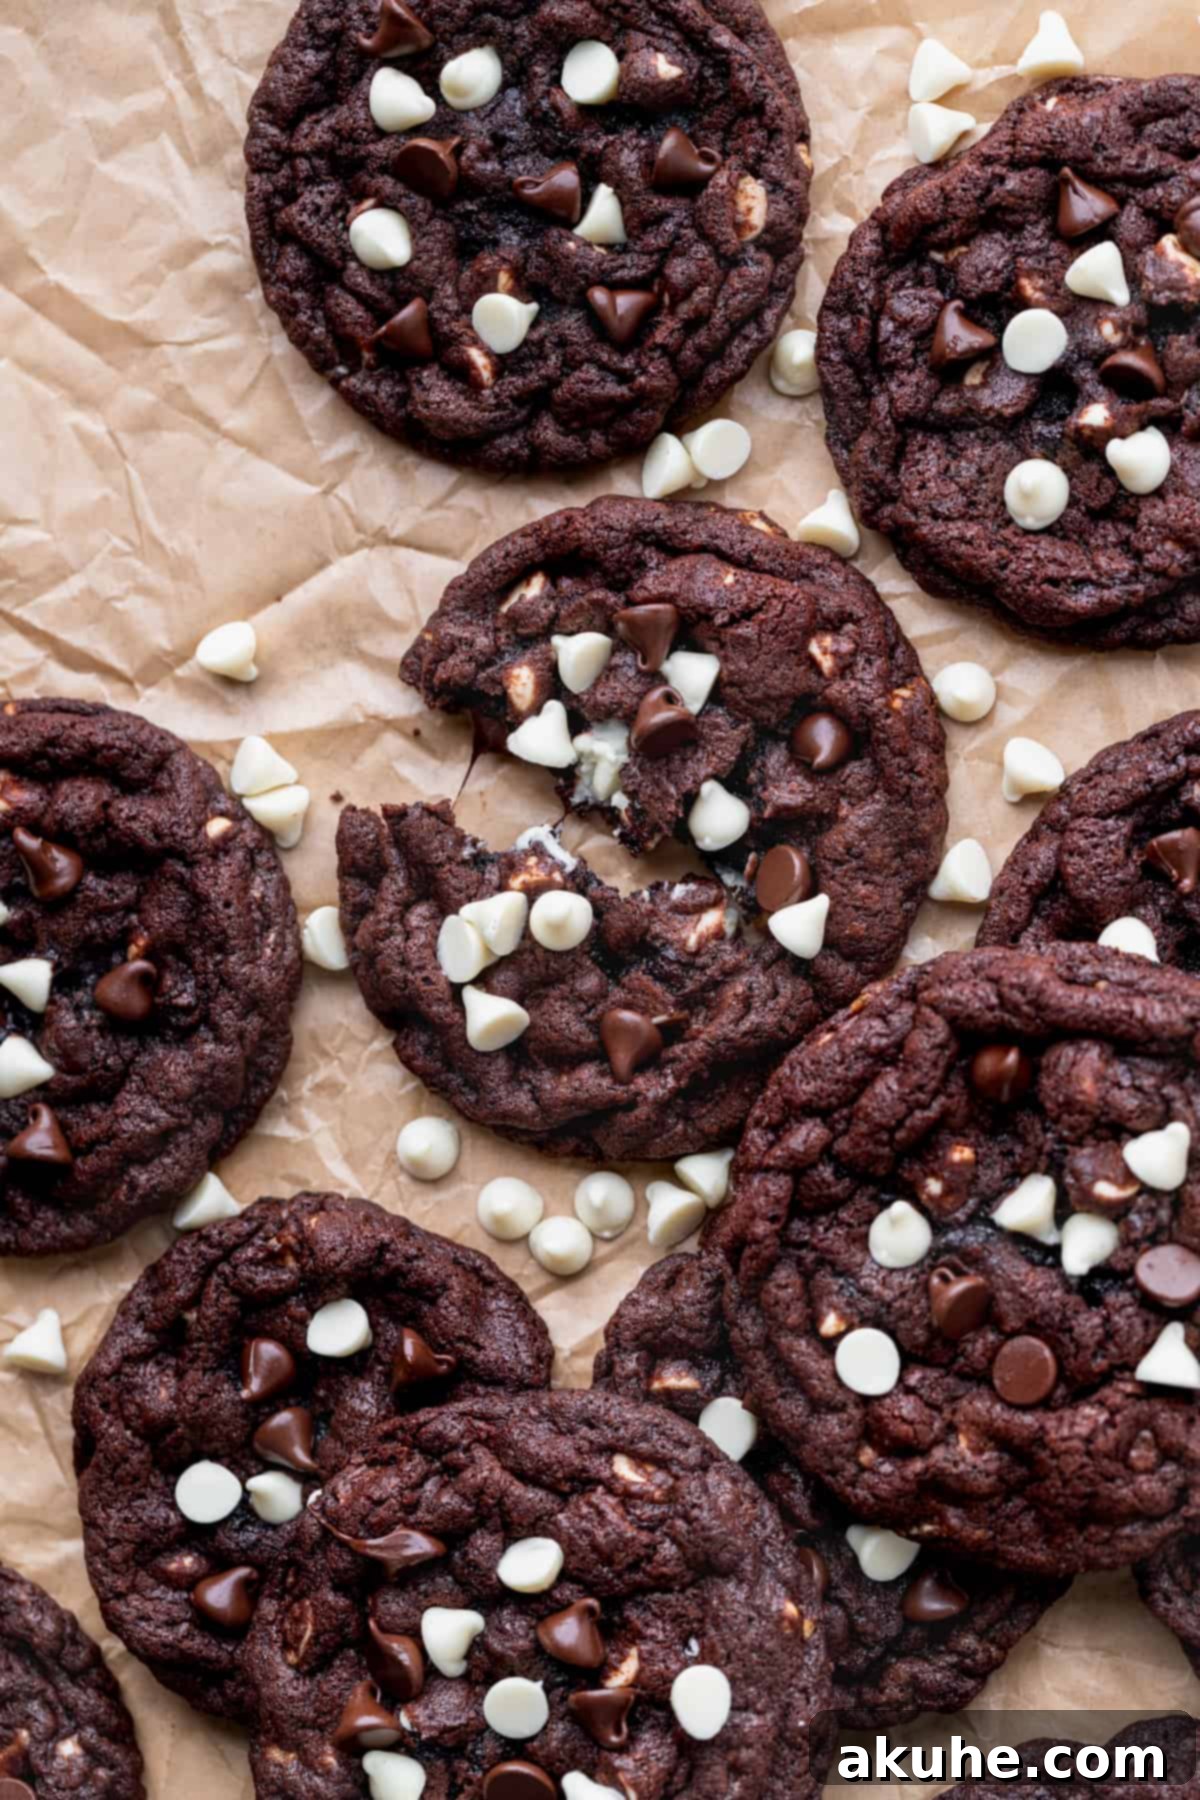
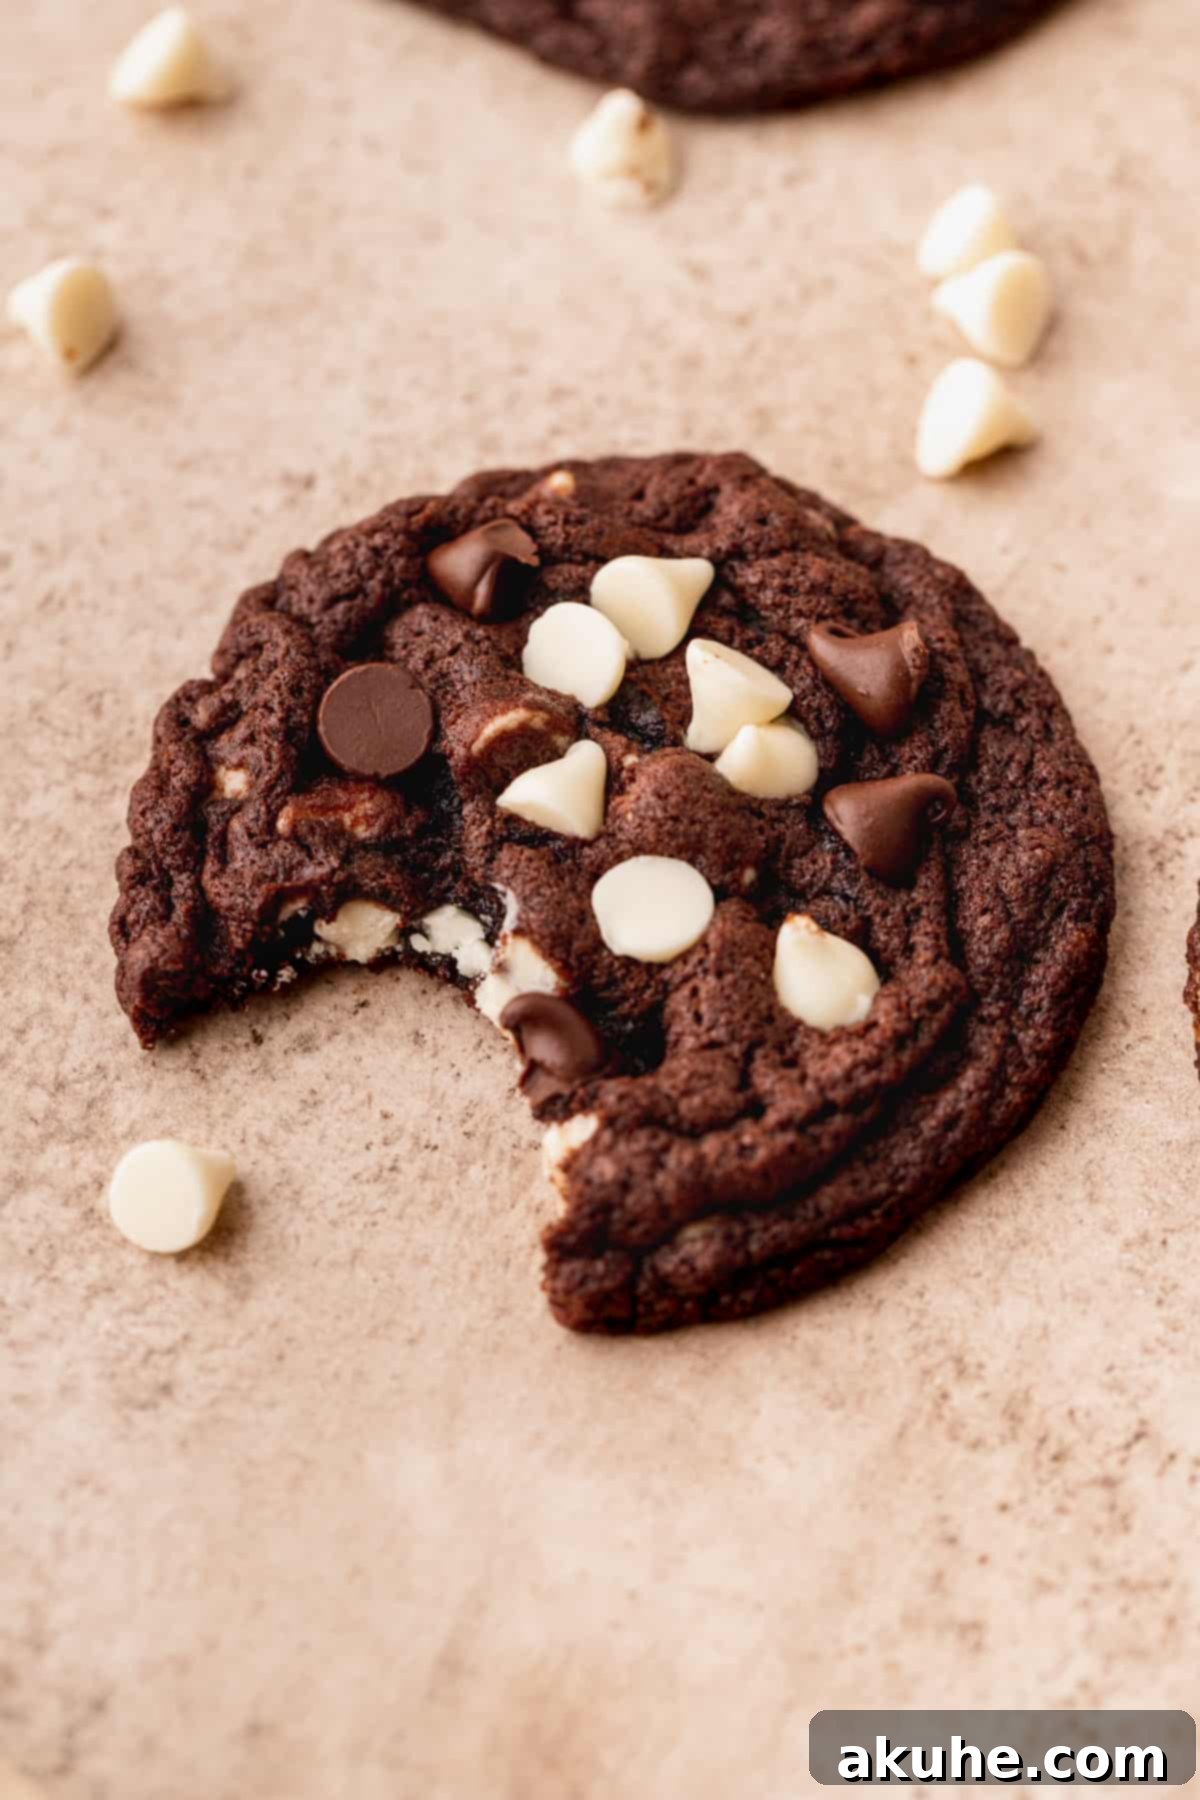
Indulge your deepest chocolate cravings with these extraordinary White Chip Double Chocolate Cookies. Imagine a cookie that’s not just chocolate, but *intensely* chocolate—rich, fudgy, and delightfully chewy, all in one perfect bite. These aren’t your average chocolate chip cookies; they’re an elevated experience, an ‘inside-out’ masterpiece where a deep cocoa base cradles generous amounts of both creamy white chocolate chips and classic semi-sweet chocolate chips. If you consider yourself a true connoisseur of double chocolate chip cookies, prepare to fall in love with this recipe.
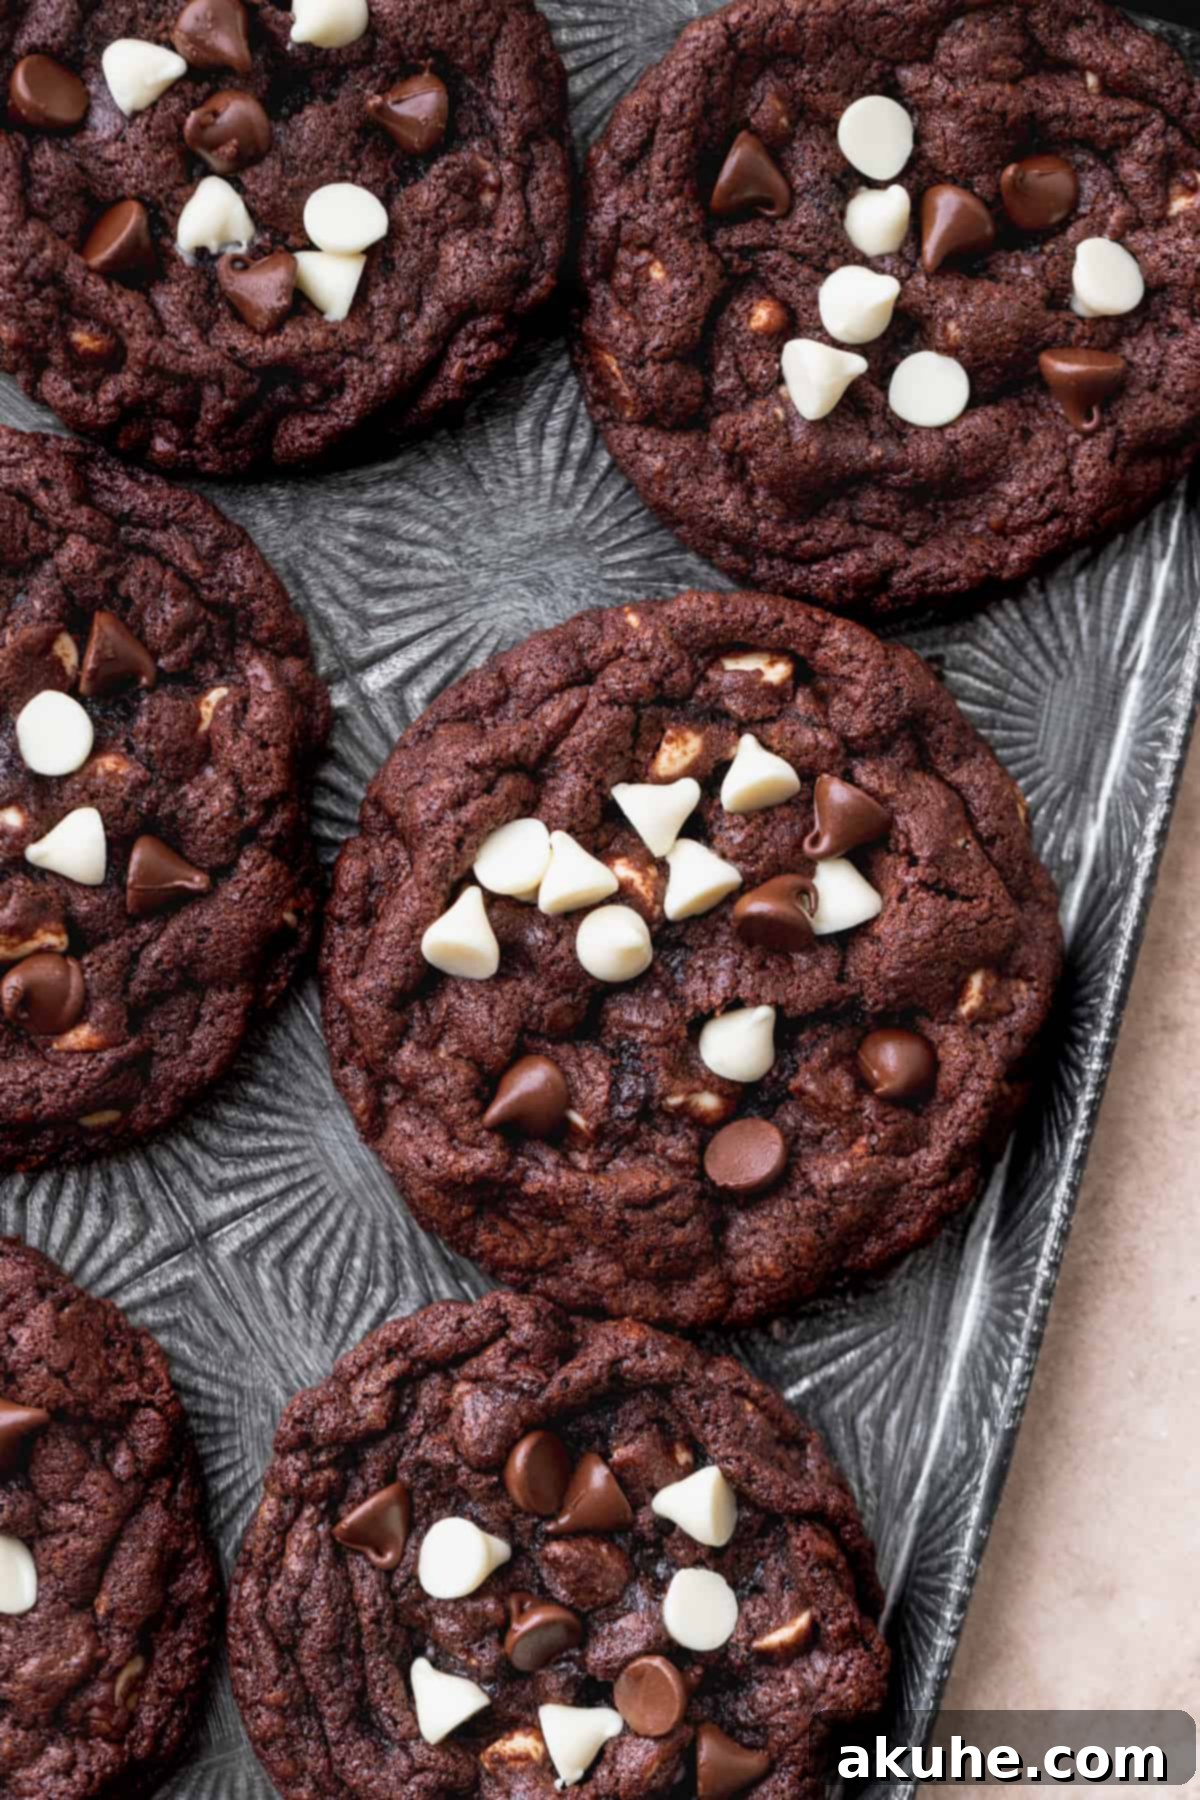
What makes these cookies a truly serious chocolate endeavor? It’s the thoughtful combination of ingredients that delivers unparalleled depth of flavor and texture. We don’t just rely on cocoa powder for that deep, dark chocolate hue; we also incorporate melted, high-quality chocolate directly into the dough. This dual chocolate approach results in an incredibly fudgy interior, almost brownie-like, while maintaining a satisfying chew around the edges. Then, as if that weren’t enough, each cookie is generously studded with a vibrant medley of both sweet white chocolate chips and robust regular chocolate chips, ensuring a chocolate explosion with every single bite. They are the epitome of homemade indulgence, far surpassing anything you’d find in a store.
If you’re continually on the hunt for more sensational chocolate cookie recipes, be sure to explore our other decadent creations. Try our chocolate peanut butter stuffed cookies for an irresistible sweet and savory blend, or our fun and family-favorite Oreo chocolate chip cookies. For a cozy, comforting treat, don’t miss our delightful chocolate marshmallow cookies.
Why You Will Adore These White Chip Double Chocolate Cookies
These aren’t just another cookie recipe; they’re a carefully crafted treat designed to deliver maximum satisfaction. Here’s why these white chip double chocolate cookies are destined to become your new go-to:
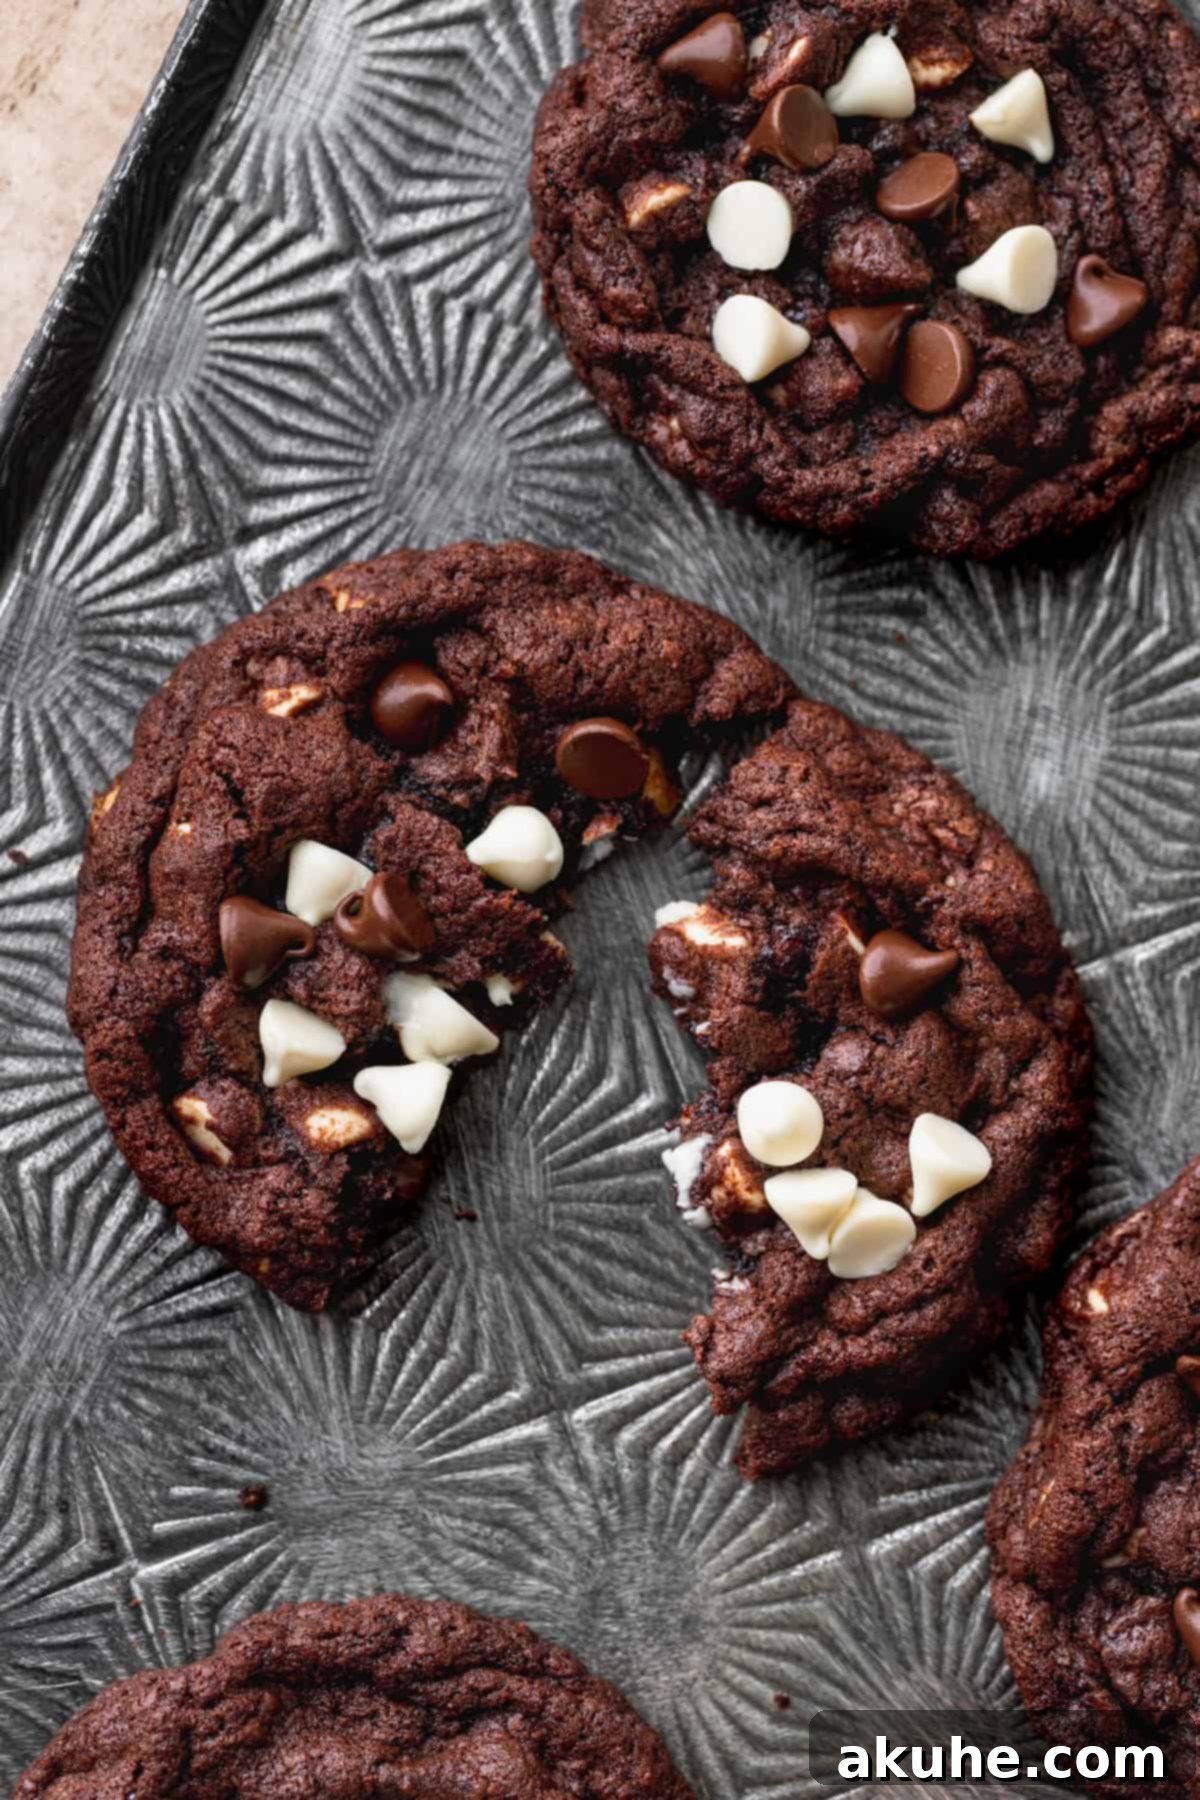
- Unrivaled Chewy Chocolate Goodness: The foundation of these cookies is a magnificently chewy and rich chocolate dough. It’s crafted not just with unsweetened cocoa powder for a deep, complex flavor, but also with melted semi-sweet chocolate. This combination ensures an intense chocolate experience and a wonderfully fudgy, tender crumb that simply melts in your mouth, striking the perfect balance between chewiness and softness.
- Creamy White Chocolate Chip Surprises: Nestled within the dark chocolate base are generous pockets of creamy white chocolate chips. These chips aren’t just for aesthetics; their sweet, milky flavor provides a delightful contrast to the intense dark chocolate, adding layers of sweetness and a luxurious texture that makes each bite incredibly exciting.
- The Ultimate Double Chocolate Experience: Why settle for one type of chocolate when you can have two? Beyond the rich chocolate dough and the sweet white chips, these cookies are also loaded with classic semi-sweet chocolate chips. This triple threat of chocolate—dough, white chips, and semi-sweet chips—ensures an unparalleled depth of flavor and a truly decadent experience that satisfies every chocolate craving.
- Surprisingly Simple to Prepare: Don’t let their gourmet taste fool you; these cookies are remarkably easy to make. While the recipe does include a crucial 30-minute chilling period for optimal texture and shape, the active preparation time is straightforward and enjoyable. Even novice bakers can achieve bakery-quality results with minimal effort, making them perfect for a quick indulgence or an impressive treat.
- A Dream Come True for Chocolate Lovers: If chocolate runs in your veins, this recipe was made for you. These cookies are intensely rich, profoundly chocolatey, and utterly satisfying. Every element, from the dark cocoa powder to the melted chocolate and the two varieties of chips, is designed to elevate the chocolate experience, making them the ultimate indulgence for anyone who truly adores chocolate. Prepare for a blissful, deeply satisfying treat that hits all the right notes.
Essential Ingredient Notes for Perfection
The secret to truly spectacular cookies lies in understanding your ingredients and how they contribute to the final product. Here’s a closer look at what you’ll need and why:
- Unsweetened Cocoa Powder: For a strikingly dark and deeply flavored chocolate cookie, we highly recommend using Dutch-process cocoa powder. This type of cocoa has been treated with an alkali to reduce its acidity, resulting in a smoother, less bitter, and richer chocolate flavor. It also gives the cookies a beautiful, darker hue. We particularly love this specific cocoa powder for its exceptional quality.
- Cornstarch: This seemingly small addition plays a huge role in achieving that sought-after chewy texture. Cornstarch helps tenderize the dough and prevents the cookies from becoming too cakey or crumbly, contributing to a wonderfully soft and pliable chew. It also aids in preventing excessive spreading during baking, keeping your cookies perfectly plump.
- Unsalted Butter: Always opt for unsalted butter when baking, as it gives you complete control over the salt content in your recipe. It’s crucial that your butter is softened to room temperature before you begin. This usually means pulling it out of the refrigerator at least 1-2 hours prior to baking. Properly softened butter creams beautifully with sugar, incorporating air and creating a light, fluffy base for your dough, which is essential for texture.
- Brown Sugar: We use light brown sugar in this recipe for its rich molasses content. Brown sugar not only adds a lovely caramel-like depth of flavor but also contributes significantly to the cookies’ moisture and chewiness, ensuring they stay soft and delicious for longer.
- Egg and Egg Yolk: The combination of a whole large egg and an additional egg yolk is key to these cookies’ incredible texture. The whole egg provides structure and helps bind the ingredients, while the extra egg yolk is the secret weapon for an intensely chewy, fudgy cookie. Like the butter, ensure your eggs are at room temperature to allow for better emulsification with the other ingredients, leading to a smoother, more uniform dough.
- Melted Semi-Sweet Chocolate: Beyond the cocoa powder, incorporating melted chocolate directly into the dough amplifies the overall chocolate richness and deepens the fudgy texture. We recommend using a high-quality semi-sweet chocolate, such as Lindt 70%, for a balanced flavor that isn’t overly sweet. Chopped chocolate melts more evenly than chips, providing a smoother consistency to the dough.
- White Chocolate Chips: The quality of your white chocolate chips makes a significant difference. Many brands are “vanilla-flavored chips” rather than true white chocolate. For the best flavor and texture, we strongly recommend Ghirardelli white chocolate chips, which are made with real cocoa butter, offering a superior creamy taste and melt.
- Semi-Sweet Chocolate Chips (for mixing in): Alongside the white chocolate, you’ll mix in regular chocolate chips. Semi-sweet or dark chocolate chips are ideal here, providing a robust counterpoint to the sweetness of the white chocolate. Avoid using milk chocolate chips as they can make the cookies excessively sweet and detract from the deep chocolate flavor profile we’re aiming for.
Step-By-Step Instructions for Irresistible Cookies
Crafting these chewy, fudgy masterpieces is a straightforward process, especially with the right tools. A stand mixer or a good quality hand mixer will make the job much easier.
STEP 1: Prepare Dry Ingredients. In a medium mixing bowl, sift together the all-purpose flour, unsweetened cocoa powder, cornstarch, baking soda, and salt. Sifting is crucial to prevent any lumps of flour or cocoa in your dough and ensures an even distribution of leavening agents. Whisk briefly to combine thoroughly and set aside.
STEP 2: Melt the Semi-Sweet Chocolate. Carefully melt your chopped semi-sweet chocolate. You can do this using a double boiler or, more conveniently, in a microwave. If using a microwave, heat the chocolate in a microwave-safe bowl in 30-second intervals, stirring well after each interval, until about 70-80% melted. Then, reduce to 15-second intervals, stirring vigorously until completely smooth. Be careful not to overheat, as chocolate can seize. Allow the melted chocolate to cool slightly to a lukewarm temperature before incorporating it into the wet ingredients.
STEP 3: Cream Butter and Sugars. In the bowl of your stand mixer fitted with the paddle attachment (or using a large mixing bowl with a hand mixer), beat the softened unsalted butter, light brown sugar, and white granulated sugar on high speed for at least 2 minutes. This creaming process is vital; continue beating until the mixture is visibly light in color and incredibly fluffy. This aerates the butter and sugar, which contributes significantly to the cookies’ final texture. Next, add the pure vanilla extract and the slightly cooled melted chocolate. Beat again on medium speed for another 2 minutes until everything is well combined and smooth, scraping down the sides of the bowl as needed.
STEP 4: Incorporate Egg and Egg Yolk. Add the room-temperature large egg and the extra egg yolk to the butter mixture. Beat on high speed for a full minute. The mixture should become even lighter and fluffier, almost like a mousse. This step helps to emulsify the eggs with the fats, resulting in a wonderfully cohesive and rich dough.
STEP 5: Add Dry Ingredients and Chips. With the mixer on low speed, gradually add the sifted dry ingredients to the wet mixture, mixing only until just combined. Be careful not to overmix, as this can lead to tough cookies. Once the dry ingredients are mostly incorporated, fold in the white chocolate chips and semi-sweet chocolate chips by hand using a spatula. Mix until the chips are evenly distributed throughout the dough. The finished dough will be thick, moist, and slightly sticky.
STEP 6: Chill the Dough. Cover the mixing bowl with plastic wrap and chill the cookie dough in the refrigerator for a minimum of 30 minutes. This chilling period is crucial! It allows the butter to solidify, preventing the cookies from spreading too much during baking, and also gives the flavors time to meld and deepen, resulting in a more flavorful cookie.
STEP 7: Prepare for Baking. While the dough is chilling, preheat your oven to 350°F (175°C). Line two large baking sheets with parchment paper. Parchment paper is essential for even baking and prevents sticking, especially with a rich, chocolatey dough like this.
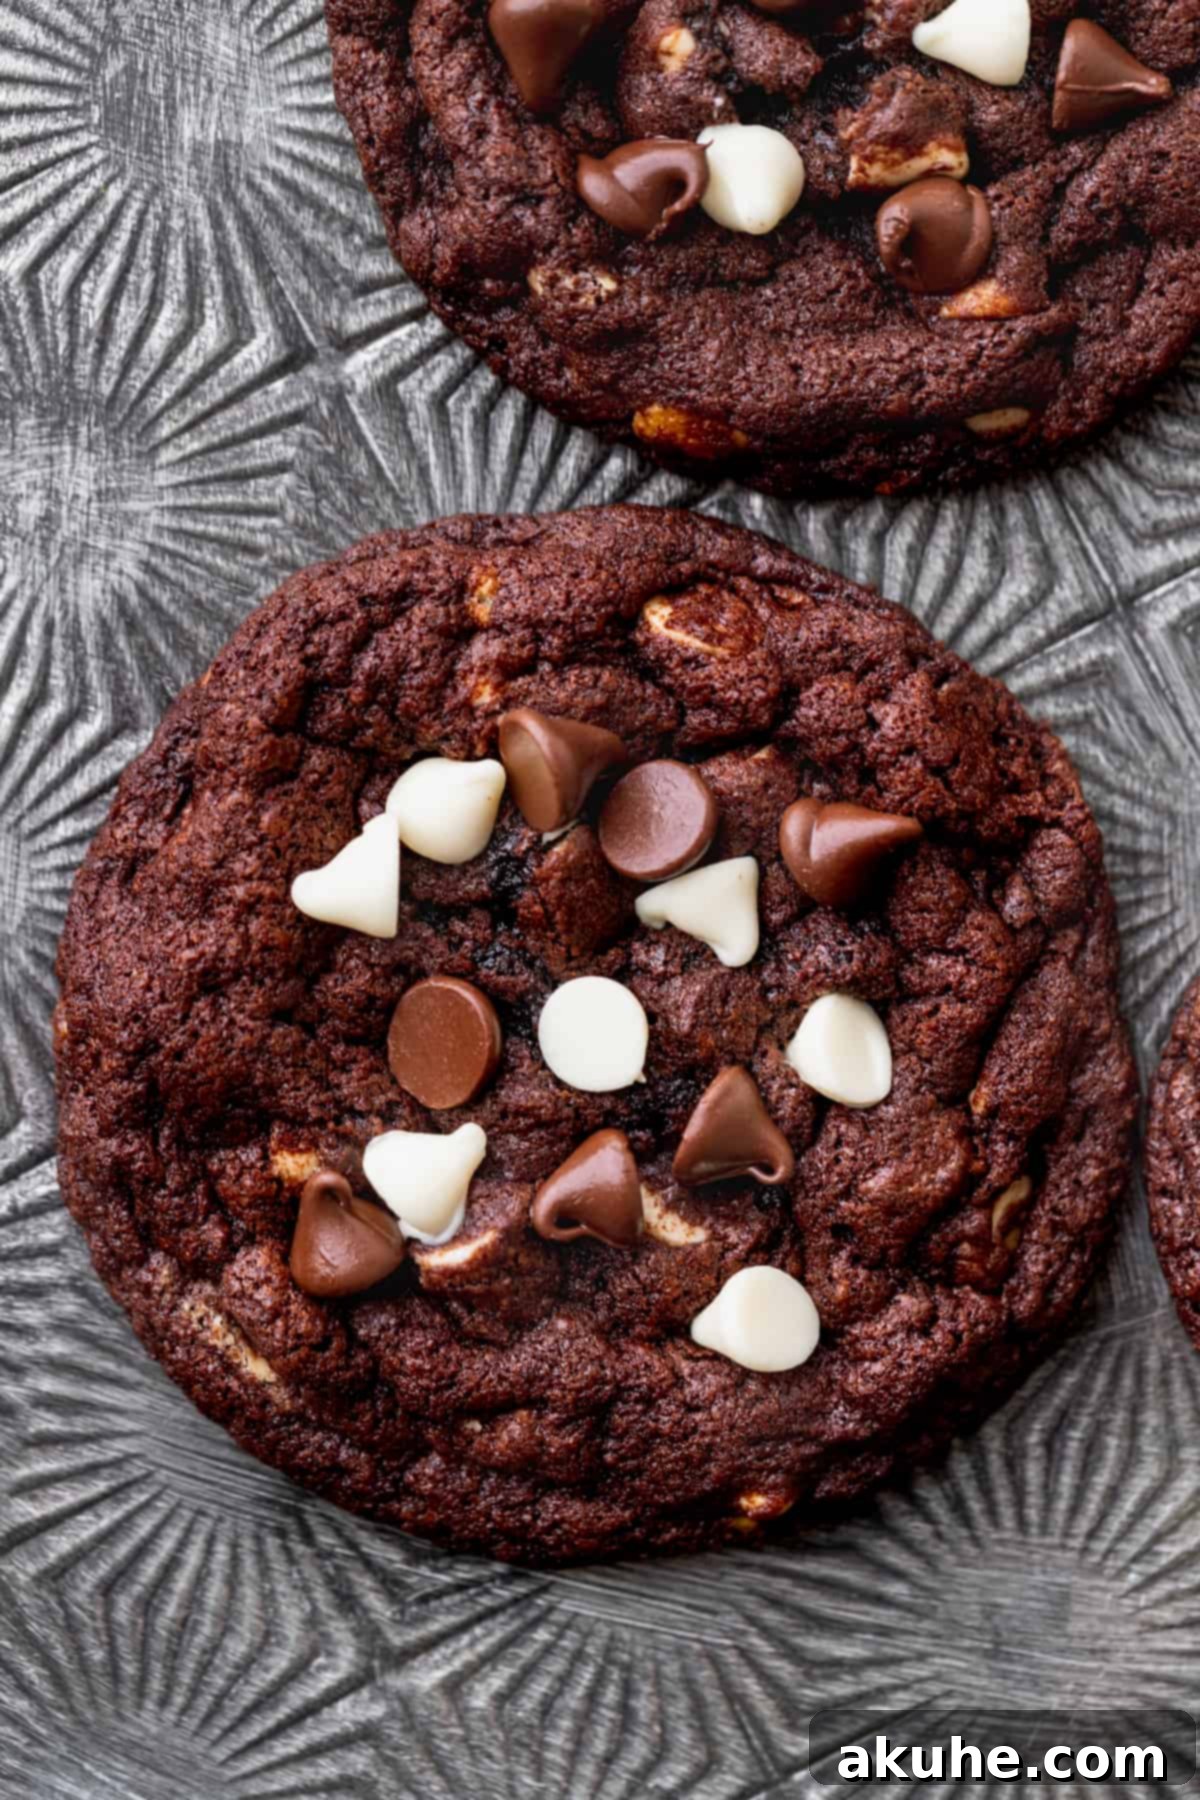
STEP 8: Scoop and Bake. Use a 3 oz cookie scoop to scoop generous portions of dough onto the prepared baking sheets. Place the cookie dough balls about 3 inches apart to allow for spreading. We recommend baking no more than 6 cookies per baking sheet at a time to ensure proper heat circulation and even baking. Bake for 13-15 minutes. Since these are dark chocolate cookies, it can be tricky to tell when they’re done. Look for edges that are set and slightly firm to the touch, while the centers may still appear slightly soft. Overbaking will result in a dry, hard cookie, so err on the side of underbaking for a fudgier result. Immediately after removing from the oven, if desired, press a few extra white and regular chocolate chips onto the warm cookies for that beautiful bakery-style finish. Let the cookies cool on the baking sheet for 5 minutes before carefully transferring them to a wire rack to cool completely. This allows them to firm up without breaking.
Expert Tips for Your Best Cookies Yet
Achieving the perfect chewy, fudgy double chocolate cookie is within your reach with these insider tips:
- Don’t Skimp on Aeration: The initial creaming of butter and sugars is more than just mixing; it’s about incorporating air. This aeration creates tiny pockets within the dough that expand during baking, contributing to a lighter, chewier texture. Make sure to set a timer and beat for the full 2 minutes (or even a little longer!) until the mixture is truly light and fluffy.
- The Power of the Chill: Resist the temptation to skip the 30-minute chilling period. This step is absolutely critical. Chilling solidifies the butter in the dough, which means it will melt slower in the oven, preventing your cookies from spreading into flat puddles. It also allows the flour to fully hydrate and the flavors to deepen, resulting in a more complex and satisfying cookie.
- Parchment Paper is Your Best Friend: Always bake these cookies on a baking sheet lined with parchment paper. The parchment paper provides a non-stick surface that encourages even baking and helps to prevent excessive spreading. Baking directly on a plain cookie sheet or using a silicone baking mat can sometimes cause cookies to spread more than desired due to increased surface slipperiness or heat conduction.
- Room Temperature Ingredients are Key: This can’t be stressed enough! Butter, eggs, and egg yolks at room temperature emulsify better, creating a smoother, more uniform dough. Cold ingredients can cause the batter to seize or result in an inconsistent texture. Plan ahead and take them out of the fridge a couple of hours before you start baking.
- Quality Chocolate Matters: Since chocolate is the star here, invest in good quality cocoa powder and chocolate for both melting and chips. High-quality chocolate melts smoother, tastes richer, and truly elevates the final product. The difference is noticeable!
- Don’t Overmix Dry Ingredients: Once you add the flour mixture, mix only until just combined. Overmixing develops the gluten in the flour, which can lead to tough, dry cookies. A few streaks of flour are better than an overmixed dough.
- Know Your Oven: Ovens can vary wildly in temperature. If you find your cookies are consistently spreading too much or baking too quickly/slowly, consider investing in an oven thermometer to ensure your oven is truly at the temperature you set.
Frequently Asked Questions (FAQ)
Absolutely, chilling the dough overnight is a fantastic idea! It allows the flavors to deepen and mature, resulting in an even richer, more complex chocolate taste. The dough will become quite firm and hard from extended refrigeration, so you’ll need to let it sit at room temperature for at least 1 hour (or sometimes up to 1.5 hours) before you can easily scoop it. This ensures the dough is pliable enough to work with without forcing it.
Yes, freezing the cookie dough is an excellent way to prepare ahead and have fresh cookies whenever a craving strikes! We recommend chilling the dough for the initial 30 minutes as directed in the recipe. Then, scoop the dough into individual balls using your 3 oz cookie scoop. Place the dough balls on a baking sheet lined with parchment paper and freeze until solid. Once frozen, transfer the solid dough balls to an airtight freezer-safe bag or container, separating layers with parchment paper to prevent sticking. They can be stored in the freezer for up to 30 days. When you’re ready to bake, you can bake them directly from frozen; just add an extra 2-4 minutes to the baking time, keeping an eye on them to prevent overbaking.
Certainly! This recipe is versatile enough to accommodate different cookie sizes. If you prefer smaller cookies, use a 1 oz cookie scoop (about half the size of the recommended scoop). Adjust your baking time accordingly, reducing it to approximately 8-11 minutes. Keep a close watch on them as they bake, as smaller cookies will cook much faster and can quickly go from perfectly fudgy to overly dry if left in too long. The edges should be set, and the centers still slightly soft.
Cookie spread is a common issue and can be caused by several factors. The most common reasons include butter being too warm, insufficient chilling time for the dough, an oven that isn’t preheated to the correct temperature (or fluctuates), or using a baking surface that’s too slick (like a greased pan without parchment, or some silicone mats). Ensure your butter is just room temperature (not melted), you’ve chilled the dough for the full 30 minutes, your oven is accurately preheated, and you’re baking on parchment-lined sheets.
While the recipe calls for specific types to achieve a balanced flavor profile, you can experiment! For the regular chocolate chips, you could use milk chocolate for a sweeter cookie, but be aware it might be quite rich. For white chocolate, sticking to a true white chocolate chip like Ghirardelli is highly recommended for the best flavor and texture, as many “white baking chips” are merely vanilla flavored and lack the creamy taste of real white chocolate. Avoid using highly flavored chips if you want the double chocolate essence to shine.
Storing and Freezing Your Decadent Cookies
To keep your chewy white chip double chocolate cookies fresh and delicious for as long as possible, proper storage is key.
Once completely cooled, store these delightful cookies in an airtight container at room temperature. Placed in a cool, dry spot, they will remain wonderfully fresh and chewy for up to 5 days. For an extra touch of freshness, you can place a slice of bread in the container with the cookies; the cookies will absorb moisture from the bread, helping to keep them soft.
Freezing Baked Cookies
If you’ve baked a large batch or simply want to save some for later, these cookies freeze beautifully. Once the baked cookies have cooled completely to room temperature, arrange them in a single layer on a baking sheet and freeze until solid. Once frozen, transfer them to an airtight freezer-safe container or a heavy-duty freezer bag, separating layers with parchment paper to prevent them from sticking together. They can be stored in the freezer for up to 30 days without compromising their flavor or texture. When you’re ready to enjoy, simply thaw them at room temperature for about 1 hour. For a warm, freshly baked experience, you can gently reheat them in a microwave for 10-15 seconds or in a preheated oven at 300°F (150°C) for 5-7 minutes.
Other Irresistible Cookie Recipes To Try
If you’ve fallen in love with these double chocolate delights, you’ll surely enjoy exploring more of our tempting cookie creations. From classic favorites to innovative treats, our collection is designed to satisfy every sweet tooth. Be sure to check them out!

White Chip Double Chocolate Cookies
Print Recipe
Pin Recipe
Leave a Review
Ingredients
- 1 cup All-purpose flour (spooned and leveled for accuracy)
- 1/2 cup Unsweetened cocoa powder (Dutch-process for darker, richer flavor)
- 1 tsp Cornstarch (for enhanced chewiness and reduced spreading)
- 1 tsp Baking soda
- 1 tsp Salt
- 3/4 cup Unsalted butter, room temperature (crucial for proper creaming)
- 3/4 cup Brown sugar, packed light or dark (adds moisture and chew)
- 1/4 cup White granulated sugar
- 1 tsp Pure vanilla extract
- 2 oz Semi sweet chocolate, Chopped and melted (for deep chocolate flavor; Lindt 70% recommended)
- 1 Large egg, room temperature
- 1 Egg yolk, room temperature (adds extra chewiness and richness)
- 1 1/4 cup White chocolate chips, Ghirardelli brand recommended for true white chocolate flavor and melt
- 3/4 cup Semi-sweet chocolate chips (or dark chocolate chips; avoid milk chocolate for best balance)
Instructions
- In a medium mixing bowl, sift together the all-purpose flour, unsweetened cocoa powder, cornstarch, baking soda, and salt. Sifting prevents lumps and ensures even distribution. Whisk briefly to combine then set aside.1 cup All-purpose flour, 1/2 cup Unsweetened cocoa powder, 1 tsp Cornstarch, 1 tsp Baking soda, 1 tsp Salt
- In a microwave-safe bowl, gently heat the chopped semi-sweet chocolate for 30 seconds. Stir well. Heat for another 20 seconds. Stir well. Continue heating in 15-second intervals, stirring vigorously after each, until the chocolate is completely melted and smooth. Allow it to cool slightly to lukewarm temperature.2 oz Semi sweet chocolate
- Using a stand mixer fitted with a paddle attachment (or a hand mixer), beat the softened unsalted butter, white granulated sugar, and brown sugar together on high speed for at least 2 minutes. The butter mixture should become very light in color, fluffy, and well-aerated. Next, add in the pure vanilla extract and the slightly cooled melted chocolate. Beat on high speed for another 2 minutes until fully combined and smooth. Remember to scrape down the sides of the bowl as needed.3/4 cup Unsalted butter, 3/4 cup Brown sugar, 1/4 cup White granulated sugar, 1 tsp Pure vanilla extract, 2 oz Semi sweet chocolate
- Then, add the room-temperature large egg and the additional egg yolk to the mixture. Beat on high speed for 1 minute until the batter is very fluffy and well-emulsified.1 Large egg, 1 Egg yolk
- With the mixer on low speed, slowly add the sifted dry ingredients to the wet mixture, mixing only until just combined and no streaks of flour remain. Be careful not to overmix. Once almost combined, fold in the white chocolate chips and semi-sweet chocolate chips by hand using a spatula until evenly distributed. The dough should be thick, moist, and slightly wet.1 1/4 cup White chocolate chips, 3/4 cup Semi-sweet chocolate chips
- Cover the bowl with plastic wrap and chill the dough in the fridge for a minimum of 30 minutes. This chilling period is essential to prevent spreading. While the dough chills, preheat your oven to 350°F (175°C). Prepare 2 large cookie sheets by lining them with parchment paper.
- Using a large cookie scoop (about 3 oz), scoop the chilled dough directly onto the prepared cookie sheets. Space the cookie dough balls about 3 inches apart to allow for proper spreading during baking. For best results and even baking, bake no more than 6 chocolate cookie dough balls at a time per sheet.
- Bake for 13-15 minutes. Since these are dark chocolate cookies, it can be hard to tell when they are fully done by color alone. The edges should appear set and slightly firm, while the centers will still look soft and slightly underbaked. If they feel too hard, they are likely overbaked. Immediately after removing from the oven, if desired, press a few extra white and regular chocolate chips onto the warm cookies for a beautiful, bakery-style appearance. Let the cookies cool on the cookie sheet for 5 minutes to firm up before carefully transferring them to a wire rack or cooling rack to cool completely.
Notes
Measuring flour: Always spoon and level your flour for accuracy. Scooping directly from the bag can compact the flour, leading to too much flour and dry cookies.
To prevent spreading: Ensure your butter is at proper room temperature (not too soft or melted), thoroughly chill the dough for the recommended 30 minutes, and always bake on baking sheets lined with parchment paper. Avoid silicone baking mats as they can sometimes cause more spreading with this particular dough.
