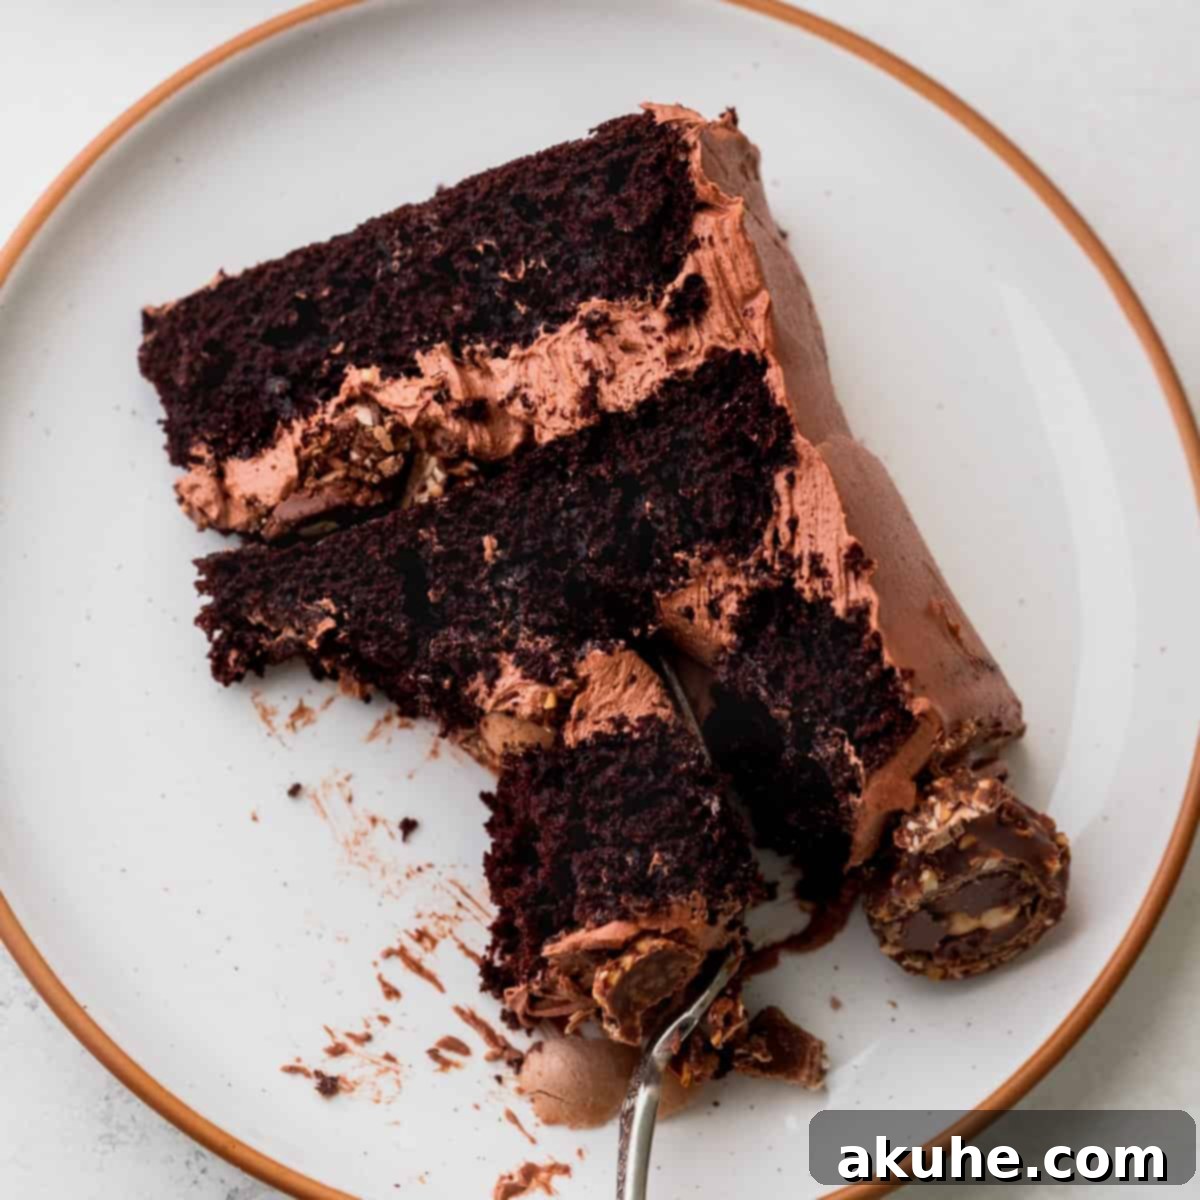
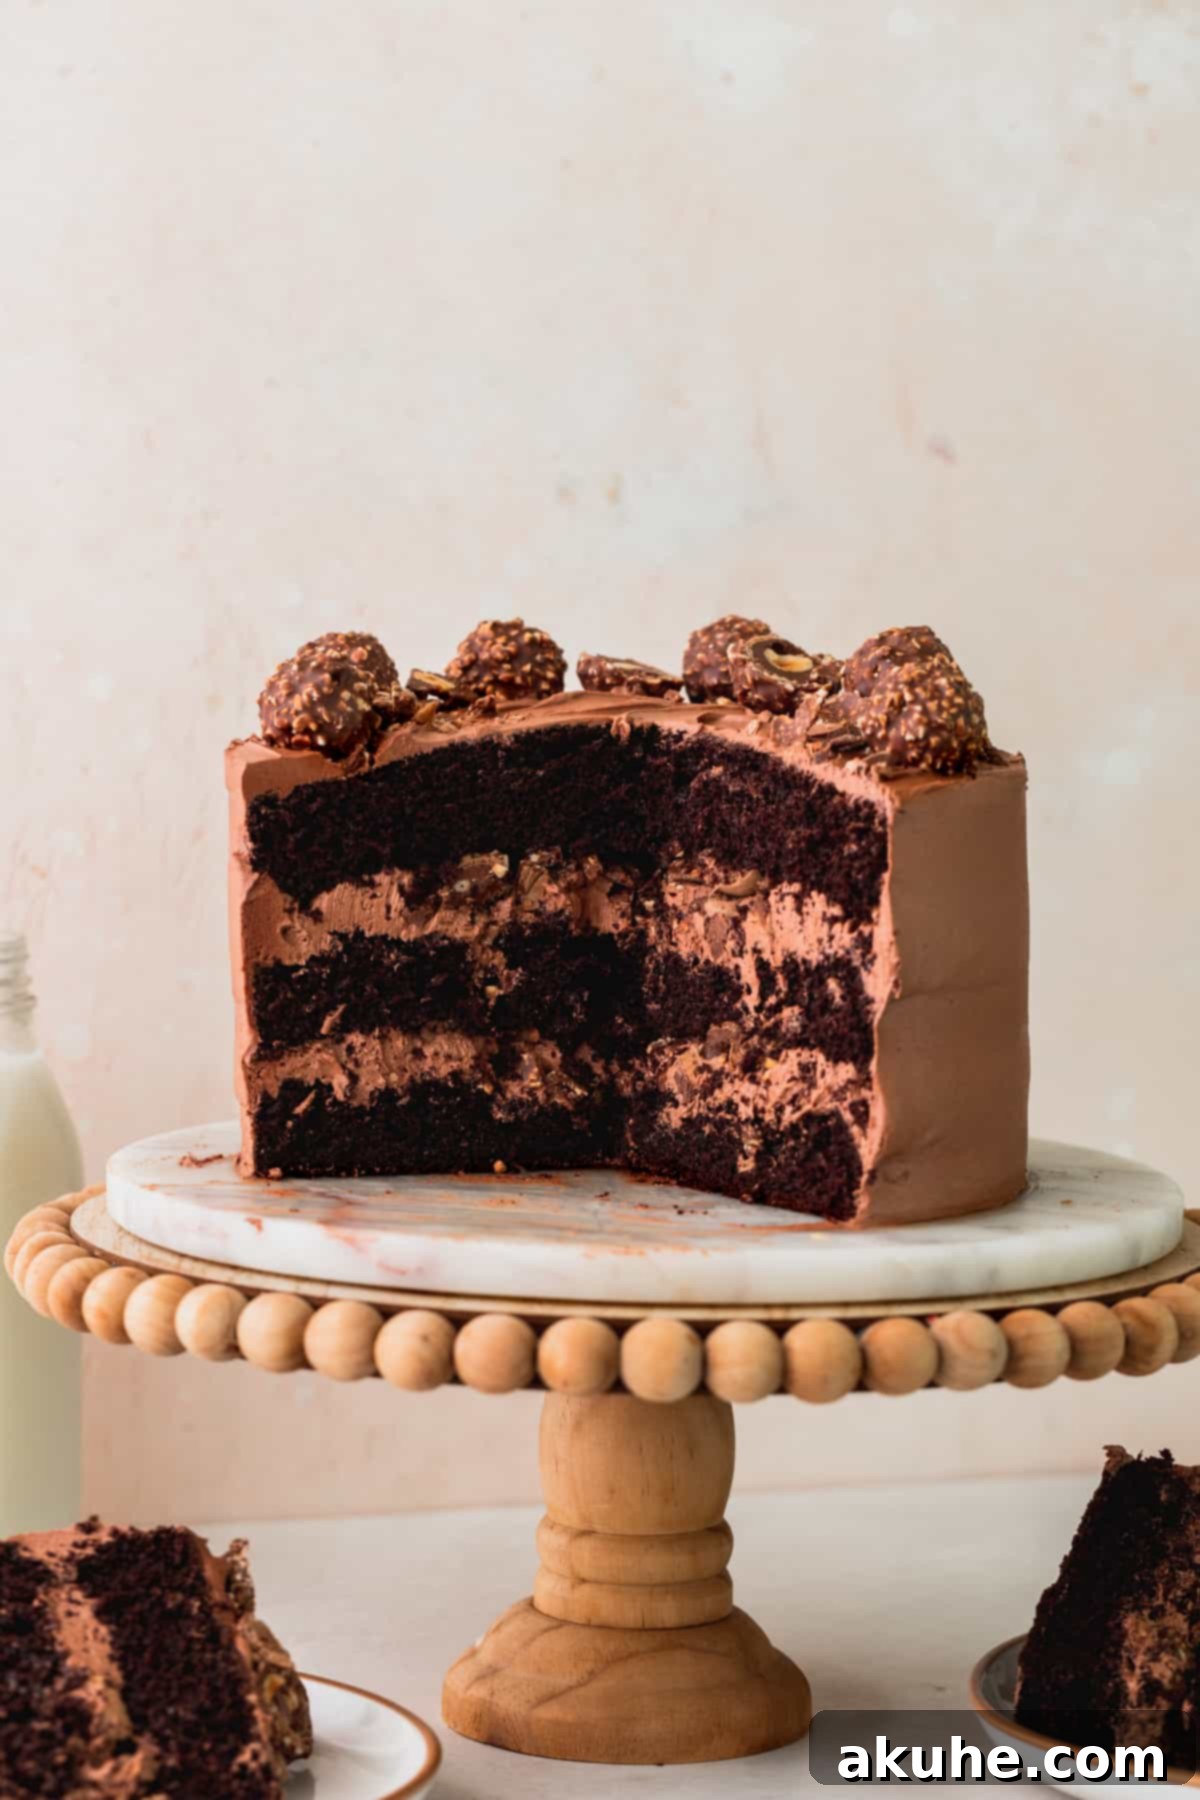
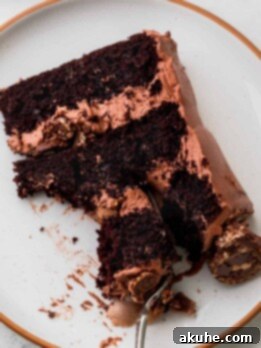
Indulge in a truly spectacular dessert experience with this remarkable Ferrero Rocher Cake. This isn’t just any chocolate cake; it’s a magnificent three-layer masterpiece, meticulously crafted to celebrate the iconic flavors of Nutella and Ferrero Rocher. Each slice promises a journey of rich, moist chocolate cake generously layered with an irresistible Nutella frosting, and a delightful surprise of chopped Ferrero Rocher truffles tucked inside, providing a satisfying crunch that elevates every bite.
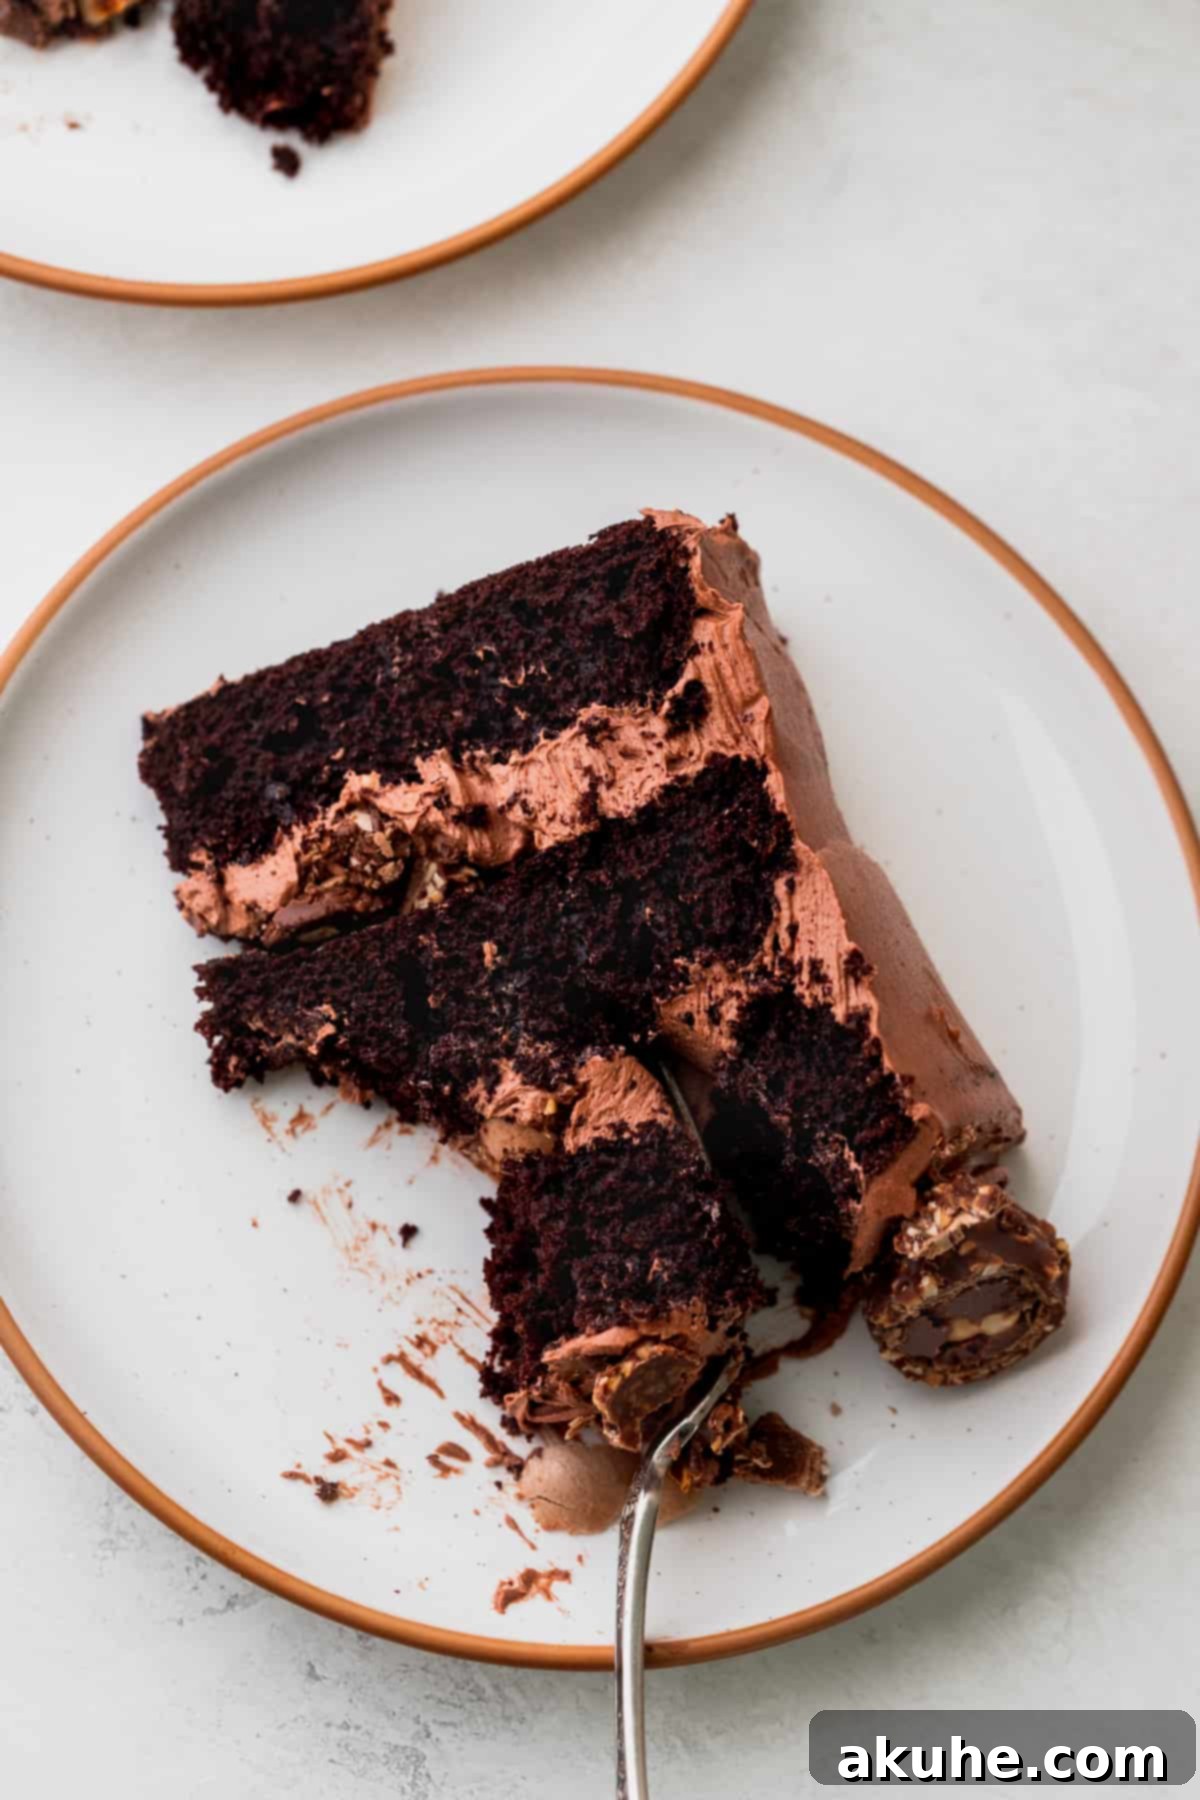
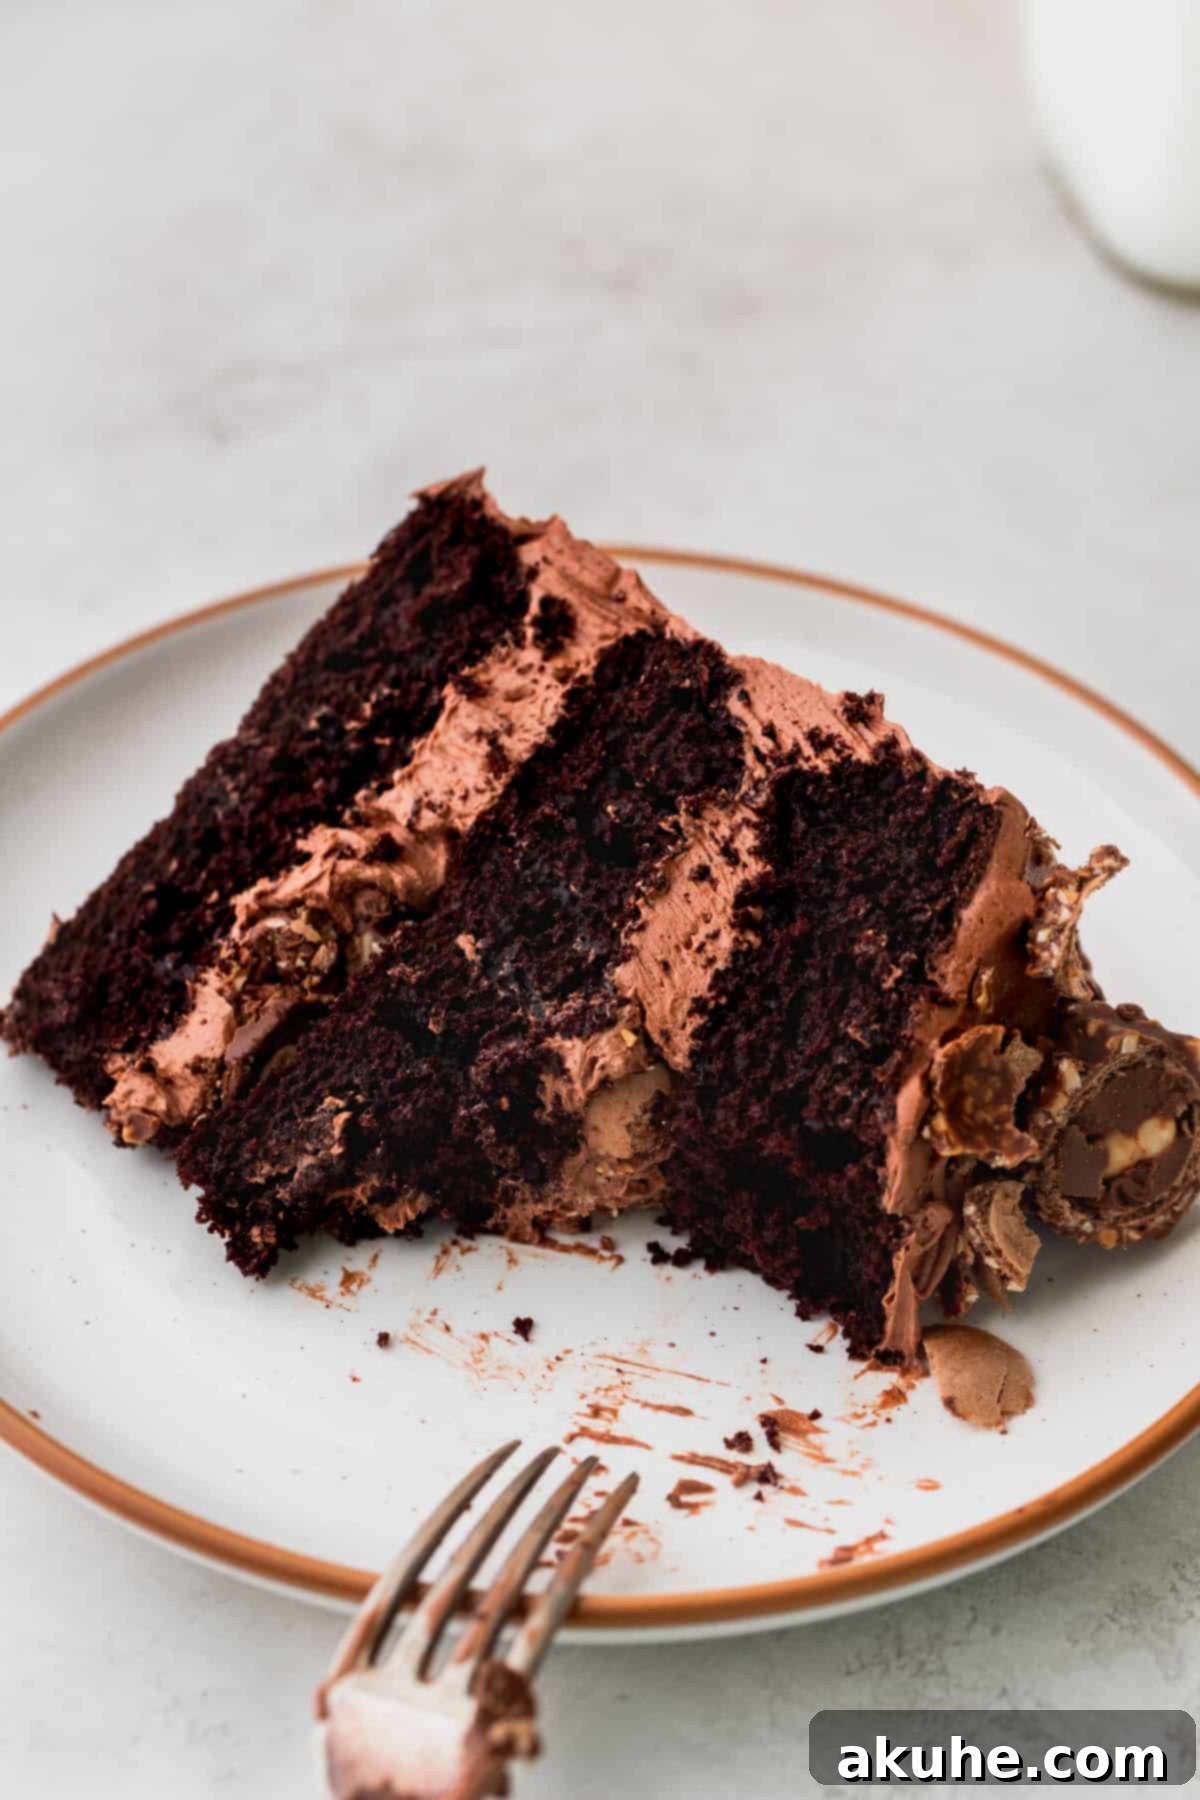
This exquisite Nutella chocolate cake is a testament to the perfect harmony of textures and flavors. Beyond the incredibly smooth and luscious Nutella buttercream, the standout feature is undoubtedly the generous filling of chopped Ferrero Rocher pieces. These hazelnut-studded chocolate truffles not only infuse the cake with their signature taste but also introduce a gourmet crunch that transforms a simple dessert into an extraordinary culinary delight. Prepare to receive rave reviews and witness guests eagerly reaching for a second, larger slice after their first unforgettable taste.
If your love affair with Nutella runs deep, explore more delightful Nutella desserts like our Nutella Banana Muffins, savory-sweet Peanut Butter Nutella Cookies, and charming Easy Vanilla Nutella Cupcakes.
Why This Ferrero Rocher Cake Recipe Stands Out
Creating a truly memorable cake involves more than just mixing ingredients; it’s about balance, technique, and exceptional flavor. This Ferrero Rocher Cake recipe has been perfected to deliver an unparalleled dessert experience. Here’s why it consistently earns top marks:
- Unbelievably Moist Chocolate Cake: Forget dry, crumbly cakes. This recipe uses a specific combination of ingredients and techniques to ensure a supremely moist chocolate cake that remains tender and flavorful, even when chilled. It’s a foundational element that ensures every bite is pure bliss.
- Elegant Layered Presentation: Baked in three distinct 8-inch cake tins, this recipe creates beautifully uniform layers. The multiple layers not only make for an impressive visual presentation but also allow for generous amounts of frosting and filling between each stratum, maximizing flavor and texture in every forkful.
- Rich & Creamy Nutella Buttercream: The star of this cake’s topping is undoubtedly the homemade Nutella icing. Crafted with a luxurious blend of real Nutella and high-quality cocoa powder, this buttercream is incredibly smooth, decadently chocolatey, and infused with that irresistible hazelnut flavor. It’s truly a frosting that delivers on every promise.
- Crunchy Ferrero Rocher Filling & Garnish: What truly distinguishes this cake is the incorporation of Ferrero Rocher truffles. Chopped pieces are generously layered within the cake, providing an exciting textural contrast to the soft cake and creamy frosting. Whole truffles are then used as an elegant garnish, making the cake as beautiful as it is delicious.
- Perfect for Any Special Occasion: This magnificent cake is designed to impress. Its luxurious appearance and exquisite taste make it the ideal centerpiece for any celebration, whether it’s a birthday party, anniversary, holiday gathering, or simply a desire to treat yourself and your loved ones to something truly special.
Essential Ingredient Notes for Your Ferrero Rocher Cake
Using the right ingredients and preparing them correctly is key to achieving a perfect Ferrero Rocher Cake. Below are important notes for the key components. For a comprehensive list of quantities, please refer to the recipe card.
- Unsweetened Cocoa Powder: The quality of your cocoa powder profoundly impacts the cake’s chocolate flavor. For the deepest, richest chocolate taste and a beautiful dark color, we highly recommend using a high-quality Dutch-process cocoa powder, such as this one. Dutch-process cocoa is less acidic than natural cocoa, which affects how it interacts with leavening agents and yields a smoother flavor.
- Oil (Canola or Vegetable): Using oil instead of butter in the cake batter contributes significantly to its remarkable moisture. Canola or vegetable oil are neutral in flavor, ensuring the chocolate and Nutella flavors truly shine.
- Large Eggs (Room Temperature): Always pull your large eggs out of the refrigerator at least 2 hours before you plan to bake. Room temperature eggs emulsify better with other ingredients, creating a smoother batter and a more tender, evenly textured cake.
- Buttermilk (Full Fat or Reduced Fat, Room Temperature): Buttermilk is a secret weapon for moist cakes. Its acidity tenderizes the cake crumb, making it incredibly soft. Just like eggs, ensure your buttermilk is at room temperature for optimal mixing.
- Hot Water (Steaming): Heated on the stove until steaming, hot water is crucial for “blooming” the cocoa powder. This process releases the full depth of chocolate flavor and creates a more intense, aromatic cake.
- Unsalted Butter (Room Temperature for Frosting): For the Nutella buttercream, unsalted butter should be softened but not melted. Leave it on the counter for about 1-2 hours before use. This ensures a light, fluffy frosting that whips up beautifully without separating.
- Nutella: For the best texture and the authentic hazelnut-chocolate flavor, we strongly recommend using store-bought Nutella. While homemade versions can be delicious, their consistency can vary, which might affect the frosting’s stability and texture.
- Powdered Sugar (Sifted): To achieve a silky-smooth, grit-free Nutella frosting, sifting your powdered sugar is absolutely essential. Don’t skip this step!
- Ferrero Rocher Truffles: You’ll need two regular-sized containers of these iconic truffles. One package will be chopped for the cake’s filling, providing that signature crunch, and the other can be used for stunning decoration on top of the finished cake.
- Heavy Cream: This ingredient is vital for achieving the perfect creamy and fluffy consistency in your Nutella frosting. It adds richness and helps create that light, airy texture we’re aiming for.
Smart Ingredient Substitutions for Your Cake
While this recipe is crafted for optimal results, we understand the need for flexibility. Here are some potential ingredient substitutions to accommodate various dietary needs or ingredient availability:
- Dairy-Free Adaptation: Most ingredients in this recipe can be swapped for your favorite dairy-free alternatives. Use plant-based milk (like almond or soy milk) with a tablespoon of vinegar to create dairy-free “buttermilk,” dairy-free butter, and dairy-free heavy cream. Ensure all other ingredients, including Nutella (check labels), are also dairy-free.
- Gluten-Free Version: We have not personally tested this recipe with gluten-free flour blends. However, many readers have success with a 1:1 gluten-free baking flour that contains xanthan gum. If you decide to experiment, please let us know your results!
- Buttermilk Substitute: If you don’t have buttermilk on hand, it’s easy to make a quick substitute. Simply measure 1 cup of regular milk (dairy or non-dairy) and stir in 1 tablespoon of white vinegar or lemon juice. Let the mixture sit for about 10 minutes until it slightly curdles. This creates a similar acidity and tenderness in the cake.
Step-by-Step Instructions: Crafting the Chocolate Cake Layers
Creating the foundation of this incredible cake – the moist chocolate layers – is a straightforward process that doesn’t even require an electric mixer for the batter. Follow these steps for perfect results:
STEP 1: Prepare Your Dry Ingredients. In a large mixing bowl, begin by sifting together the all-purpose flour and unsweetened cocoa powder. Sifting is crucial for preventing lumps and ensuring a light, airy crumb. Once sifted, add the granulated white sugar, baking powder, baking soda, and salt. Whisk these dry ingredients together thoroughly until they are well combined and uniformly distributed.
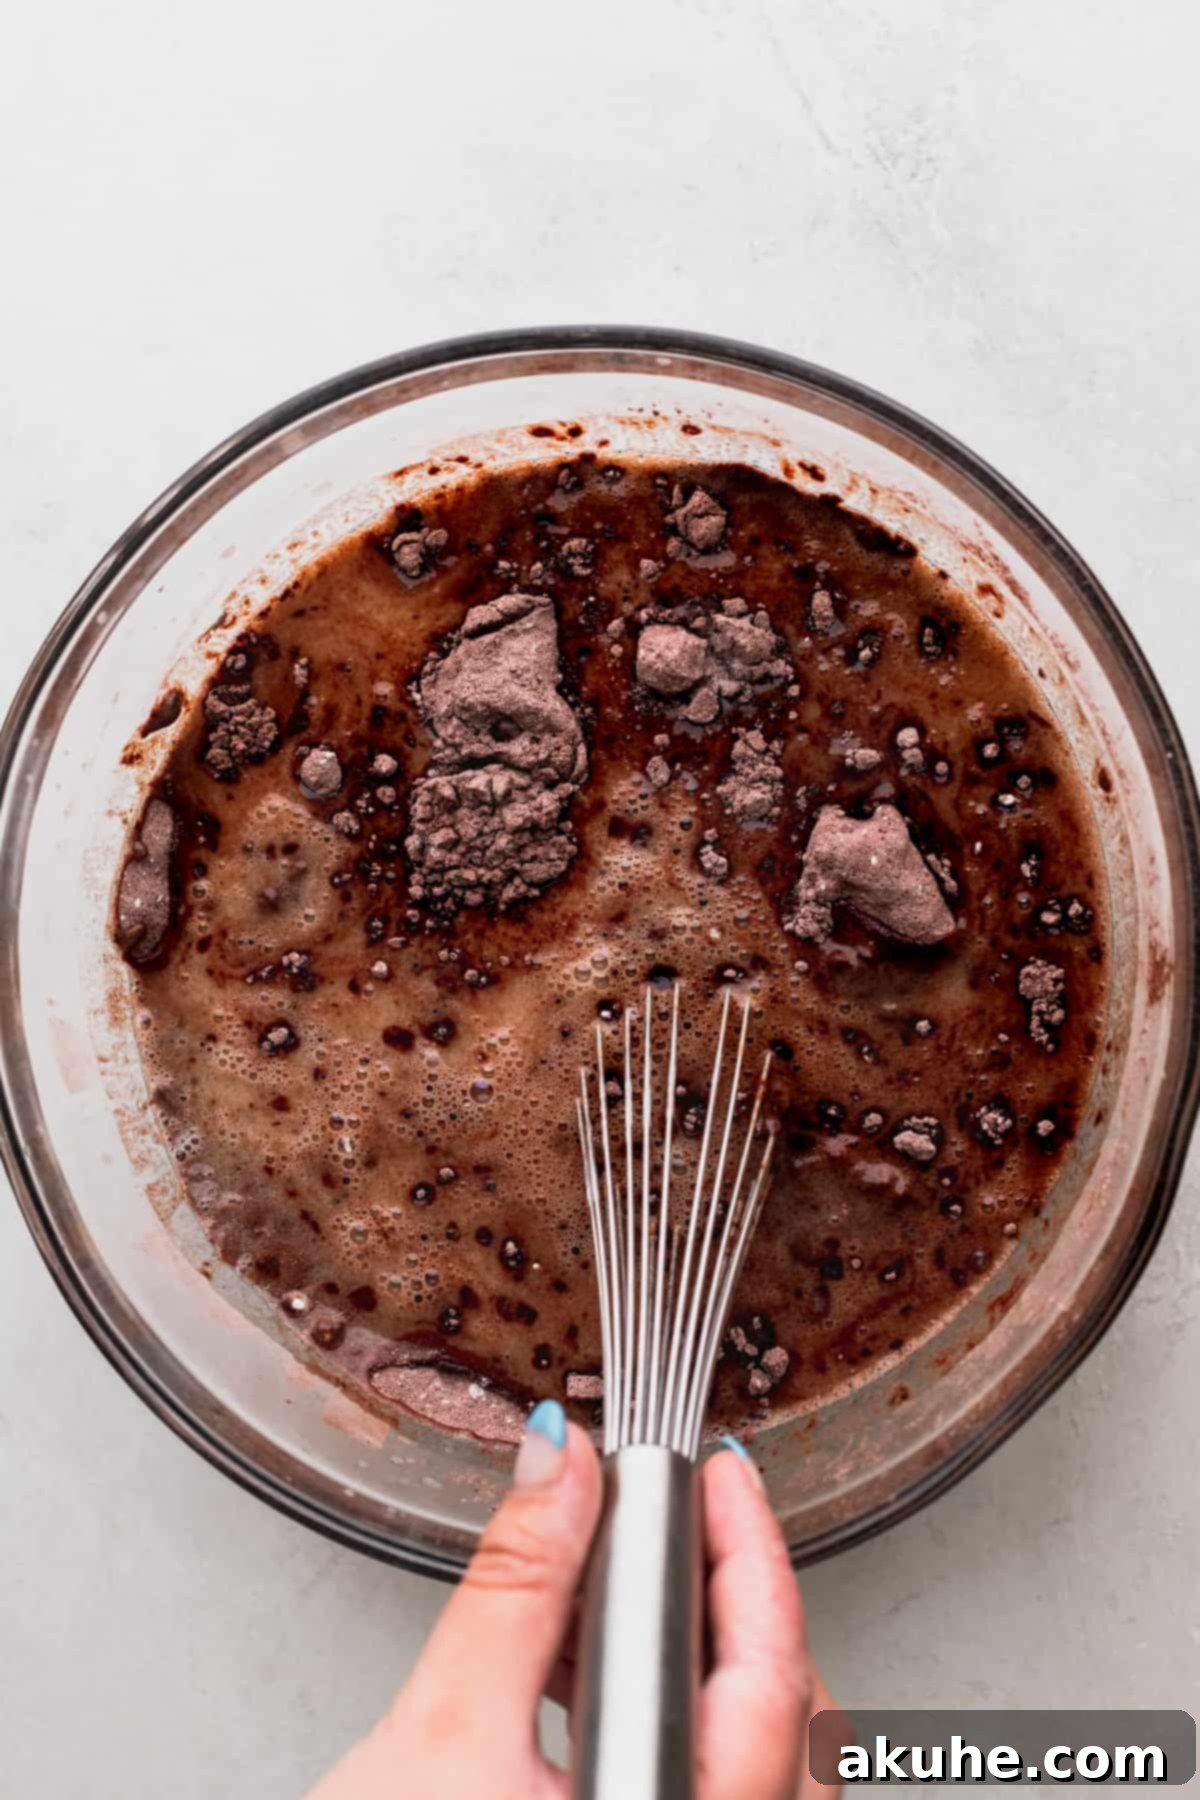
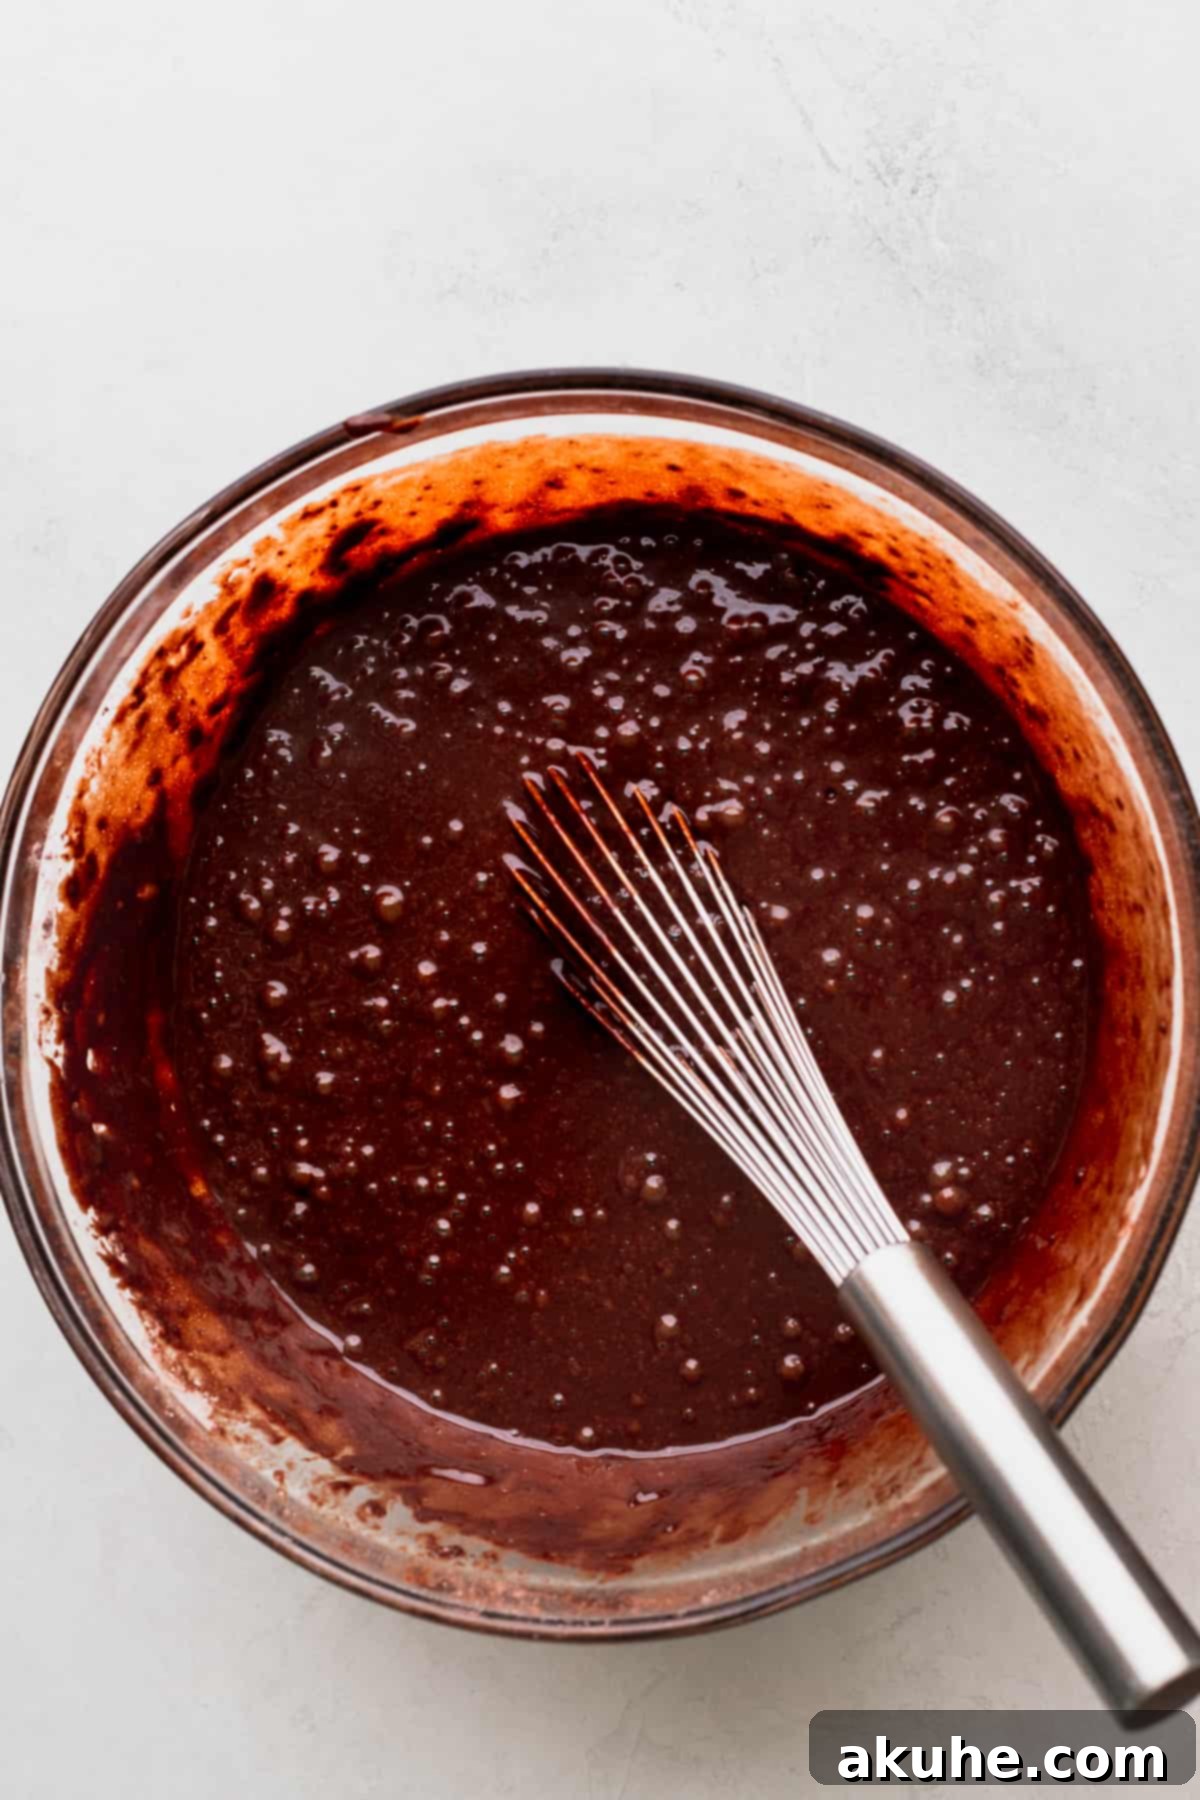
STEP 2: Combine the Wet Ingredients. In a separate bowl, whisk together the oil, pure vanilla extract, room-temperature large eggs, and room-temperature buttermilk until smooth. This ensures all the wet components are evenly blended. Next, slowly and carefully whisk in the hot, steaming water. It’s important to add the hot water gradually to avoid “cooking” the eggs in the mixture. The hot water will also help to bloom the cocoa, intensifying the chocolate flavor.
STEP 3: Bring It All Together & Pour. Gently pour the combined wet ingredients into the bowl with your dry flour mixture. Mix until the ingredients are just combined. Be careful not to overmix, as this can lead to a tough cake. A few small lumps are perfectly fine. Once combined, divide the cake batter evenly among your three prepared 8-inch cake pans.
PRO TIP for Perfect Release: To ensure your cakes effortlessly release from the pans, start by thoroughly spraying the inside of each cake pan with a nonstick baking spray (preferably one with flour in it). Then, line the bottom of each pan with an 8-inch parchment paper circle. Give the parchment paper and sides another light spray. This double layer of protection is your best defense against sticking.
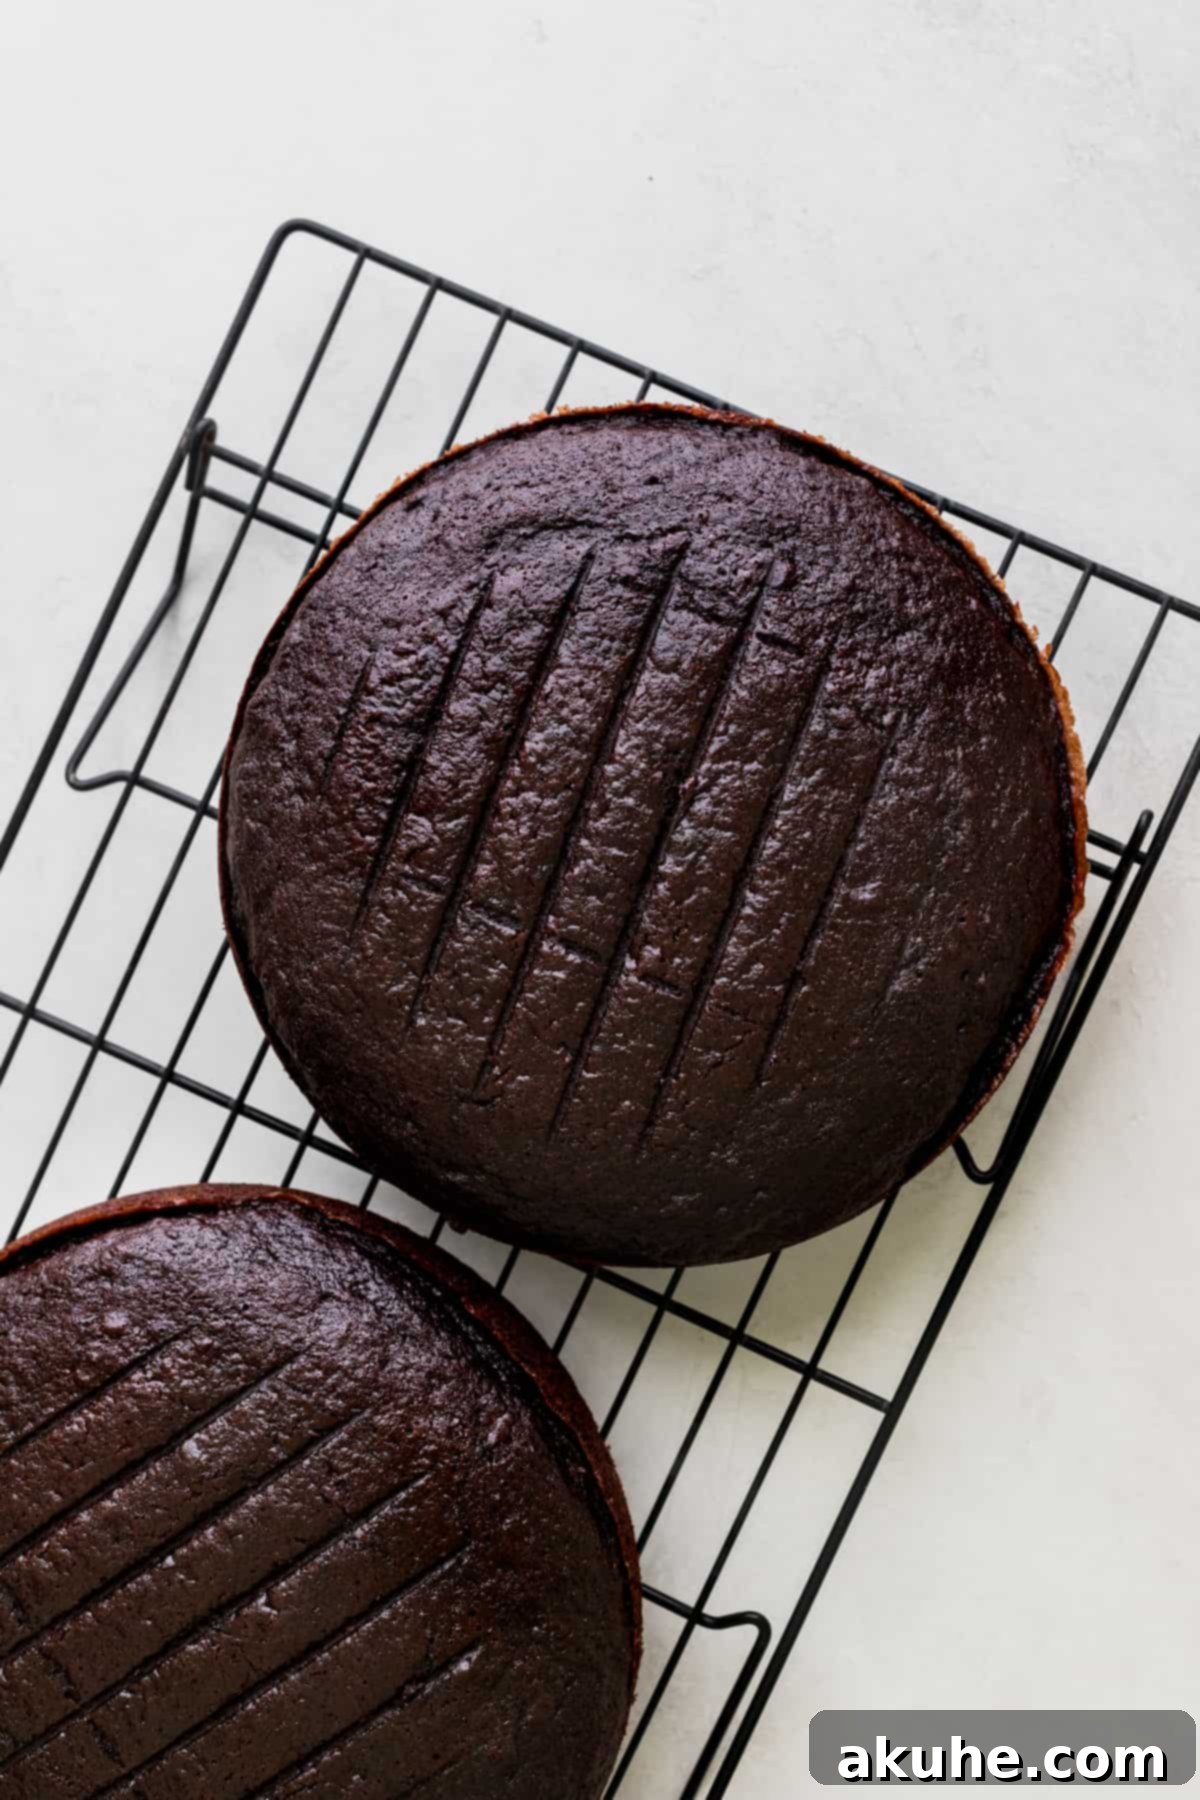
STEP 4: Bake to Perfection. Transfer the filled cake pans to your preheated oven. Bake the cake layers for approximately 22-25 minutes. To check for doneness, insert a toothpick into the center of a cake layer; it should come out clean. Avoid overbaking, as this can lead to a dry cake.
Once baked, allow the cakes to rest in their hot pans for 10 minutes. This crucial resting period allows the cakes to set and firm up before moving. After 10 minutes, carefully invert the cakes onto a wire cooling rack. It is absolutely essential that the cake layers cool completely to room temperature before you begin decorating. Attempting to frost warm cakes will result in melted frosting and a messy situation.
Step-by-Step Instructions: Preparing Ferrero Rocher Filling and Luscious Nutella Frosting
The velvety Nutella frosting and crunchy Ferrero Rocher filling are what truly make this cake extraordinary. The frosting can be whipped up effortlessly using either a stand mixer fitted with a paddle attachment or a reliable hand mixer.
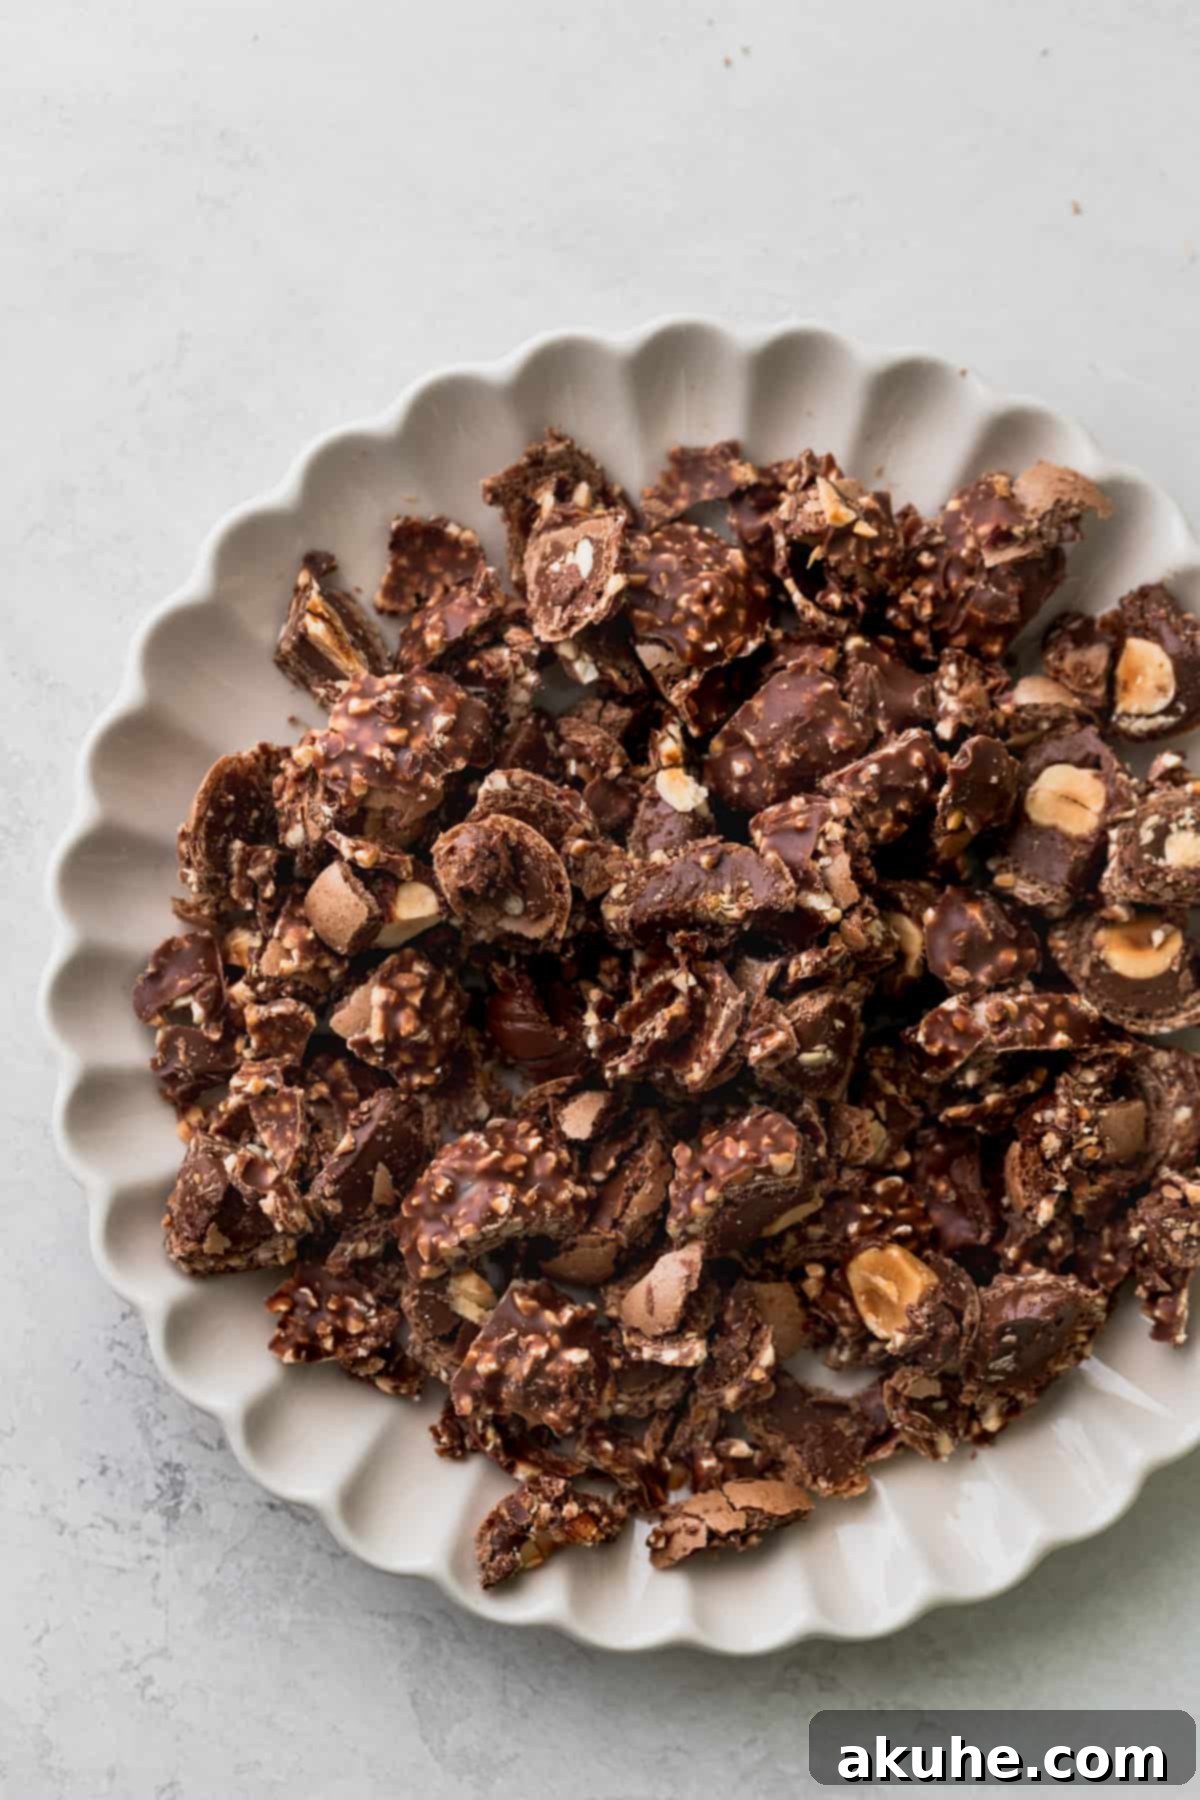
STEP 1: Prepare the Ferrero Rocher Truffles for Filling. For the best results, place one package of Ferrero Rocher chocolates in the freezer for about 15-20 minutes until they are quite firm. Freezing them prevents them from becoming too melty or squishy when you chop them, allowing for cleaner cuts and distinct pieces. Chop these firm truffles into smaller, bite-sized pieces just before you are ready to assemble the cake to maintain their integrity and crunch.
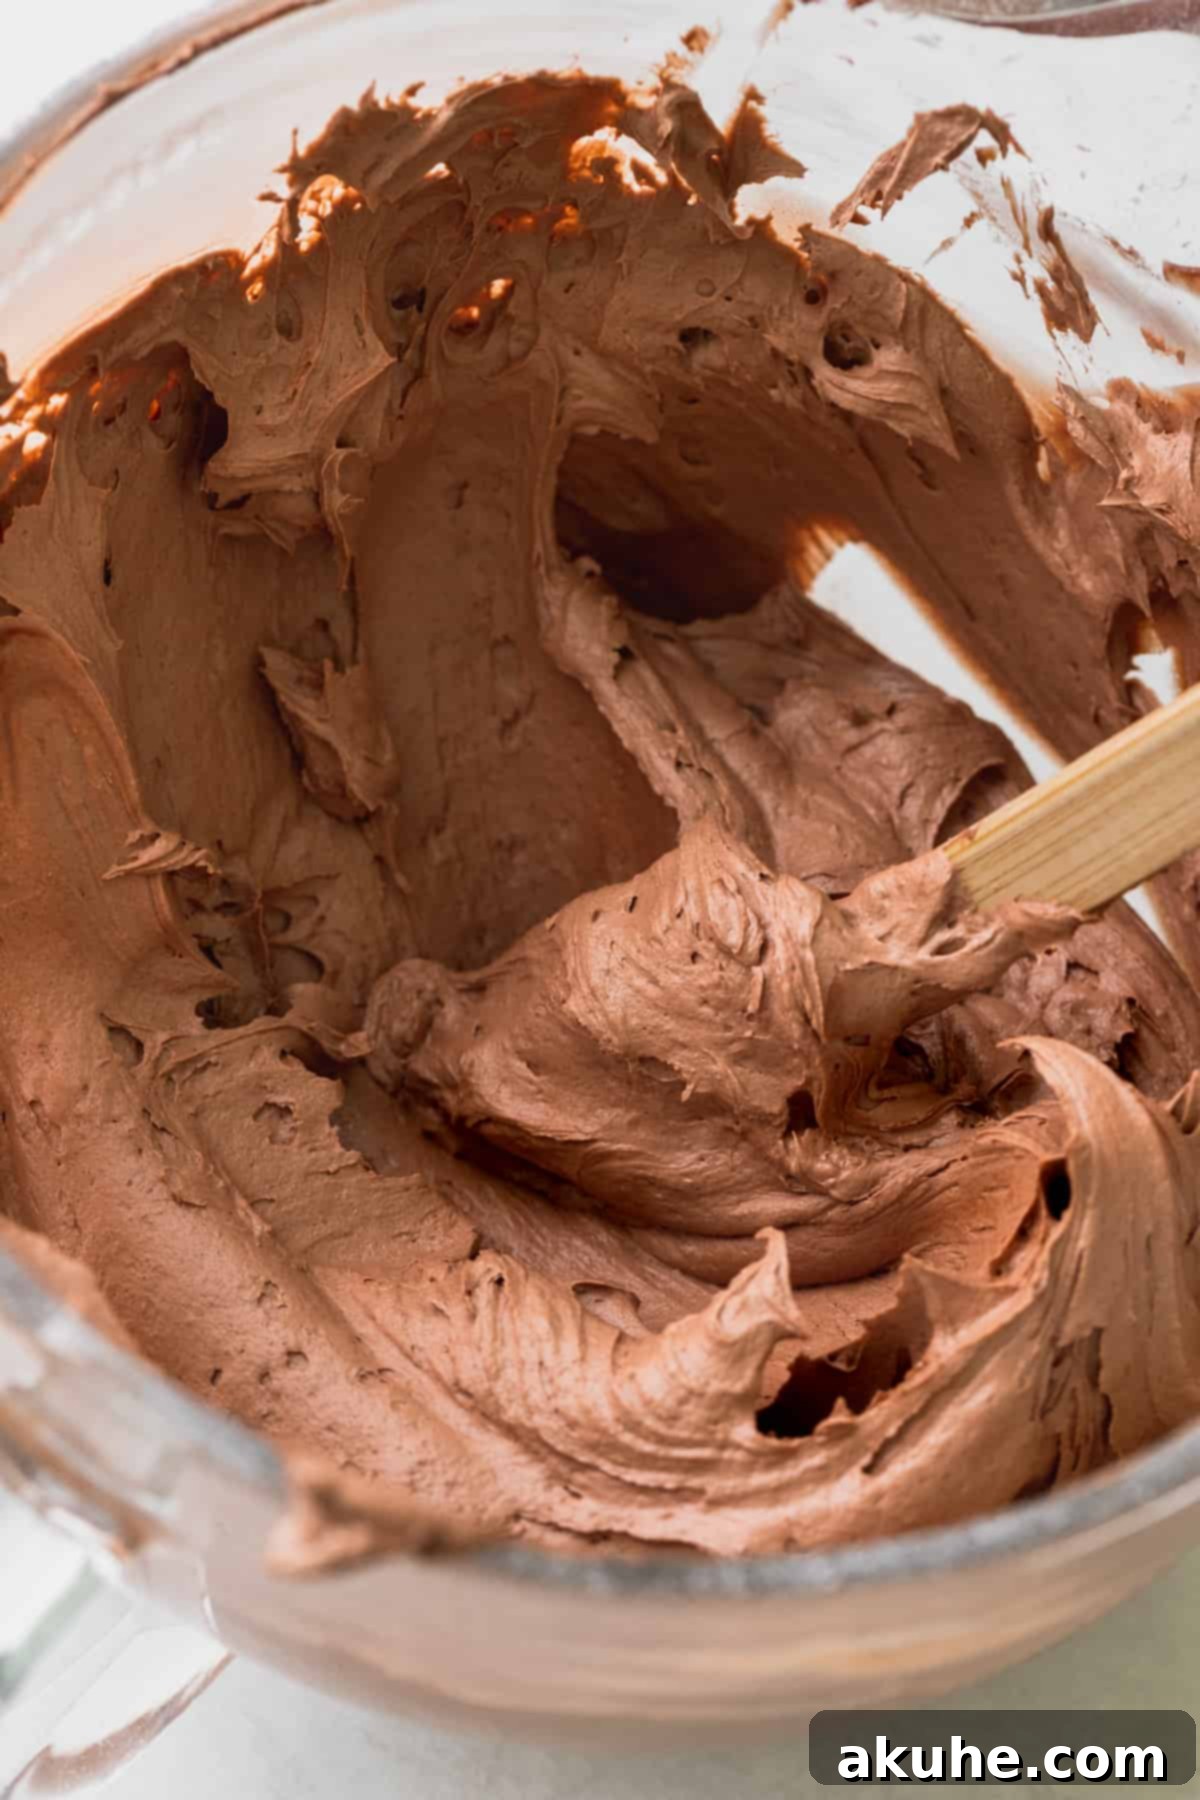
STEP 2: Create the Nutella Buttercream Base. In the bowl of your stand mixer (or a large bowl with a hand mixer), combine the softened unsalted butter and the Nutella. Beat these two ingredients together on high speed for a full 3 minutes. This step is vital for incorporating air, making the frosting light and fluffy, and ensuring the butter and Nutella are perfectly blended. Next, gradually add the sifted powdered sugar and sifted cocoa powder to the mixture on low speed. Slowly increasing the speed prevents a cloud of sugar from engulfing your kitchen.
STEP 3: Achieve Fluffy Perfection. Once the dry ingredients are mostly incorporated, add the salt, pure vanilla extract, and heavy whipping cream to the mixer. Increase the speed to high and beat the frosting until it becomes incredibly light, fluffy, and smooth. Scrape down the sides of the bowl periodically to ensure everything is thoroughly combined. The heavy cream is key to achieving that desirable creamy texture and delightful fluffiness.
Expert Tips for Assembling Your Ferrero Rocher Cake
Assembling a layered cake is an art form that ensures both structural integrity and a beautiful finish. Follow these tips to build your show-stopping Ferrero Rocher Cake:
- Level Your Cake Layers: Once your chocolate cake layers are completely cool, use a long, serrated knife or a dedicated cake leveler to carefully slice off any domed tops. This creates flat surfaces, which are essential for stable, even layers and a professional-looking cake.
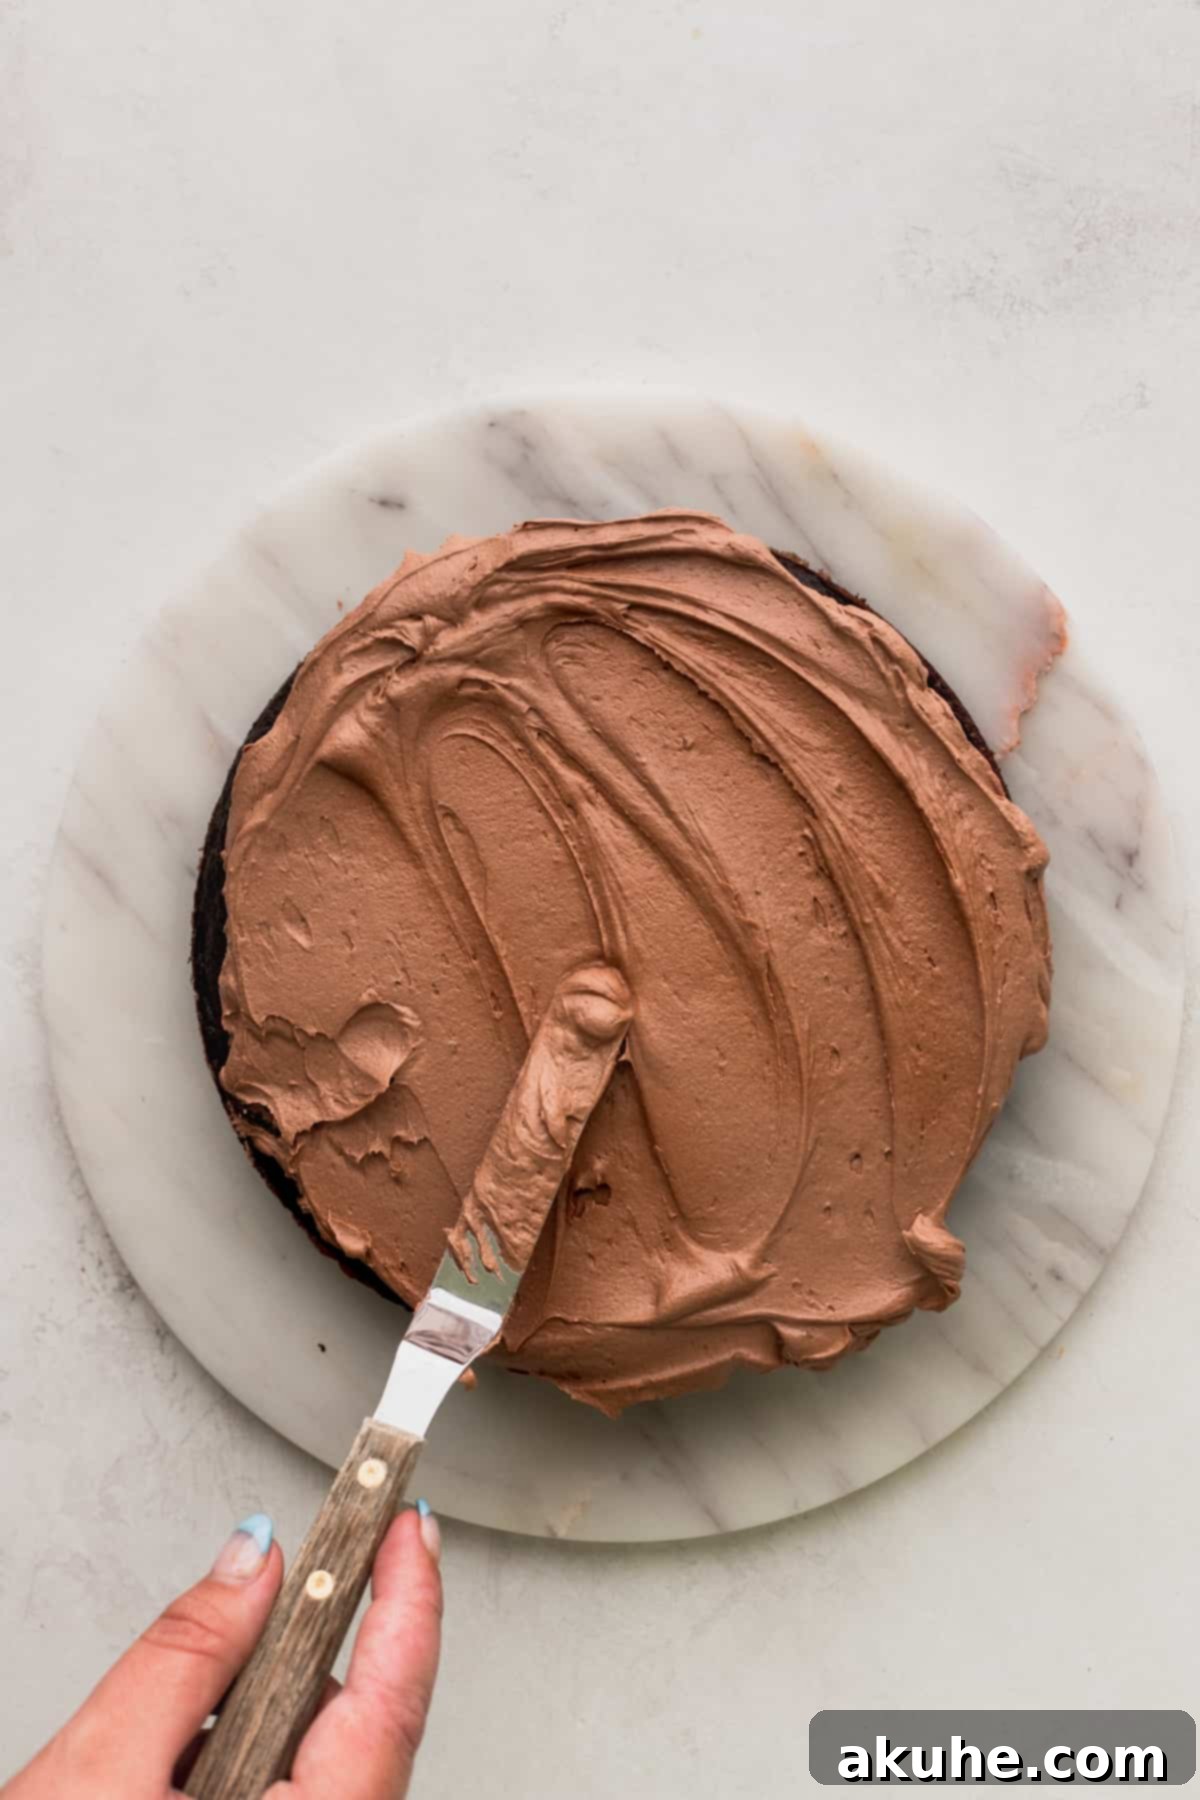
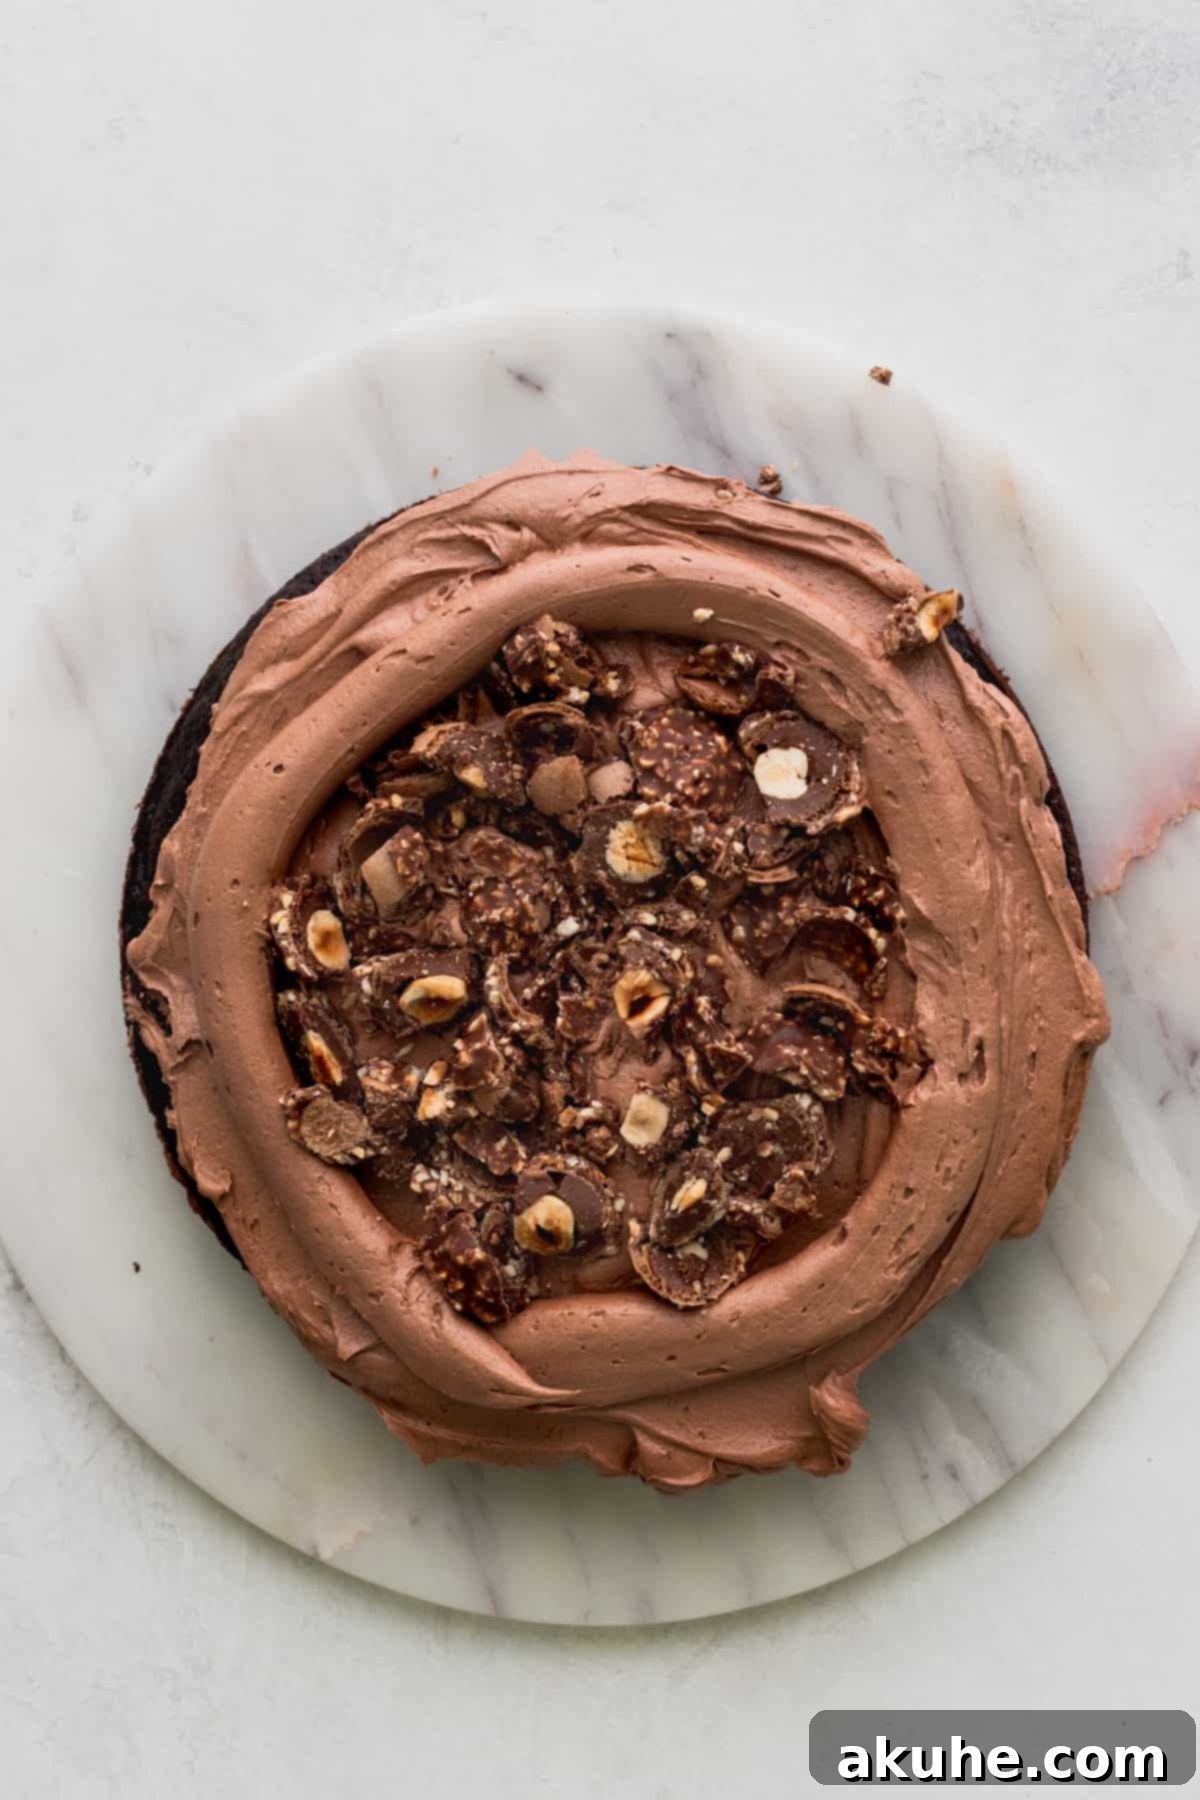
- First Layer Foundation: Place your first leveled cake layer onto your serving plate or cake stand. Apply approximately 1 cup of the prepared Nutella frosting to the center of this layer, spreading it evenly with an offset spatula. To create a secure barrier for your filling, use a piping bag to pipe a generous border of frosting around the very edge of the cake layer. This “dam” will keep the chopped Ferrero Rocher pieces contained. Evenly distribute half of your chopped Ferrero Rocher chocolates within this frosting border.
- Second Layer Repetition: Carefully place the second leveled cake layer directly on top of the first. Gently press down to ensure it’s level and secure. Repeat the frosting process: spread another cup of frosting, pipe a border, and fill with the remaining half of the chopped Ferrero Rocher truffles.
- The Top Layer Trick: For the final cake layer, place it bottom-side up onto the cake. This technique utilizes the perfectly flat bottom of the cake as the top surface, ensuring the smoothest and most professional finish possible without extra effort.
- The Essential Crumb Coat: Apply a very thin layer of Nutella frosting all over the top and sides of the assembled cake. This is called a “crumb coat.” Its purpose is to trap any loose crumbs, preventing them from mixing into your final layer of frosting. Once applied, transfer the cake to the freezer for about 15 minutes. This quick chill will set the crumb coat, creating a firm and stable base for your decorative frosting.
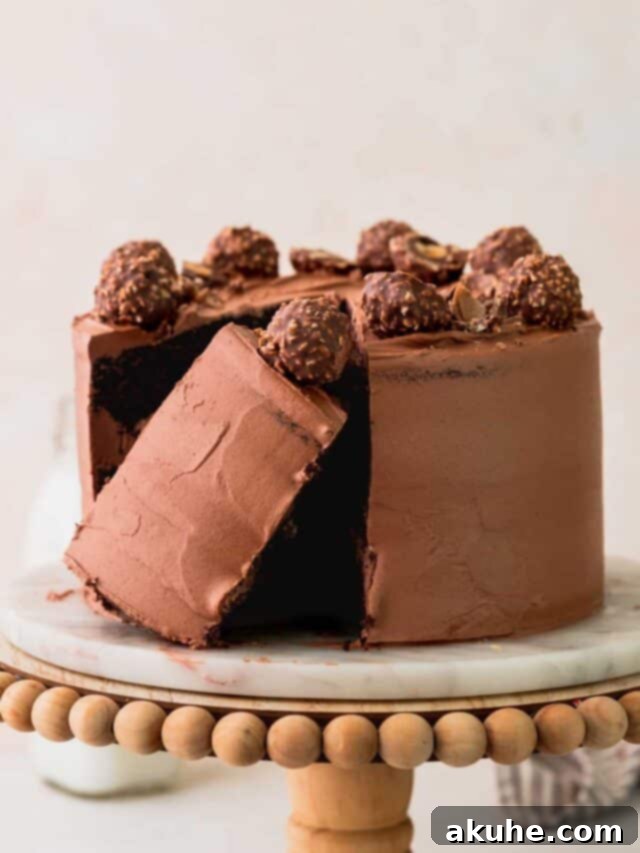
- Final Frosting and Decoration: After the crumb coat has set, remove the cake from the freezer. Apply the remaining Nutella frosting generously, smoothing it with an offset spatula or cake scraper to achieve your desired finish. For an extra touch of decadence, adorn the top of the cake with whole Ferrero Rocher truffles, or even sprinkle on some additional chopped pieces.
Frequently Asked Questions (FAQ) About Ferrero Rocher Cake
Here are answers to some common questions about making and customizing this decadent Ferrero Rocher Cake:
Absolutely! This versatile recipe can easily be halved to yield approximately 12 delicious Ferrero Rocher cupcakes. Simply adjust the baking time to about 18-22 minutes, or until a toothpick inserted into the center comes out clean. The Nutella frosting and chopped Ferrero Rocher topping will make for truly gourmet cupcakes!
You have several options for alternative pan sizes, though baking times and frosting quantities may need slight adjustments:
- Two 9-inch cake pans: Your layers will be slightly thinner, so reduce baking time by a few minutes.
- Four 6-inch cake pans: This will create a taller, narrower cake. Baking time will be similar or slightly less than the 8-inch pans.
- One 9×13-inch sheet cake pan: This will create a single layer cake. For this size, you will likely only need half of the frosting recipe. Baking time will be around 30-35 minutes.
- For three 6-inch pans, an 8×8-inch square pan, or a 9×9-inch square pan: Halve the entire recipe (cake batter and frosting) for appropriate quantities.
Yes, preparing the cake layers ahead of time is a fantastic time-saver! Once your cake layers have cooled completely, wrap each layer tightly in several layers of plastic wrap, then an additional layer of aluminum foil. Properly wrapped, they can be frozen for up to 30 days. When you’re ready to decorate, simply pull the frozen layers out about 1 hour before you plan to frost, allowing them to thaw at room temperature. This makes assembly day much less stressful!
Creative Recipe Variations to Explore
While this Ferrero Rocher Cake is perfect as is, you can always personalize it with these exciting variations:
- Add a Decadent Chocolate Drip: Elevate the visual appeal of your cake by adding a glossy chocolate drip cascading down the sides. You can find an excellent chocolate drip recipe in our Oreo Cake post. It adds another layer of chocolatey goodness and a professional touch.
- Opt for a Two-Layer Cake: If you prefer thicker, more substantial cake layers, you can easily adapt this recipe to create a two-layer cake instead of three. Simply divide the batter between two 8-inch or 9-inch pans, adjusting the baking time accordingly (it will be longer than for three thinner layers). You might have slightly more frosting than needed, but extra frosting is never a bad thing!
- Experiment with Different Nuts: While hazelnuts are classic, consider adding other finely chopped nuts like almonds or pecans into the filling for a different flavor profile.
- White Chocolate Nutella Frosting: For a lighter color and flavor, try incorporating melted white chocolate into your Nutella buttercream, reducing the cocoa powder slightly.
Essential Special Tools for Baking Success
Having the right tools can make all the difference in achieving a perfect, professional-looking cake. Here are some recommended items:
- Quality Cake Pans: We recommend using durable Wilton 8-inch cake pans. Their even heat distribution helps ensure your cake layers bake uniformly.
- Convenient Parchment Paper Circles: Save time and hassle with pre-cut 8-inch parchment paper circles. They perfectly fit your pans and prevent sticking without the need for tedious cutting from a roll.
- Reliable Baking Spray: A nonstick baking spray, especially one that contains flour like this one, is invaluable for ensuring your cakes release cleanly from the pans every time.
- Versatile Offset Spatula: An offset spatula is indispensable for smoothly spreading frosting and fillings. Its angled blade allows for easier maneuvering and a cleaner finish.
- Smooth-Spinning Cake Turntable: A high-quality cake turntable, such as the Ateco cast iron turntable, makes frosting a cake significantly easier. Its seamless spin ensures smooth, even application, unlike some jerkier alternatives.
- Precise Cake Scraper: For achieving impeccably smooth sides on your frosted cake, a metal cake scraper is a professional’s secret weapon.
- Generous Piping Bags: These 18-inch piping bags are ideal as they hold a substantial amount of frosting, reducing the need for frequent refills during the decorating process.
Storing and Freezing Your Delicious Ferrero Rocher Cake
To preserve the incredible taste and texture of your homemade Nutella cake, proper storage is essential. Here’s how to keep it fresh:
Store this decadent Nutella cake in an airtight container, such as a dedicated cake carrier, to prevent it from drying out or absorbing refrigerator odors. It will stay fresh and delicious in the refrigerator for up to 5 days, allowing you to enjoy slices throughout the week.
Freezing Your Cake for Future Enjoyment
This Ferrero Rocher cake freezes beautifully, making it perfect for preparing ahead or saving leftovers. For best results, freeze individual cake slices. Place each slice in an airtight container or wrap them tightly in plastic wrap followed by aluminum foil. They can be frozen for up to 30 days without compromising flavor or texture.
When you’re ready to enjoy a frozen slice, simply remove it from the freezer and allow it to thaw at room temperature for 1-2 hours before indulging. This gradual thawing ensures the cake remains moist and the frosting regains its creamy consistency.
Explore Other Irresistible Layered Cake Recipes
If you love the grandeur and deliciousness of layered cakes, we invite you to explore more of our exquisite creations. Each recipe is designed to impress and delight.
Discover More Chocolate Cake Recipes to Love
- For a festive and fun treat, try our Halloween Chocolate Cake.
- Indulge in the classic combination of flavors with our rich Chocolate Peanut Butter Cake.
- Experience a candy bar favorite transformed into a cake with our delightful Twix Cake.
- Another candy-inspired sensation, our Butterfinger Cake offers a unique crunch and flavor.
- Celebrate romance with the elegant Chocolate Covered Strawberry Cake.
If you found joy in baking and tasting this recipe, please consider leaving a STAR REVIEW below! Your feedback helps others discover delicious treats. Share your creations on Instagram by tagging @stephaniesweettreats. For endless baking inspiration and new recipe ideas, make sure to follow us on Pinterest. Happy baking!
Ferrero Rocher Cake
Print Recipe
Pin Recipe
Leave a Review
Ingredients
Chocolate Cake
- 2 1/2 cups All-purpose flour
- 1 3/4 cup White granulated sugar
- 1 cup Unsweetened cocoa powder, use dutch process for best results
- 2 1/2 tsp Baking powder
- 1 1/2 tsp Baking soda
- 1 tsp Salt
- 3/4 cup Oil, canola or vegetable
- 1 tsp Pure vanilla extract
- 4 Large eggs, room temperature
- 1 cup Buttermilk, room temperature
- 1 cup Hot water, steaming
Nutella Frosting
- 2 cups Unsalted butter, leave on the counter for 1 hour
- 1/2 cup Nutella
- 5 cups Powdered sugar, sifted
- 1/2 cup Unsweetened cocoa powder
- 3/4 tsp Salt
- 1 tsp Pure vanilla extract
- 1/2 cup Heavy cream
- 1 package of Ferrero Rocher, chopped. Freeze until firm before chopping
- 1 package of Ferrero Rocher, optional for decoration
Instructions
Chocolate Cake
- Preheat the oven to 350F (175°C). Spray three 8-inch cake pans with nonstick baking spray. Line the bottoms with 8-inch parchment paper circles and spray again for easy release.
- In a large bowl, sift the all-purpose flour and cocoa powder. Add in the white granulated sugar, baking powder, baking soda, and salt. Whisk well to combine.
- Begin heating the water on the stove until it is steaming. In a separate bowl, mix the oil, pure vanilla extract, large eggs, and buttermilk. Slowly whisk in the hot water, taking care not to cook the eggs.
- Pour the wet ingredients into the dry mixture and mix until just combined. Distribute the cake batter evenly into the three prepared cake pans.
- Bake the cakes for 25-28 minutes, or until a toothpick inserted into the center comes out clean.
- Let the cakes cool in the hot pans for 10 minutes before transferring them to a wire cooling rack to cool completely. Ensure they are fully cooled before decorating.
Nutella Frosting
- Allow the unsalted butter to soften on the counter for 1 hour until it’s pliable but not fully at room temperature. Sift the powdered sugar and unsweetened cocoa powder into a large bowl.
- Using a mixer, beat the softened butter and Nutella on high speed for 3 minutes until light and fluffy. Slowly add the sifted powdered sugar and cocoa powder mixture on low speed until just combined.
- Add the pure vanilla extract, salt, and heavy cream. Beat on high speed until the frosting is light, fluffy, and well-combined, scraping the sides of the bowl as needed.
- Place one package of Ferrero Rochers in the freezer for 15-20 minutes until firm, then chop them into smaller pieces just before assembly.
Assembling the Cake
- Once cakes are completely cool, level the tops of the cake layers using a serrated knife or cake leveler for flat surfaces. Place a dollop of frosting on your cake board or serving plate to secure the first layer.
- Position the first cake layer down. Spread about 1 cup of frosting over the cake using an offset spatula. Pipe a border of frosting around the edge to create a “dam,” then fill the center with half of the chopped Ferrero Rocher truffle pieces.
- Carefully place the second cake layer on top and repeat the frosting and filling process. For the final layer, place it bottom-side up onto the cake stack to achieve the flattest possible top.
- Apply a thin, even layer of frosting (crumb coat) all over the cake, including the sides. Freeze the cake for 15 minutes to set this layer, trapping any crumbs and creating a stable base.
- Remove from the freezer and apply the remaining frosting, smoothing it to your desired finish. Decorate the top with extra whole Ferrero Rochers for a stunning presentation.
Notes
High Altitude Baking: If you are baking at a high altitude, you may need to add an extra 2 tablespoons of flour to the cake batter to help maintain structure.
Temperature of Dairy Ingredients: Remember to pull out all dairy ingredients (eggs, buttermilk, butter) at least 2 hours before you begin baking. Room temperature ingredients blend more smoothly and create a more uniform and tender cake crumb.
