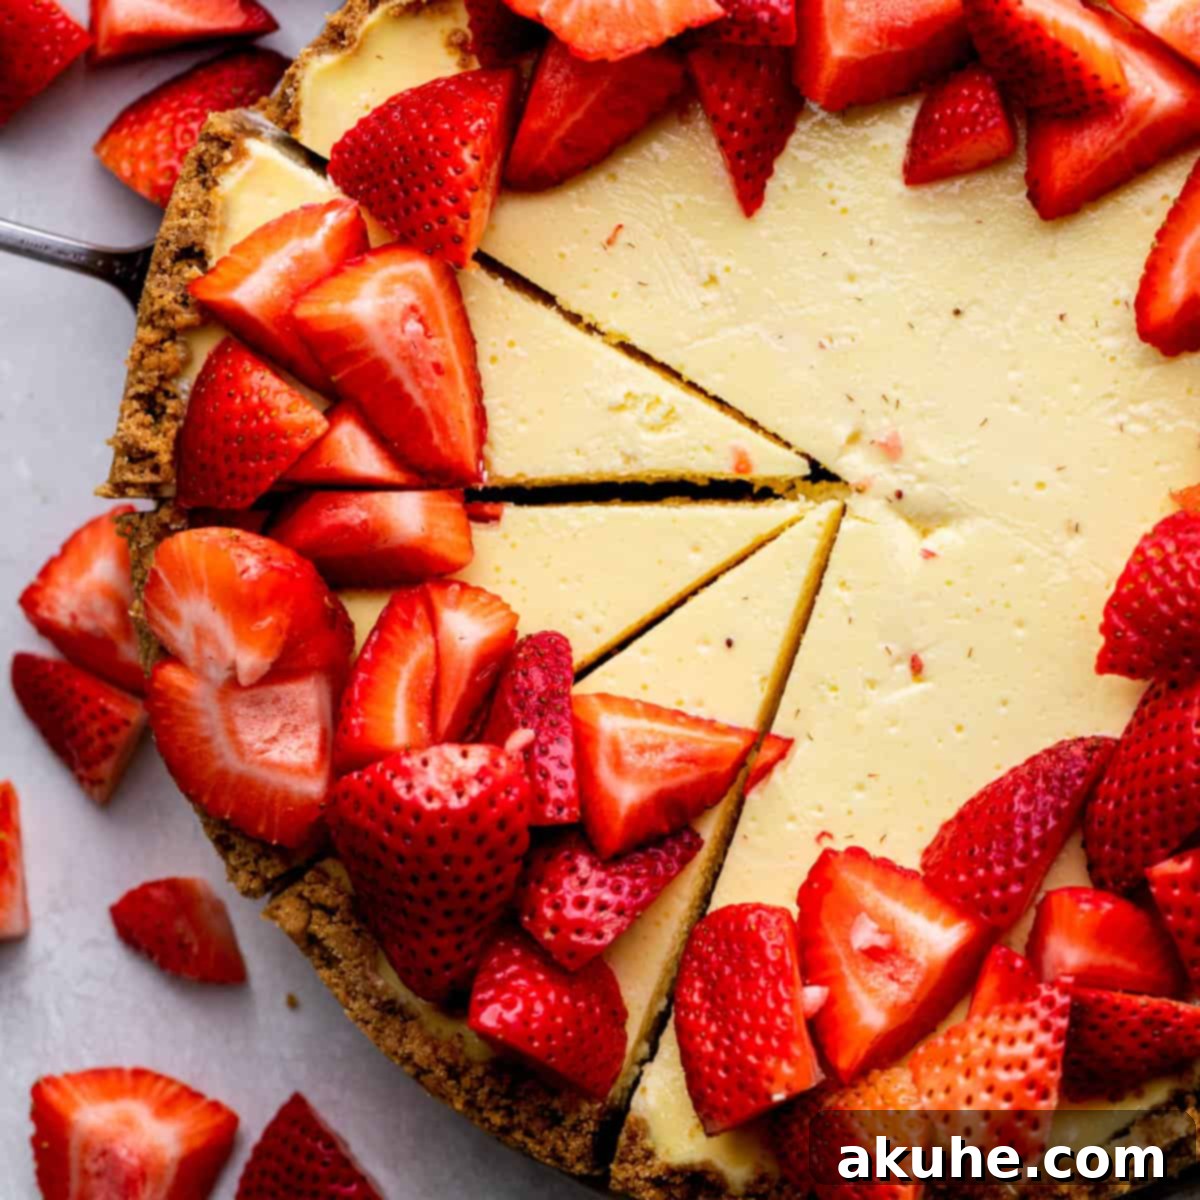
The Ultimate Gluten-Free New York Style Cheesecake: Creamy Perfection, No Compromises
Prepare to indulge in the ultimate dessert experience with our exquisite Gluten-Free New York Style Cheesecake. This isn’t just any cheesecake; it’s a masterpiece of rich, velvety smooth cream cheese filling nestled atop a perfectly crumbly gluten-free graham cracker crust. Whether you’re navigating dietary restrictions or simply seeking an exceptionally delicious cheesecake, this recipe promises to deliver a show-stopping dessert that will impress everyone at your table.
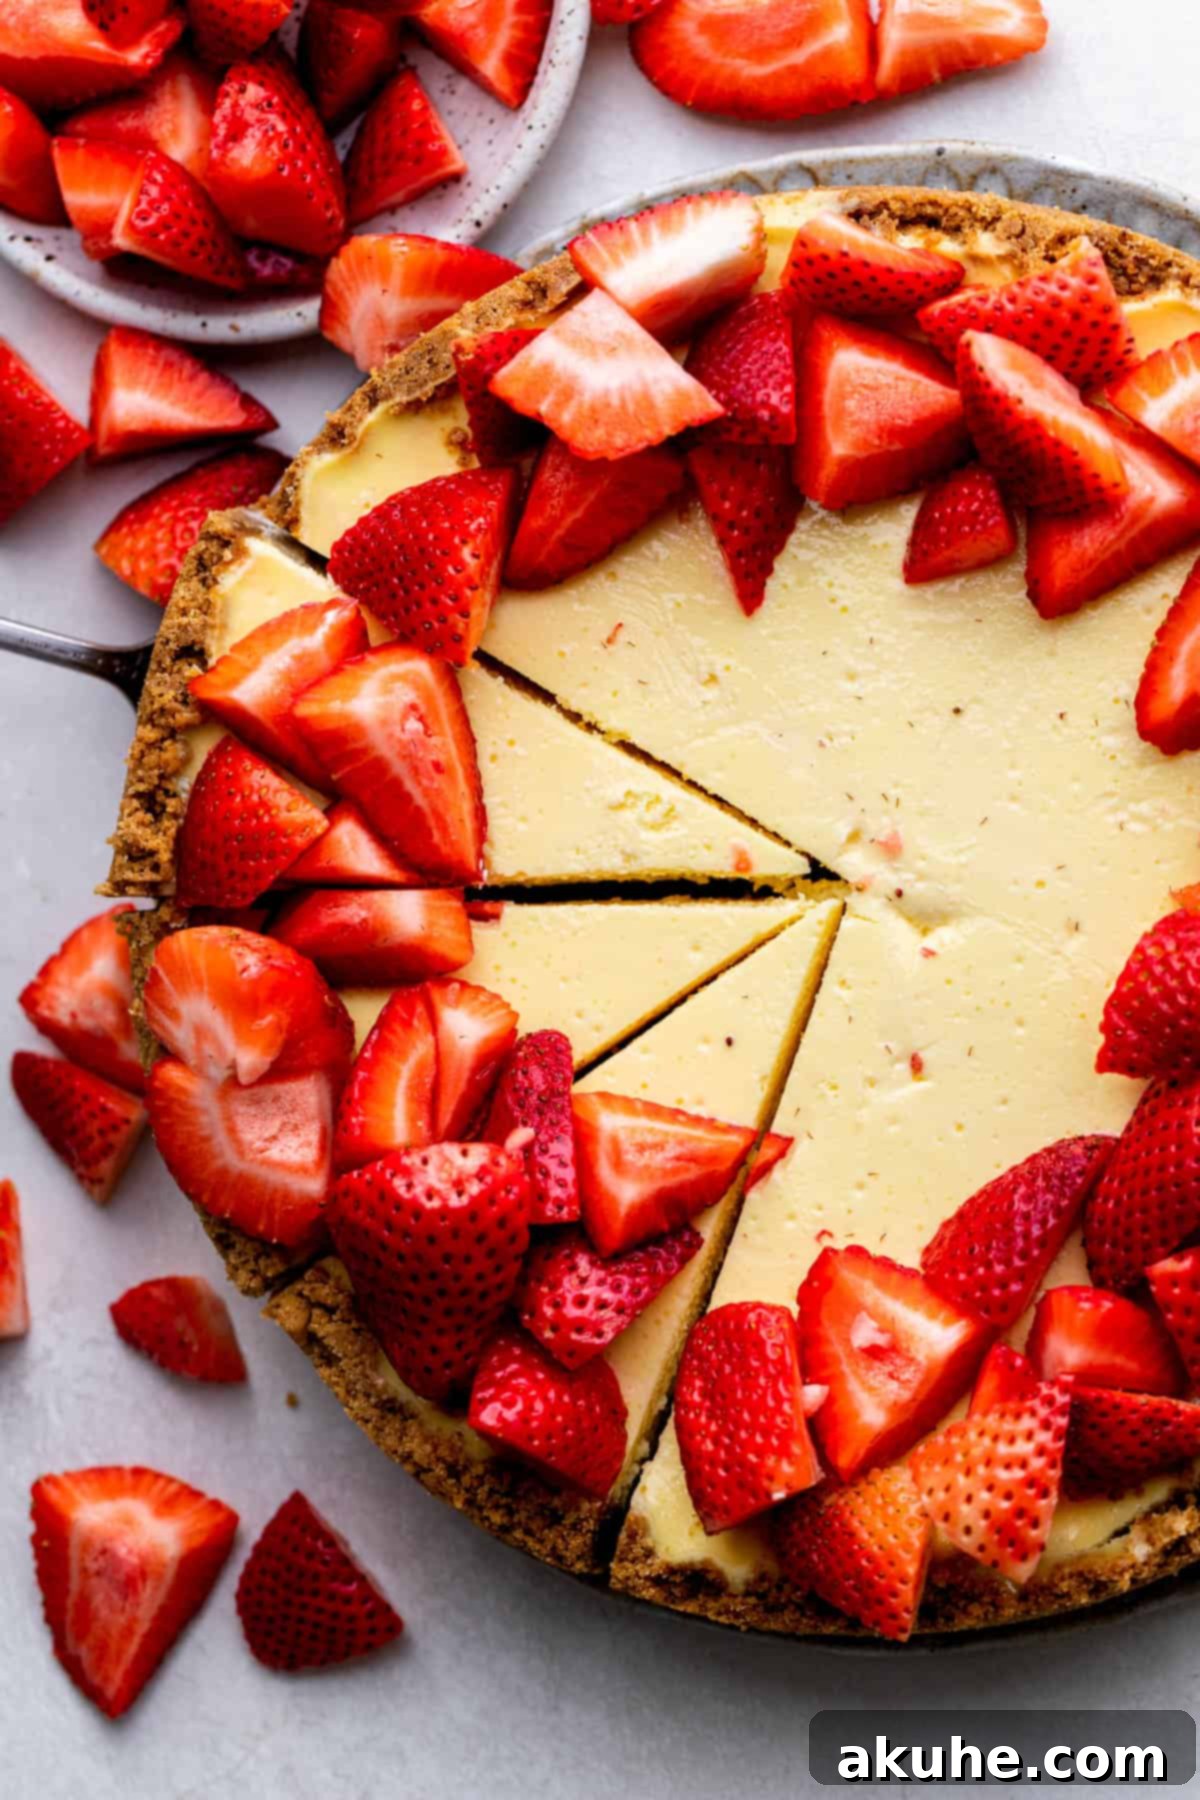
Our recipe elevates the classic New York style cheesecake, known for its dense yet creamy texture and tangy-sweet flavor, by reimagining it with a delightful gluten-free foundation. The gluten-free graham cracker crust isn’t just an afterthought; it’s an integral part of the experience, offering a buttery, spiced crunch that complements the luxurious filling beautifully. This dessert is so incredibly satisfying, even those who typically eat gluten won’t believe it’s a gluten-free creation. Beyond this classic, we’ll also explore how you can adapt this stellar gluten-free crust to transform many of your favorite cheesecake recipes into safe and delicious gluten-free options.
Craving more delightful cheesecake creations? Be sure to explore our other tempting recipes: Peanut Butter Cheesecake, Apple Crumble Cheesecake, and Small Cheesecake.
Why This Gluten-Free Cheesecake Recipe is a Must-Try
Crafting the perfect cheesecake, especially a gluten-free one, requires precision and passion. This recipe stands out for several compelling reasons:
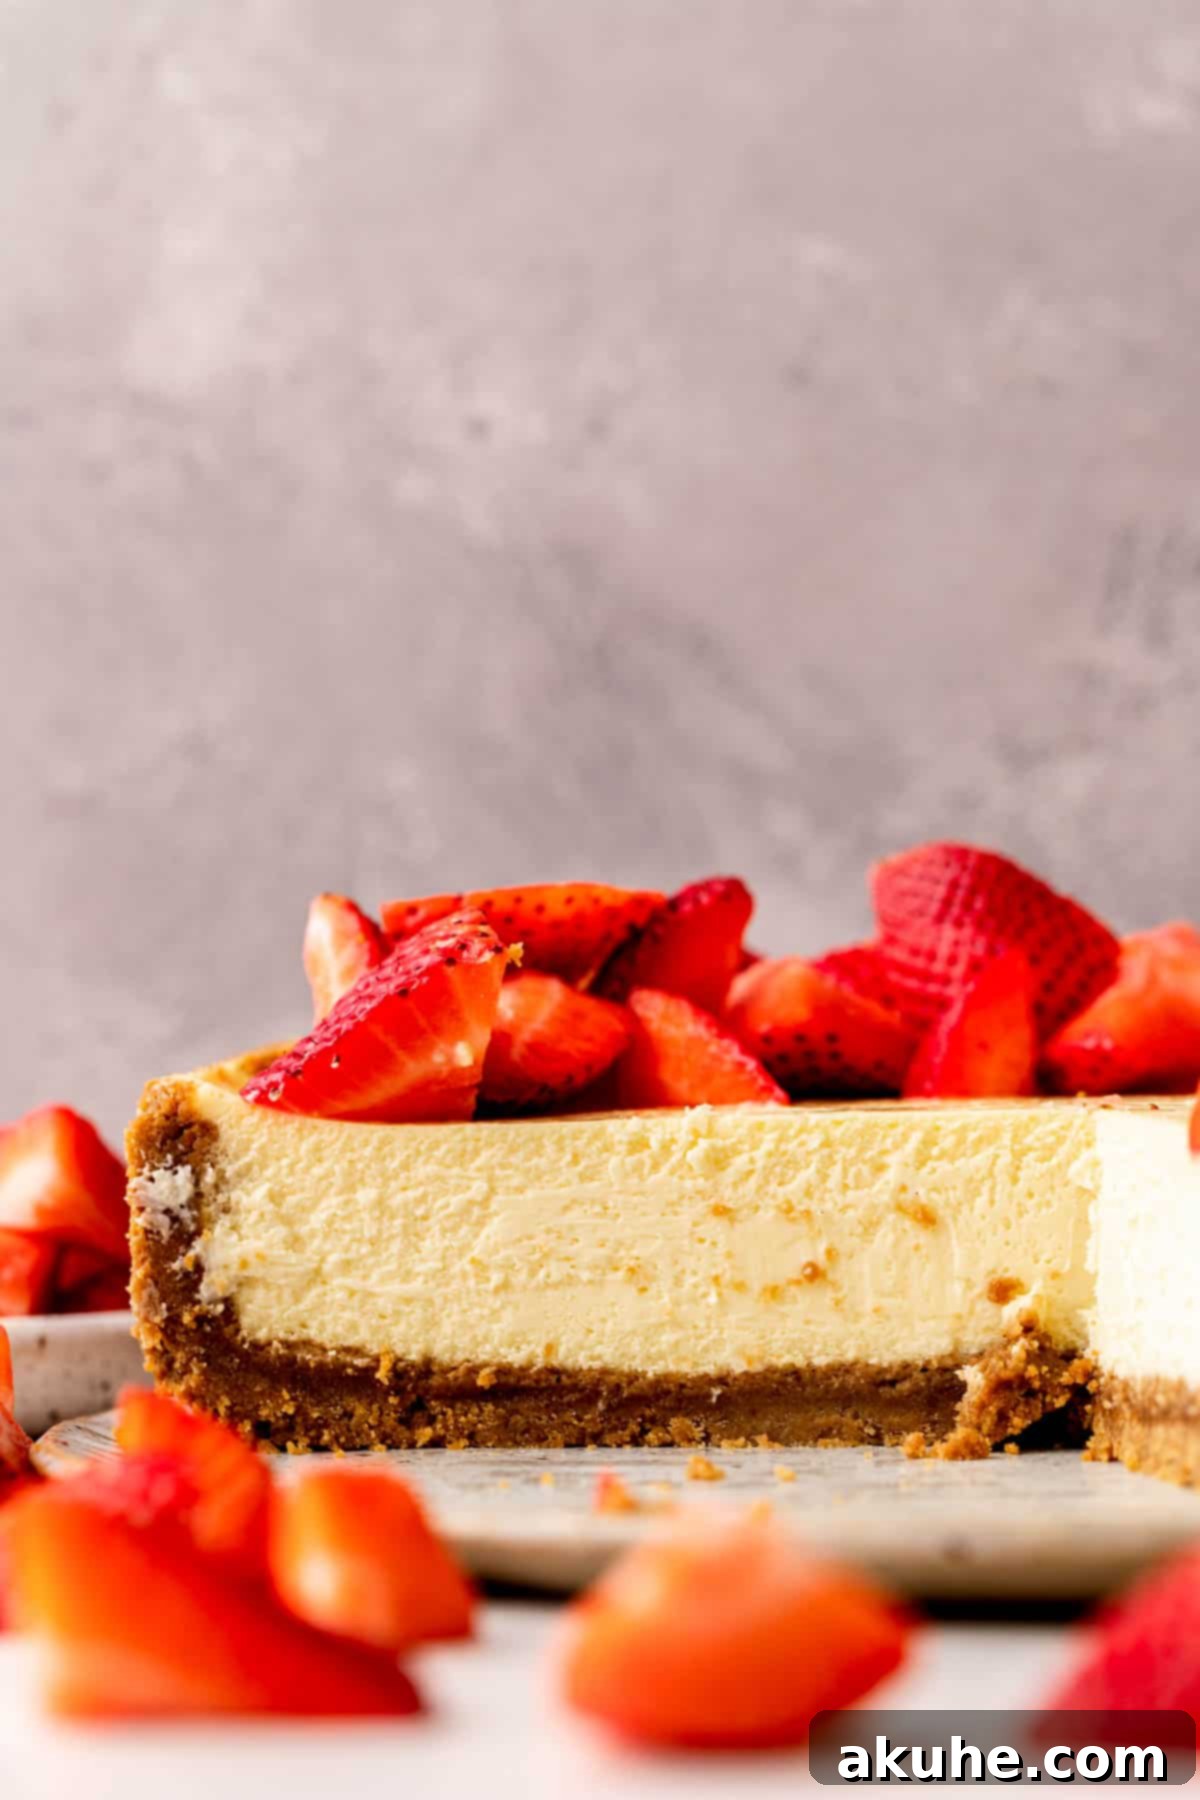
- Unbelievably Fluffy and Creamy Texture: Years of cheesecake-making experience have gone into perfecting the balance of ingredients and mixing techniques to achieve that coveted consistency. Our cheesecake is rich and dense enough to hold its shape, yet light and airy on the palate, melting in your mouth with every bite.
- Classic New York Style Flavor: This recipe captures the essence of a true New York style cheesecake. It boasts a perfectly balanced sweet and tangy profile, with a subtle vanilla note that enhances the rich creaminess without overpowering it. It’s a taste of tradition, made accessible to everyone.
- Foolproof Tips to Prevent Cracks: Cracked cheesecakes can be disheartening. My specialty lies in creating crack-free cheesecakes, and in this comprehensive guide, I’ll share all my tried-and-true secrets and techniques to ensure your cheesecake emerges with a flawlessly smooth top, every single time. Say goodbye to unsightly fissures!
Essential Ingredient Notes for a Perfect Cheesecake
The success of any great recipe lies in understanding its core ingredients. Here are some crucial notes for the components of your gluten-free cheesecake. For a complete list of measurements, please refer to the detailed recipe section below.
- Unsalted Butter: Melted butter is the binding agent for our gluten-free crust, providing richness and helping the crumbs compact into a sturdy base. Using unsalted butter allows you to control the overall saltiness of the crust.
- Gluten-Free Graham Crackers: This is the star of our crust! For best results, use a reliable brand of gluten-free graham crackers. I personally recommend Kinnikinnick crackers for their excellent texture and flavor, ensuring your crust is indistinguishable from a traditional one.
- Sour Cream: Full-fat sour cream (or Greek yogurt for a slightly tangier option) is key for a truly creamy cheesecake. It adds a delightful tang that balances the sweetness and contributes significantly to the smooth texture. Remember to pull it out of the refrigerator at least 2 hours before baking so it reaches room temperature, preventing lumps and ensuring even mixing.
- Cream Cheese: As the foundation of the cheesecake, full-fat cream cheese is non-negotiable for achieving that classic rich, dense, and creamy New York style texture. Just like sour cream, it must be at room temperature for at least 2 hours prior to mixing. This ensures it beats smoothly without lumps, creating a uniform batter.
- Eggs: Large eggs, also at room temperature, are essential for structure and binding. I opt for whole eggs plus an extra yolk because the fats in the yolk contribute to the cheesecake’s incredible richness and help prevent a rubbery texture, unlike egg whites which can introduce too much air. Room temperature eggs emulsify better with the cream cheese mixture, leading to a smoother, crack-free cheesecake.
Step-by-Step Instructions: Crafting the Gluten-Free Crust
A great cheesecake starts with a phenomenal crust. Here’s how to create our signature gluten-free graham cracker base:
STEP 1: Prepare Your Pan. Begin by preheating your oven to 325°F (160°C). Generously spray a 9-inch springform pan with a non-stick baking spray. To ensure easy removal and prevent sticking, line the bottom of the pan with a 9-inch parchment paper circle, then spray the parchment paper again. This double layer of protection is one of my top secrets for a flawless crust.
STEP 2: Grind the Graham Crackers. Place your gluten-free graham crackers into a food processor. Pulse and blend until they transform into very fine, uniform crumbs. The finer the crumbs, the more cohesive and sturdy your crust will be.
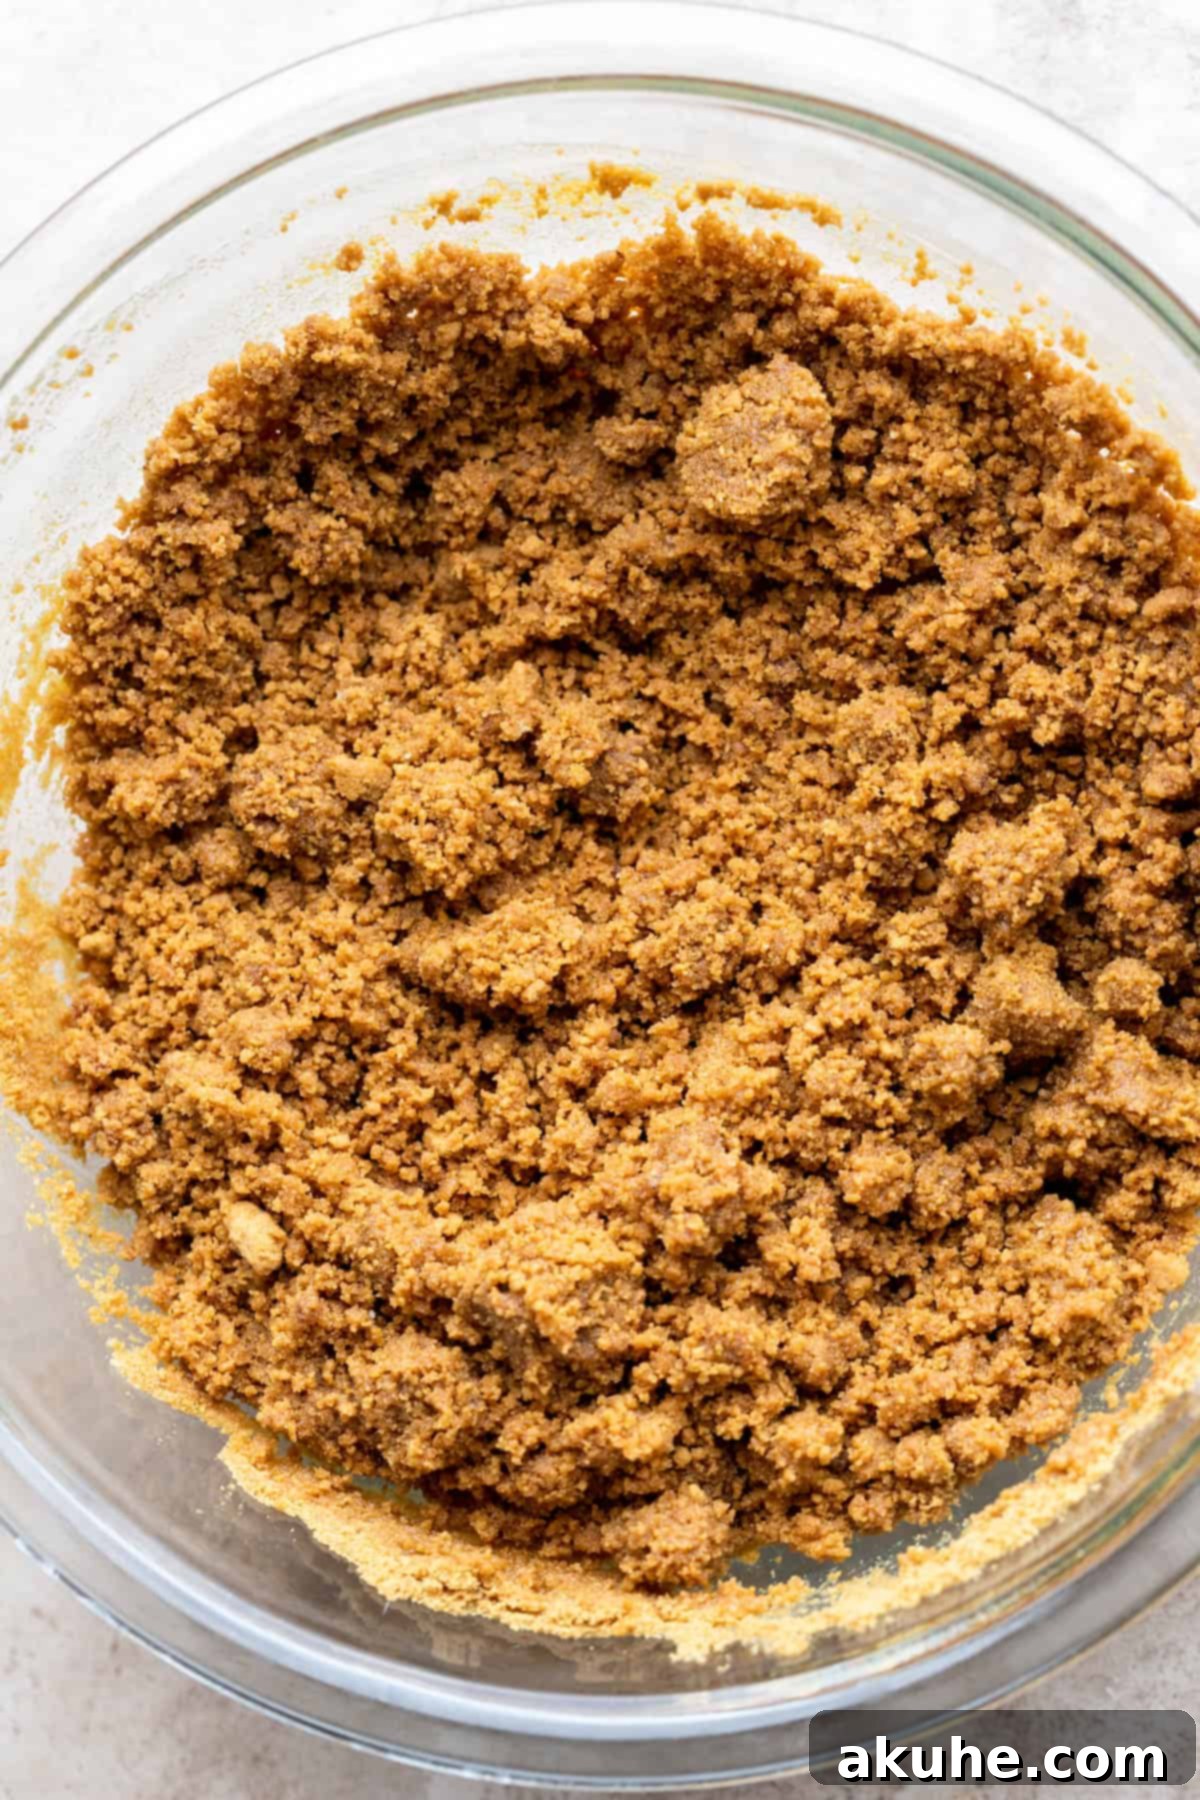
STEP 3: Combine Crust Ingredients. In a medium bowl, combine the finely ground graham cracker crumbs, brown sugar, and a pinch of ground cinnamon for added warmth and flavor. Pour in the melted unsalted butter. Mix all the ingredients thoroughly until they are fully incorporated and the mixture resembles wet sand. This texture indicates that the butter has coated all the crumbs, ready to be pressed.
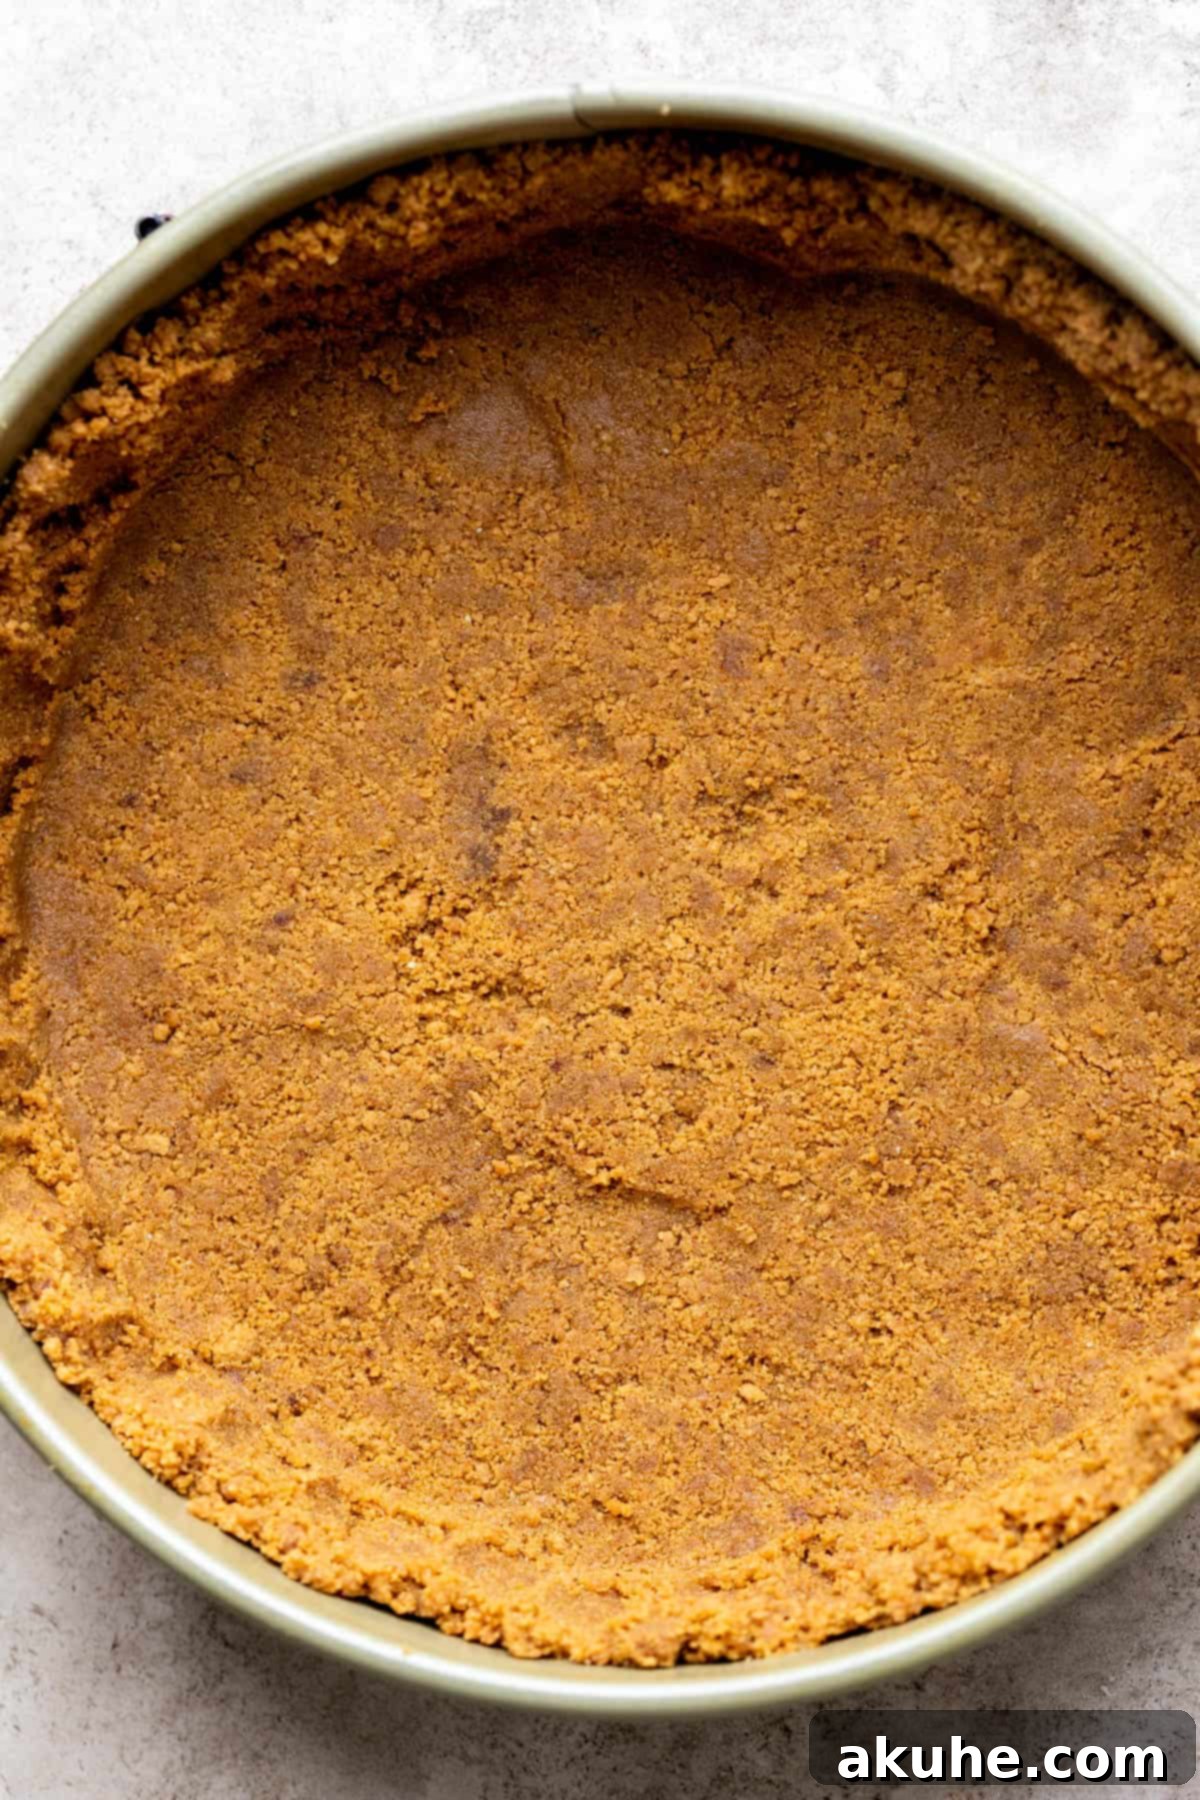
STEP 4: Form the Crust. Pour the moistened crumb mixture into the prepared springform pan. Use your hands to evenly press the crumbs along the bottom and about halfway up the sides of the pan. For a truly compact and sturdy crust, use the bottom of a flat-bottomed measuring cup or a glass to firmly press down the crumbs, ensuring a dense and even layer.
STEP 5: Bake the Crust. Transfer the pan to your preheated oven and bake for 12 minutes. This brief bake time helps to set the crust, making it less prone to becoming soggy once the cheesecake filling is added. As soon as the crust is done baking, remove it from the oven and set it aside to cool slightly while you prepare the cheesecake batter.
Step-by-Step Instructions: Creating the Gluten-Free Cheesecake Filling
Now for the star of the show – the lusciously smooth and creamy cheesecake filling. Follow these steps carefully for a perfect result:
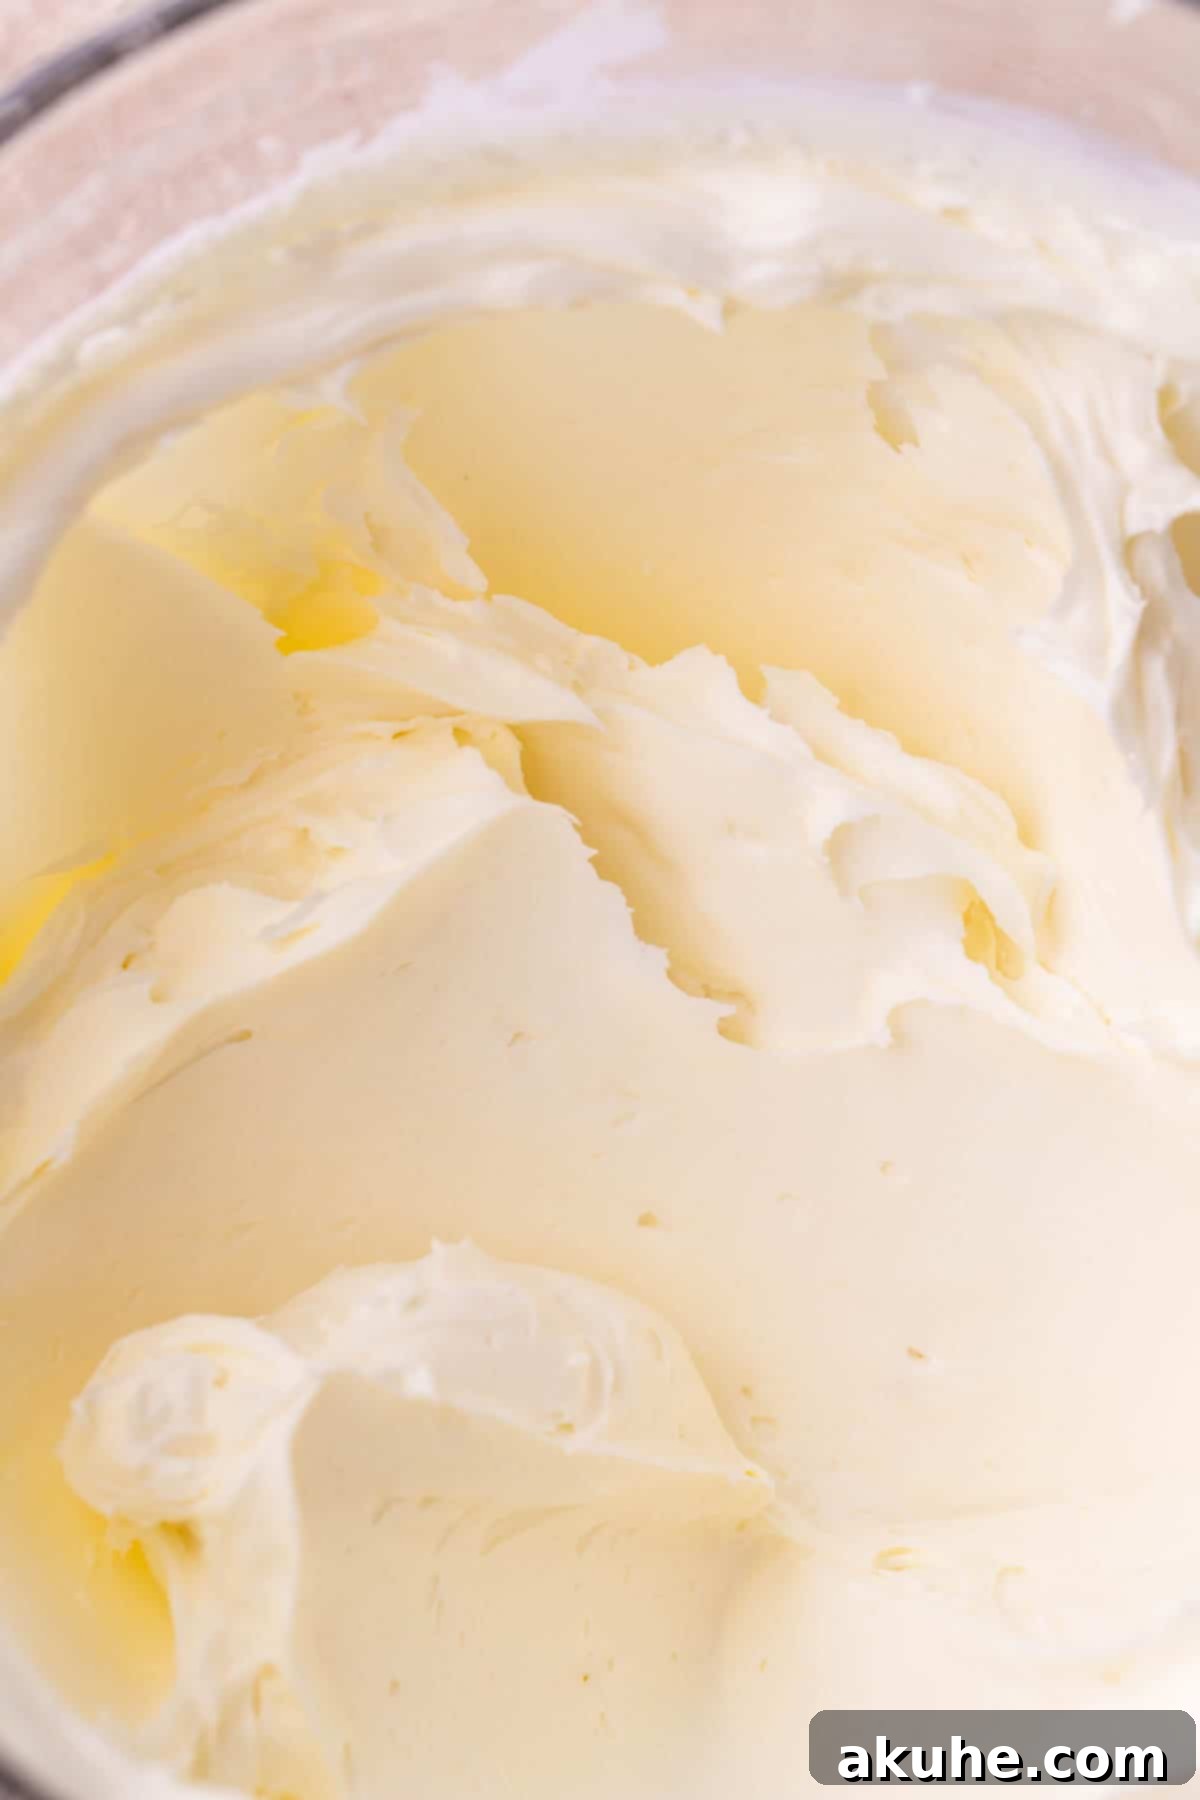
STEP 1: Beat Cream Cheese and Sugar. In the bowl of a stand mixer fitted with the paddle attachment, or using a large bowl with a hand mixer, combine the room temperature cream cheese and granulated sugar. Beat them together on high speed for approximately 2 minutes. Halfway through, stop the mixer and use a rubber spatula to thoroughly scrape down the sides and bottom of the bowl. This ensures all ingredients are fully incorporated and prevents any unmixed cream cheese lumps, which can lead to cracks.
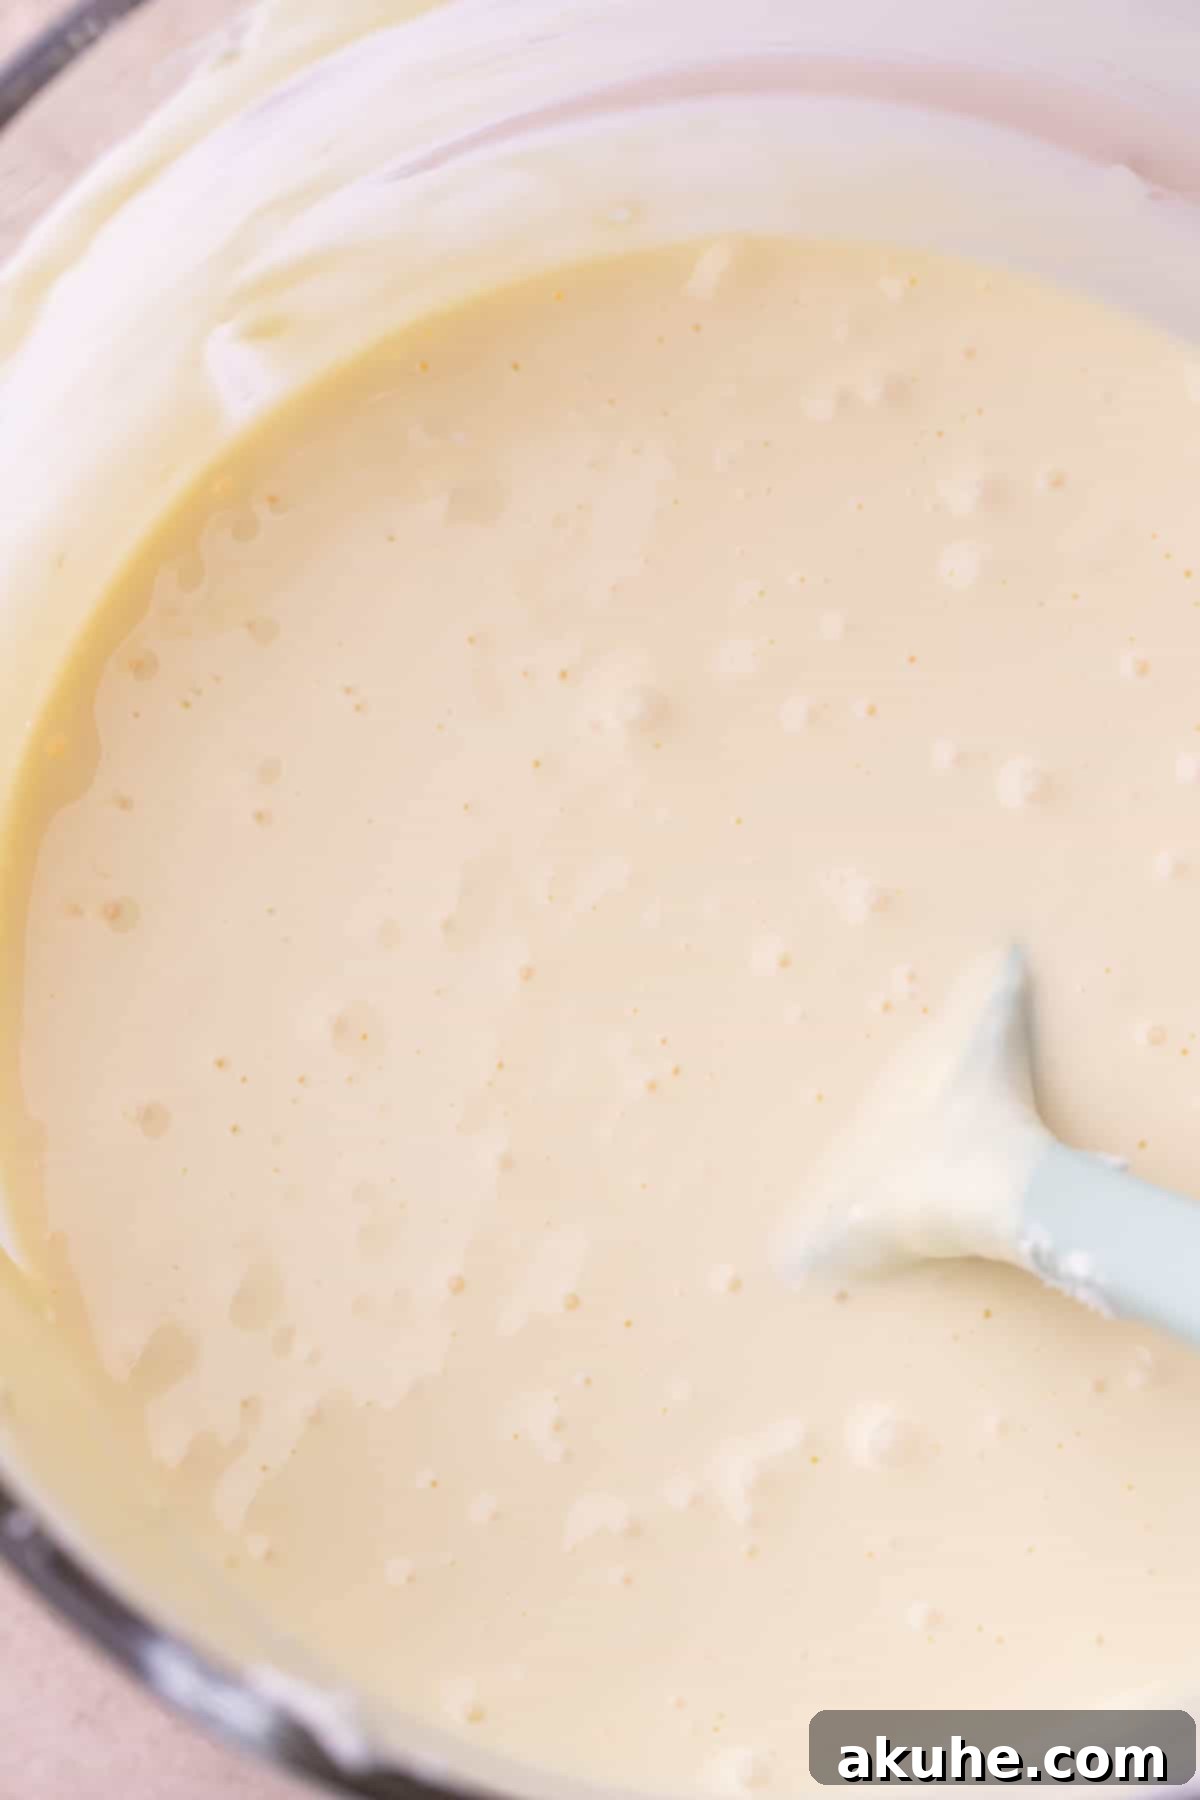
STEP 2: Incorporate Wet Ingredients. Reduce the mixer speed to medium. Add the room temperature heavy cream, sour cream, and pure vanilla extract to the cream cheese mixture. Mix until everything is just combined and appears smooth. Again, remember to frequently scrape down the sides of the bowl. The goal here is a perfectly smooth, lump-free filling – this is crucial for the cheesecake’s texture and appearance.
STEP 3: Gently Add Eggs. Switch your mixer to its lowest speed. Add the large eggs and the extra egg yolk one at a time, mixing only until each egg is *just* combined before adding the next. Overmixing at this stage introduces too much air into the batter, which can cause the cheesecake to puff up dramatically during baking and then collapse and crack as it cools. Gentle mixing is key here.
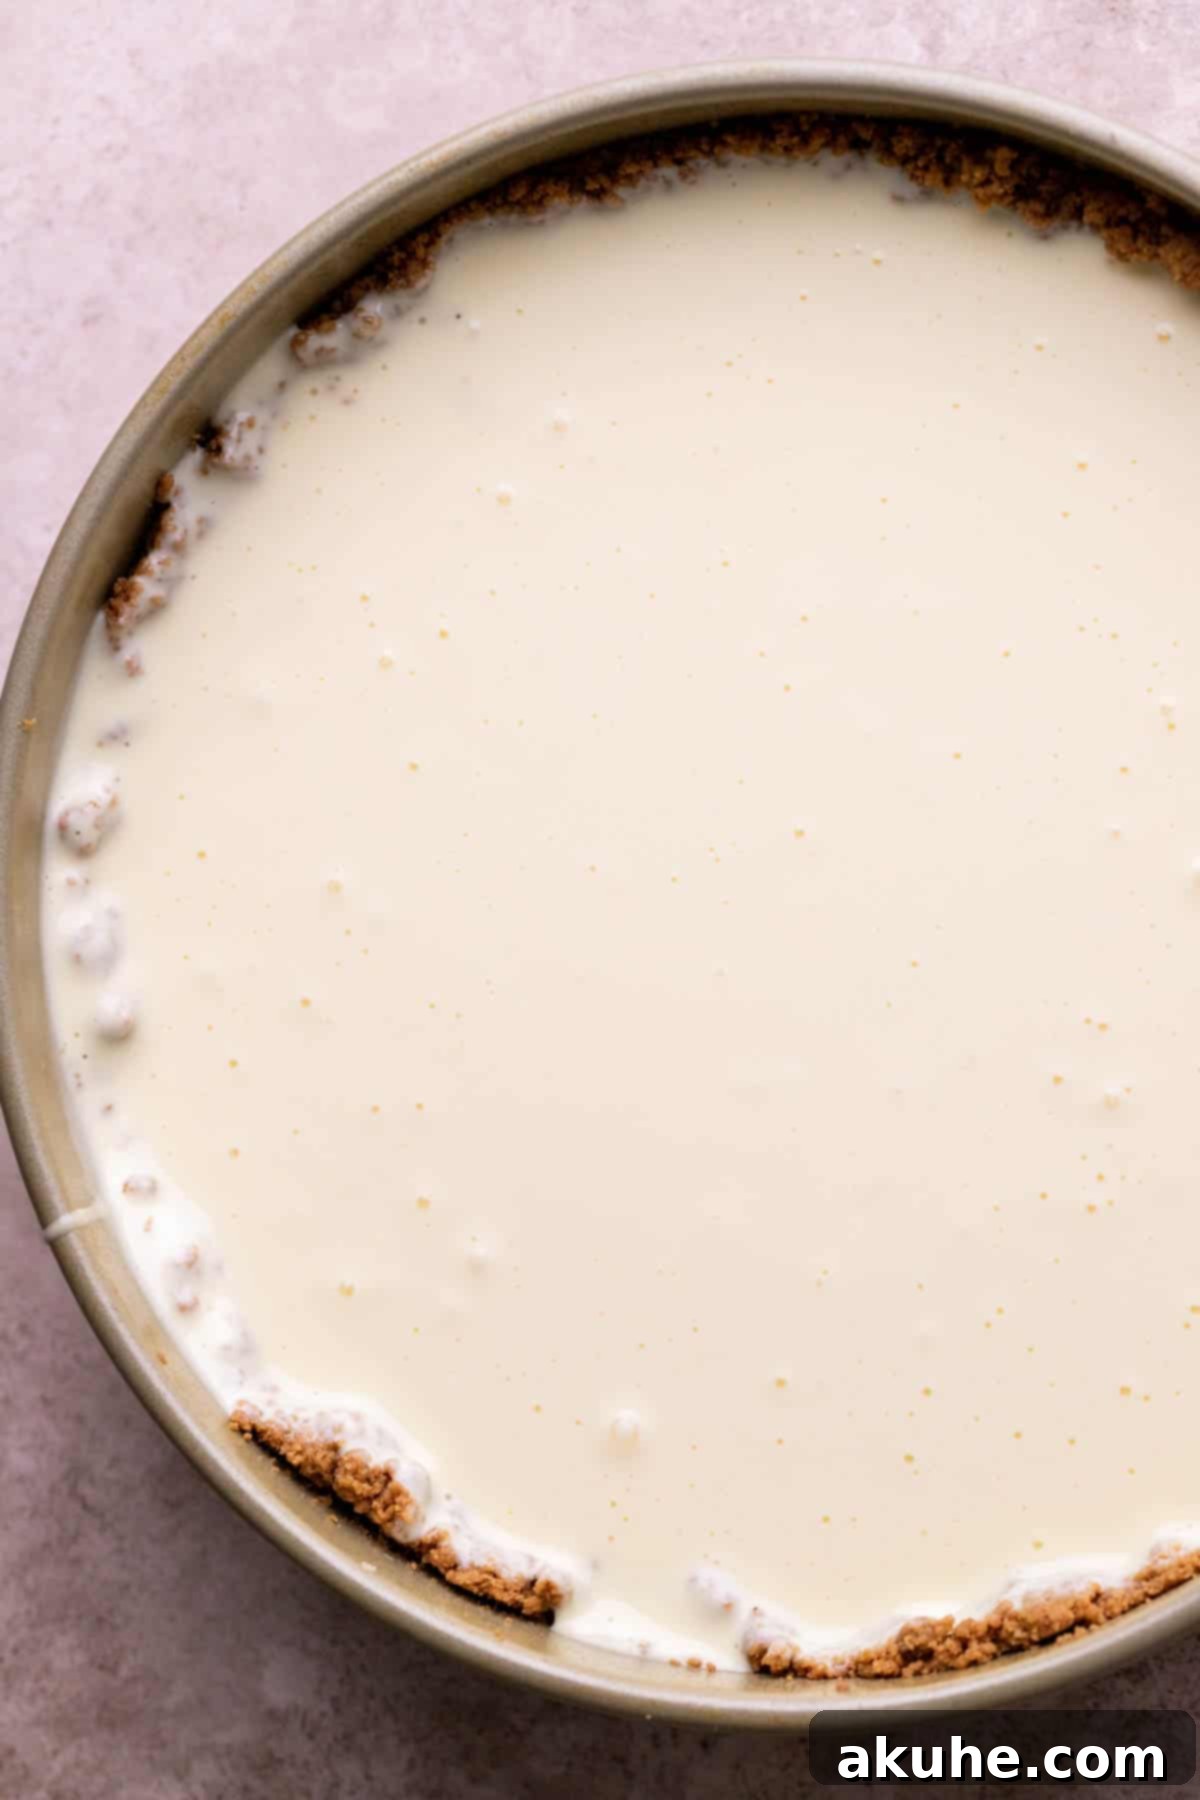
STEP 4: Prepare Pan for Baking with a Water Bath. Carefully pour the finished cheesecake batter onto the cooled, pre-baked gluten-free crust in the springform pan. Now, it’s time to prepare for the water bath, an essential step for achieving a smooth, crack-free cheesecake. Refer to the “Water Bath Tips” section below for detailed instructions on two effective techniques.
STEP 5: Bake the Cheesecake. Gently place your prepared springform pan (within its water bath setup) into the preheated oven. Bake for approximately 70-80 minutes. The cheesecake is done when the edges appear set and slightly firm, but the very center still has a slight, gentle jiggle when the pan is carefully nudged. Avoid overbaking, as this is a common cause of cracks.
STEP 6: Gradual Cooling. Once the cheesecake is baked, turn off the oven and immediately crack the oven door open by a few inches. Allow the cheesecake to cool slowly inside the cooling oven for 30 minutes. This gradual temperature reduction is critical for preventing sudden shrinkage and cracking. After 30 minutes, carefully remove the cheesecake from the oven (and water bath), transfer it to a wire cooling rack, and let it cool completely to room temperature. Do not remove the cheesecake from the springform pan yet.
STEP 7: Chill for Perfection. Once completely cooled to room temperature, wrap the entire springform pan (still containing the cheesecake) tightly with aluminum foil to protect it from absorbing refrigerator odors and moisture. Transfer the wrapped cheesecake to the refrigerator and chill for a minimum of 6 hours, or ideally, overnight. This chilling period is vital for the cheesecake to fully set, firm up, and for its flavors to meld and deepen, resulting in the best possible texture and taste.
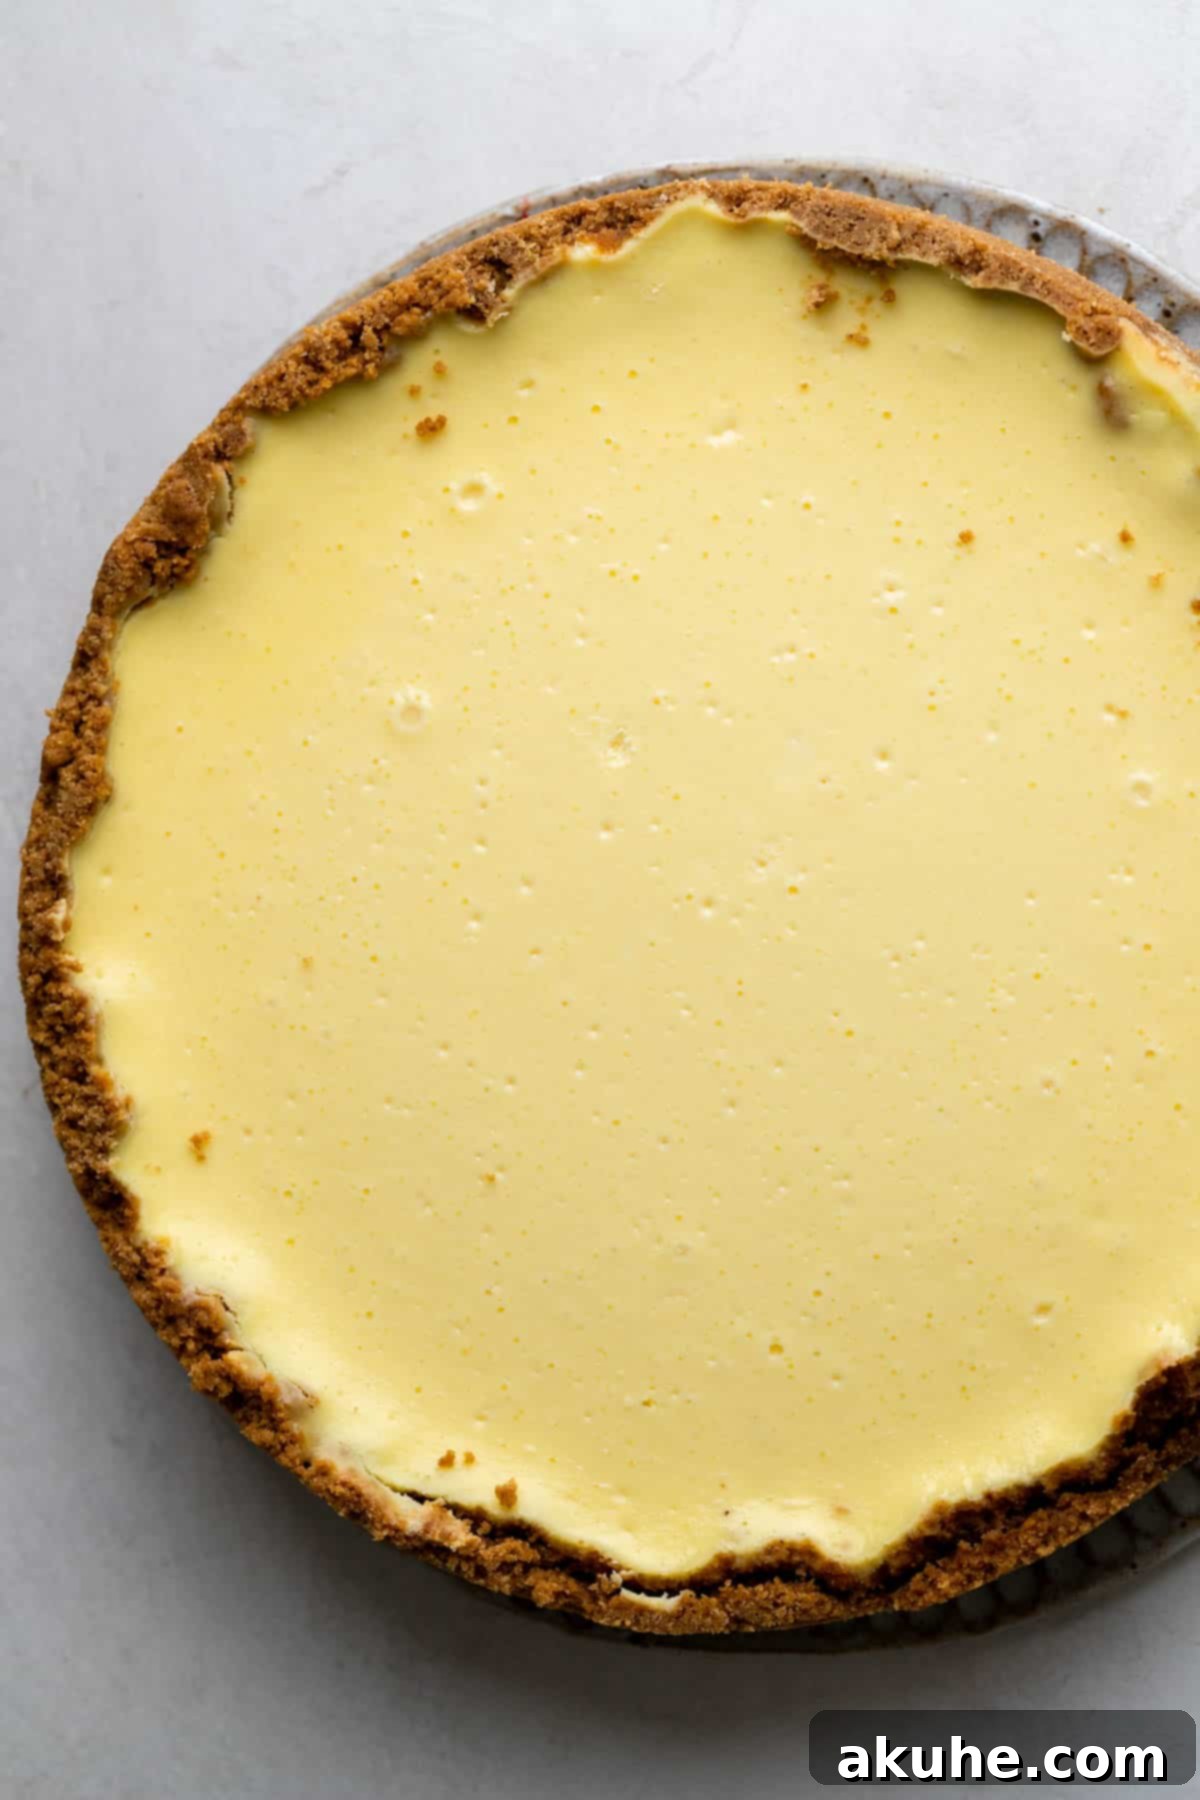
STEP 8: Unmold and Garnish. After sufficient chilling, it’s time to unveil your beautiful creation. Unclip and carefully remove the sides of the springform pan. For easy removal of the parchment paper from the bottom, you can carefully tilt the cheesecake onto its side. Then, gently slide the cheesecake onto your serving plate or stand. Now, it’s ready for your chosen toppings! I personally love topping mine with a vibrant assortment of fresh berries, a classic choice that adds freshness and color. Refer to the next section for more inspiring ideas on gluten-free cheesecake toppings and flavor variations.
Exciting Gluten-Free Cheesecake Toppings and Flavor Innovations
While a plain New York style cheesecake is undeniably delicious, adding toppings can elevate it to new heights. My personal favorite, and always a crowd-pleaser, is a generous array of fresh berries. Their natural sweetness and slight tartness provide a perfect counterpoint to the rich, creamy cheesecake. But the possibilities don’t end there!
Popular Topping Ideas for Your Gluten-Free Cheesecake:
- Decadent Caramel: Drizzle with a rich homemade salted caramel sauce for an irresistible sweet and salty combination. Or, dive into our Caramel Cheesecake recipe for inspiration.
- Gluten-Free Oreo Bliss: Crush gluten-free Oreo-style cookies and sprinkle generously over the top, or whip up a gluten-free Oreo whipped cream inspired by our Oreo Cheesecake.
- Chocolate Lover’s Dream: Scatter your favorite gluten-free chocolate candies or chocolate chips on top. Imagine a Toblerone Cheesecake or a vibrant M&M Cheesecake reimagined!
- Silky Chocolate Ganache: Pour a glossy homemade chocolate ganache over the cooled cheesecake for a touch of elegance, similar to the one featured in our Toblerone Cheesecake.
- Fruit Compotes: Beyond fresh berries, consider a warm, homemade berry compote, a tangy lemon curd, or a sweet cherry topping for seasonal flair.
- Nutty Crunch: Toasted chopped nuts like pecans or walnuts can add a delightful textural contrast and rich flavor.
Beyond toppings, you can also experiment with different cheesecake fillings. The beauty of this gluten-free crust is its versatility. Most traditional cheesecake fillings are naturally gluten-free, allowing you to adapt many of our other cheesecake recipes simply by using this perfected gluten-free crust. Always double-check any mix-ins or additions to your chosen filling (like cookies, cookie dough, or specific flavorings) to ensure they are certified gluten-free. With a little attention to detail, you can enjoy all the gluten-free desserts of your dreams!
Mastering the Water Bath for Cheesecake Success
The water bath (bain-marie) is not an optional step; it’s a secret weapon for achieving a perfectly baked, crack-free cheesecake with an incredibly creamy texture. Here’s why it’s so important and two effective methods:
The gentle, moist heat created by the steam in a water bath prevents the cheesecake from baking too quickly or unevenly. Without it, the cheesecake’s exterior can cook faster than its interior, leading to a sudden rise and fall, which inevitably results in those dreaded cracks. The steam also helps keep the cheesecake moist, contributing to its luxurious creaminess.
Both techniques involve using a larger roasting pan filled with hot, steaming water:
- The Double Pan Method (Recommended): Place your springform pan (with the cheesecake batter) inside a slightly larger 10-inch cake pan. Then, place the entire cake pan assembly into your roasting pan. Carefully pour hot water into the roasting pan, ensuring it comes about halfway up the sides of the 10-inch cake pan. This method is my preferred choice because it completely safeguards your springform pan from any water seepage, guaranteeing a crisp, dry crust every time.
- The Foil Wrap Method: Wrap your springform pan very tightly with two layers of heavy-duty aluminum foil. Ensure there are no gaps or tears. Place this wrapped springform pan directly into the roasting pan. Fill the roasting pan with hot water, again, about halfway up the sides of the foil-wrapped springform pan. While effective, this method carries a slight risk of water finding its way through the foil, potentially leading to a soggy crust.
Comprehensive Tips for Preventing Cheesecake Cracks
Achieving a smooth, pristine cheesecake top is a hallmark of a professional-looking dessert. Here are the key strategies to prevent those frustrating cracks:
- Ensure Room Temperature Ingredients: As noted in the ingredient section, room temperature cream cheese, sour cream, and eggs are non-negotiable. Cold ingredients do not emulsify properly, leading to a lumpy batter that can develop cracks during baking.
- Thoroughly Beat Cream Cheese and Sugar: Before adding other wet ingredients, beat the cream cheese and sugar on high speed until completely smooth and creamy. Ensure there are no lumps of cream cheese. Any unmixed bits can cause inconsistencies in the batter, leading to tension and cracks. Remember to scrape the bowl frequently!
- Minimize Air with Eggs: When incorporating eggs, switch to the lowest possible mixer speed and add them one at a time, mixing just until combined. Over-mixing eggs introduces excessive air into the batter, causing the cheesecake to rise too much during baking. This rapid expansion and subsequent contraction as it cools is a primary cause of cracking.
- Always Use a Water Bath: This step is paramount. As detailed above, a water bath creates a moist, even baking environment, allowing the cheesecake to cook gently and uniformly. Without it, the edges can dry out and set too quickly while the center is still baking, leading to tension and cracks.
- Implement Gradual Cooling: Sudden temperature changes are a cheesecake’s worst enemy. Once baked, turn off the oven and prop the door open slightly. Allow the cheesecake to cool slowly in the oven for 30 minutes. This controlled, gradual cooling prevents the rapid contraction that causes cracks. Transferring a hot cheesecake directly to a cool countertop can induce thermal shock and ruin your perfect surface.
How to Easily Remove Your Cheesecake from the Pan
Presenting a beautiful, intact cheesecake requires a bit of foresight and gentle handling:
First, always start by properly preparing your springform pan. Spray it generously with a non-stick baking spray. Then, line the bottom of the pan with a 9-inch parchment paper circle and spray the parchment paper again. This creates a non-stick barrier that ensures the crust doesn’t adhere to the pan.
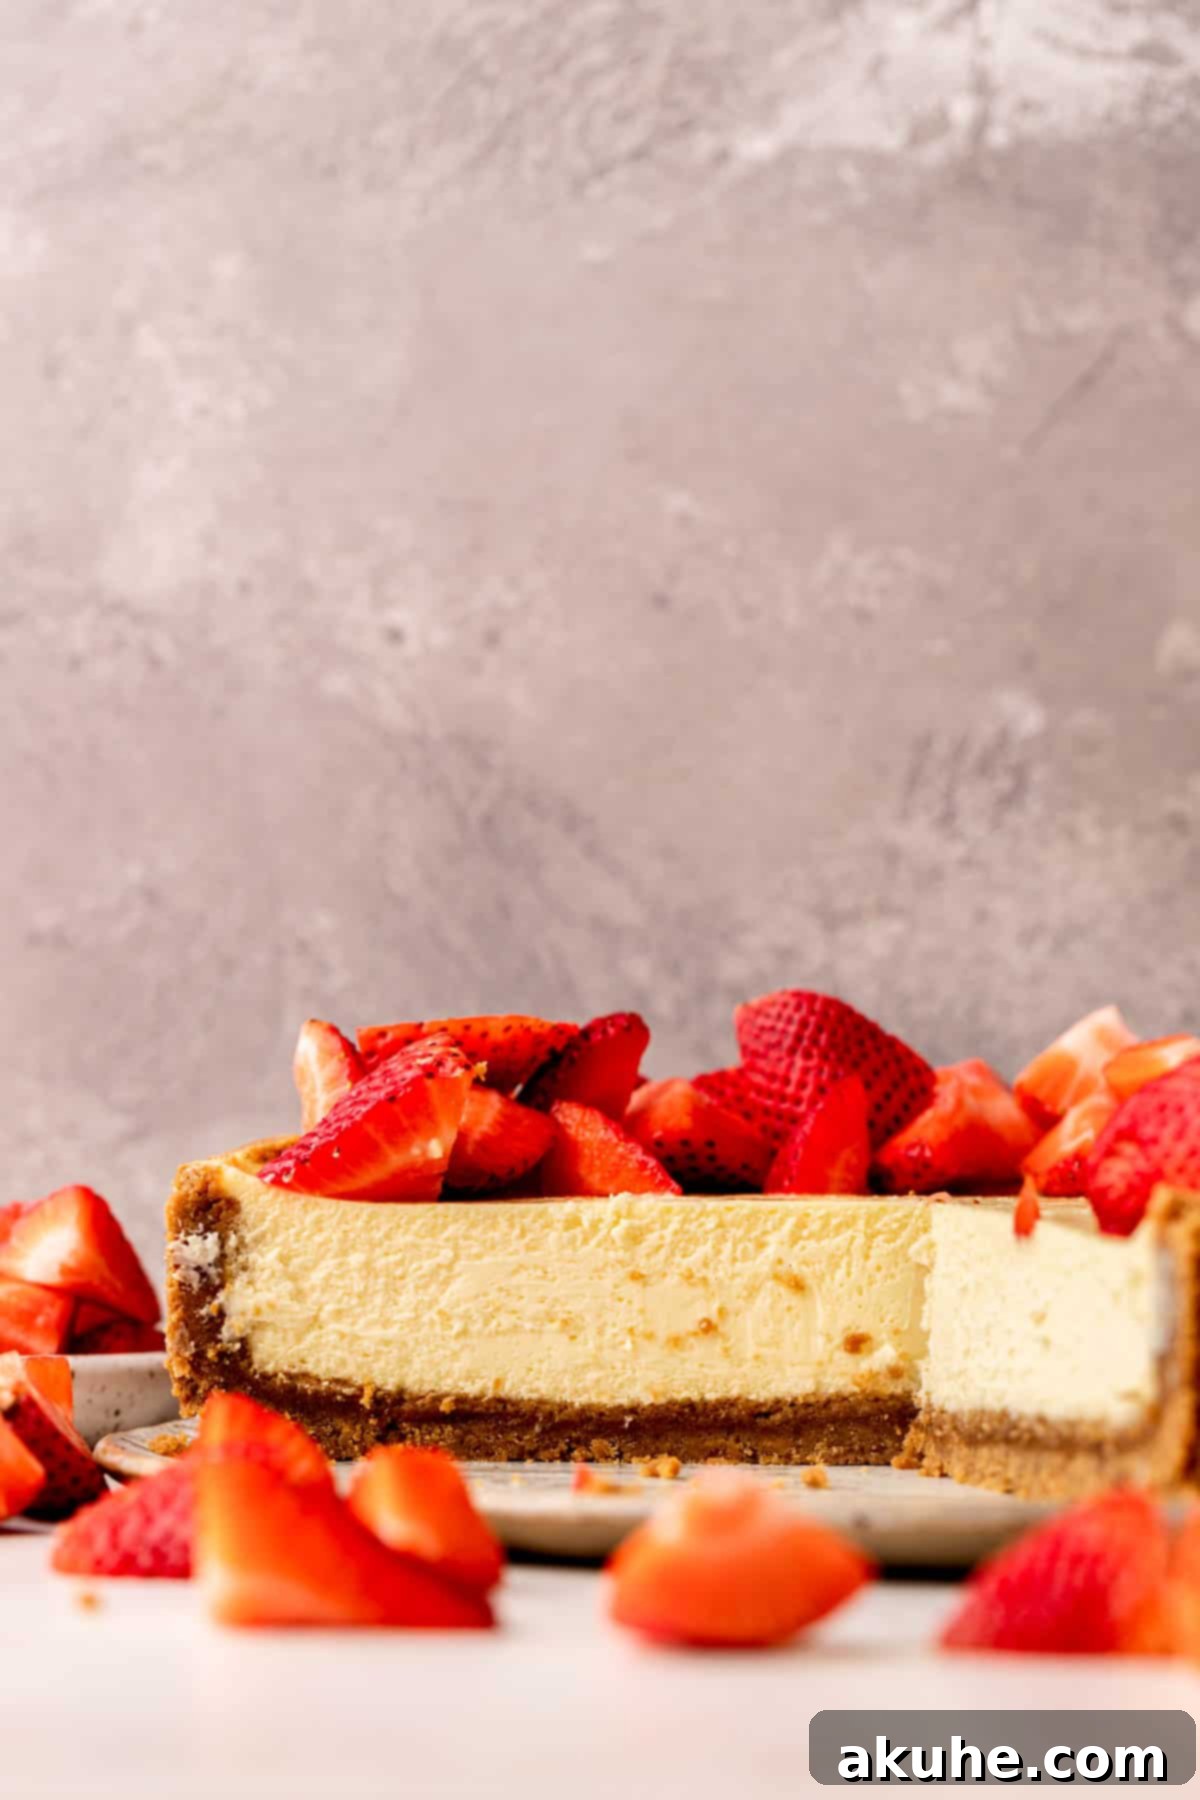
After your cheesecake has chilled thoroughly (ideally overnight), the springform sides should release easily. Simply unclip the latch and the ring should lift right off. If you find any slight resistance, very gently run a thin, sharp knife around the edge of the cheesecake before unclipping, being careful not to cut into the crust.
To remove the bottom of the pan and the parchment circle, carefully slide a thin, wide spatula under the cheesecake, then gently lift and transfer it to your serving plate. Alternatively, you can carefully tilt the cheesecake onto its side on a clean surface, allowing you to peel off the parchment paper and slide the pan bottom away.
Frequently Asked Questions About Gluten-Free Cheesecake
Can I make this recipe into mini cheesecakes?
Absolutely! This recipe can be easily adapted for mini cheesecakes. Simply divide the batter and crust mixture into thirds to make 12 individual mini cheesecakes. Bake them in a muffin pan (lined with paper cupcake liners for easy removal) for approximately 18-20 minutes, or until the centers are just set. For more detailed instructions on creating delightful mini cheesecakes, refer to our Mini Oreo Cheesecakes recipe.
What other pans can I use for this cheesecake recipe?
While a 9-inch springform pan is ideal for this recipe, you have other options. You can halve the recipe to make delicious cheesecake bars using an 8×8 or 9×9 inch baking pan (you’ll need about 16 oz of cream cheese for the halved recipe). If you prefer a slightly smaller round cheesecake, you can use an 8-inch springform pan with the full recipe. For a 6-inch springform pan, halve the recipe, but stick with 16 oz of cream cheese for a taller, richer cake.
How do I get the perfect slice of cheesecake?
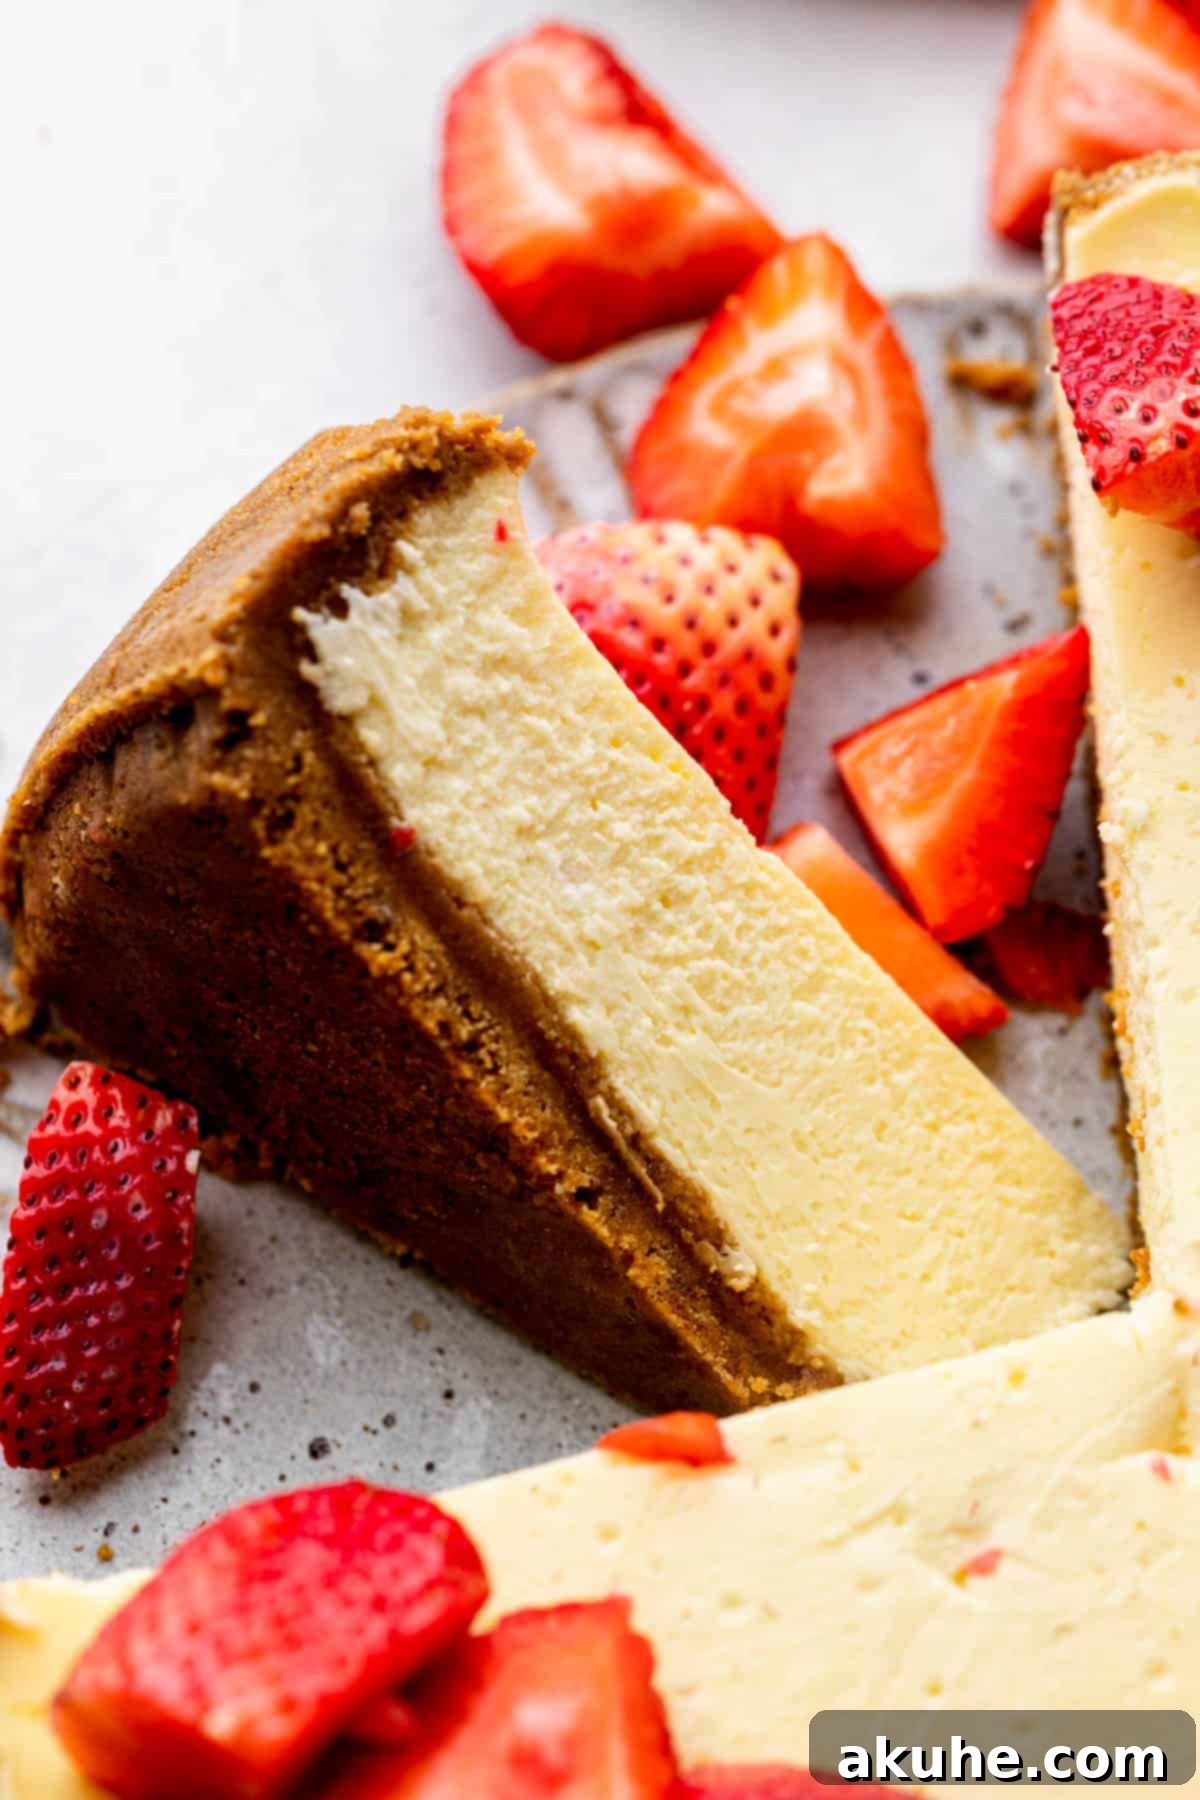
For pristine, clean slices, ensure your cheesecake is very cold – ideally chilled overnight. Before slicing, run a sharp, thin-bladed knife under hot water, then wipe it clean and dry. Make each cut in one smooth motion, then clean the knife again with hot water and wipe it dry before making the next slice. This technique prevents the cheesecake from sticking to the knife and tearing, giving you beautifully neat portions every time.
Storing and Freezing Your Gluten-Free Cheesecake
Proper storage is key to maintaining the freshness and deliciousness of your cheesecake.
Store this gluten-free cheesecake in the refrigerator in an airtight container, such as a cake carrier or a large container with a tight-fitting lid. When stored correctly, it will remain fresh and delicious for up to 5 days.
Freezing Your Cheesecake
Cheesecake freezes remarkably well, allowing you to enjoy this treat for longer or prepare it ahead of time:
You can freeze individual slices for convenient portion control. Wrap each slice tightly in plastic wrap, then place them in an airtight freezer-safe container or freezer bag. They can be frozen for up to 30 days. To enjoy, simply thaw individual slices in the refrigerator for 1-2 hours before serving.
Alternatively, you can freeze the entire cheesecake before adding any toppings. After the cheesecake has completely cooled and chilled overnight in the refrigerator (as per step 7 of the instructions), wrap it securely in several layers of plastic wrap, followed by a layer of aluminum foil. This double-layer protection prevents freezer burn. Store the wrapped cheesecake in the freezer for up to 30 days. To serve, thaw the whole cheesecake in the refrigerator for 1-2 hours before unwrapping and adding your desired toppings.
Other Cheesecake Recipes To Try
Loved this recipe? Please leave a STAR REVIEW below! Don’t forget to tag me on Instagram @stephaniesweettreats. For more culinary inspiration, follow me on Pinterest.
Recipe: Gluten-Free New York Style Cheesecake
This gluten-free New York style cheesecake features a creamy, rich filling and a delightful gluten-free graham cracker crust. It’s a truly indulgent and satisfying dessert for any occasion!
Author: Stephanie Rutherford
Prep & Cook Times:
- Prep Time: 30 mins
- Cook Time: 1 hr 10 mins
- Chilling Time: 6 hrs
- Total Time: 7 hrs 40 mins
- Servings: 16 slices
Ingredients
Gluten-Free Crust
- 2 1/2 cups Gluten-free graham crackers, finely crushed (I used 2 boxes of Kinnikinnick crackers)
- 1/3 cup Brown sugar, packed (light or dark)
- 1/2 tsp Ground cinnamon
- 10 TBSP Unsalted butter, melted
Cheesecake Filling
- 24 oz Cream cheese, full-fat, room temperature
- 3/4 cup White granulated sugar
- 1/2 cup Sour cream, full-fat, room temperature
- 1/4 cup Heavy cream, room temperature
- 1 tsp Pure vanilla extract
- 4 Large eggs, room temperature
- 1 Egg yolk, room temperature
- Fresh fruit for topping (*optional)
Instructions
Gluten-Free Crust
- Preheat the oven to 325℉ (160°C). Spray a 9-inch springform pan with baking spray. Line the bottom with a 9-inch parchment paper circle and spray again.
- Using a food processor, blend the gluten-free graham crackers into a fine crumb. Add the brown sugar, cinnamon, and melted butter and mix until the mixture resembles wet sand.
- Pour the crumbs into the prepared pan. Use your hands to form the crust halfway up the sides of the pan. Use the bottom of a measuring cup or glass to compact the crust firmly and evenly.
- Bake for 12 minutes. Remove from oven and let cool slightly while preparing the cheesecake batter.
Cheesecake Filling
- Using a stand mixer with the paddle attachment (or a hand mixer), beat the room temperature cream cheese and granulated sugar on high speed for 2 minutes. Scrape down the sides and bottom of the bowl halfway through with a rubber spatula to ensure no lumps remain.
- Add the room temperature heavy cream, sour cream, and vanilla extract. Mix on medium speed until just combined, scraping the bowl thoroughly to ensure a smooth, lump-free filling.
- Add the eggs and extra egg yolk one at a time on low speed, mixing only until each is just combined before adding the next. Do not overmix.
- Pour the smooth batter into the cooled crust in the pan. Prepare a water bath using one of the two methods described in the “Water Bath Tips” section above.
- Bake for 70-80 minutes, or until the edges are set and the middle has a slight jiggle.
- Turn off the oven, crack open the door, and let the cheesecake cool inside the oven for 30 minutes. Then, transfer it to a wire cooling rack to cool completely at room temperature. Keep the cheesecake in the pan until after it has fully chilled.
- Once completely cooled, wrap the cheesecake (still in the pan) tightly in aluminum foil and chill in the refrigerator for at least 6 hours, or ideally overnight, for the best texture and flavor.
- After chilling, unclip and carefully remove the springform pan sides. Gently remove the parchment paper from the bottom. Top with your desired garnishes. I used fresh berries.
Notes
For best results, ensure all dairy ingredients (cream cheese, sour cream, heavy cream) and eggs are at room temperature for at least 2 hours before beginning the recipe. This is crucial for a smooth batter and to prevent cracks.
Nutrition Information (per serving)
(Approximate values based on 16 servings)
- Calories: 481 kcal
- Carbohydrates: 43g
- Protein: 4g
- Fat: 33g
- Saturated Fat: 19g
- Polyunsaturated Fat: 1g
- Monounsaturated Fat: 6g
- Trans Fat: 0.3g
- Cholesterol: 103mg
- Sodium: 263mg
- Potassium: 79mg
- Fiber: 1g
- Sugar: 25g
- Vitamin A: 906 IU
- Vitamin C: 0.1mg
- Calcium: 80mg
- Iron: 1mg
