Indulge in Winter Bliss: The Ultimate Hot Chocolate Cheesecake Recipe
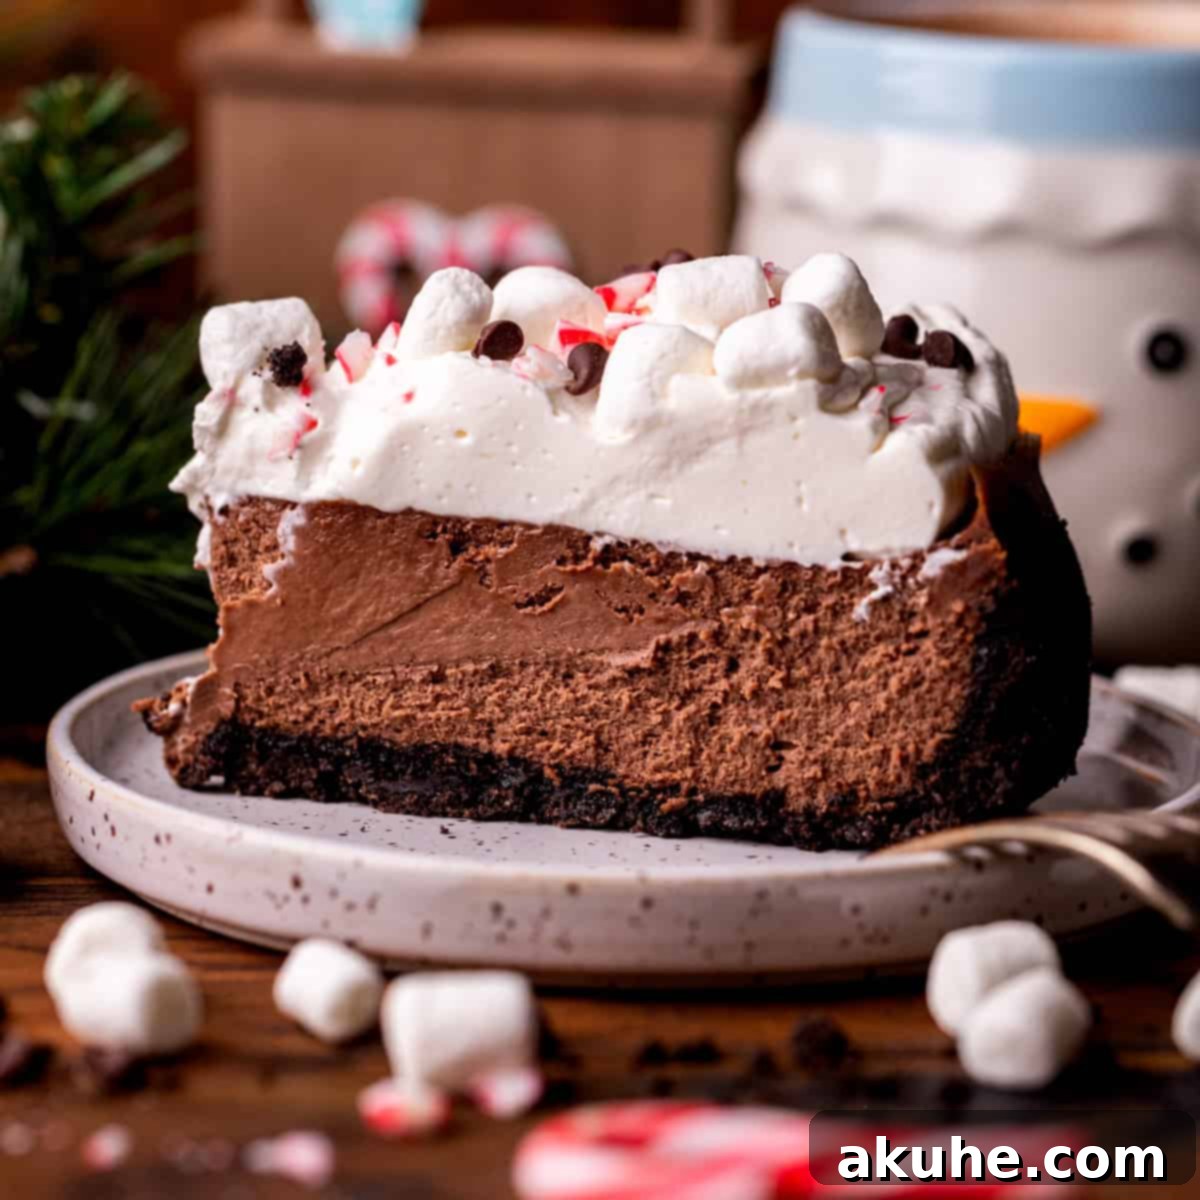
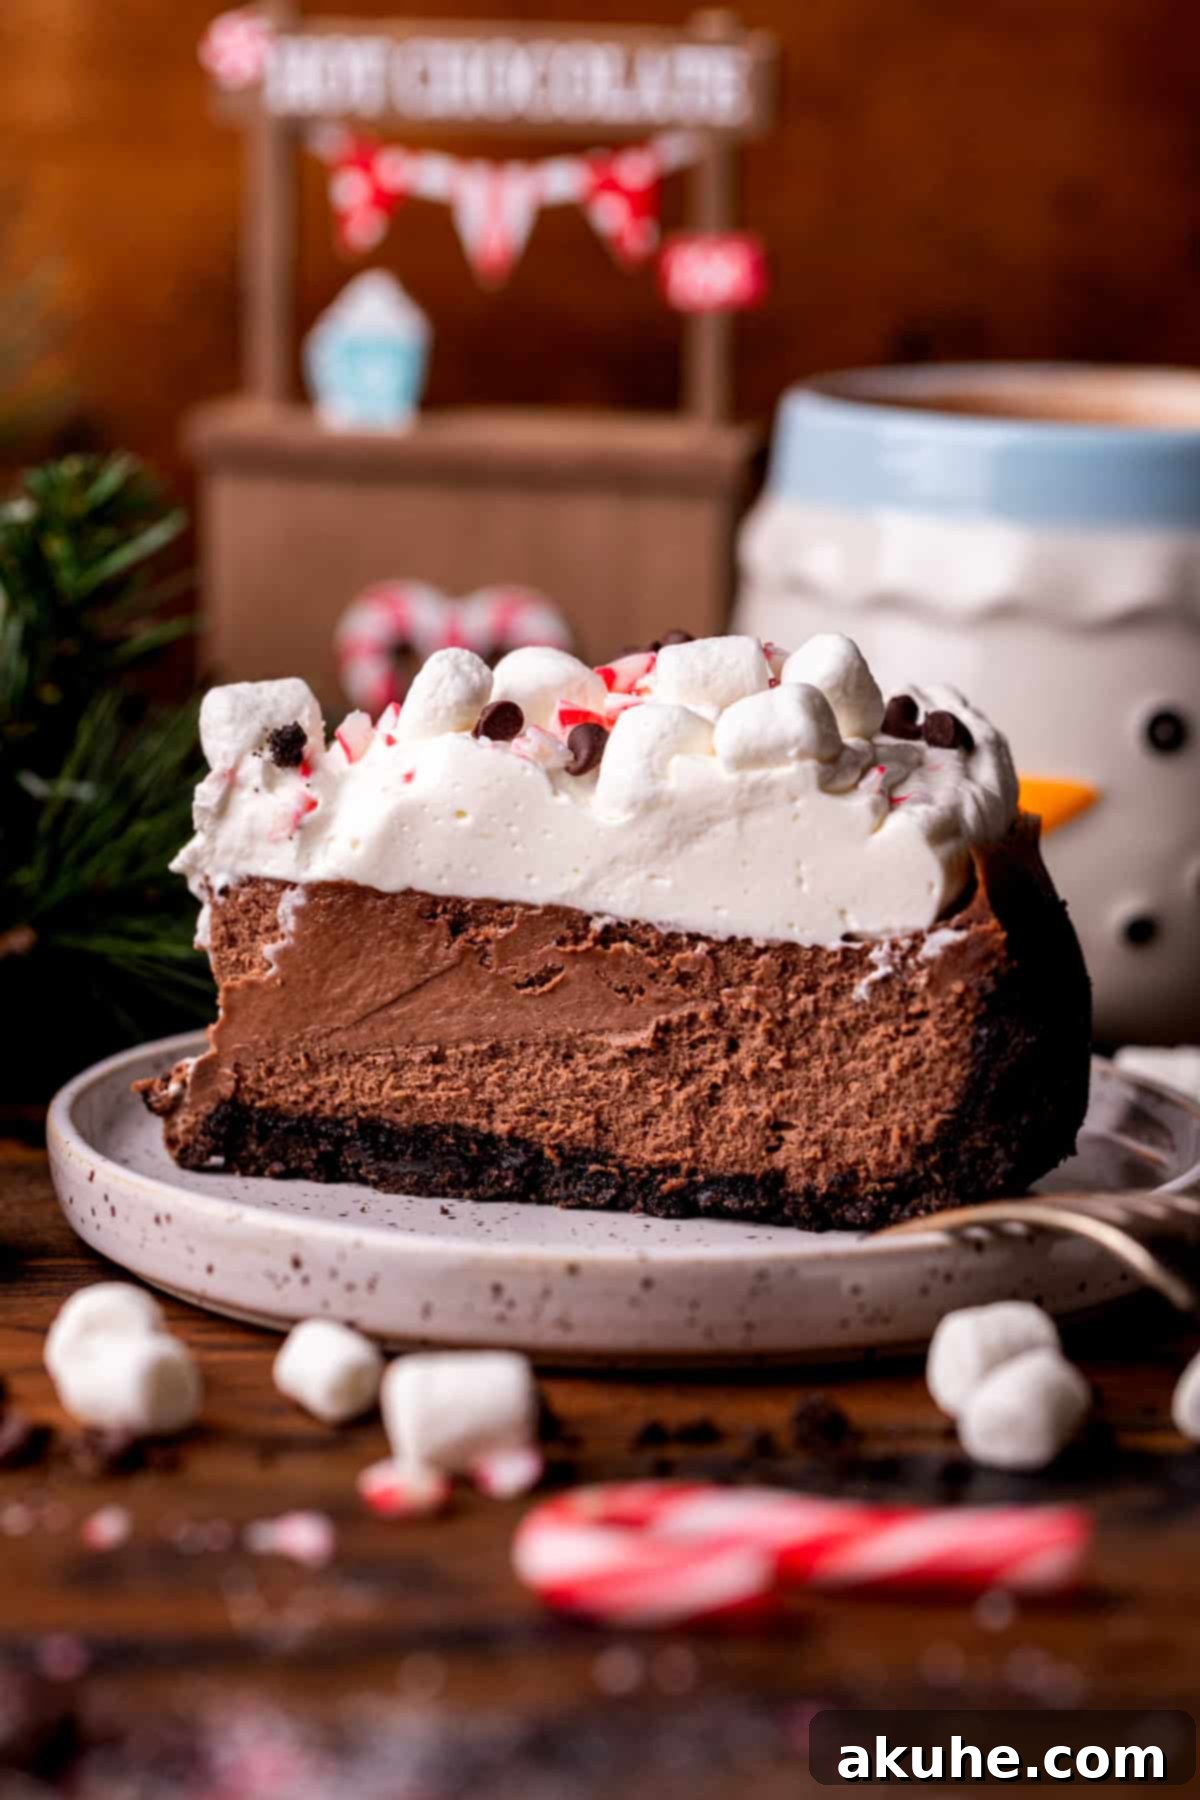
As the days grow shorter and a crisp chill fills the air, there’s nothing quite as comforting as a warm mug of hot chocolate. But what if you could transform that cozy feeling into a decadent dessert? Introducing the Hot Chocolate Cheesecake – a show-stopping creation perfect for embracing the holiday spirit and making those cold winter days feel wonderfully bright. This irresistible cheesecake features a rich, dark Oreo crust, a velvety baked cheesecake infused with authentic hot cocoa flavor, all generously crowned with a fluffy cloud of homemade whipped cream. It’s more than just a dessert; it’s an experience designed to bring warmth and joy to your table.
Imagine coming in from a snowy afternoon of sledding or ice skating, wrapped in your favorite blanket, and then savoring a slice of this magnificent hot chocolate cheesecake. Its deliciously creamy texture and comforting cocoa flavor evoke memories of crackling fires, festive gatherings, and the simple beauty of winter. This dessert isn’t just a treat for your taste buds; it’s a nostalgic journey that culminates in the perfect sweet ending to any day.
Why This Hot Chocolate Cheesecake Is a Must-Try Dessert
This Hot Chocolate Cheesecake isn’t just another dessert; it’s a winter essential that promises to delight with every forkful. Here’s why it stands out as the perfect indulgence for the festive season and beyond:
- Unrivaled Creamy Cheesecake Texture: At the heart of this dessert is an incredibly smooth and creamy cheesecake base. We’ve perfected the blend of rich cream cheese with just the right amount of sweetness and a deep hot cocoa essence, ensuring a melt-in-your-mouth experience that is utterly irresistible. This isn’t just a cheesecake; it’s a creamy dream.
- Authentic Hot Chocolate Flavor Profile: Forget subtle hints; this cheesecake delivers a bold, unmistakable hot chocolate taste. By incorporating both high-quality hot cocoa mix and unsweetened cocoa powder, we achieve a harmonious balance between the robust richness of chocolate and the comforting, milky notes reminiscent of your favorite winter beverage. It’s a sophisticated take on a childhood classic.
- Luxurious Whipped Cream Topping: No hot chocolate is complete without a generous dollop of whipped cream, and this cheesecake follows suit. A cloud of freshly made, lightly sweetened whipped cream not only adds a beautiful visual contrast but also provides a delicate, airy counterpoint to the dense, creamy cheesecake below, elevating each bite to pure bliss.
- Perfect for Festive Occasions: With its comforting flavors and elegant presentation, this cheesecake is ideal for holiday gatherings, Christmas dinners, or any special winter celebration. It’s a dessert that not only tastes incredible but also creates a festive atmosphere, becoming the centerpiece of your dessert spread.
- Crowd-Pleasing and Unique: While classic cheesecakes are always a hit, this hot chocolate variation offers a unique twist that will surprise and impress your guests. It combines the familiar comfort of hot chocolate with the sophisticated indulgence of cheesecake, making it a guaranteed crowd-pleaser that everyone will talk about.
Get ready to infuse your holiday season with warmth and cheer with this truly amazing dessert!
Expert Tips for Crafting the Perfect Hot Chocolate Cheesecake
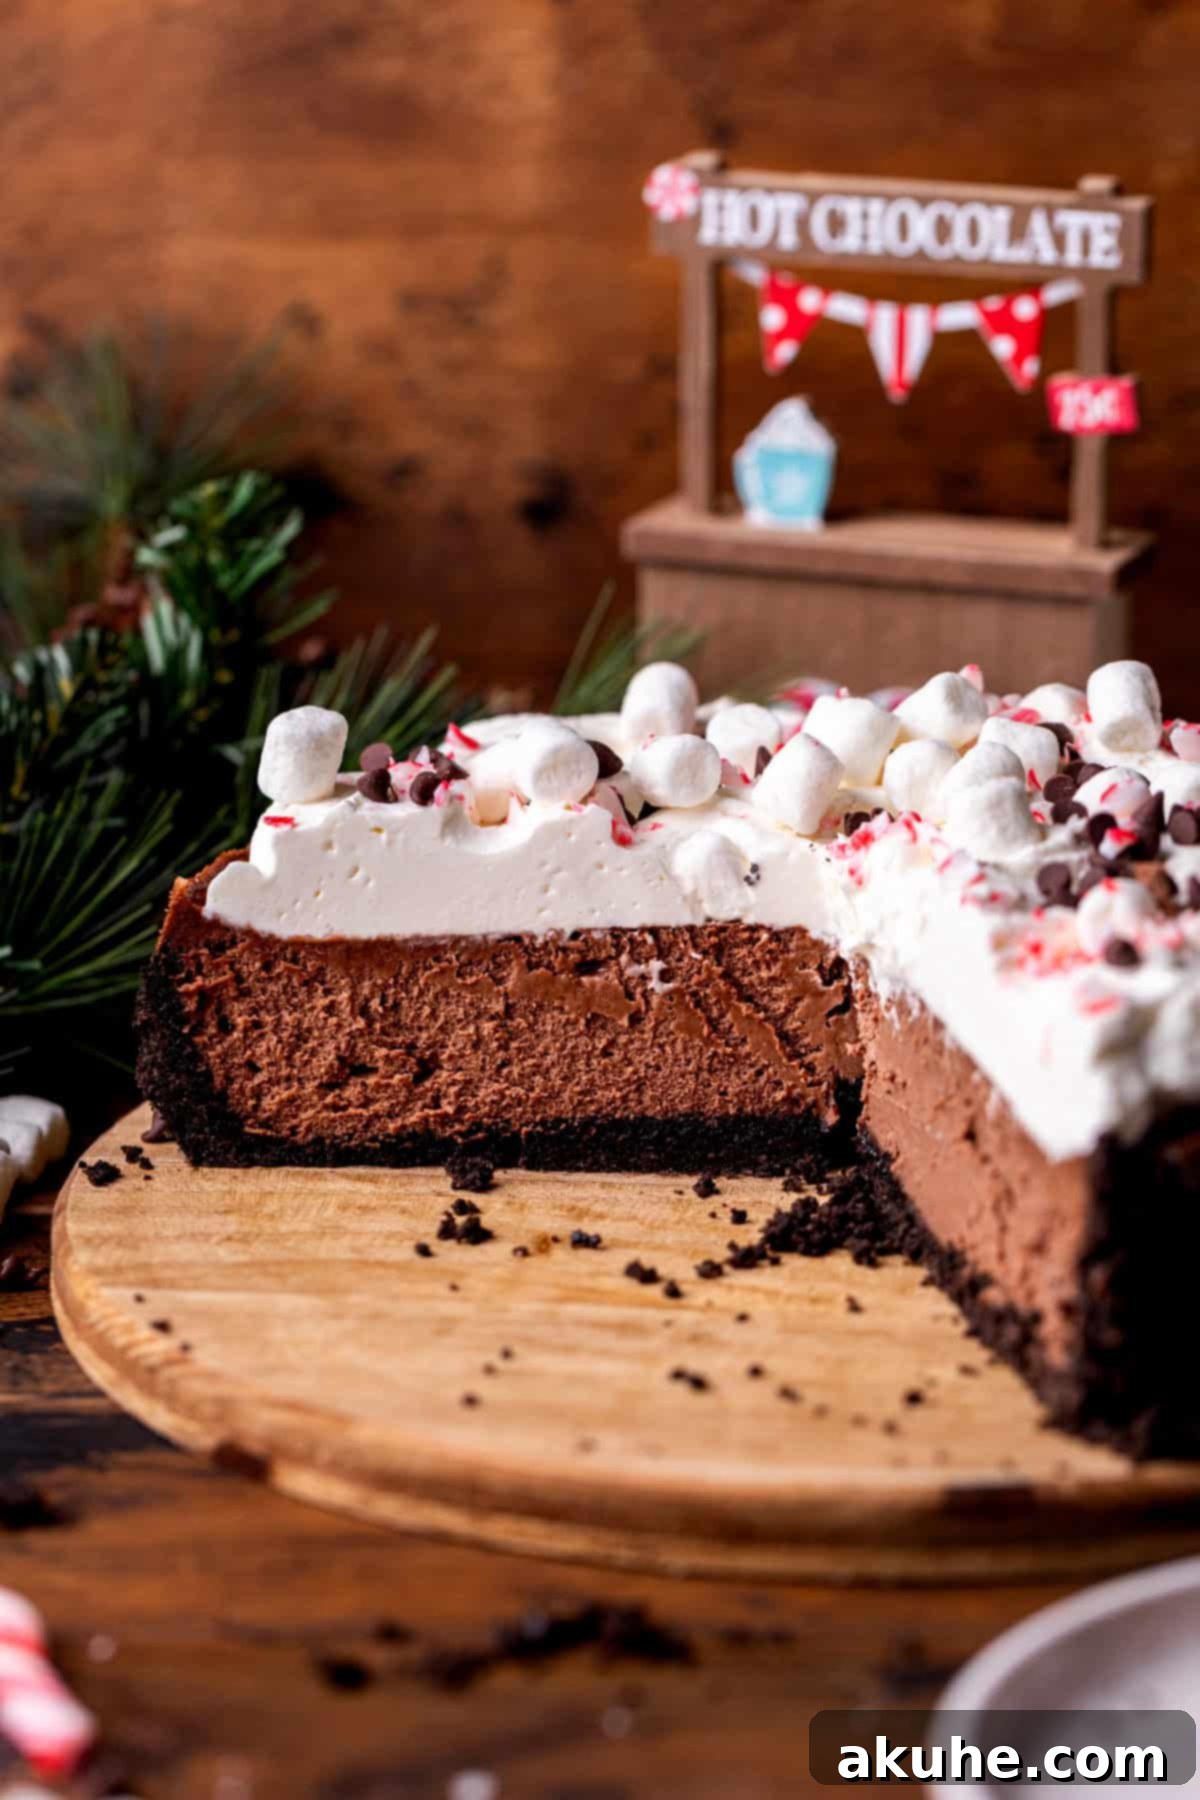
Achieving cheesecake perfection requires a few key techniques. Follow these expert tips to ensure your Hot Chocolate Cheesecake turns out flawlessly smooth, creamy, and free from cracks, just like a professional baker’s creation:
- Tip 1: Always Use Room Temperature Ingredients: This is perhaps the most crucial tip for any cheesecake recipe. Ensure your cream cheese, eggs, sour cream, and heavy cream are at room temperature. Cold ingredients don’t emulsify properly, leading to a lumpy batter and a less smooth final texture. For cream cheese, take it out of the fridge at least two hours before you plan to bake. This helps everything blend seamlessly into a uniform, silky batter.
- Tip 2: Thoroughly Beat the Cream Cheese: Before adding any other ingredients, beat the room temperature cream cheese on its own (or with the sugar) for at least 2-3 minutes on medium-high speed. This incorporates air and breaks down any potential lumps, ensuring a super creamy base. Scrape down the sides of the bowl frequently to catch all those stubborn bits and ensure an even consistency.
- Tip 3: Mix Eggs Gently and Briefly: Once the eggs are added, switch your mixer to a low speed and mix only until they are just combined with the batter. Overmixing the eggs introduces too much air, which causes the cheesecake to puff up rapidly in the oven and then collapse as it cools. This rapid expansion and contraction is the primary culprit behind unsightly cracks in your cheesecake. Use a rubber spatula to gently fold in any remaining streaks by hand if necessary, rather than continuing to mix with the electric mixer.
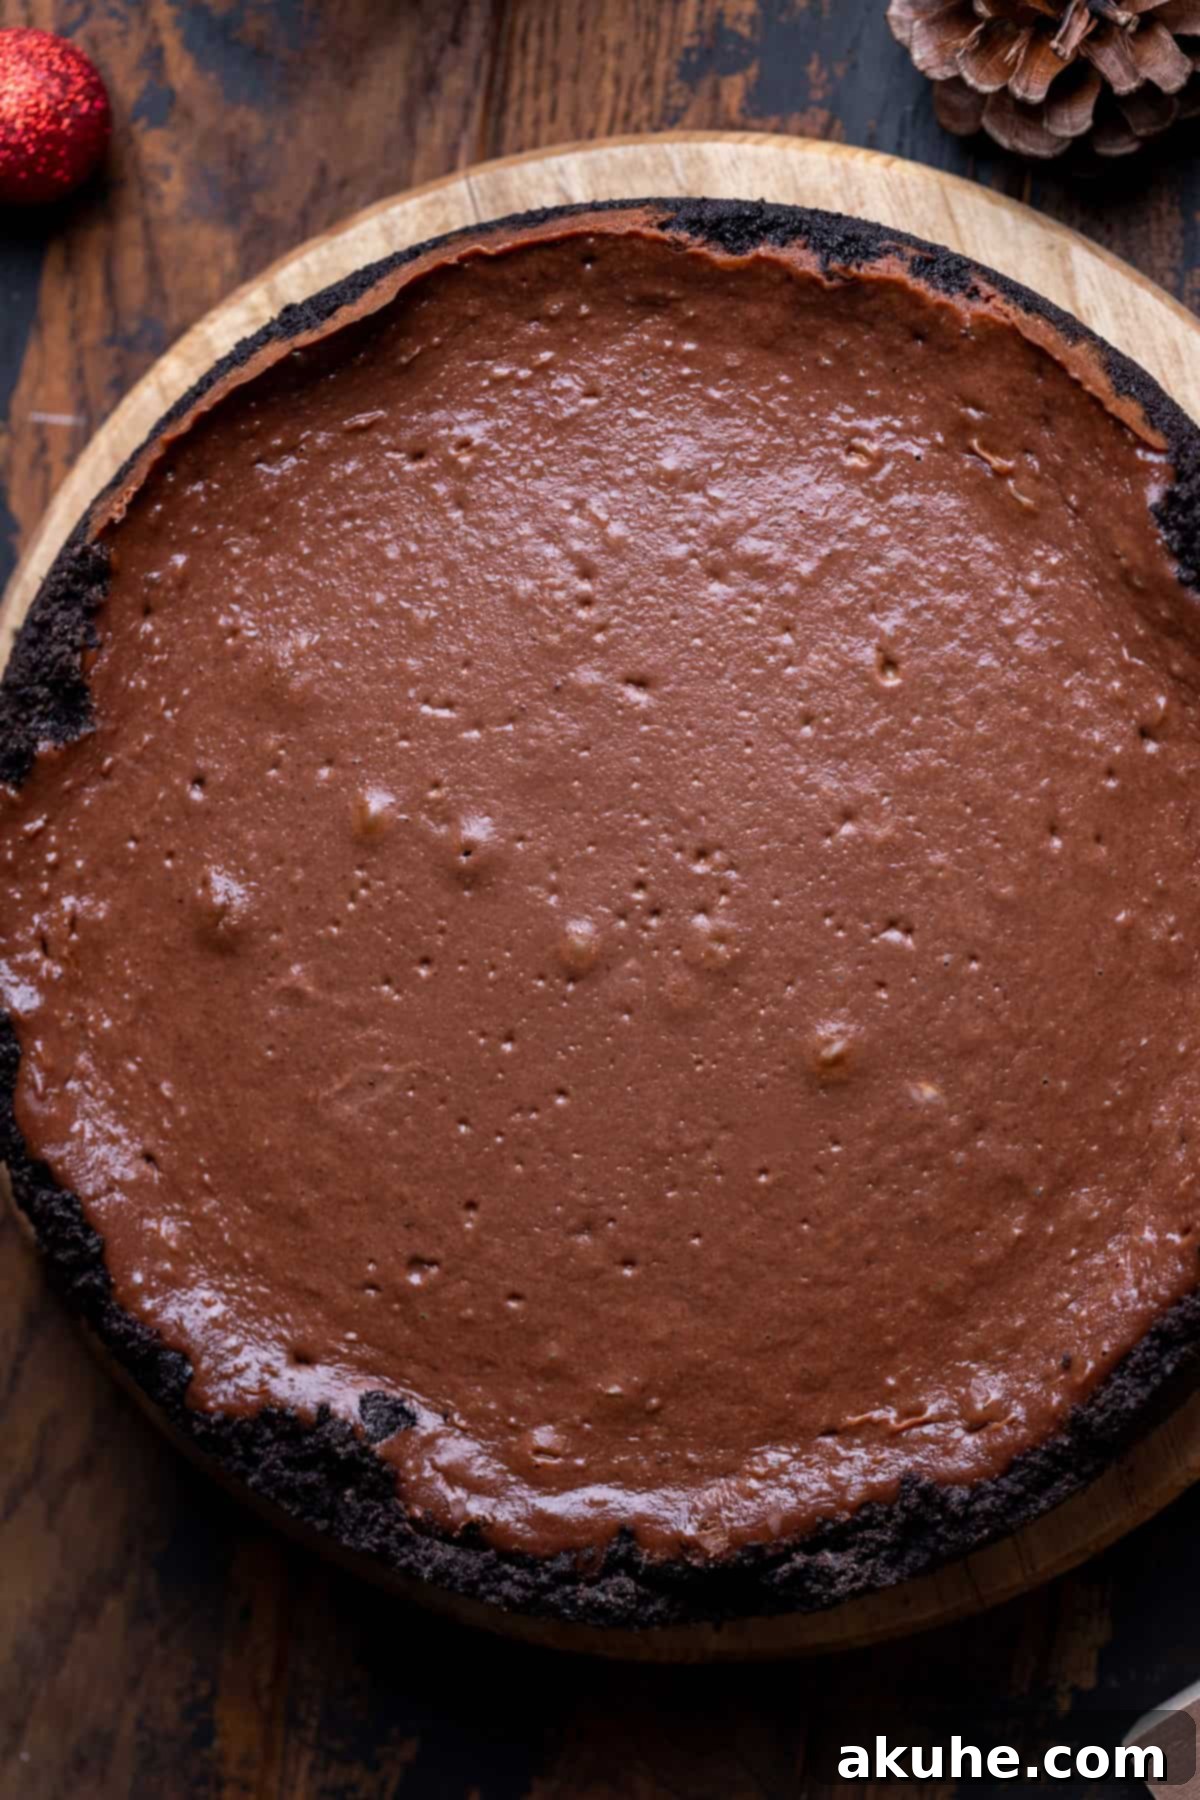
- Tip 4: Don’t Overbake Your Cheesecake: A common mistake is baking cheesecake until it’s completely firm. A perfectly baked cheesecake will still have a slight jiggle in the center (about 2-3 inches in diameter) when gently shaken. The edges should be set, but the middle will look a bit softer. It will continue to cook and set as it cools. Overbaking leads to a dry, cracked cheesecake.
- Tip 5: Gradual Cooling is Key: Sudden temperature changes are detrimental to cheesecakes. After baking, turn off the oven but leave the cheesecake inside with the oven door slightly ajar for at least 30-60 minutes. This allows for a gradual decrease in temperature, preventing thermal shock and minimizing cracks. Only then should you transfer it to a wire rack to cool completely at room temperature, followed by a thorough chill in the refrigerator.
Mastering the Water Bath for Cheesecake Perfection
The water bath, also known as a bain-marie, is an essential technique for baking cheesecakes, and it’s key to achieving that signature smooth, creamy texture and preventing cracks. The principle behind it is simple yet effective: the steam created by the hot water bath provides a moist, gentle cooking environment that helps the cheesecake bake evenly and slowly. Without this moisture, the dry heat of the oven can cause the cheesecake to cook too quickly, leading to an overly firm texture and inevitable cracks on the surface. Here are two reliable techniques for setting up your water bath, both utilizing a large roasting pan filled with hot, steaming water:
- The Double-Pan Method (My Preferred Choice): This technique offers the ultimate protection against water seeping into your crust. Begin by placing your springform pan (which contains your cheesecake batter) inside a slightly larger, solid cake pan – typically a 10-inch round cake pan works well for a 9-inch springform. Then, place this assembly into your large roasting pan. Carefully fill the roasting pan with hot tap water or freshly boiled water, ensuring it comes about halfway up the sides of the outer cake pan. This method creates a double barrier, making it nearly impossible for any water to reach your delicate Oreo crust. It’s incredibly reliable and simplifies the baking process, eliminating concerns about a soggy bottom.
- The Foil-Wrap Method: If you don’t have a secondary cake pan, this method can also be effective, though it requires meticulous wrapping. Start by tightly wrapping the bottom and sides of your springform pan with two layers of heavy-duty aluminum foil. Ensure there are no gaps or tears. Then, carefully place the foil-wrapped springform pan directly into the roasting pan. Fill the roasting pan with hot water, again bringing it about halfway up the sides of the foil-wrapped springform pan. While this method often works well, there’s always a slight chance of water finding a tiny gap in the foil, potentially leading to a slightly soggy crust. This is why the double-pan method is generally preferred for its superior security.
Whichever method you choose, remember that the goal is to create a steamy, protective shield around your cheesecake, ensuring a tender crumb and a flawless surface. Once you master this technique, you’ll consistently produce cheesecakes that are truly bakery-worthy.
Elevating Your Dessert: How to Decorate This Homemade Cheesecake
The final touches truly transform a delicious cheesecake into a work of art. Before you even think about decorating, it’s absolutely crucial that your cheesecake is fully cooled and thoroughly chilled – ideally overnight in the refrigerator. Attempting to move or decorate a cheesecake before it’s completely set will almost certainly result in it falling apart or developing unsightly cracks. Patience is a virtue when it comes to cheesecake!
Once your cheesecake is perfectly chilled and firm, it’s time for careful removal from the pan. First, gently release and remove the sides of your springform pan. Next, for the cleanest presentation, you’ll need to carefully separate the cheesecake from the base. A common technique is to slide a thin, sharp knife around the very bottom edge where the crust meets the pan base. Then, gently tip the cheesecake onto its side, allowing you to slide the bottom plate out from underneath. At this point, make sure to also carefully peel away any parchment paper that was lining the bottom of the pan – this ensures a smooth, clean crust for serving.
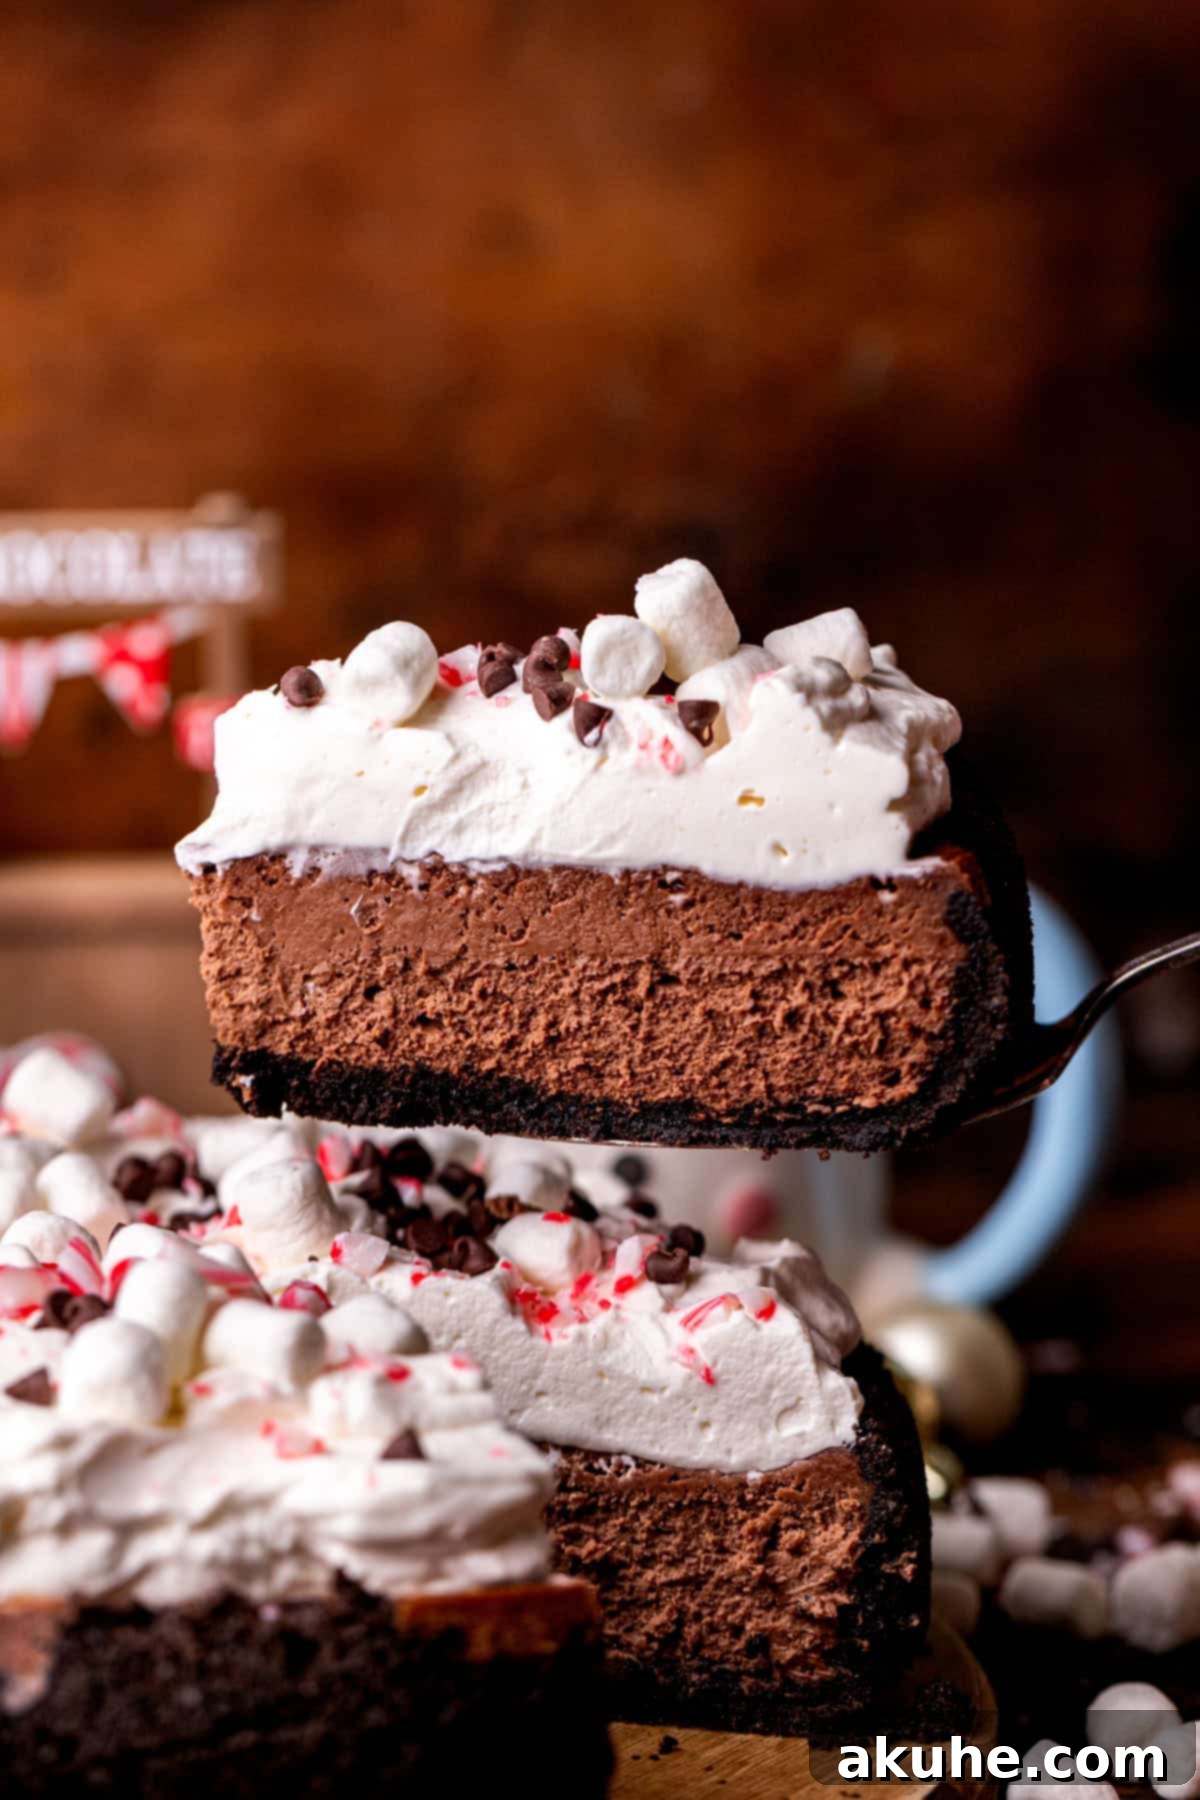
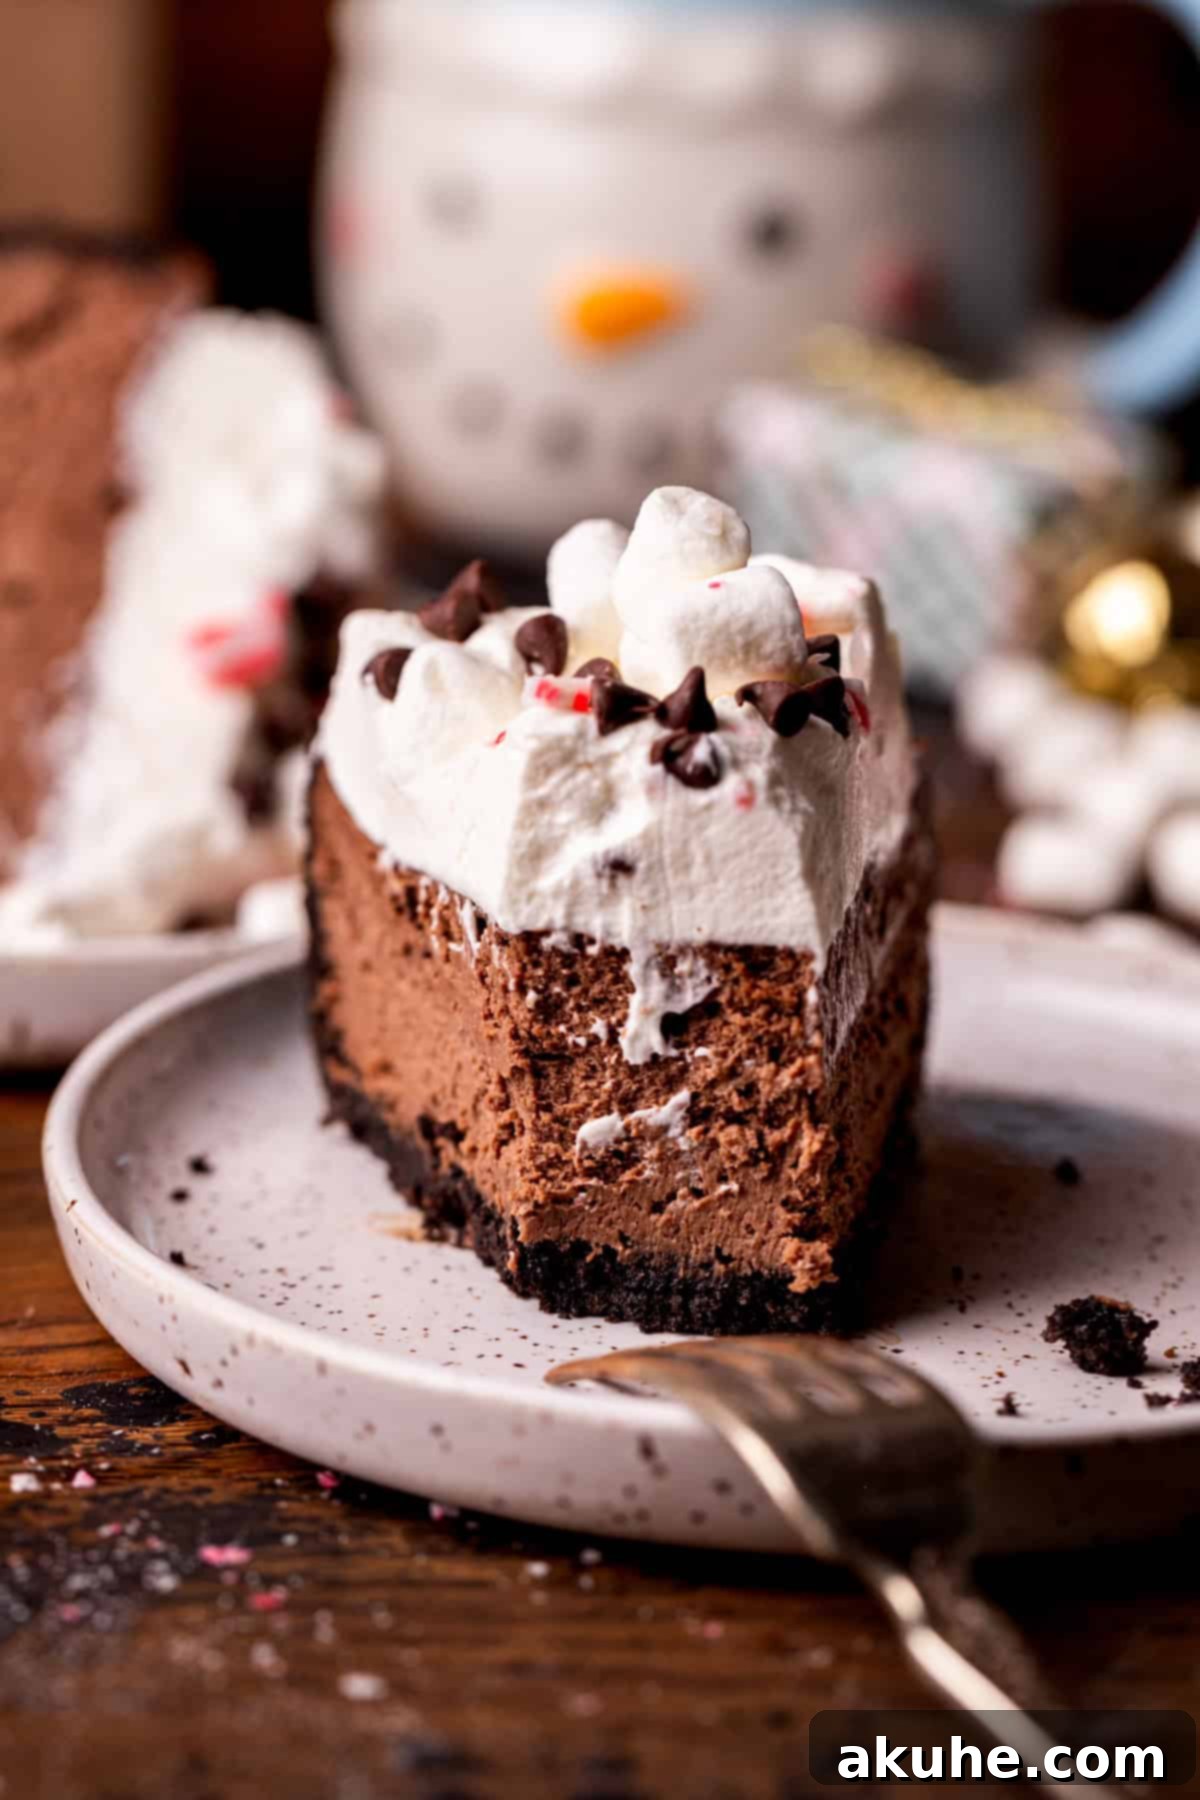
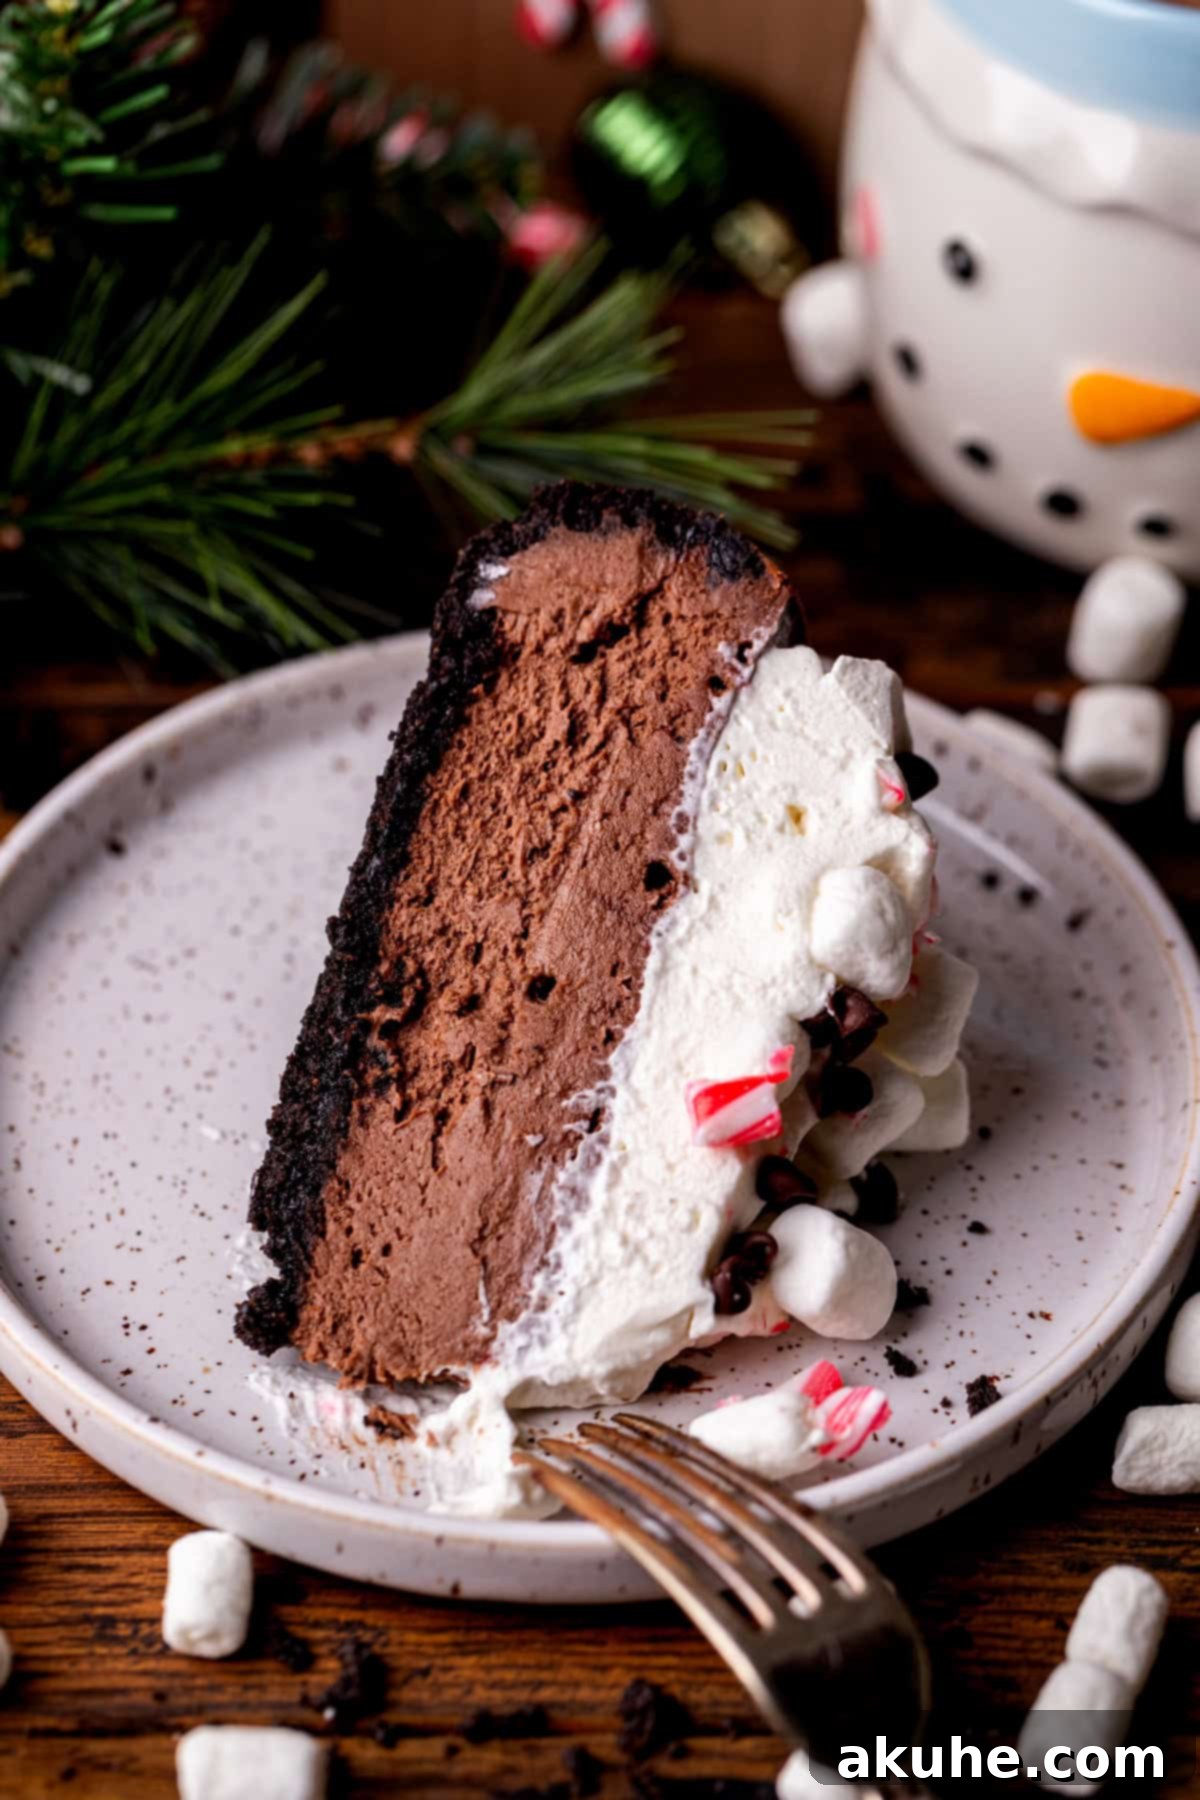
With your beautifully prepared cheesecake ready, it’s time to add the crowning glory: whipped cream. Generously scoop the homemade whipped cream onto the top of the cheesecake. You can then use the back of a spoon or an offset spatula to spread it smoothly across the surface, creating a lovely, pillowy mound. This simple topping is wonderfully elegant on its own.
However, if you wish to “take it up a notch” and truly capture the festive hot chocolate vibe, the possibilities for decoration are endless and exciting! Consider sprinkling a generous handful of mini marshmallows over the whipped cream for that classic hot chocolate feel. A scattering of mini chocolate chips will add an extra layer of chocolatey goodness and visual appeal. For a touch of holiday sparkle and a refreshing minty crunch, crushed candy canes are an excellent addition. Beyond these, you might also explore other delightful options such as delicate chocolate curls, a decadent drizzle of rich chocolate sauce or caramel, or even a dusting of cocoa powder through a stencil for a sophisticated pattern. The key is to have fun and make it your own, creating a dessert that’s as beautiful to look at as it is delicious to eat!
Hot Chocolate Cheesecake: Frequently Asked Questions
Can I make this into mini cheesecakes?
Absolutely! This recipe adapts beautifully to mini cheesecakes, perfect for individual servings or dessert buffets. To create 12 delightful mini cheesecakes, simply divide the batter into thirds. Prepare a muffin pan by lining it with paper liners. Fill each liner about two-thirds full with the cheesecake batter. The baking time will be significantly reduced, typically 18-20 minutes, or until the centers are just set. For more detailed instructions on baking mini cheesecakes, including tips on crust preparation and cooling for smaller sizes, you can refer to a dedicated guide on mini Oreo cheesecakes.
What other pans can I use for this recipe?
Flexibility is key! While a 9-inch springform pan is recommended for the full recipe, you have several alternative options. You can halve the recipe to make delicious hot chocolate cheesecake bars. Simply use an 8×8 or 9×9 inch square baking pan, line it with parchment paper for easy removal, and adjust baking times accordingly as the thinner batter will bake faster. For a smaller round cheesecake, an 8-inch springform pan will work well with the full recipe, though you might need to increase the baking time slightly. If you wish to use a 6-inch springform pan, you should halve the recipe to prevent overflow and ensure proper baking. Remember, for any pan size adjustment, keep an eye on the cheesecake as it bakes, as thinner cheesecakes will bake more quickly.
How do I achieve the perfect, clean slice?
A pristine slice elevates the presentation of your cheesecake dramatically. The secret lies in two simple steps: First, ensure your cheesecake is very cold, preferably having chilled in the refrigerator for at least 6-8 hours, or even overnight. A well-chilled cheesecake is much firmer and less likely to stick to your knife. Second, use a sharp, thin knife. For the cleanest cuts, dip your knife in hot water and wipe it clean with a towel before each slice. This warms the blade slightly, allowing it to glide through the creamy cheesecake without dragging or tearing, leaving you with beautifully neat slices every time.
What are the best ways to store this hot chocolate cheesecake?
Proper storage is essential to maintain the freshness and flavor of your cheesecake. Store the baked and chilled hot chocolate cheesecake in the refrigerator within an airtight container, such as a cake carrier. This will keep it fresh and delicious for up to 5 days. For longer storage, this cheesecake freezes wonderfully. You can freeze individual slices by wrapping each tightly in plastic wrap, then placing them in an airtight freezer-safe container. They will keep well in the freezer for up to 30 days. Thaw individual slices at room temperature for 1-2 hours before serving. Alternatively, you can freeze the entire cheesecake before decorating. Once the cheesecake has fully cooled and chilled overnight in the refrigerator, wrap it tightly in several layers of plastic wrap and then aluminum foil. Freeze for up to 30 days. When ready to serve, thaw the whole cheesecake in the refrigerator overnight, or at room temperature for 1-2 hours, before proceeding with the whipped cream and decorations.
Discover More Festive Holiday Recipes
If you’re enchanted by the magic of holiday baking, you’ll love exploring these other delightful recipes perfect for celebrating the season:
- Sugar Cookie Cheesecake
- Chocolate Crinkle Cookies
- Chocolate Peppermint Cheesecake
- Grinch Cake
- Snowman Cookies
We hope you adore this Hot Chocolate Cheesecake as much as we do! If you loved this recipe, please consider leaving a STAR REVIEW below. Your feedback means the world to us and helps other bakers discover this wonderful treat. We’d also love to see your creations! Make sure to tag us on Instagram @stephaniesweettreats. For more inspiring baking ideas and delicious desserts, follow us on Pinterest.
Hot Chocolate Cheesecake
This hot chocolate cheesecake is perfect for the holidays. It has an Oreo crust, a baked hot chocolate cheesecake (uses hot cocoa mix), and topped with a big pile of whipped cream.
Print Recipe
Pin Recipe
Leave a Review
45
1
20
6
8
5
16 slices
Ingredients
Oreo Crust
- 3 cups Oreos, fine crumb.
- 5 TBSP Unsalted butter, melted
Hot Chocolate Cheesecake
- 24 oz Cream cheese, room temperature
- 3/4 cup White granulated sugar
- 1/2 cup Hot cocoa mix, 2 packets
- 1/3 cup Unsweetened cocoa powder
- 1/2 cup Sour cream, room temperature
- 1/4 cup Heavy cream, room temperature
- 1 tsp Pure vanilla extract
- 4 Large eggs, room temperature
Whipped Cream
- 1 1/2 cups Heavy cream, cold
- 1/4 cup Powdered sugar
- 1 tsp Pure vanilla extract
Instructions
Oreo Crust
- Preheat the oven to 325℉. Spray a 9-inch springform pan with baking spray. Line the bottom of the pan with a parchment paper circle and spray again.
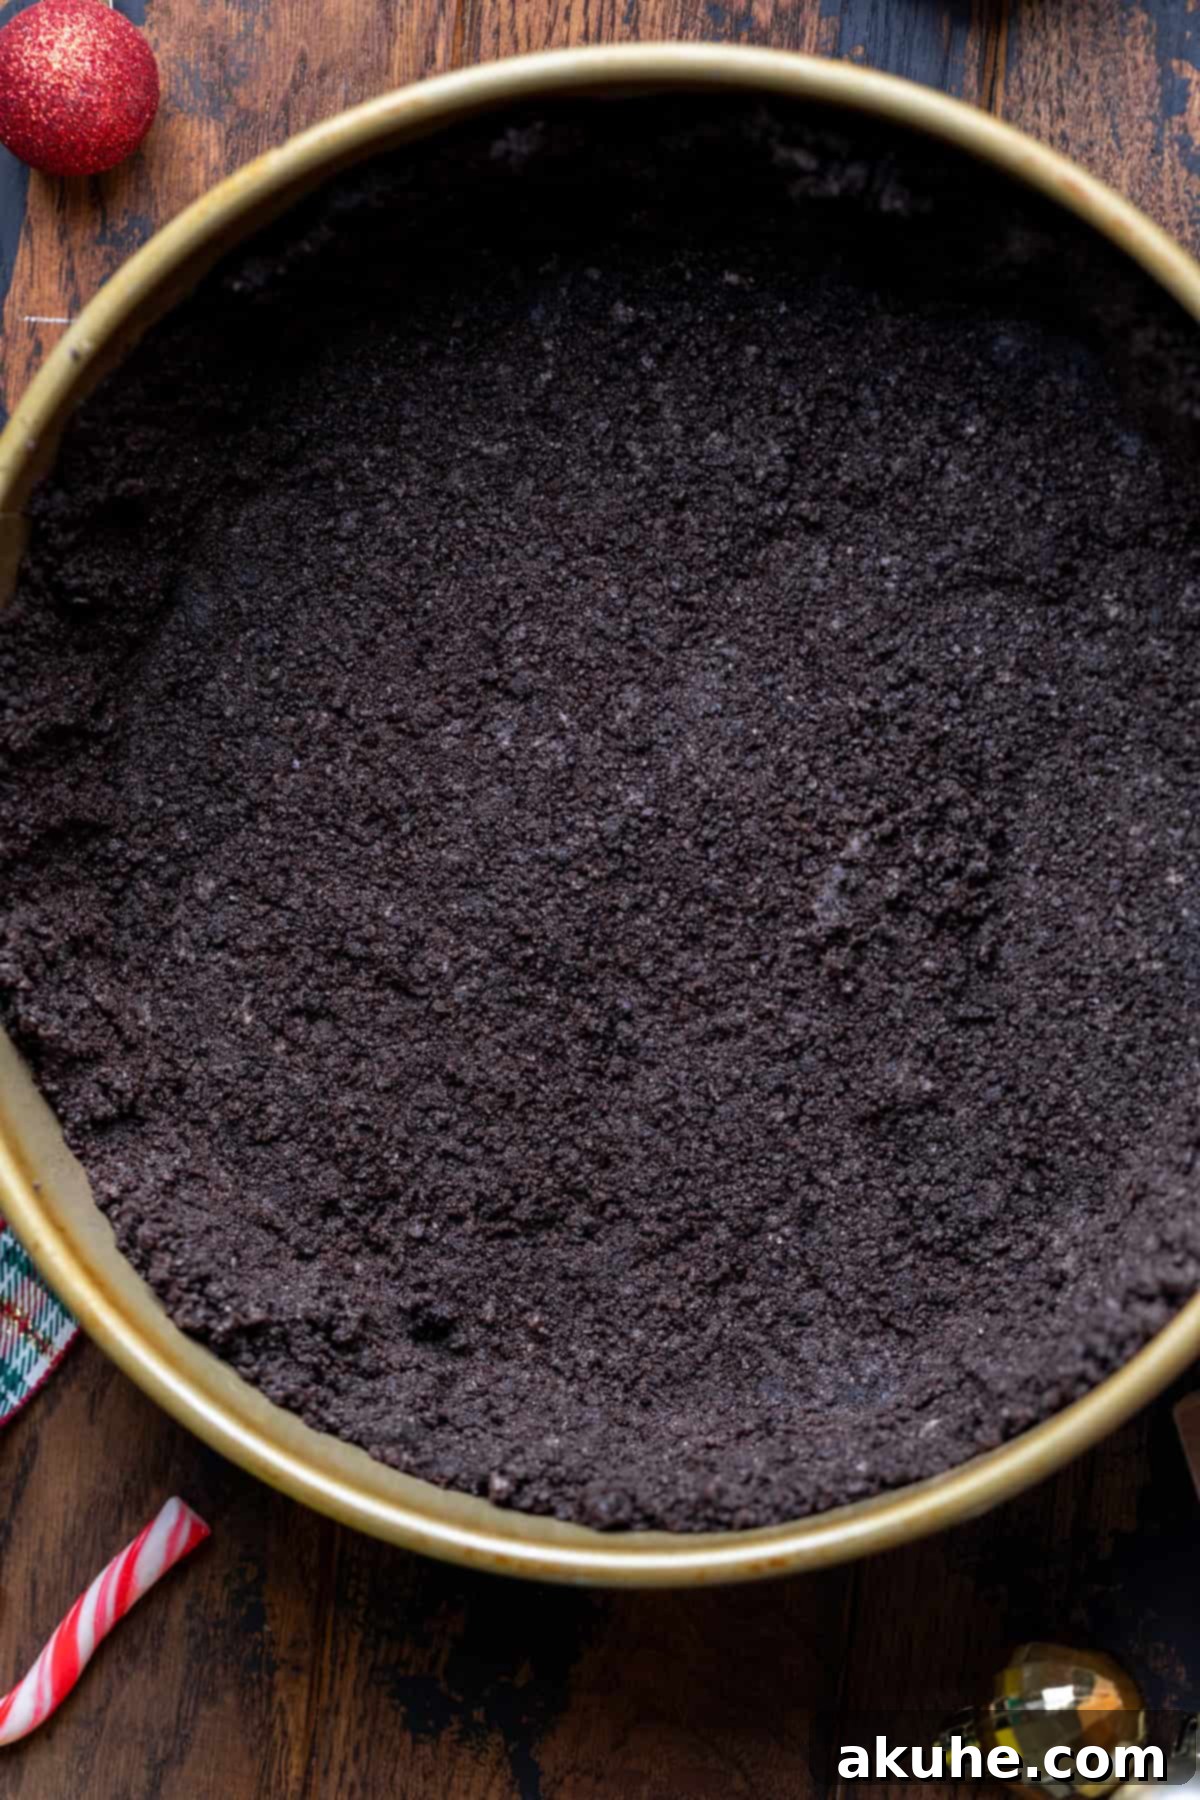
- Using a food processor, blend the Oreos into a fine crumb. In a small bowl, mix the Oreo crumbs and melted butter using a fork.
- Pour crumbs into the prepared pan. Use your hands to press the crust halfway up the sides of the pan. Use the bottom of a measuring cup to compact the bottom of the crust.
- Bake for 11 minutes.
Hot Chocolate Cheesecake
- Using a mixer, beat the cream cheese and sugar on high speed for 2 minutes. Scrape the bowl using a rubber baking spatula.
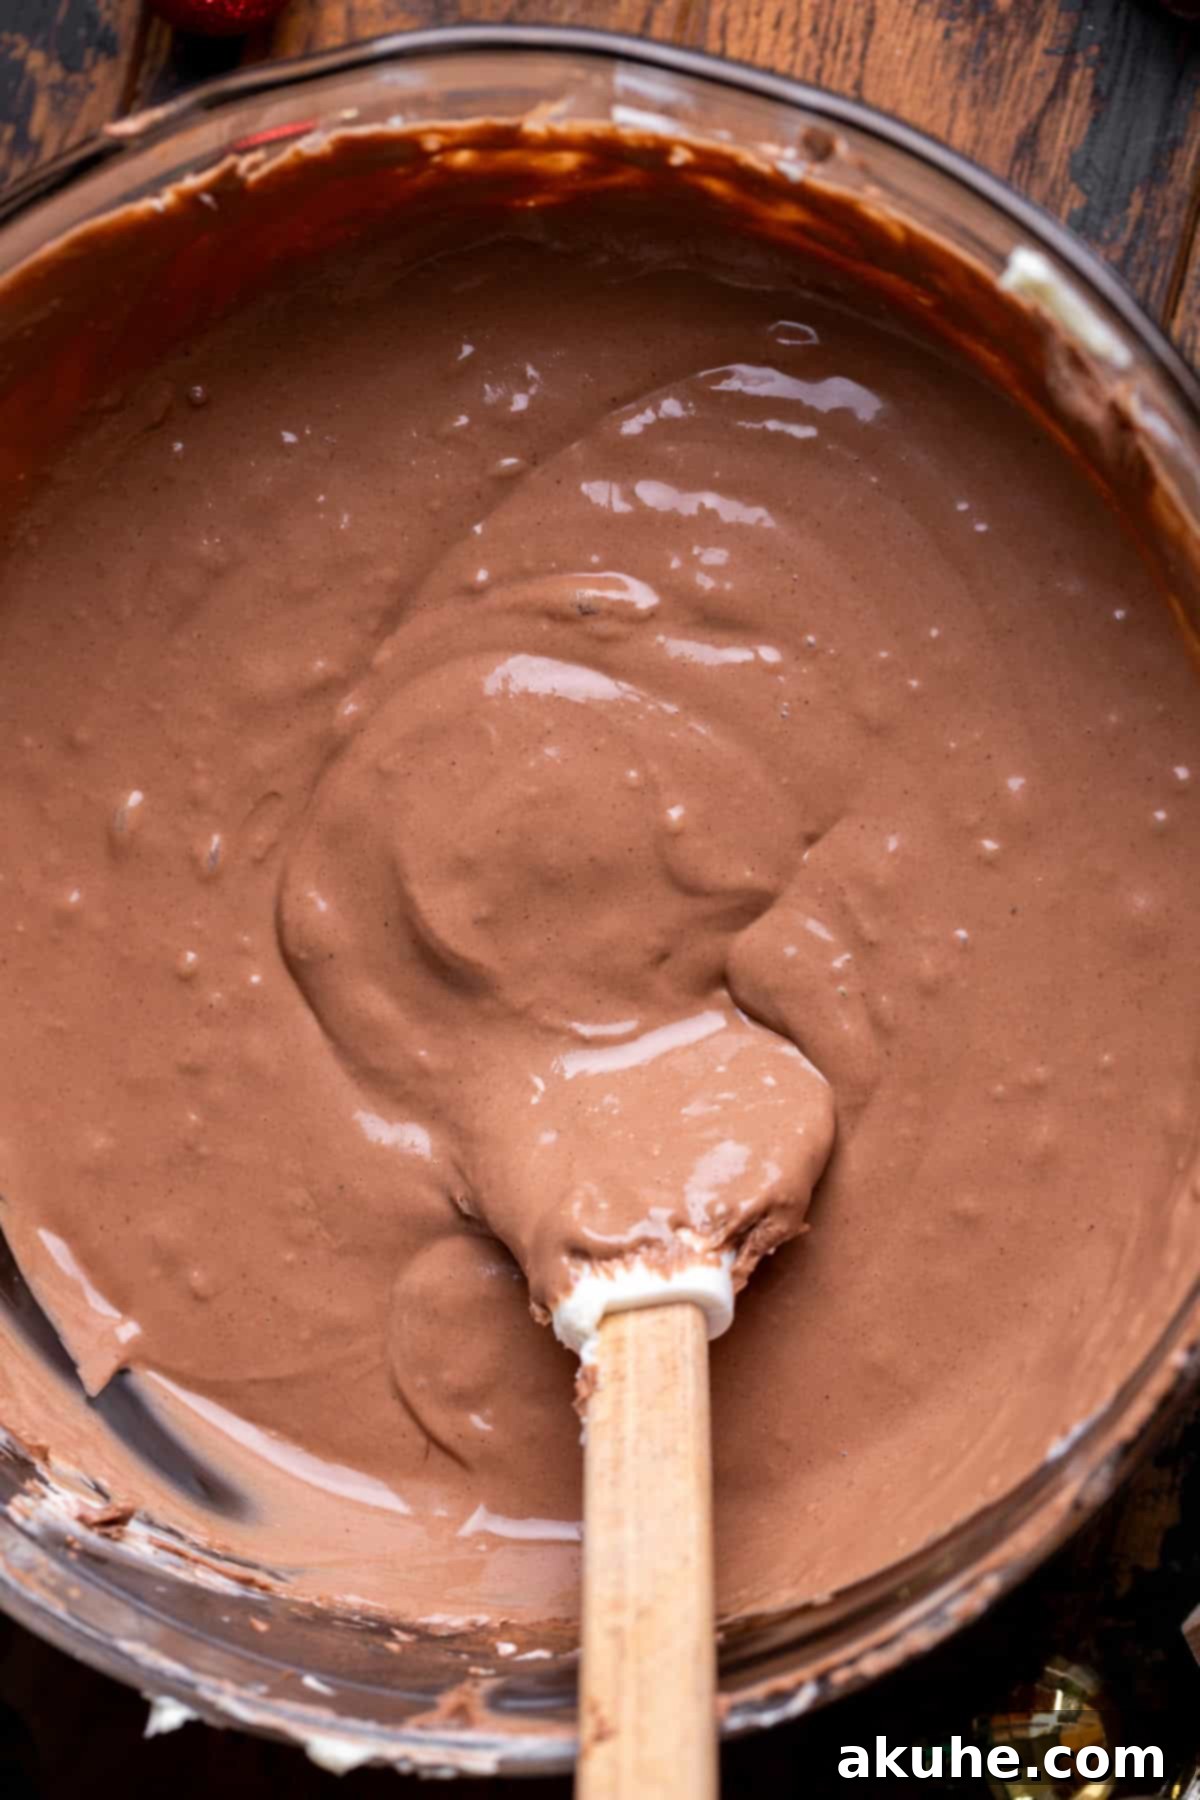
- Add in the hot cocoa mix, cocoa powder, sour cream, heavy cream, and vanilla. Mix on medium speed and mix until combined. You might need to scrape the bowl to make sure it is all mixed together.
- Add in the eggs and mix on low speed until just combined. Take off the mixer and use mix using the spatula.
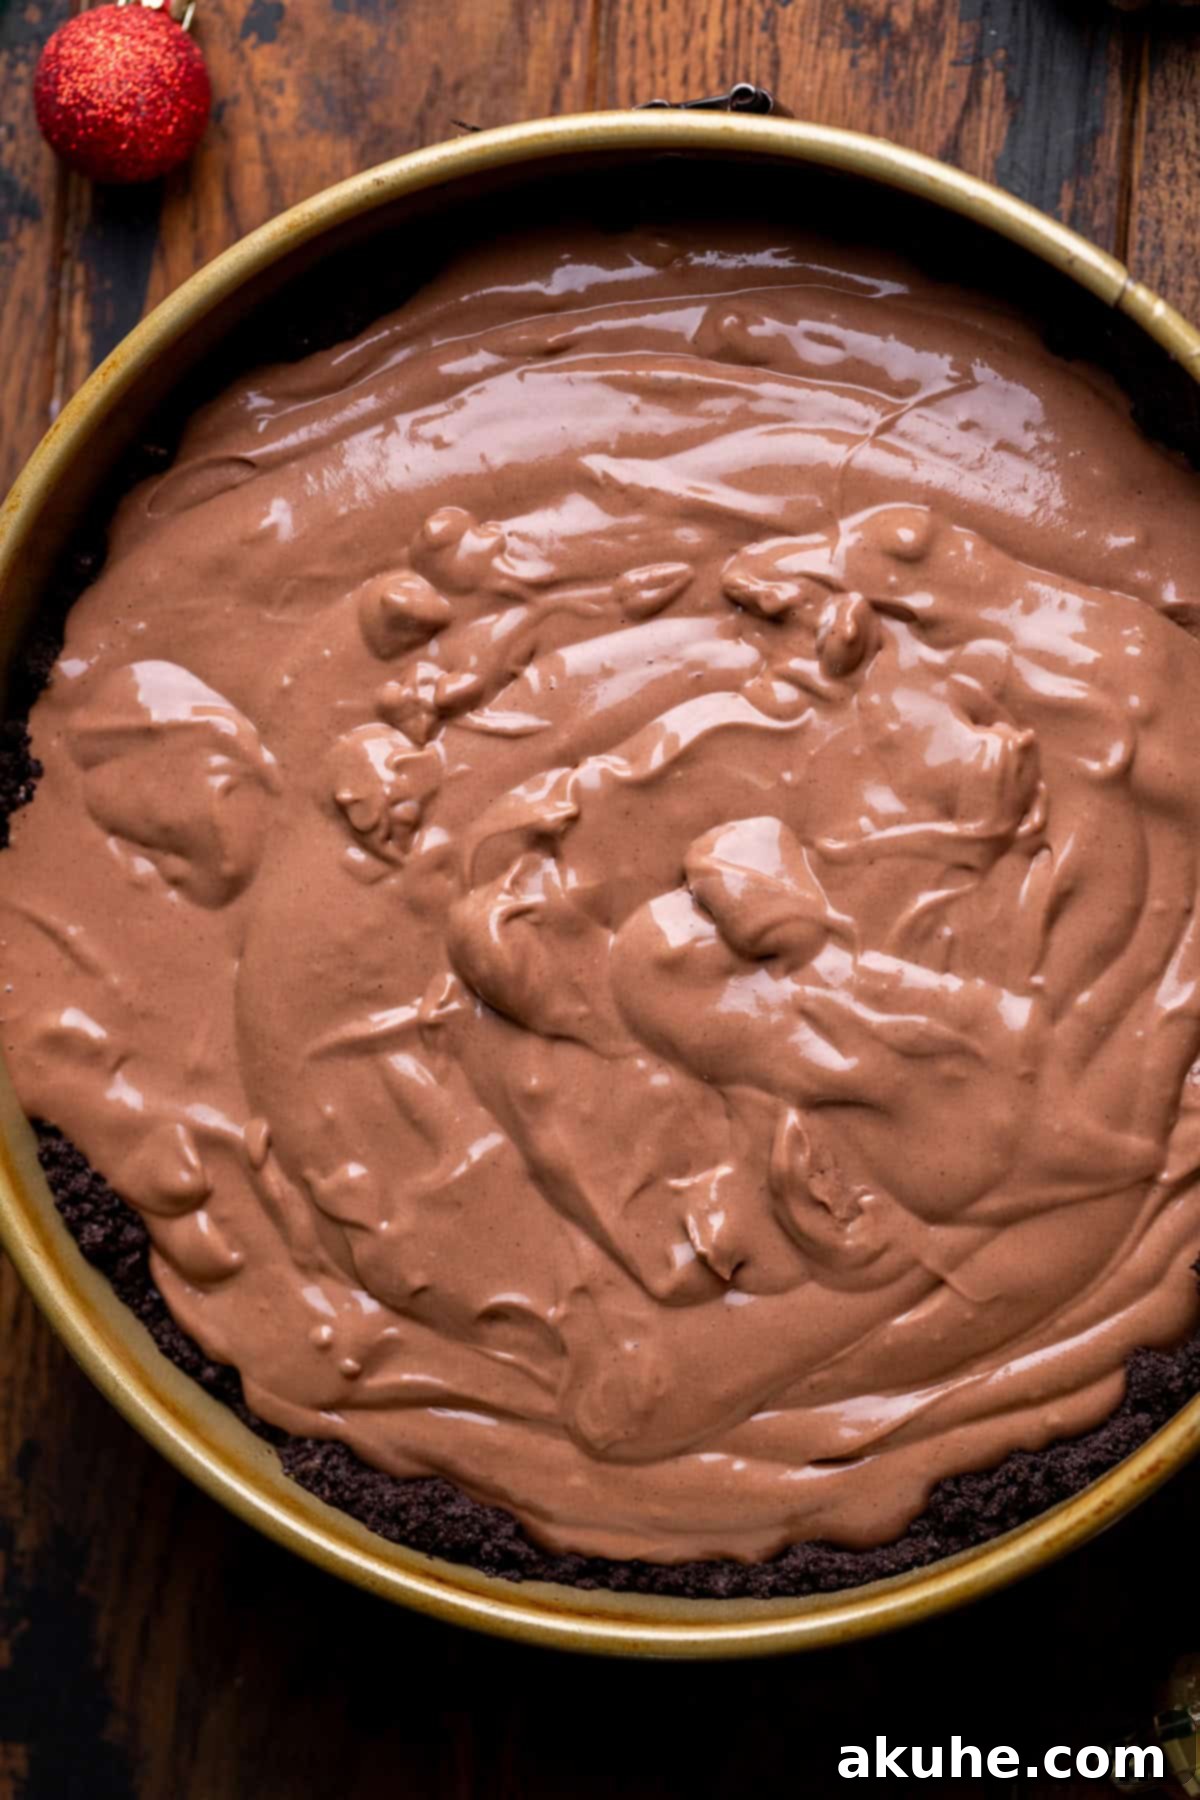
- Pour the batter on top of the baked crust. Start the water bath.
- Water bath. Use one of these methods for a water bath. Both methods use a large roasting pan and hot steaming water.
1. Place the springform pan in a 10 inch cake pan. Place the cake pan in the roasting pan and fill with hot water halfway up the cake pan. This method prevents water from getting into the crust.
2. Wrap the springform pan tightly twice in aluminum foil. Place the springform pan inside the roasting pan. Fill with hot water halfway up the springform pan. This method works great, but can sometimes leak water into the crust. - Bake for 75-85 minutes. Bake until the edges are set and the middle has a slight jiggle.
- Turn off the oven, crack open the door, and let it slowly cool for 30 minutes. Then, transfer hot pan to the cooling rack to cool completely.
- Cover with foil and chill for at least 6 hours or overnight.
Whipped Cream
- Using a metal bowl with a whisk attachment, add in heavy cream, powdered sugar, and vanilla. Beat on high speed until medium peaks form.
- Take out the cheesecake, remove the pan and parchment paper, and top with the whipped cream. Optional: I added mini marshmallows, mini chocolate chips, and crushed candy canes as decoration on top.
Notes
Pull out dairy ingredients 2 hours before baking.
Calories: 479kcal
,
Carbohydrates: 40g
,
Protein: 6g
,
Fat: 36g
,
Saturated Fat: 20g
,
Polyunsaturated Fat: 2g
,
Monounsaturated Fat: 10g
,
Trans Fat: 0.2g
,
Cholesterol: 86mg
,
Sodium: 292mg
,
Potassium: 189mg
,
Fiber: 2g
,
Sugar: 27g
,
Vitamin A: 1109IU
,
Vitamin C: 0.2mg
,
Calcium: 79mg
,
Iron: 4mg
Did you make this recipe?
Please leave a star rating and review below!
