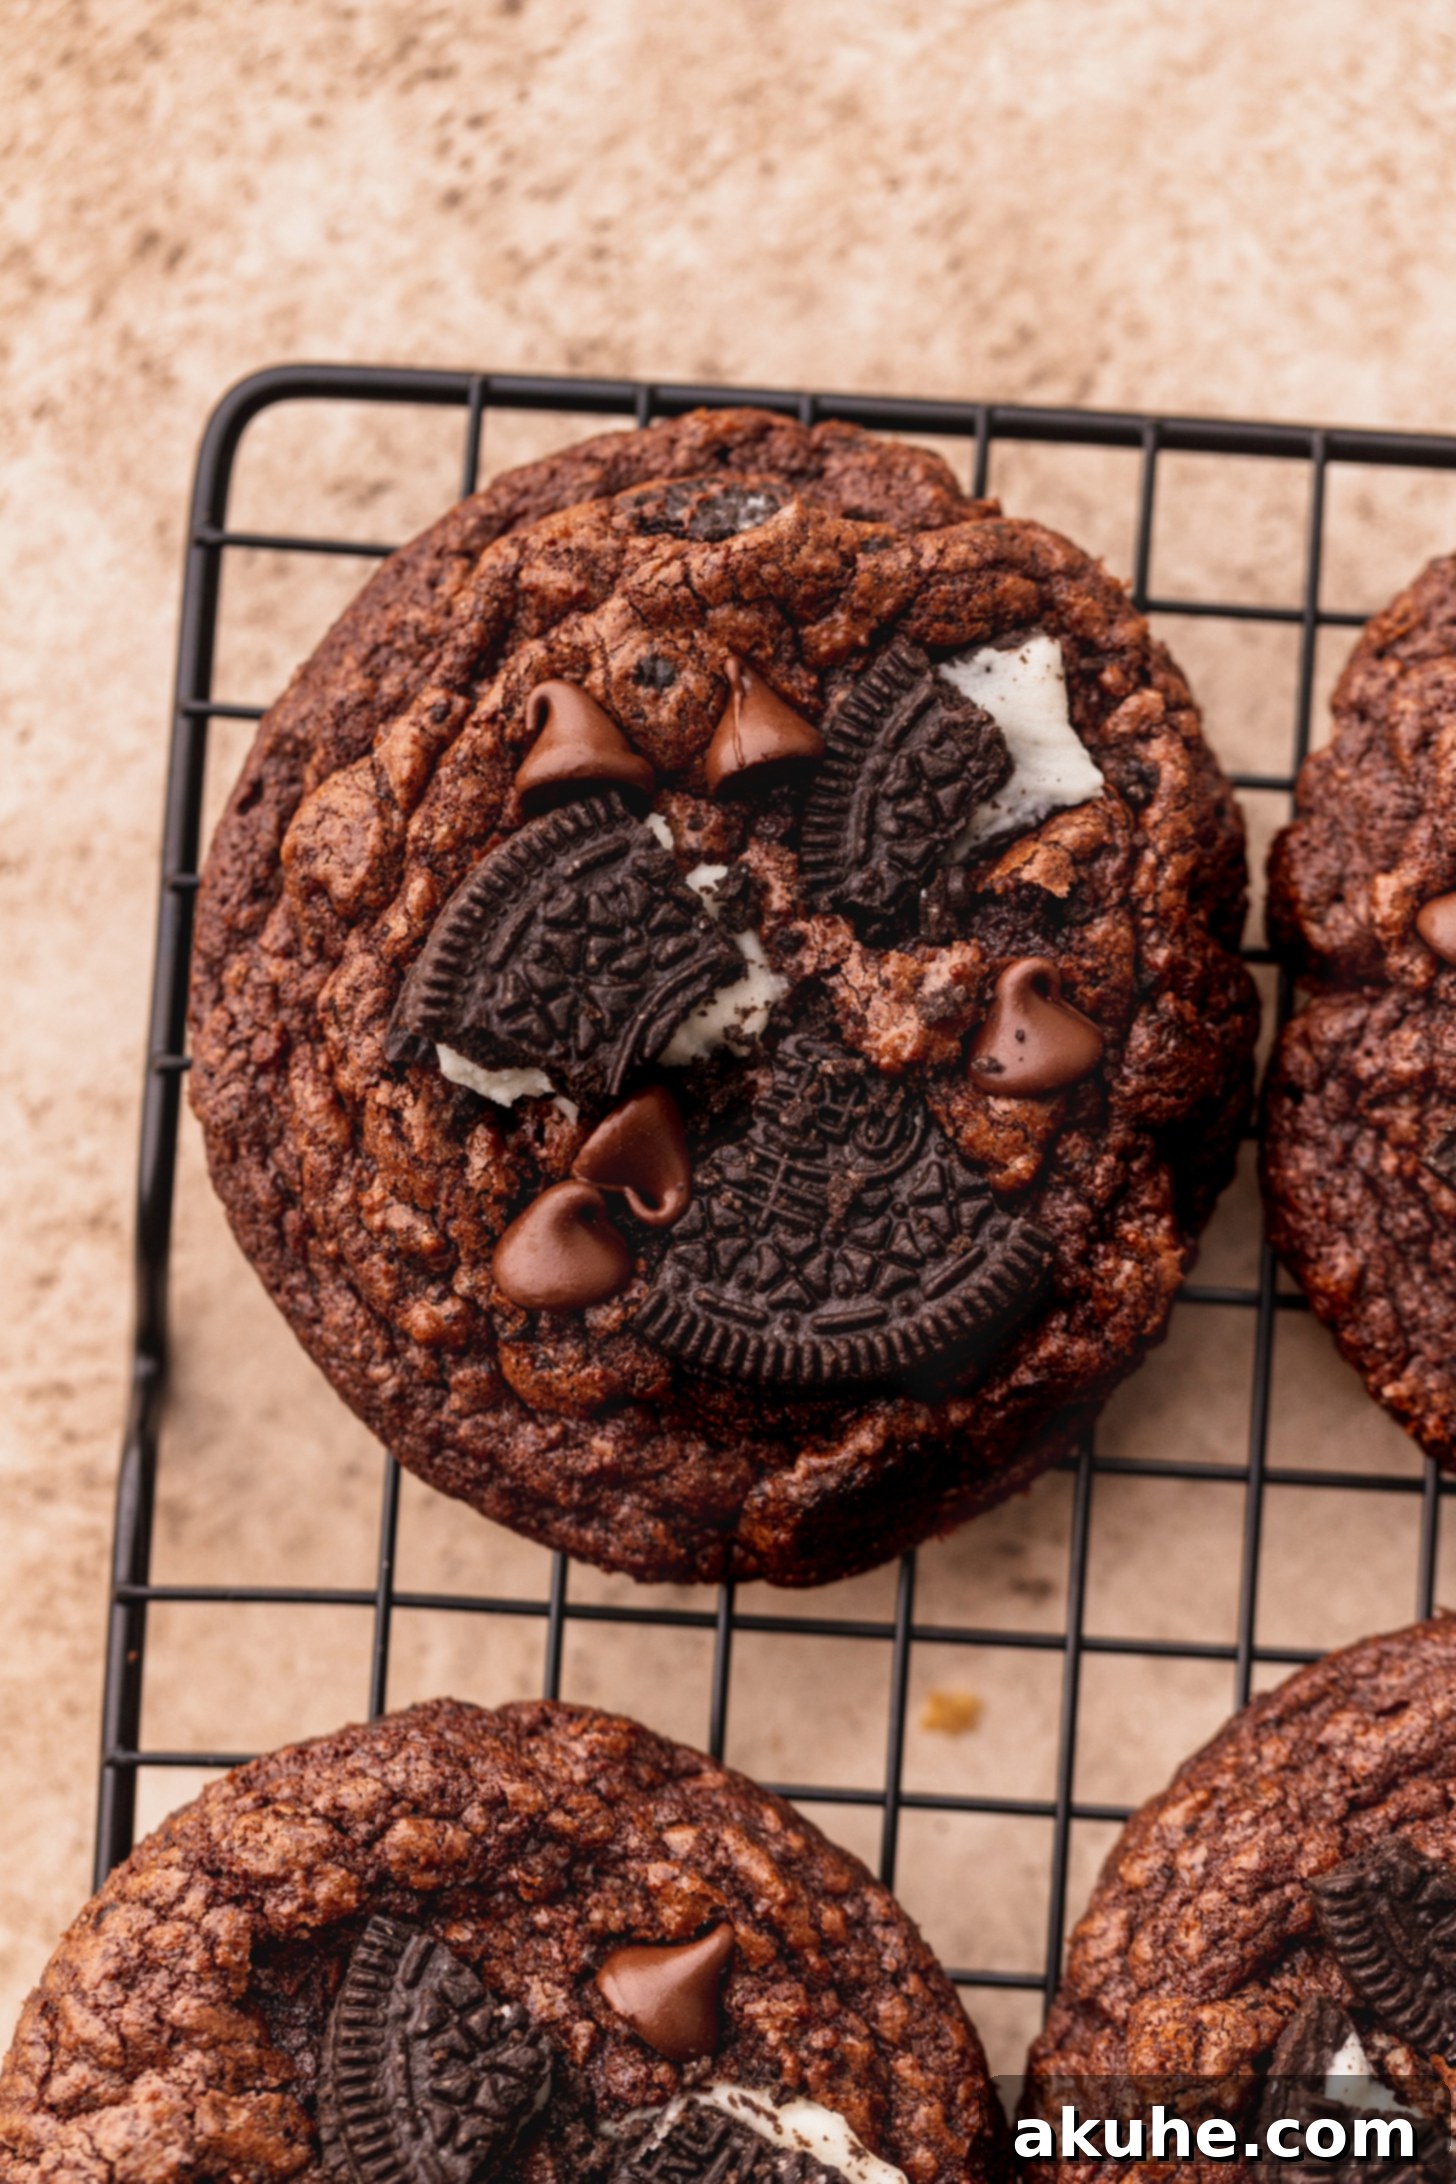
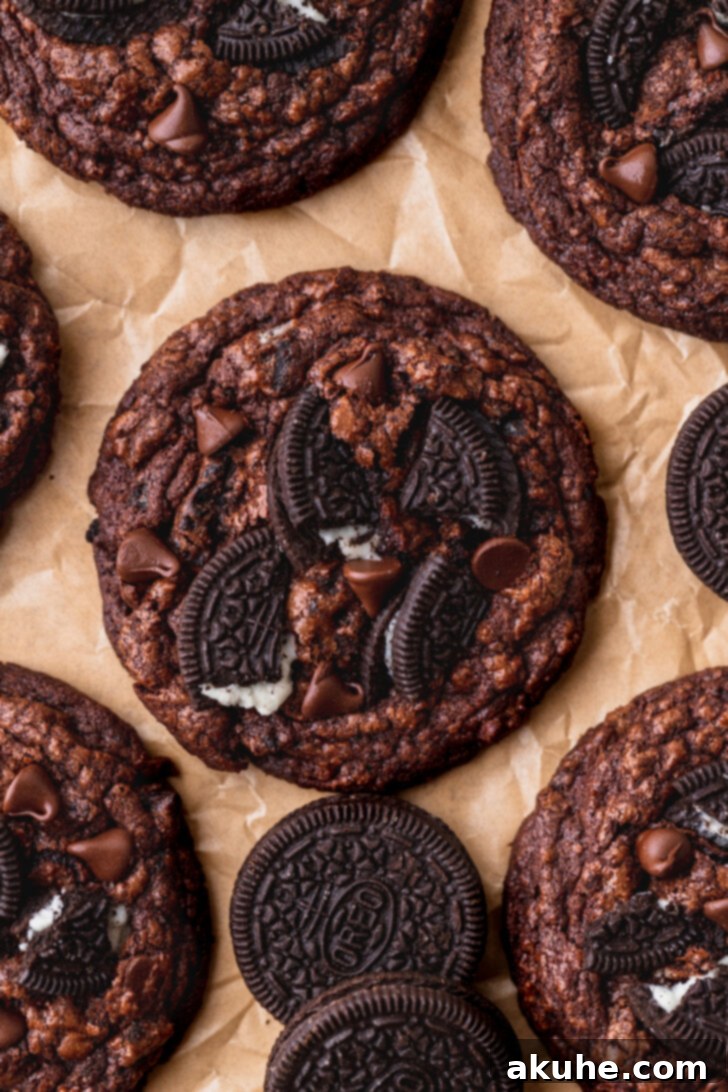
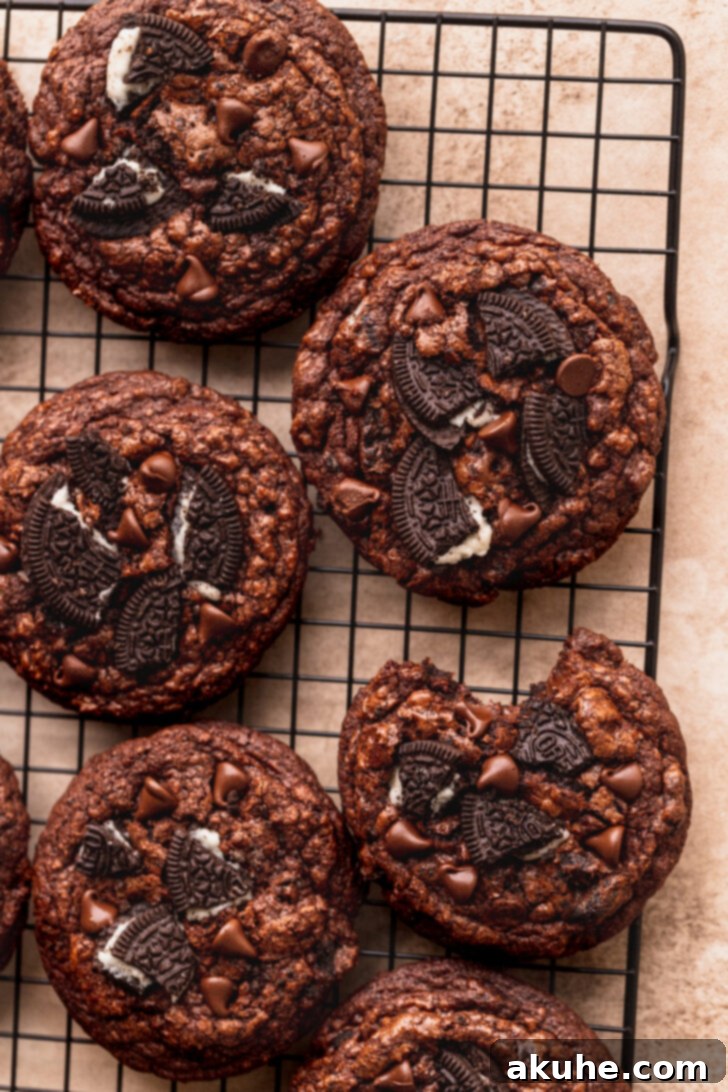
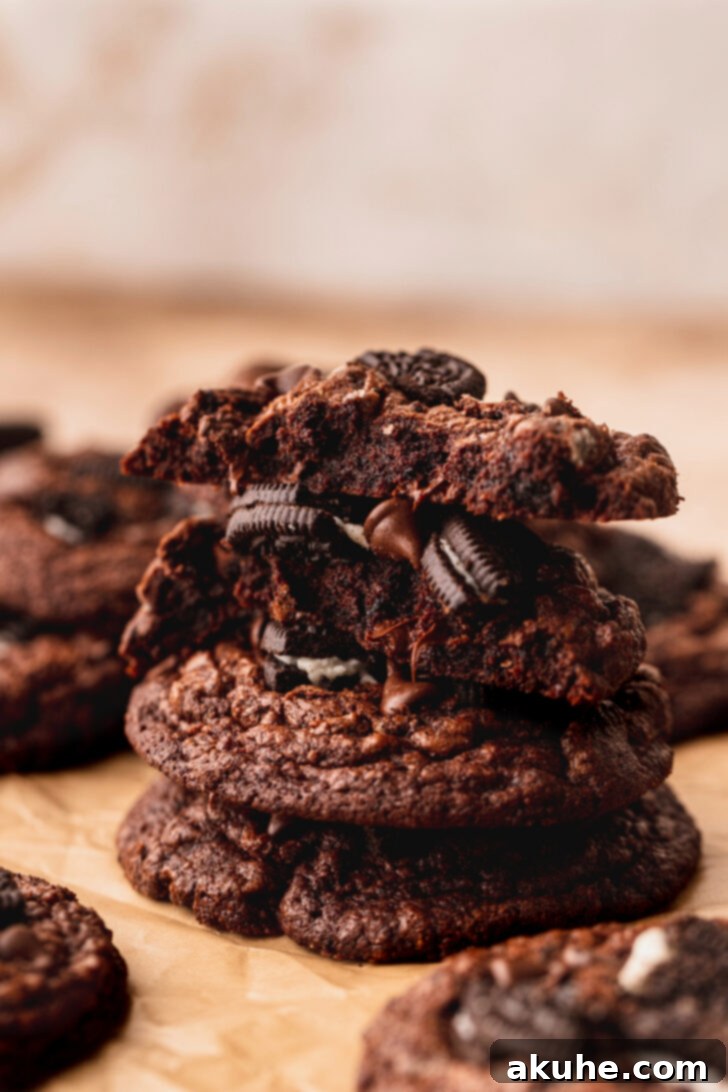
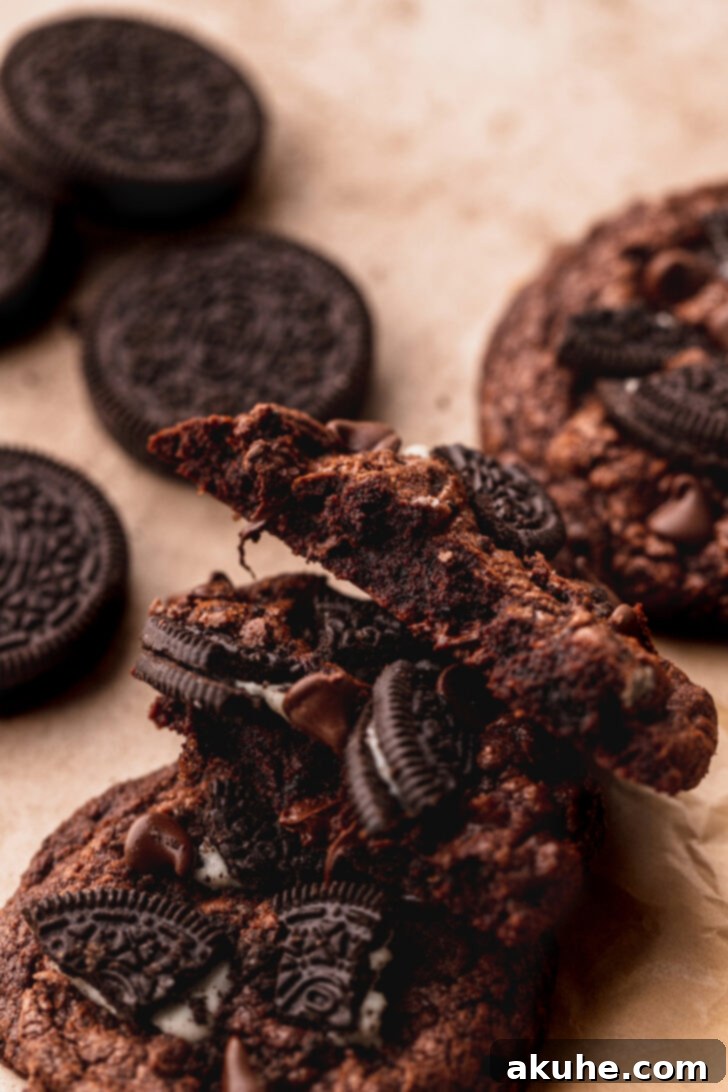
Prepare to embark on a delectable journey with our ultimate Oreo Brownie Cookies, a harmonious fusion of two beloved dessert classics. Imagine the rich, fudgy texture of your favorite brownie masterfully combined with the satisfying chewiness of a perfect cookie, all while being generously studded with iconic Oreo pieces and crumbs. These aren’t just cookies; they’re an experience, delivering crisp edges and an irresistibly gooey center packed with luscious chocolate chips, crunchy Oreo bits, and a deep cocoa flavor. Get ready to elevate your baking game and treat your taste buds to the ultimate chocolate indulgence!
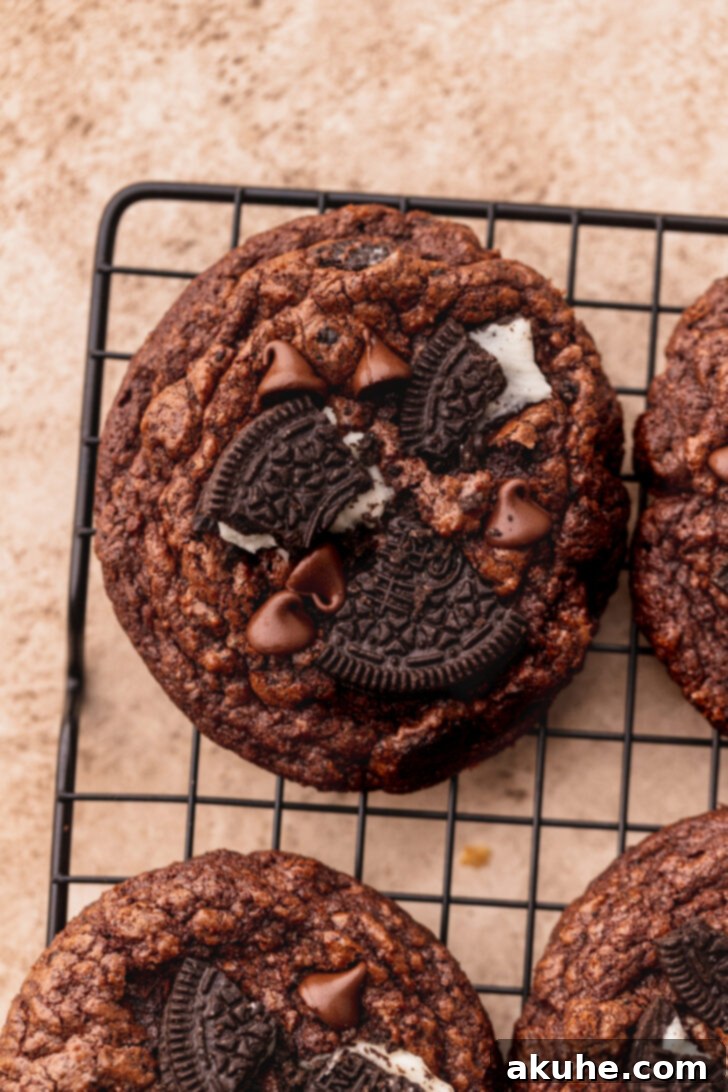
These Oreo brownie cookies are the epitome of fudgy delight, crafted to perfection with a luxurious blend of melted chocolate, premium cocoa powder, abundant chocolate chips, and, of course, a generous helping of crushed Oreos. Every bite offers a symphony of textures and flavors, from the intense chocolate base to the iconic crunch of America’s favorite cookie. This recipe is designed to be accessible for bakers of all levels, and we’ve included comprehensive tips, tricks, and step-by-step process photos to guide you effortlessly. If you’re a devoted fan of Oreo desserts, you absolutely must try these, perhaps even alongside our Oreo chocolate chip cookies for a truly epic chocolate celebration.
Crafting the Perfect Oreo Brownie Cookies: Expert Tips for Success
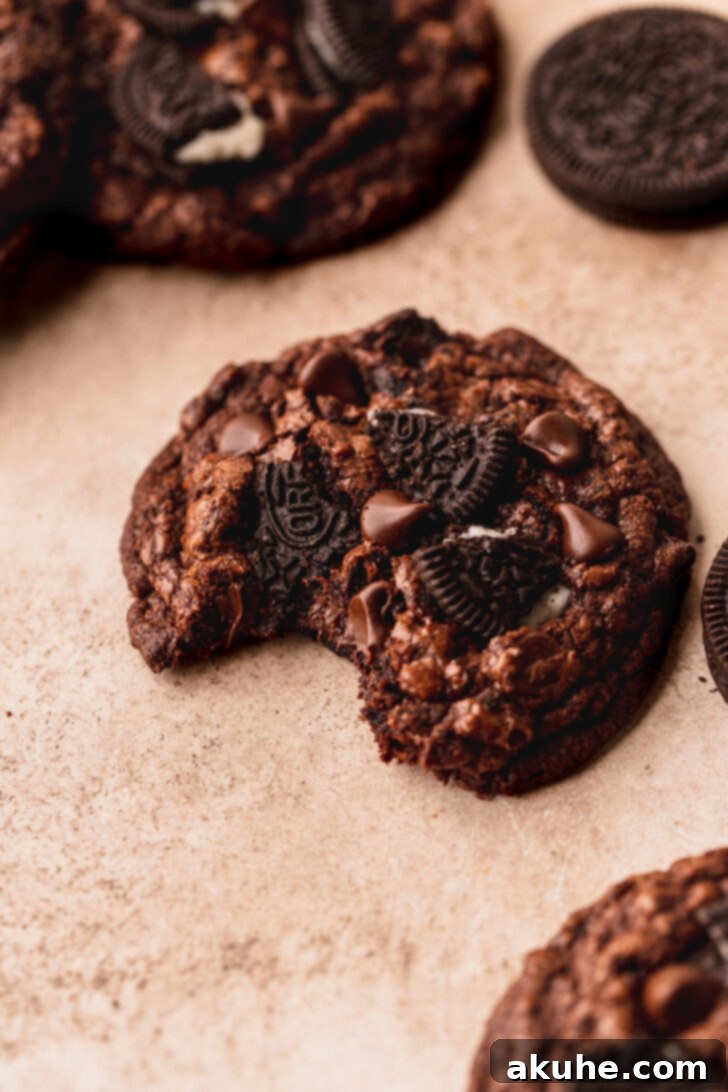
Achieving bakery-quality Oreo brownie cookies at home is easier than you think, especially when you follow these essential tips. We’re here to ensure your cookies turn out perfectly fudgy, chewy, and exquisitely delicious, just like the ones pictured in this recipe.
- Tip 1: Precise Flour Measurement is Key. The biggest secret to perfectly textured cookies is accurate flour measurement. Instead of scooping your measuring cup directly into the flour bag, which can compact the flour and lead to an excessive amount, always use the “spoon and level” method. Gently spoon the flour into your measuring cup until it overflows, then use a straight edge (like a knife or the back of a ruler) to level off the excess. This technique prevents your cookies from becoming dry, dense, or crumbly, ensuring they maintain their desired fudgy chewiness.
- Tip 2: Embrace Room Temperature Ingredients. For a truly smooth, well-emulsified dough, it’s crucial to use room temperature butter and eggs. When butter is at room temperature, it creams more effectively with sugar, incorporating air that contributes to a lighter, softer texture. Similarly, room temperature eggs integrate seamlessly into the mixture, preventing a curdled appearance and ensuring a consistent batter. This simple step vastly improves the overall texture and consistency of your cookie dough, leading to superior results.
- Tip 3: Master the Art of Melting Chocolate. Melting chocolate can be done either on the stovetop using a double boiler method or more quickly in the microwave. If using the stovetop, place chopped chocolate in a heatproof bowl set over a saucepan of simmering water, ensuring the bowl doesn’t touch the water. Stir gently until smooth. For the microwave, heat chocolate in 20-30 second intervals, stirring well after each, until just melted and smooth. Be careful not to overheat, as scorched chocolate will become grainy and unusable. Quality semi-sweet chocolate, like Lindt 70%, will yield the best flavor and texture in your cookies.
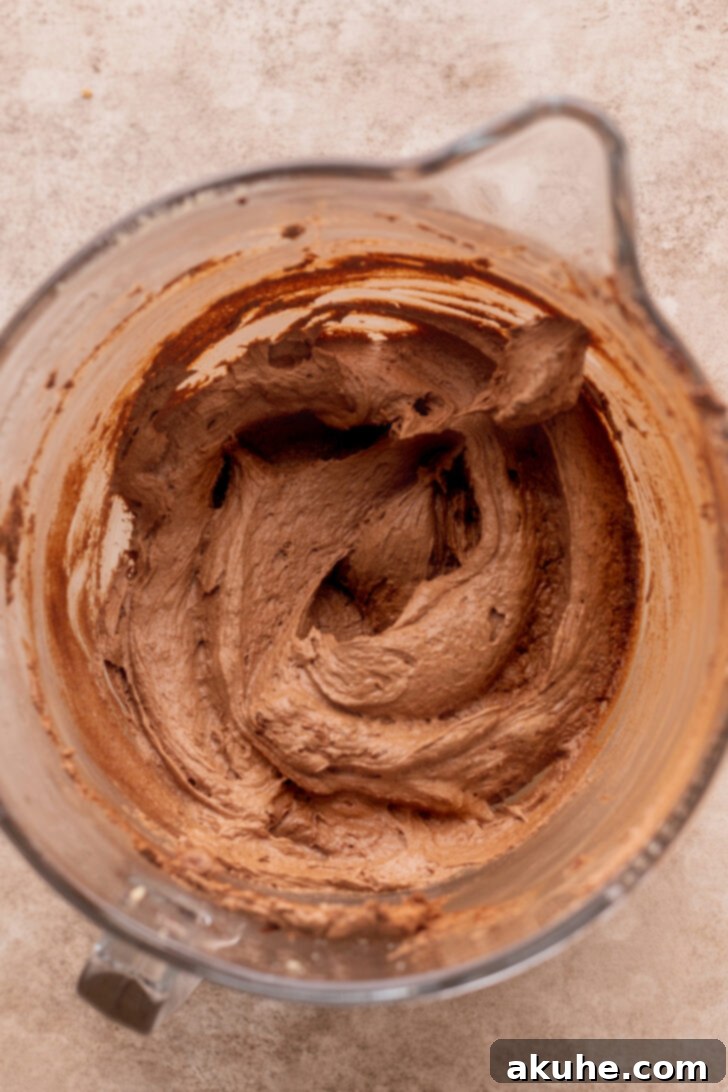
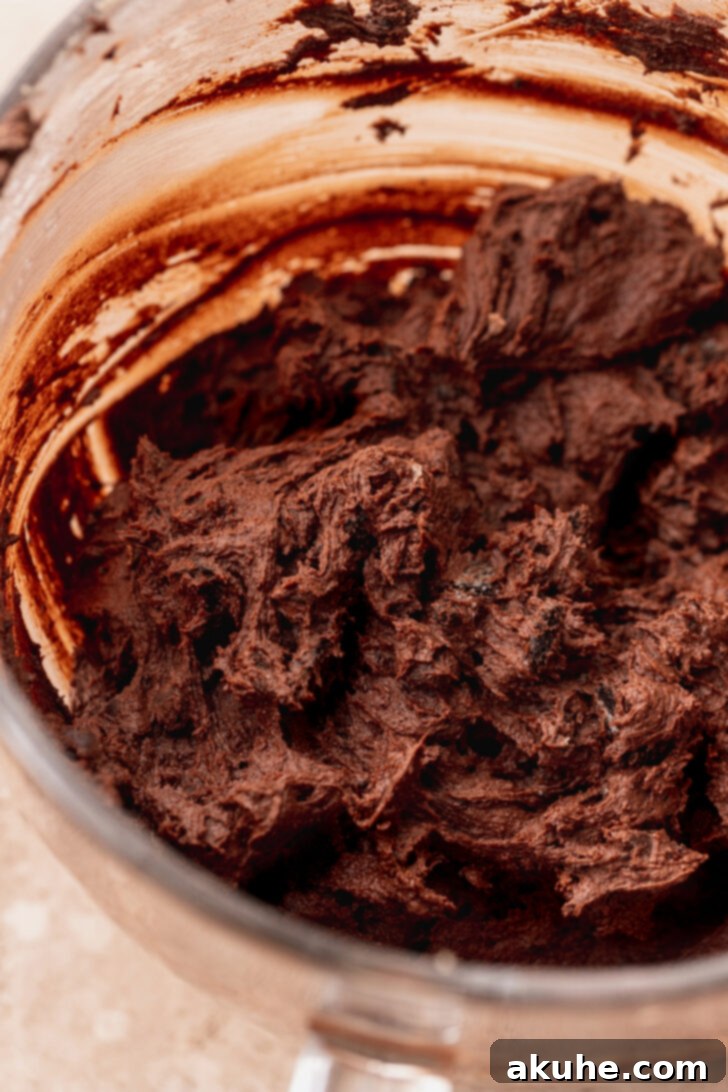
- Tip 4: The Three-Step Mixing Process for Unbeatable Texture and Crinkle Tops. This technique is a game-changer for achieving that desirable brownie-like crinkle top and a wonderfully rich texture. You’ll beat the wet ingredients on high speed in three distinct phases:
- Aerating the Butter and Sugars: First, cream the room temperature butter with both brown and granulated sugars on high speed for at least 2 minutes until light and fluffy. This step is vital for incorporating air, which creates a tender crumb.
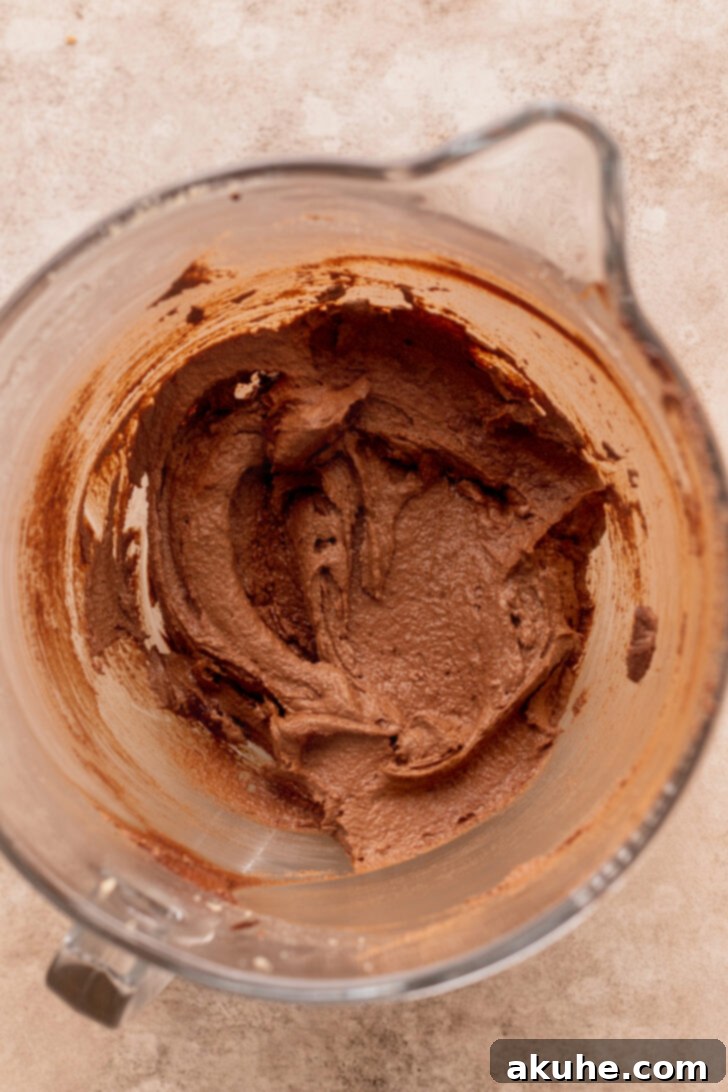
- Integrating the Melted Chocolate: Next, scrape down the bowl, add the slightly cooled melted chocolate, and beat again on medium-high for another 2 minutes. This ensures the chocolate is fully blended and contributes to the deep, complex flavor.
- Developing the Crinkle Top with Eggs: Finally, add the room temperature eggs and egg yolk, and beat on medium-high for a full 2 minutes. This vigorous mixing at this stage is what helps develop that beautiful, signature crinkle top that makes these cookies so irresistible and visually appealing. Don’t rush this step!
Frequently Asked Questions About Oreo Brownie Cookies
Absolutely! There’s no need to remove the cream filling from the Oreos before blending them for crumbs or pieces. The cream adds an extra layer of sweetness and a hint of vanilla flavor, which complements the rich chocolate brownie base beautifully. It also contributes to the fudgy texture and overall richness of the cookies.
Yes, you can certainly adjust the size of these cookies. While we personally love baking large cookies because they tend to retain a more delightfully chewy and fudgy center, you can make them smaller if you prefer. If you opt for smaller cookies, be sure to reduce the baking time accordingly. We recommend baking smaller cookies for approximately 8-11 minutes, keeping a close eye on them to prevent overbaking. The goal is to achieve set edges with a slightly soft center.
For the best results and ideal texture, these cookies are most delicious when baked shortly after the dough is prepared and given its short chill time. If you chill the dough overnight, the melted chocolate incorporated into the recipe will harden significantly. This makes the dough very stiff and challenging, if not impossible, to scoop without considerable effort once it’s thoroughly chilled. If your schedule requires overnight chilling, we strongly advise scooping the dough into individual balls *before* refrigerating it. Once scooped, you can store the balls in an airtight container in the fridge overnight. Allow them to come closer to room temperature for about 20-30 minutes before baking to ensure even spreading.
For these decadent Oreo brownie cookies, we recommend using high-quality semi-sweet or dark chocolate chips. The rich flavor of these chocolates perfectly balances the sweetness of the Oreos and sugars. You can also use chopped chocolate bars for varying sizes and a more gourmet feel. Avoid milk chocolate chips if you prefer a less sweet, more intense chocolate flavor, as they might make the cookies overly sweet.
The crinkle top is a hallmark of a great brownie cookie! To achieve this, pay close attention to Tip 4 regarding the mixing process, especially the third step where eggs and egg yolk are beaten into the chocolate mixture on medium-high speed for 2 minutes. This vigorous mixing incorporates air and creates a stable emulsion that leads to the beautiful, flaky crust. Additionally, ensuring your melted chocolate isn’t too hot when added to the butter-sugar mixture will help maintain the aeration needed for the crinkles.
Storing and Freezing Your Oreo Brownie Cookies
To keep your delicious Oreo brownie cookies fresh and flavorful for as long as possible, proper storage is essential. Once fully cooled, place them in an airtight container at room temperature. They will remain wonderfully soft and fudgy for up to 5 days, perfect for satisfying those unexpected chocolate cravings or sharing with friends.
For longer-term enjoyment, these cookies freeze exceptionally well. Arrange the cooled cookies in a single layer in an airtight freezer-safe container, separating layers with parchment paper to prevent sticking. They can be frozen for up to 30 days without losing their quality. When you’re ready to indulge, simply thaw them at room temperature for about 1 hour before serving. You can even gently warm them in the microwave for a few seconds for that freshly baked experience.
Explore More Irresistible Oreo Recipes
If these Oreo brownie cookies have awakened your inner Oreo enthusiast, you’re in for a treat! We have a collection of equally delightful recipes that showcase the magic of Oreos in various forms. Dive into more sweet creations that are guaranteed to satisfy any craving:
- Fudgy Oreo Brownies: The classic brownie taken to the next level with crunchy Oreo goodness.
- Decadent Oreo Cheesecake: A creamy, dreamy cheesecake with an Oreo crust and generous Oreo inclusions.
- Oreo Cheesecake Brownies: The best of both worlds – rich brownie and tangy cheesecake swirled with Oreos.
- Cookies and Cream Cinnamon Rolls: A delightful twist on a breakfast favorite, packed with Oreo flavor.
- Spectacular Cookies and Cream Cake: A show-stopping cake perfect for celebrations, featuring layers of Oreo magic.
Each of these recipes brings a unique spin to the beloved Oreo, ensuring there’s something to delight every dessert lover. Happy baking!
We truly hope you loved baking and enjoying this recipe! Make sure to leave astar review and share your delightful creations. We’d love to see your cookies, so remember to tag us on Instagram @stephaniesweettreats. For endless baking inspiration and more sweet ideas, follow us on Pinterest.
Oreo Brownie Cookies
Print Recipe
Pin Recipe
Leave a Review
Ingredients
- 8 oz Semi-sweet quality chocolate, melted. I use Lindt 70% chocolate.
- 1 cup All-purpose flour
- 1/3 cup Dutch process cocoa powder
- 1 tsp Baking powder
- 1 tsp Salt
- 1/2 cup Unsalted butter, room temperature
- 1 cup Brown sugar, packed light or dark
- 1/3 cup White granulated sugar
- 1 tsp Pure vanilla extract
- 2 Large eggs, room temperature
- 1 Egg yolk, room temperature
- 1 1/4 cup Chocolate chips, semi-sweet or dark
- 1 cup Oreo pieces, small and medium size pieces.
- 1/4 cup Oreo crumbs
Instructions
- In a saucepan set over low heat, gently melt the quality semi-sweet chocolate until just smooth. Transfer the melted chocolate to a bowl and allow it to cool for 5-10 minutes. While the chocolate cools, use a food processor or blender to pulse the Oreos into fine crumbs, then process additional Oreos into small and medium-sized pieces.8 oz Semi-sweet quality chocolate, 1 cup Oreo pieces, 1/4 cup Oreo crumbs
- In a separate medium mixing bowl, sift together the all-purpose flour and Dutch process cocoa powder to remove any lumps and ensure a smooth batter. Stir in the baking powder and salt until well combined.1 cup All-purpose flour, 1/3 cup Dutch process cocoa powder, 1 tsp Baking powder, 1 tsp Salt
- Using a stand mixer fitted with a paddle attachment, or a hand mixer, beat the room temperature unsalted butter, packed brown sugar, and white granulated sugar on high speed for 2 minutes until the mixture is light, fluffy, and well-aerated. Scrape down the sides of the bowl, then add the pure vanilla extract and the slightly cooled melted chocolate. Continue beating on medium-high speed for another 2 minutes, ensuring the chocolate is fully incorporated.1/2 cup Unsalted butter, 1 cup Brown sugar, 1/3 cup White granulated sugar, 1 tsp Pure vanilla extract
- Add the room temperature large eggs and egg yolk to the wet mixture. Beat on medium-high speed for another 2 minutes; this step is crucial for developing the characteristic crinkle top. Scrape down the bowl thoroughly. Gradually add the prepared dry ingredients to the wet ingredients, mixing on low speed until just combined. Be careful not to overmix. Finally, fold in the chocolate chips, Oreo crumbs, and Oreo pieces until they are evenly distributed throughout the dough.2 Large eggs, 1 Egg yolk, 1 1/4 cup Chocolate chips
- Preheat your oven to 350°F (175°C). While the oven is preheating, place the cookie dough in the fridge for a short chill time, approximately 5-10 minutes. This brief chill helps the cookies maintain their shape and prevents excessive spreading during baking. Line 2 large cookie sheets with parchment paper.
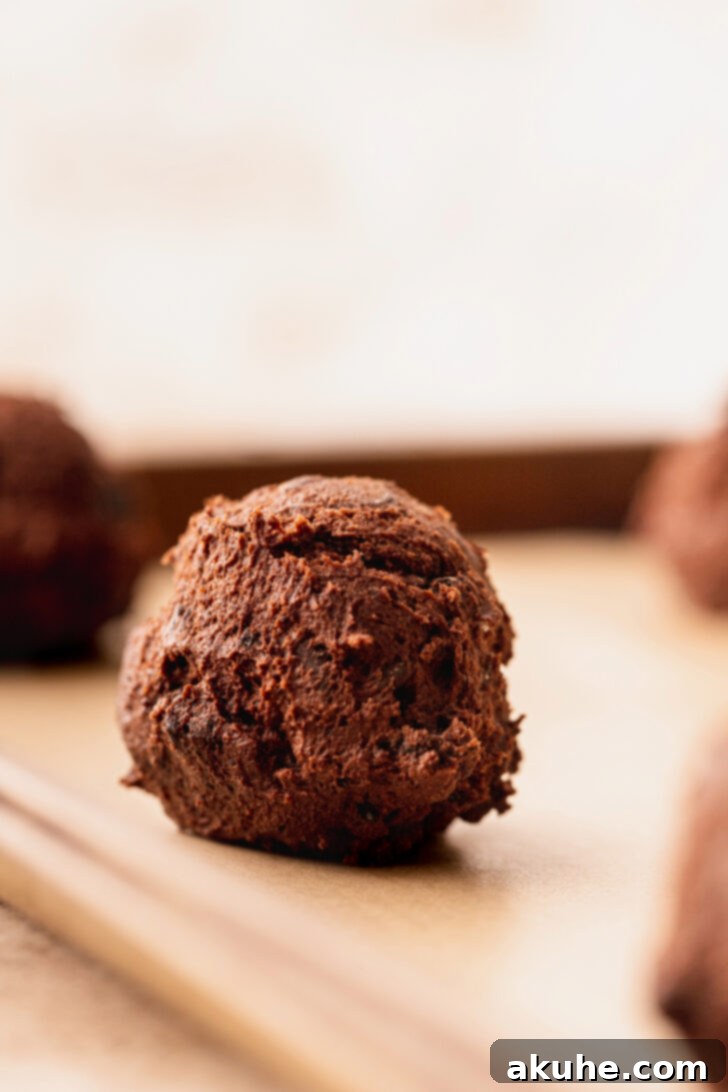
- Using a heaping 2-tablespoon cookie scoop (or about 3 tablespoons of dough), scoop 6 uniform cookie dough balls onto each prepared cookie sheet, ensuring they are spaced well apart. This recipe yields approximately 16 generously sized cookies. Keep any unbaked cookie dough balls on the counter, rather than in the fridge, while the first batch bakes to prevent them from becoming too firm.
- Bake one pan at a time in the preheated oven for 13-15 minutes. The cookies are done when the edges are set but the centers still look slightly soft. Immediately after removing from the oven, gently press additional large Oreo pieces and extra chocolate chips onto the warm cookie tops for added visual appeal and flavor. Optionally, sprinkle with a few extra Oreo crumbs. Allow the cookies to cool on the baking sheet for 5 minutes before carefully transferring them to a wire rack to cool completely.
- For the best experience, allow the cookies to cool completely before enjoying their fudgy, chewy goodness.
Notes
High Altitude Baking: If you are baking at a high altitude, you may need to adjust the recipe slightly. We recommend adding an extra 1 tablespoon of all-purpose flour to help with structure and prevent excessive spreading.
Crinkle Top Secret: The generous beating of the wet ingredients, especially after adding eggs, is key to developing that beautiful, signature crinkle top that makes these cookies look as good as they taste. Don’t skip or shorten those mixing times!
Quality Chocolate: Using a high-quality semi-sweet or dark chocolate (like Lindt 70%) for melting will significantly impact the depth of flavor in your cookies. It provides a rich, intense chocolate base that cheap chocolate simply cannot replicate.
