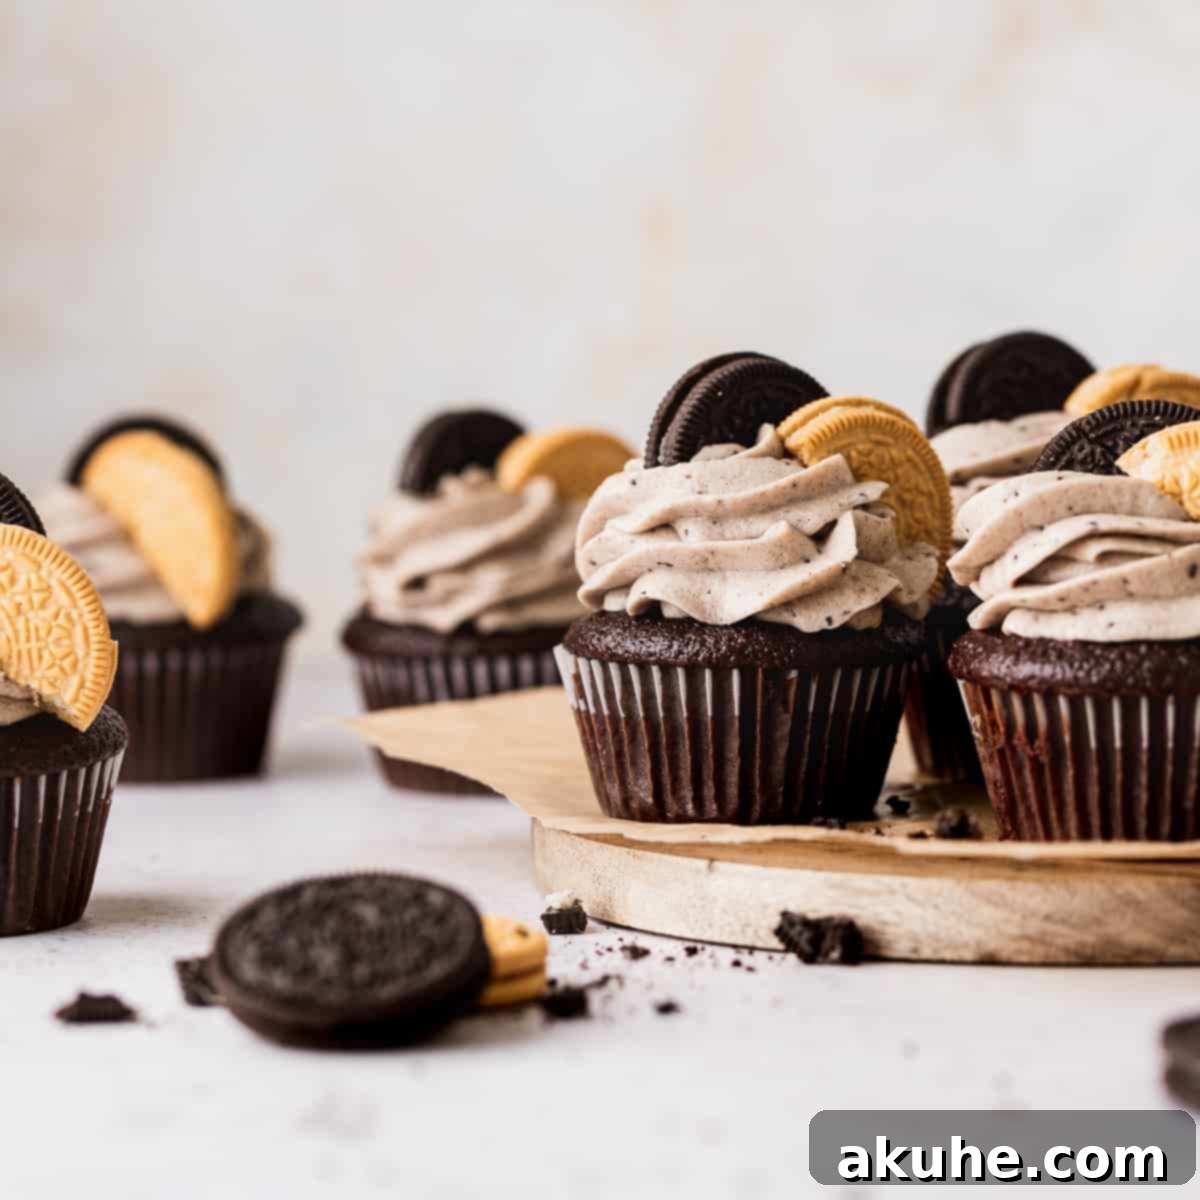
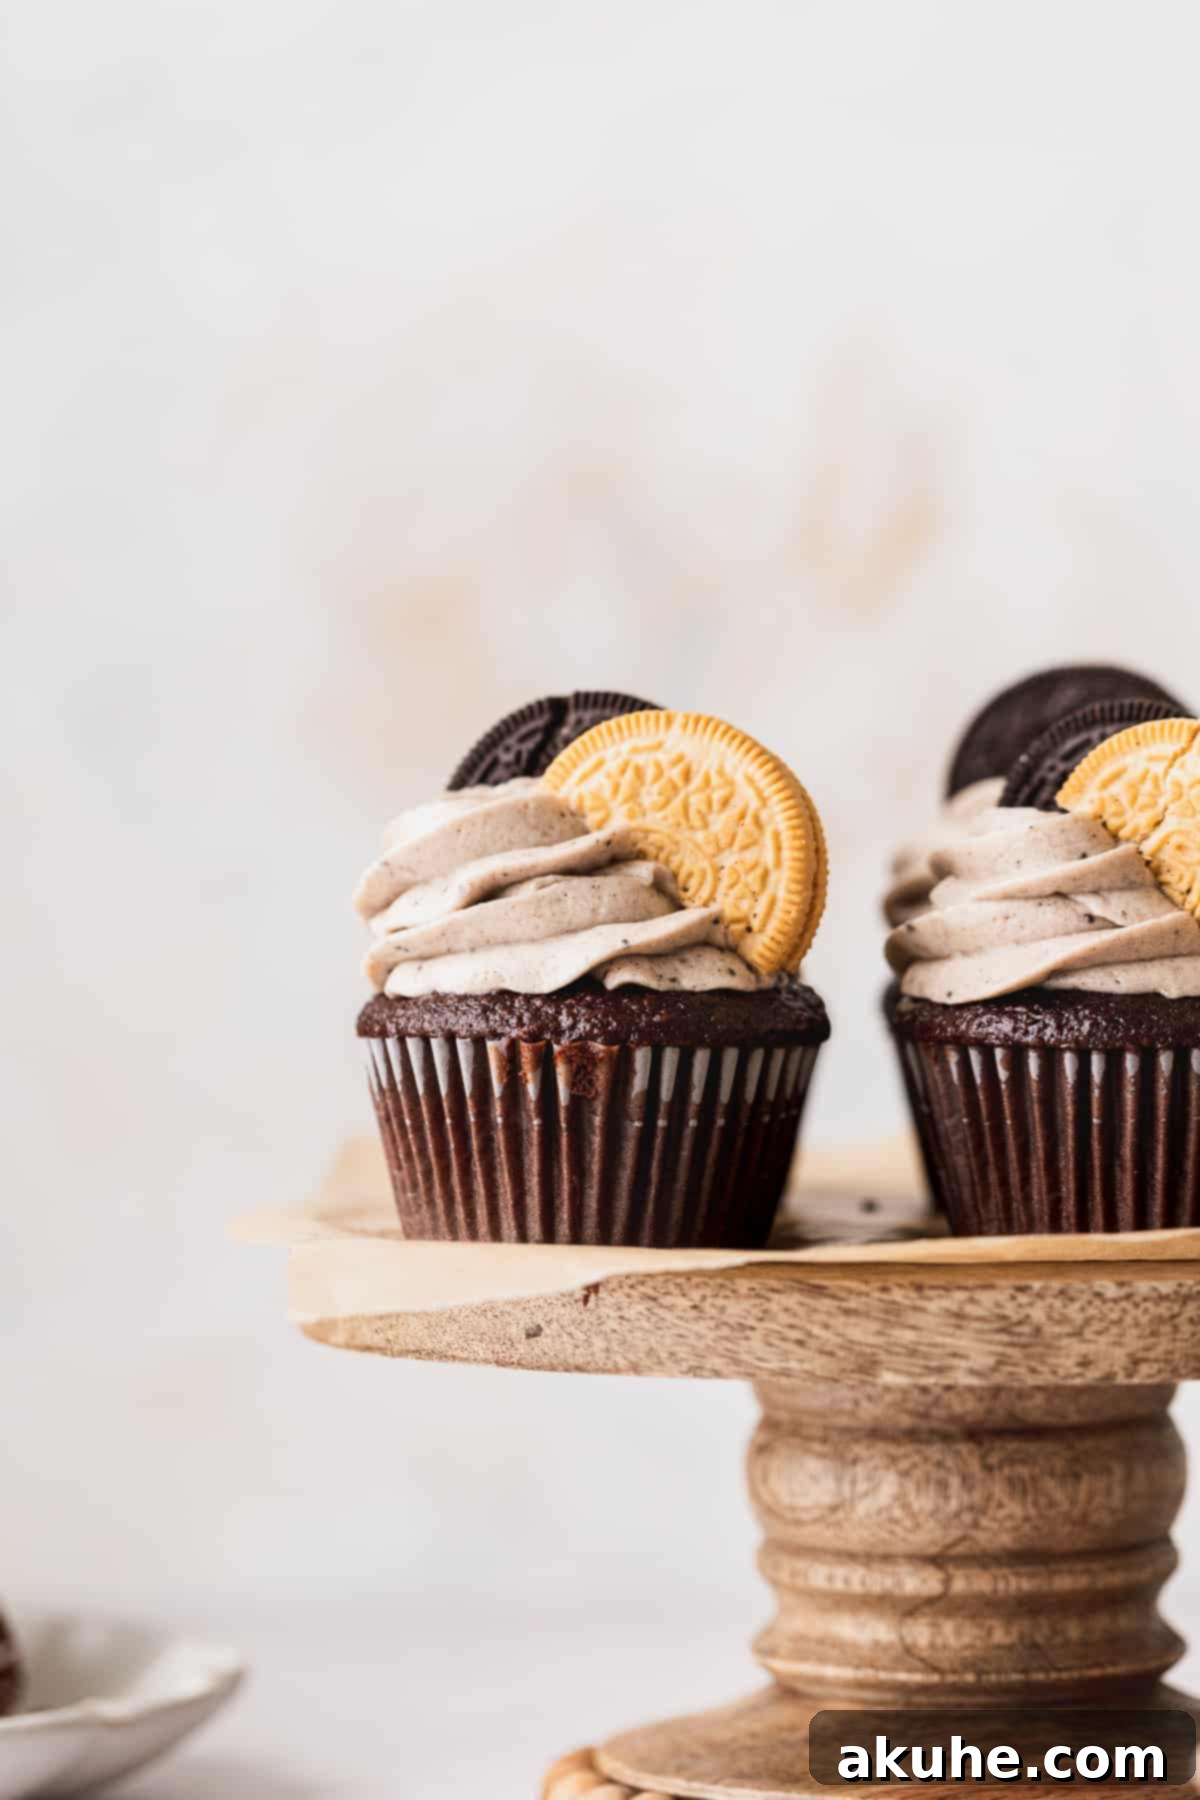
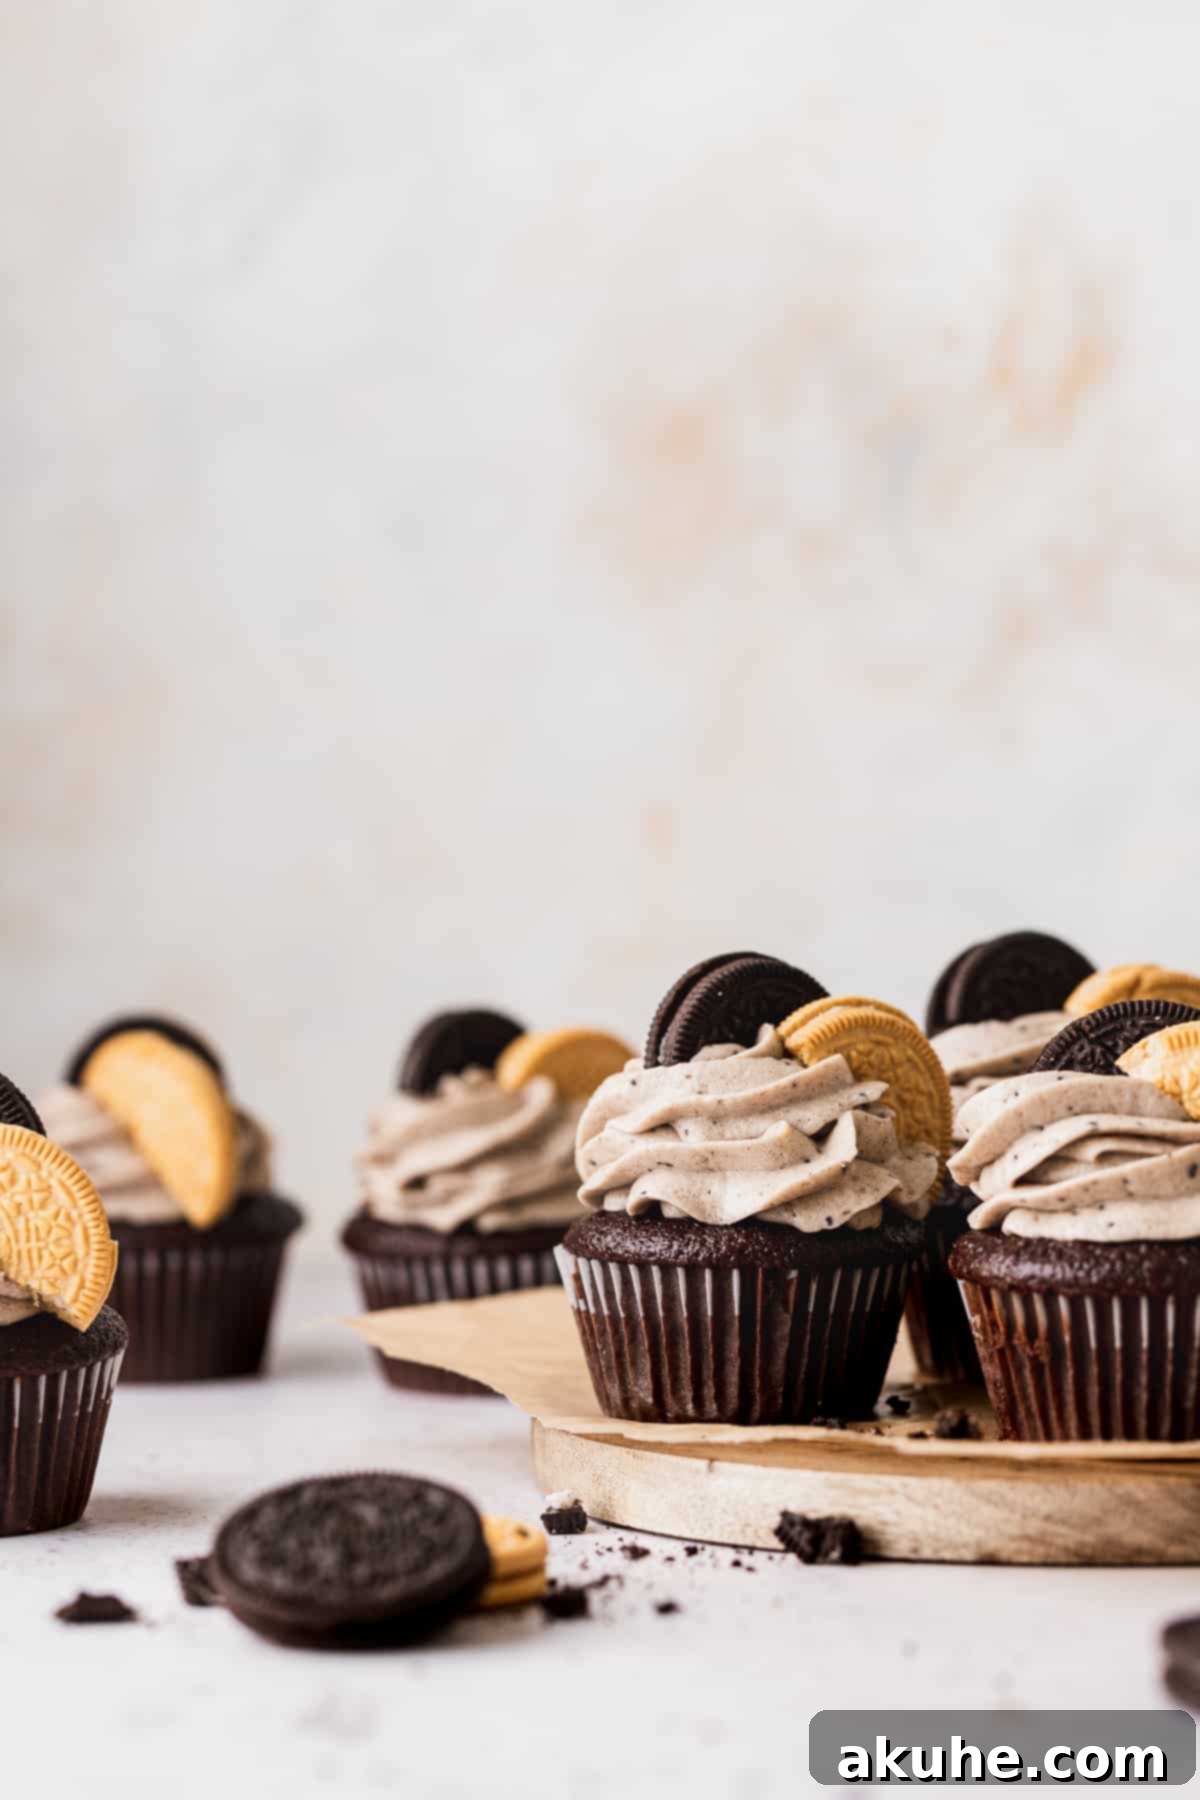
Prepare to delight your taste buds with the ultimate treat: these extraordinary Oreo cupcakes! Far beyond your average sweet, these cupcakes are a true celebration for any cookie enthusiast. Each bite features a harmonious blend of classic dark chocolate Oreos and delightful golden Oreos, delivering an unparalleled depth of flavor. Picture this: a profoundly moist chocolate cupcake, boasting a rich, dark cocoa essence, generously filled with a dreamy whipped Oreo cream cheese. But the indulgence doesn’t stop there. These masterpieces are crowned with a luscious cream cheese frosting, swirled with crumbs of both regular and golden Oreos, creating a symphony of textures and tastes that will leave you craving more. Whether you’re planning a birthday surprise for an ardent Oreo lover or simply seeking to elevate your dessert game, this recipe for homemade Oreo cupcakes promises to impress.
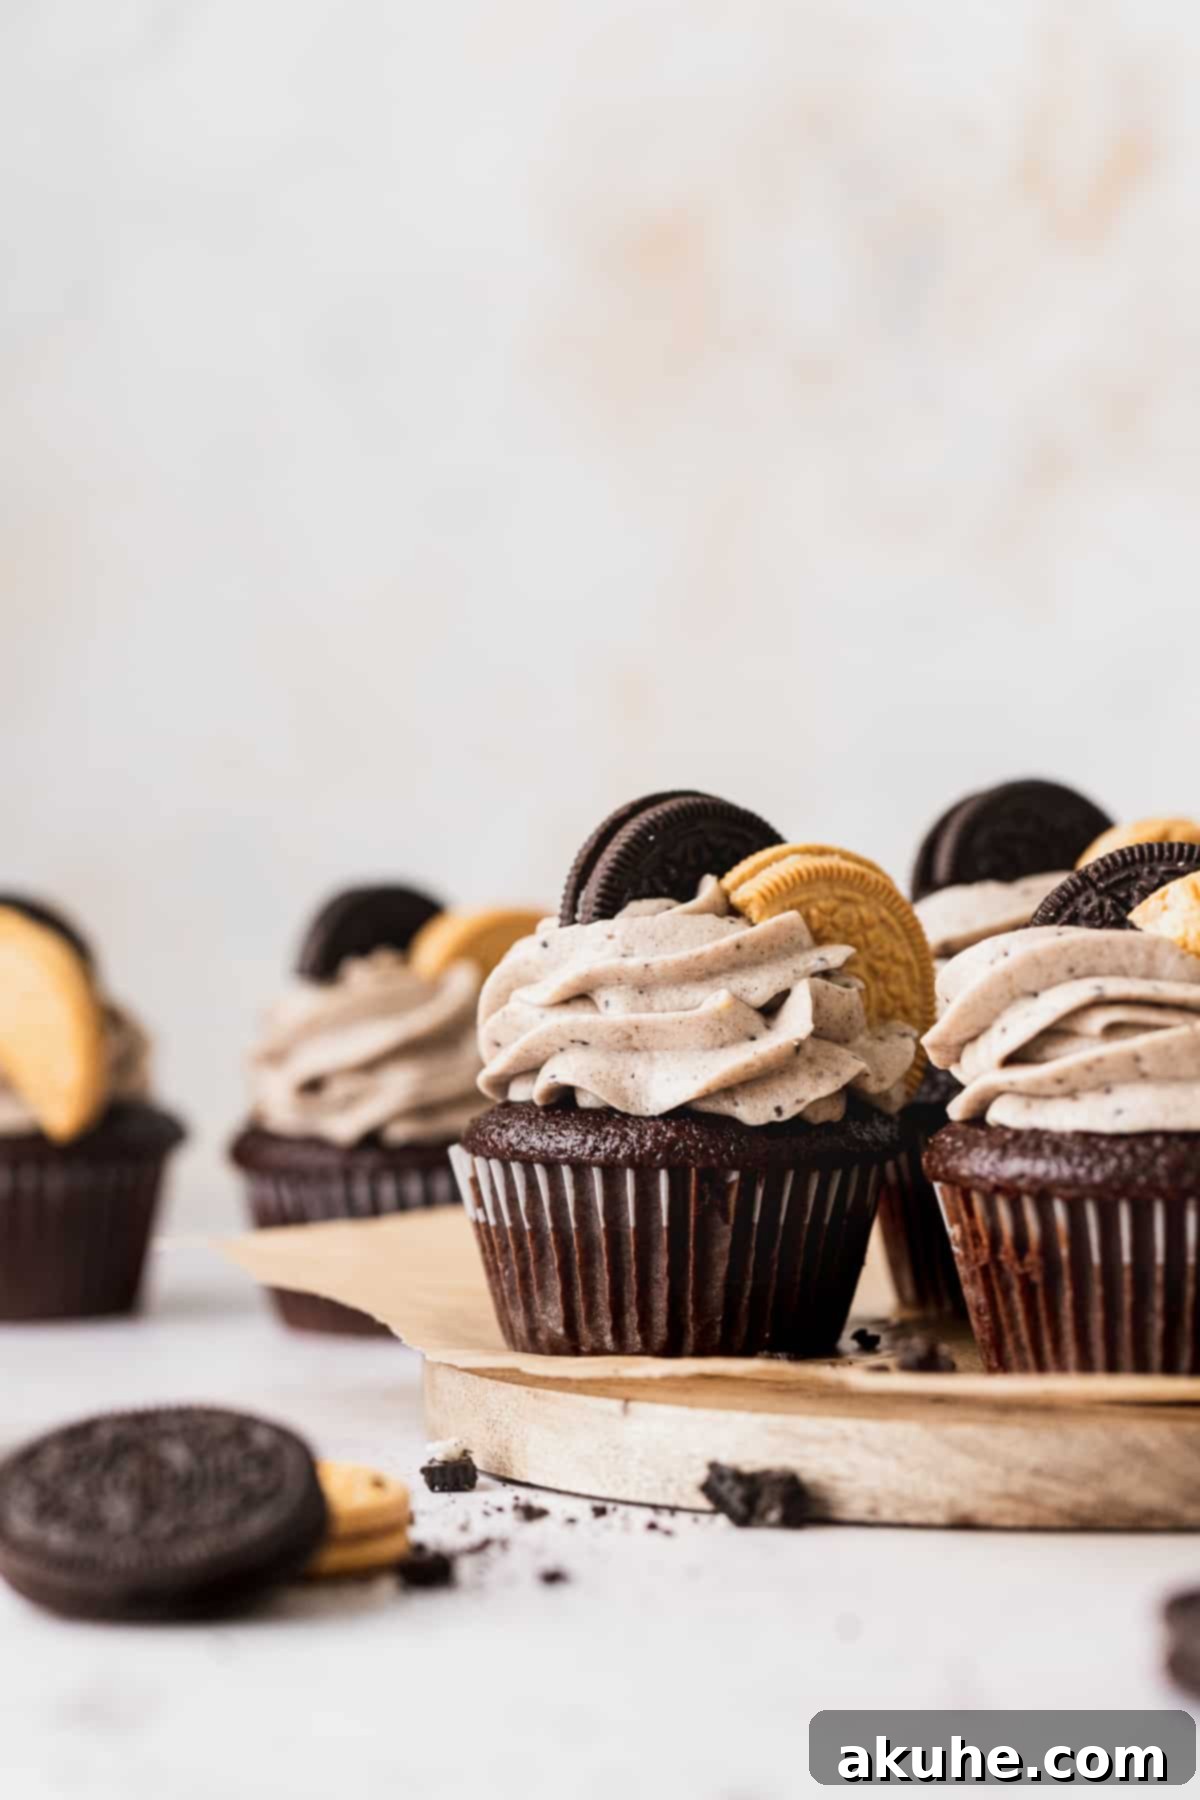
The journey to creating these distinctive Oreo cupcakes began with a simple yet brilliant suggestion: “Why not include golden Oreos too?” This innovative idea truly sets our recipe apart. While many desserts often feature one type of Oreo, the combination of both the iconic chocolate and creamy golden varieties creates a magical flavor profile that is surprisingly underrated. The sweet vanilla notes of golden Oreos perfectly complement the deep chocolate and creaminess of the original, resulting in a sensational duo that tastes absolutely incredible together. This unique pairing elevates these from just “Oreo cupcakes” to a truly unforgettable experience, making them a must-try for anyone who appreciates a diverse flavor palette in their sweet treats.
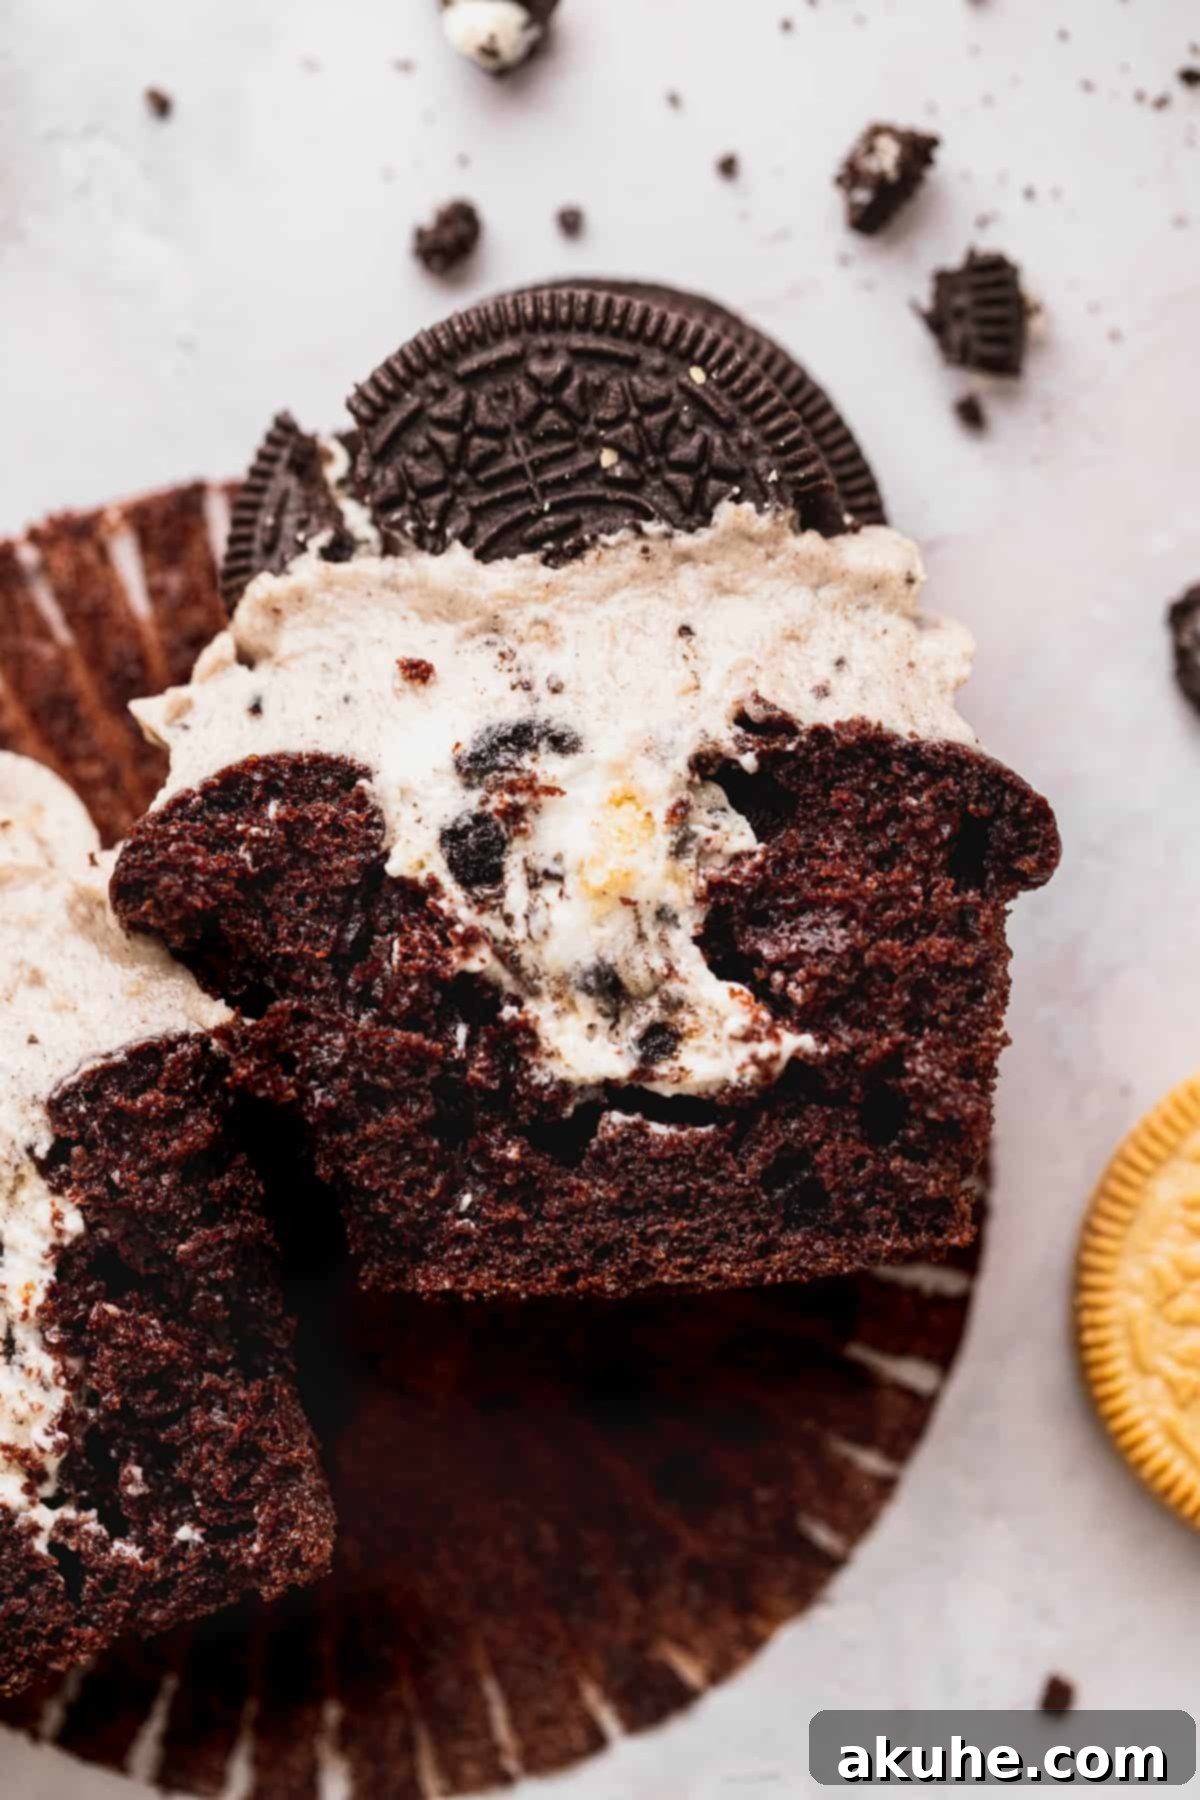
Our foundation for these decadent chocolate Oreo cupcakes is a tried-and-true recipe, celebrated for its exquisite texture and profound chocolatey essence. These aren’t just any chocolate cupcakes; they are incredibly moist, wonderfully light, and bursting with intense chocolate flavor. Inspired by the success of our chocolate peanut butter cupcakes, this base ensures every bite of your Oreo creation is pure bliss. The delightful core of these cupcakes is a heavenly whipped Oreo cream cheese filling, generously studded with crushed Oreo pieces – reminiscent of the irresistible filling from our beloved cookies and cream cake. If you’re a devoted fan of all things Oreo and eager to explore more delightful desserts, be sure to also check out our sensational Oreo cheesecake recipe for another winning treat.
Why You’ll Fall in Love with This Ultimate Oreo Cupcake Recipe
Get ready to discover why these Oreo cupcakes are destined to become your new favorite dessert. We’ve perfected every element to deliver an unparalleled taste experience that stands out from the crowd.
- The Perfect Duo: Golden and Regular Oreos: This isn’t just a chocolate Oreo cupcake; it’s a symphony of chocolate and vanilla! The genius lies in using both classic dark chocolate Oreos and light, buttery golden Oreos throughout the recipe. From the creamy filling to the luscious frosting, this dynamic combination offers a richer, more complex flavor and a delightful textural contrast that truly elevates the cookie experience. It’s a match made in dessert heaven, creating a balanced sweetness that will captivate your palate.
- Unbelievably Moist Chocolate Cupcakes: Prepare for the epitome of moist and fluffy cake. Our chocolate cupcake base is incredibly tender and bursting with deep chocolate flavor, achieved through a special technique. The secret to this light and airy texture, coupled with an intensified chocolate aroma, is the strategic addition of hot water to the batter. This simple step “blooms” the cocoa powder, unlocking its full, vibrant flavor and ensuring each cupcake is wonderfully rich and never dry.
- Dreamy Whipped Oreo Cream Cheese Filling: The heart of these cupcakes is a sensational filling, affectionately known as Oreo pie filling or whipped Oreo cream cheese. This creamy, indulgent center is so delicious, you might be tempted to eat it straight from the bowl! Light, airy, and perfectly sweet, it’s generously studded with crushed Oreo pieces, adding delightful pockets of cookie crunch and flavor that perfectly complement the moist chocolate cake. It’s the surprise element that makes every bite truly special.
- Irresistible Oreo Cream Cheese Frosting: If you believe, as we do, that cream cheese frosting is simply the best, then you’re in for a treat. We take it to an entirely new level by incorporating very fine crumbs of both classic and golden Oreos. This transforms an already delicious frosting into a spectacularly rich, tangy, and subtly crunchy topping that’s utterly addictive. It’s the perfect crowning glory for these ultimate Oreo cupcakes, providing a beautiful finish and an explosion of flavor.
Essential Ingredients for Your Perfect Oreo Cupcakes
Crafting the best Oreo cupcakes starts with understanding the role of each ingredient. Here’s a detailed look at the key components that ensure incredible flavor and texture:
- Dutch Process Cocoa Powder: This is a non-negotiable for achieving that rich, deep chocolate color and intensely satisfying flavor in your cupcakes. Unlike natural cocoa powder, Dutch process cocoa has been treated with an alkali to reduce its acidity. This results in a smoother, less bitter chocolate taste and a darker hue, which truly makes the chocolate bloom in these treats. While you can use regular cocoa powder, be prepared for a lighter color and a subtly different flavor profile. We highly recommend this specific cocoa powder for optimal results.
- Baking Soda and Baking Powder: You might wonder why both leavening agents are used in this recipe. It’s a common question, and the answer is simple: they work synergistically to create the perfect rise and texture. Baking soda reacts with acidic ingredients (like buttermilk and Dutch process cocoa, even though it’s less acidic than natural cocoa, still contributes), while baking powder provides an extra lift, especially crucial when hot water is introduced. Together, they ensure these cupcakes are wonderfully light, fluffy, and have that ideal delicate crumb structure.
- Oil (Canola or Vegetable Oil): Using a neutral-flavored oil like canola or vegetable oil is key to achieving incredibly moist cupcakes that stay tender for longer. Oil helps to keep the cake moist without adding extra density, as butter sometimes can. It contributes to a consistently tender crumb, ensuring your moist chocolate cupcakes are never dry.
- Buttermilk: Store-bought buttermilk is always best for its consistent acidity and thickness. If you find yourself without it, don’t worry! You can easily make a substitute at home: simply combine 1/2 cup of regular cow’s milk with 1/2 tablespoon of lemon juice (or white vinegar). Let this mixture sit for 5-10 minutes until it slightly curdles, then use it as directed. Buttermilk contributes to the cupcakes’ moisture, tenderness, and activates the baking soda for a proper rise.
- Hot Water: This ingredient is vital for enhancing the chocolate flavor. When hot water is mixed with cocoa powder, it “blooms” the cocoa, intensifying its deep, rich notes. It’s crucial for the water to be steaming hot, not just warm tap water, which often isn’t hot enough. For the best bloom and flavor, we recommend heating it on the stove until it’s visibly steaming, then adding it slowly to the batter.
- Oreos (Regular Size): For both the filling and the frosting, stick to regular-sized Oreos. While double-stuff Oreos are tempting, they contain too much cream, which can introduce excessive moisture into the filling and frosting, potentially altering the desired consistency. Regular Oreos provide the perfect cookie-to-cream ratio for optimal flavor and texture in this recipe.
- Room Temperature Dairy Ingredients: This tip is critical for successful baking. Ensure all dairy ingredients specified as “room temperature,” such as cream cheese, butter, and eggs, are taken out of the refrigerator at least two hours before you begin baking. Room temperature ingredients emulsify more effectively, resulting in a smoother, more uniform batter and a lighter, fluffier finished product.
Step-by-Step Guide to Crafting Irresistible Oreo Cupcakes
Follow these detailed instructions to create, fill, and decorate your perfect batch of Oreo cupcakes. The chocolate cupcake batter is effortlessly prepared using two bowls and a whisk, while the luxurious filling and frosting require the help of a stand mixer or an electric hand mixer to achieve their ideal creamy consistency.
Crafting the Moist Chocolate Cupcakes
STEP 1: Prepare Dry Ingredients. Begin by preheating your oven to 350°F (175°C). Line a 12-cup muffin tin with 12 paper cupcake liners. In a large mixing bowl, sift together the all-purpose flour, Dutch process cocoa powder, baking soda, and baking powder. Sifting ensures there are no lumps and helps aerate the dry ingredients. Once sifted, whisk in the granulated sugar and salt until everything is thoroughly combined. Set this bowl aside.
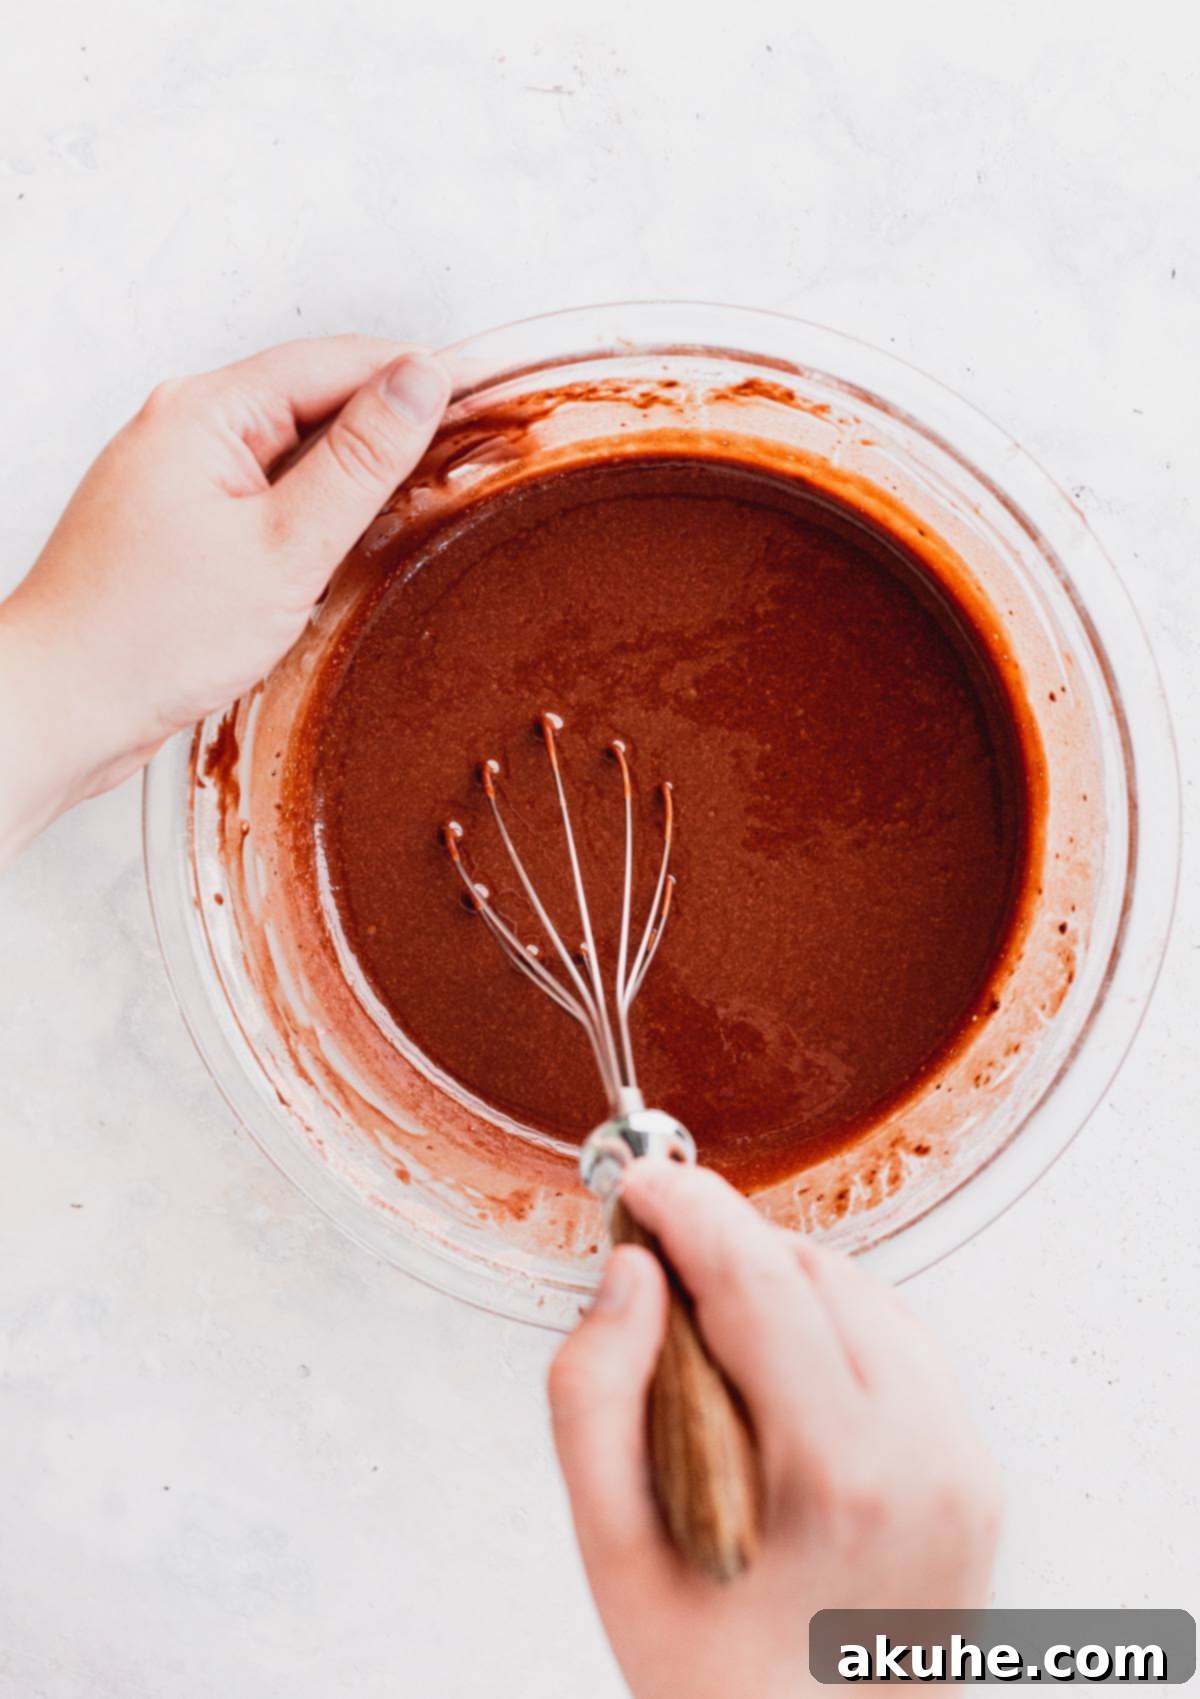
STEP 2: Combine Wet Ingredients and Bloom Cocoa. In a separate, medium-sized bowl, whisk together the room temperature buttermilk, oil, vanilla extract, and large eggs until smoothly blended. This creates a cohesive wet mixture. Now, gently pour these wet ingredients into your bowl of dry ingredients. Using a whisk, mix until just combined, being careful not to overmix, which can lead to tough cupcakes. Meanwhile, heat the water on the stove until it’s steaming hot (but not boiling). Very slowly, pour this hot water into your cupcake batter while continuously whisking. This gradual addition prevents the eggs from cooking and ensures the cocoa powder “blooms,” intensifying the chocolate flavor beautifully.
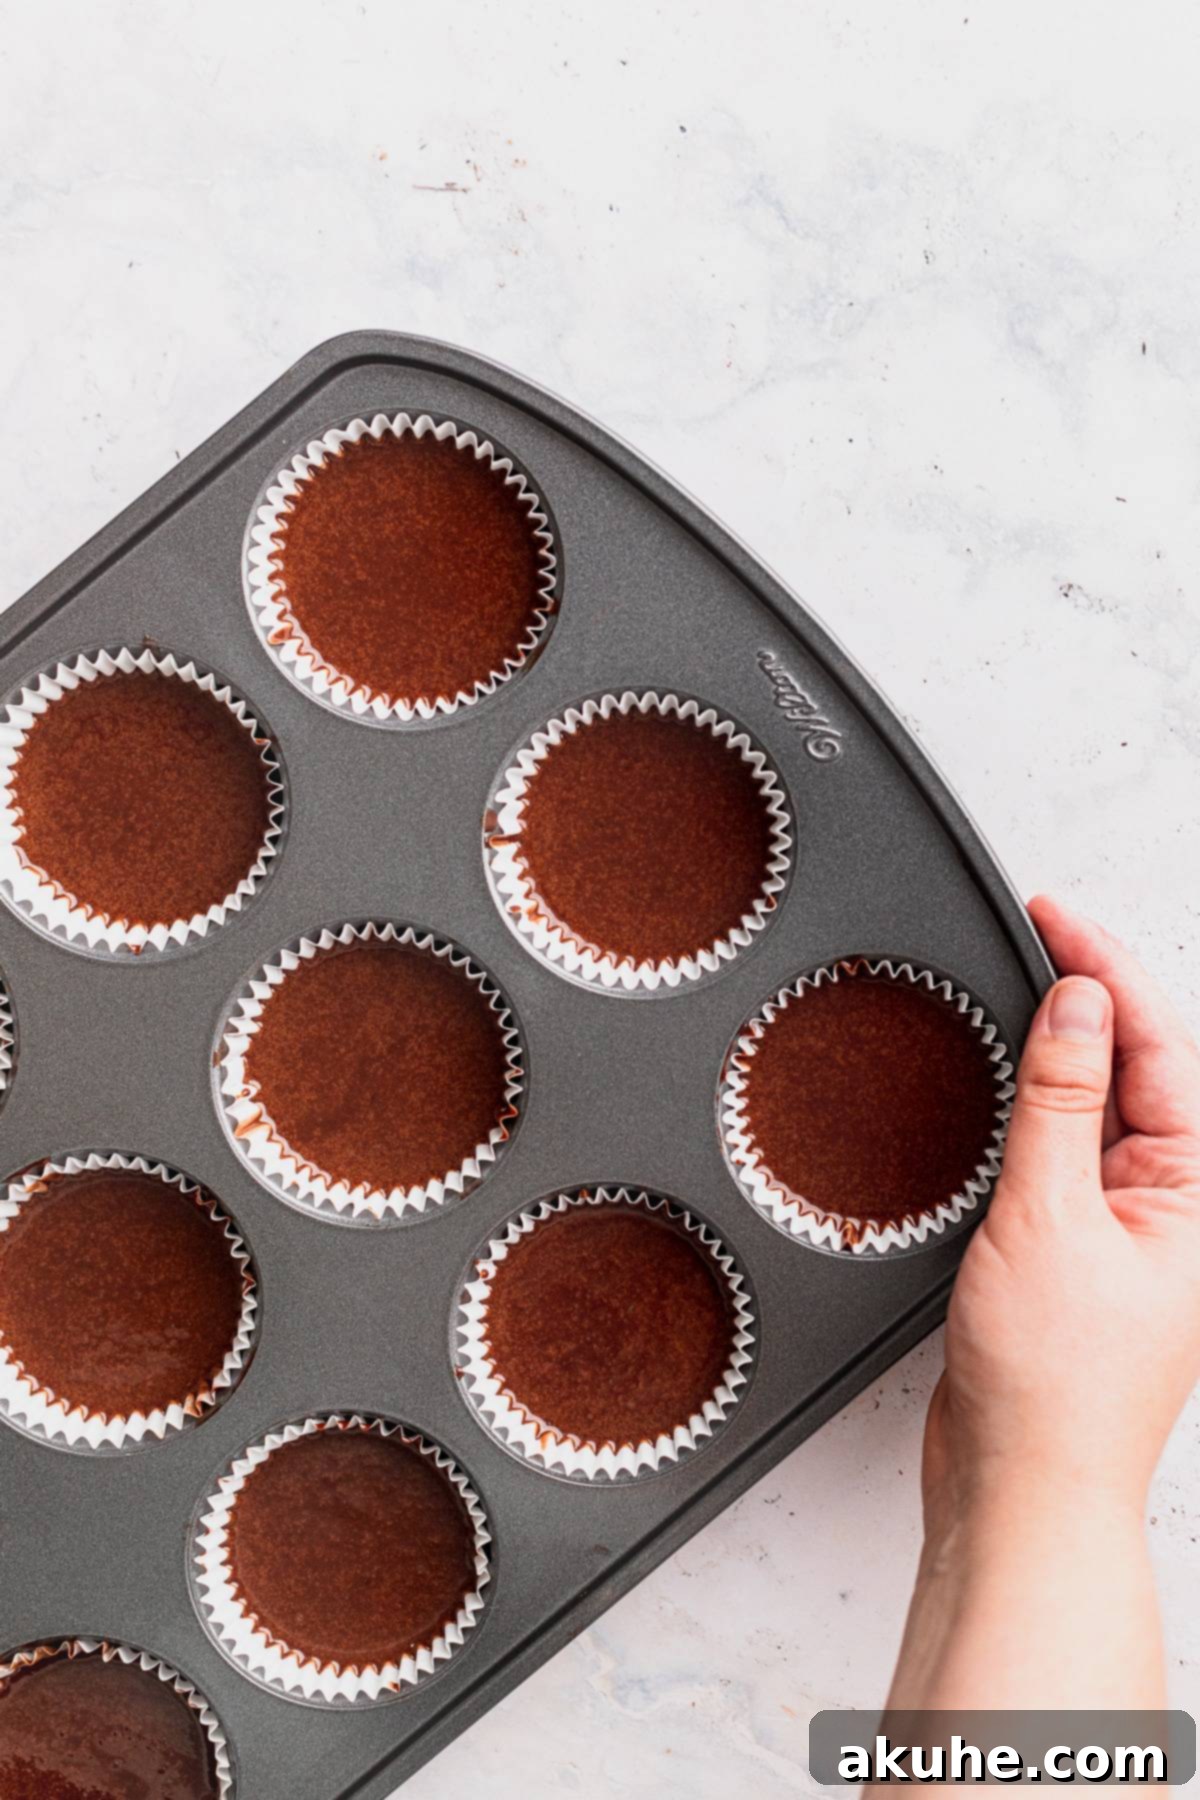
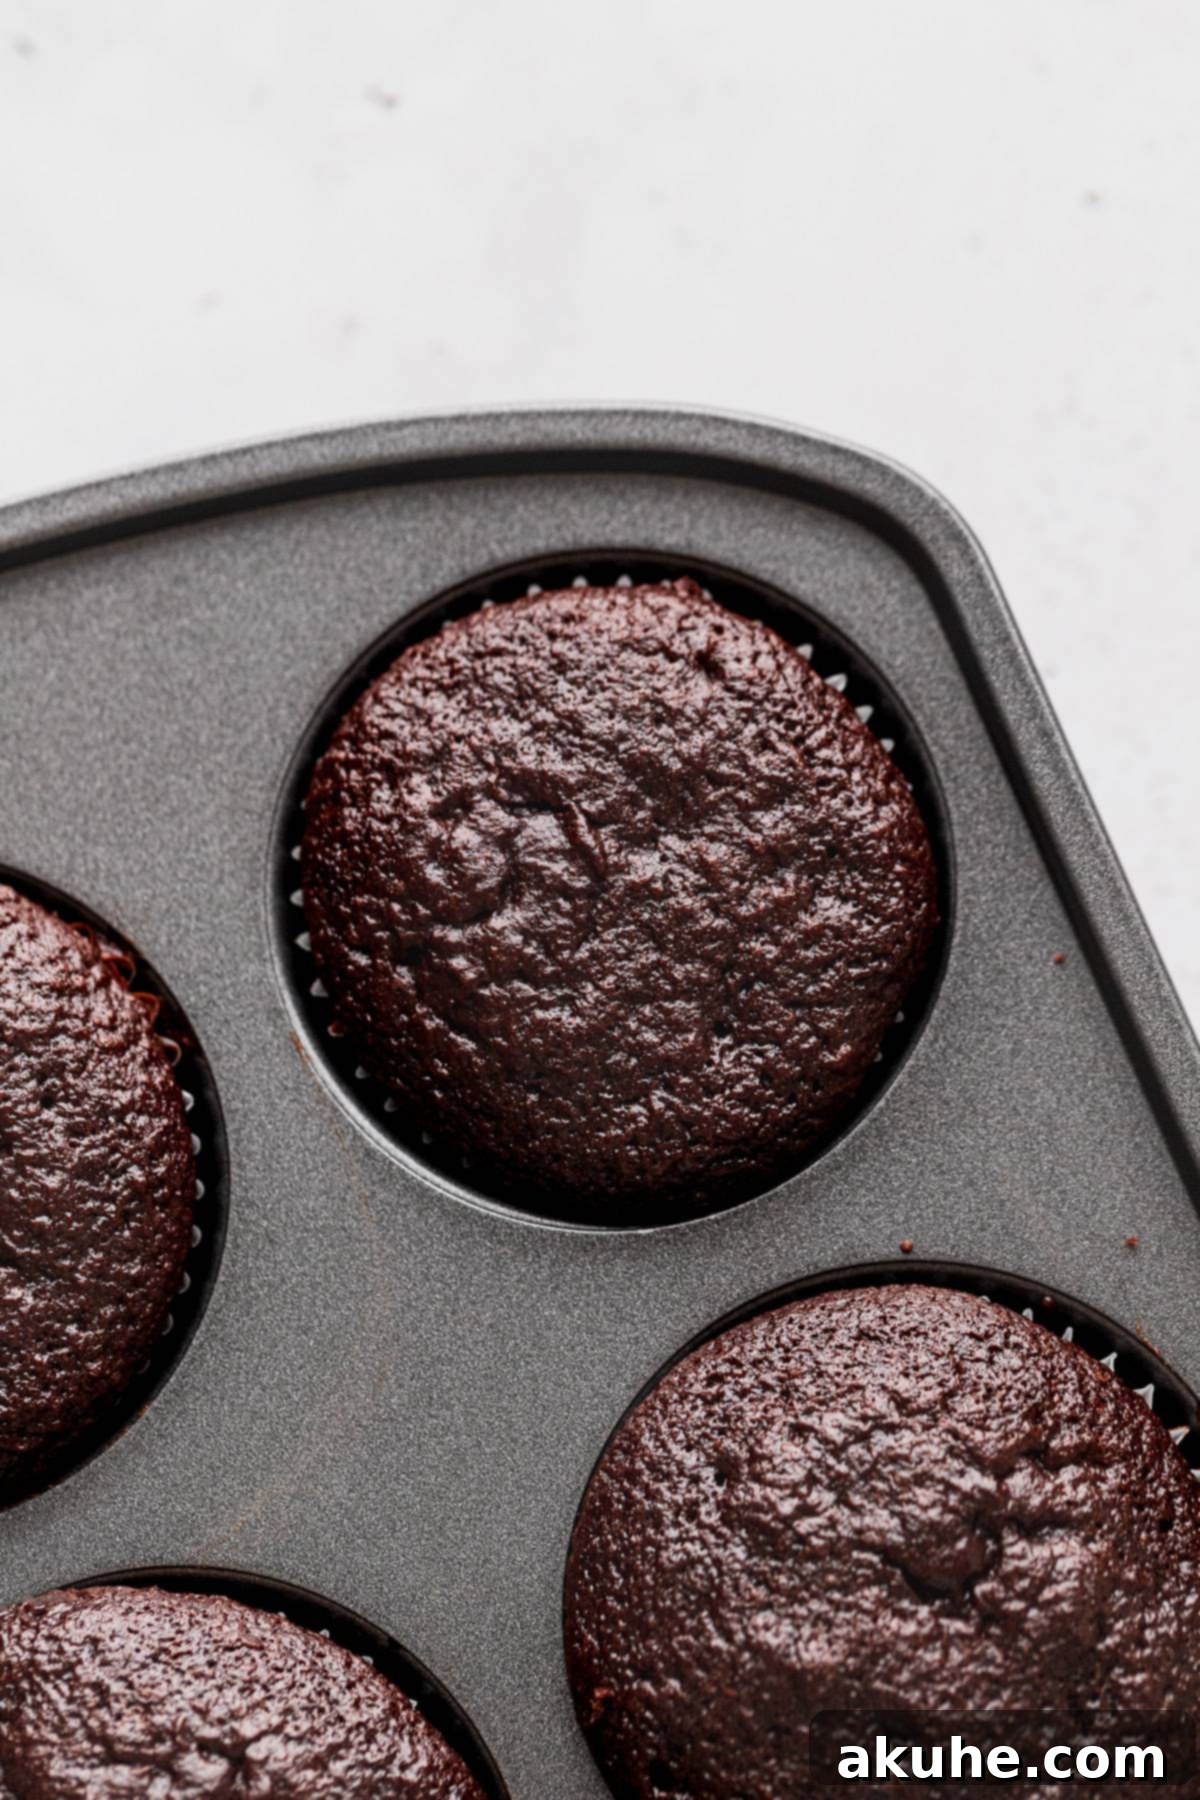
STEP 3: Scoop and Bake. With your perfectly smooth batter ready, it’s time to fill the muffin tins. Scoop the batter into each lined muffin cup, filling them approximately 3/4 full. A 3oz cookie scoop is incredibly helpful for this step, ensuring uniform sizes and minimizing drips. Bake your chocolate Oreo cupcakes for 22-25 minutes, or until a toothpick inserted into the center comes out clean, indicating they are fully cooked. Once baked, let the cupcakes cool in the muffin tin for about 10 minutes before carefully transferring them to a wire cooling rack. It’s crucial for the cupcakes to cool completely before you proceed with filling and decorating, ensuring the fillings and frostings maintain their perfect consistency.
Preparing the Whipped Oreo Cream Cheese Filling
STEP 4: Make the Irresistible Filling. For the heavenly whipped Oreo cream cheese filling, start by preparing your Oreos. Crush both regular and golden Oreos into small and medium-sized pieces using a food processor or by placing them in a sandwich bag and smashing them with a rolling pin. Next, for the best whipped cream results, place a metal mixing bowl and your whisk attachments into the freezer for about 10 minutes to chill thoroughly. Now, in a stand mixer (or with a hand mixer), beat the room temperature cream cheese on high speed for 1 minute until it’s light, smooth, and fluffy. Add in the vanilla extract and sifted powdered sugar, mixing on low speed until just combined, then beat on high until the mixture is smooth and lump-free. In your chilled bowl, beat the cold heavy cream on high speed until stiff peaks form – this means the cream will hold its shape when the whisk is lifted. Gently fold the whipped cream into the cream cheese mixture using a spatula, taking care not to deflate the air. Continue folding until no cream cheese streaks are visible and the mixture is uniformly blended. Only add the crushed Oreo pieces right before you intend to fill the cupcakes; this prevents them from becoming soggy and ensures a pleasant crunch. Set aside a small portion of the plain whipped cream cheese if desired for other uses, then fold the remaining crushed Oreos into the bulk of the filling.
Creating the Signature Oreo Cream Cheese Frosting
STEP 5: Whip Up the Oreo Frosting. For our luscious Oreo cream cheese frosting, begin by allowing your unsalted butter to sit on the counter for about 30 minutes to become slightly cold, but not fully softened – this texture is ideal for a stable frosting. While you wait, sift the powdered sugar to remove any lumps. Next, use a food processor to finely grind both the regular and golden Oreos into very fine crumbs; this ensures a smooth frosting texture without large chunks. Combine these finely ground Oreo crumbs with the sifted powdered sugar. In a large mixing bowl with your stand mixer (or hand mixer), beat the slightly cold butter and room temperature cream cheese on high speed for 2-3 minutes. This step is crucial for achieving a light and incredibly fluffy base. Make sure to scrape down the sides of the bowl frequently to ensure even mixing. Slowly add in the powdered sugar and Oreo crumb mixture, mixing on low speed until fully incorporated. At this stage, the frosting will appear quite thick. Incorporate the vanilla extract and heavy cream, then beat on low until blended. Increase the mixer speed to high and beat for an another 2 minutes until the frosting is light, fluffy, and perfectly pipeable. Transfer the frosting to a piping bag fitted with your desired tip (a Wilton 1M tip works wonderfully for beautiful swirls).
Assembling and Decorating Your Oreo Masterpieces
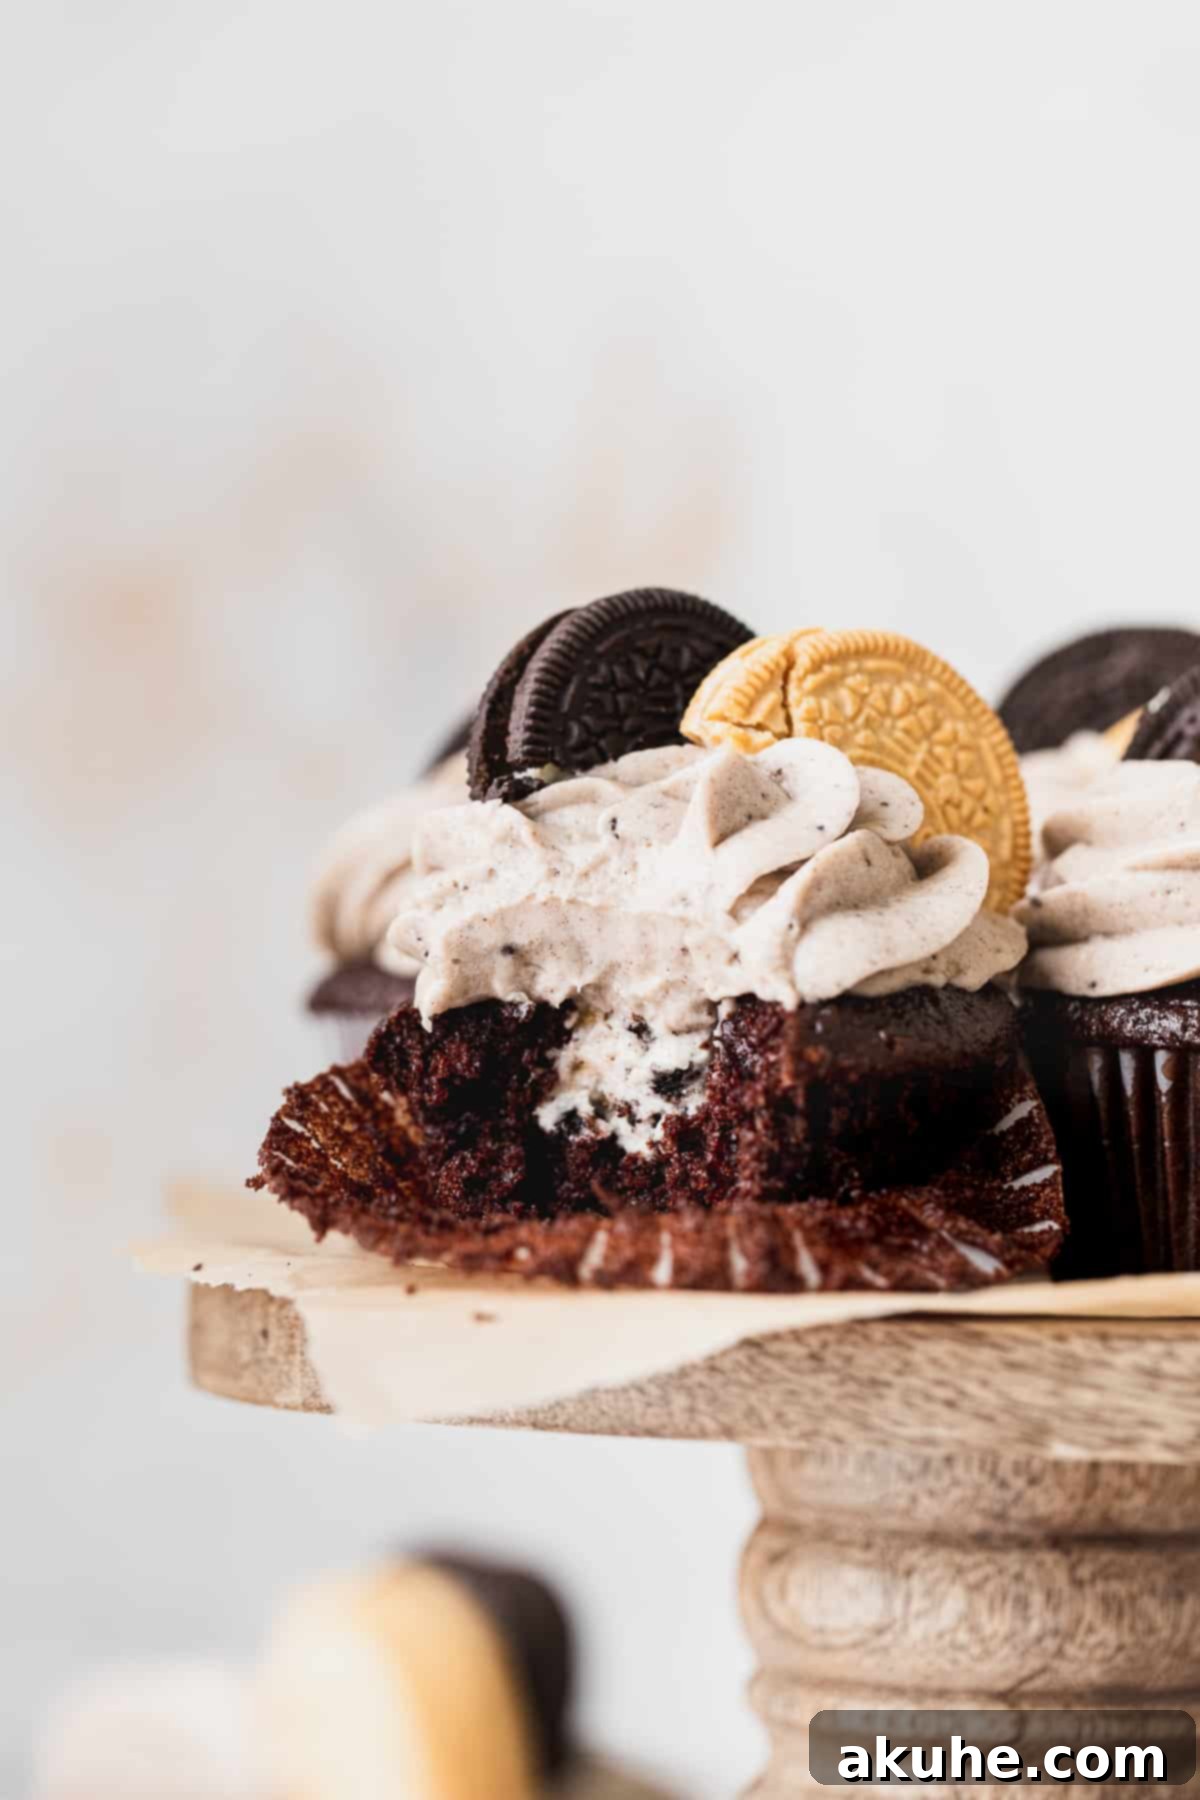
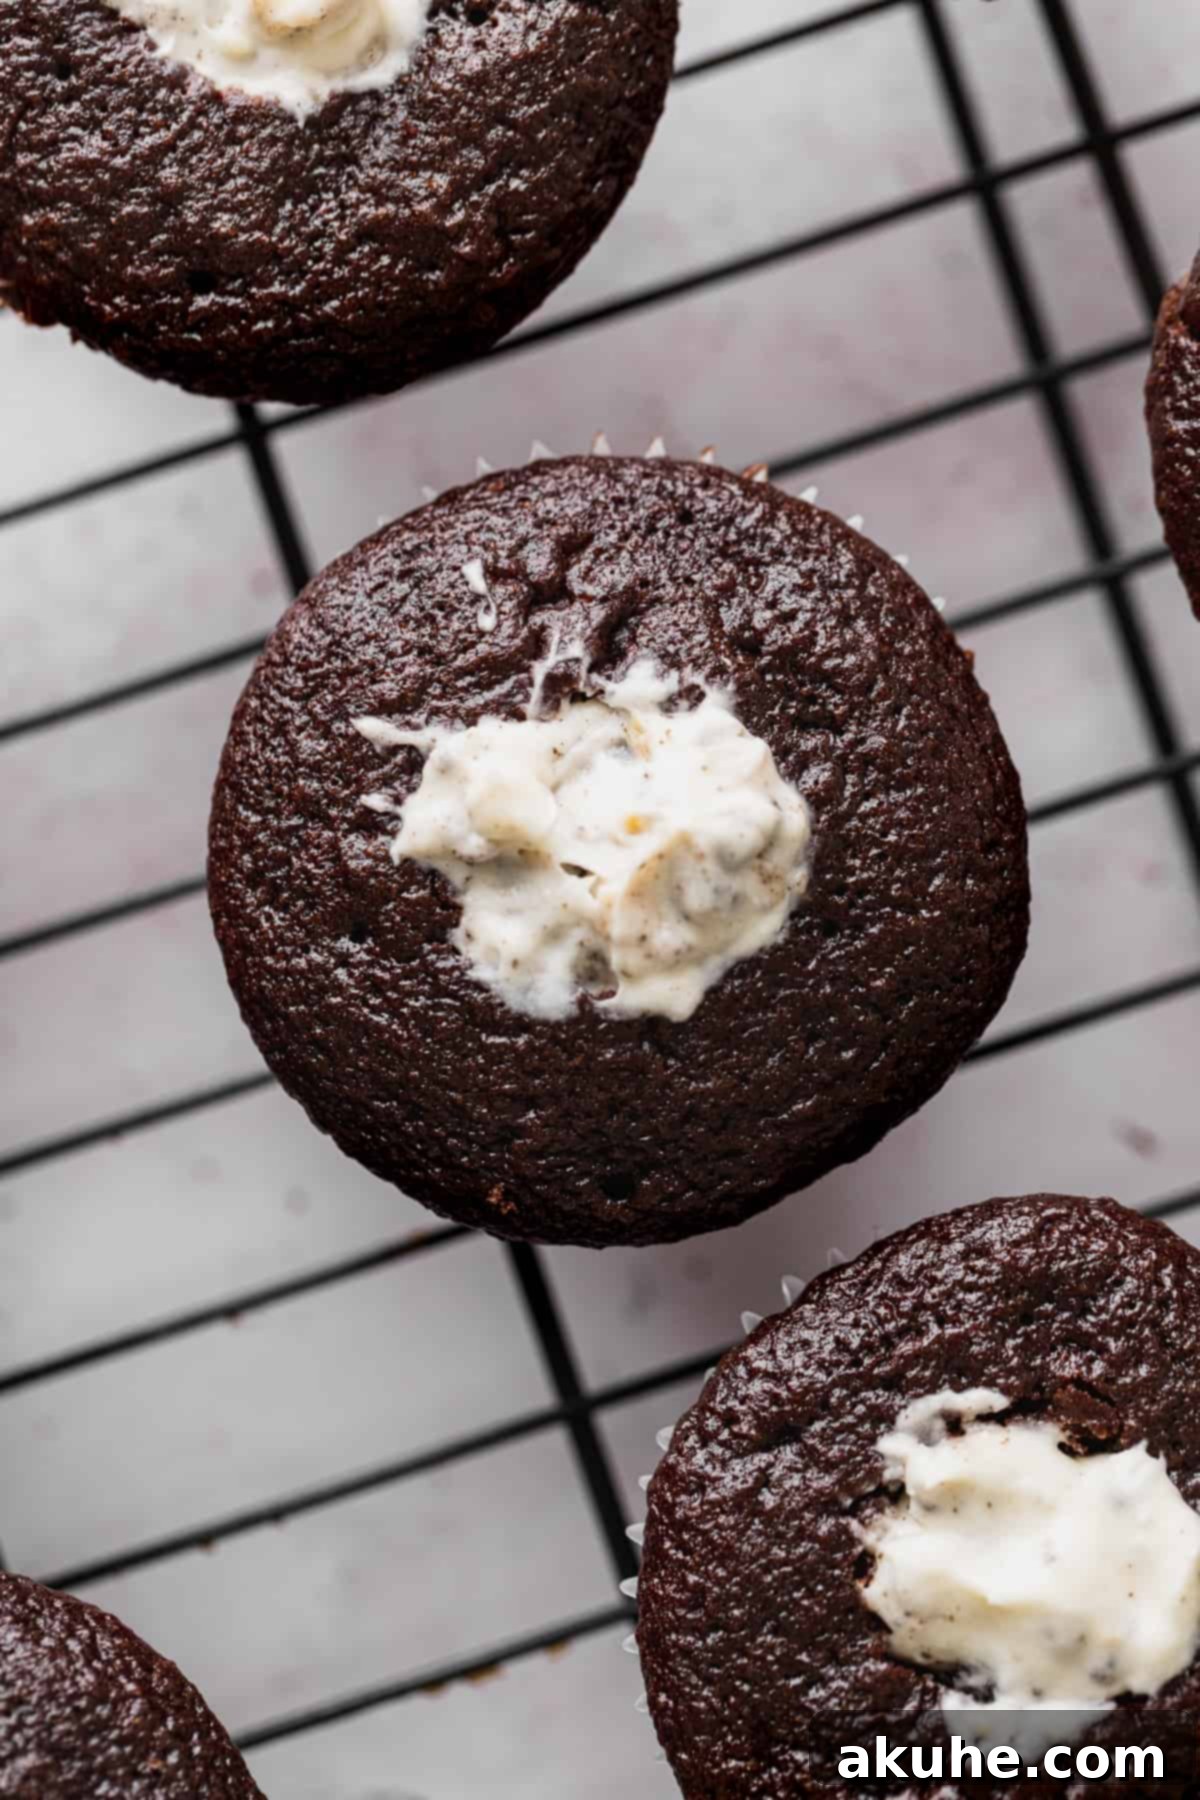
STEP 6: Core, Fill, and Frost. With your cupcakes completely cooled and both the filling and frosting ready, it’s time for assembly. Using a cupcake corer or a sharp knife, carefully cut a hole into the center of each cupcake, going about two-thirds of the way down. Discard the removed cake pieces or save them for another use. Generously fill each cored cupcake to the very top with your delightful whipped Oreo cream cheese filling. Finally, pipe the prepared Oreo cream cheese frosting on top of each filled cupcake, creating an appealing swirl or design. Garnish with additional Oreo pieces if desired for extra visual appeal and crunch. Keep the finished cupcakes refrigerated until ready to serve to maintain the frosting’s stability and freshness.
Expert Baking Tips for Flawless Oreo Cupcakes
Achieving bakery-quality chocolate Oreo cupcakes is easier with a few insider tips. Pay attention to these details for the best possible outcome:
- Embrace the Runny Batter: Don’t be alarmed by the consistency of the cupcake batter; it will be quite runny, and this is completely normal! Because it’s designed to be a light batter, this thinness contributes to its incredibly light and delicate texture once baked. While scooping can get a little messy, using a 3oz cookie scoop or an ice cream scoop can significantly help to reduce drips and ensure each cupcake is filled evenly and cleanly.
- Gentle Folding for Airy Filling: When incorporating the whipped heavy cream into the cream cheese mixture for the filling, the key is to be incredibly gentle. Use a spatula to fold rather than vigorously mix, moving from the bottom of the bowl upwards, over and over. This delicate technique is crucial to avoid deflating the air you’ve meticulously whipped into the cream, which contributes to the filling’s light and fluffy texture. It may take a few minutes of patient folding until the mixture is fully combined and no streaks of cream cheese remain.
- Timing is Everything for Filling: For the freshest taste and best texture, fill your Oreo cupcakes right before you plan to decorate and serve them. If you prefer to prepare the whipped Oreo cream cheese filling ahead of time, store it in an airtight container in the refrigerator. This ensures the crushed Oreo pieces stay crisp and the filling maintains its perfect consistency.
- Mastering the Frosting Swirl: For that professional bakery look, using a piping bag is highly recommended for applying the frosting. A large open star tip, like the Wilton 1M, is perfect for creating beautiful, elegant swirls that make these cupcakes truly stand out. Practice a few swirls on a plate first if you’re new to piping, to get a feel for the pressure and movement.
Frequently Asked Questions About Oreo Cupcakes
Absolutely! You can bake the chocolate cupcakes in advance. Once completely cooled, wrap them tightly in an airtight container or plastic wrap and store them in the freezer. They will maintain their freshness and delicious taste for up to 30 days. When you’re ready to use them, let the frozen cupcakes thaw at room temperature for about 1 hour before you proceed with filling and decorating. This makes them perfect for party prep!
Yes, you absolutely can! While this recipe highlights the incredible combination of regular and golden Oreos, feel free to get creative with other Oreo flavors. Whether you prefer mint, peanut butter, or another seasonal variety, the choice is yours to customize these homemade Oreo cupcakes. However, a crucial tip: avoid using “double stuff” Oreos. The extra cream in double stuff varieties can introduce too much moisture into the frosting and filling, potentially affecting their texture and stability. Stick to standard Oreos for the best results.
Certainly! This versatile chocolate cake base can be easily converted. For an 8×8 inch square cake, simply keep the recipe quantities exactly as listed. If you’re aiming for a larger sheet cake or a stunning three-layer 8-inch round cake, we recommend doubling the entire cake recipe to ensure you have enough batter. For a sheet cake, the frosting quantities listed in this recipe should suffice. However, for a majestic layered cake, you’ll want to double the frosting recipe as well to adequately cover all layers and provide a generous topping.
Yes, the Oreo cream cheese frosting can be prepared in advance. Store it in an airtight container in the refrigerator for up to a week. If stored for 24 hours or more, it will firm up significantly. Before using, allow it to sit on the counter for about 1.5 hours to come closer to room temperature. Then, transfer it to your stand mixer and rewhip it on medium-high speed until it becomes light, fluffy, and easily pipeable again. This revitalizes its texture perfectly.
We haven’t specifically tested this recipe with egg substitutes, so we cannot guarantee the same results in terms of texture and rise. Eggs play a vital role in providing structure and moisture to the cupcakes. If you do experiment with any egg replacements and find a successful method, please let us know! We’d love to hear about your experience.
Storing and Freezing Your Delicious Oreo Cupcakes
Ensuring your delectable Oreo cupcakes remain fresh and delicious is simple with proper storage techniques. Whether you plan to enjoy them within a few days or save them for a future craving, here’s how to keep them at their best.
Refrigeration
Because these cupcakes feature a rich cream cheese filling and frosting, they must be stored in the refrigerator. Place them in an airtight container, such as a specialized cake carrier designed for cupcakes, to protect them from drying out and absorbing other fridge odors. Stored correctly, your homemade Oreo cupcakes will remain wonderfully fresh and flavorful for up to 5 days. For the best taste experience, allow them to come to room temperature for 15-20 minutes before serving.
Freezing for Future Indulgence
For longer storage, these chocolate Oreo cupcakes freeze exceptionally well. To freeze, place the fully assembled and frosted cupcakes in an airtight container, ensuring they don’t get squashed. They can be safely stored in the freezer for up to 30 days. When you’re ready to enjoy them, simply take them out of the freezer and let them thaw at room temperature for approximately 2 hours. This gradual thawing process helps maintain their moist texture and the integrity of the frosting.
Discover More Cupcake Delights
If you’ve fallen in love with the magic of these Oreo cupcakes, you’re in for a treat! We have a delightful collection of other cupcake recipes waiting for you to explore. From classic flavors to innovative combinations, there’s always something new to bake and enjoy. Expand your baking repertoire and find your next favorite sweet creation!
Made these delicious Oreo cupcakes? We’d love to hear from you! Please remember to leave a STAR REVIEW below if you enjoyed this recipe. Share your beautiful creations with us on Instagram by tagging @stephaniesweettreats. For even more baking inspiration and sweet ideas, be sure to follow us on Pinterest. Happy baking!
Oreo Cupcakes
Stephanie Rutherford
Print Recipe
Pin Recipe
Leave a Review
1 hour
22 minutes
20 minutes
1 hour 42 minutes
12 cupcakes
Ingredients
Chocolate Cupcakes
-
1 cup All-purpose flour -
1/3 cup Dutch process cocoa powder -
3/4 cup White granulated sugar -
1 tsp Baking soda -
1/4 tsp Baking powder -
1 tsp Salt -
1/2 cup Buttermilk, room temperature -
1/4 cup Oil, canola or vegetable -
2 Large eggs, room temperature -
1/2 tsp Pure vanilla extract -
1/3 cup Hot water
Whipped Oreo Cream Cheese Filling
-
2 oz Cream cheese, room temperature -
1/2 tsp Pure vanilla extract -
3/4 cup Powdered sugar, sifted -
1/4 cup Heavy cream, cold -
2 Oreos, smashed into pieces -
2 Golden Oreos, smashed into pieces
Oreo Cream Cheese Frosting
-
4 oz Cream cheese, room temperature -
3/4 cup Unsalted butter, slightly cold -
3 1/2 cups Powdered sugar, sifted -
3 Oreo, grounded into fine crumbs -
3 Golden Oreos, grounded into fine crumbs -
1 tsp Pure vanilla extract -
1/8 cup Heavy cream -
More Oreos for decoration
Instructions
Chocolate Cupcakes
- Preheat oven to 350°F (175°C). Line a 12-cup muffin tin with muffin liners. Set aside, ready for your delicious batter.
- In a large mixing bowl, meticulously sift together the all-purpose flour, Dutch process cocoa powder, baking soda, and baking powder. This crucial step ensures a smooth batter. Then, add in the granulated sugar and salt, whisking until thoroughly combined. In a separate bowl, whisk together the buttermilk, oil, pure vanilla extract, and large eggs until smoothly blended.
- Pour the wet ingredients mixture into the dry ingredients. Whisk gently until just combined; avoid overmixing. Heat the water on the stove until it’s steaming hot (do not let it boil). Slowly and carefully pour the hot water into the batter while continuously whisking to ensure the cocoa blooms and the batter remains smooth.
- Using a 3 oz cookie scoop, evenly distribute the batter into the prepared muffin liners, filling each approximately 3/4 full. Bake for 22-25 minutes. To check for doneness, insert a toothpick into the center of a cupcake; it should come out clean.
- Allow the freshly baked cupcakes to cool in the muffin pan for 10 minutes. Afterwards, carefully transfer them to a wire cooling rack to cool completely. This step is essential before proceeding with filling and decorating to prevent melting of your delicious frosting.
Whipped Oreo Cream Cheese Filling
- Prepare your Oreos by crushing both regular and golden varieties into small and medium-sized pieces using a food processor or by hand. For optimal whipped cream, place a metal mixing bowl and whisk attachments in the freezer for 10 minutes.
- Beat the room temperature cream cheese on high for 1 minute until smooth. Add the pure vanilla extract and sifted powdered sugar; mix on low until combined, then beat on high until the mixture is completely smooth and free of lumps.
- Pour the cold heavy cream into the chilled bowl and beat on high speed until stiff peaks form. Gently fold this whipped cream into the cream cheese mixture using a spatula, being careful not to deflate the air. Continue folding until the mixture is uniform and no cream cheese streaks remain.
- Remove about 1/4 of the whipped cream cheese mixture (you won’t need this portion for the filling). Then, gently fold the prepared crushed Oreos (both regular and golden) into the remaining 3/4 of the whipped cream cheese.
- Using a cupcake corer or a sharp paring knife, carefully cut a hole in the center of each cooled cupcake, going about two-thirds of the way down. Discard the removed cake centers or enjoy them as a baker’s treat! Fill each cupcake generously to the top with the delightful whipped Oreo cream cheese filling.
Oreo Cream Cheese Frosting
- Allow your unsalted butter to sit at room temperature for approximately 30 minutes to become slightly cold, not fully softened. During this time, sift the powdered sugar. Use a food processor to blend both regular and golden Oreos into very fine crumbs. Combine these fine Oreo crumbs with the sifted powdered sugar.
- In a mixer, beat the slightly cold butter and room temperature cream cheese on high speed for 2-3 minutes until the mixture is light, airy, and fluffy. Pause to scrape down the sides and bottom of the bowl to ensure all ingredients are thoroughly incorporated.
- Slowly add in the combined powdered sugar and fine Oreo crumbs, mixing on low speed until just incorporated. The mixture will be thick at this point. Add the pure vanilla extract and heavy cream, mixing on low until blended. Increase the mixer speed to high and beat for an additional 2 minutes until the frosting is light, smooth, and easily pipeable. Use this delicious frosting to generously pipe onto your filled cupcakes. A Wilton 1M tip works wonders for a beautiful swirl. Remember to store your completed cupcakes in the fridge to maintain the frosting’s integrity.
Notes
High-Altitude Adjustments: If you are baking at a high altitude, you might need to make a slight adjustment to the recipe. Adding an extra 1 tablespoon of all-purpose flour can help maintain the cupcake’s structure and prevent excessive rising and collapsing.
Room Temperature Ingredients: This golden rule of baking ensures smooth, well-emulsified batters and creamy frostings. Make it a habit to pull out all “room temperature” specified ingredients, such as eggs, butter, and cream cheese, at least 2 hours before you plan to start your baking process. This seemingly small step makes a significant difference in the final texture of your homemade Oreo cupcakes.
Did you make this recipe?
Please leave a star rating and review below!
