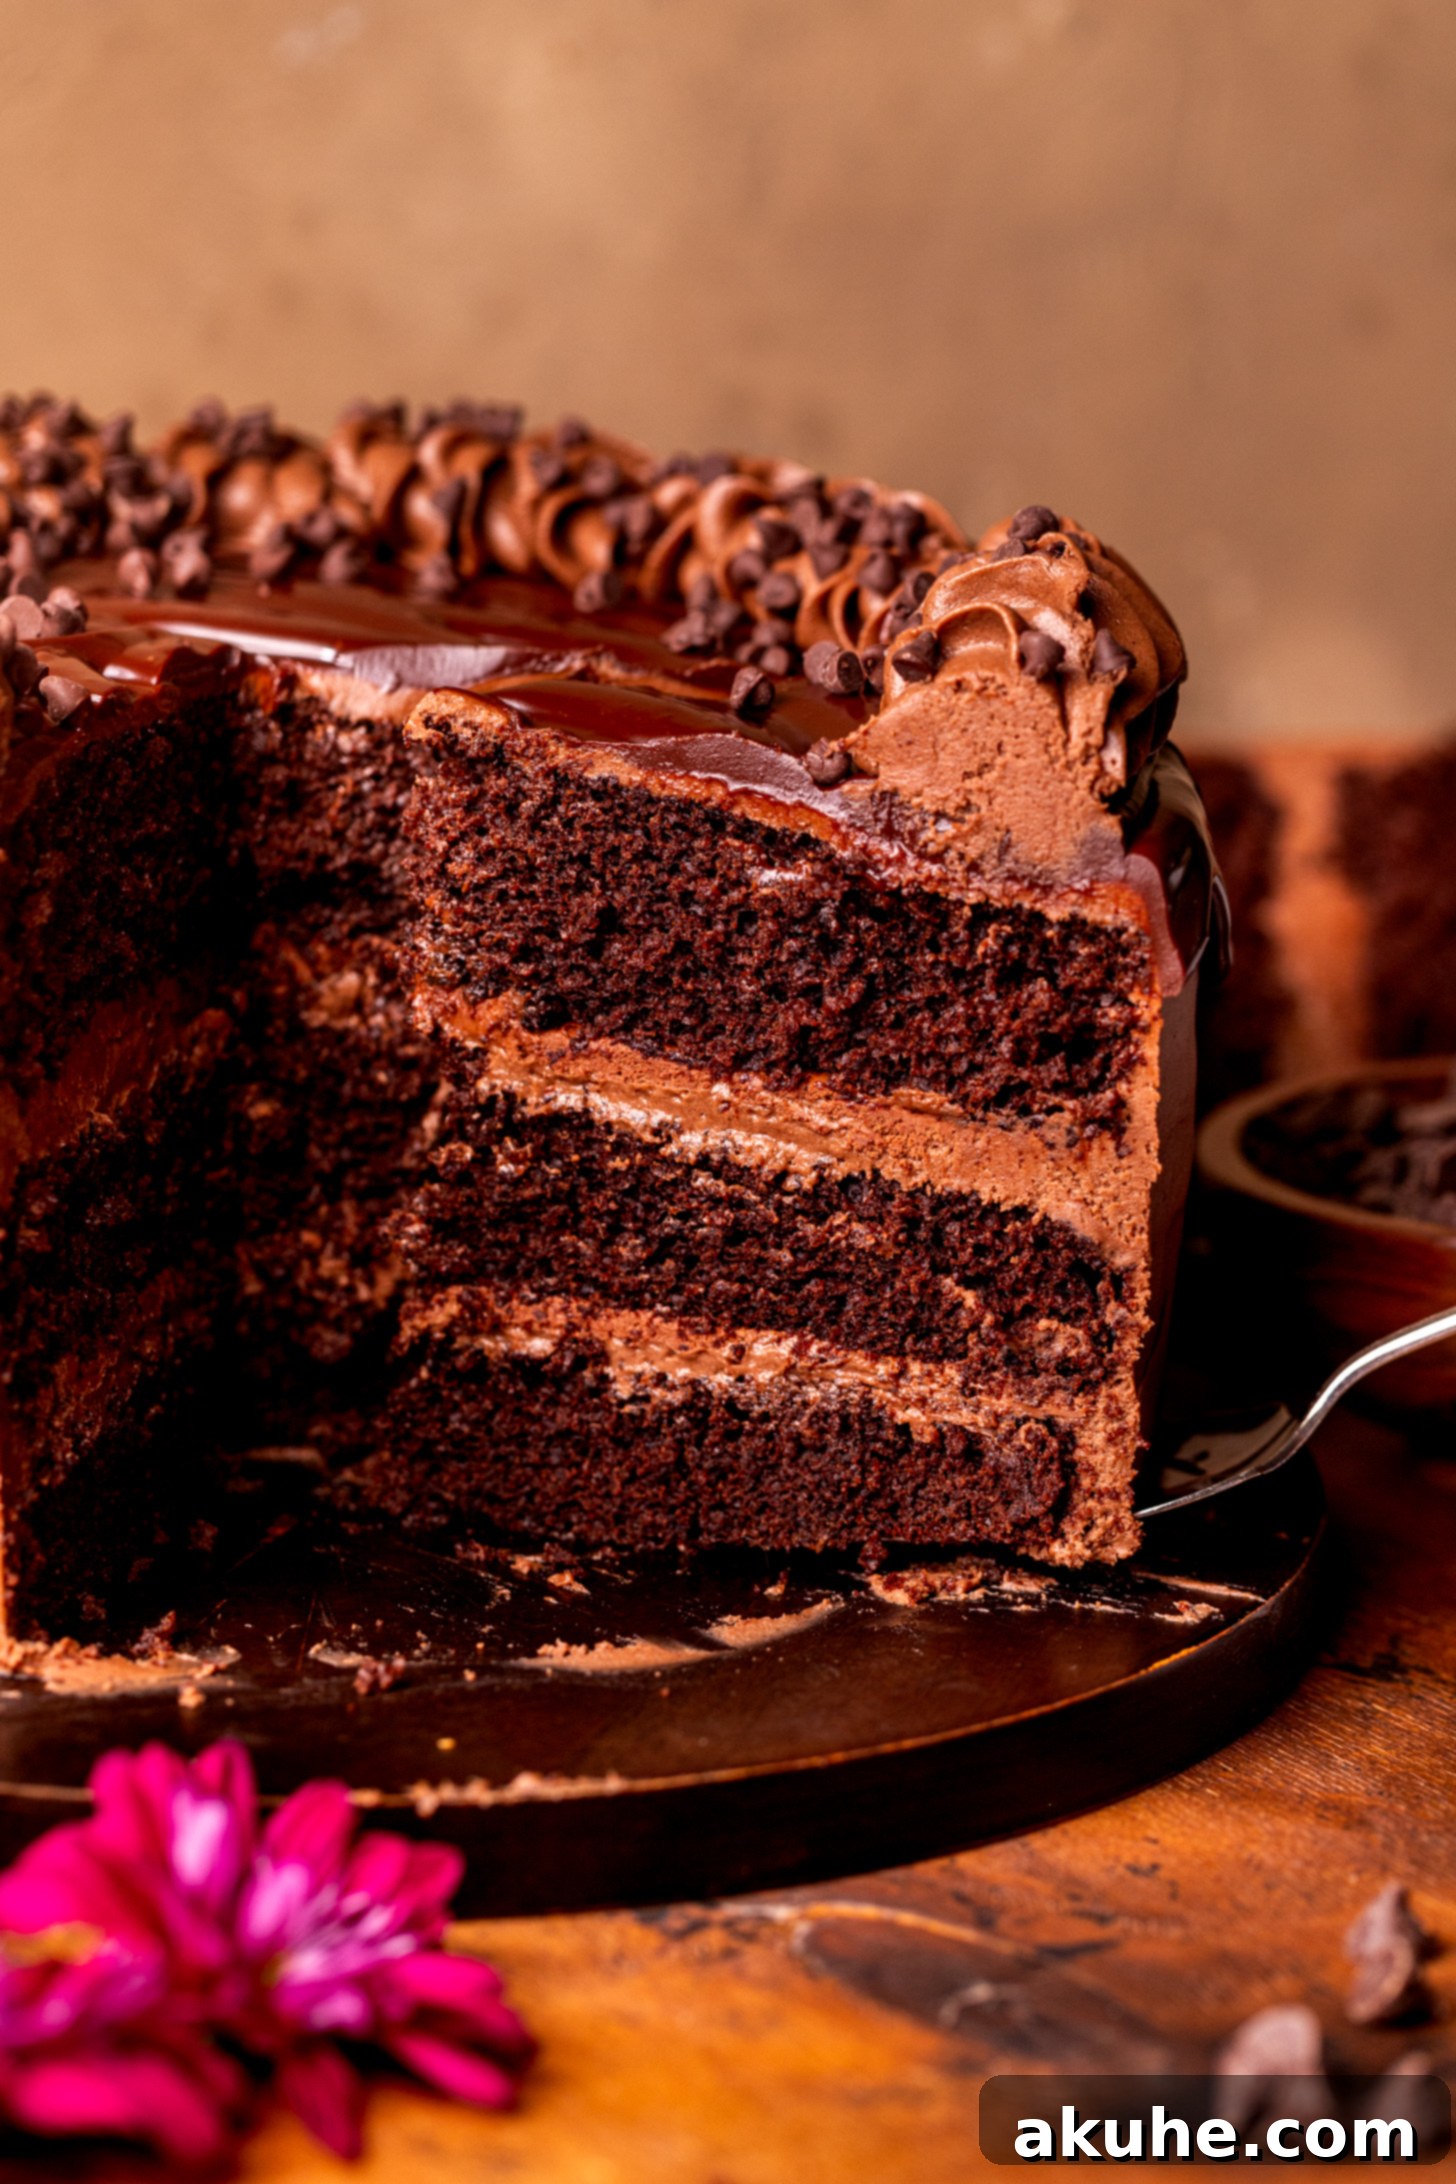
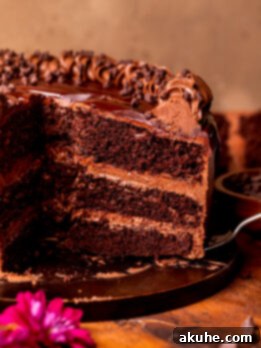
Welcome to the ultimate guide to creating a truly unforgettable dessert: the **Decadent Triple Chocolate Cake**. This isn’t just any chocolate cake; it’s a masterpiece designed to deliver an extraordinary chocolate experience with every single bite. Imagine three sumptuously moist chocolate cake layers, generously filled with a velvety whipped chocolate ganache, all enveloped in a rich, creamy chocolate cream cheese frosting, and finished with an elegant, luscious chocolate drip. This cake is the very definition of a chocolate lover’s dream, akin to the magical cake from Matilda, only brought to life in your own kitchen.
Unleashing the Ultimate Chocolate Experience
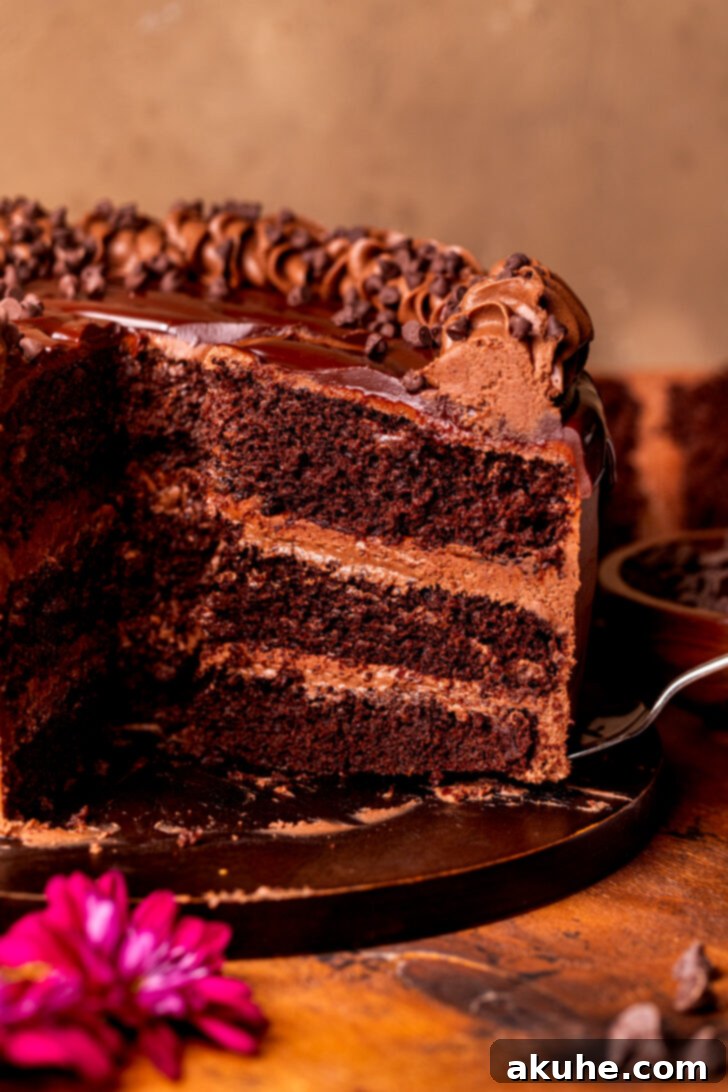
My quest was simple yet ambitious: to craft the most intensely chocolatey and utterly decadent cake possible. The result is a creation that redefines indulgence. What makes this triple chocolate cake so exceptional? It begins with incredibly moist chocolate cake layers that remain super soft and tender, even when chilled. The secret lies in a carefully balanced recipe that ensures a consistently delightful texture. Enhancing the rich cocoa notes, the whipped chocolate ganache serves as a luxurious filling, contributing an extra layer of deep chocolate flavor and an irresistibly creamy consistency. Capping it all is a decadent chocolate cream cheese frosting, smooth and rich with just the right hint of tang, perfectly complemented by a glossy chocolate drip that cascades down the sides. It’s a symphony of chocolate in every form, guaranteed to impress your friends and family for any special occasion, especially a birthday celebration.
I’ve poured my heart into perfecting this recipe, and I’m here to guide you every step of the way with essential tips, tricks, and detailed process photos. If your heart truly belongs to chocolate, you might also adore my chocolate peanut butter filled cupcakes for another delightful treat.
Mastering the Art of Triple Chocolate Cake: Essential Baking Tips
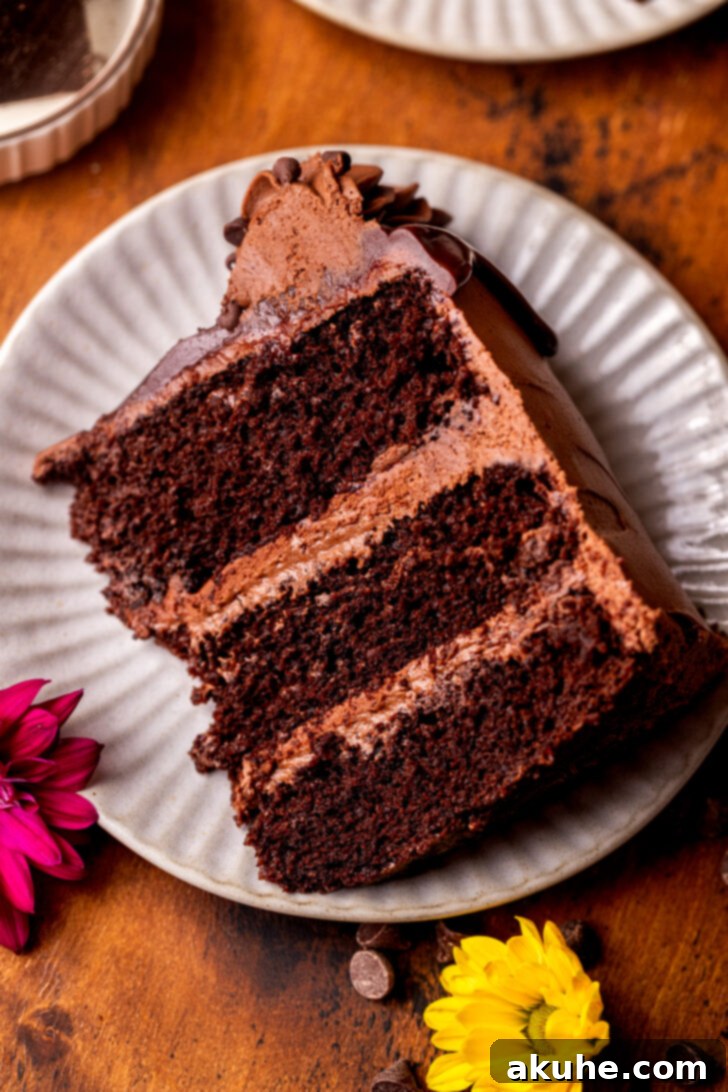
Achieving a show-stopping triple chocolate cake is easier than you think when you follow these crucial tips. These insights will help ensure your cake turns out as perfectly moist, rich, and beautiful as this very recipe!
- Tip 1: The Golden Rule of Flour Measurement: Spoon and Level. One of the most common pitfalls in baking is incorrectly measuring flour. Simply scooping your measuring cup directly into the flour bag compacts it, leading to an excessive amount of flour in your batter. This extra flour absorbs too much moisture, resulting in a dense, dry cake. Instead, gently spoon the flour into your measuring cup until it overflows, then use the flat side of a knife or a straight edge to level it off. This ensures you get the precise amount needed for an exquisitely moist crumb.
- Tip 2: Embrace Room Temperature Dairy for Seamless Blending. The temperature of your dairy ingredients – butter, eggs, buttermilk, and cream cheese – profoundly impacts the texture and consistency of your cake batter and frosting. Cold ingredients don’t emulsify properly, leading to a lumpy batter or a split frosting. For best results, plan ahead and remove all dairy components from the refrigerator at least two hours before you begin baking. Room temperature ingredients blend together smoothly, creating a uniform, airy batter and a silky-smooth frosting that’s a joy to work with.
- Tip 3: Timing is Everything for Whipped Chocolate Ganache. The whipped chocolate ganache is a star component of this cake, adding incredible richness and a delightful, airy texture. For optimal whipping, your ganache needs to be at the right consistency – not too warm and liquid, and not too firm and set. Prepare your ganache approximately an hour before you plan to whip it, allowing it to cool and thicken to a pudding-like texture. If it’s too warm, it won’t whip; if it’s too cold, it will be lumpy and difficult to incorporate air. Whisking it intermittently during cooling helps maintain a smooth consistency.
- Tip 4: Freshness Ensures Flawless Frosting and Drip Application. To achieve that perfect, creamy chocolate cream cheese frosting and a glossy, controlled chocolate drip, it’s best to prepare them right before you intend to use them. Cream cheese frosting, in particular, can change consistency if left to sit for too long, becoming either too soft or too stiff. Similarly, the chocolate drip needs to be at the ideal temperature to flow smoothly over the cake edges without running too quickly or setting too fast. This ensures ease of application and the most professional-looking finish for your decadent dessert. For even more detailed guidance on achieving the perfect frosting, check out my dedicated post on how to make chocolate cream cheese frosting.
- Tip 5: Don’t Overmix Your Batter. While you want to ensure no dry streaks of flour remain, overmixing your cake batter develops the gluten too much. This can lead to a tough, chewy cake instead of the moist, tender crumb we’re aiming for. Mix until just combined, stopping as soon as the last streaks of flour disappear.
- Tip 6: Level Your Cake Layers for a Professional Finish. After your cakes have cooled, use a serrated knife or a cake leveler to carefully trim the domed tops, making each layer perfectly flat. This ensures your assembled cake is stable, even, and has those beautiful, clean layers that are so visually appealing.
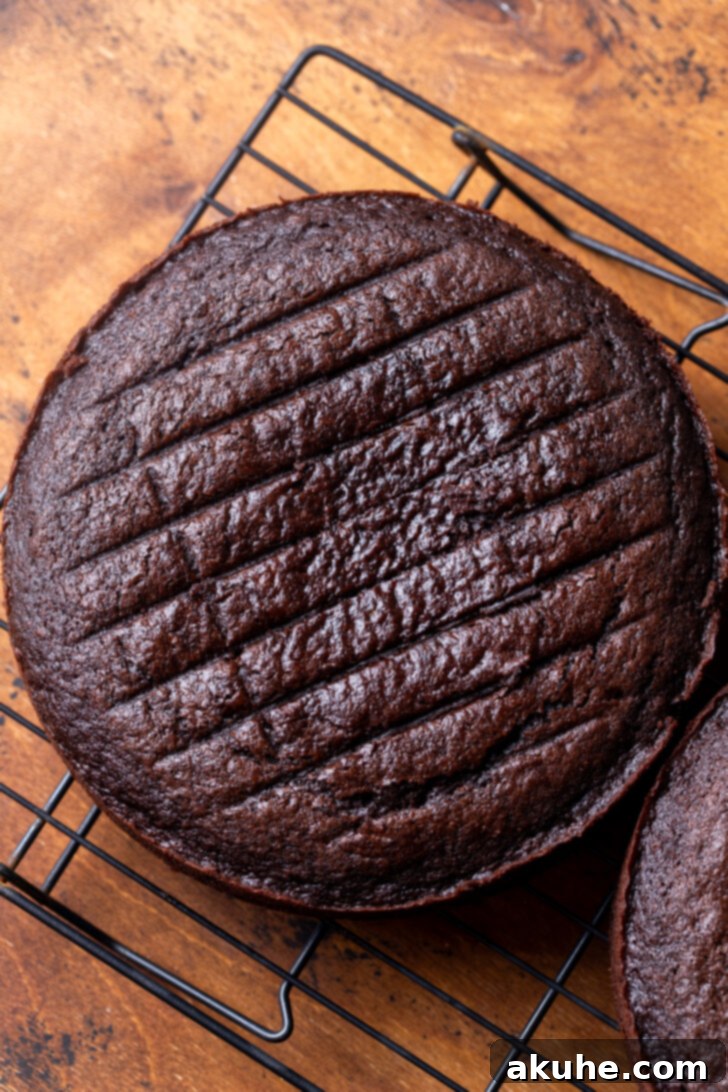
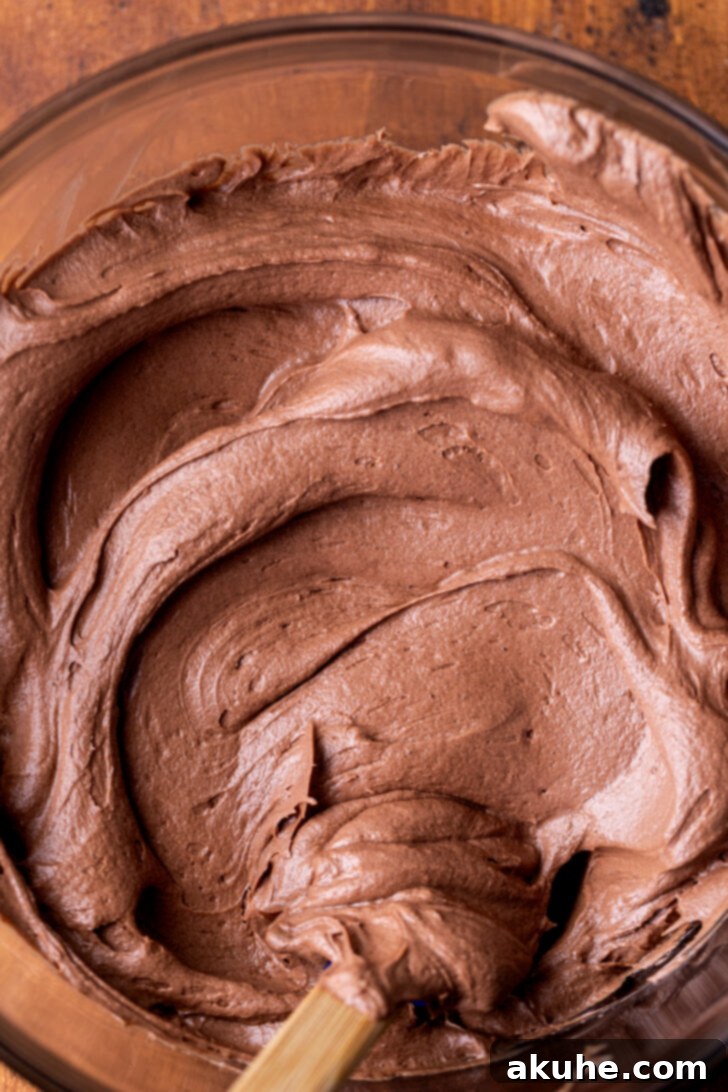
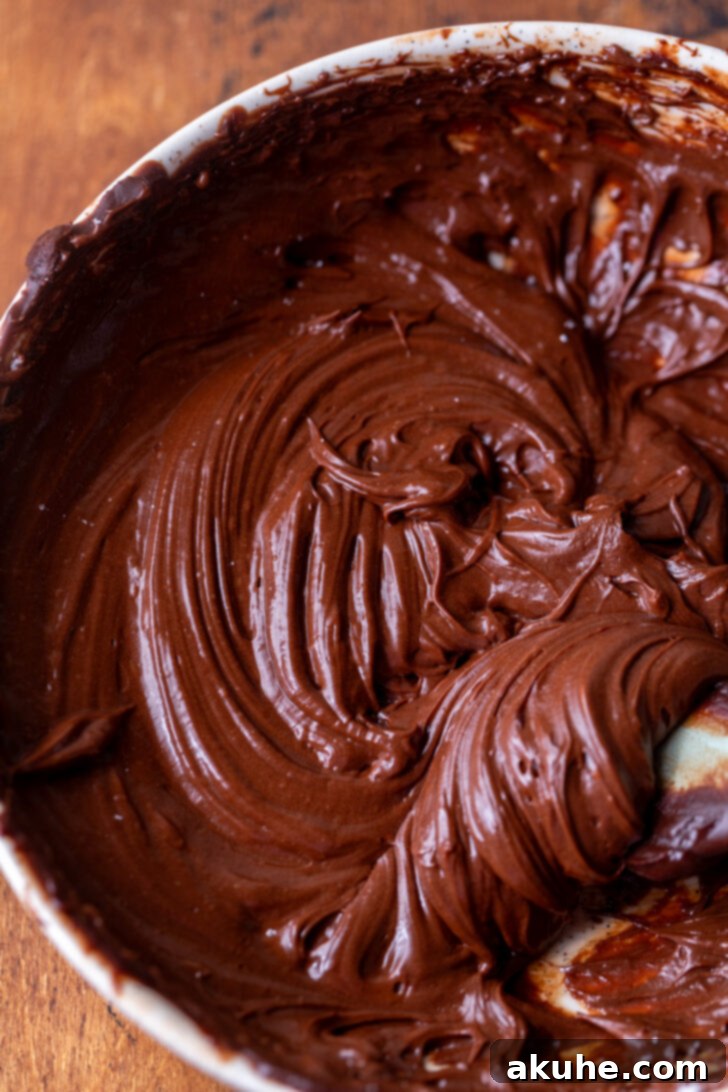
Assembling Your Triple Chocolate Masterpiece
Assembling your triple chocolate cake is where all your hard work comes together. Take your time, and enjoy the process of building this magnificent dessert. Each layer adds to the visual appeal and the incredible taste experience.
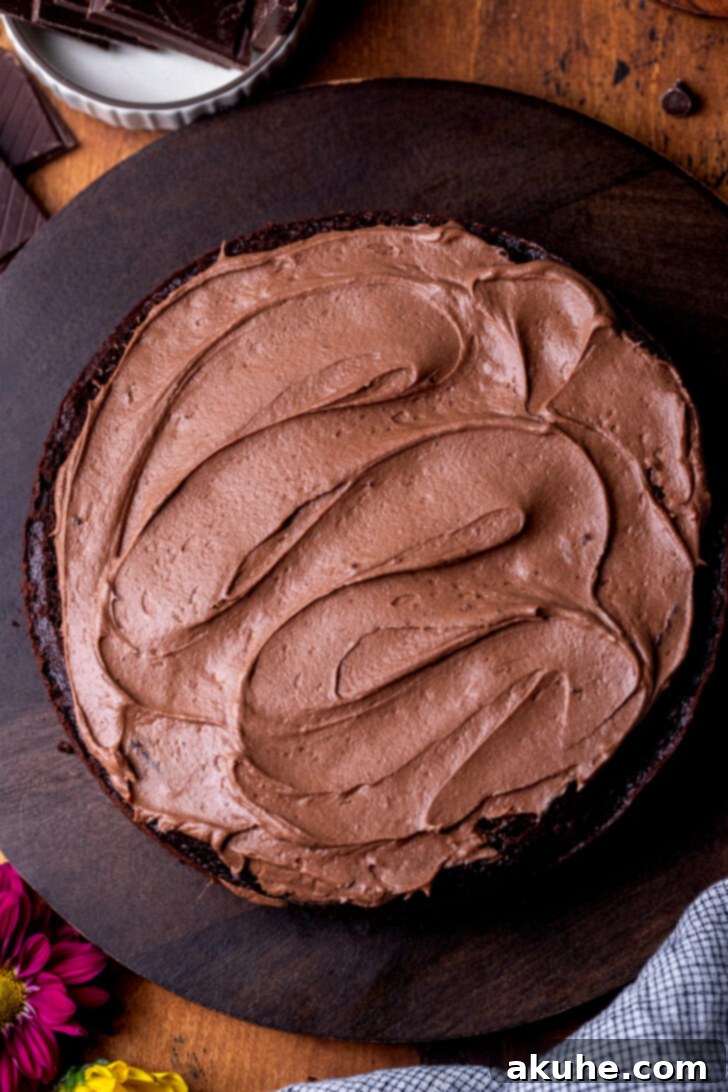
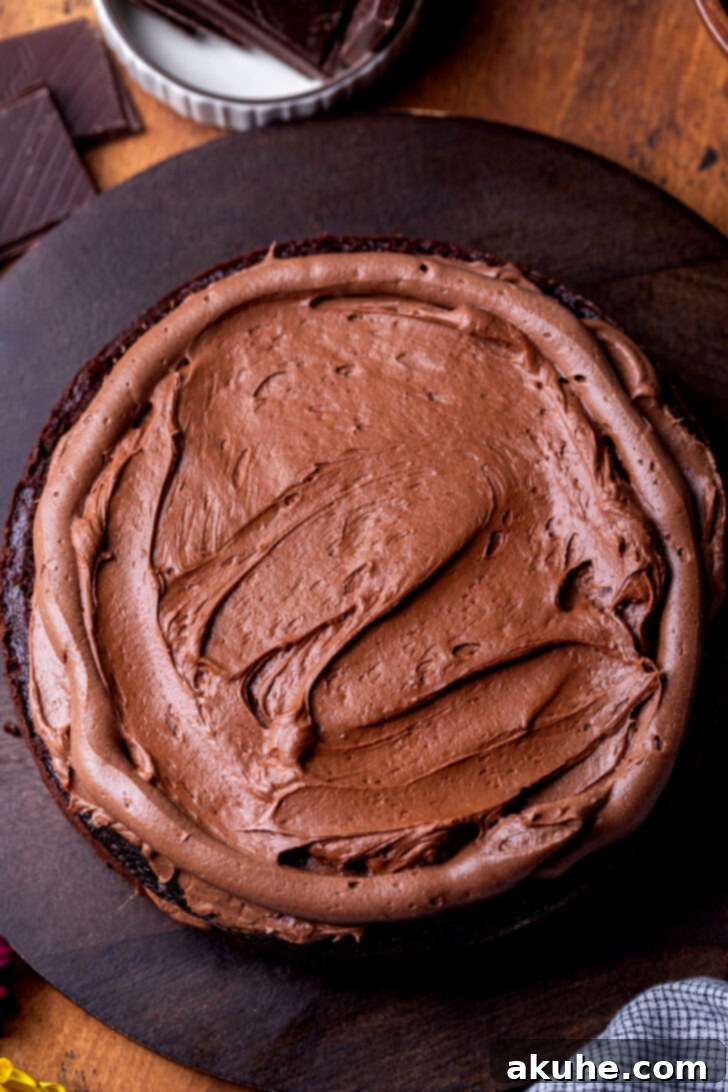
To begin, place a small dollop of frosting on your cake board or serving platter. This acts as an anchor, preventing your cake from sliding as you work. Then, place your first leveled cake layer squarely on top. Spread a generous 1/2 cup of the creamy chocolate cream cheese frosting evenly over this layer. Next, pipe a thick border of frosting around the very edge of the cake layer. This “dam” will securely hold the luscious whipped chocolate ganache filling in place. Carefully spread half of your prepared whipped ganache within this border, creating a beautiful, even layer. Repeat this exact process for the second cake layer.
For the final layer, place the third cake layer bottom-side up. This creates a perfectly flat top for your cake. Apply a thin “crumb coat” of frosting over the entire cake – top and sides. This thin layer seals in any loose crumbs, ensuring your final frosting layer is smooth and pristine. Chill the cake in the freezer for about 15 minutes to allow the crumb coat to set firm. Once set, apply the remaining chocolate cream cheese frosting, smoothing it with an offset spatula or bench scraper until you achieve a beautiful, even finish. Return the cake to the freezer for another 10 minutes to firm up the frosting before moving on to the drip.
Finally, carefully pour the chocolate ganache drip over the top of the chilled cake. Using an offset icing spatula, gently push some of the ganache over the edges, allowing it to artfully cascade down the sides. Spread the remaining ganache smoothly over the top of the cake. Freeze the cake for a final 10 minutes to set the drip. For an extra touch of elegance, you can pipe additional frosting decorations on top or sprinkle with mini chocolate chips, adding both texture and visual appeal.
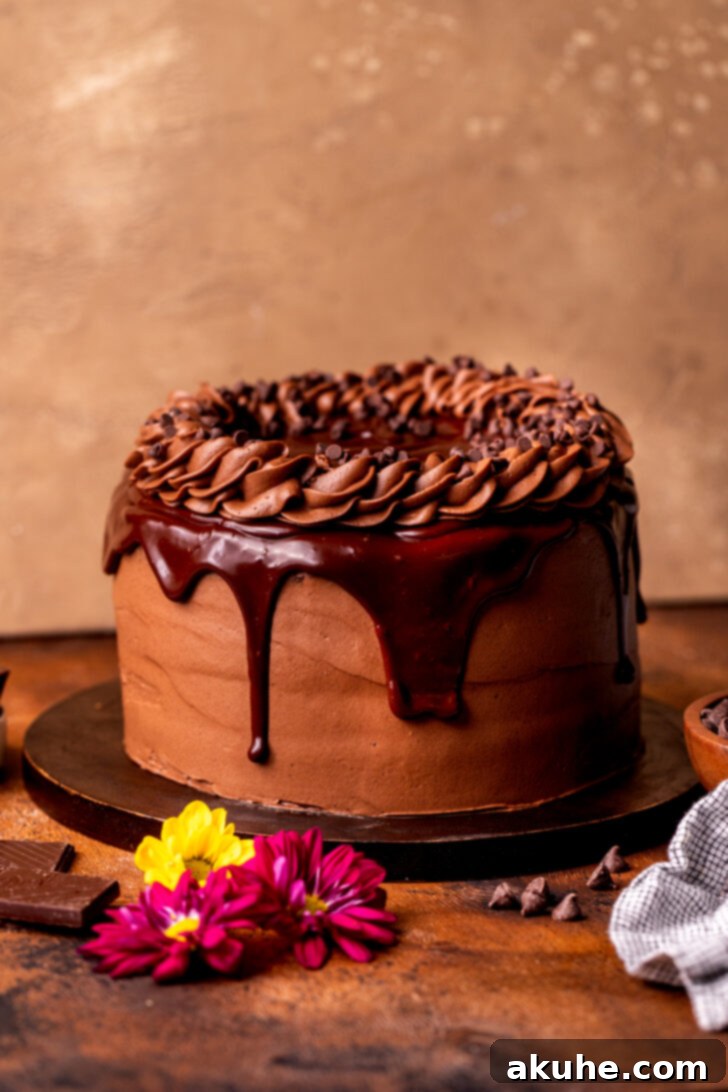
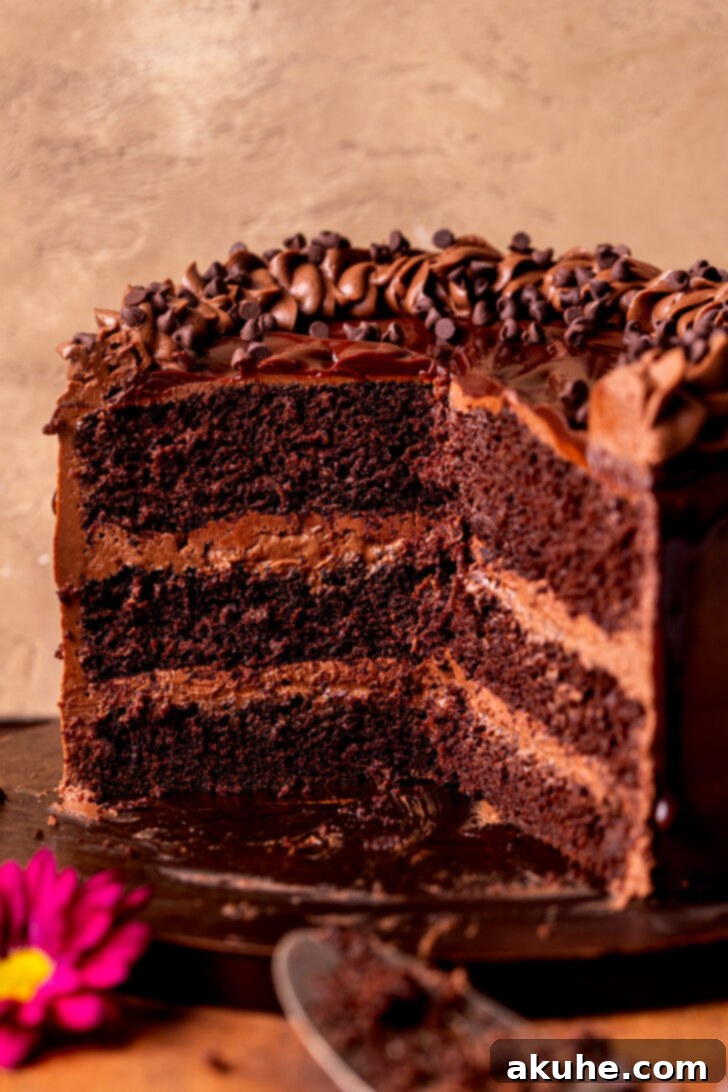
Craving more chocolatey delights? Be sure to try my moist chocolate cake for a classic favorite, or indulge in the rich simplicity of my brownie cake.
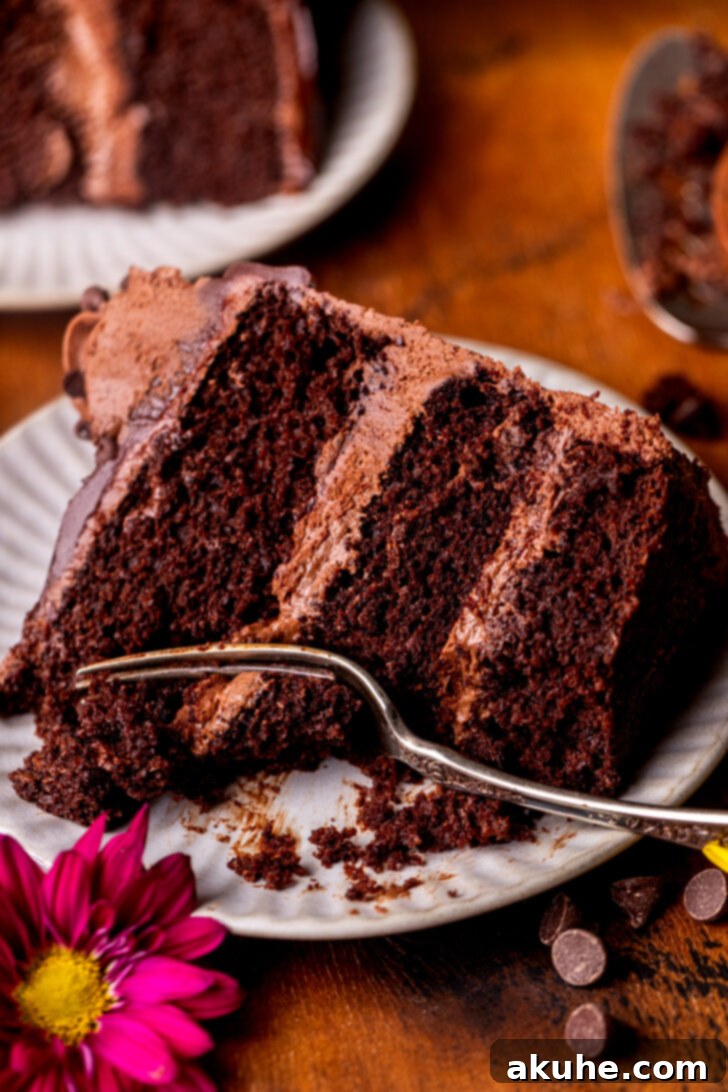
Once you’ve savored this incredible cake, please take a moment to leave a star review and share your experience! We love seeing your creations, so make sure to tag me on Instagram @stephaniesweettreats. For endless baking inspiration and more delicious recipes, follow me on Pinterest.
Moist Triple Chocolate Cake
1 hr
25 mins
1 hr
2 hrs 25 mins
16
slices
Ingredients
Chocolate Cake
- 2 cups All-purpose flour
- 1 cup Unsweetened cocoa powder
- 1/4 cup Cornstarch
- 2 tsp Baking powder
- 1 tsp Baking soda
- 1 tsp Salt
- 1 cup Oil, Canola or Vegetable
- 1 3/4 cups White granulated sugar
- 1 tsp Pure vanilla extract
- 1 cup Buttermilk
- 4 Large eggs, room temperature
- 1 cup Hot water
Whipped Chocolate Ganache
- 1/2 cup Heavy cream
- 1 cup Semi-sweet chocolate chips
Chocolate Cream Cheese Frosting
- 2 cups Unsalted butter, room temperature
- 16 oz Cream cheese, room temperature
- 3 1/2 cups Powdered sugar, sifted
- 3/4 cup Unsweetened cocoa powder
- 1 tsp Pure vanilla extract
Chocolate Ganache Drip
- 1 cup Semi-sweet chocolate chips
- 3/4 cup Heavy cream
- Mini chocolate chips, for decorating
Instructions
Chocolate Cake
- Preheat the oven to 350℉ (175°C). Spray three 8-inch cake pans with non-stick baking spray. Line the bottom of each pan with parchment paper, then spray again. Set aside.
- In a medium-sized bowl, sift together the all-purpose flour, unsweetened cocoa powder, cornstarch, baking soda, baking powder, and salt. Sifting helps prevent lumps and ensures a lighter cake. Set aside.2 cups All-purpose flour,
1 cup Unsweetened cocoa powder,
1/4 cup Cornstarch,
2 tsp Baking powder,
1 tsp Baking soda,
1 tsp Salt - In a saucepan, heat one cup of water until it is hot and steaming, but not boiling. This hot water will enhance the chocolate flavor and contribute to the cake’s moisture.1 cup Hot water
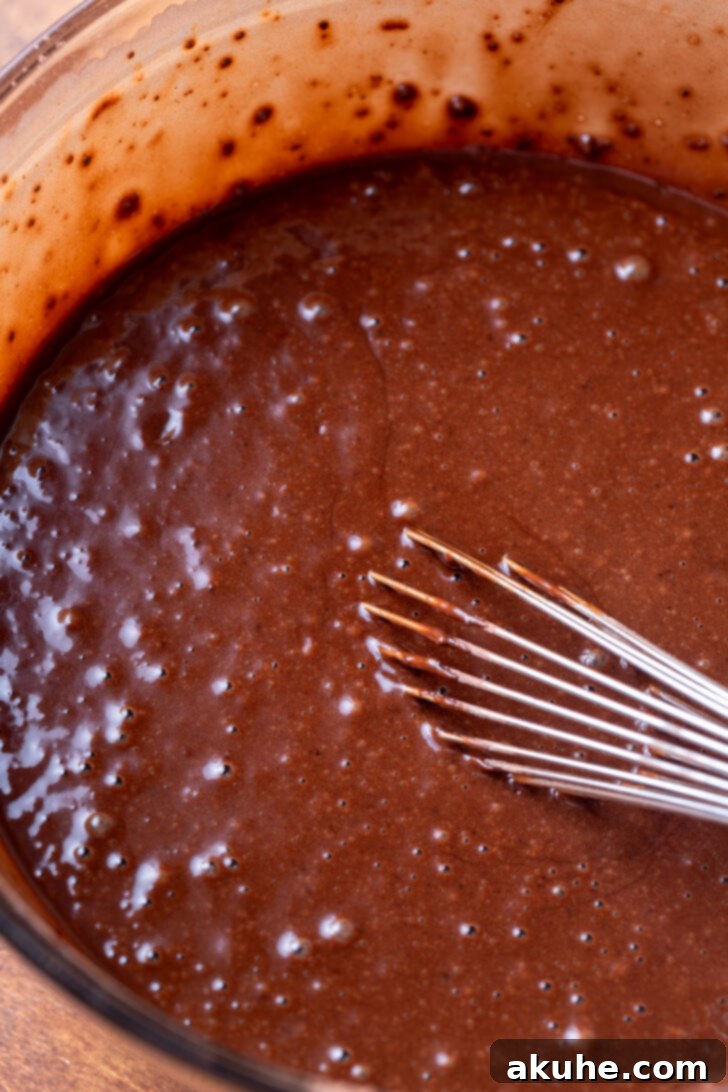
- In a large mixing bowl, combine the buttermilk, oil (canola or vegetable), pure vanilla extract, room temperature eggs, and white granulated sugar. Whisk thoroughly until all ingredients are well combined and smooth. Slowly and carefully stream in the hot water while mixing continuously. Adding it slowly prevents the eggs from cooking due to the heat.1 cup Oil,
1 tsp Pure vanilla extract,
1 cup Buttermilk,
4 Large eggs,
1 3/4 cups White granulated sugar - Gradually add the sifted dry ingredients to the wet ingredients. Mix on low speed, or by hand, until just combined. Be careful not to overmix, as this can lead to a dry cake. Ensure no pockets of dry flour remain.
- Divide the cake batter evenly among the three prepared 8-inch pans. Bake for 23-26 minutes, or until a wooden toothpick inserted into the center of a cake comes out clean with no wet batter attached.
- Allow the cakes to cool in their pans for 10 minutes before carefully inverting them onto a wire cooling rack. Let them cool completely to room temperature before attempting to frost or assemble, as warm cakes will melt your frosting.
Whipped Chocolate Ganache
- In a small saucepan, gently heat the heavy cream until it’s hot and steaming, but not boiling. Pour the hot cream over the semi-sweet chocolate chips in a heatproof bowl. Let it sit undisturbed for 2 minutes to allow the chocolate to melt.1/2 cup Heavy cream,
1 cup Semi-sweet chocolate chips - Using a rubber spatula, slowly stir the chocolate and cream together until the mixture is completely smooth and glossy. If any small chocolate chunks remain, microwave the bowl for 10-second intervals, stirring after each, until fully melted.
- Place the bowl of chocolate ganache in the refrigerator for 40-50 minutes. To ensure a uniform consistency, take the bowl out every 10 minutes and whisk it briefly to keep it smooth. You are looking for a thick, pudding-like texture before whipping.
- Just before you are ready to assemble the cake, use an electric mixer to beat the cooled chocolate ganache on medium-high speed for about 20 seconds. It should transform into a lighter color and become wonderfully fluffy and airy. Do not overbeat, as it can separate.
Chocolate Cream Cheese Frosting
- Ensure both the unsalted butter and cream cheese are at proper room temperature. This is crucial for a smooth, cohesive frosting; if the cream cheese is too cold, the frosting can become lumpy or split. Prepare this frosting right before you intend to use it.
- In a separate medium-sized bowl, sift together the powdered sugar and unsweetened cocoa powder. Sifting prevents lumps in your frosting and ensures a silky texture. Set aside.3 1/2 cups Powdered sugar,
3/4 cup Unsweetened cocoa powder - Using an electric mixer (stand mixer or handheld), beat the room temperature butter on high speed for 2 minutes until it’s light and fluffy. Scrape down the sides of the bowl with a rubber spatula. Add in the room temperature cream cheese and beat for another 1 minute until fully combined and smooth.16 oz Cream cheese,
2 cups Unsalted butter - Add in half of the sifted powdered sugar and cocoa powder mixture. Mix on low speed until just combined, then add the remaining half and continue to mix on low. Once incorporated, scrape down the bowl thoroughly.1 tsp Pure vanilla extract
- Add the pure vanilla extract. Increase the mixer speed to high and beat for 1-2 minutes until the frosting is wonderfully light, fluffy, and creamy.
Chocolate Ganache Drip
- In a small saucepan, heat 3/4 cup of heavy cream until it is hot and just steaming, but do not bring it to a boil. Pour this hot cream over 1 cup of semi-sweet chocolate chips placed in a heatproof bowl. Let it sit undisturbed for 2 minutes.3/4 cup Heavy cream,
1 cup Semi-sweet chocolate chips - Gently stir the chocolate and cream together with a rubber spatula until the mixture is completely smooth and glossy. If any chocolate chunks persist, microwave for 10-second intervals and stir until fully melted and combined. Allow the ganache to cool slightly to a pourable but thickened consistency before using for the drip (it should be warm to the touch, not hot).
Assembly
- Place a small amount of chocolate cream cheese frosting onto your serving board or cake stand to act as an anchor. Using a long serrated knife or a cake leveler, carefully trim the domed tops off all three cooled cake layers, ensuring they are perfectly flat and even.
- Place the first leveled cake layer onto the frosted board. Spread approximately 1/2 cup of the chocolate cream cheese frosting evenly over the cake layer. Then, using a piping bag fitted with a round tip (or a Ziploc bag with the corner snipped), pipe a border of frosting around the outer edge of this layer to create a “dam.” Carefully spread half of the whipped chocolate ganache filling inside this frosting border.
- Gently place the second leveled cake layer on top and repeat step 2 (frosting, piping a border, and spreading the remaining half of the whipped ganache).
- Carefully place the last cake layer on top, preferably bottom-side up for a perfectly flat top. Apply a thin layer of chocolate cream cheese frosting all over the top and sides of the cake. This is your “crumb coat,” which traps any loose crumbs. Freeze the cake for 15 minutes to allow the crumb coat to set firm.
- Remove the cake from the freezer. Apply the remaining chocolate cream cheese frosting evenly over the entire cake, smoothing the top and sides with an offset spatula or cake scraper until you achieve a polished finish. Freeze the cake for another 10 minutes to allow the frosting to set slightly before applying the drip.
- Once the frosting is set, carefully pour the chocolate ganache drip over the top of the cake. Using an offset icing spatula, gently nudge some of the ganache over the edges to create appealing drips. Spread any remaining ganache smoothly over the top surface of the cake. Freeze the cake for a final 10 minutes to ensure the drip is set.
- Optional: For extra flair, pipe any desired frosting decorations on top of the cake. Finish by scattering mini chocolate chips over the top for added texture and visual charm. Slice and serve this magnificent triple chocolate cake, and prepare for rave reviews!Mini chocolate chips
Notes
Flour: Always measure flour by spooning it into the measuring cup and leveling off the top. Do not scoop directly from the bag, as this compacts the flour and can result in a dry, dense cake. Using a kitchen scale for precise measurement (e.g., 240g for 2 cups) is highly recommended.
Dairy Ingredients: Remember to pull out all dairy ingredients (butter, cream cheese, eggs, buttermilk) from the refrigerator at least 2 hours before you plan to use them. This ensures they reach true room temperature, which is essential for proper emulsion and a smooth final product.
Calories:
801
kcal
,
Carbohydrates:
83
g
,
Protein:
8
g
,
Fat:
64
g
,
Saturated Fat:
32
g
,
Polyunsaturated Fat:
6
g
,
Monounsaturated Fat:
22
g
,
Trans Fat:
1
g
,
Cholesterol:
114
mg
,
Sodium:
385
mg
,
Potassium:
371
mg
,
Fiber:
6
g
,
Sugar:
33
g
,
Vitamin A:
1399
IU
,
Vitamin C:
0.1
mg
,
Calcium:
122
mg
,
Iron:
4
mg
