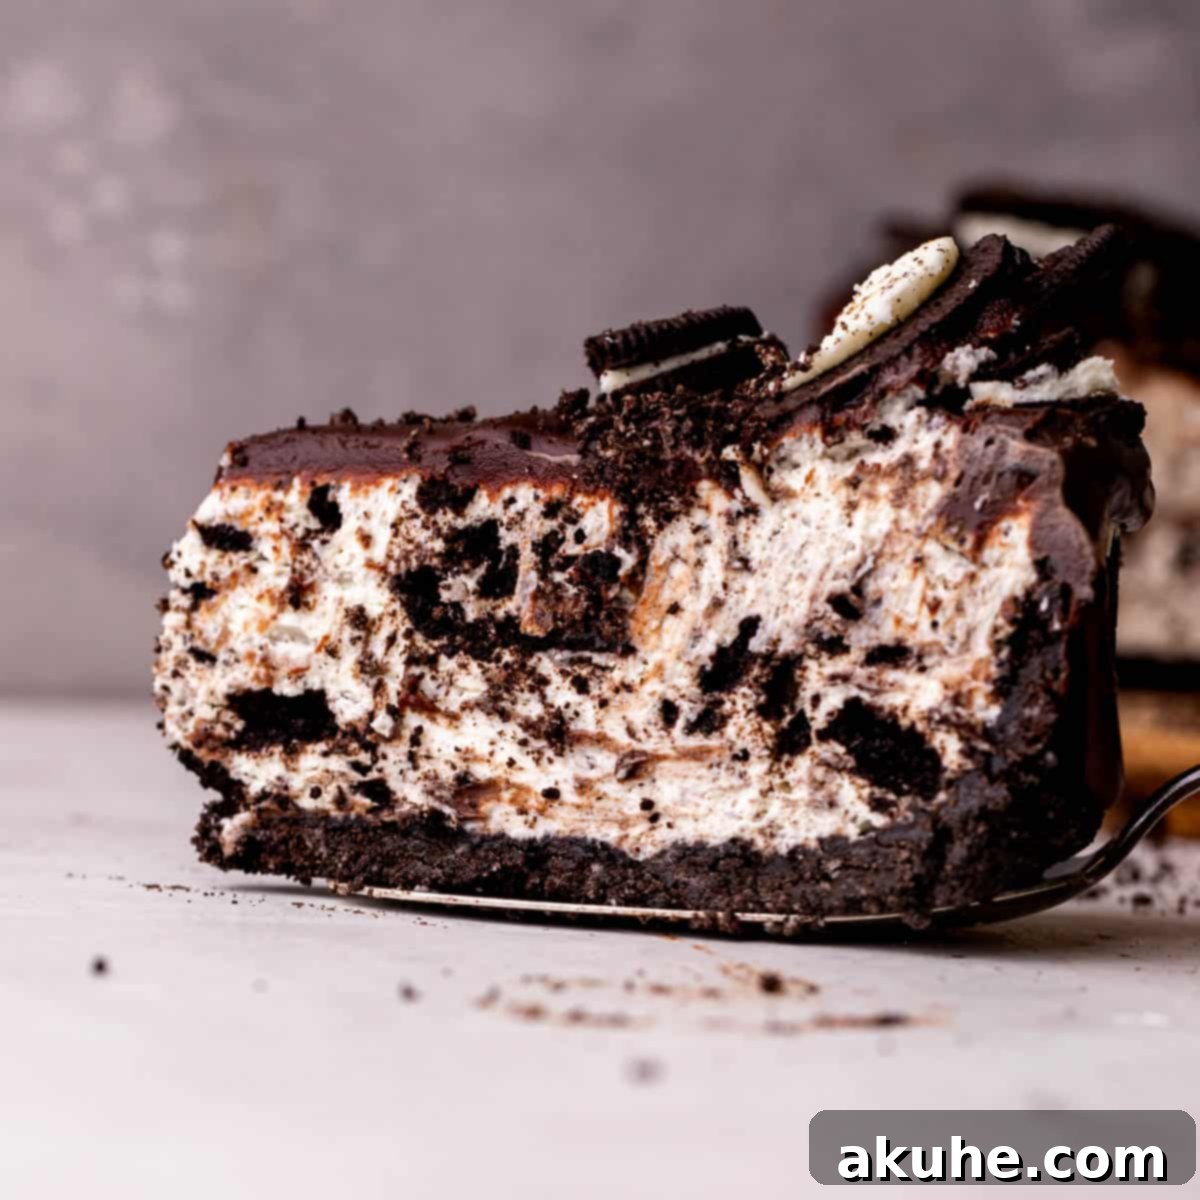
The Ultimate No-Bake Oreo Cheesecake Recipe: Creamy, Dreamy, and Oh-So-Easy!
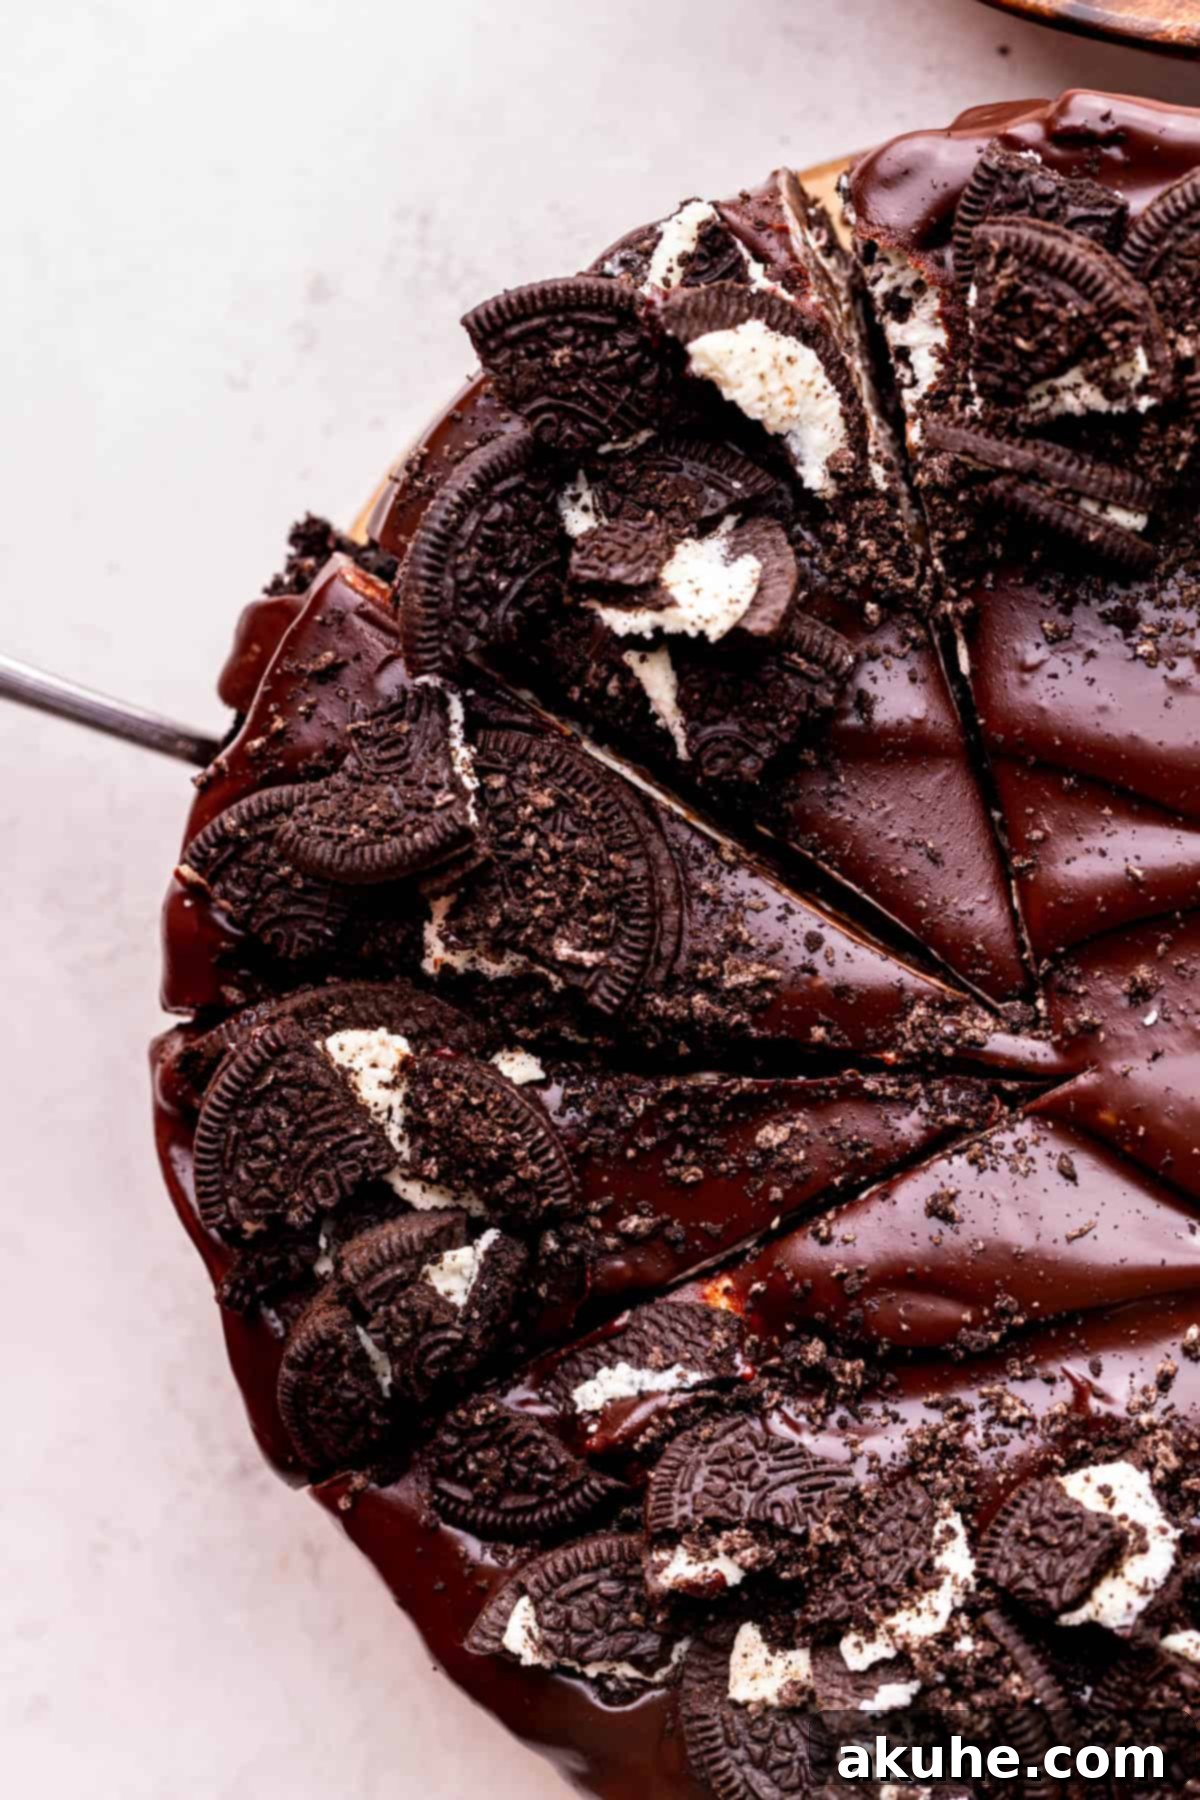
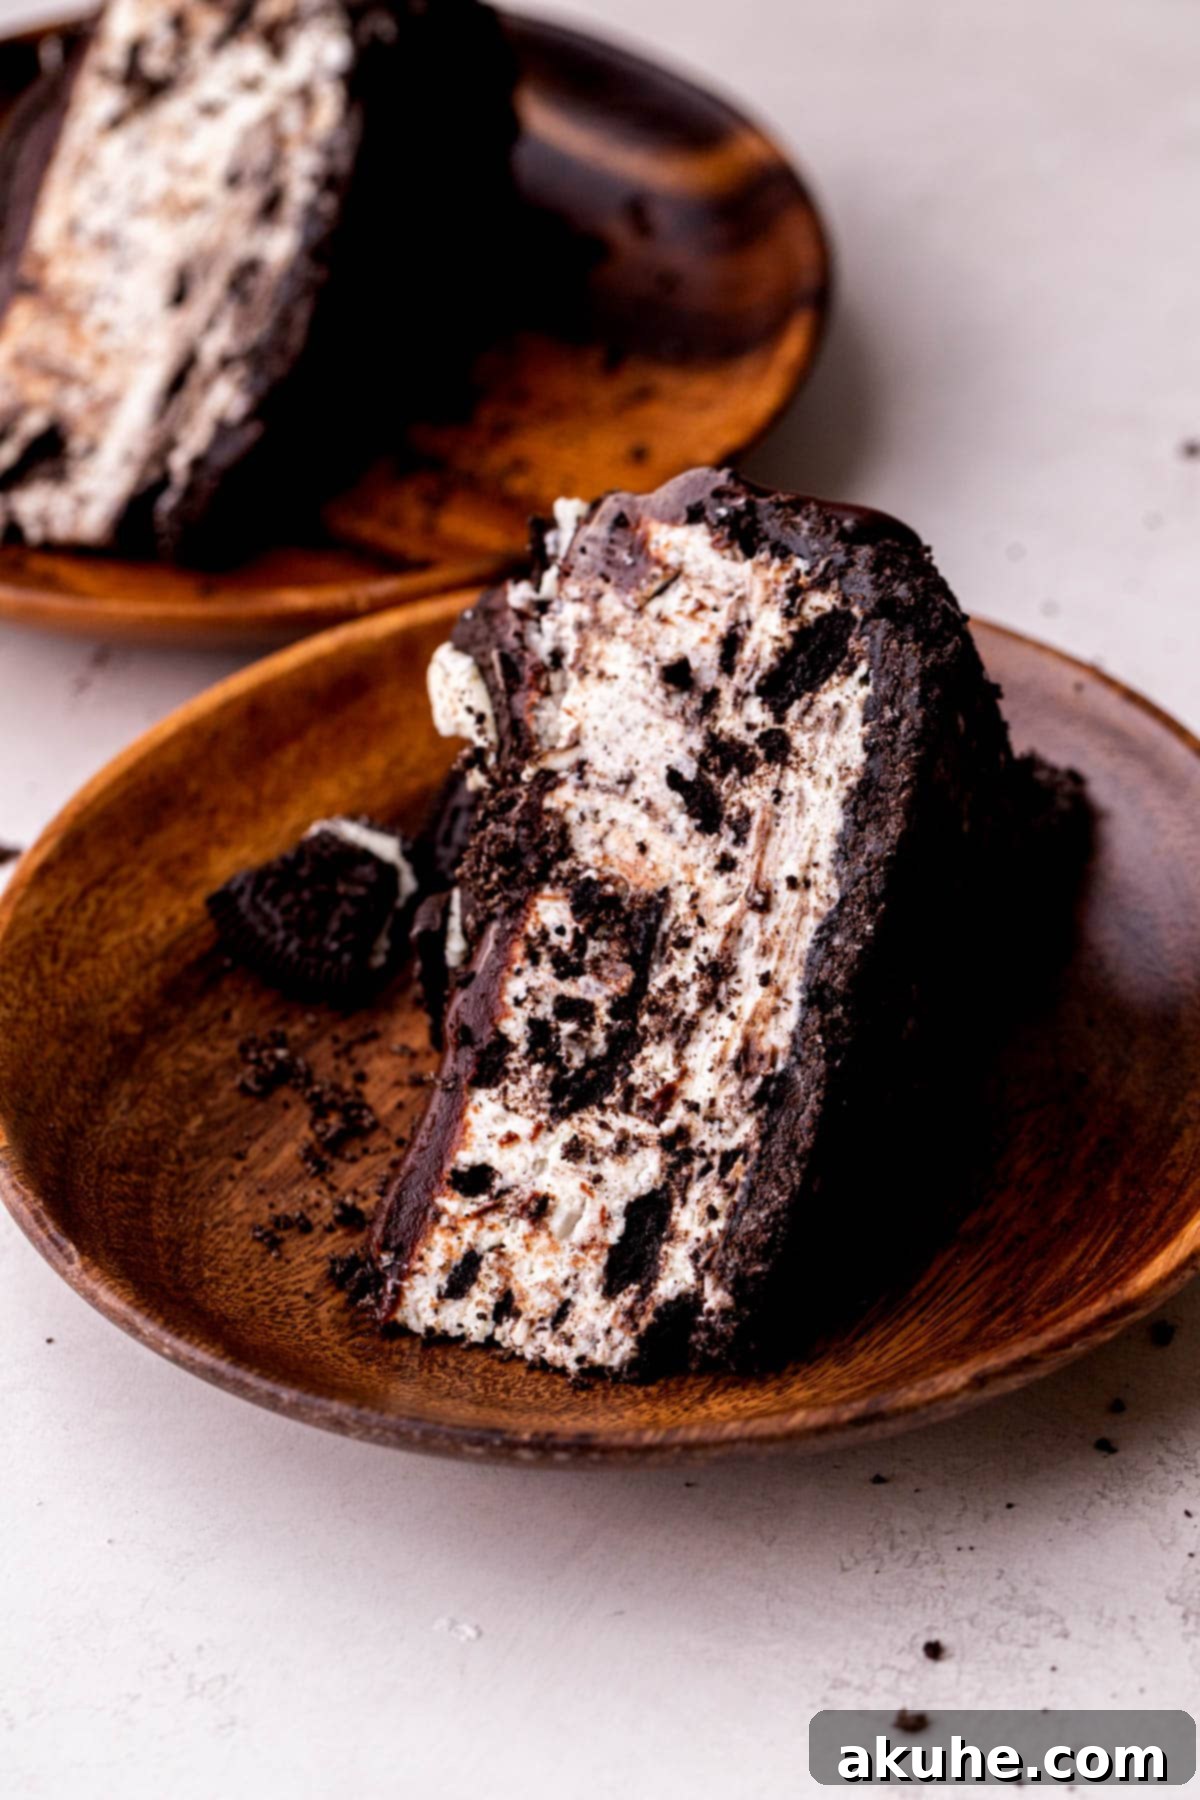
Prepare to delight your taste buds with this incredible No-Bake Oreo Cheesecake! It’s a decadent dessert that promises a super creamy texture and an explosion of authentic Oreo flavor in every bite. Featuring a rich Oreo cookie crust, a luscious no-bake Oreo cheesecake filling, and a velvety chocolate ganache topping, this cheesecake mirrors the classic cookie’s charm – chocolatey on the outside, exquisitely creamy within. It’s the perfect treat for any occasion, combining simplicity with irresistible indulgence.
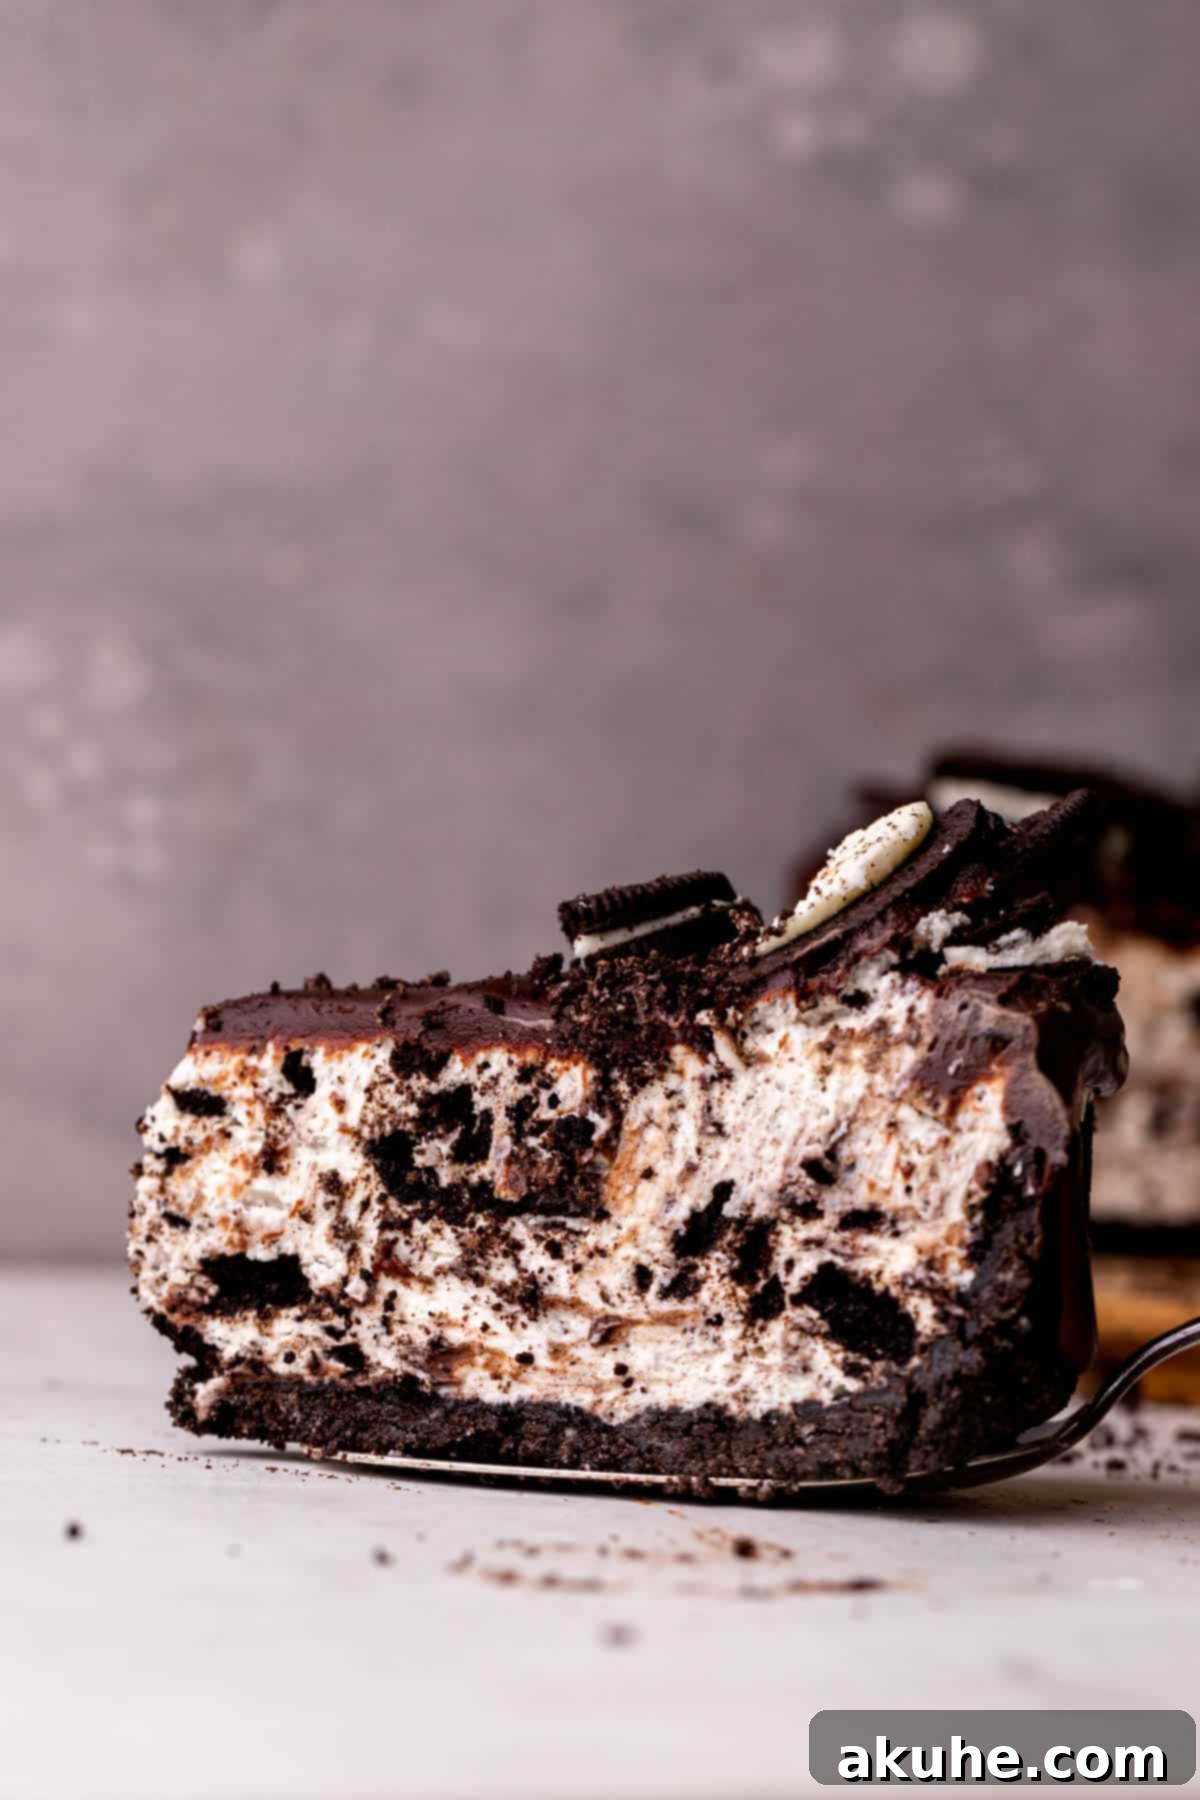
Calling all Oreo enthusiasts! This no-bake cheesecake is crafted especially for you. What makes it truly exceptional is not just its heavenly taste, but also its remarkable ease of preparation. The vibrant Oreo flavor is thoughtfully woven throughout the entire dessert, ensuring a consistent and delightful experience from the first spoonful to the last. Since it requires no oven time – just simple layering and chilling in the refrigerator – it stands out as the ultimate make-ahead dessert. You can effortlessly assemble it a day in advance, allowing it to firm up beautifully overnight, then simply retrieve it from the fridge and serve to impress your guests without any last-minute stress.
If you’re eager to explore more delightful Oreo-infused creations, consider trying these other fantastic recipes: Oreo Brownies, Oreo Donuts, and Oreo Muffins.
Why You’ll Adore This No-Bake Oreo Cheesecake
This recipe isn’t just another dessert; it’s a testament to simple elegance and incredible flavor. Here’s why this no-bake Oreo cheesecake will become your new go-to:
- Effortless No-Bake Perfection: Say goodbye to oven worries and complicated water baths! This cheesecake delivers an unbelievably creamy texture without any baking required, making it a fantastic, stress-free alternative to traditional baked cheesecakes, especially for novice bakers or those hot summer days. Its simplicity doesn’t compromise on the luxurious, rich mouthfeel cheesecake lovers crave.
- Signature Oreo Cookie Crust: The foundation of this spectacular dessert is a perfect, buttery Oreo cookie crust. Made from finely crushed Oreos mixed with melted butter, it’s not only incredibly delicious on its own but also provides a sturdy, flavorful base that perfectly complements the creamy filling. This crust adds a delightful textural contrast and an extra layer of chocolatey goodness.
- Irresistible Oreo-Packed Filling: Every Oreo lover knows the magic of that classic chocolate cookie and creamy filling combination. This recipe elevates that experience by blending crushed Oreos directly into the cheesecake batter. The homemade whipped cream, carefully folded in, transforms the filling into a light, airy, and fluffy cloud of creamy delight, making each bite utterly irresistible and full of genuine Oreo taste.
- Simple & Convenient Dessert: Forget the complexities often associated with baking cheesecakes. This no-bake version streamlines the process, making it significantly easier and quicker to prepare than its baked counterparts. With straightforward steps and minimal equipment, you can achieve a stunning, professional-looking dessert with ease, perfect for busy schedules or impromptu gatherings.
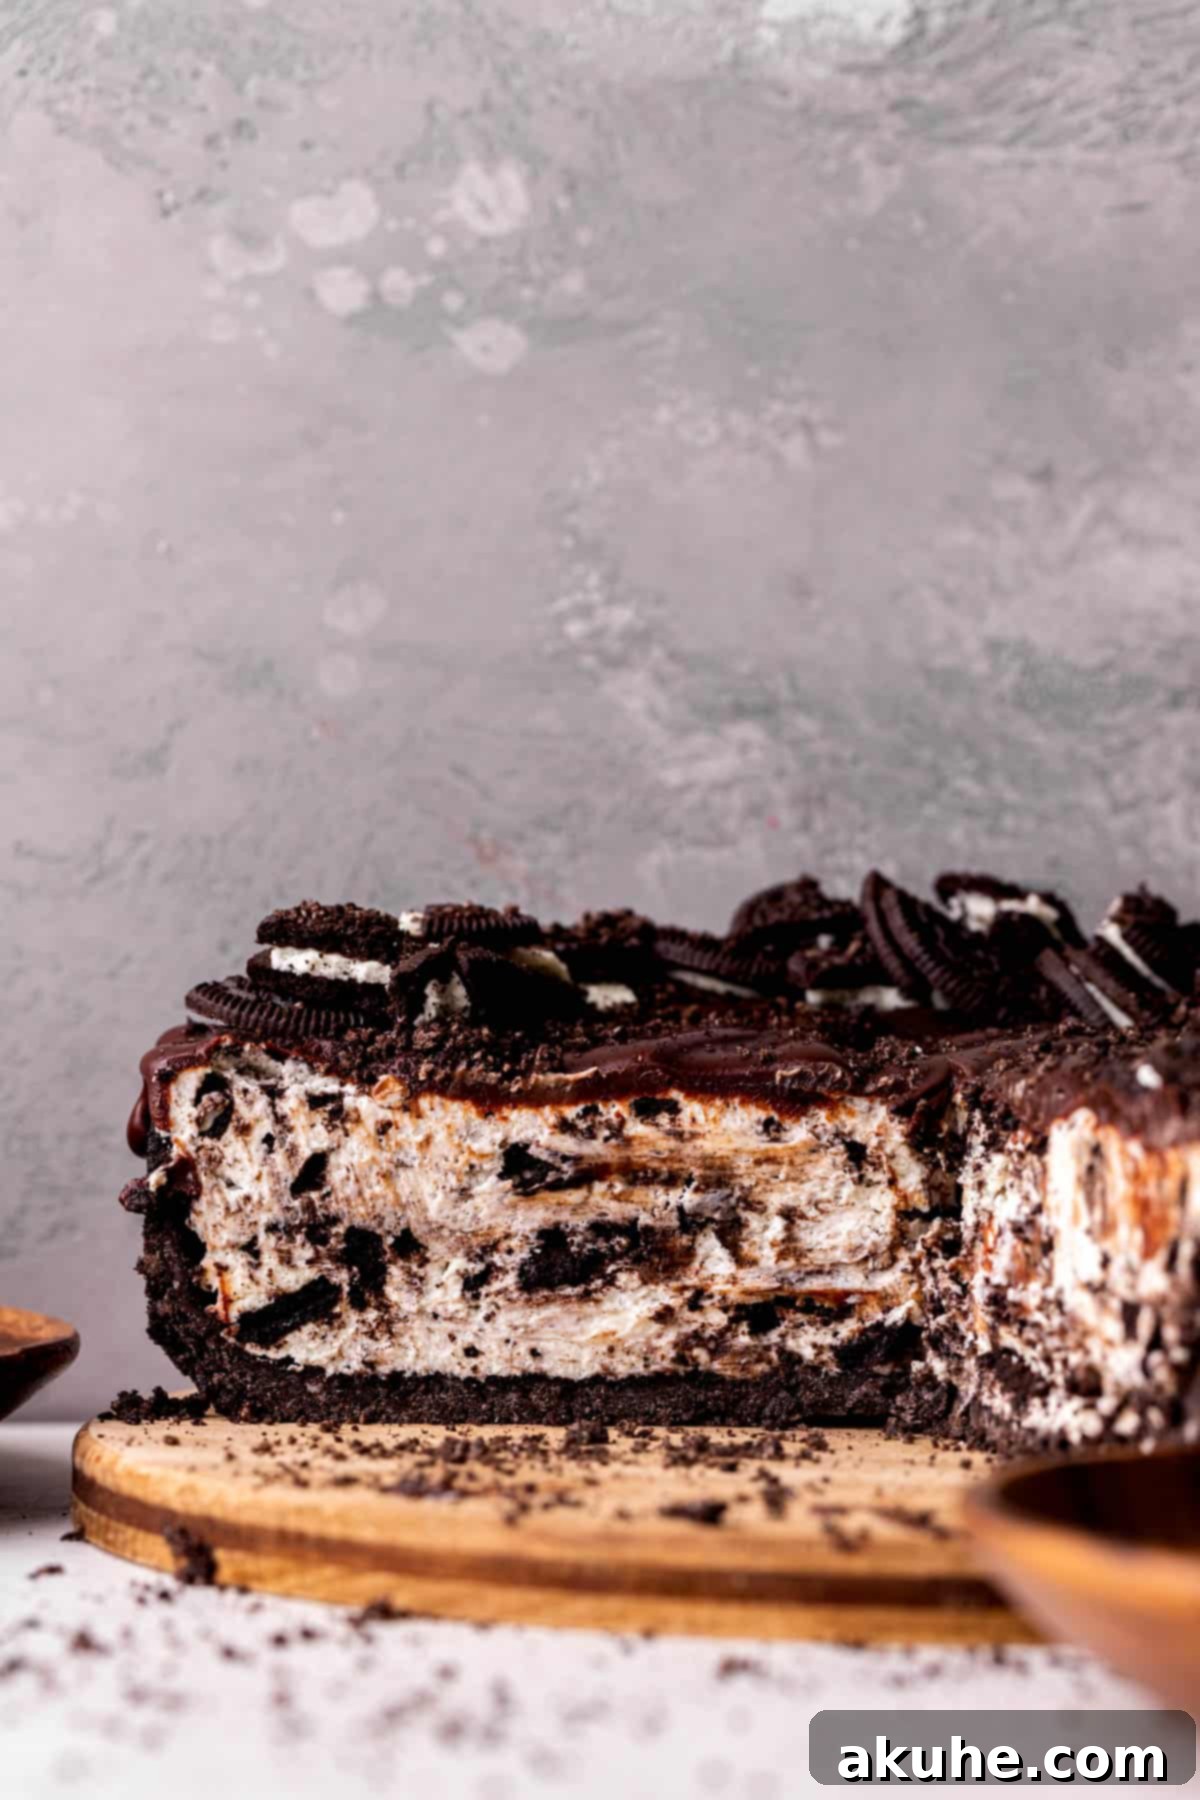
Essential Ingredients for Your Oreo Masterpiece
Quality ingredients are the key to a truly outstanding no-bake Oreo cheesecake. Here are some important notes to ensure the best results. A full list of precise measurements can be found in the recipe card below.
- Unsalted Butter: You’ll need unsalted butter, melted, for the Oreo crust. It’s perfectly fine if the butter is still warm when you mix it with the cookie crumbs; it helps bind them together effectively.
- Full-Fat Cream Cheese: For that signature rich and tangy cheesecake flavor, full-fat cream cheese is essential. Ensure it’s at room temperature (ideally, remove it from the fridge about 2 hours before you start) for smooth mixing and to prevent lumps.
- Full-Fat Sour Cream: Just like the cream cheese, full-fat sour cream adds a wonderful tang and helps achieve that creamy, smooth consistency. Allow it to come to room temperature as well for optimal blending.
- Cold Heavy Cream: This is crucial for whipping perfect, stiff peaks. Keep your heavy cream chilled in the refrigerator until you are ready to whip it. Warm cream will struggle to hold its shape.
- Powdered Sugar (Confectioners’ Sugar): Always sift your powdered sugar before adding it to the cream cheese mixture or whipping cream. This step is vital to prevent any unwanted clumps and ensures a silky-smooth batter.
- Chocolate Chips: For the ganache, semi-sweet or dark chocolate chips are recommended. Milk chocolate chips might make the ganache overly sweet, potentially overpowering the delicate cheesecake flavors.
- Oreo Cookies: You’ll need two forms of Oreos: finely crushed crumbs for the crust and larger pieces to fold into the cheesecake filling, adding delightful texture and intense Oreo flavor throughout.
Kitchen Tools You’ll Need
Gathering your tools before you begin will make the baking process smoother and more enjoyable. Here’s what you’ll need to create this fantastic no-bake Oreo cheesecake:
- 9-inch Springform Pan: Essential for easily releasing your cheesecake with perfect sides.
- Food Processor: For quickly transforming whole Oreos into fine crumbs for the crust.
- Electric Mixer: A hand mixer or a stand mixer (with both whisk and paddle attachments) will be your best friend for whipping cream cheese and heavy cream to perfection.
- Large Mixing Bowls: At least two are needed – one for the cream cheese mixture and one for whipping the heavy cream.
- Rubber Spatula: Indispensable for gently folding ingredients, scraping down bowls, and spreading the batter.
- Offset Spatula: Great for achieving a perfectly smooth and even top layer of cheesecake batter.
- Parchment Paper: For lining the bottom of the springform pan, ensuring easy removal of the cheesecake.
- Measuring Cups and Spoons: For accurate ingredient measurements.
- Small Saucepan: For heating heavy cream to make the chocolate ganache.
- Microwave-Safe Bowl: For melting chocolate chips for the ganache.
- Foil or Plastic Wrap: For covering the cheesecake during chilling.
- Cake Lifter or Large Spatula: Helpful for transferring the chilled cheesecake.
Step-by-Step Guide: Crafting Your No-Bake Oreo Cheesecake
Follow these detailed instructions to create your ultimate no-bake Oreo cheesecake. This recipe utilizes an electric mixer for optimal results, whether it’s a hand mixer or a stand mixer equipped with both whisk and paddle attachments.
Part 1: The Irresistible Oreo Crust
- Prepare Your Pan: Begin by lightly spraying a 9-inch springform pan with a nonstick baking spray. Next, carefully line the bottom of the pan with a circle of parchment paper, ensuring it lies flat. Spray the parchment paper again with nonstick spray to guarantee an easy release. This crucial step prevents the crust from sticking.
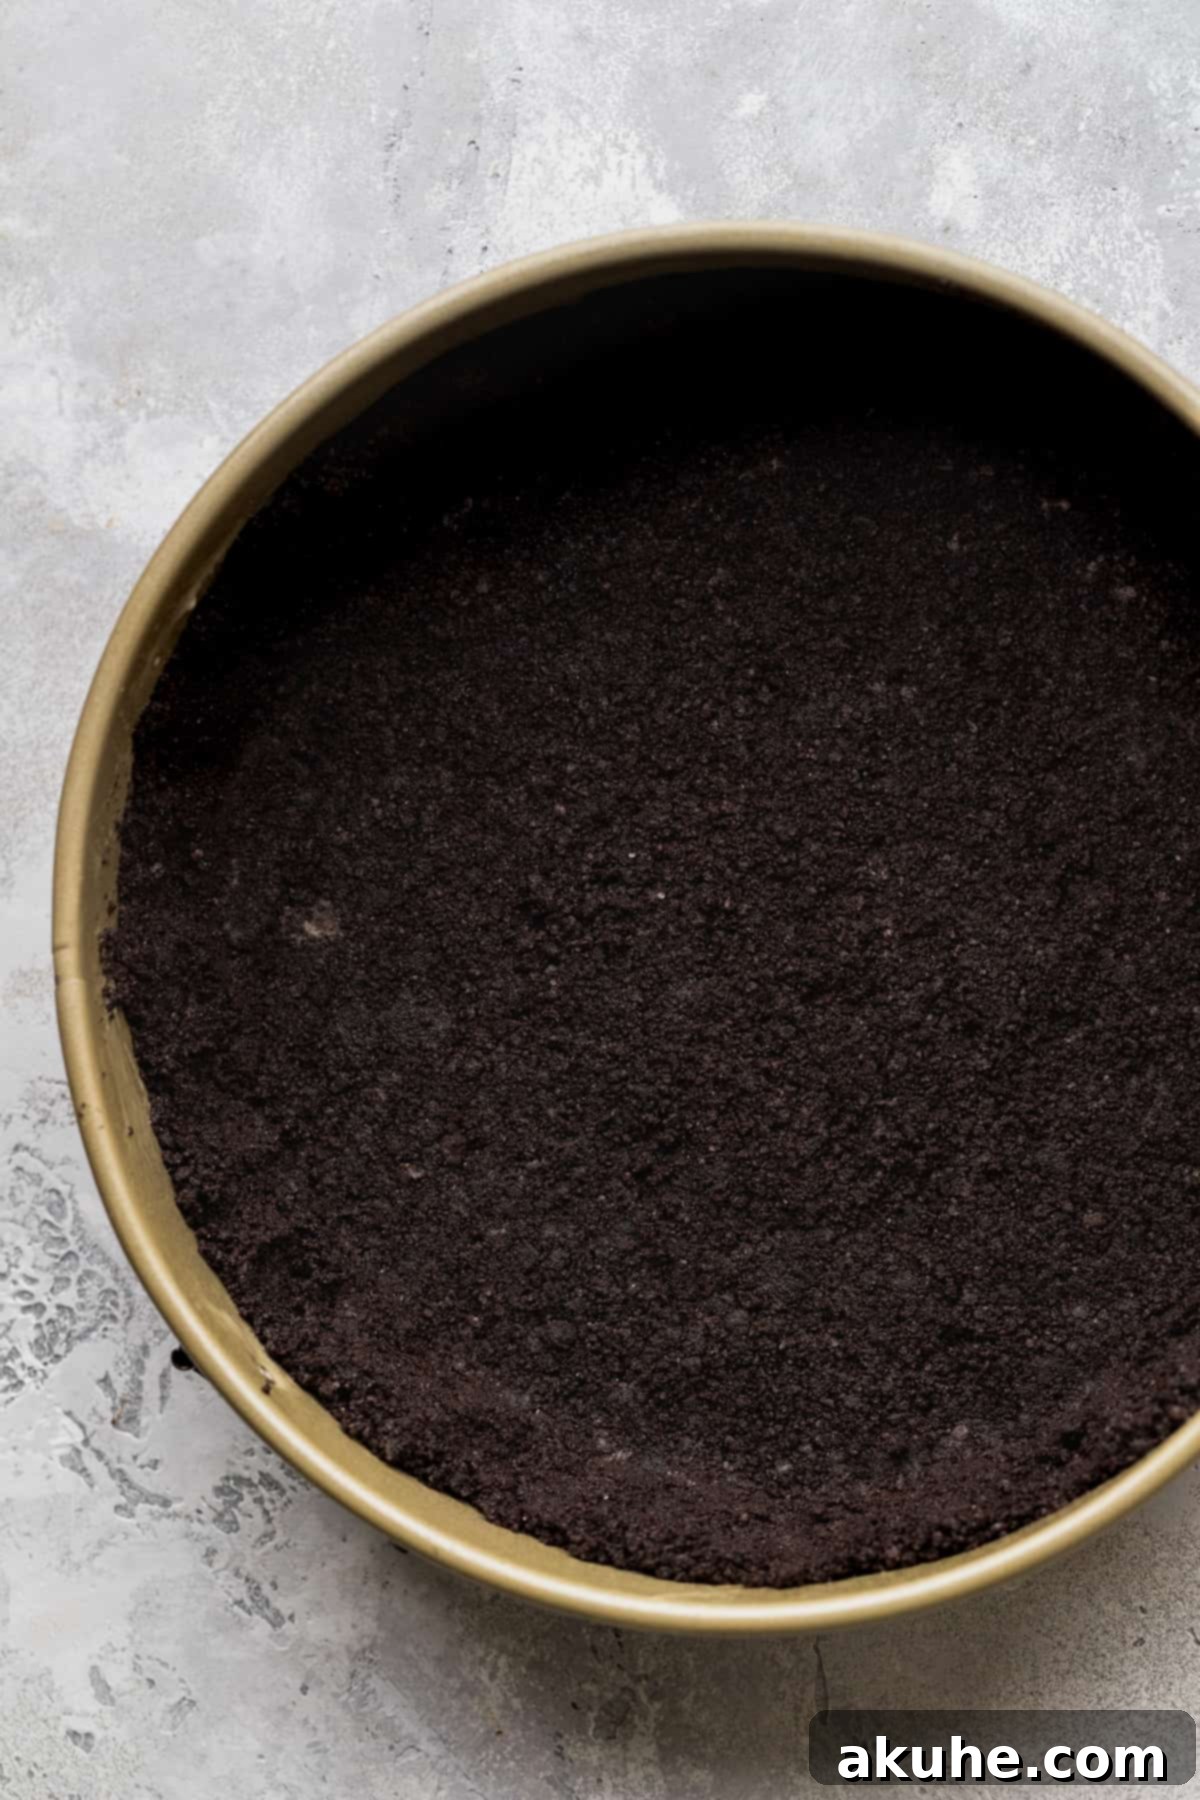
- Create Oreo Crumbs: In a food processor, blend your whole Oreo cookies until they form fine, even crumbs. Transfer these crumbs to a small mixing bowl. Pour in the melted unsalted butter and use a fork to mix them thoroughly until the crumbs are evenly moistened and resemble wet sand.
- Form the Crust: Pour the buttery Oreo crumbs into the prepared springform pan. Using your hands, gently press the mixture firmly and evenly across the bottom of the pan. Then, carefully extend the crust halfway up the sides of the pan. For a perfectly compact and uniform crust, use the bottom of a flat measuring cup or a glass to firmly press down the crumbs. This creates a dense and stable base for your cheesecake.
- Chill the Crust: Place the formed Oreo crust into the freezer while you prepare the cheesecake filling. Chilling the crust helps it set and prevents it from becoming soggy once the filling is added.

Part 2: The Creamy Oreo Cheesecake Filling
- Prepare for Whipping Cream: To ensure your whipped cream reaches perfect stiff peaks, place a clean metal mixing bowl and your mixer’s whisk attachment into the freezer for at least 10 minutes. The cold temperature is key to stable whipped cream.
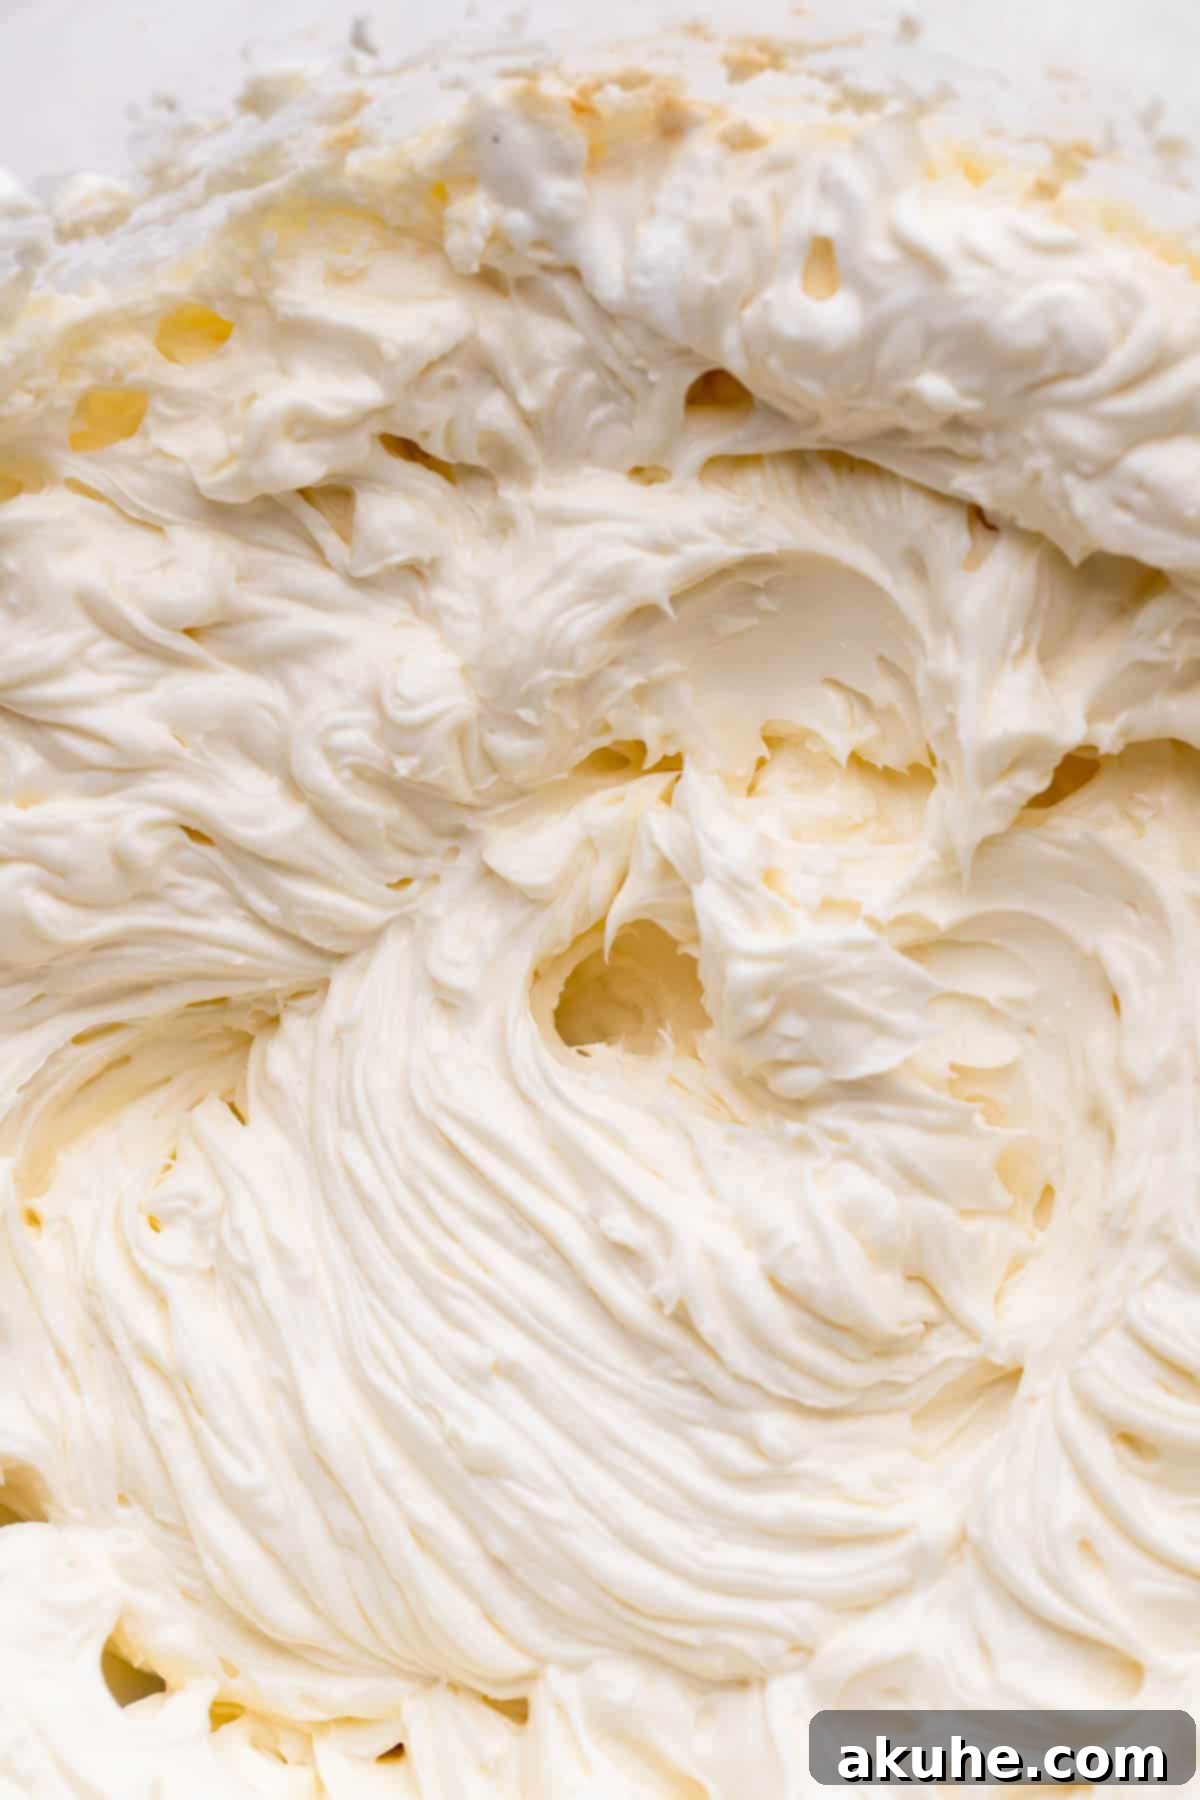
- Beat Cream Cheese and Sugar: In a separate large mixing bowl, using your electric mixer (with the paddle attachment if using a stand mixer), beat the room-temperature cream cheese and granulated sugar together on high speed for about 2 minutes. Scrape down the sides of the bowl thoroughly with a rubber spatula. Add the pure vanilla extract and room-temperature sour cream, then continue to mix until the mixture is completely smooth and free of any lumps.
- Whip the Heavy Cream: Retrieve the chilled metal bowl and whisk attachment from the freezer. Pour the cold heavy whipping cream and sifted powdered sugar into the bowl. Beat on high speed until stiff peaks form. The cream should be firm enough to hold its shape when the whisk is lifted.
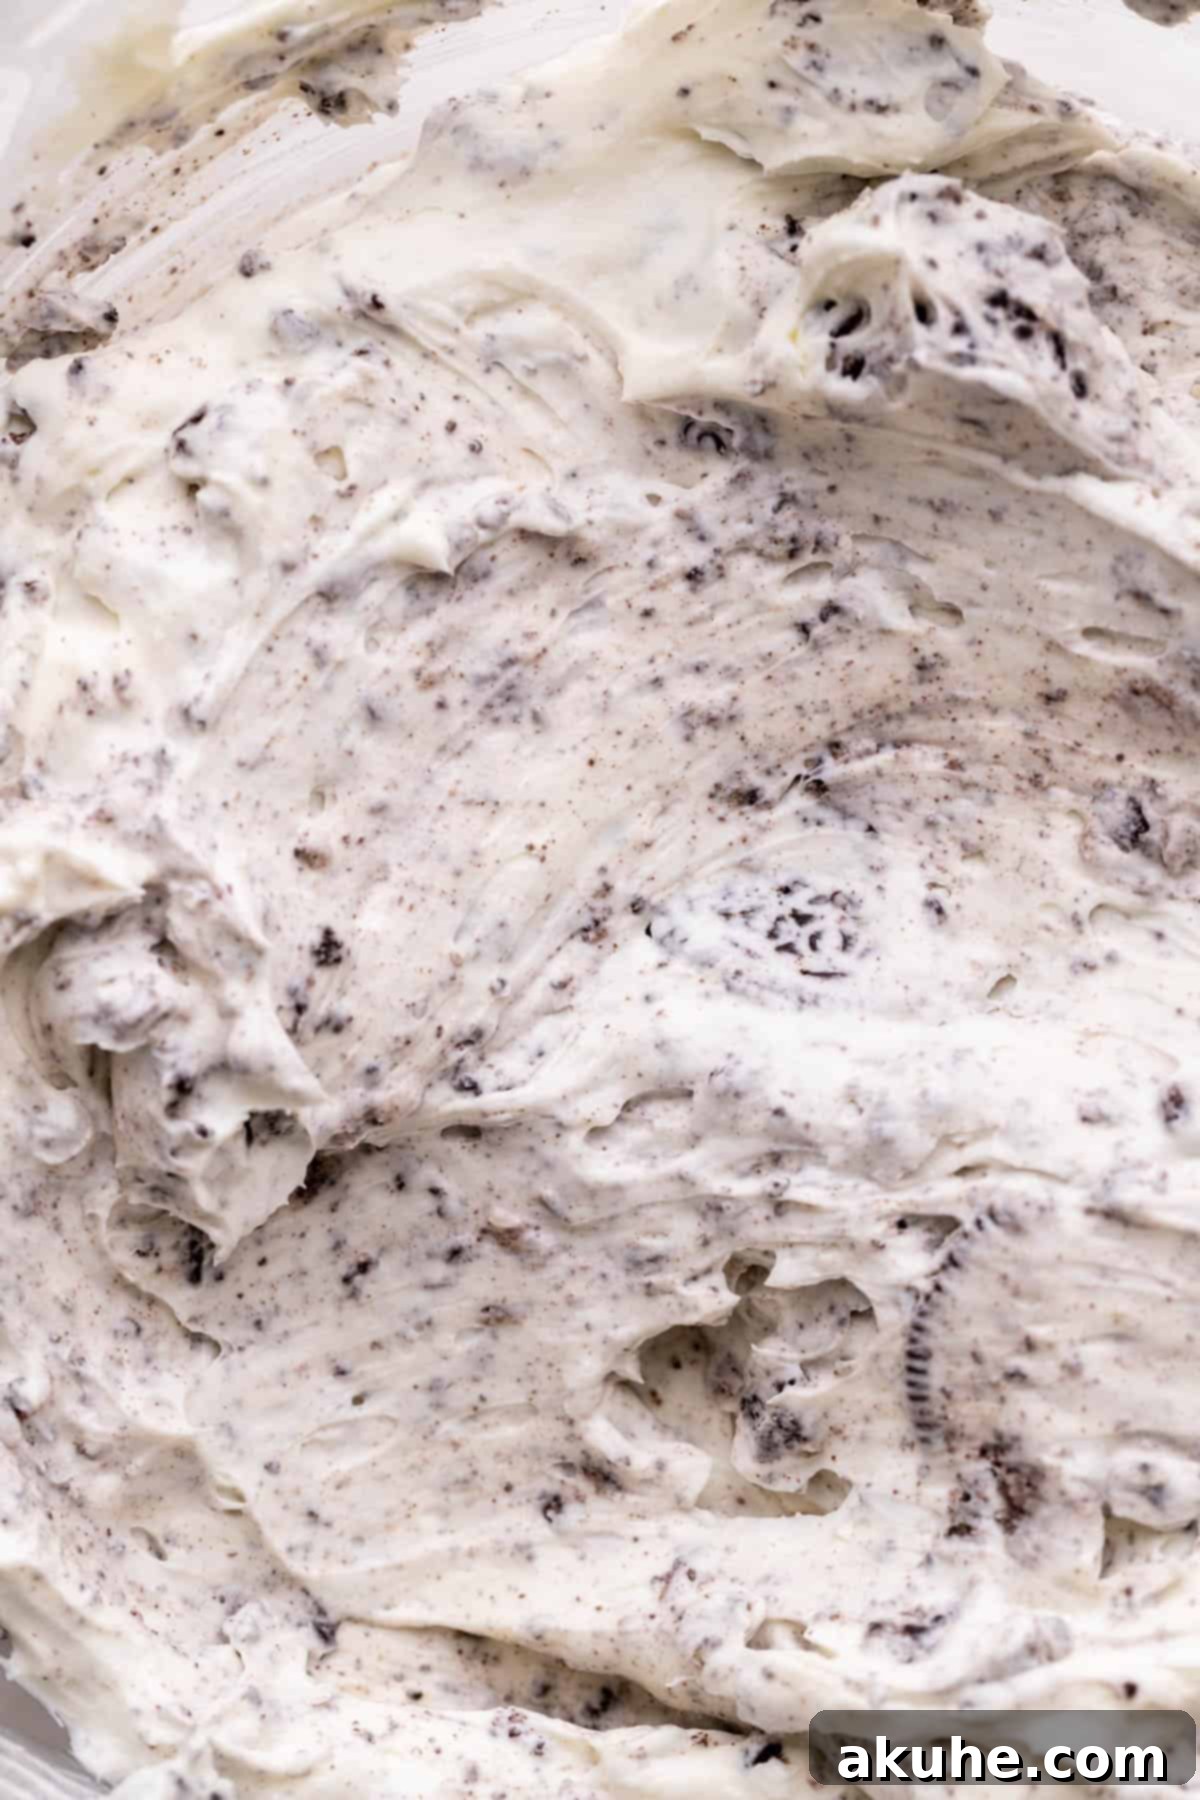
- Gently Fold in Filling: Add the freshly whipped cream to the cream cheese mixture. Using a rubber spatula, gently fold the whipped cream into the cream cheese batter. The key here is to be very gentle to avoid deflating the air you’ve incorporated into the whipped cream. After folding a few times and the mixture is about halfway combined, add your Oreo pieces. Continue to gently fold until the ingredients are just combined and no streaks of plain cream cheese or whipped cream remain. Overmixing will cause the filling to lose its airy texture.
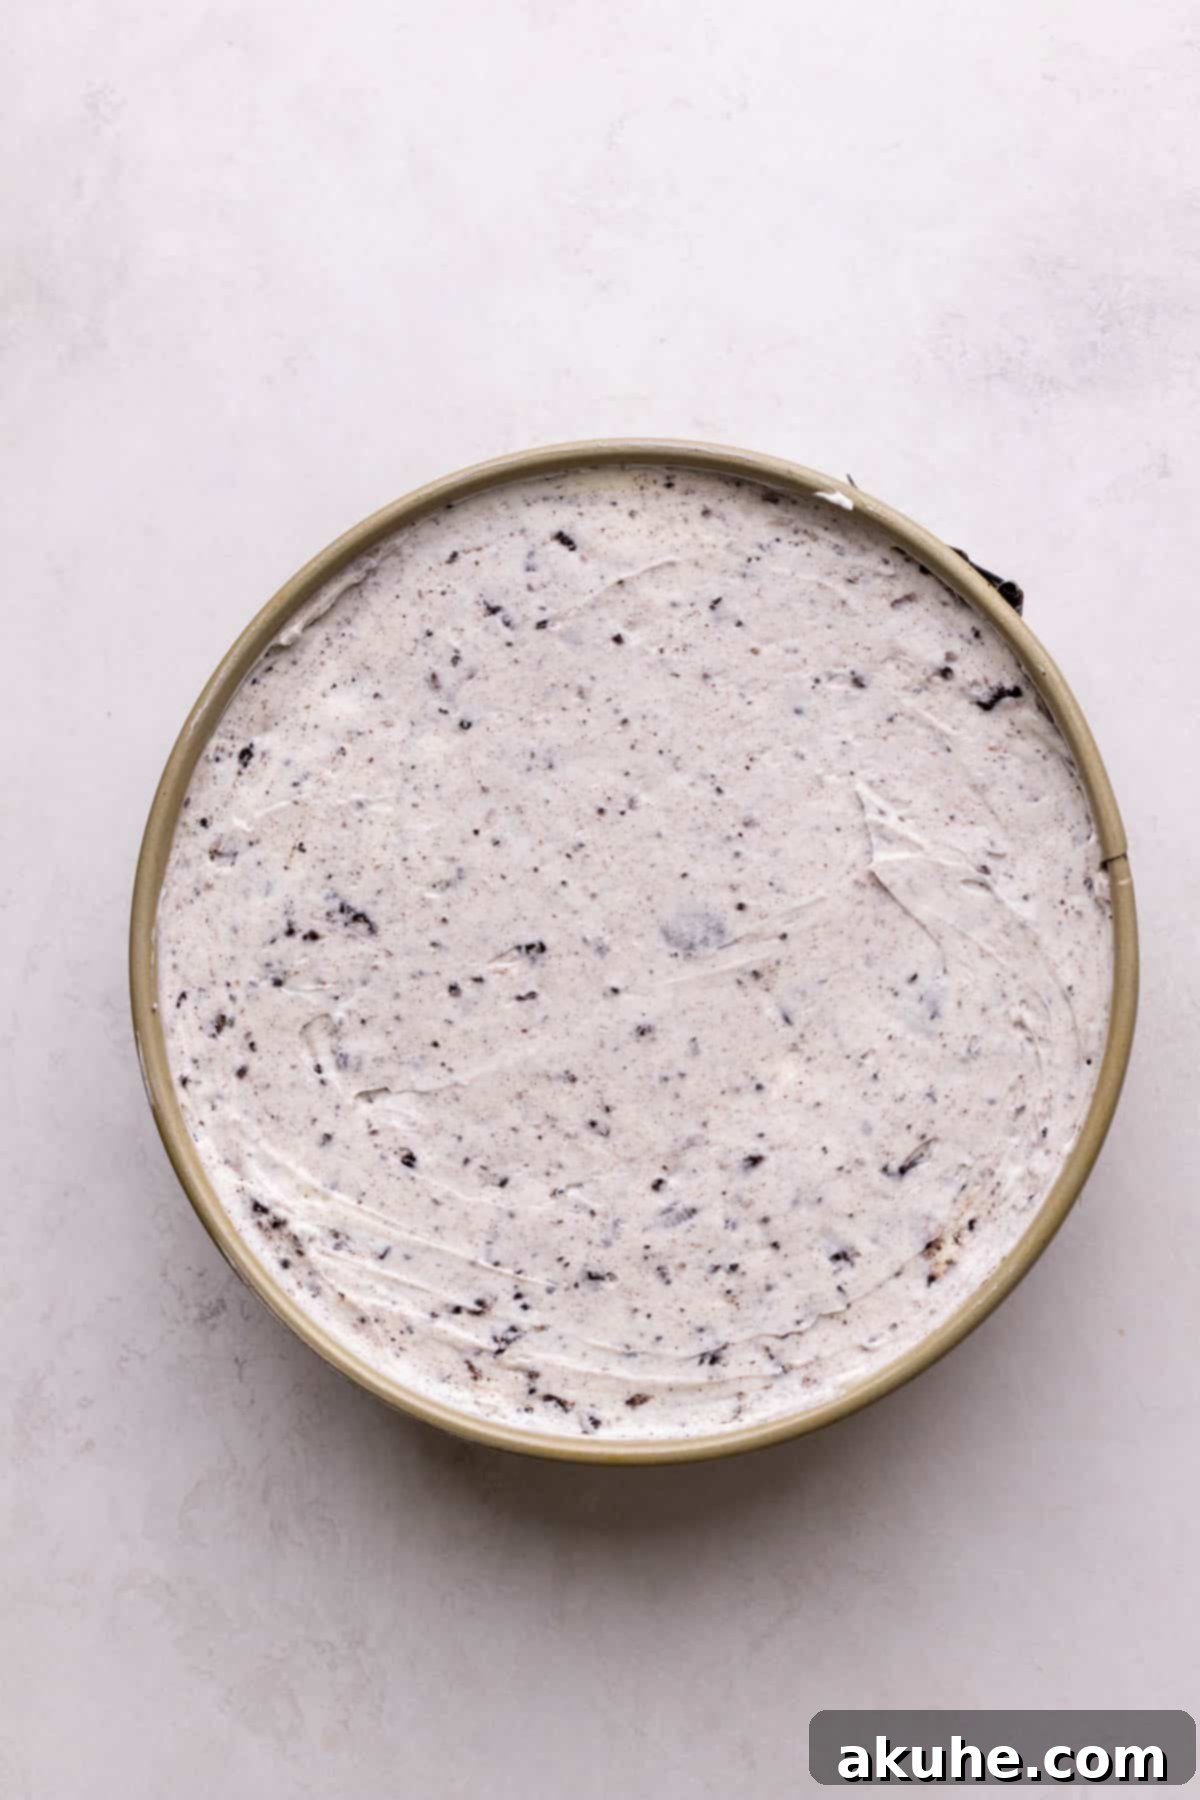
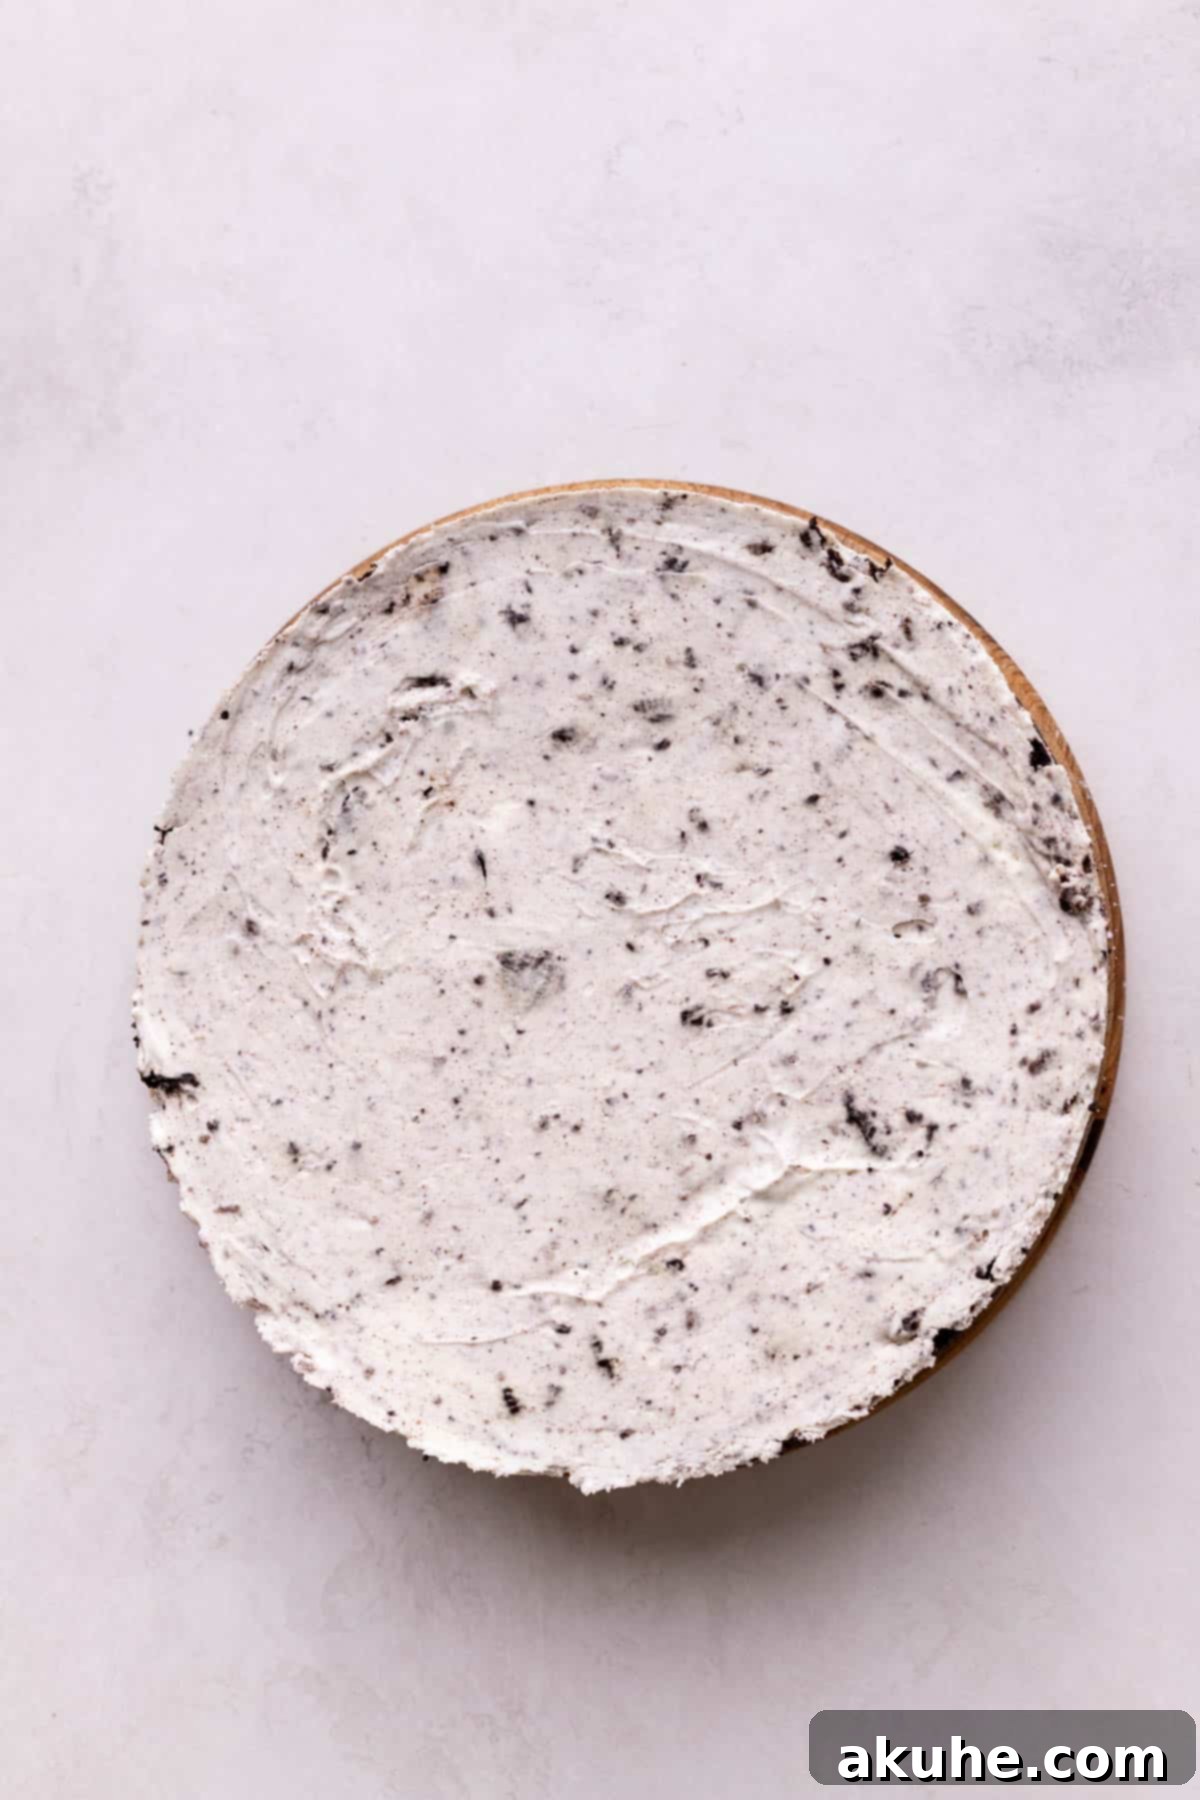
- Chill the Cheesecake: Pour the prepared cheesecake batter into your chilled Oreo crust in the springform pan. Use an offset spatula or the back of a spoon to spread the batter evenly across the crust, creating a smooth top surface. Cover the pan securely with aluminum foil or plastic wrap. Transfer the cheesecake to the refrigerator and allow it to chill for a minimum of 6 hours, or preferably overnight, to ensure it sets perfectly.
Part 3: Drizzling the Rich Chocolate Ganache and Decorating
Once your cheesecake is perfectly chilled and set, it’s time for the crowning glory – the luscious chocolate ganache and delightful decoration.
- Prepare the Ganache Base: Place your semi-sweet or dark chocolate chips into a microwave-safe bowl. In a small saucepan, gently heat the heavy cream over medium-low heat until it’s steaming hot but not boiling. Once hot, pour the steaming cream directly over the chocolate chips. Let it sit undisturbed for 2 minutes; this allows the chocolate to melt from the heat of the cream.
- Stir the Ganache: After 2 minutes, use a rubber spatula to gently stir the chocolate and cream mixture. Start stirring from the center and gradually work your way outwards until the ganache is completely smooth, glossy, and uniform. If any small chunks of chocolate remain, you can microwave the ganache in short 10-15 second intervals, stirring well after each, until it reaches a perfectly smooth consistency.
- Release the Cheesecake: Carefully remove the fully chilled cheesecake from the springform pan. To do this, gently run a thin knife or offset spatula around the edge of the pan before unclasping and removing the sides. Then, use a cake lifter or your largest spatula to carefully slide the cheesecake off the parchment paper and transfer it to your desired serving platter or cake decorating surface.
- Top and Decorate: Generously pour the warm, smooth chocolate ganache over the top of the cheesecake. If desired, you can use a spatula to gently guide the ganache to the edges, allowing it to drip attractively down the sides. While the ganache is still wet, artfully arrange extra Oreo cookies, either whole or crushed, on top for a stunning visual appeal and an extra burst of Oreo flavor. Allow the ganache to set slightly before serving.
Pro Tips for No-Bake Cheesecake Perfection
Achieving a flawless no-bake Oreo cheesecake is simple with these expert tips:
- Effortless Pan Release: For a clean release every time, don’t skip the pan preparation. Spray your springform pan with nonstick baking spray, then carefully line the bottom with a 9-inch parchment paper circle. Give it another spray. This double layer of protection ensures your beautiful cheesecake slides out effortlessly, leaving perfect sides intact.
- The Art of Gentle Folding: This is arguably the most critical step. When folding the whipped cream into the cream cheese mixture, extreme gentleness is paramount. The whipped cream provides the cheesecake’s light and airy texture. If you’re too rough, you’ll “knock out” all the air, resulting in a dense, heavy cheesecake that might not set properly. Think of it as carefully combining two clouds.
- Patience is a Virtue (and Key to Setting!): No-bake cheesecakes require ample time in the refrigerator to properly set and firm up. Resist the temptation to cut into it too soon! A minimum of 6 hours is essential, but chilling it overnight will yield the best, most stable, and sliceable results. This patient waiting period allows all the flavors to meld beautifully and the cheesecake structure to solidify.
- Room Temperature Dairy: Always ensure your cream cheese and sour cream are at proper room temperature. Cold dairy ingredients will result in a lumpy batter, no matter how much you beat them. Plan ahead and take them out of the fridge at least two hours before you begin.
- Cold Bowl for Whipping Cream: As mentioned in the steps, chilling your mixing bowl and whisk attachment for the heavy cream is a game-changer. Cold equipment helps the heavy cream whip up faster and achieve more stable, stiff peaks, which are crucial for the cheesecake’s light texture.
Frequently Asked Questions About No-Bake Oreo Cheesecake
There are usually two main reasons for a runny no-bake cheesecake. First, you might have overmixed the whipped cream into the cream cheese mixture, causing the air to deflate and losing its setting power. Remember to fold gently! Second, it simply might not have had enough time to chill in the refrigerator. No-bake cheesecakes require a minimum of 6 hours, and often overnight, to firm up completely.
Absolutely, mini no-bake Oreo cheesecakes are a delightful idea! To make them, you can divide the recipe into thirds, which typically yields about 12 mini cheesecakes. Line a muffin pan with paper liners, press a small amount of crust mixture into each, and then pipe or spoon in the filling. Adjust chilling time accordingly, usually 2-3 hours.
Yes, you can adapt the recipe for different pans. If you desire a much thicker cheesecake, use an 8-inch springform pan with the same amount of batter. Alternatively, for cheesecake bars, you can halve the recipe and use an 8×8-inch square pan, pressing the crust into the bottom and pouring the filling over. Adjust baking paper lining as needed.
For immaculate, professional-looking slices, use a sharp, thin knife. Between each slice, rinse the knife under hot water and wipe it clean. The warm, clean blade will glide through the cheesecake smoothly, preventing any sticking or messy cuts. If the knife gets cold or has cheesecake residue, it will drag and create imperfections.
Absolutely! Feel free to experiment with your favorite Oreo flavors. Golden Oreos, Mint Oreos, Peanut Butter Oreos, or even seasonal varieties can add a unique twist to your no-bake cheesecake. Just ensure you still crush them into fine crumbs for the crust and larger pieces for the filling as instructed.
Storing and Freezing Your Oreo Cheesecake
To keep your no-bake Oreo cheesecake fresh and delicious, store it in an airtight container, such as a cake carrier, in the refrigerator for up to 5 days. For the best texture and crunch, it’s recommended to add fresh Oreos on top right before serving, as the ones already on the cheesecake can lose their crispness over time in the fridge.
Freezing for Extended Freshness
This cheesecake freezes beautifully, allowing you to enjoy it for longer:
- Individual Slices: For convenient single servings, slice the cheesecake and wrap each individual piece tightly in plastic wrap, then place them in an airtight freezer-safe container. They can be frozen for up to 30 days. To serve, simply thaw a slice in the refrigerator for 1-2 hours.
- Whole Cheesecake: You can also freeze the entire cheesecake before decorating it with ganache and extra Oreos. First, ensure the cheesecake has chilled overnight in the refrigerator and is fully set. Then, wrap it thoroughly in several layers of plastic wrap, followed by a layer of aluminum foil, to protect it from freezer burn. It can be stored in the freezer for up to 30 days. When ready to serve, transfer the frozen cheesecake to the refrigerator and let it thaw for 24 hours before adding the chocolate ganache and your fresh Oreo decorations.
Remember, whether storing in the fridge or freezer, for optimal crispness and flavor, always add any additional Oreo garnishes just before you plan to serve the cheesecake.
Explore More Delicious Cheesecake Recipes
If you loved this no-bake creation, be sure to explore our other tantalizing cheesecake recipes for more dessert inspiration. From classic baked varieties to other exciting no-bake flavors, there’s always a new favorite waiting to be discovered!
For more baking ideas and sweet treat inspiration, follow us on social media!
No Bake Oreo Cheesecake
Print Recipe | Pin Recipe | Leave a Review
Ingredients
Oreo Crust
- 2 1/2 cups Oreo crumbs, fine crumb
- 5 TBSP Unsalted butter, melted
Oreo Cheesecake
- 24 oz Cream cheese, room temperature
- 3/4 cup White granulated sugar
- 1/4 cup Sour cream, room temperature
- 1 tsp Pure vanilla extract
- 1 1/2 cups Oreo pieces
- 1 1/4 cup Heavy cream
- 1/2 cup Powdered sugar
Chocolate Ganache
- 3/4 cup Semi-sweet chocolate chips
- 1/2 cup Heavy cream
- Oreos, for decoration
Instructions
Oreo Crust
- Spray a 9-inch springform pan with baking nonstick spray. Line the bottom of the pan with a 9-inch parchment paper circle and spray again. Set aside.
- Using a food processor, blend the Oreos into a fine crumb. In a small bowl mix the Oreo crumbs and melted butter using a fork.
- Pour the crumbs into the springform pan. Use your hands to press the crust halfway up the sides of the pan. Use the bottom of a measuring cup to compact the crust.
- Place the crust in the freezer while you make the batter.
Oreo Cheesecake
- Place a metal bowl and whisk attachment in the freezer for 10 minutes.
- Using a mixer, beat the cream cheese and sugar on high speed for 2 minutes. Scrape the bowl and add the vanilla and sour cream. Beat until smooth.
- Using the cold bowl and whisk attachment, beat the heavy cream and powdered sugar on high speed until stiff peaks form.
- Add the whipped cream to the cream cheese mixture. Use a rubber spatula to fold the whipped cream in. Be very gentle! About halfway mixed in, add the Oreo pieces and fold until just mixed together.
- Pour the batter into the crust. Use an offset spatula to spread evenly. Cover with foil and chill for at least 6 hours or overnight.
Chocolate Ganache
- Pour the chocolate chips into a bowl. Heat the heavy cream into a small saucepan. Heat over medium-low heat until hot and steaming. Pour the hot cream over the chocolate chips. Let it sit for 2 minutes.
- Use a rubber spatula to mix until smooth.
- Take the cheesecake out of the spring form pan. Use a cake lifter (or the largest spatula you have) to take off the parchment paper and transfer to your desired cake surface.
- Pour the ganache over the cheesecake. Top with Oreos.
