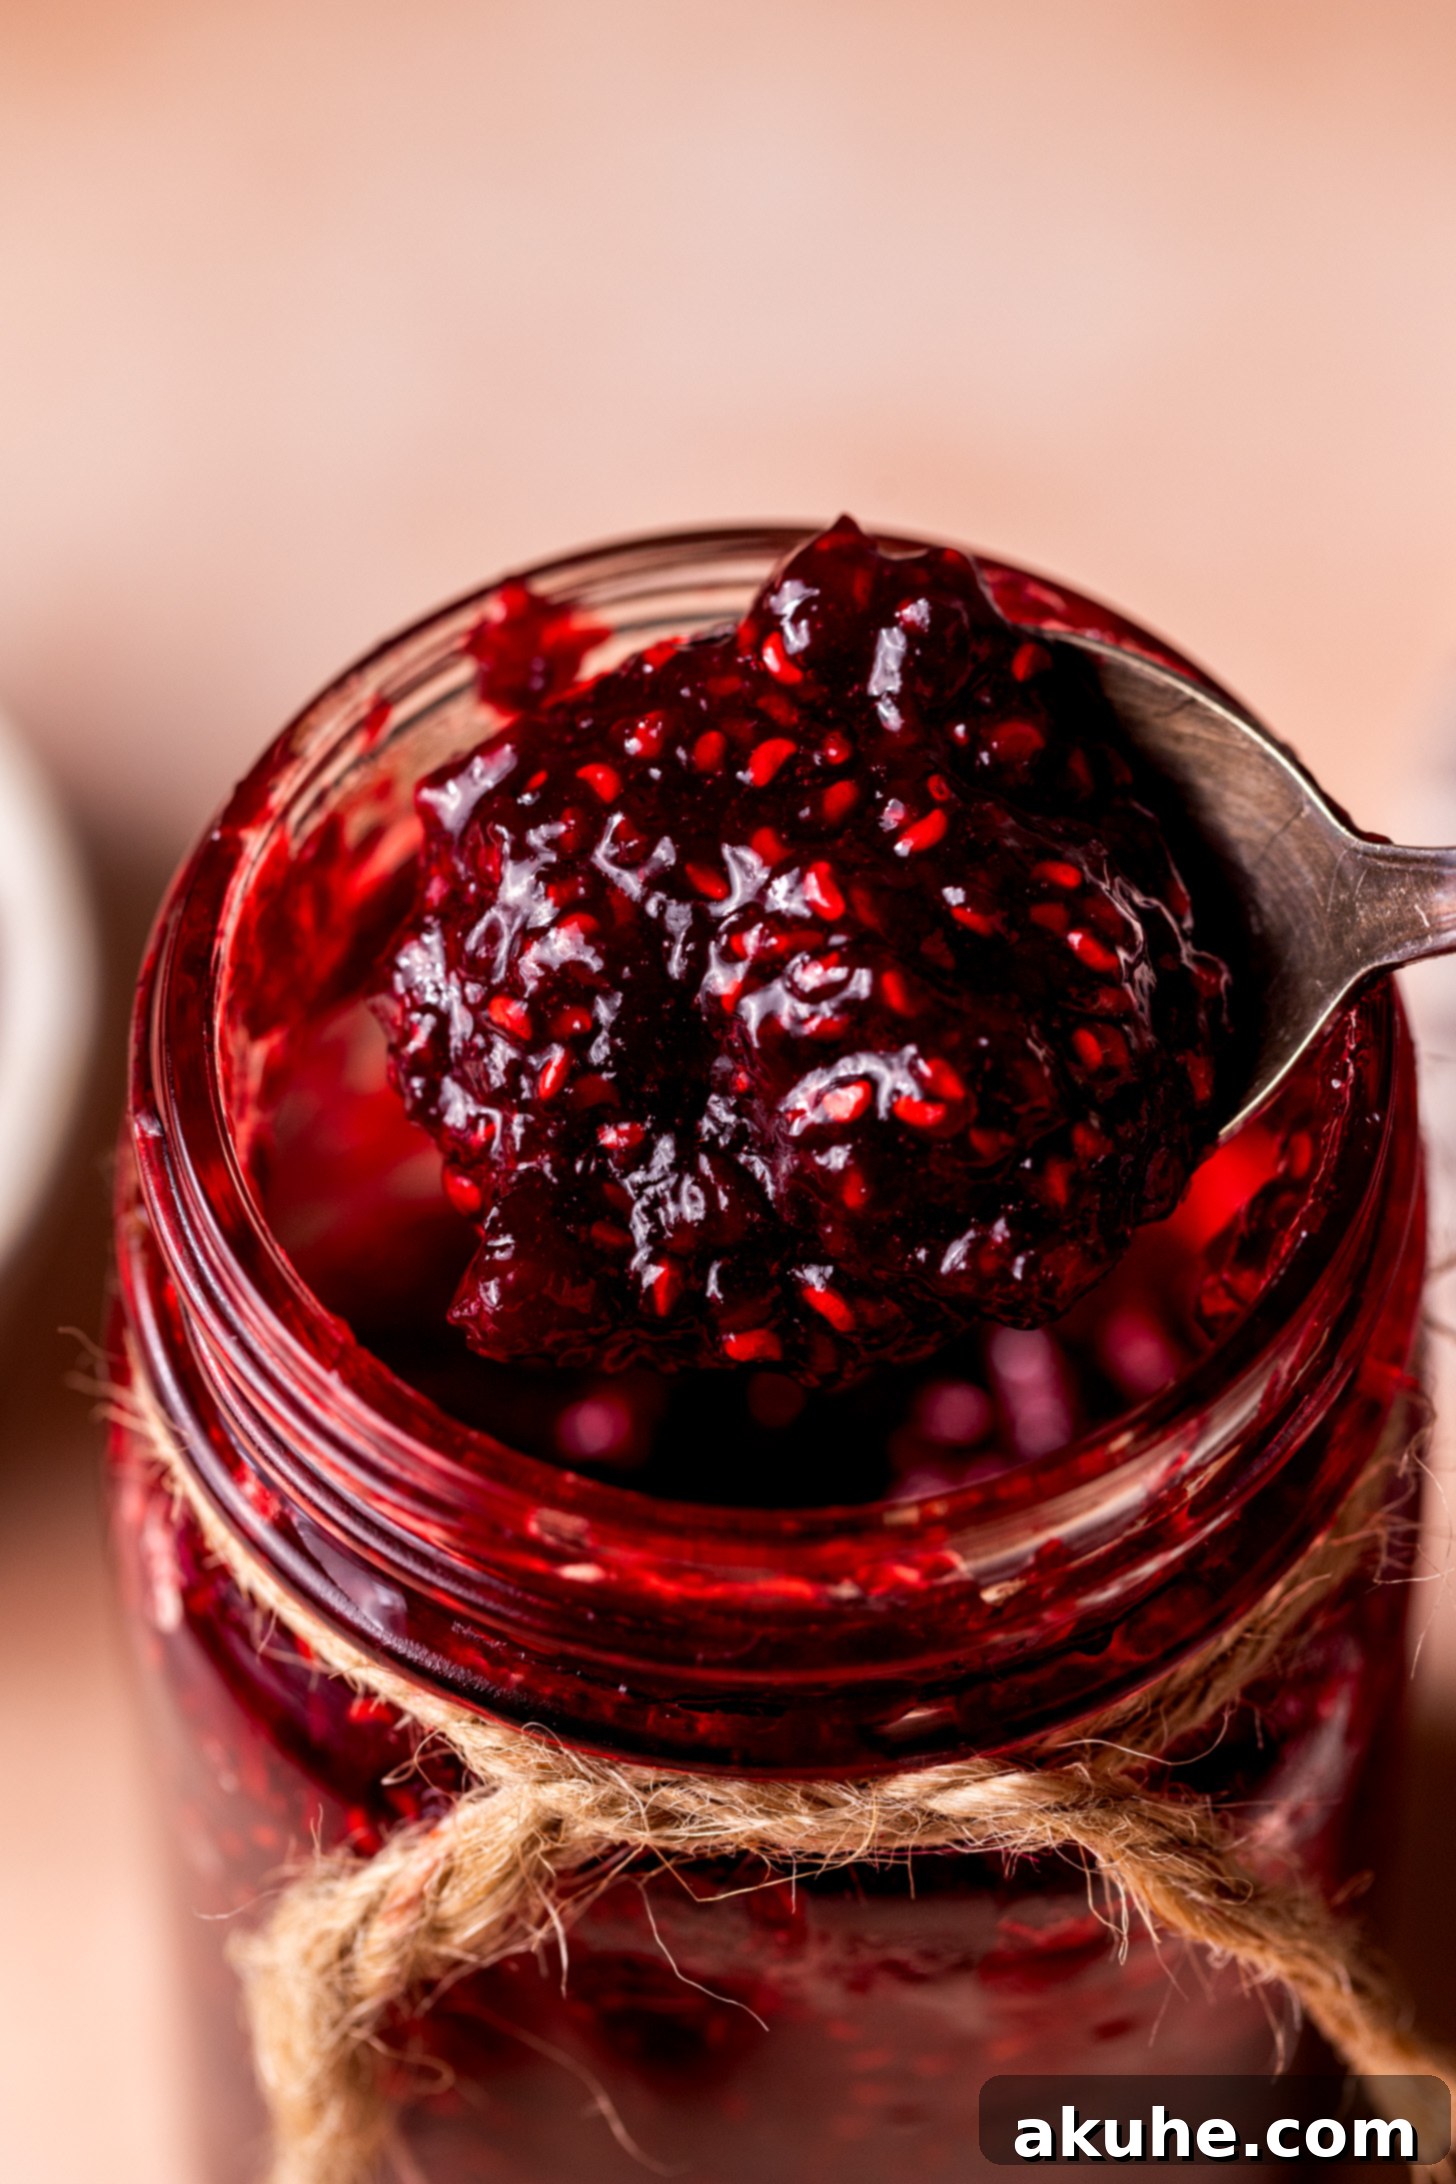
Unlock the secret to an incredibly flavorful and delightfully simple spread with this homemade raspberry jam recipe. Requiring just three essential ingredients, this recipe promises a vibrant, pectin-free jam that’s easy to make and yields approximately 1¼ cups of pure deliciousness. Forget complicated canning processes or obscure additives; this quick and straightforward method means you can enjoy fresh, homemade raspberry jam in under 30 minutes, from start to finish. It’s perfect for both novice and experienced home cooks seeking a luscious, fruit-forward preserve.
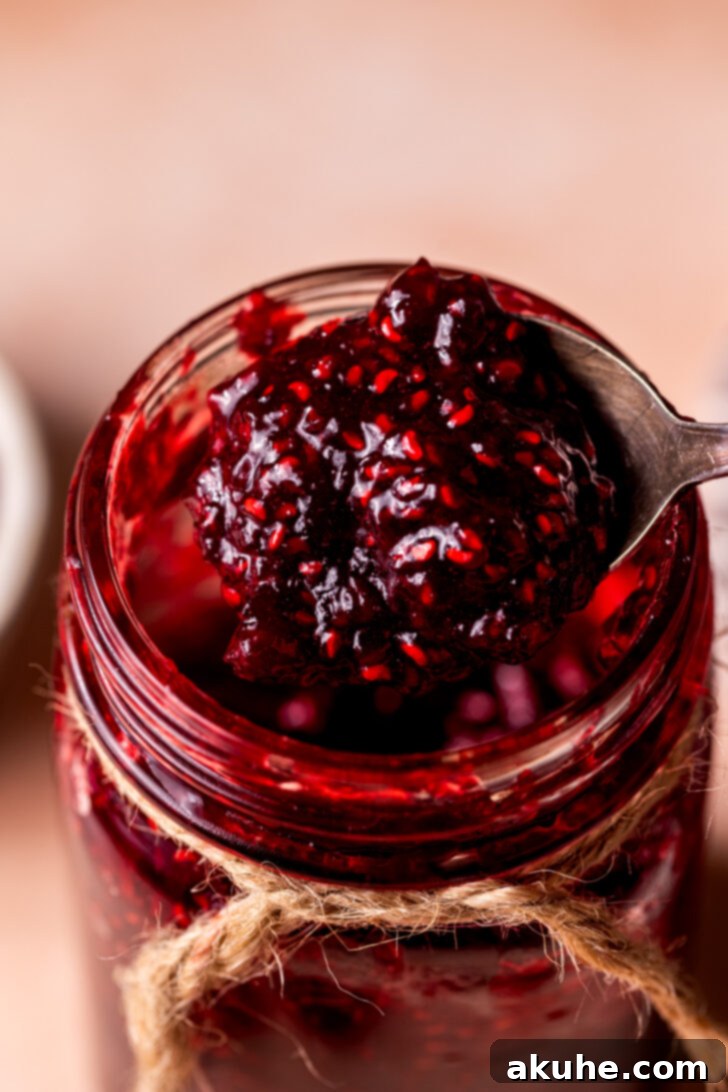
Whether you prefer a classic seeded texture or a silky-smooth, seedless raspberry jam, this recipe offers the flexibility to customize your culinary creation. This versatile jam is not just for toast; its bright, sweet-tart flavor makes it an excellent accompaniment for a wide array of baked goods and desserts. Imagine it generously spread on fluffy scones, nestled between layers of delicate cakes, adorning cupcakes, or simply enhancing your morning toast. We’ve gathered expert tips, helpful tricks, and detailed process photos to guide you through each step, ensuring your jam turns out perfectly every time. If you’re a fan of homemade preserves, be sure to also explore our equally easy blueberry jam recipe!
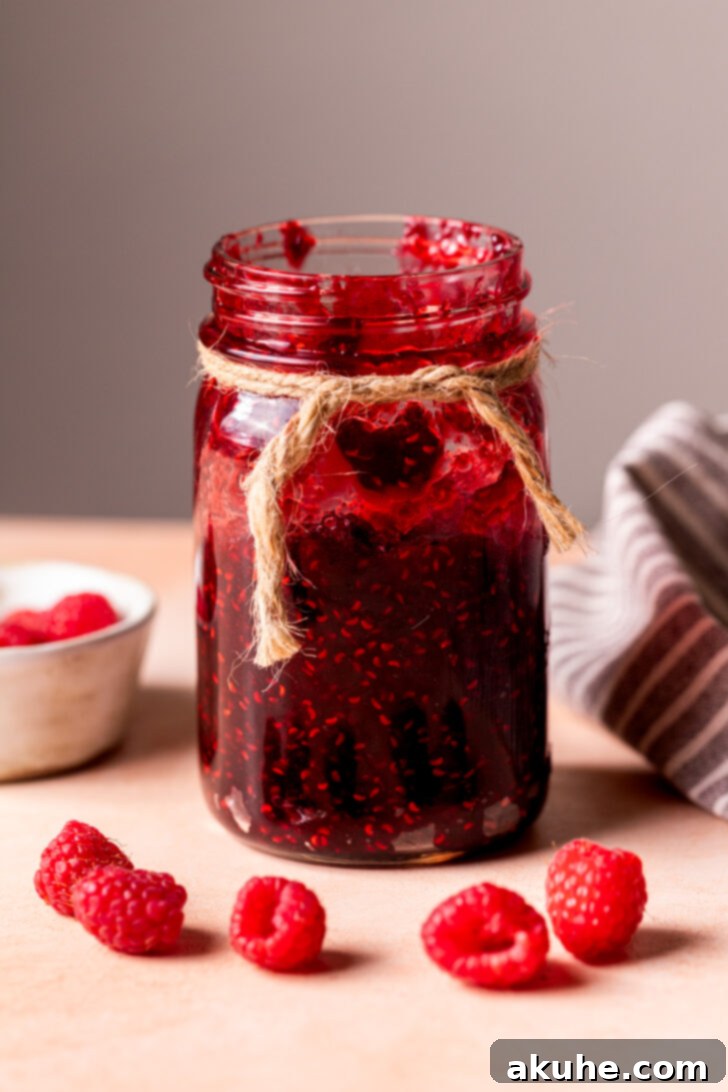
Why Homemade Raspberry Jam is a Must-Try
There’s something undeniably special about homemade jam. Beyond the incredible taste that far surpasses store-bought varieties, making your own raspberry jam offers numerous benefits. Firstly, you have complete control over the ingredients, allowing you to avoid artificial flavors, colors, and excessive preservatives often found in commercial products. This recipe, in particular, champions simplicity and purity, using only fresh raspberries, sugar, and a touch of lemon juice.
Secondly, the flavor profile of homemade raspberry jam is simply unparalleled. The intense fruitiness of fresh raspberries, combined with just the right amount of sweetness, creates a vibrant and authentic taste that brightens any dish. The subtle tang from the lemon juice not only helps the jam set beautifully but also enhances the natural brightness of the raspberries, creating a perfectly balanced preserve.
Moreover, making jam at home can be a therapeutic and rewarding experience. The aroma of simmering berries filling your kitchen is truly delightful, and the satisfaction of creating something so delicious from scratch is immense. This quick raspberry jam recipe is especially appealing because it demystifies the jam-making process, proving that you don’t need special equipment or extensive culinary skills to achieve a gourmet result. It’s an accessible project for anyone looking to add a touch of homemade goodness to their pantry.
The Power of Three Ingredients: No Pectin Needed!
The magic of this easy raspberry jam lies in its minimalist approach. With just three core ingredients, you’ll achieve a perfectly set, flavorful jam without the need for commercial pectin. Here’s how each ingredient plays its crucial role:
- Raspberries (Fresh or Frozen): The star of our show! Raspberries are naturally rich in pectin, especially when slightly underripe. As they cook down with sugar and acid, their natural pectin is released, allowing the jam to thicken and set beautifully without any added gelling agents. Using fresh berries during peak season will offer the best flavor, but high-quality frozen raspberries work just as wonderfully, making this a year-round recipe.
- Granulated White Sugar: More than just a sweetener, sugar is vital for the jam’s structure and preservation. It helps extract moisture from the fruit, allowing the pectin to activate, and contributes to the jam’s luscious texture. Sugar also acts as a natural preservative, inhibiting microbial growth and extending the jam’s shelf life. The amount used in this recipe is carefully balanced to achieve the ideal sweetness and setting consistency.
- Lemon Juice: A small but mighty ingredient! Lemon juice provides the necessary acidity to help activate the natural pectin in the raspberries. Without enough acid, the pectin molecules might not cross-link effectively, resulting in a runny jam. Lemon juice also brightens the flavor of the berries, preventing the jam from tasting overly sweet and adding a refreshing tang.
This harmonious blend of ingredients ensures a naturally thick and flavorful jam, proving that sometimes, less truly is more.
Expert Tips for Making Perfect Raspberry Jam
Achieving the ideal consistency and flavor for your homemade raspberry jam is simpler than you might think. Follow these tried-and-true tips to ensure your jam turns out beautifully every time, mirroring the delicious results of this recipe:
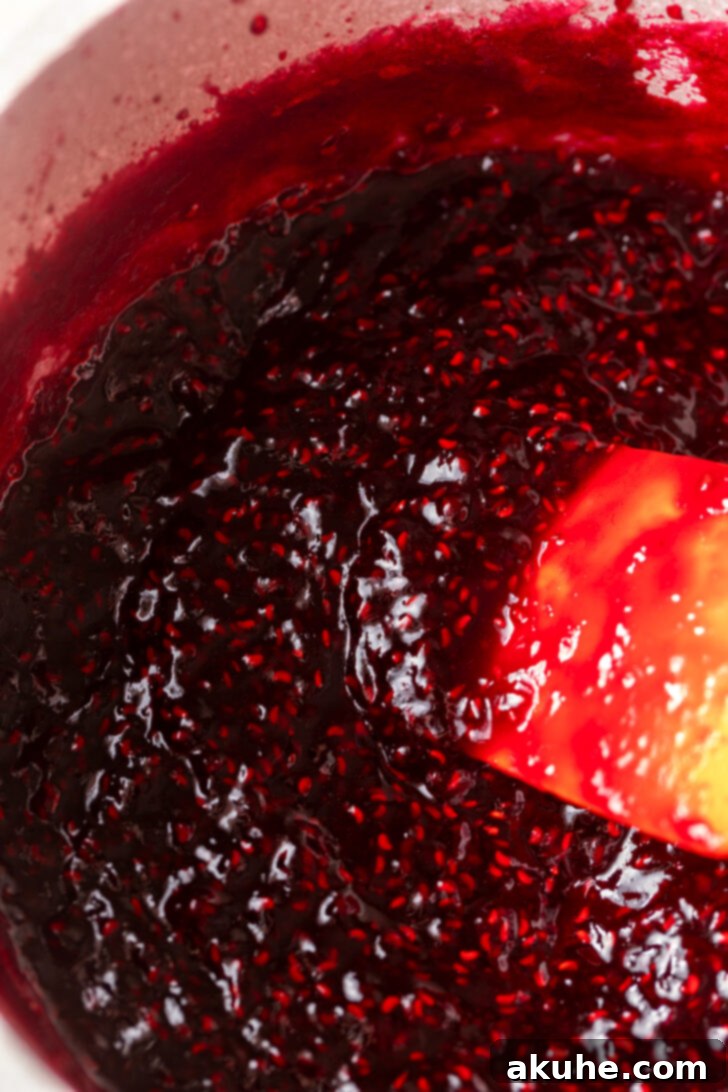
- Tip 1: Monitor Cook Time for Ideal Setting. Once your raspberries begin to release their juices and the mixture comes to a gentle simmer, it typically takes about 20 minutes for the jam to cook down and reach the desired thickness. The key is to maintain a steady simmer, allowing the liquid to evaporate and the pectin to activate. Don’t rush this process; patience will be rewarded with a perfectly set jam.
- Tip 2: Opting for Seedless Jam. If you prefer a smooth, seedless raspberry jam, you can easily achieve this mid-cook. Approximately halfway through the 20-minute cooking period, remove the saucepan from the heat. Carefully press the simmering jam through a fine-mesh sieve or a chinoise using the back of a spoon or a rubber spatula. This will separate all the tiny seeds, leaving you with a silky pulp. Return the seedless mixture to the heat and continue cooking until it reaches the desired thickened consistency.
- Tip 3: Adjusting Jam Consistency. Should you find your finished jam a bit too thick for your preference, or if you desire a slightly runnier consistency for drizzling over pancakes or yogurt, simply stir in an extra 1 tablespoon of hot water after the jam has finished cooking and is still warm. Add it gradually, stirring well after each addition, until you achieve your desired pourable texture.
- Tip 4: The Cold Plate Test for Set. To accurately check if your jam has set, place a small plate in the freezer before you start cooking. When you think the jam is ready, spoon a small amount onto the cold plate, wait 30 seconds, then push it with your finger. If it wrinkles, it’s done! If not, continue cooking for a few more minutes and retest.
- Tip 5: Sterilize Your Jars. For longer storage, especially if you plan to keep the jam for more than a few weeks, ensure your jars and lids are properly sterilized. You can do this by washing them thoroughly in hot soapy water, rinsing well, and then either boiling them for 10 minutes or heating them in a 225°F (110°C) oven for 10-15 minutes. This prevents spoilage and extends shelf life.
Detailed Step-by-Step Guide to Making Raspberry Jam
Creating this delightful 3-ingredient raspberry jam is a straightforward process. Follow these steps for a perfect batch:
- Gather Your Ingredients: Ensure you have 12 oz of raspberries (fresh or frozen), 1 cup of white granulated sugar, and 1 teaspoon of fresh lemon juice ready.
- Prepare the Fruit: If using fresh raspberries, gently rinse them and pat dry. If using frozen, there’s no need to thaw; they can go directly into the pot.
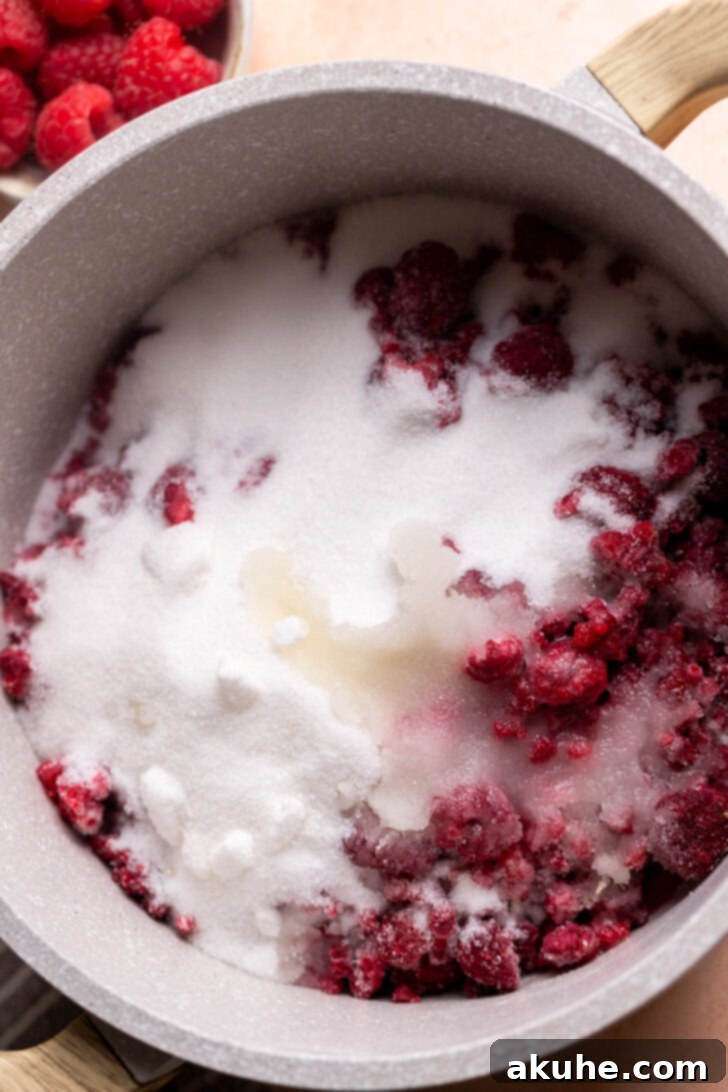
- Combine in a Saucepan: In a medium-sized, heavy-bottomed saucepan, combine the raspberries, sugar, and lemon juice. Give them a gentle stir to coat the berries evenly with sugar.
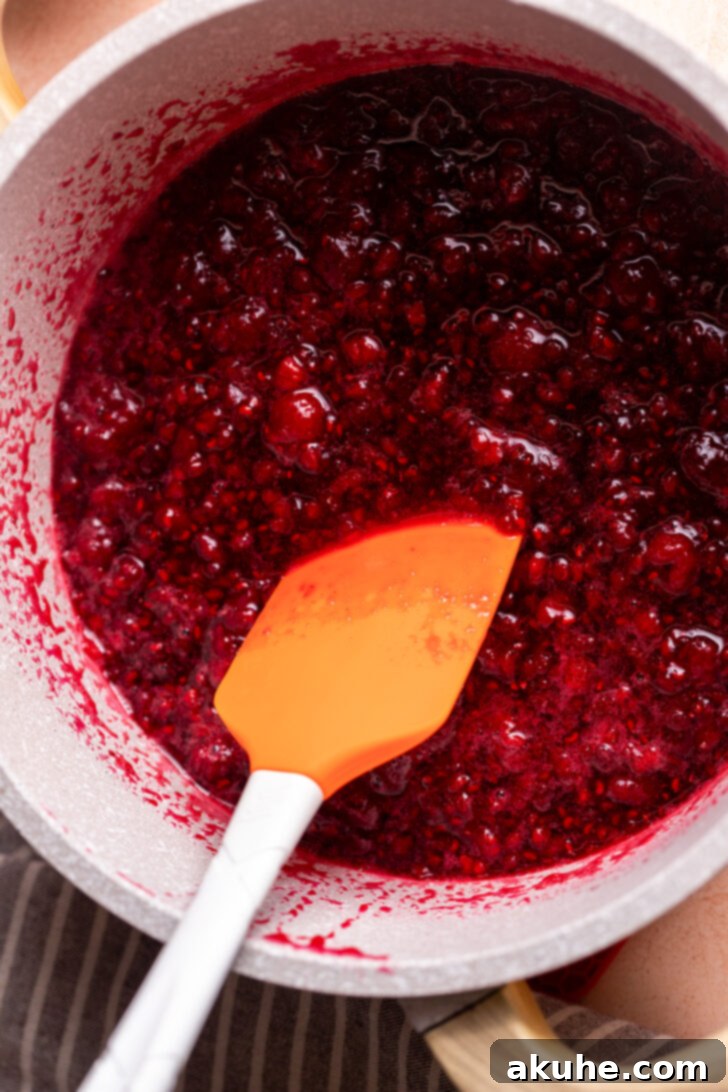
- Initial Heating and Juice Release: Place the saucepan over medium heat. Allow the mixture to heat slowly, stirring occasionally. You’ll notice the raspberries beginning to break down and release their beautiful, vibrant juices. Continue heating until the fruit is softened and a good amount of liquid has formed in the pot, and the mixture just starts to bubble.
- Simmer to Thicken: Once the juices are flowing and the mixture is simmering gently, reduce the heat slightly to maintain a consistent simmer. Cook for approximately 20 minutes, stirring occasionally to prevent sticking and ensure even cooking. During this time, the liquid will reduce, and the jam will start to thicken. Use a potato masher or the back of a spoon to gently crush any larger berry pieces if you prefer a smoother jam.
- Optional: Make it Seedless: If you desire a seedless jam, remove the saucepan from the heat after about 10 minutes of simmering (halfway through the cooking time). Carefully pour the jam through a fine-mesh sieve set over a clean bowl. Use a rubber spatula or the back of a spoon to press as much of the fruit pulp and juice through the sieve, leaving the seeds behind. Discard the seeds. Return the smooth, seedless jam to the saucepan and continue simmering for the remaining 10 minutes, or until it reaches the desired thickened consistency.
- Test for Set: Use the cold plate test (described in Tip 4 above) to check for doneness. The jam should wrinkle when pushed, indicating it has set.
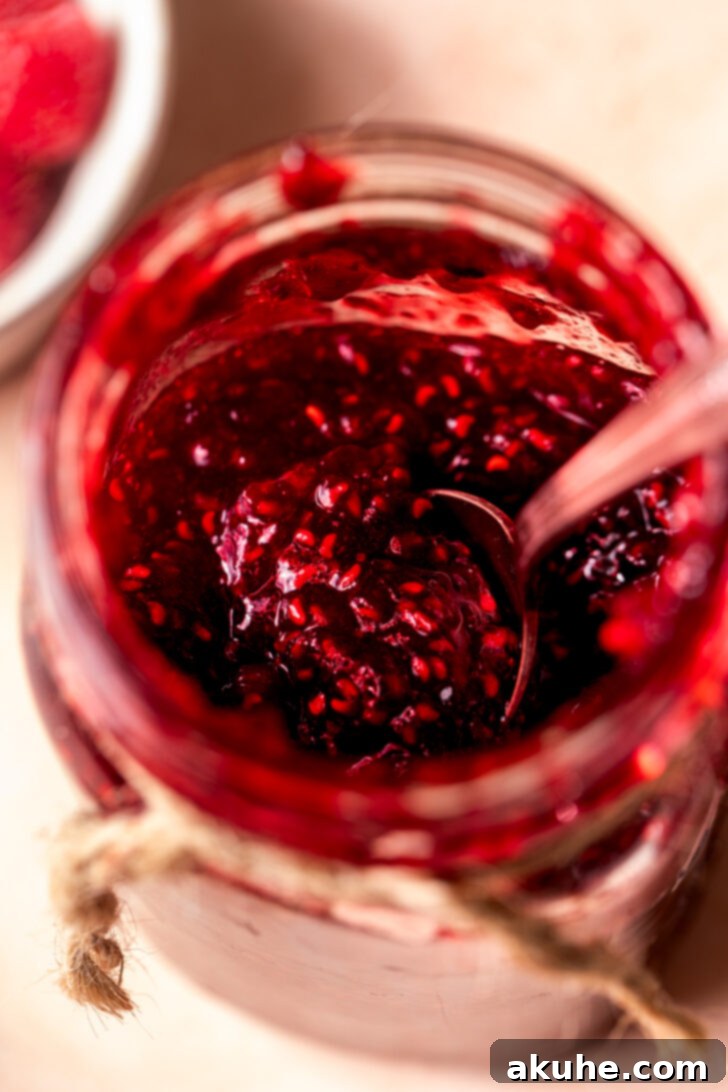
- Cool Completely: Once the jam has reached your desired consistency, remove it from the heat. Carefully transfer the hot jam into clean, warm jars. Allow the jam to cool completely at room temperature. As it cools, it will continue to thicken to its final consistency.
- Store and Enjoy: Once cooled, seal the jars tightly. This homemade raspberry jam can be stored in the refrigerator for up to 3-4 weeks. For longer storage, consider proper canning techniques (water bath canning) which can extend shelf life up to a year in a cool, dark place.
Serving Suggestions for Your Homemade Raspberry Jam
This simple raspberry jam is incredibly versatile and can elevate a multitude of dishes. Its bright, sweet-tart profile makes it a delightful addition to both sweet and savory applications:
- Breakfast & Brunch Staples:
- Classic: Generously spread on warm toast, English muffins, or flaky croissants.
- Baked Goods: Dollop onto freshly baked scones, biscuits, or pancakes and waffles.
- Yogurt & Oatmeal: Stir into plain Greek yogurt, overnight oats, or hot oatmeal for a burst of fruit flavor.
- Pastries: Use as a filling for Pop-Tarts, turnovers, or Danish pastries.
- Dessert Enhancements:
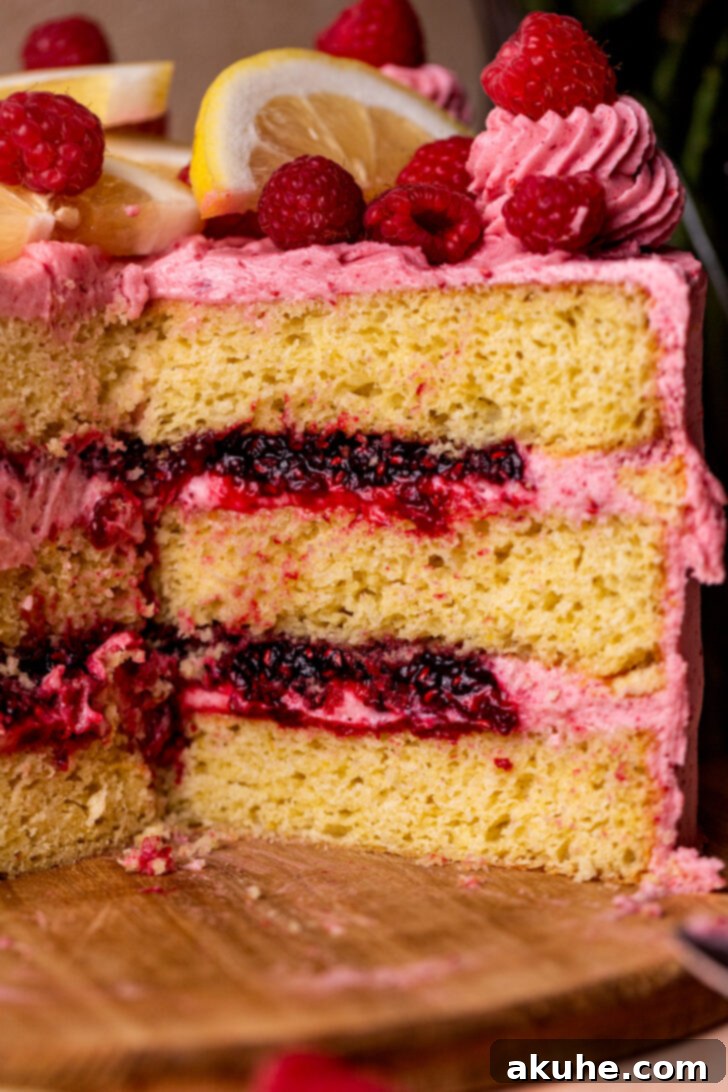
- Cakes & Cupcakes: Layer between vanilla or lemon cake, or swirl into frosting for cupcakes. The original article even features a beautiful lemon raspberry cake!
- Tarts & Pies: A fantastic filling for miniature tarts, linzer cookies, or thumbprint cookies.
- Ice Cream Topping: Warm slightly and drizzle over vanilla bean ice cream or frozen yogurt.
- Cheesecake: A vibrant topping for a creamy cheesecake, adding both color and flavor.
- Savory Pairings:
- Cheese Boards: Pair with soft cheeses like brie or goat cheese, or hard cheeses like aged cheddar, on a charcuterie board.
- Glazes & Marinades: Whisk into vinaigrettes for salads or use as a glaze for pork, chicken, or duck.
- Sandwiches: A thin layer can add a delightful surprise to a gourmet grilled cheese sandwich or a turkey and brie sandwich.
Variations and Customizations
While this 3-ingredient raspberry jam is perfect as is, you can easily customize it to suit your taste preferences or explore new flavor combinations:
- Spice it Up: Infuse your jam with warm spices by adding a cinnamon stick, a few cardamom pods, or a hint of vanilla extract (1/2 teaspoon) during cooking. Remove whole spices before jarring.
- Herbaceous Twist: For a sophisticated flavor, add a sprig of fresh mint or a few basil leaves to the jam during the last few minutes of cooking. Remove the herbs before transferring to jars.
- Mixed Berry Jam: Combine raspberries with other berries like blueberries, blackberries, or strawberries for a delightful mixed berry preserve. Keep the total fruit weight the same (12 oz).
- Lower Sugar Option: If you prefer a less sweet jam, you can slightly reduce the amount of sugar, but be aware that this might affect the jam’s setting ability and shelf life. For significantly reduced sugar, you might need to introduce a low-sugar pectin product, but for a slight reduction, the natural pectin should still suffice.
- Citrus Zest: For an extra citrusy kick, add 1/2 teaspoon of finely grated lemon or orange zest along with the lemon juice.
Troubleshooting Common Jam Issues
Even with simple recipes, questions can arise. Here are solutions to common jam-making concerns:
- Jam is Too Runny: If your jam doesn’t set after cooling, don’t despair! You can often re-cook it. Return the jam to a saucepan, bring it back to a vigorous simmer, and cook for an additional 5-10 minutes, performing the cold plate test periodically. Adding another teaspoon of lemon juice can sometimes help activate more pectin.
- Jam is Too Thick/Hard: If your jam becomes too firm, you can gently reheat it with a tablespoon or two of water until it loosens to your desired consistency. This is especially useful if you plan to use it as a sauce or glaze.
- Foam on Top: A small amount of foam might appear on the surface during cooking. You can skim this off with a spoon before jarring for a clearer, more aesthetically pleasing jam. A tiny dab of butter (1/2 teaspoon) added at the beginning of cooking can also help reduce foam.
- Mold After Storage: Mold usually indicates improper sterilization of jars or insufficient sealing. Always ensure jars are clean and sterilized, and lids form a proper seal if canning. For refrigerator jam, consume within the recommended timeframe.
Equipment Needed
You don’t need a lot of specialized equipment to make this jam. Here’s what you’ll need:
- Medium heavy-bottomed saucepan (to prevent scorching)
- Wooden spoon or heat-proof spatula for stirring
- Potato masher or fork (optional, for crushing berries)
- Fine-mesh sieve or chinoise (optional, for seedless jam)
- Heat-proof jars with lids (sterilized for longer storage)
- Ladle
- Small plate (for the cold plate test)
Frequently Asked Questions (FAQs)
Here are answers to some common questions about making homemade raspberry jam:
Q: Can I use less sugar?
A: You can try to slightly reduce the sugar, but sugar plays a crucial role in both setting and preserving the jam. Significantly reducing it may result in a thinner jam with a shorter shelf life, or require the use of a low-sugar pectin product to help it set.
Q: Do I need to water bath can this jam?
A: For storage in the refrigerator for up to 3-4 weeks, water bath canning is not strictly necessary. However, if you want to store the jam at room temperature for an extended period (up to a year), proper water bath canning techniques must be followed to ensure food safety and prevent spoilage.
Q: Can I substitute lemon juice with something else?
A: Lemon juice is essential for activating pectin and balancing sweetness. If you don’t have lemon juice, a similar amount of lime juice or even a teaspoon of apple cider vinegar could work as an acidic substitute, though the flavor profile might change slightly.
Q: How do I know when the jam is set without a thermometer?
A: The cold plate test (Tip 4) is the most reliable method without a thermometer. Alternatively, you can lift a spoonful of jam and let it drip. If two drops merge to form a single sheet as they fall, it’s a good indication of set. A candy thermometer can also be used; jam typically sets around 220°F (104°C) at sea level.
Q: What is the shelf life of this jam?
A: When stored in clean, airtight jars in the refrigerator, this jam will last for 3-4 weeks. If properly water bath canned, it can last for up to 1 year in a cool, dark place.
Q: Can I double or triple the recipe?
A: While it’s possible, increasing the batch size too much can affect cooking time and consistency. For best results, it’s often better to make multiple smaller batches rather than one very large one, as larger quantities take longer to evaporate and set.
This 3-ingredient raspberry jam is a testament to the fact that simplicity often yields the most exquisite results. With minimal effort and just a few pantry staples, you can create a jar of vibrant, sweet-tart goodness that will brighten any meal or snack. Whether you’re a seasoned preserver or trying your hand at jam-making for the first time, this easy-to-follow recipe guarantees a delicious and rewarding experience. So, gather your ingredients, embrace the joy of homemade, and prepare to fall in love with your very own raspberry jam!
Simple Raspberry Jam
Print Recipe
Pin Recipe
Leave a Review
2 mins
20 mins
22 mins
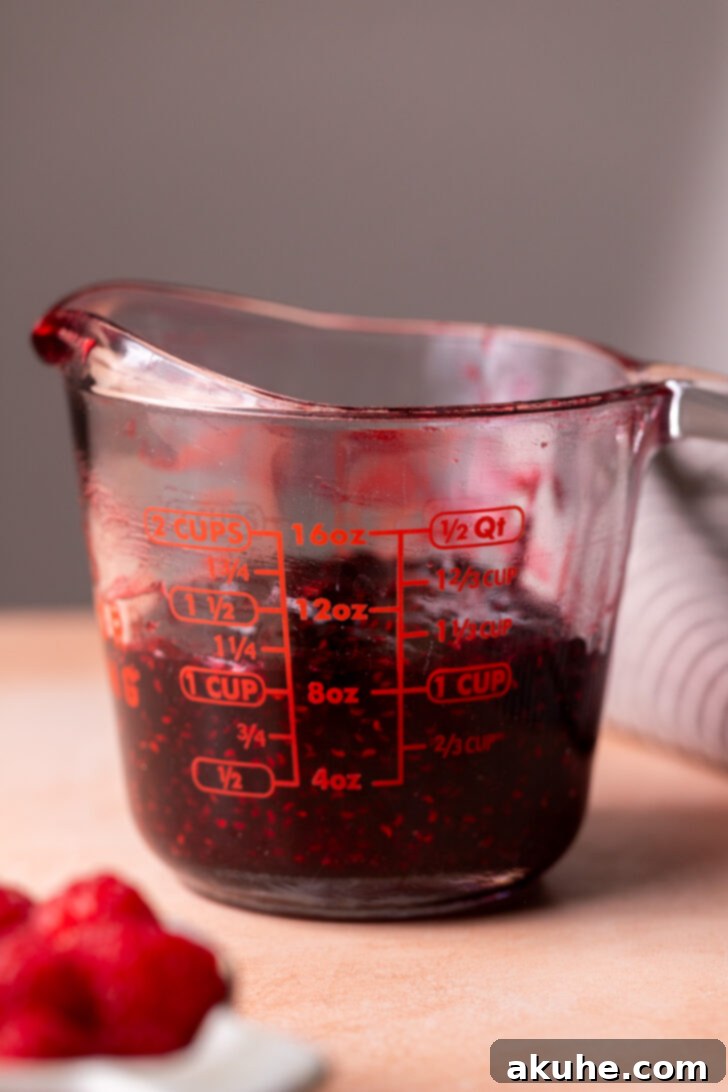
1 ¼ cups
Ingredients
- 12 oz Raspberries, fresh or frozen
- 1 cup White granulated sugar
- 1 tsp Lemon juice
Instructions
- In a medium saucepan over medium heat, add the raspberries, sugar, and lemon juice together. Heat until the juice from the raspberries separates.
- Heat the jam to a simmer and cook until thickened for about 20 minutes. If you want a seedless jam, about halfway through cooking, press the jam through a sieve to separate the seeds. Then, continue cooking until thickened.
- It will yield about 1 ¼ cups of jam (with the seeds). Cool completely before using.
Nutrition Information (Approximate per entire batch)
Calories: 948kcal,
Carbohydrates: 240g,
Protein: 4g,
Fat: 3g,
Saturated Fat: 0.1g,
Polyunsaturated Fat: 1g,
Monounsaturated Fat: 0.2g,
Sodium: 5mg,
Potassium: 523mg,
Fiber: 22g,
Sugar: 215g,
Vitamin A: 113IU,
Vitamin C: 91mg,
Calcium: 87mg,
Iron: 2mg
Please leave a star rating and review below!
Make sure to leave astar review if you loved this recipe! Make sure to tag me on Instagram @stephaniesweettreats. To get more ideas follow me on Pinterest.
