The Ultimate Fudgy Crinkle Top Brownies: A Homemade Masterpiece Better Than Boxed
Prepare to elevate your dessert game with these incredible dark chocolate fudgy brownies. Loaded with not one, not two, but three types of chocolate chips, these homemade delights boast the perfect crinkly top and an unbelievably rich, chewy texture that simply can’t be matched by any store-bought mix. While many love the convenience of boxed brownies, this recipe proves that making them from scratch is not only easy but results in a truly superior treat.
Forget everything you thought you knew about homemade brownies being complicated. This recipe is designed for simplicity without compromising on taste or texture. It captures the essence of those beloved Ghirardelli triple chocolate boxed brownie mixes but takes the fudginess and chocolate intensity to an entirely new level. Whether you’re whipping up a batch for a special occasion, a school bake sale, or simply indulging your chocolate cravings, these brownies are guaranteed to impress and become a staple in your baking repertoire.
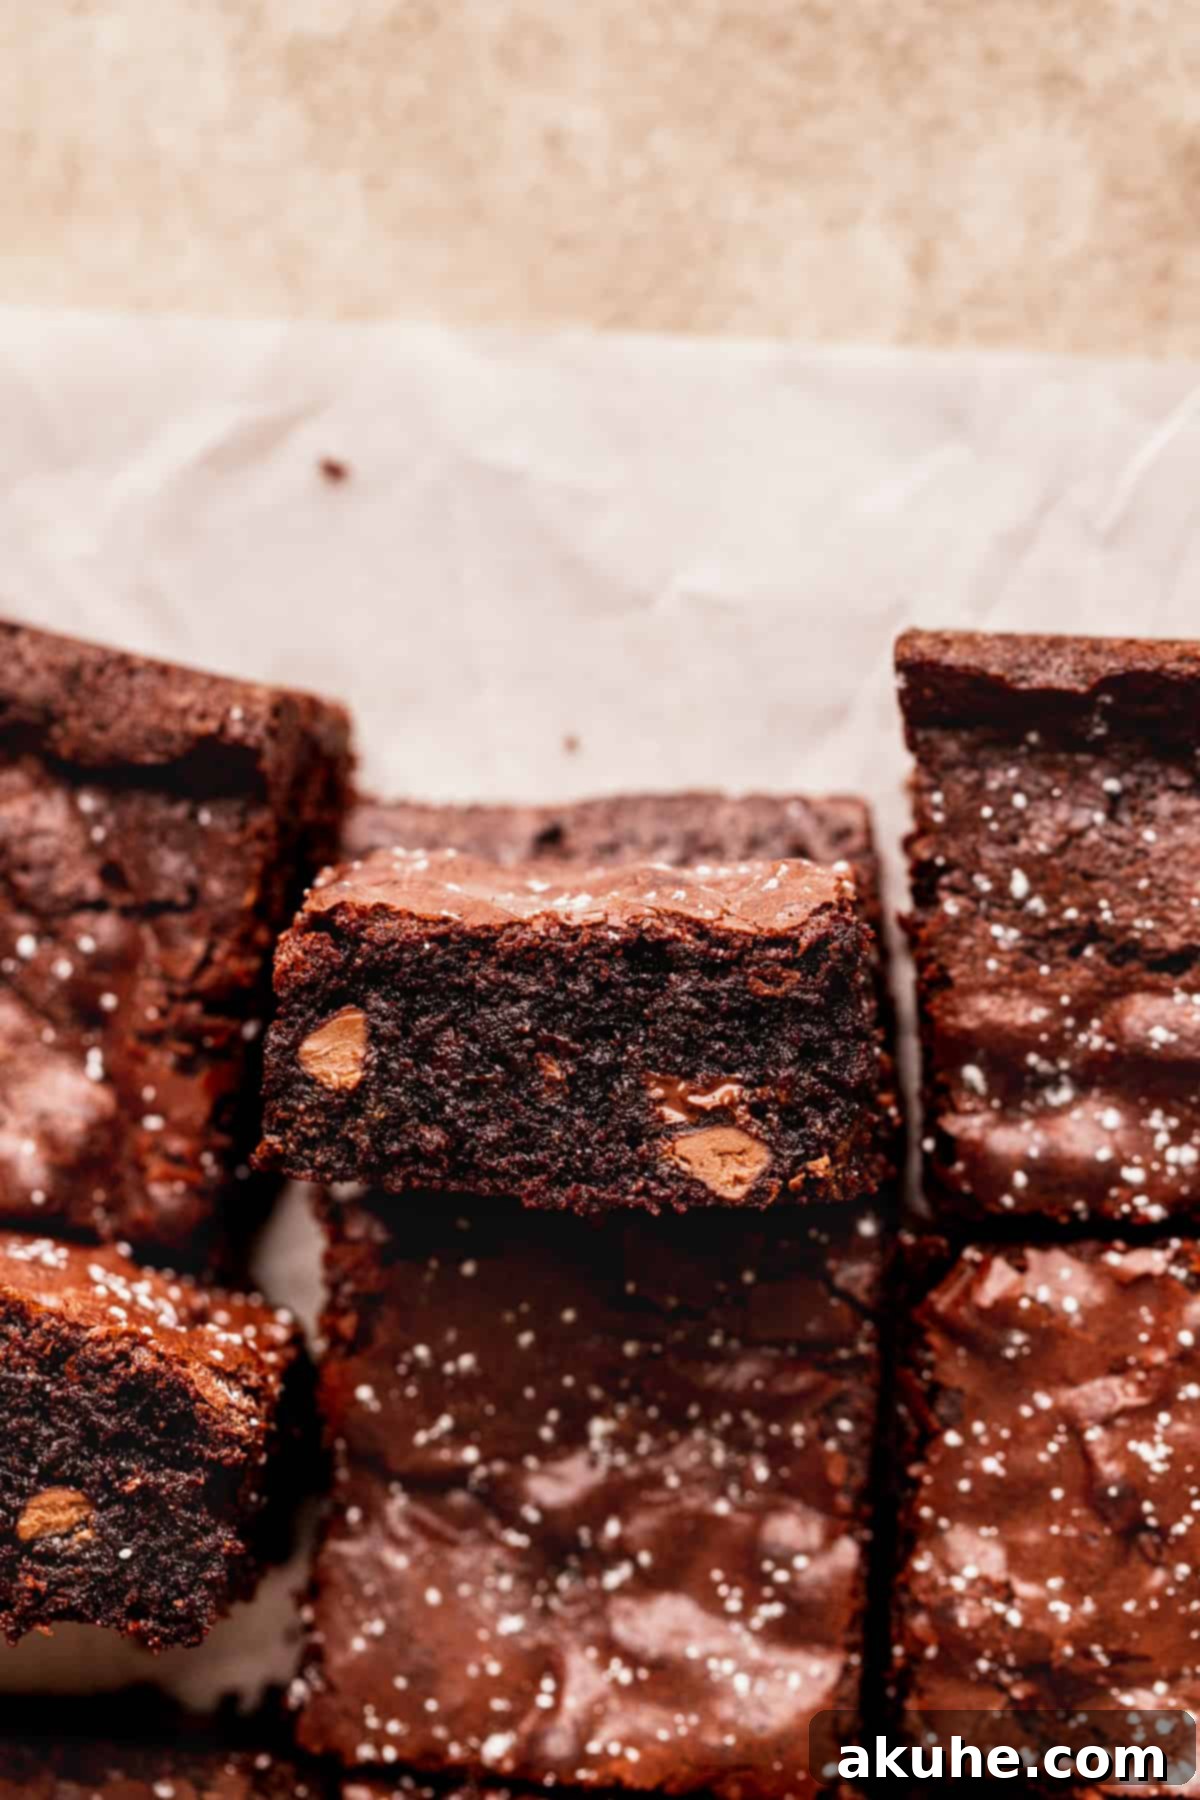
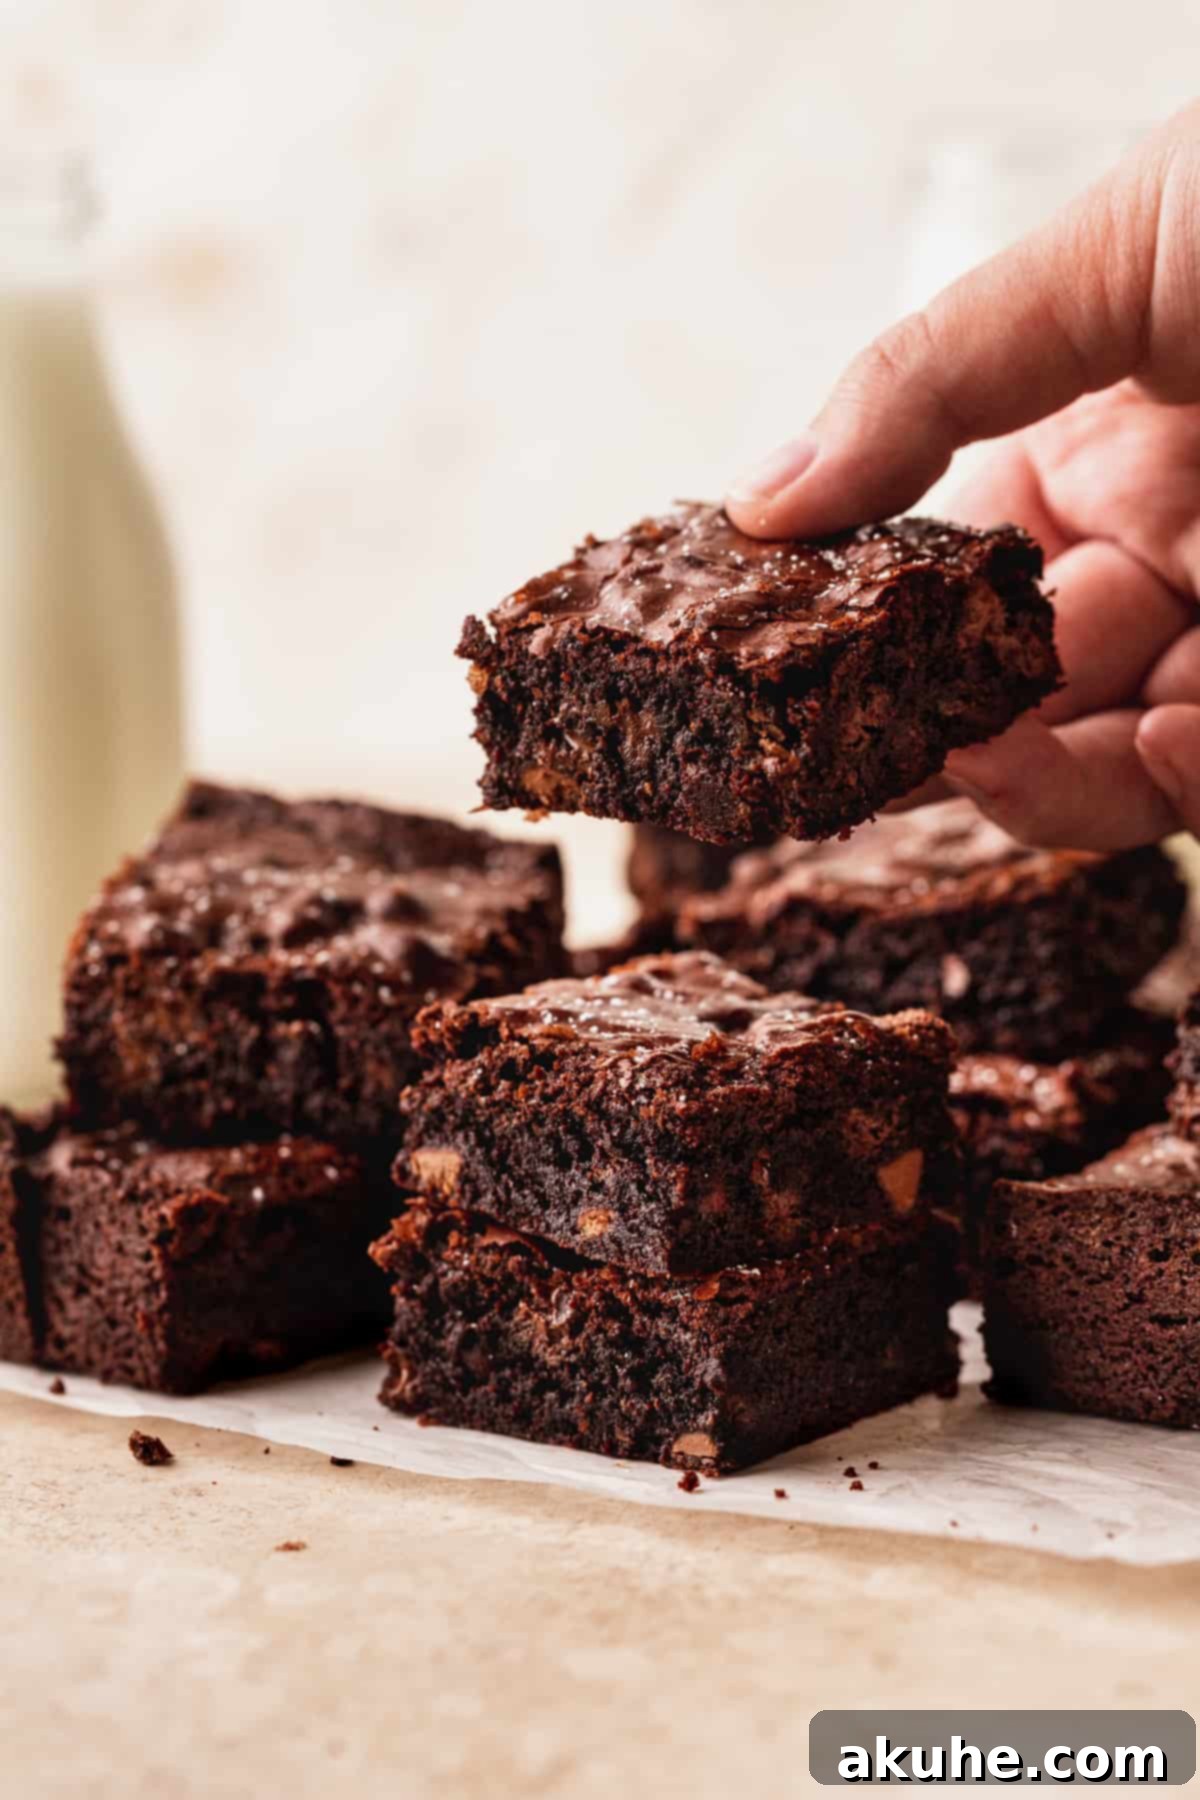
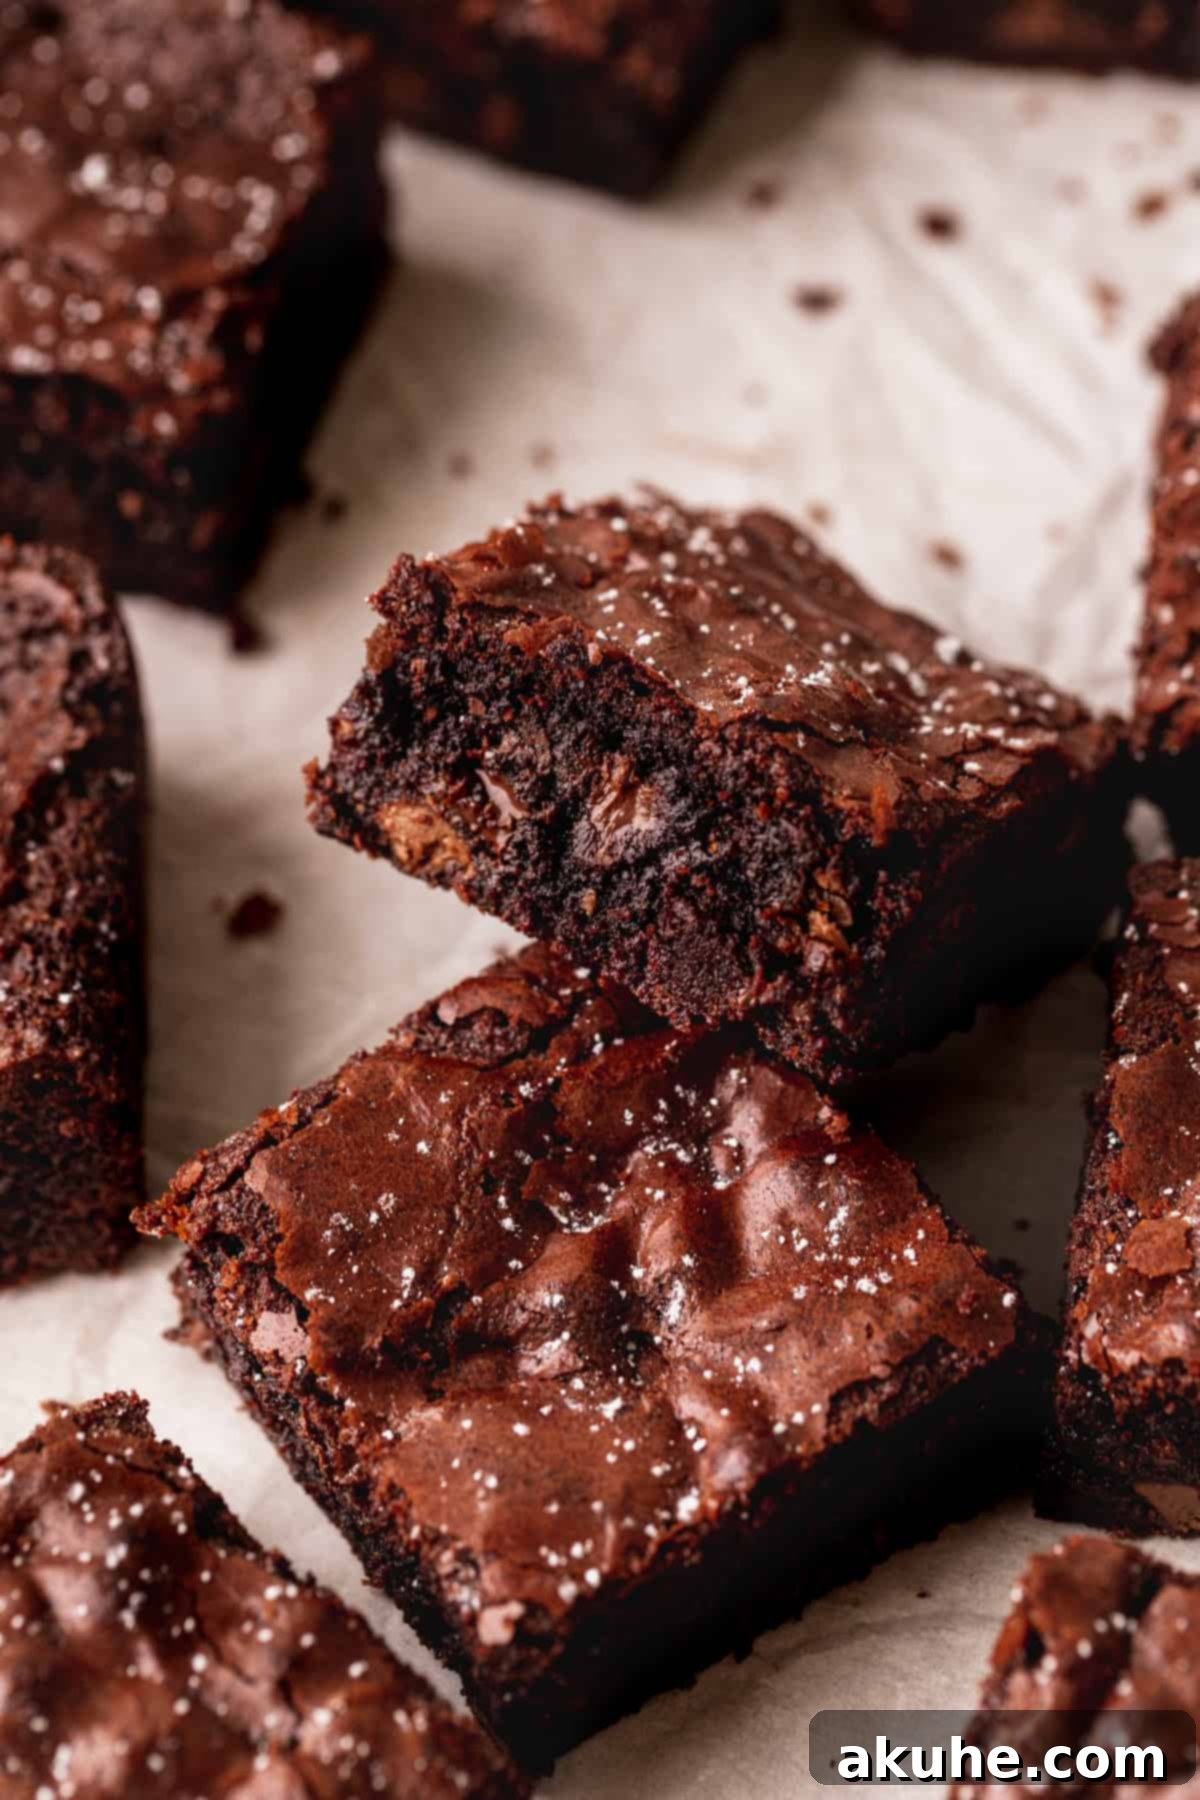
The magic of these brownies lies in their deeply chocolatey flavor profile and their irresistibly fudgy interior. Each bite offers a harmonious blend of rich cocoa and melting chocolate chips, all beneath that signature shiny, crinkled crust that every brownie enthusiast dreams of. They are, quite simply, the best brownies you’ll ever bake, setting a new standard for homemade treats.
If you find yourself enchanted by the world of chocolate desserts, be sure to explore more of our decadent recipes. Indulge in our Oreo Brownies for a cookie-infused twist, savor the sweet and salty bliss of Salted Caramel Turtle Brownies, or discover our delightful Chocolate Fudge Cupcakes, perfect for smaller cravings.
Why This Homemade Brownie Recipe Outshines the Box
This “better than boxed” brownie recipe isn’t just a claim; it’s a promise of superior flavor and texture achieved through careful ingredient selection and a straightforward process. Here’s why this recipe will become your new go-to:
- Effortless Preparation: Don’t let the idea of “from scratch” intimidate you. While a mixer is employed to create that perfect crinkle top, the active preparation time for these brownies is surprisingly quick, often less than 10 minutes. The simple steps ensure a stress-free baking experience even for novice bakers.
- Deep Chocolate Flavor with Dual Impact: Unlike many recipes that rely solely on melted chocolate or cocoa powder, our brownies benefit from both. We specifically use Dutch process cocoa for its rich, intense, and less bitter chocolate notes, complemented by a generous blend of three distinct chocolate chip varieties. This layering of chocolate creates an unparalleled depth of flavor and delightful textural variations in every bite.
- Unbelievably Fudgy Texture: Say goodbye to dry, cake-like brownies! This recipe is engineered for maximum fudginess. The combination of oil, melted butter, and an extra egg yolk ensures a dense, moist, and chewy interior that truly melts in your mouth. You’ll never settle for a dry brownie again.
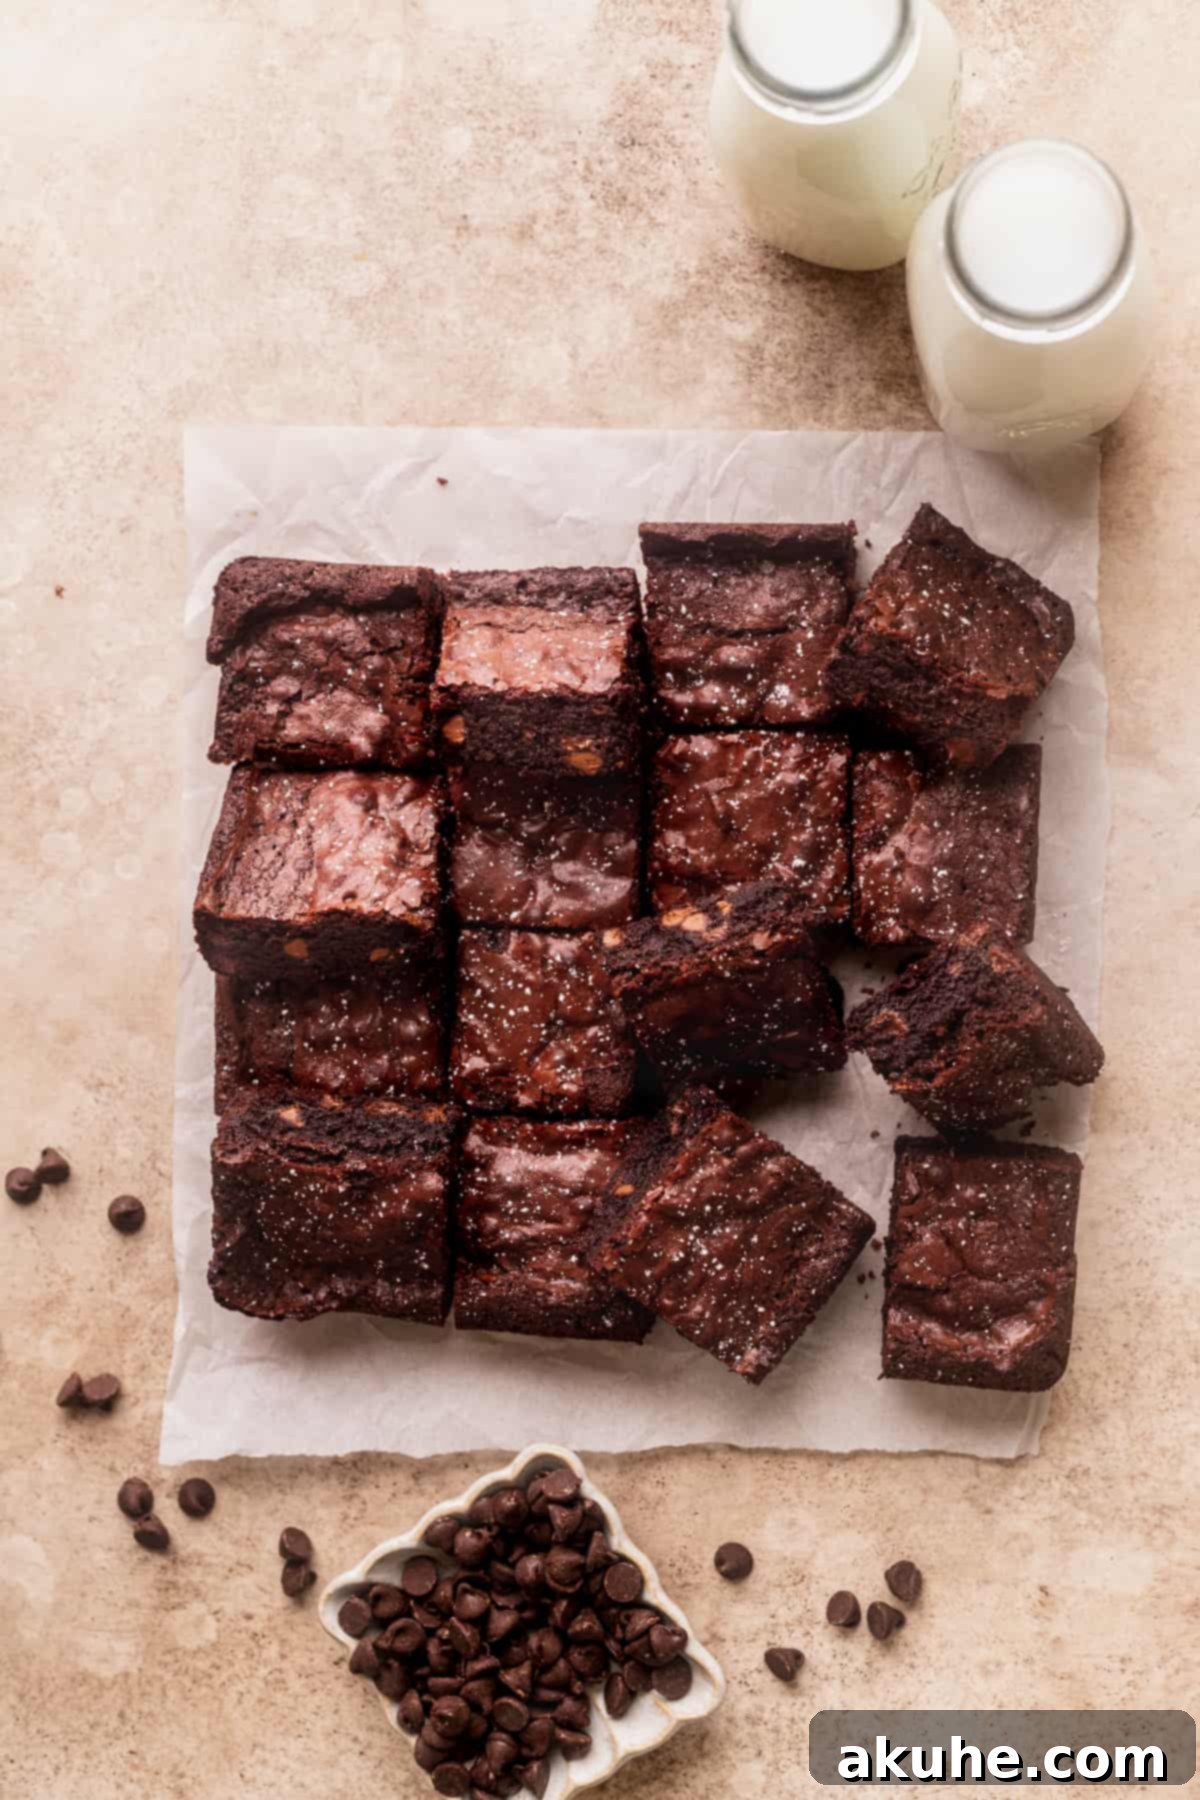
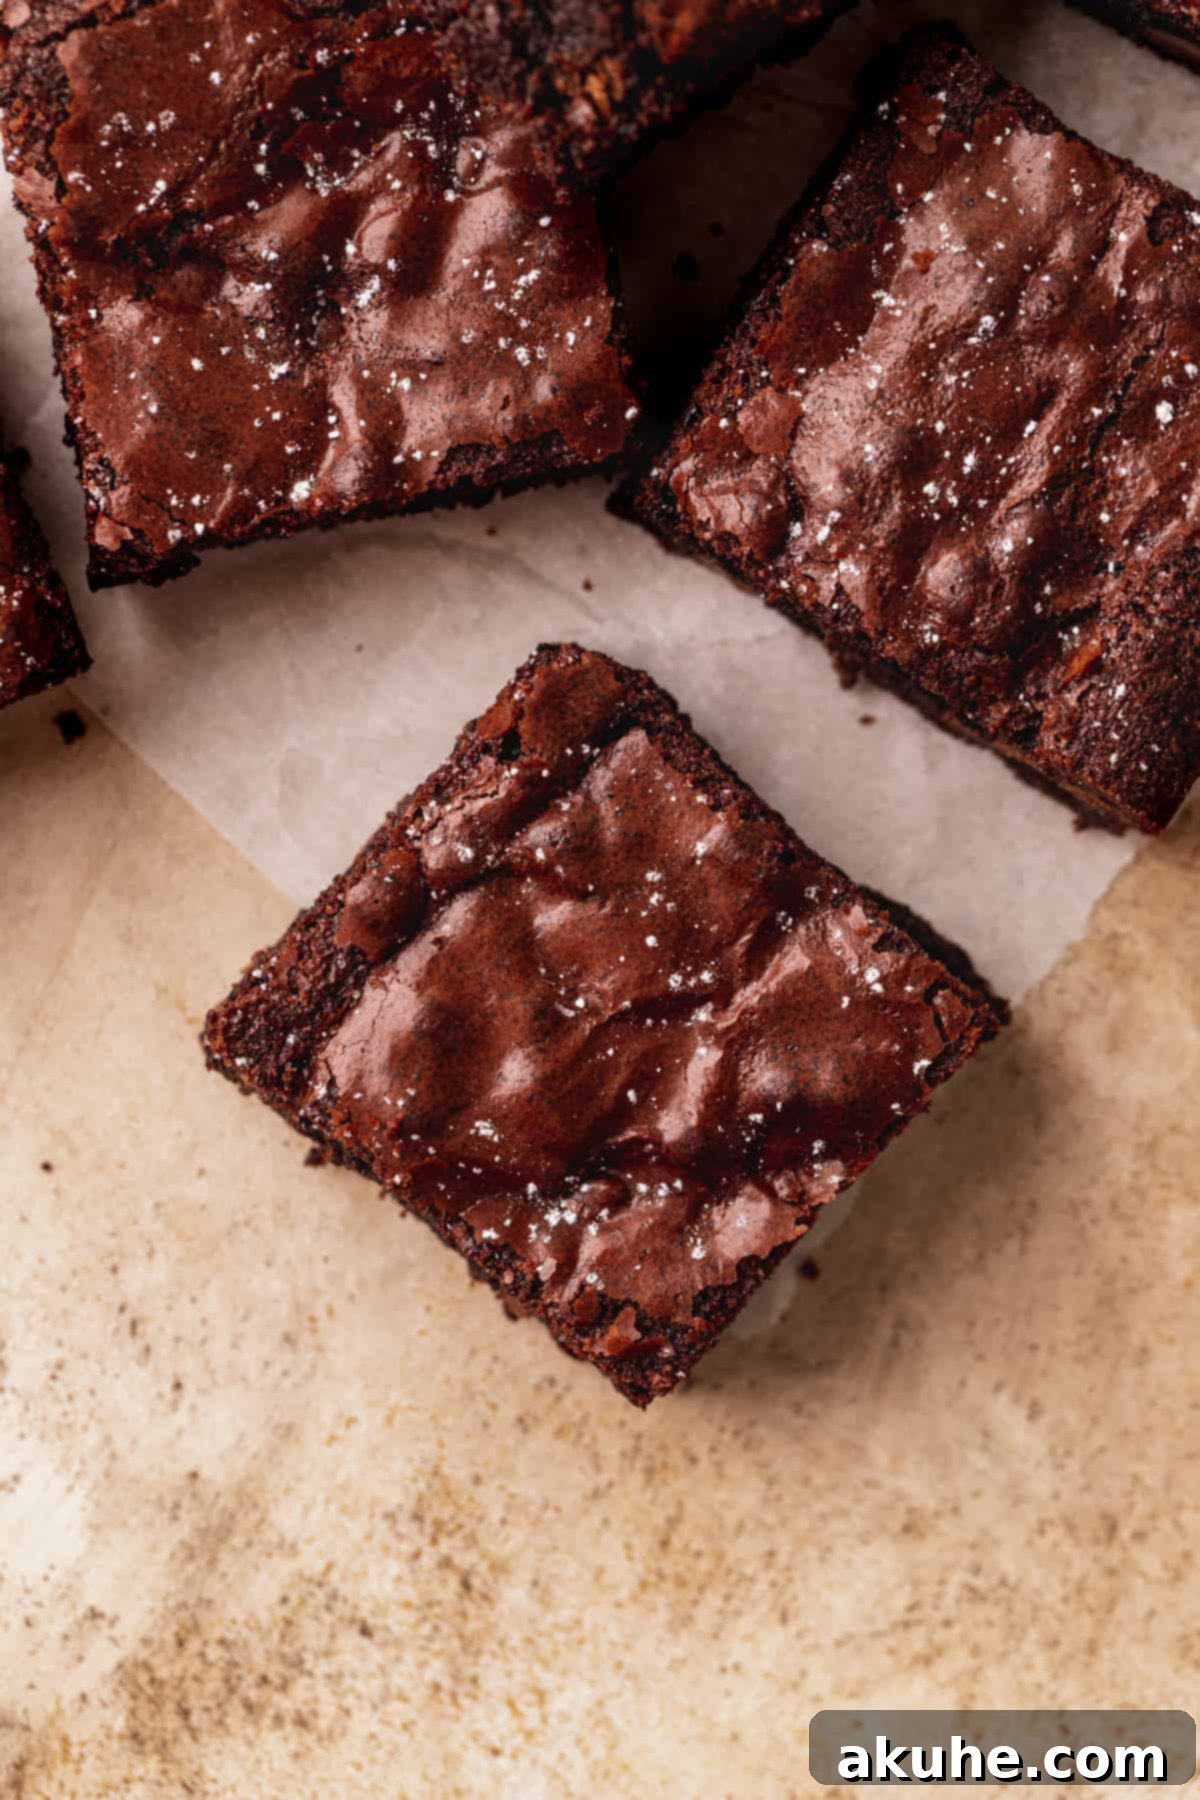
- That Signature Crinkle Top: Achieving that coveted shiny, crackly crust is a hallmark of a truly great brownie. Our technique, which involves whipping eggs and sugar to incorporate air, guarantees this beautiful aesthetic, adding a satisfying crispness to the soft, fudgy interior.
Essential Ingredient Notes for Your Perfect Fudgy Brownies
The secret to these exceptional brownies lies in understanding the role of each ingredient. Here’s a closer look at what makes them so special:
- Granulated Sugar: Beyond sweetness, sugar plays a vital role in creating that desirable crinkly top when whipped with the eggs.
- Large Eggs & Extra Egg Yolk: The eggs provide structure and moisture, while the additional egg yolk is the key to achieving an extra-fudgy, dense, and chewy texture. The fat in the yolk contributes significantly to the richness.
- Unsalted Butter (Melted and Slightly Cooled): Butter adds incredible flavor and richness. It’s crucial for the butter to be melted for a smooth batter, but allow it to cool slightly before adding to the egg mixture. If it’s too warm, it can inadvertently cook the eggs, affecting the brownie’s final texture.
- Neutral Oil (Canola, Vegetable, or Light Olive Oil): Incorporating a neutral oil alongside butter enhances the fudginess and contributes to a softer, more tender crumb. Unlike butter, oil remains liquid at room temperature, keeping your brownies moist for longer.
- Dutch Process Cocoa Powder: For a deep, rich, and mellow chocolate flavor that isn’t overly bitter, Dutch process cocoa powder is highly recommended. It has been treated to reduce acidity, resulting in a smoother, darker chocolate taste. We used this one for exceptional results.
- All-Purpose Flour: Provides the necessary structure without making the brownies tough. Remember to spoon and level the flour, or use a kitchen scale for accuracy, to avoid a cakey texture.
- Cornstarch: This often-overlooked ingredient is a game-changer! Cornstarch helps to break down gluten development in the flour, resulting in a more tender, chewier, and intensely fudgy brownie.
- Salt: A pinch of salt is essential to balance the sweetness and enhance the chocolate flavor, making it truly pop.
- Pure Vanilla Extract: A classic flavor enhancer that complements the chocolate beautifully, adding depth and warmth.
- A Trio of Chocolate Chips: We love using a mix of semisweet chocolate chips, milk chocolate chips, and mini chocolate chips. This combination offers varied levels of sweetness and texture, ensuring chocolatey goodness in every bite. Feel free to use your favorite chocolate chips or chunks.
Ingredient Substitutions for Custom Brownies
While we recommend the specified ingredients for the best results, you can make some adjustments to suit dietary needs or preferences:
- Dairy-Free: You can certainly make these brownies dairy-free! Use your favorite plant-based butter (like a good quality vegan butter stick) and dairy-free chocolate chips. Ensure your cocoa powder is also dairy-free.
- Gluten-Free: We haven’t personally tested this recipe with gluten-free flour, but many readers have had success using a 1:1 gluten-free baking blend. If you try this, please share your results!
- Chocolate Chips: Feel free to customize the chocolate chips to your liking. Dark chocolate chunks, white chocolate chips, or even a mix of bittersweet and milk chocolate would be delicious.
Step-by-Step Guide to Baking Perfect Fudgy Brownies
Follow these detailed steps to achieve brownie perfection, from preparing your pan to the final cooling phase.
STEP 1: Prepare Your Baking Pan. Preheat your oven to 325°F (160°C). For the easiest removal and cleanest cuts, generously spray a 9×9 inch square baking pan with non-stick baking spray. For truly effortless removal, line the bottom and sides of the pan with parchment paper, leaving an overhang on two sides to create “handles.” This will allow you to easily lift the entire slab of cooled brownies out of the pan.
STEP 2: Whisk Together the Dry Ingredients. In a medium bowl, combine the all-purpose flour, Dutch process cocoa powder, cornstarch, and salt. Use a sifter or a fine-mesh sieve to ensure all ingredients are lump-free and thoroughly combined. This step is crucial for an even texture in your brownies. Set aside.
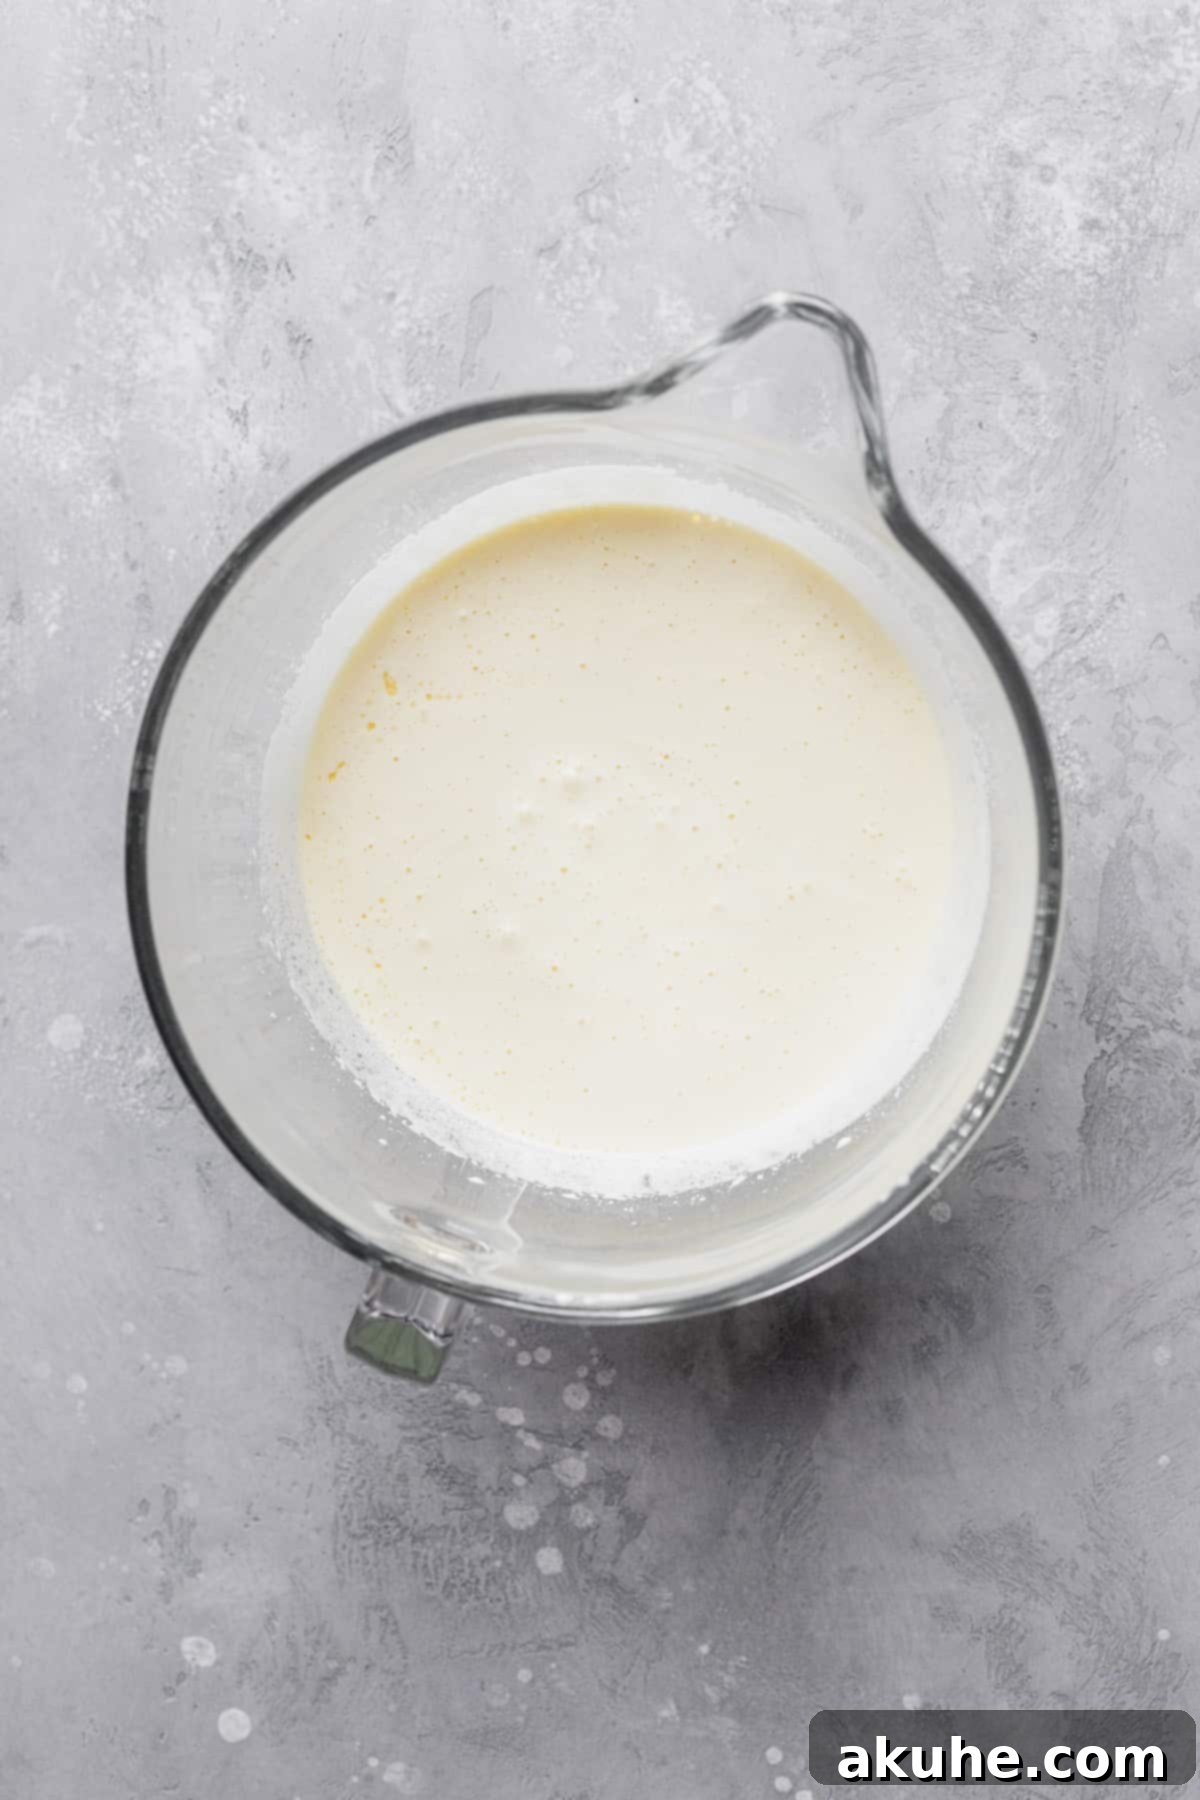
STEP 3: Beat Eggs and Sugar for That Crinkle Top. In the bowl of a stand mixer fitted with a whisk attachment (or using a hand mixer), combine the granulated sugar, large eggs, and the extra egg yolk. Whip this mixture on high speed for a full 5 minutes. Don’t rush this step! This extensive beating incorporates air into the mixture, creating a light, fluffy, and pale yellow base, which is the secret to achieving that beautiful, crackly crinkle top on your brownies. While this is mixing, melt your unsalted butter in the microwave and set it aside to cool slightly.
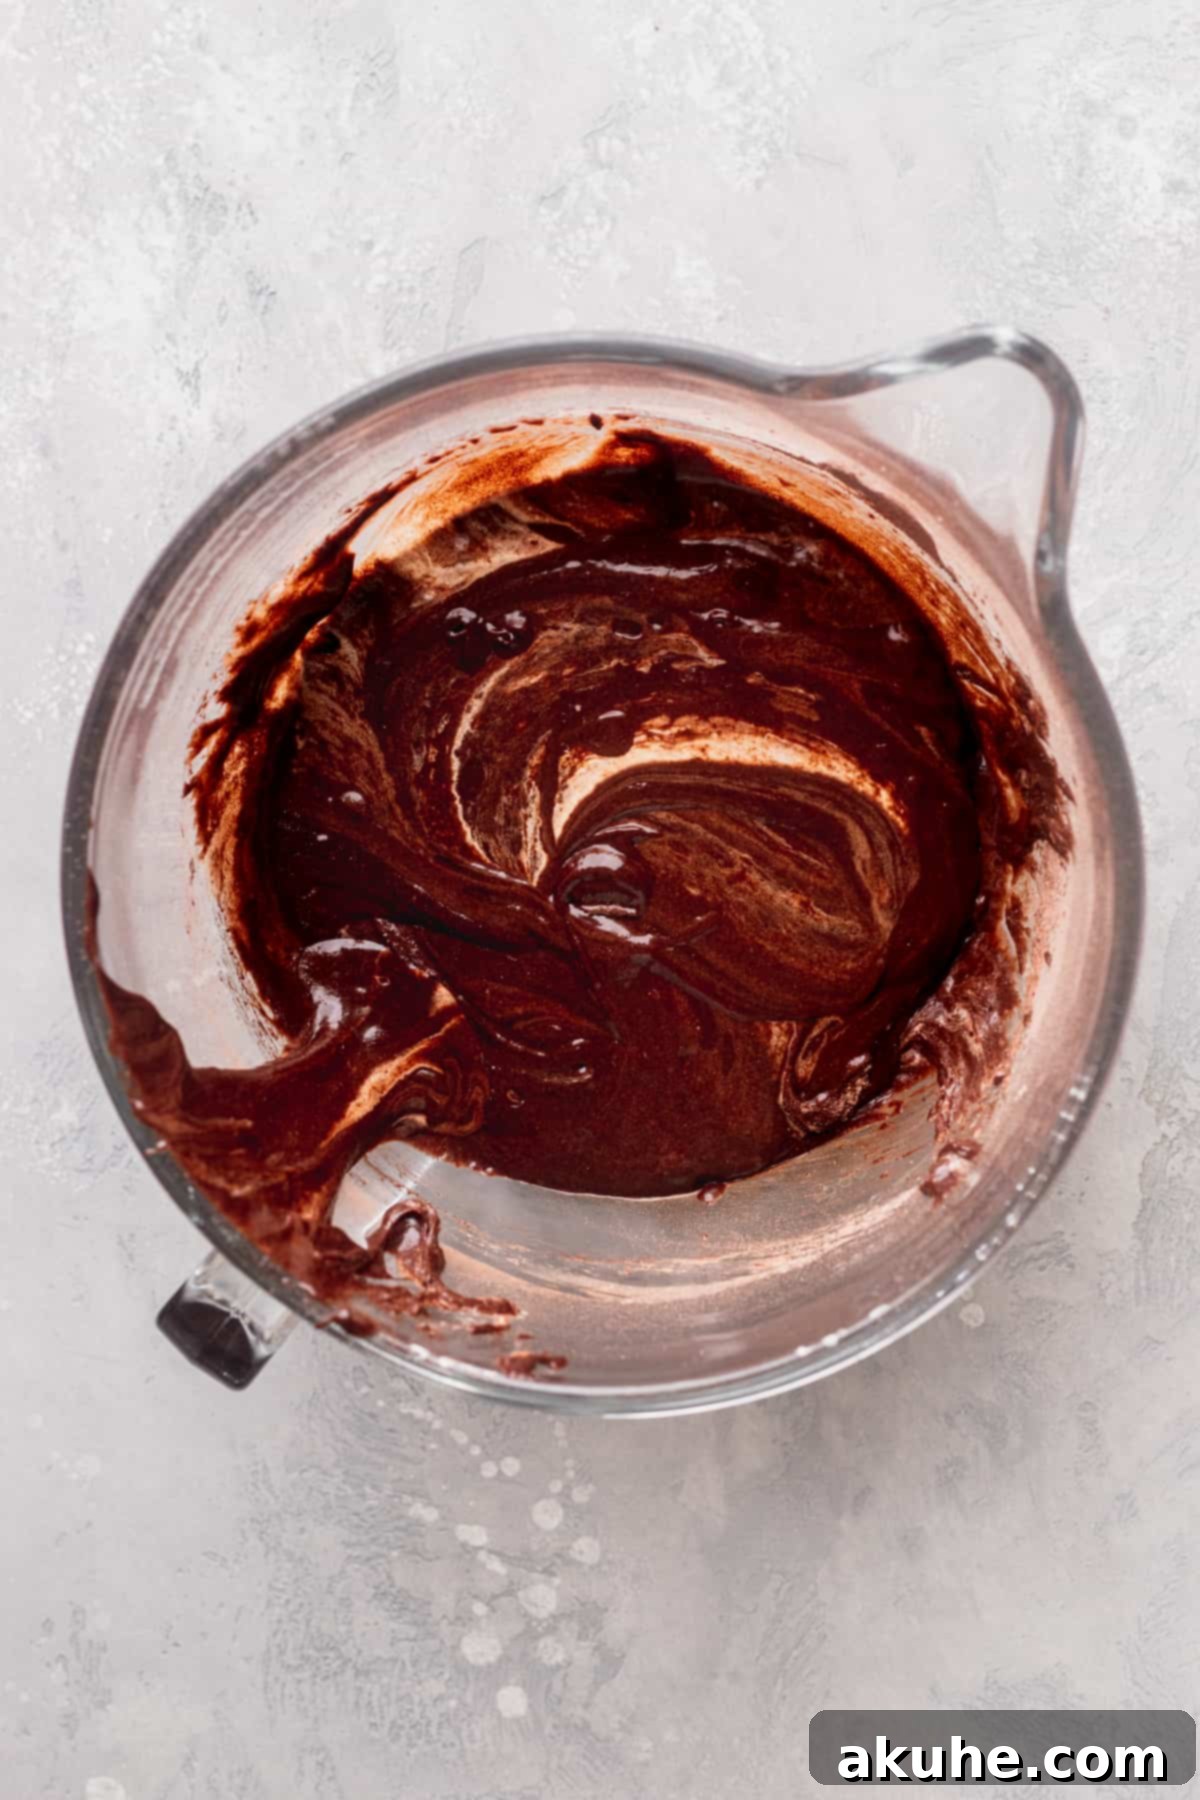
STEP 4: Gently Incorporate the Wet Ingredients. Once the egg and sugar mixture is light and aerated, reduce the mixer speed to low. Carefully stream in the slightly cooled melted butter, oil, and pure vanilla extract. Mix just until combined, being careful not to overmix or deflate the air you’ve built up in the eggs. Overmixing at this stage can lead to tougher brownies.
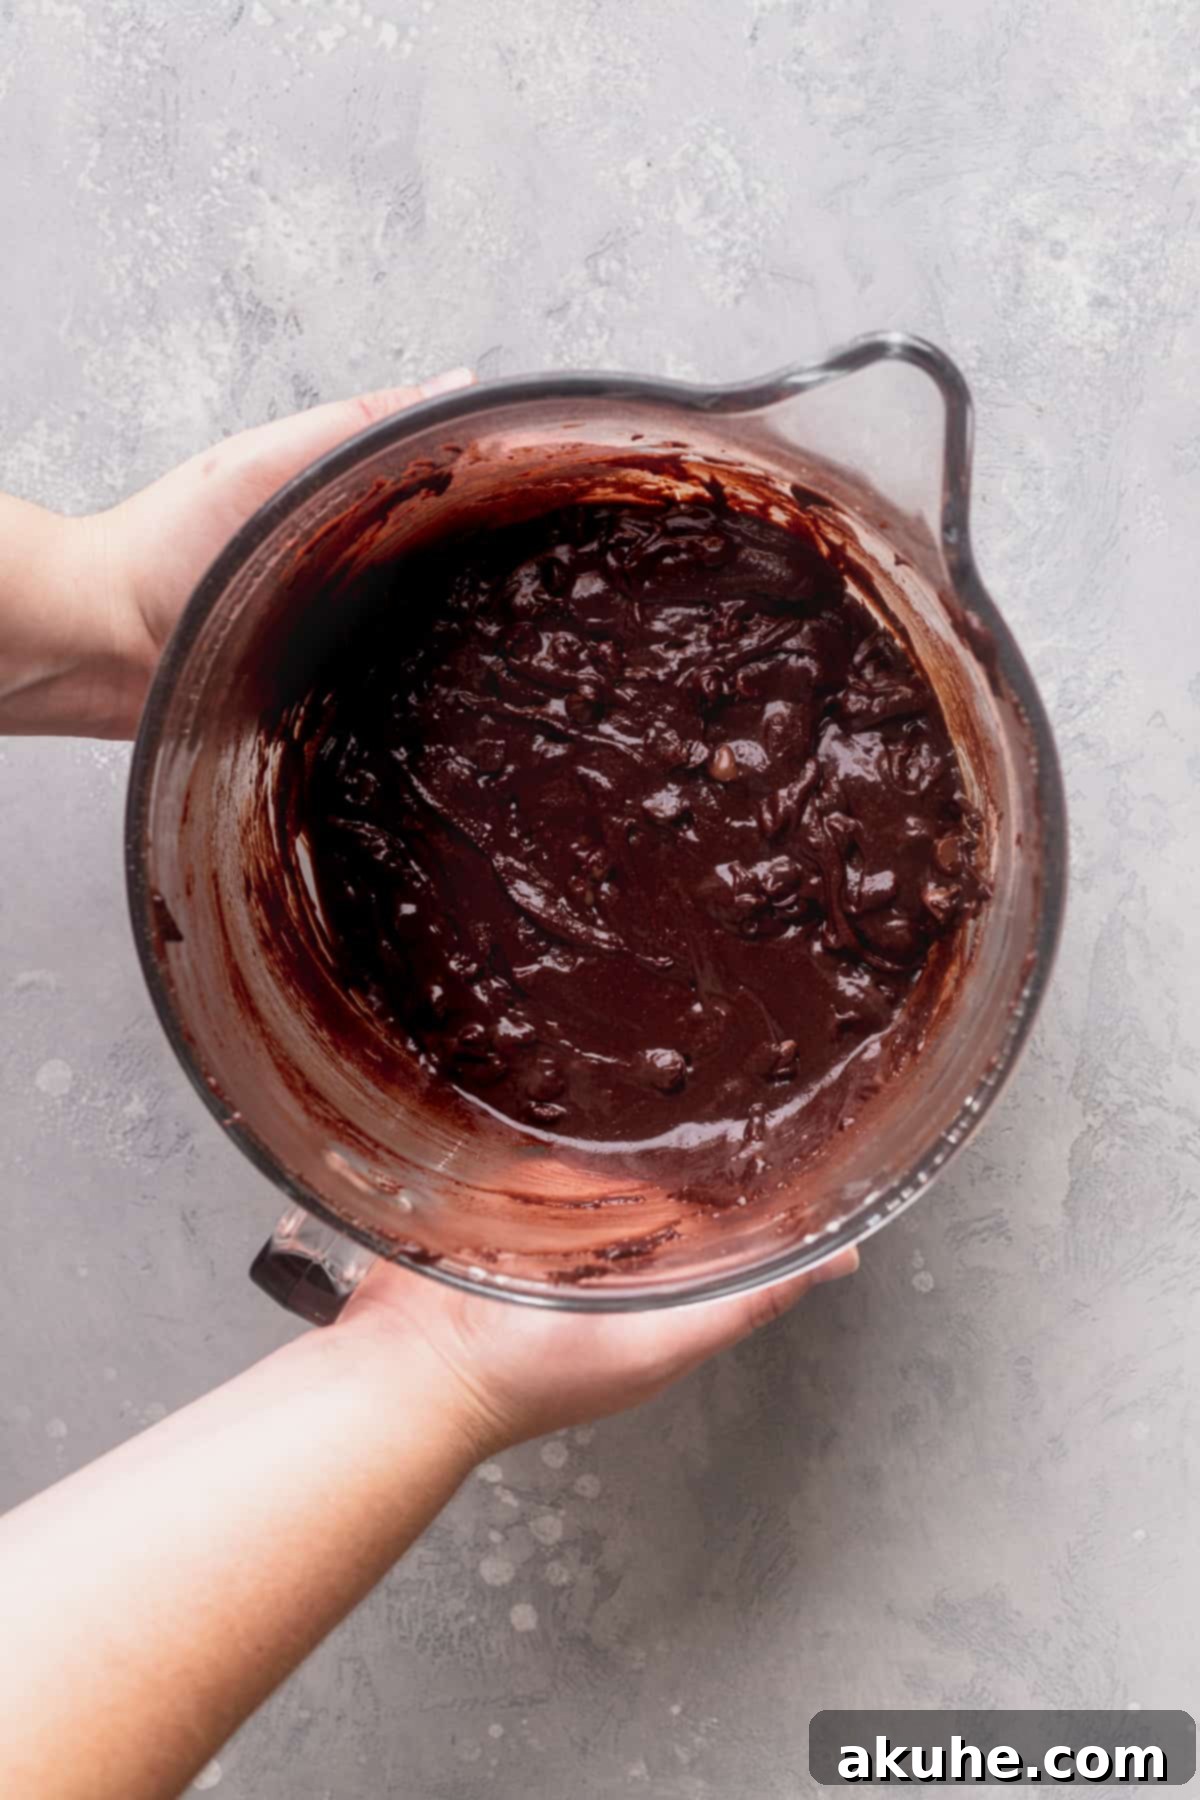
STEP 5: Fold in Dry Ingredients and Chocolate Chips. Remove the bowl from the mixer. Add the sifted dry ingredients to the wet mixture. Using a rubber spatula, gently fold the dry ingredients into the wet until just combined and no streaks of flour remain. Be very gentle to maintain the air in the batter. Finally, fold in your trio of chocolate chips (semisweet, milk, and mini) until they are evenly distributed throughout the rich brownie batter.
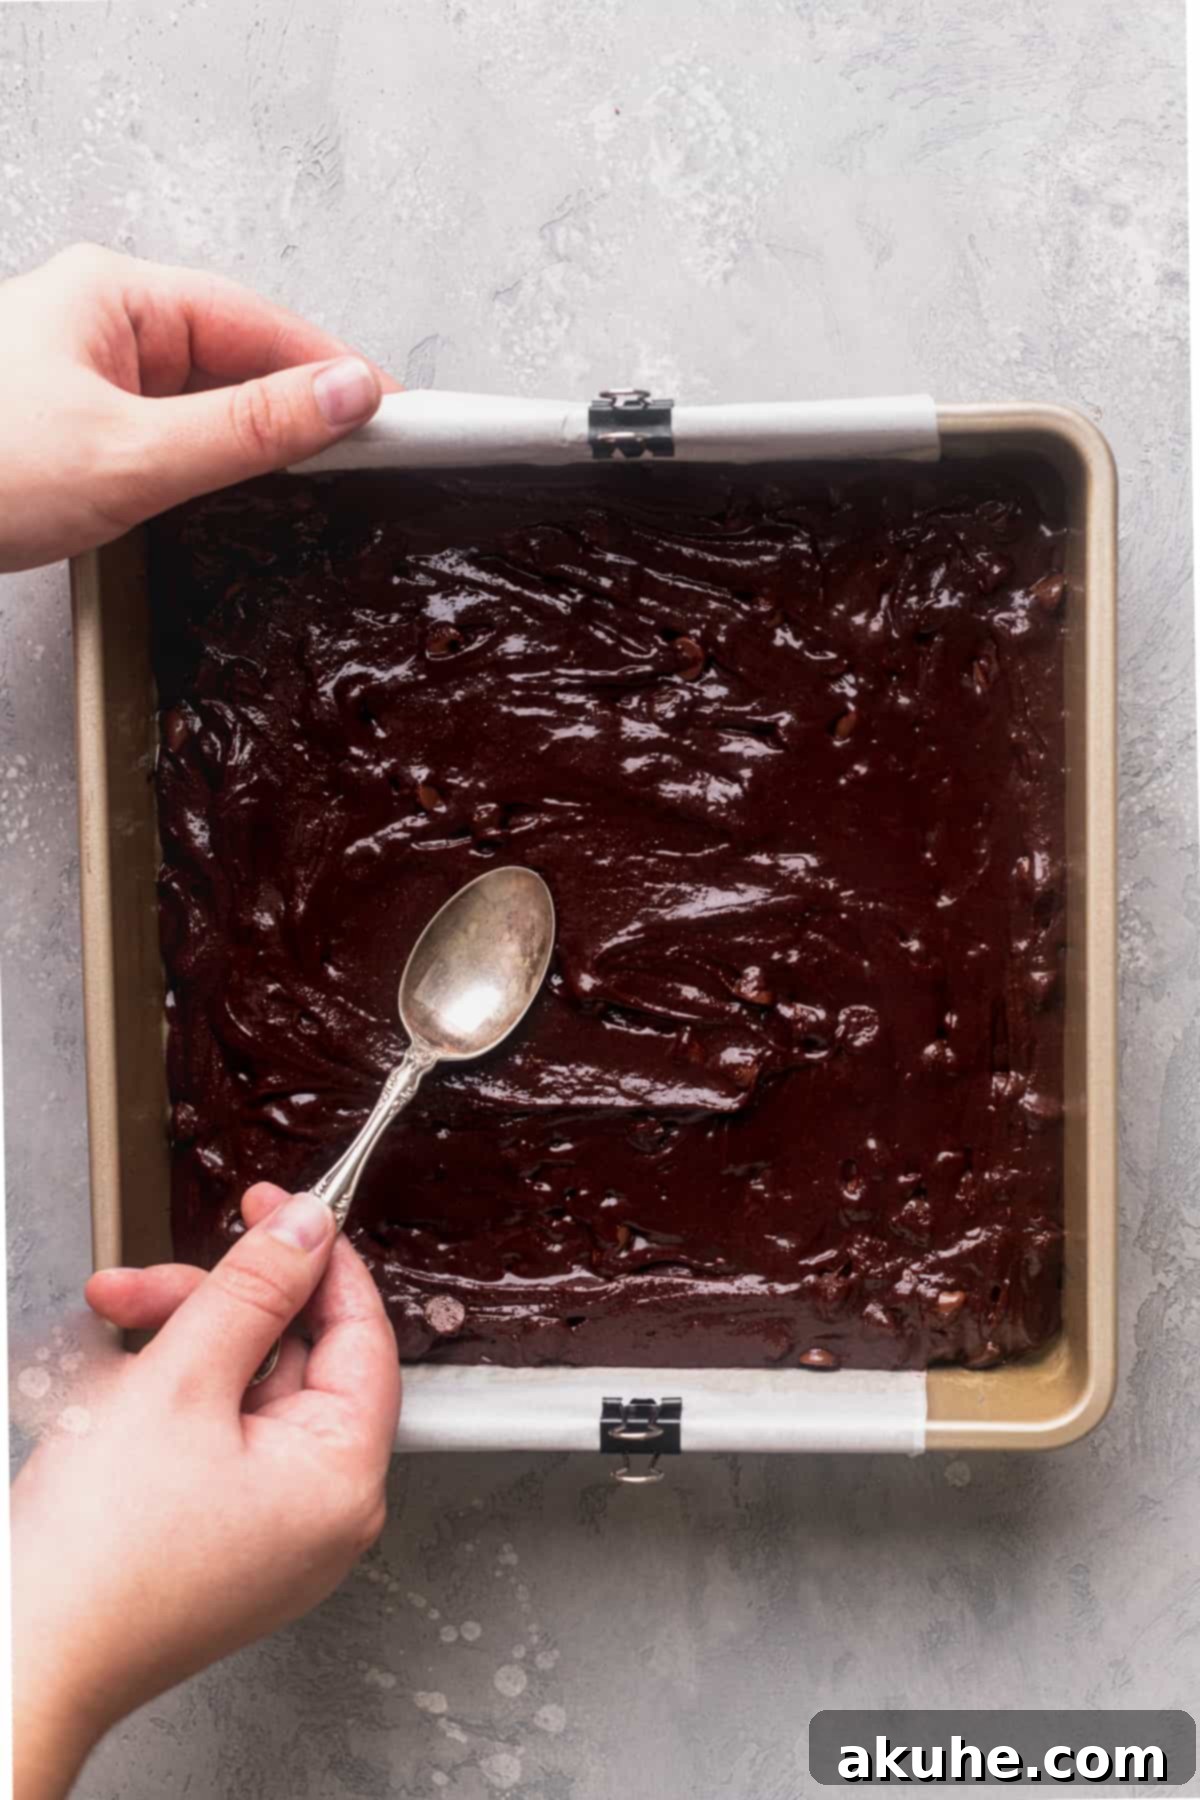
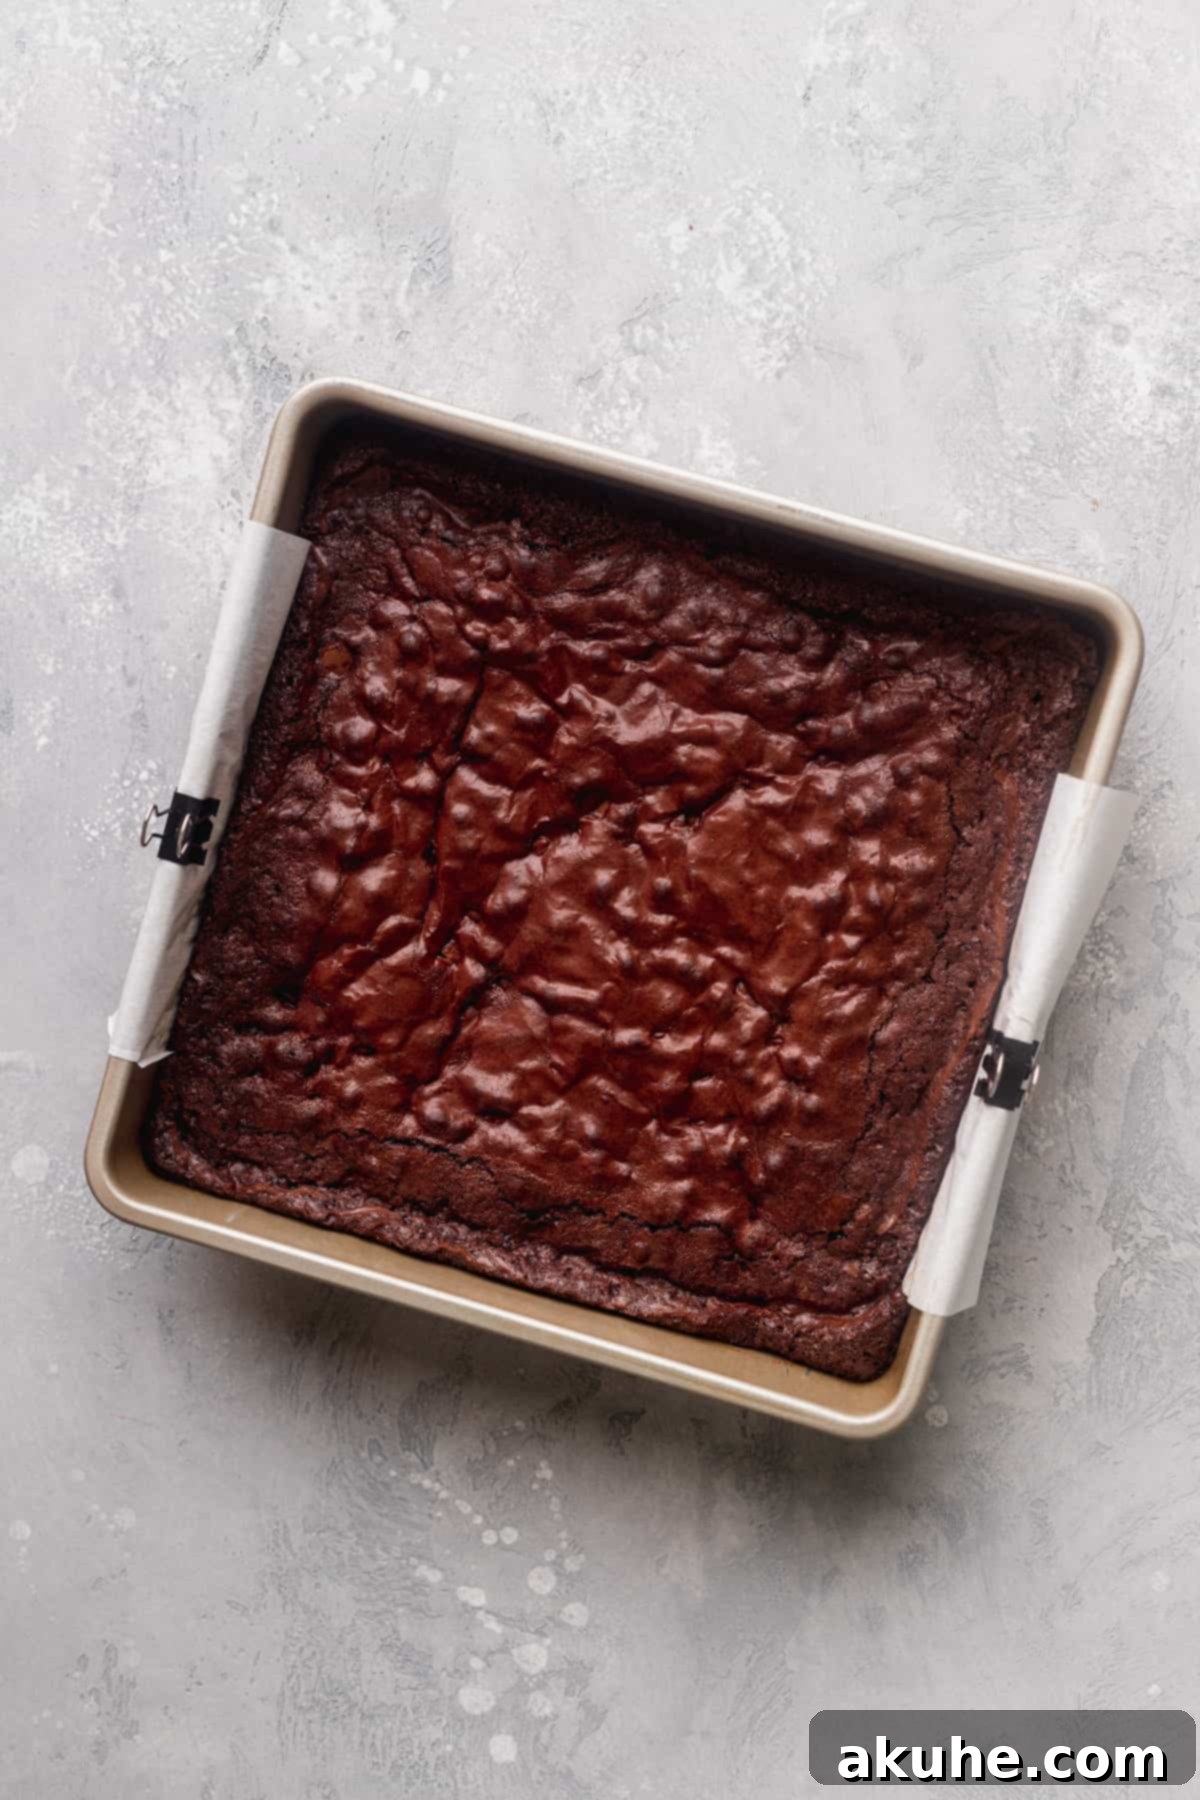
STEP 6: Bake for Fudgy Perfection. Pour the prepared brownie batter into your lined and greased 9×9 inch pan. Use your rubber spatula to spread the batter evenly into all corners of the pan. Bake for 45-55 minutes. The brownies are done when the edges appear set, and a toothpick inserted into the center comes out with moist crumbs, not wet batter. The very center should still look slightly underbaked and jiggly. Remember, brownies continue to cook as they cool.
STEP 7: The Critical Cooling Phase. For the absolute best results—meaning perfect fudgy texture and clean, neat squares—it is imperative to allow the brownies to cool completely in the pan on a wire rack. This can take several hours, or even overnight. As they cool, the residual heat will continue to set the center, and the flavors will deepen. Resist the urge to cut into them while warm; patience is key here!
Pro Baking Tips for Ultimate Brownie Success
Achieving the perfect fudgy brownie is a delightful journey, and these expert tips will guide you every step of the way:
- Mind the Mixer: The beating of eggs and sugar is crucial for the crinkle top. However, after adding the wet ingredients and then the dry, switch to a low speed or hand-folding. Overmixing the batter once flour is added can develop too much gluten, resulting in tougher, more cake-like brownies rather than the desired fudgy texture.
- Butter Temperature Matters: Ensure your melted butter has cooled slightly before adding it to the whipped egg mixture. Hot butter can scramble the eggs, leading to an undesirable texture and affecting the rise.
- Perfect Pan Preparation: Don’t skimp on pan prep! Thoroughly spraying your baking pan with non-stick spray and lining it with parchment paper (leaving an overhang) is your best friend for easy removal and clean, uniform brownie squares. This prevents sticking and makes the cutting process much simpler.
- Don’t Overbake: This is arguably the most critical tip for fudgy brownies. It’s better to slightly underbake than overbake. The center should still look a bit soft and perhaps slightly jiggly when you pull them from the oven. The residual heat will continue to cook them to perfection as they cool, ensuring maximum fudginess.
- Room Temperature Ingredients: While not strictly necessary for every ingredient in this recipe due to the melted butter, generally, using room temperature eggs can help them incorporate more smoothly and whip up with more volume, contributing to a better texture.
- Accurate Measuring: Baking is a science! Use proper measuring techniques, especially for flour (spoon and level, or use a kitchen scale), to ensure the correct ratios and prevent dense or dry brownies.
- Patience with Cooling: As mentioned in the steps, full cooling is non-negotiable for superior texture and clean cuts. Rushing this step will result in messy, crumbly brownies.
- Serving Suggestion: While these brownies are heavenly on their own, they are truly divine when served slightly warm with a scoop of premium vanilla bean ice cream. The contrast of warm, fudgy brownie and cold, creamy ice cream is simply irresistible!
Frequently Asked Questions About Our Fudgy Brownies
If your brownies sank in the middle, it typically means they were too underbaked. While a slightly underbaked center is desired for fudginess, a significant sinkage indicates the structure didn’t fully set. You’ll likely still have extremely fudgy (perhaps too gooey) brownies. Next time, try baking them for another 5-10 minutes, keeping an eye on the edges and the jiggle of the center.
Hard or dry brownies are a clear sign of overbaking. The key to fudgy brownies is pulling them from the oven when the center is still slightly unset. Remember that they continue to cook as they cool. To avoid this, stick to the recommended baking time range and look for the visual cues of set edges and a slightly jiggly middle.
This particular recipe relies heavily on eggs (and an extra yolk) for both its fudgy texture and the signature crinkle top. We have not tested it with egg substitutes. If you experiment with a flax egg or other vegan egg replacer, please let us know your results!
Yes, you can absolutely use an 8×8 inch pan. This will result in slightly thicker brownies, which some people prefer! You may need to add a few extra minutes to the baking time, so keep a close watch and test for doneness accordingly.
Certainly! To make a larger batch in a standard 9×13 inch pan, simply double the entire recipe. The baking time will also increase slightly, likely to 50-65 minutes. Again, look for those visual cues of set edges and a slightly wobbly center.
The secret to the crinkle top lies in vigorously whipping the eggs and sugar for the full 5 minutes specified in the recipe. This creates an emulsion and incorporates air, which forms that beautiful, delicate crust as the brownies bake and cool. Don’t skip this step!
Endless Possibilities: Delicious Brownie Recipe Variations
These fudgy brownies are fantastic as is, but they also serve as a perfect canvas for your creative additions. Experiment with these variations to customize your batch:
- Nutty Indulgence: Fold in 1/2 to 1 cup of chopped nuts like walnuts, pecans, or almonds for added crunch and flavor.
- Peanut Butter Swirl: After pouring the batter into the pan, dollop spoonfuls of creamy peanut butter on top and swirl gently with a knife for a beautiful marbled effect.
- Cream Cheese Swirl: Prepare a simple cream cheese mixture (softened cream cheese, sugar, and an egg yolk) and swirl it into the brownie batter before baking for a cheesecake-brownie hybrid.
- Caramel Drizzle: Once cooled, drizzle the brownies with a generous amount of homemade or store-bought caramel sauce. A sprinkle of sea salt would make them even more irresistible.
- Mint Chocolate: Add 1 teaspoon of mint extract along with the vanilla, and consider using Andes mint baking chips or chopped mint chocolate candies for a festive twist.
- Espresso Kick: Dissolve 1-2 teaspoons of instant espresso powder in the melted butter to deepen the chocolate flavor without adding a coffee taste.
- Toffee Crunch: Fold in crushed toffee bits (like Heath bar bits) along with the chocolate chips for a buttery, crunchy surprise.
Essential Tools for the Home Baker
Having the right equipment can make all the difference in your baking experience. Here are a few recommended tools:
- 9×9 Inch Metal Square Pan: We highly recommend using a metal baking pan over glass. Metal conducts heat more efficiently and evenly, leading to a better crust and consistent baking. Check out these metal square pans.
- Parchment Paper: A simple yet indispensable tool for easy brownie removal and cleanup. We love using pre-cut sheets of parchment paper for convenience, which fit perfectly into most pans.
- Non-Stick Baking Spray: To ensure your brownies never stick, a good quality non-stick baking spray is essential. Using one that contains flour is an extra layer of protection, like this nonstick spray.
- Rubber Spatula: Ideal for gently folding ingredients without deflating the batter, and for spreading it evenly in the pan. An offset spatula is also excellent for achieving a smooth, even surface.
- Stand Mixer or Hand Mixer: Crucial for whipping the eggs and sugar to achieve that signature crinkle top.
Storing and Freezing Your Homemade Brownies
Proper storage is key to keeping your fudgy brownies fresh and delicious for as long as possible.
Store these “better than boxed” brownies in an airtight container at room temperature. They will maintain their incredible fudgy texture and rich flavor for up to 3-4 days. For an extra treat, gently warm them in the microwave for a few seconds before serving.
Freezing Your Brownies
These brownies freeze beautifully, allowing you to enjoy them whenever a craving strikes! Once completely cooled, cut the brownies into individual squares. Wrap each square tightly in plastic wrap, then place them in a freezer-safe airtight container or heavy-duty freezer bag. They will last for up to 2-3 months in the freezer. To enjoy, simply thaw them at room temperature for about an hour, or warm them slightly in the microwave for a freshly baked experience.
Explore More Decadent Chocolate & Brownie Recipes
If you loved these fudgy brownies, you’re in for a treat! Discover more of our indulgent recipes that celebrate the rich, irresistible flavor of chocolate:
- Cheesecake Brownies: A luxurious swirl of tangy cheesecake and rich brownie.
- Cookie Dough Brownies: The ultimate combination of two favorite desserts.
- Nutella Brownies: Irresistibly soft and chewy with a delightful hazelnut twist.
- Strawberry Brownies: A vibrant and fruity take on classic brownies.
- Oreo Brownies: Crushed Oreos baked right into the fudgy batter.
We’re confident that once you try these homemade fudgy brownies, you’ll agree they are truly better than any box mix. We can’t wait to hear what you think!
Make sure to leave us a star review below to share your experience!
Don’t forget to tag me on Instagram @stephaniesweettreats. I hope you loved it! To get more ideas follow me on Pinterest.
Better Than Boxed Fudge Brownies
Print Recipe
Pin Recipe
Leave a Review
Ingredients
- 2 cup White granulated sugar
- 3 Large eggs
- 1 Large egg yolk
- 1/2 cup Unsalted butter, melted
- 2 tsp Pure vanilla extract
- 1/2 cup Oil, canola or vegetable
- 3/4 cup All-purpose flour
- 1 cup Unsweetened cocoa powder, dutch process
- 1 1/2 TBSP Cornstarch
- 1/2 tsp Salt
- 1/2 cup Semi-sweet chocolate chips
- 1/2 cup Milk chocolate
- 1/3 cup Mini chocolate chips
- Powdered sugar for dusting
Instructions
- Preheat oven to 325F. Spray a 9X9 pan with a non-stick spray and line with parchment paper for easy removal.
- In a small bowl, sift together flour, cocoa powder, salt, and cornstarch until no lumps remain. Set aside.3/4 cup All-purpose flour, 1 cup Unsweetened cocoa powder, 1/2 tsp Salt, 1 1/2 TBSP Cornstarch
- Using a stand mixer with a whisk attachment (or a hand mixer), combine sugar, large eggs, and the extra egg yolk. Beat on high speed for 5 minutes until the mixture is light, fluffy, and pale. Meanwhile, melt the butter and allow it to cool slightly.2 cup White granulated sugar, 3 Large eggs, 1 Large egg yolk, 1/2 cup Unsalted butter
- Reduce mixer speed to low. Add in the slightly cooled melted butter, oil, and vanilla extract. Mix just until combined, being careful not to overmix. Remove the bowl from the mixer. Add the sifted dry ingredients and gently fold them in with a rubber spatula until just combined. Then, fold in the semi-sweet, milk, and mini chocolate chips.2 tsp Pure vanilla extract, 1/2 cup Oil, 1/2 cup Semi-sweet chocolate chips, 1/2 cup Milk chocolate, 1/3 cup Mini chocolate chips
- Pour the brownie batter into the prepared pan. Use a rubber spatula to spread it evenly. Bake for 45-55 minutes. The brownies are done when the edges are set, but the middle is still slightly underdone and appears a bit jiggly. They will continue to set as they cool. Let them cool completely on a wire rack at room temperature.
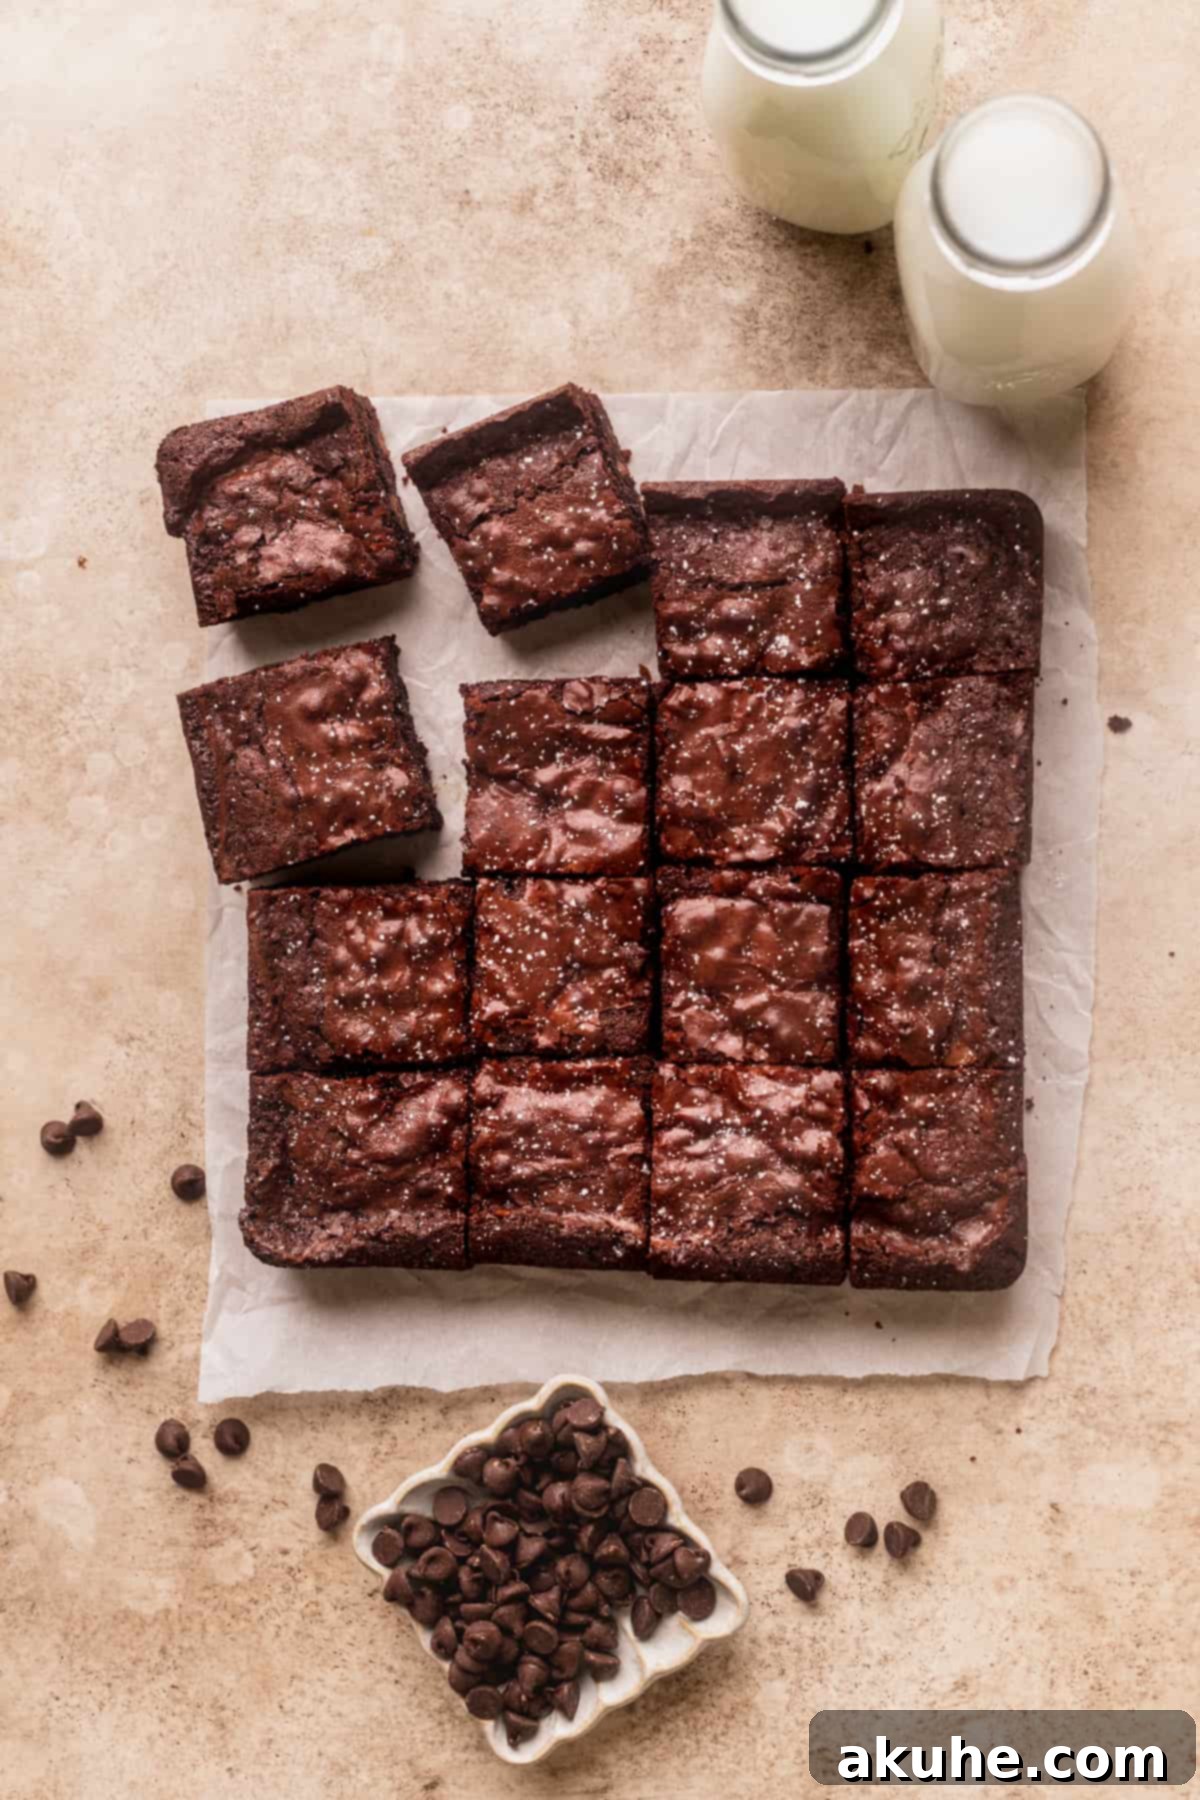
- Once completely cooled, lift the brownies out of the pan using the parchment paper overhang. Cut into 16 squares. For an elegant touch, dust with powdered sugar just before serving.Powdered sugar for dusting
Notes
High-Altitude Baking: If you’re baking at high altitudes, consider adding an extra tablespoon of all-purpose flour to help maintain structure.
