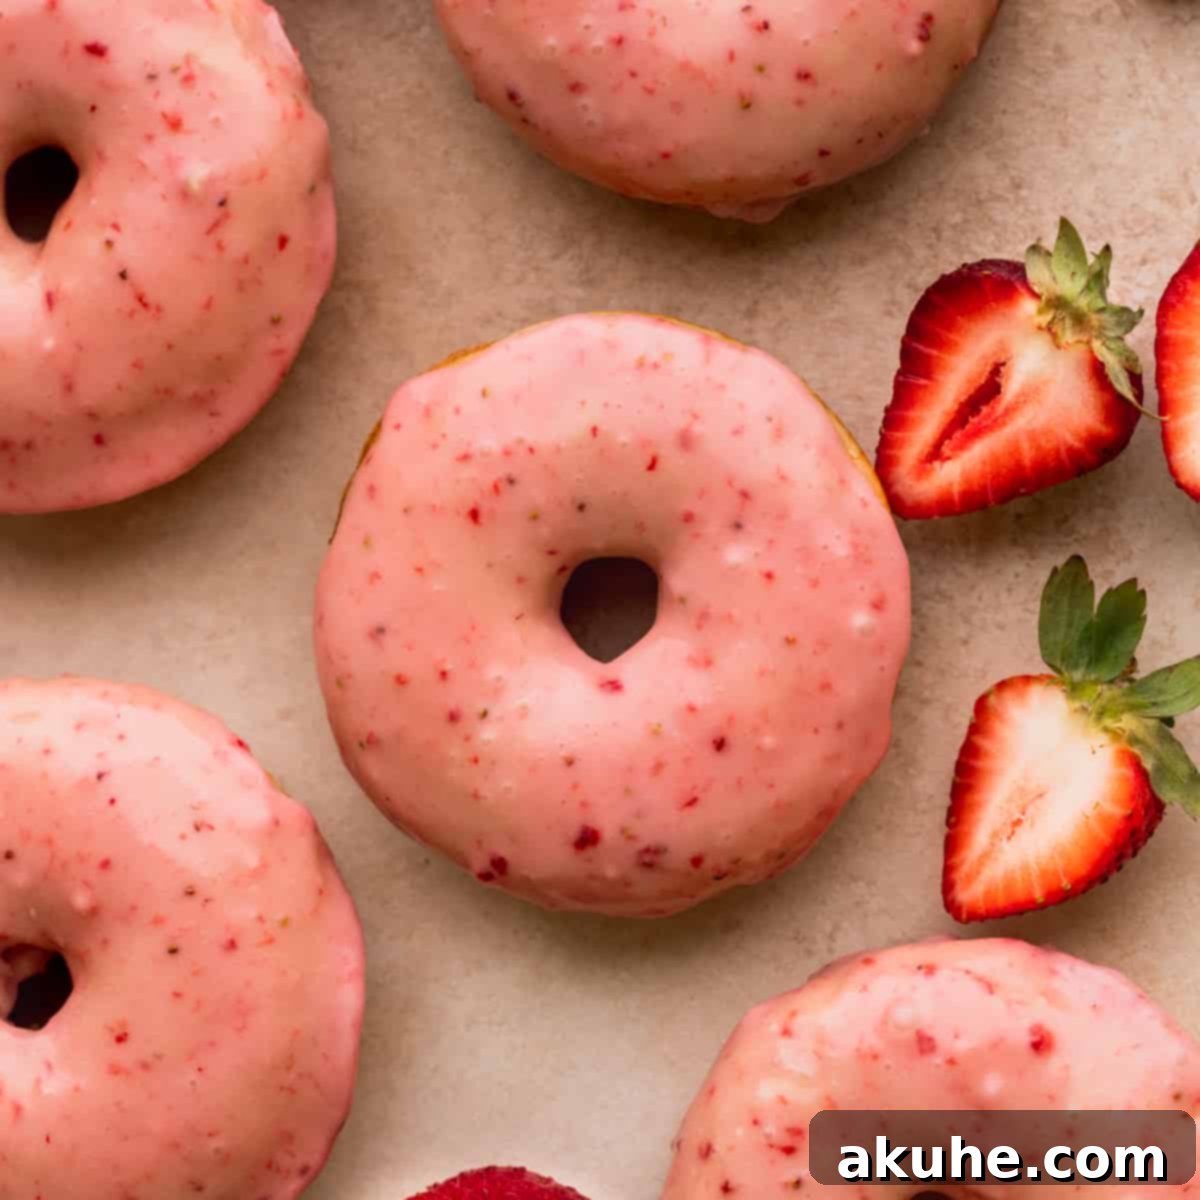
Welcome to the ultimate guide for creating the most delightful, fluffy baked vanilla donuts, elegantly topped with a vibrant, homemade strawberry glaze. Forget the deep fryer and complicated machinery; this recipe proves that truly exceptional donuts can be achieved with simple ingredients, a couple of bowls, a whisk, and a donut pan. These aren’t just any donuts; they are a celebration of fresh, seasonal flavors, offering a lighter alternative to their fried counterparts while delivering an incredibly soft texture that melts in your mouth. Get ready to bake up a batch of pure joy that will make your kitchen smell like a dream.
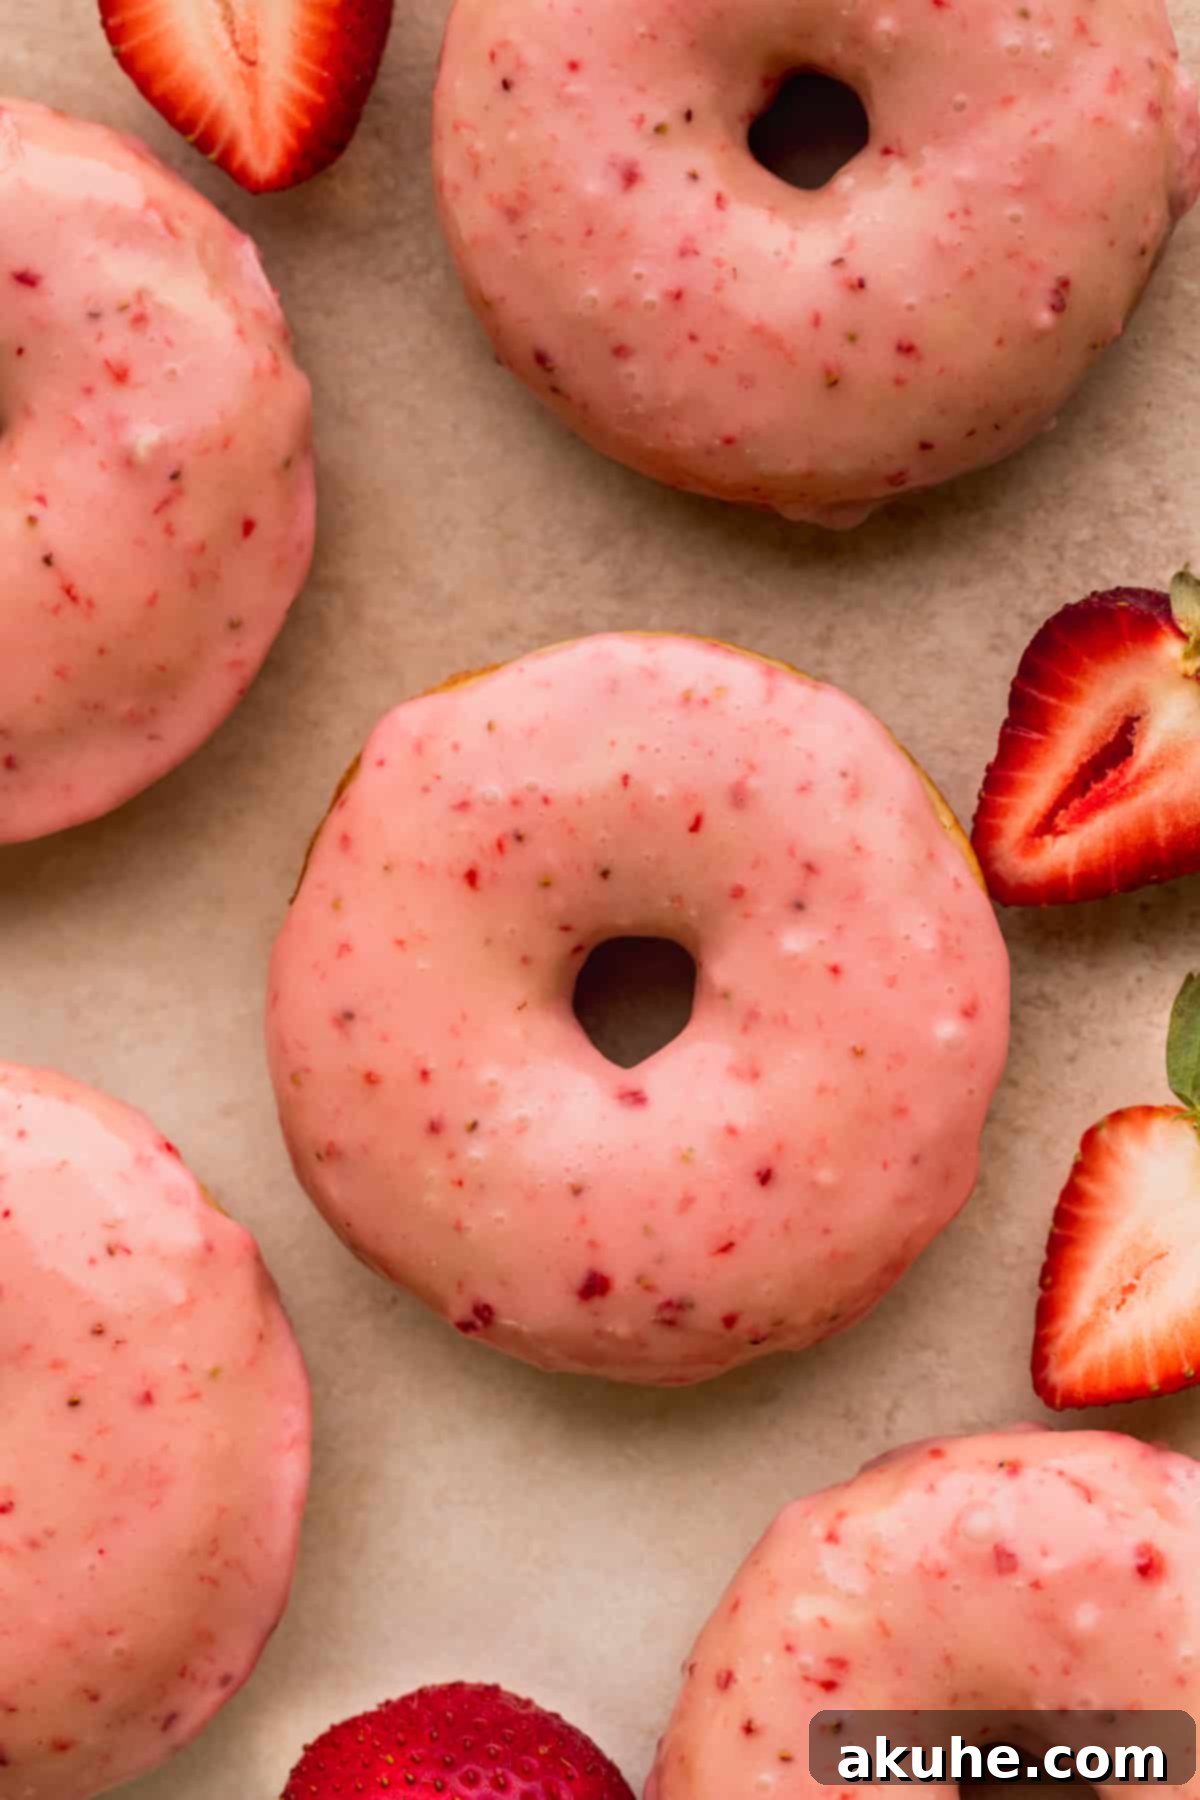
There’s something truly special about a homemade donut, and these strawberry glazed wonders are no exception. They bring together the comforting warmth of a baked vanilla cake donut with the bright, sweet tang of a fresh strawberry glaze. What makes them stand out is not just their irresistible flavor, but also their incredible simplicity. You won’t need any fancy equipment or a stand mixer to whip up these treats. All it takes is a willingness to mix a few ingredients by hand, and you’ll be rewarded with a batch of donuts that are as easy to make as they are delicious.
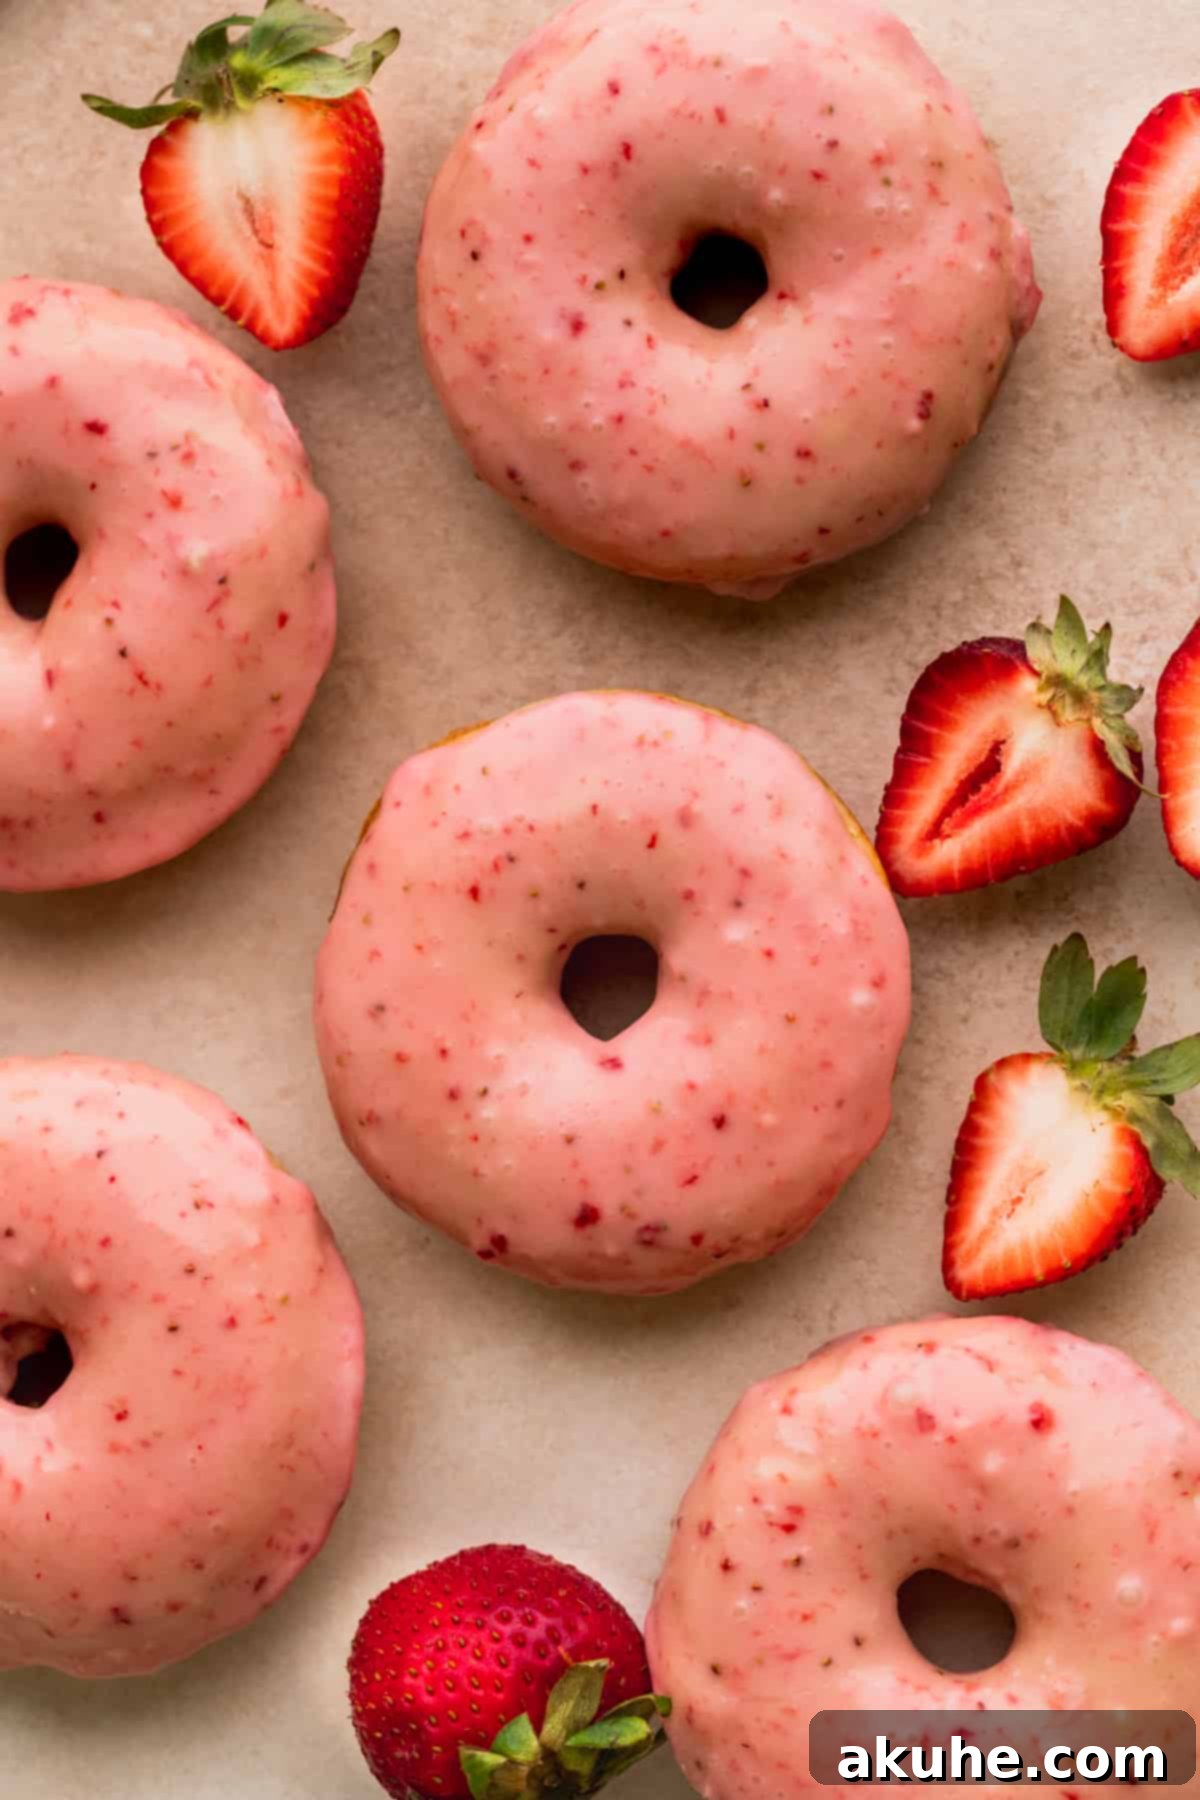
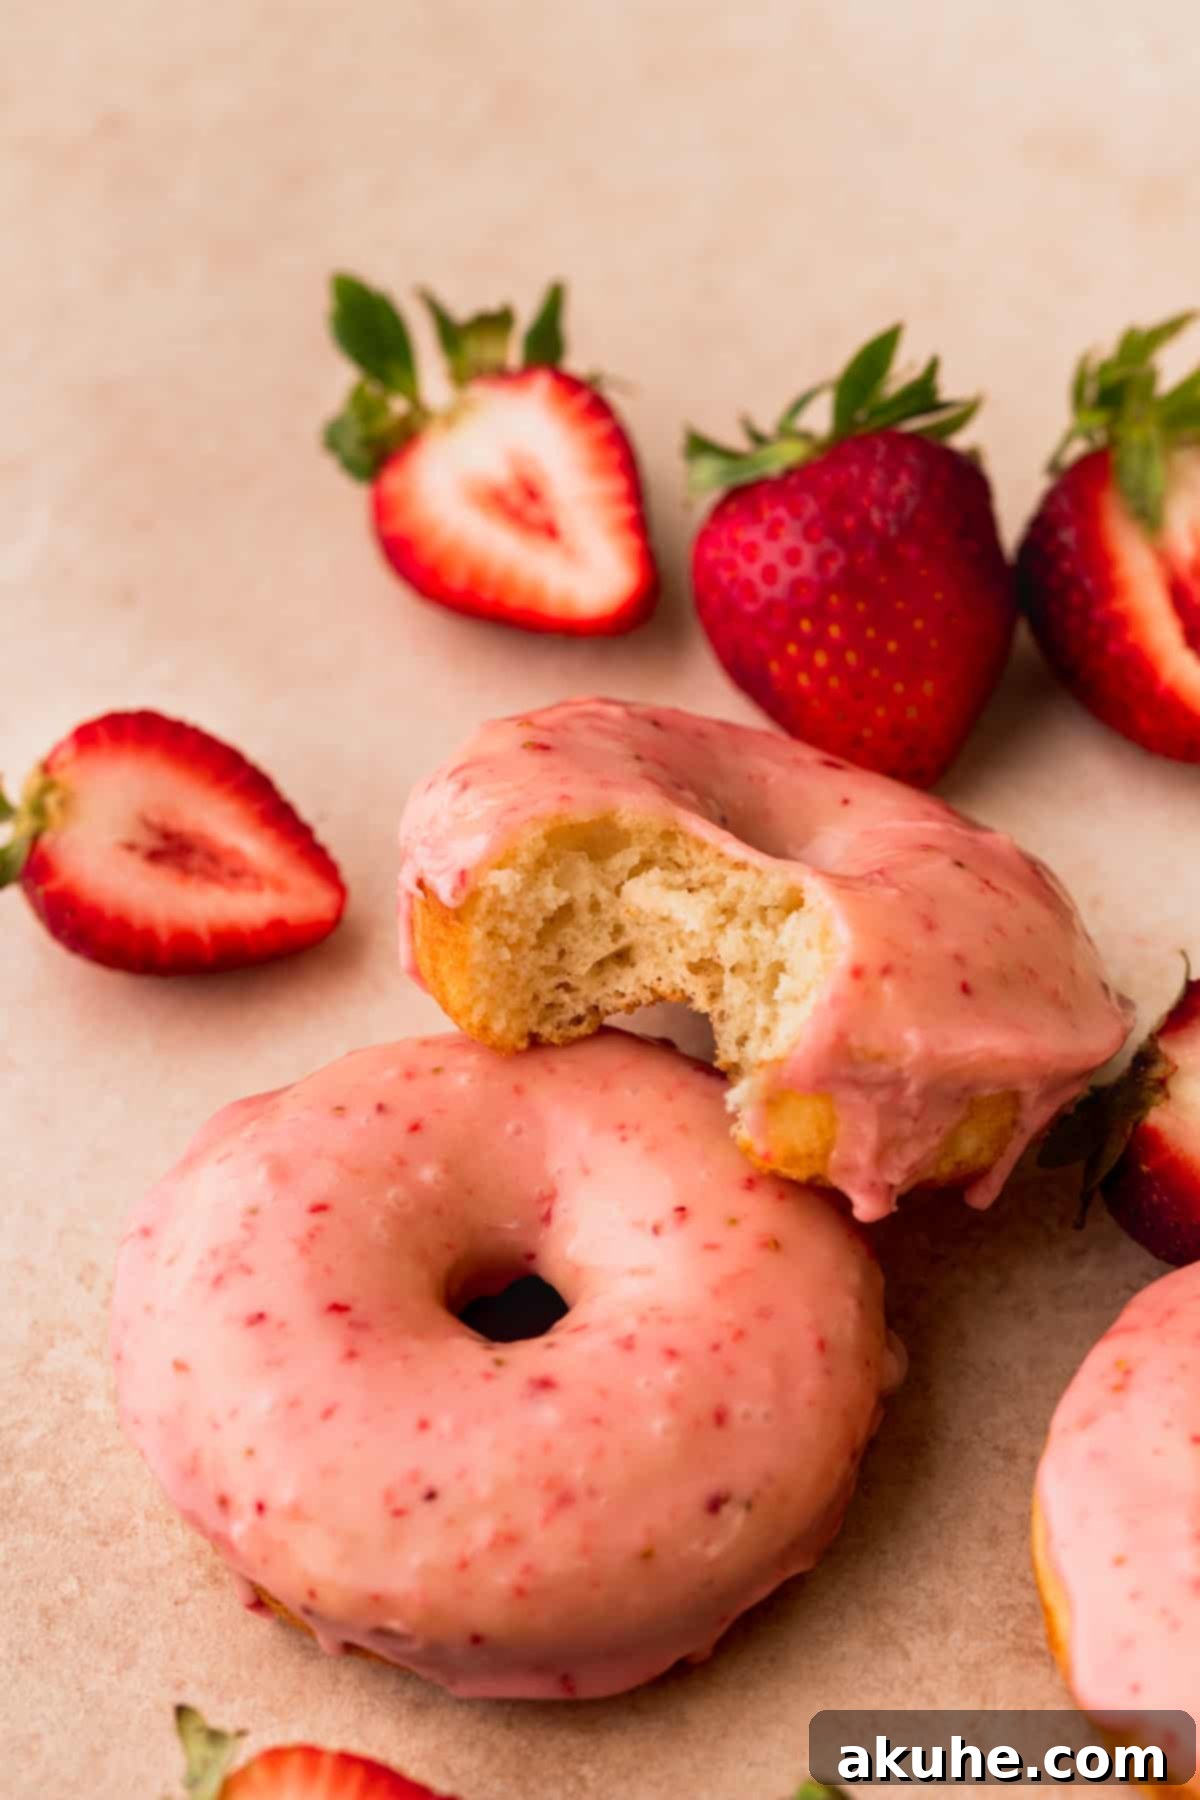
My absolute favorite element of this recipe is undoubtedly the glaze. It’s a naturally beautiful, rosy pink, deriving its stunning color and rich flavor entirely from fresh strawberry puree. This vibrant, fruity topping perfectly complements the subtle sweetness of the vanilla donuts, creating a harmonious balance of flavors that will leave you craving more. Each bite offers a burst of summery goodness, making these donuts a perfect treat for breakfast, brunch, or a delightful dessert.
If you’re a fan of homemade donuts and are looking for more delicious variations to try, be sure to explore some of our other beloved recipes. Indulge in the cozy flavors of Apple Cider Donut Cake, savor the autumnal spice of Pumpkin Donuts with Maple Glaze, or enjoy the classic simplicity of Cinnamon Sugar Doughnuts. Each recipe offers a unique spin on the beloved donut, ensuring there’s always something new and exciting to bake.
Why This Baked Strawberry Glazed Donut Recipe is a Must-Try
This recipe isn’t just about making donuts; it’s about crafting an experience. Here’s why these baked strawberry glazed donuts will become your new go-to treat:
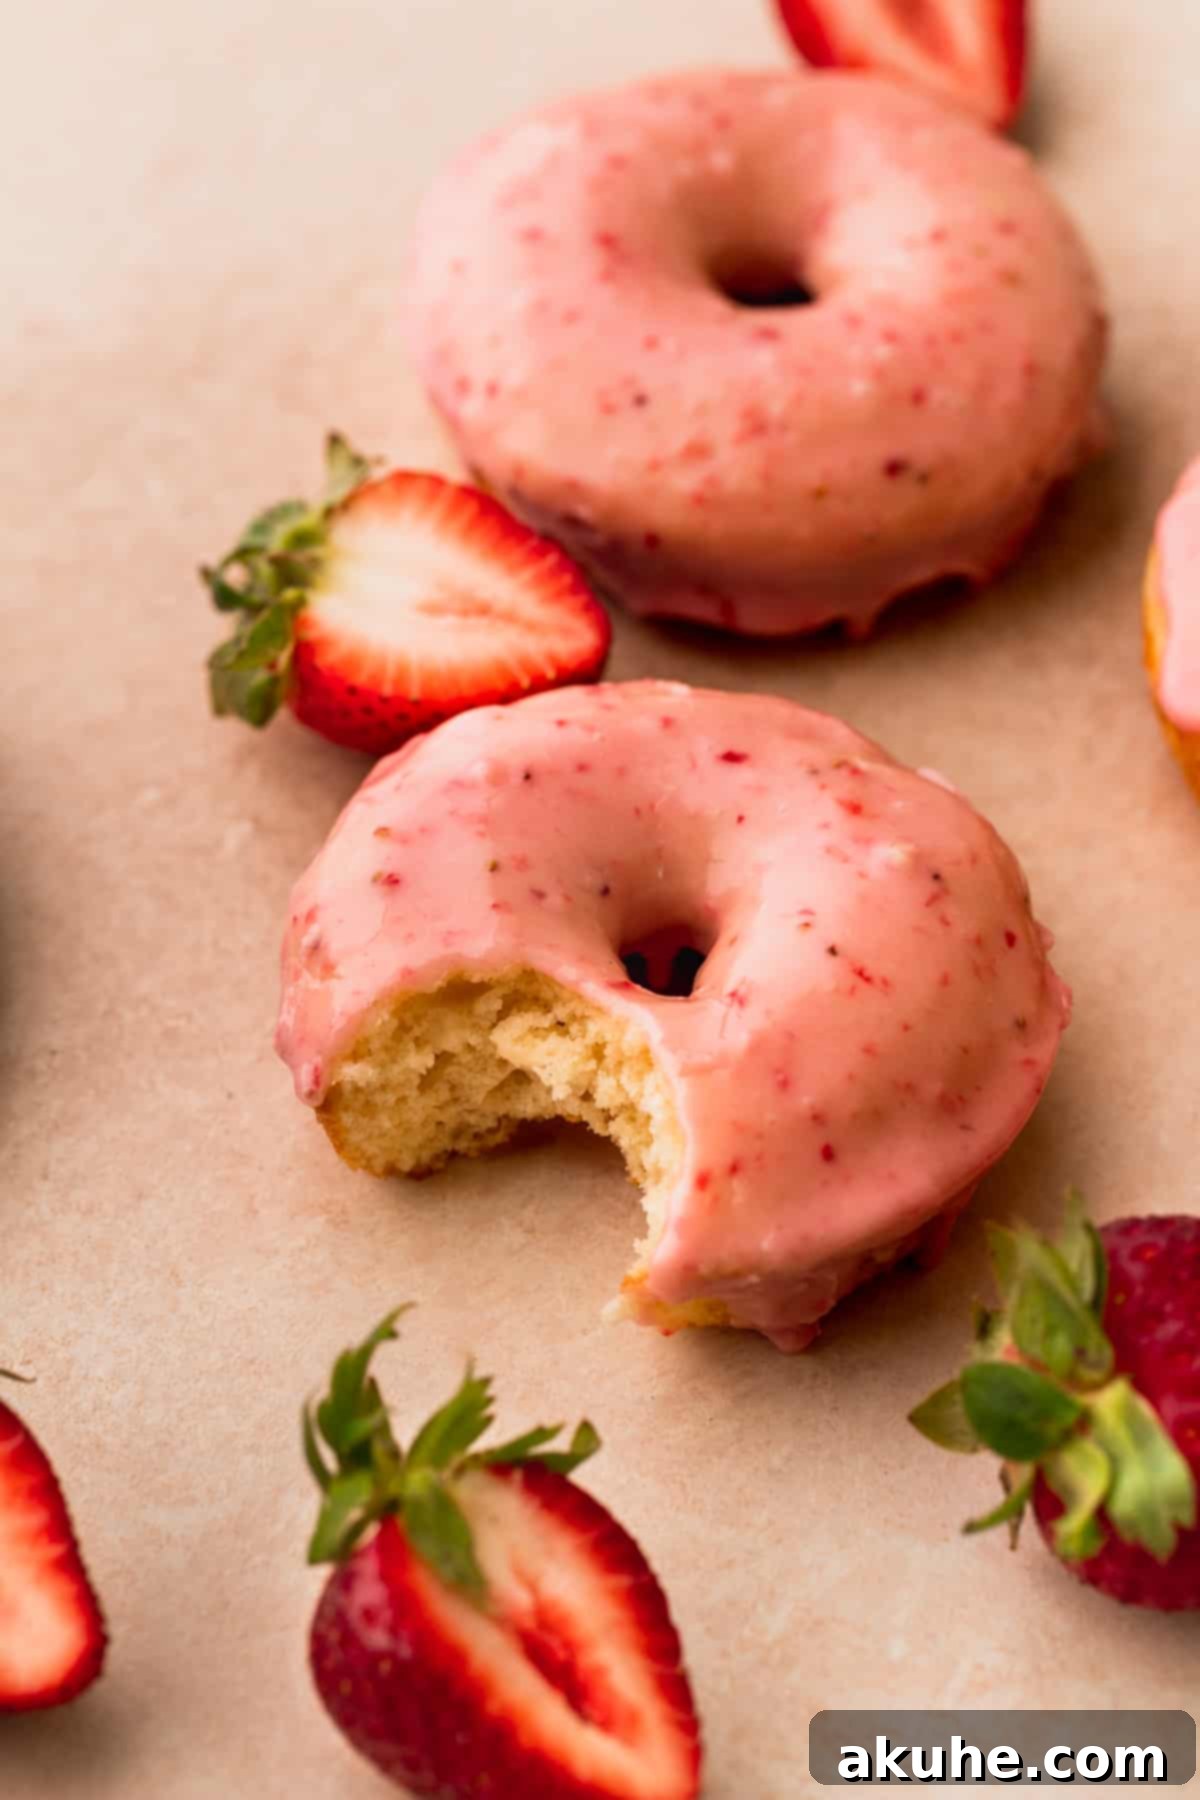
- Achieve Unrivaled Fluffy Vanilla Donuts: Our recipe delivers donuts that are exceptionally soft, moist, and possess a light, airy cake-like texture. Unlike dense or dry donuts, these vanilla beauties maintain their incredible fluffiness, making every bite a heavenly experience. The carefully balanced dry and wet ingredients work in harmony to create a batter that bakes into perfectly tender rings, offering a delightful contrast to the sweet, fruity glaze.
- Embrace the Ease of Baked Donuts: Say goodbye to the mess and fuss of deep-frying! These donuts are baked to golden perfection in a donut pan, making them a healthier and significantly easier alternative. Baking eliminates the need for hot oil and constant supervision, allowing for a more relaxed and enjoyable baking process. If you don’t own a donut pan, don’t fret! You can easily adapt this recipe to make delicious muffins by baking the batter in a standard 12-cup muffin pan. Simply adjust the baking time slightly and enjoy mini donut-muffins with the same incredible flavor.
- Savor the Irresistible Fresh Strawberry Glaze: The vibrant pink glaze is not only visually appealing but also bursting with authentic strawberry flavor. Crafted from a simple combination of fresh strawberry puree, powdered sugar, and a touch of milk, this glaze is naturally sweet, slightly tangy, and wonderfully smooth. The use of fresh strawberries ensures a bright, clean taste that artificial flavorings simply cannot replicate. It’s the perfect complement to the vanilla donut, adding a layer of refreshing fruitiness that elevates the entire treat.
- No Mixer Required: One of the greatest advantages of this recipe is its simplicity. You won’t need a bulky stand mixer or even a hand mixer. All the mixing can be done by hand with just a whisk and a couple of bowls, making cleanup a breeze and the baking process accessible to everyone, regardless of their kitchen equipment. This truly is an “easy peasy” recipe from start to finish.
Ingredient Notes for Perfect Strawberry Donuts
Understanding the role of each ingredient is key to baking successful and delicious donuts. Here are some detailed notes on the specific ingredients required for this recipe, ensuring you get the best results. For a comprehensive list of quantities, please refer to the recipe card further down this page.
- Ground Nutmeg: This often-overlooked spice adds a subtle yet essential warmth and depth to the vanilla donuts. A small pinch elevates the overall flavor profile, creating a comforting, bakery-style aroma and taste. Don’t skip it; it truly makes a difference!
- Eggs: Large eggs are crucial for providing structure, richness, and moisture to the donut batter. For optimal mixing and a smoother batter, it’s highly recommended to pull your eggs out of the refrigerator approximately 2 hours before you plan to start baking. Room temperature eggs emulsify better with other ingredients, leading to a more uniform and tender donut.
- Milk: Whether you choose whole milk or 2% milk, ensure it is brought to room temperature before incorporating it into the wet ingredients. Room temperature milk contributes to a more cohesive batter and prevents the melted butter from solidifying upon contact, which can lead to lumps and an uneven texture in the final product.
- Sour Cream: Full-fat sour cream is a secret weapon in this recipe, imparting incredible moisture, tenderness, and a slight tang that beautifully complements the sweet vanilla. If sour cream isn’t available, full-fat Greek yogurt can be used as an excellent substitute, offering similar benefits. Just like the milk and eggs, ensure your sour cream or Greek yogurt is at room temperature for the best results.
- Unsalted Butter: Melted butter adds richness and contributes to the soft texture of the donuts. It’s imperative that after melting, the butter is allowed to cool slightly before being added to the wet ingredients. Adding hot butter can inadvertently cook the eggs, leading to an undesirable texture. Cooled melted butter integrates smoothly into the batter.
- Strawberries: The star of our glaze! You can use either fresh strawberries or frozen strawberries that have been thawed completely. Fresh strawberries will yield the brightest flavor and color, but thawed frozen strawberries are a perfectly acceptable alternative, especially when fresh ones are out of season. Ensure they are washed and quartered before pureeing.
- Powdered Sugar: Also known as confectioners’ sugar, this ingredient is essential for achieving a silky-smooth glaze. For the best consistency, it’s crucial to sift the powdered sugar before mixing it into the strawberry puree. Sifting removes any lumps, ensuring your glaze is perfectly smooth and easy to apply without any grainy texture.
Ingredient Substitutions for Dietary Needs and Flavor Variations
Baking should be inclusive and adaptable! Here are some helpful substitutions to tailor this strawberry glazed donut recipe to various dietary preferences or to experiment with different flavors:
- Dairy-Free Alternatives: It’s entirely possible to make these delicious donuts dairy-free. Simply substitute your favorite non-dairy milk (such as almond milk, soy milk, or oat milk) for regular milk. For the sour cream, dairy-free sour cream alternatives or a rich dairy-free Greek yogurt substitute can be used. Replace unsalted butter with a high-quality dairy-free butter substitute, ensuring it’s melted and cooled as per the original instructions.
- Gluten-Free Version: While this recipe hasn’t been personally tested with gluten-free flour, many readers have reported success using a 1:1 gluten-free baking flour blend (ensure it contains xanthan gum) as a direct substitute for all-purpose flour. Start with the same quantity and adjust the liquid very slightly if the batter appears too thick or thin. If you try this, please share your results – your feedback helps the baking community!
- Strawberry Alternatives for the Glaze:
- Freeze-Dried Strawberries: For an intense strawberry flavor and a naturally vibrant pink color, you can grind freeze-dried strawberries into a fine powder and incorporate them into the glaze. This method works especially well if fresh strawberries are unavailable or if you prefer a less watery glaze. Start with a few tablespoons of ground freeze-dried strawberries and adjust to taste and desired color.
- Other Berry Purees: Feel free to experiment with other fruit purees! Raspberry puree, blueberry puree, or even mixed berry puree can create equally delicious and colorful glazes. Just ensure the fruit is pureed smoothly and any large seeds are strained out if desired.
Step-By-Step Instructions: Crafting Vanilla Donuts with Strawberry Glaze
Creating these baked donuts is a straightforward and enjoyable process that doesn’t require an electric mixer. Follow these detailed steps to achieve perfectly fluffy vanilla donuts and a luscious strawberry glaze:
STEP 1: Prepare Your Baking Environment. Begin by preheating your oven to 350°F (175°C). While the oven heats, generously spray two donut pans with a non-stick baking spray. This step is crucial for ensuring your donuts release easily after baking, preventing any sticking or tearing.
STEP 2: Combine the Dry Ingredients. In a large mixing bowl, take your time to sift together the all-purpose flour, baking powder, baking soda, salt, and that important pinch of ground nutmeg. Sifting ensures that all dry ingredients are thoroughly combined and helps to prevent lumps in your final batter, contributing to a smoother, more even texture in your donuts. Once sifted, gently whisk them together one more time to ensure even distribution, then set this bowl aside.
STEP 3: Mix the Wet Ingredients. In a separate, medium-sized bowl, whisk together the white granulated sugar, room temperature large eggs, room temperature milk, room temperature sour cream (or Greek yogurt), the cooled melted unsalted butter, and the pure vanilla extract. Whisk thoroughly until all these wet ingredients are well combined and smooth. The room temperature ingredients are vital here as they emulsify much better, creating a harmonious and lump-free mixture.
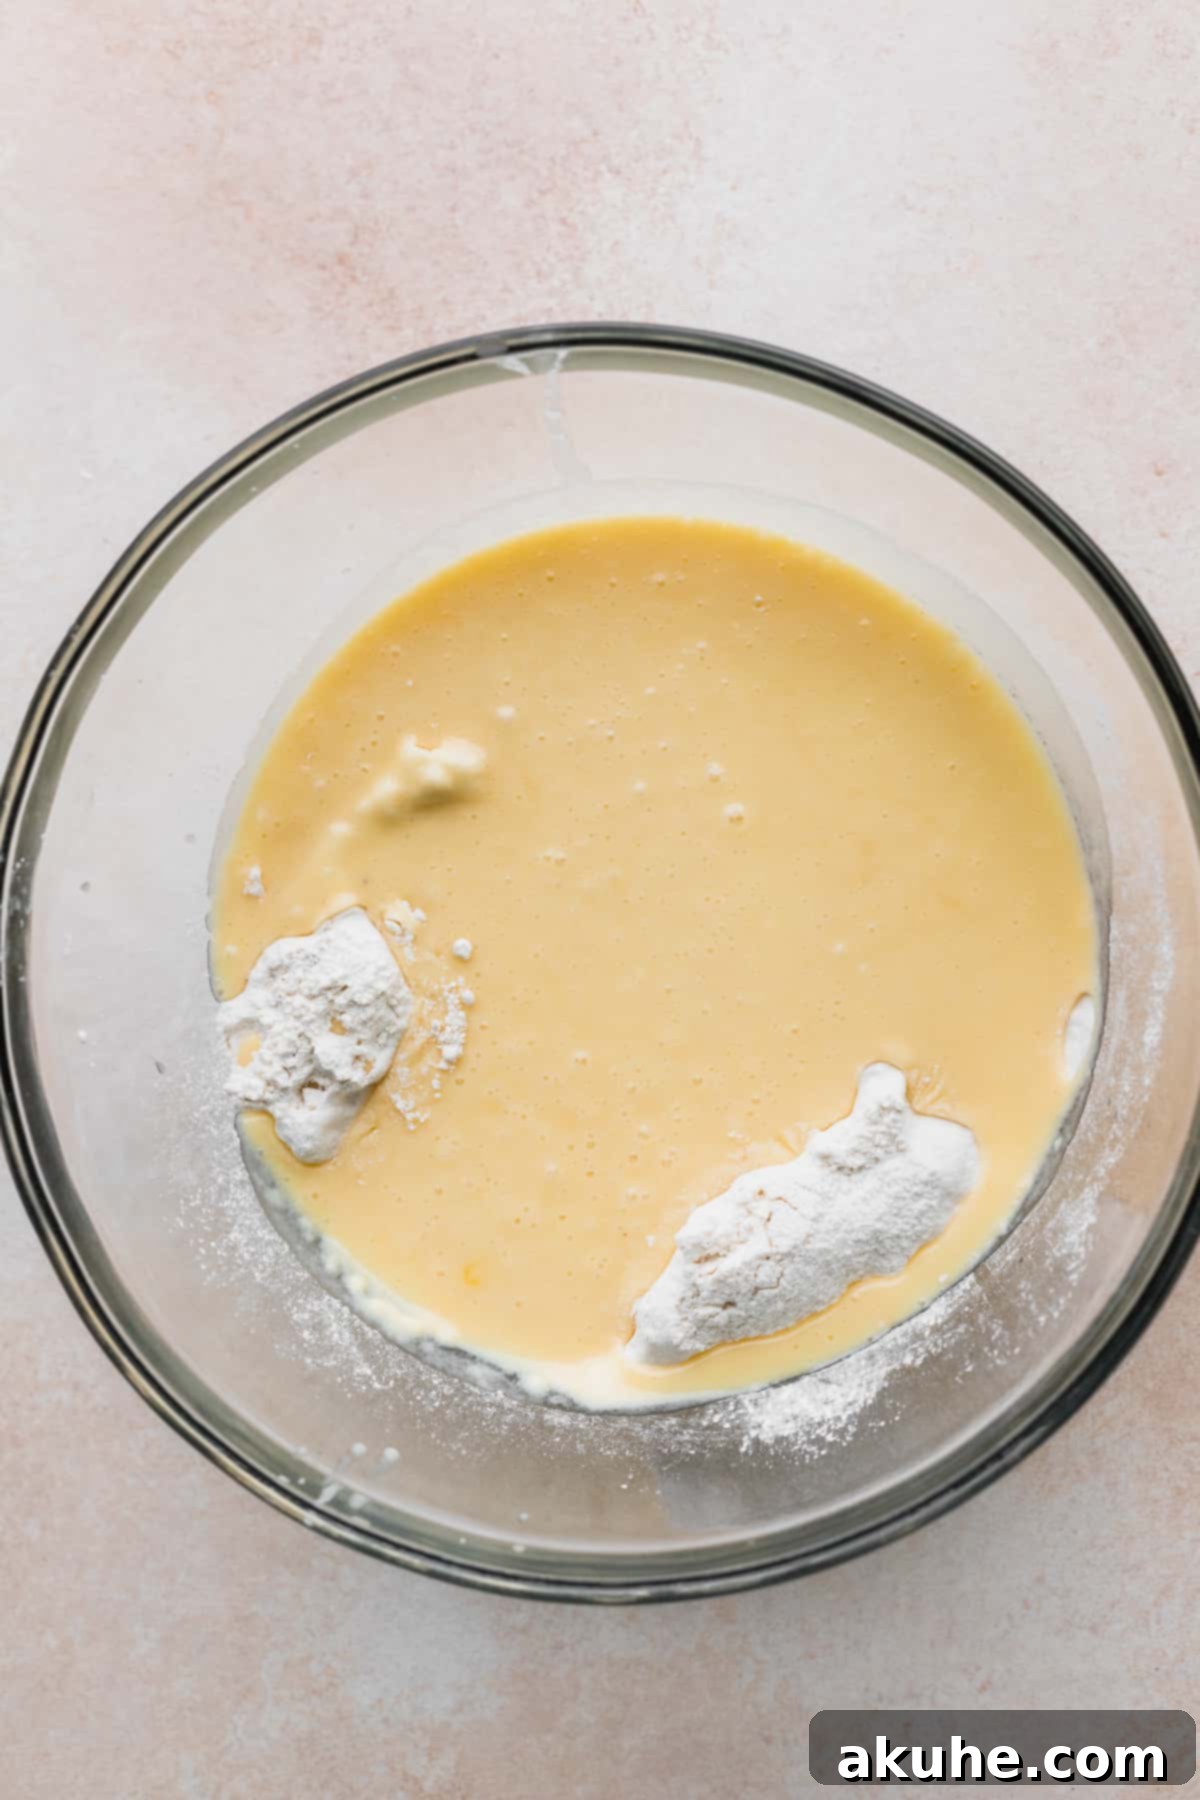
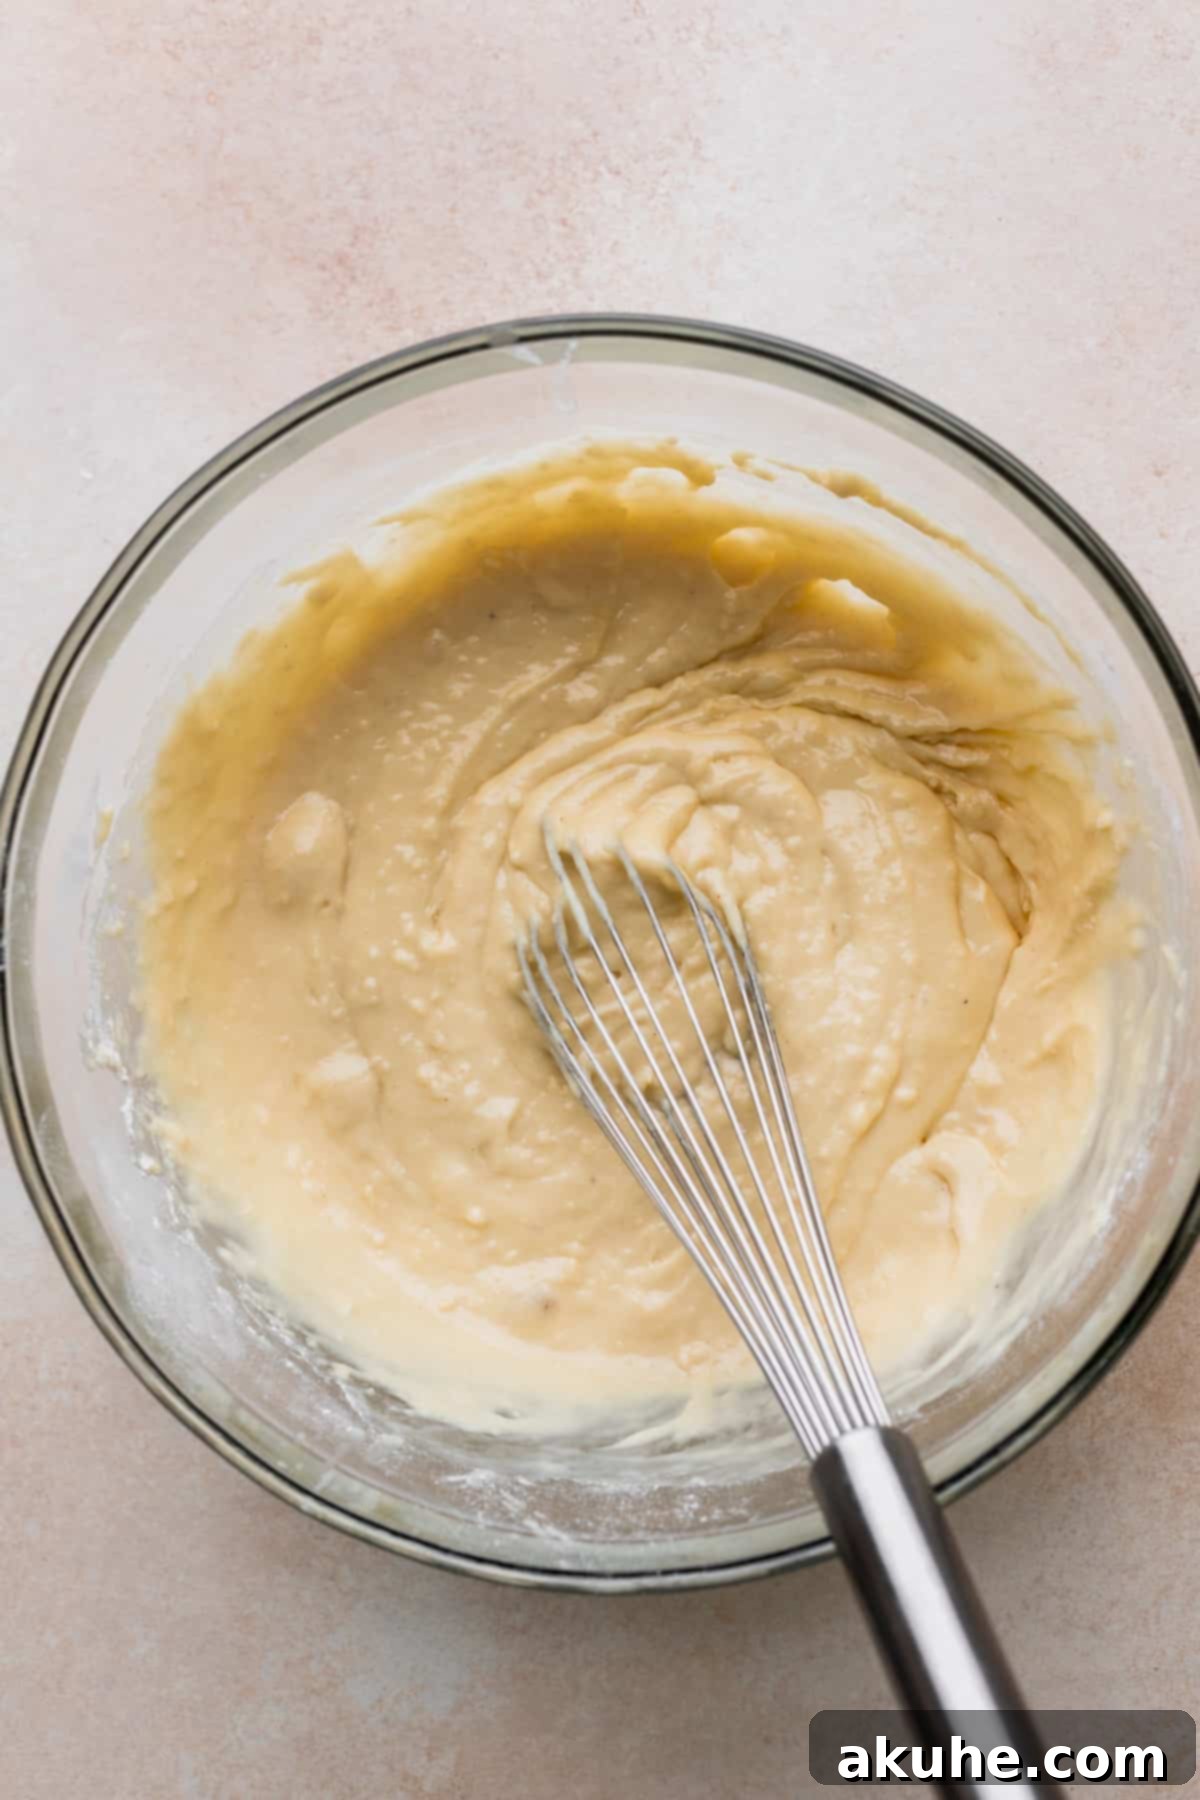
STEP 4: Combine Wet and Dry Mixtures. Carefully pour the entire wet ingredient mixture into the bowl containing the dry ingredients. Using a whisk, gently mix them together until they are *just* combined. It’s important not to overmix the batter; a few small lumps are perfectly fine and often indicate a tender, fluffy donut. Overmixing can develop the gluten in the flour, resulting in tough donuts. Once just combined, transfer the batter into a piping bag. For convenience and to fit all the batter comfortably, an 18-inch piping bag works wonderfully. If you don’t have a piping bag, a large ziplock bag with a corner snipped off will also do the trick.
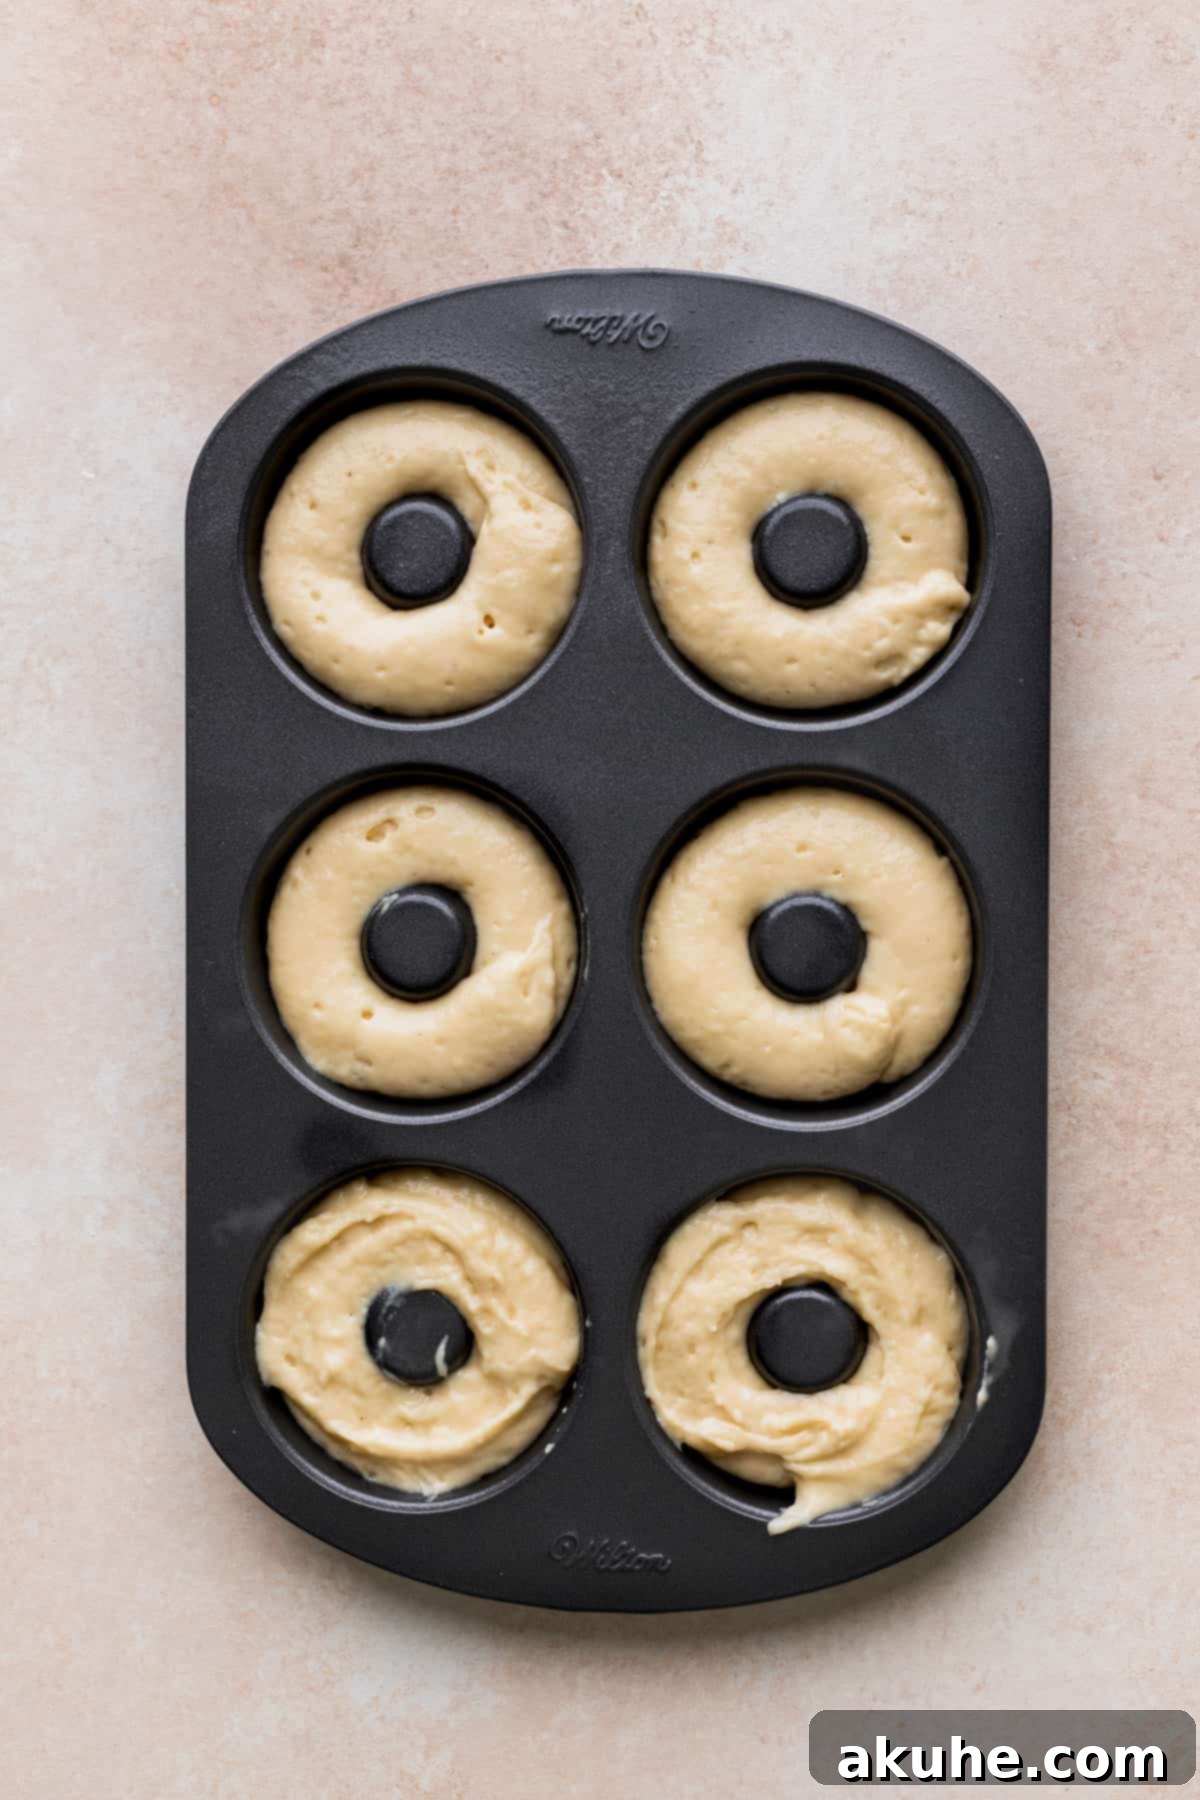
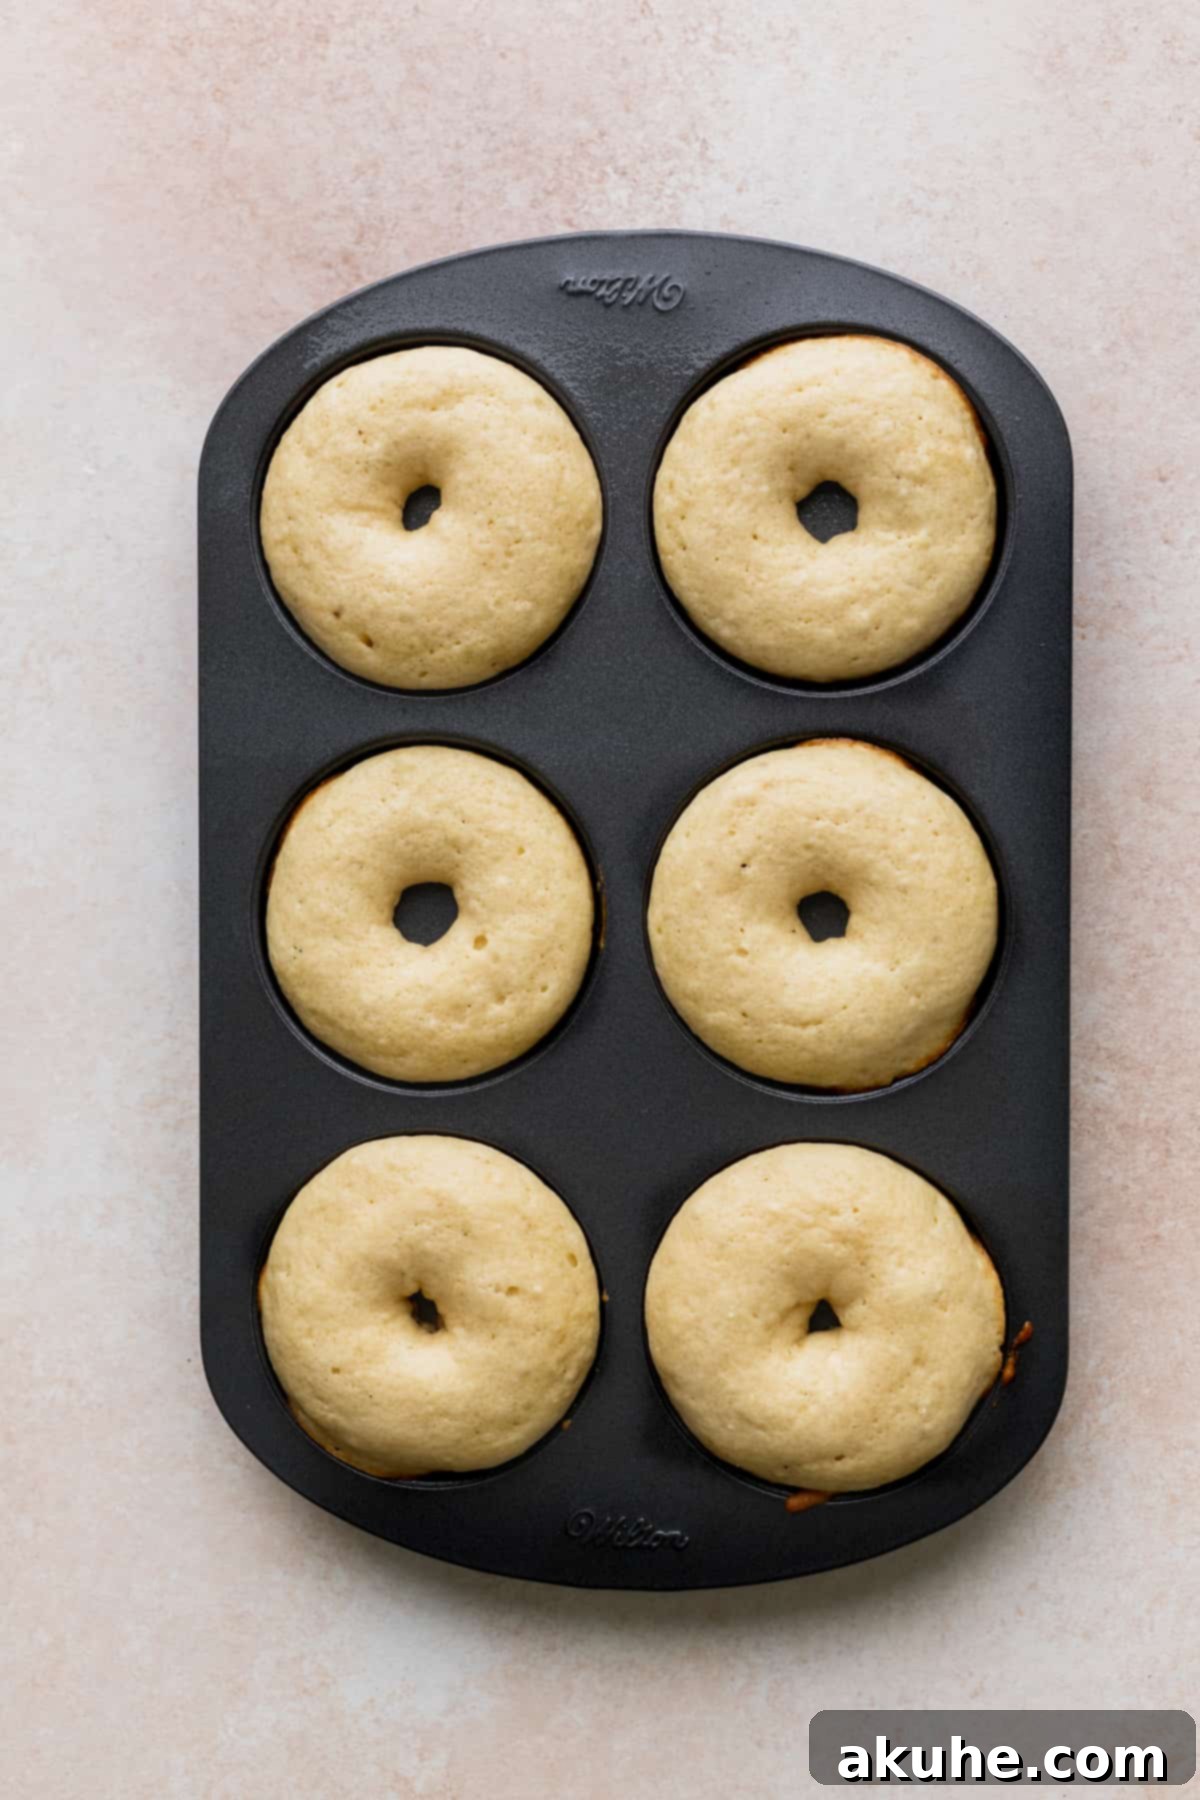
STEP 5: Pipe and Bake. Carefully pipe the donut batter into the prepared donut pans. Fill each cavity about two-thirds full to allow for proper rising without overflowing. Bake for approximately 10-13 minutes, or until a wooden toothpick inserted into the center of a donut comes out clean. This indicates they are fully cooked. Once baked, let the donuts rest in the hot pan for about 5 minutes. This brief cooling period helps them firm up slightly, making them easier to transfer without breaking. After 5 minutes, gently transfer the warm donuts to a wire cooling rack to cool completely before glazing.
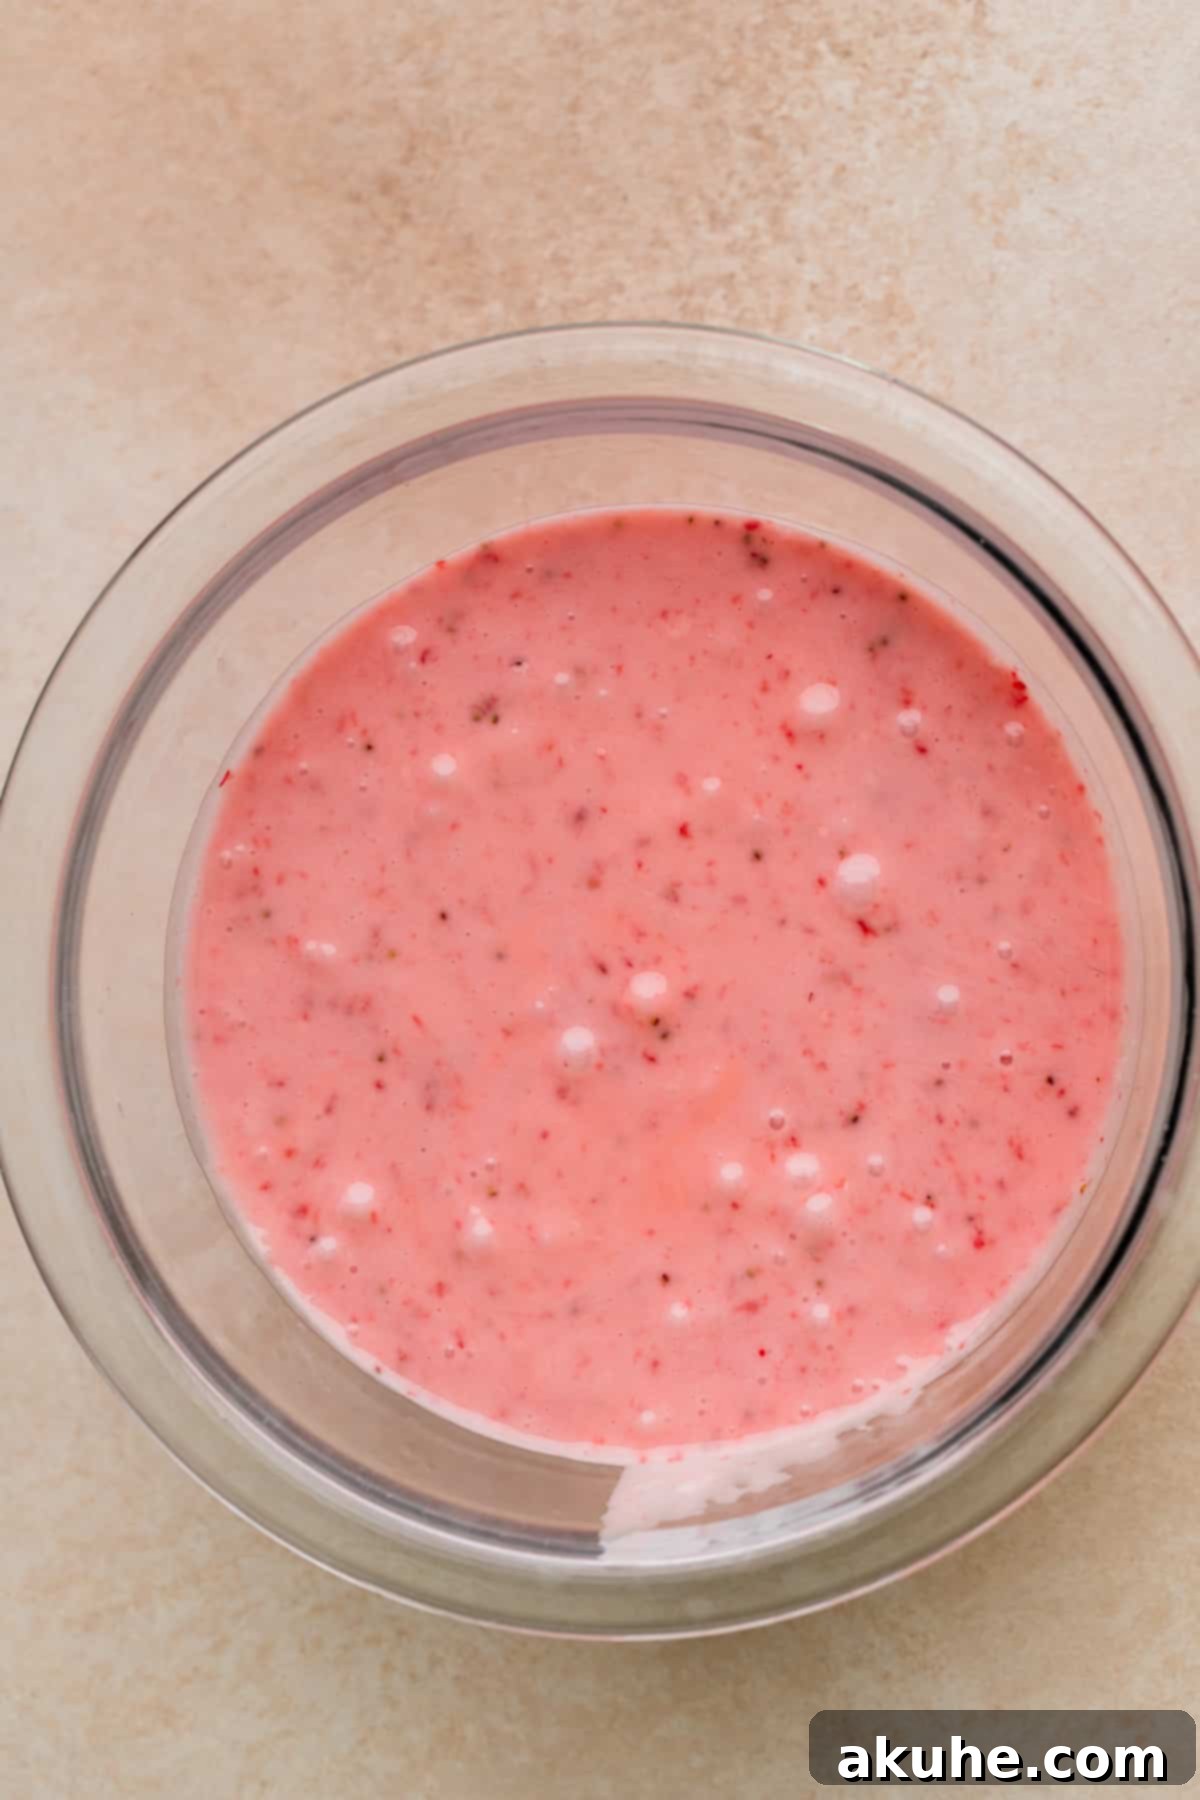
STEP 6: Prepare the Strawberry Puree. While the donuts are cooling, begin preparing your fresh strawberry glaze. Place the washed and quartered strawberries into a food processor or a small blender. Process until you achieve a completely smooth strawberry puree. For this recipe, I chose to keep all the seeds for added texture and natural aesthetic, but if you prefer a perfectly smooth glaze, you can strain the puree through a fine-mesh sieve at this stage.
STEP 7: Mix the Glaze. Pour the vibrant strawberry puree into a small bowl. Add approximately half of the sifted powdered sugar. Whisk this mixture until it is smooth and completely combined. Adding the powdered sugar in stages helps to prevent lumps and ensures a perfectly smooth consistency. Next, add the remaining powdered sugar and the milk. Continue whisking until the glaze reaches your desired consistency – it should be thin enough to easily dip the donuts but thick enough to adhere and coat them beautifully without running off entirely. If your glaze is too thick, add milk a tiny bit at a time; if it’s too thin, sift in a little more powdered sugar until it’s just right.
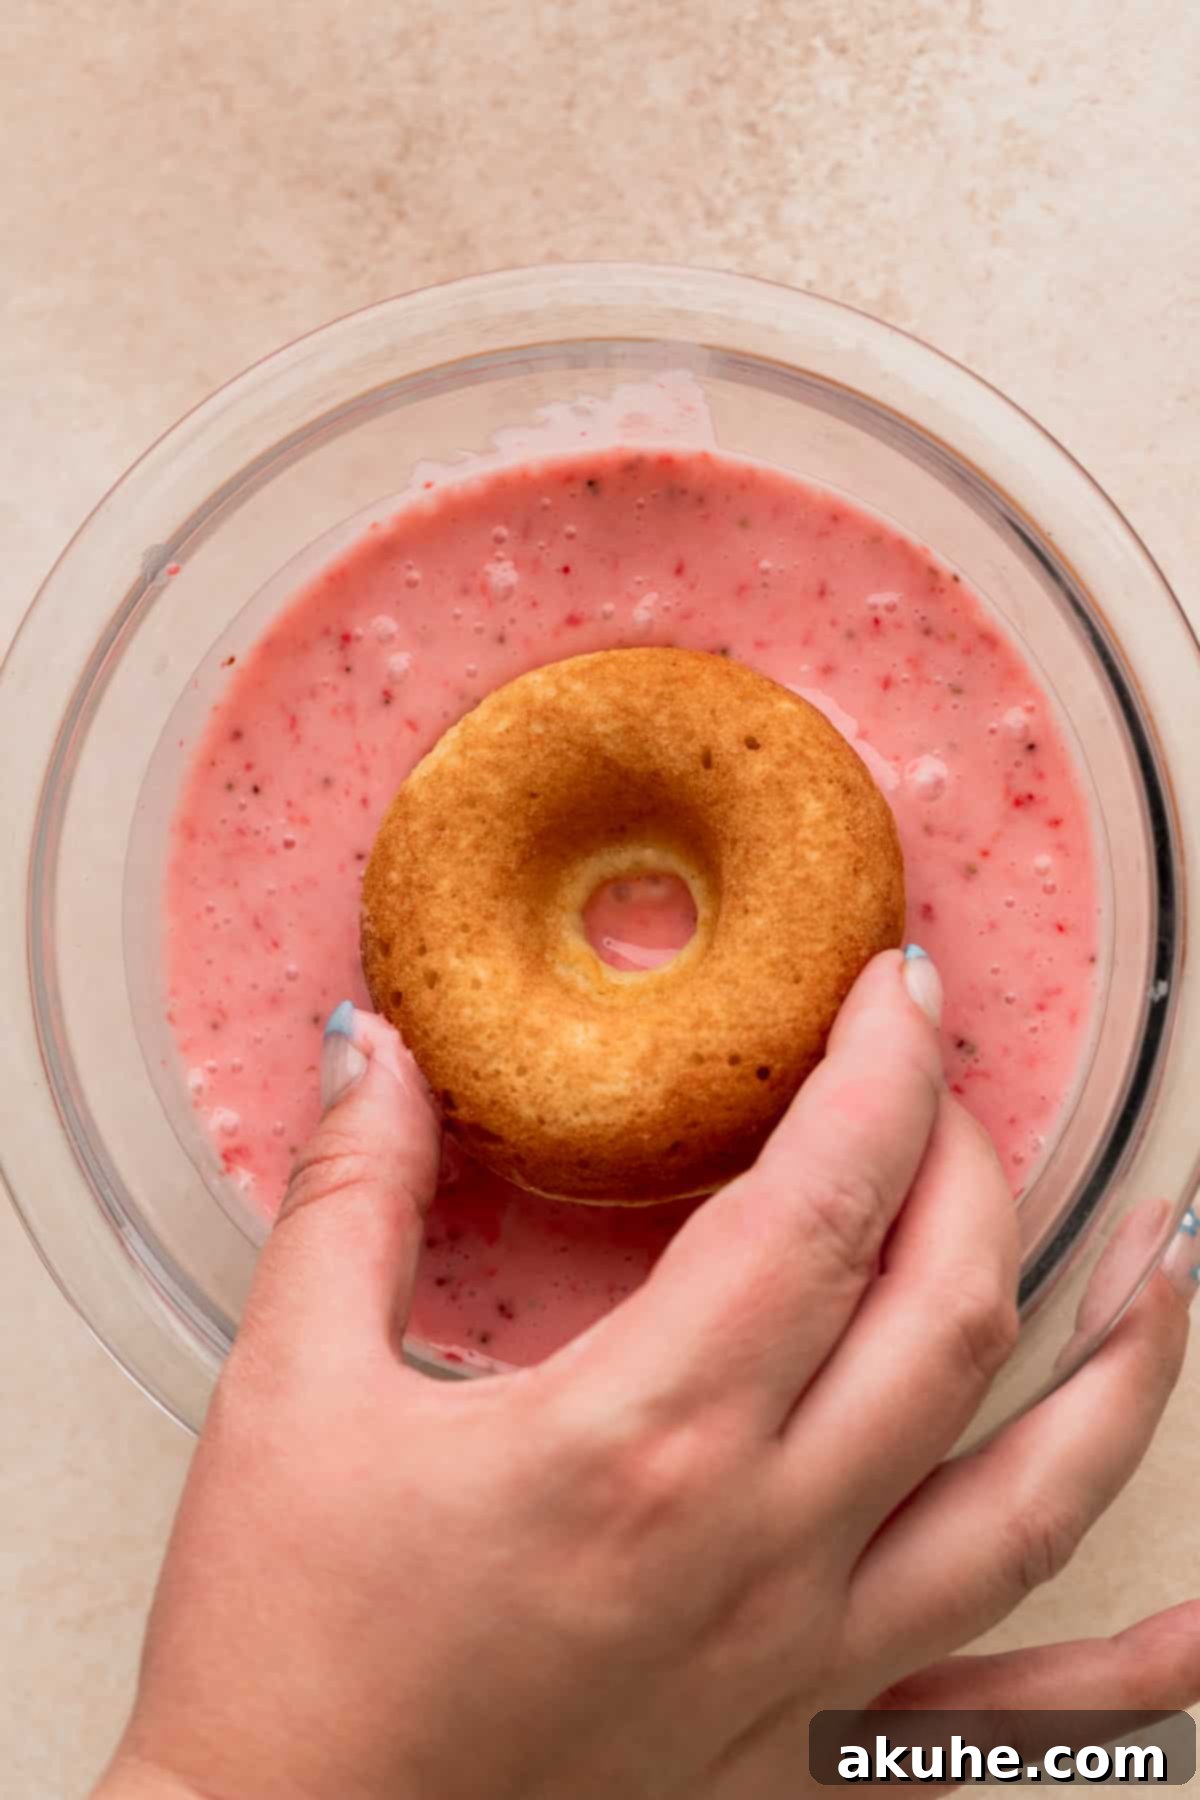
STEP 8: Glaze the Donuts. Once the donuts are completely cooled, it’s time for the best part! Carefully dunk the tops of each donut into the prepared strawberry glaze, twisting slightly to ensure an even coating. Lift the donut, allowing any excess glaze to drip back into the bowl. Place the glazed donuts back onto the wire cooling rack, ideally with a sheet of parchment paper or a cookie sheet placed underneath to catch any drips. Allow the glaze to set and dry completely before serving, which usually takes about 15-30 minutes, depending on the humidity.
Expert Baking Tips for Flawless Strawberry Glazed Donuts
Achieving bakery-quality donuts at home is easier than you think, especially with these insider tips:
- Accurate Flour Measurement is Key: The most common baking mistake is over-measuring flour, which can lead to dry, dense donuts. Always use the “spoon and level” method: gently spoon flour into your measuring cup until it overflows, then level it off with the back of a knife. Never scoop the measuring cup directly into the flour bag, as this compacts the flour and results in too much being used. For ultimate precision, a kitchen scale is your best friend.
- Always Prepare Your Donut Pans: Even if your donut pans are non-stick, it’s absolutely essential to spray them generously with a baking nonstick spray (preferably one with flour in it) before adding any batter. This extra step guarantees that your beautifully baked donuts will slide out effortlessly without tearing, preserving their perfect shape.
- Smooth Out the Batter for Uniform Donuts: When piping the donut batter into the pan cavities, it’s common for the batter to appear a little uneven or bumpy. For a perfectly smooth and professional-looking finish, gently use your finger (or the back of a small spoon) to smooth out the top of the batter in each cavity. This technique, as shown in our accompanying photos, helps create a flawless surface for your glaze.
- Manage Glaze Drips Efficiently: Glazing can be a bit messy, but it doesn’t have to be. To keep your workspace clean and make cleanup a breeze, always place a cookie sheet or a large piece of parchment paper directly under your wire cooling rack before you start dipping the donuts. This will catch any excess glaze that drips off, ensuring your counter stays pristine.
- Room Temperature Ingredients Matter: For the donut batter, ensure that your eggs, milk, and sour cream are at room temperature. This allows them to combine more smoothly with the other ingredients, creating a homogeneous batter and promoting an even rise in your baked donuts. Cold ingredients can stiffen melted butter and lead to a lumpy batter.
- Don’t Overmix the Batter: Once you combine the wet and dry ingredients, mix only until just combined. A few lumps are perfectly acceptable and actually indicate a tender finished product. Overmixing develops the gluten in the flour, which can result in tough, chewy donuts rather than the light, fluffy ones we’re aiming for.
- Test for Doneness Accurately: While baking times are a good guide, oven temperatures can vary. Always rely on the toothpick test for accuracy: insert a toothpick into the thickest part of a donut; if it comes out clean or with a few moist crumbs, the donuts are ready.
Frequently Asked Questions About Strawberry Glazed Donuts
While a donut pan is ideal for achieving the classic donut shape, it’s not strictly necessary. You can easily adapt this recipe to make delicious donut-muffins! Simply use a standard 12-cup muffin pan lined with muffin liners. Fill each liner about two-thirds full with batter and bake for approximately the same amount of time, checking for doneness with a toothpick. Once cooled, you can dip the muffin tops into the strawberry glaze for a delightful alternative.
Yes, you can absolutely make these donuts ahead of time! For best results, bake the donuts, let them cool completely, and then wrap them individually in plastic cling wrap. Place the wrapped donuts in an airtight freezer-safe bag or container and freeze for up to 30 days. When you’re ready to enjoy them, thaw the donuts at room temperature for about 1 hour before preparing and applying the fresh strawberry glaze. Glazing them just before serving ensures the glaze is fresh and shiny.
This particular recipe has not been specifically tested with egg substitutes. Eggs play a significant role in the structure, moisture, and richness of these donuts. While some egg replacers might work, results may vary in texture and rise. If you do experiment with an egg-free version, please let us know your experience and which substitute you used!
The key to a perfect glaze is to add the powdered sugar and milk gradually. After pureeing the strawberries, start by adding about half of the powdered sugar. Mix well. Then add the rest of the powdered sugar and start adding milk one tablespoon at a time, mixing thoroughly after each addition. You’re looking for a consistency that coats the back of a spoon and drips slowly, but isn’t too runny. It should be thin enough to easily dip the donuts but thick enough to stay on and not run entirely off the sides. If it becomes too thin, add a little more sifted powdered sugar; if too thick, add a tiny bit more milk.
Absolutely! Frozen strawberries work wonderfully for the glaze, especially when fresh strawberries are not in season or readily available. Just make sure to thaw them completely before pureeing. You might find that thawed frozen strawberries release more liquid, so be prepared to adjust the amount of powdered sugar slightly to achieve the desired glaze consistency.
Recipe Variations for Creative Donut Flavors
While these strawberry glazed donuts are perfect as is, they also serve as a fantastic canvas for creative variations. Feel free to experiment and customize them to your taste:
- Enhanced Strawberry Flavor: For an extra boost of strawberry goodness, you can fold 1/4 cup of finely crushed freeze-dried strawberries into the donut batter along with the dry ingredients. This will infuse the donuts themselves with a delicate strawberry flavor, complementing the glaze beautifully.
- Decadent Chocolate Strawberry Donuts: Transform these into a rich, indulgent treat by adding 1/4 cup of unsweetened cocoa powder to the donut batter along with the other dry ingredients. The deep chocolate flavor pairs exquisitely with the bright, fruity strawberry glaze, creating a classic flavor combination that’s hard to resist.
- Lemon Zest Infusion: Add a bright, citrusy note to your vanilla donuts by grating 1-2 teaspoons of fresh lemon zest into the wet ingredients. Lemon and strawberry are a match made in heaven, and the zest will add a refreshing zing to the overall flavor profile.
- Almond Extract Boost: Swap out half of the vanilla extract for almond extract in the donut batter (e.g., 1/2 tsp vanilla, 1/2 tsp almond extract) for a sophisticated, nutty undertone that pairs beautifully with the strawberries.
- Sprinkle Fun: Once you’ve dipped your donuts in the strawberry glaze, immediately sprinkle them with your favorite sprinkles (rainbow, red, or pink sprinkles work wonderfully for a festive look) before the glaze sets. This adds a fun pop of color and an extra touch of sweetness.
Special Tools for Effortless Donut Making
While many kitchen items are versatile, certain tools can make your donut baking experience significantly easier and more enjoyable:
- Donut Pan: Essential for baked donuts! A good quality donut pan ensures even baking and easy release, giving you perfectly shaped donuts every time. We recommend having two pans to bake a full batch efficiently.
- Baking Spray with Flour: A reliable nonstick spray with flour is your best defense against sticky donuts. It provides an extra layer of nonstick protection, ensuring your donuts pop out of the pan beautifully.
- Piping Bag: While not strictly necessary, using a piping bag (or a large ziplock bag with the corner snipped) makes filling the donut pan cavities incredibly neat and simple, preventing messy spills and ensuring uniform filling.
- Wire Cooling Rack: A wire cooling rack is indispensable for allowing your donuts to cool completely and for letting the glaze set evenly. It promotes air circulation, preventing soggy bottoms.
Storing Your Delicious Strawberry Glazed Donuts
To keep your strawberry glazed donuts as fresh and delicious as possible, proper storage is important.
Store these delightful strawberry glazed donuts in an airtight container in the refrigerator for up to 5 days. While they are safe to eat after this time, their quality and freshness will begin to diminish.
It’s important to note that these donuts undeniably taste best when enjoyed fresh, ideally on the same day they are baked and glazed. The glaze, being made with fresh fruit puree, can sometimes melt slightly or become a bit sticky when stored in an airtight container due to humidity. This is completely normal and doesn’t affect the flavor, but the aesthetic might change. For the absolute best experience, aim to consume them within 1-2 days of glazing.
If you’ve made the donuts ahead of time and frozen them unglazed (as described in the FAQ), you can glaze them after thawing for that fresh-from-the-bakery feel.
Other Breakfast Recipes To Try
If you enjoyed making these delicious donuts, you might love exploring other homemade breakfast and brunch ideas to brighten your mornings!
Indulge in More Strawberry Recipes
Can’t get enough of fresh strawberries? Here are more delightful recipes that highlight the sweet and tangy flavor of this beloved berry:
- Strawberry Danish
- Strawberry Cookies
- Strawberry Brownies
- Strawberry Shortcake
- Strawberry Sheet Cake
We truly hope you loved this recipe! If you tried it, please consider leaving a star rating and review. Your feedback helps us and other bakers. Don’t forget to tag us on Instagram @stephaniesweettreats with your beautiful creations. For more baking inspiration and delicious ideas, be sure to follow us on Pinterest. Happy baking!
Strawberry Glazed Donuts
Ingredients
Donuts
- 2 cups All-purpose flour
- 2 tsp Baking powder
- 1/2 tsp Baking soda
- 1 tsp Salt
- Pinch of Nutmeg
- 2/3 cup White granulated sugar
- 2 Large eggs, room temperature
- 1/2 cups Milk, room temperature
- 1/2 cup Sour cream, room temperature or greek yogurt
- 4 TBSP Unsalted butter, melted and cooled
- 1 tsp Pure vanilla extract
Strawberry Glaze
- 1/2 cup Strawberries, washed and quartered
- 2 cups Powdered sugar
- 1 TBSP Milk
Instructions
Donuts
- Preheat the oven to 350°F. Spray two donut pans with baking non-stick spray.
- In a large bowl, mix the flour, baking powder, baking soda, and salt. Set aside.2 cups All-purpose flour, 2 tsp Baking powder, 1/2 tsp Baking soda, 1 tsp Salt, Pinch of Nutmeg
- In a separate bowl, mix the sugar, eggs, milk, sour cream, melted butter, and vanilla.2/3 cup White granulated sugar, 2 Large eggs, 1/2 cups Milk, 1/2 cup Sour cream, 4 TBSP Unsalted butter, 1 tsp Pure vanilla extract
- Pour the wet ingredients into the dry and mix until just combined.
- Pour the batter into a piping bag (or ziplock bag) and pipe the batter into the donut pan. it should be 2/3rds full of batter. See picture in blog post.
- Bake for 10-13 minutes until a toothpick inserted comes out clean. Let the donuts sit in the pan for 5 minutes before transferring to a cooling rack.
Strawberry Glaze
- Pour the cut strawberries into the food processor and blend until pureed. Pour the puree into a small bowl. Add half of the powdered sugar. Mix until combined.1/2 cup Strawberries, 2 cups Powdered sugar
- Add the rest of the powdered sugar and mix. It should be thick before adding the milk. Add in the milk and mix until the glaze is thin enough for the donuts, but thick enough to stay on the donuts and not run all the way off. If it is too thin, add extra powdered sugar.1 TBSP Milk
- Dip the donuts into the glaze and let it dry on the cooling rack.
Notes
High altitude baking- Add an extra 2 TBSP of flour.
Pull out dairy ingredients 2 hours before baking.
