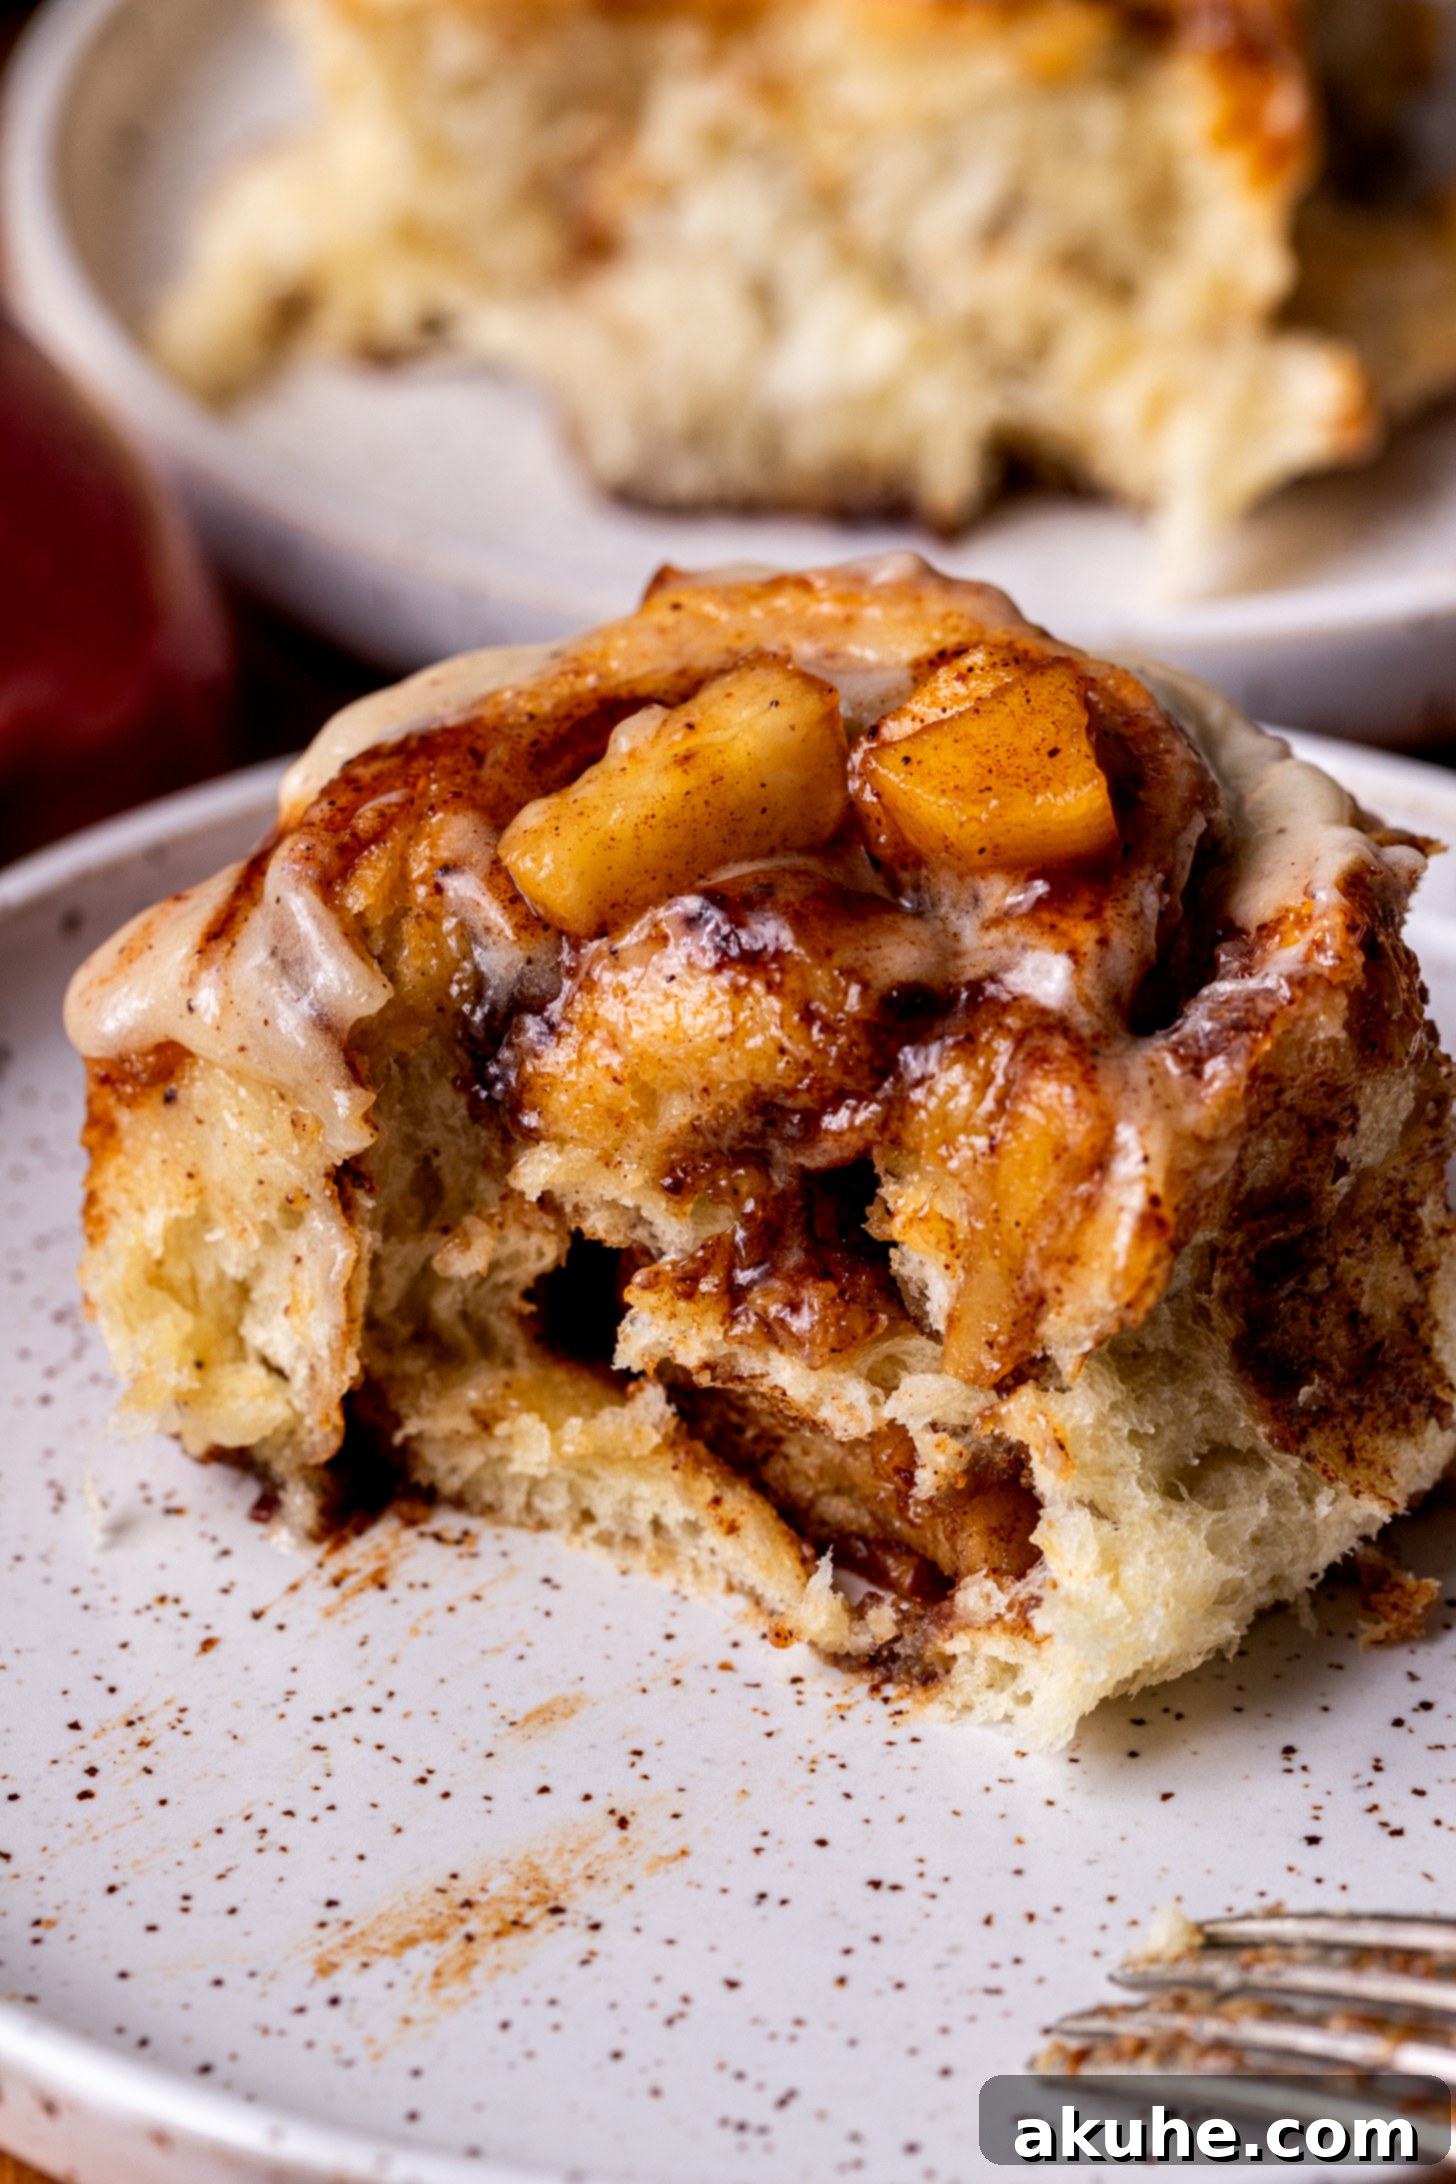
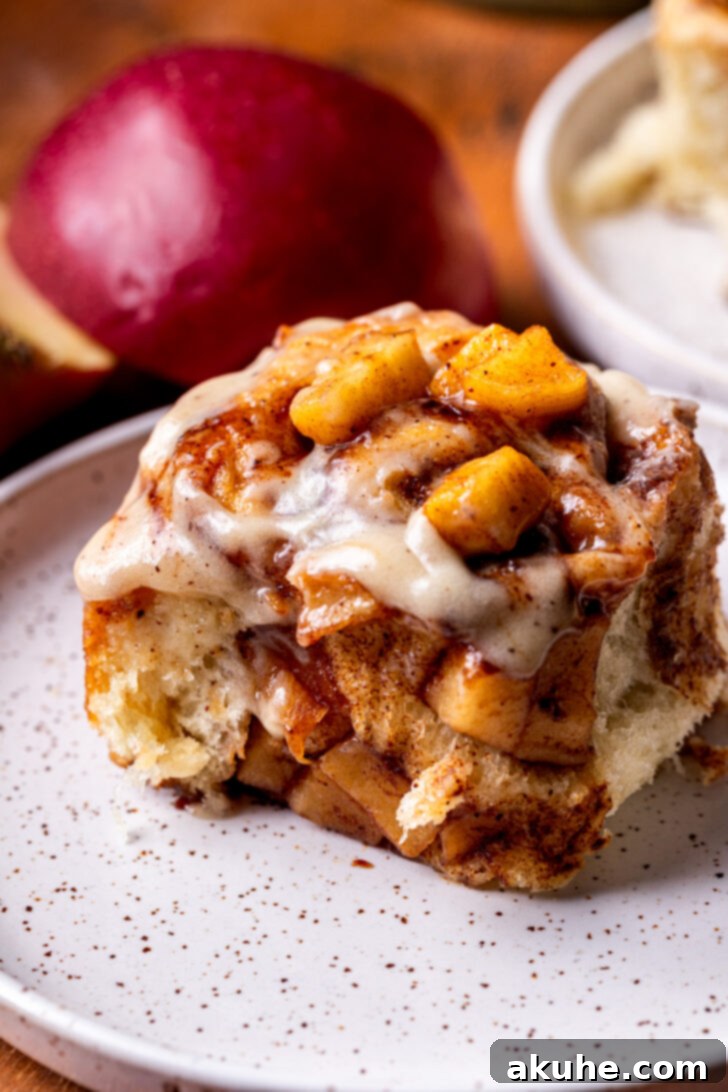
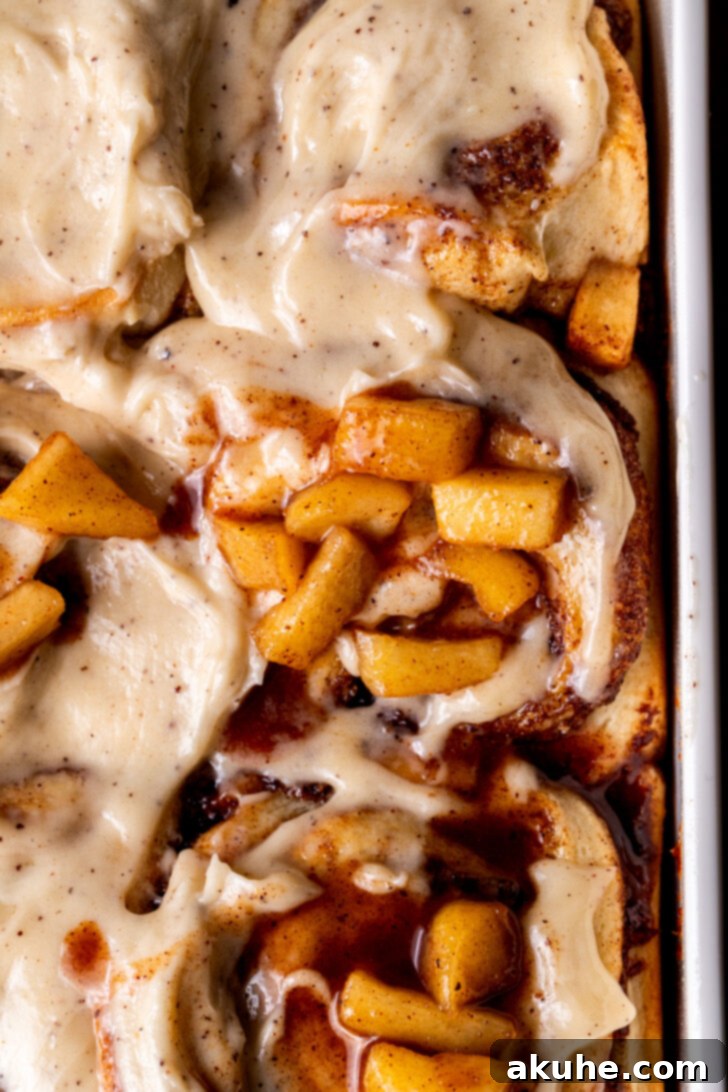
There’s nothing quite like the aroma of freshly baked cinnamon rolls wafting through your kitchen, especially when they’re infused with the warm, comforting flavors of fall. These aren’t just any cinnamon rolls; they are the ultimate Apple Cinnamon Rolls, guaranteed to be super gooey, incredibly soft, and bursting with two layers of delightful filling. Imagine a generous swirl of classic cinnamon sugar combined with a luscious apple pie filling, all encased in a tender, fluffy dough. To elevate them even further, each roll is generously crowned with a decadent brown butter cream cheese icing and an extra dollop of spiced apple pie filling. They are the perfect breakfast, brunch, or dessert for any occasion, truly embodying the essence of cozy, homemade comfort.
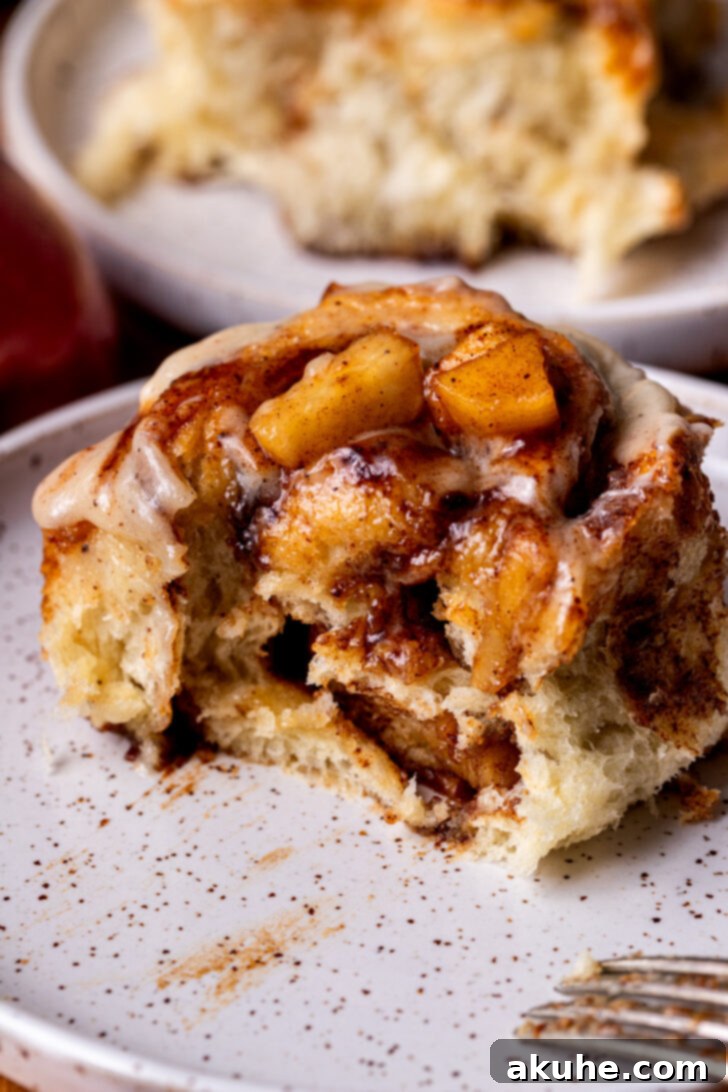
As the seasons change and the crisp autumn air sets in, I find myself craving all things apple. The delightful pairing of sweet apples and warm cinnamon is simply irresistible, and what better way to celebrate these flavors than with a batch of homemade cinnamon rolls? This recipe guides you through every step with detailed tips, essential tricks, and helpful process photos, ensuring your baking journey is a success. If you’re a true fan of apple-infused pastries, you’ll also adore my Apple Cider Cinnamon Rolls for another fantastic fall treat.
Mastering Your Homemade Apple Cinnamon Rolls: Expert Tips for Success
Achieving bakery-quality apple cinnamon rolls at home is easier than you think with these crucial tips and techniques. These insights will help ensure your rolls are perfectly soft, fluffy, and full of flavor every single time. For even more detailed guidance on specific techniques, be sure to check out my comprehensive guide on how to make brown butter.
- Tip 1: The Art of Measuring Flour for Perfect Dough. The foundation of soft, airy cinnamon rolls lies in correctly measured flour. Avoid compacting the flour by scooping it into your measuring cup with a spoon, then leveling it off with a straight edge. Pressing the measuring cup directly into the flour bag or container can pack in too much flour, leading to a dense, dry dough. Precision here makes all the difference for a light and tender texture in your rolls.
- Tip 2: Creating the Ideal Warm Environment for Dough Rise. Yeast thrives in warmth, which is absolutely essential for a successful rise. A simple yet effective trick is to preheat your oven to a very low 200°F (95°C) for just a few minutes, then immediately turn it OFF before placing your covered bowl of dough inside. Crucially, leave the oven door slightly ajar to prevent the temperature from becoming too hot and inadvertently killing the delicate yeast. This method creates a consistently warm, draft-free environment where your dough can double in size beautifully, resulting in wonderfully fluffy rolls.
- Tip 3: Prepare Your Apple Pie Filling Ahead of Time. To streamline your baking process and make assembly a breeze, the apple pie filling can be prepared while your dough is going through its first rise, or even a day in advance. Making it ahead of time allows it to cool completely, which is important for easy spreading and prevents it from overheating the delicate yeast dough during the rolling and cutting stages. This simple step helps manage your time efficiently and ensures a smooth, stress-free workflow.
- Tip 4: Room Temperature Ingredients Are Key for Consistency. For all components of this recipe – the dough, the cinnamon filling, and especially the rich cream cheese brown butter icing – ensure your dairy ingredients (milk, eggs, butter, cream cheese) are at room temperature. This allows them to emulsify properly, creating a smoother, more pliable dough, a creamier, more spreadable filling, and a velvety icing without any unwanted lumps. Plan to take them out of the refrigerator at least 1-2 hours before you intend to start your baking adventure.
- Tip 5: Avoid Overworking the Dough for Maximum Softness. While kneading is an essential step for developing gluten and achieving that satisfying chewy texture, over-kneading can result in tough, rubbery rolls. Follow the recommended kneading times precisely, and if mixing by hand, pay close attention to the dough’s feel – it should be smooth, elastic, and spring back gently when poked, not stiff or overly resistant.
- Tip 6: Achieving the Perfect Slice with a Serrated Knife. When it comes to cutting your rolled dough into individual apple cinnamon rolls, a sharp serrated knife is your secret weapon. Its gentle sawing motion minimizes squishing the delicate layers of dough and filling, ensuring beautiful, perfectly round rolls with distinct spirals. Alternatively, unflavored dental floss can be used for an even cleaner, more professional-looking cut, simply by sliding it under the log and crossing the ends over the top to slice.
Why These Apple Cinnamon Rolls Will Become Your New Favorite
These aren’t just ordinary cinnamon rolls; they are an extraordinary baking experience, crafted to deliver maximum flavor and an irresistibly soft texture that will leave a lasting impression. Here’s why this particular recipe stands out and is destined to become a beloved staple in your kitchen:
- Unmatched Gooeyness and Softness: At the heart of these rolls is a tender, enriched yeast dough that bakes up incredibly light and fluffy. This, combined with the unique inclusion of a slightly runny, homemade apple pie filling within the layers, creates an unparalleled level of gooeyness and softness that truly melts in your mouth with every bite.
- Double the Apple & Cinnamon Flavor: We believe in going big on flavor! This recipe doesn’t just stop at one filling. A classic, luscious buttery cinnamon sugar layer is perfectly complemented by a vibrant, spiced homemade apple pie filling. This double-layered approach ensures an explosion of comforting, autumnal flavors in every single bite, making these rolls perfect for fall gatherings, holiday breakfasts, or simply a cozy weekend treat.
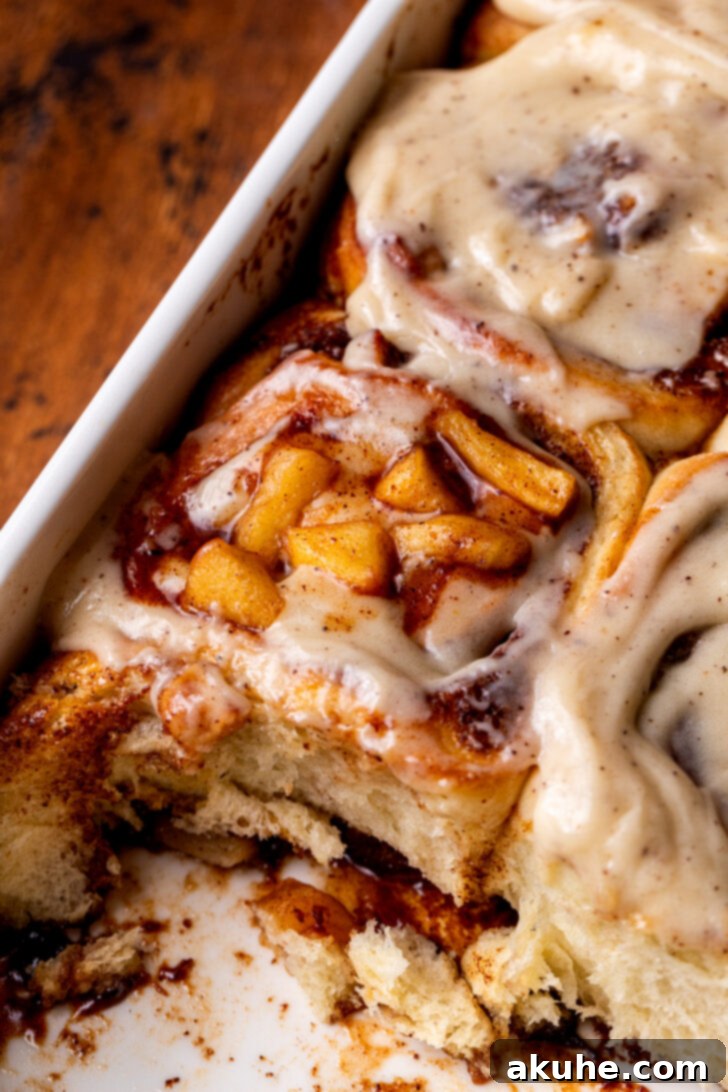
- Decadent Brown Butter Cream Cheese Icing: The crowning glory of these apple cinnamon rolls is undoubtedly the rich, nutty, and utterly irresistible brown butter cream cheese icing. Browning the butter beforehand adds an incredible depth of complex, toasted flavor that a standard cream cheese frosting simply cannot match, elevating the entire experience from delicious to truly gourmet.
- Extra Apple Pie Topping for Indulgence: As if the generously stuffed fillings weren’t enough, we take these rolls to the next level by finishing them with an additional, abundant dollop of that delicious spiced apple pie filling on top. This ensures an even more intense apple flavor and provides a stunning, inviting presentation that’s sure to impress.
- Perfect for Any Occasion: Whether you’re searching for a show-stopping holiday breakfast centerpiece, a comforting and hearty brunch item, a delightful dessert to share, or just a sweet indulgence for yourself, these apple cinnamon rolls are incredibly versatile and always prove to be an impressive and welcomed treat.
- Designed for Success with Step-by-Step Guidance: This recipe has been meticulously crafted and tested to guarantee your baking success. It features clear, concise instructions, invaluable expert tips, and helpful illustrative photos to guide both novice and experienced bakers confidently through every step of the process, ensuring a perfect batch of rolls every time.
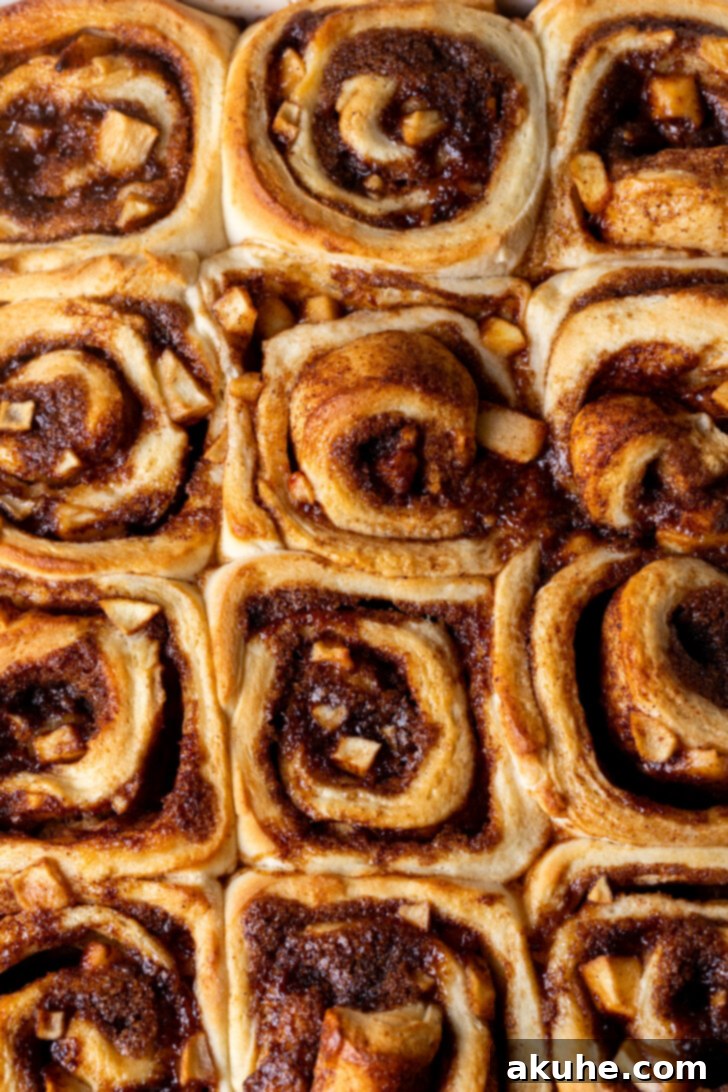
The delightful combination of apples and cinnamon is a timeless classic, especially cherished during the cooler months and holiday seasons. These homemade apple cinnamon rolls offer a harmonious blend of sweetness, spice, and tender texture that will leave everyone asking for more. Imagine the pure joy of pulling apart one of these warm, fragrant rolls, with its intricate sweet cinnamon swirl, soft, spiced apple chunks, and a luxurious, glistening icing. It’s a truly comforting, indulgent, and satisfying experience that brings warmth and happiness to any home.
If these fall-inspired apple cinnamon rolls have captured your heart and taste buds, you must explore my other seasonal favorites. Indulge in the cozy flavors of autumn with the rich Pumpkin Spice Cinnamon Rolls or delight in the decadent sweetness of my Pecan Pie Cinnamon Rolls. Each recipe brings its unique festive flair to the classic cinnamon roll experience, perfect for celebrating the autumn and winter holidays, or simply enjoying the best of seasonal baking.
We truly hope you loved this recipe for homemade Apple Cinnamon Rolls! Your feedback is incredibly valuable, so please consider leaving a star rating and review below to share your experience. Don’t forget to share your delicious creations with us on Instagram by tagging @stephaniesweettreats. For even more inspiring baking ideas, delightful sweet treats, and delicious recipes delivered right to your feed, be sure to follow us on Pinterest.
Recipe Video: Watch and Learn
Watch our comprehensive step-by-step video guide to master these delicious apple cinnamon rolls and bring them to life in your kitchen!
Apple Cinnamon Rolls
Pin Recipe
Leave a Review
Ingredients
Dough
- 1 cup Milk, warmed to 110°F (43°C)
- 2 1/4 tsp Active dry yeast (or 1 packet)
- 2 Large eggs, room temperature
- 4 1/2 cups All-purpose flour (spooned and leveled)
- 1 tsp Salt
- 1/4 cup White granulated sugar
- 10 TBSP Unsalted butter, room temperature and cubed
Apple Pie Filling
- 2 1/2 Gala apples, peeled, cored, and diced into small cubes
- 1/4 cup White granulated sugar
- 2 TBSP Water
- 1 tsp Lemon juice
- 1 tsp Ground cinnamon
- 1/2 tsp Ground ginger
- 1/4 tsp Ground nutmeg
- 2 tsp Cornstarch
Cinnamon Filling
- 1/2 cup Unsalted butter, room temperature
- 1/2 cup Brown sugar, packed (light or dark)
- 1 TBSP Ground cinnamon
Cream Cheese Brown Butter Icing
- 4 oz Cream cheese, room temperature
- 4 TBSP Unsalted butter, browned and cooled
- 1 cup Powdered sugar, sifted
- 1 tsp Pure vanilla extract
- 1-2 TBSP Milk or cream (for desired consistency, optional)
Instructions
Dough Preparation
- In a microwave-safe bowl, gently warm the milk to precisely 110°F (43°C). Be careful not to overheat, as this can kill the yeast. Sprinkle the active dry yeast over the warmed milk and let it sit undisturbed for 10 minutes. During this time, the yeast should activate and become foamy, indicating it’s alive and ready to work. In a separate small bowl, lightly beat the two large eggs and set aside.
- While the yeast mixture is blooming, combine the all-purpose flour, granulated sugar, and salt in a large mixing bowl. Add the cubed, room temperature unsalted butter, the lightly beaten eggs, and the activated milk/yeast mixture to the dry ingredients.
- If using a stand mixer, attach the dough hook. Start mixing on low speed until a shaggy dough begins to form and most of the flour is incorporated. Then, increase the speed to medium and knead for about 5 minutes until the dough is smooth, elastic, and pulls away from the sides of the bowl. If mixing by hand, follow the detailed instructions in the “Notes” section below.
- Lightly spray a large clean bowl with nonstick cooking spray. Transfer the dough to this bowl, turning it once to coat lightly. Cover the bowl with a clean kitchen towel. Create a warm environment for rising by preheating your oven to 200°F (95°C) for a few minutes, then turn the oven OFF. Place the covered bowl of dough inside the warm oven and leave the oven door cracked open. Let the dough rise for 1 hour, or until it has doubled in size.
Preparing the Apple Pie Filling
- In a medium saucepan, combine the diced Gala apples, granulated sugar, water, lemon juice, ground cinnamon, ground ginger, ground nutmeg, and cornstarch. Heat the mixture over medium heat, stirring occasionally. The apples will start to release their juices. Continue to cook, stirring frequently, until the mixture thickens to a luscious pie-filling consistency. This usually takes about 5 minutes once it starts bubbling. Remove from heat and allow the filling to cool completely. For faster cooling, transfer it to a bowl and place it in the refrigerator while the dough is rising.
Assembling the Cinnamon Rolls
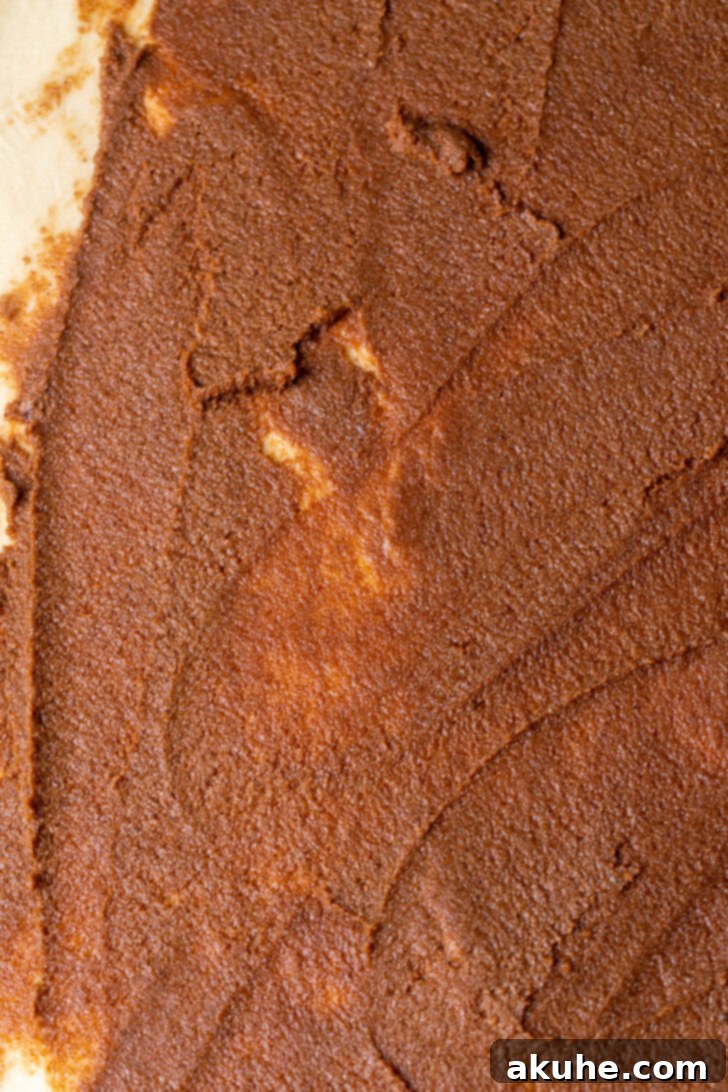
- For the cinnamon filling, in a small bowl, use a hand mixer to beat the room temperature unsalted butter, brown sugar (light or dark, packed), and 1 tablespoon of ground cinnamon on high speed for 2 minutes until the mixture is light and fluffy.
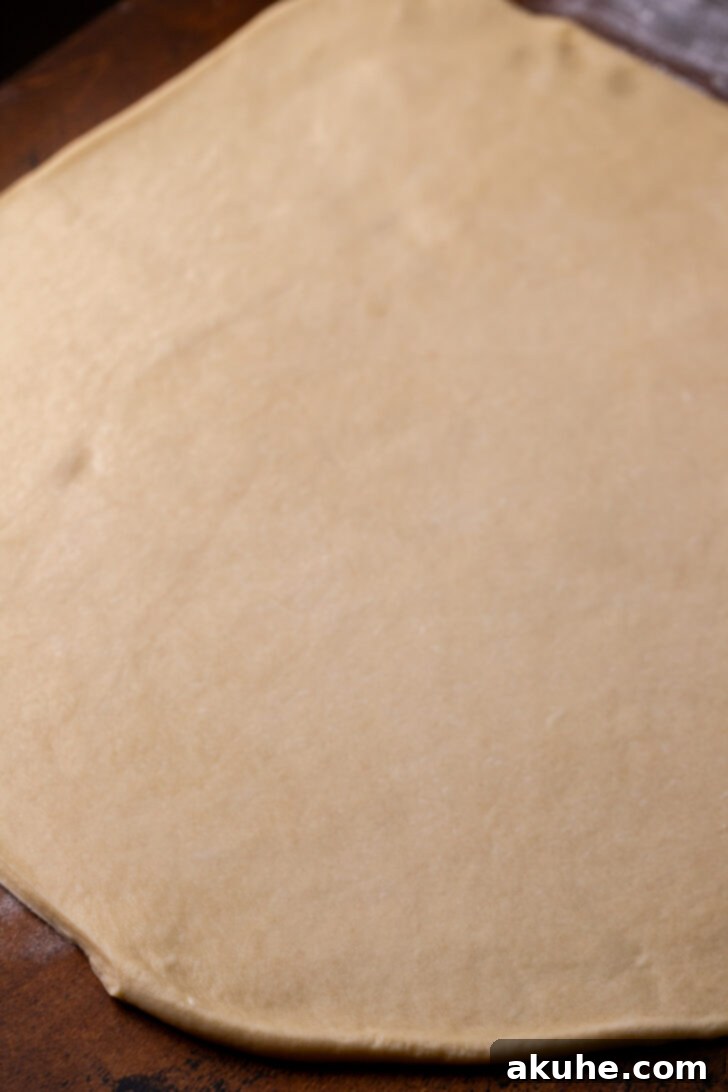
- Once the dough has risen, gently punch it down to release the air. Lightly flour a clean work surface and use a rolling pin to roll the dough into a large rectangle, approximately 1/4 inch thick. Aim for a consistent thickness across the entire rectangle for even rolls.
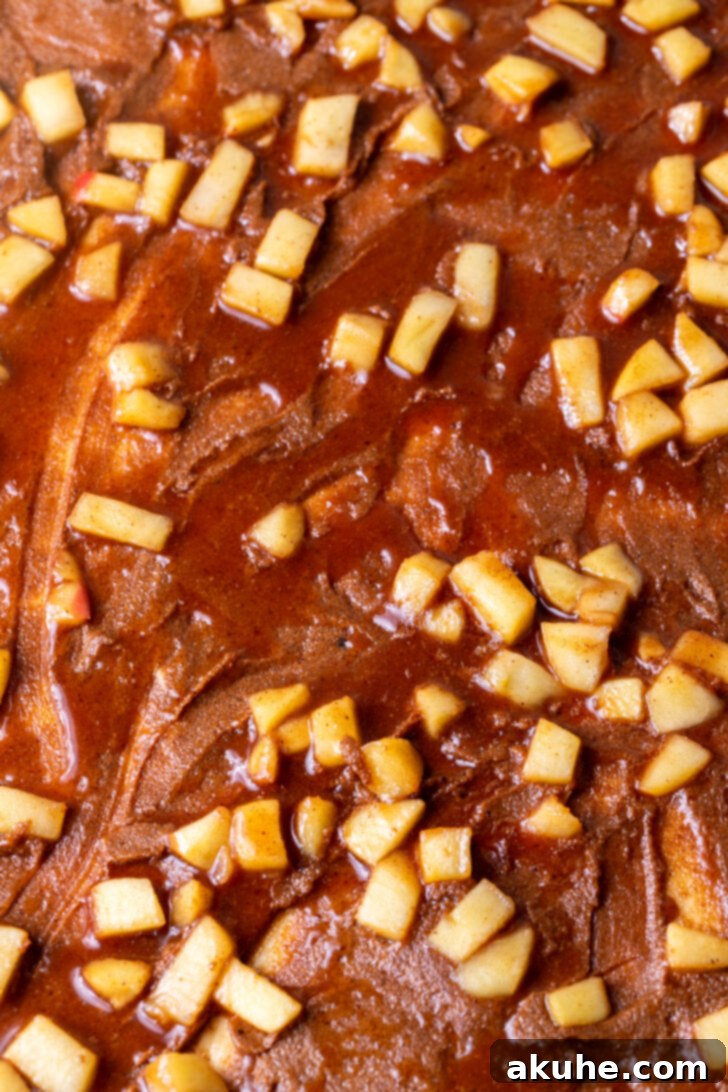
- Evenly spread the prepared cinnamon filling over the entire surface of the rolled-out dough using an offset icing spatula or the back of a spoon. Next, carefully spread 1 cup of the cooled apple pie filling over the cinnamon filling. (Remember to reserve the remaining apple pie filling for topping the baked rolls later.)
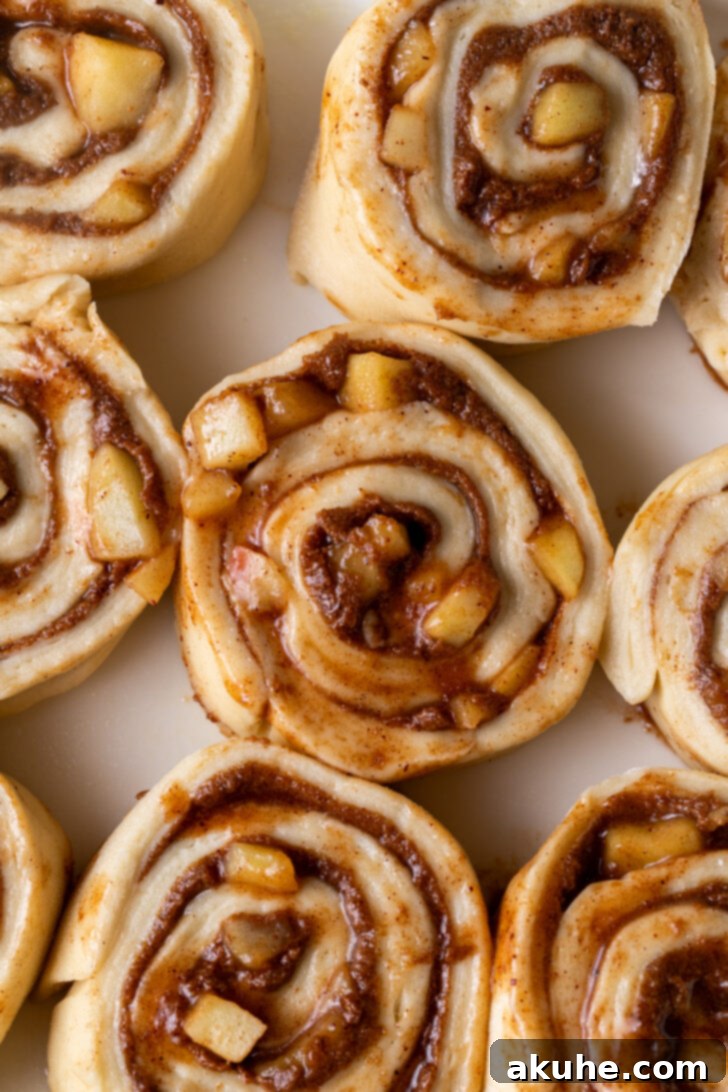
- Carefully roll the dough tightly from one long side to the other, forming a snug log. Use a sharp serrated knife to gently trim off any uneven ends. Then, using a light sawing motion, cut the log into 12 equal-sized rolls. Prepare a 9×13 inch baking pan by spraying it thoroughly with nonstick baking spray. Arrange the cut cinnamon rolls in the prepared pan, leaving a small space between each to allow for their final rise.
- Cover the pan with a clean kitchen towel and let the rolls rise for a second time for 20 minutes in a warm place. While they are rising, preheat your oven to 375°F (190°C).
- Bake the rolls for 28-30 minutes, or until the tops are beautifully light golden brown and an instant-read thermometer inserted into the center of a roll reads 160°F (71°C). This ensures they are cooked through and perfectly soft and gooey.
Crafting the Brown Butter Cream Cheese Icing
- Begin making the icing while the cinnamon rolls are baking. In a small frying pan or saucepan, melt the 4 tablespoons of unsalted butter over medium heat. Continue to cook, stirring occasionally, until the butter solids at the bottom of the pan turn an amber color and smell wonderfully nutty. This is brown butter. Immediately remove from heat and pour into a heatproof bowl to stop the cooking process. Allow it to cool completely to room temperature. This step adds a wonderful depth of flavor to your icing.
- Once the brown butter has cooled, use a hand mixer to beat the room temperature cream cheese and the cooled brown butter together until the mixture is smooth and lump-free. Gradually add in the sifted powdered sugar and the pure vanilla extract. Mix until thoroughly combined and the icing is smooth. If the icing is too thick for your liking, add 1-2 tablespoons of milk or cream, one teaspoon at a time, until it reaches a pourable yet still thick consistency.
- Once the baked rolls are out of the oven and have cooled slightly (they should still be warm to touch), generously pour or spoon the brown butter cream cheese icing over the top. Use a spoon or offset spatula to gently spread it evenly across all the rolls. For an extra touch of indulgence and flavor, top each warm roll with a spoonful of the reserved apple pie filling. Serve immediately and enjoy the ultimate comfort of homemade apple cinnamon rolls!
Notes
High-Altitude Baking Adjustment: For those baking at higher altitudes (typically above 3,000 feet or 900 meters), you may need to adjust the flour amount slightly. A common adjustment is to add an extra 3 tablespoons of all-purpose flour to help achieve the correct dough consistency, preventing the dough from being too wet.
Room Temperature Dairy for Optimal Blending: For the best results in both your dough and icing, ensure all dairy ingredients, including milk, eggs, butter, and cream cheese, are at room temperature. This allows them to emulsify and blend seamlessly with other ingredients, creating a smoother, more uniform dough and a lusciously creamy icing without lumps. Plan to pull them out of the refrigerator approximately 2 hours before you start your baking process.
Mixing Dough by Hand Instructions: If you don’t have the convenience of a stand mixer, you can absolutely make this wonderful dough by hand!
First, use a sturdy rubber spatula or wooden spoon to mix the wet ingredients into the dry until a shaggy dough begins to form. Then, turn the dough out onto a lightly floured surface. Knead the dough vigorously with your hands for 5-8 minutes. The dough is properly kneaded when it feels smooth, elastic, and no longer sticky. A good indicator of well-developed gluten is the “windowpane test”: stretch a small piece of dough thinly between your fingers. If you can see light through it without it tearing, the gluten is well developed, and your dough is perfectly ready for its first rise.
Brown Butter for Enhanced Flavor (Optional): While browning the butter for the icing adds an incredible, complex nutty depth of flavor that truly elevates these rolls, it is an optional step. If you prefer a simpler icing or are short on time, you can simply melt the butter and use it that way. The rolls will still be wonderfully delicious with a classic cream cheese frosting.
Storage and Reheating Tips: Store any leftover apple cinnamon rolls in an airtight container. They can be kept at room temperature for up to 2 days, or in the refrigerator for up to 5 days. For that fresh-from-the-oven softness and warmth, simply reheat individual rolls briefly in the microwave (15-30 seconds) or in a preheated oven at 300°F (150°C) for about 5-10 minutes.
Nutrition Facts
Calories: 490kcal, Carbohydrates: 70g, Protein: 7g, Fat: 25g, Saturated Fat: 16g, Polyunsaturated Fat: 1g, Monounsaturated Fat: 6g, Trans Fat: 1g, Cholesterol: 67mg, Sodium: 239mg, Potassium: 156mg, Fiber: 3g, Sugar: 22g, Vitamin A: 823IU, Vitamin C: 2mg, Calcium: 66mg, Iron: 2mg
Did you make this recipe?
Please leave a star rating and review below!
