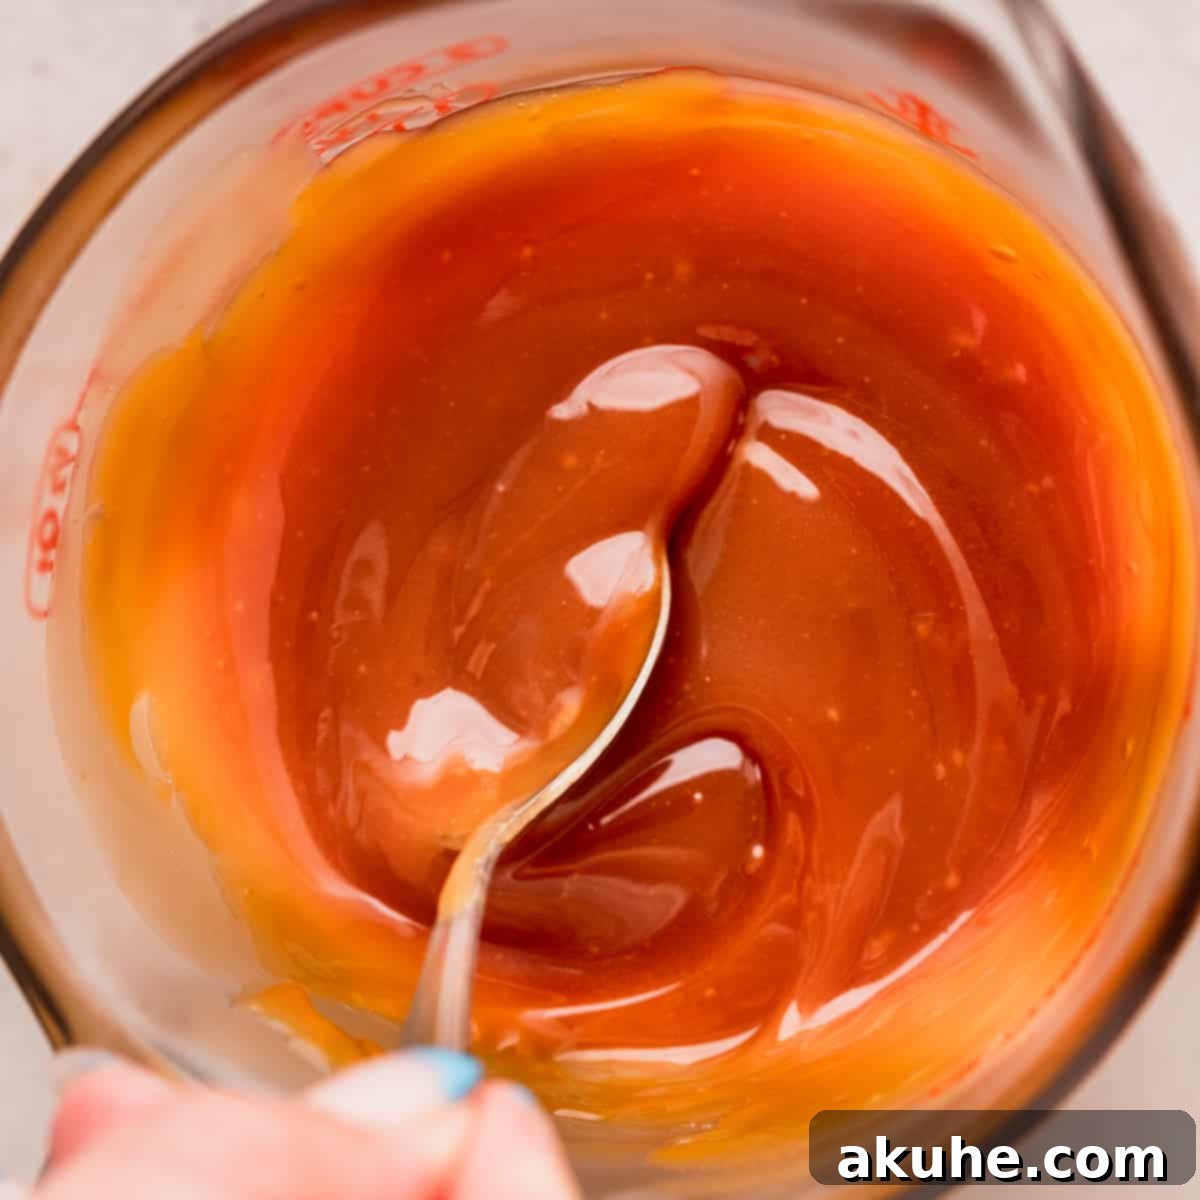
The Ultimate Guide to Making Easy Homemade Salted Caramel
Discover the secret to making rich, buttery, and perfectly balanced homemade salted caramel with just 5 simple ingredients. This recipe is surprisingly easy to master and promises a luxurious topping that will elevate all your favorite desserts, from creamy vanilla ice cream to decadent brownies and delicate cupcakes. Forget store-bought sauces; once you taste the unparalleled flavor of homemade caramel, you’ll never go back!
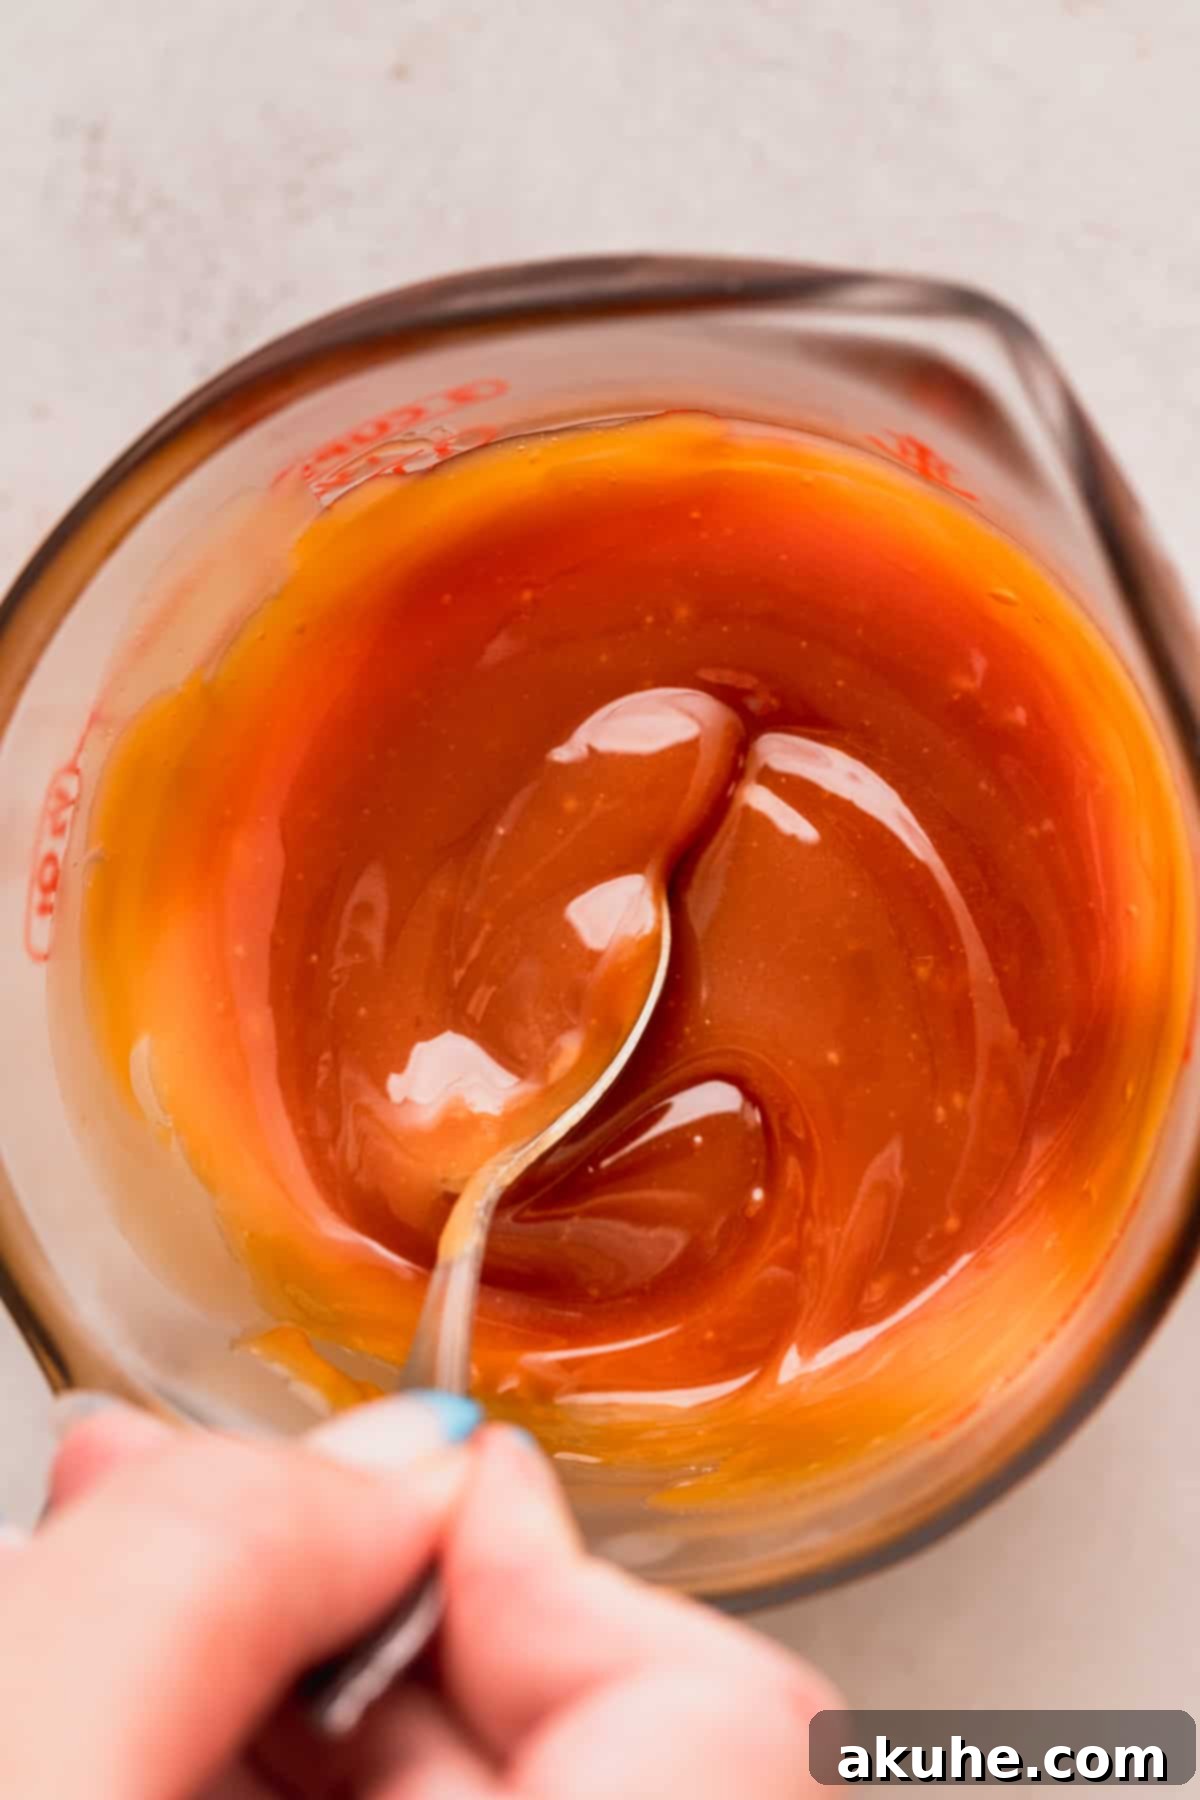
For many home bakers, the thought of making salted caramel from scratch can feel daunting. Images of burnt sugar and seized lumps often discourage even the most enthusiastic cooks. However, this foolproof salted caramel recipe is designed to demystify the process, revealing just how incredibly easy and rewarding it is to create this liquid gold in your own kitchen. After trying it once, any apprehension you might have had will melt away, replaced by the satisfying joy of crafting something truly special.
There’s genuinely nothing quite like made-from-scratch caramel. Its depth of flavor, smooth texture, and customizable saltiness simply can’t be replicated by mass-produced alternatives. Imagine drizzling this warm, amber delight over a scoop of vanilla ice cream, allowing it to slowly seep into the crevices of a warm brownie, or adding a sophisticated swirl to a batch of freshly baked cupcakes. It transforms ordinary treats into extraordinary culinary experiences.
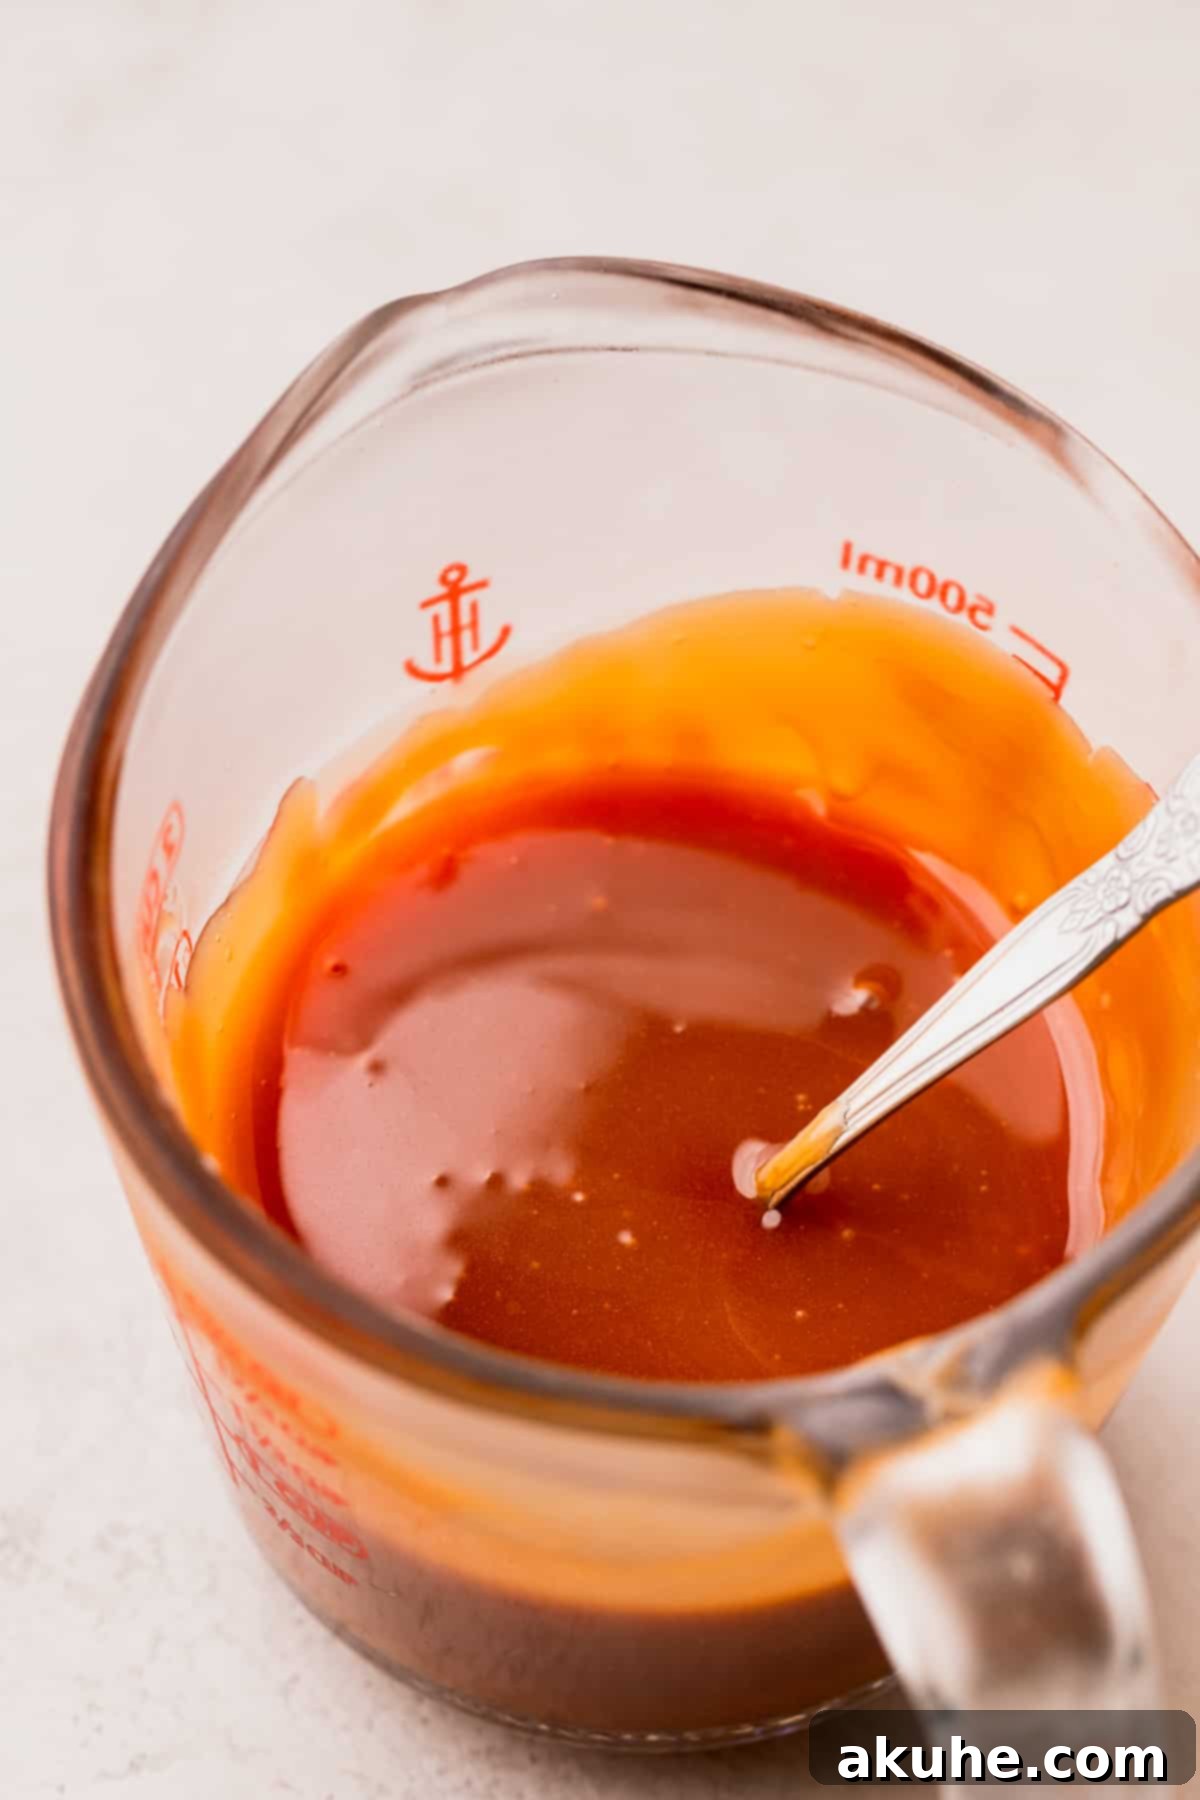
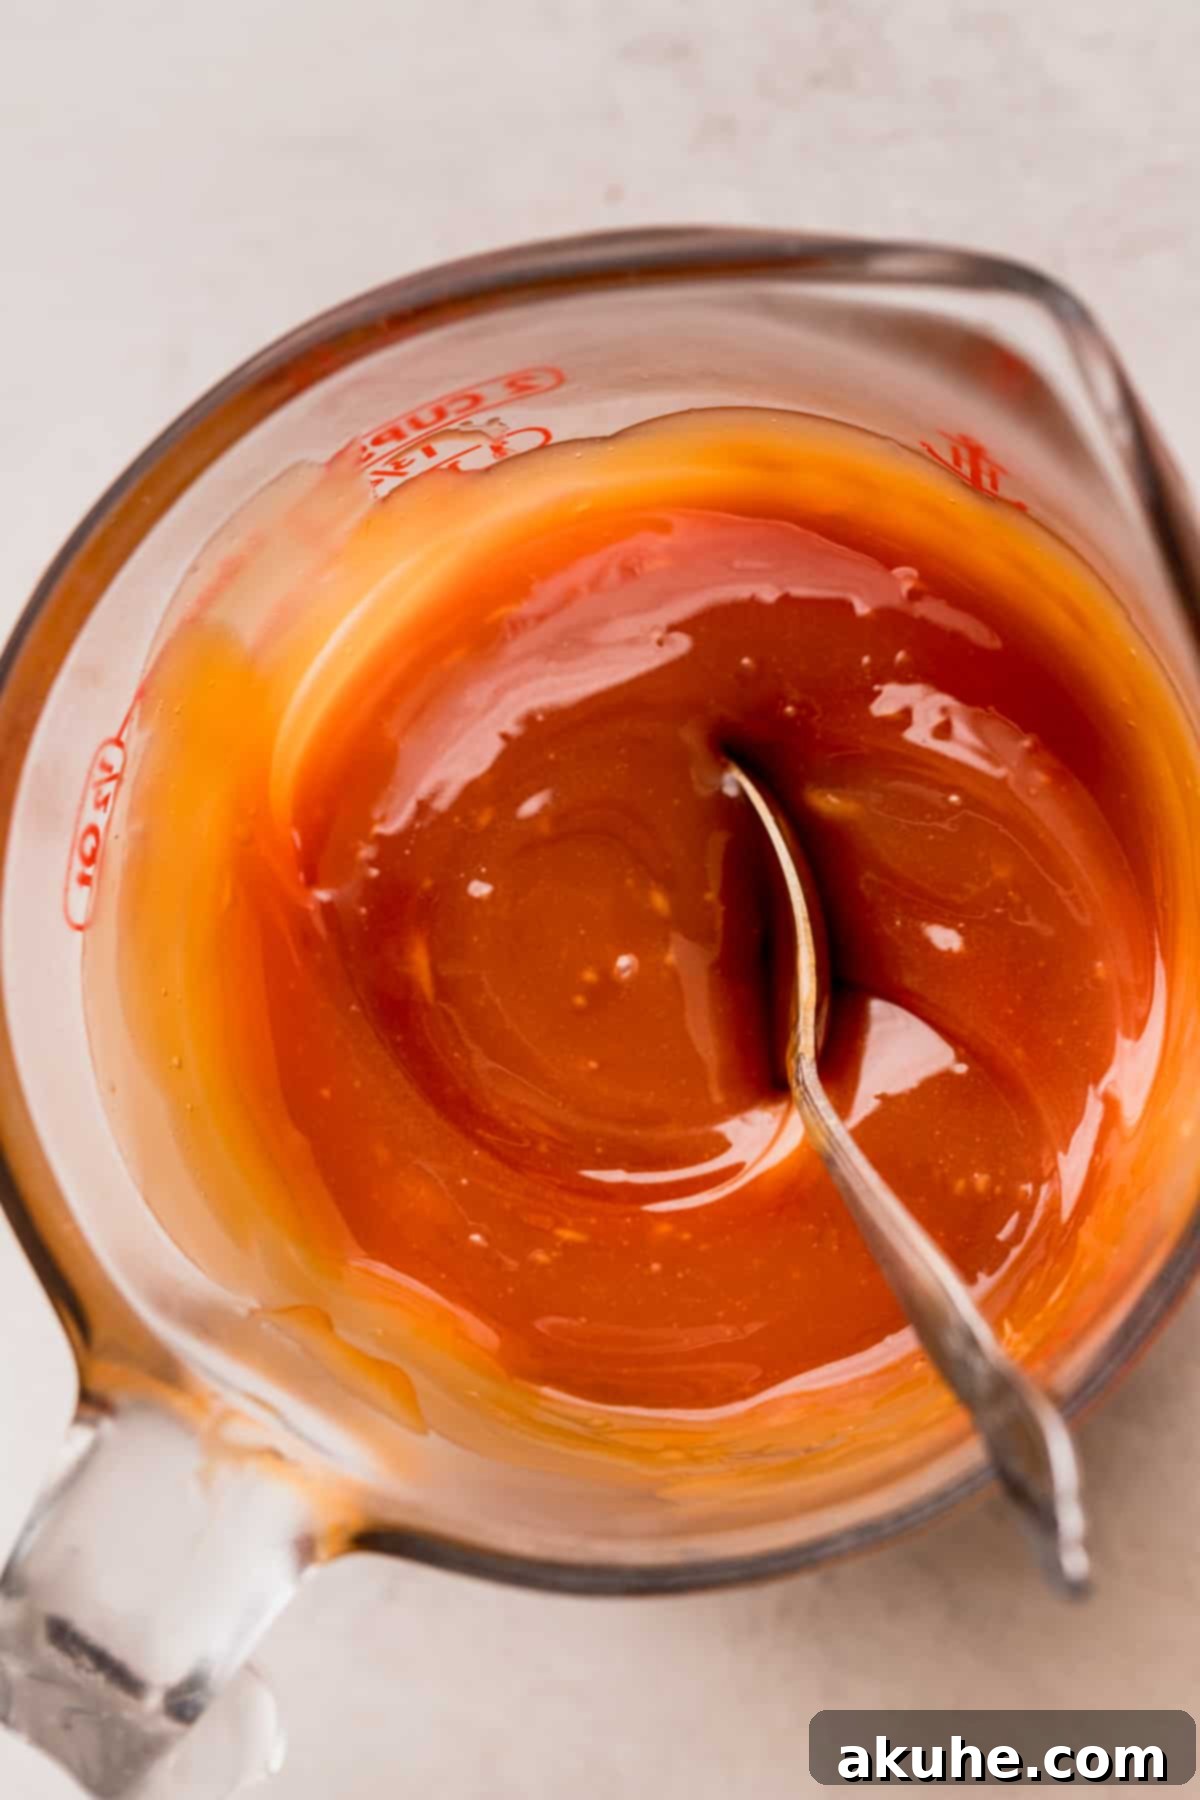
Initially, this homemade caramel will be a warm, pourable sauce. Its fluidity makes it perfect for drizzling straight from the pan. As it cools to room temperature, it will naturally thicken, achieving that luscious, clingy consistency ideal for spreading, filling, or simply enjoying by the spoonful. This versatility makes it an essential staple for any dessert enthusiast.
Once you master this base recipe, a world of salted caramel-infused desserts awaits! Don’t miss trying our Salted Caramel Cinnamon Cupcakes, a rich and creamy Caramel Cheesecake, and the comforting flavors of our Caramel Apple Spice Cake. These recipes showcase just how wonderfully this versatile sauce can enhance a variety of baked goods.
Why This Homemade Salted Caramel Recipe Stands Out
This isn’t just another caramel recipe; it’s a game-changer. Here’s why this particular approach to homemade salted caramel will become your go-to:
- Minimal Ingredients: You only need 5 basic ingredients, most of which you likely already have in your pantry and fridge. This simplicity makes it accessible to everyone, regardless of baking experience. No obscure ingredients, just pure caramel goodness!
- Incredibly Quick and Easy: Don’t let the gourmet reputation of salted caramel fool you. This recipe comes together in a mere 10-15 minutes of active cooking time. It’s a fantastic option when you need a show-stopping dessert topping without spending hours in the kitchen.
- The Best Salted Caramel Ever: This recipe yields a consistently perfect caramel that is rich, smooth, and balanced with just the right amount of salt to enhance its sweetness. It’s truly a versatile staple in my kitchen, used for everything from holiday baking to everyday sweet cravings.
- Foolproof Method: We’ve broken down the process into clear, manageable steps, with crucial tips to help you avoid common pitfalls like burning or seizing. You’ll feel confident from start to finish.
- Versatile Application: This salted caramel isn’t just a dessert topping; it’s an ingredient that can transform countless dishes, making it incredibly useful to have on hand.
Essential Ingredients for Perfect Salted Caramel
Creating this irresistible salted caramel requires only a handful of readily available ingredients. The key to success lies in using quality ingredients and ensuring they are prepared correctly. Below are some notes on each component; for exact measurements, please refer to the detailed recipe card at the end of this article.
- Granulated Sugar: This is the foundation of our caramel. Standard white granulated sugar works perfectly. It will be melted down to create the characteristic amber color and deep flavor.
- Unsalted Butter: Using unsalted butter allows you to control the exact amount of salt in your caramel. It’s crucial that the butter is at room temperature and cubed before you add it. Cold butter can cause the hot sugar to seize up, leading to a lumpy caramel. Room temperature butter incorporates smoothly and quickly.
- Heavy Cream: Full-fat heavy cream (or whipping cream) is essential for achieving that luxurious, creamy texture. Like the butter, it must be at room temperature. Adding cold cream to hot sugar can cause a dramatic temperature shock, making the caramel seize and harden. Warming it slightly or allowing it to sit at room temperature for at least 30 minutes before use is key.
- Salt: A good quality sea salt or kosher salt is recommended to provide that perfect counterpoint to the sweetness. The “salted” in salted caramel is not just a flavor note; it truly enhances and balances the entire profile. Adjust to your taste preferences.
- Pure Vanilla Extract: Vanilla adds a beautiful aromatic depth that complements the rich caramel flavor. Use a good quality pure vanilla extract for the best results. It’s added at the very end to preserve its delicate flavor.
Ingredient Substitutions and Dietary Adaptations
While the classic recipe uses dairy, you can adapt this salted caramel to fit certain dietary needs:
- Dairy-Free Option: For a dairy-free salted caramel, you can substitute the unsalted butter with a high-quality dairy-free butter alternative (ensure it’s suitable for baking). For the heavy cream, use full-fat canned coconut milk (the thick cream portion from the top of an unshaken can) or a dairy-free heavy cream substitute. Make sure these alternatives are also at room temperature before adding them. The flavor profile might be slightly different due to the coconut, but it will still be delicious!
- Salt Adjustment: If you’re not a fan of pronounced saltiness, you can reduce the amount of salt or omit it entirely for a classic sweet caramel sauce. However, even a small pinch of salt significantly enhances the flavor and prevents it from being overly sweet.
Step-by-Step Instructions: Crafting Your Homemade Salted Caramel
Get ready to create some kitchen magic! This section will guide you through each step of making your homemade salted caramel sauce. Before you begin, gather your tools: you’ll need a medium-sized heavy-bottomed saucepan, a heat-proof whisk, and a clean glass jar or heat-safe container for storage.
STEP 1: Melt the Sugar with Patience. Begin by pouring the white granulated sugar into your medium saucepan. Place the saucepan over medium heat. This initial stage requires patience. Do not stir the sugar right away. Allow it to sit undisturbed as it slowly begins to melt around the edges and turn translucent. You’ll start to see liquid pools forming. Once a significant portion of the sugar has melted and started to liquefy, you can gently begin to whisk. Continue whisking continuously, breaking up any clumps that form. It’s normal for the sugar to clump up initially; just keep stirring until all the sugar crystals have completely dissolved and the mixture is smooth, flowing like a thick syrup, and a very light amber or pale orange color. This ensures an even melt and prevents burning.
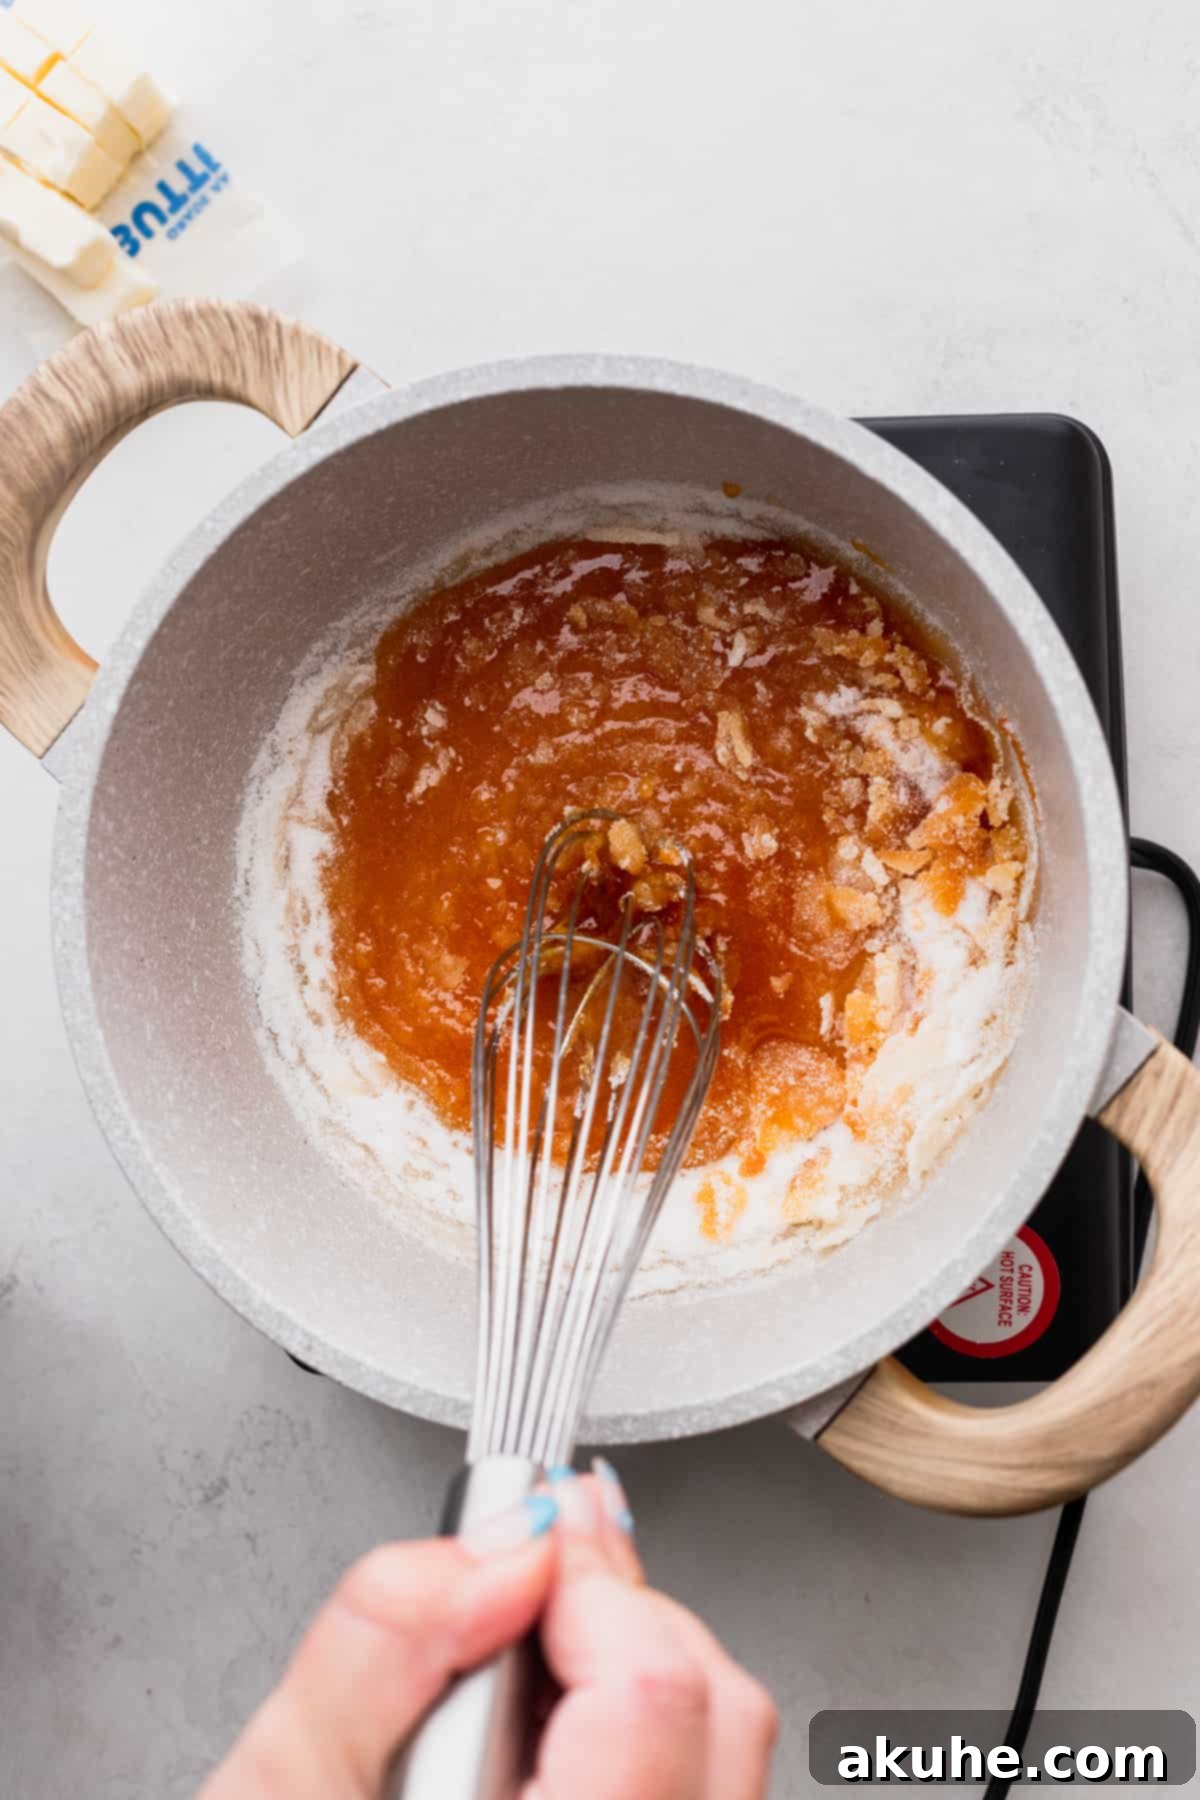
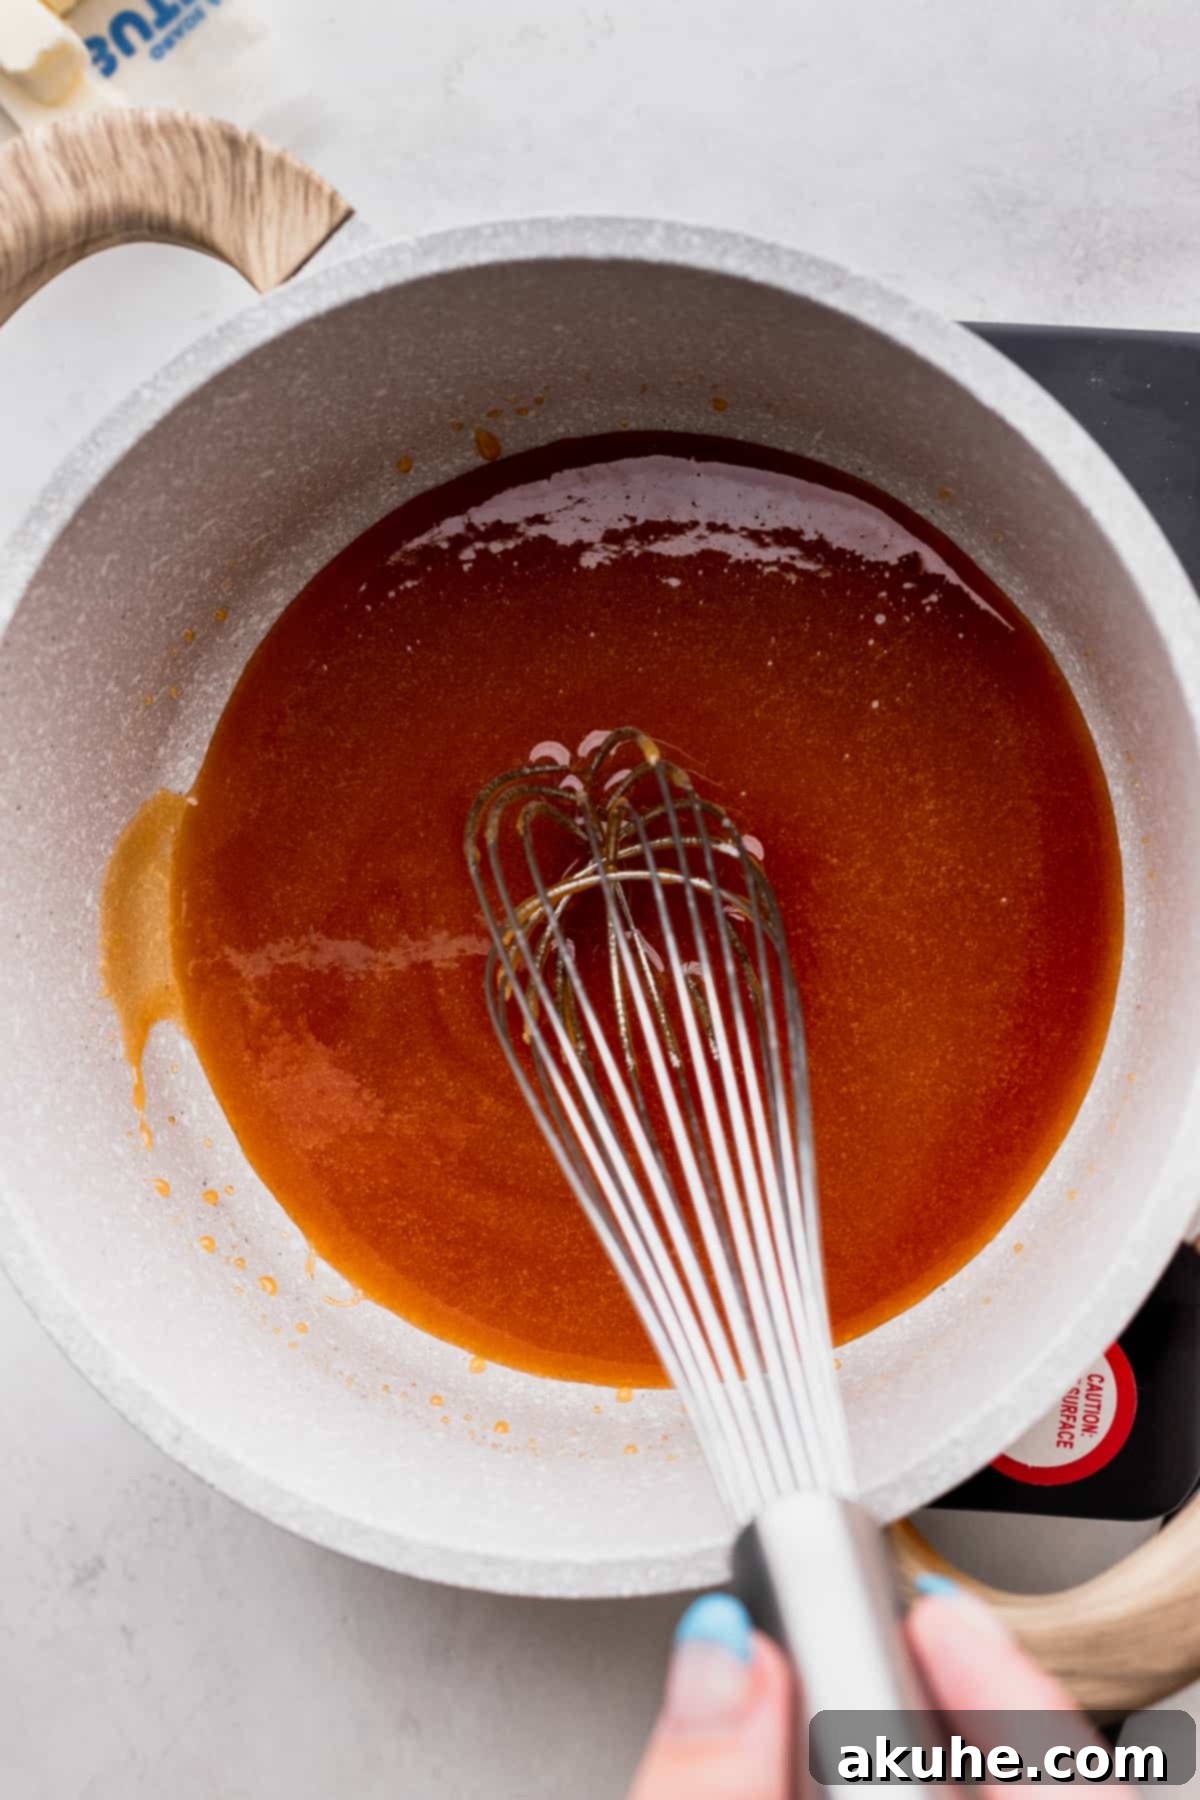
STEP 2: Achieve the Perfect Amber Hue (Act Quickly!). Now that your sugar is completely melted and smooth, allow it to continue cooking without stirring until it transforms into a beautiful, rich amber color. This stage is critical and moves very quickly, often taking only 10-15 seconds. Sugar can go from perfect to burnt in a blink of an eye, so keep a close eye on it. The moment it reaches that desired amber shade—think the color of a copper penny—immediately remove the saucepan from the heat. Leaving it on for even a few extra seconds can result in a bitter, burnt-tasting caramel.
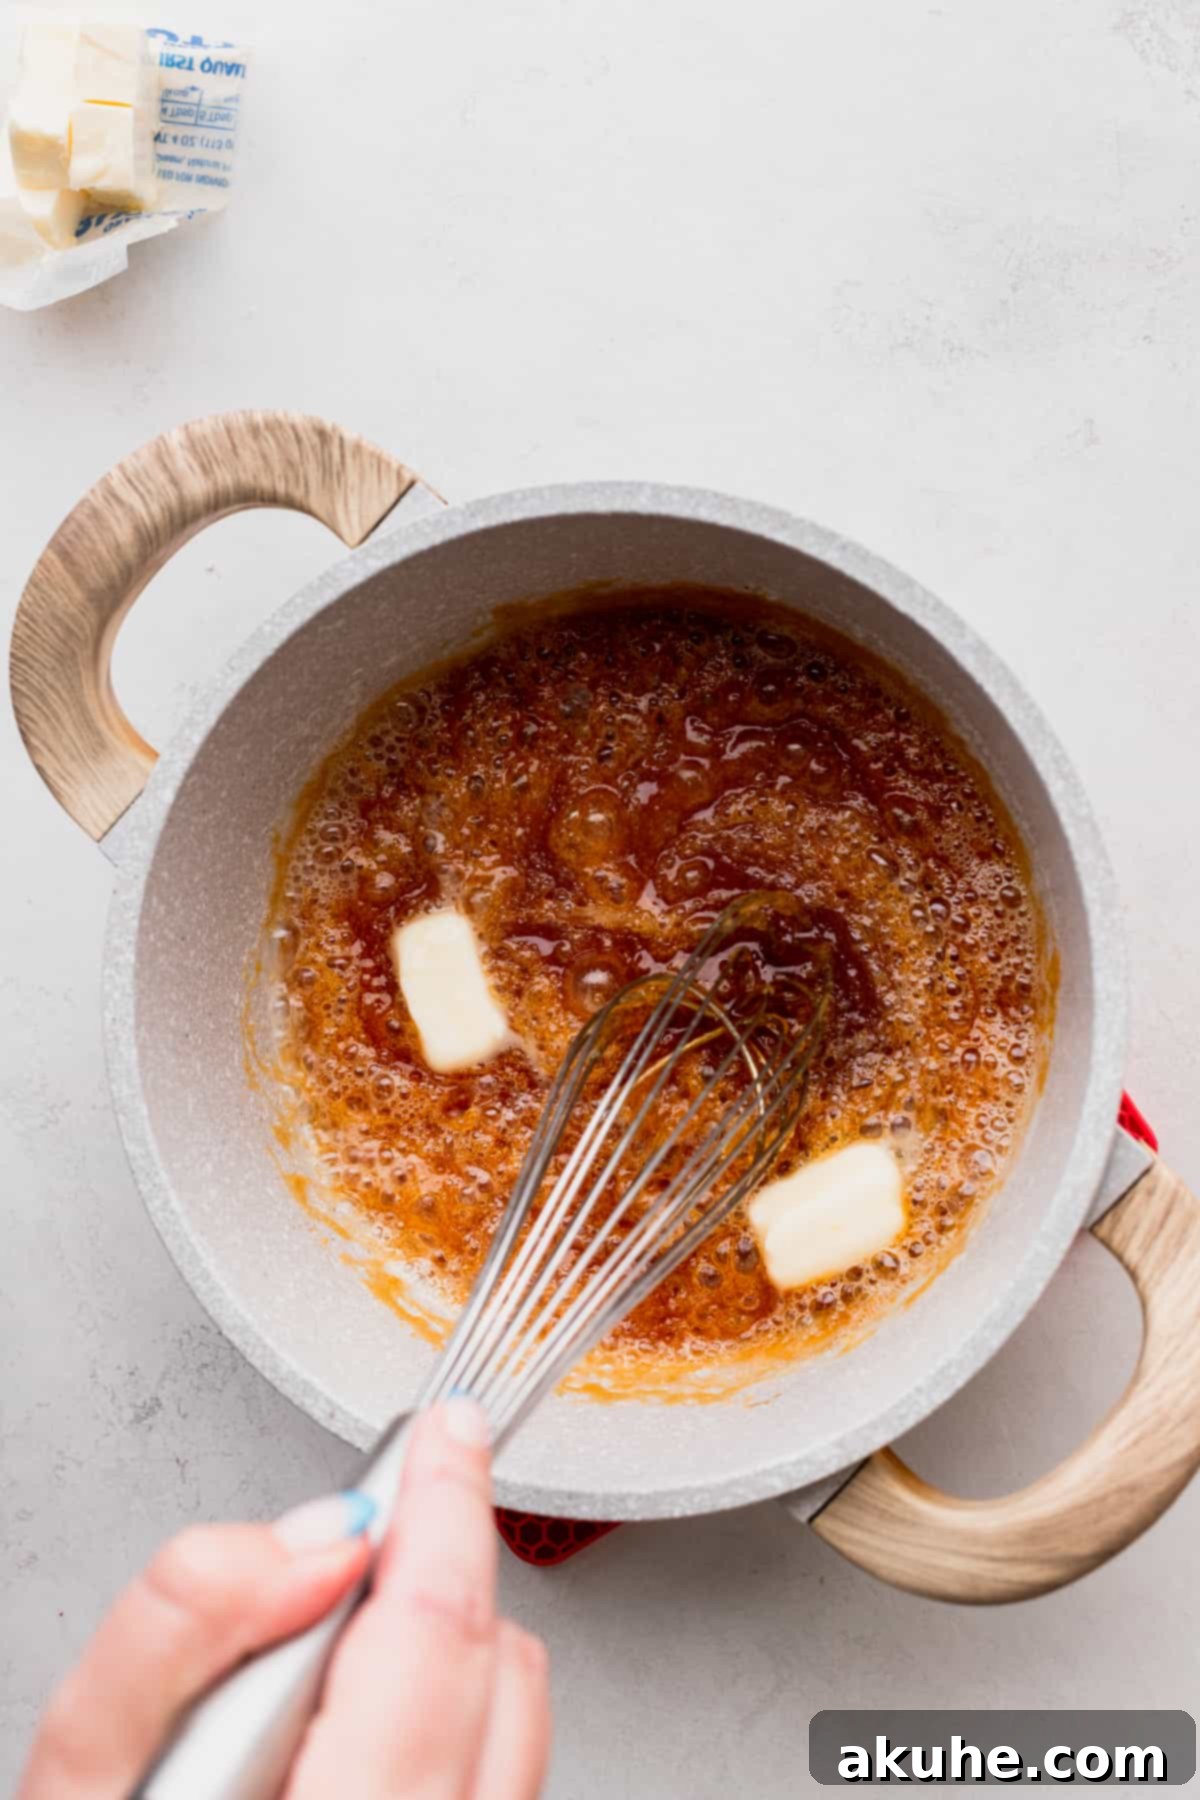
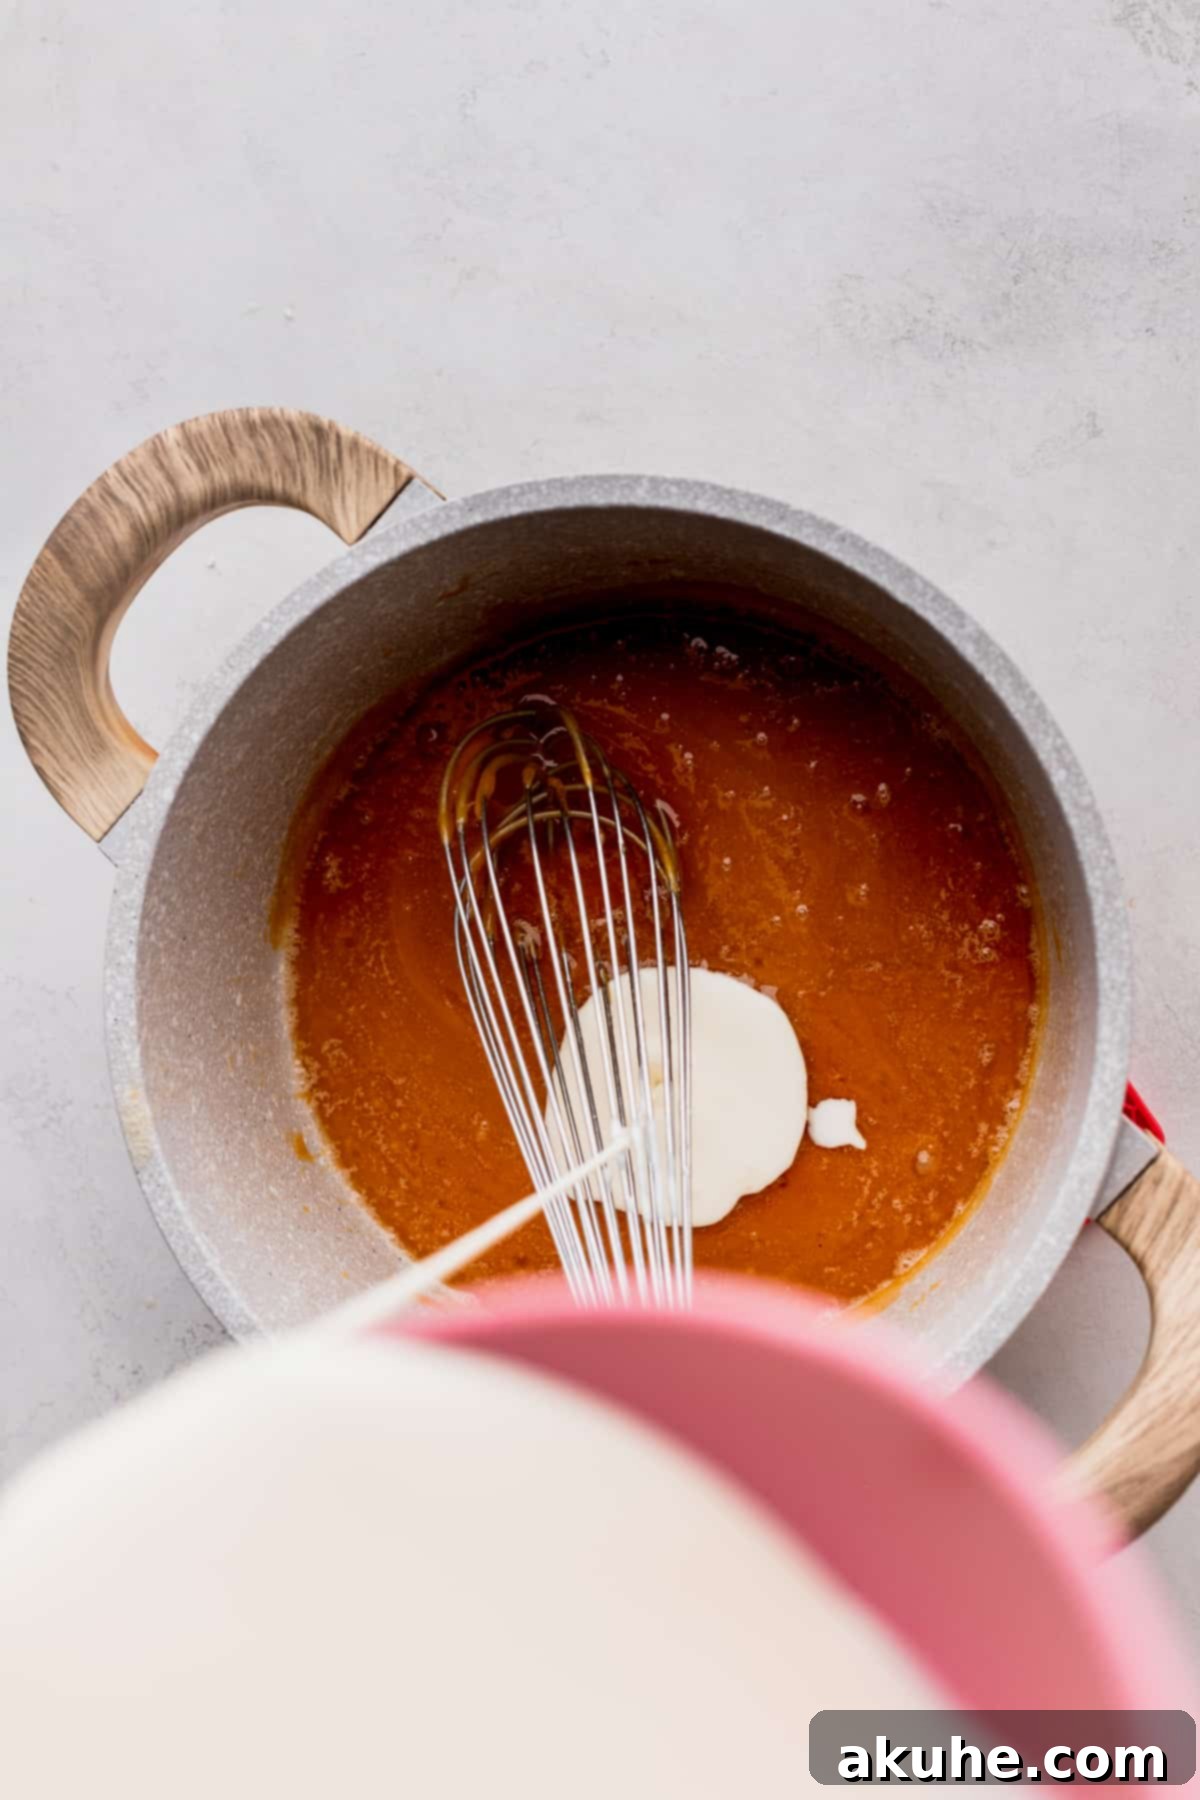
STEP 3: Incorporate Butter and Cream with Caution. This is the most dramatic step! Ensure both your butter (cubed) and heavy cream are at room temperature. Working quickly, add half of the cubed butter to the hot melted sugar. The caramel will bubble up dramatically and furiously. This is normal! Keep whisking vigorously until all the butter has completely melted into the sugar and the mixture is smooth. Once the first batch of butter is incorporated, immediately add the remaining butter and repeat the whisking process until it’s fully melted and combined. After the butter, pour in half of the room temperature heavy cream. Again, the mixture will bubble up and steam significantly. Continue whisking until the cream is fully incorporated and the caramel is smooth. Repeat with the remaining heavy cream, whisking until everything is thoroughly combined and homogenous. The key here is to keep stirring rapidly and consistently to prevent the caramel from seizing.
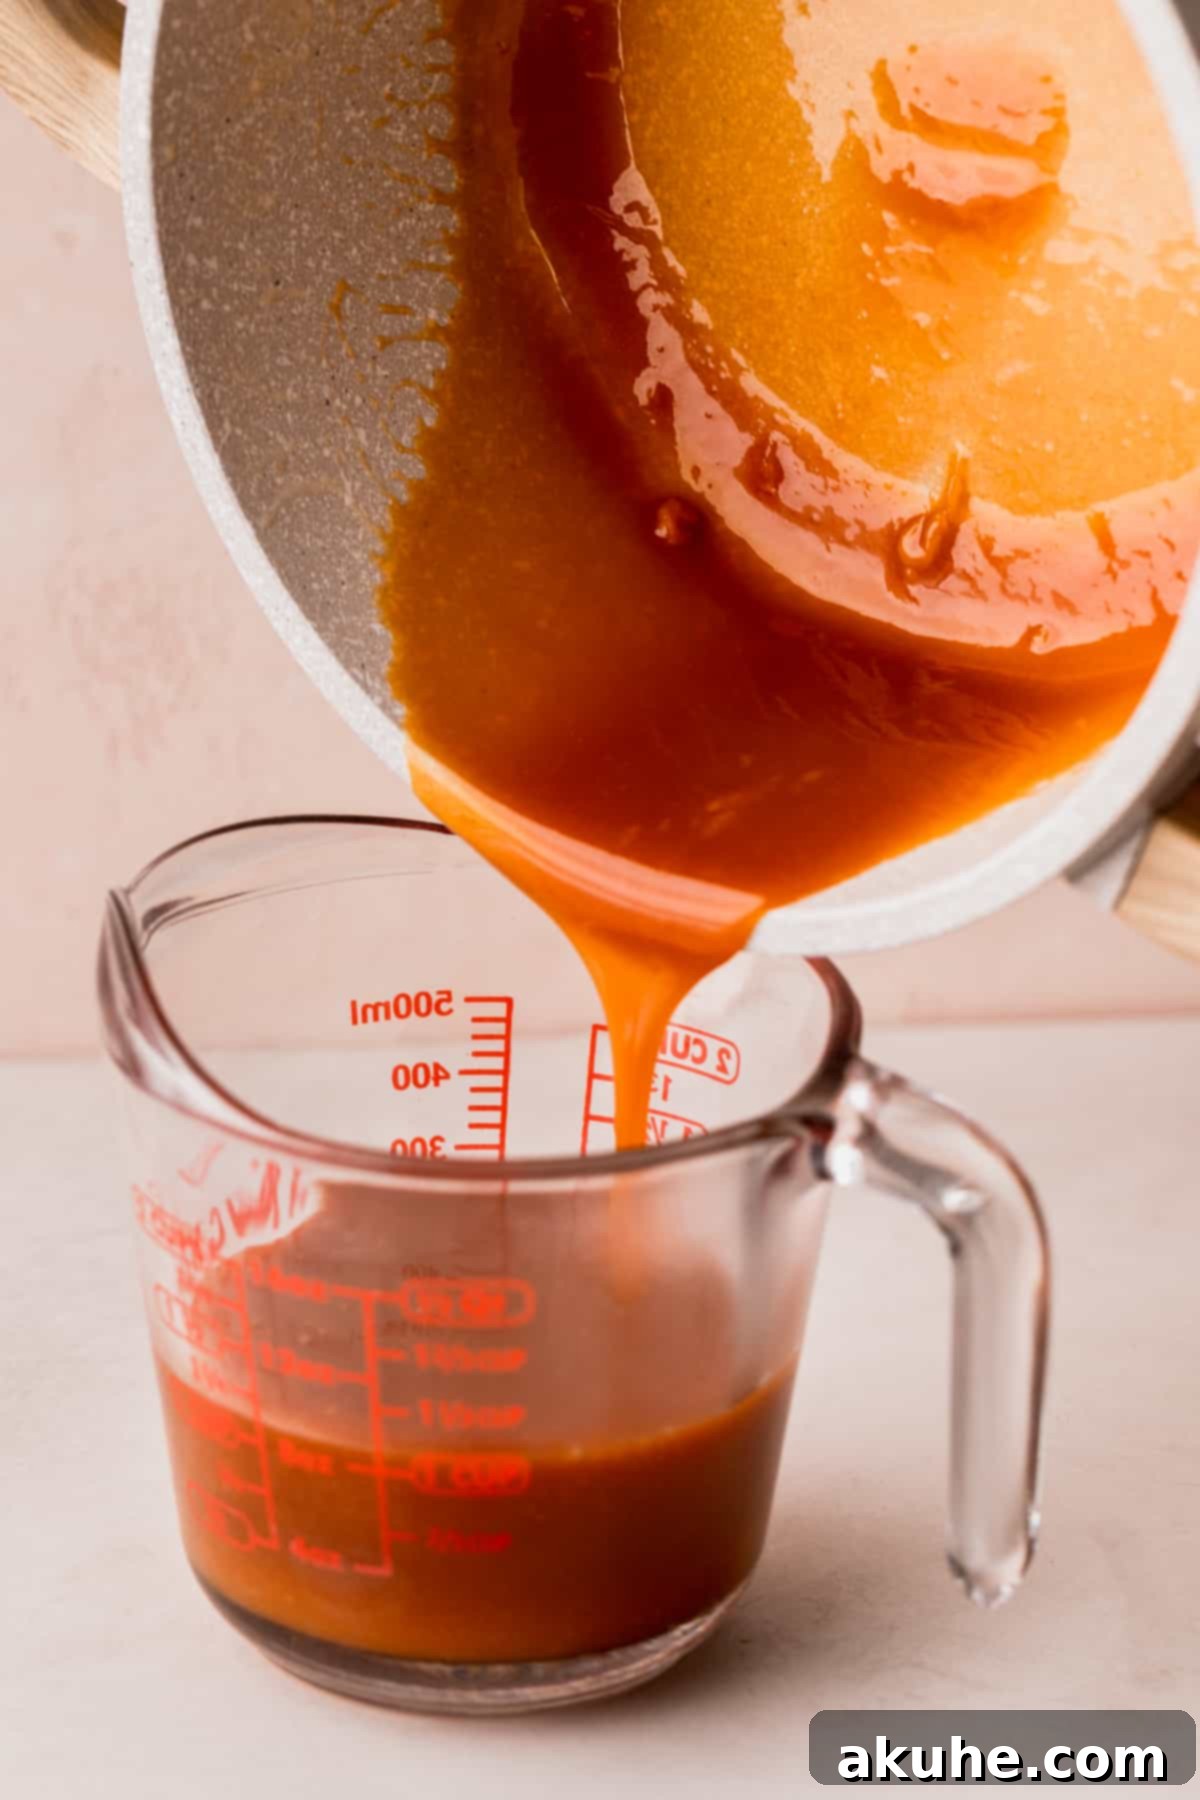
STEP 4: Finish with Salt and Vanilla, Then Cool. Once your butter and cream are fully integrated, and the caramel is a consistent, smooth sauce, it’s time for the final touches. Add the salt and pure vanilla extract directly into the saucepan. Give it one last good whisk to ensure these flavorings are evenly distributed throughout the caramel. Immediately pour the hot caramel into your prepared clean glass jar or heat-safe container. Be careful, as the caramel is extremely hot. Allow the caramel to cool completely at room temperature before using it on any desserts. As it cools, it will naturally thicken to that perfect, luxurious consistency you desire.
Expert Baking Tips for Salted Caramel Success
Even though this recipe is designed to be foolproof, a few expert tips can ensure your homemade salted caramel turns out perfectly every single time:
- Room Temperature Ingredients are Non-Negotiable: This is perhaps the most important tip. Cold butter and cold cream will cause the hot sugar to seize up and harden instantly, making it very difficult to salvage. Plan ahead and let your butter and heavy cream sit out at room temperature for at least 30 minutes to an hour before you start.
- Use a Heavy-Bottomed Pan: A good quality, heavy-bottomed saucepan distributes heat more evenly, reducing the risk of your sugar burning in spots while other areas are still melting. This is crucial for consistent caramelization.
- Patience with the Sugar Melting: Resist the urge to stir the sugar too early. Let it melt largely undisturbed until significant liquid pools form. Once you start whisking, do so continuously but not aggressively, to ensure even melting and prevent crystal formation.
- Watch the Color Closely: The difference between perfectly amber caramel and burnt, bitter caramel is a matter of seconds. Stay focused during the caramelization stage. Have your butter and cream ready to go, and be prepared to remove the pan from the heat the moment it reaches the desired amber hue.
- Handle with Care: Hot caramel is incredibly hot and can cause severe burns. Always use caution when working with it.
- Double Up for Convenience: If you’re an avid baker or plan on using a lot of caramel (especially during holiday baking seasons like fall), consider making a double batch. It stores wonderfully in the fridge, saving you time later.
- Cleaning the Pan: Cleaning a caramel-coated pan can seem like a chore, but it’s easier than it looks! Fill the pan with hot water and let it sit for a while, or gently bring the water to a simmer on the stovetop. The hardened caramel will dissolve and soften, making cleanup much simpler.
Common Salted Caramel FAQs & Troubleshooting
Even with the best intentions, things can sometimes go awry. Here are answers to common questions and solutions to help you troubleshoot any issues you might encounter:
My caramel seized up! What should I do?
Don’t despair! This is a common issue, usually caused by adding cold butter or cream to the hot sugar, or not whisking quickly enough. To fix it, simply place the saucepan back over low heat. Continue to stir gently and patiently. The seized sugar will gradually melt and loosen up, returning to a smooth, pourable consistency. Keep the heat low and stir constantly until it’s smooth again.
How can I use cold, thickened caramel?
When stored in the refrigerator, salted caramel will become very firm. To soften it for drizzling or mixing into desserts, simply place the glass jar (without the lid) in the microwave and heat it in 15-second intervals, stirring well after each interval, until it reaches your desired pourable consistency. Alternatively, you can place the jar in a bowl of hot water for a few minutes to gently warm and soften it.
My caramel tastes burnt and bitter.
Unfortunately, this indicates that the sugar was cooked for too long and caramelized past the ideal amber stage. Burnt sugar cannot be salvaged, as the bitter flavor is irreversible. It’s a common mistake, especially the first few times you make caramel, as the transition from perfect to burnt is incredibly fast. The best solution is to discard it and start over, paying extra close attention to the color in Step 2. Remember, a lighter amber is always better than too dark.
My caramel is crystalized or grainy.
Crystallization occurs when undissolved sugar crystals get into the melted sugar and cause the entire batch to revert to a grainy, solid state. This can happen if you stirred the sugar too early before it was fully melted, or if you introduced cold ingredients (butter/cream) that caused sugar to seize and recrystallize. Ensure your pan and whisk are impeccably clean. If it happens, you can try placing the pan back on very low heat with a tablespoon or two of water and stirring until the crystals dissolve, but it’s often best to start fresh for the smoothest result.
Recipe Variations to Explore
Once you’ve mastered the basic salted caramel, feel free to experiment with these delicious variations:
- Skip the Salt (Classic Caramel): If you prefer a purely sweet caramel, simply omit the salt from the recipe. While the salt beautifully balances the sweetness, some prefer the traditional unsalted version.
- Brown Butter Caramel: For an added layer of nutty flavor, gently brown your unsalted butter in a separate pan before adding it to the melted sugar. This introduces a wonderful depth.
- Spiced Caramel: Infuse your caramel with warm spices! After adding the cream, stir in a pinch of cinnamon, nutmeg, or even a tiny amount of cayenne pepper for a sweet and spicy kick.
- Coffee Caramel: Dissolve a teaspoon of instant espresso powder into the warm heavy cream before adding it to the sugar for a delightful coffee-flavored caramel.
- Double the Batch: As mentioned in our tips, making a double batch is a fantastic idea, especially if you plan on using caramel frequently or for entertaining. It stores wonderfully and is always a welcome treat to have on hand.
Storing and Freezing Your Homemade Salted Caramel
Proper storage ensures your delicious homemade salted caramel stays fresh and ready for use whenever a craving strikes.
Store the cooled salted caramel in an airtight glass container or jar in the refrigerator. When stored correctly, it will last for up to 2 weeks. The caramel will thicken considerably in the fridge; simply rewarm it gently in the microwave or a warm water bath to return it to a pourable consistency.
Freezing Salted Caramel
Yes, you can absolutely freeze salted caramel for longer storage! Once the caramel has cooled completely, transfer it to an airtight, freezer-safe container. Ensure there’s a little headspace in the container, as liquids can expand slightly when frozen. It will last beautifully in the freezer for up to 3 months. When you’re ready to use it, simply transfer the frozen caramel to the refrigerator to thaw overnight, or place it on the counter for a few hours. Once thawed, you can rewarm it as described above.
Other Decadent Salted Caramel Recipes to Try
If you love this homemade salted caramel, you’ll adore these other caramel-infused treats from our kitchen:
- The Best Turtle Cheesecake
- Salted Caramel Fudge Brownies
- Caramel Apple Cheesecake Bars
- Caramel Pumpkin Cheesecake Bars
- Apple Pie Cookies (with a caramel drizzle!)
Made this incredible homemade salted caramel? We’d love to hear about it! Please leave a STAR REVIEW below to share your experience. Don’t forget to tag me on Instagram @stephaniesweettreats with your creations. For more delicious recipe ideas and baking inspiration, be sure to follow me on Pinterest. Happy baking!
Homemade Salted Caramel
Author: Stephanie Rutherford
This easy recipe shows you how to make rich, buttery salted caramel sauce that’s perfect for all your desserts.
Prep Time: 5 mins
Cook Time: 20 mins
Total Time: 25 mins
Servings: 12
Ingredients
- 1 cup White granulated sugar
- 5 TBSP Unsalted butter, room temperature, cubed
- 1/2 cup Heavy cream, room temperature
- 1 tsp Salt
- 1/2 tsp Pure vanilla extract
Instructions
- In a medium, heavy-bottomed saucepan, over medium heat, pour in the sugar. Allow the sugar to start melting on its own without stirring. Once you see significant melting around the edges, begin to whisk the sugar gently but continuously until all sugar crystals are completely melted and the mixture is smooth and light amber.
- Let the melted sugar continue to cook without stirring until it turns a rich amber color. This process is very fast, typically 10-15 seconds. Immediately remove the saucepan from the heat once the desired color is achieved to prevent burning.
- Carefully add half of the cubed, room-temperature unsalted butter to the hot melted sugar. Whisk vigorously as the mixture will bubble dramatically. Continue whisking until the butter is fully melted and incorporated. Repeat with the remaining butter, whisking until smooth.
- Pour in half of the room-temperature heavy cream and whisk continuously until it is fully combined. Repeat with the remaining heavy cream, whisking until the caramel is smooth and consistent.
- Stir in the salt and pure vanilla extract until well combined. Immediately pour the hot caramel into a clean, heat-safe glass container. Let it cool completely at room temperature before using on any desserts. The caramel will thicken as it cools.
Nutrition Information (per serving)
Calories: 140kcal, Carbohydrates: 17g, Protein: 0.3g, Fat: 8g, Saturated Fat: 5g, Polyunsaturated Fat: 0.3g, Monounsaturated Fat: 2g, Trans Fat: 0.2g, Cholesterol: 24mg, Sodium: 197mg, Potassium: 11mg, Sugar: 17g, Vitamin A: 292IU, Vitamin C: 0.1mg, Calcium: 8mg, Iron: 0.02mg
