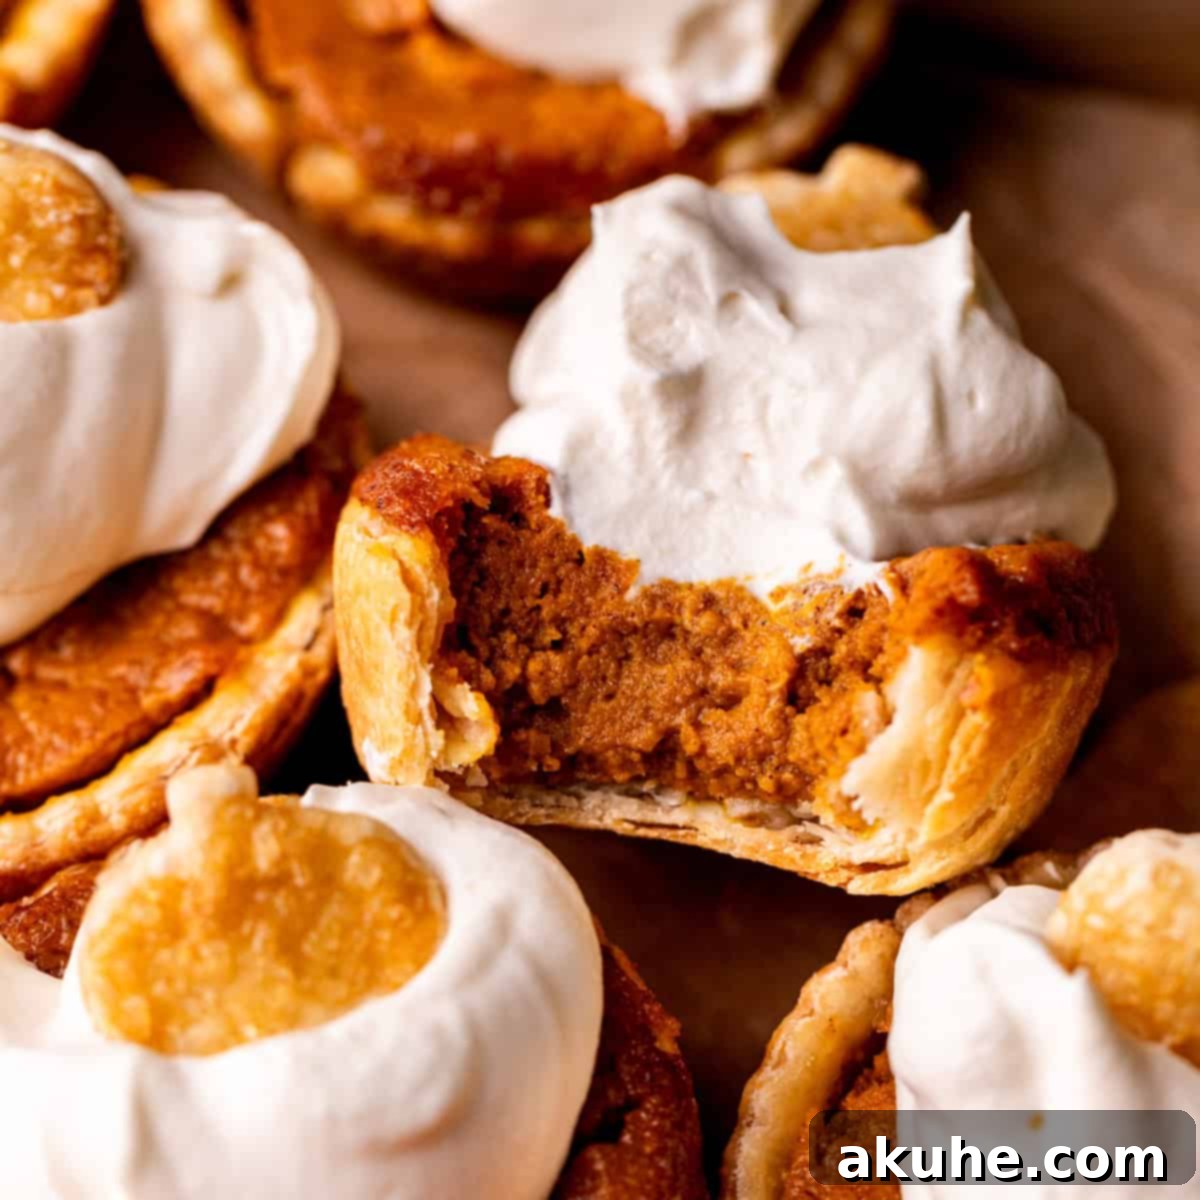
Welcome to the ultimate guide for creating adorable and utterly delicious mini pumpkin pies – the perfect individual dessert for your autumn gatherings, especially Thanksgiving! These delightful treats are crafted right in a muffin pan, boasting a wonderfully flaky pie crust that cradles a rich, creamy, and perfectly spiced pumpkin filling. Crowned with a dollop of homemade whipped cream, they offer all the classic flavors of a traditional pumpkin pie in a convenient, single-serving package. Forget the fuss of slicing and serving a large pie; these charming mini versions allow guests to effortlessly grab their own, ensuring every bite is as fresh and satisfying as the last. Prepare for an impressive, yet surprisingly easy, dessert that will leave no one reaching for leftovers!
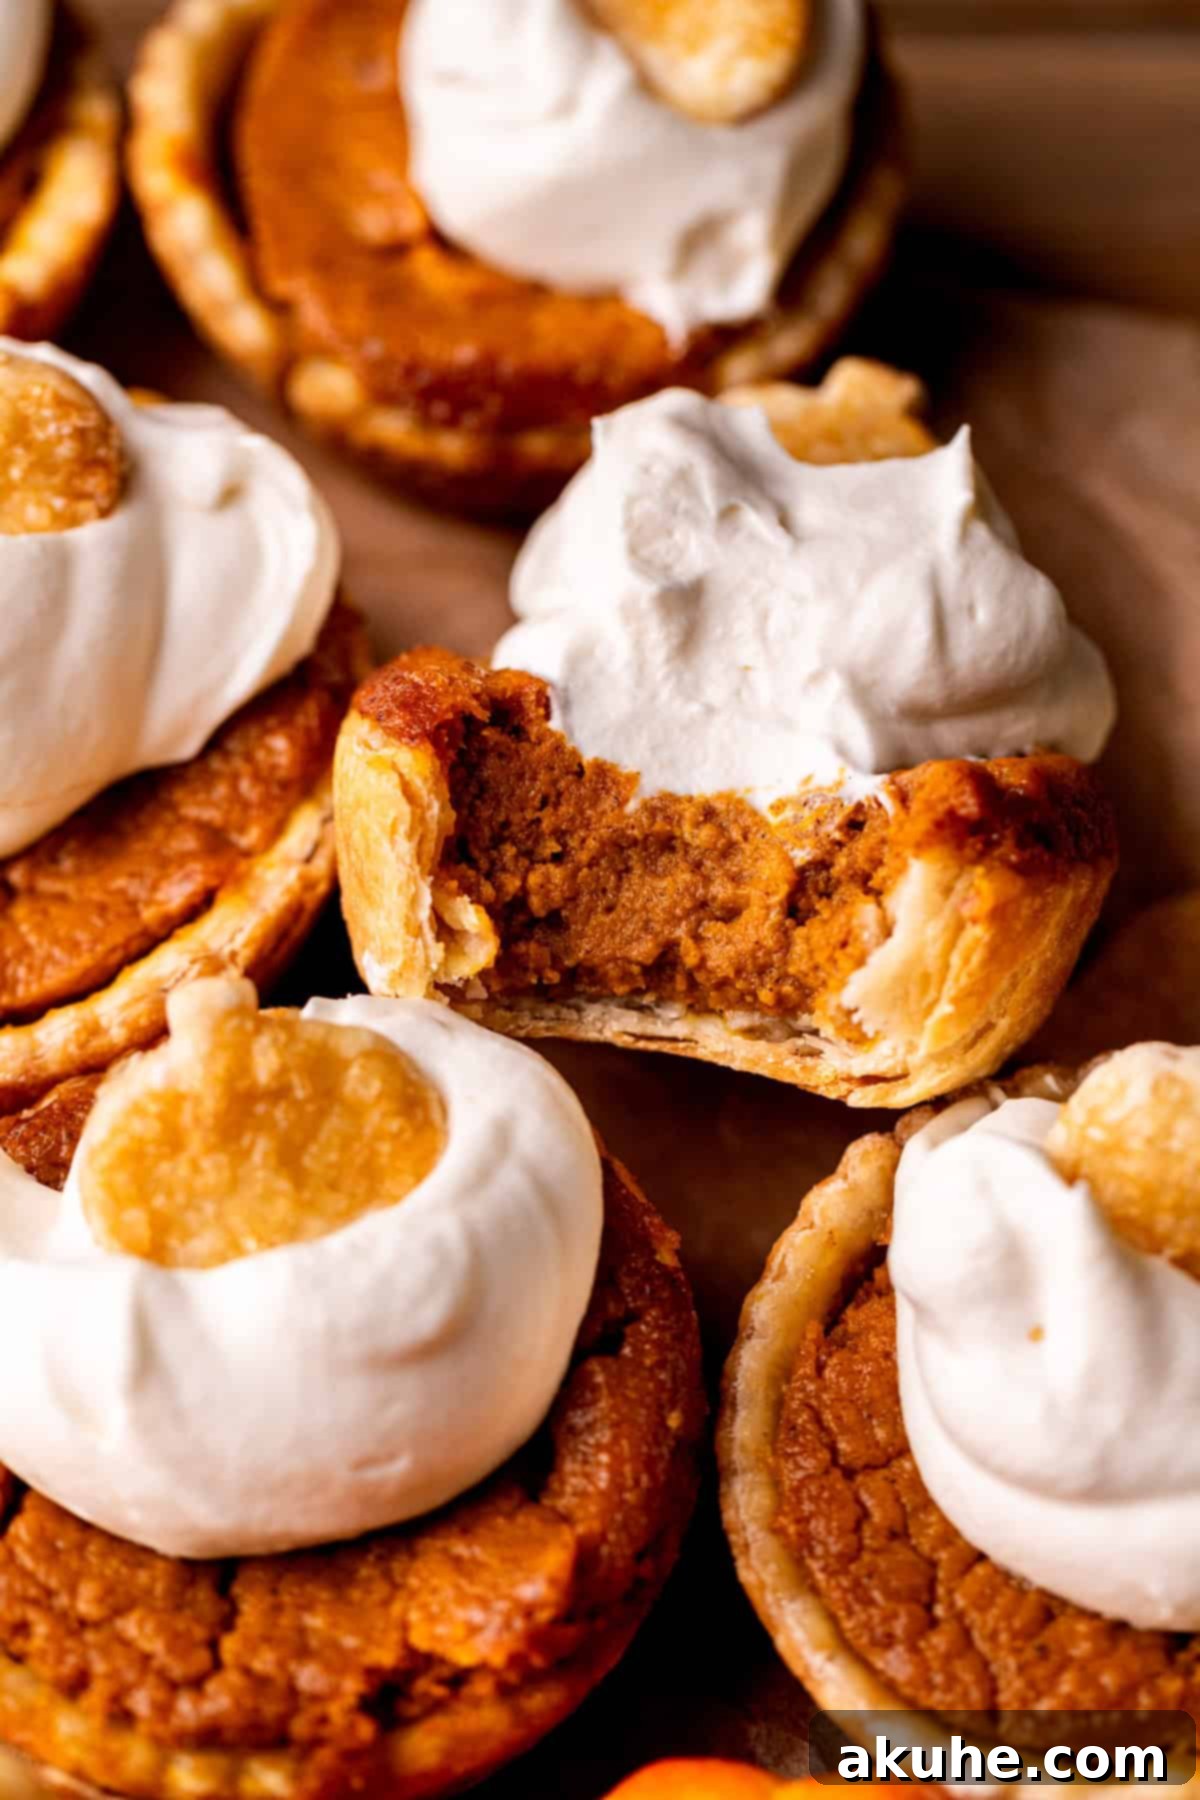
These individual pumpkin pies are a fantastic alternative for anyone seeking a more casual yet elegant Thanksgiving dessert. Unlike larger desserts such as pumpkin cheesecake that require meticulous slicing and plating, mini pumpkin pies offer a stress-free serving experience. They capture the full, comforting essence and special fall feeling of a classic pumpkin pie, making them an instant hit. Guests can easily help themselves, meandering through your gathering with a personal slice of autumn bliss. The convenience and charm of these small pumpkin pies ensure they won’t last long!
Why You’ll Fall in Love with These Mini Pumpkin Pies
Baking these mini pumpkin pies is not just about convenience; it’s about elevating your dessert game with minimal effort and maximum impact. Here’s why these individual treats are an absolute must-try:
- Full Pumpkin Pie Flavor in Every Bite: Don’t let their size fool you! Each mini pumpkin pie is bursting with the authentic, warmly spiced taste of a traditional pumpkin pie. The creamy filling, infused with cinnamon, nutmeg, and pumpkin pie spice, delivers that nostalgic autumn flavor we all crave, perfectly balanced in a compact form.
- Effortless Baking Experience: This recipe simplifies the often daunting task of baking pumpkin pie. Mini pies are far more forgiving than their full-sized counterparts. You won’t have to worry about the dreaded cracks that can plague large pumpkin pies, nor will you encounter soggy bottoms. Their smaller size means quicker and more consistent baking, making this an ideal recipe for both novice and experienced bakers alike, especially during busy holiday seasons.
- Perfectly Portioned & Easy Serving: Say goodbye to awkward slicing and uneven servings! These individual pumpkin pies are designed for effortless distribution. They are ready to be picked up and enjoyed, making them perfect for buffet-style gatherings, potlucks, or simply when you want to offer guests their own personal dessert. You can even arrange them beautifully on a platter for an inviting display.
- Irresistibly Flaky Crusts: A great pie starts with a great crust, and these mini versions are no exception. Achieving a perfectly flaky, golden-brown crust for individual pies is often easier than for a large pie. The smaller surface area reduces the risk of underbaked or soggy bottoms, ensuring every bite is supported by a delightfully crisp and buttery pastry. They retain all the deliciousness of a full-sized crust but are simpler to execute flawlessly.
- Less Mess, More Enjoyment: The individual nature of these pies means less mess for both you and your guests. No need for plates and forks if you’re serving them casually – though they certainly deserve proper presentation! They are as convenient as pumpkin pie cookies, but offer the classic, satisfying texture and form of a true pumpkin pie.
Expert Tips for Baking Your Best Individual Pumpkin Pies
To ensure your mini pumpkin pies turn out absolutely perfect, just like this recipe, follow these essential tips. These insights will guide you through each step, from selecting your dough to the final cooling process, guaranteeing a successful and delicious outcome every time.
- Dough Selection and Preparation: You have the option to use store-bought pie dough or craft your own homemade version. For this recipe, store-bought dough was used to highlight its ease and convenience, especially for Thanksgiving. However, a homemade crust can certainly elevate the flavor even further. Whichever you choose, ensure the dough is chilled but pliable before rolling.
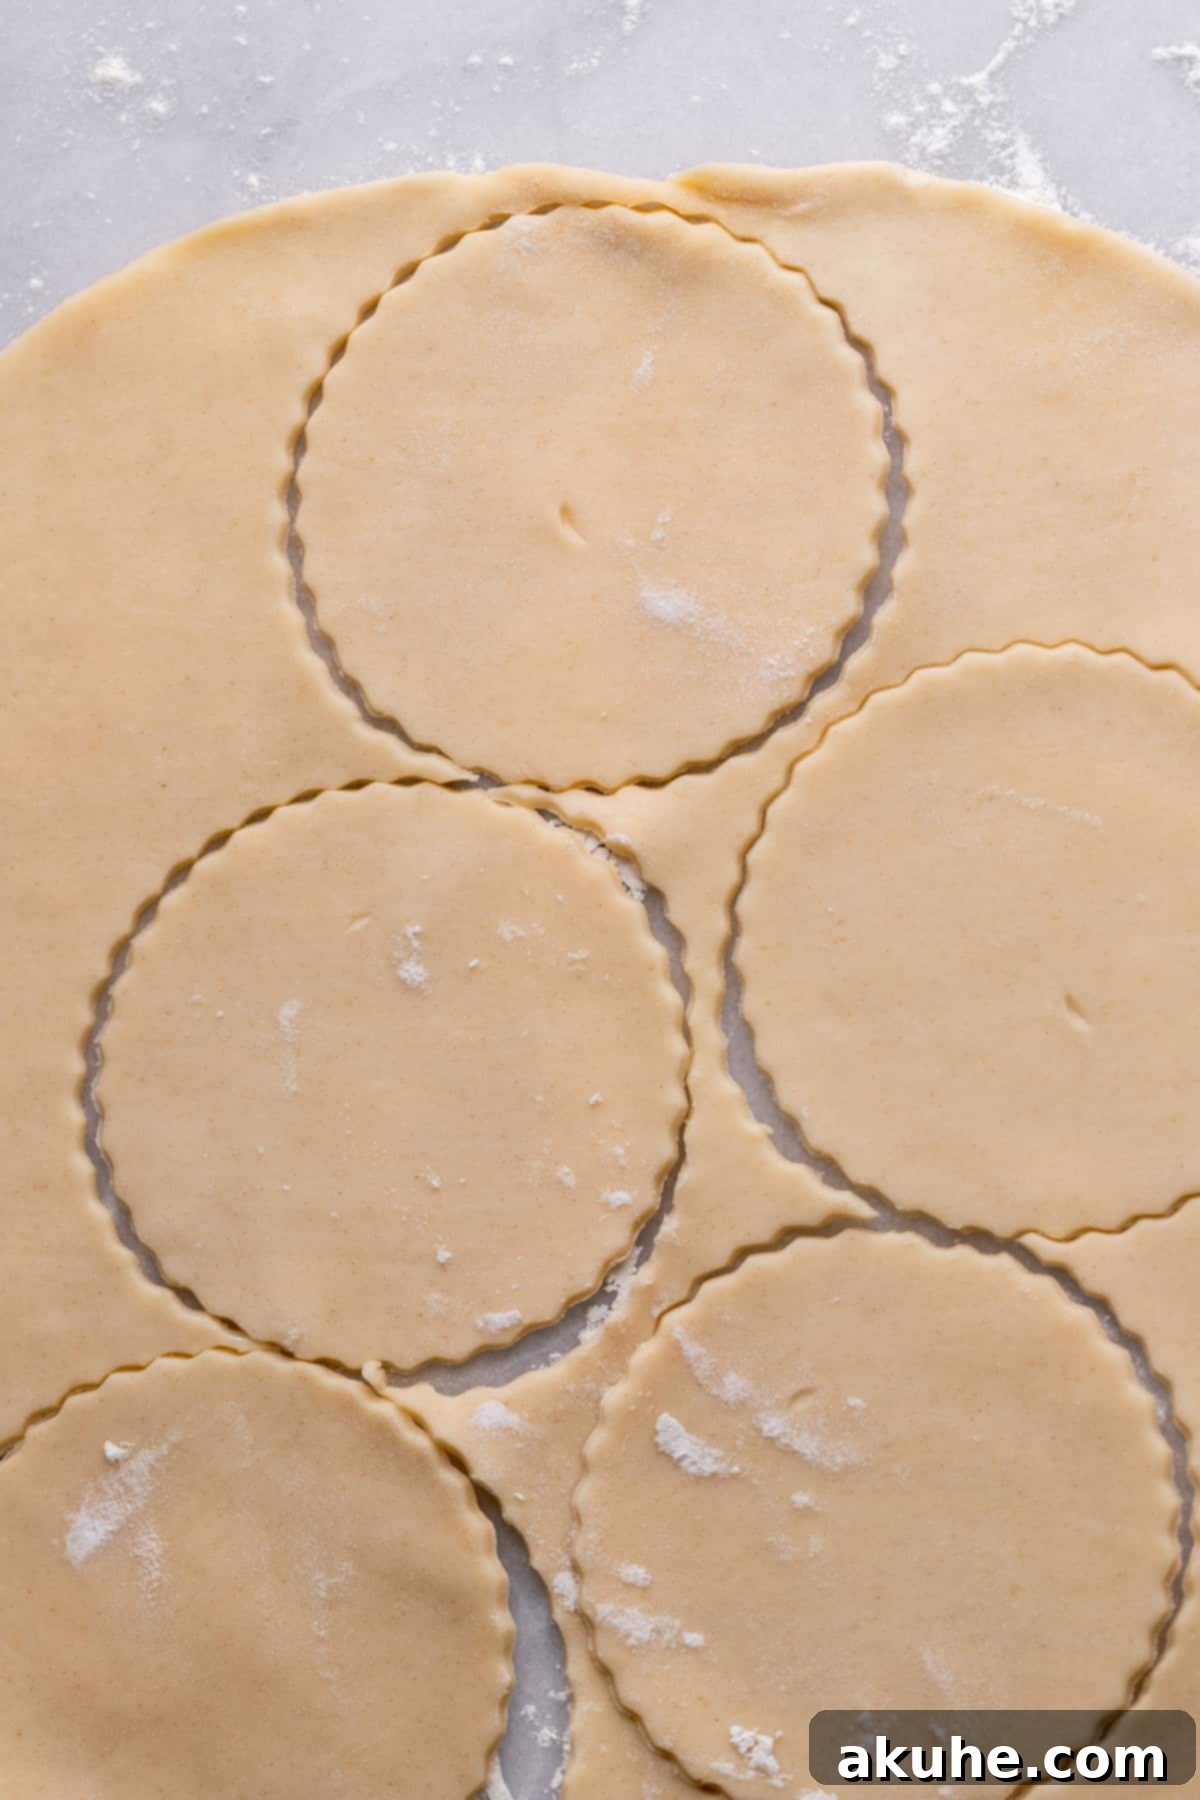
- Cutting and Shaping the Crusts: To achieve perfectly sized pie crusts for a standard muffin pan, use a 3.5-inch diameter cookie cutter. This size will fit snugly and allow enough dough to create a proper shell.
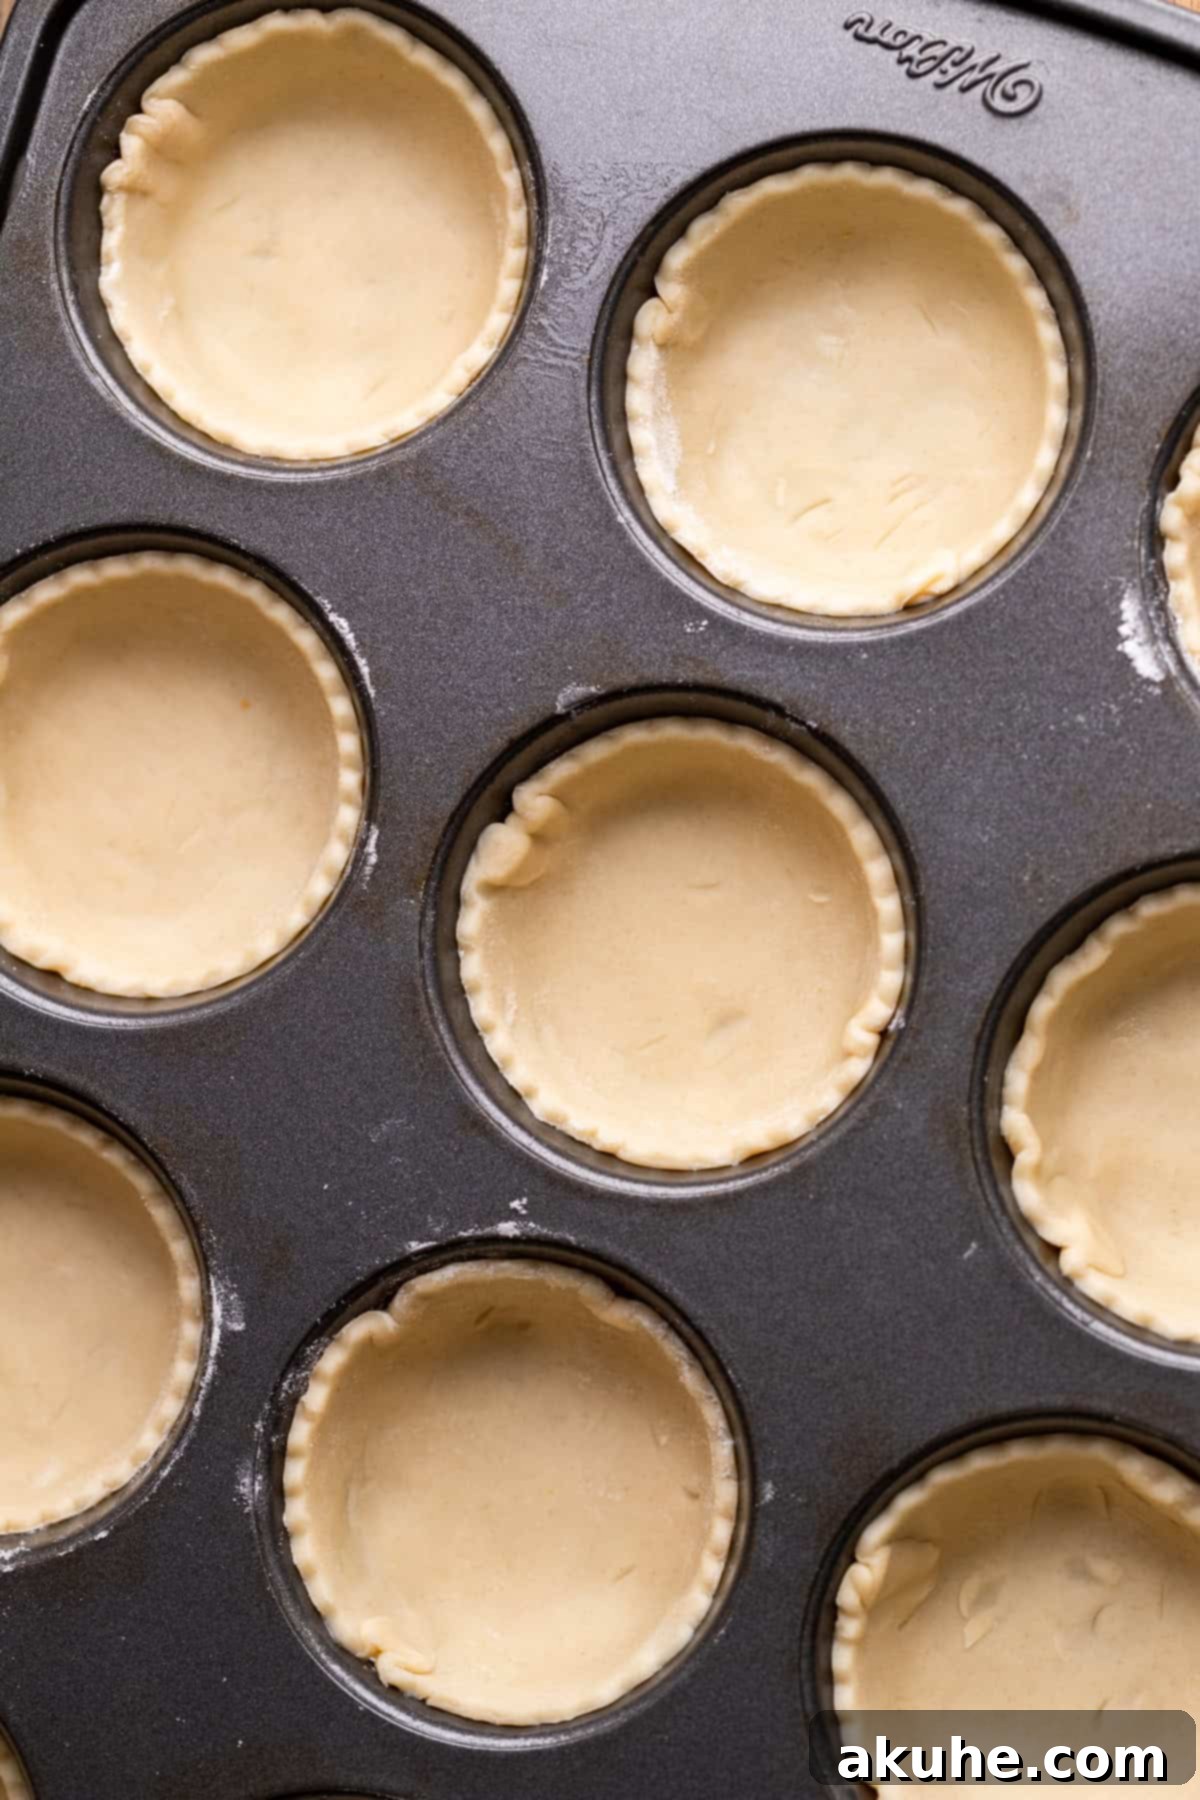
- Perfect Placement in the Muffin Pan: When placing the dough circles into the muffin cups, gently use your fingers to press the dough evenly against the bottom and up the sides. Ensure there are no air bubbles trapped underneath and that the crust is centered, not off-kilter. The pie crust should extend approximately three-quarters of the way up the sides of each muffin cup.
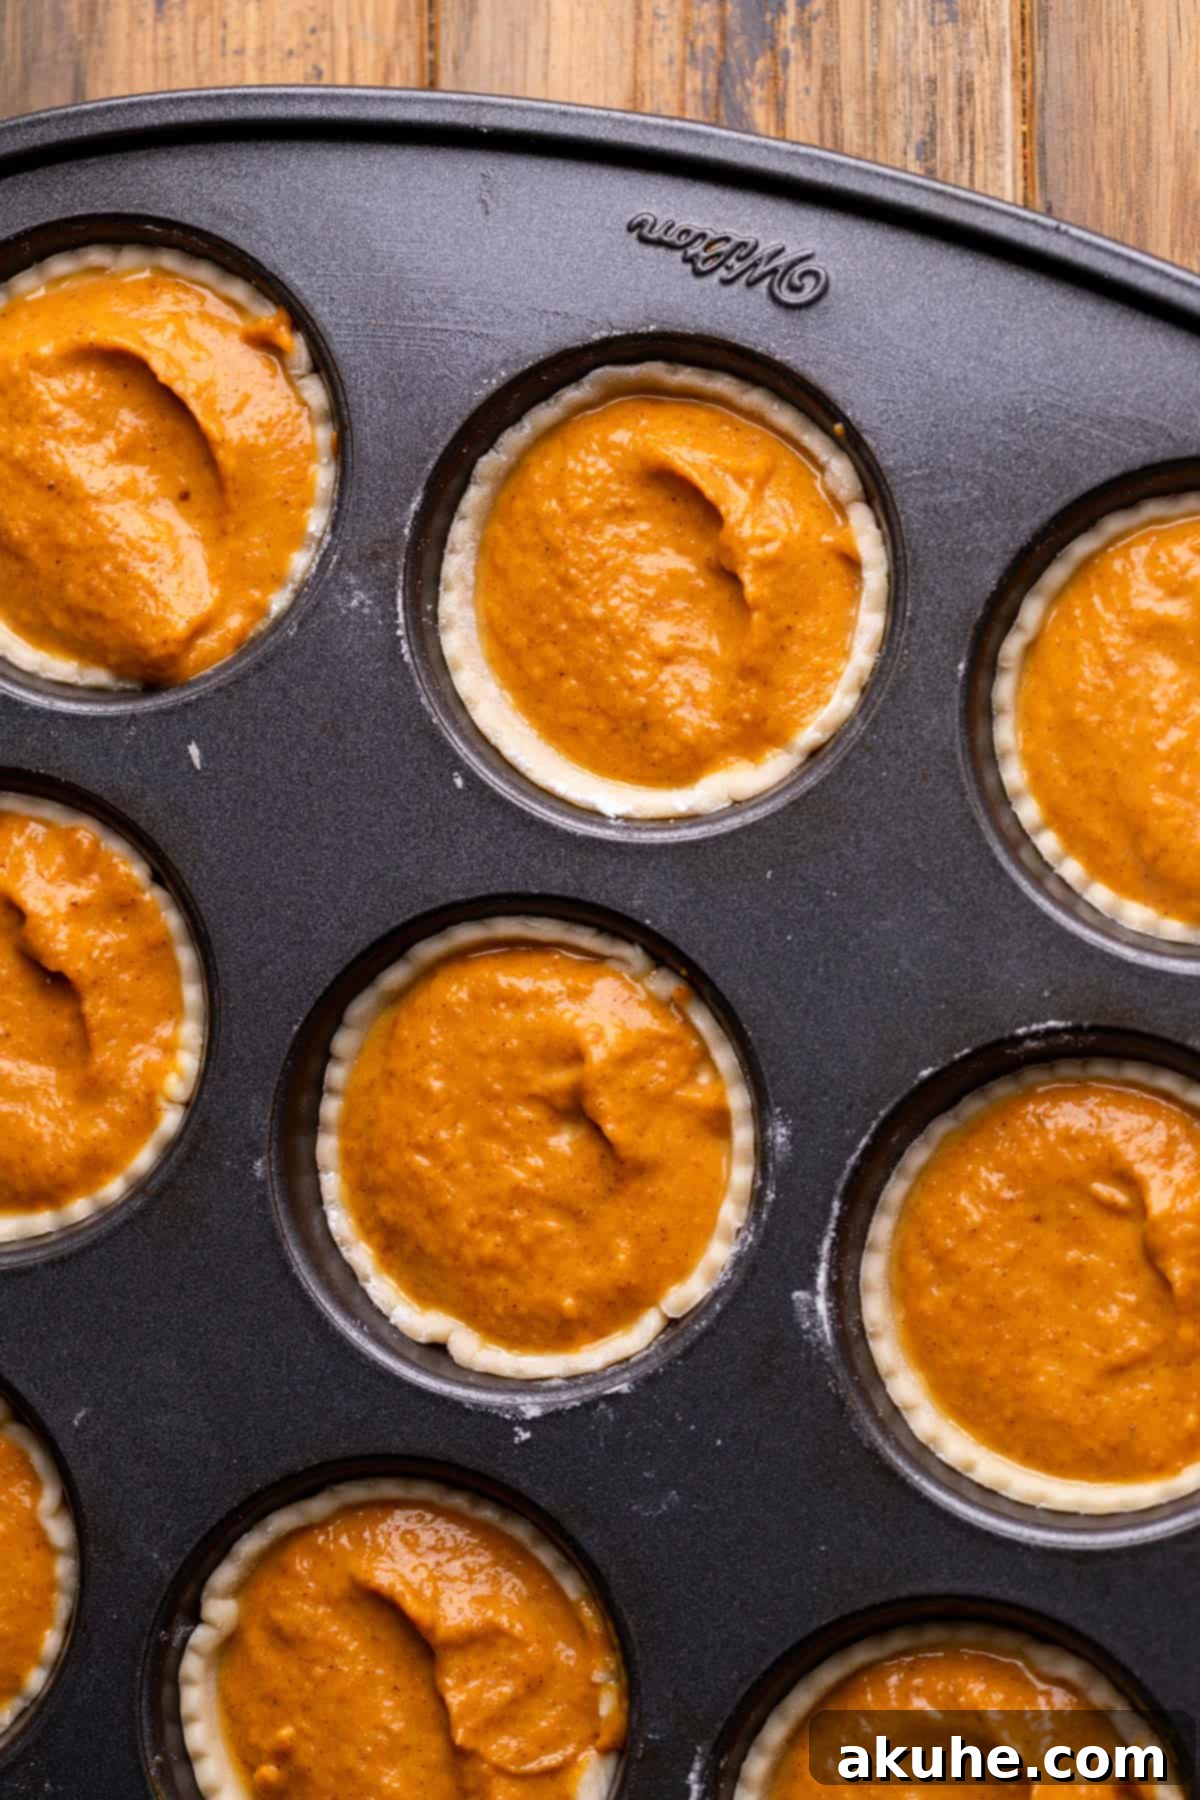
- Filling to Perfection: When scooping the pumpkin pie batter, use a medium cookie scoop (roughly 2.5 tablespoons) to fill each crust. Aim to fill the crusts about three-quarters full. Be careful not to overfill the entire muffin cup, as this will cause the batter to spill over the top of your pie crusts during baking. The pies will puff up slightly while baking, but they will settle back down as they cool.
- Achieving the Ideal Bake: Mini pies bake more quickly and consistently. Keep an eye on them, and remove them from the oven when the filling is set around the edges and the crusts are a lovely golden brown.
- Crucial Cooling and Setting Time: After baking, it’s vital to let the pies remain in the hot muffin pan for about 30 minutes. This allows the filling to fully set and prevents them from breaking when removed. For easy extraction, gently slide a thin fork or offset spatula underneath each pie to lift it out without damaging the delicate crust. After this initial cooling, transfer them to a wire rack to cool completely.
- Make-Ahead Advice: If you’re planning to make these individual pumpkin pies ahead of time, chilling them thoroughly after they’ve cooled completely will enhance their flavor and texture. Store them in an airtight container in the refrigerator for at least two hours before serving. Cold pumpkin pie often tastes richer and the spices become more pronounced.
Creative Ways to Decorate Your Mini Pumpkin Pies
While these mini pumpkin pies are charming on their own, a little decoration can turn them into show-stopping festive treats. The recipe primarily features homemade whipped cream, which truly offers the best taste and texture, but feel free to opt for convenience with store-bought options like Cool Whip if time is short.
Here are some decorating ideas to make your pies even more special:
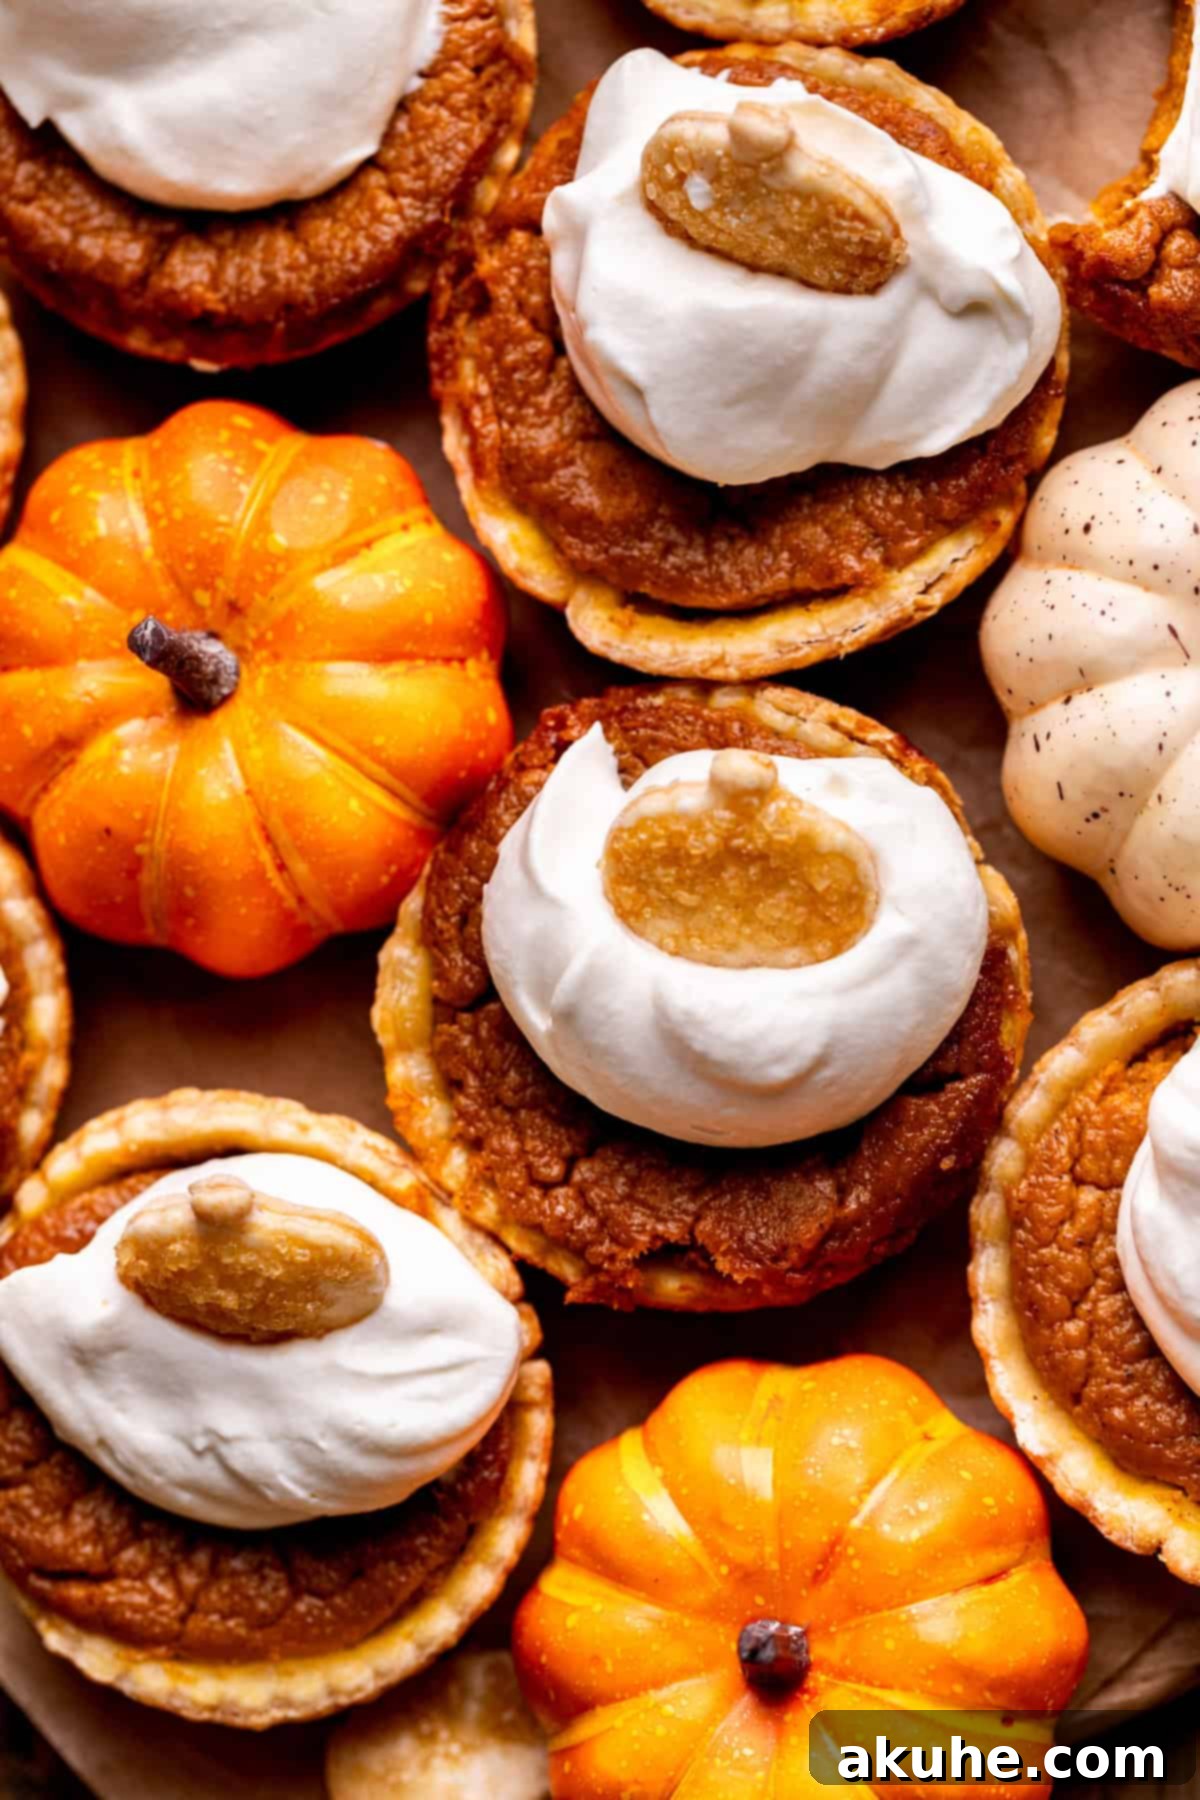
- Classic Whipped Cream Swirls: For a timeless look, use a spoon or a piping bag fitted with a star tip to create a generous dollop or swirl of whipped cream on top of each chilled pie. Don’t cover the entire surface; a cute dollop allows the pie’s edges to peek through.
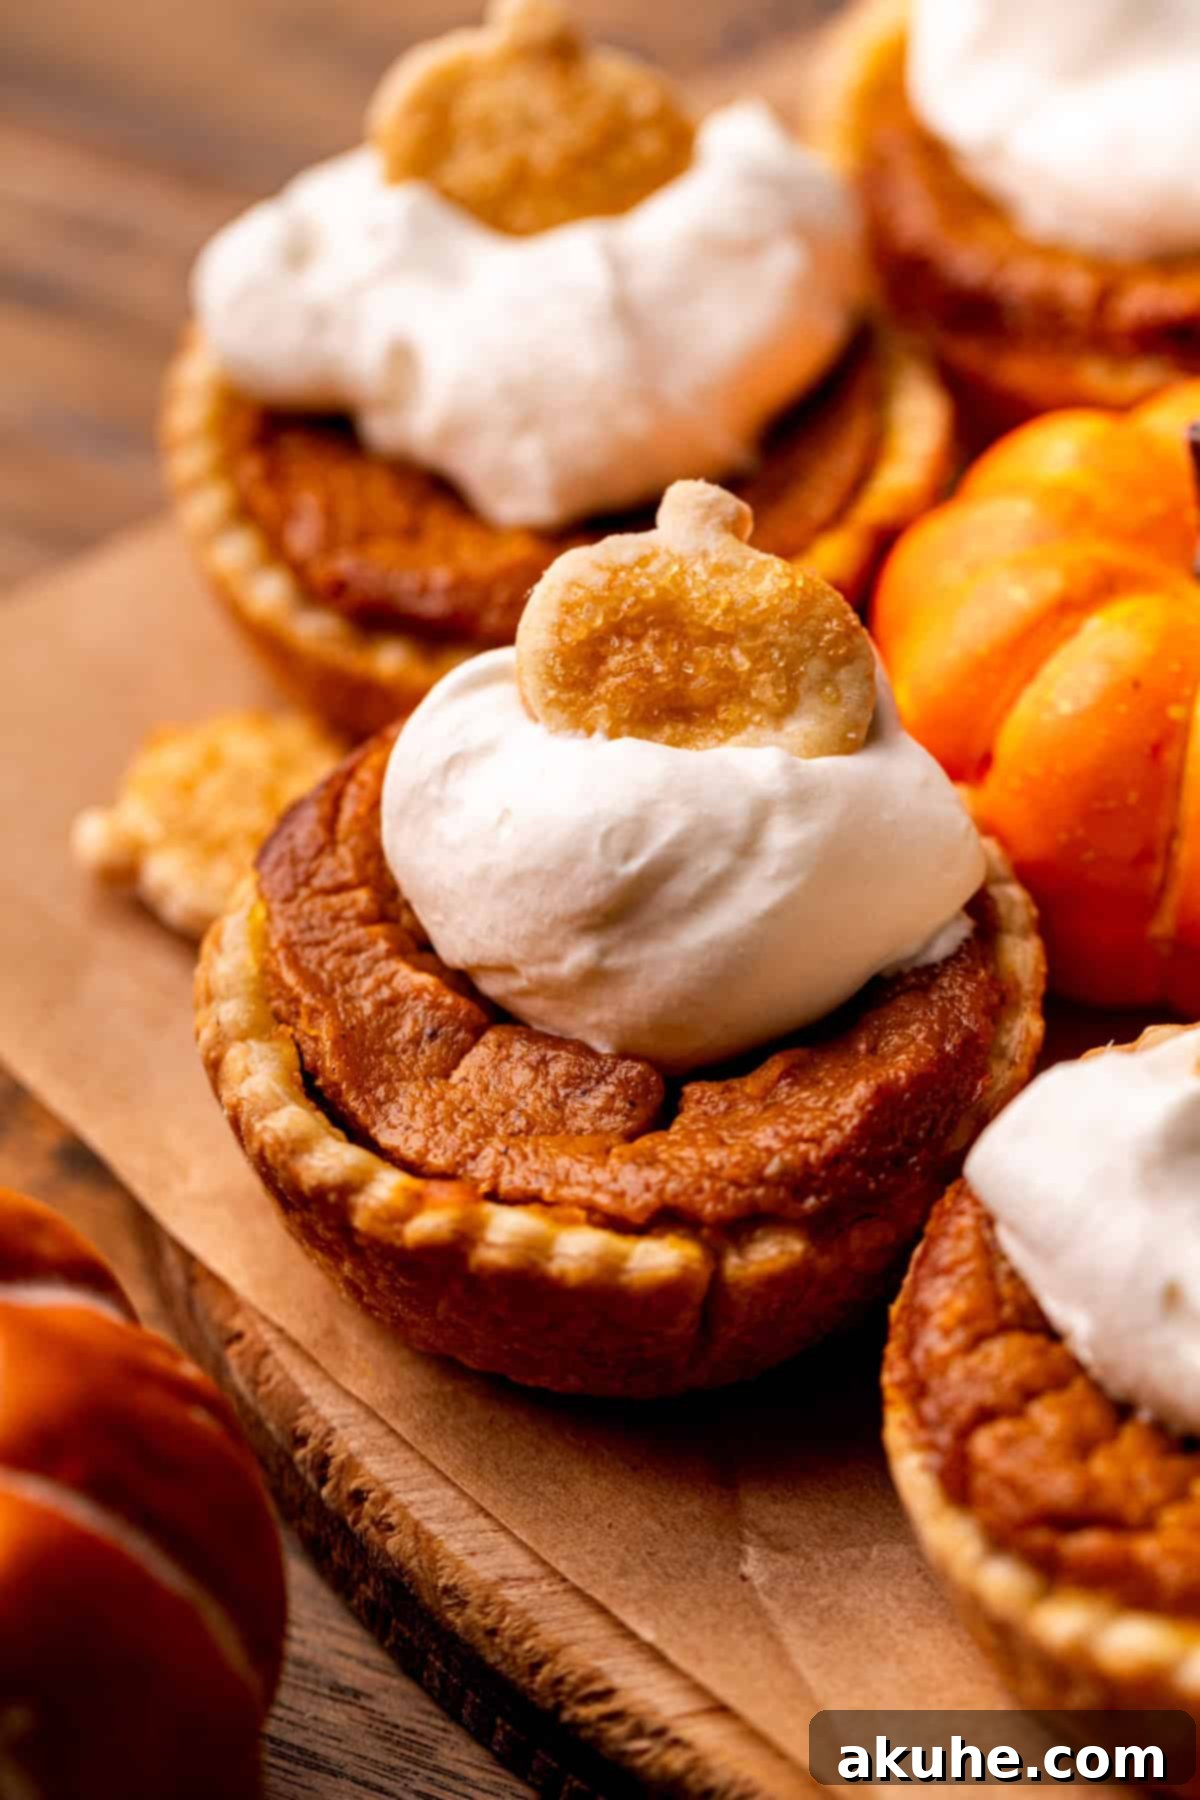
- Decorative Pie Crust Accents: Elevate your presentation with charming pie dough cutouts. Re-roll any leftover pie dough scraps on a lightly floured surface. Use a small pumpkin cookie cutter or another preferred shape (leaves, stars, or even small letters) to create delightful decorations. For this recipe, about 18 mini pumpkins were cut out to allow for selection of the best ones. Place these cutouts on a parchment-lined cookie sheet. For a golden sheen and a hint of sparkle, brush them with an egg wash (one egg beaten with a teaspoon of water) and sprinkle with coarse sugar. If coarse sugar isn’t available, regular granulated sugar works just as well. Bake them in a preheated oven (around 350°F / 175°C) for about 8-10 minutes, or until lightly golden brown. Once cooled, gently place one on top of each whipped cream dollop for an extra festive touch.
- A Sprinkle of Spices or Sugars: For a simple yet elegant finish, dust your whipped cream with a pinch of ground cinnamon, nutmeg, or a sprinkle of powdered sugar. This adds both visual appeal and an extra layer of flavor.
- Caramel or Chocolate Drizzle: For those with a sweet tooth, a light drizzle of caramel sauce or melted chocolate over the whipped cream can add a gourmet touch and a contrasting flavor profile.
Frequently Asked Questions About Mini Pumpkin Pies
Here are answers to some common questions to help you master your mini pumpkin pie baking experience:
Can I make these mini pumpkin pies ahead of time?
Absolutely! These mini pies are excellent for make-ahead preparations, which is perfect for busy holiday schedules. You can bake them up to 3-4 days in advance. For optimal freshness and flavor, I recommend preparing them just one day before your event. While fresh is always best, the flavors meld wonderfully after a day in the refrigerator.
How can I tell when they are done baking?
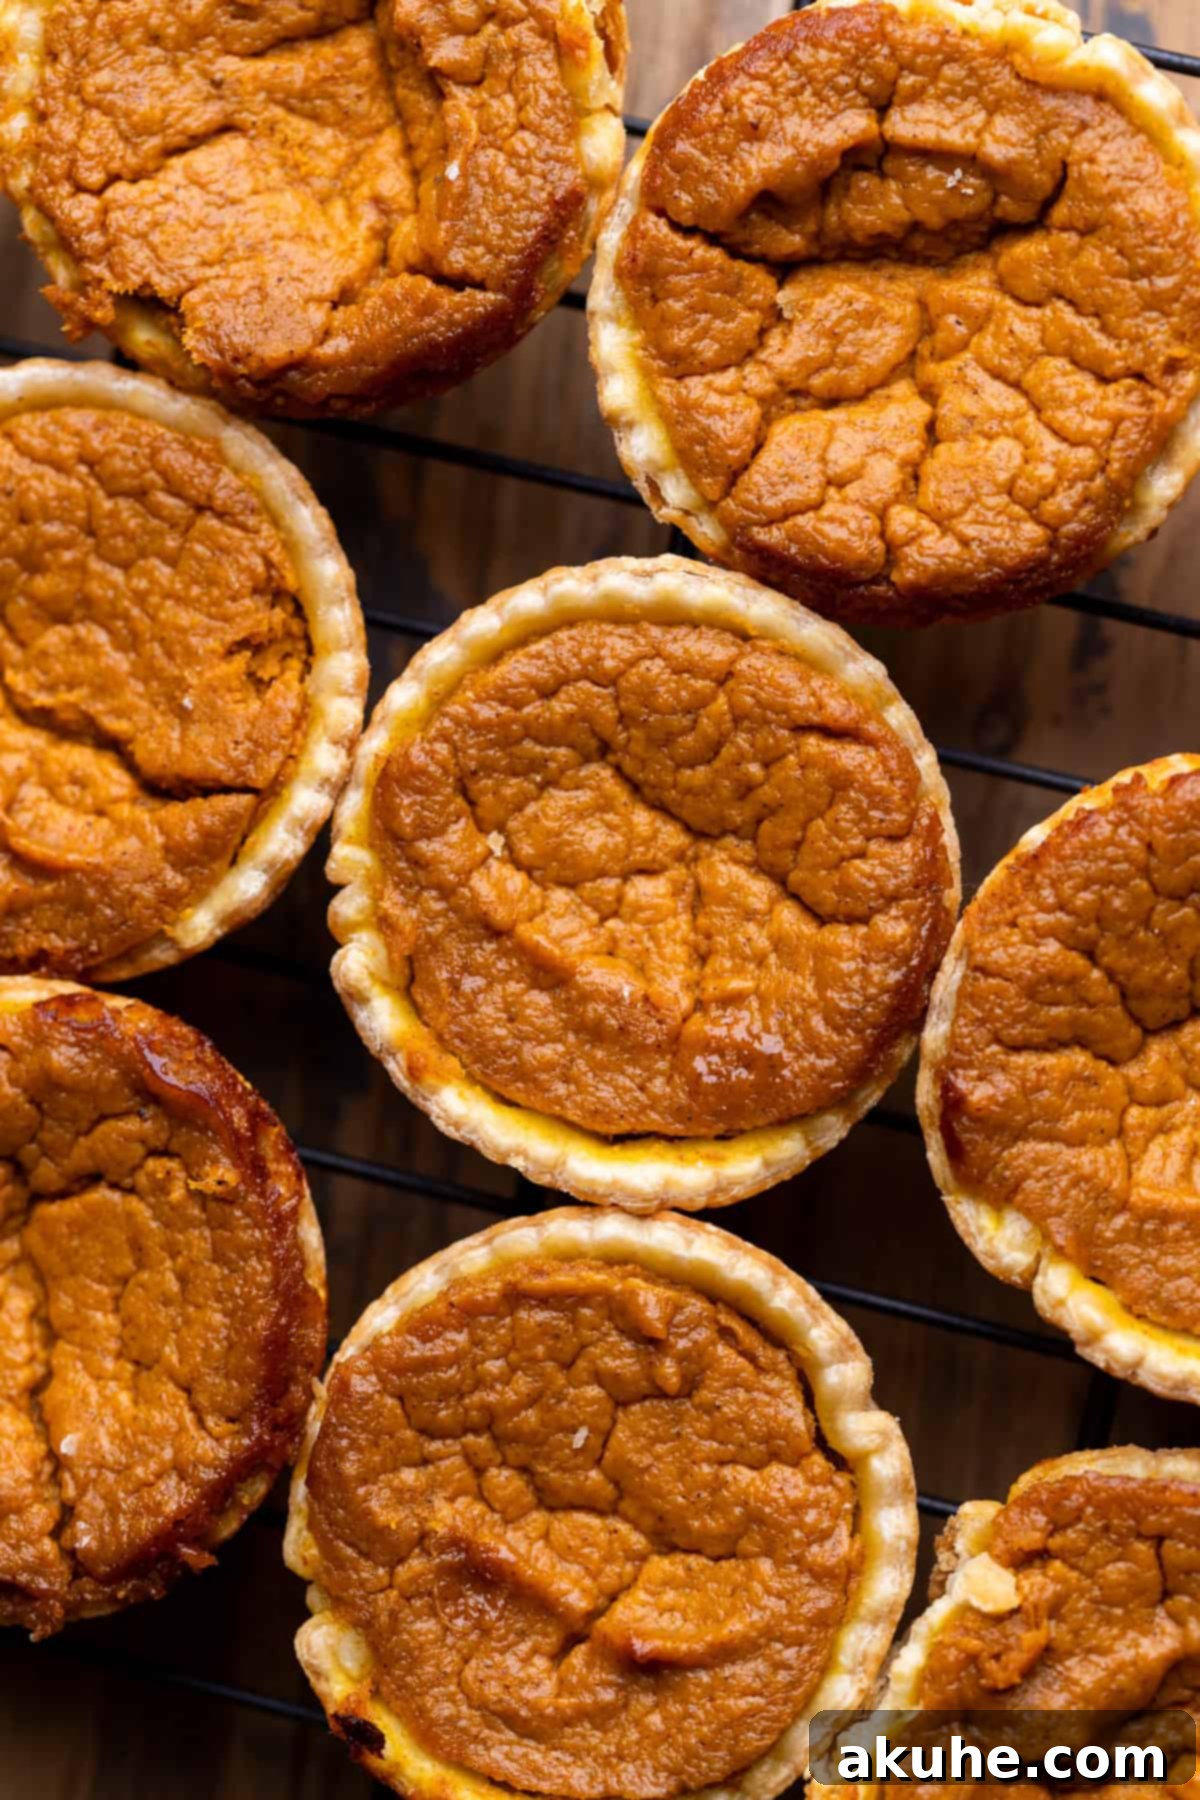
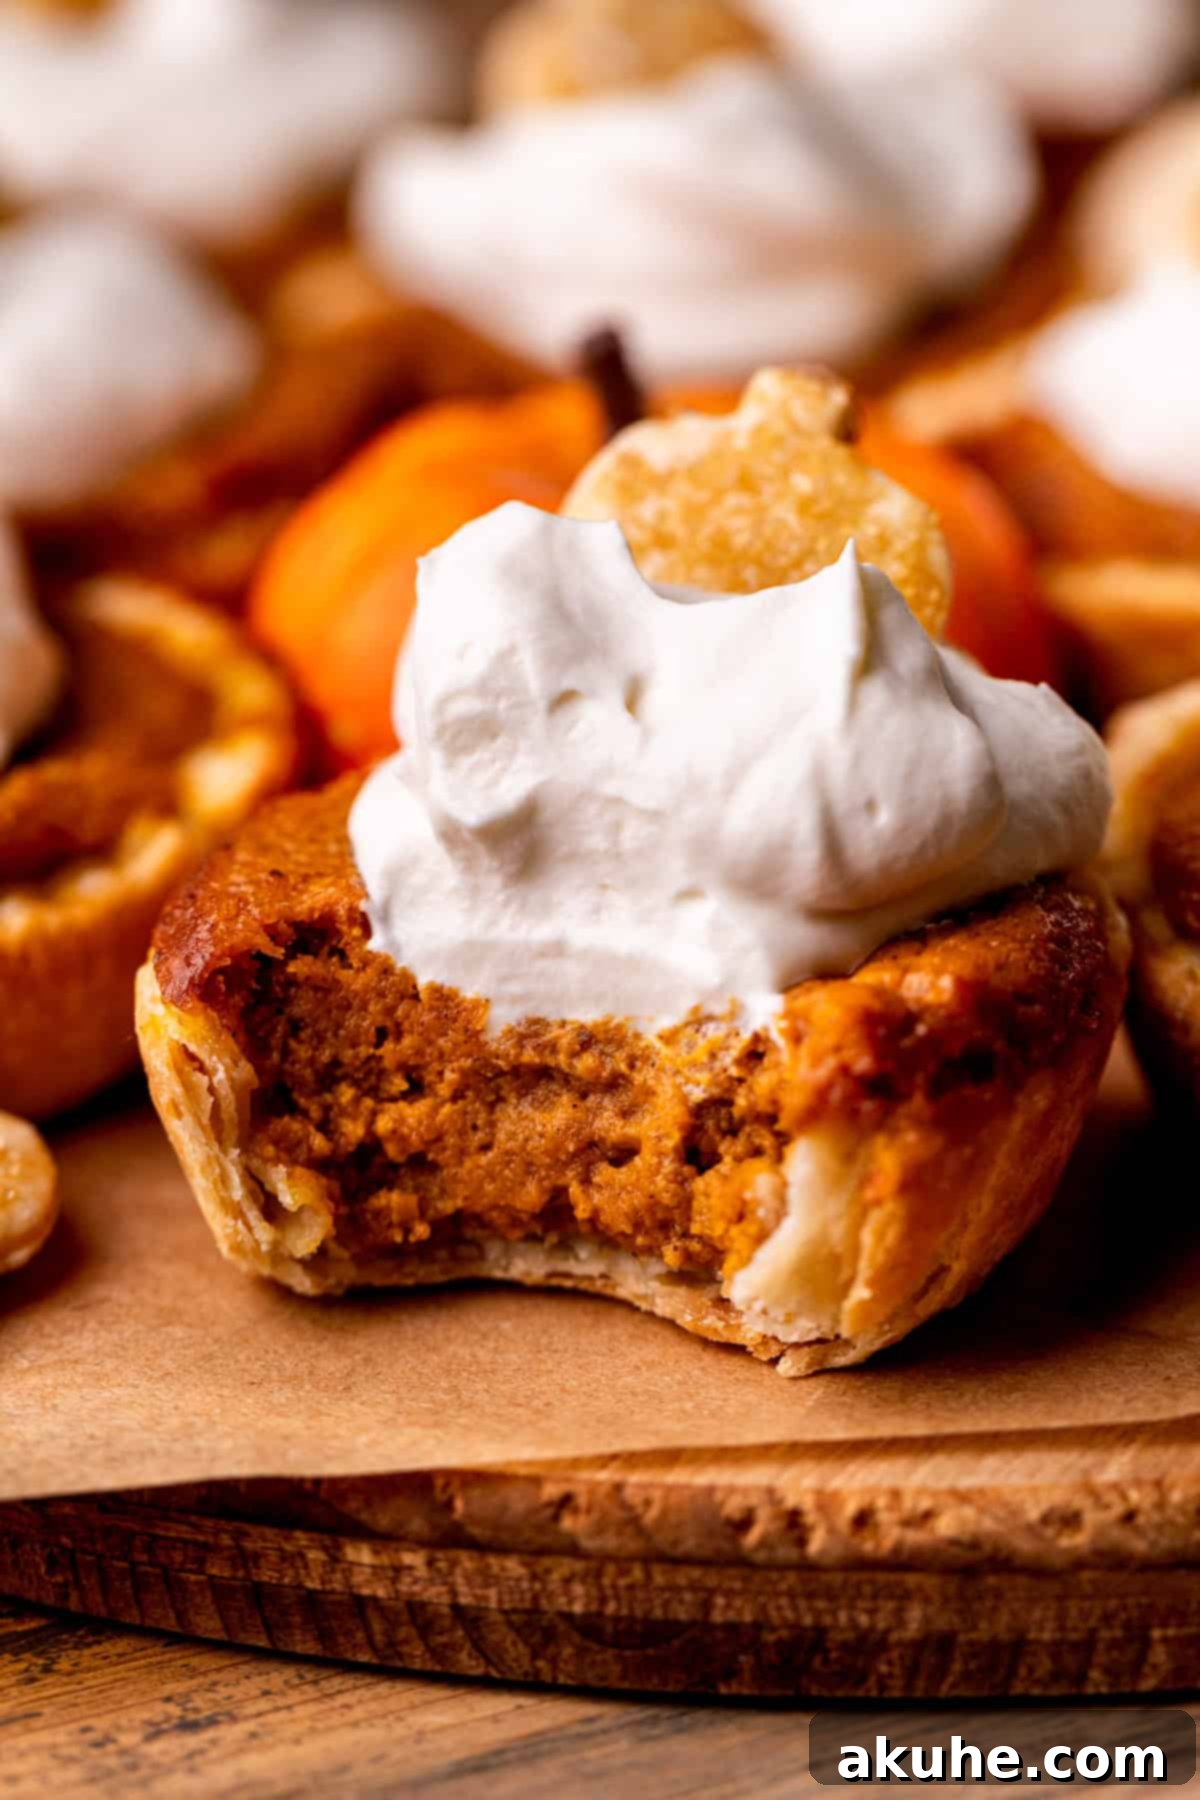
Knowing when your mini pumpkin pies are perfectly baked is key. The edges of the pumpkin filling should appear set and firm. If the tops still look shiny and are quite jiggly in the center, they likely need a few more minutes. Once fully baked, the surface will look more matte and less reflective. You might notice slight cracks or wrinkles on the surface of the filling as they finish baking, which is completely normal and will be beautifully hidden once you add the whipped cream topping.
Do I need an egg wash for the pie crusts?
For the main pie crusts of these mini pumpkin pies, an egg wash is generally not necessary. Since there isn’t a top layer of pie dough or a lattice design, the crust bakes up beautifully on its own. However, if you choose to include decorative pie crust cutouts, such as the mini pumpkins, then an egg wash is highly recommended for those. It gives them a lovely golden-brown color and a slight sheen.
How can I store these small pumpkin pies?
Proper storage is essential to keep your mini pumpkin pies fresh and delicious. Once completely cooled, store the pies in an airtight container in the refrigerator for up to 5 days. For longer storage, these little pies can be frozen before decoration. Place them in an airtight freezer-safe container, separating layers with parchment paper if stacking, and freeze for up to 30 days. Thaw them in the refrigerator before adding whipped cream and serving.
For More Festive Thanksgiving Dessert Recipes, Check Out My Favorites:
- Pumpkin Cheesecake
- Pecan Pie Cheesecake
- Apple Pie Cheesecake
- Reese’s Peanut Butter Cup Pie
- Pecan Pie Cake
If you loved this delightful recipe, please make sure to leave a STAR REVIEW below! Share your creations with me on Instagram @stephaniesweettreats, and for more inspired ideas, be sure to follow me on Pinterest. Happy baking!

Mini Pumpkin Pies
These mini pumpkin pies are easy to make pies made in a muffin pan. They have a flaky pie crust, a really creamy pumpkin pie full of spices, and topped with homemade whipped cream.
Print Recipe
Pin Recipe
Ingredients
Pumpkin Pie
- 2 sheets Pie Dough, I recommend store bought crust for ease
- 15 oz Pumpkin puree, one whole can
- 2/3 cup White granulated sugar
- 2 TBSP Brown sugar, light or dark packed
- 3/4 cup Heavy cream, room temperature
- 1 Large egg, room temperature
- 1 tsp Pure vanilla extract
- 1/4 tsp Salt
- 2 tsp Ground cinnamon
- 1 tsp Pumpkin pie spice
- 1/4 tsp Ground nutmeg
Whipped Cream
- 1 cup Heavy cream
- 2 TBSP Powdered sugar
- 1 tsp Pure vanilla extract
Instructions
Pumpkin Pies
- Preheat the oven to 400℉ (200°C). Spray a 12-cup muffin pan with baking spray and set aside.
- Roll one sheet of pie dough at a time on a lightly floured surface. Use a 3 1/2-inch diameter cookie cutter to cut 12 circles out of the dough. Reroll dough scraps only if you plan to make decorations.
- Place one dough circle into each muffin cup. Use your fingers to gently press the bottom and sides of the dough into the pan, ensuring it’s even and without air pockets. Repeat for all cups. Place the pan in the fridge to chill while you prepare the pie filling.
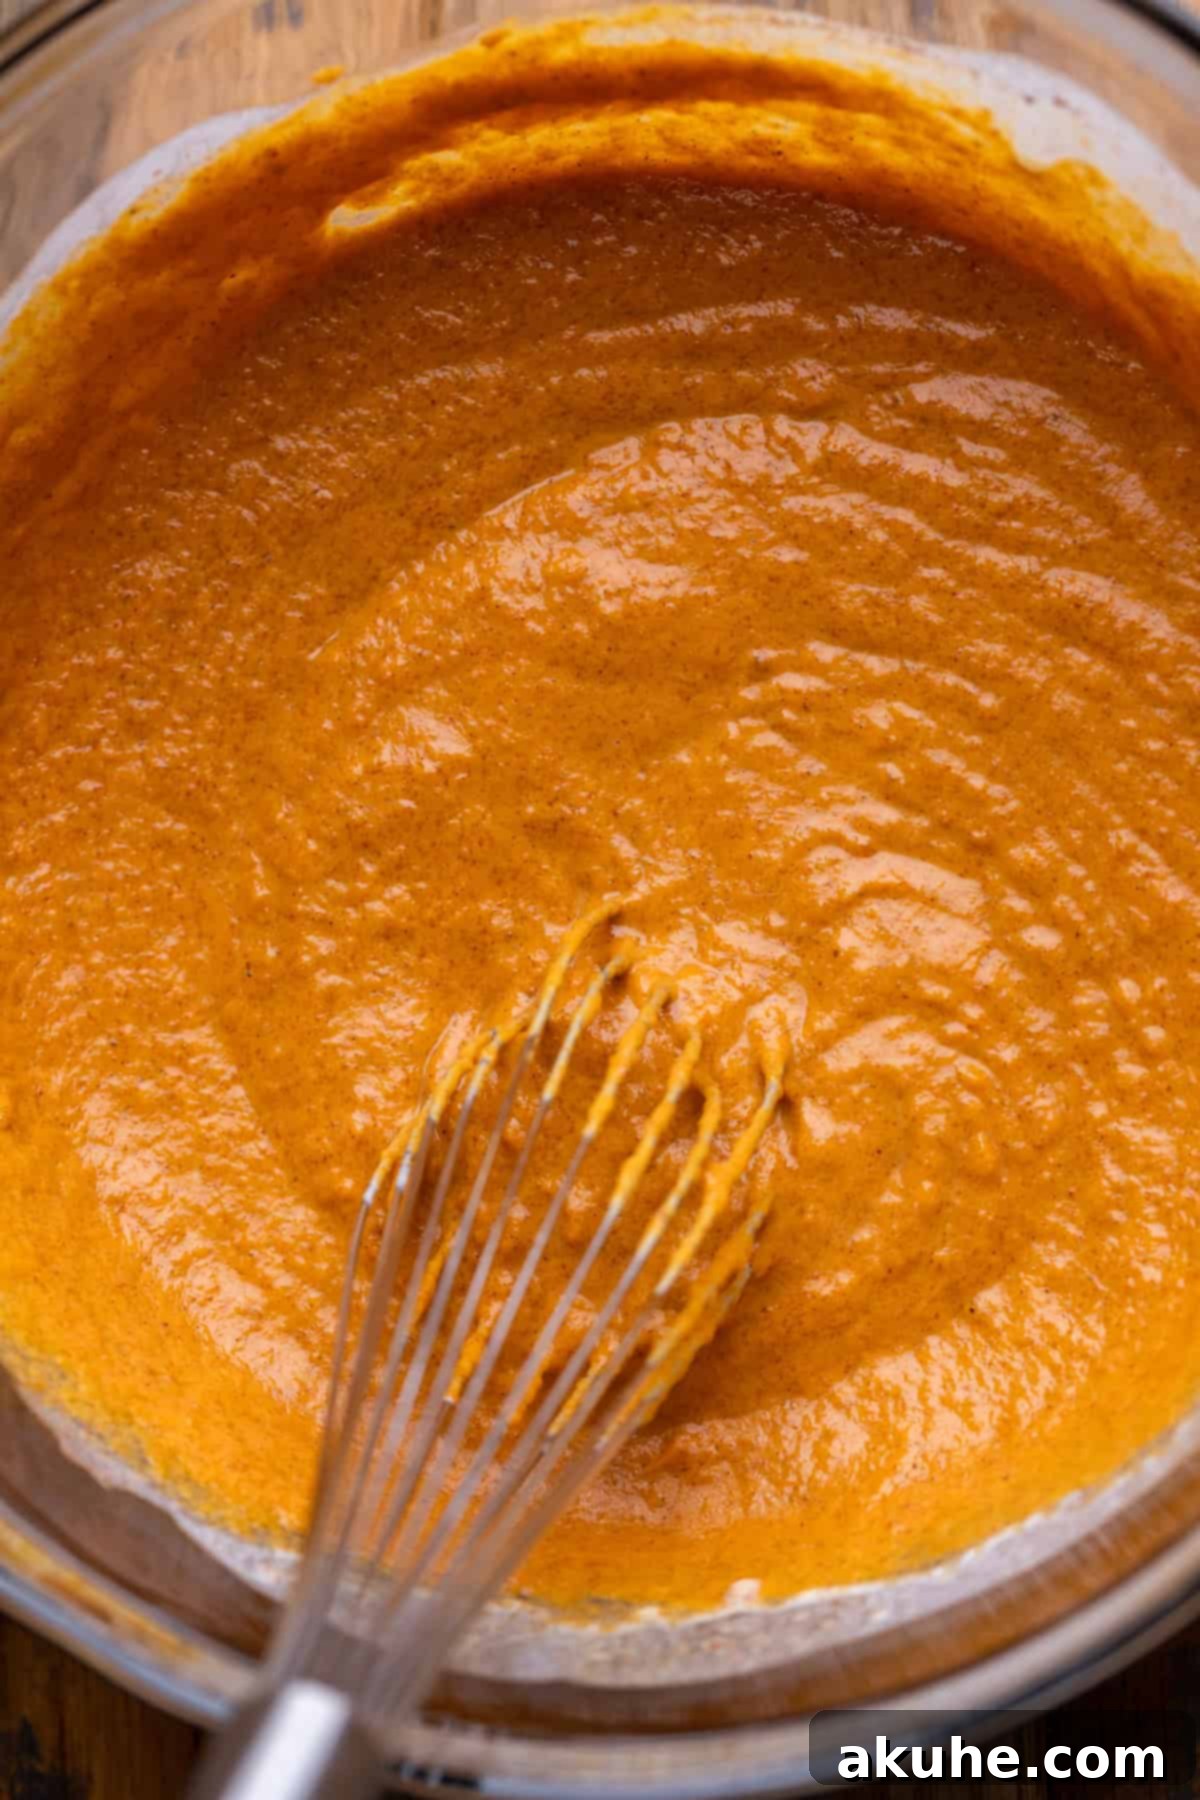
- In a medium bowl, combine the pumpkin puree, white granulated sugar, brown sugar, heavy cream, egg, vanilla extract, salt, ground cinnamon, pumpkin pie spice, and ground nutmeg. Whisk thoroughly until all ingredients are well combined and smooth.
- Use a cookie scoop (approximately 2 1/2 tablespoons) to fill each chilled pie crust with the pumpkin batter. Fill each crust a little over three-quarters full (relative to the pie crust, not the muffin cup). Filling adequately allows for the slight sinking that occurs after baking and cooling.
- Bake for 17-20 minutes, or until the pumpkin filling appears set around the edges and the pie crusts are lightly golden brown.
- Allow the pies to sit in the hot muffin pan for 30 minutes after baking. This crucial step helps them set completely. Then, carefully use a thin knife or offset spatula to gently lift them out of the pan. Transfer them to a cooling rack to cool down completely.
- Once fully cooled, place the mini pies in an airtight container and refrigerate for at least 2 hours to chill thoroughly. The flavors of pumpkin pie are often better and more pronounced when served cold.
- For optional decorative pie crust toppings: Preheat the oven to 350°F (175°C). Line a cookie sheet with parchment paper. Roll out any leftover pie dough scraps on a lightly floured surface and use a small cookie cutter to cut out desired shapes (e.g., small pumpkins). Cut one per pie. Arrange the cutouts on the prepared cookie sheet. In a small bowl, whisk together one egg and 1 teaspoon of water to create an egg wash. Brush the tops of the dough cutouts with the egg wash and sprinkle with coarse sugar. Bake for about 10 minutes, or until they are lightly golden brown.
Whipped Cream
- This step is optional if you prefer to use store-bought whipped cream, but homemade whipped cream offers superior flavor and freshness.
- In a chilled metal bowl, using a stand mixer or hand mixer fitted with a whisk attachment, combine the heavy cream, powdered sugar, and pure vanilla extract. Beat on high speed until medium peaks form, ensuring the cream is firm but still smooth.
- Spoon or pipe the homemade whipped cream generously onto the tops of the cold, chilled pumpkin pies. Garnish with any additional decorations you desire, such as the baked pie crust cutouts or a sprinkle of cinnamon.
Notes
For best results, remove dairy ingredients (heavy cream and egg) from the refrigerator approximately 2 hours before baking to allow them to come to room temperature.
Nutrition Facts
Calories: 185 kcal,
Carbohydrates: 19 g,
Protein: 1 g,
Fat: 13 g,
Saturated Fat: 8 g,
Polyunsaturated Fat: 1 g,
Monounsaturated Fat: 3 g,
Cholesterol: 39 mg,
Sodium: 61 mg,
Potassium: 113 mg,
Fiber: 1 g,
Sugar: 15 g,
Vitamin A: 6027 IU,
Vitamin C: 2 mg,
Calcium: 39 mg,
Iron: 1 mg
