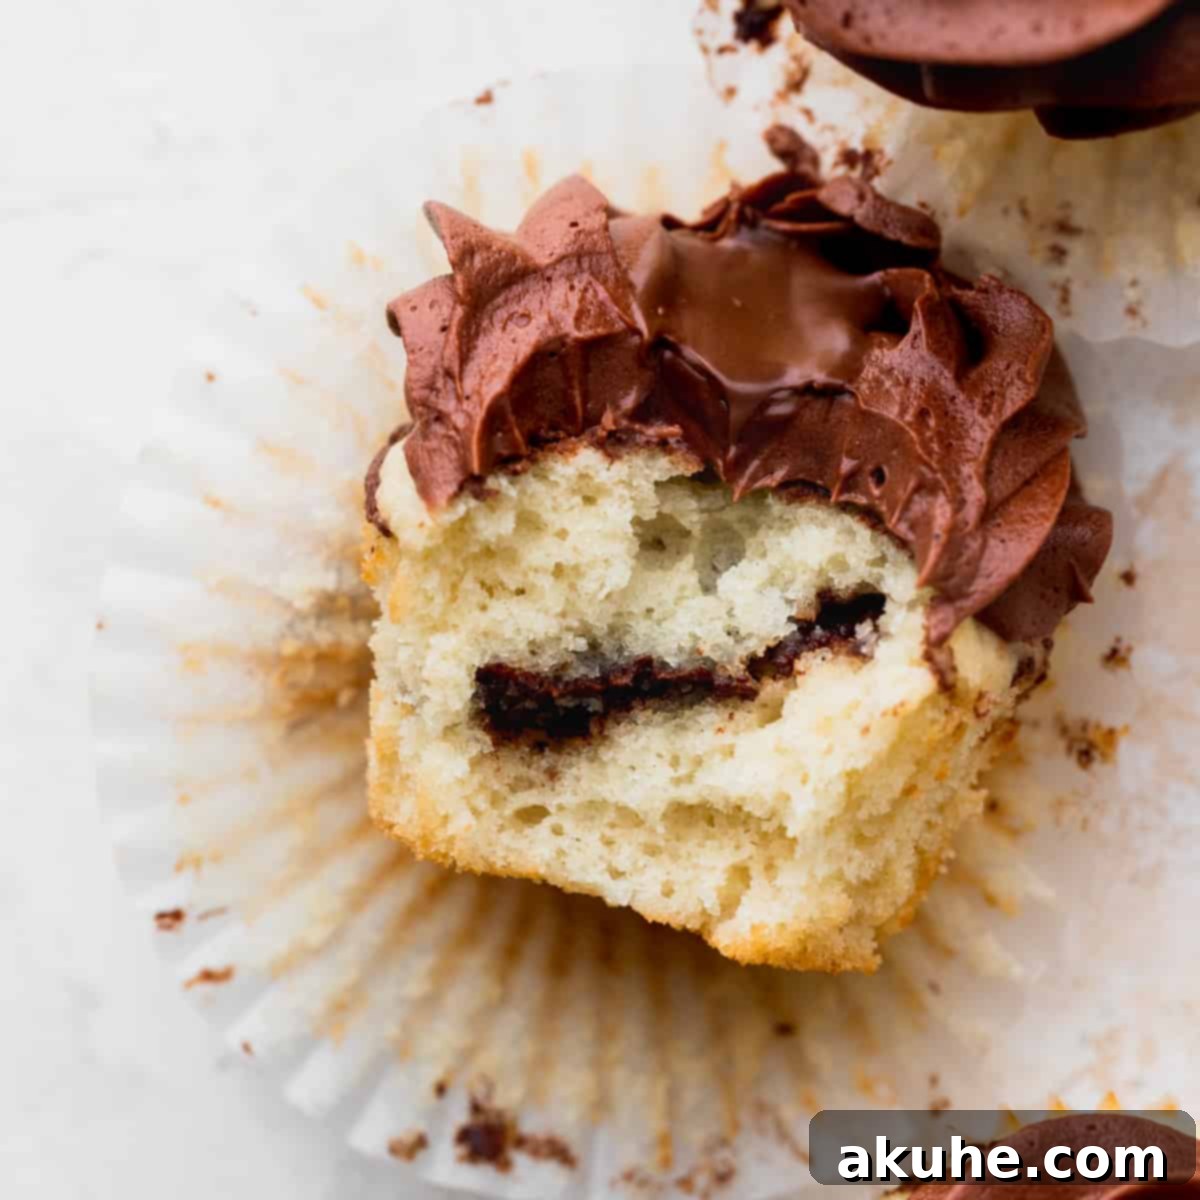
Prepare to embark on a delightful baking journey with these incredibly moist and irresistibly flavorful Vanilla Nutella Cupcakes. Imagine a light, fluffy vanilla cupcake, generously swirled with rich, creamy Nutella in every bite, then crowned with a luscious chocolate Nutella frosting and an extra drizzle of melted Nutella for ultimate indulgence. This isn’t just a recipe; it’s an experience designed to captivate even those who claim not to be Nutella enthusiasts. Get ready to create a dessert that will truly taste like Nutella heaven and leave everyone craving more!
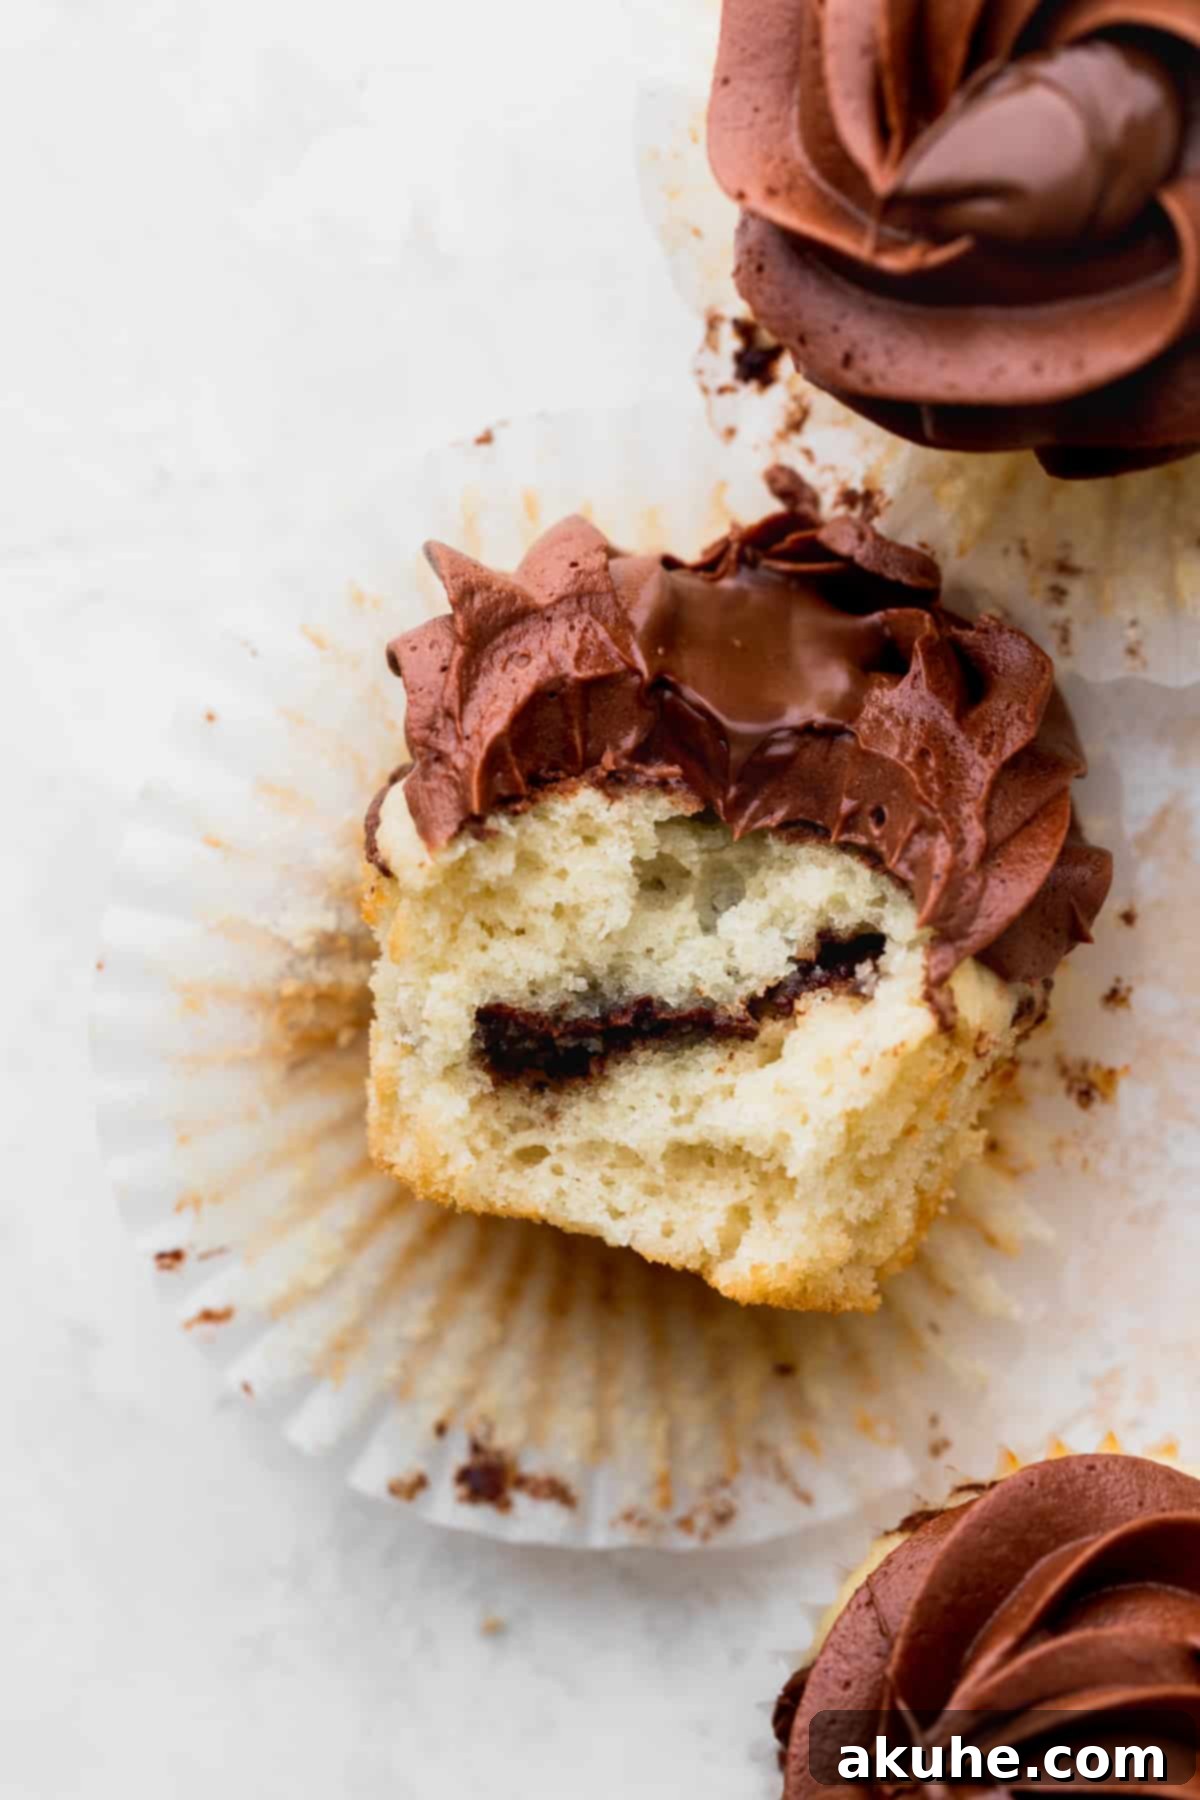
When crafting this unique homemade Nutella cupcake recipe, the goal was to infuse Nutella into every possible layer, creating an unparalleled depth of flavor. We didn’t just stop at swirling Nutella into the batter; we ensured its presence in the rich frosting and topped it off with an additional melted Nutella drizzle. The result is a truly decadent treat where every single component celebrates the harmonious blend of vanilla and chocolate-hazelnut goodness. These cupcakes aren’t just easy to make; they are a masterpiece of flavor and texture, guaranteed to impress and satisfy any sweet tooth. Perfect for parties, special occasions, or simply to brighten your day, these Nutella swirled cupcakes are a guaranteed crowd-pleaser.
If your love for Nutella extends beyond cupcakes, you’re in luck! Explore more delightful Nutella-infused creations from our collection, such as our chewy Nutella Stuffed Cookies, the rich and layered Nutella Peanut Butter Cake, or the incredibly smooth and decadent Nutella Cheesecake. Each recipe offers a unique way to enjoy that beloved chocolate-hazelnut spread, bringing joy to any dessert table.
While many recipes are accompanied by video tutorials, for the purpose of this detailed guide, we are focusing solely on comprehensive written instructions and vibrant visual cues through images. This approach ensures clarity and ease of following, providing you with everything you need to bake these amazing vanilla Nutella cupcakes right here, step-by-step.
Why You’ll Fall in Love with These Vanilla Nutella Cupcakes
These aren’t just any cupcakes; they are a celebration of flavor, texture, and simplicity, designed to bring pure joy with every bite. Here’s why these easy vanilla Nutella cupcakes will quickly become a cherished favorite in your baking repertoire, perfect for any occasion:
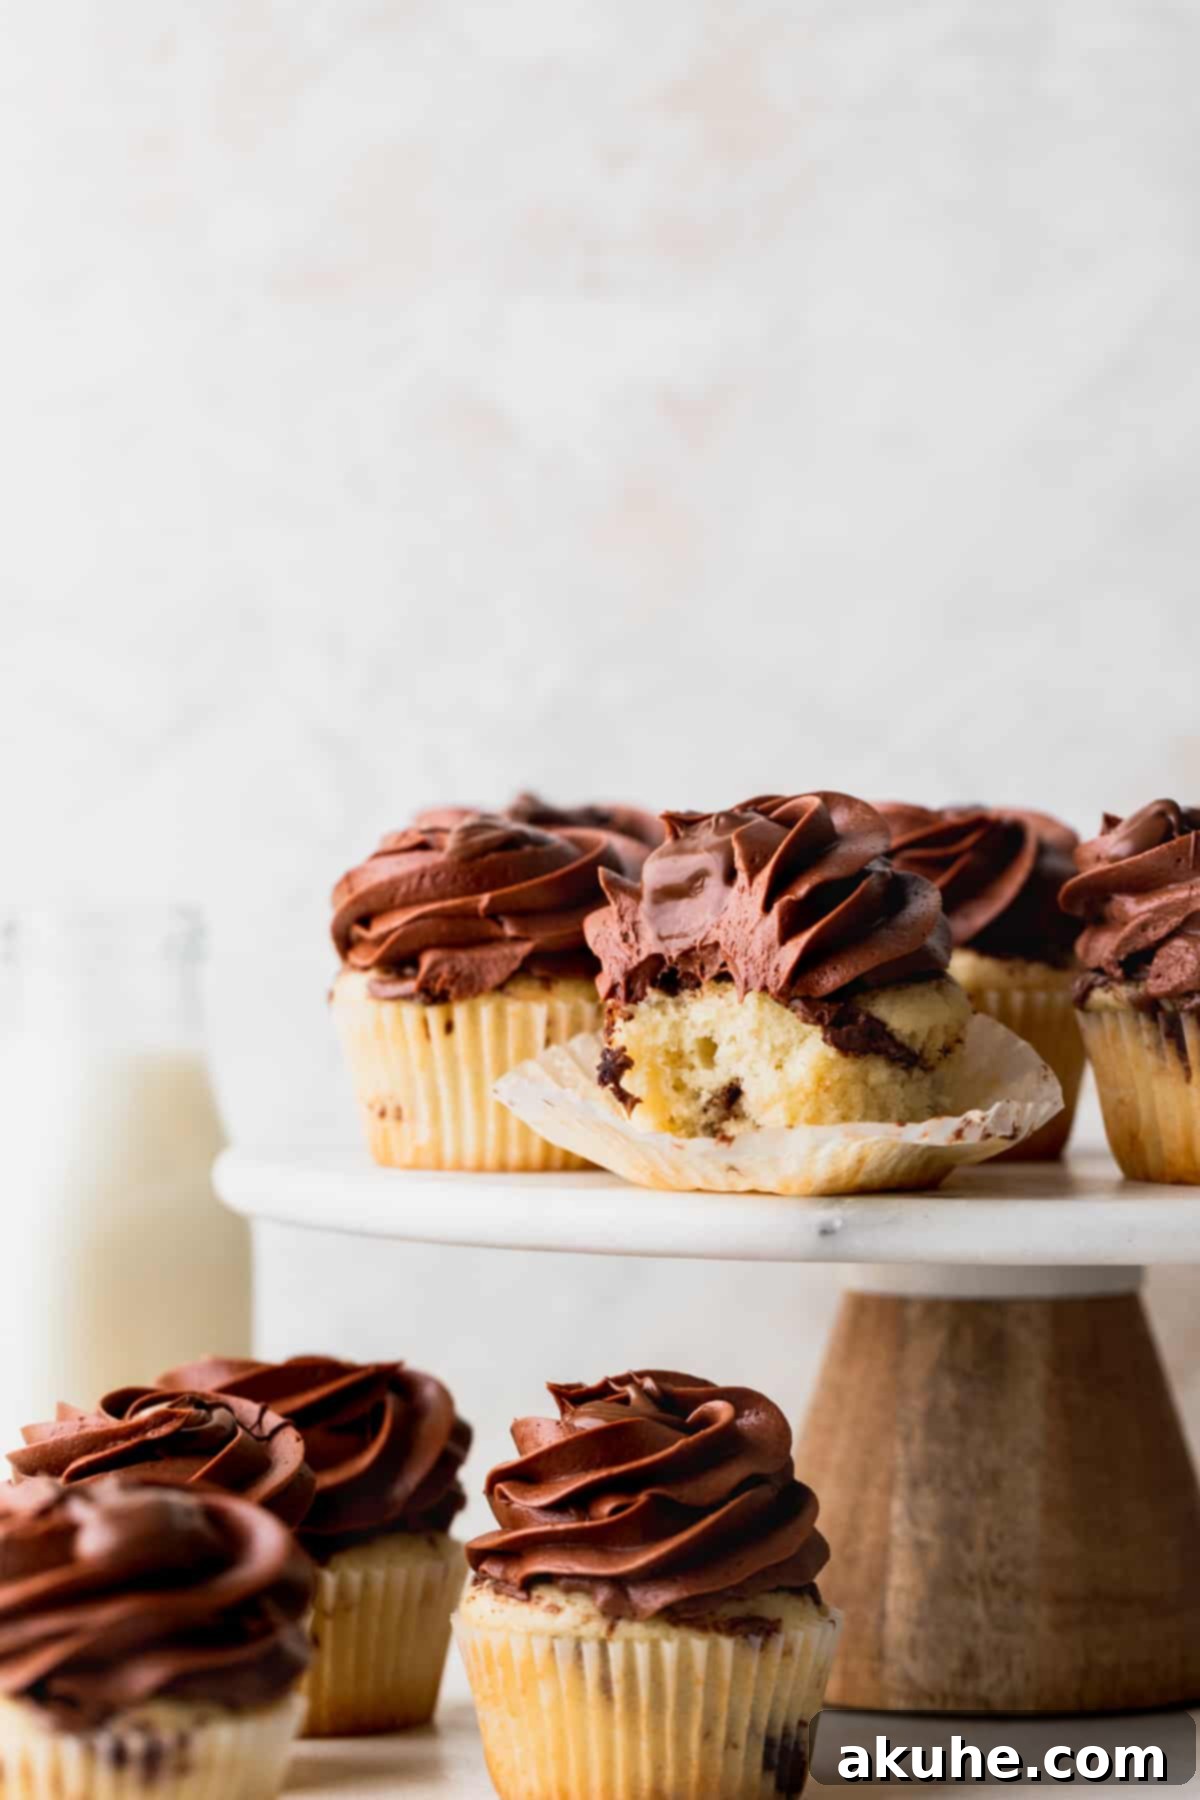
- Perfectly Moist & Buttery Vanilla Cupcakes: The foundation of these delightful treats is an exceptionally soft, tender, and buttery vanilla cupcake. Crafted with high-quality ingredients, they boast a rich flavor profile and an unbelievably moist crumb that melts in your mouth. The subtle, aromatic vanilla notes provide the ideal counterbalance to the robust chocolate-hazelnut swirl, creating a perfectly balanced and harmonious taste sensation that’s far from ordinary.
- Surprisingly Easy to Make & Impress: Don’t let their elegant and impressive appearance intimidate you! These cupcakes look like they came straight from a gourmet bakery, but they are remarkably straightforward to prepare. With clear, step-by-step instructions and readily available baking ingredients, even novice bakers can achieve stunning, professional-looking results. This recipe proves that exceptional flavor and visual appeal don’t have to be complicated or time-consuming.
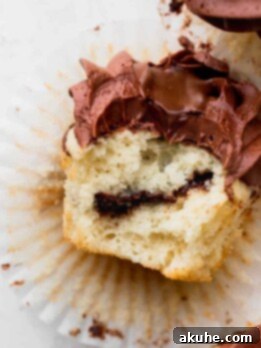
- Irresistible Nutella Swirl Baked Inside: What truly elevates these cupcakes is the generous, gooey swirl of creamy Nutella baked right into the heart of each vanilla cupcake. As you bite in, you’re greeted with a delightful pocket of warm, melted Nutella, adding an unexpected layer of richness, a contrasting texture, and a decadent surprise that makes every mouthful an exciting discovery. This hidden layer is a game-changer!
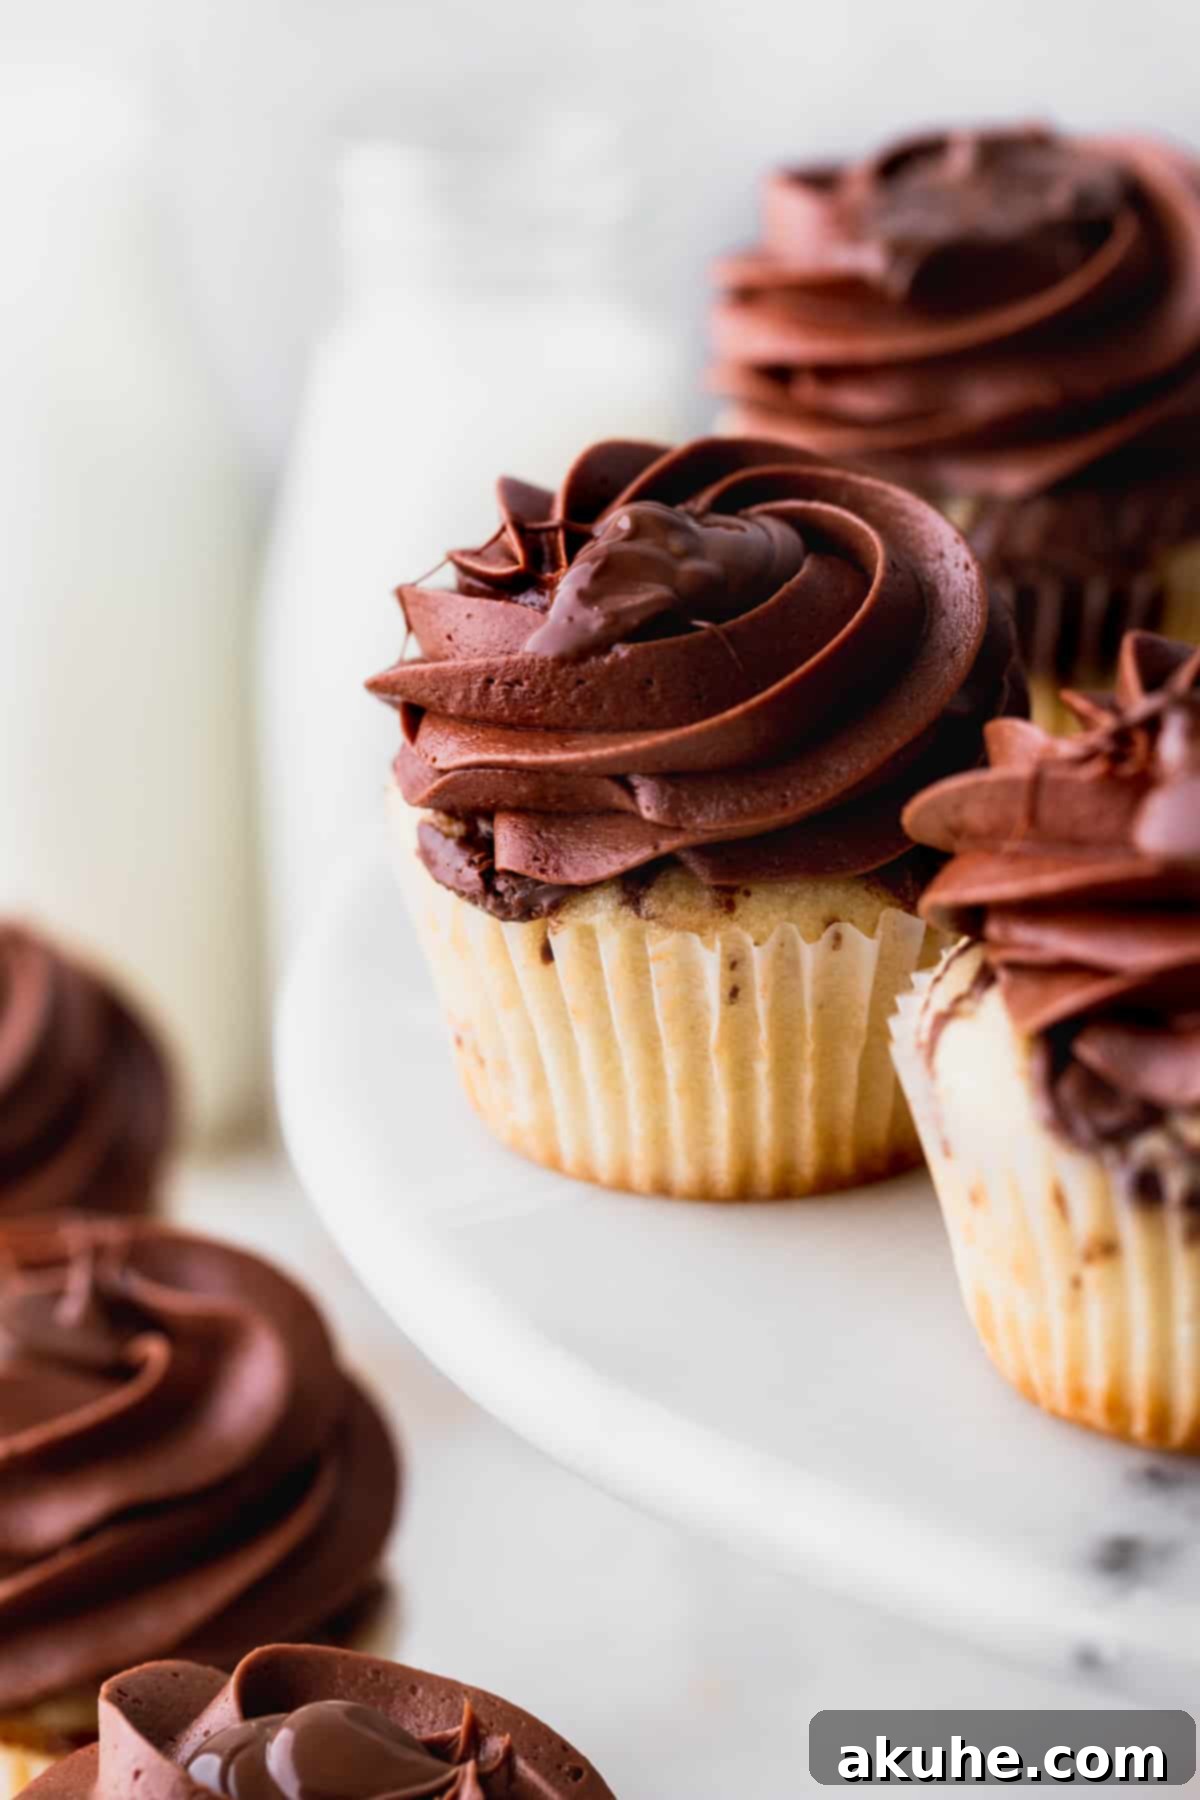
- Decadent Chocolate Nutella Frosting: Crowning these moist cupcakes is a luxurious, light, and fluffy frosting that perfectly marries the classic flavors of chocolate and Nutella. Made with just the right touch of unsweetened cocoa powder for depth and an abundance of Nutella for that signature hazelnut goodness, this buttercream is silky smooth, perfectly sweet, and incredibly creamy. It balances the cupcake’s base beautifully, creating a harmonious symphony of flavors.
- An Extra Touch of Melty Nutella for True Lovers: For those who simply cannot get enough of that iconic chocolate-hazelnut spread, we take the indulgence a step further. Each frosted cupcake is crowned with an additional dollop or a delicate drizzle of slightly melted Nutella. This not only enhances the visual appeal, making them look even more tempting, but also delivers an extra burst of warm, gooey Nutella flavor, solidifying these cupcakes as an absolute dream for any Nutella aficionado.
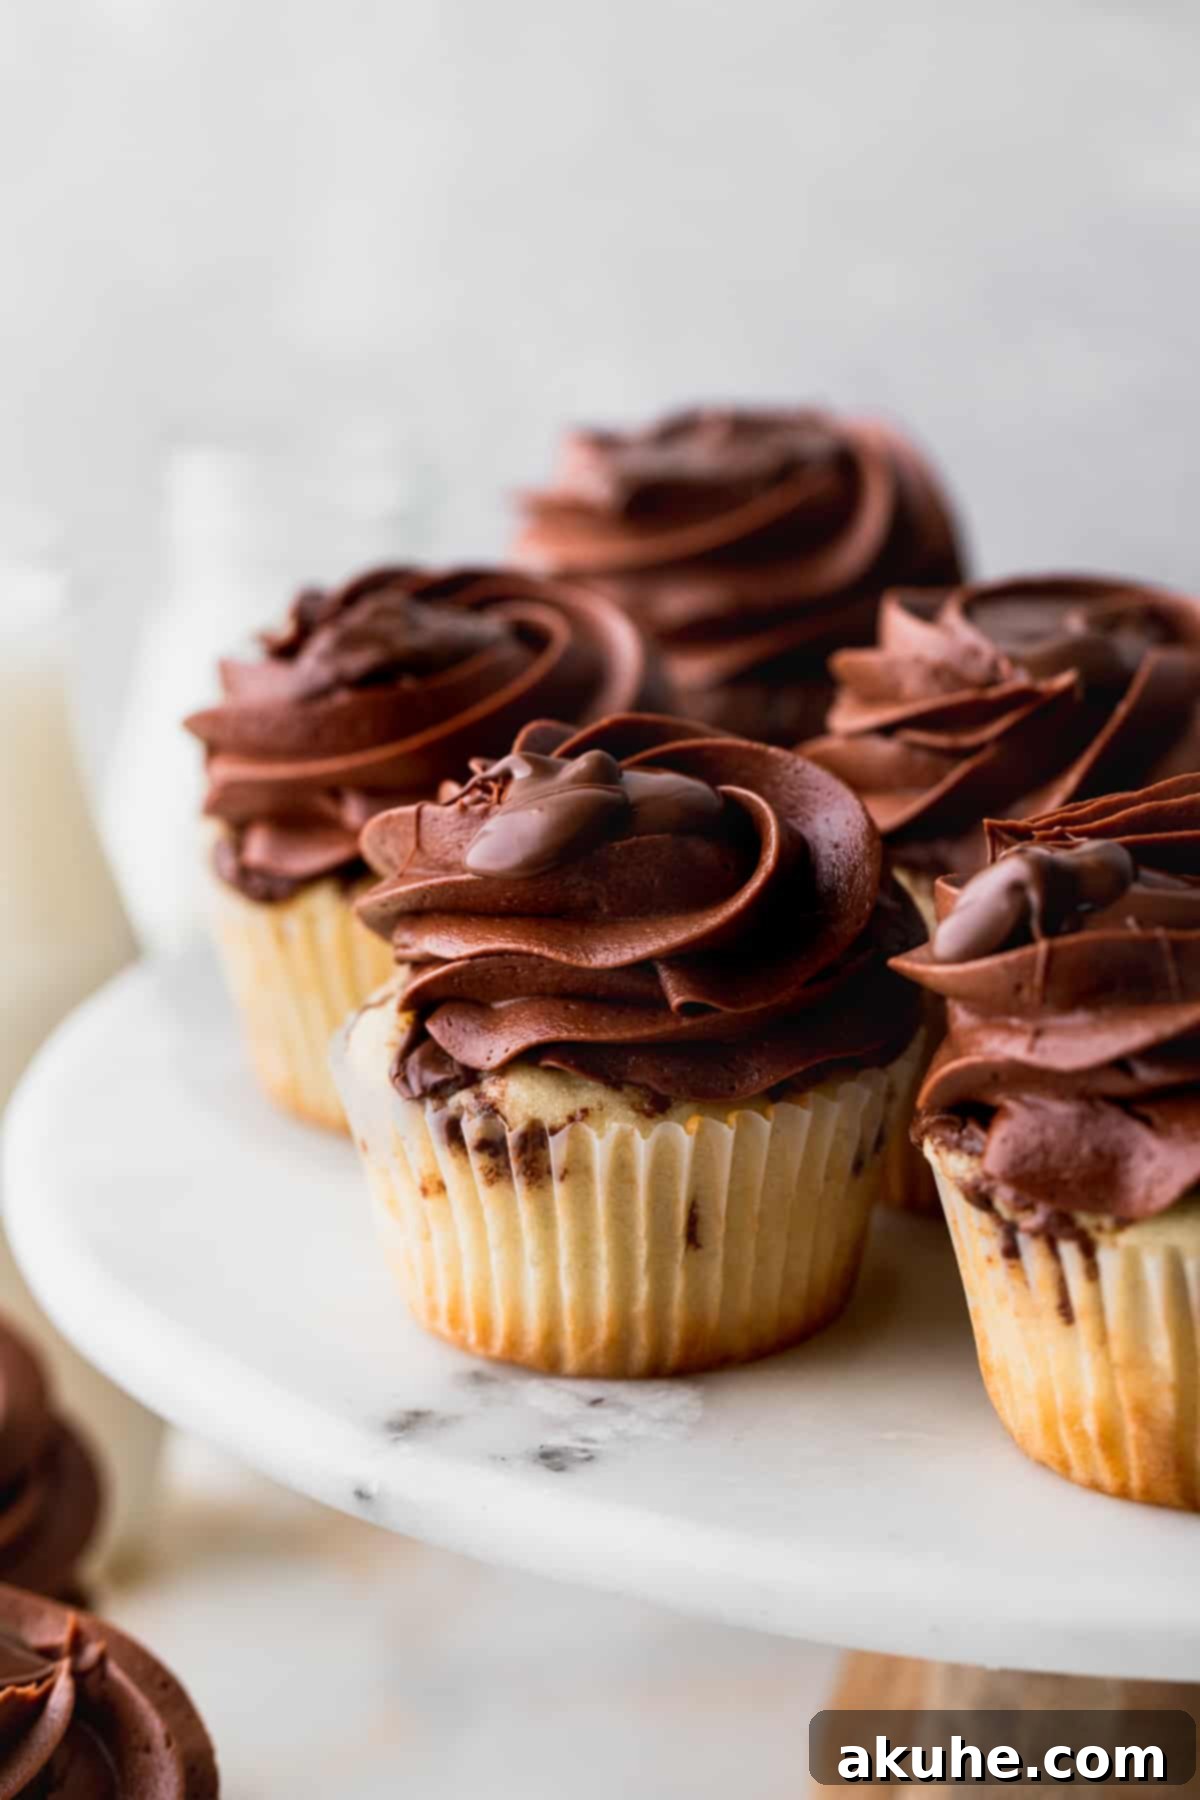
Essential Ingredient Notes for Perfect Cupcakes
Achieving the perfect texture and flavor in these vanilla Nutella cupcakes starts with a clear understanding of each ingredient’s role. Paying close attention to these notes will ensure your baking experience is smooth and successful, leading to truly delicious and consistently perfect results every time.
- Bring Dairy Ingredients to Room Temperature: This is arguably one of the most crucial steps for nearly any baking recipe. For optimal emulsification and a smooth, lump-free batter, it is imperative that your unsalted butter, large eggs, and full-fat sour cream are all at true room temperature. This typically means pulling them out of the refrigerator at least 2 hours before you intend to start mixing. Room temperature ingredients combine more seamlessly, trap air more efficiently during creaming, and ultimately create a lighter, more consistent batter that bakes evenly and yields a tender crumb.
- Unsalted Butter: Always opt for unsalted butter in baking unless the recipe specifically calls for salted. This choice provides you with complete control over the total salt content in your recipe, allowing for precise flavor balance. For the cupcake batter, ensure the butter is properly softened to room temperature so it can cream beautifully with the sugar, incorporating essential air for a light and airy texture.
- Slightly Cold Butter for Frosting: Here’s a subtle but significant difference: while room temperature butter is perfect for cupcakes, the frosting benefits from butter that is “slightly cold.” To achieve this, take your butter out of the fridge only about 30 minutes before you begin making the frosting. This ensures the butter is still firm enough to create a stable, pipeable, and wonderfully fluffy buttercream that holds its shape without becoming greasy or overly soft and runny.
- Full-Fat Sour Cream: For maximum moisture, a rich flavor, and an incredibly tender crumb in your vanilla cupcakes, always use full-fat sour cream. Its natural acidity plays a vital role in activating the baking soda, which contributes significantly to the cupcake’s desirable lift and overall tenderness.
- Buttermilk: Similar to sour cream, buttermilk is a secret weapon for adding incredible moisture and a subtle tangy depth that beautifully enhances the vanilla flavor. Whether you choose full-fat or reduced-fat buttermilk, its acidity is absolutely essential for reacting with the leavening agents, resulting in a significantly lighter, softer, and more delicate crumb structure.
- Nutella: This is the undeniable star of the show, providing that signature chocolate-hazelnut goodness! For these Nutella swirled cupcakes, you will find yourself using a generous amount, potentially a whole jar, to achieve rich layers of flavor in both the batter’s swirl and the decadent frosting. Always ensure your Nutella is fresh and smooth for the best taste and texture in your finished treats.
- Sifted Powdered Sugar: To guarantee a flawlessly smooth, lump-free, and professional-looking chocolate Nutella frosting, sifting your powdered sugar is an absolute non-negotiable step. This prevents any gritty texture and ensures a silky-smooth buttercream that pipes beautifully and melts delightfully in your mouth.
- Quality Unsweetened Cocoa Powder: The cocoa powder adds a crucial layer of depth and a rich, intense chocolate flavor to the frosting, perfectly complementing the sweet hazelnut notes of the Nutella. While the original article may have linked a specific brand, any high-quality unsweetened cocoa powder (natural or Dutch-processed) will yield excellent results, contributing to the overall complexity of the frosting.
Can I Use Homemade Nutella for This Recipe?
While this recipe has been specifically developed and tested with commercially available Nutella, using homemade Nutella should generally work well with a few considerations. The primary factor for success is ensuring the consistency of your homemade spread. As long as it is sufficiently thick to mimic the texture of regular store-bought Nutella, it should integrate effectively into the cupcake batter without making it too thin.
However, exercise a bit more caution when incorporating homemade Nutella into the frosting. If your homemade version is significantly thinner than its commercial counterpart, you may need to reduce the amount used in the frosting. An overly thin Nutella could result in a frosting that is too runny, lacks structure, and won’t hold its shape adequately for piping or decorating.
Smart Substitutions for Common Ingredients
Sometimes you might not have every single ingredient on hand, or perhaps you prefer a specific alternative. Don’t let that stop your baking! Here are some reliable substitutions to help you create these delicious vanilla Nutella cupcakes without an extra trip to the grocery store, ensuring your baking adventure remains seamless:
- Sour Cream Alternative: If you find your refrigerator lacking sour cream, plain full-fat Greek yogurt makes an excellent and highly recommended substitute. It provides a very similar moisture content and tangy flavor, contributing to a wonderfully tender and rich cupcake crumb. For the best baking results, always aim for full-fat options when substituting dairy, as the fat content plays a crucial role in the texture, moisture, and overall richness of your baked goods.
- Buttermilk Substitute: No buttermilk in the fridge? No problem at all! You can very easily create a homemade version using ingredients you likely already have. Simply combine 1/2 cup of whole milk with 1/2 tablespoon of fresh lemon juice or white vinegar. Stir the mixture gently, then let it sit undisturbed for about 5-10 minutes. During this time, the milk will slightly curdle, creating a perfect substitute for buttermilk that provides the necessary acidity to react with your leavening agents, ensuring your cupcakes remain moist and incredibly tender.
Step-by-Step Instructions for Perfect Vanilla Nutella Cupcakes
Creating these delightful Nutella swirled cupcakes is an enjoyable and straightforward process when you meticulously follow these clear, detailed steps. Before you begin, gather your essential equipment: a stand mixer fitted with a paddle attachment (or a reliable hand mixer), a standard 12-cup cupcake tin lined with cupcake liners, and a versatile rubber spatula. Let’s dive into baking!
Crafting the Moist Vanilla Cupcakes
- STEP 1: Prepare Your Dry Ingredients. Begin by preheating your oven to the precise temperature of 350°F (175°C). Carefully line a 12-cup muffin tin with paper cupcake liners and set it aside, ready for action. In a medium-sized mixing bowl, meticulously sift together the all-purpose flour, fine salt, baking powder, and baking soda. Sifting is crucial as it removes any lumps, ensuring a uniformly smooth batter, and helps to evenly distribute the leavening agents throughout the mixture. Give these dry ingredients a quick whisk to combine them thoroughly, then set this mixture aside.
- STEP 2: Cream Butter and Sugar with Wet Additions. In a large mixing bowl, utilizing your stand mixer (or a hand mixer), beat the properly softened unsalted butter and granulated sugar together on high speed for a full 3 minutes. Continue beating until the mixture transforms into a light, pale, and wonderfully fluffy consistency, indicating that sufficient air has been incorporated. Next, reduce the mixer speed to medium and gradually add in the room temperature large eggs, one at a time, ensuring each is fully incorporated before adding the next. Follow this by mixing in the room temperature sour cream and the pure vanilla extract. Beat for another 2 minutes until just combined. It’s completely normal if the mixture appears slightly lumpy at this particular stage; it will smooth out.
- STEP 3: Incorporate Flour Mixture and Buttermilk. With your mixer set to the lowest speed, begin the delicate process of alternating the additions of your dry ingredient mixture and the buttermilk. Start by adding approximately one-third of the dry ingredients, mixing only until just combined. Then, gently pour in half of the buttermilk, mixing until barely incorporated. Repeat this alternating process: add another third of the dry ingredients, followed by the remaining buttermilk, and finally, the last third of the dry ingredients. Mix on low speed until the batter is just combined and no visible streaks of flour remain. Exercise extreme caution not to overmix, as this can easily lead to the development of gluten, resulting in tough, dense cupcakes. Use a rubber spatula to carefully scrape down the sides and bottom of the bowl, ensuring all ingredients are fully and evenly incorporated.
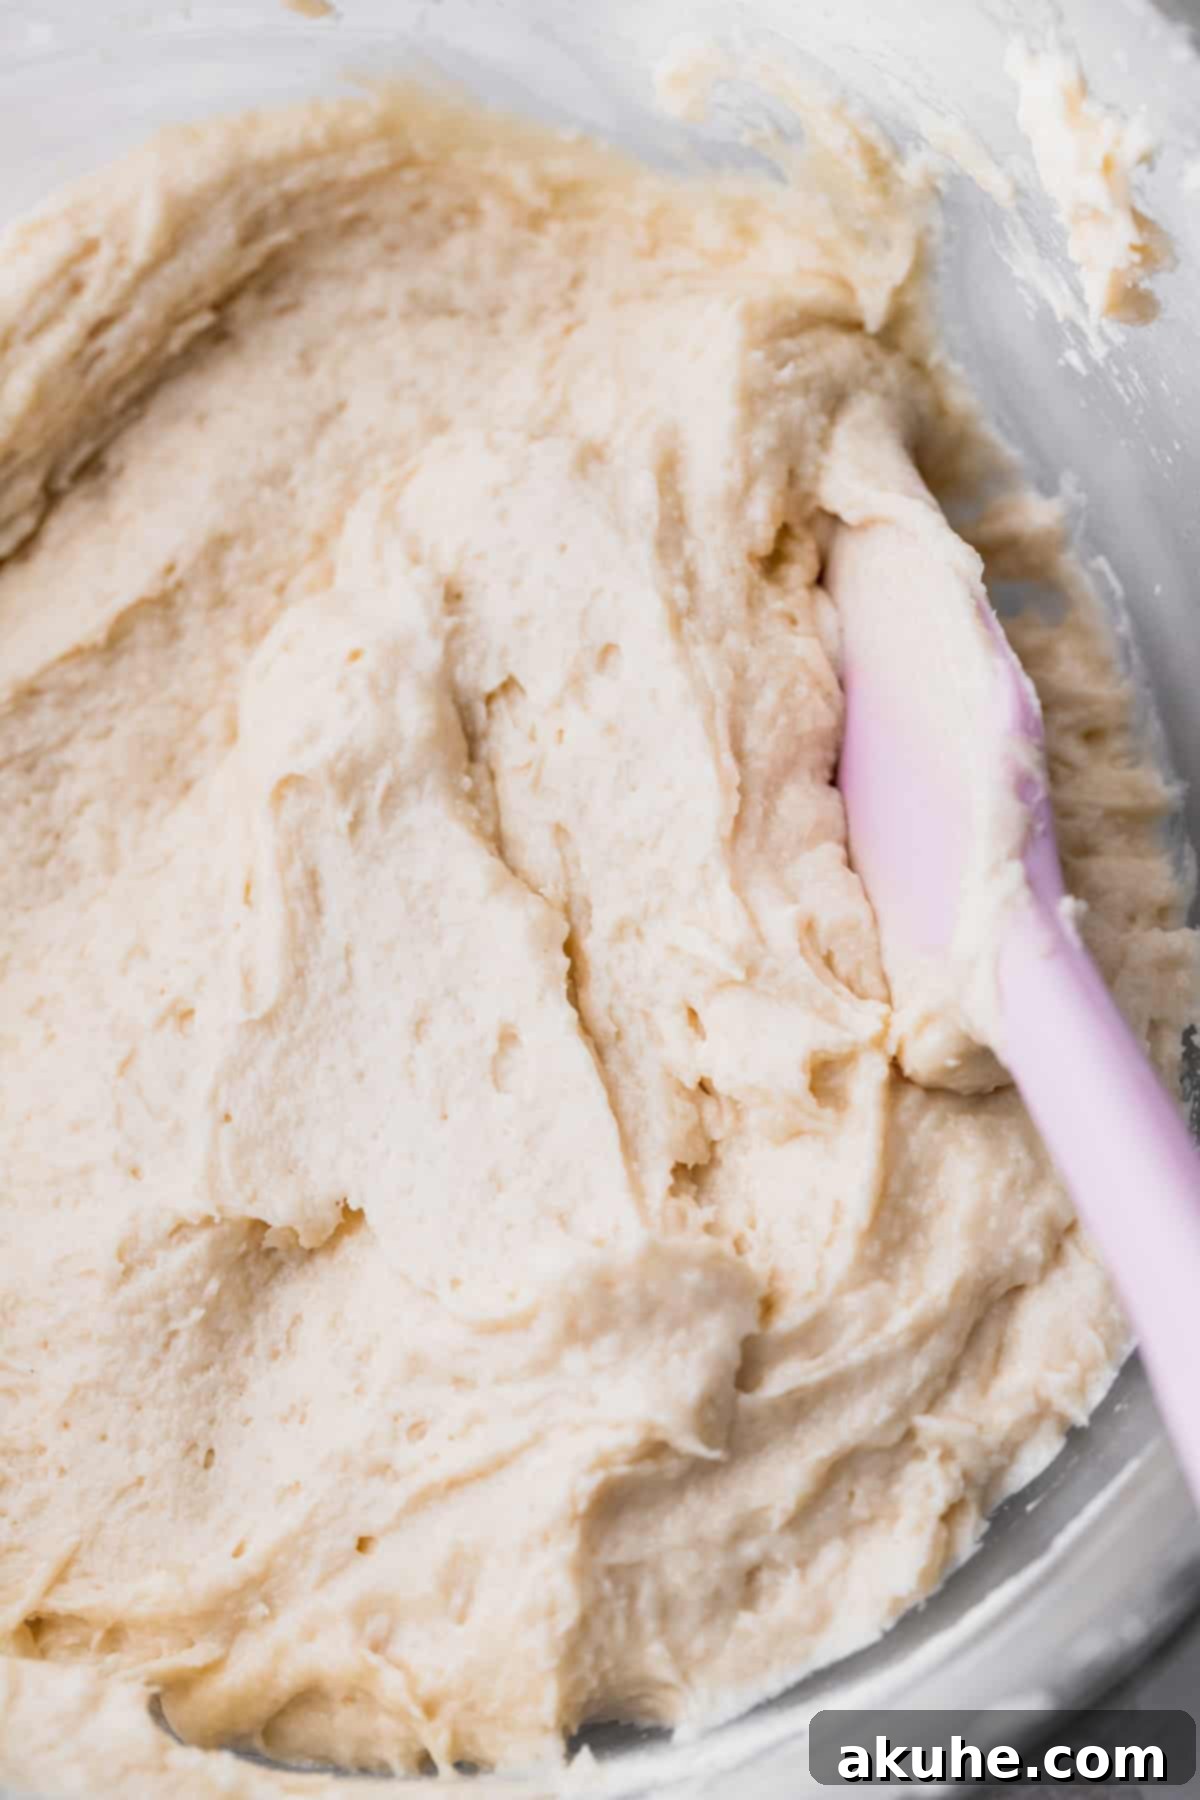
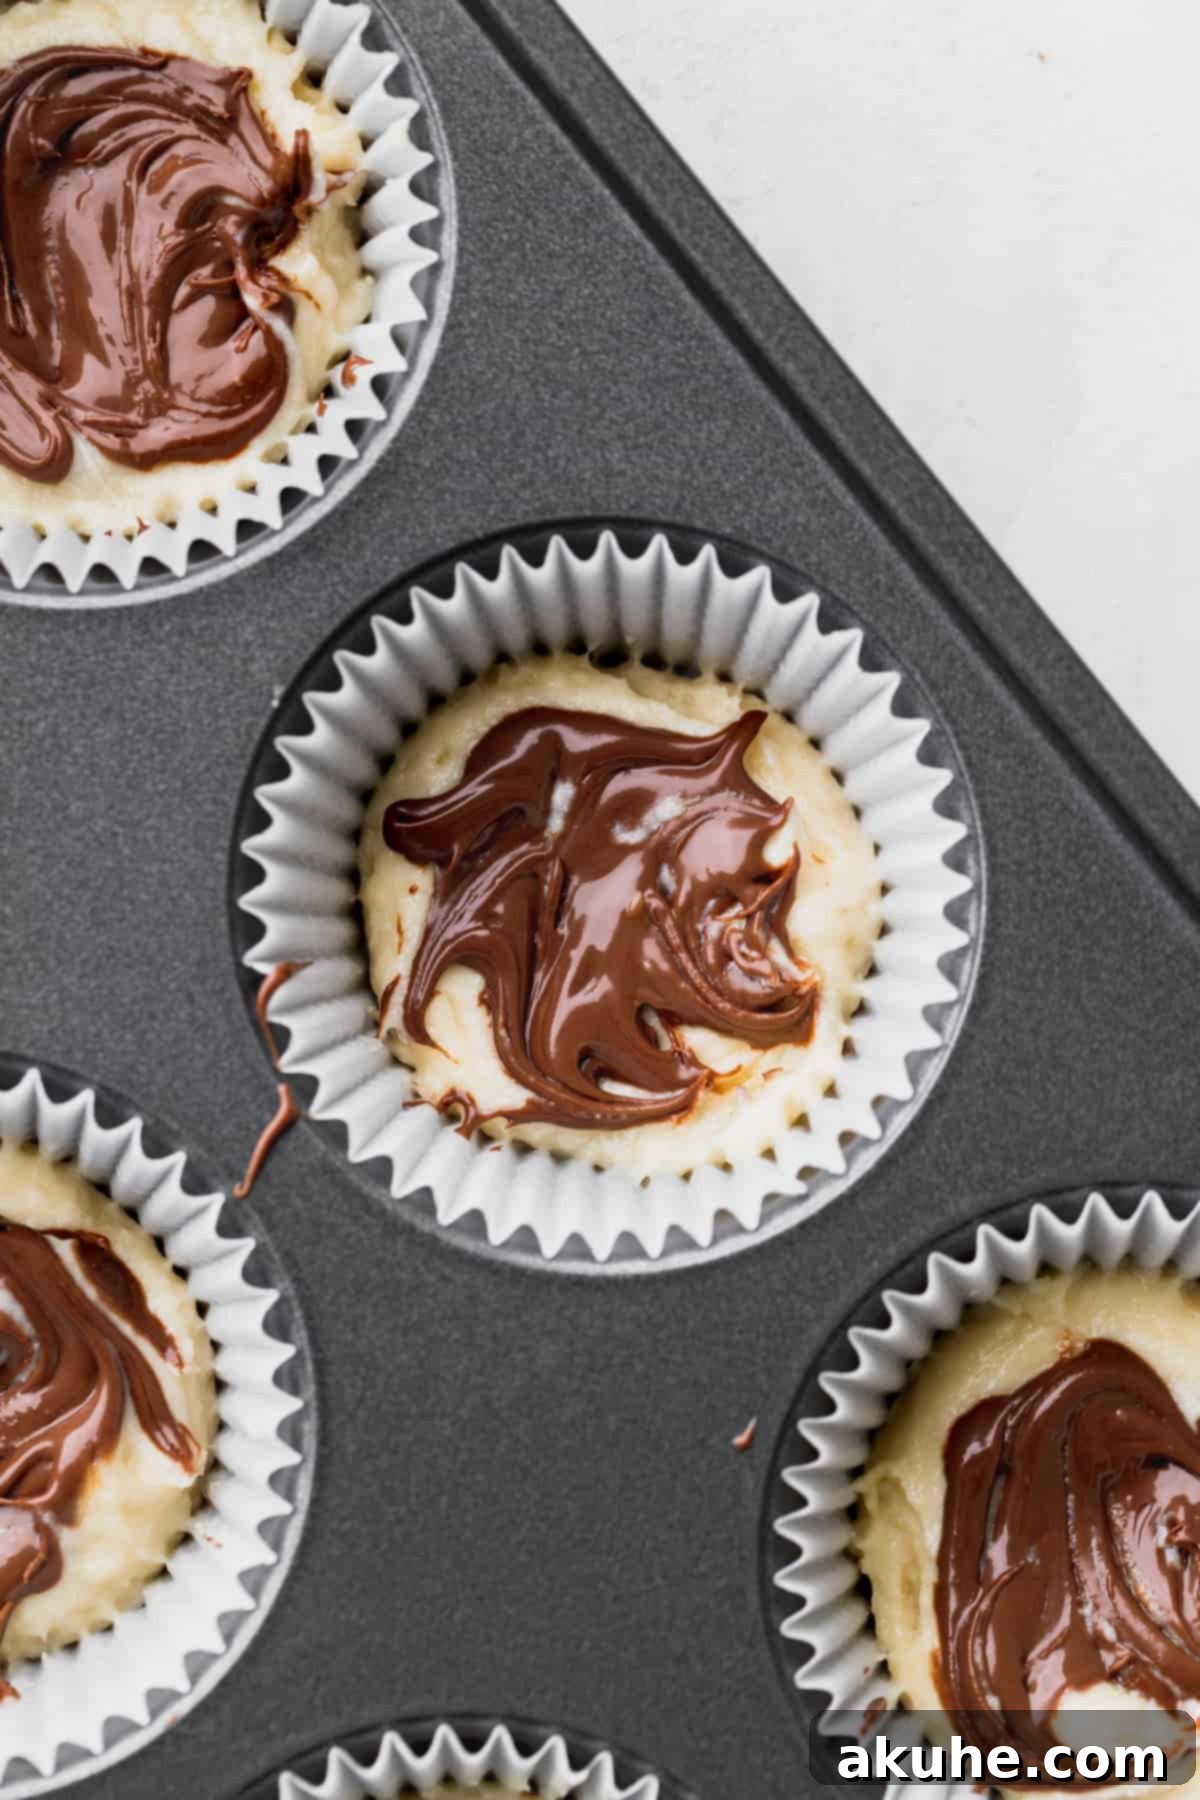
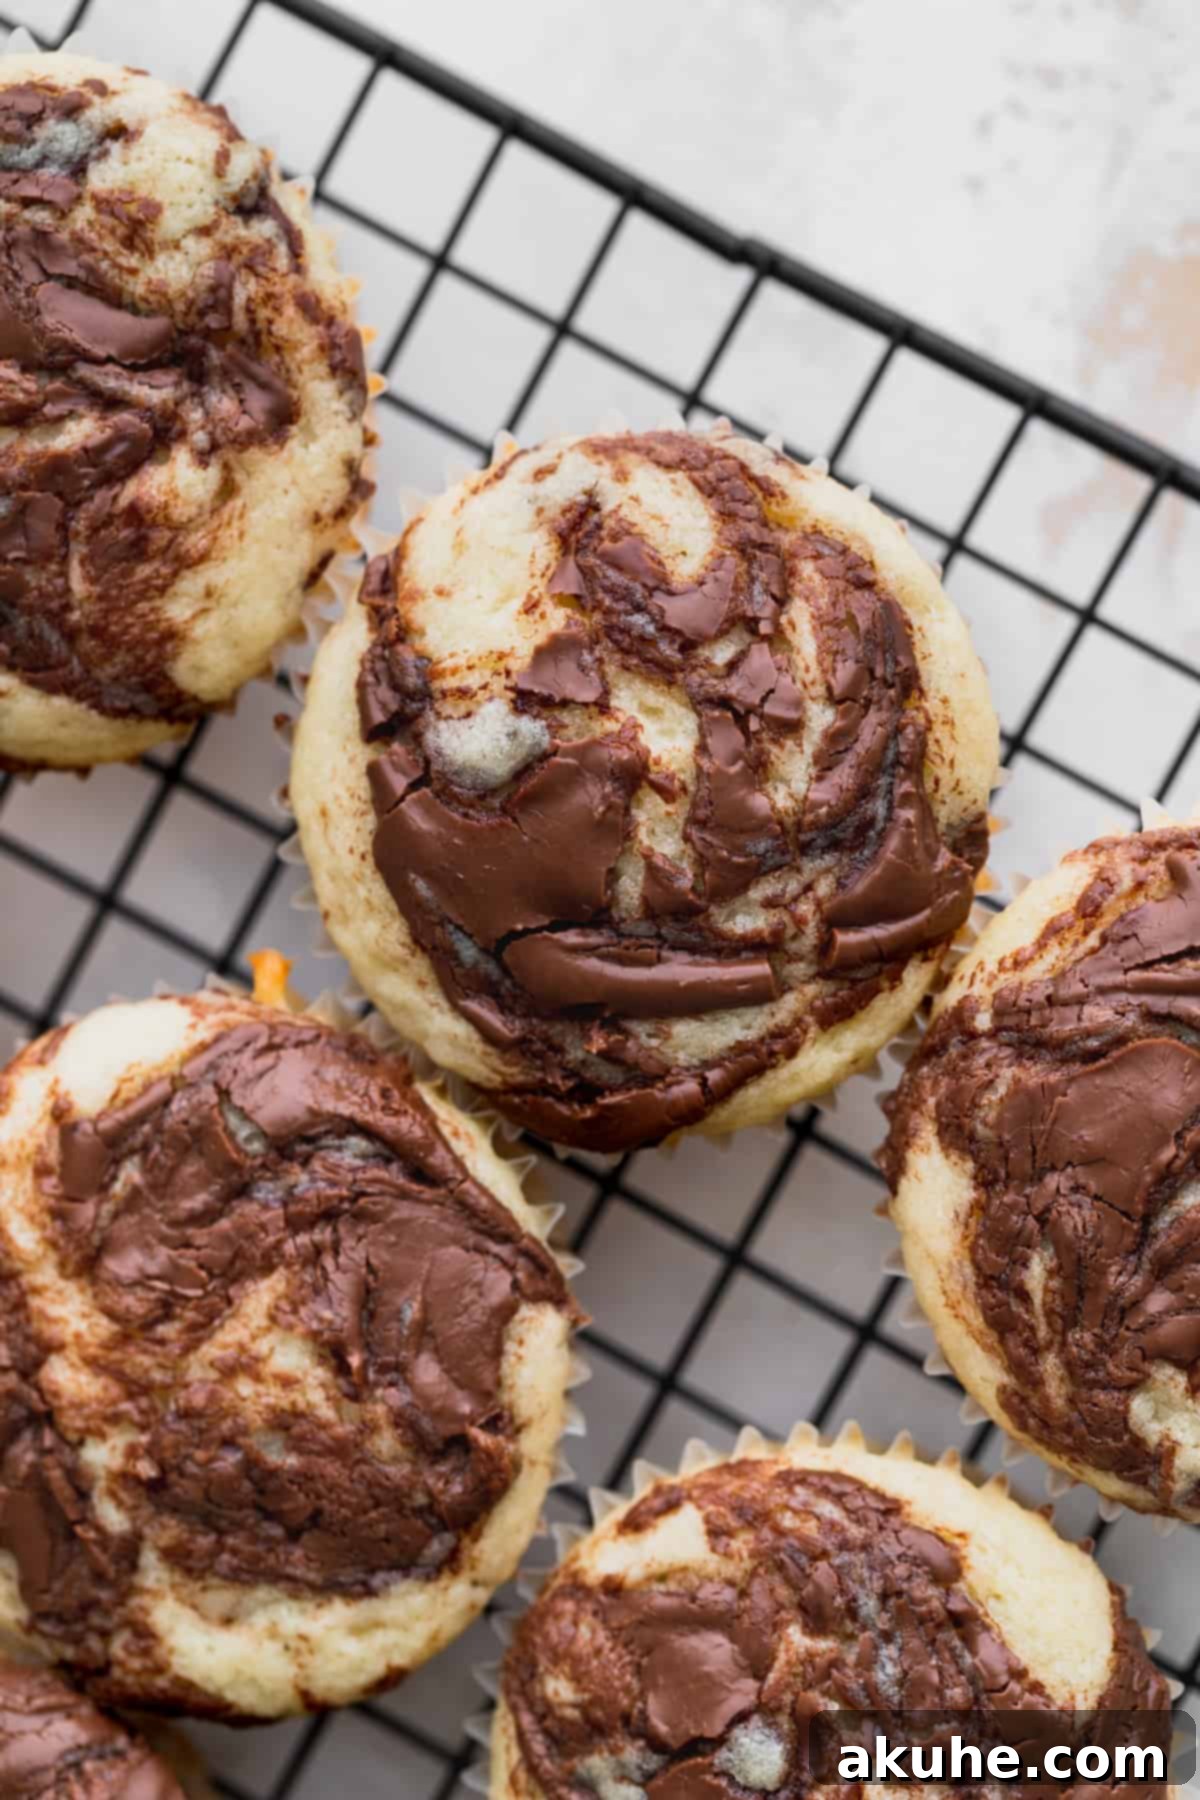
- STEP 4: First Batter Scoop and Nutella Swirl. Take the 1/2 cup of Nutella designated for swirling and heat it in a microwave-safe bowl for approximately 20 seconds. This brief heating will make it slightly more fluid and significantly easier to work with. Give it a quick stir to ensure it’s smooth. Now, using a 1-Tablespoon cookie scoop or a simple measuring spoon, carefully scoop a small amount of the vanilla batter into the bottom of each prepared cupcake liner, filling it approximately one-third full. Spoon about 1/2 teaspoon of the slightly melted Nutella directly on top of this first layer of batter. Using a butter knife or a small toothpick, gently swirl the Nutella into the batter. This meticulous step creates that delightful, creamy surprise center in your baked cupcakes.
- STEP 5: Second Batter Scoop and Top Swirl. Continue the process by scooping more vanilla batter on top of the already swirled Nutella layer. Fill each muffin cup so that it is about two-thirds full overall. It is crucial not to overfill the liners, as this can cause the cupcakes to overflow during baking and create an uneven dome. Once again, spoon another 1/2 teaspoon of Nutella onto the very top surface of the batter in each cup. Use your butter knife or toothpick to gently swirl this second layer of Nutella into the top of the batter, creating appealing patterns that will bake beautifully onto the tops of your cupcakes.
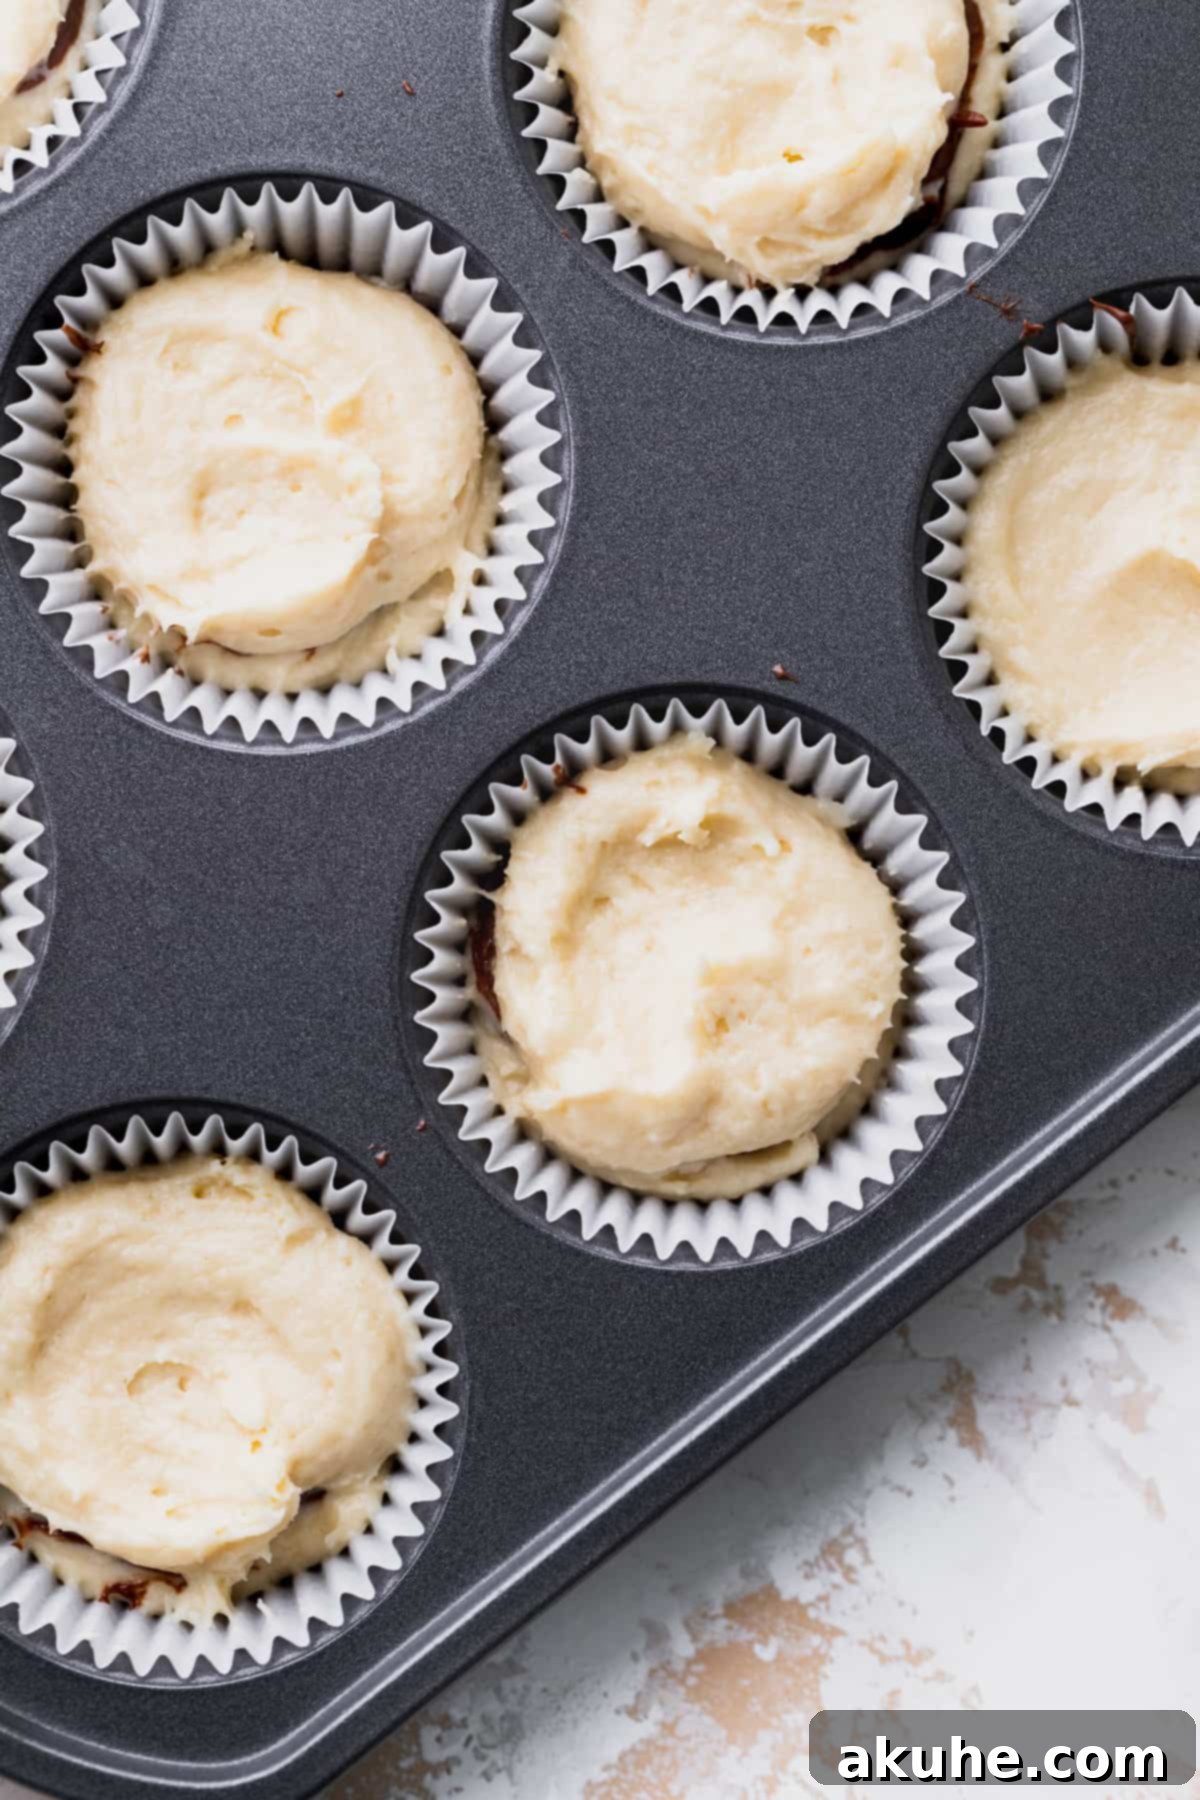
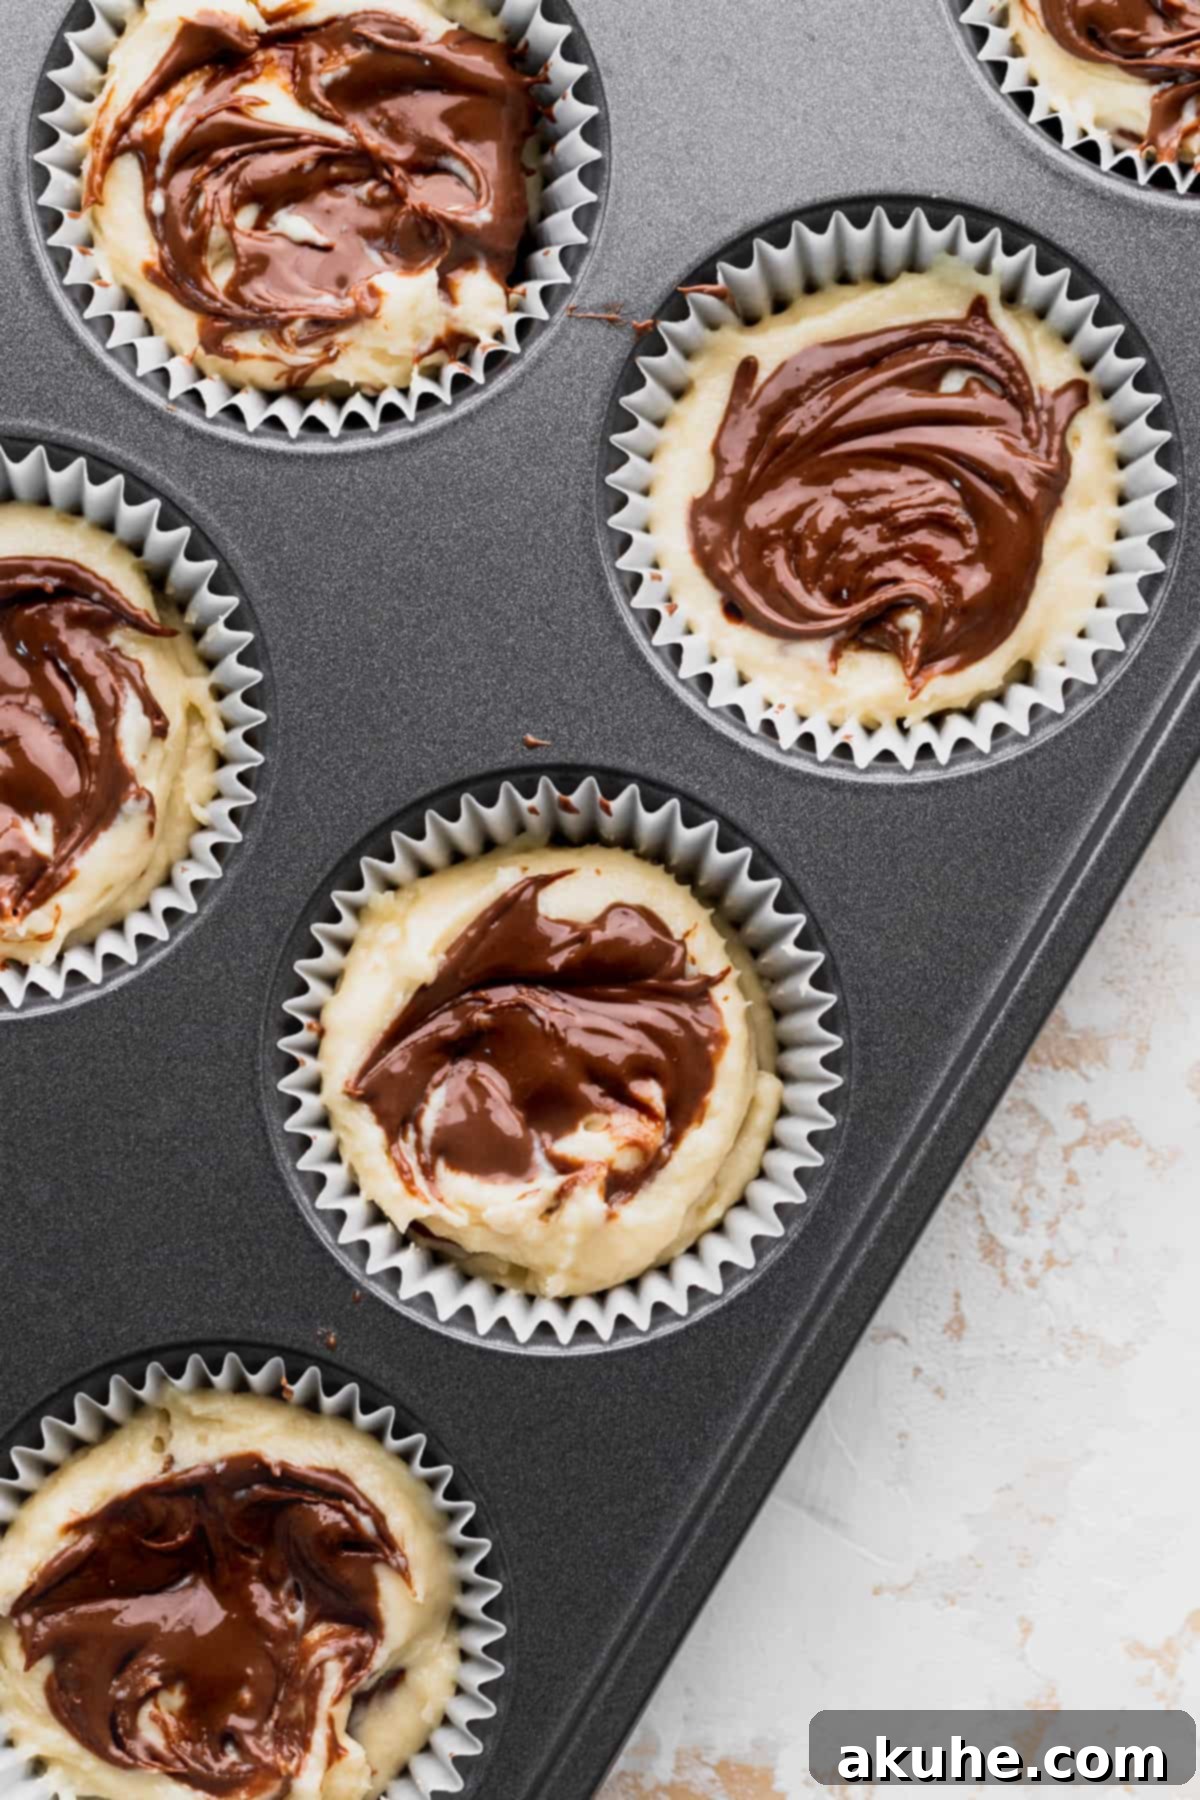
- STEP 6: Bake and Cool the Cupcakes. Carefully place the muffin tin into your preheated oven and bake for a duration of 18-22 minutes. It’s important to note that baking times can vary slightly depending on the calibration of your individual oven, so it’s wise to keep a close eye on your cupcakes as they bake. The cupcakes are perfectly done when a toothpick inserted into the very center comes out clean or with only a few moist crumbs attached (but absolutely no wet batter). Once baked, promptly remove the tin from the oven and allow the cupcakes to cool in the pan for approximately 10 minutes. This crucial period allows them to set properly and firm up before you gently transfer them to a wire cooling rack to cool completely. It is absolutely essential for the cupcakes to be entirely cool to the touch before you attempt to frost them; otherwise, your decadent frosting will simply melt and slide off.
Preparing the Decadent Chocolate Nutella Frosting
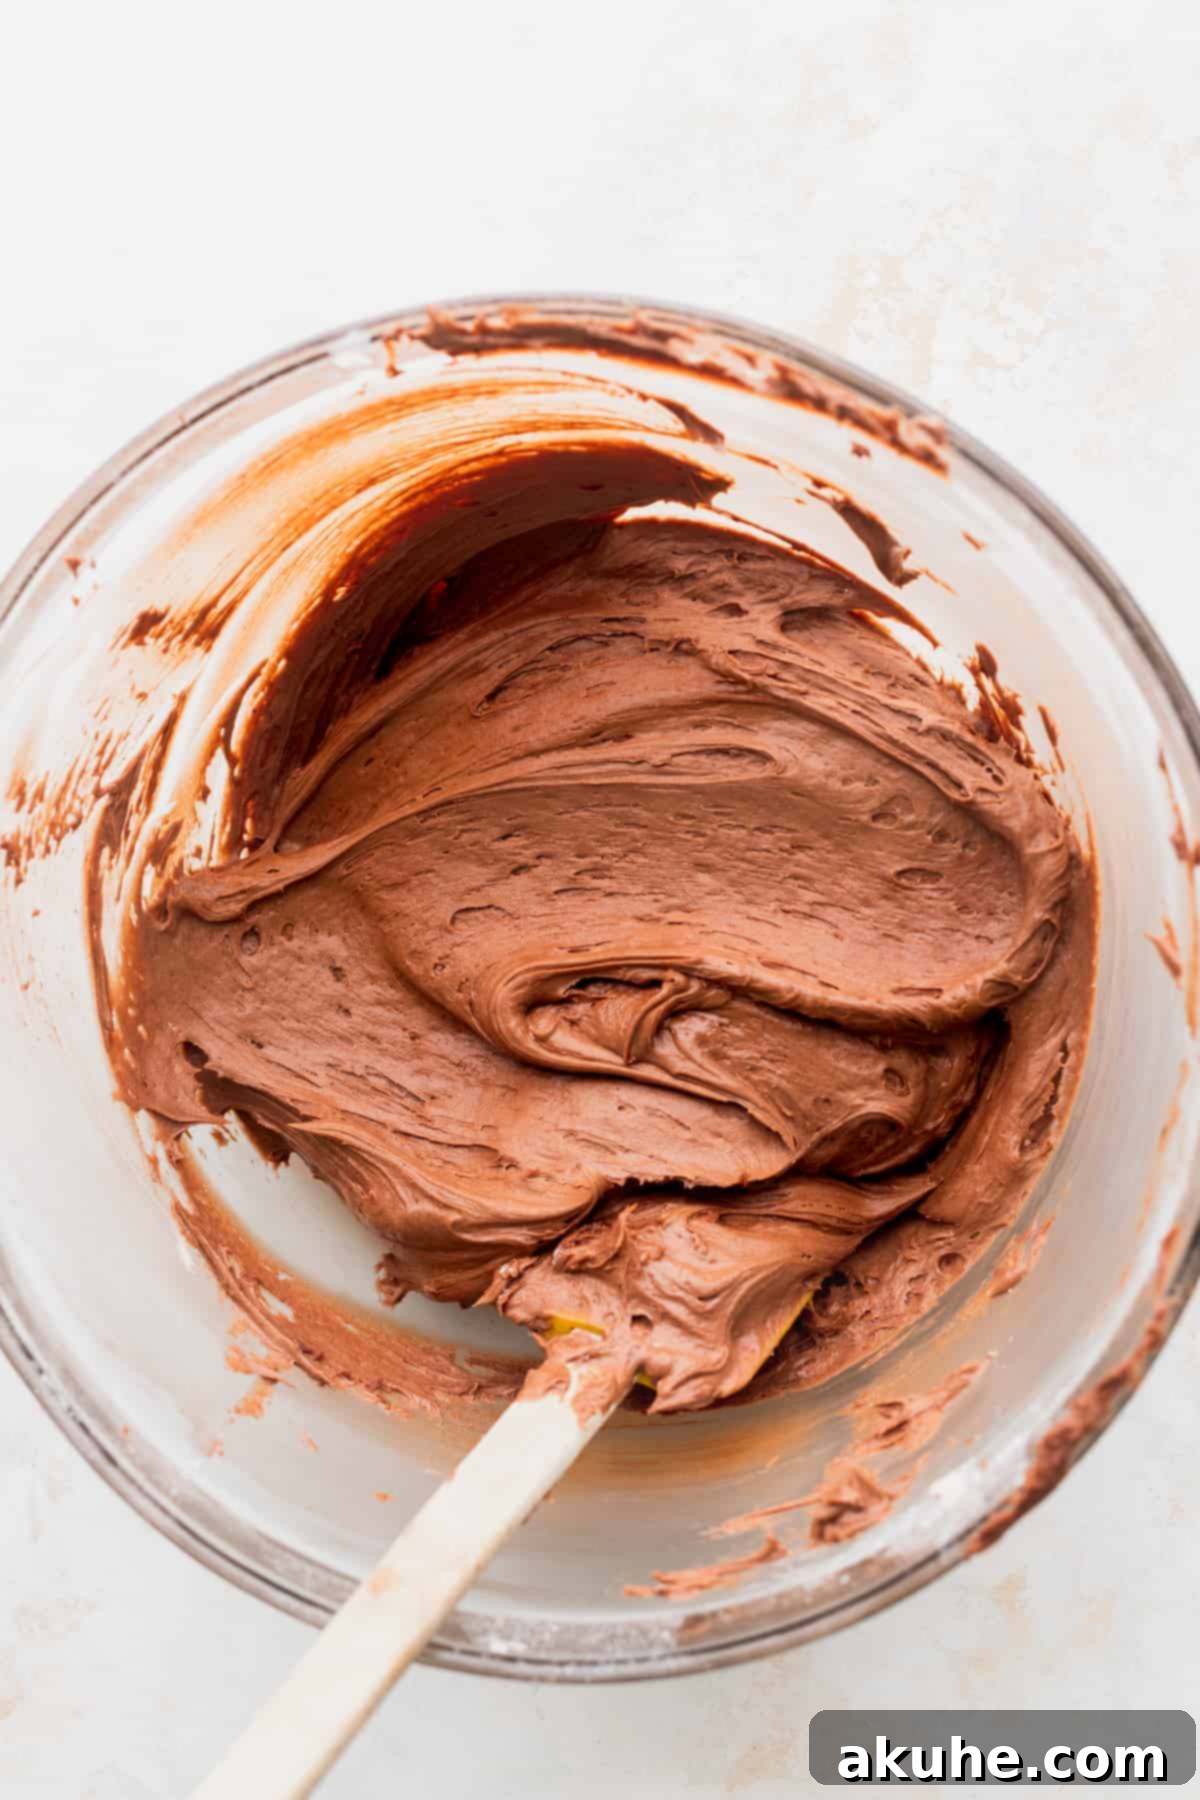
- STEP 7: Combine Frosting Ingredients. While your freshly baked cupcakes are undergoing their essential cooling process, begin the delightful task of preparing the rich frosting. In a large mixing bowl, using your mixer, beat the slightly cold unsalted butter (which you retrieved from the fridge 30 minutes prior) on high speed for 2 minutes until it becomes wonderfully smooth and creamy. Next, add the 1/4 cup of Nutella and continue to beat until it is thoroughly mixed and completely integrated with the butter. Make sure to scrape down the sides of the bowl to ensure everything is uniformly combined. In a separate bowl, sift together the powdered sugar and cocoa powder. Gradually add this sifted mixture into the butter-Nutella base, starting on low speed to prevent a cloud of sugar from erupting. Once most of the dry ingredients are incorporated, increase the speed to medium and mix until the frosting appears thick and smooth. Finally, add the salt, pure vanilla extract, and heavy cream. Mix on low speed until these wet ingredients are fully combined.
- STEP 8: Achieve Light and Fluffy Frosting. Increase the mixer speed to high and beat the creamy Nutella frosting for an additional 1-3 minutes. This crucial step is what incorporates a significant amount of air, transforming the frosting into a light, airy, and wonderfully fluffy texture that is absolutely perfect for piping onto your cooled cupcakes. Don’t be tempted to rush this step; the extra minute or two of beating will make all the difference in achieving a truly decadent and pipeable frosting. Scrape the bowl once more to ensure a uniform and consistent texture throughout.
Expert Tips for Unforgettable Nutella Cupcakes
To ensure your decadent Nutella cupcakes turn out absolutely perfect every single time, from the moist crumb to the luscious frosting, keep these valuable expert tips in mind. They’ll help elevate your baking and make the process even more enjoyable:
- Mastering the Wet Ingredients for Moisture: The secret to achieving incredibly moist and tender vanilla cupcakes lies in proper aeration during the creaming stage. It is crucial to ensure that the wet ingredients—specifically the softened unsalted butter, granulated sugar, room temperature eggs, sour cream, and vanilla extract—are beaten together on high speed for a combined total of at least 5 minutes. Don’t guess; set a timer! This extended beating time incorporates a significant amount of air, which will translate directly into a lighter, fluffier, and more tender cupcake crumb.
- Perfecting the Nutella Swirl Technique: For an effortless and beautifully defined Nutella swirl within your cupcake batter, take a moment to slightly heat the Nutella in the microwave for approximately 20 seconds. This simple step makes it more fluid and significantly easier to control and swirl. Use a small offset spatula, the back of a butter knife, or even a simple toothpick to gently fold and swirl the melted Nutella into the batter. Remember to avoid over-swirling; the goal is to create distinct ribbons of Nutella, not to fully mix it into the batter.
- Achieving the Fluffiest Frosting Consistency: A truly light, airy, and pipeable frosting demands generous beating. Begin by beating the slightly cold butter on high speed for at least 2 minutes *before* you add any other ingredients. This initial beating helps to aerate the butter. Once all the powdered sugar, cocoa powder, Nutella, and liquids are incorporated, switch the mixer back to high speed and continue to beat the entire frosting mixture for several minutes—anywhere from 3 to 5 minutes. This process is vital for whipping ample air into the frosting, creating that desirable light, airy, and smooth consistency that pipes beautifully and melts exquisitely in your mouth. Do not rush this step; patience here is rewarded with perfect frosting!
- Do Not Overmix the Dry Ingredients: Once you begin to incorporate the flour mixture into the wet ingredients, it is paramount to mix only until the ingredients are just combined. Overmixing at this stage can lead to excessive gluten development, which is the primary culprit behind tough, dry, and chewy cupcakes. A few small, barely visible streaks of flour are far preferable to an overmixed, dense batter. Mix until *just* combined, then stop.
- Avoid Overfilling Cupcake Liners: To prevent your cupcakes from spilling over the sides of the liners or forming large, unsightly, and overly domed tops, ensure you fill your cupcake liners no more than two-thirds full. This provides ample space for the cupcakes to rise beautifully and evenly during baking without overflowing, creating a perfect, level surface for frosting.
- Cool Completely Before Frosting: This tip is one of the most critical and cannot be stressed enough! Attempting to frost warm or even slightly warm cupcakes will inevitably result in melted, sliding frosting and a messy, disappointing outcome. Always allow your cupcakes to cool completely to room temperature on a wire rack before you even think about applying any frosting or decorations. This patience ensures your frosting stays firm and beautiful.
Creative Cupcake Decorating Ideas
While the rich chocolate Nutella frosting and a glistening melted Nutella swirl are stunning on their own, here are some creative ideas to add your personal touch and further elevate your Nutella cupcakes, making them truly unforgettable:
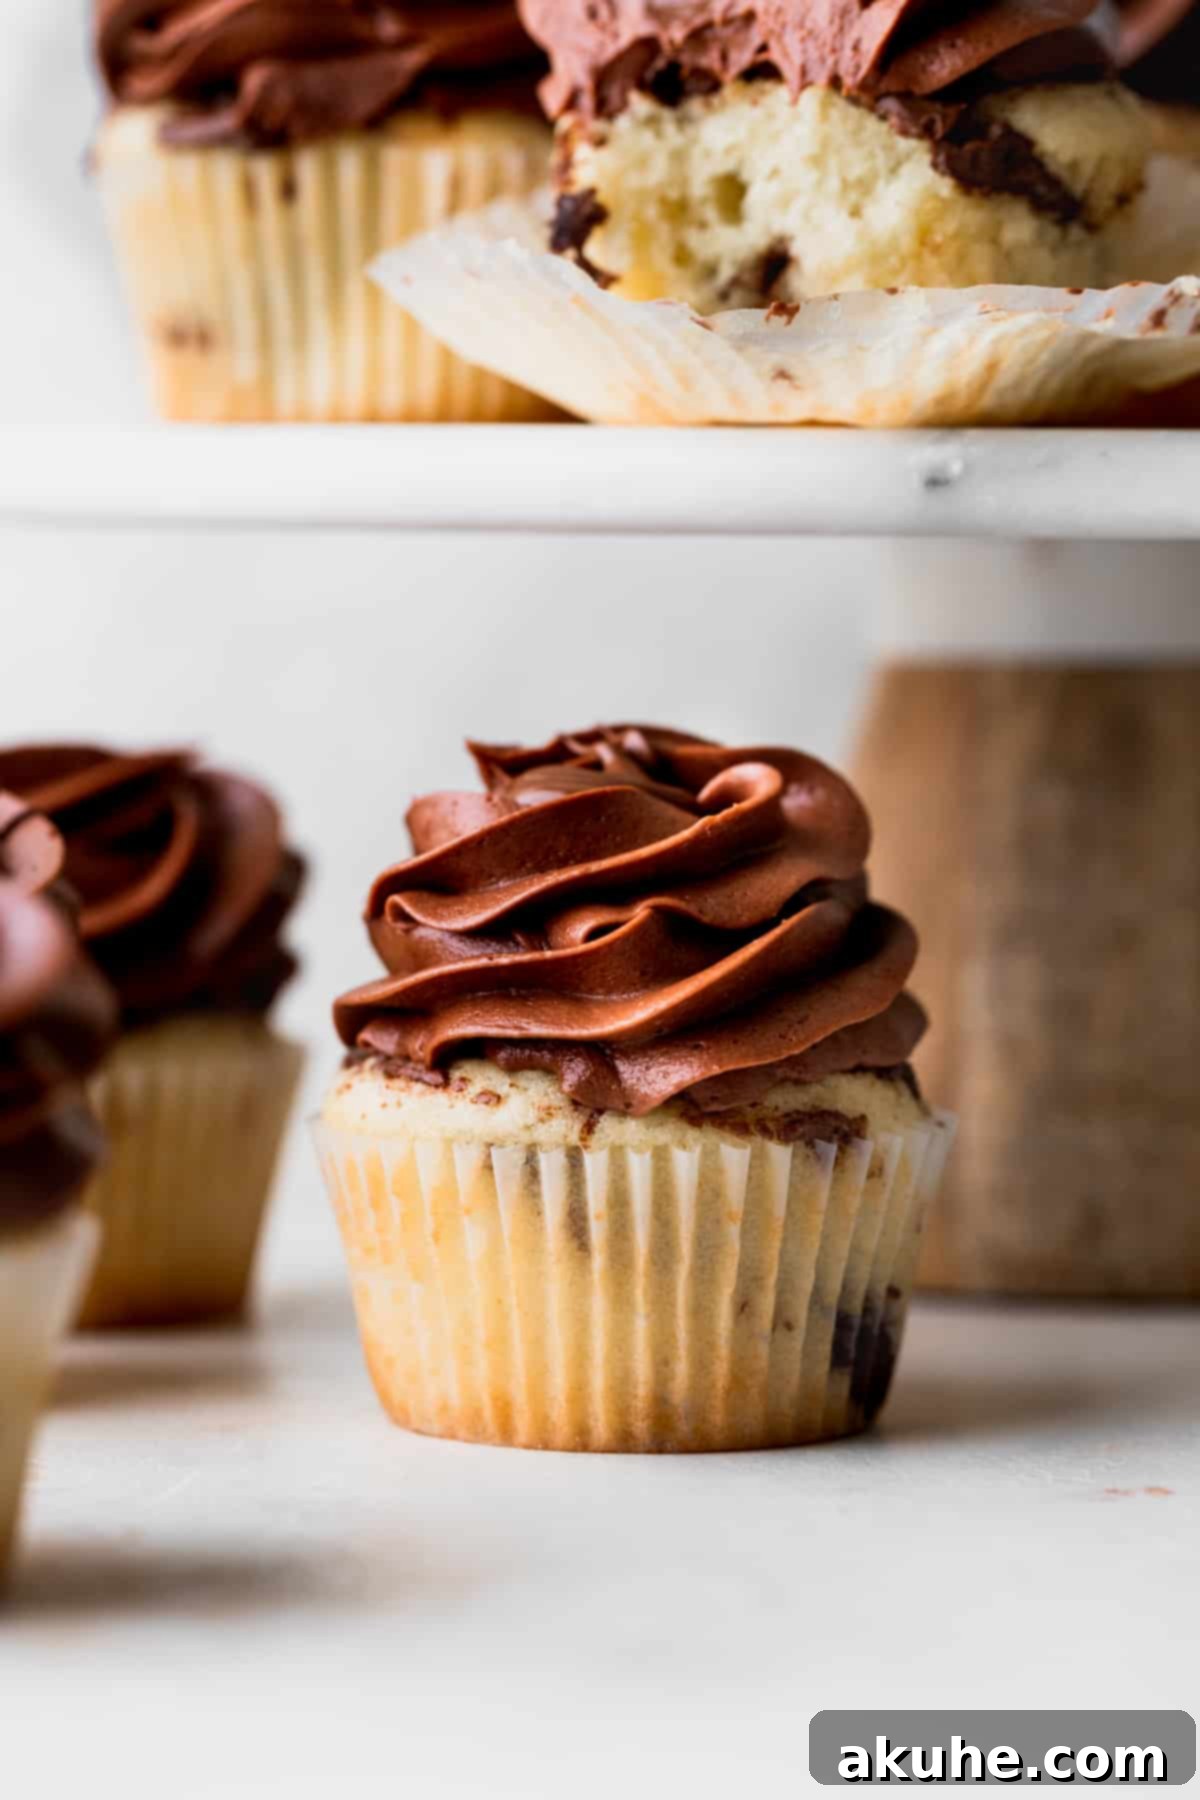
- The Classic Nutella Reservoir: For these particular cupcakes, utilizing a Wilton 1M piping tip and a sturdy piping bag creates a beautiful, elegant swirled frosting design. When piping, ensure you strategically leave a small indentation or a distinct “well” in the very center of the frosting swirl. This intentional space is absolutely perfect for spooning in that extra drizzle of warm, gooey, melty Nutella, creating a delightful molten center atop your already frosted treat. This optional, yet highly recommended, step truly enhances the ultimate Nutella experience for every bite.
- Simple & Elegant Nutella Drizzle: If elaborate piping isn’t your strongest suit or if you simply prefer a more rustic, understated, yet equally delicious look, a simple drizzle of melted Nutella (heated for about 30 seconds in the microwave to make it fluid) over the frosted cupcakes is an excellent and visually appealing choice. Use a small spoon for a homemade look or a piping bag with just the very tip snipped off for more controlled, delicate drizzling.
- Elegant Ferrero Rocher Topping: Elevate the sophistication and textural contrast by delicately topping each cupcake with a luxurious Ferrero Rocher truffle. The delightful combination of the crunchy wafer, the creamy hazelnut filling, and the rich chocolate coating perfectly complements and enhances the Nutella flavors, resulting in a truly gourmet and sophisticated presentation that’s sure to impress.
- Colorful & Playful Sprinkles: For a festive, celebratory, or simply fun look, a sprinkle of chocolate sprinkles, shimmering gold sprinkles, or even a vibrant mix of colorful sprinkles can add a playful touch and an interesting textural element to your beautifully finished cupcakes, making them perfect for any party.
- Crunchy Chopped Hazelnuts: To further enhance the nutty flavor profile and introduce a pleasing crunch, a sprinkle of finely chopped toasted hazelnuts on top of the frosting is an excellent addition. Hazelnuts and Nutella are a match made in heaven!
- Mini Chocolate Chips: A scattering of mini chocolate chips on top of the frosting adds another layer of chocolatey goodness and a slight textural variation.
Frequently Asked Questions (FAQ) About Nutella Cupcakes
Here are answers to some common questions about making, adapting, and troubleshooting these irresistible vanilla Nutella cupcakes, designed to help you achieve perfect results every time:
Absolutely! This versatile cupcake recipe can indeed be beautifully transformed into a show-stopping layered cake. To create a delightful three-layer 8-inch cake, you will need to double the entire cupcake batter recipe. Remember to also double the frosting recipe to ensure you have more than enough to generously fill, crumb coat, and decorate all your cake layers. Please note that baking times will need to be adjusted accordingly for cake layers, which are typically longer than individual cupcakes.
Yes, this recipe works wonderfully as a sheet cake as well! An 8×8 inch square baking dish is perfectly suited for this single batch of batter, resulting in a lovely, thick, and satisfying cake. While it can physically fit into a 9×9 inch dish, be aware that the cake will be noticeably thinner. If you’re aiming for a larger 9×13 inch sheet cake, you will definitely need to double the entire recipe to ensure adequate thickness and a truly delicious, substantial cake. Remember to adjust baking times accordingly; a sheet cake will typically require longer than cupcakes but often less than a deep layered cake.
While this specific recipe has not been officially tested as a gluten-free version, many experienced bakers have significant success substituting traditional all-purpose flour with a high-quality 1:1 gluten-free flour blend. Brands such as Bob’s Red Mill 1:1 Gluten-Free Baking Flour are frequently recommended for their reliable performance in various baked goods. When using a gluten-free blend, it’s often beneficial to let the batter rest for approximately 10-15 minutes before baking to allow the alternative starches to fully hydrate, which can improve the final texture.
Room temperature butter is absolutely critical for achieving a light, airy, and fluffy cupcake texture. When butter is soft (but not melted or greasy), it creams much more effectively with sugar, incorporating a greater volume of air. This trapped air creates tiny pockets that expand during baking, resulting in a wonderfully tender and airy crumb. In contrast, cold butter won’t cream properly, leading to a dense texture, and melted butter can result in a flat, greasy, and heavy cupcake. Always plan ahead for this step!
It’s generally recommended to bake cupcake batter immediately after mixing for the best results. The leavening agents, such as baking powder and baking soda, begin to activate as soon as they come into contact with liquid ingredients. Allowing the batter to sit for too long, even in the refrigerator, can cause it to lose its leavening power, resulting in cupcakes that are less fluffy and have a denser texture. If you absolutely must prepare ahead, you might get away with refrigerating it for a few hours, but be sure to bring it back to room temperature and give it a very gentle stir before baking, understanding that the final texture might be slightly compromised.
Storing and Freezing Your Delicious Nutella Cupcakes
Proper storage is key to keeping your homemade Nutella cupcakes fresh, moist, and delicious for as long as possible. Whether you’re planning to enjoy them over a few days or save some for a special occasion later, these comprehensive tips will help you maintain their perfect texture and exquisite flavor.
- Storing Frosted Cupcakes: Once these delightful chocolate Nutella frosted cupcakes have been beautifully decorated, they are best stored in an airtight container. Place the container in the refrigerator to maintain freshness. The buttercream frosting, rich with butter and Nutella, will firm up nicely when chilled. These cupcakes will remain fresh, moist, and absolutely delightful for up to 5 days. For the absolute best eating experience, allow the cupcakes to come to room temperature for approximately 15-30 minutes before serving. This gentle warming period softens the frosting to its ideal creamy consistency and enhances the moistness and flavor of the cupcake itself.
Freezing Your Nutella Cupcakes
Freezing is an excellent and convenient method to extend the shelf life of your cupcakes significantly, allowing you to enjoy a perfect homemade treat whenever a craving strikes, or to prepare them well in advance for events.
- Freezing Decorated Cupcakes: Yes, you can successfully freeze these beautiful, fully decorated Nutella cupcakes! To do so effectively, first place the frosted cupcakes on a baking sheet and freeze them uncovered for about 30-60 minutes, or until the frosting is firm to the touch. This prevents the frosting from sticking to packaging. Once firm, carefully transfer them into an airtight container, preferably one where they won’t get squished, or wrap them individually in plastic wrap before placing them in a larger freezer-safe bag. They can be safely frozen for up to 30 days. To thaw, simply remove them from the freezer and let them sit at room temperature for at least 1 hour, or for a more gradual thaw, place them in the refrigerator overnight, before serving.
- Freezing Baked (Unfrosted) Cupcakes: If you’re a planner or enjoy baking in larger batches, you can also freeze the plain, baked vanilla cupcakes before they are frosted. Once the cupcakes have completely cooled down to room temperature, wrap each individual cupcake tightly in plastic wrap. Then, place the wrapped cupcakes into an airtight freezer bag or a sturdy freezer-safe container. They can be stored in the freezer for up to 30 days. When you’re ready to decorate and serve, simply remove them from the freezer and allow them to thaw at room temperature for approximately 1 hour. Once fully thawed, they will be perfectly ready for a fresh batch of that irresistible chocolate Nutella frosting and any desired toppings, often tasting just as fresh as the day they were baked.
Explore More Irresistible Cupcake Recipes
If you’ve loved the process of baking and the joy of devouring these delightful vanilla Nutella cupcakes, we invite you to delve into our other fantastic cupcake creations! From timeless classic flavors to innovative and unique combinations, there’s always something new and exciting to discover in our collection to satisfy all your sweet cravings and baking ambitions.
We absolutely love seeing your culinary creations! If you make this recipe, please take a moment to leave a star rating and review below to let us know how it turned out for you. Your valuable feedback is incredibly helpful and appreciated by us and other bakers! Don’t forget to tag me on Instagram @stephaniesweettreats so I can admire your beautiful baked goods and celebrate your success. For even more baking inspiration, delicious ideas, and behind-the-scenes glimpses, make sure to follow us on Pinterest.
Easy Vanilla Nutella Cupcakes
These easy vanilla cupcakes are soft and moist, featuring a delightful Nutella swirl baked inside. They are beautifully topped with a rich chocolate Nutella frosting and an extra drizzle of melty Nutella, making them truly irresistible.
Print Recipe
Pin Recipe
Leave a Review
45 mins
20 mins
30 mins
1 hr 35 mins
12 cupcakes
Ingredients
Vanilla Nutella Cupcakes
- 3/4 cup Unsalted butter, room temperature
- 3/4 cup White granulated sugar
- 2 Large eggs, room temperature
- 1/4 cup Sour cream, room temperature
- 1 tsp Pure vanilla extract
- 1 3/4 cup All-purpose flour
- 1/2 tsp Salt
- 1 tsp Baking powder
- 1/2 tsp Baking soda
- 1/2 cup Buttermilk
- 1/2 cup Nutella, slightly melted
Nutella Chocolate Frosting
- 1 cup Unsalted butter, slightly cold
- 1/4 cup Nutella
- 2 3/4 cup Powdered sugar, sifted
- 1/4 cup Unsweetened cocoa powder
- 1/2 tsp Salt
- 1 tsp Pure vanilla extract
- 1/4 cup Heavy cream
- 1/4 cup Nutella, for topping the cupcakes
Instructions
Vanilla Nutella Cupcakes
- Preheat oven to 350°F (175°C). Line a 12-cup muffin tin with muffin liners. Set aside.
- In a mixing bowl, sift the flour. Add in salt, baking powder, and baking soda. Whisk to combine. Set aside.
- Using a mixer, beat the unsalted butter and granulated sugar on high speed for 3 minutes until pale and fluffy. Add in sour cream, vanilla extract, and eggs. Beat on high for 2 minutes until just combined.
- Add in 1/3rd of the dry ingredients and half of the buttermilk to the wet mixture, mixing on low speed until just combined. Add in another 1/3rd of the dry ingredients and the rest of the buttermilk. Finish with the remaining dry ingredients. Scrape the bowl, ensuring not to overmix.
- Heat 1/2 cup of Nutella in a microwave-safe bowl for 20 seconds until slightly melted and easy to stir.
- Scoop about 1 tablespoon of batter into each cupcake liner. Spoon a 1/2 teaspoon of the melted Nutella on top and swirl gently with a toothpick or butter knife. Fill the muffin tin about 2/3rds full with the remaining cupcake batter. Add another 1/2 teaspoon of Nutella on top of each cupcake and swirl.
- Bake the cupcakes for 18-22 minutes, or until a toothpick inserted into the center comes out clean. Let them cool in the pan for 10 minutes, then transfer to a cooling rack to cool completely before decorating.
Chocolate Nutella Frosting
- Take the 1 cup of unsalted butter out of the fridge 30 minutes before starting the frosting to achieve a slightly cool temperature. While waiting, sift the powdered sugar and cocoa powder together in a separate bowl.
- Using a mixer, beat the slightly cold butter on high speed for 2 minutes until creamy. Add the 1/4 cup of Nutella and beat until thoroughly mixed. Scrape down the bowl.
- Slowly add the sifted powdered sugar and cocoa powder mixture to the butter-Nutella base on low speed, then increase speed to medium until thick and smooth. Add in vanilla extract, salt, and heavy cream. Mix on low until combined, then switch to high speed and beat for 1-3 minutes until light and fluffy.
- Heat the additional 1/4 cup of Nutella in the microwave for 30 seconds until melted for topping.
- Pipe the prepared chocolate Nutella frosting on top of the completely cooled cupcakes. Drizzle with the melted Nutella.
Notes
Flour: To ensure accurate measurement and prevent dry cupcakes, always spoon the flour into your measuring cup and level it off with a straight edge, or use a kitchen scale for precise results. Compacted flour can significantly alter the moisture content of your cupcakes.
High Altitude Baking: For those baking at high altitudes, consider adding an extra 1 tablespoon of all-purpose flour to the dry ingredients to help stabilize the cupcake structure.
Dairy Ingredients: Remember to pull all dairy ingredients (butter, eggs, sour cream) out of the refrigerator at least 2 hours before you plan to begin baking. This ensures they reach optimal room temperature, crucial for a smooth batter and perfectly textured cupcakes.
Nutrition Information (Approximate per cupcake)
Calories: 526kcal | Carbohydrates: 73g | Protein: 4g | Fat: 38g | Saturated Fat: 26g | Polyunsaturated Fat: 1g | Monounsaturated Fat: 8g | Trans Fat: 1g | Cholesterol: 82mg | Sodium: 306mg | Potassium: 182mg | Fiber: 2g | Sugar: 27g | Vitamin A: 947IU | Vitamin C: 1mg | Calcium: 80mg | Iron: 2mg
Did you make this recipe? Please leave a star rating and review below!
