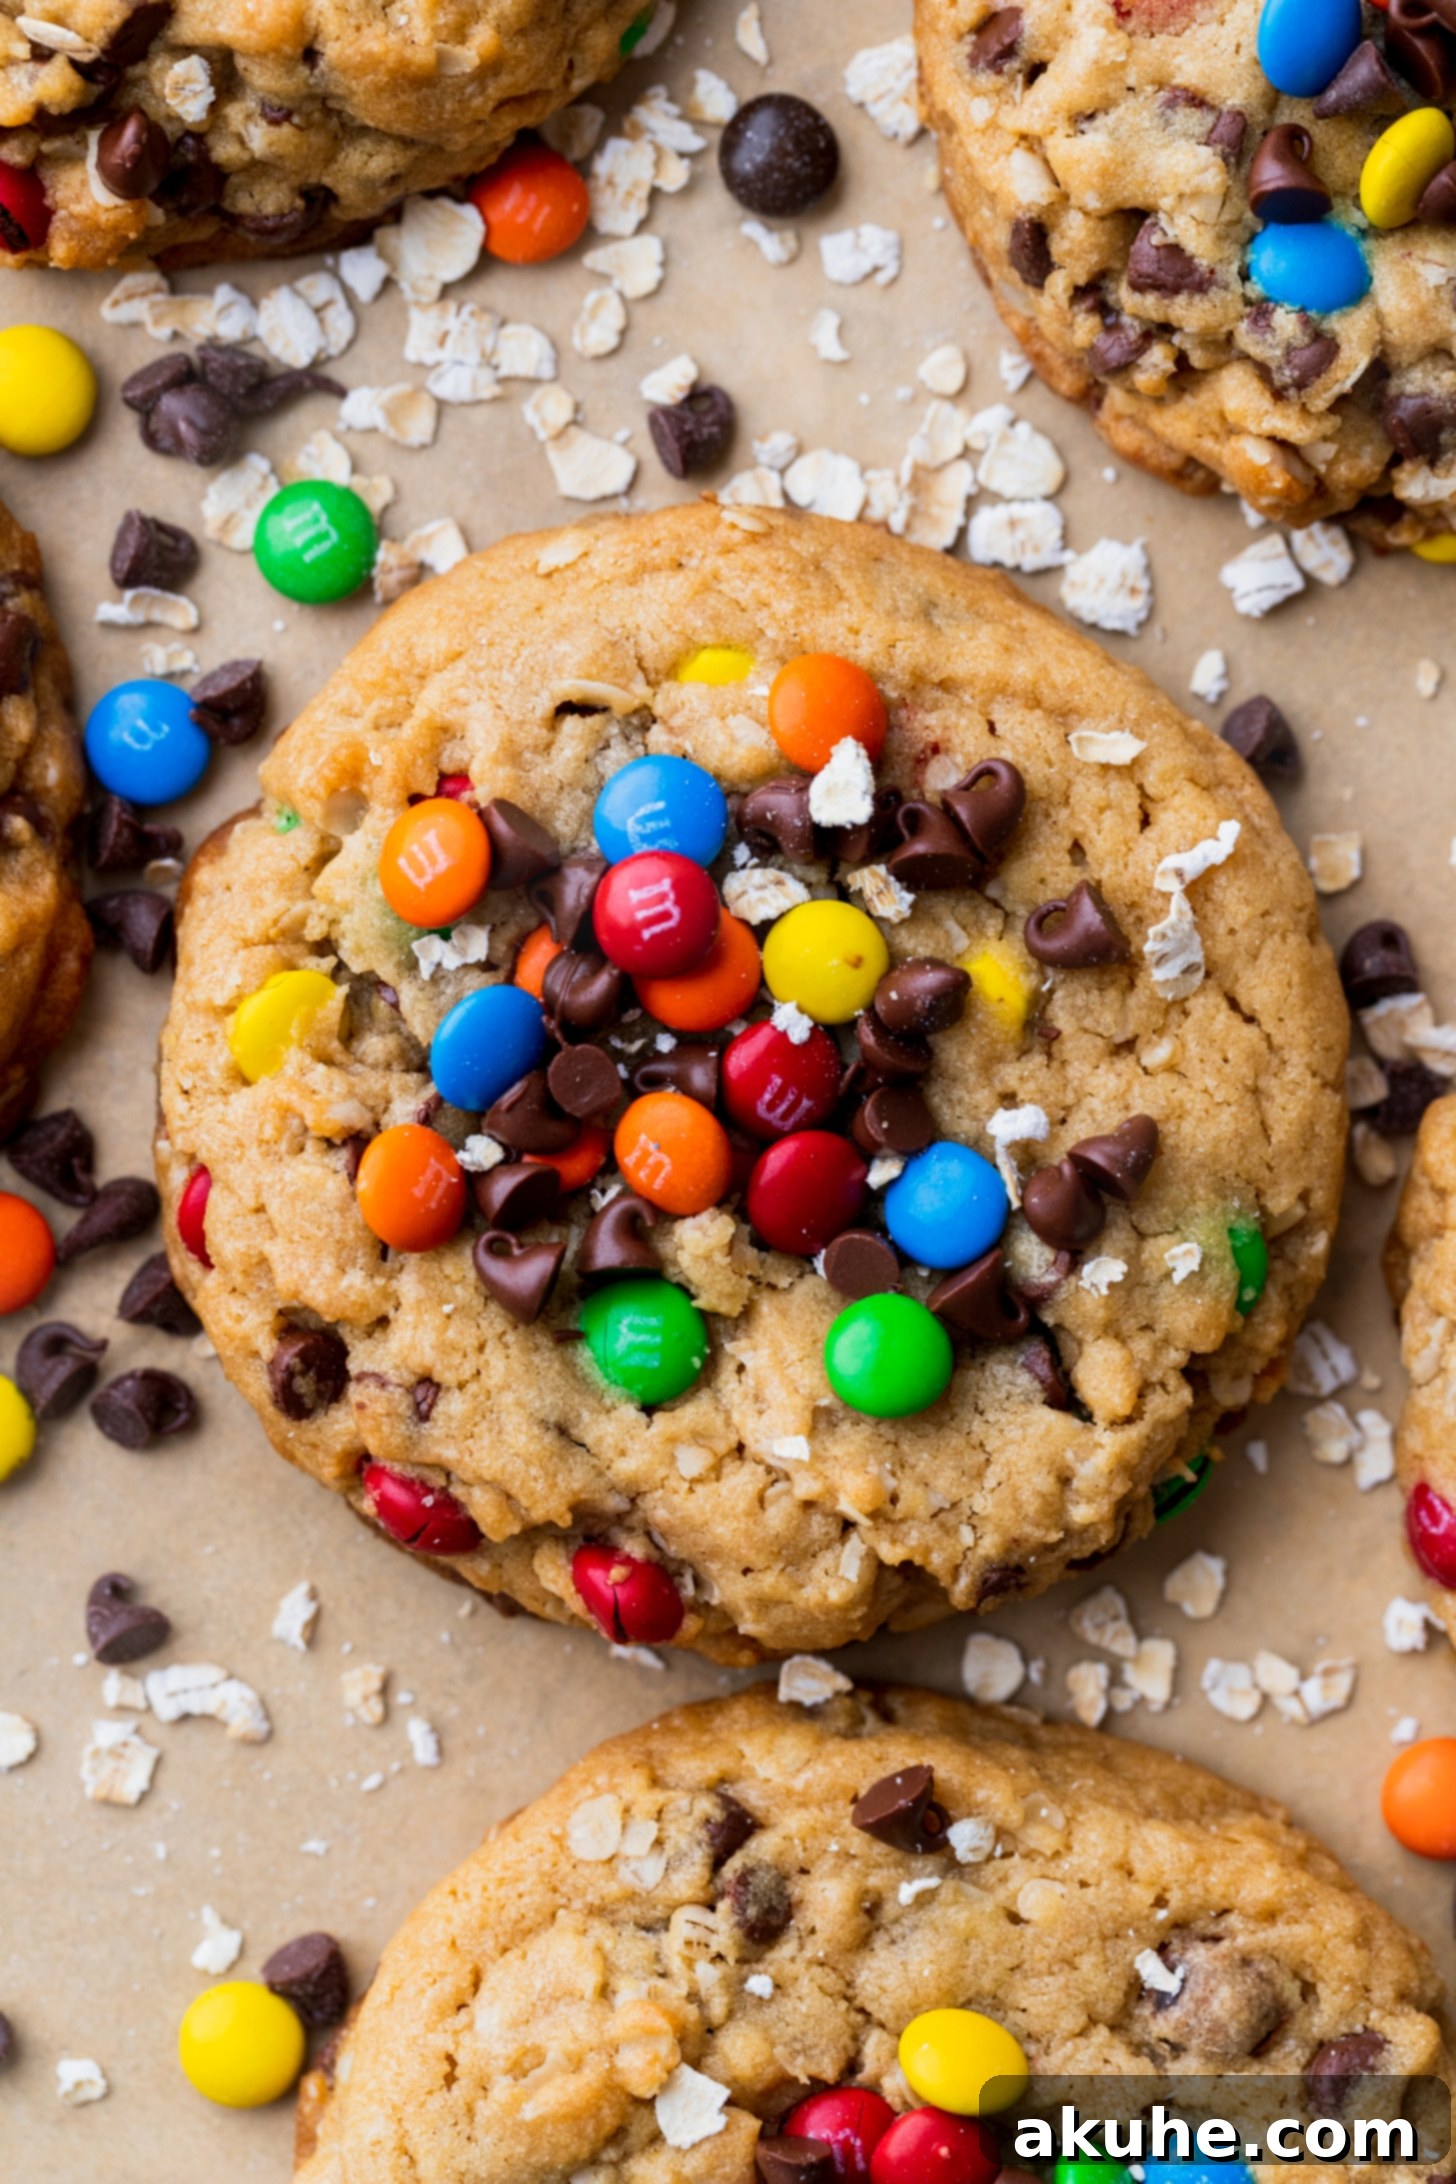
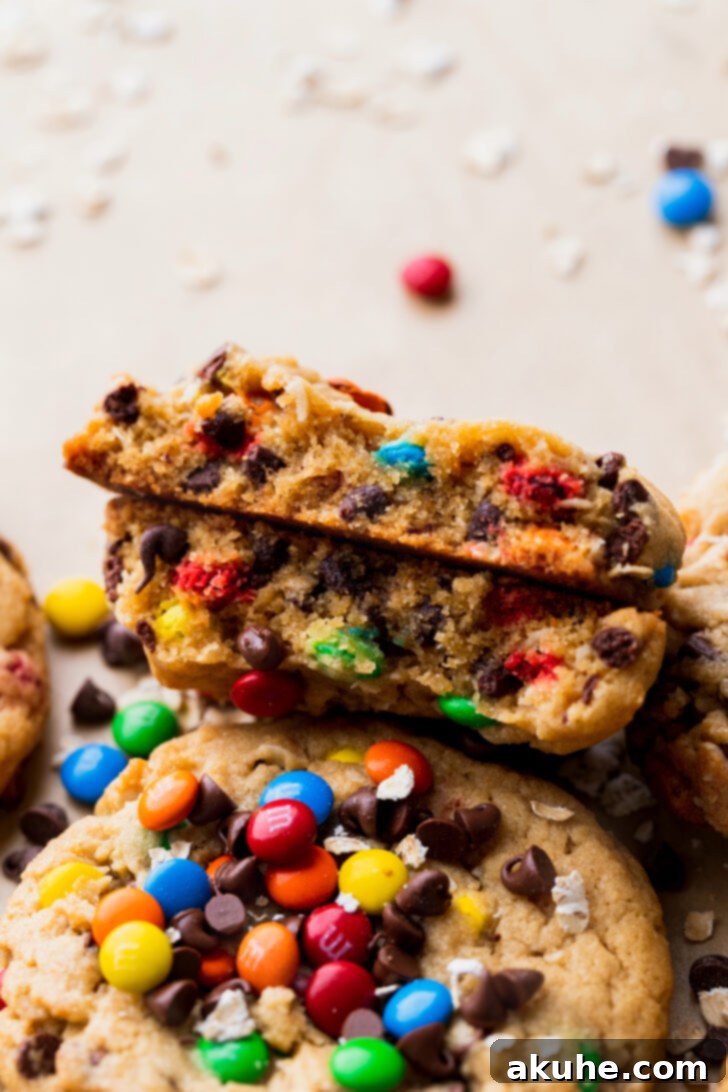
Welcome to the ultimate guide to crafting the most irresistible, chewy, and perfectly textured monster cookies you’ll ever bake! Imagine a cookie that encapsulates all your favorite components: the comforting chewiness of oatmeal, the rich depth of peanut butter, the classic sweetness of chocolate chips, and the playful crunch of M&M’s. These aren’t just cookies; they’re a symphony of flavors and textures in every bite, promising a soft, tender middle complemented by wonderfully crisp edges. Perfect for any occasion, these homemade monster cookies are guaranteed to become a family favorite.
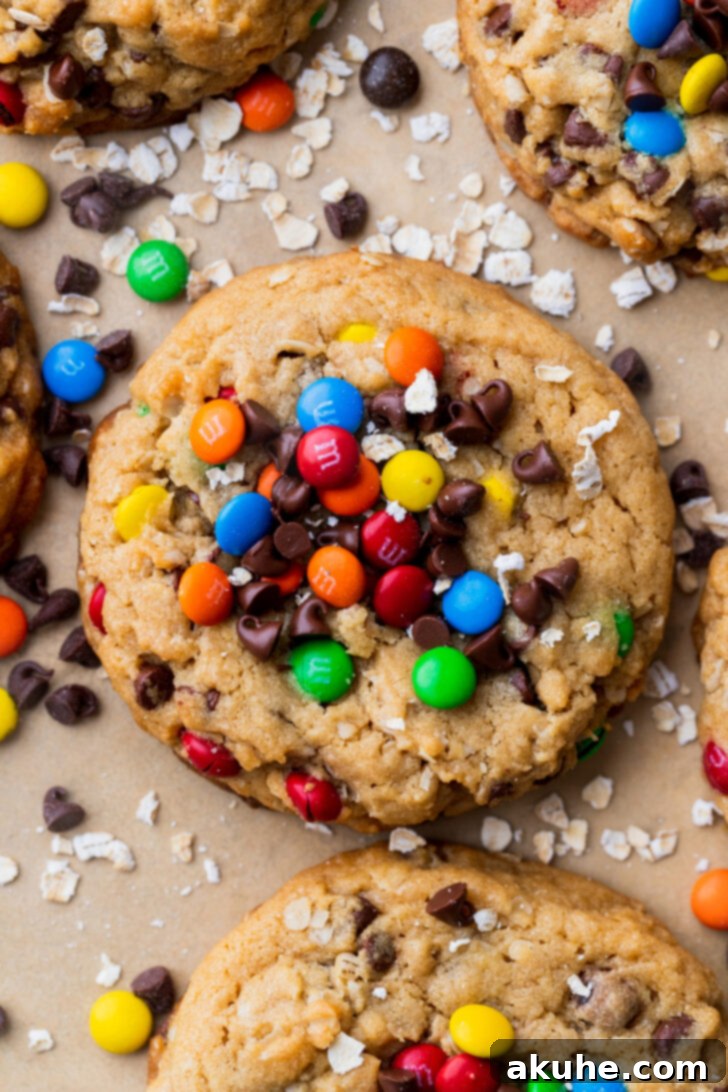
Monster cookies hold a special place in the baking world, renowned for their delightful combination of ingredients that cater to every cookie craving simultaneously. This recipe takes the beloved classic to new heights, focusing on creating thick, substantial cookies that deliver an unparalleled chewy experience without sacrificing those desirable crispy edges. For me, achieving that ideal balance between a soft, tender interior and a slightly firm, golden-brown perimeter is the secret to a truly perfect monster cookie. I’ve gathered all my best tips, tricks, and step-by-step process photos to guide you effortlessly through creating this phenomenal dessert. If you find yourself captivated by the magic of monster cookie treats, be sure to explore my equally delicious monster cookie bars for another fantastic variation.
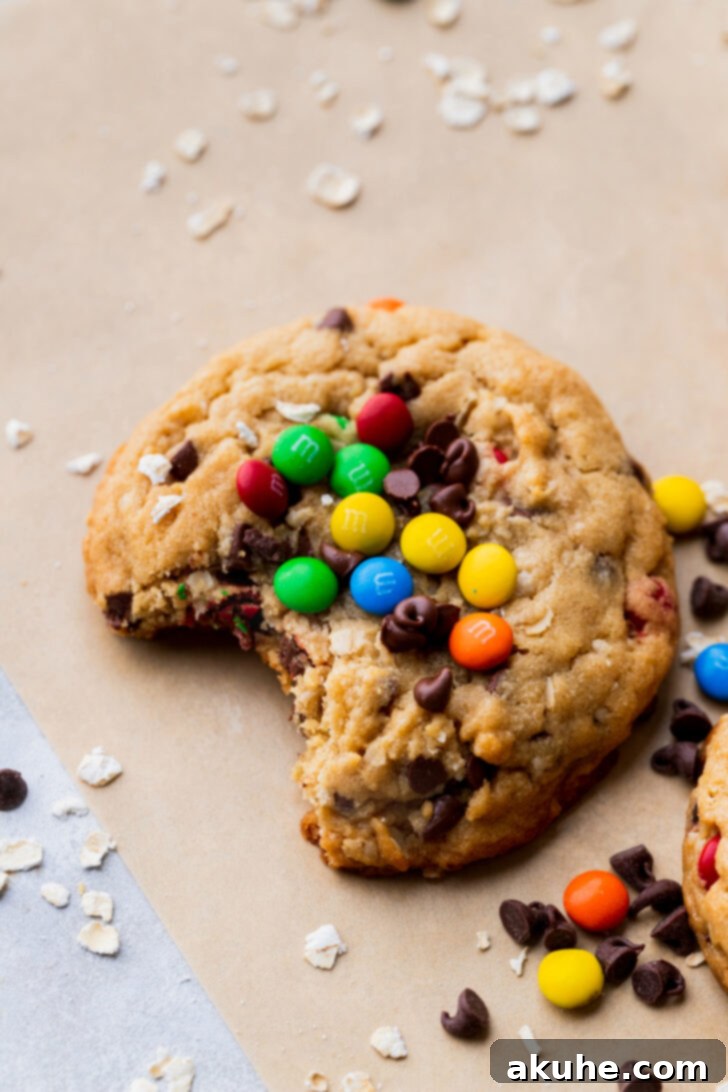
Unleashing the Best Monster Cookies: A Deep Dive into Perfection
Monster cookies are more than just a dessert; they’re a celebration of everything wonderful in a cookie, rolled into one epic treat. Their origin is often debated, but most agree they emerged from a desire to combine the most popular cookie elements into a single, satisfying bite. Imagine the genius who first thought to blend the heartiness of oatmeal, the creamy decadence of peanut butter, the sweet indulgence of chocolate chips, and the vibrant crunch of M&M’s! This fusion creates a cookie that’s truly dynamic, offering a complex profile that appeals to nearly everyone.
What sets a truly exceptional monster cookie apart? It’s all about texture and balance. We aim for a cookie that’s wonderfully soft and yielding in the center, almost melting in your mouth, while maintaining a pleasingly crisp edge that offers a delightful contrast. The thickness of these cookies is key to achieving this coveted texture, ensuring they stay moist and tender as they bake. This recipe prioritizes these characteristics, ensuring each cookie is a generously sized, chewy masterpiece.
Essential Tips for Baking Flawless Monster Cookies
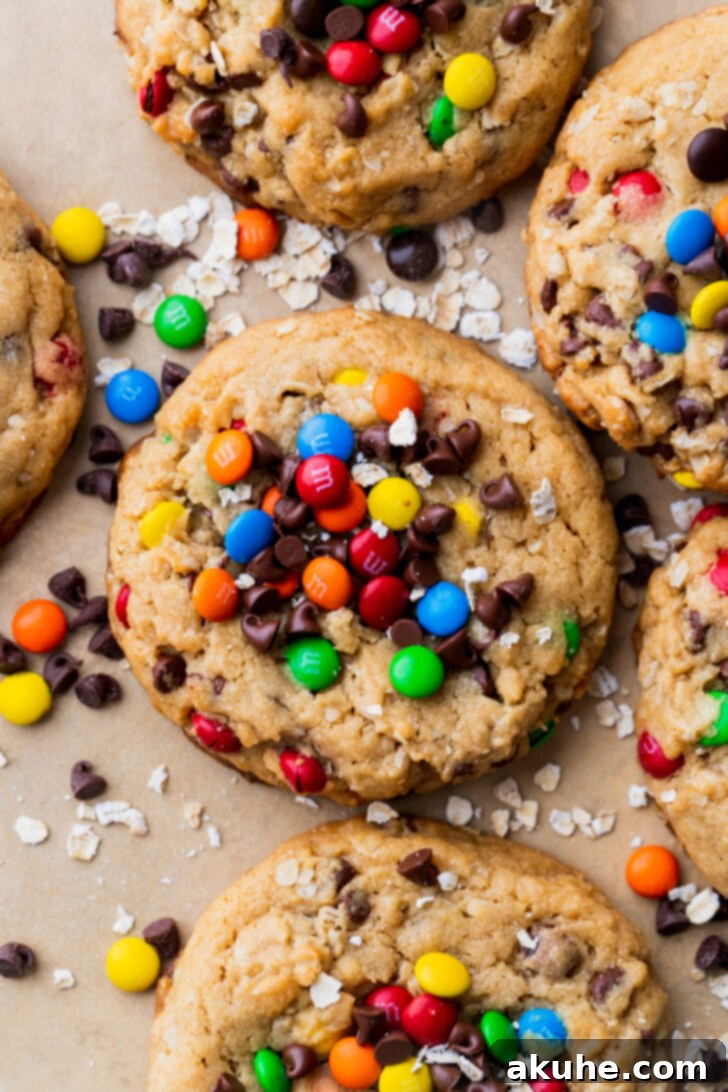
Achieving bakery-quality monster cookies at home is simpler than you might think, especially with a few expert tips. These insights will help you navigate common baking pitfalls and ensure your cookies emerge from the oven looking and tasting absolutely perfect, just like the ones pictured here.
- Tip 1: The Art of Measuring Flour. Accuracy in measuring flour is paramount for cookie success. Always spoon your all-purpose flour into the measuring cup, then level it off with a straight edge (like the back of a knife). Avoid scooping the measuring cup directly into your flour container, as this compacts the flour, leading to an excess amount. Too much flour will result in dry, dense cookies that might not spread properly, ruining that desirable chewy texture. For ultimate precision, consider using a kitchen scale to measure your flour by weight.
- Tip 2: Choosing the Right Peanut Butter. The type of peanut butter you use significantly impacts the final texture and taste of your monster cookies. For the creamiest, most cohesive dough and a smooth finish, always opt for creamy peanut butter. Chunky varieties can make it difficult to fully incorporate all ingredients evenly, leading to an inconsistent texture. Furthermore, natural peanut butters, especially those that separate easily, often have a grittier consistency and can alter the overall mouthfeel of the cookies, sometimes even making them taste less sweet. Stick to a classic, processed creamy peanut butter for the best results.
- Tip 3: Adapting Oats for Texture. While quick oats are specified for this recipe due to their finer texture and ability to blend seamlessly into the dough, you can use old-fashioned (rolled) oats if they are all you have on hand. However, to prevent a coarse or overly chunky cookie, it’s crucial to process old-fashioned oats lightly in a food processor. Pulse them a few times until they are broken down into smaller pieces, resembling quick oats, but be careful not to turn them into flour. This adjustment ensures they integrate well and contribute to the perfect chewy consistency.
- Tip 4: Don’t Overmix the Dough. Once you add the dry ingredients to the wet, mix only until just combined. Overmixing develops the gluten in the flour, which can lead to tough, dense cookies. A few streaks of flour are acceptable; the remaining mixing will happen when you fold in the oats, chocolate chips, and M&M’s.
- Tip 5: Room Temperature Ingredients. Ensure your eggs and any other dairy ingredients (like butter if you’re not melting it) are at room temperature. This allows them to emulsify better with the other ingredients, creating a smoother, more uniform dough that bakes more evenly. Pull them out of the refrigerator about 30 minutes to an hour before you plan to start baking.
- Tip 6: The Importance of Cooling the Melted Butter. While this recipe calls for melted butter, it’s vital that it’s cooled before being combined with the sugars and eggs. Hot butter can “cook” the eggs, leading to a scrambled texture in your dough, and can also affect the overall cookie structure. Allow it to cool until it’s just barely warm or at room temperature.
- Tip 7: The Dough Rest is Real. The ten-minute resting period for the cookie dough isn’t just a suggestion—it’s a critical step. This allows the flour to fully hydrate, resulting in a more tender cookie. It also gives the flavors a moment to meld, leading to a more complex taste.
Step-by-Step Visual Guide: Crafting Your Monster Cookies
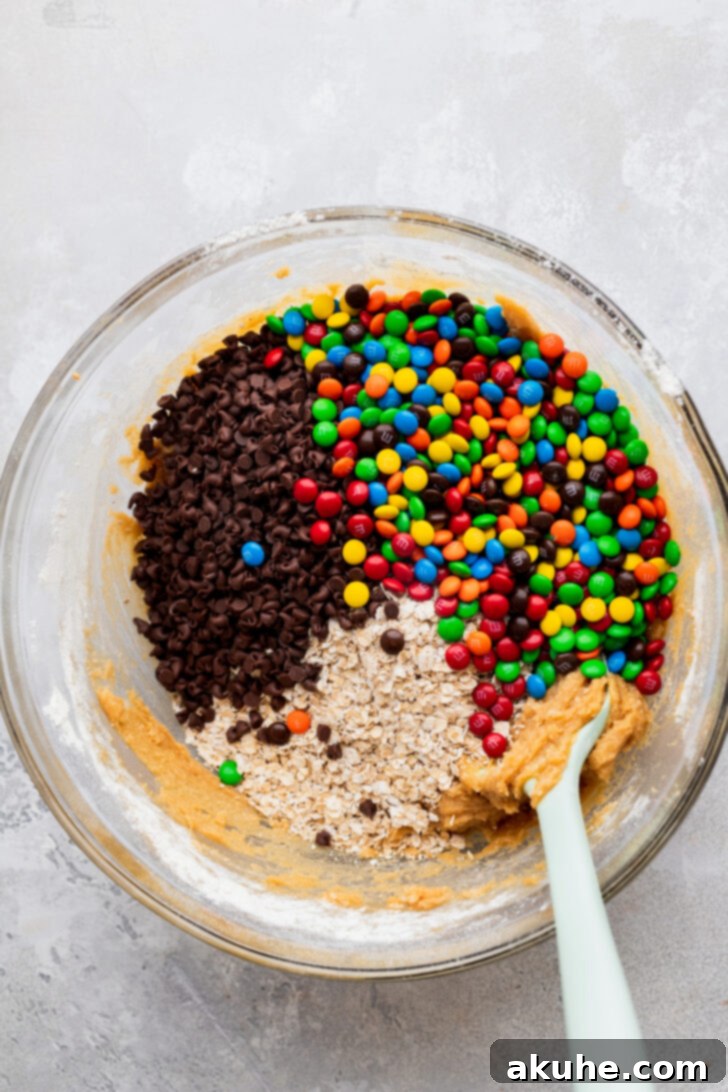
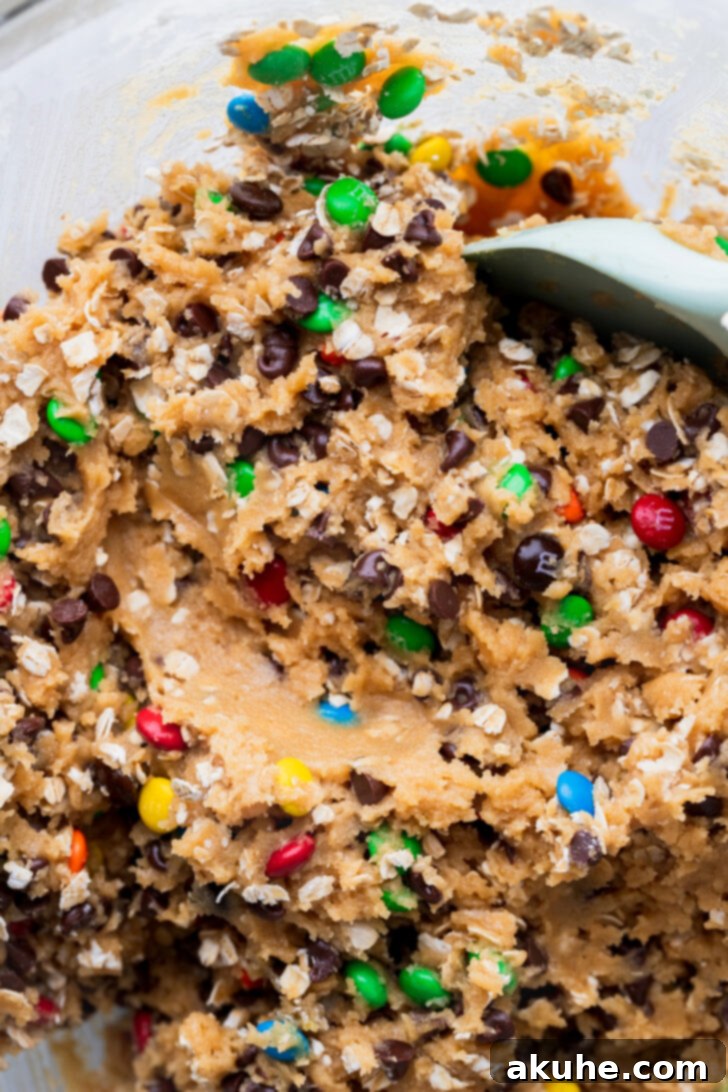
Visualizing the process can make baking even easier. Here’s a look at the key stages of preparing your monster cookie dough, ensuring you’re on the right track from start to finish.
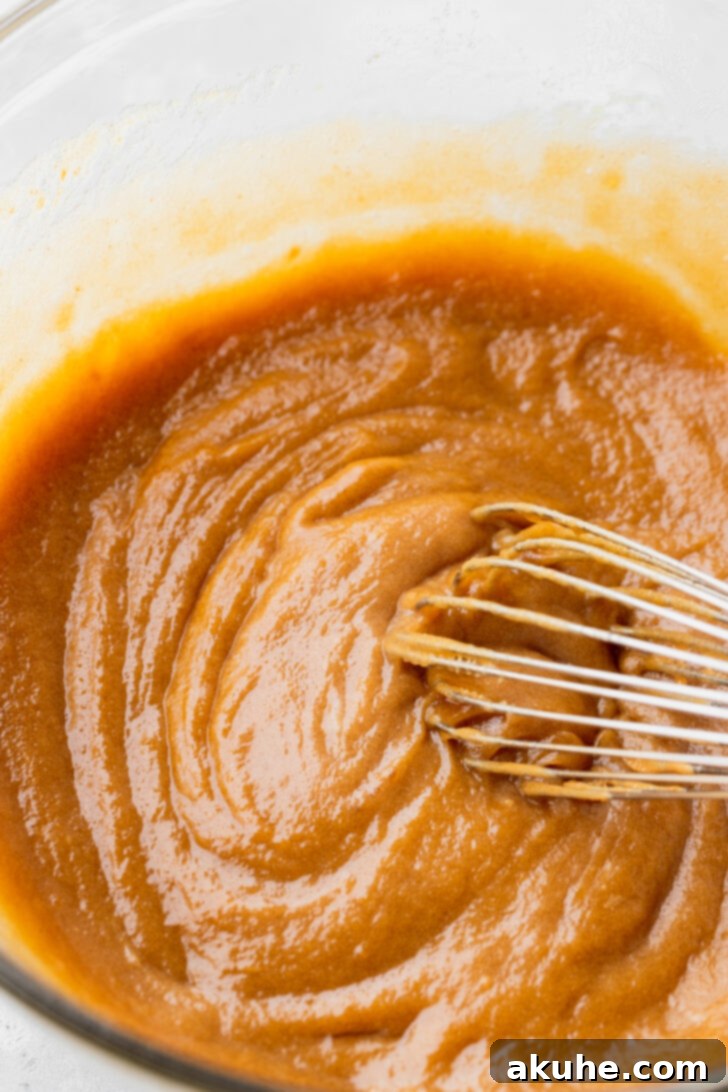
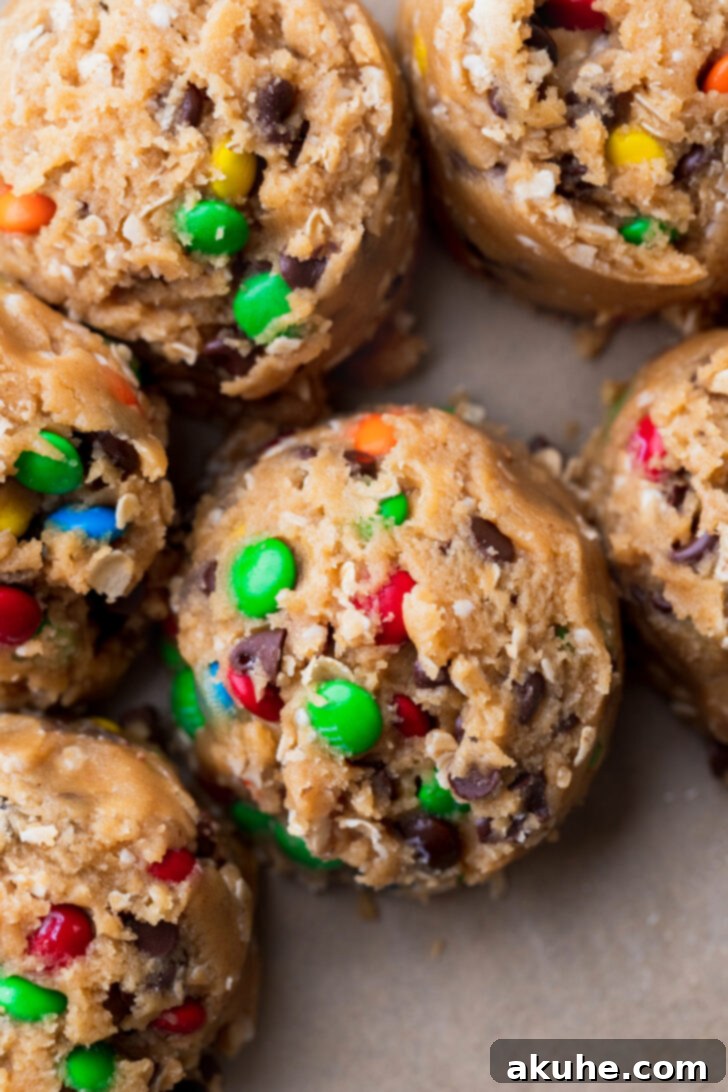
Once your dough is perfectly mixed, the final stages are all about shaping and baking. These images illustrate how to prepare your cookie sheets and what your perfectly scooped dough should look like.
Variations and Customizations
One of the joys of monster cookies is their incredible versatility. While the classic combination of peanut butter, oats, chocolate chips, and M&M’s is undeniably delicious, don’t hesitate to get creative and tailor them to your preferences or whatever you have in your pantry. Here are a few ideas to inspire your next batch:
- Nut Butter Swap: If peanut butter isn’t your favorite or you have allergies, feel free to substitute it with almond butter, cashew butter, or even sunflower seed butter for a nut-free option. Keep in mind that the flavor profile will change, but the texture should remain wonderfully chewy.
- Chocolate Galore: Instead of just mini chocolate chips, try a mix of different chocolates! White chocolate chips, dark chocolate chunks, or even a swirl of cocoa powder in the dough can add new dimensions.
- Candy Chaos: M&M’s are a staple, but think beyond them! Reese’s Pieces, chopped up Snickers or Butterfingers, or even seasonal candies can make your monster cookies unique. For a touch of sophistication, consider adding toffee bits or chopped pretzels for a sweet and salty crunch.
- Oat Alternatives: While quick oats are recommended, if you want a heartier texture, you can use slightly processed old-fashioned oats as mentioned in our tips. You can also mix in a small amount of granola for added texture and flavor.
- Add-ins for Extra Zing: A handful of shredded coconut, dried cranberries, or chopped nuts (pecans, walnuts) can introduce new flavors and textures, making each bite an adventure. Remember to not overload the dough with too many add-ins, as this can affect the cookie’s structure.
The Science Behind the Perfect Chewy Cookie
Baking is often described as a science, and understanding a few key principles can elevate your monster cookie game. The combination of ingredients in this recipe is carefully balanced to create that desirable chewy texture with crisp edges:
- Melted Butter: Using melted butter instead of softened butter contributes to a chewier cookie. Softened butter often creates more air when creamed with sugar, resulting in a cakier texture. Melted butter, on the other hand, makes for a denser, richer, and chewier crumb.
- Brown Sugar vs. White Sugar: This recipe uses a balanced combination of both brown and white granulated sugar. Brown sugar is hygroscopic, meaning it attracts and retains moisture, which is crucial for a soft and chewy texture. Its molasses content also adds a subtle caramel note. White granulated sugar helps with spread and crispness, providing that delightful edge.
- Quick Oats: Quick oats absorb moisture quickly and evenly, ensuring the cookies remain moist and chewy without becoming too dense or dry. Their smaller size also integrates more smoothly into the dough compared to whole rolled oats.
- Baking Soda and Baking Powder: This duo provides the perfect lift. Baking soda reacts with acidic ingredients (like brown sugar and peanut butter) to create spread, while baking powder offers a lighter, more even rise, preventing the cookies from becoming too flat or too domed.
- Peanut Butter: Beyond its flavor, peanut butter adds fat and protein to the dough, which contributes to its richness, tenderness, and chewiness. It also helps bind the ingredients together.
If you’re a true peanut butter enthusiast, don’t stop here! Explore more of my delightful peanut butter recipes, including these classic peanut butter chocolate chip cookies and indulgent chocolate peanut butter cookies.
Storage and Freezing Instructions
Once you’ve baked your delicious batch of monster cookies, knowing how to store them properly ensures they stay fresh and enjoyable for as long as possible.
- At Room Temperature: Store cooled monster cookies in an airtight container at room temperature for up to 3-4 days. For optimal freshness, you can place a slice of bread in the container; the cookies will absorb moisture from the bread, keeping them soft.
- In the Refrigerator: While not strictly necessary, if your kitchen is particularly warm, you can store them in an airtight container in the refrigerator for up to a week. Be aware that refrigeration can sometimes make cookies a bit firmer, so allow them to come to room temperature before serving for the best texture.
- Freezing Baked Cookies: These cookies freeze beautifully! Once completely cooled, place them in a single layer on a baking sheet and freeze until solid (about 1-2 hours). Transfer the frozen cookies to a freezer-safe bag or airtight container, separating layers with parchment paper to prevent sticking. They will keep well for up to 2-3 months. Thaw at room temperature or gently warm in the microwave for a few seconds.
- Freezing Cookie Dough: You can also prepare the dough ahead of time and freeze it. Scoop the cookie dough balls onto a parchment-lined baking sheet and freeze until firm. Transfer the frozen dough balls to a freezer-safe bag. When ready to bake, place frozen dough balls on a baking sheet and bake as directed, adding an extra 2-4 minutes to the baking time.
Frequently Asked Questions About Monster Cookies
Here are answers to some common questions that might arise when baking these delightful monster cookies:
- My cookies aren’t spreading enough. What went wrong? This is often due to too much flour (compacted during measurement) or the butter not being melted and cooled enough. Ensure you’re spooning and leveling your flour and that your butter is cool to the touch. Also, make sure your baking soda and powder are fresh.
- Why are my cookies dry and crumbly? Again, too much flour is a primary culprit. Also, overbaking can significantly dry out cookies. Pull them from the oven when the edges are set and lightly golden, but the centers still look slightly soft. They will continue to set as they cool.
- Can I use old-fashioned oats instead of quick oats? Yes, but as mentioned in Tip 3, it’s best to pulse them a few times in a food processor to break them down into smaller pieces. This helps maintain the desired texture and prevents the cookies from becoming too crumbly.
- Do I have to chill the dough? This recipe includes a 10-minute rest, which is a mini-chill. While a longer chill (30 minutes to an hour) can enhance flavor and prevent spread, this recipe is designed to work well with just the brief rest. If you have time, a longer chill won’t hurt!
- Can I make these gluten-free? You can experiment with gluten-free all-purpose flour blends that contain xanthan gum. Ensure your oats are certified gluten-free. Results may vary slightly in texture.
- What if I don’t have mini M&M’s? Can I use regular ones? Absolutely! Regular M&M’s will work just fine. The mini ones simply offer a more even distribution of color and crunch in each bite.
We hope you cherish these incredibly chewy and flavorful monster cookies as much as we do! If you loved this recipe, please take a moment to leave astar review below to share your experience with other bakers. Don’t forget to tag me on Instagram @stephaniesweettreats with your delicious creations, and for even more baking inspiration and ideas, be sure to follow me on Pinterest!
Recipe Video

Monster Cookies
Print Recipe
Pin Recipe
Leave a Review
Ingredients
- 2 1/4 cup All-purpose flour
- 1/2 tsp Baking soda
- 1/2 tsp Baking powder
- 1 tsp Salt
- 1 cup Unsalted butter, melted and cooled
- 3/4 cup Brown sugar, packed light or dark
- 3/4 cup White granulated sugar
- 3/4 cup Peanut butter, creamy
- 1 tsp Pure vanilla extract
- 2 Large eggs, room temperature
- 1 cup Quick oats
- 1 cup Mini chocolate chips
- 1 cup Mini M&M candies
Instructions
- Sift together the flour, baking powder, baking soda, and salt in a medium bowl and set aside.2 1/4 cup All-purpose flour, 1/2 tsp Baking soda, 1/2 tsp Baking powder, 1 tsp Salt
- In a large bowl, combine the melted and cooled butter, brown sugar, white granulated sugar, vanilla extract, creamy peanut butter, and room temperature eggs. Whisk these wet ingredients vigorously until the mixture is smooth, light, and well combined.1 cup Unsalted butter, 3/4 cup Brown sugar, 3/4 cup Peanut butter, 1 tsp Pure vanilla extract, 2 Large eggs, 3/4 cup White granulated sugar
- Gradually add the dry ingredients to the wet mixture. Use a rubber spatula to mix gently until just combined. Be careful not to overmix. Once the dry ingredients are mostly incorporated, fold in the quick oats, mini chocolate chips, and colorful mini M&M’S until they are evenly distributed throughout the dough.1 cup Quick oats, 1 cup Mini chocolate chips, 1 cup Mini M&M candies
- Preheat your oven to 350°F (175°C). Line two large cookie sheets with parchment paper to prevent sticking and aid in easy cleanup. Allow the cookie dough to rest in the bowl for 10 minutes before proceeding to scoop. This brief rest helps the flour hydrate and contributes to a chewier cookie.
- Using a large cookie scoop (approximately 3 tablespoons per scoop), portion out the cookie dough. Place about 6 cookie dough balls evenly spaced on each prepared cookie sheet. This spacing ensures proper air circulation and prevents cookies from spreading into each other. Bake for 12-14 minutes, or until the edges are golden brown and set, but the centers still appear slightly soft.
- Once baked, remove the cookie sheets from the oven and allow the cookies to cool on the hot sheet for 4 minutes. This crucial step allows them to finish baking and firm up without becoming overbaked. After 4 minutes, carefully transfer the cookies to a wire cooling rack to cool completely.
Notes
High Altitude Baking: For those baking at higher altitudes (typically above 3,500 feet), consider adding an extra 2 tablespoons of all-purpose flour to the recipe. This can help prevent excessive spreading and ensure the cookies maintain their structure.
Room Temperature Ingredients: For optimal results, ensure dairy ingredients (like eggs) are at room temperature. This helps them incorporate smoothly into the dough, creating a more uniform mixture and contributing to a superior cookie texture. Pull them out of the refrigerator approximately 30 minutes to 2 hours before you plan to start baking.
