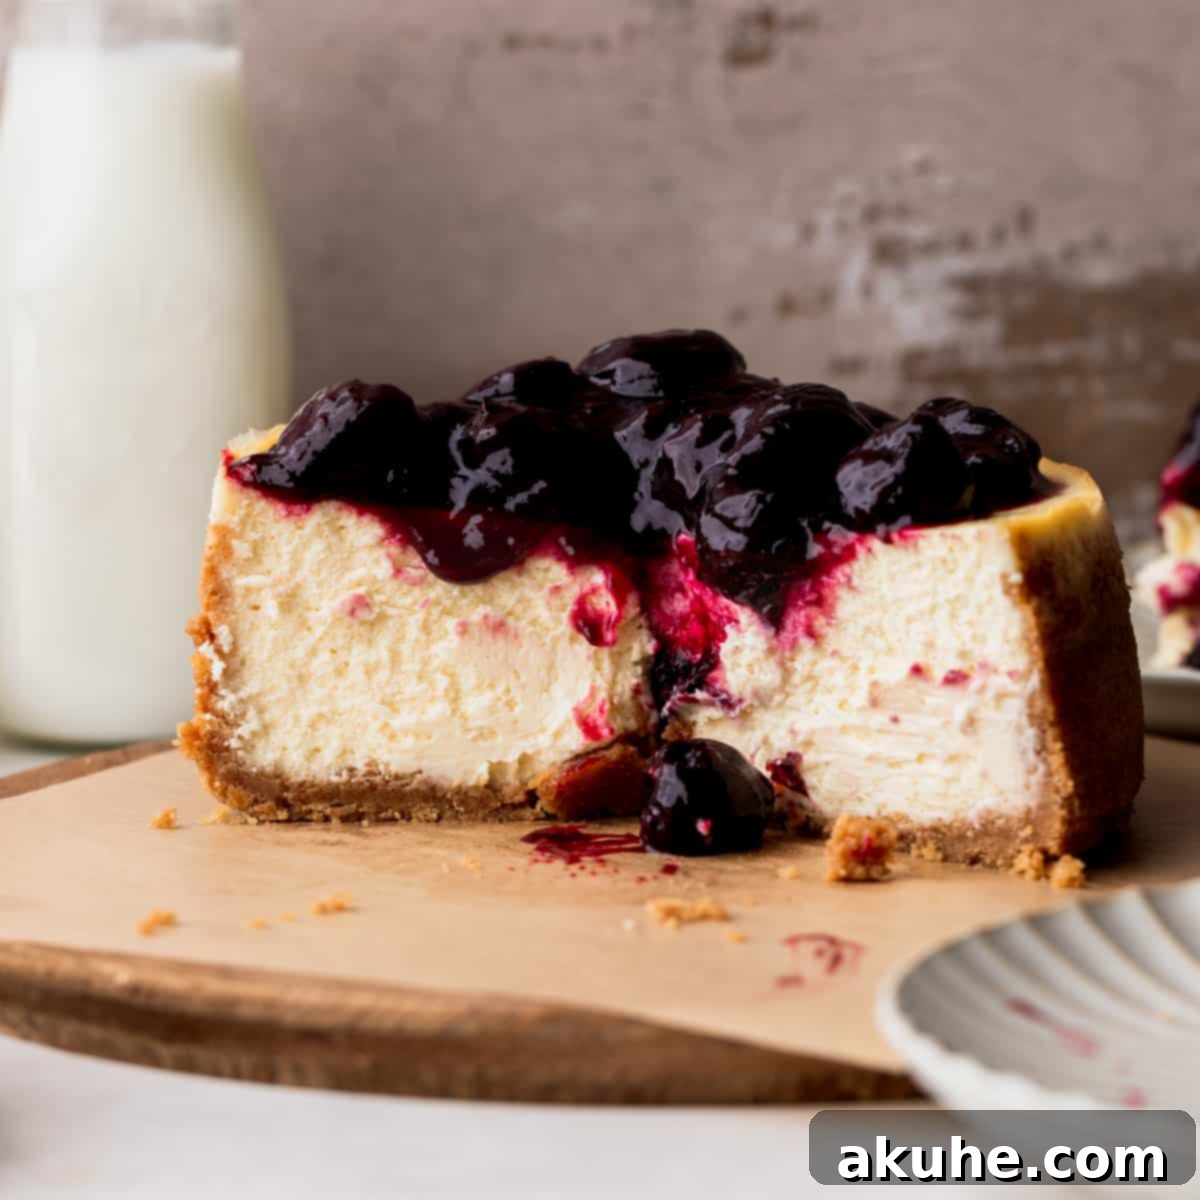
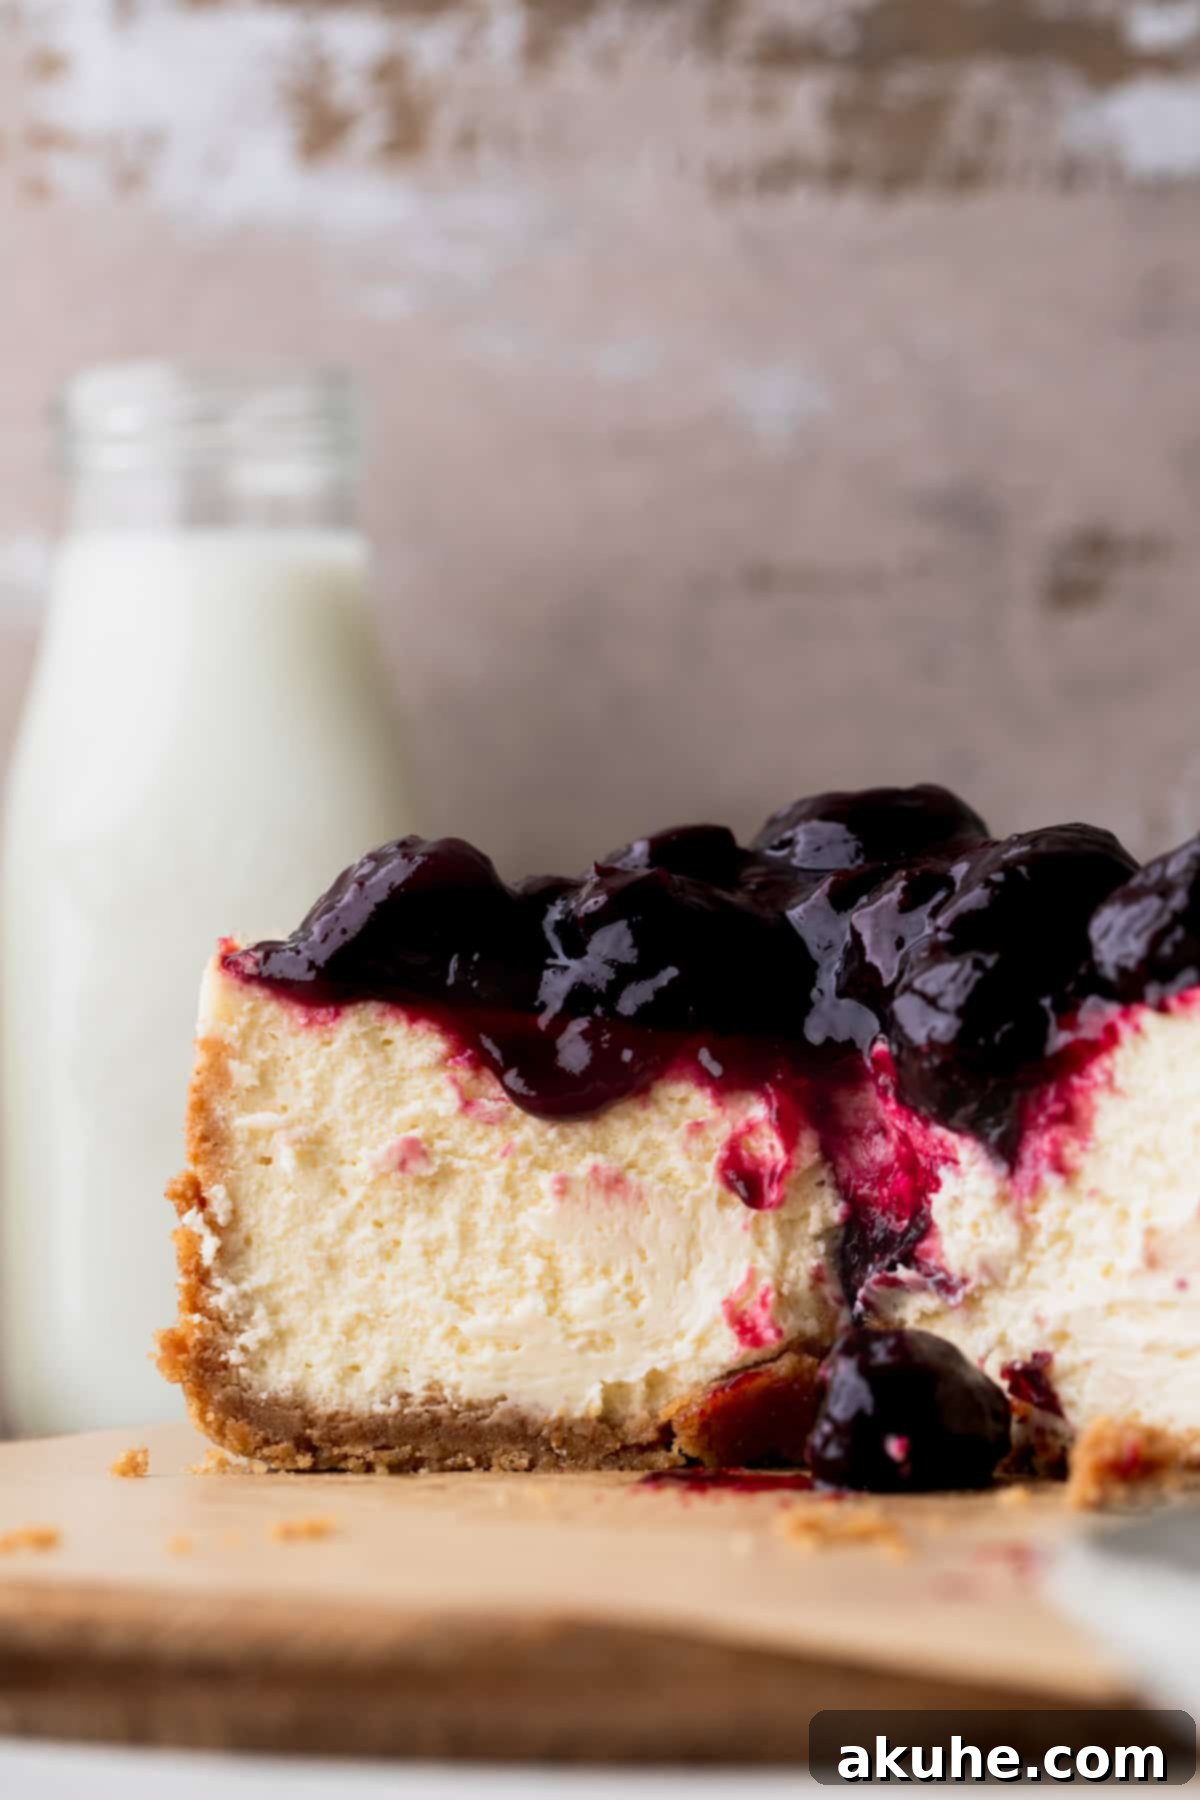
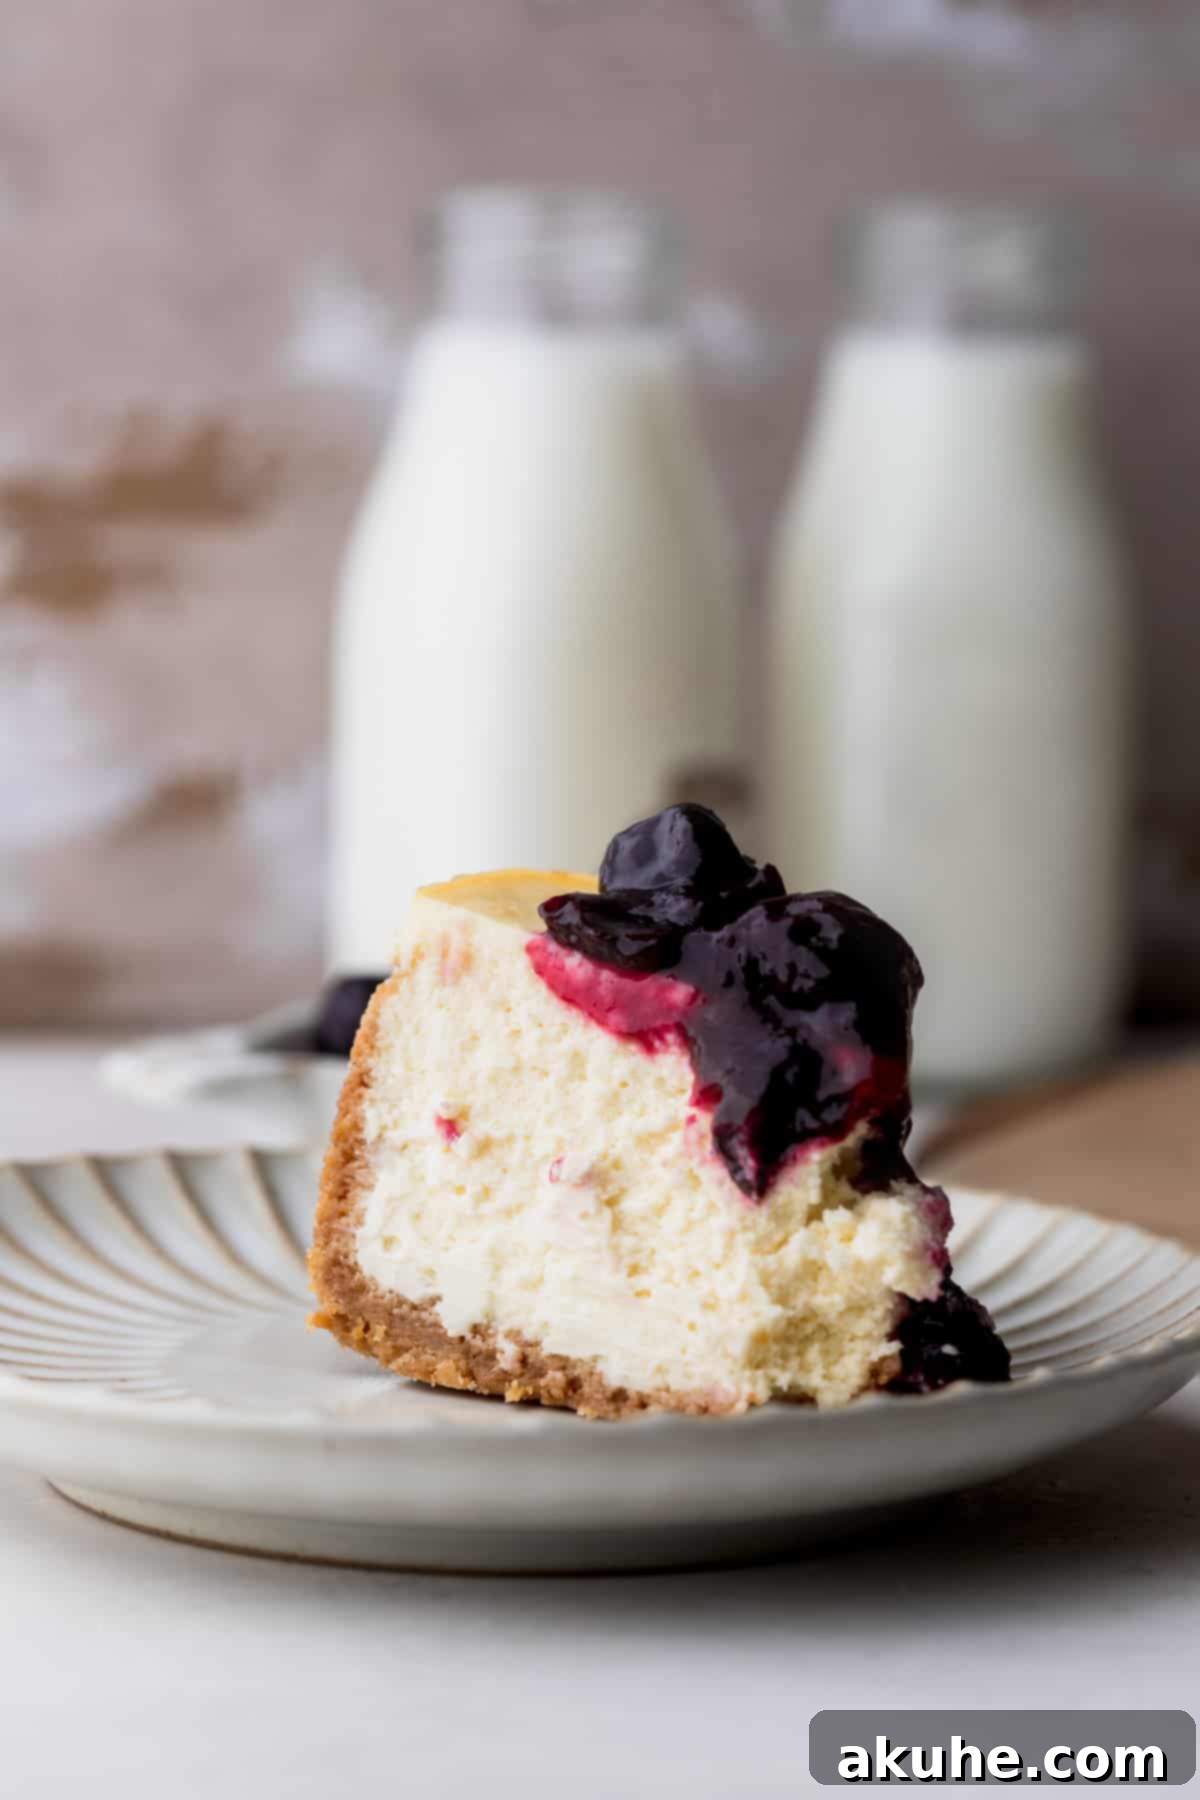
Craving a rich, creamy cheesecake but don’t need a massive dessert? This incredible **small cheesecake recipe** is your perfect solution! Baked in a convenient 6-inch springform pan, this New York-style cheesecake delivers an intensely rich, ultra-creamy texture that’s simply irresistible. Topped with a luscious cherry sauce, it’s an elegant dessert ideal for intimate gatherings, holidays, or when you just want a slice of pure indulgence without the commitment of a full-sized cake.
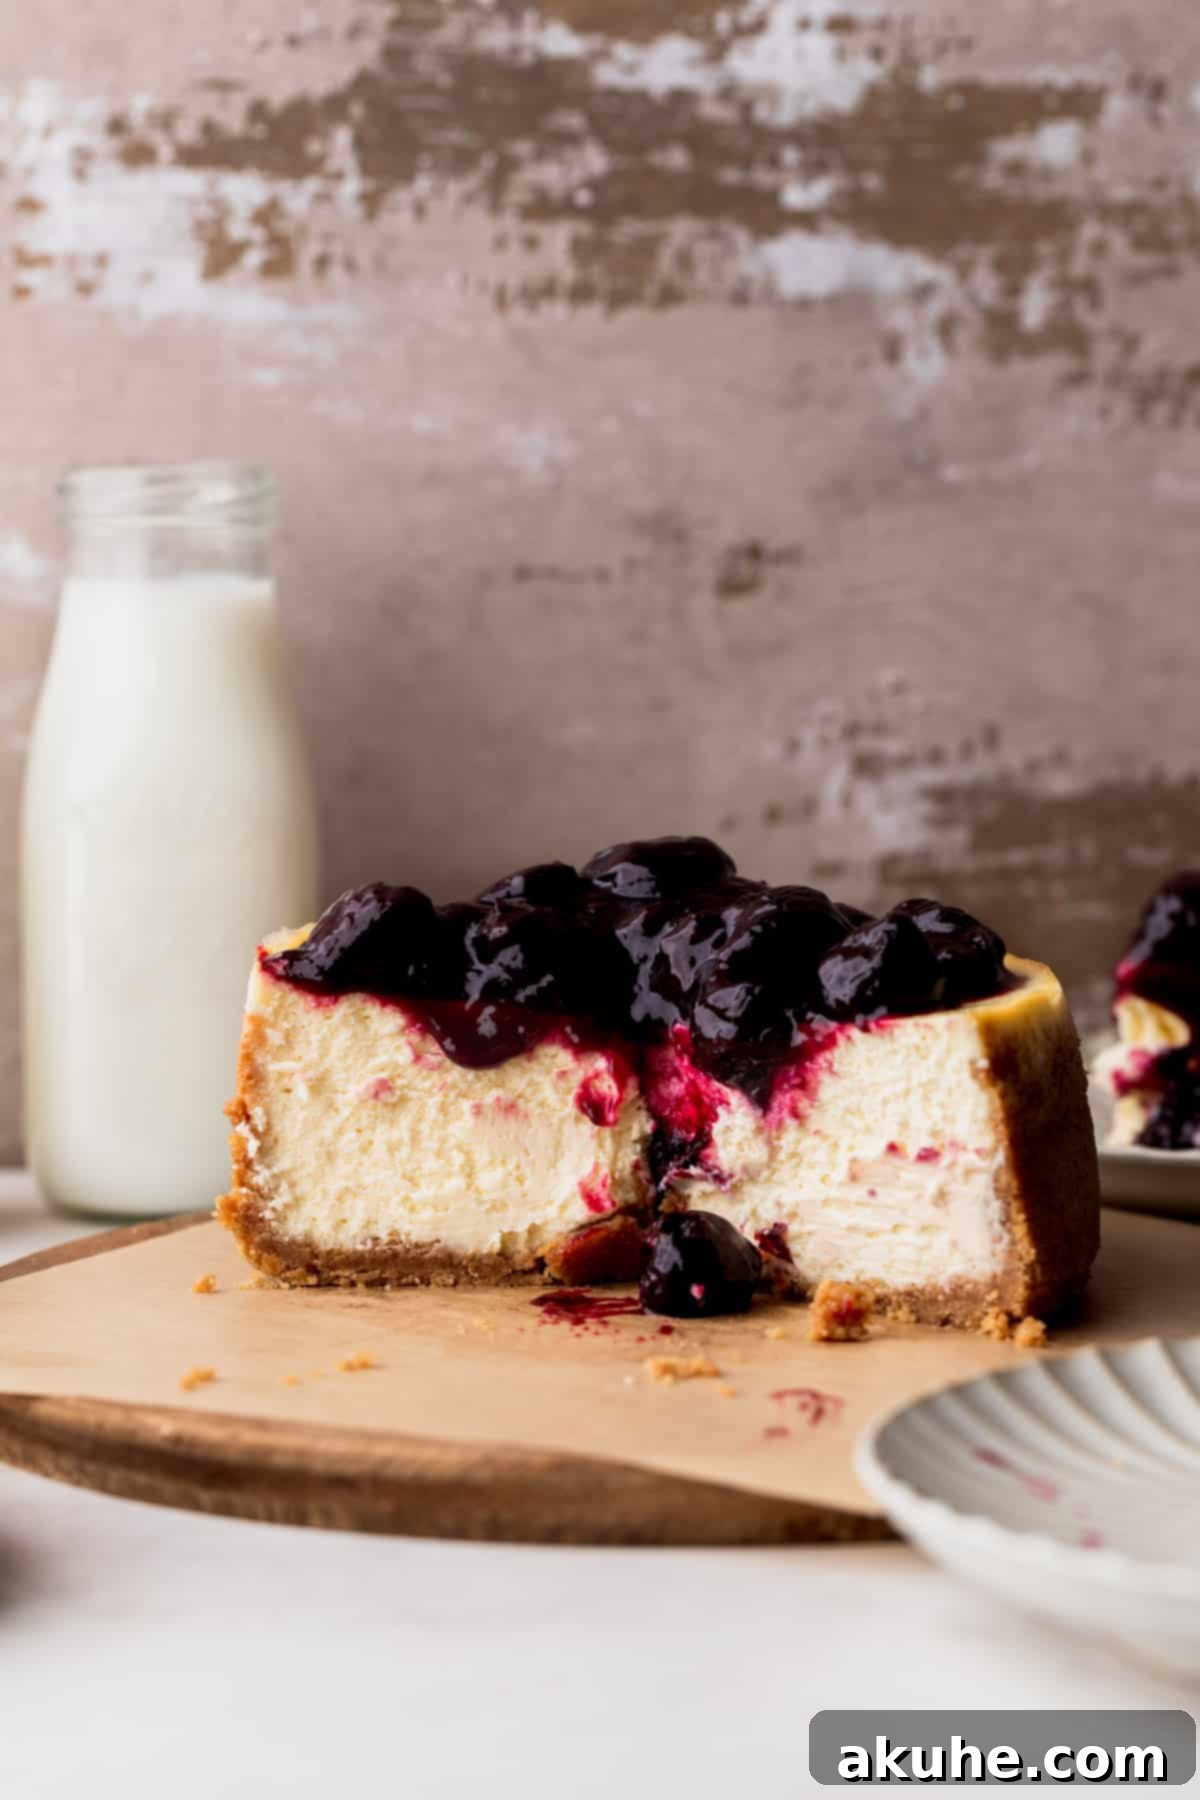
There are many occasions where a smaller cheesecake truly shines. Whether you’re hosting a cozy dinner for two, looking for a manageable dessert for a holiday meal, or simply want to treat yourself to a slice of heavenly cheesecake without the temptation of a larger batch, this 6-inch wonder is precisely what you need. Its compact size ensures less waste and allows for quicker baking and chilling times, making it a fantastic option for even last-minute dessert cravings.
Our recipe elevates the classic New York-style cheesecake experience. This means an extra-thick, dense, and velvety smooth filling that melts in your mouth. While we suggest a vibrant cherry topping for a burst of sweet and tart flavor, the beauty of this cheesecake lies in its versatility. Feel free to customize it with your favorite toppings – from fresh berries to chocolate ganache, the possibilities are endless!
If you’re a cheesecake enthusiast eager to explore more delightful variations, be sure to check out our other recipes: No Bake Vanilla Cheesecake for a lighter, fuss-free option, the playful M&M Cheesecake, and the decadent Ultimate Biscoff Cheesecake.
Why This Small Cheesecake Recipe is a Must-Try
This recipe isn’t just a downsized version of a classic; it’s thoughtfully designed to be the best small cheesecake you’ll ever make. Here’s what makes it stand out:
- Perfect Graham Cracker Crust: A cheesecake without a proper crust is like a story without a beginning! Our recipe features a buttery, crisp graham cracker crust that forms the perfect foundation, complementing the creamy filling with its subtle sweetness and satisfying crunch. We guide you to achieve the ideal texture and height for a truly delightful bite.
- Ultra-Creamy Baked Cheesecake: The hallmark of a New York-style cheesecake is its incredibly smooth and rich texture. We achieve this by baking the cheesecake in a water bath, a crucial technique that ensures even cooking, prevents cracks, and results in a custard-like, dense, and creamy interior that’s simply divine.
- Versatile Cherry Topping: Our recipe includes a vibrant cherry topping, made from easily accessible frozen cherries, allowing you to enjoy this delightful flavor year-round. This sweet and tangy sauce cuts through the richness of the cheesecake beautifully. However, the cheesecake itself is a blank canvas, ready to be adorned with any topping your heart desires.
- Ideal Small Portion Size: While most traditional cheesecakes are baked in a 9-inch pan, this recipe is specifically formulated for a 6-inch springform pan. This yields a smaller, more manageable dessert perfect for smaller households, intimate gatherings, or when you want individual servings without excessive leftovers. It also bakes faster and chills more quickly.
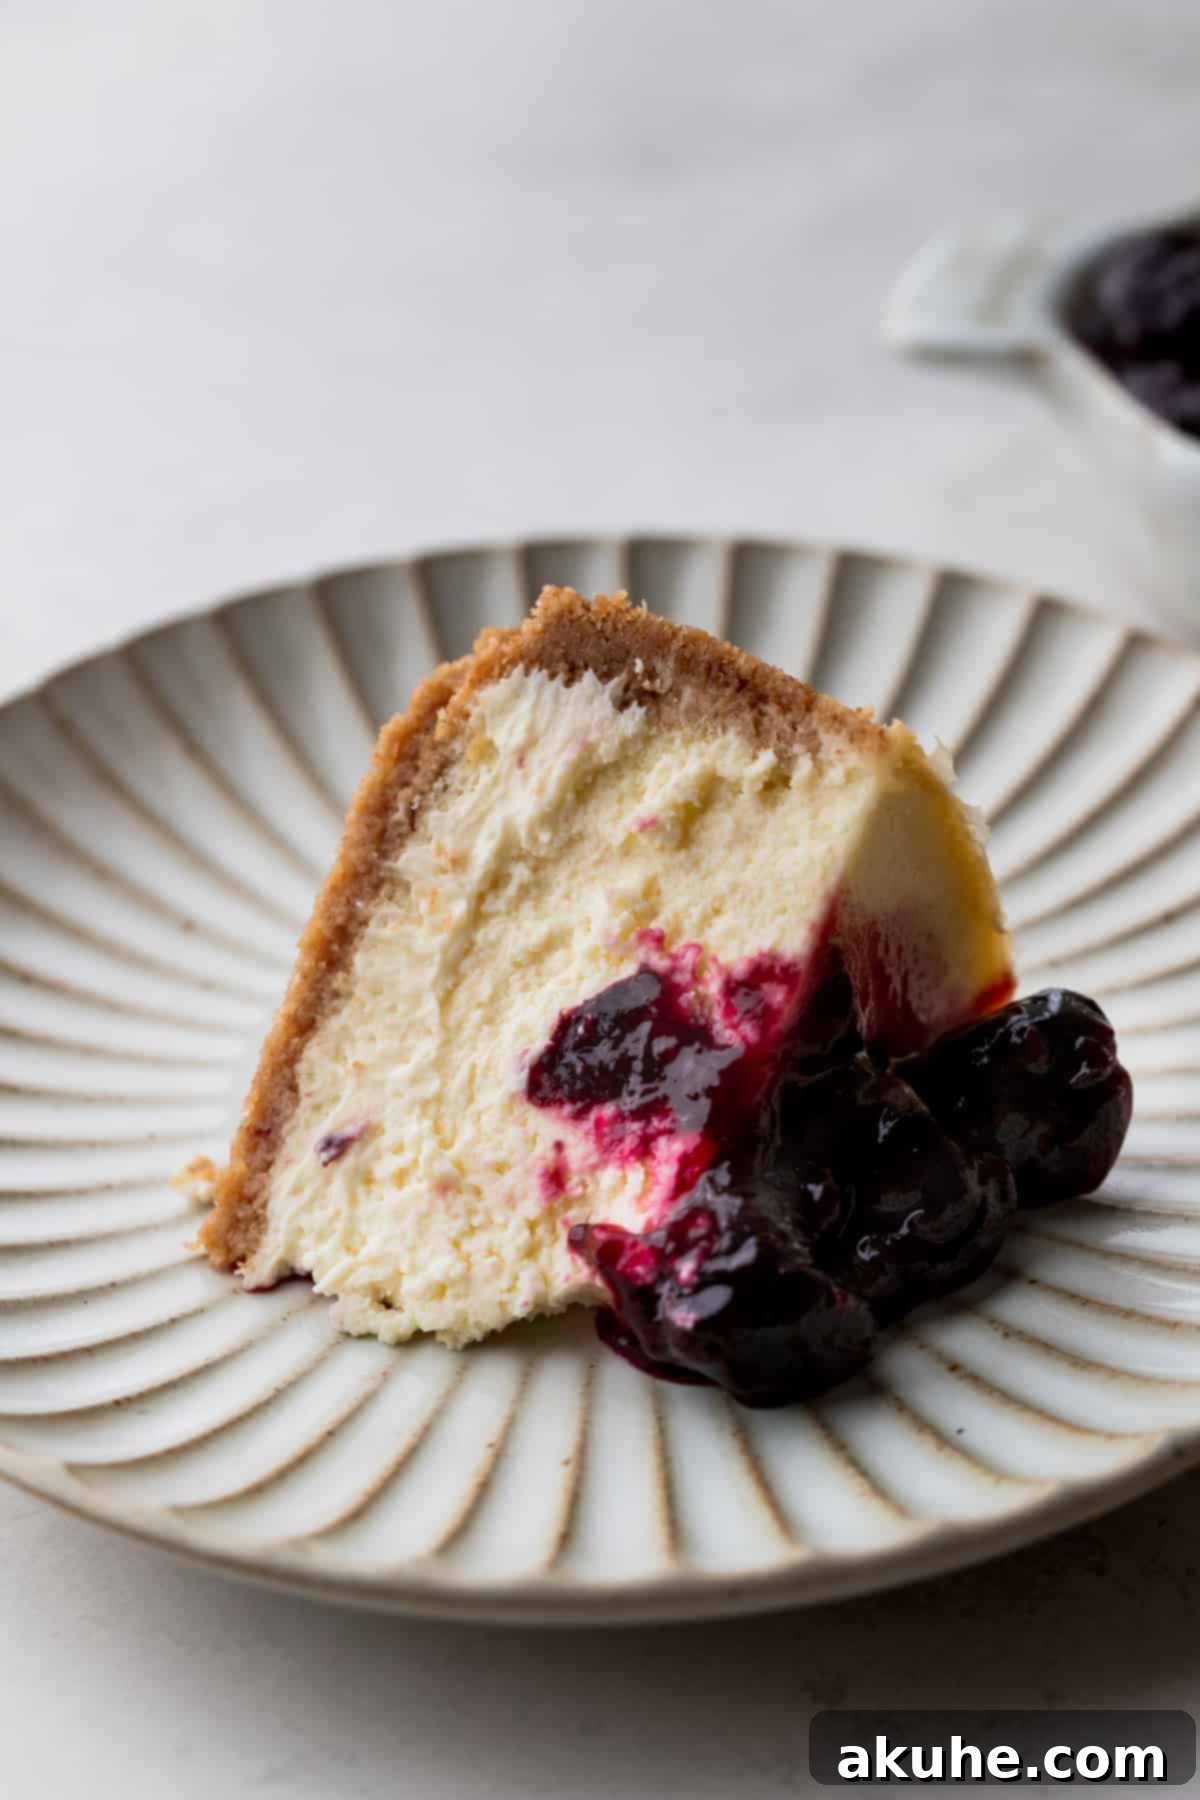
Essential Ingredient Notes for Your Small Cheesecake
Understanding your ingredients is key to cheesecake success. Here are some detailed notes to ensure your cheesecake turns out perfectly. For a complete list of quantities, refer to the recipe card below.
- Graham Crackers: One sleeve of graham crackers typically yields enough crumbs for this recipe. If you’re outside the U.S., digestive biscuits or vanilla wafers are excellent substitutes. For best results, process them into a very fine, uniform crumb to ensure a compact and sturdy crust.
- Unsalted Butter: Always use unsalted butter for baking to control the overall saltiness of the dish. It needs to be fully melted for the crust to bind the crumbs together properly.
- Cream Cheese: This is the star! Opt for full-fat block cream cheese, not the spreadable kind from a tub, as it has a firmer texture and richer flavor essential for a New York-style cheesecake. Ensure it’s completely at room temperature (ideally for at least 2 hours) before mixing to prevent lumps and ensure a silky-smooth batter. Cold cream cheese will result in a lumpy, over-mixed batter, which can lead to cracks.
- Sour Cream: Full-fat sour cream adds a delightful tang and contributes significantly to the cheesecake’s creamy texture. Like the cream cheese, bring it to room temperature for smooth incorporation. Full-fat Greek yogurt can be used as a suitable substitute if sour cream is unavailable.
- Heavy Cream: This ingredient enhances the richness and silkiness of the cheesecake batter. Allow it to come to room temperature as well, along with your other dairy components.
- Eggs: Use large eggs, also at room temperature. Room temperature eggs emulsify better with the other ingredients, creating a more uniform and stable batter. Adding them one at a time and mixing on low speed is crucial to avoid incorporating too much air.
- Cherries: Both fresh and frozen pitted cherries work wonderfully for the topping. Dark sweet frozen cherries are convenient and provide a beautiful color and flavor. If using fresh, make sure they are pitted thoroughly.
- Cornstarch: This acts as a thickener for the cherry topping, giving it a glossy, sauce-like consistency. Whisk it thoroughly with the sugar and cherries before heating to prevent lumps.
Ingredient Substitutions and Dietary Considerations
While this recipe is designed for specific ingredients, we understand the need for flexibility based on dietary preferences or availability. Here are some common substitutions:
- Dairy-Free: While not personally tested, you can experiment with your favorite dairy-free cream cheese alternatives (ensure they are the block-style for best results), dairy-free sour cream, and dairy-free heavy cream. Look for products specifically designed for baking.
- Gluten-Free: To make this cheesecake gluten-free, simply substitute the graham cracker crust with a gluten-free graham cracker alternative, or use crushed gluten-free vanilla wafers or other gluten-free cookies for the crust. The filling itself is naturally gluten-free. We recommend checking ingredient labels carefully for any hidden gluten. Please let us know if you try a gluten-free version and how it turns out!
Step-by-Step Instructions: Crafting Your Small Cheesecake
Making this mini cheesecake is a rewarding process. Gather your tools – a stand mixer with a paddle attachment or a reliable hand mixer, a 6-inch springform pan, and a 6-inch parchment circle – and let’s begin!
Graham Cracker Crust Preparation
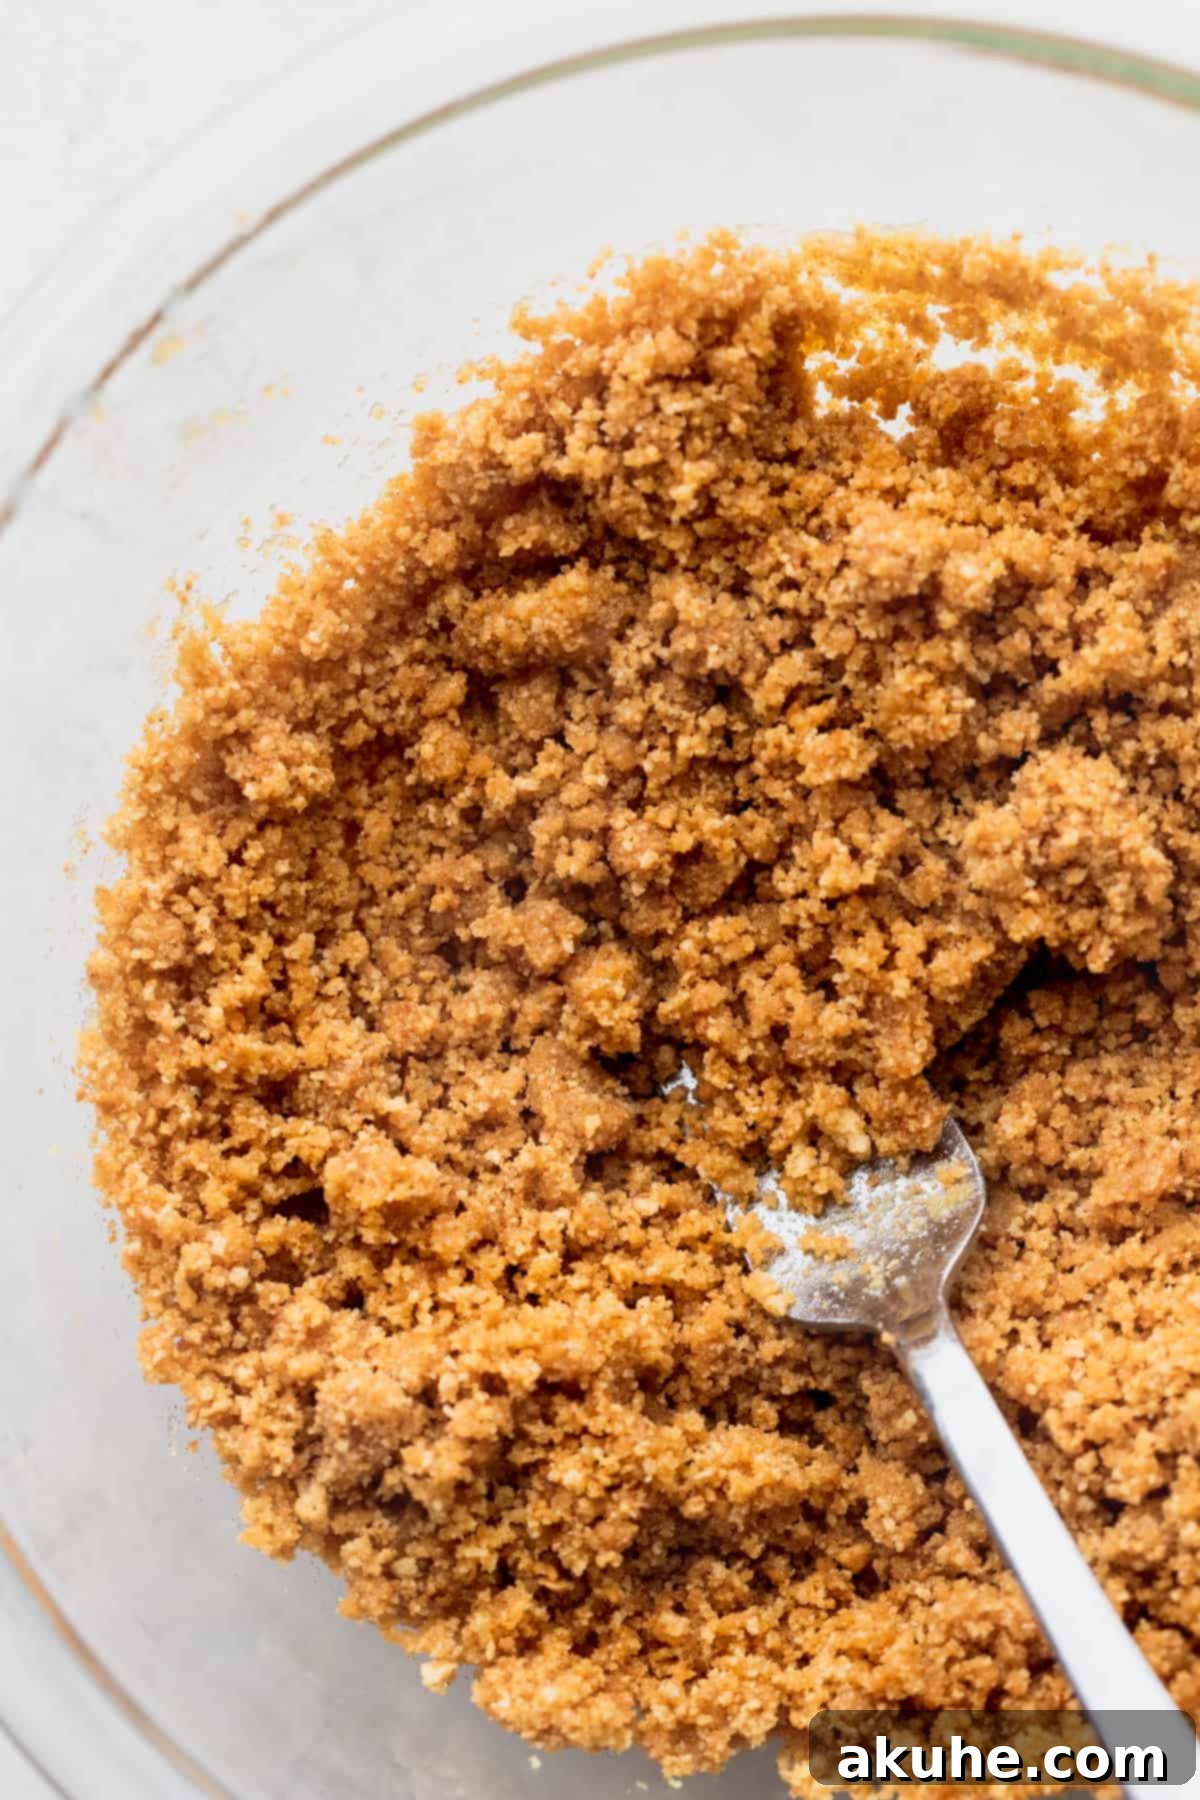
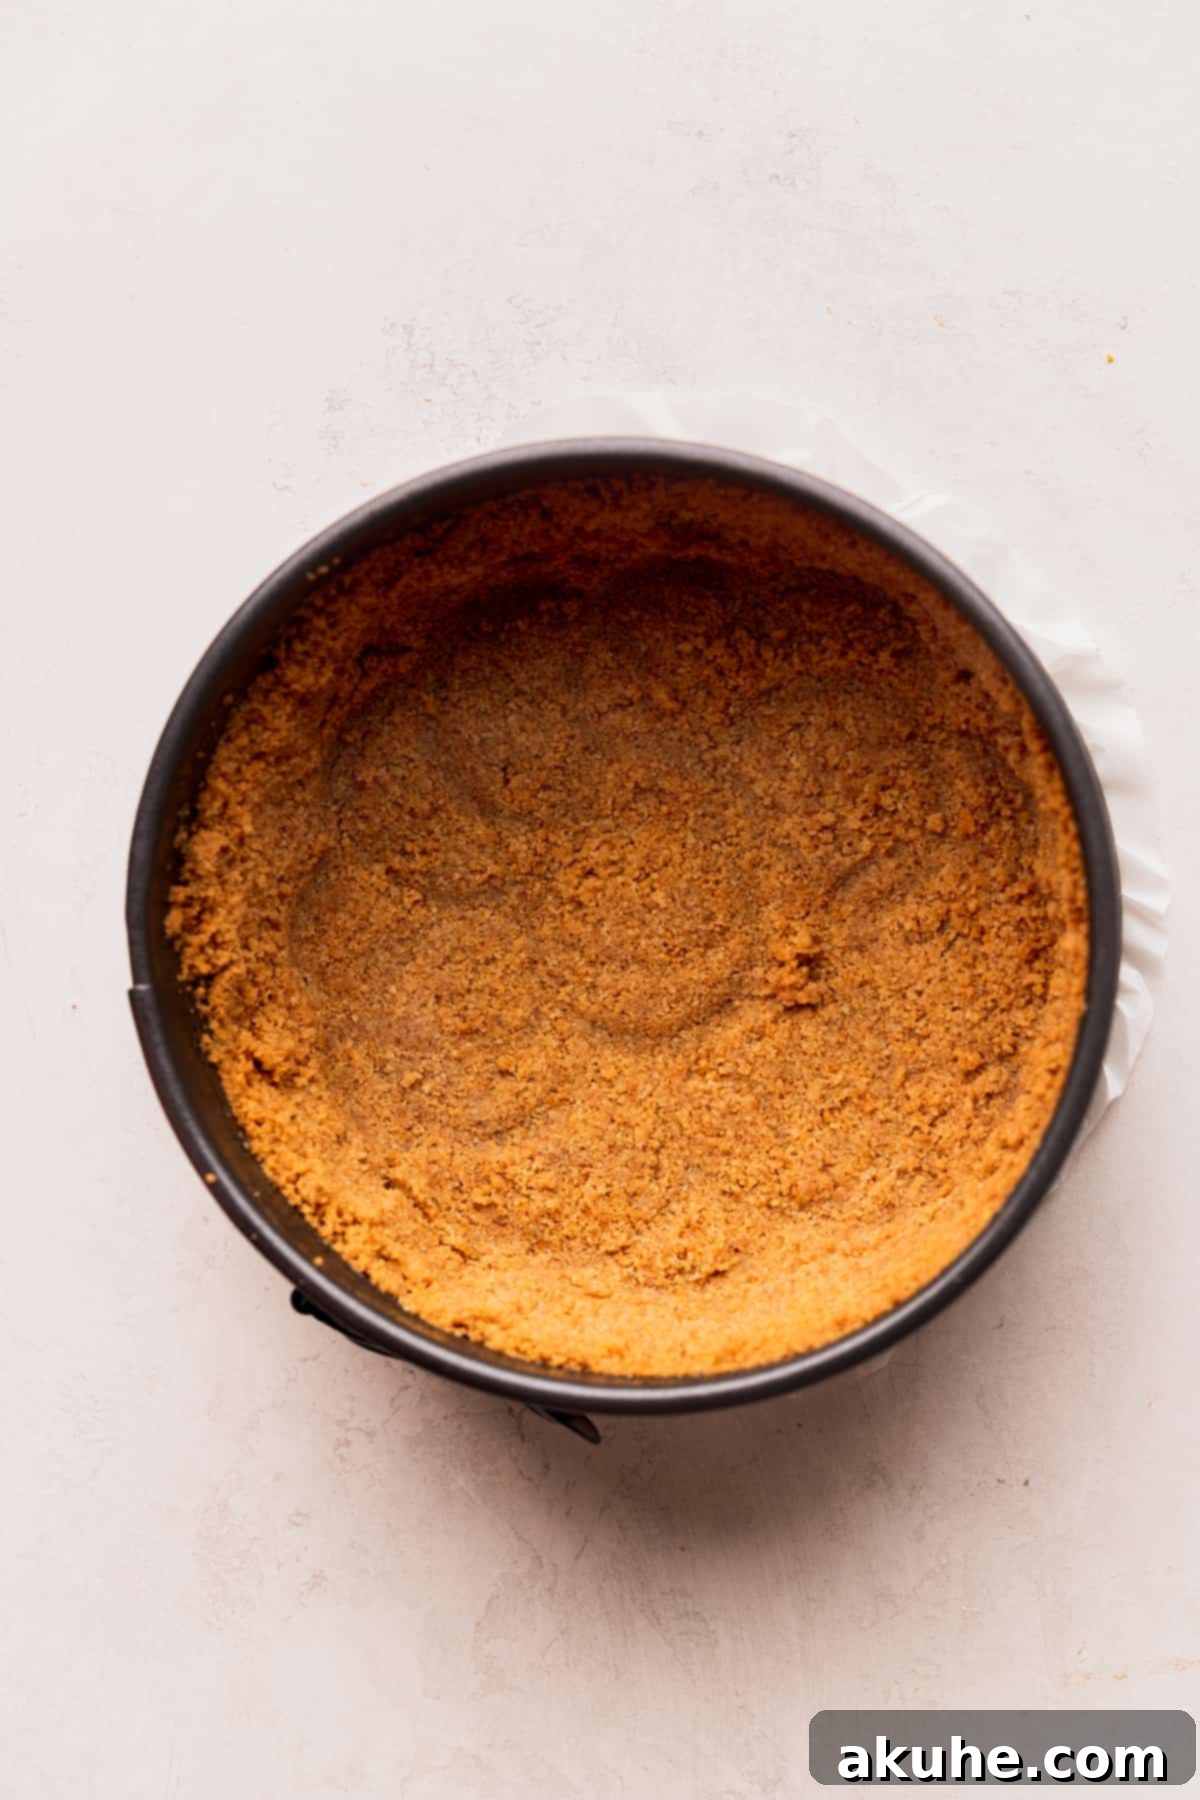
STEP 1: Prepare the Crust. Preheat your oven to 325°F (160°C). Lightly spray your 6-inch springform pan with a non-stick baking spray, then line the bottom with a 6-inch parchment paper circle. Spray the parchment paper again for easy removal. Using a food processor, blend your graham crackers until they form a very fine, uniform crumb. In a small bowl, combine these graham cracker crumbs with the white granulated sugar and melted unsalted butter. Mix thoroughly with a fork until the crumbs are evenly moistened and resemble wet sand.
Carefully press about two-thirds of the crumb mixture onto the bottom of the prepared springform pan. Use your hands to firmly press the remaining crumbs up the sides of the pan, aiming for about two-thirds of the way up. For a perfectly compact and even base, use the bottom of a spice jar or a flat-bottomed glass to firmly press down the crust mixture, particularly on the bottom. This compaction is key to a sturdy crust.
STEP 2: Bake the Crust. Place the prepared crust in the preheated oven and bake for 10 minutes. Baking the crust first helps to set it and prevent it from becoming soggy. While the crust is baking, you can begin preparing your cheesecake batter. Ensure the crust cools completely on a wire rack while you mix the filling.
Cheesecake Filling Assembly & Baking
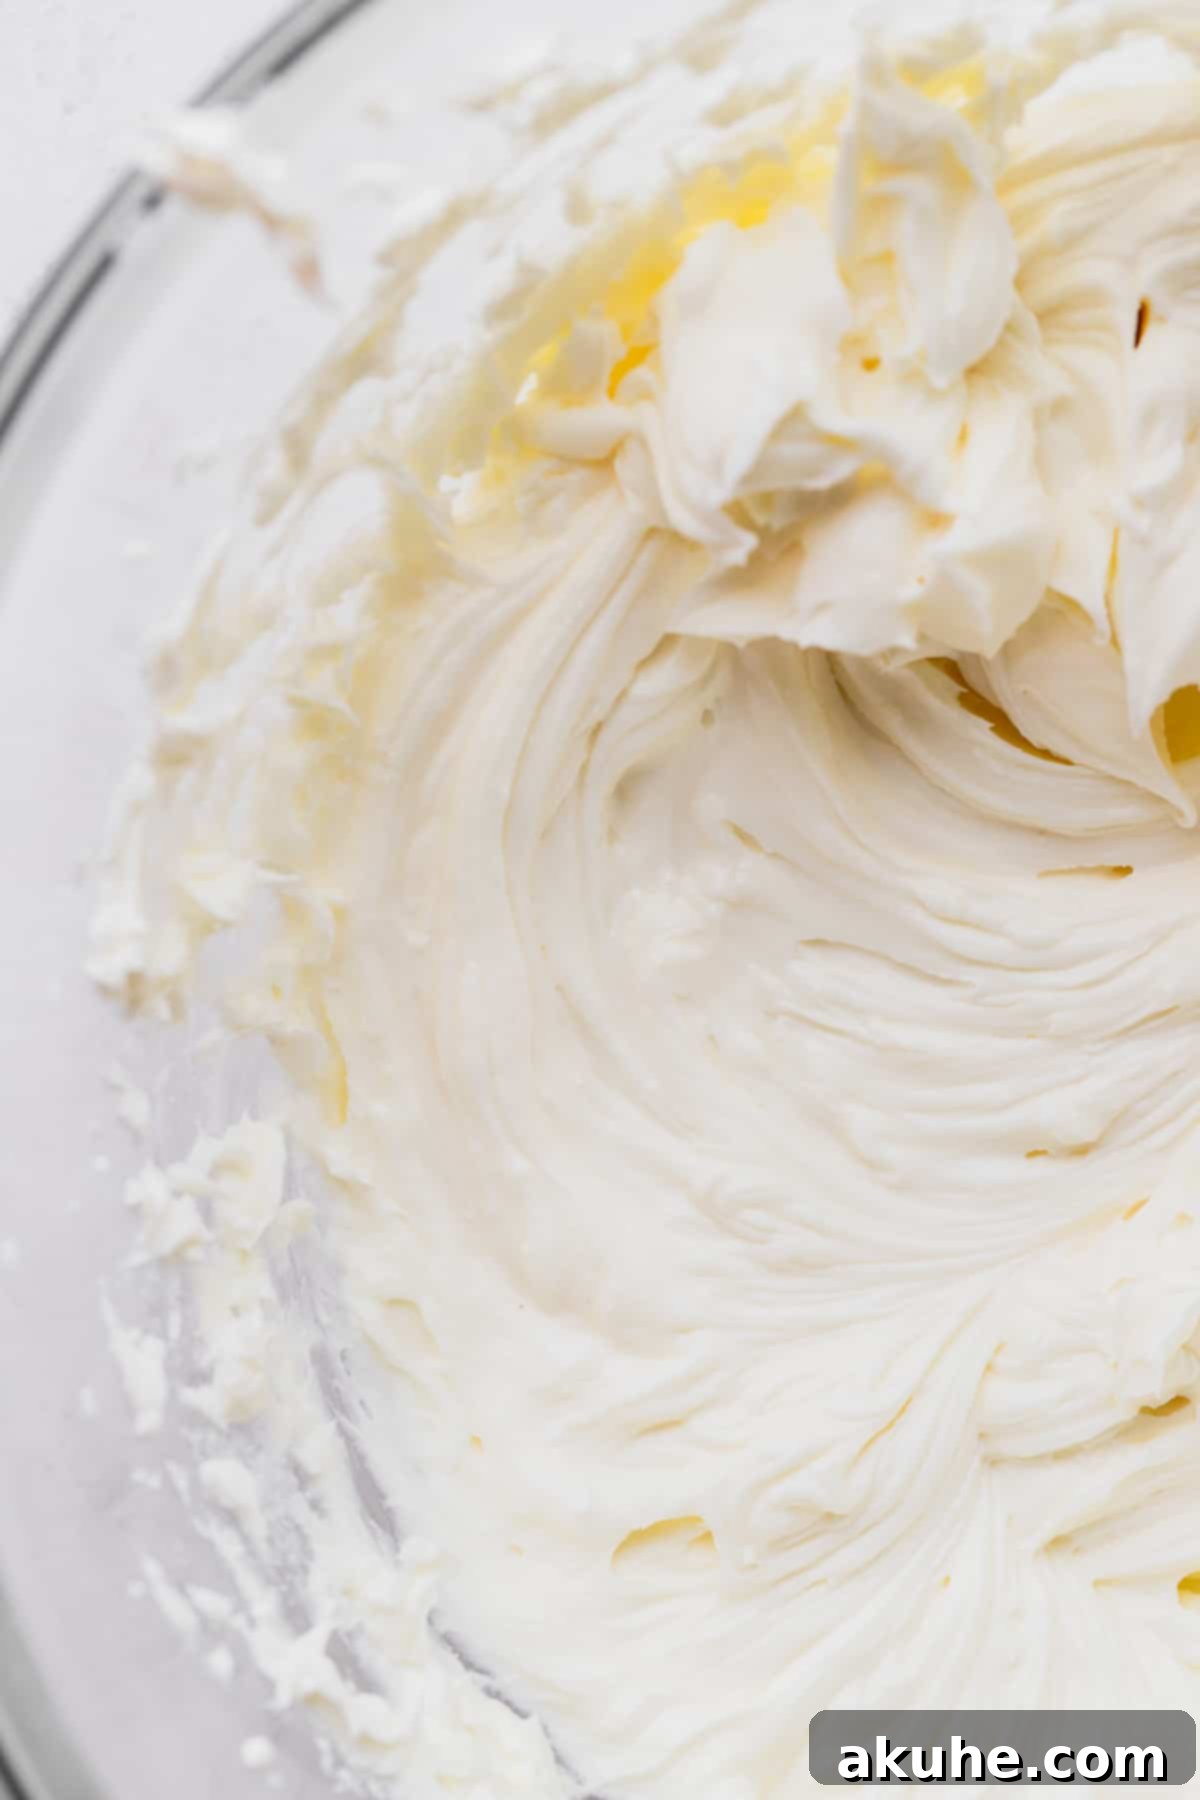
STEP 3: Beat the Wet Ingredients. In a large mixing bowl (using a stand mixer with a paddle attachment is recommended), beat the softened, room-temperature cream cheese on high speed for 1 minute until light and smooth. Gradually add the white granulated sugar and continue beating on high speed for another minute, ensuring the mixture is thoroughly combined and airy. Stop the mixer and use a rubber spatula to scrape down the sides and bottom of the bowl, ensuring no lumps remain.
Next, add the room-temperature sour cream, heavy cream, and pure vanilla extract. Beat on medium speed until all ingredients are just combined and the batter is wonderfully creamy and smooth. Be careful not to overmix at this stage.
STEP 4: Incorporate the Eggs. This is a critical step for preventing cracks. Reduce the mixer speed to low. Add the large, room-temperature eggs one at a time, mixing only until each egg is just combined into the batter. The goal here is to introduce as little air as possible. Overmixing the eggs can lead to too much air in the batter, causing the cheesecake to rise excessively and then fall, resulting in cracks.
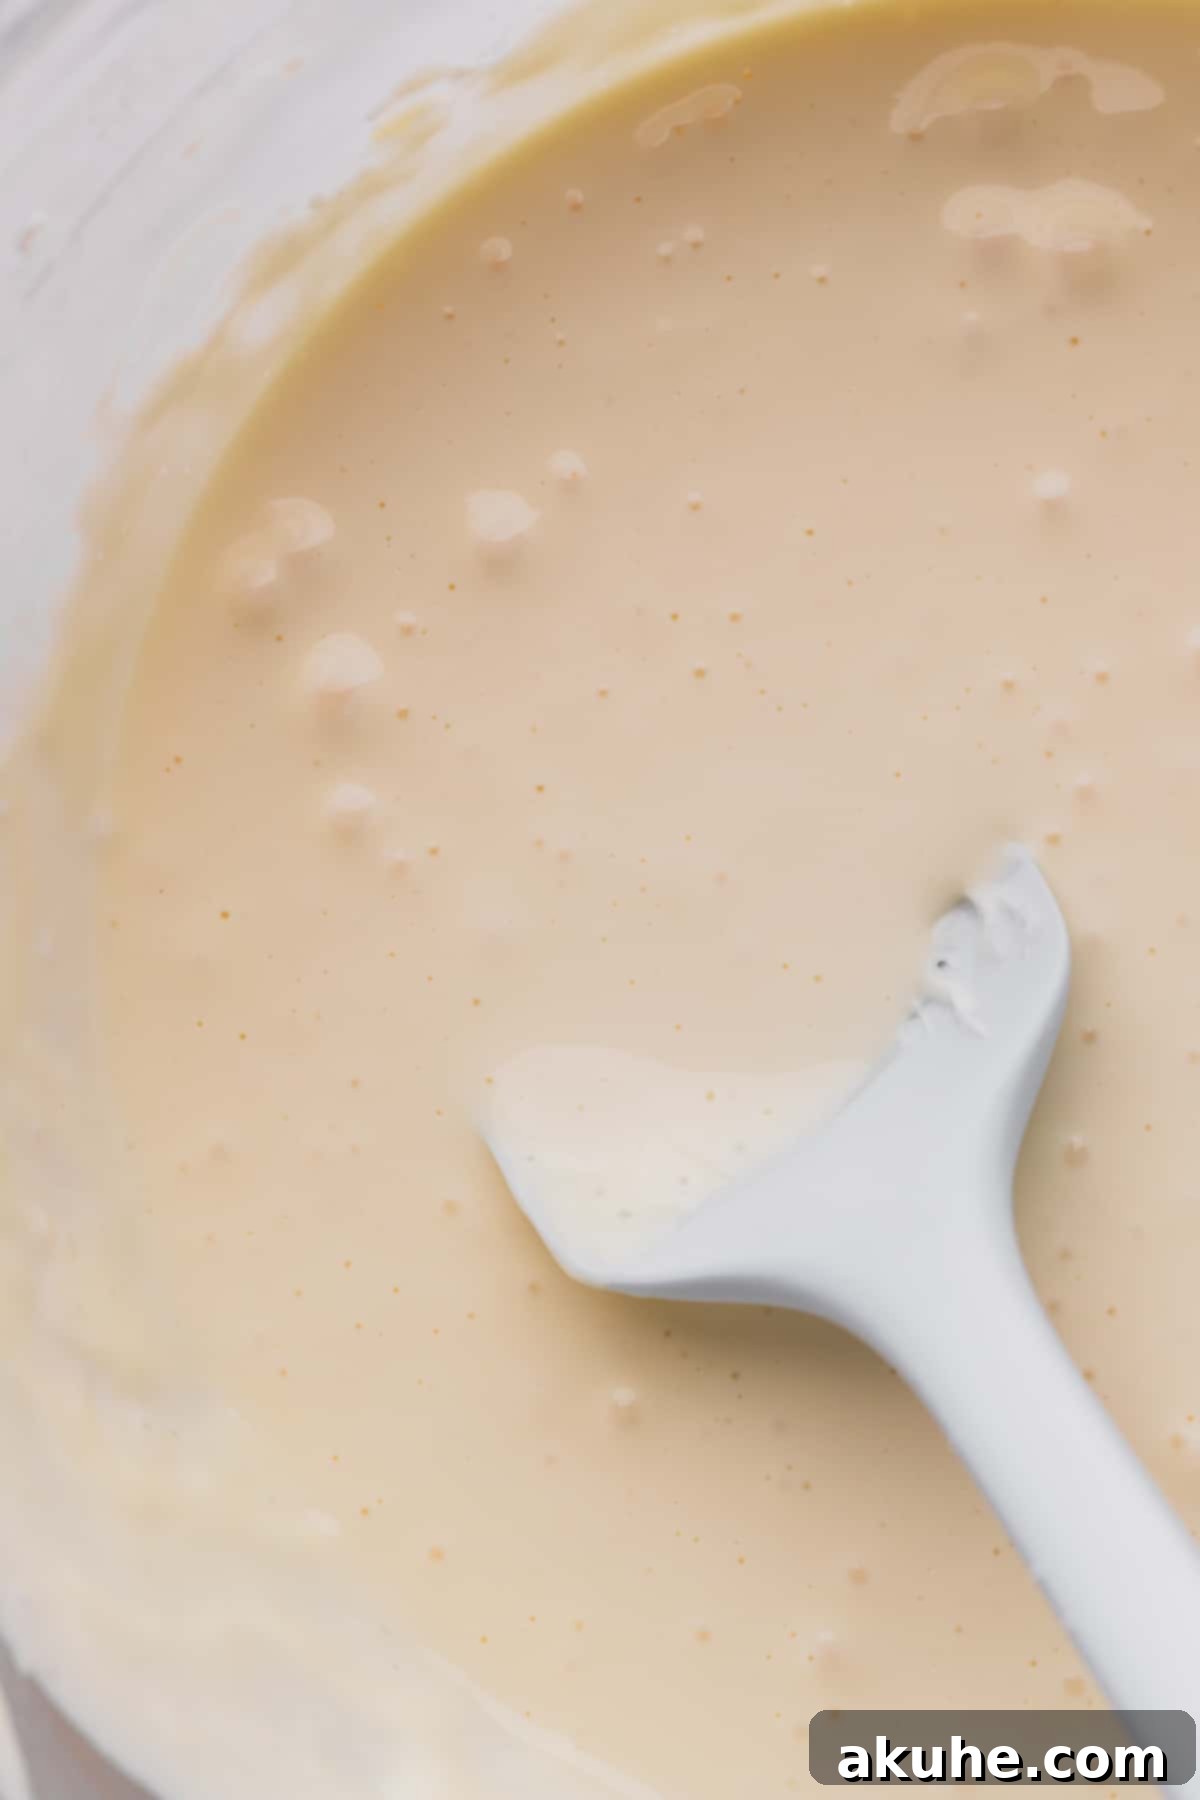
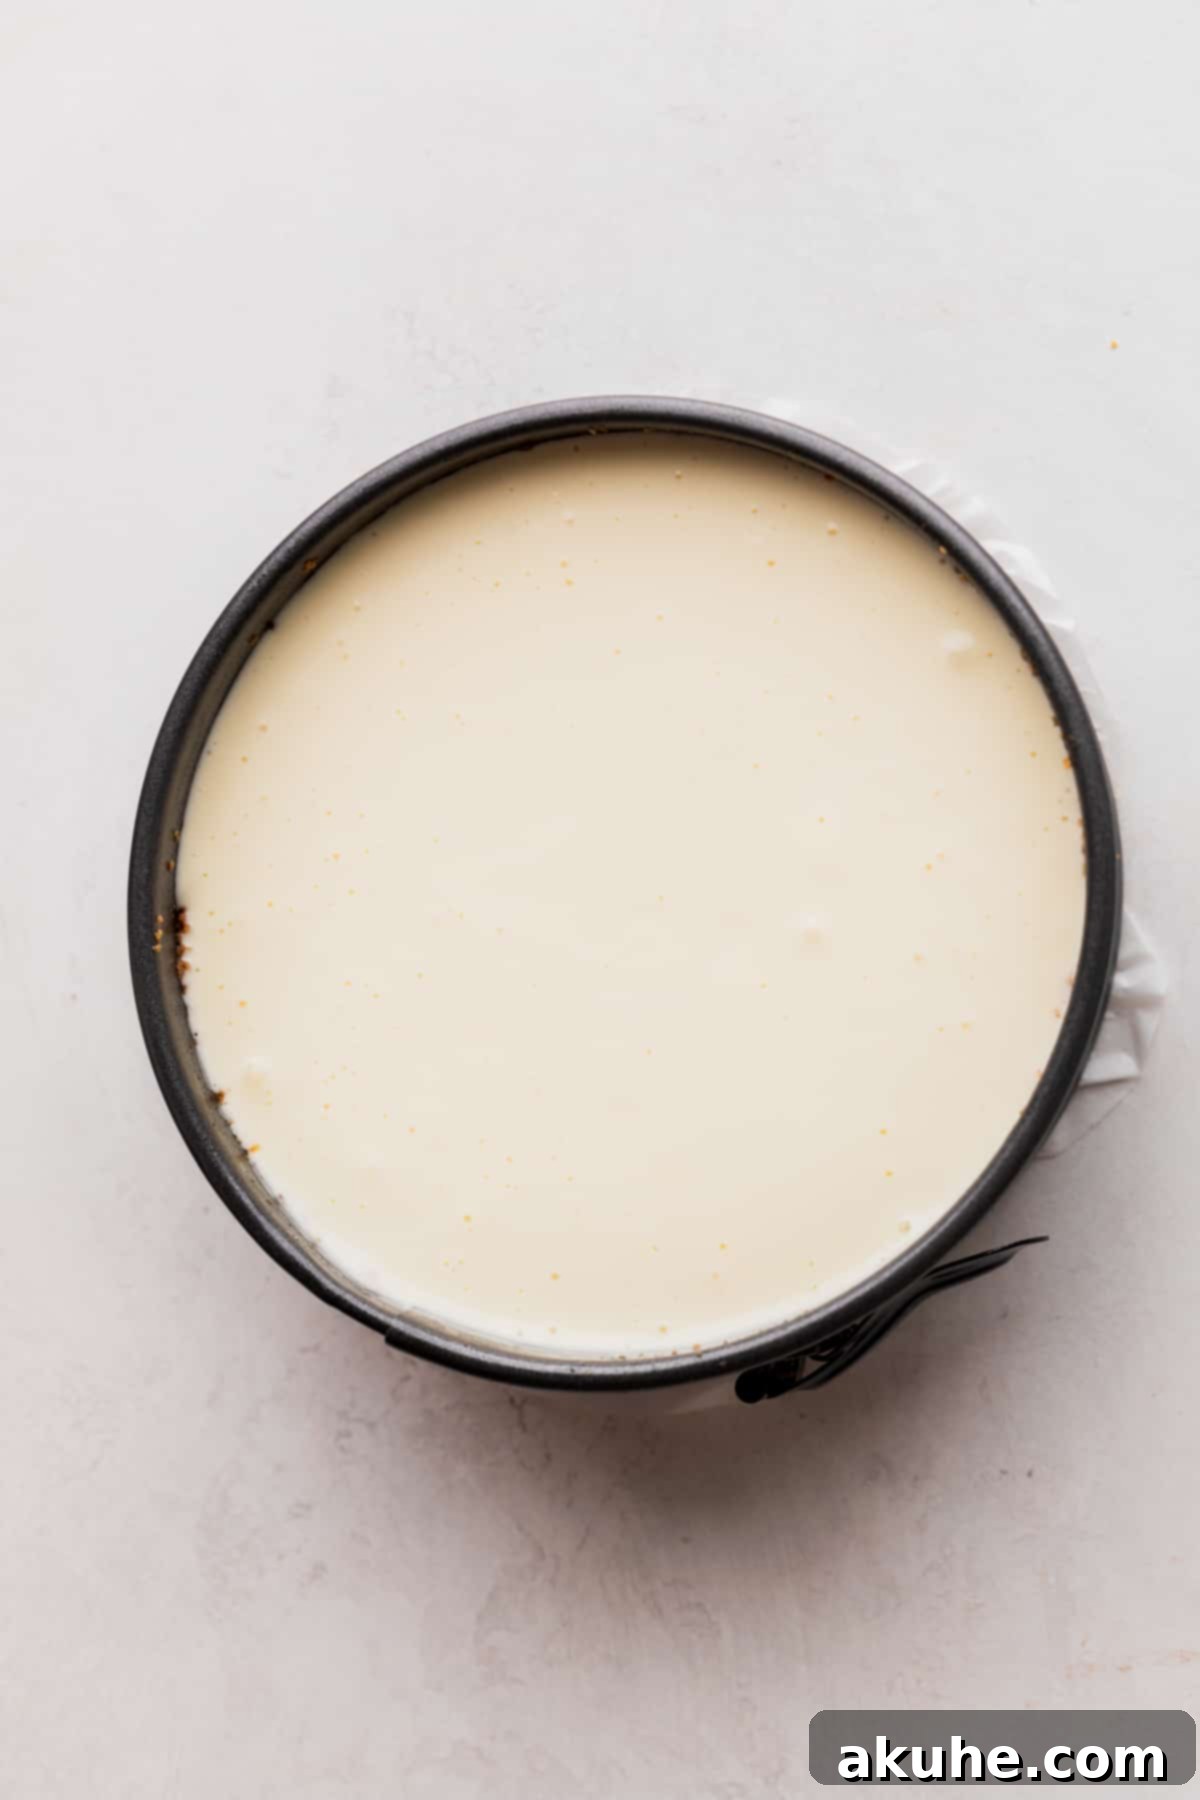
STEP 5: Pour and Prepare Water Bath. Carefully pour the smooth cheesecake filling on top of your cooled graham cracker crust in the springform pan. Gently tap the pan on the counter a few times to release any large air bubbles. Now, prepare your water bath, which is essential for a perfectly baked, crack-free cheesecake. See our detailed “Water Bath Tips” section below for the best methods.
STEP 6: Bake the Cheesecake. Place the springform pan (secured in its water bath) into the preheated oven. Bake for approximately 60-70 minutes. The cheesecake is done when the edges are set and appear slightly puffed, but the very center still has a slight, gentle jiggle when the pan is lightly tapped. This slight jiggle indicates perfect doneness; it will continue to set as it cools.
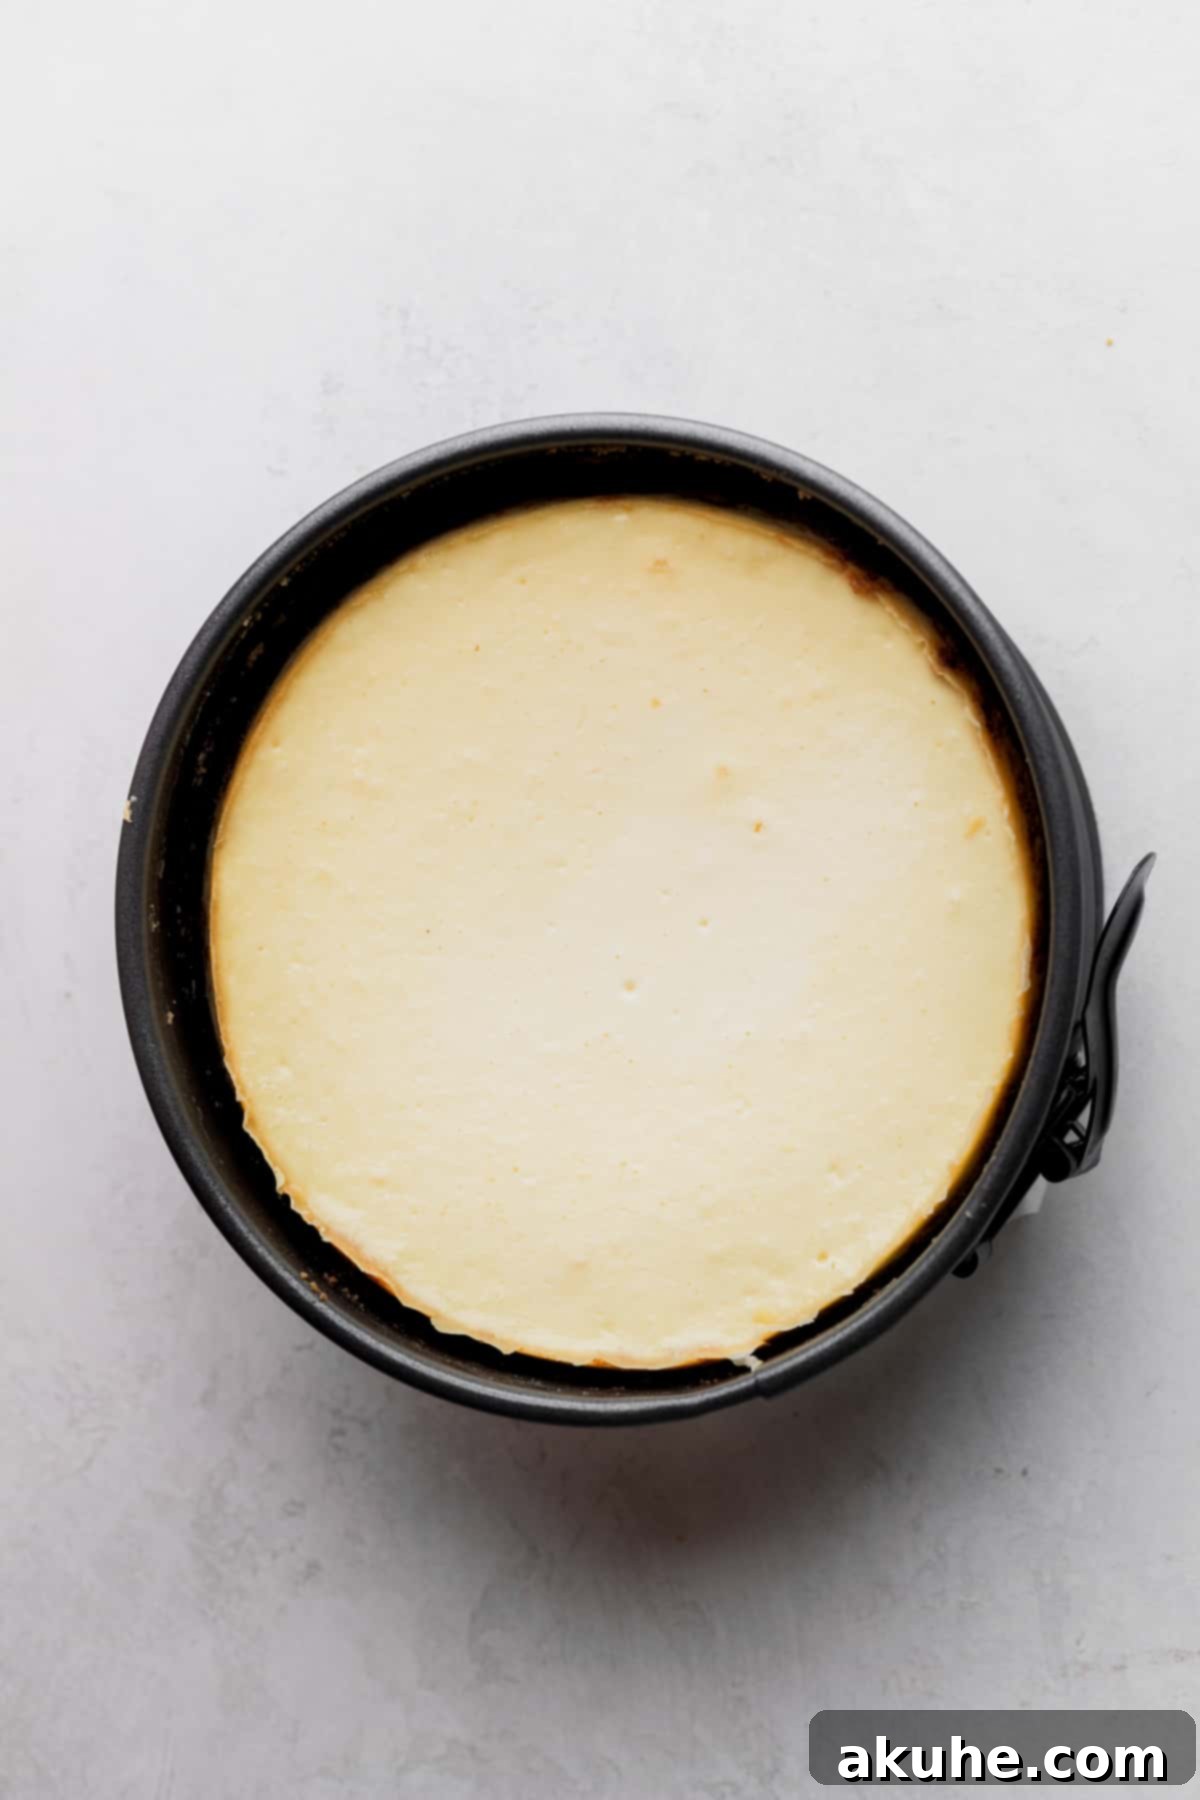
Once baked, turn off the oven but do not remove the cheesecake. Prop the oven door open slightly and allow the cheesecake to cool slowly inside the warm oven for an additional 30 minutes. This gradual cooling process is crucial for preventing temperature shock, which is a common cause of cracks in cheesecakes.
STEP 7: Chill Thoroughly. After the 30-minute cooling period in the oven, carefully remove the cheesecake from the oven and the water bath. Transfer the springform pan to a wire cooling rack and let it cool completely to room temperature. This can take several hours. Once fully cooled, cover the cheesecake tightly with plastic wrap and transfer it to the refrigerator. Chill overnight, or for a minimum of 6 hours. This chilling period is absolutely essential for the cheesecake to firm up, develop its full flavor, and achieve that perfect dense, creamy texture.
Delicious Recipe Variations for Your Cheesecake
While a luscious cherry sauce is a fantastic choice, this small cheesecake is incredibly versatile. It serves as a beautiful base for almost any topping you can imagine, allowing you to customize it for any occasion or personal preference:
- Chocolate Ganache: A rich, silky smooth chocolate ganache drizzle adds a touch of sophistication and deep chocolate flavor, perfect for chocolate lovers.
- Salted Caramel Sauce: Indulge in the sweet and salty notes of a homemade salted caramel sauce, offering a delightful contrast to the creamy cheesecake.
- Fresh Fruit: A vibrant medley of fresh berries (strawberries, blueberries, raspberries) or sliced kiwi can add a light, refreshing, and colorful touch, especially during warmer months.
- Strawberry Sauce: A homemade strawberry sauce offers a classic pairing with cheesecake, delivering a fresh, fruity sweetness.
- Pretzels: For a delightful sweet and salty crunch, consider crushing pretzels and sprinkling them over the top, perhaps even mixed with a little melted chocolate.
- Lemon Curd: A zesty lemon curd can provide a bright, tangy counterpoint to the rich cheesecake, perfect for a sunny day.
- Nutella Drizzle: For a quick and easy topping, warm up some Nutella and drizzle it artistically over your chilled cheesecake.
Preventing Cheesecake Cracks: Expert Tips for a Flawless Finish
Cracks can be a baker’s worst nightmare, but with a few simple techniques, you can achieve a beautifully smooth, crack-free cheesecake every time. It’s all about careful preparation and gradual temperature changes:
- Ensure Silky-Smooth Batter: Begin by beating your room-temperature cream cheese and sugar on high speed until it’s incredibly light, fluffy, and completely smooth, with no lumps whatsoever. Any chunks of cream cheese can create weak spots in the batter, leading to cracks during baking. Scrape the bowl frequently to ensure even mixing.
- Add Eggs Gently and Slowly: This is arguably the most crucial step. When incorporating the eggs, switch your mixer to the absolute lowest speed and add them one at a time, mixing only until just combined. The goal is to introduce minimal air into the batter. Too much air will cause the cheesecake to puff up too quickly and dramatically during baking, and then collapse as it cools, resulting in unsightly cracks.
- Utilize a Water Bath: A water bath (bain-marie) is your best friend for a perfect cheesecake. This technique provides a moist, steamy environment in the oven, preventing the cheesecake from drying out around the edges and baking too quickly. The steam helps the cheesecake bake evenly and slowly, crucial for a smooth top. See the detailed “Water Bath Tips” section below for optimal methods.
- Cool Gradually in the Oven: Once the cheesecake has finished baking and shows that slight jiggle in the center, turn off the oven. Prop the oven door open by a few inches and allow the cheesecake to cool slowly inside the warm oven for at least 30 minutes. This gradual temperature reduction prevents sudden thermal shock, which can cause the cheesecake to crack as it contracts.
- Avoid Sudden Temperature Changes: Resisting the urge to immediately transfer your hot cheesecake from the oven to a cold countertop is vital. A rapid temperature drop is a primary culprit for cracks. After the initial cooling in the oven, let it cool completely to room temperature on a wire rack before chilling it in the refrigerator.
How To Easily Remove The Cheesecake From The Pan
Removing a delicate cheesecake from its springform pan can be daunting, but with the right preparation, it’s effortless. Start by thoroughly spraying the springform pan with non-stick baking spray. Then, line the bottom of the pan with a parchment paper circle and spray again. This double-layer of non-stick protection is key.
After your cheesecake has chilled overnight and is completely firm, the springform collar should easily unlatch and lift away. If it resists, very gently run a thin, sharp knife around the inner edge of the pan before unlatching to loosen any bits that may have stuck. Once the collar is removed, you should be able to carefully slide a thin spatula or knife under the cheesecake to loosen it from the base, then lay the cheesecake gently on its side to easily peel off the bottom of the pan and the parchment circle.
Water Bath Tips for a Perfect Cheesecake
The water bath is a non-negotiable step for achieving a smooth, crack-free, and perfectly creamy cheesecake. It works by creating a moist, steamy environment in your oven, which prevents the cheesecake from over-baking and drying out, thereby eliminating cracks. Here are two effective techniques:
- The “Pan-in-Pan” Method (Highly Recommended): This is my absolute favorite method because it guarantees no water will seep into your crust. Place your 6-inch springform pan (with the cheesecake batter inside) into a slightly larger 10-inch cake pan. Then, place the entire 10-inch cake pan into a large roasting pan. Carefully fill the roasting pan with hot, steaming water, ensuring the water level comes about halfway up the sides of the 10-inch cake pan.
- The Foil-Wrapped Method: This method also works well, but carries a slight risk of water seepage if not done meticulously. Wrap your 6-inch springform pan (with cheesecake batter) tightly twice with heavy-duty aluminum foil, ensuring no seams are exposed at the bottom or sides that could allow water in. Place the foil-wrapped springform pan directly into a large roasting pan. Fill the roasting pan with hot, steaming water until it reaches about halfway up the sides of the springform pan.
I strongly recommend the first method (pan-in-pan) for beginners and experienced bakers alike. It provides an extra layer of protection, completely safeguarding your delicious graham cracker crust from becoming soggy. This simple technique truly makes baking cheesecake worry-free and incredibly easy!
Frequently Asked Questions (FAQ)
Can I make this into mini cheesecakes?
Yes, absolutely! This recipe can easily be adapted for mini cheesecakes. Simply line a muffin pan with paper liners and divide the crust and batter evenly among them. Bake for a shorter duration, typically around 18-20 minutes, or until the edges are set and the centers have a slight jiggle. For detailed instructions and tips on making mini cheesecakes, you can refer to our Mini Oreo Cheesecakes recipe.
What other pans can I use for this recipe?
While a 6-inch springform pan is ideal for this specific recipe, you can adapt the batter to an 8×8-inch square pan to create delicious cheesecake bars. The baking time will likely be slightly shorter than the springform pan due to the shallower depth, so keep a close eye on it. Look for those set edges and a slight jiggle in the center.
Can I freeze the cheesecake ahead of time?
Yes, cheesecake freezes beautifully! Once your cheesecake has cooled completely and chilled in the refrigerator for at least 6 hours (or overnight), you can prepare it for freezing. Wrap the entire cheesecake (without topping) tightly in several layers of plastic wrap, followed by a layer of aluminum foil. This helps prevent freezer burn. It can be frozen for up to 30 days. When ready to serve, thaw the cheesecake in the refrigerator for about 2 hours before decorating with your desired topping.
Special Tools for Cheesecake Success
Having the right tools can make your baking experience smoother and more enjoyable. Here are a few recommended items that will assist you in creating the perfect small cheesecake:
- Parchment Paper Circles: While you can cut your own, pre-cut 8-inch parchment paper circles are a fantastic time-saver. They ensure a perfectly sized, non-stick base for your springform pan, making removal incredibly easy and mess-free.
- Baking Spray with Flour: A good quality nonstick spray with flour is invaluable for ensuring your cheesecake doesn’t stick to the sides of the pan. The added flour creates an extra barrier, allowing for clean release and preventing any tugging that could cause cracks.
- Offset Spatula: An offset spatula isn’t just for frosting cakes! It’s incredibly useful for evenly spreading the cheesecake batter into the pan, ensuring a smooth top. It can also be handy for gently lifting and transferring slices once the cheesecake is chilled.
Storing and Freezing Your Small Cheesecake
Proper storage is essential to maintain the freshness and delightful texture of your cheesecake.
Storing: Store your small cheesecake in an airtight container, such as a cake carrier, in the refrigerator. It will stay fresh and delicious for up to 5 days. For the best flavor and texture, allow slices to come to room temperature for about 15-20 minutes before serving.
Freezing Individual Slices
For longer storage or convenient single servings, you can freeze individual cheesecake slices. Wrap each slice tightly in plastic wrap, ensuring no air is exposed, and then place them in an airtight freezer-safe container or an additional layer of aluminum foil. Frozen cheesecake slices can be stored for up to 30 days. To enjoy, simply thaw individual slices in the refrigerator for 1-2 hours before eating. This is perfect for meal prepping desserts!
Discover More Delicious Cheesecake Recipes!
- Nutella Cheesecake
- Lemon Blueberry Cheesecake
- No Bake Oreo Cheesecake
- Cherry Cheesecake
- Peanut Butter Cheesecake
Loved this recipe? Please consider leaving a STAR REVIEW below! Your feedback helps other bakers. Don’t forget to tag me on Instagram @stephaniesweettreats with your creations. For more sweet inspiration, follow me on Pinterest.
Average rating: 5 stars from 34 reviews
Small Cheesecake
This small New York-style cheesecake is baked in a 6-inch springform pan, featuring a classic graham cracker crust and a rich, creamy filling. It’s perfectly topped with a homemade cherry sauce.
Ingredients
Graham Cracker Crust
- 1 1/2 cups Graham cracker crumbs (from 1 sleeve of graham crackers)
- 1/8 cup White granulated sugar
- 5 TBSP Unsalted butter, melted
Cheesecake
- 16 oz Cream cheese, room temperature
- 1/2 cup White granulated sugar
- 1/4 cup Sour cream, room temperature
- 1/8 cup Heavy cream
- 1 tsp Pure vanilla extract
- 3 Large eggs, room temperature
Cherry Topping
- 1 lb Cherries (frozen or fresh, pitted)
- 1/2 cup White granulated sugar
- 2 TBSP Cornstarch
Instructions
Graham Cracker Crust
- Preheat the oven to 325°F (160°C). Spray a 6-inch springform pan with non-stick baking spray. Line the bottom with a 6-inch parchment paper circle. Spray again.
- Using a food processor, blend the graham crackers into fine crumbs. In a small bowl, mix the graham cracker crumbs, sugar, and melted butter with a fork until well combined.
- Pour 3/4ths of the crumbs into the pan. Use your hands to press the crust up 3/4ths the sides of the pan. Then, use the back of a spice jar or flat glass to compact the bottom of the crust firmly.
- Bake for 10 minutes. Let cool completely on a wire rack while you prepare the cheesecake batter.
Cheesecake
- Once the crust is cooling, start the cheesecake batter. Using a mixer, beat the room-temperature cream cheese on high speed for 1 minute until smooth. Add the sugar and beat again for 1 minute. Scrape the bowl with a rubber spatula.
- Add the room-temperature sour cream, heavy cream, and vanilla extract. Beat on medium speed until creamy and well combined.
- Add the room-temperature eggs one at a time on low speed, mixing only until just combined after each addition. Avoid overmixing to prevent excess air.
- Pour the cheesecake batter on top of the cooled crust. Gently tap the pan on the counter to release any air bubbles. Prepare a water bath (refer to “Water Bath Tips” above).
- Bake for 55-65 minutes, or until the edges are set and the center has a slight jiggle.
- Turn off the oven, crack open the door, and let the cheesecake sit in the warm oven for 30 minutes to cool slowly.
- Transfer the pan to a cooling rack and cool completely to room temperature. Cover with plastic wrap and chill in the fridge overnight or for at least 6 hours.
Cherry Topping
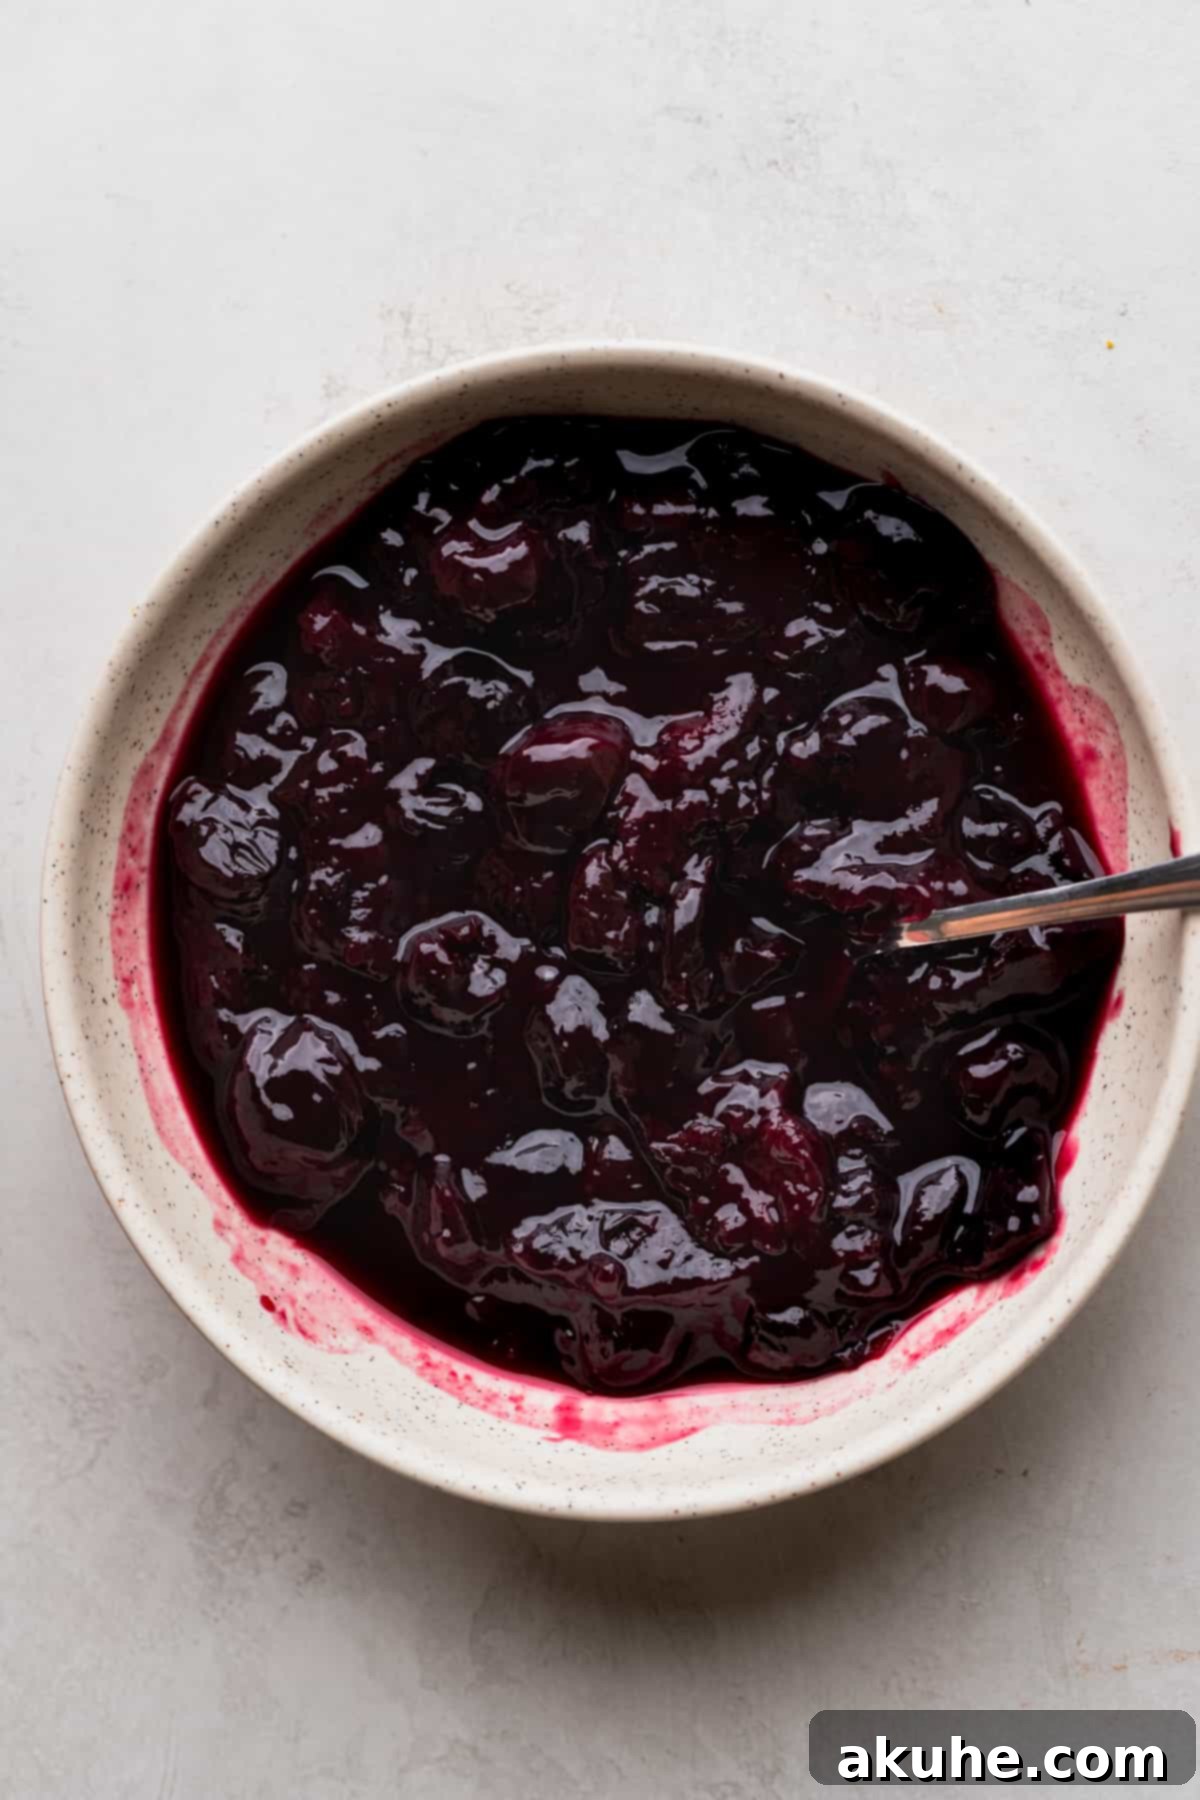
- In a medium saucepan, combine the pitted cherries (fresh or frozen), white granulated sugar, and cornstarch. Heat on medium heat, stirring occasionally, until the juices release and the mixture begins to bubble. Continue to cook for 5 minutes, stirring, until the sauce thickens.
- Remove from heat and let cool completely before using. The sauce will thicken further as it cools.
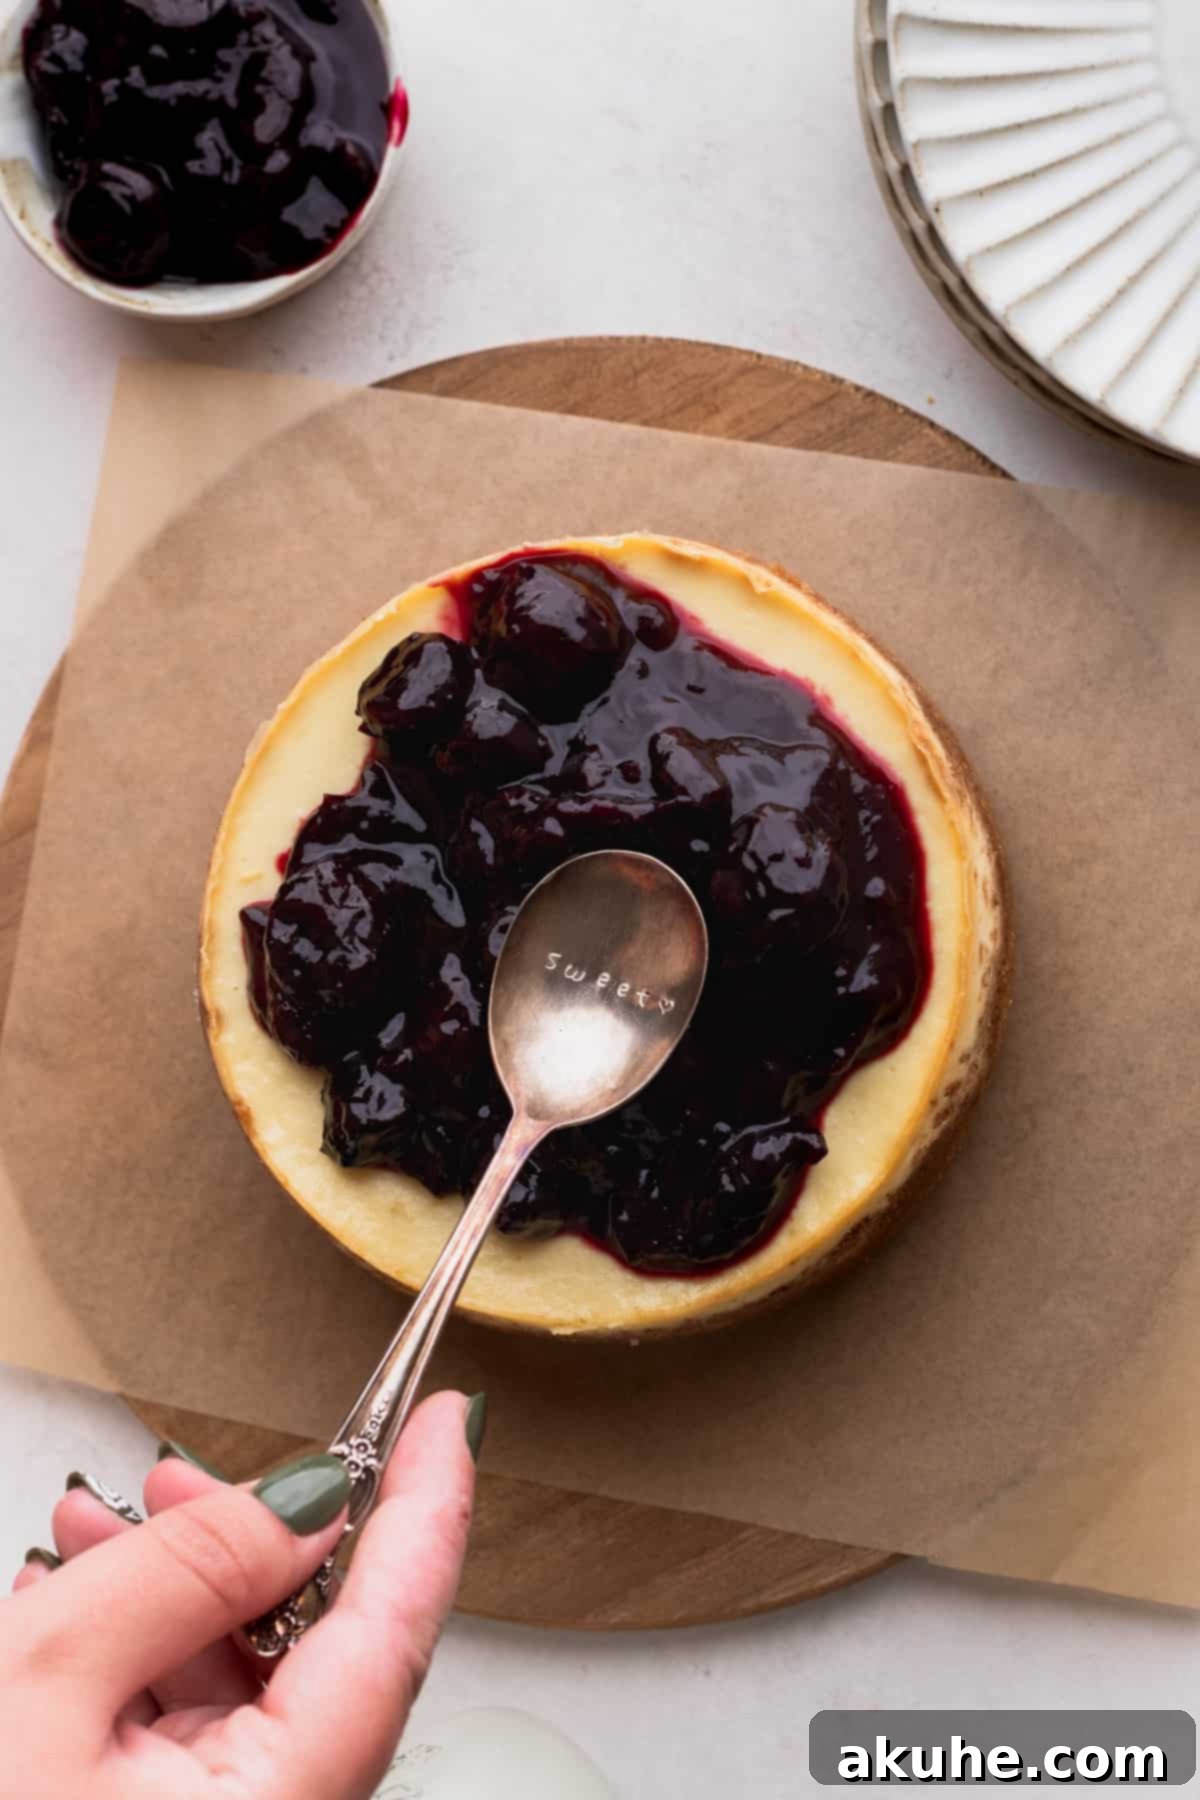
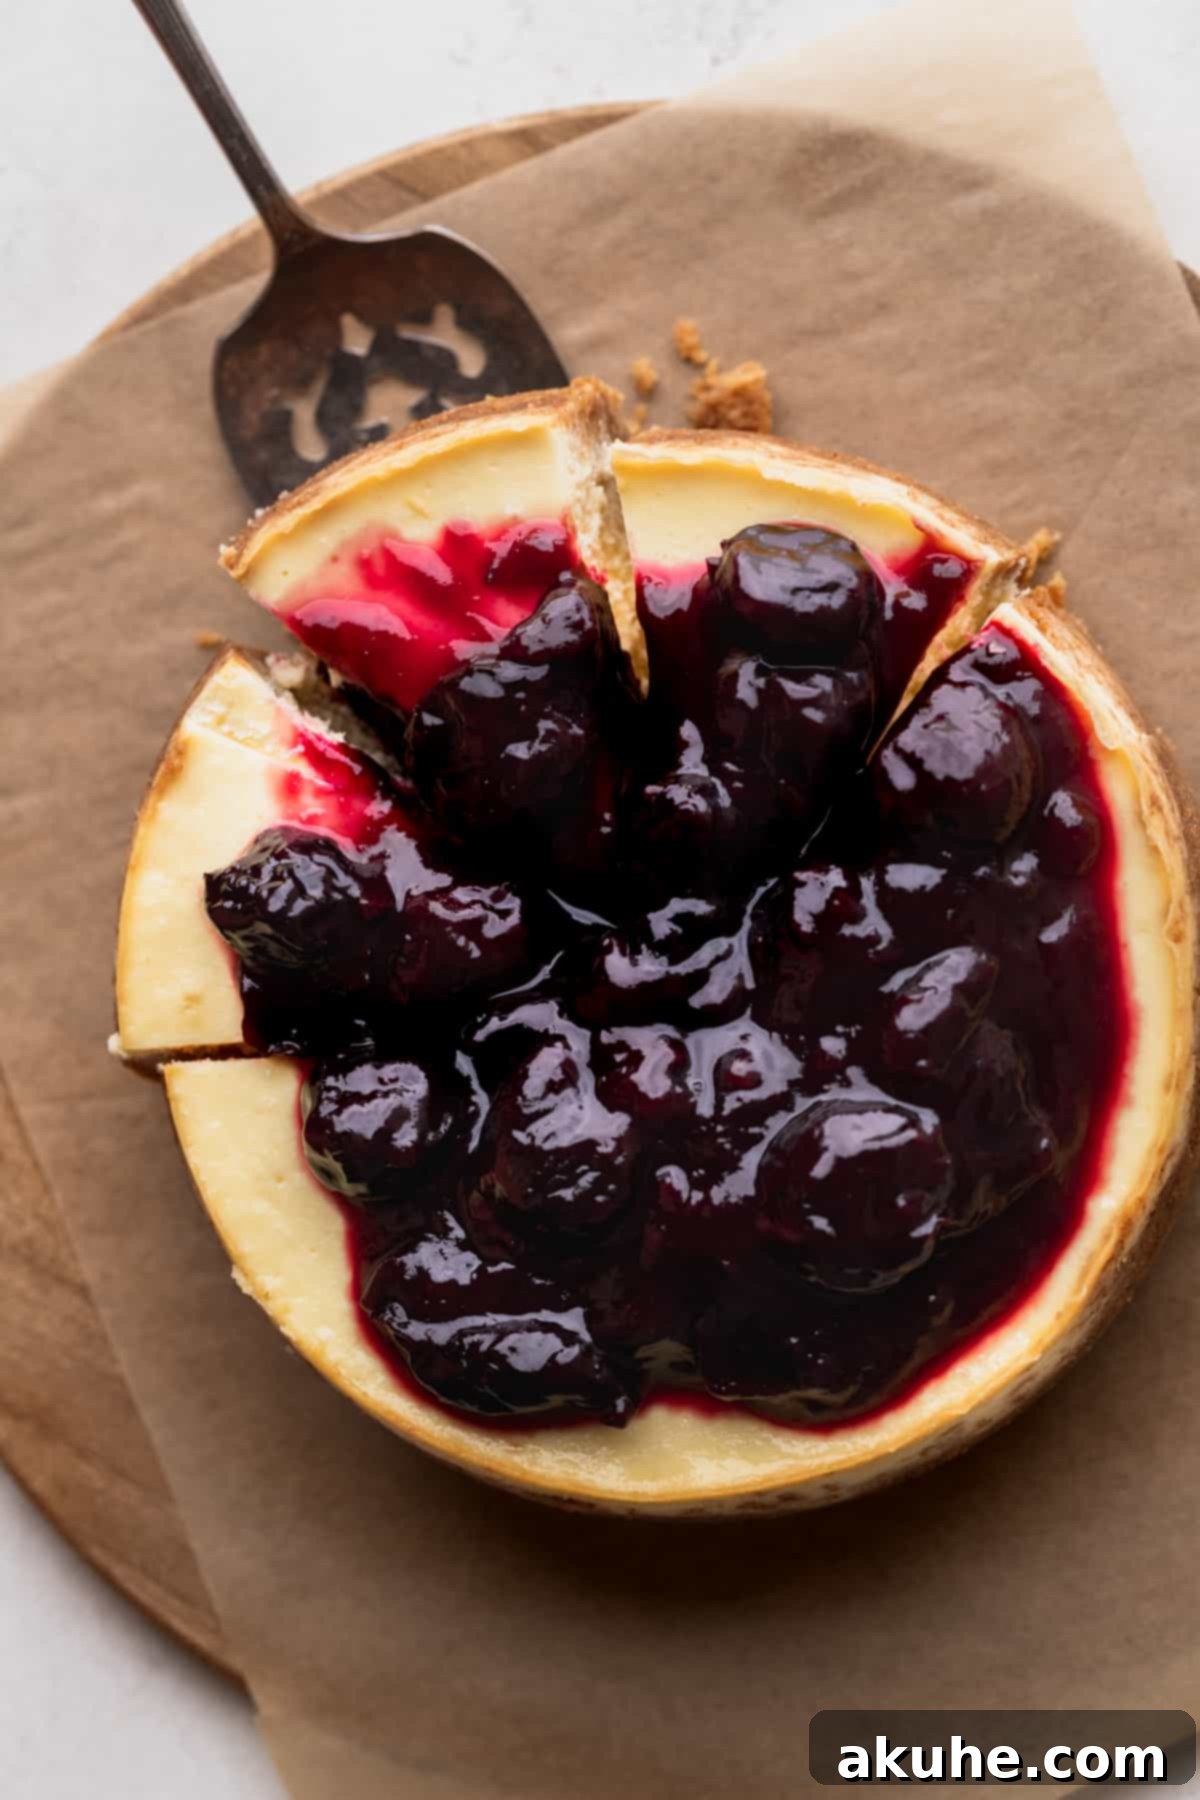
- Once the cheesecake is thoroughly chilled, gently remove the springform pan collar and parchment paper from the bottom. Pour the cooled cherry topping over the top of the cheesecake just before serving.
Nutrition Information (per serving):
Calories: 508kcal, Carbohydrates: 55g, Protein: 6g, Fat: 31g, Saturated Fat: 18g, Polyunsaturated Fat: 1g, Monounsaturated Fat: 8g, Trans Fat: 0.3g, Cholesterol: 85mg, Sodium: 287mg, Potassium: 245mg, Fiber: 2g, Sugar: 42g, Vitamin A: 1116IU, Vitamin C: 4mg, Calcium: 87mg, Iron: 1mg
Did you make this recipe?
Please leave a star rating and review below! Your feedback is greatly appreciated.
