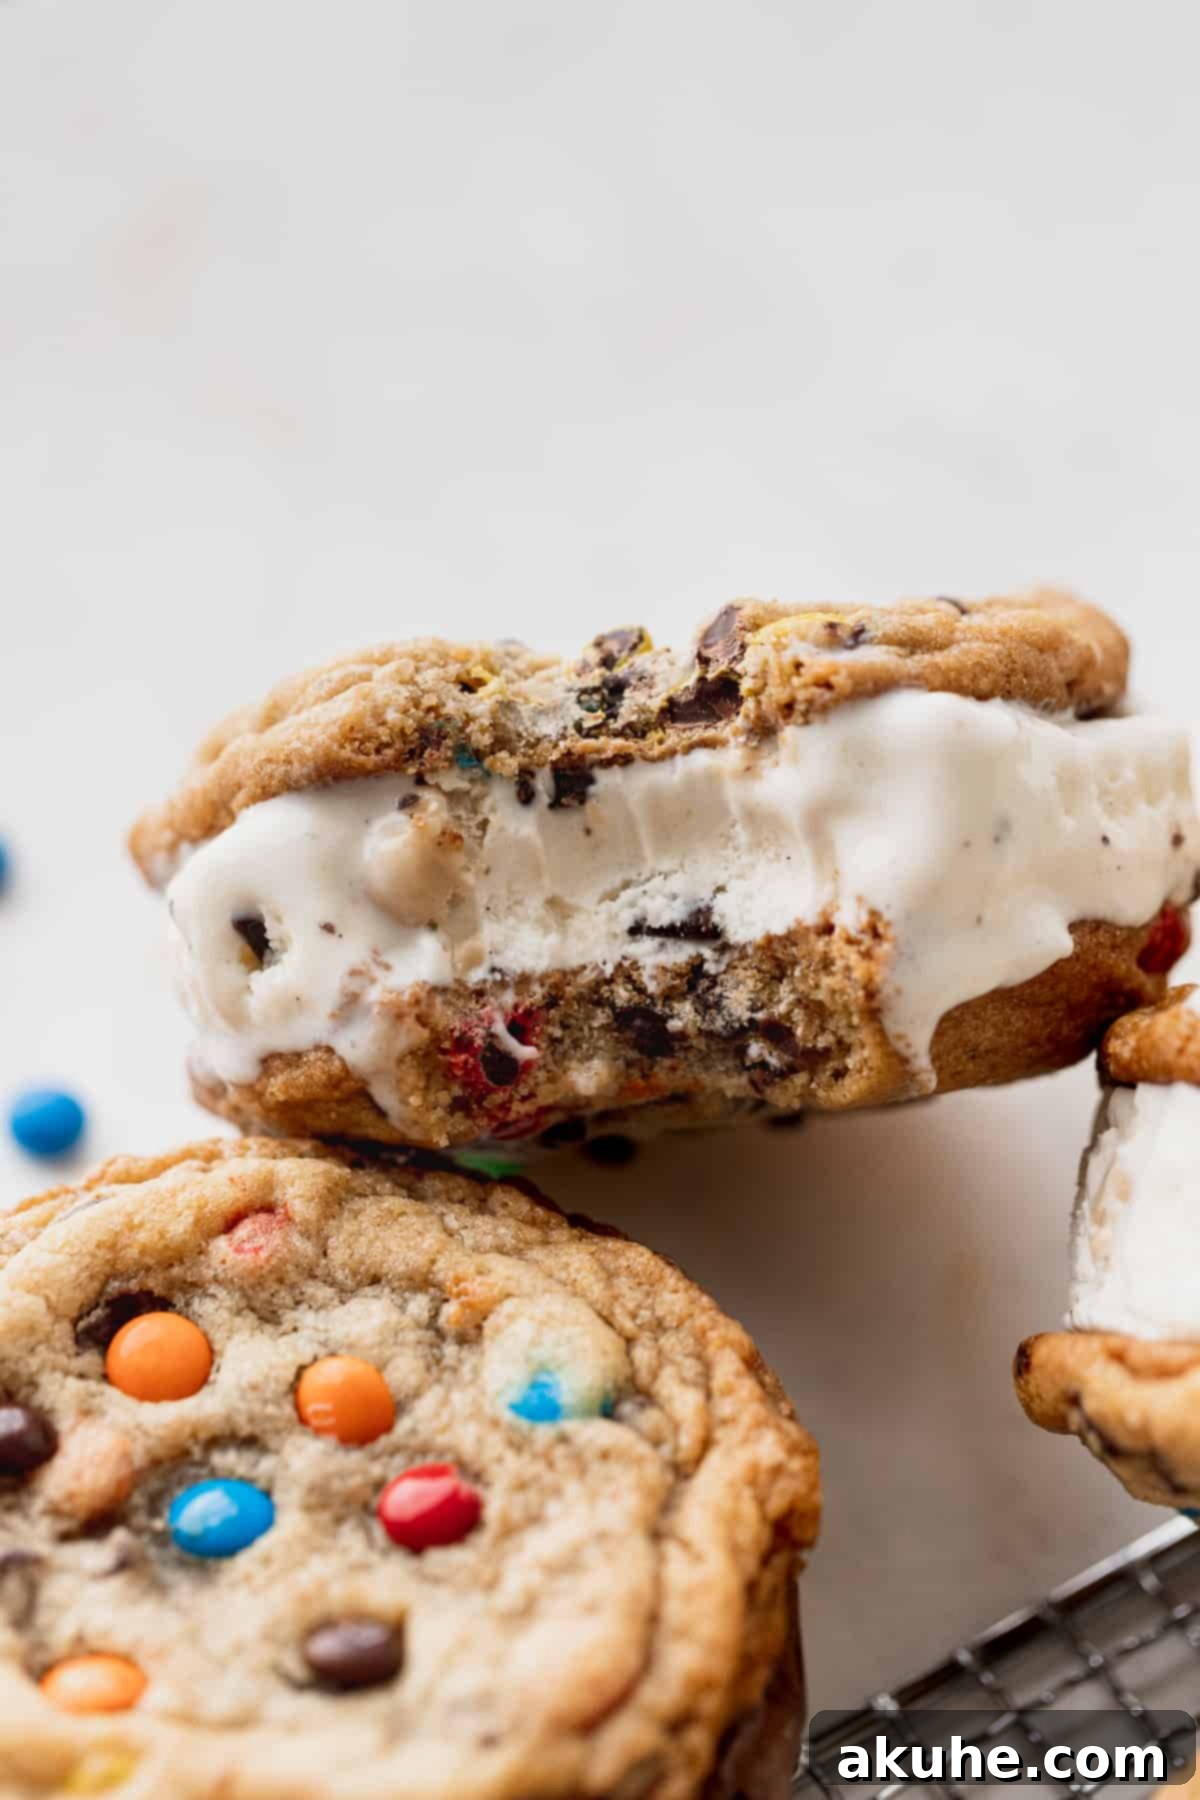
Welcome to your ultimate guide for crafting the most delightful M&M Cookie Ice Cream Sandwiches! These treats are the quintessential summer dessert, guaranteed to bring smiles to faces of all ages. Imagine two generous, bakery-style M&M cookies – soft, chewy, and bursting with colorful mini chocolate chips and mini M&M’s – embracing a creamy filling of your favorite vanilla and chocolate ice cream. This isn’t just a recipe; it’s an invitation to a joyful, nostalgic experience, perfect for sunny afternoons or cool evening gatherings. What makes these particular ice cream sandwiches stand out is their thoughtful design: the cookies are baked just right to remain wonderfully soft even when frozen, ensuring every bite is a pure delight rather than a struggle. Whether you’re a seasoned baker or just looking for an easy, impressive dessert, this guide will walk you through every step to create these irresistible frozen confections with confidence and flair. Get ready to impress your family and friends with a treat that looks as good as it tastes!
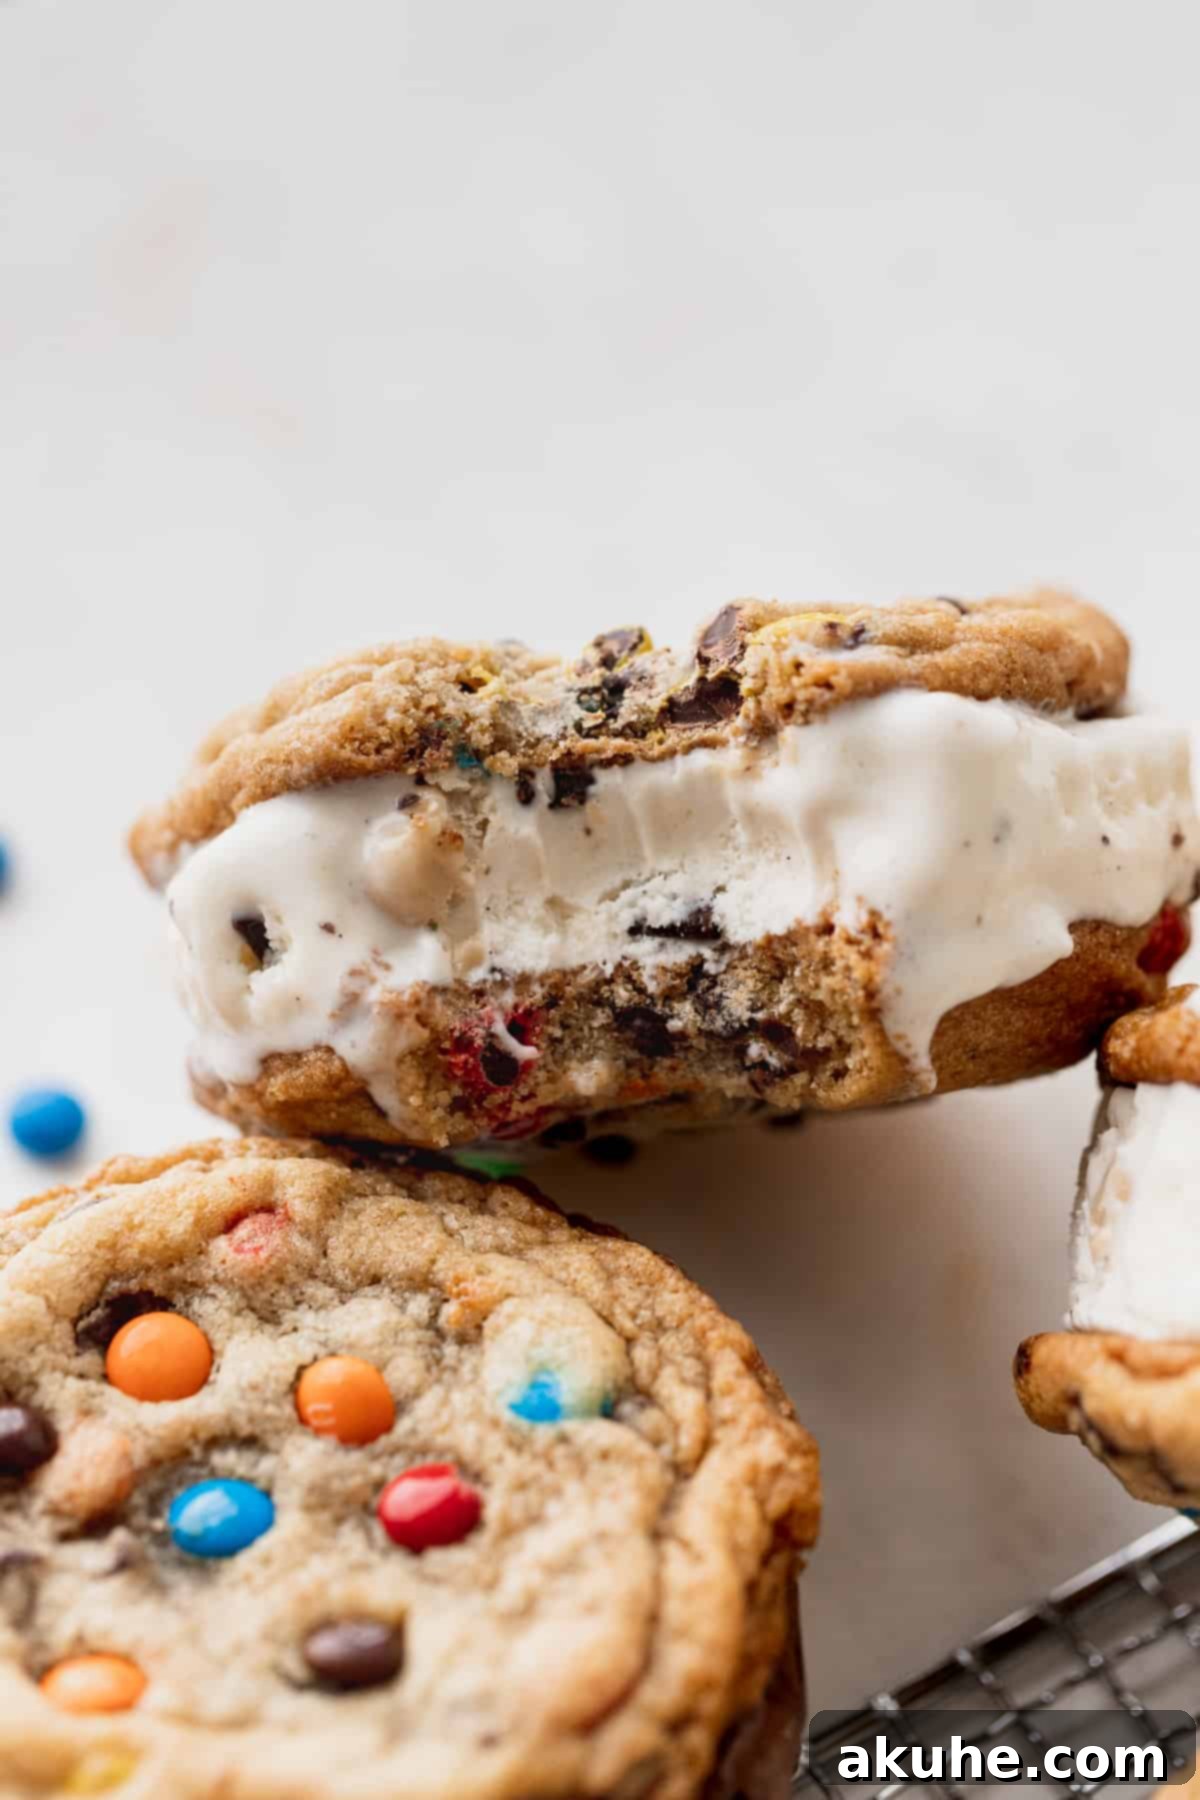
My childhood memories are filled with the simple joy of M&M’s in cookies, a love affair that continues to this day. It was this enduring affection that sparked the idea of elevating the classic M&M cookie into something even more spectacular: a homemade ice cream sandwich. These aren’t just any cookies; they’re specifically designed to be slightly underbaked, resulting in a supremely soft texture that withstands freezing without becoming brittle. This key detail ensures your ice cream sandwiches are perfectly pliable and enjoyable straight from the freezer. While M&M’s are undoubtedly the star here, the versatility of these cookies means you can easily customize them. If you’re exploring other cookie horizons, consider our brown butter chocolate chip cookies for a nutty, rich flavor, or our peanut butter chocolate chip cookies for a classic combination. The beauty of this recipe also lies in the freedom to choose any ice cream flavor that calls to you. Just remember, the secret to a mess-free sandwich is selecting an ice cream that freezes firm; overly soft varieties tend to melt too quickly, creating a sticky situation. Prepare to fall in love with these delightful M&M cookie ice cream sandwiches, a truly fun and flavorful summer staple!
Why You Will Adore These M&M Cookie Ice Cream Sandwiches
- Visually Irresistible & Fun: There’s an undeniable charm to cookies adorned with vibrant mini M&M’s. Their cheerful colors make these ice cream sandwiches incredibly appealing, especially to kids (and the young at heart!). They’re the ultimate party dessert or a delightful surprise for a casual summer day, promising to brighten any occasion with their playful appearance.
- Perfectly Sized, Chewy Cookies: We believe a truly satisfying ice cream sandwich starts with a substantial cookie. These cookies are baked to a generous size, ensuring a delightfully chewy center and a slightly crisp edge. This substantial base not only holds the ice cream filling beautifully but also provides a satisfying bite that complements the creamy coolness of the ice cream.
- Incredibly Soft, Even When Frozen: The magic of these cookies lies in their slightly underbaked state. This technique guarantees they remain wonderfully soft and pliable directly from the freezer, unlike many frozen cookie desserts that can be hard and difficult to bite into. You’ll experience that perfect soft, chewy texture every time, making for an effortless and enjoyable eating experience.
- Effortless Ice Cream Selection: Forget making homemade ice cream! This recipe champions convenience by using your favorite store-bought ice cream. This flexibility means you can customize your sandwiches with any flavor combination imaginable. From classic vanilla and chocolate to more adventurous choices like cookie dough or brownie swirl, the possibilities are endless and always delicious.
- Simple & Straightforward Recipe: Despite their impressive appearance and incredible taste, these M&M cookie ice cream sandwiches are surprisingly easy to make. With clear, step-by-step instructions, even novice bakers can achieve spectacular results. The process is designed to be enjoyable, leading to a rewarding outcome that tastes like it came from a professional bakery.
- Ideal for Summer Gatherings: When the temperatures rise, these frozen treats become an instant hit. They are the perfect way to cool down, offering a refreshing escape with every bite. Easy to prepare ahead of time, they are a stress-free dessert option for BBQs, pool parties, picnics, or simply enjoying on your porch.
Essential Ingredients for Perfect M&M Cookie Ice Cream Sandwiches
Crafting these delectable M&M cookie ice cream sandwiches begins with selecting the right ingredients. Here’s a detailed look at what you’ll need and why each component is crucial for achieving the best results:
- Unsalted Butter (Room Temperature): Using room temperature butter is non-negotiable for a truly chewy cookie. It creams beautifully with the sugars, creating air pockets that lead to a light, tender crumb. Pull your butter out at least 2 hours before baking to ensure it’s perfectly softened.
- Brown Sugar (Packed Light or Dark): Brown sugar contributes significantly to the cookies’ moisture and chewy texture, thanks to its molasses content. Whether you opt for light or dark brown sugar, make sure to pack it firmly when measuring.
- White Granulated Sugar: This provides the necessary sweetness and helps with the cookie’s spread and crisp edges, balancing the chewiness from the brown sugar.
- Pure Vanilla Extract: A splash of high-quality vanilla enhances all the other flavors, adding a warm, aromatic depth that’s essential for any great cookie.
- Large Egg (Room Temperature): Similar to butter, a room temperature egg incorporates more evenly into the batter, ensuring a smooth, consistent dough. It acts as a binder and adds richness.
- Egg Yolk (Room Temperature): This is a secret weapon for ultimate chewiness! Adding an extra egg yolk without the additional white prevents the dough from becoming too wet and spreading excessively. It boosts the fat content, resulting in an incredibly rich and chewy cookie texture that stands up beautifully to freezing.
- All-Purpose Flour: The structural backbone of our cookies. For best results, measure your flour by spooning it into the measuring cup and leveling it off, or even better, use a kitchen scale for precise measurements. Over-measured flour can lead to dry, dense cookies.
- Baking Soda: This leavening agent helps the cookies rise and spread, contributing to their signature bakery-style appearance and soft interior.
- Salt: Don’t skip the salt! It’s a flavor enhancer, balancing the sweetness of the sugars and chocolates, making all the flavors pop.
- Mini Chocolate Chips: These tiny chips distribute evenly throughout the dough, ensuring a chocolatey bite in every part of the cookie. If mini versions are hard to find, regular chocolate chips can be used, though the texture will be slightly different.
- Mini M&M’s: The star of the show! Mini M&M’s provide that iconic colorful crunch and delicious chocolate flavor without being too overwhelming. Like the chocolate chips, regular M&M’s can be substituted if minis are unavailable.
- Ice Cream (Your Choice of Flavors): This is where you can truly personalize your ice cream sandwiches. While vanilla and chocolate are classic choices, feel free to experiment! Cookie dough, mint chip, strawberry, or even a rich coffee ice cream would be fantastic. I’ve found cookie dough and brownie ice cream to be particularly decadent choices. The most important tip here is to choose a brand that freezes relatively firm to prevent excessive melting during assembly and enjoyment.
Step-By-Step Guide: Crafting Your M&M Cookie Dough
Creating the perfect M&M cookies is a foundational step for these amazing ice cream sandwiches. Follow these detailed instructions to ensure your cookies are soft, chewy, and ready to hold that creamy ice cream filling.
STEP 1: Prepare the Dry Ingredients. In a medium mixing bowl, sift together the all-purpose flour, baking soda, and salt. Sifting helps to eliminate lumps and ensures these ingredients are evenly distributed, leading to a consistent cookie texture. Once sifted, set this bowl aside.
STEP 2: Cream the Wet Ingredients. In a separate, larger mixing bowl, using an electric mixer (either hand-held or stand mixer fitted with a paddle attachment), beat the room temperature unsalted butter with both the brown sugar and white granulated sugar. Cream these together on medium speed for about 2-3 minutes, until the mixture is light in color and fluffy. This process incorporates air, which is vital for a tender cookie. Next, beat in the pure vanilla extract, followed by the large egg and the extra egg yolk. Continue mixing until everything is just combined, scraping down the sides of the bowl as needed to ensure all ingredients are thoroughly incorporated.
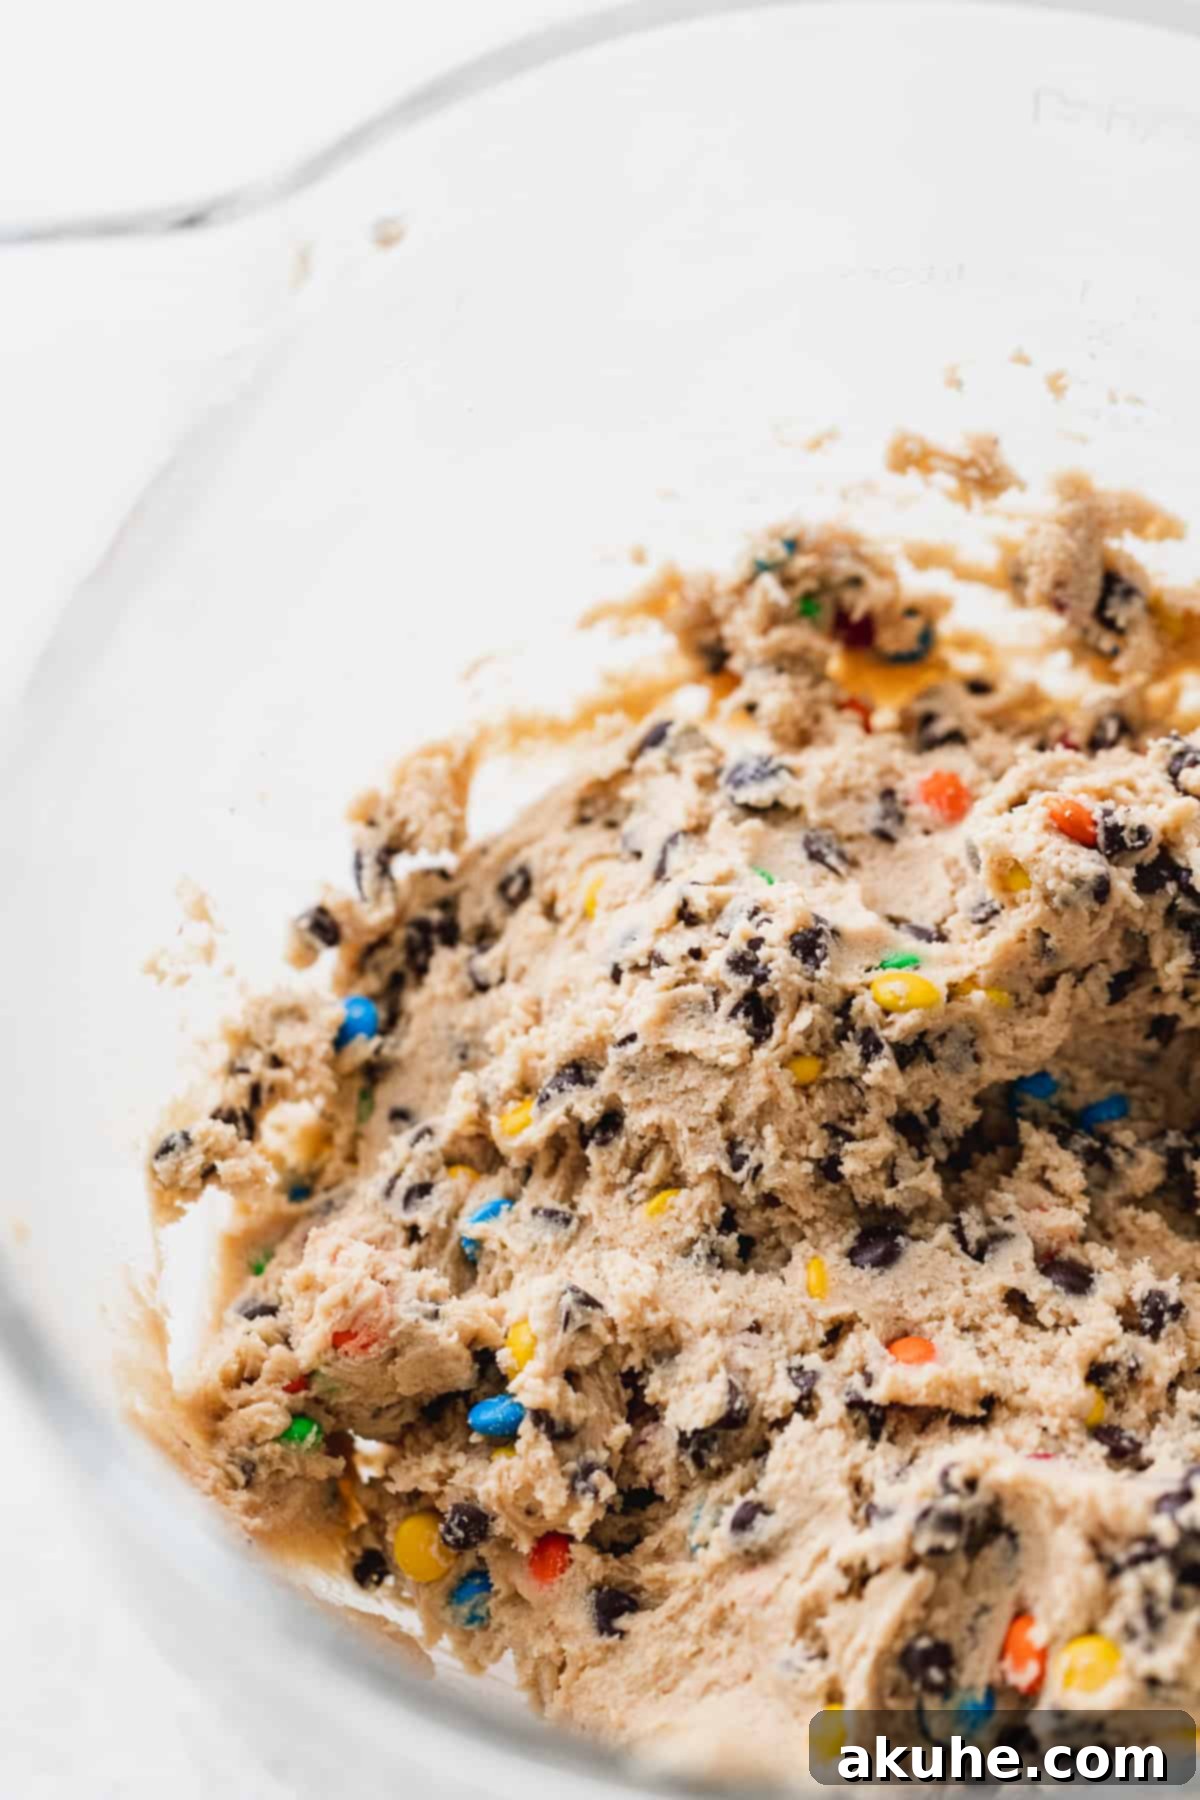
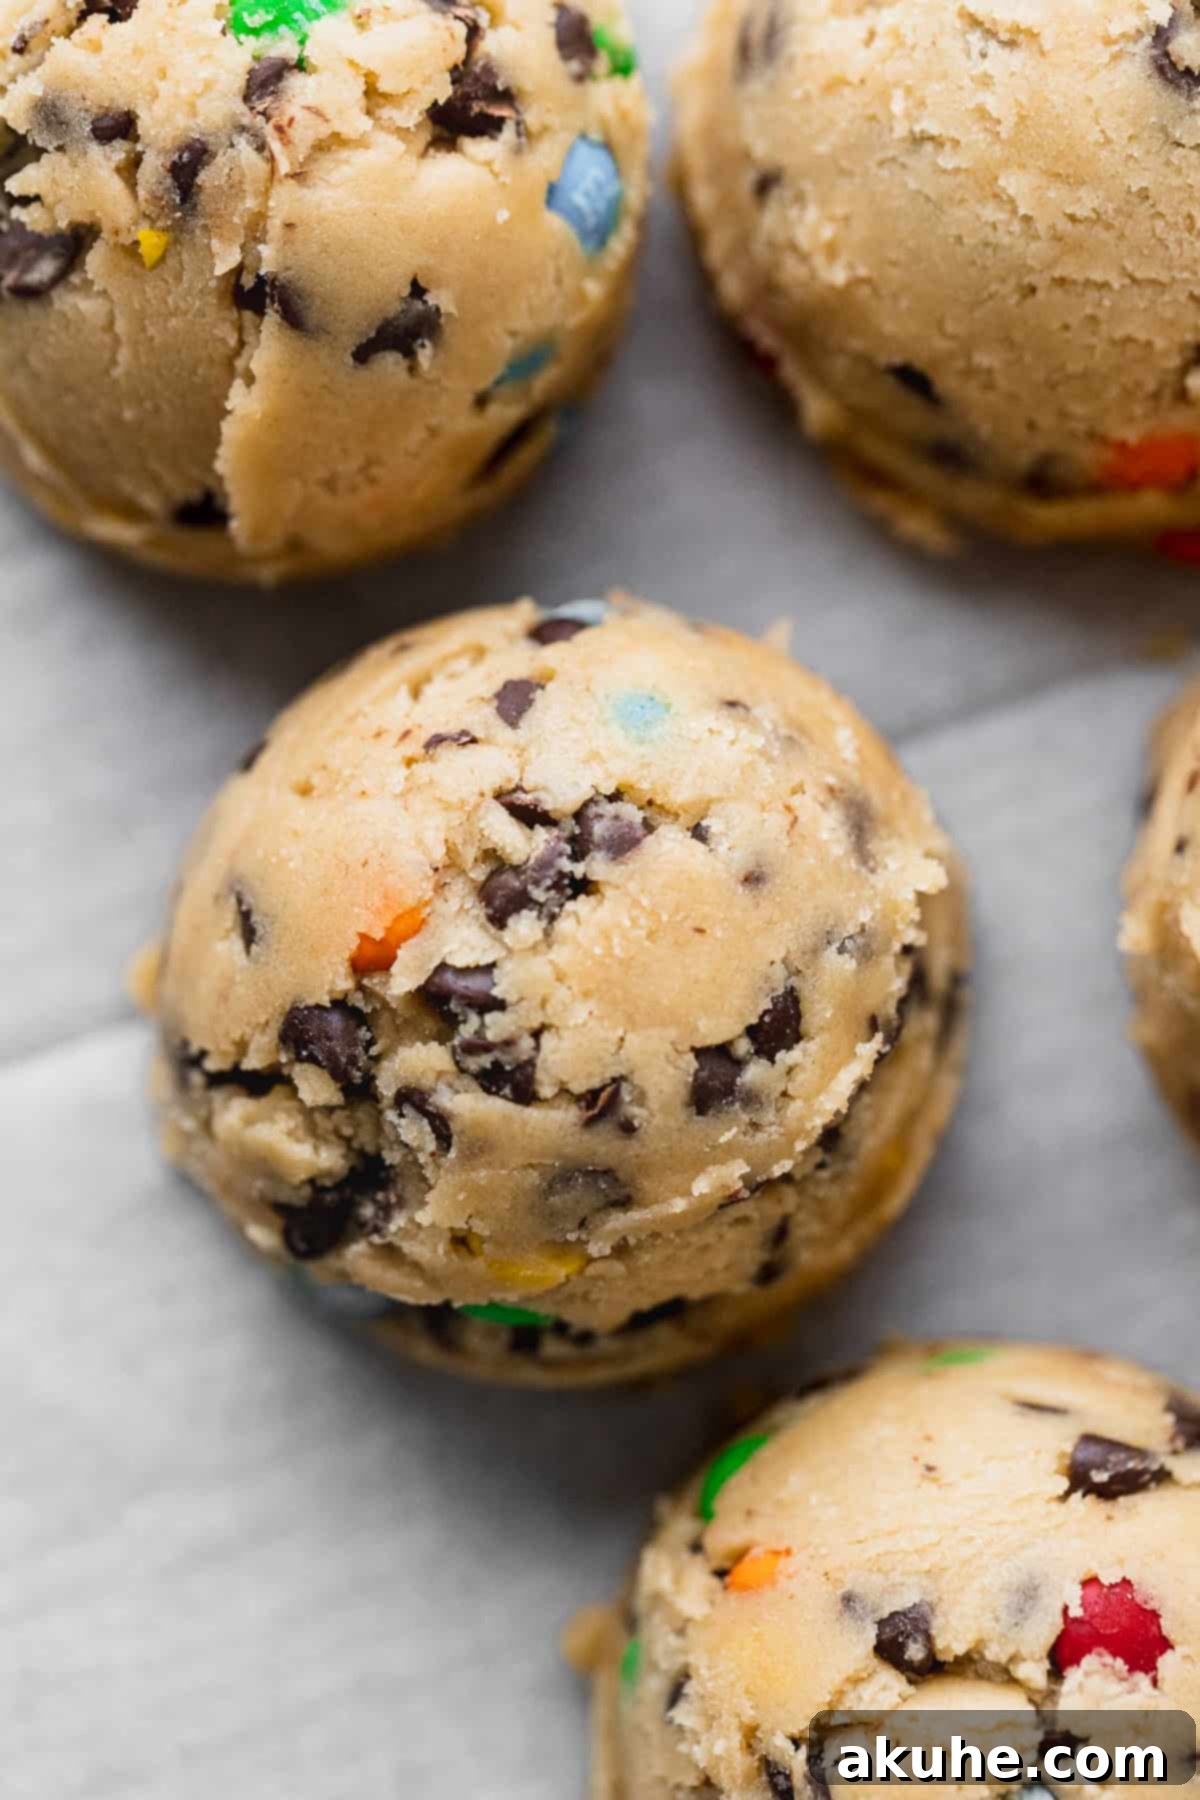
STEP 3: Combine and Fold In. Gradually add the reserved dry ingredients to the wet mixture, mixing on low speed until just combined. Be careful not to overmix the dough, as this can develop the gluten in the flour too much, leading to tough cookies. As soon as the flour streaks disappear, stop mixing. Now, it’s time for the fun part: gently fold in the mini chocolate chips and mini M&M’s using a spatula. Distribute them evenly throughout the dough, ensuring every scoop gets plenty of colorful goodness.
STEP 4: Chill, Scoop, and Bake. Once your dough is complete, cover the bowl with plastic wrap and chill it in the refrigerator for at least 30 minutes. This chilling period is crucial as it allows the butter to firm up, which helps prevent the cookies from spreading too much during baking, resulting in thicker, chewier cookies. While the dough chills, preheat your oven to 350°F (175°C) and line two baking sheets with parchment paper. Using a 3-ounce cookie scoop (a large scoop for bakery-style cookies), scoop generous portions of dough onto the prepared baking sheets, leaving ample space between them. Bake for approximately 13-14 minutes, or until the edges are lightly golden and the centers still look slightly soft. Remember, underbaking these cookies slightly is key to their soft and chewy texture after freezing. Let the cookies cool on the baking sheet for 4 minutes before transferring them to a wire rack to cool completely. Once fully cooled, place the cookies in the freezer for about 15 minutes to chill them thoroughly before assembly – this helps prevent premature melting of the ice cream!
Seamless Ice Cream Sandwich Assembly
Assembling your M&M cookie ice cream sandwiches is where the magic truly comes together. Precision and speed are your friends here to ensure perfect, firm sandwiches.
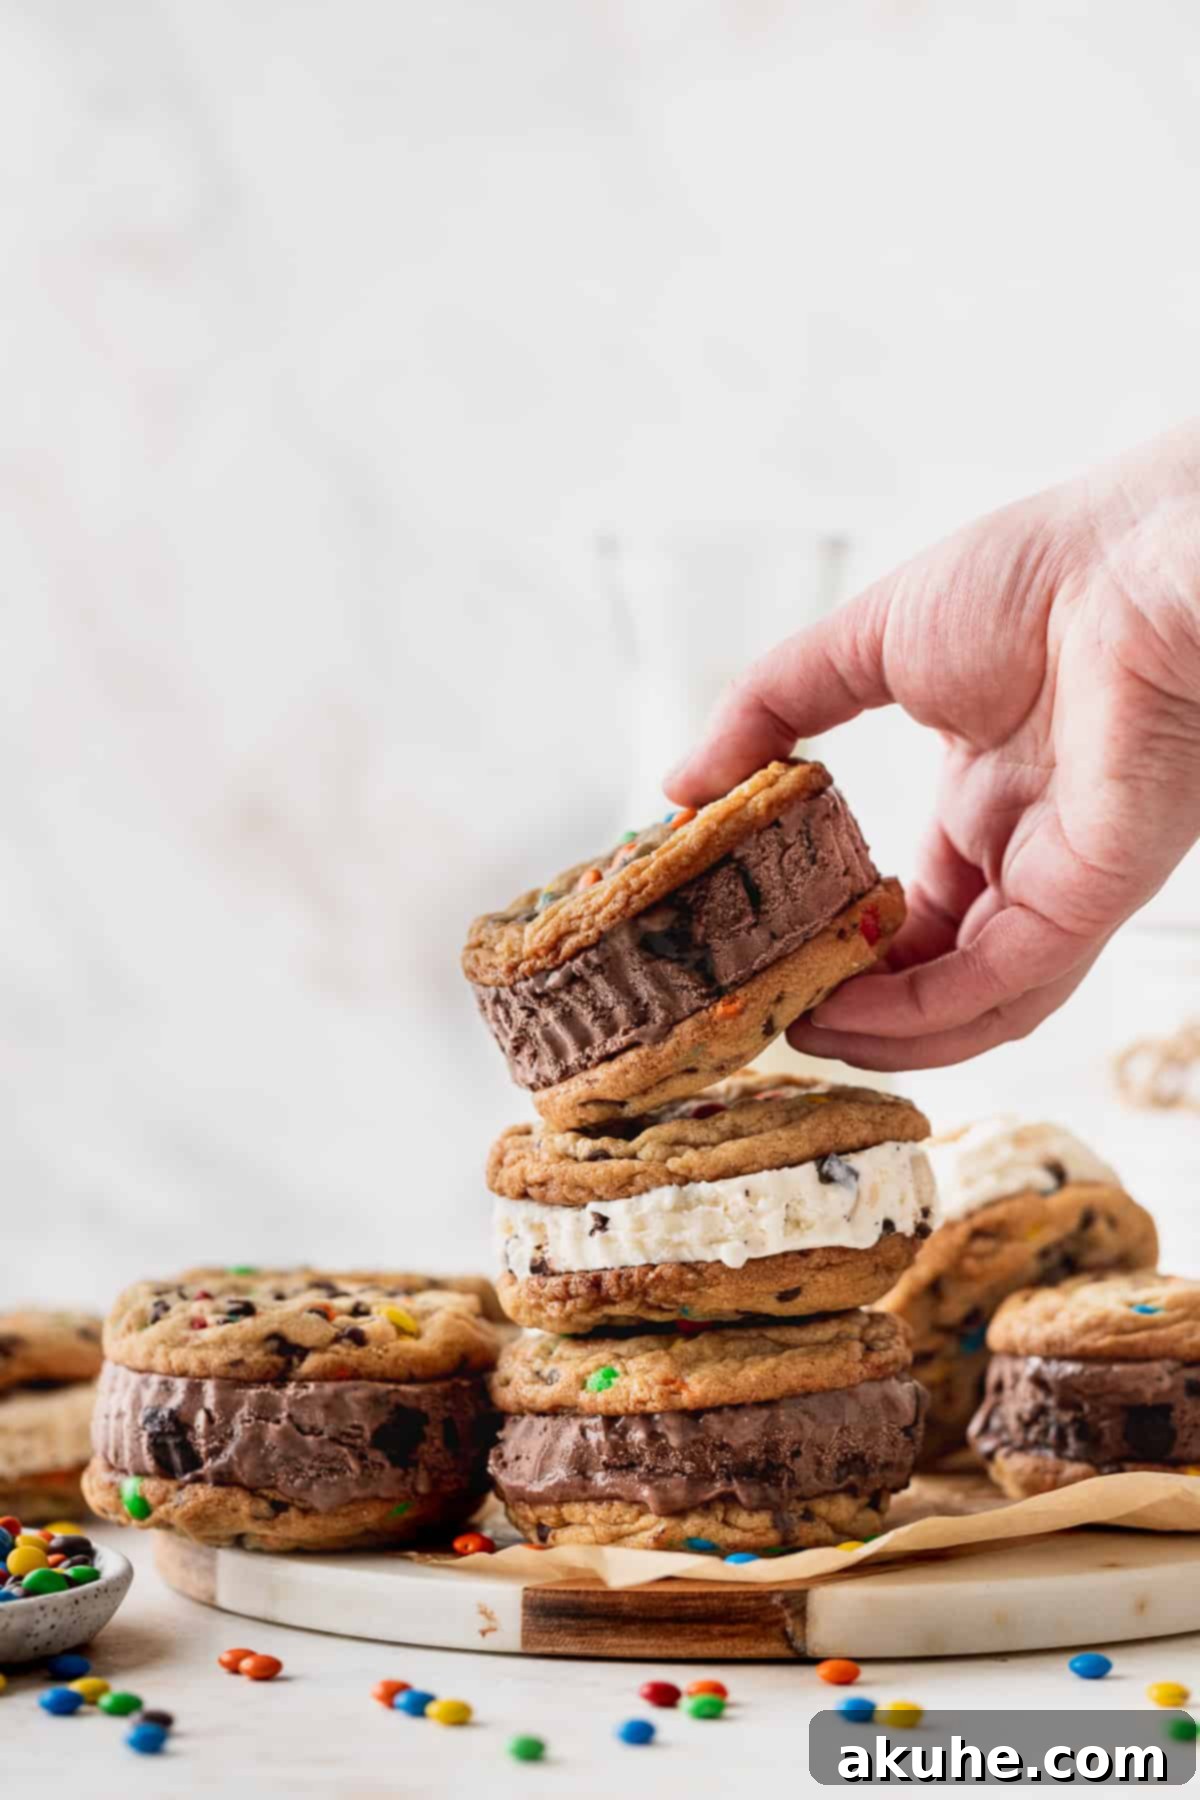
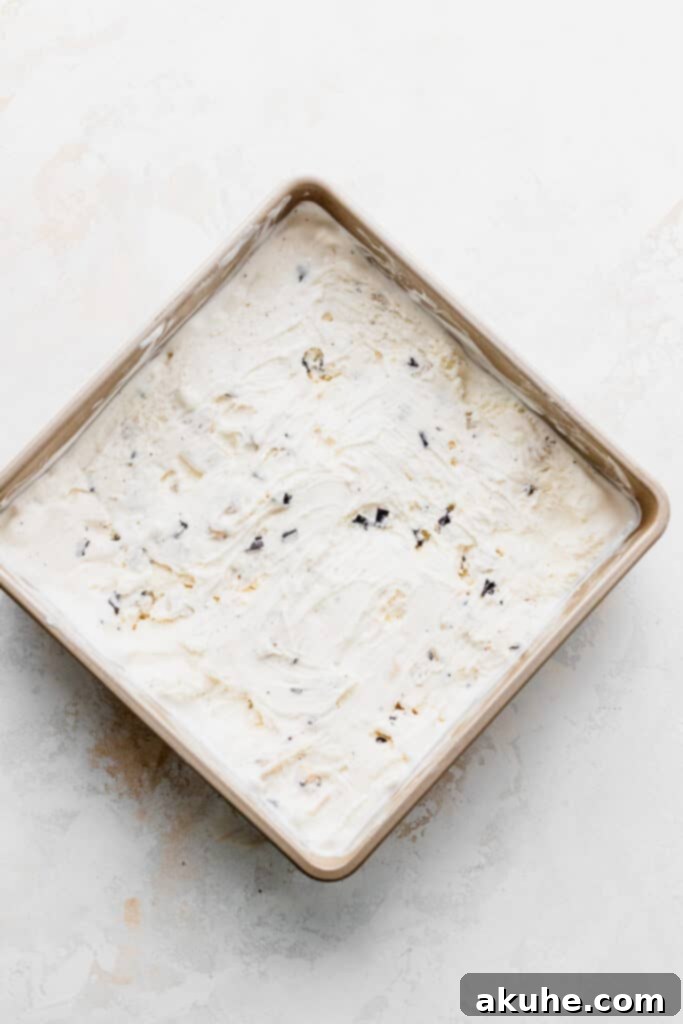
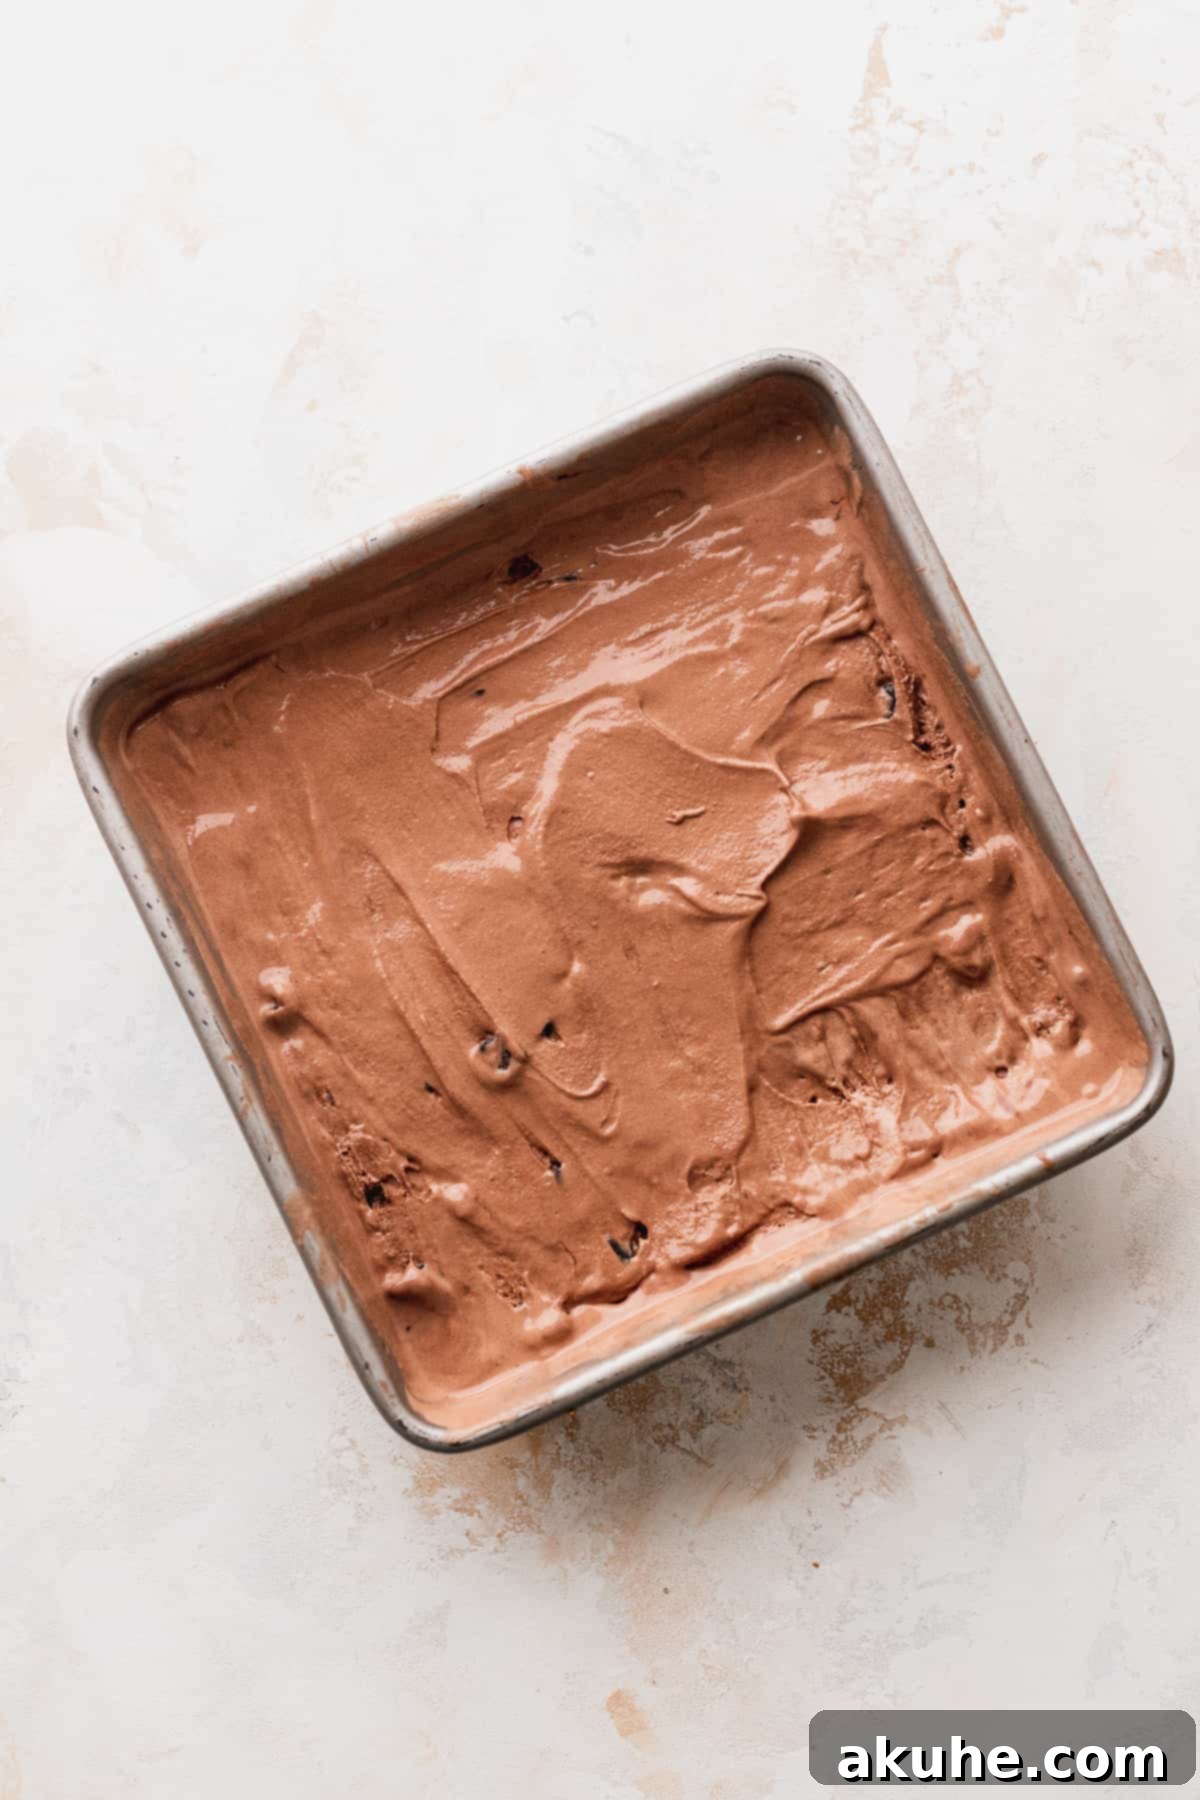
First, prepare your ice cream. Allow both pints of ice cream to sit out on the counter for about 15-20 minutes to soften slightly. This makes them easier to spread but ensures they are still firm enough not to melt immediately. Take your vanilla ice cream (or your chosen lighter flavor) and spread it evenly into a 9×9 inch pan. Use an offset spatula or the back of a spoon to smooth the surface perfectly flat. Repeat this process with your chocolate ice cream (or chosen darker flavor), spreading it into an 8×8 inch pan. I recommend using two different sized pans because your homemade cookies might not be perfectly uniform in size, and having slightly different sized ice cream discs allows for a better fit. The larger pan is ideal for the larger biscuit cutters, accommodating any bigger cookies you might have. Once both ice cream layers are smooth and flat in their pans, place them into the freezer for at least 4 hours, or preferably overnight, until they are completely frozen solid. This firm freezing is critical for clean cuts and easy handling.
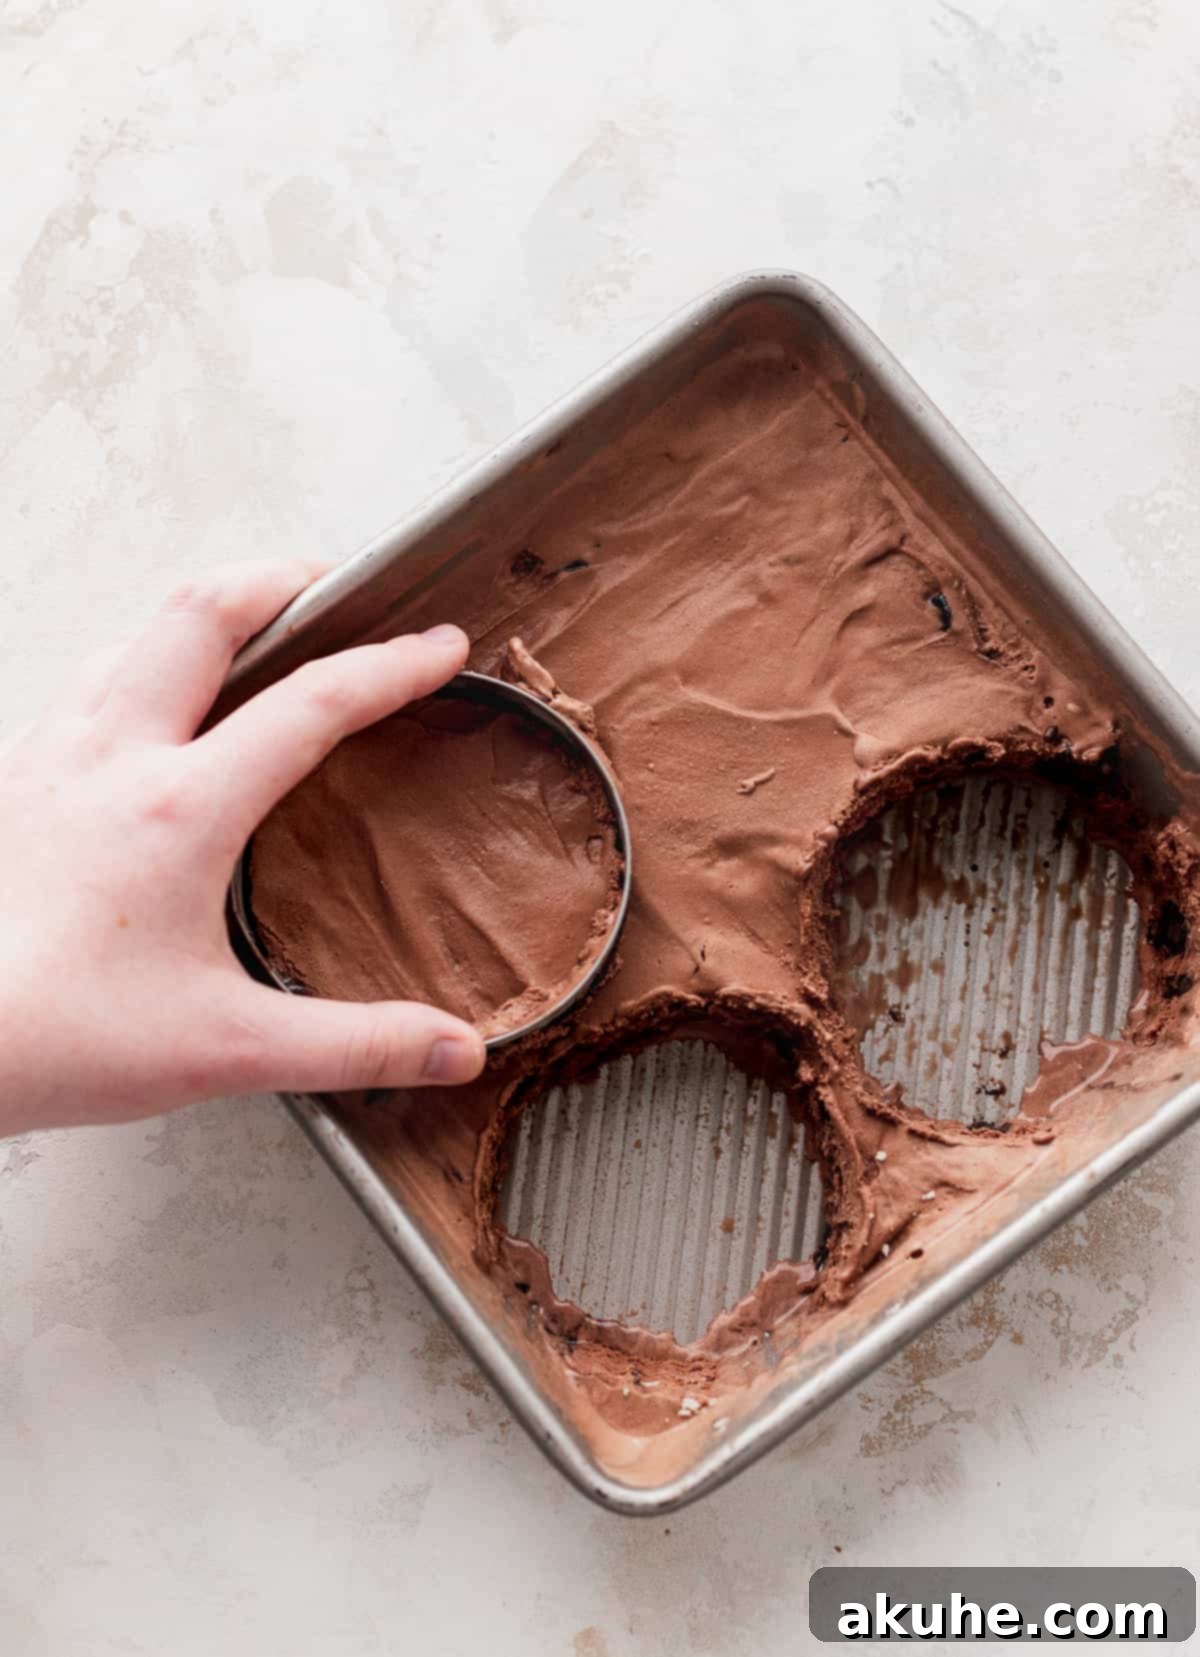
When your ice cream is thoroughly frozen, it’s time to cut the circles. Gather your chilled M&M cookies and separate them into pairs of similar size. You will need 3.5-inch and 4-inch biscuit cutters. Take the larger biscuit cutter and press it firmly into the vanilla ice cream layer in the 9×9 pan, cutting out perfect circles. Quickly match each ice cream circle with two equally sized cookies and sandwich them together. Press gently but firmly to secure the ice cream. As soon as each sandwich is assembled, immediately place it back into the freezer. Work quickly, doing one ice cream flavor at a time, and ensuring the cookies are also cold from their pre-assembly chill. Repeat this process with the chocolate ice cream in the 8×8 pan, using the appropriate biscuit cutter to match the remaining cookies. Once all sandwiches are assembled, they need to refreeze completely for at least 2-3 hours before enjoying. This final freeze ensures the ice cream is perfectly firm, preventing any melty mishaps and allowing the flavors to meld beautifully.
Frequently Asked Questions (FAQ)
Absolutely! The beauty of this recipe is its versatility. You can choose any ice cream flavors you love. However, the most crucial tip is to ensure your chosen ice cream freezes solid. Some gourmet or “churned” ice creams can remain quite soft even when fully frozen, which can make assembly messy and lead to faster melting. Brands like Breyer’s or store-brand regular ice creams often work best due to their firmer texture when frozen. You can even experiment with non-dairy ice creams, just check their firmness!
This particular recipe relies heavily on eggs for both binding and texture, especially the egg yolk which contributes significantly to the chewiness. I haven’t personally recipe-tested an egg-free version. If you decide to try an egg substitute (like a flax egg or commercial egg replacer), the texture might vary. Please let me know your results if you do!
Yes, definitely! In fact, making them ahead of time is highly recommended. The ice cream layers need ample time to freeze solid before cutting, and the assembled sandwiches benefit from refreezing to ensure everything sets perfectly. You can prepare the ice cream layers a day or two in advance, bake the cookies, and then assemble them the day before serving. This makes them an ideal dessert for parties or when you want a delicious treat ready to go.
Yes, high-altitude baking often requires minor adjustments. For these M&M cookies, I recommend adding an extra 2 tablespoons of all-purpose flour to the cookie dough. This helps to compensate for the lower air pressure, which can cause cookies to spread more and dry out faster at higher altitudes. You might also notice slightly longer baking times, so keep an eye on them.
This is a common issue and usually points to one of two things. Firstly, the ice cream likely wasn’t frozen solid enough in the pans before you started cutting. It truly needs 4 hours or overnight to reach peak firmness. Secondly, the brand of ice cream you chose might be inherently too soft for sandwiches. I once used a brand that melted twice as fast as others because its consistency was just too airy and delicate. For best results, look for ice cream brands known for freezing firmly. A good test at the grocery store is to gently squeeze the carton; if it feels very hard, it’s a good candidate. If it squishes easily, it might be too soft for this application. Ensure your workspace is cool and work quickly during assembly, returning sandwiches to the freezer immediately.
Several factors contribute to cookie spread. First, ensure your butter isn’t *too* soft – it should yield slightly when pressed but not be greasy. Second, chilling the dough for at least 30 minutes (or even longer) is vital. This firms up the butter, which prevents excessive spreading. Third, make sure your oven temperature is accurate; a too-low oven can cause cookies to spread before setting. Lastly, avoid overcrowding your baking sheets, as this can affect even heat distribution.

Expert Baking Tips for Ultimate Success
Achieving bakery-quality M&M cookie ice cream sandwiches is simple with a few smart tips:
- Prioritize Ice Cream Preparation: The success of your ice cream sandwiches largely depends on the firmness of your ice cream. Prepare the ice cream layers at least 6 hours in advance, or ideally, the day before you plan to assemble the sandwiches. Spreading the softened ice cream into pans and allowing it to freeze solid overnight will make cutting clean circles much easier and prevent premature melting during assembly.
- Choose Your Ice Cream Wisely: Not all ice creams are created equal for sandwiches. Look for brands that are known for freezing to a firm consistency. A great trick at the grocery store is to gently squeeze different ice cream cartons. If the carton feels hard and resistant, that’s generally a good sign. If it feels soft and squishy, it’s likely to melt too quickly and create a messy sandwich. Breyer’s is often a reliable choice.
- Chill Your Cookies: Before you even think about assembly, make sure your baked M&M cookies are not just cooled, but also chilled. Placing the cooled cookies in the freezer for about 15-20 minutes before assembly will make a significant difference. Cold cookies will help keep the ice cream firmer for longer during the assembly process, reducing melt.
- Work Quickly and Efficiently: Ice cream and warm hands don’t mix! During assembly, work in small batches and move swiftly. If your ice cream starts to soften, pop it back into the freezer for 10-15 minutes to firm up again. A cool kitchen environment also helps.
- Optimal Storage for Freshness: Once assembled, these M&M cookie ice cream sandwiches need to be stored properly to maintain their integrity. The best method is to wrap each sandwich individually in plastic wrap, then place them in an airtight metal tin. The metal tin helps to keep them even colder and protects them from freezer burn.
- Room Temperature Ingredients for Cookies: For the cookies, always ensure your butter and eggs are at room temperature. This allows them to emulsify properly, creating a smoother dough and a more consistent, tender, and chewy cookie texture.
- Don’t Overmix the Dough: After adding the dry ingredients to the wet, mix only until just combined. Overmixing can develop the gluten in the flour, resulting in tough, dry cookies instead of the soft, chewy ones we’re aiming for.
- Underbake Slightly: For that perfect soft and chewy texture that holds up in the freezer, slightly underbake your cookies. The edges should be just set and lightly golden, while the centers still look a bit soft. They will continue to set as they cool on the hot baking sheet.

Storing and Freezing Your M&M Cookie Ice Cream Sandwiches
To ensure your M&M cookie ice cream sandwiches remain delicious and perfectly preserved, proper storage is key. These delightful treats are designed for freezer storage, making them an excellent make-ahead dessert option.
Once your M&M cookie ice cream sandwiches are fully assembled and have refrozen until solid, it’s time to store them for future enjoyment. The best method for long-term storage is to wrap each individual sandwich tightly in plastic wrap. This prevents freezer burn and protects them from absorbing any unwanted freezer odors. After wrapping, place the individual sandwiches into an airtight, freezer-safe container. A metal tin, as suggested in our baking tips, is particularly effective because metal conducts cold well, helping to keep the sandwiches colder and firmer. Stored this way, your M&M cookie ice cream sandwiches will retain their quality for up to 10 days in the freezer. Beyond this period, while still safe to eat, their texture and flavor might begin to degrade slightly.
When you’re ready to indulge, resist the urge to bite into them immediately after pulling them from the freezer. Directly out of the freezer, the ice cream will be rock hard, and the cookies, while designed to be soft, will still be very cold and firm. For the optimal eating experience, let your M&M cookie ice cream sandwiches sit at room temperature for about 5 to 10 minutes before enjoying. This brief resting period allows the ice cream to soften slightly to a creamy consistency and the cookies to become perfectly chewy and pliable, making them much easier and more enjoyable to eat. It’s a small wait for a big payoff in flavor and texture!
Other Irresistible Cookie Recipes To Try
If you’re a cookie enthusiast like us, you’ll love exploring more of our delightful recipes:
- Classic Oatmeal Cream Pies: A nostalgic treat with soft, chewy oatmeal cookies and a creamy vanilla filling.
- Decadent Nutella Stuffed Cookies: Indulge in warm, soft cookies with a gooey Nutella center.
- Fudgy Chocolate Marshmallow Cookies: Rich chocolate cookies studded with melted marshmallows, a campfire dream in cookie form.
- Ultimate Reese’s Peanut Butter Chip Cookies: A must-try for peanut butter lovers, packed with Reese’s chips for an irresistible flavor.

We hope you thoroughly enjoyed crafting and indulging in these M&M Cookie Ice Cream Sandwiches! Your feedback is incredibly valuable to us. If you made this recipe and loved it, please take a moment to leave a star rating and review below to share your experience with other bakers.
We’d love to see your beautiful creations! Make sure to tag us on Instagram @stephaniesweettreats. For more delicious recipe ideas and sweet inspiration, be sure to follow us on Pinterest. Happy baking!

M&M Cookie Ice Cream Sandwiches
Print Recipe
Pin Recipe
Leave a Review
Ingredients
M&M Cookies
- 1 cup Unsalted butter, room temperature
- 1 cup Brown sugar, packed light or dark
- 1/2 cup White granulated sugar
- 1 tsp Pure vanilla extract
- 1 Large egg, room temperature
- 1 Egg yolk, room temperature
- 2 1/2 cups All-purpose flour
- 1 tsp Baking soda
- 1 tsp Salt
- 1 cup Mini chocolate chips
- 3/4 cup Mini M&M’s
Ice Cream
- Pint Vanilla ice cream, I used cookie dough ice cream
- Pint Chocolate ice cream, I used brownie ice cream
Instructions
Ice Cream Preparation
- Leave both ice creams out on the counter for 15-20 minutes to soften slightly. Spread vanilla ice cream evenly in a 9×9 inch pan, smoothing the surface. Spread chocolate ice cream evenly in an 8×8 inch pan, smoothing the surface. Freeze both pans for at least 4 hours or overnight until completely solid.
M&M Cookies
- In a medium mixing bowl, sift together the flour, baking soda, and salt. Set aside.
- Using an electric mixer, beat the room temperature butter, brown sugar, and granulated sugar for 2-3 minutes until light and fluffy. Add in the vanilla extract, large egg, and egg yolk; mix until just combined, scraping the bowl as needed.
- Gradually add the dry ingredients to the wet mixture, mixing on low speed until just combined. Fold in the mini chocolate chips and mini M&Ms. Chill the dough for 30 minutes.
- Preheat oven to 350°F (175°C). Line 2 cookie sheets with parchment paper. Using a large cookie scoop (3 oz), scoop the cookie dough onto the prepared sheets. Bake for 13-14 minutes; slightly underbake for soft cookies. Edges should be lightly golden. Keep unbaked dough in the fridge.
- Let the cookies cool on the cookie sheet for 4 minutes, then transfer to a cooling rack to cool completely. Once fully cooled, place cookies in the freezer for 15 minutes to chill before assembly.
Assembly
- Separate the cookies into pairs of similar size. Match cookies with appropriate biscuit cutters (3.5 inch and 4 inch).
- Working with one ice cream flavor at a time, use the biscuit cutters to cut circles from the frozen ice cream layers. Sandwich each ice cream disc between two matching cookies, pressing gently. Place assembled sandwiches into the freezer immediately. Allow them to freeze until solid (2-3 hours) before serving.
Notes
High Altitude Baking: If you are baking at a higher altitude, add an extra 2 tablespoons of all-purpose flour to the cookie dough to help prevent excessive spreading.
Ice Cream Consistency: It is crucial to use an ice cream brand that freezes to a solid consistency. Some ice cream brands remain too soft even when fully frozen, which can make assembly difficult and lead to a very messy eating experience. Test your chosen ice cream by gently squeezing the carton; if it’s hard, it’s suitable!
Did you make this recipe?Please leave a star rating and review below!
