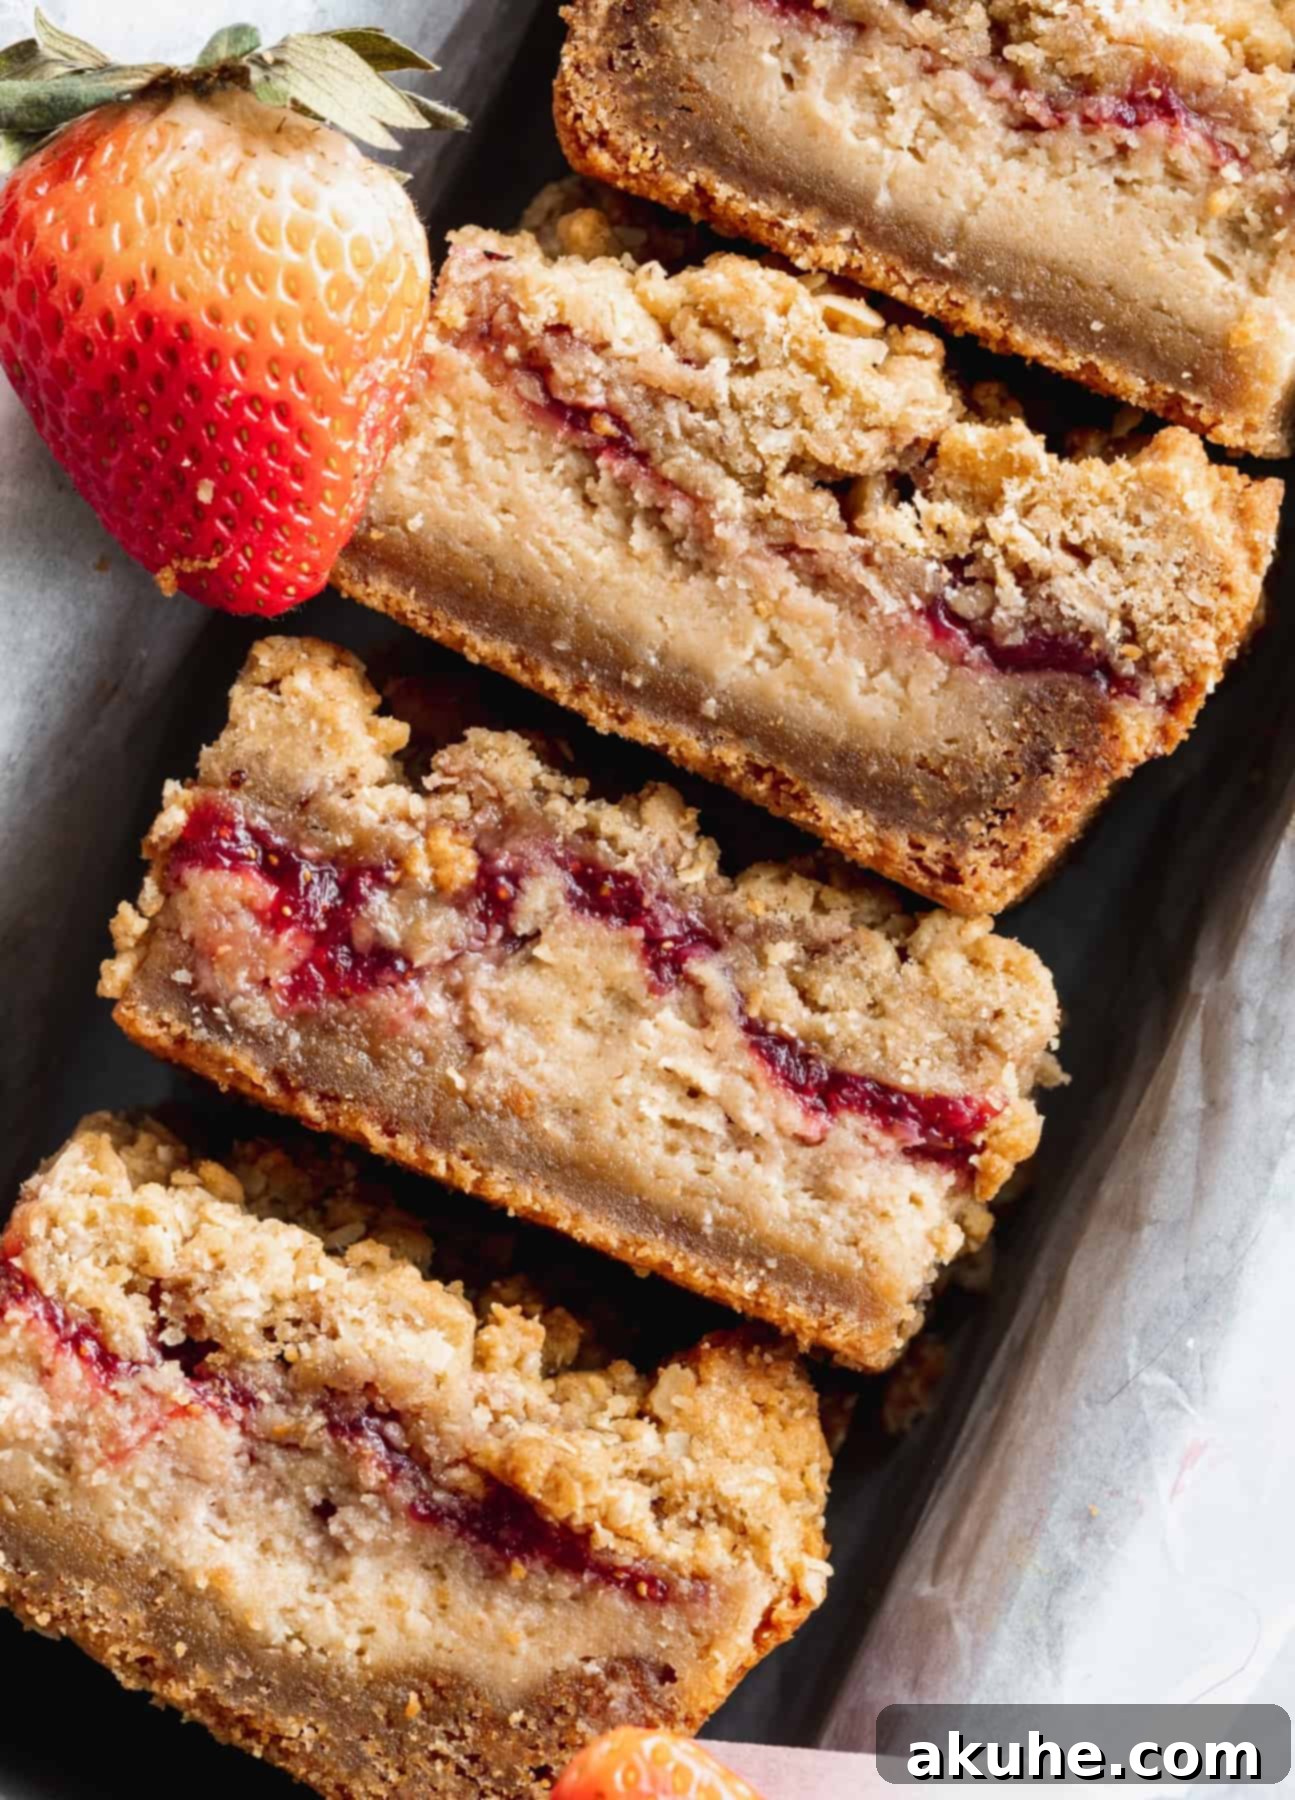
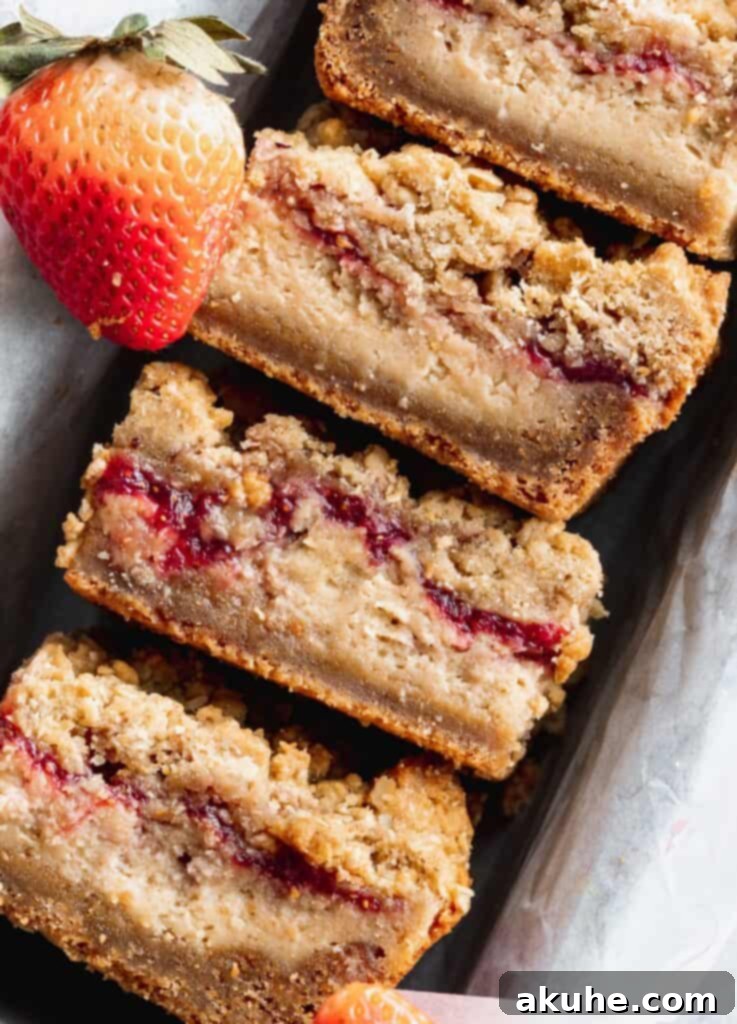
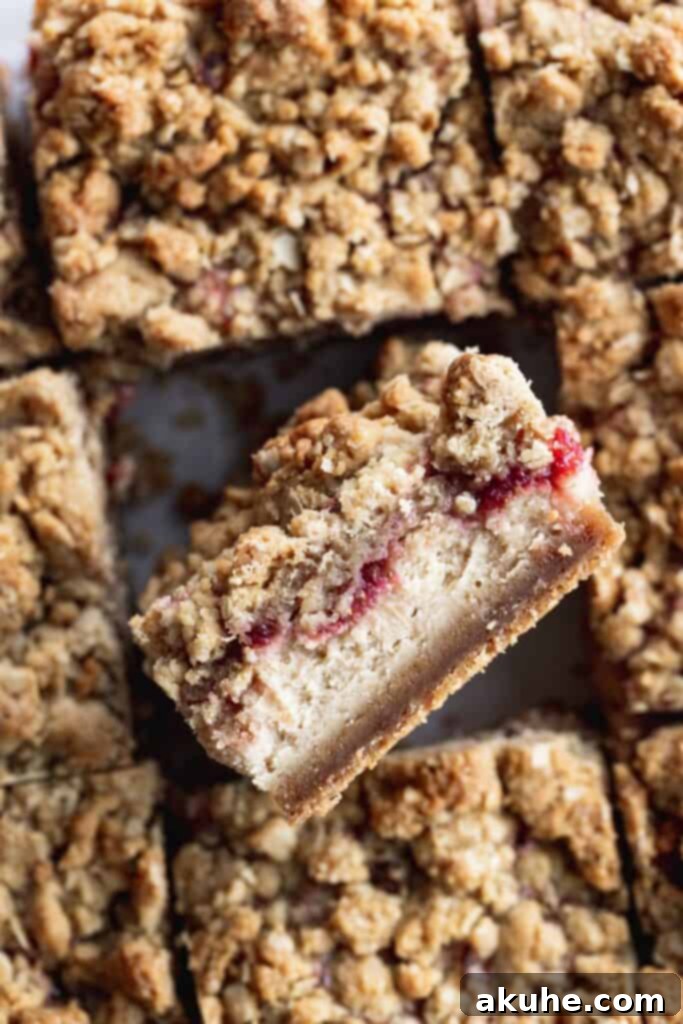
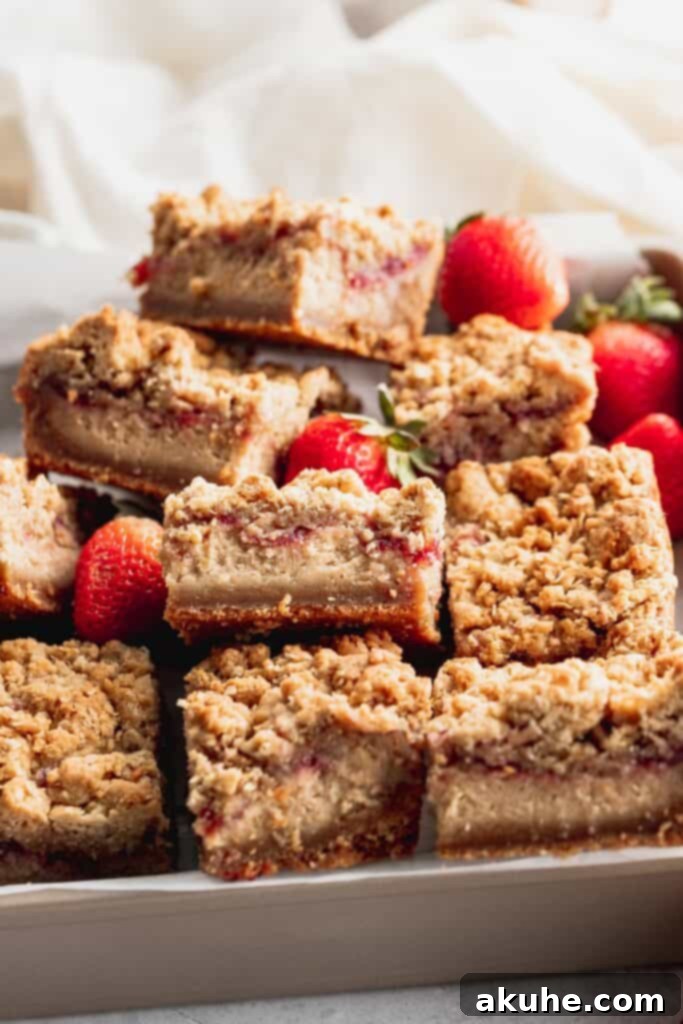
Step into a delightful world of nostalgic flavors with these incredible Peanut Butter and Jelly Cheesecake Bars. Reimagining a beloved childhood classic, these bars offer a sophisticated yet undeniably fun take on the iconic peanut butter and jelly sandwich. Each bite is a symphony of textures and tastes, designed to transport you back to simpler times while satisfying your adult palate with a gourmet twist. This recipe features a rich peanut butter cookie crust, a creamy, decadent peanut butter cheesecake layer, a vibrant, homemade strawberry jam, and a satisfying peanut butter oat crumble topping. It’s a dessert that perfectly balances sweet and savory, rich and fruity, making it an absolute showstopper for any occasion or a comforting treat for yourself.
Crafting Your Own Homemade Strawberry Jam
While store-bought jam can certainly work in a pinch, creating your own homemade strawberry jam for these cheesecake bars elevates the entire dessert to an unparalleled level. The fresh, bright flavor and vibrant color of homemade jam are simply unmatched, adding a truly authentic touch that makes these bars exceptional. Starting with the jam ensures it has ample time to cool and set, which is crucial for achieving the perfect consistency in your cheesecake.
To begin, select ripe, fragrant strawberries. Wash and quarter them, then combine them in a saucepan with water and granulated sugar. Place the saucepan over medium heat, stirring gently until all the sugar has completely dissolved. This initial step ensures a smooth, sweet base for your jam.
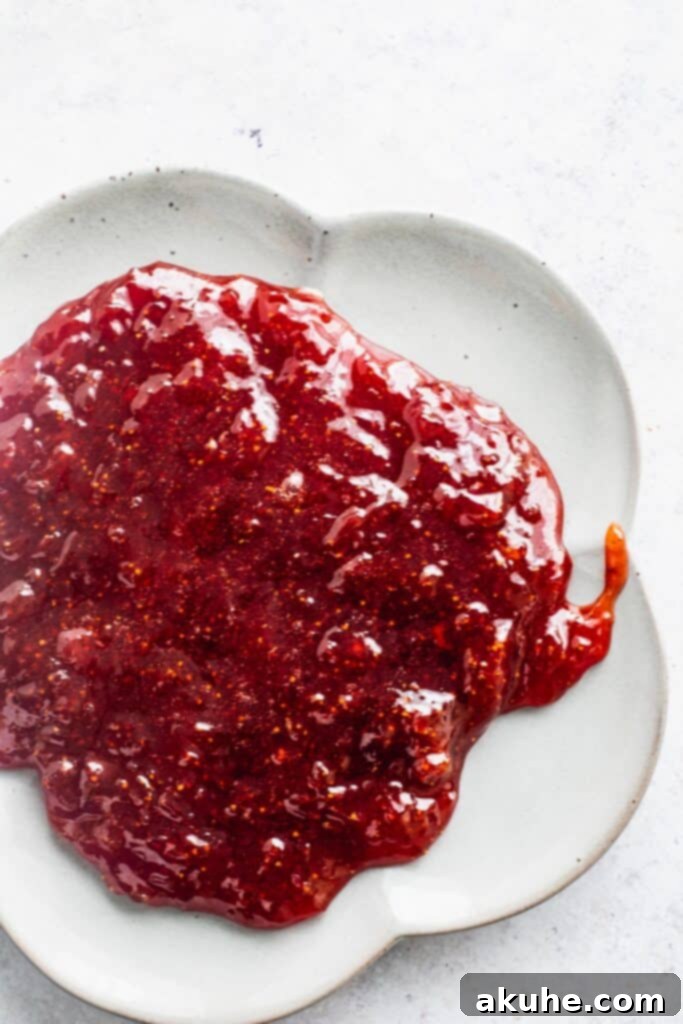
Once the sugar is dissolved, increase the heat slightly to medium-high and bring the mixture to a gentle simmer for about two minutes. Then, reduce the heat back to medium-low. Allow the jam to cook for approximately 22-27 minutes, stirring occasionally. As it cooks, you’ll notice it beginning as a frothy pink foam. This is completely normal! As the strawberries soften and break down, use a wooden spoon or a potato masher to gently crush them directly in the saucepan. This helps release their juices and creates a wonderfully chunky texture. The jam will gradually deepen in color, transforming from pink to a rich, glossy red as it nears completion.
The key to knowing your jam is ready is its ability to coat the back of a spoon. When you lift a spoon from the jam, the jam should cling to it, rather than running off immediately. This indicates it has reached the ideal thickness. Carefully pour the finished jam into a heat-proof glass measuring cup or a clean jar and set it aside to cool. By the time you’ve prepared the cookie crust and the cheesecake batter, your homemade strawberry jam will have cooled sufficiently and thickened further, ready to be layered into your delicious cheesecake bars.
Crafting the Perfect Peanut Butter Cookie Crust
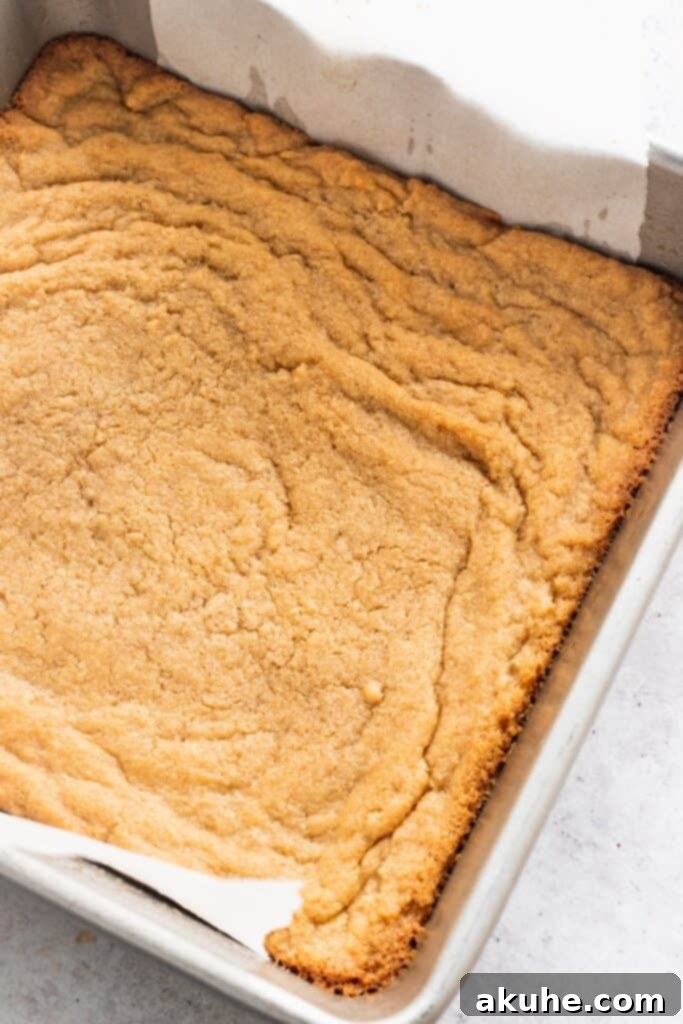
A sturdy, flavorful crust is the foundation of any great cheesecake, and for these bars, we’re building it with a delightful peanut butter cookie dough. This crust is similar to a classic peanut butter chocolate chip cookie recipe, but without the chocolate chips, allowing the pure peanut butter essence to shine through. The preparation is straightforward, leading to a buttery, crumbly base that complements the creamy cheesecake and sweet jam beautifully.
Begin by preheating your oven to 350°F (175°C) and preparing your baking pan, which is crucial for easy removal later. In a medium mixing bowl, whisk together the dry ingredients: all-purpose flour and a pinch of salt. Sifting the flour is recommended to ensure a light, even texture, preventing any lumps in your dough. Set this aside.
In a separate, larger bowl, using an electric mixer, cream together the softened unsalted butter with both brown sugar (light or dark, packed) and white granulated sugar. Beat this mixture on medium-high speed for about two minutes until it becomes light, fluffy, and well combined. This aeration step is vital for a tender crust. Next, incorporate the creamy peanut butter and pure vanilla extract, mixing until smooth. Finally, add the large room-temperature egg, beating until it is fully incorporated into the mixture. Remember to scrape down the sides of the bowl frequently to ensure all ingredients are evenly blended.
Gradually add the sifted dry ingredients to the wet mixture, mixing on low speed just until combined. Be careful not to overmix, as this can lead to a tough crust. Once the dough comes together, divide it. Take approximately two-thirds of the cookie dough and press it evenly into the bottom of your prepared 8×8 inch pan. A rubber spatula or your hands work well for this, ensuring a compact and uniform layer. Bake this crust for 18-20 minutes, or until it turns a light golden brown around the edges. This partial baking helps create a firm foundation for the cheesecake layers.
With the remaining one-third of the cookie dough, mix in the quick oats and an extra tablespoon of all-purpose flour. This addition creates a slightly different texture, perfect for the delectable crumble topping that will finish off your cheesecake bars. Set this crumble mixture aside while you prepare the cheesecake filling.
Essential Tips to Prevent Sticking for Flawless Cheesecake Bars
One of the most common challenges in baking bars, especially cheesecakes, is ensuring they release cleanly from the pan. Nothing is more disheartening than a beautifully baked dessert that clings stubbornly to the edges! With a few simple but effective techniques, you can guarantee your peanut butter and jelly cheesecake bars slide out effortlessly, ready for slicing and serving.
Start with the right equipment: an 8×8 inch baking pan. This size is ideal for creating bars with good height and an even bake. The first line of defense against sticking is a generous application of baking non-stick spray. Don’t just give it a quick spritz; ensure the entire interior surface of the pan is well coated.
Next, employ the power of parchment paper. Line the bottom of the pan and extend the paper up two opposite sides, creating a sling. This “sling” will act as handles, allowing you to lift the cooled cheesecake bars out of the pan with ease. Once the parchment paper is in place, repeat the non-stick spray application. Spray the parchment paper itself and any exposed pan sides thoroughly. This double layer of protection is your best insurance policy against a sticky situation.
After baking, patience is truly a virtue. Allow the cheesecake bars to cool completely at room temperature, then transfer them to the refrigerator to chill for at least 6 hours, or ideally, overnight. This prolonged chilling period is critical for the cheesecake to fully set and firm up, which contributes significantly to its ability to release cleanly. Attempting to remove the bars too soon can result in a crumbly mess.
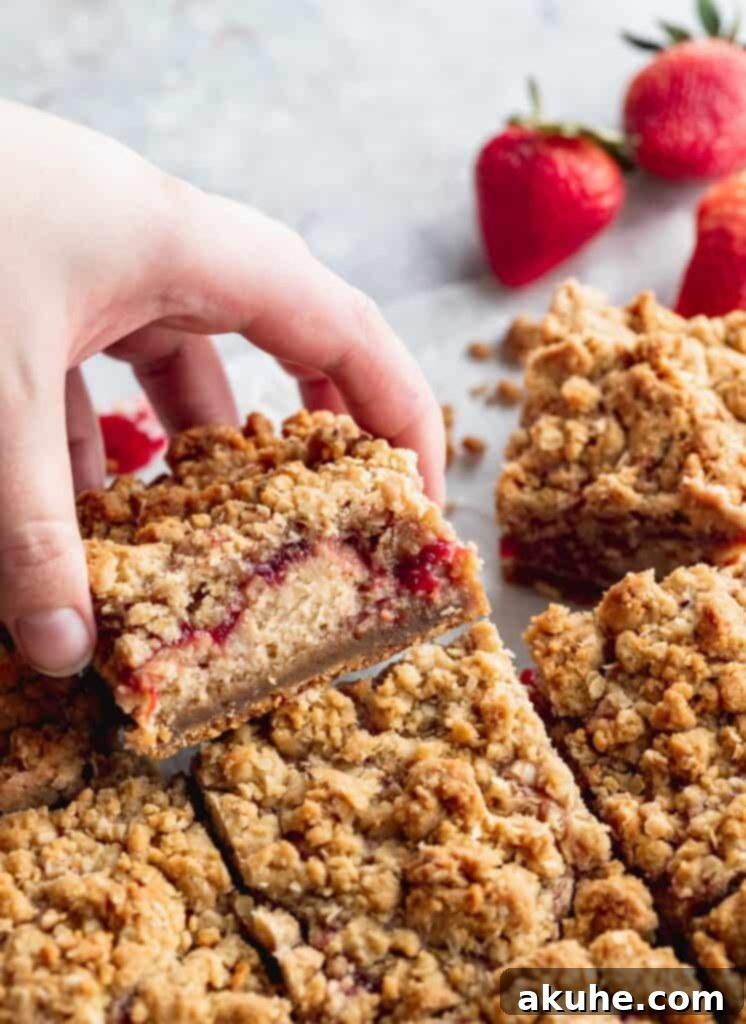
Once fully chilled, simply use the parchment paper overhangs to gently lift the entire slab of cheesecake bars out of the pan. If, by chance, you find any stubborn spots clinging to the unlined edges of the pan, a thin, sharp knife run carefully around the perimeter should do the trick. With these steps, you’ll achieve perfectly intact, beautiful cheesecake bars every single time.
Expert Tips for a Perfectly Smooth Cheesecake Batter
Achieving that signature silky, crack-free cheesecake texture requires attention to detail. These professional tips will guide you in creating a flawless peanut butter cheesecake batter that is rich, creamy, and sets beautifully.
- Embrace Your Hand Mixer: While stand mixers are powerful, a hand mixer offers more control when making cheesecake batter. It allows you to easily scrape down the sides of the bowl and ensures you don’t overmix, which can incorporate too much air and lead to cracks.
- The Golden Rule: Room Temperature Ingredients: This is arguably the most critical tip for any cheesecake. Remove all dairy ingredients – cream cheese, eggs, sour cream, and heavy cream – from the refrigerator at least two hours before you plan to bake. Room temperature ingredients blend seamlessly, creating a smooth, lump-free batter. Cold ingredients will result in a lumpy texture and may require overmixing, which we want to avoid.
- Thoroughly Beat Cream Cheese and Sugar: The foundation of a smooth batter begins with thoroughly creaming the cream cheese and sugar. Start by beating the room-temperature cream cheese on high speed for a full minute until it’s completely smooth and creamy. Then, add the granulated sugar and beat for another minute on high. This ensures the sugar dissolves properly and creates a fluffy base, preventing any grainy texture in your final cheesecake. Don’t forget to scrape down the sides of the bowl often to incorporate everything evenly.
- Blend in Peanut Butter, Sour Cream, and Vanilla Extract: Once your cream cheese and sugar are perfectly blended, add the creamy peanut butter, sour cream, and pure vanilla extract. Mix these ingredients on medium speed until the mixture is smooth and luscious. Again, scrape the bowl diligently to ensure all components are fully integrated and no unmixed pockets remain.
- Add Eggs on Low Speed to Prevent Cracks: This is a crucial step to avoid unsightly cracks in your finished cheesecake. Eggs act as a binder, but overmixing them can incorporate too much air into the batter. This excess air expands rapidly during baking and then contracts as the cheesecake cools, often leading to cracks. Add the egg (or eggs, if your recipe calls for more) one at a time, mixing on the lowest speed possible just until combined. Stop mixing as soon as the yolk disappears. Minimal mixing after the eggs are added is key to a beautiful, smooth top.
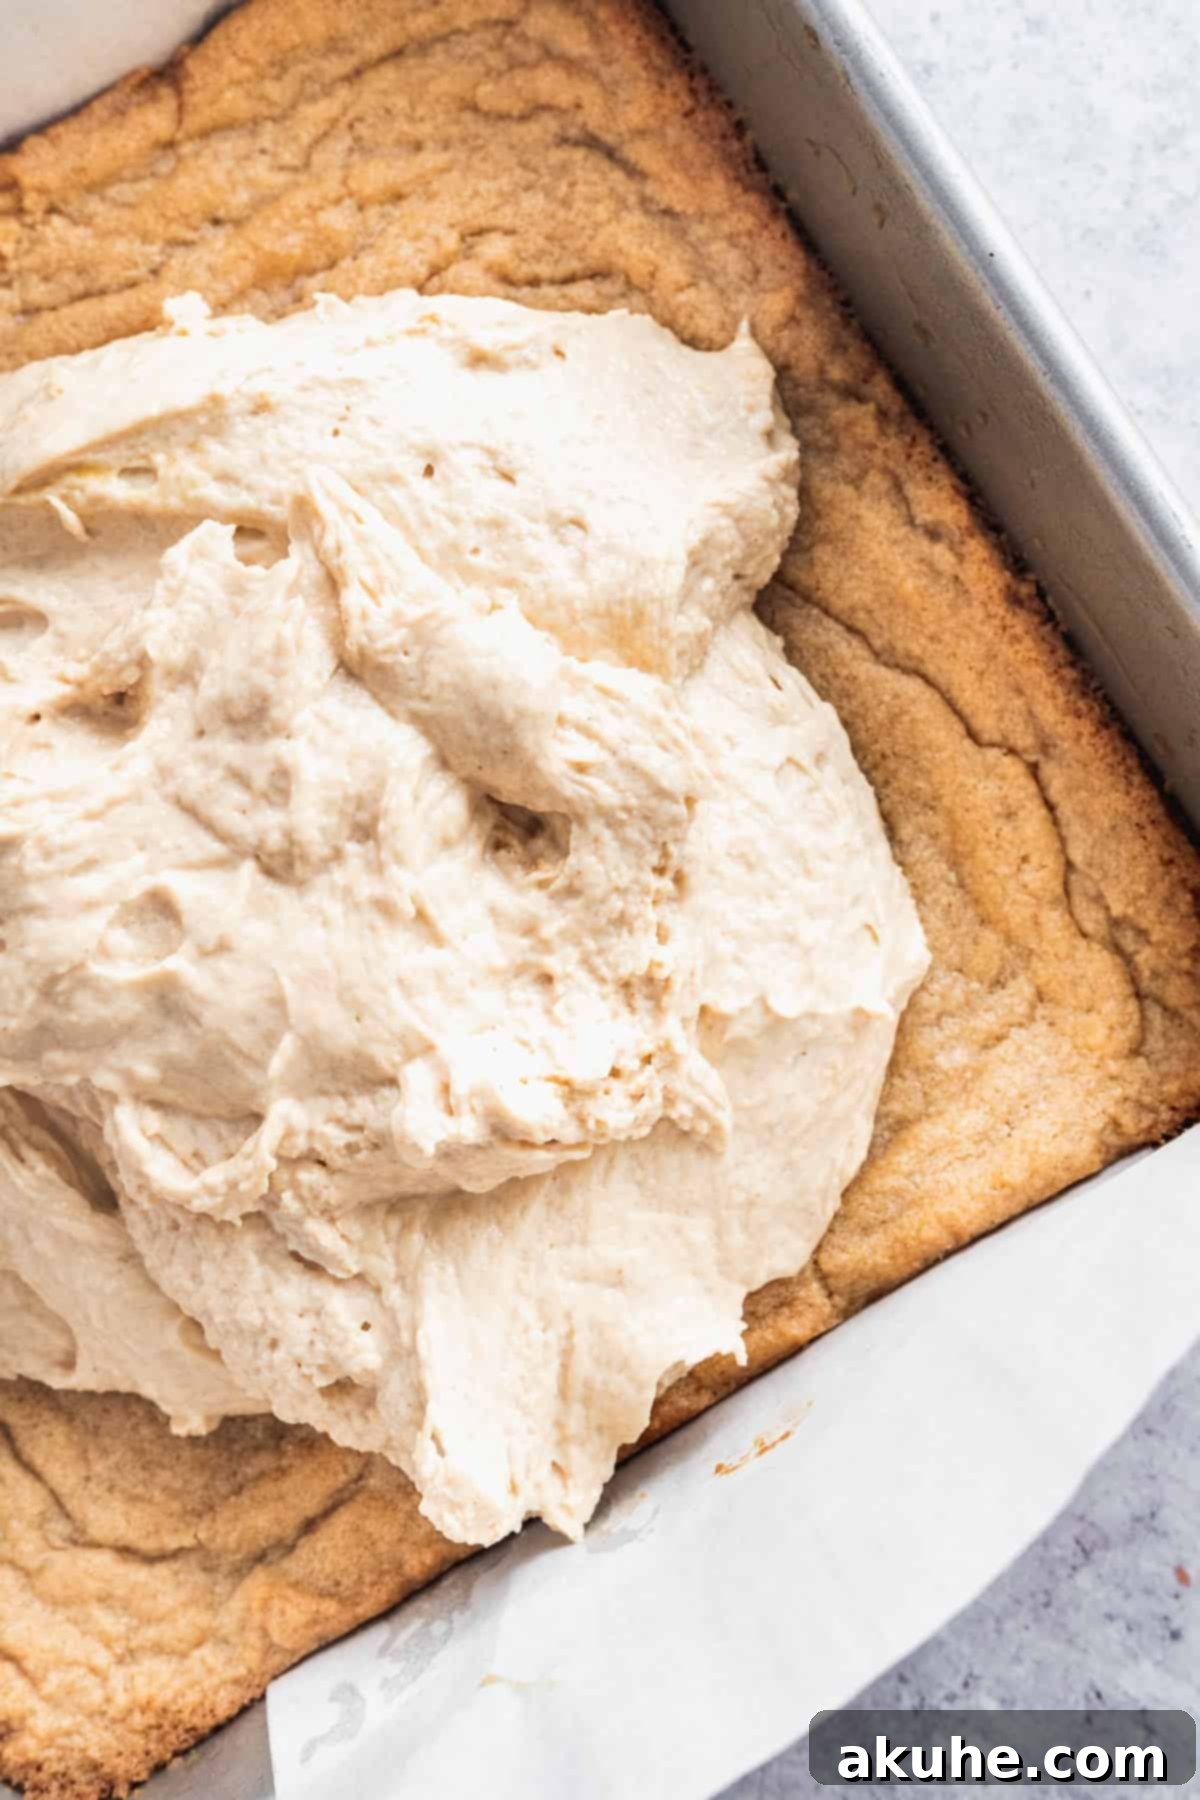
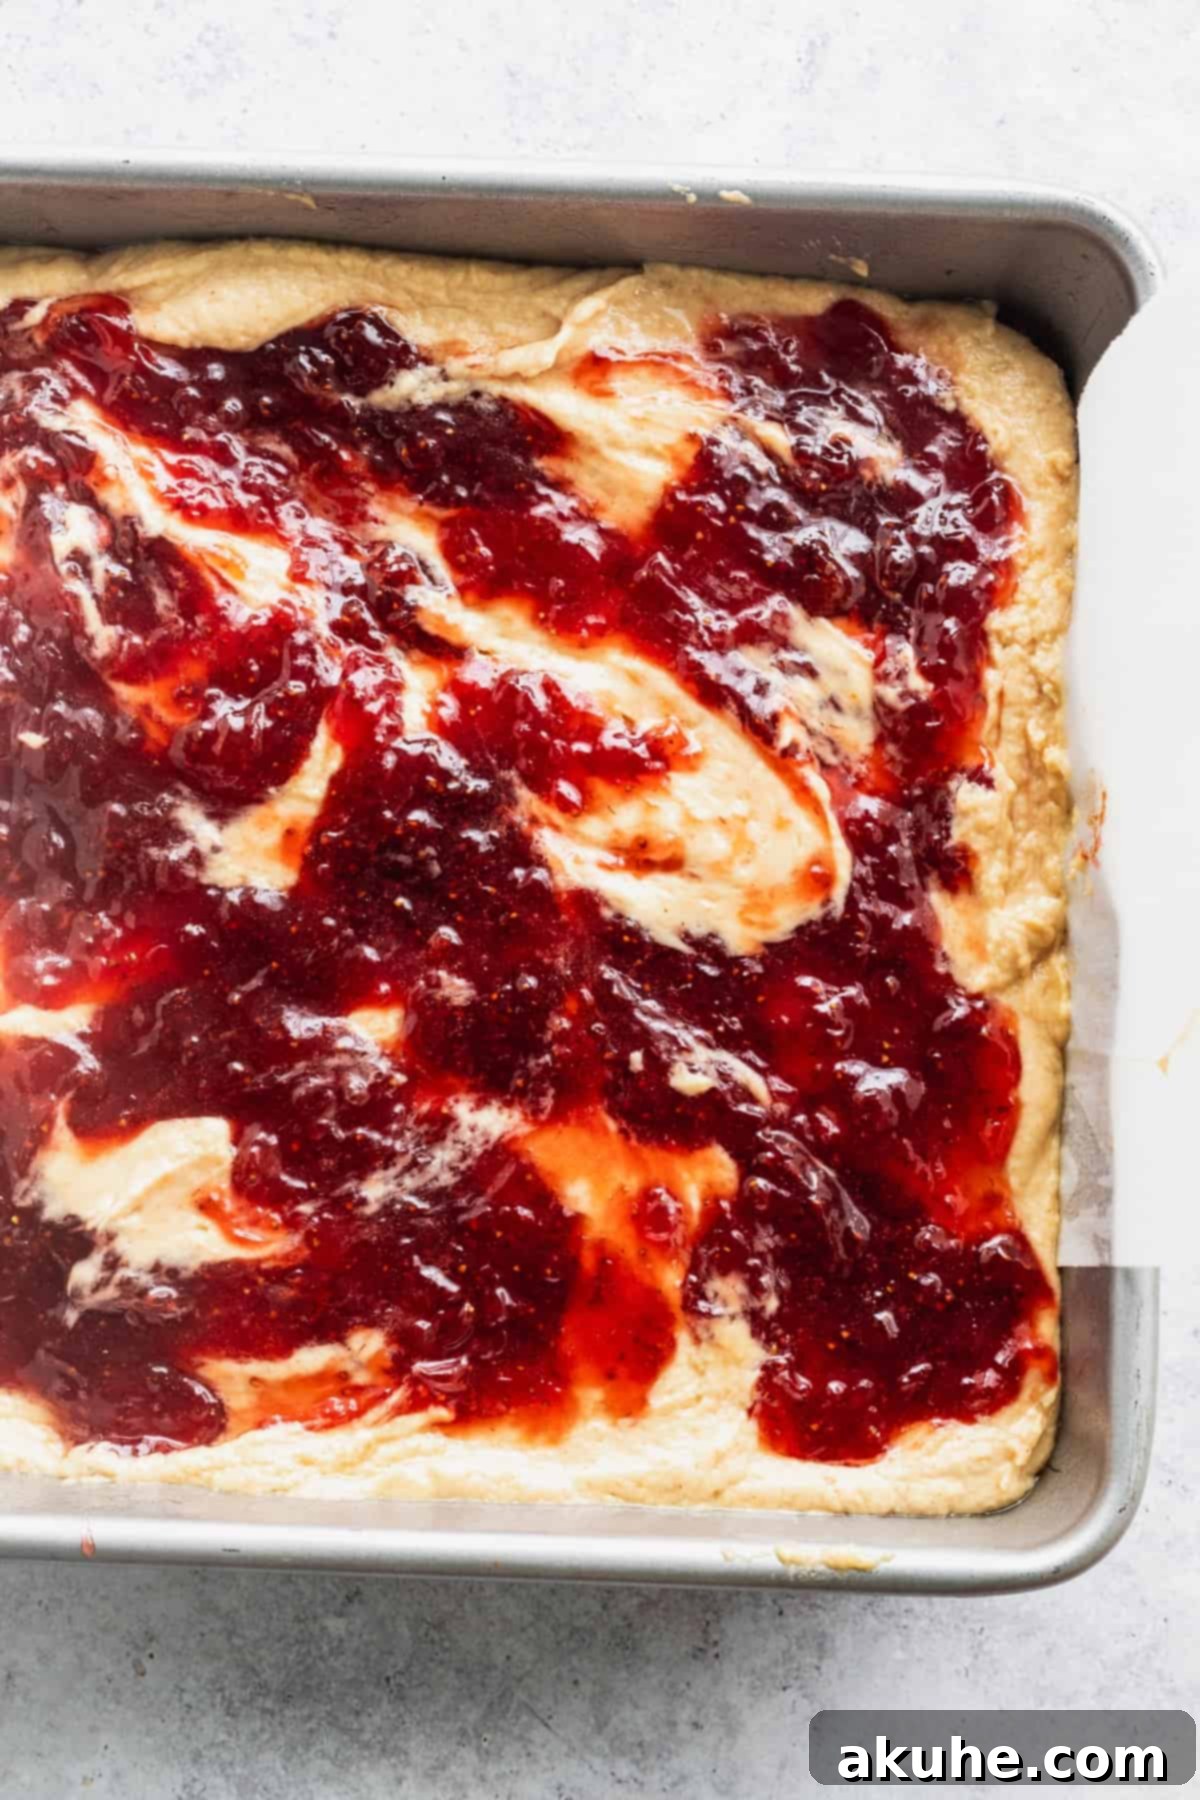
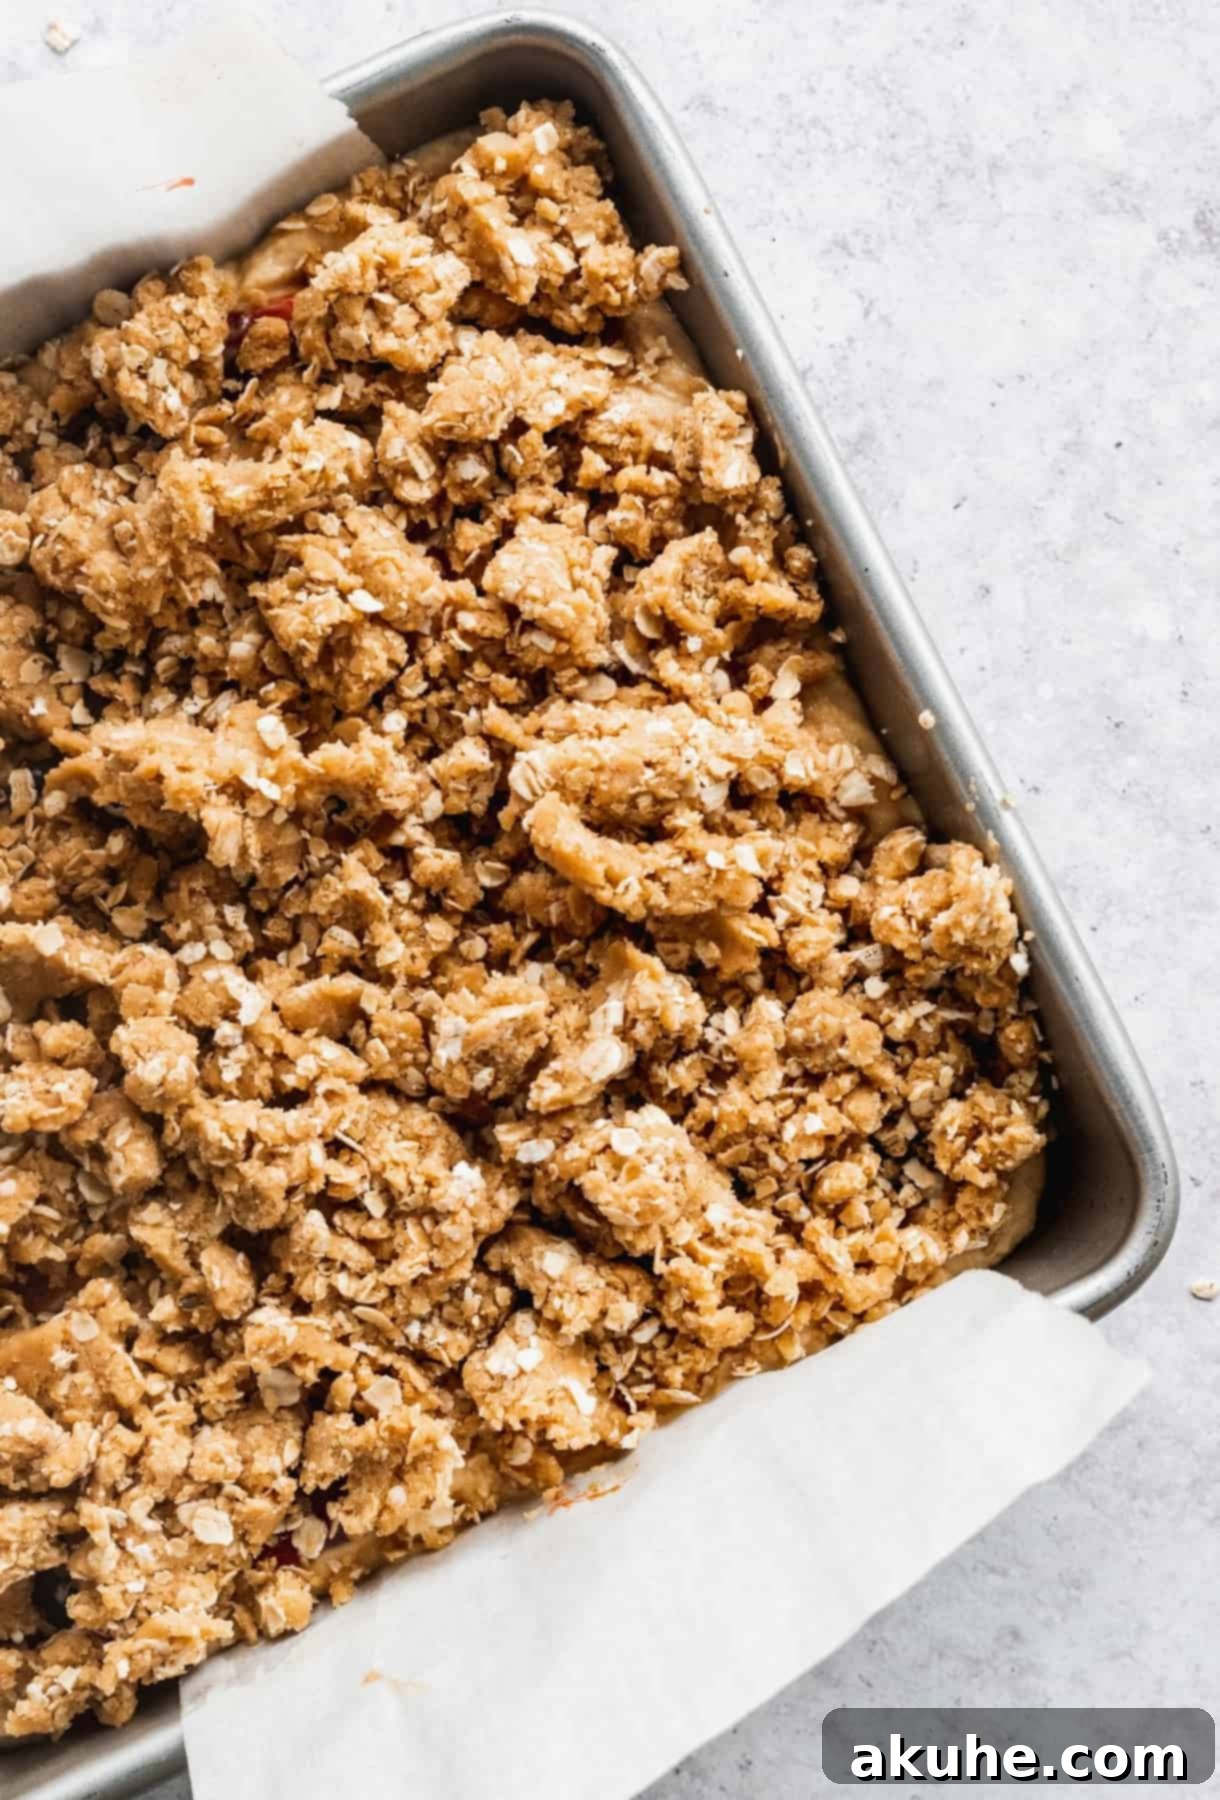
Once your peanut butter cookie crust is done baking and has had a moment to cool slightly (this prevents the cheesecake batter from melting it), you can start the cheesecake batter. Spread the velvety cheesecake batter evenly over the cooled cookie crust. Then, using a ½ tablespoon measurement, artfully drop dollops of your homemade strawberry jam across the surface of the cheesecake batter. Take an icing spatula or the back of a spoon and gently swirl or smooth the jam around, creating an even layer or a beautiful marble effect, depending on your preference. Finally, sprinkle your prepared peanut butter oat crumble evenly over the jam layer, covering the entire surface. This adds a delightful crunch and extra burst of peanut butter flavor.
Choosing the Right Peanut Butter for Your Cheesecake
The type of peanut butter you choose can significantly impact the texture and consistency of your cheesecake bars. For this recipe, consistency is key, and not all peanut butters are created equal in the baking world.
I highly recommend using a commercial, creamy peanut butter, such as Jif creamy peanut butter. These types of peanut butter are processed to be very smooth, with a consistent texture and added stabilizers that prevent oil separation. This uniformity is crucial for achieving a perfectly smooth and stable cheesecake batter that bakes evenly.
Conversely, I do not recommend using crunchy peanut butter. While delicious on its own, the peanut pieces in crunchy peanut butter will disrupt the silky-smooth texture we’re aiming for in the cheesecake layer. They can also create pockets of air and make the batter more difficult to spread evenly, potentially affecting the overall structure of the bars.
Similarly, natural peanut butter, which typically contains only peanuts and sometimes salt, should be avoided for this recipe. Natural peanut butters tend to be much runnier and prone to oil separation. Their high oil content and lack of stabilizers can lead to a cheesecake that is too oily, has an inconsistent texture, and may not set properly. Stick to creamy, stabilized varieties for the best results and a truly decadent peanut butter cheesecake experience.
Storing Your Delightful Cheesecake Bars
Once your peanut butter and jelly cheesecake bars are perfectly baked, cooled, and chilled, proper storage is essential to maintain their freshness, texture, and delicious flavor. These bars are best enjoyed when kept cold, allowing the cheesecake layer to remain firm and creamy.
To store your cheesecake bars, first ensure they have been completely chilled in the refrigerator for the recommended 6 hours or overnight. Once firm, cut the cheesecake into individual bars. Place the cut bars in an airtight container. This container will protect them from absorbing odors from other foods in the fridge and prevent them from drying out. Store the container in the refrigerator for up to 5 days. For optimal flavor and texture, it’s best to consume them within this timeframe.
If you wish to store them for longer, these cheesecake bars can also be frozen. To freeze, arrange the chilled, cut bars in a single layer on a baking sheet and freeze until solid. Once frozen, transfer the bars to a freezer-safe airtight container or wrap them individually in plastic wrap, then place them in a freezer bag. This prevents freezer burn. They can be stored in the freezer for up to 2-3 months. To enjoy, simply thaw them in the refrigerator overnight or at room temperature for a shorter period until softened to your liking.

Explore More Cheesecake Creations
If you’ve fallen in love with these peanut butter and jelly cheesecake bars, you’ll be thrilled to discover more delightful cheesecake recipes. Each one offers a unique flavor profile and experience, perfect for any occasion. Expand your baking repertoire with these irresistible treats:
- Mini Funfetti Cheesecakes: A party in every bite! These individual cheesecakes are packed with colorful sprinkles, making them perfect for celebrations or a joyful everyday treat.
- Mini Chocolate Cheesecakes: For the ultimate chocolate lover, these rich and creamy mini cheesecakes deliver an intense cocoa experience in a perfectly portioned dessert.
- Hot Chocolate Cheesecake: Indulge in the comforting flavors of your favorite winter beverage transformed into a decadent cheesecake, complete with a fluffy marshmallow topping.
- Triple Chocolate Cheesecake: A chocolate enthusiast’s dream, featuring three layers of pure chocolate bliss. This cheesecake is a truly showstopping dessert for special occasions.
We hope you thoroughly enjoyed making and savoring these nostalgic peanut butter and jelly cheesecake bars. They truly are a special dessert that brings back fond memories with every bite. If you whip up a batch, we’d absolutely love to see your creations! Make sure to tag me on Instagram @stephaniesweettreats and leave a review below to share your experience. Your feedback means the world! For more delicious baking ideas and sweet inspiration, be sure to follow me on Pinterest. Happy baking!
Rated 5 out of 5 stars from 2 reviews.
Peanut Butter and Jelly Cheesecake Bars
Stephanie Rutherford
These peanut butter and jelly cheesecake bars have a peanut butter cookie crust, peanut butter cheesecake and homemade strawberry jelly. They are topped with peanut butter oat cookie crumble.
Print Recipe | Pin Recipe
Prep Time: 1 hr
Cook Time: 50 mins
Chilling Time: 6 hrs
Total Time: 7 hrs 50 mins
Servings: 9 bars
Ingredients
Peanut Butter Cookie Crust
- 1 1/4 cup All-purpose flour
- 1/2 tsp Salt
- 1/2 cup Unsalted butter, room temperature
- 3/4 cup Brown sugar, packed light or dark
- 1/4 cup White granulated sugar
- 1/4 cup Peanut butter, creamy
- 1 tsp Pure vanilla extract
- 1 Large egg, room temperature
- 3/4 cup Quick oats, for the topping
- 1 TBSP All-purpose flour, for the topping
Peanut Butter Cheesecake
- 8 oz Cream cheese, room temperature
- 1/4 cup White granulated sugar
- 1/2 cup Peanut butter, creamy
- 1/8 cup Sour cream
- 1 tsp Pure vanilla extract
- 1 Large egg
Strawberry Jam
- 2 cups Fresh strawberries, washed, dried, and quartered.
- 1/2 cup Water
- 1 cup White granulated sugar
Instructions
Strawberry Jam
- Start the jam first. It can be made right before baking or a day before. In a saucepan, mix the quartered strawberries, water, and sugar. Heat on medium until the sugar is melted. Turn the heat to a medium-high, and let it simmer for 2 minutes. Turn the heat back down to medium-low.
- Cook for 22-27 minutes. As it cooks, use a wooden spoon or potato masher to gently mash the strawberries. The strawberries will start as a pink foam. As the strawberries cook it will turn into a deeper red. It won’t turn red until the end of cooking.
- The strawberry jam will be done cooking once the jam can coat the back of a spoon. Pour the jam into a glass measuring glass. Let it sit while you make everything else. It should thicken as it sits.
Peanut Butter Cookie Crust
- Preheat oven to 350°F (175°C). Spray an 8X8 inch pan with baking non-stick spray. Line the bottom and 2 sides of the pan with parchment paper. Spray again.
- In a medium bowl, sift the flour and salt together. Using a mixer, beat the butter, brown sugar, and sugar for 2 minutes until light and fluffy. Add in peanut butter and vanilla. Once combined, add in the egg and mix until combined. Scrape the bowl to make sure all the butter is mixed in.
- Slowly add in the dry ingredients. Scoop 2/3rds of the dough into the pan. Press the dough down evenly using a rubber spatula or your hands. Bake for 18-20 minutes, until the cookie starts to turn golden brown.
- With the rest of the dough, mix in the extra flour and oats until combined. Set aside. This is for the topping of the bars.
Peanut Butter Cheesecake
- Turn the oven down to 325°F (160°C). Don’t start making the cheesecake batter until the crust is done baking. Use a hand mixer and beat the cream cheese in a bowl on high. Beat for 1 minute. Add in the sugar and beat for 1 minute. Scrape the bowl.
- Add in peanut butter, sour cream, and vanilla. Mix on medium until smooth and creamy. Add in the egg and mix on low. Mix until just combined.
- Spread the cheesecake batter on top of the cookie crust. Use a 1/2 TBSP and scoop the jam into drops on top of the cheesecake batter. Use an icing spatula to spread the jam evenly across the batter.
- Take the cookie topping and use your fingers to spread it into tiny pieces across the jam. Cover the entire pan with the cookie topping.
- Bake for 40-50 minutes. Bake until there is a small jiggle in the middle. The topping should be lightly golden brown. Turn off the oven and prop open the door. Let it sit for 20 minutes. Then, transfer to a cooling rack.
- Allow the bars to cool completely. Cover and transfer to the fridge. Chill for 6 hours or overnight.
Notes
- Bring out all dairy ingredients 2 hours before baking to bring to room temperature.
- Flour: Make sure flour is spooned and leveled or use a kitchen scale. Compacted flour will dry out the crust.
- High altitude baking: Add an extra 1 TBSP of flour.
Nutrition
Calories: 350 kcal
