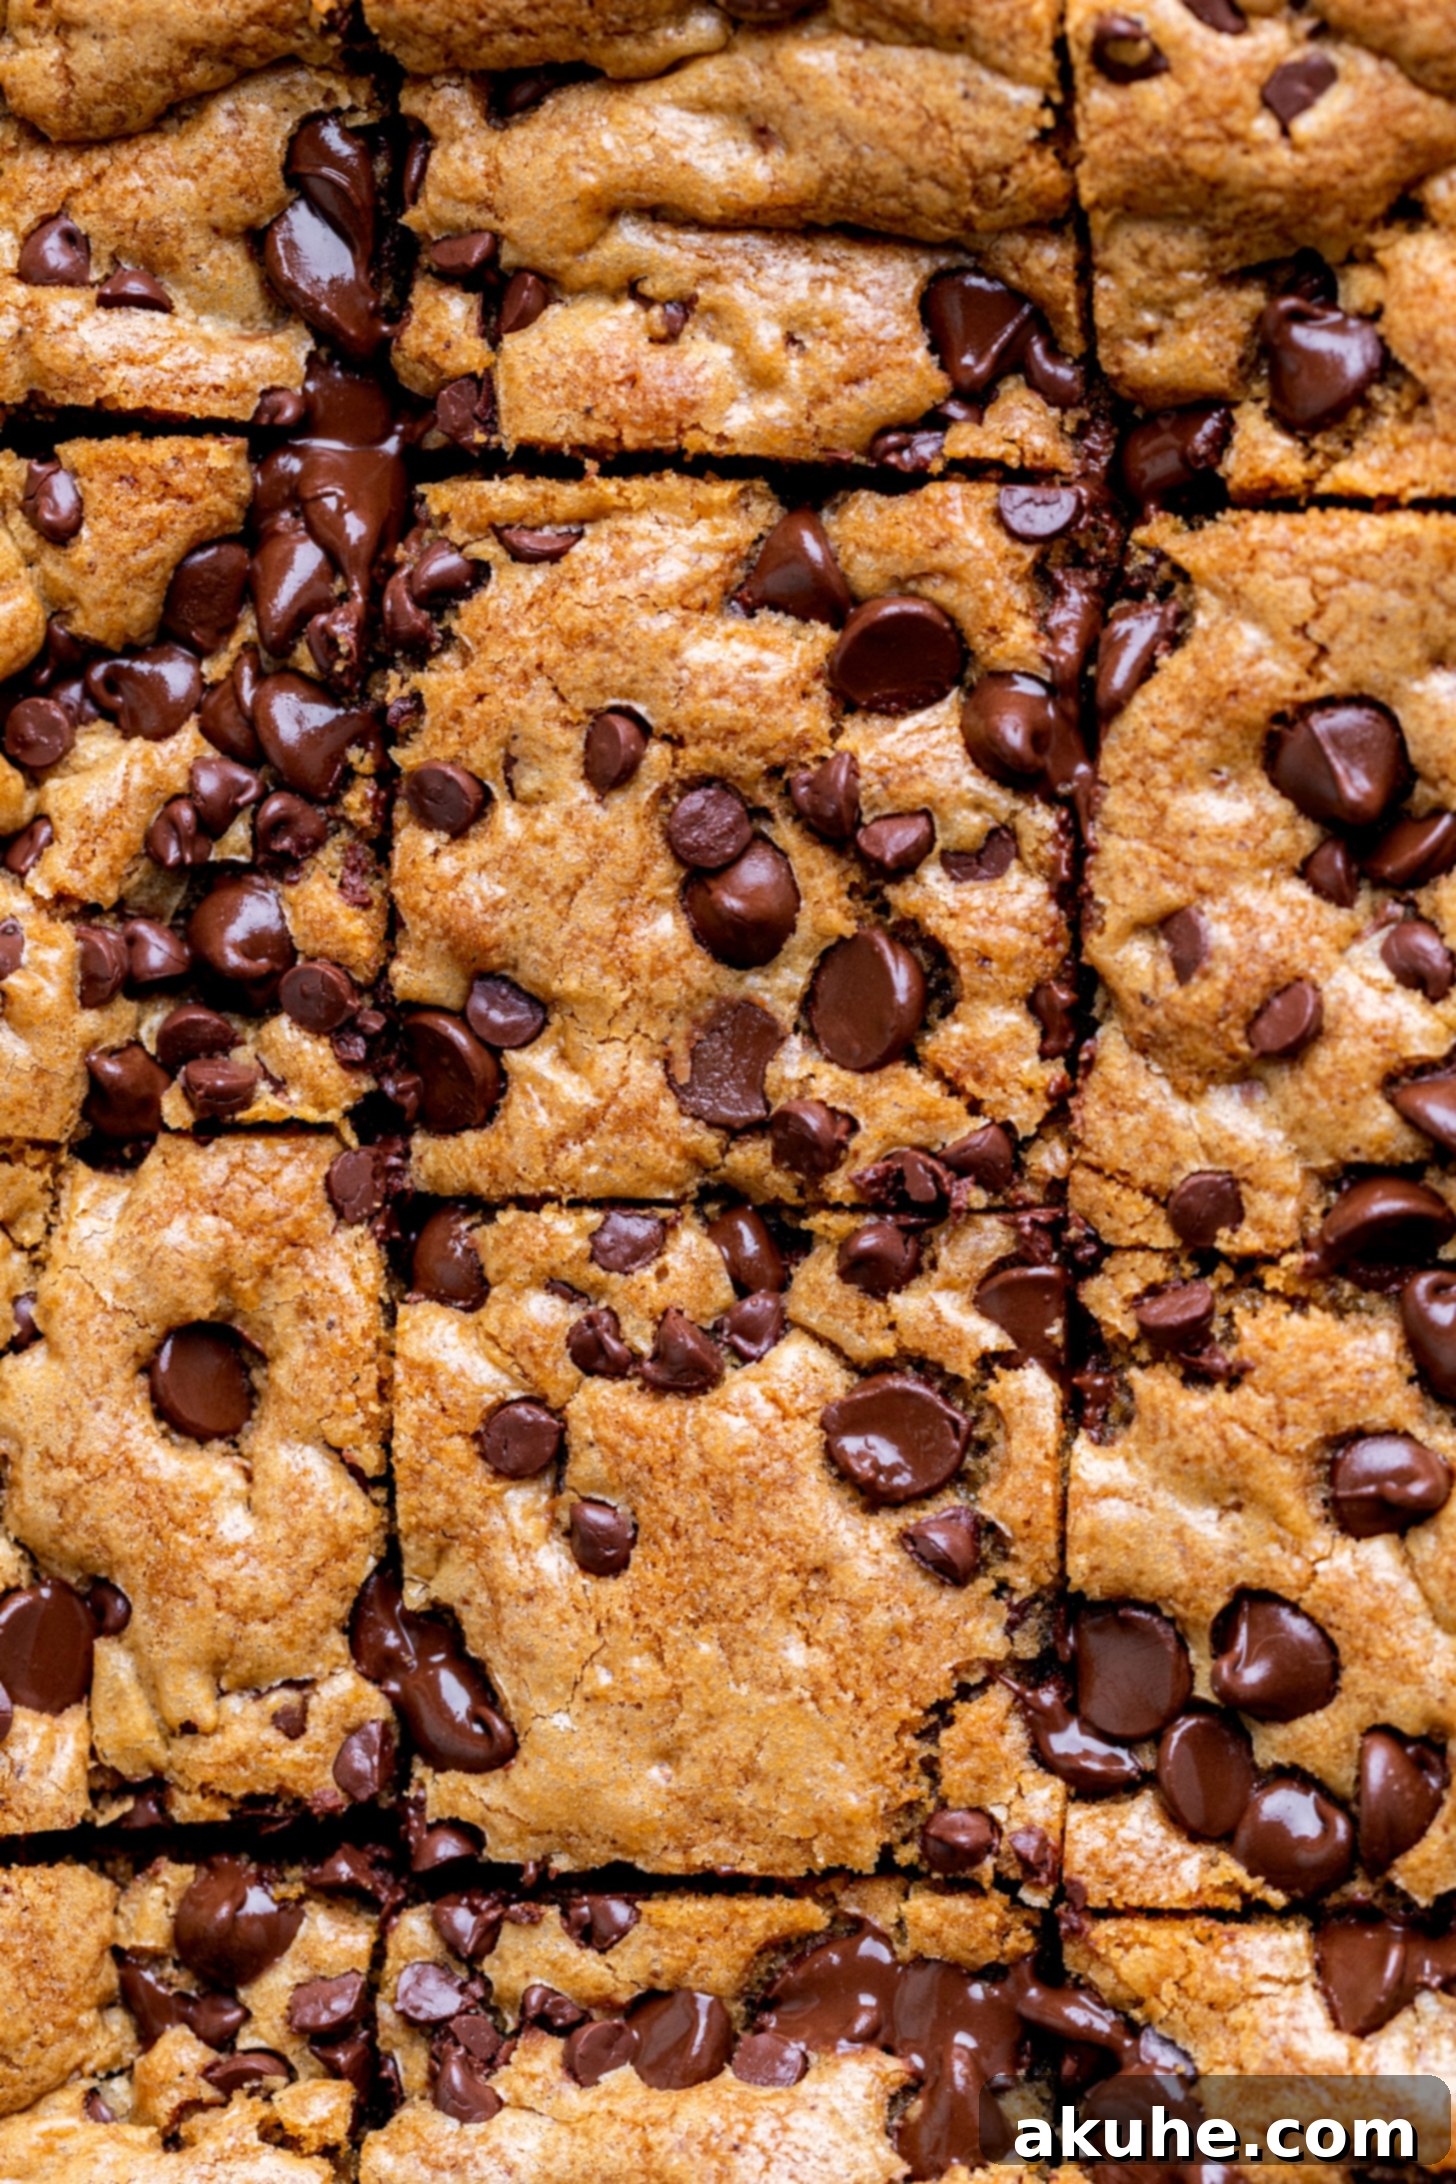
Irresistible Brown Butter Chocolate Chip Cookie Bars: Your New Go-To Dessert
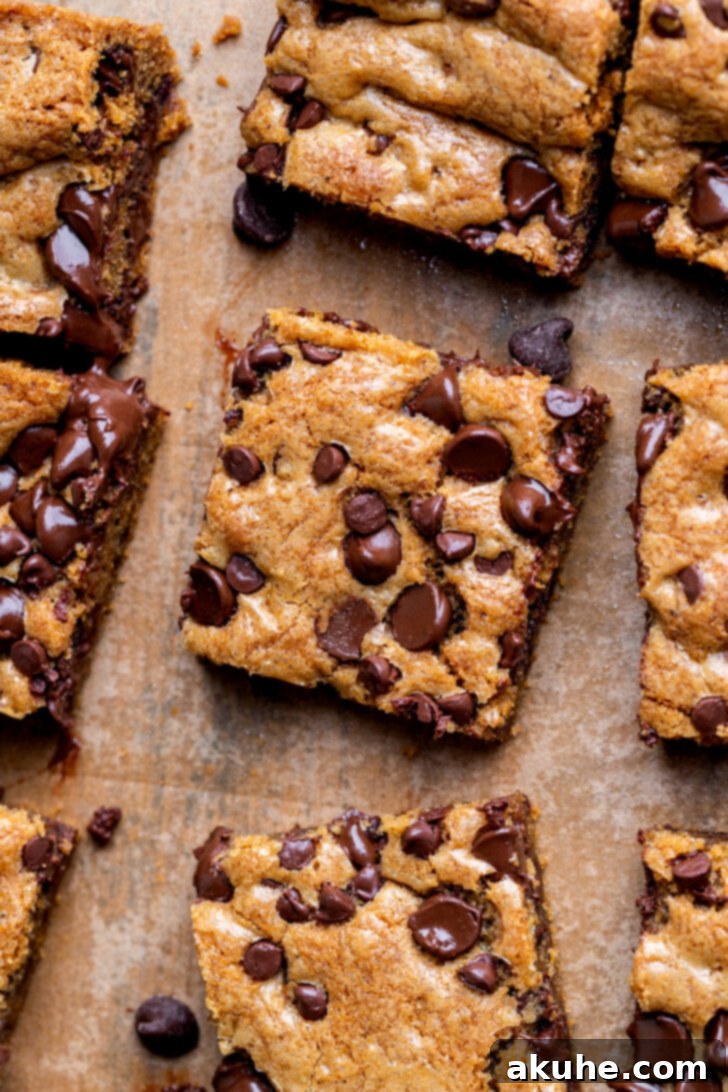
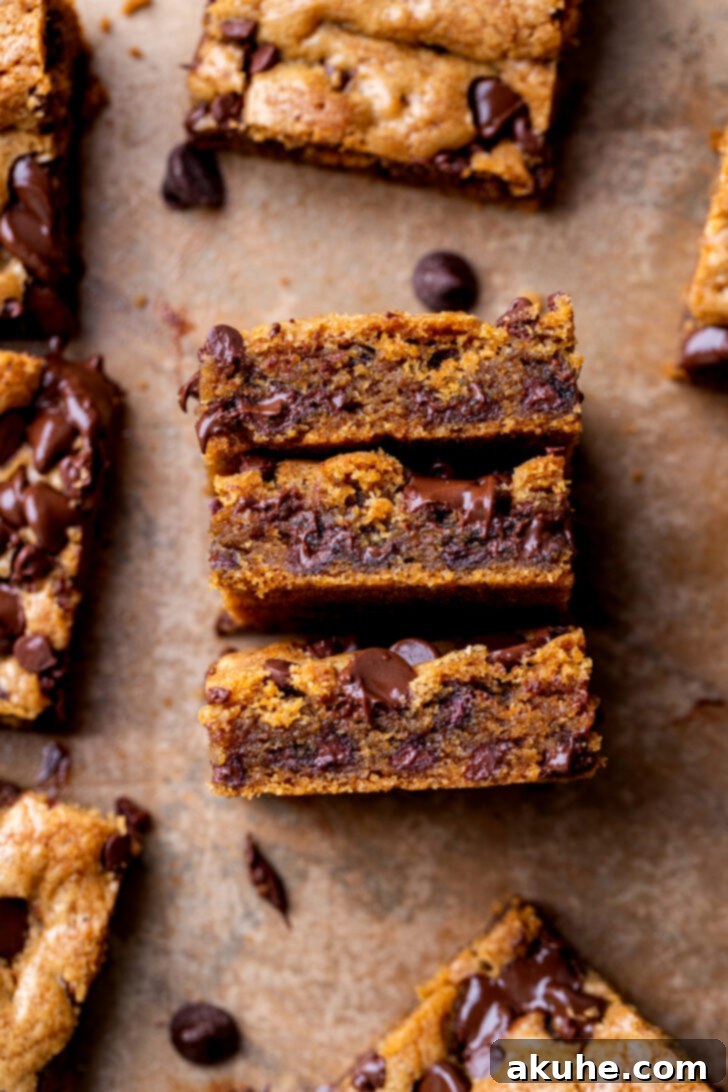
Prepare to fall in love with these incredible brown butter chocolate chip cookie bars. Renowned for their remarkably soft, chewy texture and deep, complex flavor, these bars offer a delightful twist on a classic favorite. What makes them truly special is the inclusion of nutty brown butter, which infuses every bite with a rich, caramelized essence that elevates them far beyond ordinary chocolate chip cookies. Best of all, this is a no-chill recipe, meaning you can whip up a batch of these delectable treats without the wait. Packed generously with both classic chocolate chips and delightful mini chocolate chips, each square promises a perfect blend of gooey chocolate and buttery goodness.
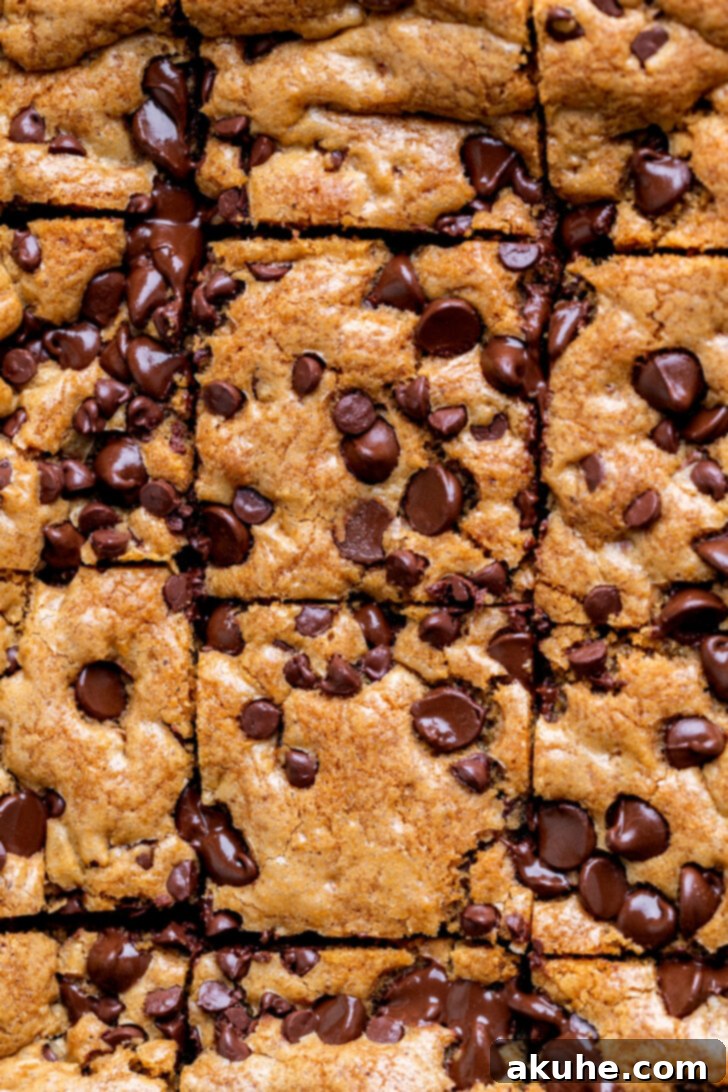
Why You’ll Love These Cookie Bars More Than Traditional Cookies
These brown butter chocolate chip cookie bars aren’t just delicious; they’re a revelation in convenience and flavor, often surpassing individual cookies. The beauty of baking in a pan is that it simplifies the process immensely. There’s no need to scoop individual portions, and the pan ensures every bar maintains a consistent, appealing shape. This streamlines your baking experience, making it much easier and quicker than preparing classic chocolate chip cookies. Another key difference lies in the flour content; these bars typically use less flour than standard cookies. This deliberate adjustment prevents them from becoming cake-like and instead guarantees that wonderfully soft, dense, and chewy texture that we all crave, as they are designed not to spread excessively in the pan. The end result is a uniformly delightful dessert, perfect for sharing or savoring solo.
Ready to master this incredible recipe? I’ve compiled essential tips, tricks, and step-by-step process photos to guide you through every stage, ensuring your cookie bars turn out perfectly every time. If you’re a fan of convenient and utterly delicious cookie bar desserts, you absolutely must try my caramel cookie bars next for another delightful treat!
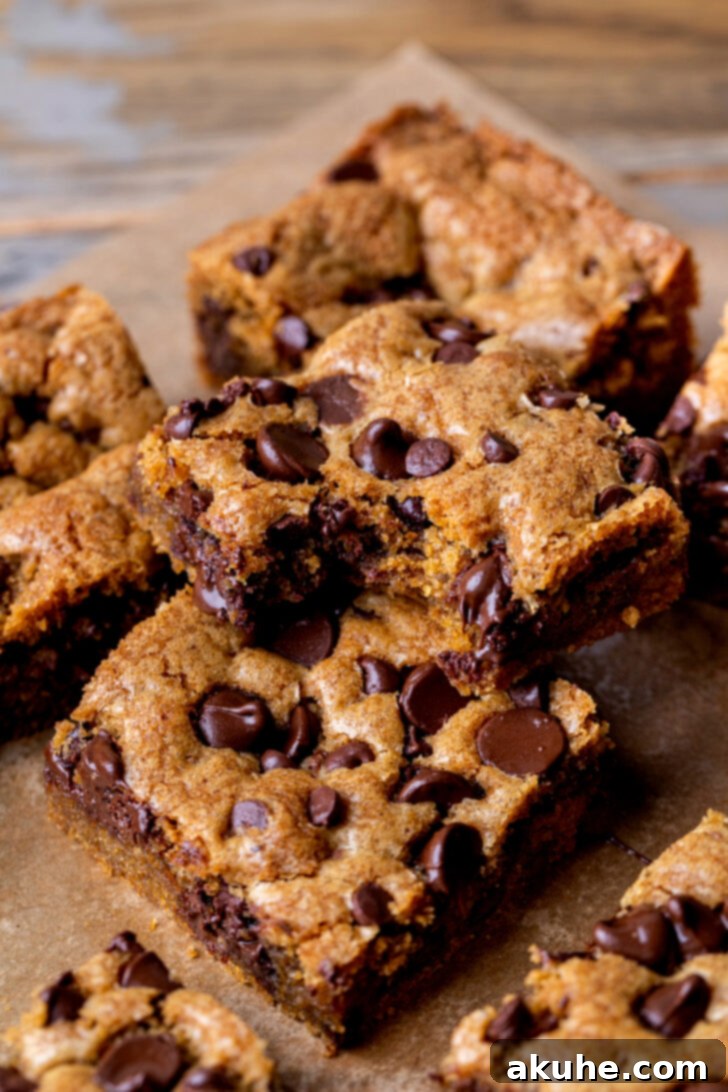
Expert Baking Tips for Perfect Brown Butter Chocolate Chip Cookie Bars
Achieving the perfect batch of brown butter chocolate chip cookie bars is simpler than you think with these expert tips! Follow these guidelines closely to ensure your bars are as soft, chewy, and flavorful as this recipe intends. For a comprehensive guide on creating the star ingredient, brown butter, make sure to check out this detailed tutorial: how to make brown butter.
- Tip 1: Measure Flour Accurately – The Secret to Texture. Proper flour measurement is paramount for the ultimate texture in your cookie bars. Always use the “spoon and level” method: gently spoon flour into your measuring cup until it overflows, then use the back of a knife or a straight edge to level it off. Never pack flour by scooping the measuring cup directly into the flour container, as this compacts it, resulting in too much flour. Excess flour can lead to dry, dense, and cakey bars, rather than the soft and chewy perfection we’re aiming for. This small step makes a huge difference!
- Tip 2: Prepare Your Pan Thoroughly for Easy Release. To ensure your delicious cookie bars can be easily removed from the pan without sticking or crumbling, thorough pan preparation is crucial. Begin by spraying your 9×9-inch baking pan generously with a high-quality nonstick baking spray. For an even easier lift-out, line the bottom and two opposing sides of the pan with parchment paper, leaving enough overhang on the sides to act as “handles.” Spray the parchment paper again for added nonstick insurance. If, after baking and cooling, your bars still feel a bit stubborn, a thin knife run carefully along the un-parchment-lined sides can help loosen them.
- Tip 3: Understand Underbaking for Chewy Perfection. When your brown butter chocolate chip cookie bars first emerge from the oven, they should appear slightly underdone in the center, perhaps even a bit gooey. This is exactly what you want! The residual heat in the pan will continue to bake the bars as they cool, a process known as “carryover cooking.” If you wait until they look perfectly done in the oven, they will become overbaked and dry once fully cooled. Trust the process: a slightly soft center leads to an incredibly chewy and moist final product. Patience during the cooling stage is key to achieving that ideal soft-baked texture.
- Tip 4: Embrace the Power of Brown Butter. The magic of these cookie bars truly begins with brown butter. Don’t rush this step! Browning butter transforms simple butter into a fragrant, nutty, golden elixir. Keep a close eye on it as it cooks; the milk solids will toast and turn a deep amber color, releasing a beautiful aroma. This is where the depth of flavor comes from. Let it cool slightly before incorporating it into your wet ingredients to prevent scrambling the eggs. The effort is minimal, but the flavor impact is immense.
- Tip 5: Use Cold Eggs for Optimal Results. While many recipes call for room temperature eggs, this recipe specifically benefits from cold eggs. The cold temperature of the eggs helps to quickly cool down the slightly warm brown butter, preventing the butter from solidifying completely and ensuring a smooth, emulsified batter. This also helps to maintain the perfect consistency of the dough, contributing to the soft and chewy texture of the finished bars.
Visual Guide to Crafting Your Brown Butter Chocolate Chip Cookie Bars
Follow these step-by-step visuals to effortlessly create your perfect batch of cookie bars. Each image corresponds to a crucial stage in the baking process, ensuring clarity and confidence as you bake.
Craving more delightful cookie bar recipes? Be sure to explore my monster cookie bars and the seasonal favorite, pumpkin pie cookie bars, for even more baking inspiration!
We hope you adore this recipe for Brown Butter Chocolate Chip Cookie Bars! If you loved baking and tasting them, please consider leaving astar review and a comment below to share your experience. Your feedback is greatly appreciated by other bakers in our community. Don’t forget to tag me on Instagram @stephaniesweettreats with your delicious creations! For more delectable baking ideas and inspiration, be sure to follow me on Pinterest.
Recipe Video: Watch How It’s Made
Brown Butter Chocolate Chip Cookie Bars
Print Recipe
Pin Recipe
Leave a Review
Ingredients
- 3/4 cup Plus 1 TBSP Unsalted butter
- 3/4 cup Brown sugar, packed light or dark
- 1/3 cup White granulated sugar
- 1 tsp Pure vanilla extract
- 2 Large eggs, cold
- 1 3/4 cups All-purpose flour
- 1/2 tsp Baking soda
- 1/2 tsp Salt
- 1 cup Semi-sweet chocolate chips, plus more for topping
- 1/3 cup Mini chocolate chips, plus more for topping
Instructions
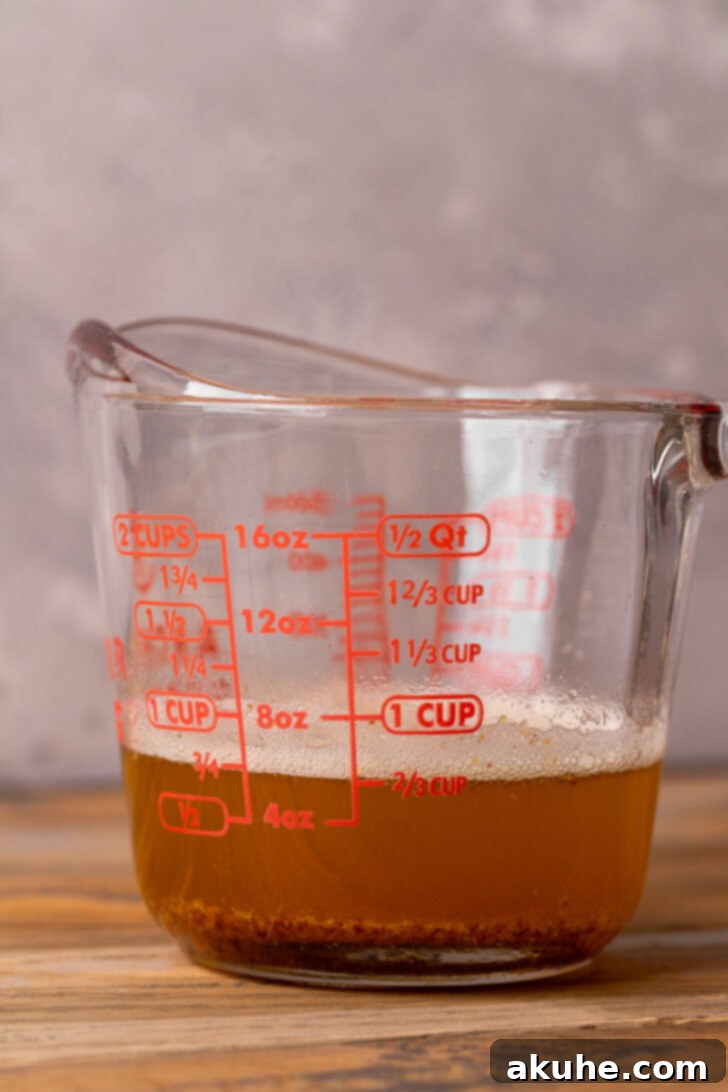
- In a large, light-colored frying pan over medium heat, melt the unsalted butter. Once the butter is fully melted, continue to cook, stirring occasionally. You’ll notice it starts to become really bubbly, then a thick foam will form on the surface. Keep stirring and watching closely for the milk solids at the bottom of the pan to separate and turn a rich amber or golden-brown color. This browning process develops the deep, nutty flavor that defines these cookie bars. Be careful not to burn it!3/4 cup Plus 1 TBSP Unsalted butter
- Carefully pour the hot browned butter into a liquid measuring cup. It should yield exactly 3/4 cup. If it’s slightly less due to evaporation, you can top it up with a tiny bit of melted unsalted butter. Place the browned butter in the refrigerator for a short period to cool slightly while you prepare the remaining ingredients. This step is important for bringing down the temperature before combining with eggs.
- Preheat your oven to 350℉ (175°C). Prepare a 9×9-inch baking pan by generously spraying it with a nonstick baking spray. For easier removal of the finished bars, line the bottom and two opposing sides of the pan with parchment paper, leaving enough overhang to act as lifting handles. Spray the parchment paper again for optimal non-stick coverage.
- In a medium-sized bowl, whisk together the all-purpose flour, baking soda, and salt until they are well combined. This ensures even distribution of the leavening agent and seasoning throughout the dough. Set this dry ingredient mixture aside.1 3/4 cups All-purpose flour, 1/2 tsp Baking soda, 1/2 tsp Salt
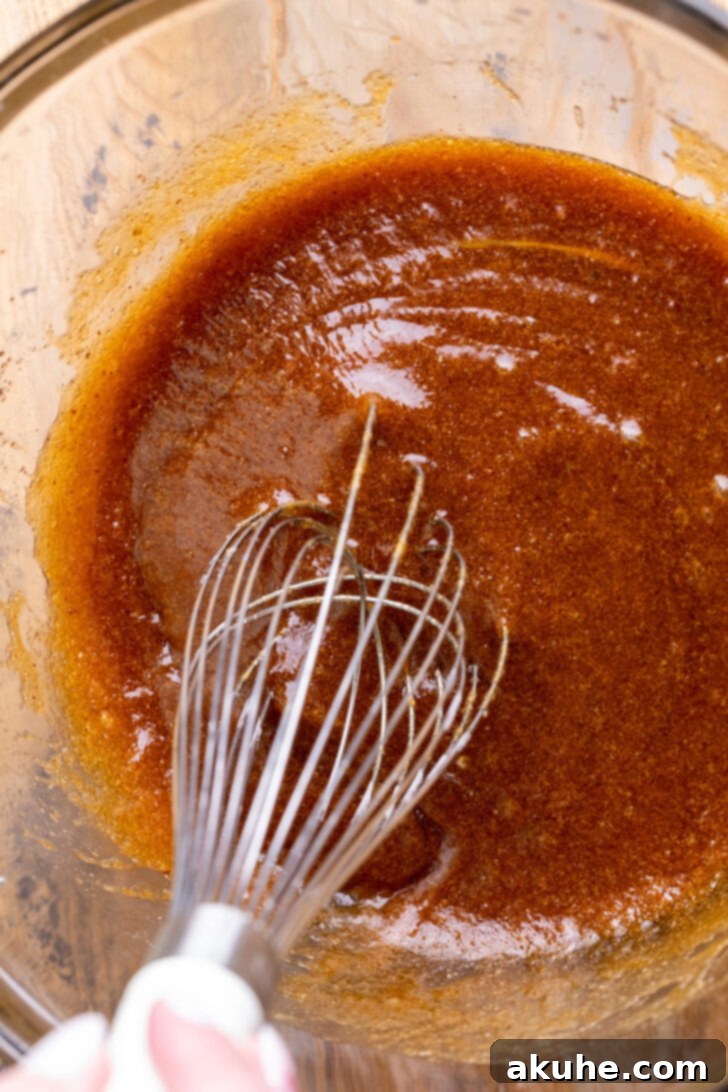
- In a large mixing bowl, combine the brown sugar (whether light or dark, ensure it’s packed), white granulated sugar, and the cooled browned butter. Whisk these ingredients together until they are thoroughly combined and smooth. This foundational mixture will provide the base for your rich cookie dough.3/4 cup Brown sugar, 1/3 cup White granulated sugar
- Add the pure vanilla extract and the two cold large eggs to the sugar and butter mixture. Whisk everything together until the mixture is smooth and evenly incorporated. The coolness of the eggs is crucial here, as it helps to bring down the temperature of the brown butter, preventing the eggs from cooking prematurely and contributing to the perfect dough consistency.1 tsp Pure vanilla extract, 2 Large eggs
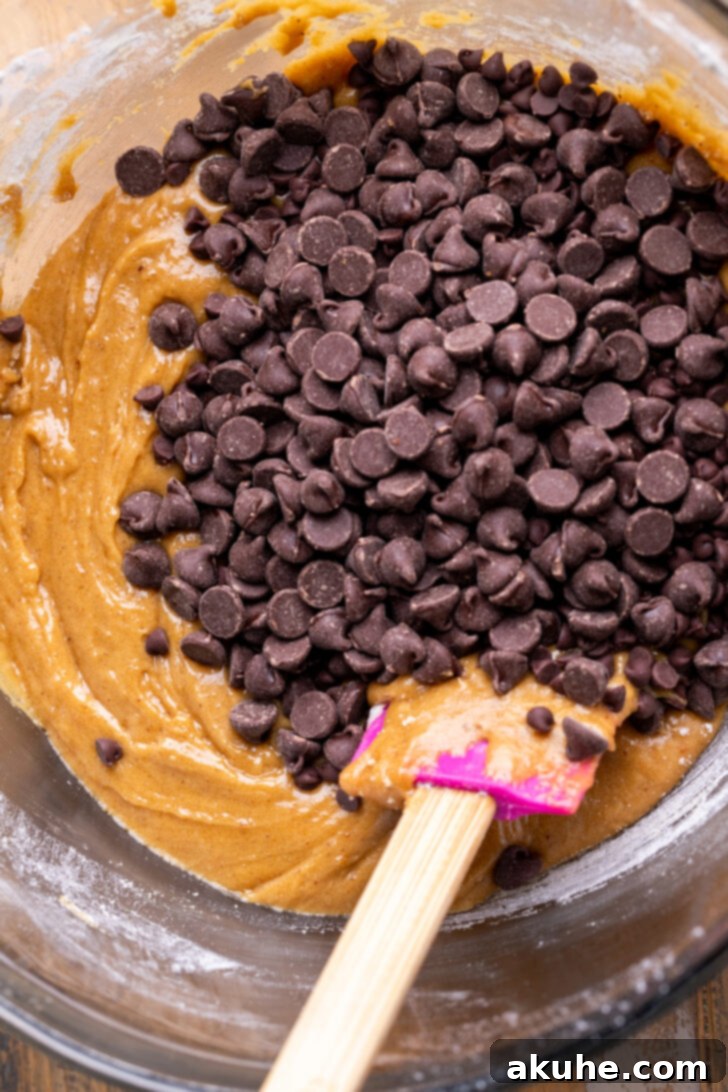
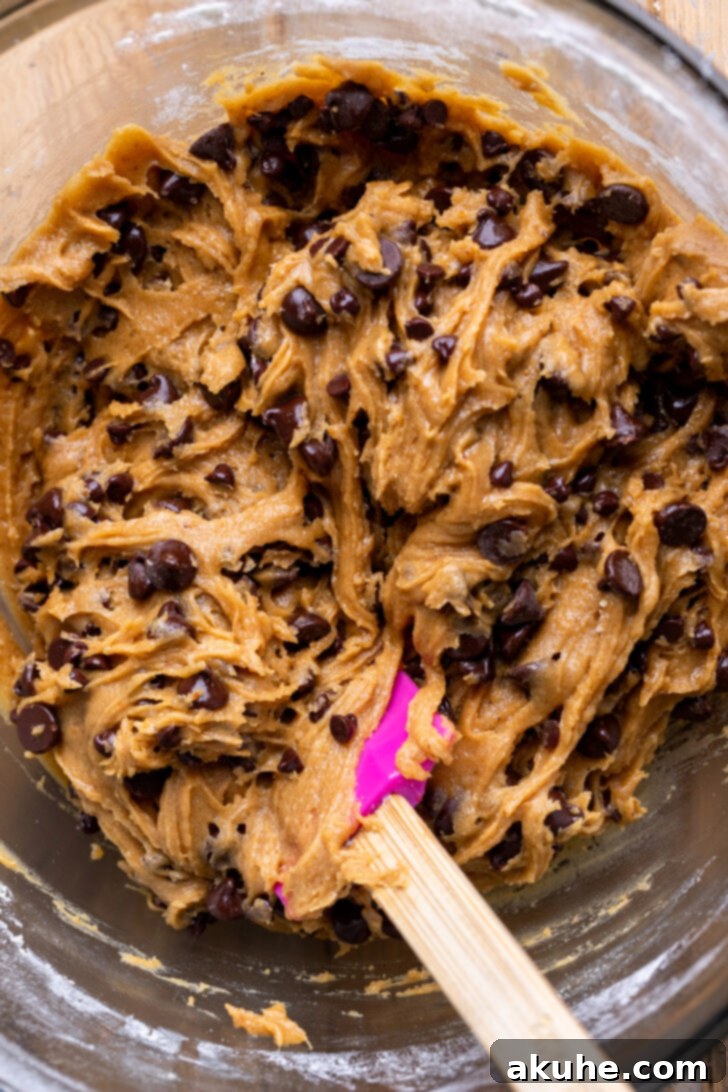
- Gradually add the reserved dry ingredients to the wet mixture. Switch from a whisk to a sturdy baking rubber spatula. Mix gently until just combined, being careful not to overmix, which can develop the gluten too much and result in tough bars. Fold in the semi-sweet chocolate chips and the mini chocolate chips until they are evenly distributed throughout the batter. At this stage, the batter will have a slightly runny consistency.1 cup Semi-sweet chocolate chips, 1/3 cup Mini chocolate chips
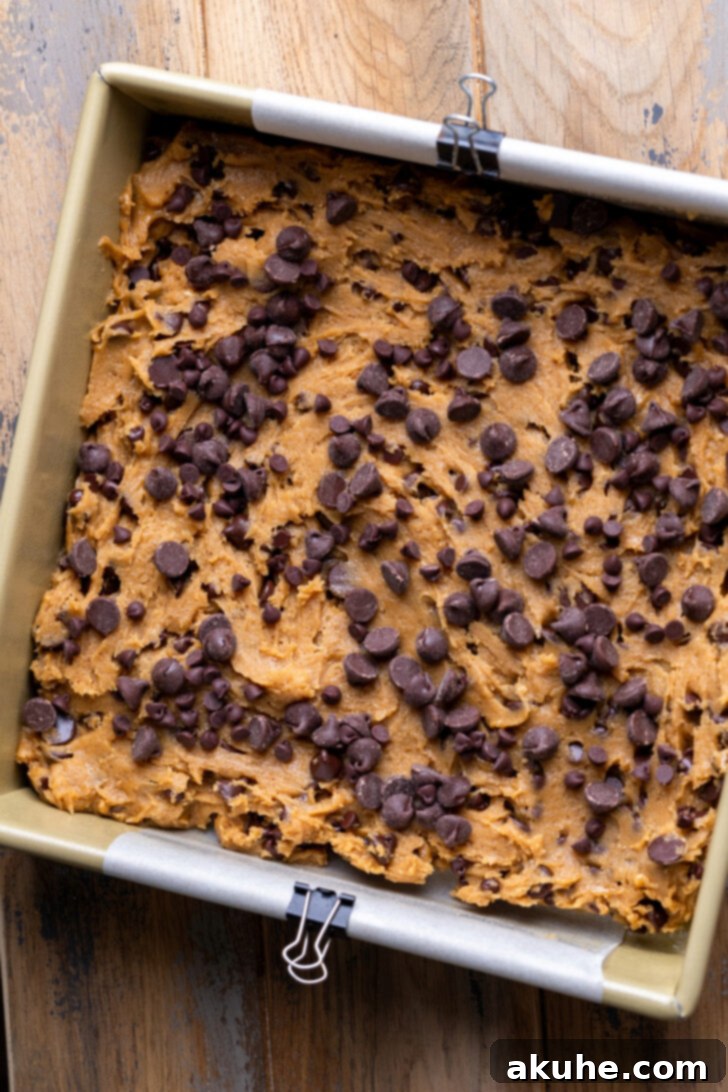
- Promptly pour the cookie dough into the prepared 9×9-inch pan. Use your rubber spatula to spread the dough evenly across the bottom of the pan, ensuring it reaches all corners. For an appealing finish and an extra chocolate boost, sprinkle additional chocolate chips and mini chocolate chips over the top of the dough. Gently press them into the surface to secure them.
- Bake the cookie bars in the preheated oven for 27-30 minutes. Keep an eye on them; the bars are ready when the edges are set and golden brown, and the center still looks slightly soft or underdone. Remember, they will continue to firm up as they cool.
- Once baked, remove the pan from the oven. It is absolutely crucial to let the cookie bars cool completely in the pan on a wire rack before attempting to cut or serve them. This cooling period allows them to finish baking through carryover heat and solidify, ensuring they are perfectly chewy and hold their shape beautifully when cut. Patience will be rewarded with the best texture!
Notes
High Altitude Baking Adjustments: If you are baking at a high altitude (generally above 3,500 feet or 1,000 meters), you may need to make a slight adjustment to the recipe. High altitude can cause baked goods to spread more and dry out faster. To counteract this, add an extra 1 tablespoon of all-purpose flour to the dry ingredients. This small addition helps to strengthen the structure of the bars and prevents them from overspreading.
Carbohydrates: 33g,
Protein: 2g,
Fat: 5g,
Saturated Fat: 3g,
Polyunsaturated Fat: 0.2g,
Monounsaturated Fat: 1g,
Trans Fat: 0.02g,
Cholesterol: 1mg,
Sodium: 114mg,
Potassium: 93mg,
Fiber: 1g,
Sugar: 21g,
Vitamin A: 14IU,
Vitamin C: 0.02mg,
Calcium: 22mg,
Iron: 1mg
