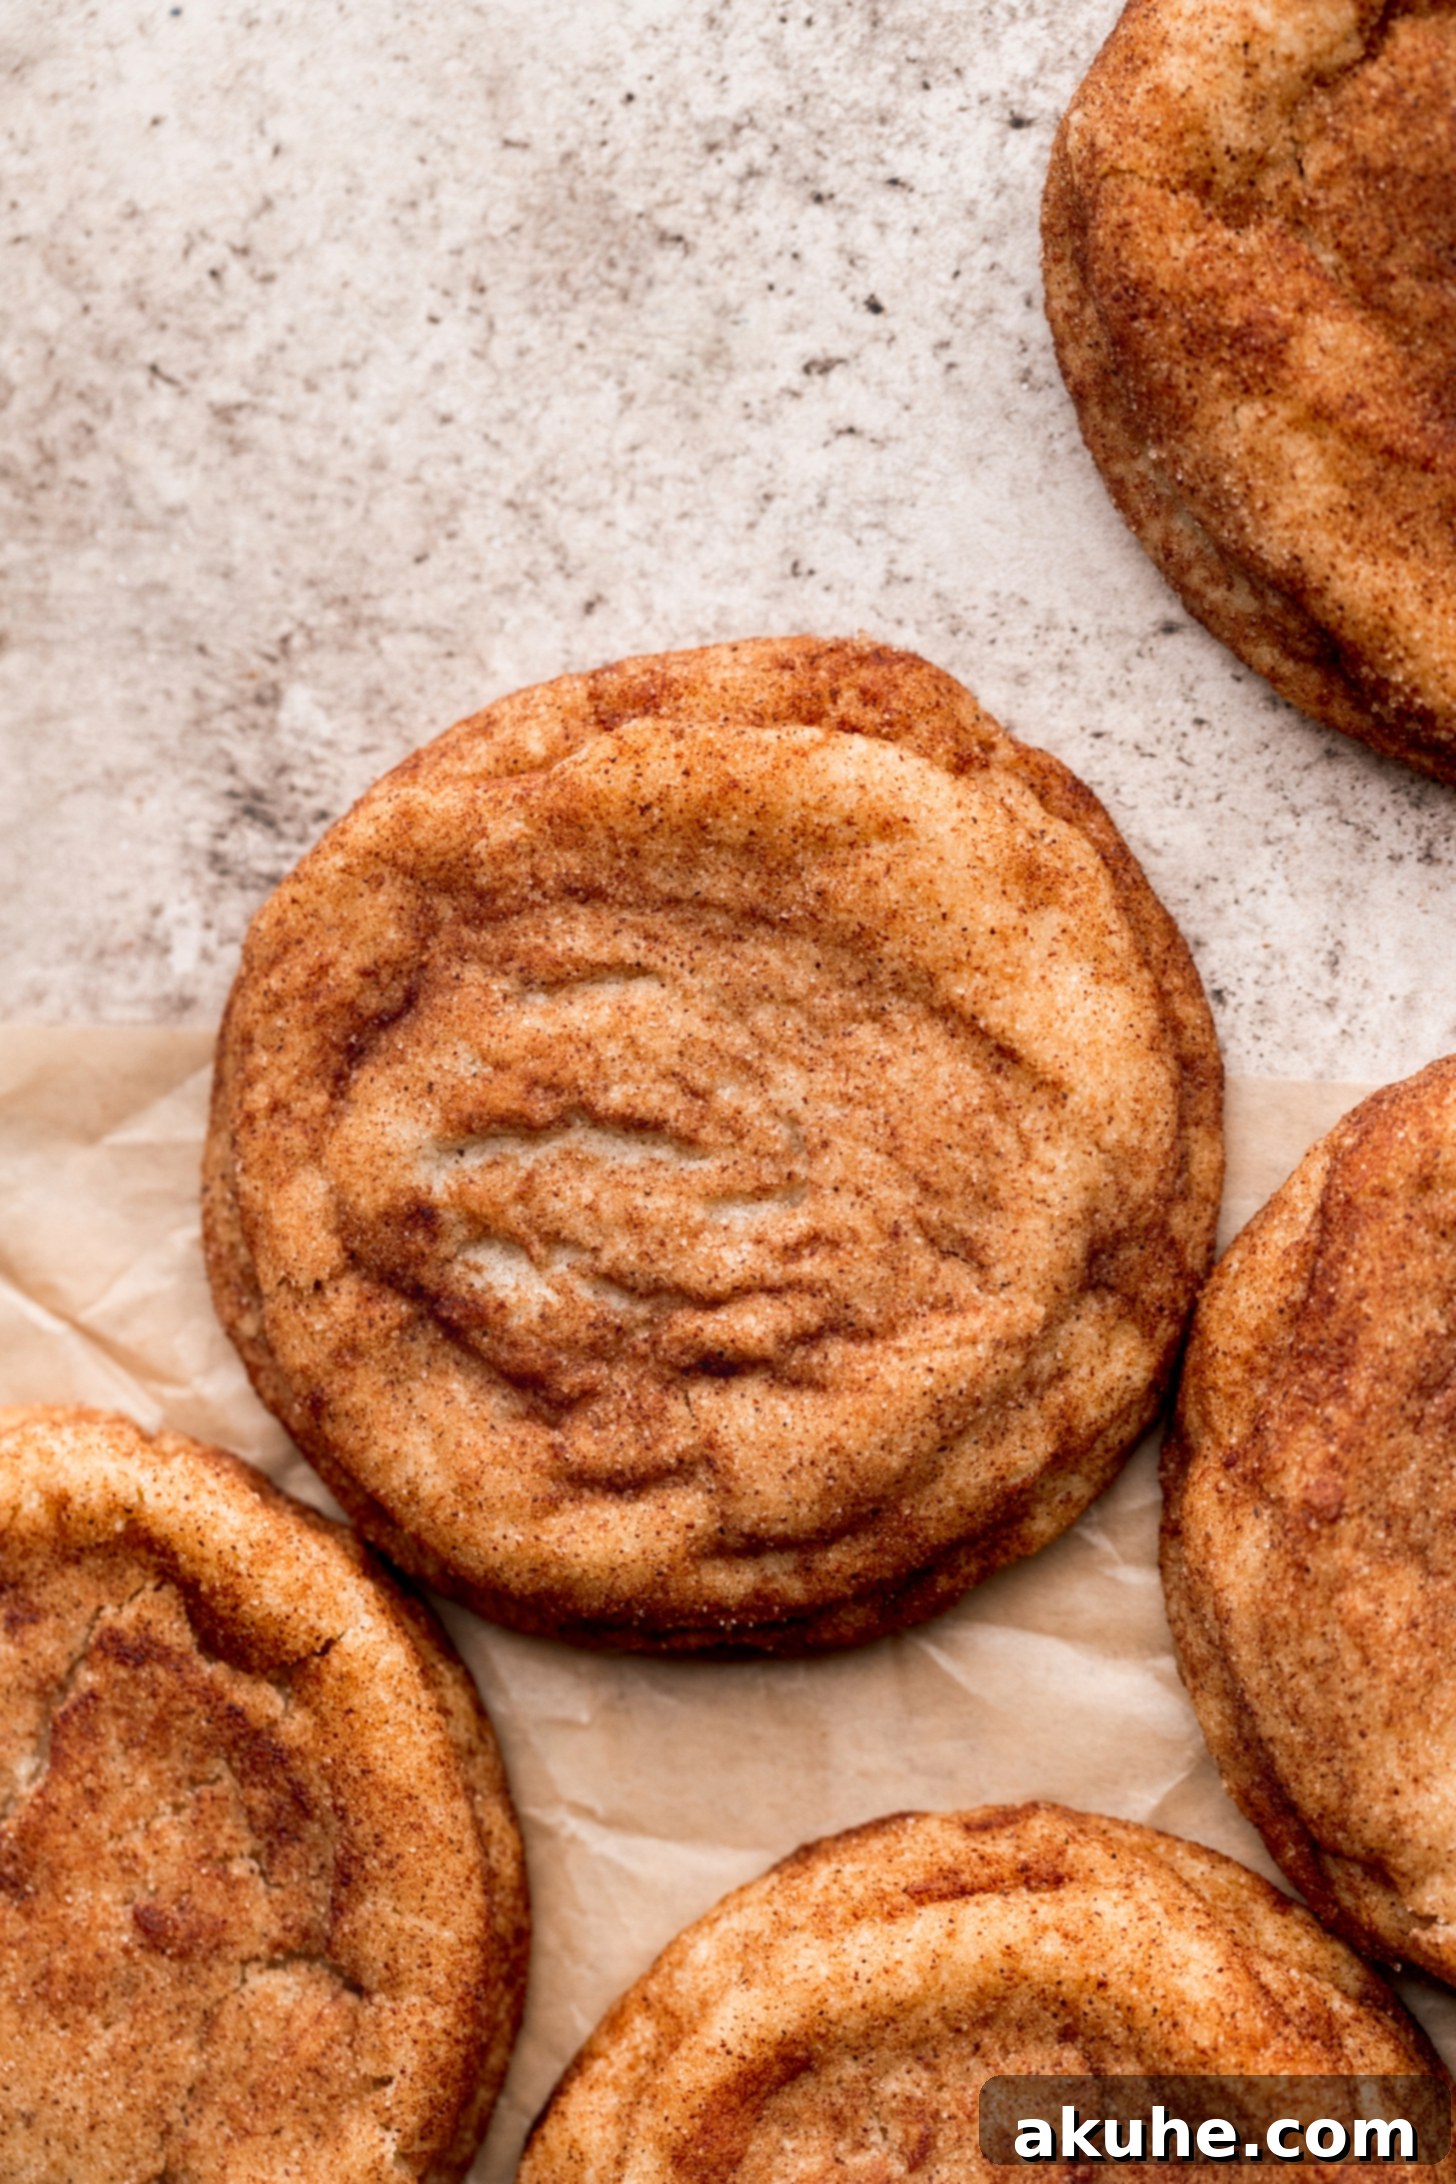
Welcome to the ultimate guide for creating the most exquisite Brown Butter Snickerdoodle Cookies you’ve ever tasted! These aren’t just any snickerdoodles; they are a decadent reimagining of a beloved classic, boasting an unparalleled depth of flavor and a texture that’s simply irresistible. Imagine a cookie that’s wonderfully chewy in the center, perfectly crisp at the edges, and enveloped in that quintessential cinnamon-sugar coating. The secret? Nutty, aromatic brown butter, which elevates these treats to a gourmet level without any fuss.
What sets our brown butter snickerdoodles apart is their remarkable simplicity coupled with extraordinary results. This recipe requires no chilling of the dough and no stand mixer, making it incredibly accessible for bakers of all skill levels. It transforms the comforting familiarity of a traditional snickerdoodle into a truly gourmet experience. The brown butter introduces rich, caramelized, and nutty undertones that are simply magical, beautifully complementing the sweet spice of cinnamon sugar. We’re here to guide you with detailed tips, tricks, and step-by-step photos to ensure your baking journey is a resounding success. If you’re a fan of snickerdoodle desserts, you’ll definitely want to explore other delightful variations like our Chewy Pumpkin Snickerdoodle Cookies.
The Irresistible Allure of Brown Butter Snickerdoodles
The journey to the perfect cookie often involves a little secret, and for these snickerdoodles, it’s undoubtedly the brown butter. Browning butter is a culinary technique that transforms ordinary butter into a golden, nutty, and fragrant elixir. As the butter melts and simmers, its milk solids toast, releasing deep, complex notes of caramel and toasted nuts. This simple step adds an incredible depth of flavor that a regular snickerdoodle simply can’t match, creating a truly gourmet cookie experience right in your own kitchen.
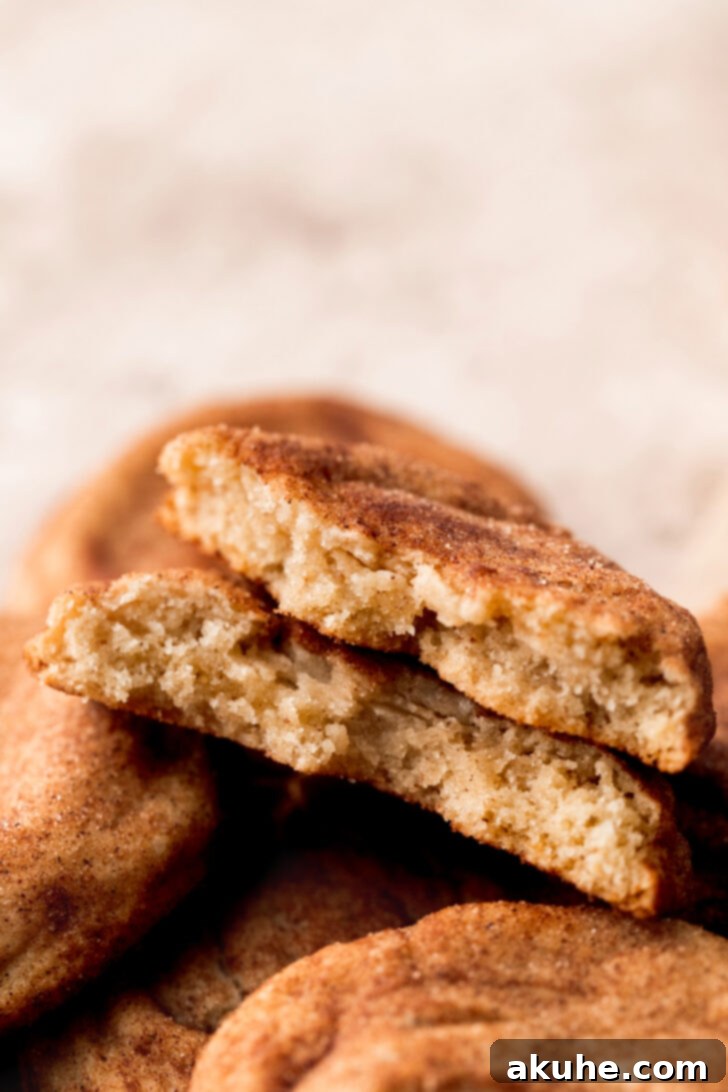
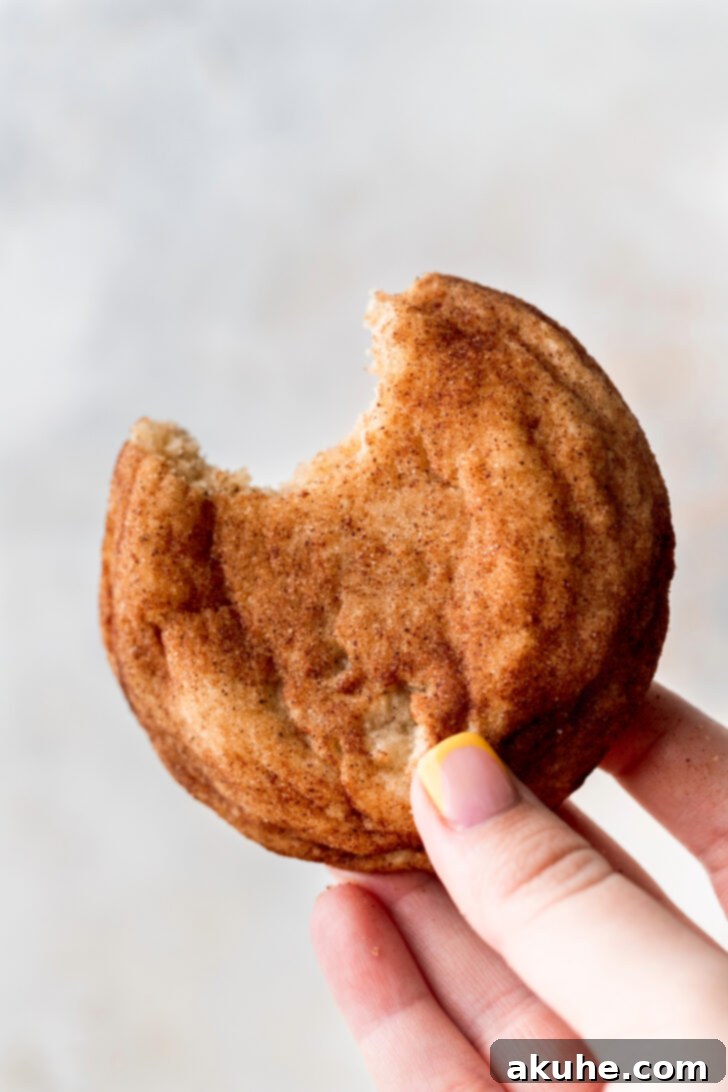
Beyond the rich flavor, these cookies boast an enviable texture. Each bite delivers a soft, chewy center balanced perfectly by delightfully crisp edges. This perfect textural contrast, combined with the warm, spicy hug of cinnamon sugar, makes these brown butter snickerdoodles an unforgettable treat. They are generously sized, reminiscent of bakery-style cookies, making them ideal for sharing (or not!).
Essential Tips for Baking Brown Butter Snickerdoodle Perfection
Achieving bakery-quality brown butter snickerdoodles is easier than you think, especially with these insider tips. We’ve refined the process to ensure every batch turns out absolutely perfect.
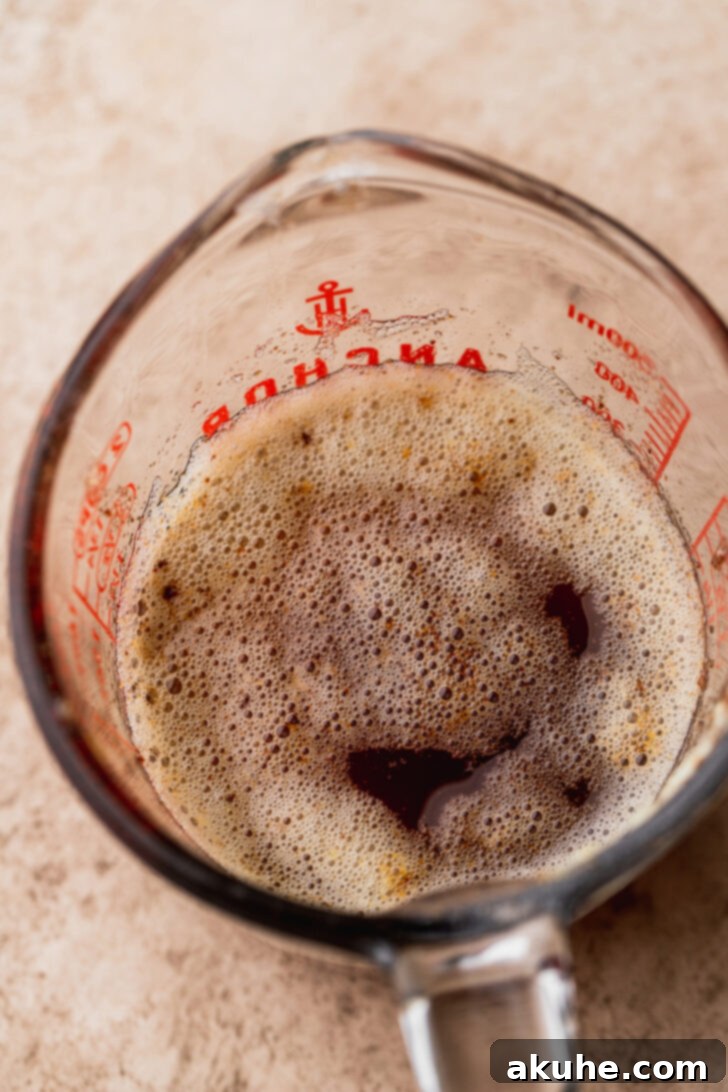
- Mastering the Brown Butter Technique: Brown butter is the star, so getting it right is crucial. Use a large, light-colored frying pan or skillet to brown the butter. A lighter pan allows you to clearly see the color change of the milk solids. Melt the butter over medium heat, stirring continuously with a rubber spatula. Look for the butter to turn a rich amber color, and the milk solids at the bottom to become deeply golden brown and fragrant, smelling nutty and toasted. Once it reaches this stage, immediately remove it from the heat to prevent burning. For an even more detailed guide, you can refer to dedicated resources on how to make brown butter.
- Cooling Your Brown Butter: This is a critical step often overlooked. After browning, the butter must cool down before being incorporated into the cookie dough. If the butter is still warm, it will affect the dough’s texture, making it too soft and causing your cookies to spread excessively in the oven. Aim for room temperature. If you’re short on time, placing the pan in the freezer for 10-15 minutes can speed up the cooling process, but ensure it doesn’t solidify completely.
- Accurate Flour Measurement is Key: Baking is a science, and flour measurement plays a significant role in cookie texture. Always spoon your flour into the measuring cup and then level it off with a straight edge (like the back of a knife). Scooping directly from the bag compacts the flour, leading to an excess amount that can result in dry, dense cookies that don’t spread properly.
- High-Altitude Adjustments: For bakers living at higher altitudes, cookies often require slight modifications to account for lower atmospheric pressure. Adding an extra 2 tablespoons of all-purpose flour can help provide more structure to the dough, preventing excessive spreading and ensuring your cookies maintain their desired shape and thickness.
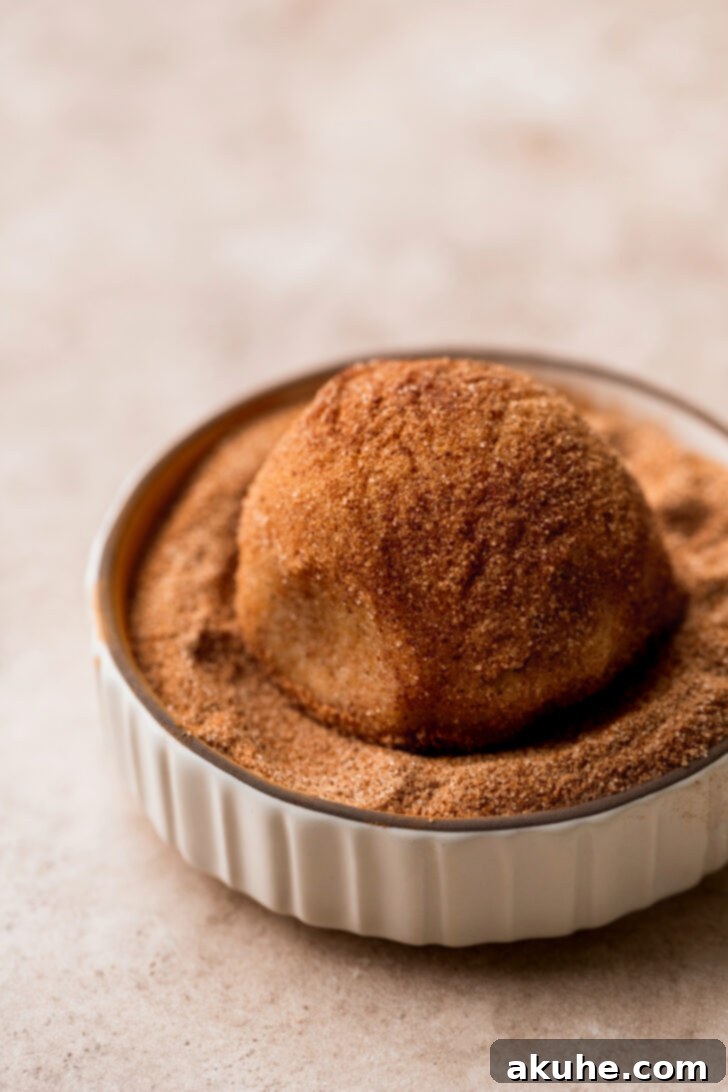
- Effortless Dough Rolling: Once you’ve scooped your cookie dough into balls, don’t stress about making them perfectly spherical. The beauty of these snickerdoodles is that they’ll naturally form a lovely shape as they bake. Simply drop the scooped dough balls into your cinnamon-sugar mixture and roll them around until they are fully coated. The rustic charm is part of their appeal!
- Room Temperature Ingredients for Best Results: Ensure your eggs and any other dairy ingredients (like the cooled brown butter) are at room temperature. This allows them to emulsify better with other ingredients, creating a smoother, more uniform dough, which in turn leads to a superior cookie texture. Plan ahead and pull them out of the refrigerator at least 30 minutes to an hour before you start baking.
- Don’t Overbake: For that perfect chewy-crisp texture, it’s essential not to overbake your snickerdoodles. Keep a close eye on them during the last few minutes of baking. The cookies are typically done when their edges are lightly golden brown, and the centers still look slightly soft. They will continue to set as they cool on the hot baking sheet.
Why You’ll Fall in Love with These Cookies
These Brown Butter Snickerdoodle Cookies are more than just a dessert; they’re an experience. They bring together the nostalgic comfort of a classic snickerdoodle with the sophisticated depth of brown butter, resulting in a cookie that tastes effortlessly gourmet. The “no chill, no mixer” aspect means you can whip up a batch whenever a craving strikes, making them perfect for impromptu gatherings, cozy evenings, or simply satisfying your sweet tooth. The perfect balance of chewy, crisp, nutty, and sweet cinnamon makes them incredibly addictive and a guaranteed crowd-pleaser.
Serving and Storage Suggestions
These snickerdoodles are best enjoyed fresh, perhaps still slightly warm from the oven, paired with a cold glass of milk, a hot cup of coffee, or even a scoop of vanilla bean ice cream. For maximum freshness, store leftover cookies in an airtight container at room temperature for up to 3-4 days. To extend their life, you can also freeze the baked cookies for up to 3 months. Simply thaw them at room temperature or gently warm them in the microwave for a few seconds for that fresh-baked taste. You can also freeze the raw cookie dough balls (without the cinnamon-sugar coating) for up to 2-3 months. When ready to bake, roll them in cinnamon sugar and bake directly from frozen, adding a few extra minutes to the baking time.
Frequently Asked Questions About Brown Butter Snickerdoodles
- Can I skip browning the butter? While you technically can use melted unsalted butter, browning it is what gives these cookies their signature nutty, caramel flavor that makes them so special. Skipping this step would result in a delicious snickerdoodle, but it wouldn’t have the same gourmet depth.
- What is cream of tartar for in snickerdoodles? Cream of tartar is a crucial ingredient in traditional snickerdoodles. It works with baking soda to create the characteristic tangy flavor and contributes to the chewy texture, preventing the cookies from becoming too crisp. It also helps to create that classic crackled top.
- Why did my cookies spread too much/too little? Over-spreading can be caused by butter that was too warm, inaccurate flour measurement (too little), or an oven that isn’t hot enough. Cookies not spreading enough can be due to too much flour (compacted flour), butter that was too cold, or an oven that is too hot. Ensuring accurate measurements and correct butter temperature is key.
- Can I make these gluten-free? While this recipe hasn’t been tested with gluten-free flour, many readers have success by substituting a 1:1 gluten-free baking flour blend (ensure it contains xanthan gum) for the all-purpose flour. Results may vary slightly in texture.
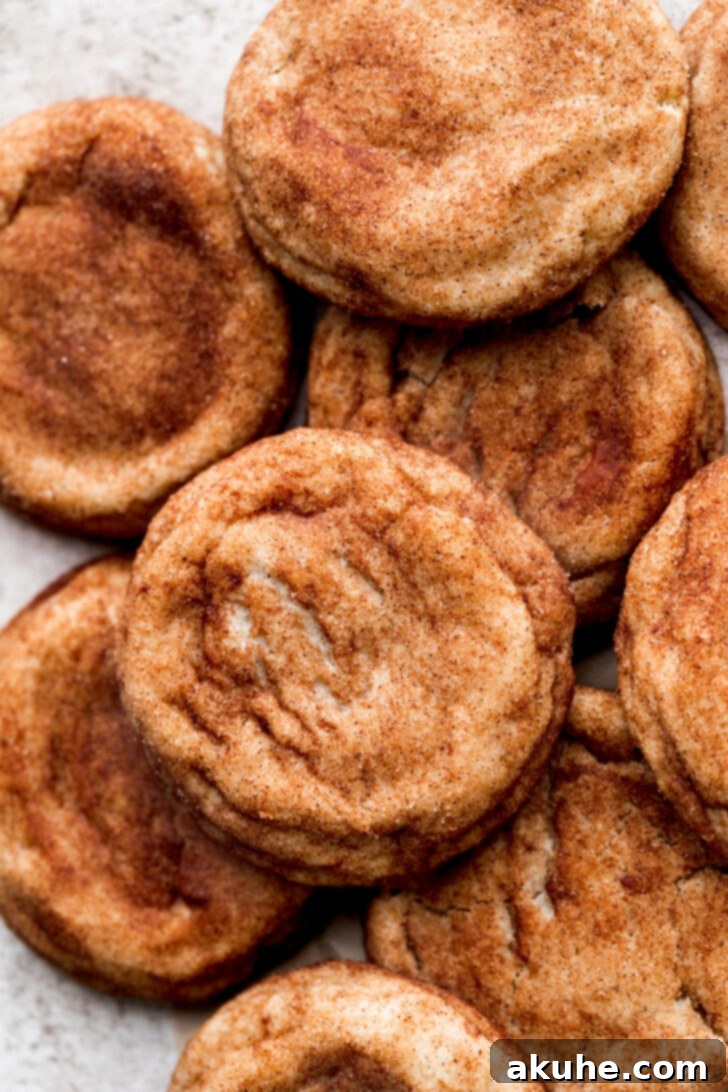
We genuinely hope you enjoy baking and savoring these delightful Brown Butter Snickerdoodle Cookies! If you loved this recipe, please consider leaving a star review. Your feedback means the world to us. Don’t forget to tag us on Instagram @stephaniesweettreats with your creations, and for more inspiring ideas, follow us on Pinterest.
Brown Butter Snickerdoodle Cookies
10 mins
14 mins
20 mins
44 mins
16 Large cookies
Ingredients
- 2 2/3 cups All-purpose flour
- 1 1/2 tsp Cream of tartar
- 1 TBSP Cornstarch
- 1/2 tsp Baking soda
- 1/2 tsp Baking powder
- 1 tsp Salt
- 1 cup Plus 2 TBSP Unsalted butter, browned
- 1 1/2 cups White granulated sugar
- 2 Large eggs, room temperature
- 2 tsp Pure vanilla extract
Cinnamon Sugar
- 1/4 cup White granulated sugar
- 1 TBSP Ground cinnamon
Instructions
- Preheat oven to 350°F (175°C) and line two cookie sheets with parchment paper.
- In a large frying pan over medium heat, melt the butter. Continuously stir with a rubber spatula until the butter turns an amber color and the milk solids separate and brown at the bottom. Immediately remove from heat. Allow to cool for 15 minutes.
TIP: The browned butter must be at room temperature before use. If it’s even slightly warm, it can cause the cookie dough to be too soft and the cookies to spread excessively in the oven. If it’s not cooled after 15 minutes, place it in the freezer for about 10 minutes to rapidly cool it down, ensuring it doesn’t solidify.
- In a medium-sized bowl, sift together the flour, baking soda, baking powder, salt, cream of tartar, and cornstarch. Set aside.
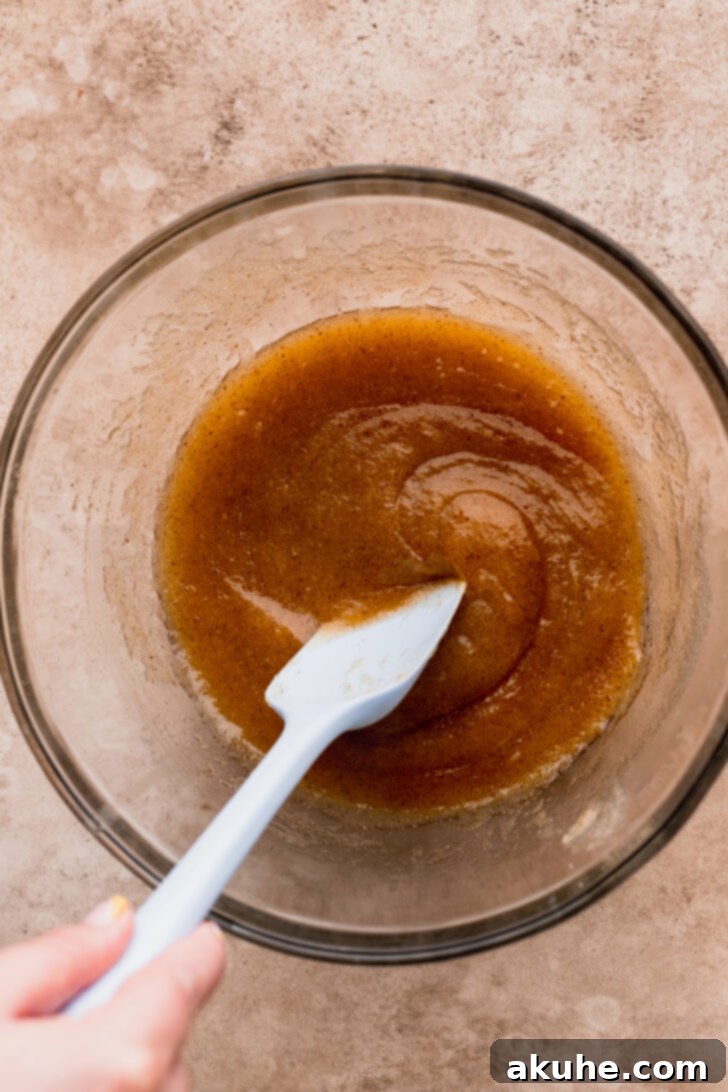
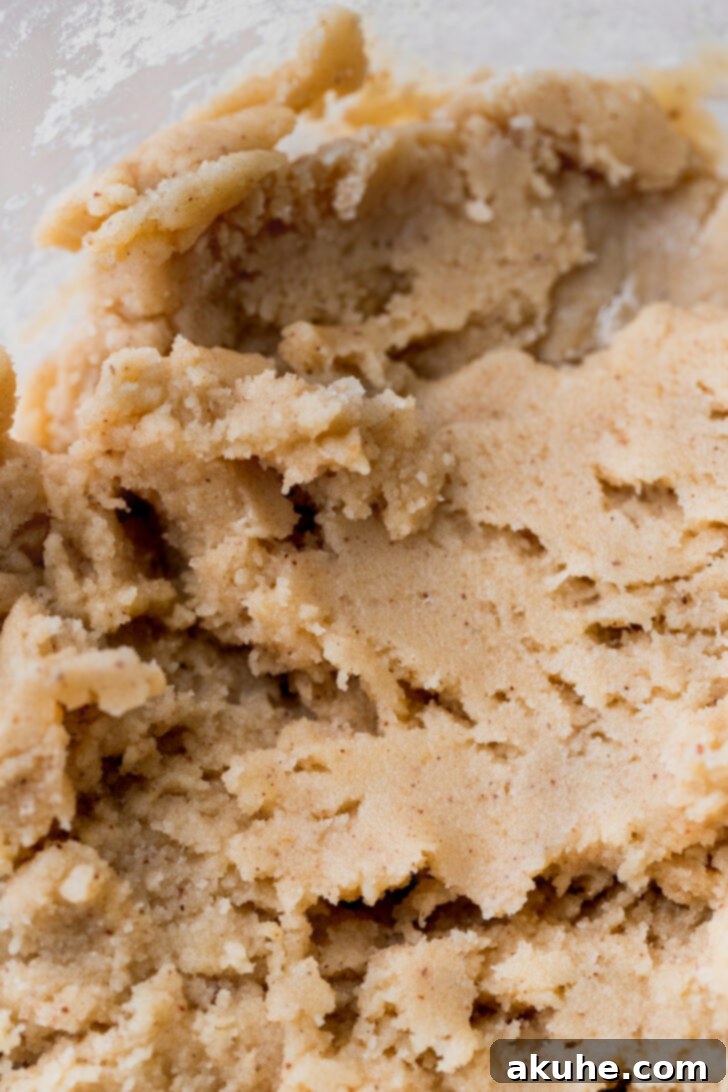
- In a large bowl, combine the cooled browned butter and granulated sugar. Add in the vanilla extract and eggs. Stir until all ingredients are well combined. Gently fold in the dry ingredients until just incorporated, being careful not to overmix.
- In a small, separate bowl, mix together the 1/4 cup white granulated sugar and 1 tablespoon ground cinnamon for the coating. Using a large cookie scoop (approximately 2 oz), scoop generous balls of cookie dough. Roll each dough ball thoroughly in the cinnamon-sugar mixture until fully coated. Place 6 cookie dough balls evenly spaced on each prepared cookie sheet.
- Bake the cookies for 12-14 minutes, baking one tray at a time for optimal results. The cookies are ready when their edges are lightly golden brown and the centers appear set but still slightly soft. Allow the cookies to cool on the baking sheet for 5 minutes before carefully transferring them to a wire rack to cool completely.
Notes
High Altitude Baking: If baking at high altitude, add an extra 2 tablespoons of all-purpose flour to the dry ingredients.
Room Temperature Ingredients: For best results, pull out dairy ingredients like butter and eggs 2 hours before you plan to bake.
Alternative (No Brown Butter): If you prefer not to brown the butter, you can use 1 cup of melted unsalted butter instead. Follow the remaining instructions as written.
Carbohydrates: 37g,
Protein: 2g,
Fat: 1g,
Saturated Fat: 1g,
Polyunsaturated Fat: 1g,
Monounsaturated Fat: 1g,
Sodium: 170mg,
Potassium: 69mg,
Fiber: 1g,
Sugar: 22g,
Vitamin A: 1IU,
Vitamin C: 1mg,
Calcium: 12mg,
Iron: 1mg
For more delightful seasonal cookie recipes, explore our Chewy Pumpkin Cookies and enchanting Apple Pie Cookies.
