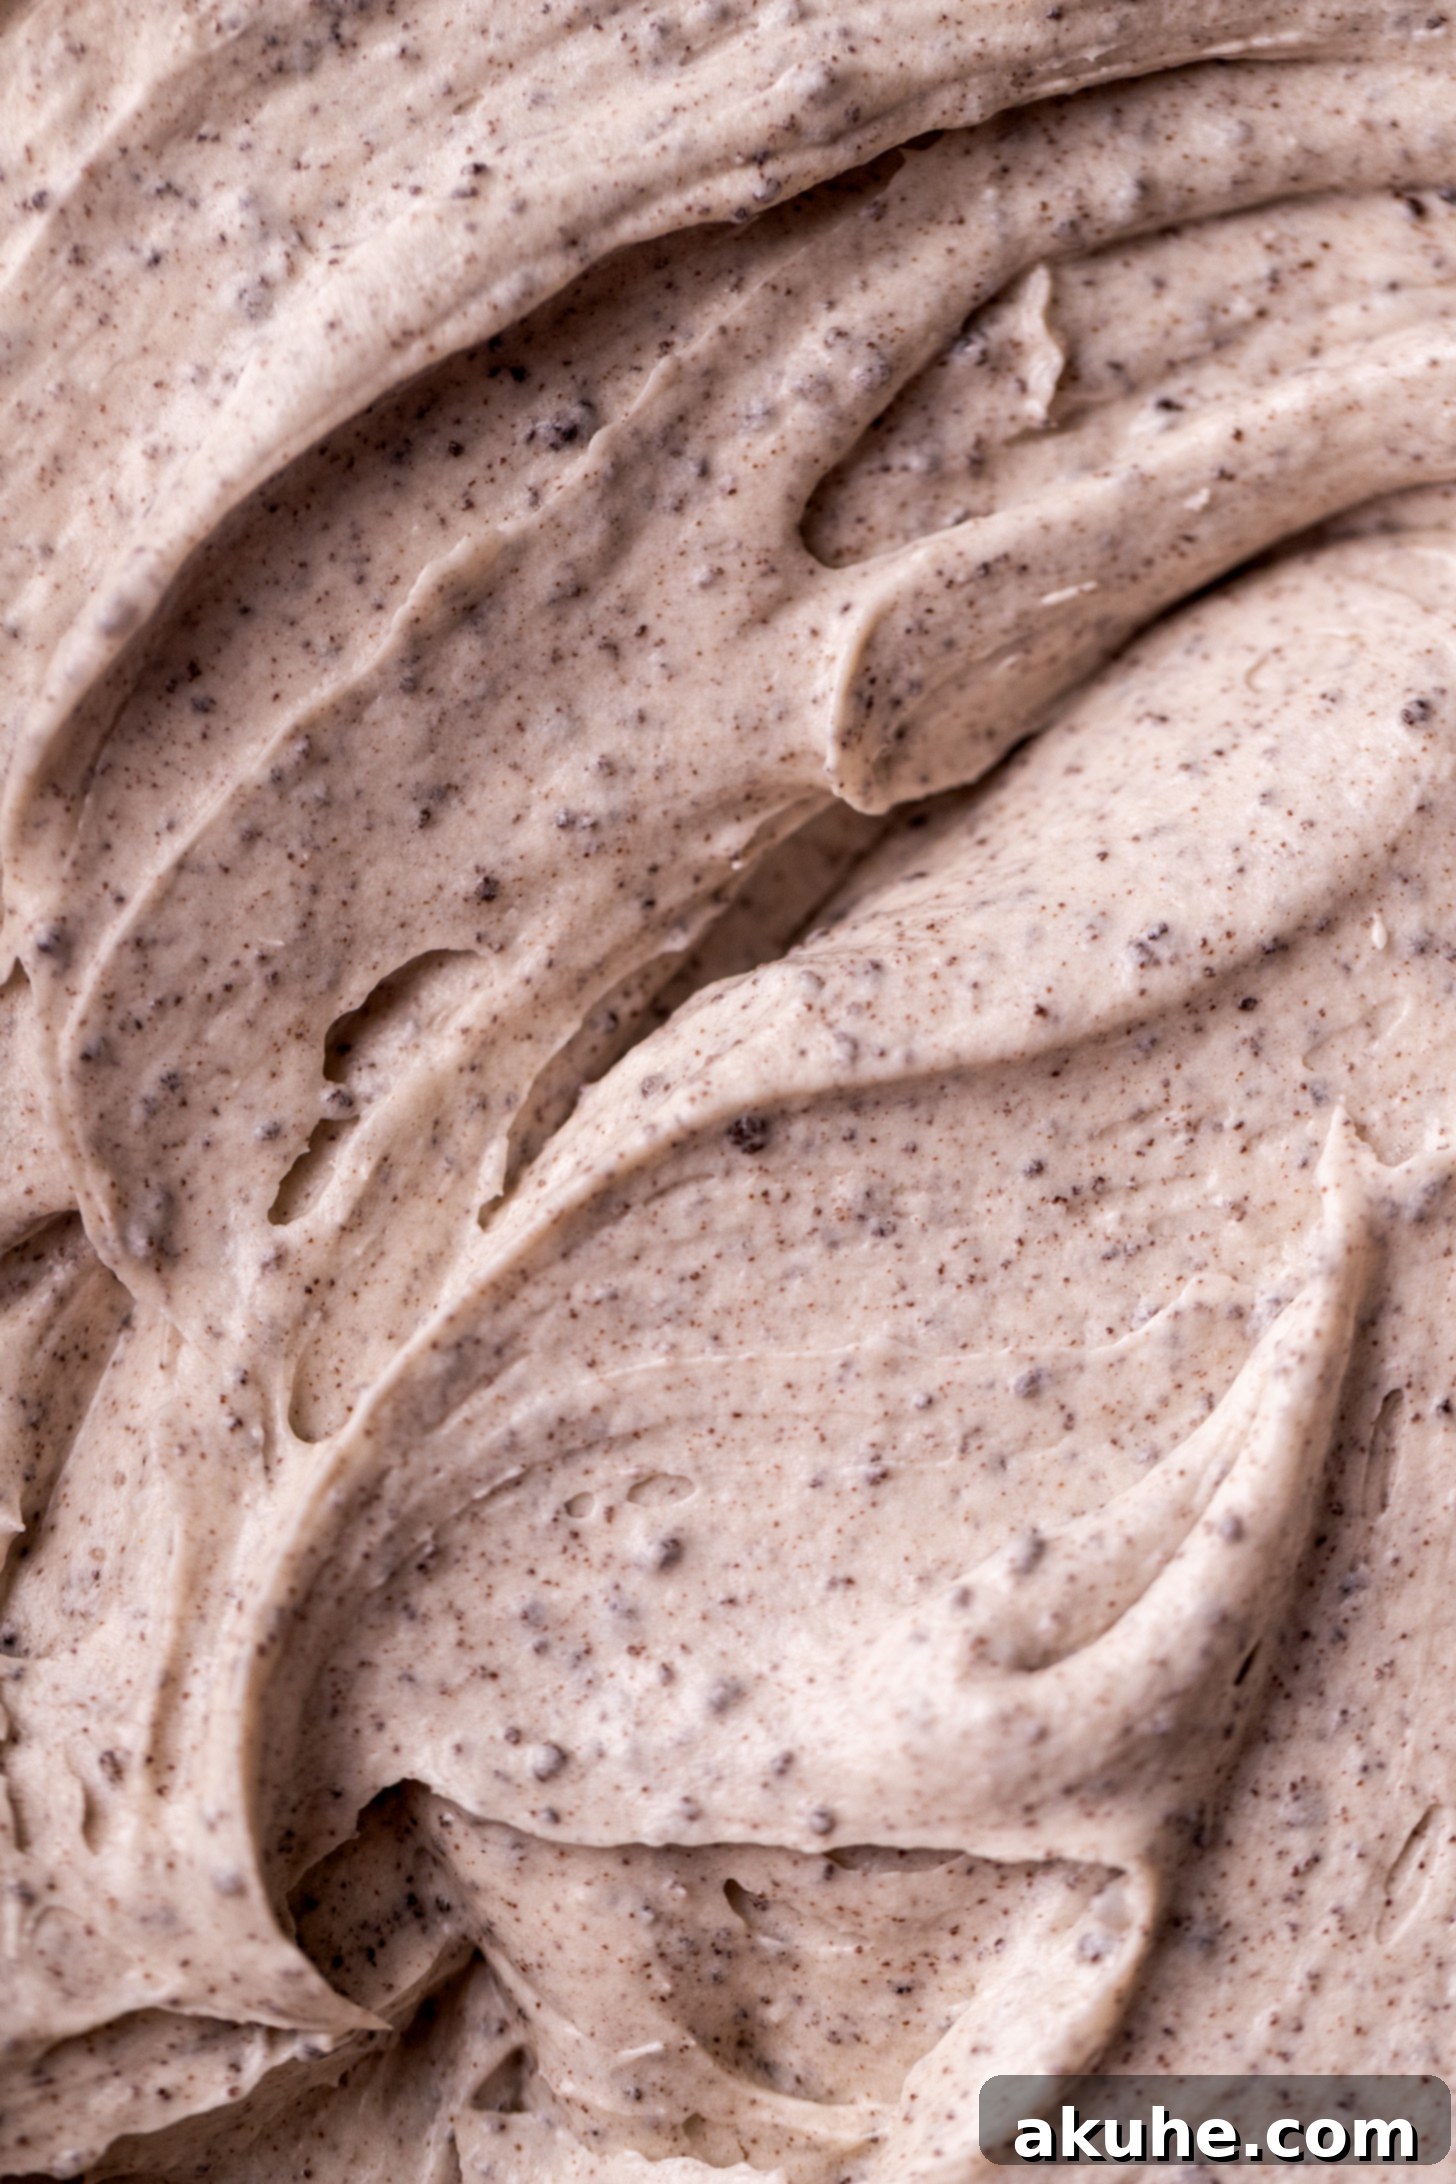
Imagine a frosting so incredibly creamy, so packed with the iconic flavor of your favorite sandwich cookie, that it instantly transports you back to childhood. This isn’t just any frosting; it’s the ultimate Oreo frosting recipe, designed to perfectly capture the essence of that beloved Oreo cream filling. Rich, smooth, and studded with delectable Oreo crumbs, this frosting is an absolute game-changer for cakes, cupcakes, brownies, and more. Best of all? You only need five simple ingredients to create this magical treat, making it an accessible and delightful project for any home baker.
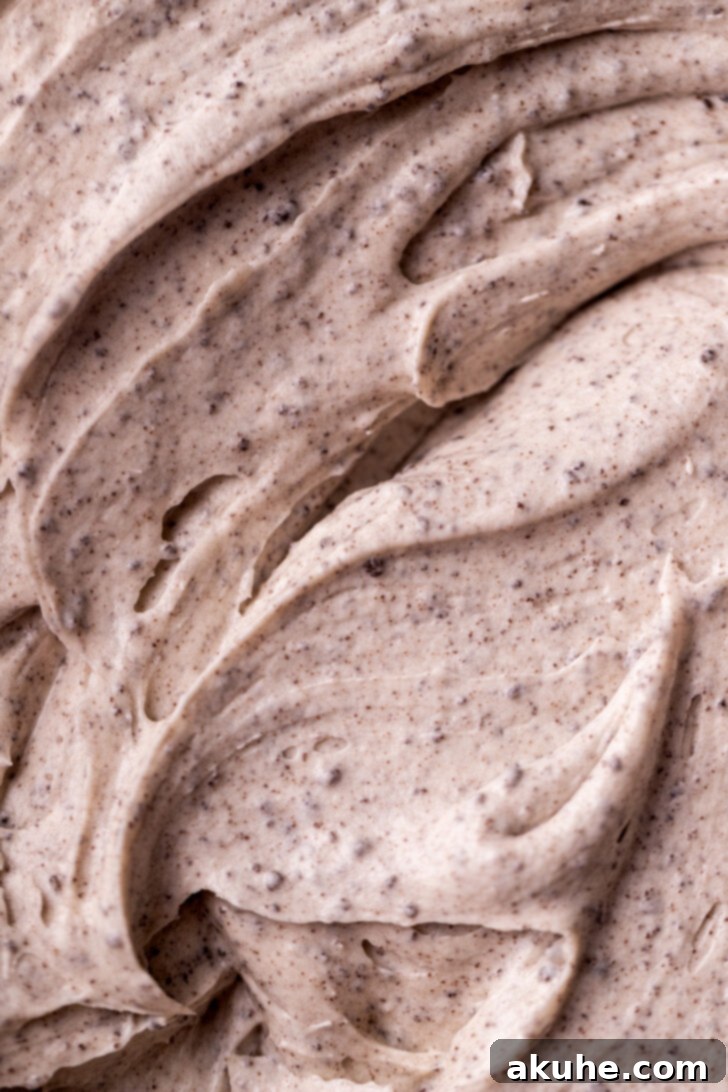
If you’re searching for a show-stopping Oreo frosting to crown your next dessert masterpiece, look no further. This recipe delivers a wonderfully creamy texture that’s remarkably easy to achieve, even for novice bakers. It thoughtfully incorporates finely blended Oreo cookies, ensuring every bite is bursting with that unmistakable cookies and cream flavor. Prepare to elevate your baking with a frosting that’s not just delicious, but also visually appealing and incredibly satisfying. We’ve included detailed tips, tricks, and process photos to guide you through each step, ensuring your frosting turns out perfectly every time. If you adore decadent frostings, you’ll also love exploring our chocolate cream cheese frosting – another fan favorite!
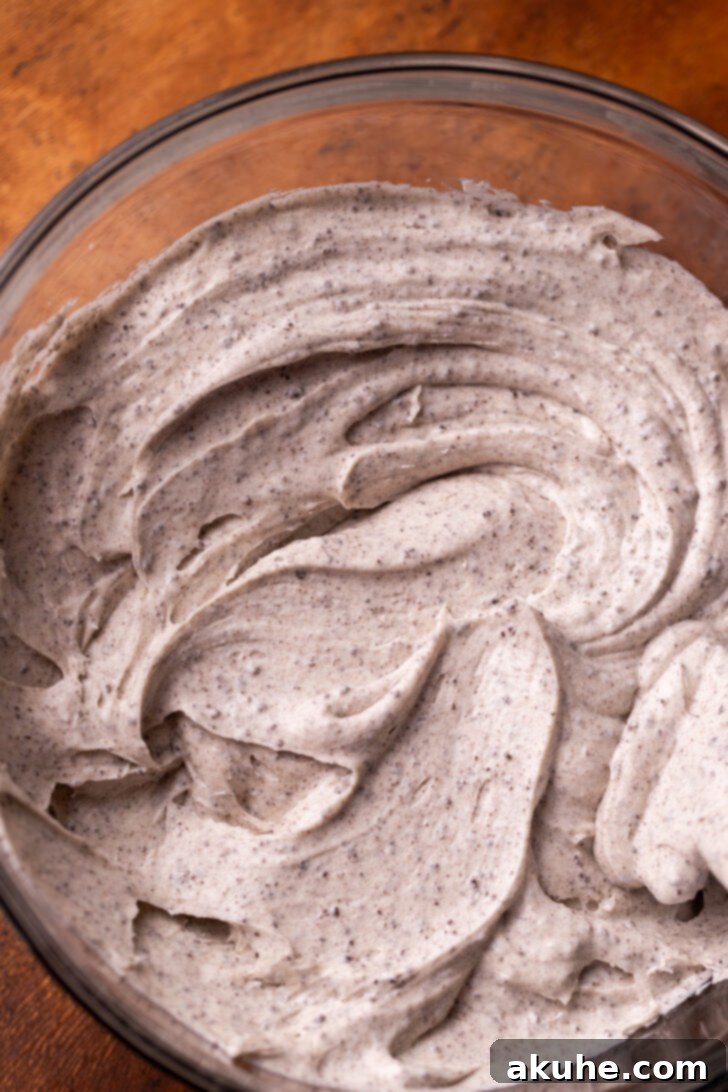
Why This Oreo Cream Cheese Frosting is a Must-Try
This Oreo cream cheese frosting isn’t just another sweet topping; it’s a culinary experience designed to delight. We combine the tangy richness of cream cheese with the classic sweetness and distinct crunch of Oreo cookies to create a frosting that stands head and shoulders above the rest. Here’s why it deserves a spot in your recipe collection:
- Unmatched Flavor: It perfectly mimics the beloved cream filling found inside an Oreo cookie, but with an enhanced depth from the cream cheese, making it irresistibly good. Each spoonful delivers that nostalgic, sweet-and-creamy taste you crave.
- Perfect Texture: Achieving that ideal balance between fluffy and dense, this frosting holds its shape beautifully for piping yet remains incredibly smooth and spreadable. It’s neither too stiff nor too runny, making it a joy to work with.
- Effortlessly Easy to Make: With just five core ingredients and straightforward steps, you don’t need to be a professional baker to create bakery-quality frosting. It’s perfect for both seasoned bakers and beginners looking for a reliable and impressive recipe.
- Incredibly Versatile: While exceptional on cupcakes and cakes, this frosting also shines on brownies, sugar cookies, or even as a decadent dip for fruit. Its adaptability makes it suitable for almost any sweet treat.
- Crumbly Goodness: The incorporation of real Oreo cookie crumbs throughout adds not only intense flavor but also a delightful textural contrast that makes every bite exciting. You’ll love the subtle crunch mingled with the smooth creaminess.
Essential Ingredients for Your Dream Oreo Frosting
Creating extraordinary frosting starts with understanding the role of each ingredient. This recipe relies on a harmonious blend of five key components, each playing a crucial part in achieving that perfect taste and texture:
- Unsalted Butter: The foundation of our frosting, unsalted butter provides richness and a smooth base. Using unsalted butter allows you to control the overall saltiness of your frosting, ensuring it’s perfectly balanced. It’s imperative that your butter is at true room temperature – soft enough to make an indentation with your finger, but not melted or greasy. Cold butter will result in lumpy frosting, while melted butter will make it greasy and runny.
- Full-Fat Cream Cheese: This is where the “cream cheese” magic happens, adding a subtle tang that beautifully cuts through the sweetness and enriches the flavor profile. Always opt for full-fat block cream cheese, as spreadable varieties or low-fat options contain too much water and can lead to a runny or split frosting. Like the butter, ensure your cream cheese is at room temperature for seamless blending and a consistently smooth result.
- Powdered Sugar (Confectioners’ Sugar): This fine sugar is essential for achieving a silky-smooth frosting texture. Unlike granulated sugar, powdered sugar dissolves easily, preventing a gritty mouthfeel. Sifting it before adding is a crucial step to eliminate any lumps and ensure a perfectly smooth consistency. This step ensures a professional finish to your frosting.
- Pure Vanilla Extract: A touch of high-quality vanilla extract enhances all the other flavors, adding warmth and depth to the frosting without overpowering the distinct Oreo taste. It’s a subtle yet essential ingredient that rounds out the flavor profile beautifully.
- Oreo Cookies: The star of the show! These iconic chocolate sandwich cookies provide the signature flavor and color. We use both the cookie wafer and the cream filling, ground together to a fine crumb. This ensures maximum Oreo flavor distribution throughout the frosting, creating an authentic cookies and cream experience. You can use classic Oreos or even experiment with different flavors like Mint Oreos or Golden Oreos for a unique twist!
Expert Tips for Crafting the Perfect Oreo Frosting
Achieving bakery-quality frosting at home is simpler than you might think, especially with these tried-and-true tips. Follow these guidelines closely, and your Oreo cream cheese frosting will be wonderfully smooth, creamy, and irresistible:
- Tip 1: The Golden Rule of Room Temperature Ingredients. This cannot be stressed enough! Both your unsalted butter and cream cheese MUST be at the exact same room temperature. If your cream cheese is even slightly colder than your butter, you risk the frosting curdling or splitting, resulting in a lumpy, unpleasant texture. Plan ahead and take them out of the fridge at least an hour, or even two, before you start baking. They should yield slightly when pressed but not be oily or melted. This synchronized temperature ensures a smooth emulsion and prevents separation.
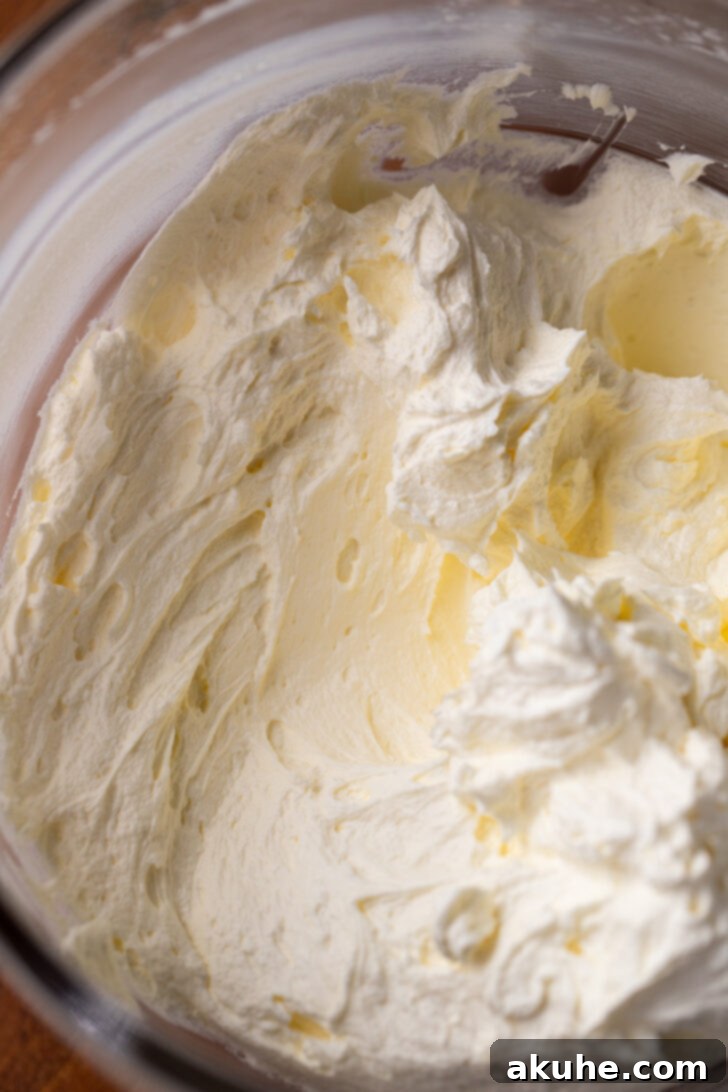
- Tip 2: Master the Mixing Order and Duration. Don’t just dump all your dairy into the bowl at once. Begin by beating the room-temperature butter on its own for a full 2 minutes until it becomes light, pale, and fluffy. This step incorporates essential air, which is key for a truly airy and voluminous frosting. Next, add the room-temperature cream cheese and beat for another 1 minute until it’s perfectly smooth and combined with the butter. Avoid adding them simultaneously, as this often leads to a denser, less airy frosting. Throughout the mixing process, remember to frequently scrape down the sides and bottom of your bowl with a spatula. This ensures all butter and cream cheese chunks are fully incorporated, preventing pockets of unmixed ingredients and ensuring a uniform texture.
- Tip 3: Achieve the Ideal Oreo Crumb Consistency. For the best results, grind your Oreos (whole, including the cream filling) in a food processor until they form a very fine crumb, almost like sand. This allows the Oreo flavor to permeate the frosting evenly and prevents large, unwieldy chunks that can clog your piping bag or disrupt the smooth texture. A fine crumb also ensures a consistent chocolatey color throughout. However, if you prefer a more pronounced crunch, you can reserve a small amount of coarsely crushed Oreos to fold in at the very end or sprinkle on top for garnish.
- Tip 4: Sift Your Powdered Sugar. While it might seem like an extra step, sifting your powdered sugar is vital for a truly smooth frosting. Powdered sugar often contains small lumps that can lead to a gritty frosting, no matter how much you mix. Sifting ensures a consistently smooth and luxurious texture, making your frosting feel professionally made and a delight to eat.
- Tip 5: Mix Powdered Sugar on Low Speed. When adding the sifted powdered sugar, always start your mixer on the lowest speed. This prevents a “sugar cloud” from forming in your kitchen, saving you from a messy cleanup, and ensures the sugar gradually incorporates into the butter and cream cheese mixture without making a powdery mess. Once mostly combined and no dry sugar is visible, you can increase the speed to medium-high to whip the frosting until it’s light and fluffy.
- Tip 6: Don’t Overmix Once Sugar is Added. While beating butter and cream cheese initially requires a good amount of time, once the powdered sugar is incorporated, be careful not to overmix. Overmixing can incorporate too much air, which can make the frosting less stable and prone to deflating, or it can toughen the cream cheese, leading to a less desirable texture. Mix only until the frosting is creamy, smooth, and just combined.
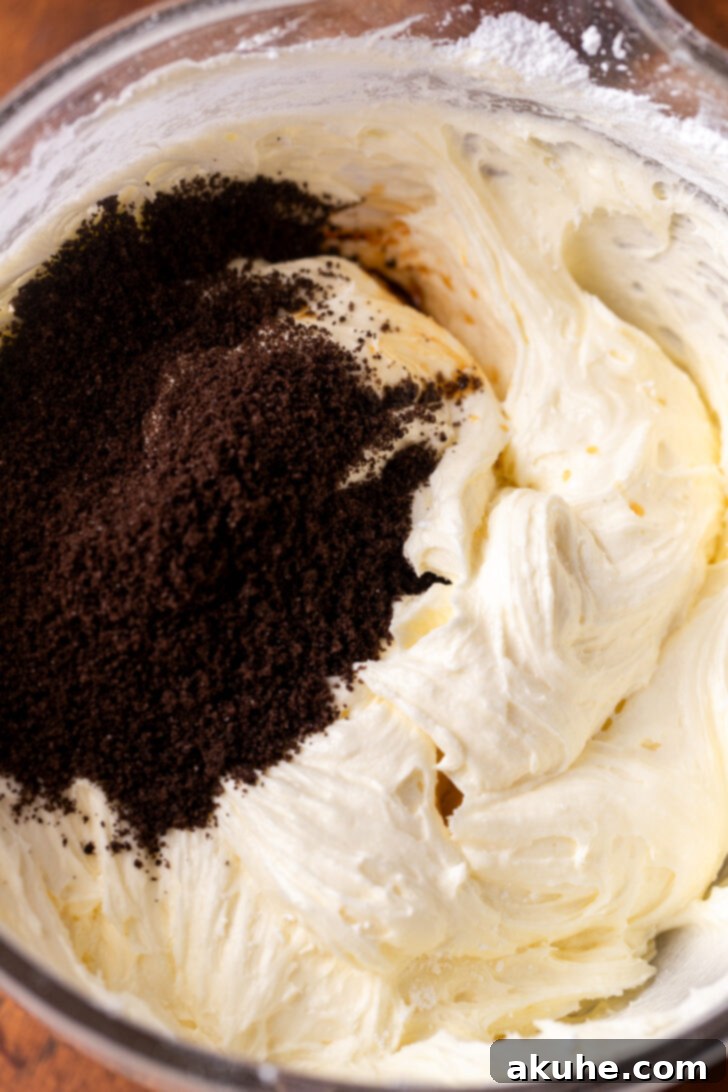
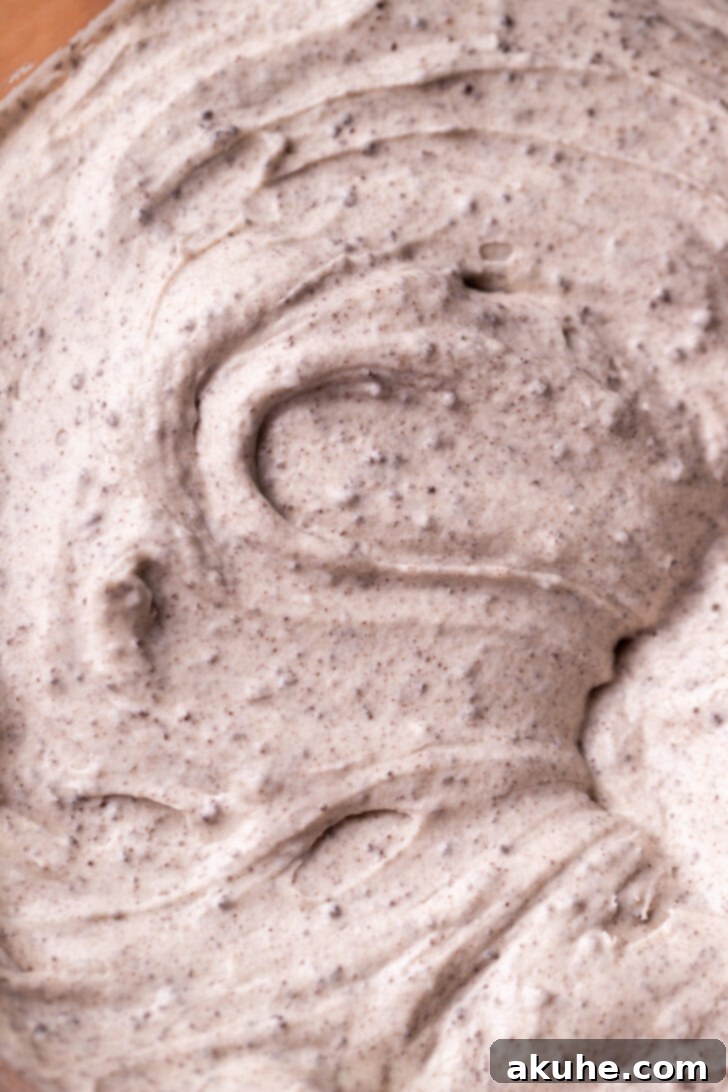
Common Frosting Troubleshooting & Solutions
Even with the best intentions, sometimes frosting doesn’t turn out exactly as planned. Don’t worry, most common issues are easily fixable! Here’s how to troubleshoot your Oreo cream cheese frosting:
- Frosting is Too Thin/Runny: This often happens if your butter or cream cheese was too warm, or if you didn’t add enough powdered sugar. To fix, slowly add more sifted powdered sugar, about 1/4 cup at a time, beating until the desired consistency is reached. If it’s still too thin, try refrigerating the frosting for 15-30 minutes, then re-whipping it. The cold helps firm up the butter, and the re-whipping can bring back its airiness.
- Frosting is Too Thick/Stiff: If your frosting is too difficult to spread or pipe, it likely needs a little moisture. Add a very small amount of milk (dairy or non-dairy) or heavy cream, about a teaspoon at a time, beating until it reaches the perfect consistency. Be careful not to add too much at once, as it can quickly become too thin!
- Gritty Texture: This is almost always due to unsifted powdered sugar. While it’s hard to completely reverse once mixed, you can try beating the frosting on medium-high speed for an additional minute or two to help dissolve any remaining sugar crystals. For future batches, always sift your powdered sugar meticulously!
- Curdled or Split Frosting: As mentioned in our tips, this occurs when the butter and cream cheese are not at the same temperature. If your frosting looks curdled, try warming a small portion of it (about 1/4 cup) in the microwave for 5-10 seconds until slightly melted, then gradually adding it back to the main bowl while beating vigorously. This can sometimes help re-emulsify the mixture. Alternatively, adding a tablespoon of sifted powdered sugar and beating again can sometimes help bind it.
- Lacks Oreo Flavor: If your frosting isn’t tasting “Oreo-y” enough, ensure you ground the cookies finely to maximize flavor distribution. You can also mix in an additional finely crushed Oreo or two, or for an intense boost, add a tiny amount of Oreo baking emulsion if you happen to have it on hand.
Storage & Make-Ahead Tips for Your Oreo Frosting
One of the best things about this Oreo frosting is that it can be made in advance, making your baking day much smoother. Here’s how to store it properly and enjoy it fresh:
- Refrigeration: Store any leftover frosting or frosting made in advance in an airtight container in the refrigerator for up to 5-7 days. Because it contains cream cheese, it’s essential to keep it chilled to maintain food safety and optimal texture.
- Bringing to Room Temperature: When you’re ready to use refrigerated frosting, take it out of the fridge at least 30-60 minutes before you plan to frost. Allow it to come to room temperature, then give it a good whip with an electric mixer for 1-2 minutes until it’s light, fluffy, and smooth again. You might need to add a teaspoon of milk or cream if it seems too stiff from the cold.
- Freezing: For longer storage, this frosting freezes beautifully! Place it in a freezer-safe, airtight container or a heavy-duty freezer bag, removing as much air as possible to prevent freezer burn. It can be frozen for up to 1 month. Thaw overnight in the refrigerator, then bring to room temperature and re-whip as described above before using.
Delicious Ways to Use Your Oreo Frosting
This versatile Oreo cream cheese frosting isn’t just for classic cakes and cupcakes. Its rich flavor and delightful texture make it suitable for a wide array of treats. Get creative with these serving suggestions:
- Oreo Cupcakes: The classic pairing! Frost your favorite chocolate, vanilla, or even Oreo-flavored cupcakes with a generous swirl of this frosting. Garnish with an extra mini Oreo or a sprinkle of crumbs for a professional touch.
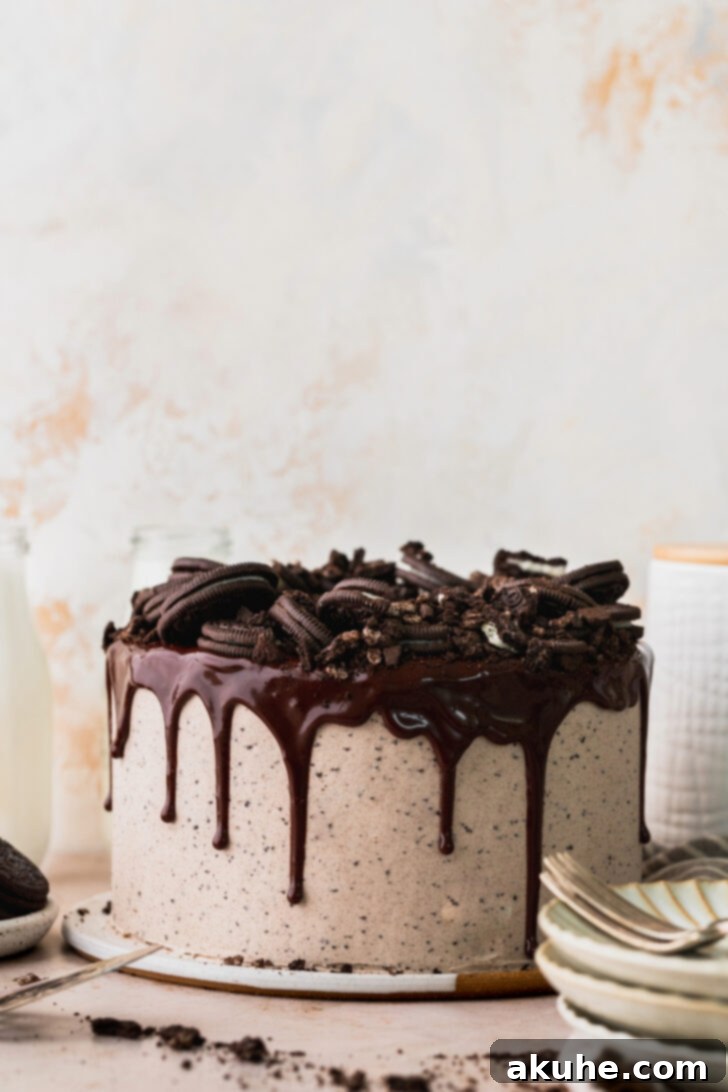
- Oreo Cakes: Layer this frosting between moist chocolate or vanilla cake layers for an unforgettable dessert experience. It also makes a fantastic topping for sheet cakes, adding a celebratory feel to any occasion.
- Brownies: Spread a thick layer over cooled fudgy chocolate brownies for an instant upgrade. The cool, creamy frosting perfectly complements the rich, dense brownie.
- Sugar Cookies: Use it to frost simple sugar cookies for an extra special treat. Cut cookies into fun shapes and let the kids help decorate for a fun activity!
- Blondies: A rich, buttery blondie topped with this creamy Oreo frosting is a match made in heaven, offering a delightful contrast in flavor and texture.
- Dips & Spreads: Serve it as a decadent dip for fresh fruit (strawberries, banana slices), crunchy pretzels, graham crackers, or even extra Oreos. It can also be spread on a bagel for a unique and sweet breakfast treat.
- Whoopie Pies: Use it as the luscious filling for homemade chocolate whoopie pies for an indulgent twist on a classic dessert.
Frequently Asked Questions (FAQs) About Oreo Frosting
- Can I use Double Stuf Oreos for this frosting?
- Yes, absolutely! Double Stuf Oreos will work wonderfully and may even add a slightly richer cream flavor to your frosting, enhancing the “Oreo cream filling” taste. Feel free to experiment with different Oreo varieties like Mint Oreos or Golden Oreos for unique flavor profiles, just be aware they might alter the color and taste slightly.
- Do I need a food processor to crush the Oreos?
- While a food processor yields the finest, most consistent crumbs (which is ideal for smooth frosting), you can also crush Oreos by placing them in a sturdy Ziploc bag and using a rolling pin or the bottom of a heavy pan to crush them. Just aim for as fine a crumb as possible to ensure even distribution and a smooth texture.
- My frosting is too sweet. How can I fix it?
- If your frosting tastes too sweet, you can try adding a tiny pinch of salt (about 1/8 teaspoon) to balance the flavors. A little extra pure vanilla extract can also help deepen the flavor profile without adding more sweetness. For future batches, ensure your cream cheese is prominently tangy and consider slightly reducing the powdered sugar, but be mindful of the impact on consistency.
- How long does it take for the butter and cream cheese to reach room temperature?
- Typically, butter and cream cheese need about 1-2 hours on the counter to reach optimal room temperature, depending on your kitchen’s ambient temperature. You want them soft to the touch but not melted or greasy. If you’re in a hurry, you can cut them into smaller pieces to speed up the process.
- Can I make this frosting dairy-free?
- It’s challenging to make this specific frosting completely dairy-free while maintaining the exact flavor and texture profile, as cream cheese is a key component. However, you can experiment with dairy-free butter alternatives and dairy-free cream cheese brands, keeping in mind that the taste and consistency may vary. Look for plant-based cream cheese alternatives designed for baking.
- What’s the best way to pipe this frosting?
- This frosting pipes beautifully! For classic swirls, use a large star tip (like Wilton 1M or 2D). Ensure your frosting is firm enough to hold its shape but not so stiff that it’s difficult to squeeze through the bag. If it feels too soft, refrigerate it for 10-15 minutes to firm it up slightly before piping.
Did you adore this recipe? We’d love to hear from you! Make sure to leave astar review and share your delicious creations on Instagram by tagging us @stephaniesweettreats. For endless baking inspiration and more sweet ideas, be sure to follow us on Pinterest.
Oreo Frosting
This Oreo frosting is incredibly creamy and tastes just like the filling inside an Oreo cookie! It features a delightful blend of cream cheese and finely crushed Oreo crumbs for an unforgettable flavor.
Print Recipe
Pin Recipe
Leave a Review
Ingredients
Instructions
- In a large bowl, sift the powdered sugar to remove any lumps. Using a food processor, blend the whole Oreos (with their cream filling) into a very fine crumb. Set aside.Ingredients: 2 1/2 cups Powdered sugar, 5 Oreos
- Using an electric mixer, beat the room-temperature unsalted butter on high speed for 2 minutes until it becomes pale, light, and fluffy. Add in the room-temperature cream cheese and beat on high speed for 1 minute until perfectly smooth and fully combined. Be sure to scrape the sides and bottom of the bowl thoroughly with a spatula to ensure no unmixed chunks remain. Remember, matching temperatures are key to preventing splitting.Ingredients: 1 cup Unsalted butter, 8 oz Cream cheese
- Gradually add in half of the sifted powdered sugar, mixing on low speed until just combined to avoid a sugar cloud. Once incorporated, add the remaining powdered sugar and continue mixing on low speed until the frosting is smooth and lump-free.
- Finally, add the pure vanilla extract and the finely ground Oreo crumbs to the mixture. Increase the mixer speed to medium-high and beat until the frosting is light, airy, creamy, and all ingredients are well incorporated. Be careful not to overmix, as this can affect the frosting’s stability.Ingredients: 1 tsp Pure vanilla extract
Calories: 226kcal
Carbohydrates: 31g
Protein: 2g
Fat: 23g
Saturated Fat: 14g
Polyunsaturated Fat: 1g
Monounsaturated Fat: 6g
Trans Fat: 1g
Cholesterol: 60mg
Sodium: 81mg
Potassium: 42mg
Fiber: 0.1g
Sugar: 3g
Vitamin A: 727IU
Calcium: 24mg
Iron: 1mg
Did you make this recipe?
Please leave a star rating and review below!
