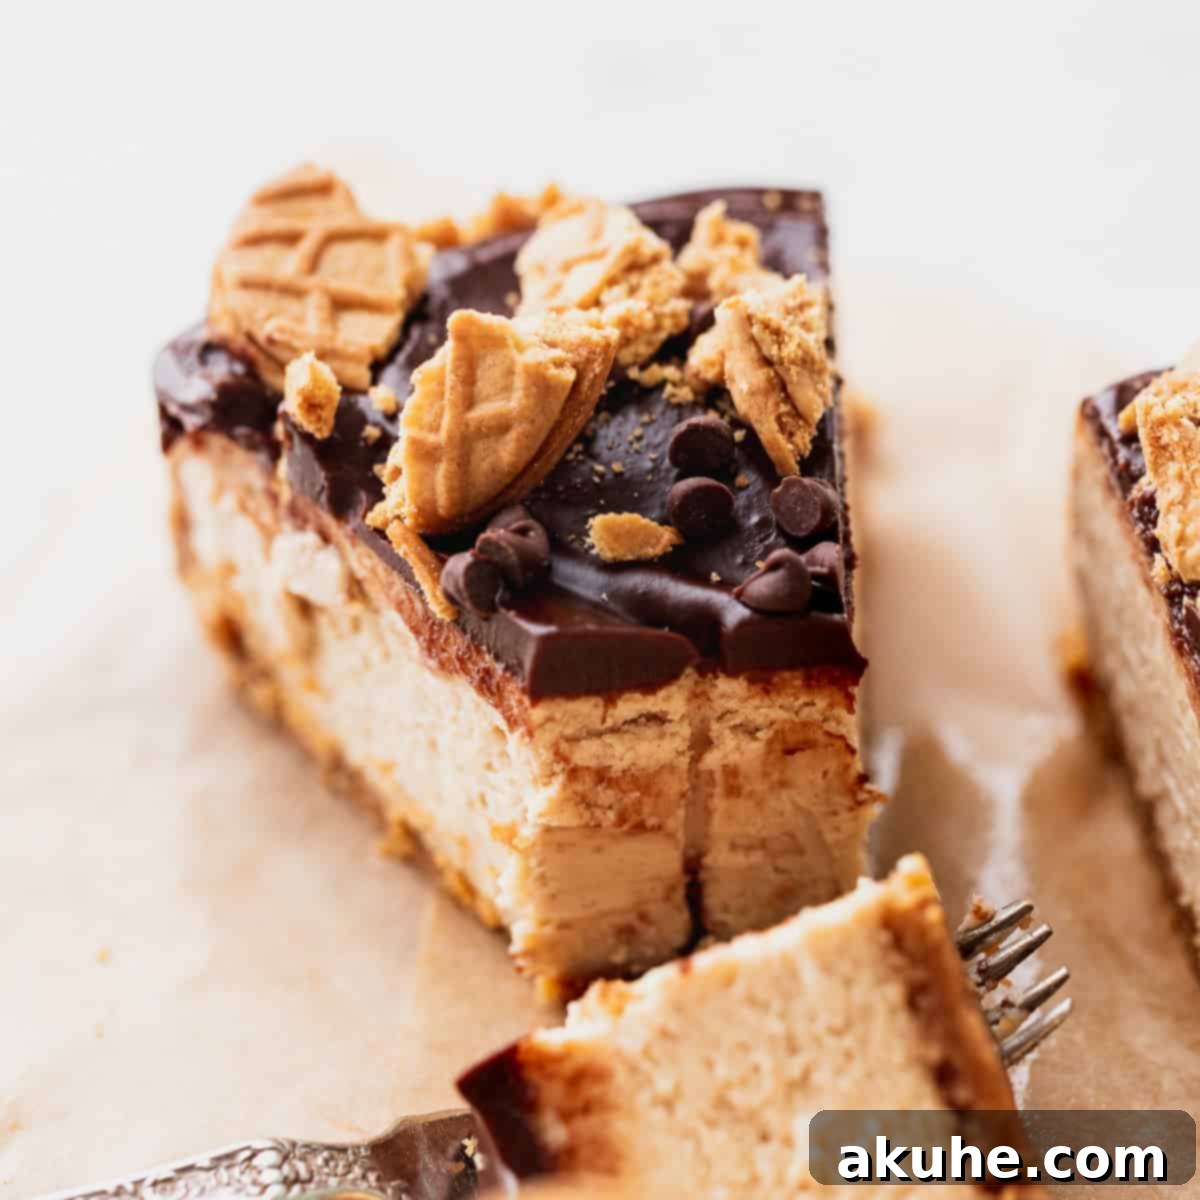
Indulge in the ultimate dessert experience with this extraordinary peanut butter cheesecake recipe, designed to captivate every peanut butter enthusiast. This isn’t just any cheesecake; it’s a symphony of textures and flavors, crowned with a distinctive Nutter Butter crust that delivers an unparalleled peanut butter punch from the very first bite. At its heart lies a remarkably light and irresistibly creamy peanut butter cheesecake filling, baked to perfection. To complete this masterpiece, it’s generously adorned with a rich chocolate ganache and extra Nutter Butter pieces, creating a dessert that’s both decadent and delightfully familiar. If you’ve been searching for a show-stopping treat that celebrates the beloved combination of peanut butter and chocolate, your quest ends here. This recipe promises a truly unforgettable dessert experience, perfect for any special occasion or simply to satisfy your deepest peanut butter cravings.
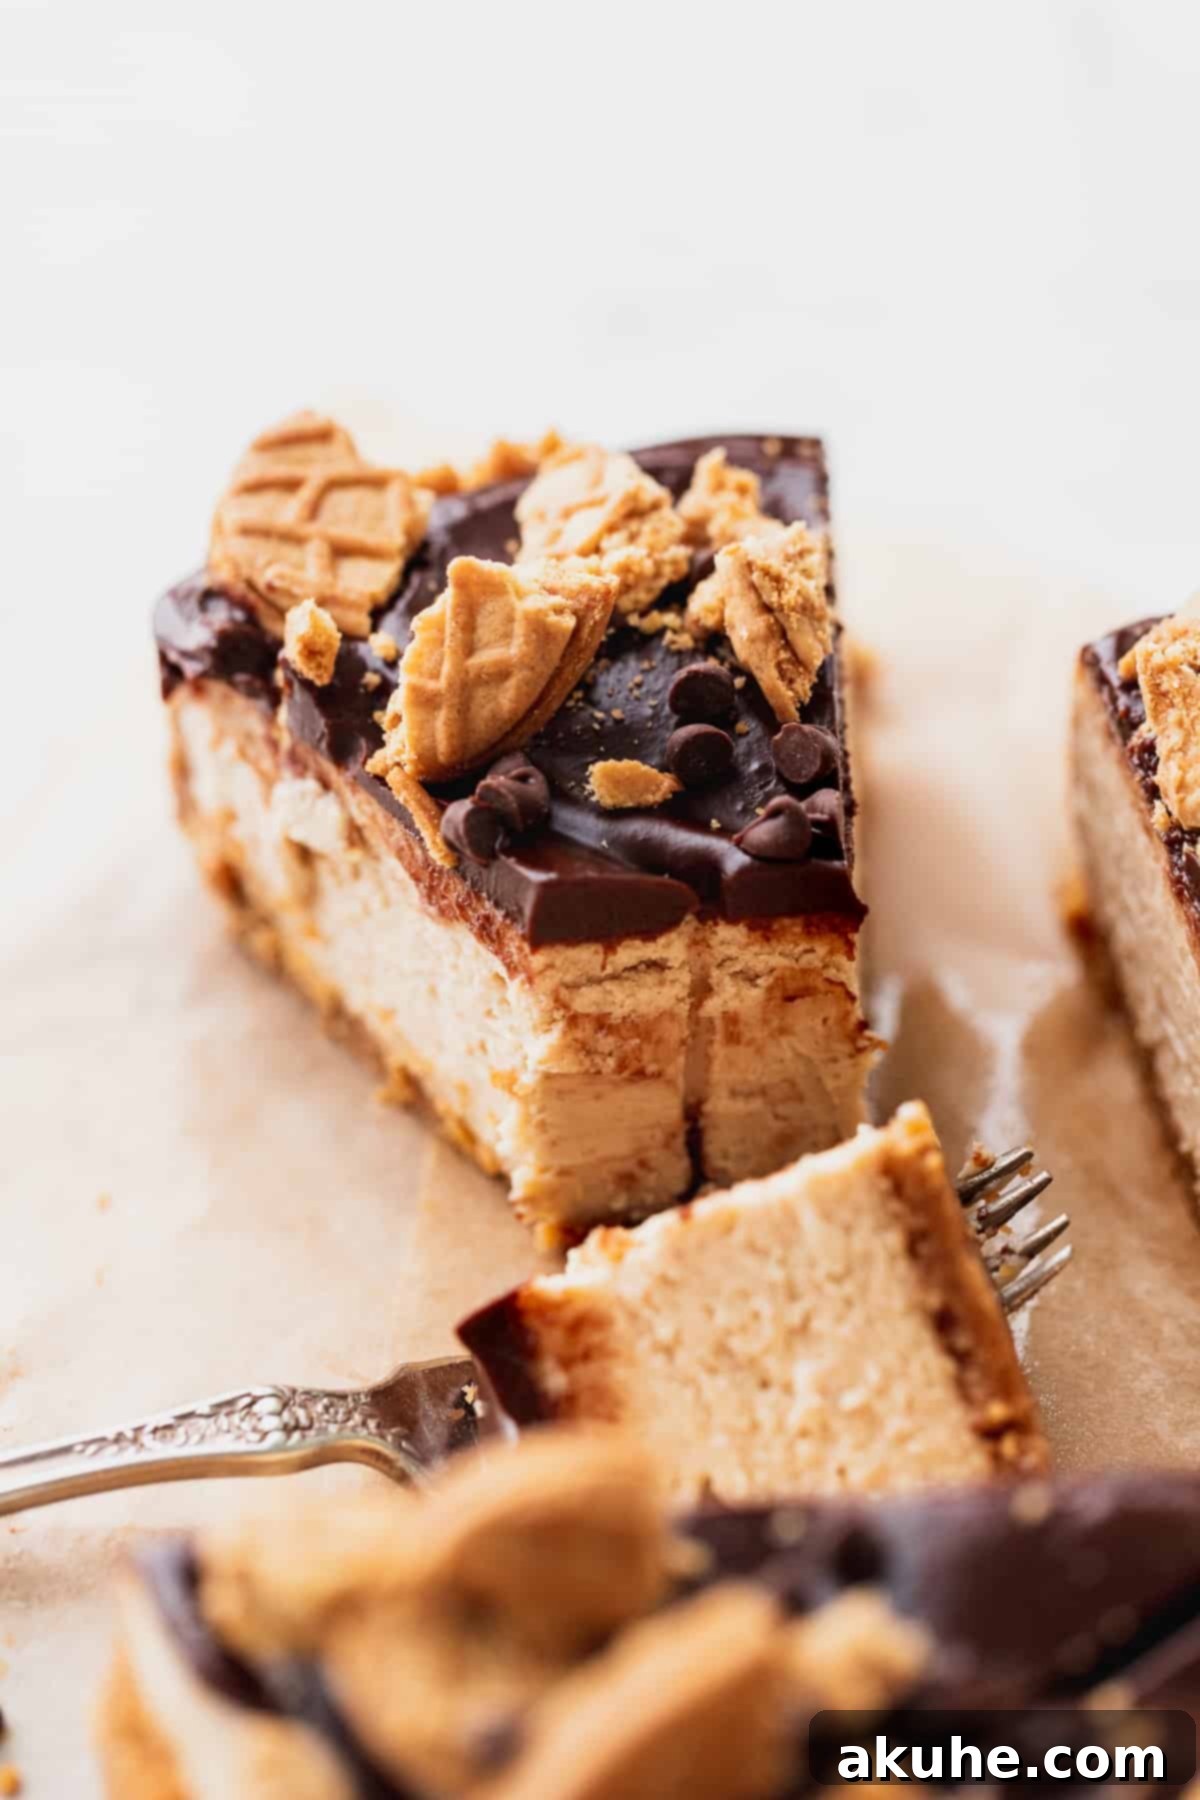
Crafting this peanut butter cheesecake was driven by a single vision: to create the most luxurious, deeply satisfying dessert for those who adore peanut butter. It stands as the ideal centerpiece for celebrations, a heartfelt gift, or simply a well-deserved indulgence for that special person in your life who can never get enough of this classic flavor. What truly sets this cheesecake apart is its thoughtful construction, ensuring every component contributes to an explosion of peanut butter goodness. The unique Nutter Butter crust lays a rich, flavorful foundation, complementing the ethereal peanut butter cheesecake filling, while a glossy chocolate ganache provides a beautiful contrast, both in taste and appearance. This harmonious blend of textures and tastes ensures a dessert that is not just eaten, but savored.
For those eager to explore more delightful peanut butter creations, be sure to try these fantastic recipes: Banana Peanut Butter Cookies, Chewy Peanut Butter Cookies, and Chocolate Peanut Butter Brownies.
Why This Decadent Peanut Butter Cheesecake Recipe Delivers
This chocolate peanut butter cheesecake isn’t just a dessert; it’s a carefully crafted experience designed to delight with every forkful. Here’s what makes this recipe truly stand out and why it consistently earns rave reviews:
- Signature Nutter Butter Crust: Forget your average graham cracker crust! Our Nutter Butter base offers a soft, incredibly flavorful, and perfectly buttery foundation that’s bursting with peanut butter essence. This unique crust doesn’t just hold the cheesecake; it infuses every bite with a delightful crumbly texture and a deep, nutty flavor that sets the stage for the creamy filling. It’s the secret weapon that elevates this cheesecake from great to truly unforgettable, ensuring a consistent peanut butter experience from top to bottom.
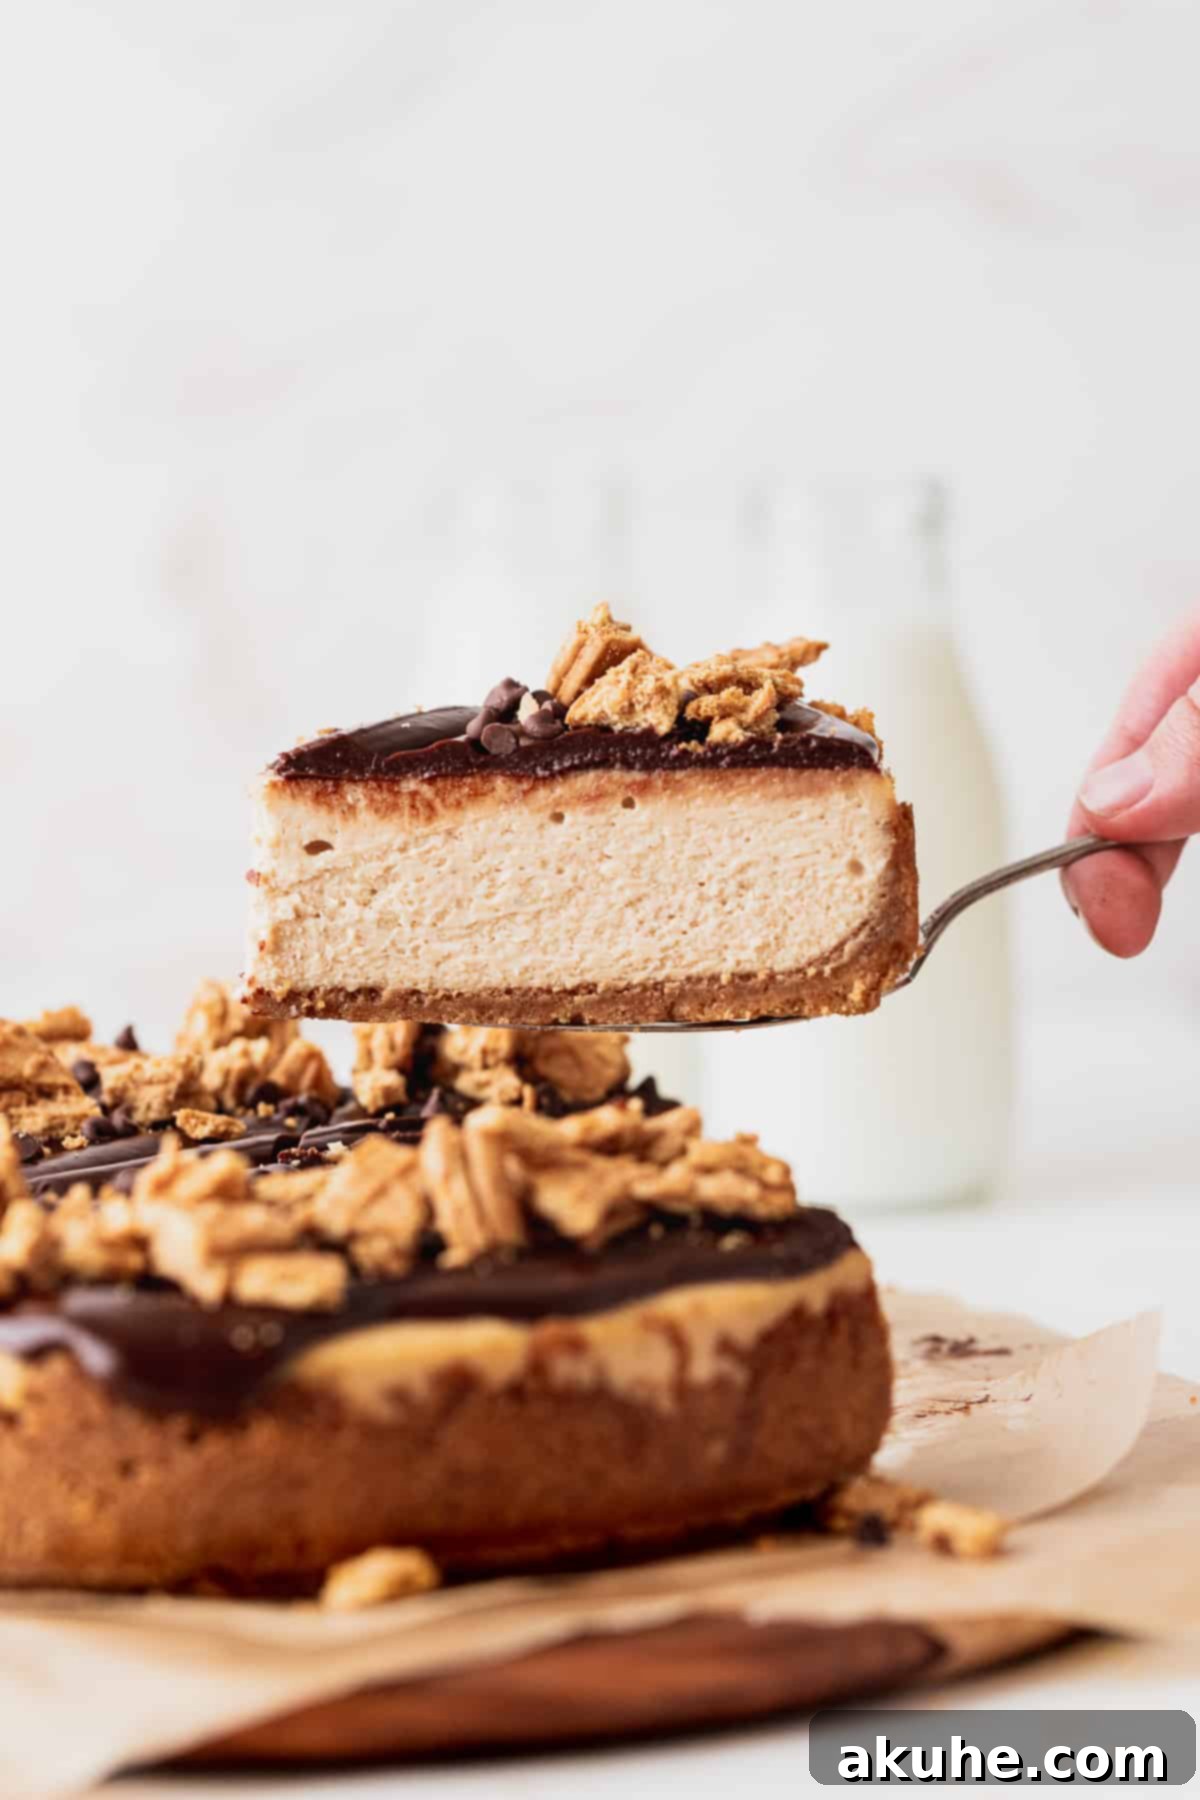
- Velvety Peanut Butter Cheesecake Filling: The star of the show is undeniably the cheesecake itself. We’ve perfected a recipe that yields an exceptionally soft, fluffy, and intensely creamy peanut butter filling. It melts in your mouth, delivering a rich yet balanced peanut butter flavor that’s never overpowering. This is not a dense, heavy cheesecake; it’s light and airy, allowing the pure taste of peanut butter to shine through, making it deserving of its central role in this spectacular dessert.
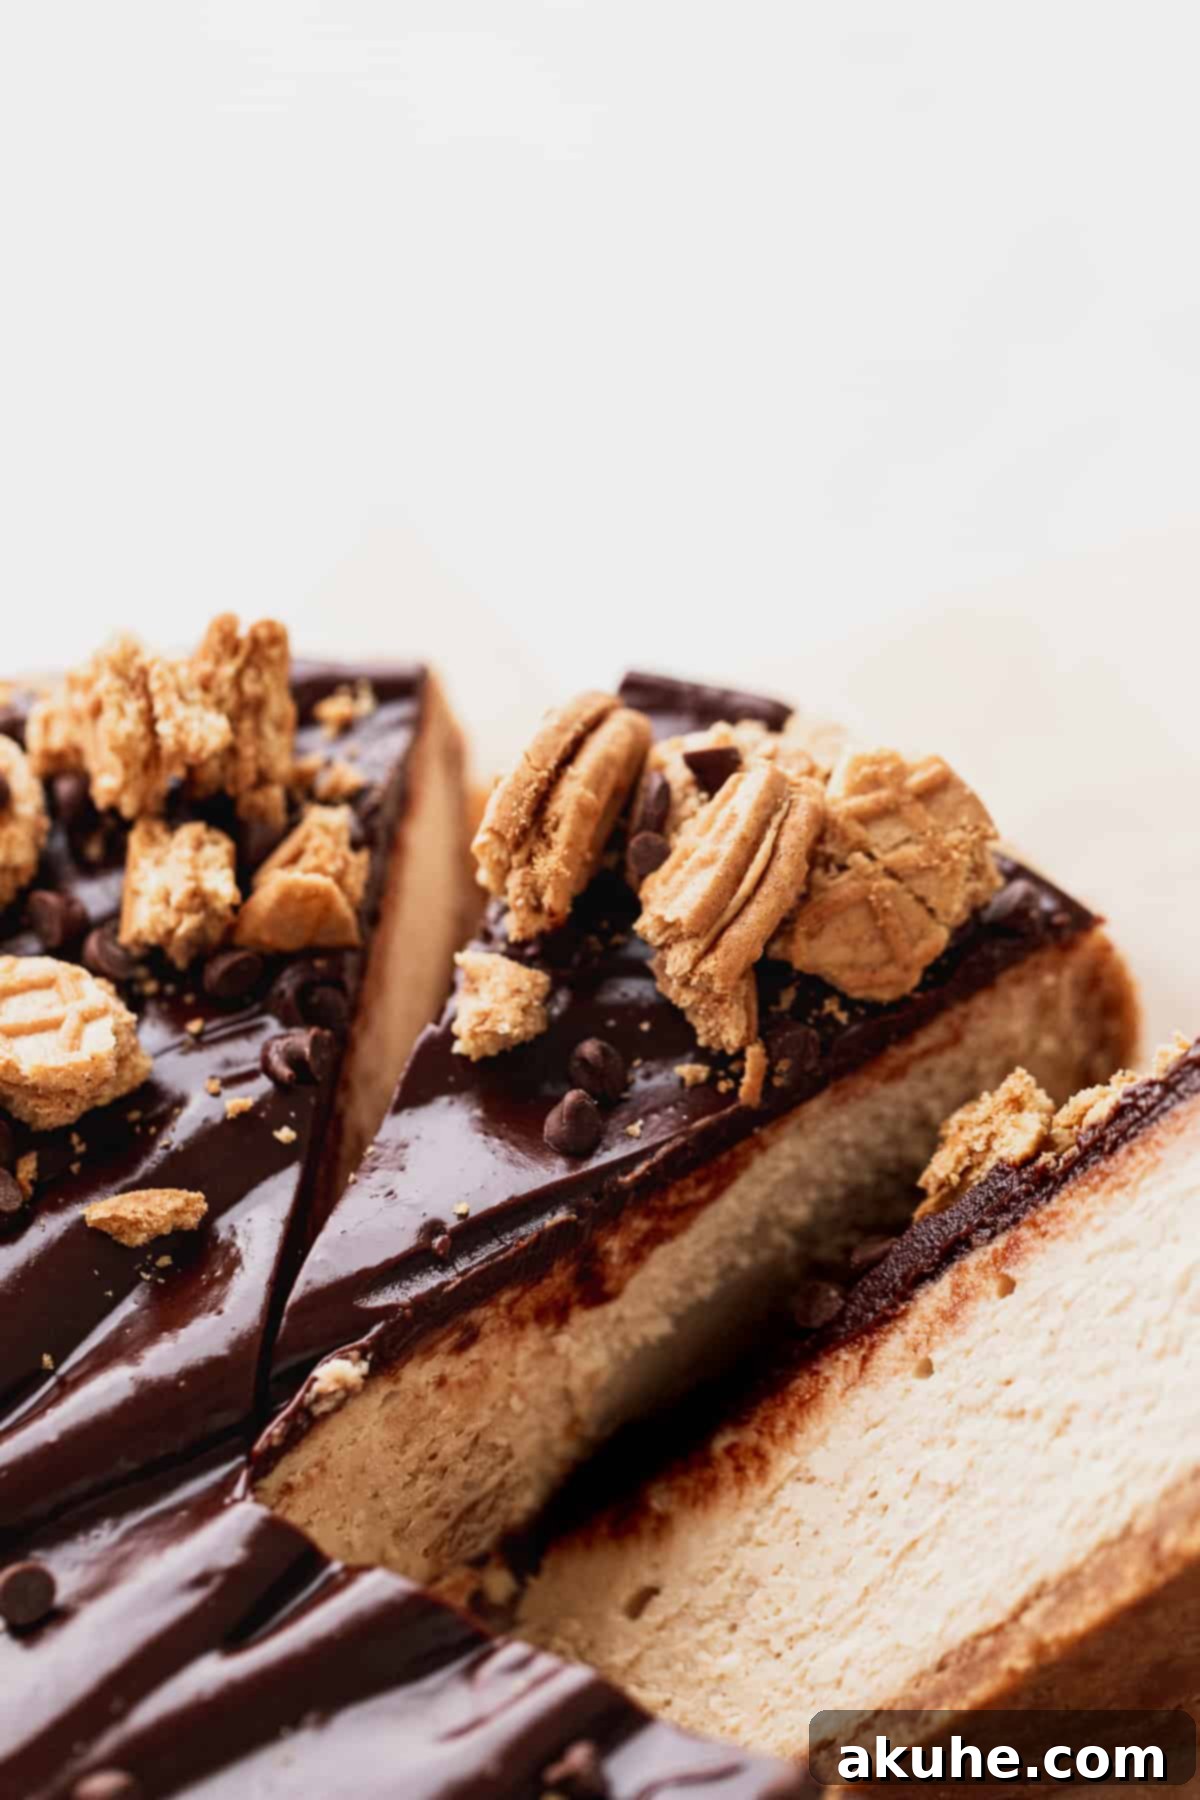
- Luxurious Chocolate Ganache Topping: The classic pairing of chocolate and peanut butter reaches new heights with our silky smooth chocolate ganache. This glossy topping isn’t just for looks; its bittersweet notes provide the perfect counterpoint to the sweetness and richness of the peanut butter, creating a harmonious flavor profile. It adds a sophisticated touch and a delightful texture contrast, making each slice a perfectly balanced indulgence.
- Perfectly Creamy Texture, Never Too Thick: One of the common pitfalls of homemade cheesecakes is achieving the right consistency. Our recipe is meticulously developed to ensure a luxuriously creamy peanut butter texture that’s never overly dense or rubbery. It’s designed to be effortlessly smooth, making each bite an absolute pleasure and leaving you eager for the next. This careful balance prevents that heavy, cloying feeling, making it incredibly enjoyable and easy to devour.
Essential Ingredients for Your Peanut Butter Cheesecake
Success in baking this exquisite peanut butter cheesecake begins with understanding your ingredients. While a comprehensive list is available in the recipe card below, here are some crucial notes and tips to ensure you achieve the best possible results. Quality ingredients, especially at the correct temperature, are key to a crack-free and creamy cheesecake.
- Nutter Butters: The foundation of our unique crust. For the smoothest, most cohesive crust, these classic peanut butter cookies must be finely ground into a crumb. A food processor is ideal for achieving this consistency, ensuring no large chunks remain.
- Unsalted Butter: Used for binding the Nutter Butter crust. Melting it gently in the microwave or on the stovetop will ensure it evenly coats the cookie crumbs, creating a rich and stable base. Unsalted butter allows you to control the overall saltiness of the dessert.
- Heavy Cream: A vital component for both the cheesecake filling and the chocolate ganache. For optimal emulsification and creaminess in the cheesecake, ensure your heavy cream is at room temperature. For the ganache, it will need to be heated to a steaming point.
- Sour Cream: This ingredient contributes significantly to the cheesecake’s characteristic tangy flavor and incredibly smooth, moist texture. Opt for full-fat sour cream or a high-quality full-fat Greek yogurt to ensure the richness and body needed for a perfect cheesecake. Remember to bring it to room temperature for at least 2 hours before baking to prevent lumps and ensure a uniform batter.
- Cream Cheese: The backbone of any cheesecake. Always use full-fat block cream cheese, not the spreadable kind from a tub, as it contains stabilizers that can alter the texture. Just like the sour cream, it is imperative that your cream cheese is softened to room temperature for at least 2 hours. This prevents lumps and ensures a smooth, silky batter when beaten.
- Eggs: Large eggs are specified for this recipe. Like the dairy components, eggs should be brought to room temperature for at least 2 hours prior to mixing. Room temperature eggs incorporate more evenly into the batter, creating a smoother consistency and reducing the risk of over-mixing, which can introduce too much air and lead to cracks.
- Chocolate Chips: For the decadent ganache, semi-sweet or dark chocolate chips are recommended. These provide a balanced sweetness and a slight bitterness that beautifully complements the rich peanut butter. Avoid milk chocolate chips, as they can make the ganache, and thus the entire dessert, overly sweet.
Smart Ingredient Substitutions for Your Cheesecake
While the recipe is designed for optimal results with the listed ingredients, you can make a few smart substitutions to suit dietary needs or ingredient availability without compromising too much on flavor or texture:
- Dairy-Free Option: To make this cheesecake dairy-free, simply replace all dairy products (cream cheese, sour cream, heavy cream, and butter) with your preferred high-quality dairy-free alternatives. Ensure they are designed for baking and are full-fat where applicable for the best texture.
- Alternative Crusts: If Nutter Butters aren’t available or you prefer a different base, you can easily substitute them. A classic graham cracker crust or an Oreo crust are both fantastic options that pair wonderfully with peanut butter and chocolate.
- Sour Cream Substitute: Full-fat Greek yogurt makes an excellent substitute for sour cream, offering a similar tang and creamy texture. Ensure it’s plain and unsweetened.
Step-by-Step Instructions: Crafting Your Peanut Butter Cheesecake
Creating this irresistible cheesecake involves a few key steps, from preparing the perfect crust to baking the luscious filling and adding the final touches. Gather your tools and let’s begin!
Essential Tools: For this recipe, you will need a 9-inch parchment paper circle, a 9-inch springform pan, either a hand mixer or a stand mixer equipped with a paddle attachment, and a rubber spatula for scraping down the bowl.
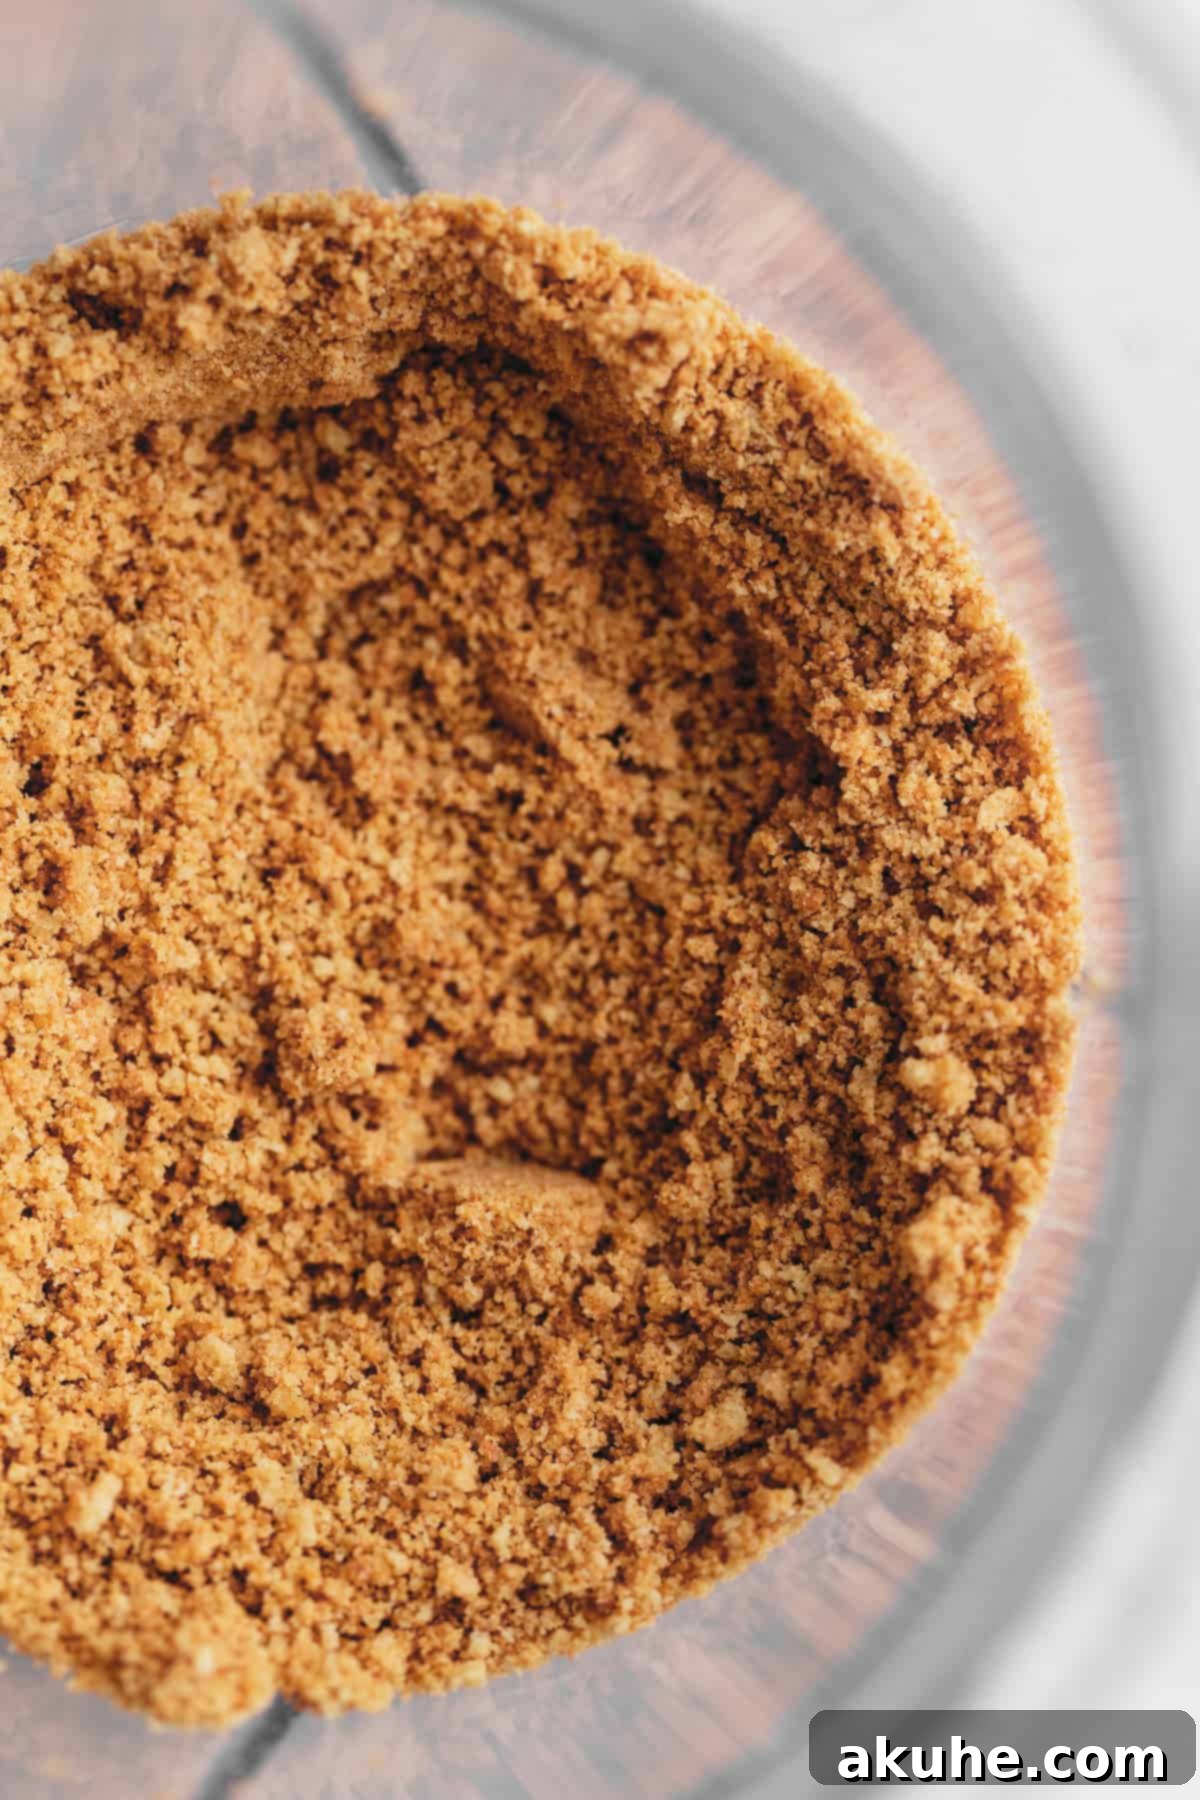
STEP 1: Prepare the Nutter Butter Crust. Begin by preheating your oven to 325°F (160°C). Take your 9-inch springform pan and generously spray the bottom and sides with baking non-stick spray. Then, line the bottom of the pan with a 9-inch parchment paper circle. Give it another light spray for extra release insurance. Next, place your Nutter Butter cookies into a food processor and pulse until they form very fine crumbs, resembling coarse sand. In a medium bowl, combine these fine crumbs with the melted unsalted butter. Use a fork to mix thoroughly until all the crumbs are moistened and resemble wet sand. This ensures a cohesive crust.
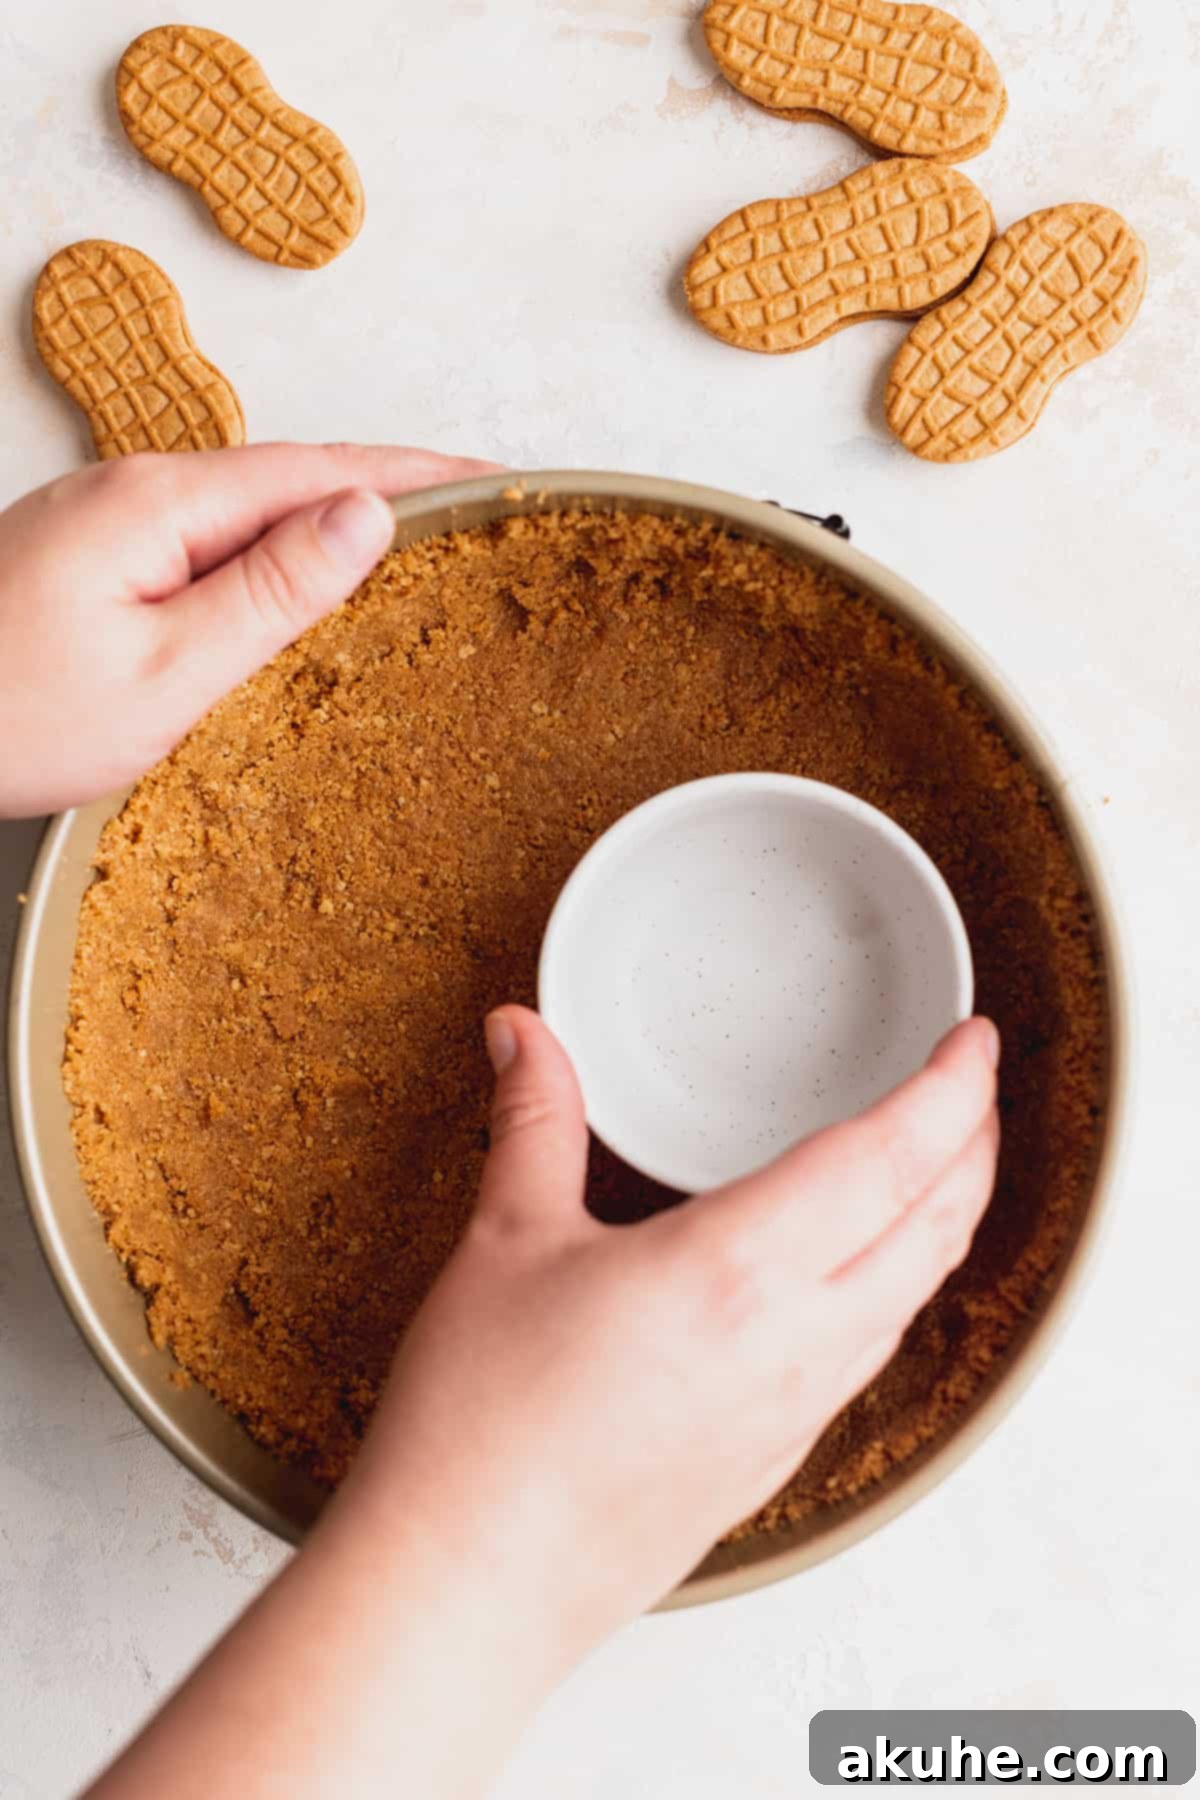
STEP 2: Compact the Crust in the Pan. Pour the moistened Nutter Butter mixture into your prepared springform pan. Using your hands, gently but firmly press the mixture evenly across the bottom and about halfway up the sides of the pan. For a truly compact and sturdy crust, use the back of a flat-bottomed measuring cup to press down firmly, especially on the bottom, ensuring it’s tightly packed and uniform. A well-compacted crust is less likely to crumble when sliced.
STEP 3: Pre-Bake the Crust. Place the pan with the compacted crust into your preheated oven. Bake for exactly 10 minutes. This quick bake helps to set the crust, making it less soggy once the cheesecake filling is added and baked. After 10 minutes, remove the crust from the oven and let it cool slightly while you prepare the cheesecake batter.
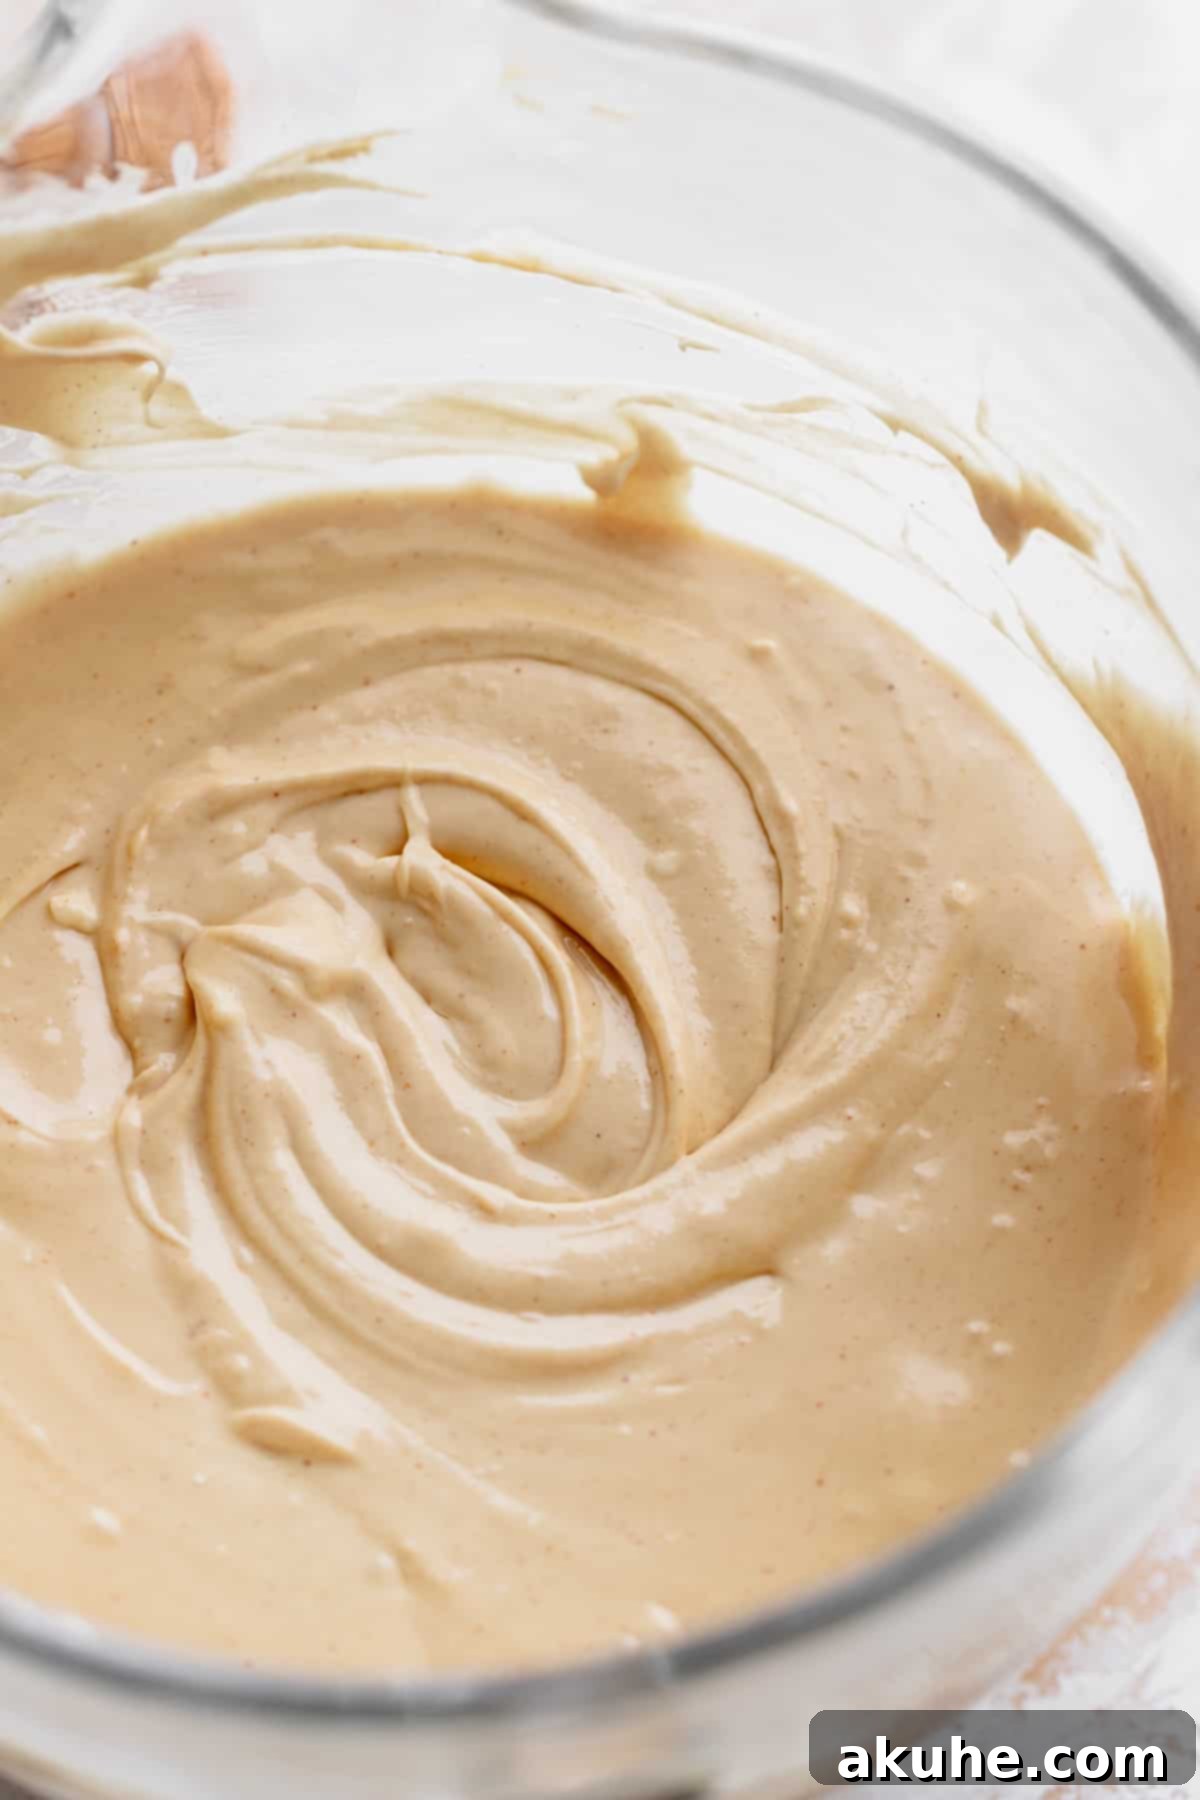
STEP 4: Cream the Cheese, Sugar, and Peanut Butter. In the bowl of your stand mixer (or a large bowl with a hand mixer), beat the softened, full-fat cream cheese on high speed for a full minute until it is completely smooth and free of any lumps. Scrape down the sides of the bowl. Next, add the white granulated sugar and beat on high speed for an additional 30 seconds, ensuring it’s well incorporated. Then, add the creamy peanut butter and beat on high speed for another 30 seconds. Scrape the bowl once more, making sure the peanut butter is thoroughly combined and the mixture is incredibly smooth. This initial creaming step is vital for a lump-free cheesecake and helps prevent cracks later.
STEP 5: Incorporate Wet Ingredients and Eggs. Reduce the mixer speed to medium. Add the room temperature sour cream, heavy cream, and pure vanilla extract to the cream cheese mixture. Mix until just combined, being careful not to overmix at this stage. Finally, with the mixer set to low speed, add the large eggs one at a time. Mix each egg in just until it disappears into the batter before adding the next. Over-mixing the eggs introduces too much air, which can cause the cheesecake to rise rapidly and then fall, leading to cracks. After the last egg is incorporated, give the bowl one final scrape with your rubber spatula to ensure everything is perfectly blended.
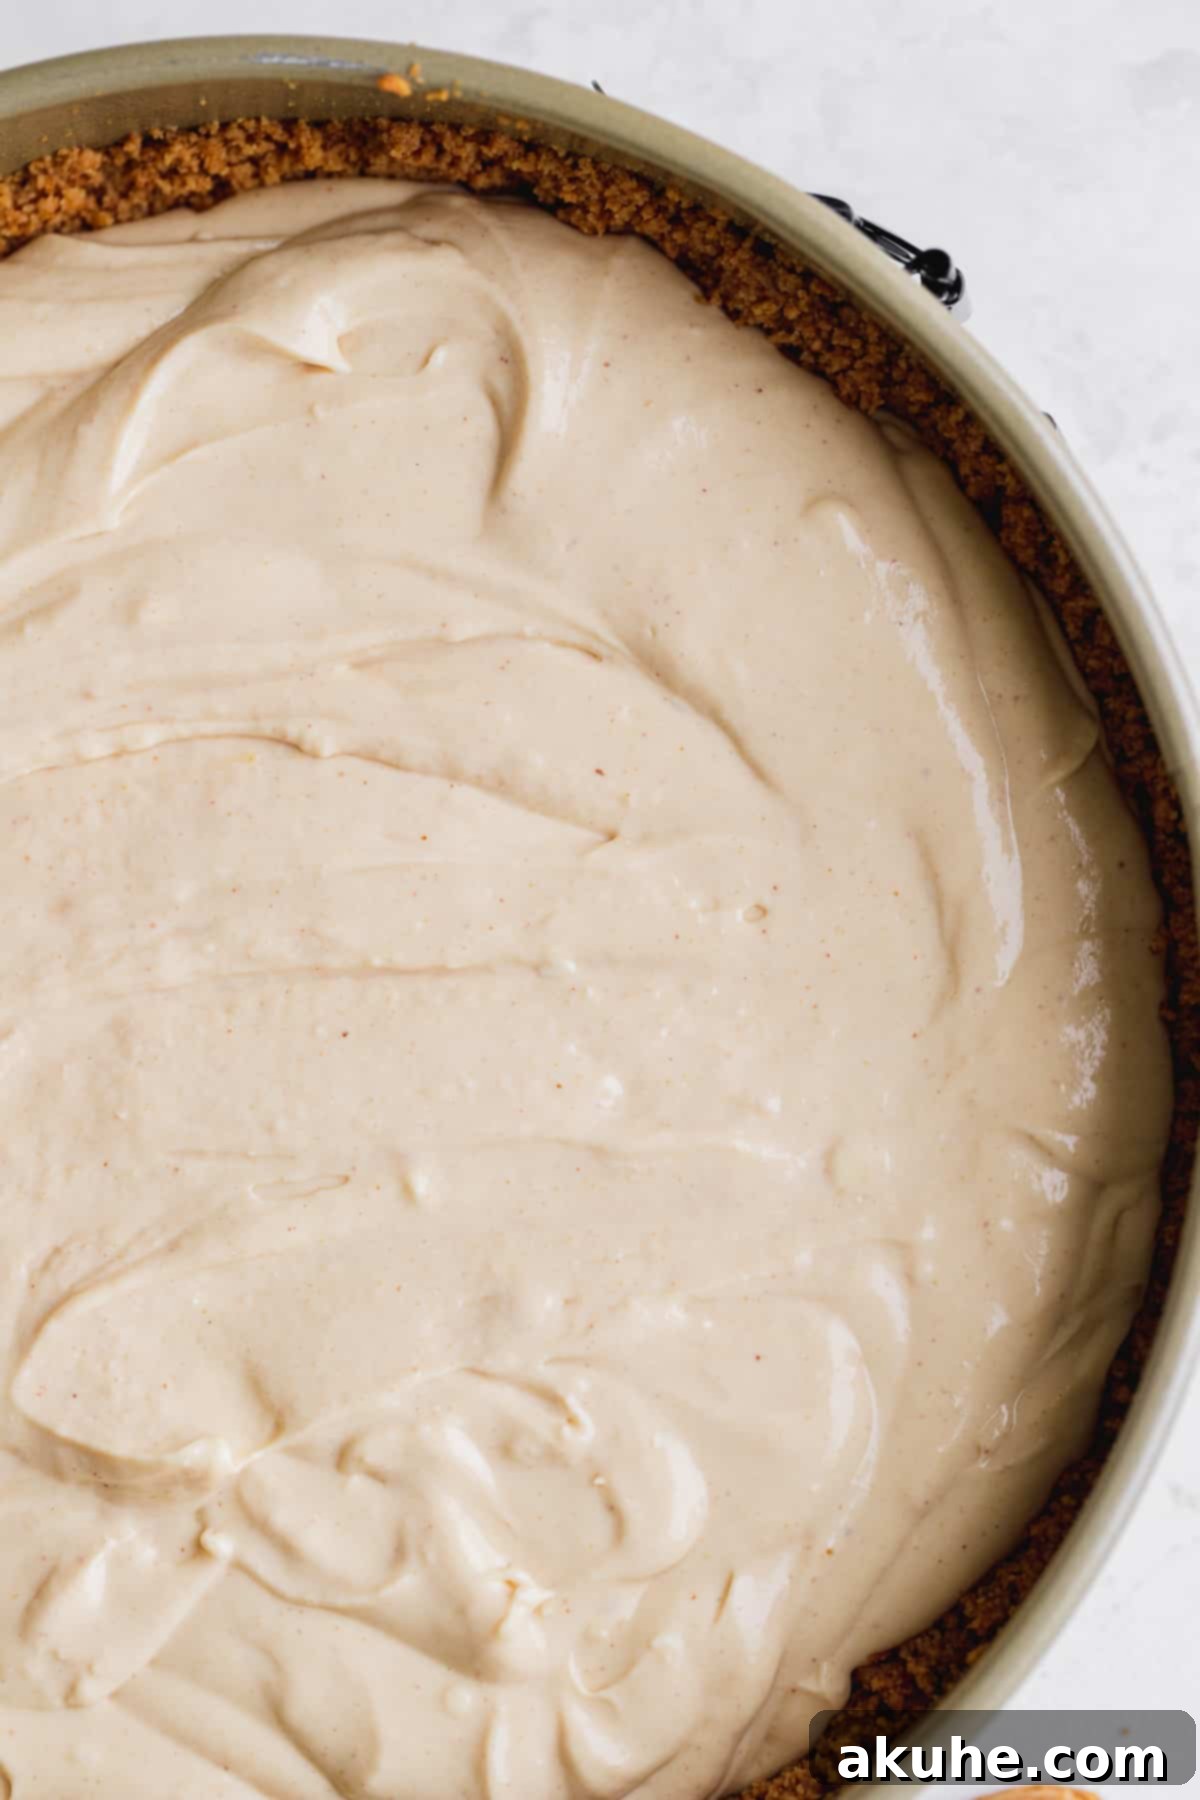
STEP 6: Bake Your Peanut Butter Cheesecake. Carefully pour the silky smooth peanut butter cheesecake batter into the pre-baked Nutter Butter crust in your springform pan. Now, it’s time to prepare your water bath, an essential step for a moist, crack-free cheesecake. Place your filled springform pan into the water bath using one of the reliable methods described in detail below. Bake the cheesecake for 70-80 minutes, or until the edges are set and lightly golden, but the center still has a slight, delicate jiggle when gently nudged. This slight jiggle indicates it’s perfectly cooked and will firm up beautifully upon cooling.
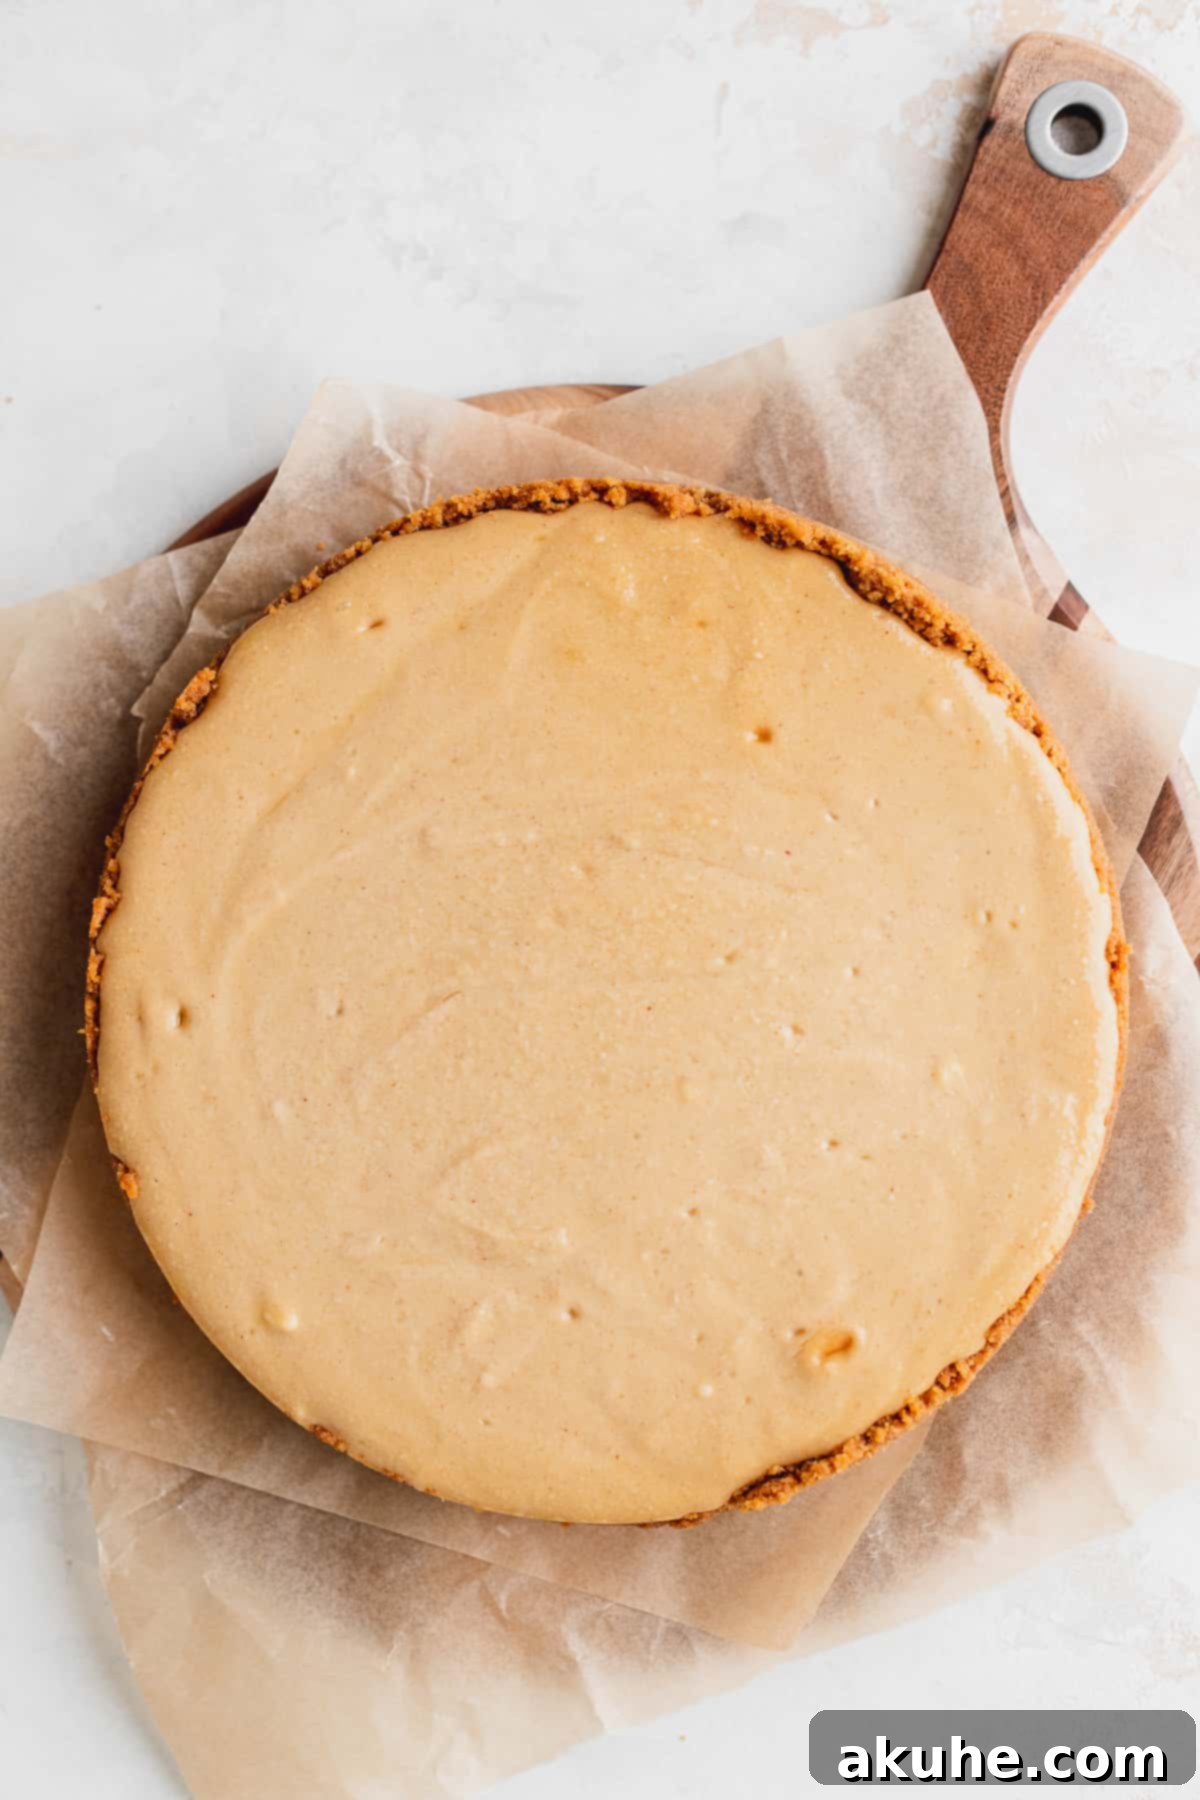
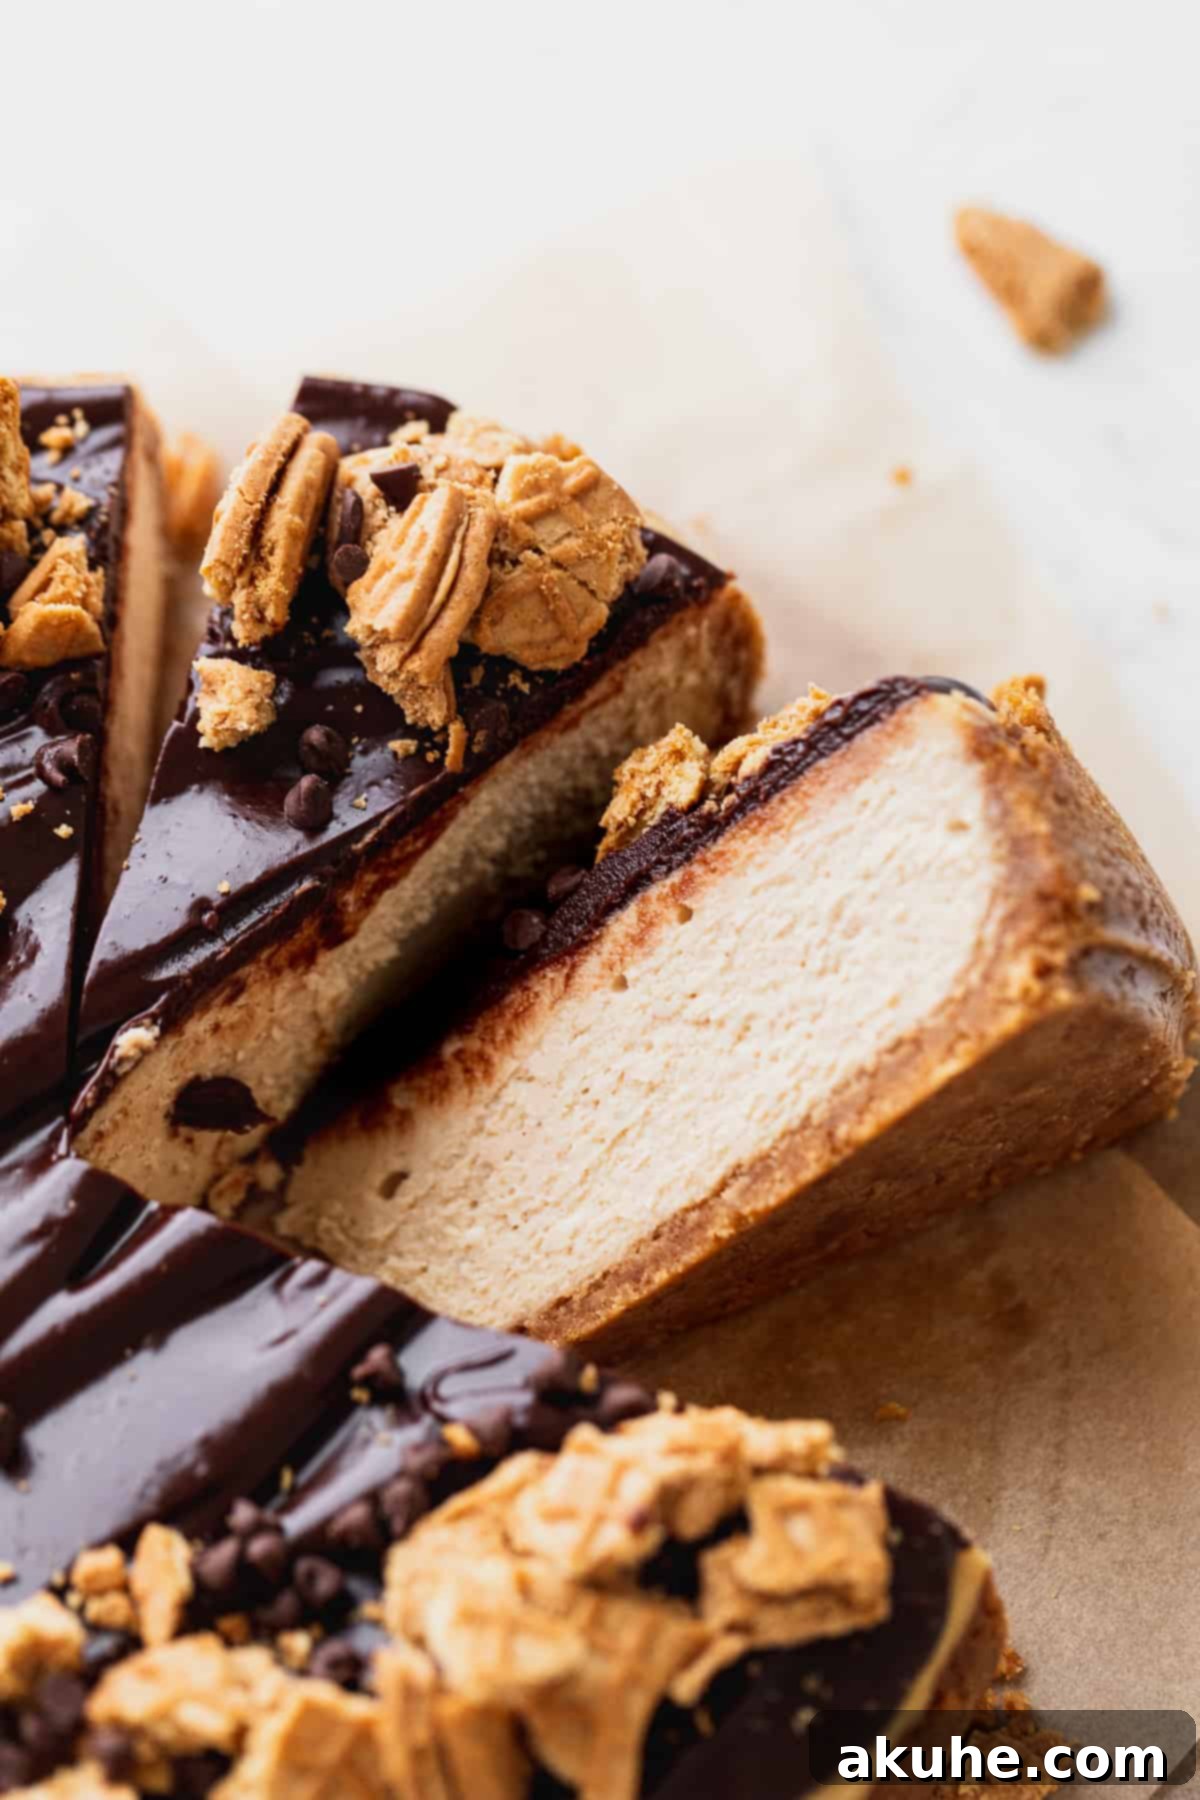
STEP 7: Cool the Cheesecake Slowly and Thoroughly. Once your cheesecake is baked, turn off the oven but leave the oven door ajar (prop it open slightly with a wooden spoon). Allow the cheesecake to cool slowly in the warm, open oven for 30 minutes. This gradual temperature change is crucial for preventing cracks. After 30 minutes, carefully remove the cheesecake from the oven and the water bath, transferring it to a wire cooling rack. Let it cool completely to room temperature on the rack. Once at room temperature, cover the cheesecake loosely with plastic wrap and chill it in the refrigerator for a minimum of 6 hours, or ideally, overnight. Chilling allows the cheesecake to fully set, develop its rich flavor, and achieve its signature firm-yet-creamy texture.
STEP 8: Prepare the Silky Chocolate Ganache. While the cheesecake chills, prepare the luscious chocolate ganache topping. Place the semi-sweet chocolate chips in a small, heatproof bowl. In a small saucepan, gently heat the heavy cream over medium-low heat until it’s hot and steaming, but not boiling. Once hot, pour the steaming cream directly over the chocolate chips. Let it sit undisturbed for 1 minute and 30 seconds – this allows the chocolate to melt evenly. Then, gently whisk or stir the mixture from the center outwards until it is completely smooth, shiny, and fully emulsified. If any small chocolate chunks remain, microwave the ganache in 10-second intervals, stirring well after each interval, until it reaches a perfectly smooth consistency. Let the ganache cool slightly to a pourable but not hot temperature before using.
Decorating Your Creamy Peanut Butter Cheesecake
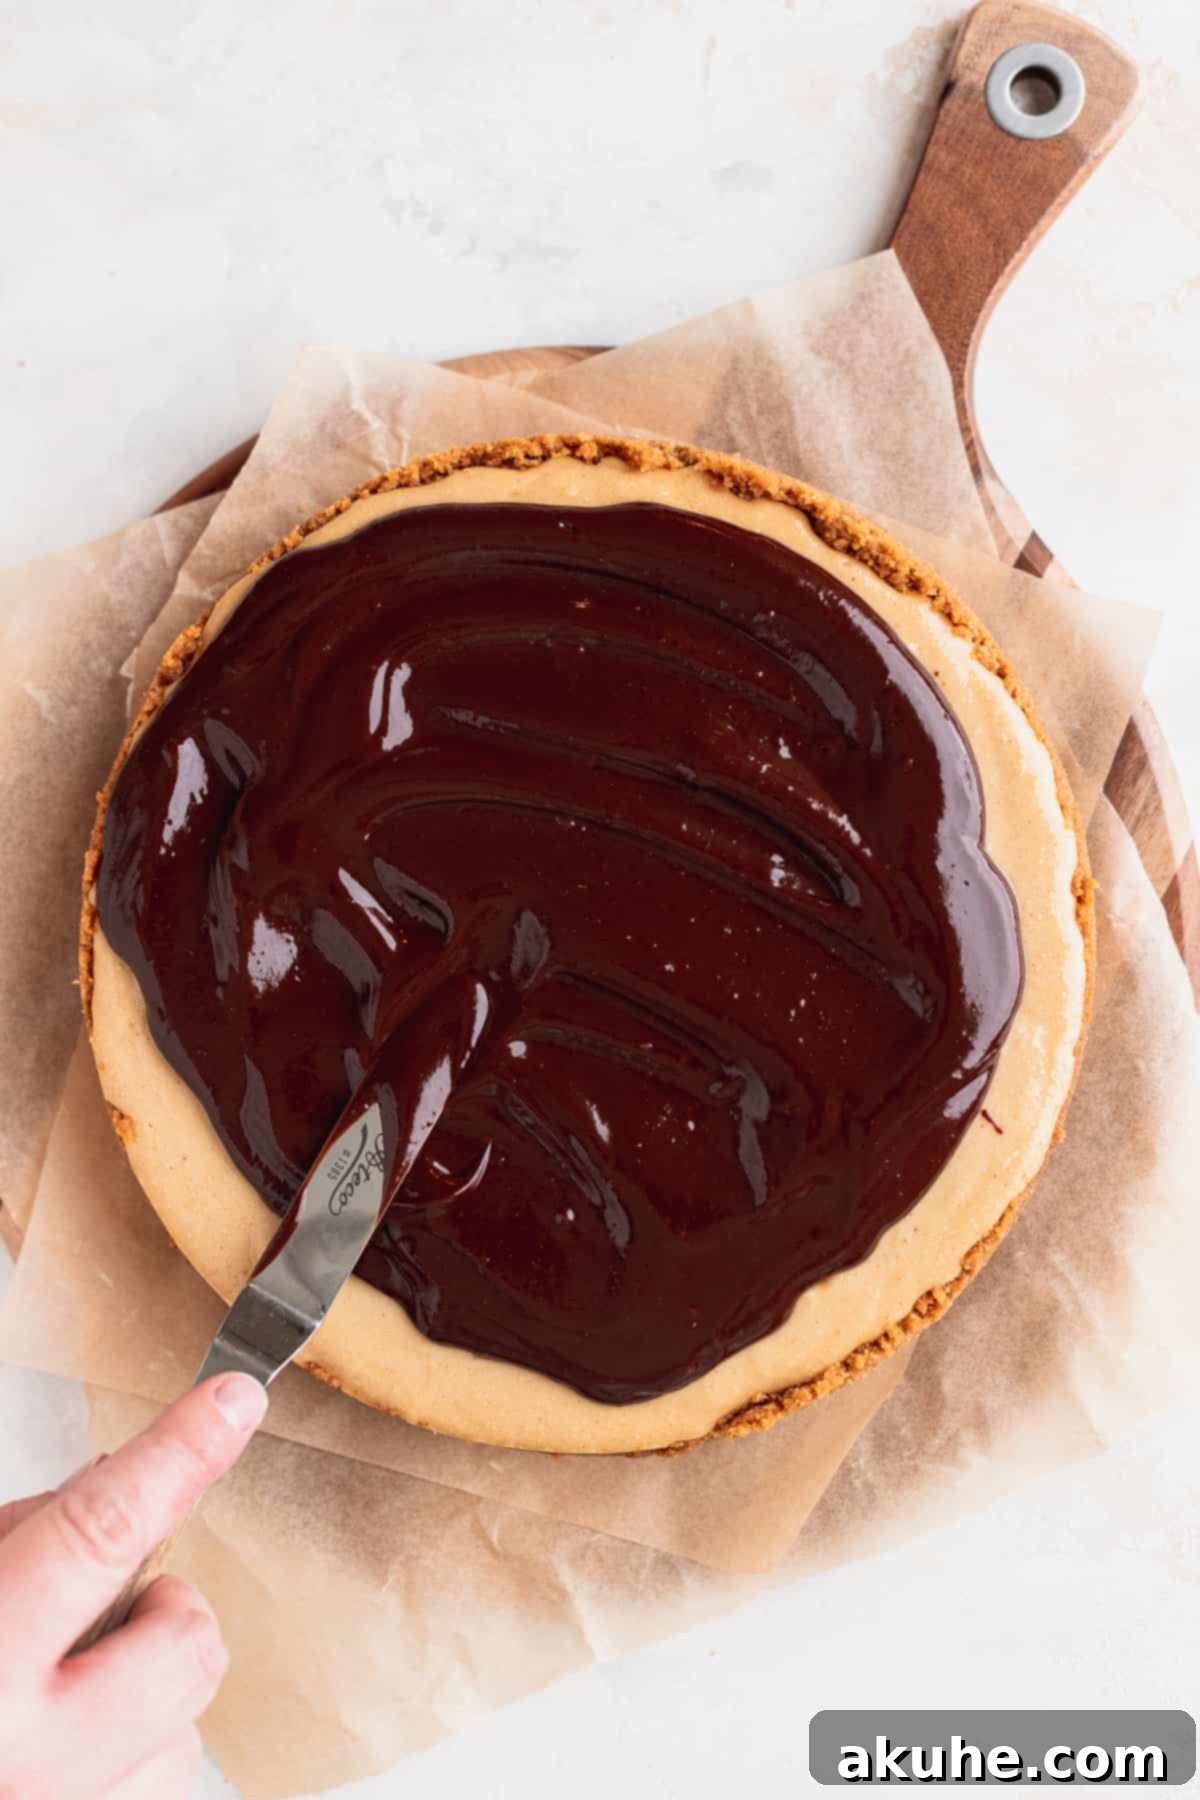
Once your peanut butter cheesecake is perfectly chilled and set, it’s time for the final, beautiful touches. First, carefully remove the cheesecake from the springform pan. If using the parchment circle at the bottom, gently tilt the cheesecake on its side to peel away the parchment paper. Next, pour the slightly cooled chocolate ganache evenly over the top of the cheesecake. For those elegant drips down the sides, use an offset spatula to gently push some of the ganache over the edge, allowing it to cascade naturally. Finish this stunning dessert by generously scattering chopped Nutter Butter pieces over the chocolate ganache for added texture, flavor, and visual appeal. This not only enhances the peanut butter theme but also adds a delightful crunch to every bite.
Mastering the Water Bath for Perfect Cheesecake
The water bath, or bain-marie, is not an optional step for cheesecake; it’s a critical technique for achieving that signature creamy texture and preventing unsightly cracks on the surface. The steam created by the hot water bath provides a moist, even heat environment around the cheesecake, ensuring it bakes gently and uniformly. Without this moisture, the cheesecake surface can dry out too quickly, leading to rapid expansion and contraction, which results in cracks.
Here are two effective techniques for setting up your water bath, both utilizing a large roasting pan filled with hot, steaming water:
- The Inner Pan Method (Recommended): This is my absolute favorite method, as it virtually eliminates any risk of water seeping into your crust. Place your springform pan (with the prepared crust and batter) inside a slightly larger 10-inch cake pan. Then, carefully place this cake pan assembly into your large roasting pan. Fill the roasting pan with hot, steaming water, ensuring the water level comes about halfway up the sides of the 10-inch cake pan. This method creates a double barrier, protecting your crust perfectly.
- The Foil Wrap Method: While effective, this method requires more caution. Tightly wrap your springform pan (with the prepared crust and batter) twice with heavy-duty aluminum foil. Ensure the foil extends well above the sides of the pan to create a watertight seal. Place the foil-wrapped springform pan directly into the roasting pan. Carefully fill the roasting pan halfway up the sides of the springform pan with hot water. The key here is to wrap the foil as securely as possible to prevent any leaks that could result in a soggy crust.
The first method (using an inner cake pan) is highly recommended for beginners and experienced bakers alike, as it offers superior protection against water intrusion, making your cheesecake baking experience much smoother and more stress-free. Avoid the potential disappointment of a soggy bottom by choosing this foolproof approach.
Expert Tips for Preventing Cheesecake Cracks
Achieving a perfectly smooth, uncracked cheesecake surface is a hallmark of skilled baking, and it’s entirely within your reach with these expert tips:
- Ensure Silky Smooth Batter: The foundation of a crack-free cheesecake is a lump-free batter. When beating the cream cheese, sugar, and peanut butter (before adding eggs), ensure the mixture is incredibly smooth and creamy. Any small chunks of cream cheese can create inconsistencies in the batter, leading to tension and cracks during baking. Beat on high speed initially, stopping frequently to scrape down the sides of the bowl with a rubber spatula, until the mixture is truly uniform.
- Incorporate Eggs Gently and Slowly: This is perhaps the most critical step. Once the wet ingredients are combined, add the eggs one at a time, mixing on the lowest speed possible. The goal is to incorporate the eggs just until they are blended, with minimal air introduced into the batter. Too much air creates large air bubbles, which expand rapidly during baking, causing the cheesecake to puff up excessively. As the cheesecake cools, these air pockets collapse, leading to cracks.
- Always Use a Water Bath: As extensively discussed, a water bath is absolutely essential. The moist, steaming environment it provides prevents the cheesecake from drying out and baking too quickly. This gentle, even heat allows the cheesecake to set slowly and evenly, significantly reducing the likelihood of cracks.
- Master the Slow Cooling Process: The transition from hot oven to a cooler environment is a prime cracking zone. Once your cheesecake is baked (edges set, center with a slight jiggle), turn off the oven and prop the oven door open a few inches. Allow the cheesecake to cool slowly inside the oven for at least 30 minutes. This gradual temperature reduction prevents a sudden thermal shock that can cause the cheesecake’s structure to contract too rapidly, resulting in cracks. After this initial cooling, transfer it to a wire rack to cool completely to room temperature before chilling in the refrigerator.
Effortlessly Removing Cheesecake from the Springform Pan
While the springform pan is designed for easy release, a little preparation and patience can make the process truly seamless. First, before adding the crust, generously spray the interior of your springform pan with baking non-stick spray. Crucially, line the bottom of the pan with a 9-inch parchment paper circle. Give the pan another light spray over the parchment for extra assurance. The magic truly happens after the cheesecake has been thoroughly chilled, ideally overnight. When ready to serve, the springform pan should effortlessly unlatch and lift away. If you encounter any resistance, very gently run a thin, sharp knife or an offset spatula around the inner edge of the cheesecake before attempting to release the spring. Once the sides are removed, you can carefully lay the cheesecake on its side to easily peel off the bottom of the pan and the parchment circle, leaving you with a beautifully presented dessert.
Frequently Asked Questions About Peanut Butter Cheesecake
Here are some common questions and helpful answers to guide you in making and enjoying your peanut butter cheesecake:
Can I make this into mini cheesecakes?
Absolutely! This recipe is versatile enough for mini cheesecakes. To make 12 mini cheesecakes, you would generally divide the recipe into thirds. Bake them in a muffin pan lined with paper liners for approximately 18-20 minutes, or until set. For detailed instructions on baking mini cheesecakes, you can refer to my Mini Oreo Cheesecakes recipe, applying the same principles.
What other pans can I use for this recipe?
You have a few options for alternative baking pans. To create delicious cheesecake bars, halve the recipe and bake it in an 8×8 or 9×9 inch baking pan (you’ll still use 16 oz of cream cheese for this size variation). If you prefer a slightly taller cheesecake, an 8-inch springform pan works wonderfully with the full recipe. For a smaller, 6-inch springform pan, you should halve the recipe but still use 16 oz of cream cheese to maintain the ideal height and richness.
How can I get the perfect slice of cheesecake?
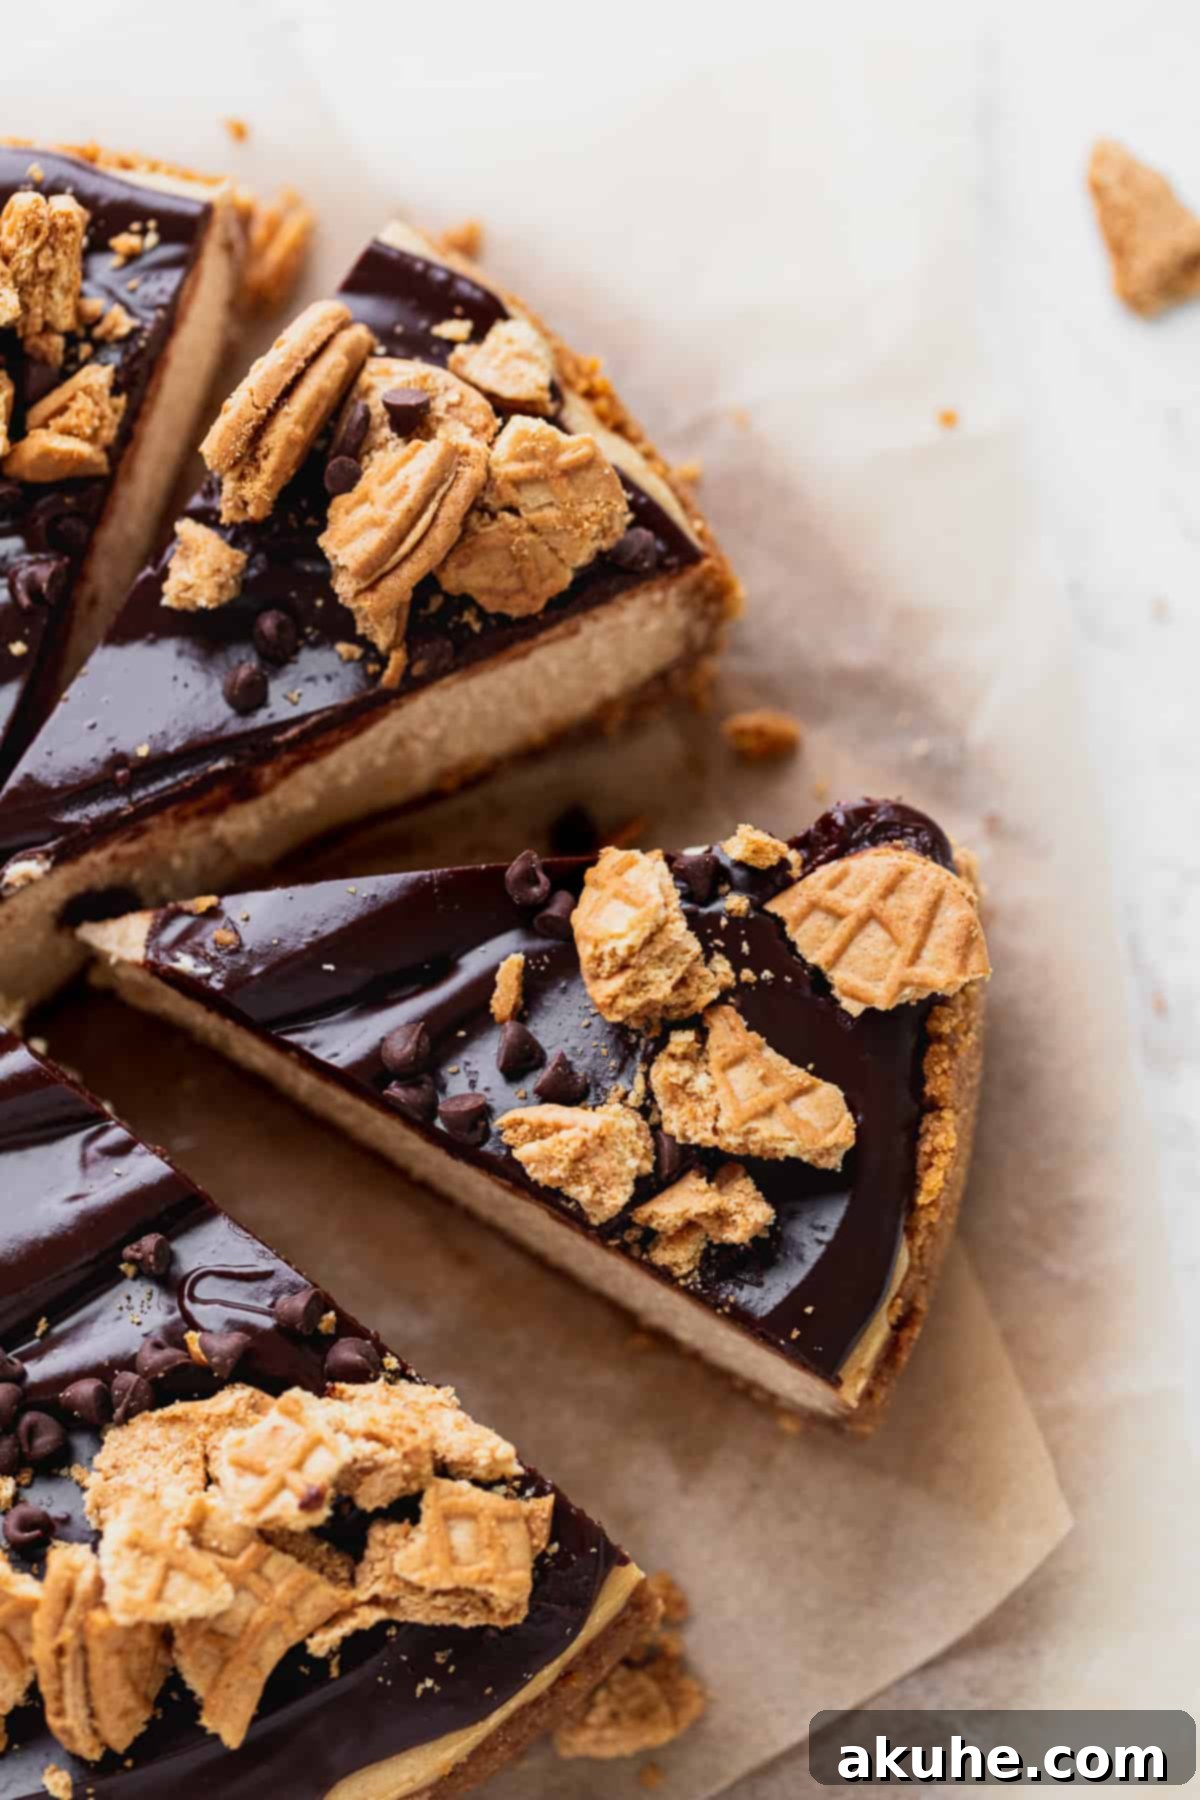
Achieving a clean, elegant slice of cheesecake is easy with a couple of tricks. First and foremost, ensure the cheesecake is very cold – ideally, it should have chilled for at least 6 hours, or even better, overnight. Before each cut, use a sharp, thin-bladed knife. For the cleanest slices, wipe the knife clean with a damp cloth or paper towel and dip it in hot water before each new cut. This prevents the cheesecake and ganache from sticking and ensures every slice is picture-perfect.
Delicious Peanut Butter Cheesecake Recipe Variations
While this peanut butter cheesecake is perfect as is, you can easily customize it to suit your taste or create new flavor experiences:
- Simplify by Skipping Ganache: If you’re short on time or prefer a less rich dessert, you can certainly skip the chocolate ganache topping. The cheesecake is wonderfully delicious on its own.
- Add Peanut Butter Cups: For an extra layer of chocolate and peanut butter indulgence, fold chopped mini peanut butter cups directly into the cheesecake batter before baking. This adds delightful pockets of flavor and texture, similar to my popular Reese’s Peanut Butter Cup Pie.
- Swirls of Jam: For a PB&J twist, gently swirl some raspberry or strawberry jam into the cheesecake batter just before baking.
- Caramel Drizzle: Instead of or in addition to ganache, drizzle a rich salted caramel sauce over the top of the chilled cheesecake.
Specialty Tools for Cheesecake Baking Success
Having the right tools can make all the difference in achieving a perfect homemade cheesecake:
- Springform Pan: A high-quality 9-inch springform pan is indispensable for cheesecakes, allowing for easy release and beautiful presentation. If you desire a taller, more dramatic cheesecake, an 8-inch springform pan can achieve this by making the cheesecake thicker.
- Parchment Paper Circles: These pre-cut 8-inch parchment paper circles are a game-changer. They perfectly fit the bottom of your pan, preventing sticking and making removal incredibly easy, saving you the hassle of cutting out circles from regular parchment paper.
- Baking Spray with Flour: A nonstick spray that includes flour, such as this one, provides an extra layer of insurance against sticking, particularly for the sides of the cheesecake, ensuring a clean release every time.
- Offset Spatula: An offset spatula is a baker’s best friend. Its angled blade makes spreading frostings, fillings, and especially ganache over a cheesecake incredibly easy and smooth, allowing for precise control and even coverage.
Storing and Freezing Your Peanut Butter Cheesecake
Proper storage is essential to maintain the freshness and delectable texture of your homemade peanut butter cheesecake. When stored correctly, you can enjoy this treat for days or even weeks.
Storing in the Fridge: Always store your peanut butter cheesecake in the refrigerator within an airtight container. A cake carrier is an ideal choice, as it protects the cheesecake from absorbing other odors and prevents it from drying out. When stored properly, your cheesecake will remain fresh and delicious for up to 5 days, ensuring every slice is as good as the first.
Freezing for Long-Term Enjoyment
Freezing your peanut butter cheesecake is an excellent way to extend its shelf life, allowing you to enjoy a slice of this delightful dessert whenever a craving strikes.
- Freezing Individual Slices: For convenient portion control, you can freeze individual cake slices. Place each slice on a small plate or baking sheet and freeze for about an hour until firm. Then, wrap each slice tightly in plastic wrap, followed by a layer of aluminum foil, and store them in an airtight freezer-safe container. Frozen slices can be kept for up to 30 days. To enjoy, simply thaw a slice in the refrigerator for 1-2 hours before serving.
- Freezing an Undecorated Whole Cheesecake: If you plan to make the cheesecake ahead of time, you can freeze it before adding the ganache and Nutter Butter topping. After the cheesecake has been baked and thoroughly chilled in the refrigerator overnight (this is crucial for setting), remove it from the springform pan. Wrap the entire cooled cheesecake tightly in several layers of plastic wrap, followed by a layer of aluminum foil. This prevents freezer burn. Store in the freezer for up to 30 days. When you’re ready to serve, thaw the cheesecake in the refrigerator for 1-2 hours. Once thawed, you can proceed with preparing and applying the chocolate ganache and decorations as described in the recipe.
More Peanut Butter Recipes to Delight Your Taste Buds
If you’re a true peanut butter aficionado, you’ll love these other fantastic recipes that celebrate the irresistible flavor:
- Peanut Butter Chocolate Chip Cookies
- Chocolate Peanut Butter Cake
- Chocolate Peanut Butter Stuffed Cookies
- Peanut Butter Banana Muffins
- Chocolate Peanut Butter Cupcakes
I hope you absolutely love making and enjoying this peanut butter cheesecake! Your feedback means the world to me. Please consider leaving a STAR REVIEW if you loved this recipe! You can also tag me on Instagram @stephaniesweettreats with your creations. For more delicious ideas and inspiration, make sure to follow me on Pinterest.
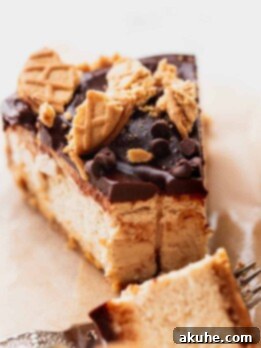
Peanut Butter Cheesecake
This ultimate peanut butter cheesecake features a delectable Nutter Butter crust, a rich and creamy baked peanut butter filling, and is elegantly topped with a silky chocolate ganache and extra Nutter Butters for an irresistible finish.
Prep Time: 20 mins
Cook Time: 1 hr 10 mins
Chilling Time: 6 hrs
Total Time: 7 hrs 30 mins
Servings: 16
Ingredients
Nutter Butter Crust
- 22 Nutter Butters (regular sized cookies, ground into fine crumbs)
- 1/2 cup Unsalted butter (melted)
Peanut Butter Cheesecake
- 24 oz Cream cheese (full-fat, room temperature)
- 3/4 cup White granulated sugar
- 1 cup Creamy peanut butter
- 1/2 cup Sour cream (full-fat, room temperature)
- 1/4 cup Heavy cream (room temperature)
- 1 tsp Pure vanilla extract
- 3 Large eggs (room temperature)
Chocolate Ganache
- 1 cup Semi-sweet chocolate chips
- 1/2 cup Heavy cream
- Nutter Butter pieces (for decoration)
Instructions
Nutter Butter Crust
- Preheat oven to 325°F (160°C). Spray a 9-inch springform pan with baking non-stick spray. Line the bottom with a parchment circle and spray again.
- Place Nutter Butters into a food processor and pulse until fine crumbs. Combine crumbs with melted butter; mix with a fork. Pour crumbs into the pan. Use your hands to press the crust halfway up the sides, then use the back of a measuring cup to compact it thoroughly.
- Bake for 10 minutes. Remove and let cool slightly while preparing the filling.
Peanut Butter Cheesecake
- In a mixer, beat room temperature cream cheese on high for 1 minute until smooth. Scrape bowl. Add sugar and beat on high for 30 seconds. Add creamy peanut butter and beat on high for 30 seconds. Scrape bowl, ensuring peanut butter is fully combined.
- Add room temperature sour cream, heavy cream, and vanilla. Mix on medium speed until just combined. Add eggs one at a time on low speed, mixing only until just incorporated. After the last egg, scrape the bowl.
- Pour cheesecake batter into the pre-baked crust. Prepare a water bath using one of the methods below.
- Water Bath Methods:
1. Place springform pan inside a 10-inch cake pan. Place cake pan into a large roasting pan and pour hot water halfway up the cake pan. This method is preferred to prevent water intrusion.
2. Wrap the springform pan tightly twice with heavy-duty foil. Place the wrapped pan into a large roasting pan and fill halfway with hot water. - Bake for 70-80 minutes, until edges are set and the center has a slight jiggle.
- Turn off the oven and prop the door open. Let the cheesecake cool slowly in the oven for 30 minutes. Transfer to a cooling rack and let cool completely to room temperature. Cover and chill in the fridge for 6 hours or overnight.
Chocolate Ganache
- Place chocolate chips in a small bowl. Heat heavy cream in a saucepan on medium-low heat until hot and steaming. Pour hot cream over chocolate chips. Let sit for 1 minute 30 seconds.
- Mix until chocolate is smooth and combined. If chunks remain, microwave in 10-second intervals, stirring after each, until melted.
- Once cheesecake is chilled, remove it from the springform pan and peel off the parchment circle. Pour the slightly cooled chocolate ganache over the cheesecake. For drips, use an offset spatula to gently push chocolate over the edge. Top with Nutter Butter pieces. Keep refrigerated until serving.
Nutrition Facts (per serving)
- Calories: 446 kcal
- Carbohydrates: 21 g
- Protein: 8 g
- Fat: 38 g
- Saturated Fat: 19 g
- Trans Fat: 1 g
- Cholesterol: 82 mg
- Sodium: 223 mg
- Potassium: 248 mg
- Fiber: 2 g
- Sugar: 17 g
- Vitamin A: 963 IU
- Vitamin C: 1 mg
- Calcium: 73 mg
- Iron: 1 mg
