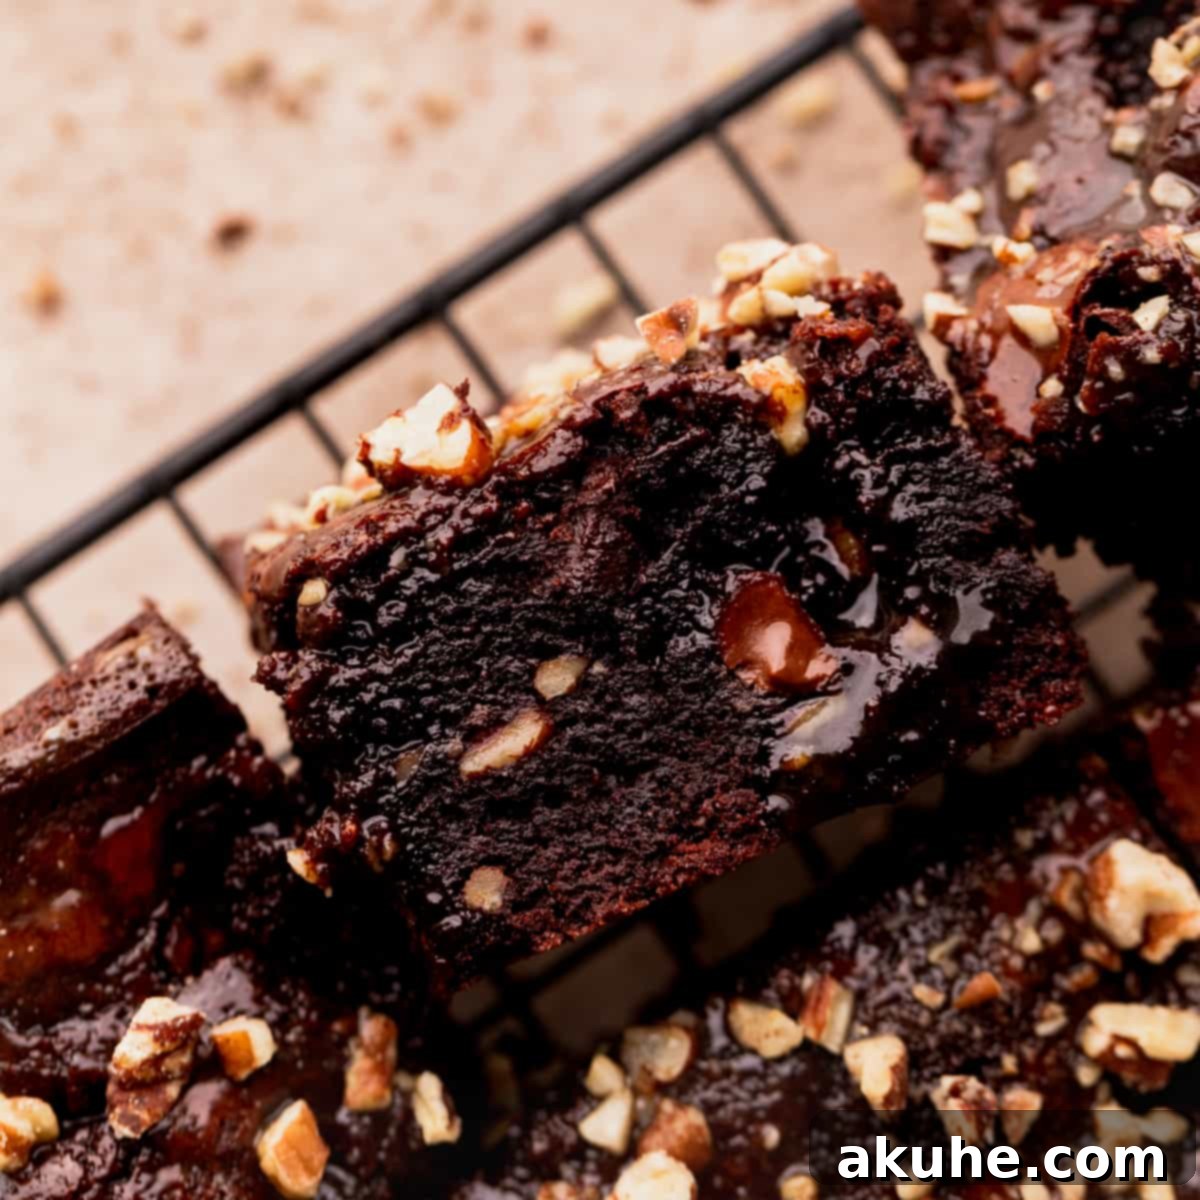
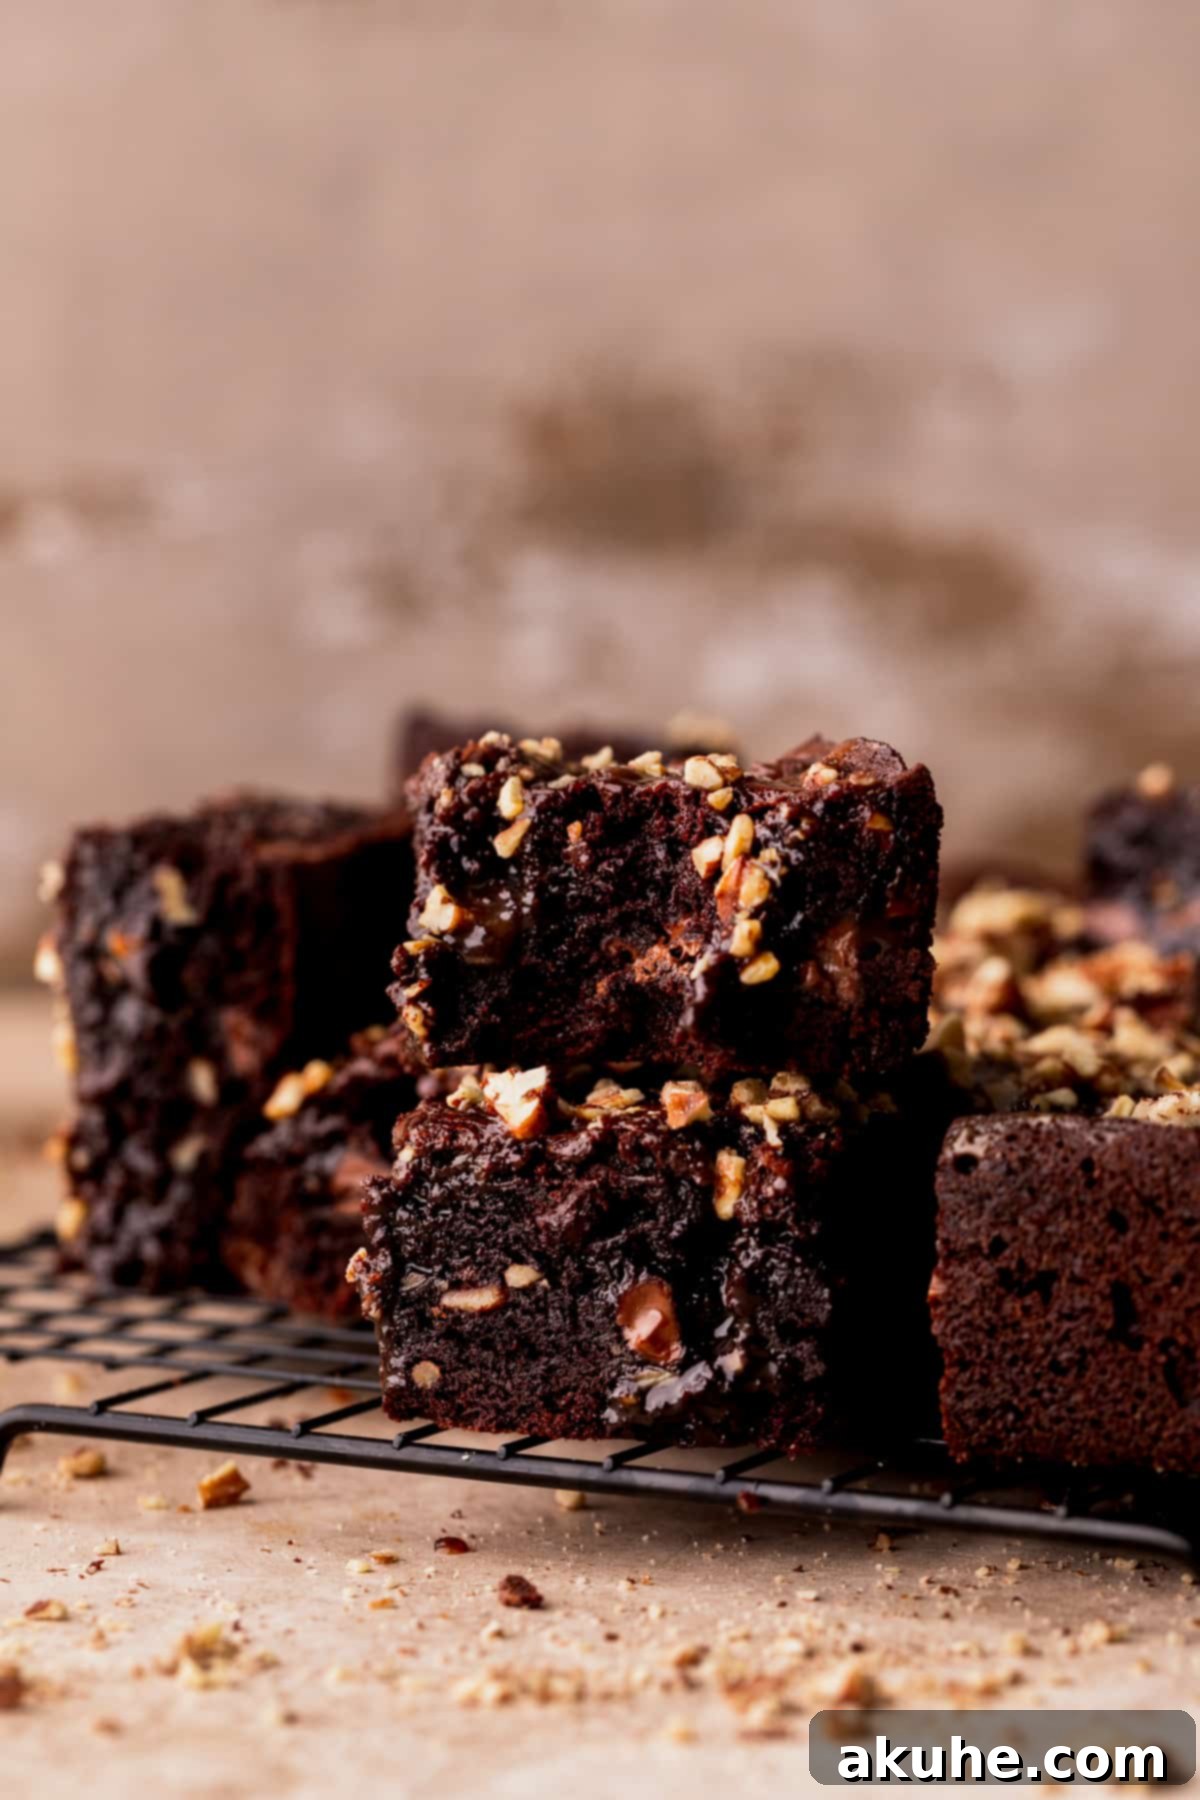
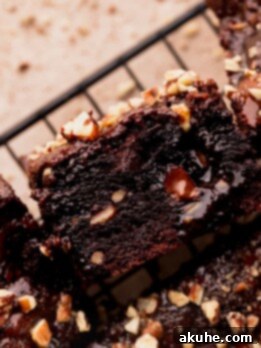
Indulge in the ultimate dessert experience with these truly exceptional turtle brownies. Crafted for the fudgy brownie aficionado, each square boasts a dense, rich chocolate base, generously studded with premium chocolate chips and finely chopped pecans. But the magic doesn’t stop there: these brownies are lovingly poked and then filled with a luxurious, homemade salted caramel, crowned with even more crunchy pecans, creating a symphony of textures and flavors that will captivate your taste buds. This isn’t just a brownie; it’s a decadent journey into the heart of confectionery bliss.
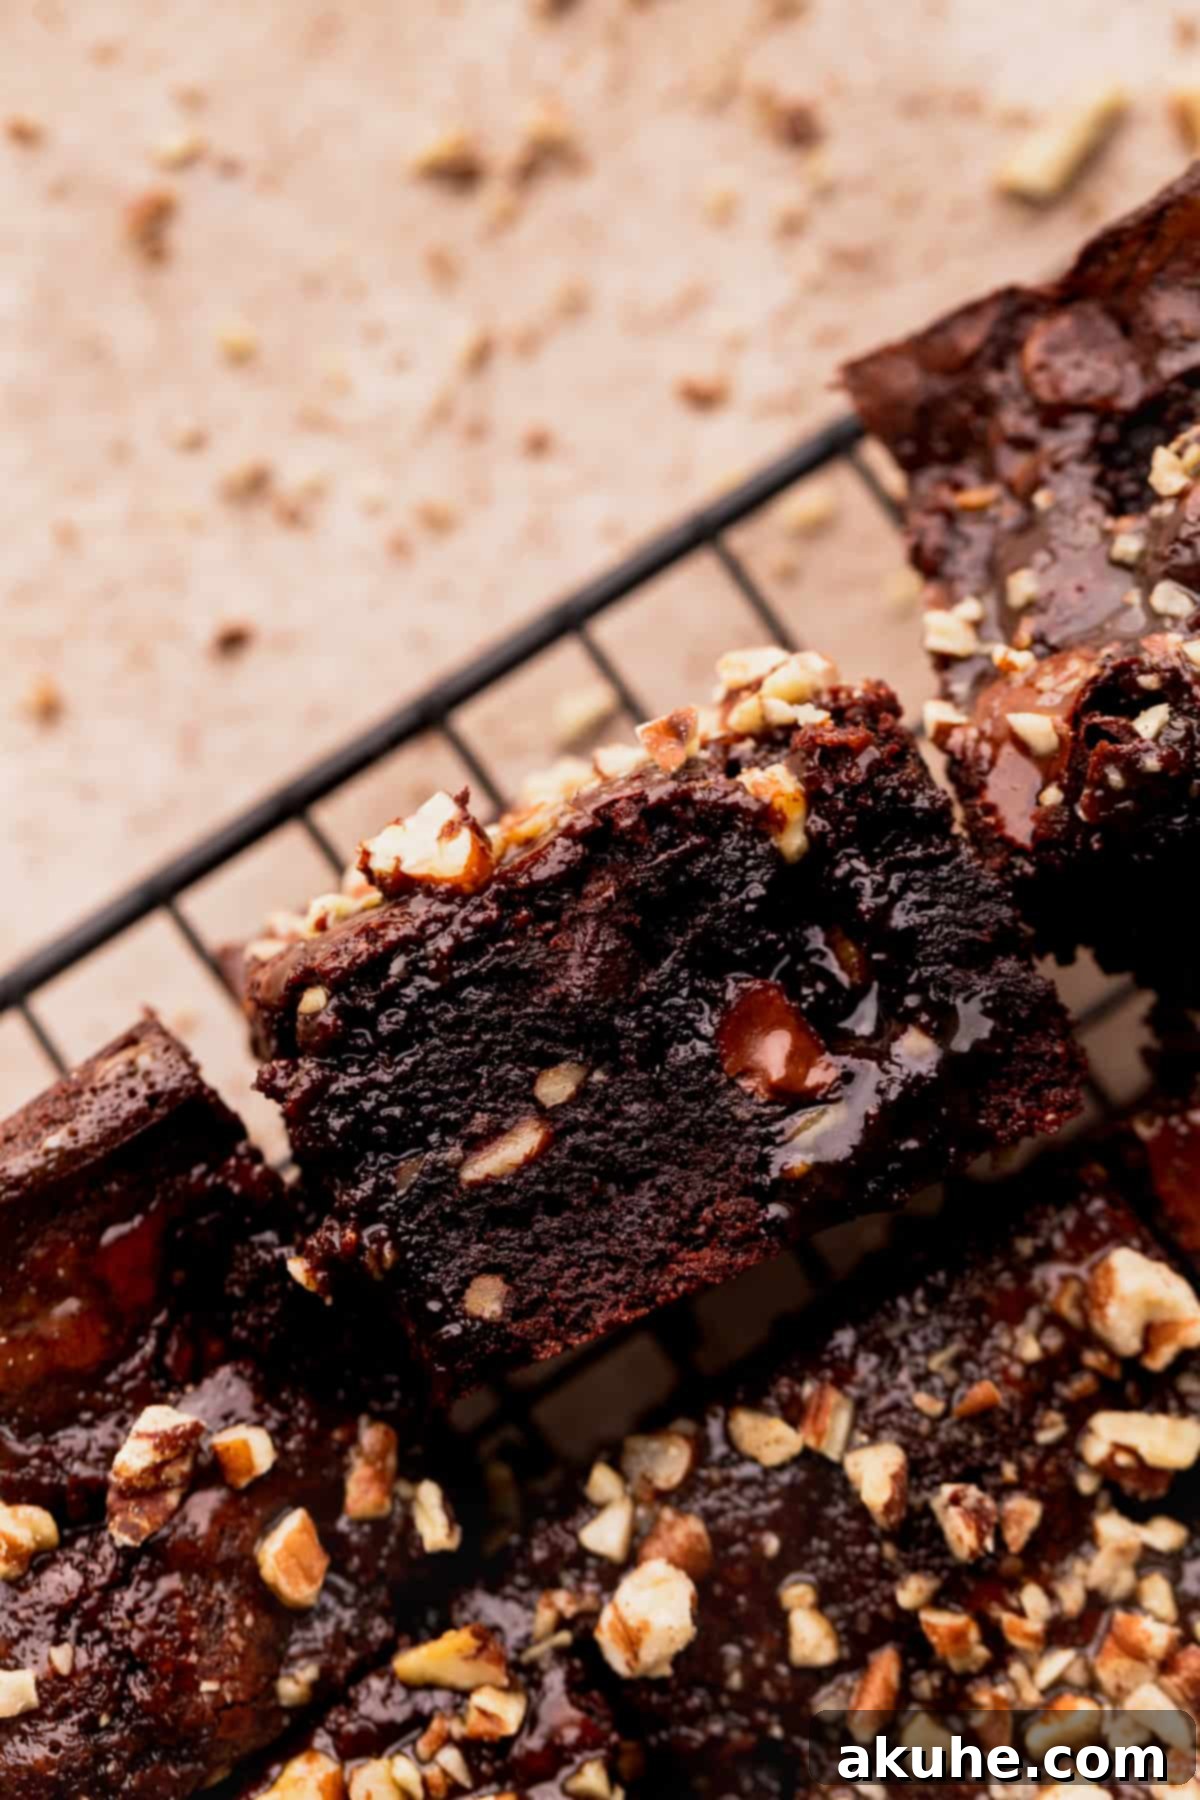
If you’re searching for the best turtle brownies recipe, look no further. Our perfected method ensures a consistently fudgy brownie that melts in your mouth, perfectly complementing the gooey, luscious salted caramel and the satisfying crunch of pecans. This classic combination of chocolate, caramel, and nuts is elevated to new heights in this irresistible dessert. Prepare to fall in love with every bite of these homemade turtle brownies – a treat so good, you’ll find it impossible to have just one.
For those who adore the rich complexity of caramel, explore more of our delightful recipes: try our No-Bake Turtle Pie for a quick and easy treat, master the art of Homemade Salted Caramel on its own, or wake up to the sweet aroma of Caramel Cinnamon Rolls.
Why This Homemade Turtle Brownie Recipe Stands Out
Creating extraordinary desserts at home is incredibly rewarding, and these homemade turtle brownies are a shining example. This recipe isn’t just about combining ingredients; it’s about a careful balance of flavors and techniques that ensure an unparalleled baking experience. Here’s what makes our turtle brownies truly special and why they’re destined to become your new favorite:
- Unbelievably Fudgy Brownies: At the core of this recipe is a brownie base that redefines fudginess. Inspired by our acclaimed “Better Than Boxed Brownies,” this recipe yields a dense, moist, and intensely chocolatey brownie that boasts that coveted crinkly top. The texture is so rich, it practically dissolves in your mouth, providing the perfect foundation for the caramel and pecans. We’ve refined the ratios to ensure maximum moistness without being cakey, delivering a pure chocolate delight.
- Irresistible Homemade Salted Caramel: While store-bought caramel can be convenient, nothing compares to the depth of flavor and smooth, luxurious texture of homemade salted caramel. Our recipe guides you through creating a rich, buttery caramel with just the right touch of salt to balance the sweetness. This fresh caramel is the star that transforms these into true turtle brownies, seeping into every crevice and adding an exquisite chewiness. Its depth enhances the chocolate and pecan notes beautifully.
- Perfect Pecan Perfection: The classic “turtle” combination hinges on the earthy, buttery crunch of pecans. We incorporate chopped pecans directly into the brownie batter, ensuring a delightful texture in every bite. Then, a generous scattering of additional pecans on top provides a beautiful visual appeal and an extra layer of nutty flavor and satisfying crunch, making these a truly authentic and decadent treat.
- The Ultimate Turtle Brownie Experience: This isn’t just a brownie with some toppings; it’s a meticulously crafted dessert where every component plays a crucial role. From the rich, dense brownie base to the luscious, gooey salted caramel and the crunchy pecans, each element is perfected to create a harmonious blend of flavors and textures. The result is a brownie so indulgent and satisfying, it truly lives up to its “ultimate” title. Prepare for a dessert that’s hard to resist and even harder to forget!
Essential Ingredient Notes for Perfect Turtle Brownies
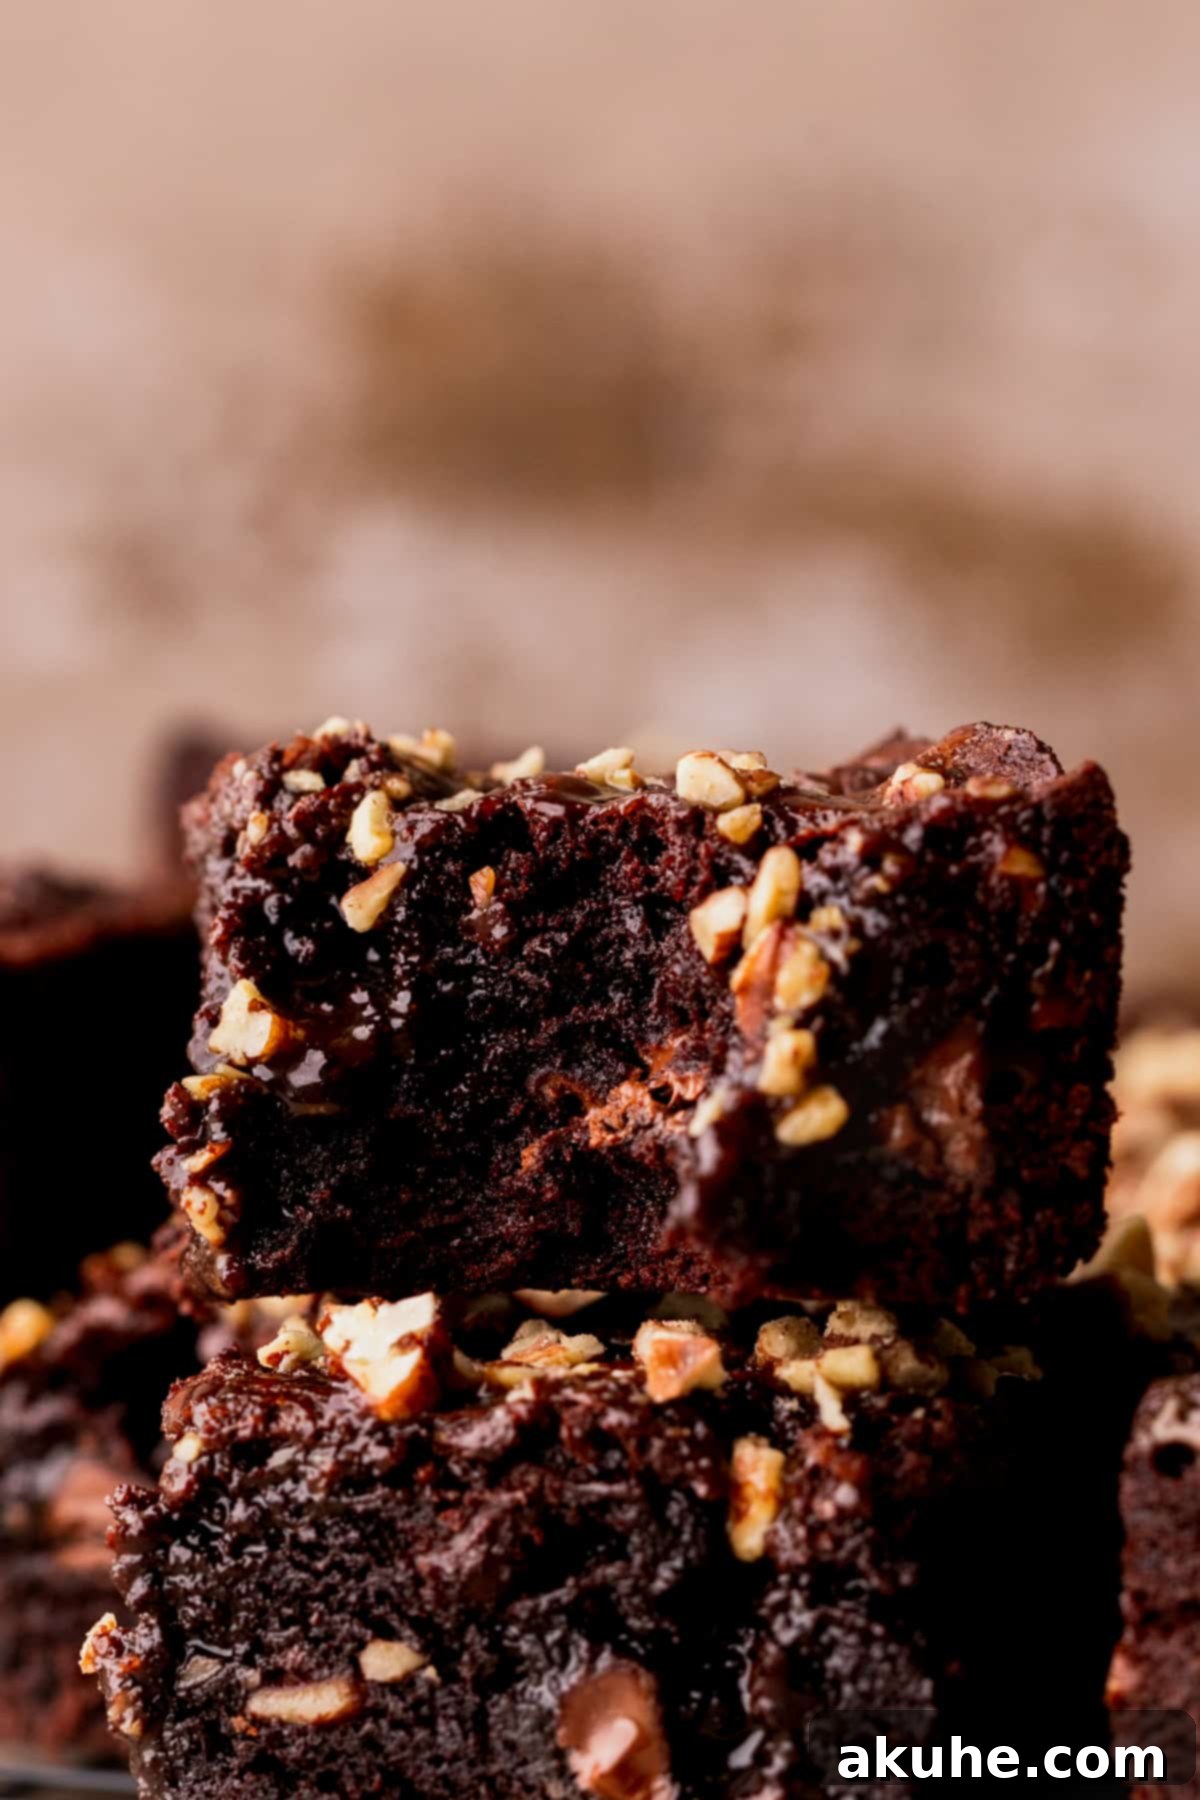
Achieving the perfect fudgy brownie and rich, silky caramel starts with understanding your ingredients. Below are key notes and tips for the components that make these chocolate pecan caramel brownies truly outstanding. For the complete list of quantities, refer to the detailed recipe card at the end of this post.
- Extra Egg Yolk: The secret to that incredibly fudgy, melt-in-your-mouth texture isn’t just in the fat; it’s in the extra egg yolk. This additional yolk adds richness and moisture without introducing too much liquid, contributing significantly to a denser, chewier brownie with a truly luxurious feel. It’s a small addition that makes a huge difference in the final product.
- Unsalted Butter (Melted and Cooled): Using unsalted butter gives you precise control over the overall saltiness of your brownies and caramel. It’s crucial that the butter is melted but then allowed to cool slightly before being incorporated into the egg and sugar mixture. If the butter is too warm, it can prematurely cook the eggs, leading to a less airy batter and a tougher brownie. Plan ahead and melt your butter early to ensure it reaches the ideal temperature.
- Neutral Oil (Canola or Vegetable): Adding a neutral-flavored oil like canola or vegetable oil alongside butter contributes to the brownies’ ultimate fudginess and tenderness. Oil helps keep baked goods moist longer because it’s 100% fat, whereas butter contains water. This combination ensures a rich flavor from the butter and a supremely moist texture from the oil, giving you the best of both worlds. Olive oil can also be used, but ensure it’s a light-flavored variety that won’t overpower the chocolate.
- Unsweetened Cocoa Powder: For a deep, intense chocolate flavor that isn’t overly sweet, unsweetened cocoa powder is non-negotiable. Dutch-processed cocoa powder can also be used for an even darker brownie and a slightly milder chocolate taste. Avoid sweetened cocoa powders, as they will throw off the sugar balance in the recipe and result in an overly saccharine dessert. The richness of unsweetened cocoa provides a perfect contrast to the sweet caramel.
- Cornstarch: This unassuming ingredient is a game-changer for brownie texture. Cornstarch works by breaking down some of the gluten formation in the flour, which in turn creates a more tender crumb and contributes to a wonderfully fudgy and chewy brownie. It’s a key element in achieving that signature dense, moist center that everyone loves.
- Semi-Sweet Chocolate Chips: We recommend semi-sweet chocolate chips for the ideal balance of sweetness and bitter chocolate notes, which perfectly complements the caramel. Dark chocolate chips can be used if you prefer a less sweet brownie and a more pronounced chocolate intensity. However, we advise against using milk chocolate chips, as they tend to make the brownies excessively sweet when combined with the caramel, potentially overpowering the other flavors.
- Chopped Pecans: Pecans are the defining feature of any “turtle” dessert. Ensure your pecans are fresh and finely chopped to distribute their flavor and crunch evenly throughout the brownies and on top. Toasting the pecans lightly before adding them can also enhance their natural, buttery flavor, bringing an extra layer of sophistication to your turtle brownies.
Equipment You’ll Need
To create these decadent turtle brownies and luscious salted caramel, having the right tools on hand will make the process smooth and enjoyable. Here’s a list of essential equipment:
- 9×9 inch Square Baking Pan: An absolute necessity for perfectly sized brownies. Choose a light-colored metal pan for even baking.
- Parchment Paper: Crucial for easy removal of the brownies from the pan and minimal cleanup.
- Non-Stick Baking Spray: Ensures your brownies don’t stick, especially important in combination with parchment paper.
- Large Mixing Bowl: For combining wet and dry ingredients for the brownie batter.
- Medium Mixing Bowl: For whisking together the dry brownie ingredients.
- Electric Stand Mixer or Hand Mixer: Essential for whipping the eggs and sugar to achieve that crinkly top. A whisk attachment is highly recommended.
- Fine-Mesh Sifter: To ensure your flour and cocoa powder are lump-free, resulting in a smooth batter.
- Rubber Spatula: For scraping down the bowl and gently folding in chocolate chips and pecans.
- Medium Saucepan: For making the homemade salted caramel. A heavy-bottomed pan is ideal for even heat distribution.
- Whisk: Critical for stirring the sugar as it melts and incorporating butter and cream into the caramel.
- Heat-Resistant Spatula: Useful for stirring and ensuring no sugar crystals stick to the sides of the saucepan when making caramel.
- Glass Measuring Cup or Jar: For cooling and storing the salted caramel.
- Wooden Skewer or Chopstick: For poking holes in the baked brownies to create channels for the caramel.
- Cooling Rack: For allowing the brownies to cool completely and prevent sogginess.
Step-by-Step Instructions: Fudgy Brownies
Crafting the perfect fudgy brownie is the first step towards these incredible salted caramel turtle brownies. Follow these detailed instructions to ensure a rich, moist, and perfectly baked chocolate base.
STEP 1: Prepare Your Baking Pan. Preheat your oven to 325°F (160°C). Generously spray a 9×9 inch square pan with non-stick baking spray. For effortless removal of your brownies, line the bottom and two opposing sides of the pan with parchment paper, leaving an overhang to create “handles.” Spray the parchment paper again for extra assurance. This step is crucial for achieving clean cuts and easy serving.
(For alternatives to a 9×9 inch square baking pan, please refer to the FAQ section below.)
STEP 2: Combine Dry Ingredients. In a medium bowl, combine the all-purpose flour, unsweetened cocoa powder, cornstarch, and salt. Use a fine-mesh sifter or a whisk to thoroughly mix these ingredients, ensuring there are no lumps of flour or cocoa powder. This step helps to aerate the dry ingredients and distribute them evenly, preventing pockets of unmixed powder in your final brownies.
STEP 3: Whip Eggs and Sugar for a Crinkly Top. In a large mixing bowl, using an electric mixer fitted with a whisk attachment, combine the large eggs, extra egg yolk, and granulated sugar. Whip these ingredients on high speed for precisely 5 minutes. This extended whipping time is vital; it incorporates a significant amount of air into the mixture, which is the secret to achieving that beautiful, glossy, and characteristic crinkly top on your brownies. The mixture will become noticeably pale, thick, and voluminous.
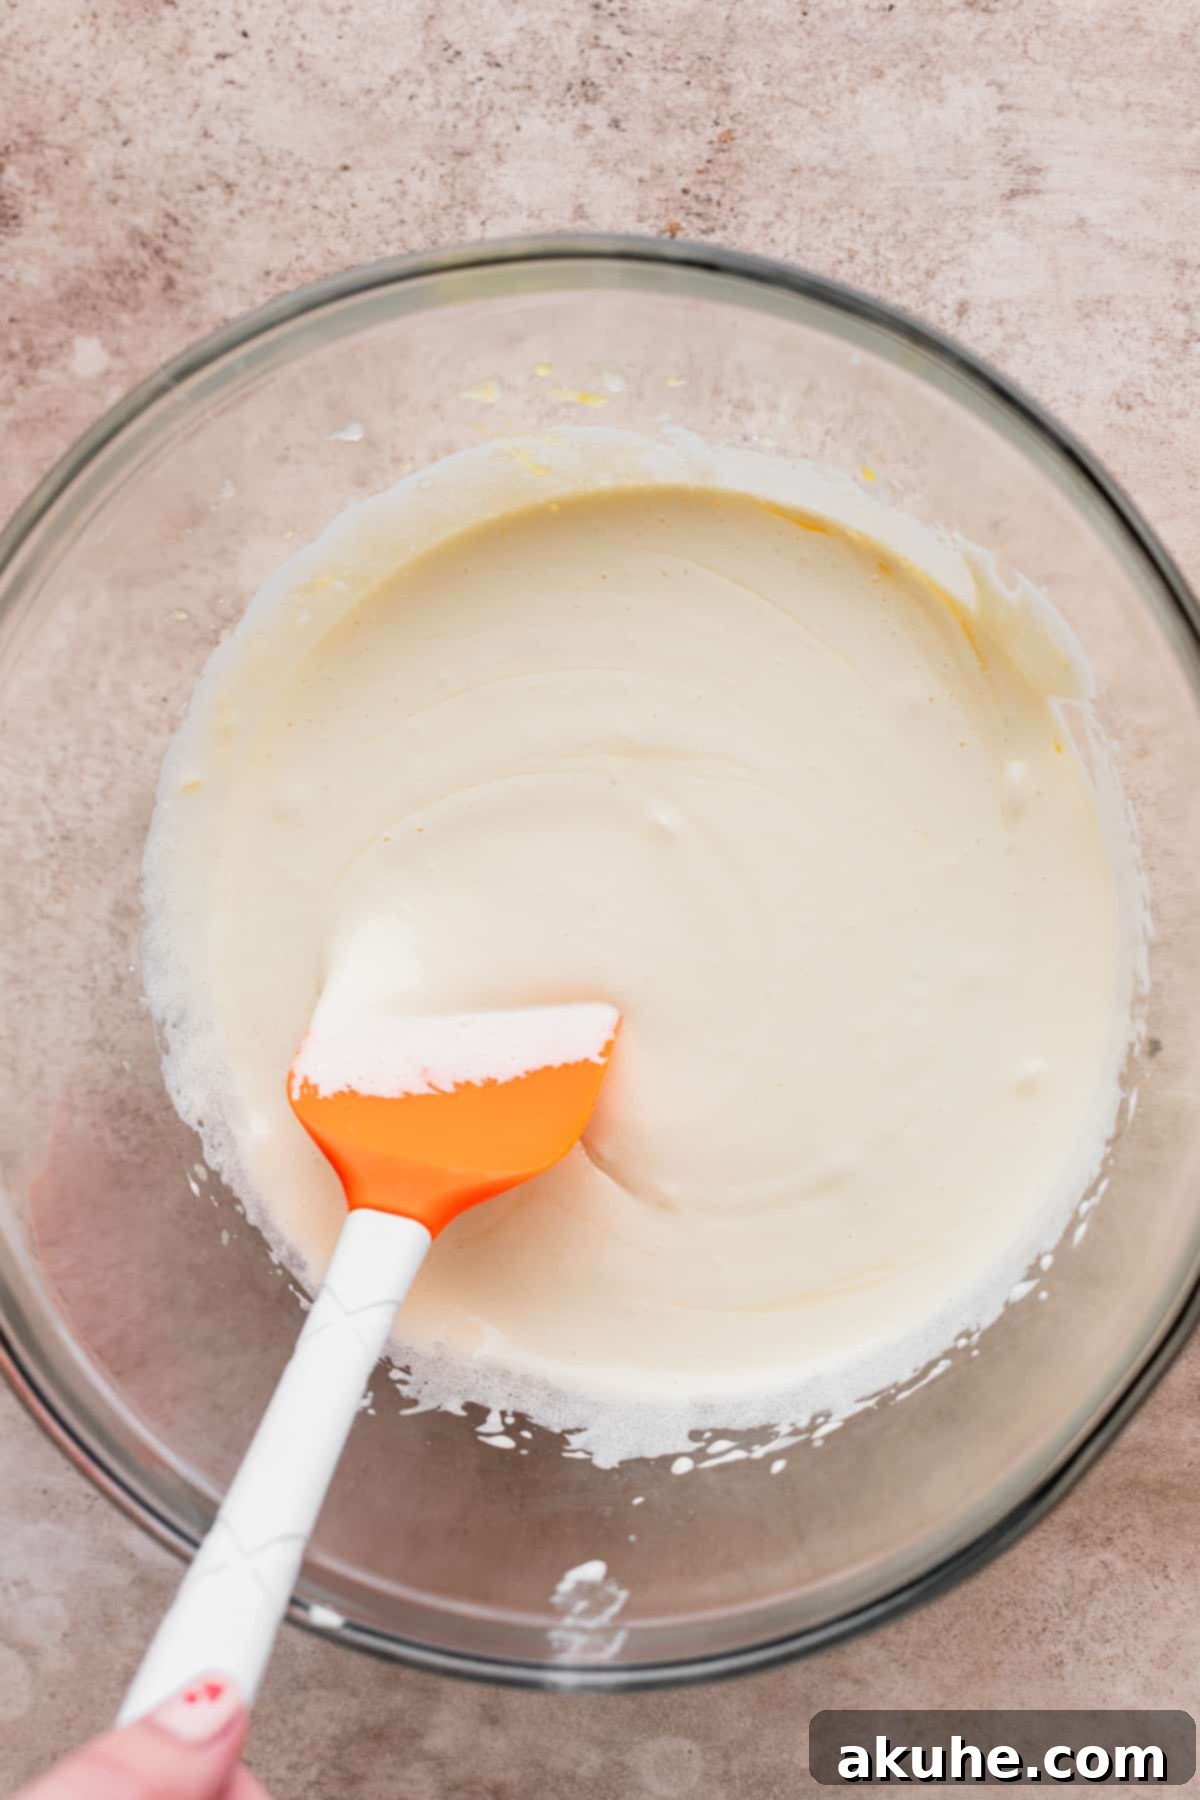
STEP 4: Incorporate Wet Ingredients Gently. Reduce the mixer speed to low. Carefully stream in the melted and cooled unsalted butter, neutral oil (canola or vegetable), and pure vanilla extract. Mix just until combined, being careful not to overmix. The goal here is to blend these ingredients without deflating the air you’ve carefully incorporated into the eggs and sugar. Gentle mixing preserves the airy structure, contributing to a lighter yet still fudgy texture.
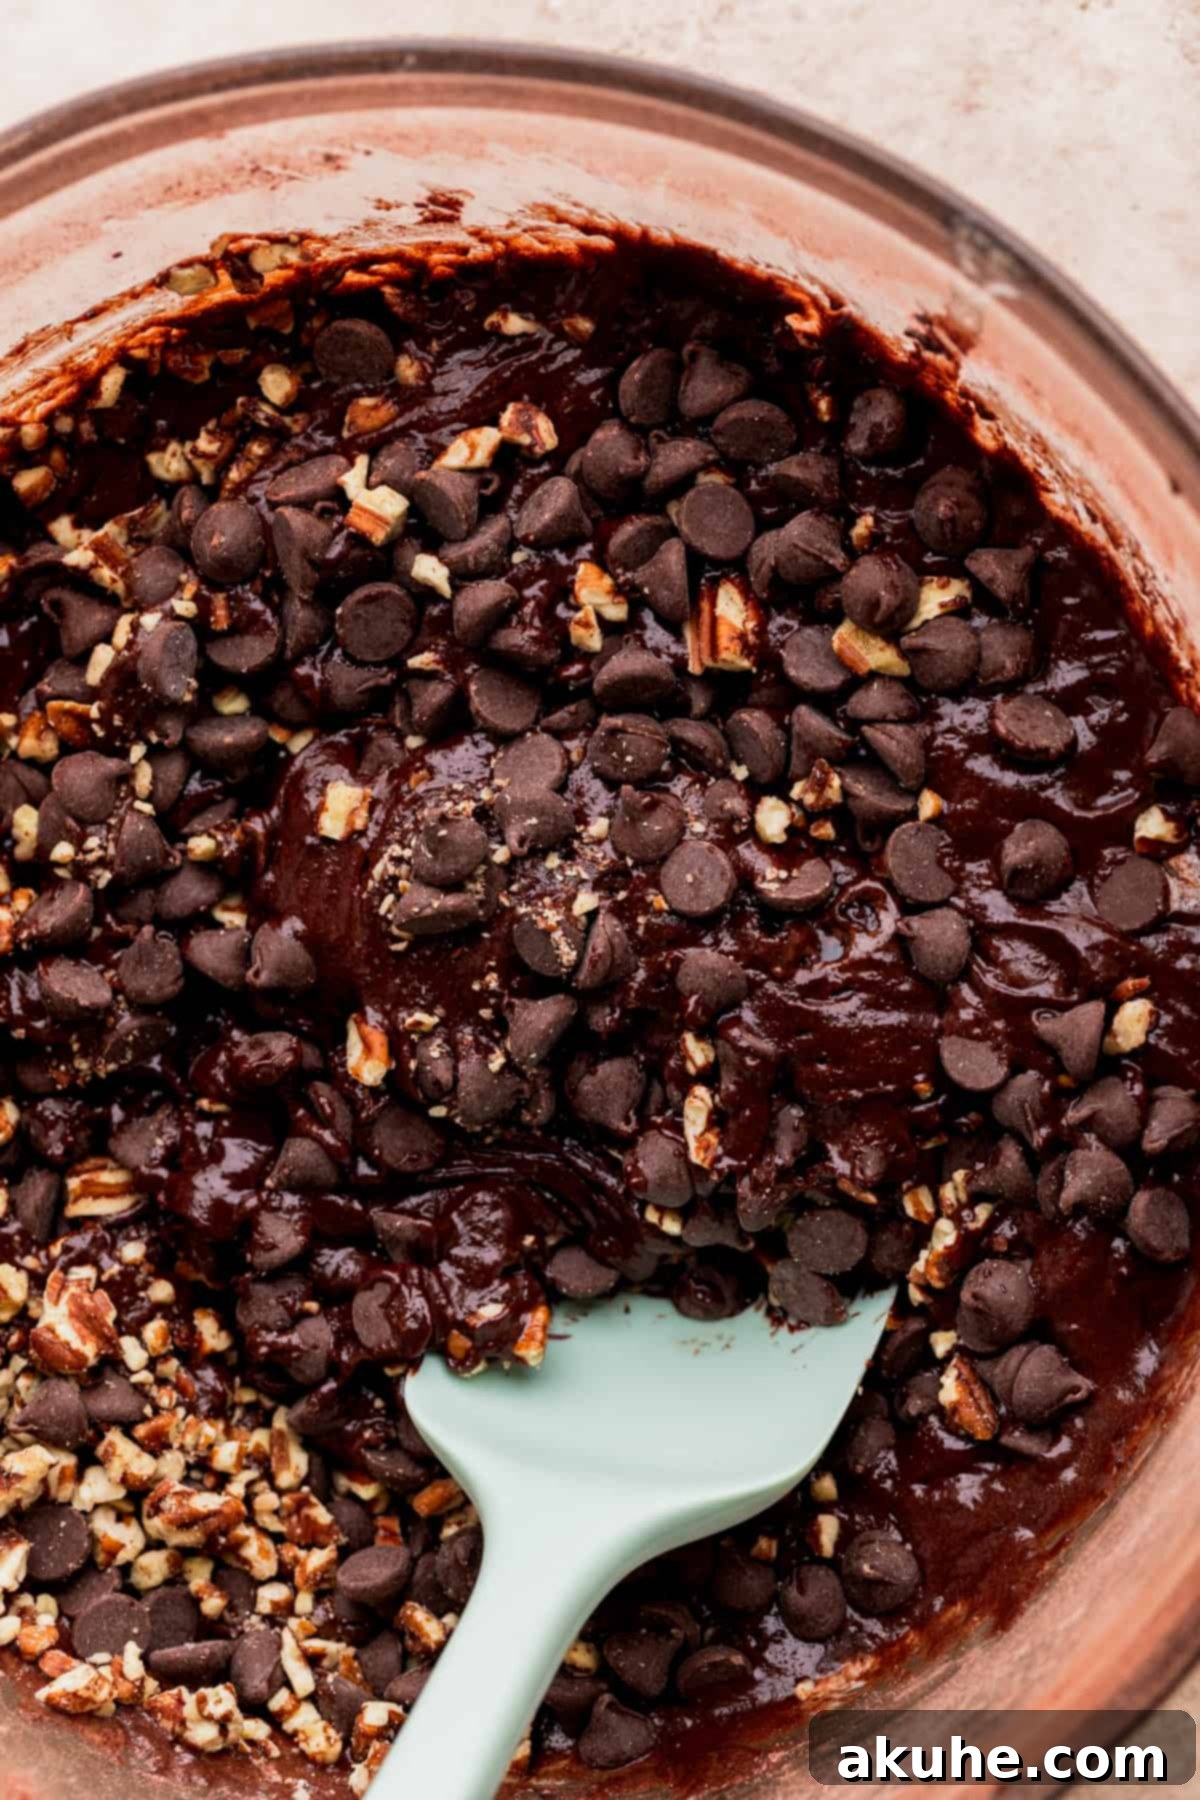
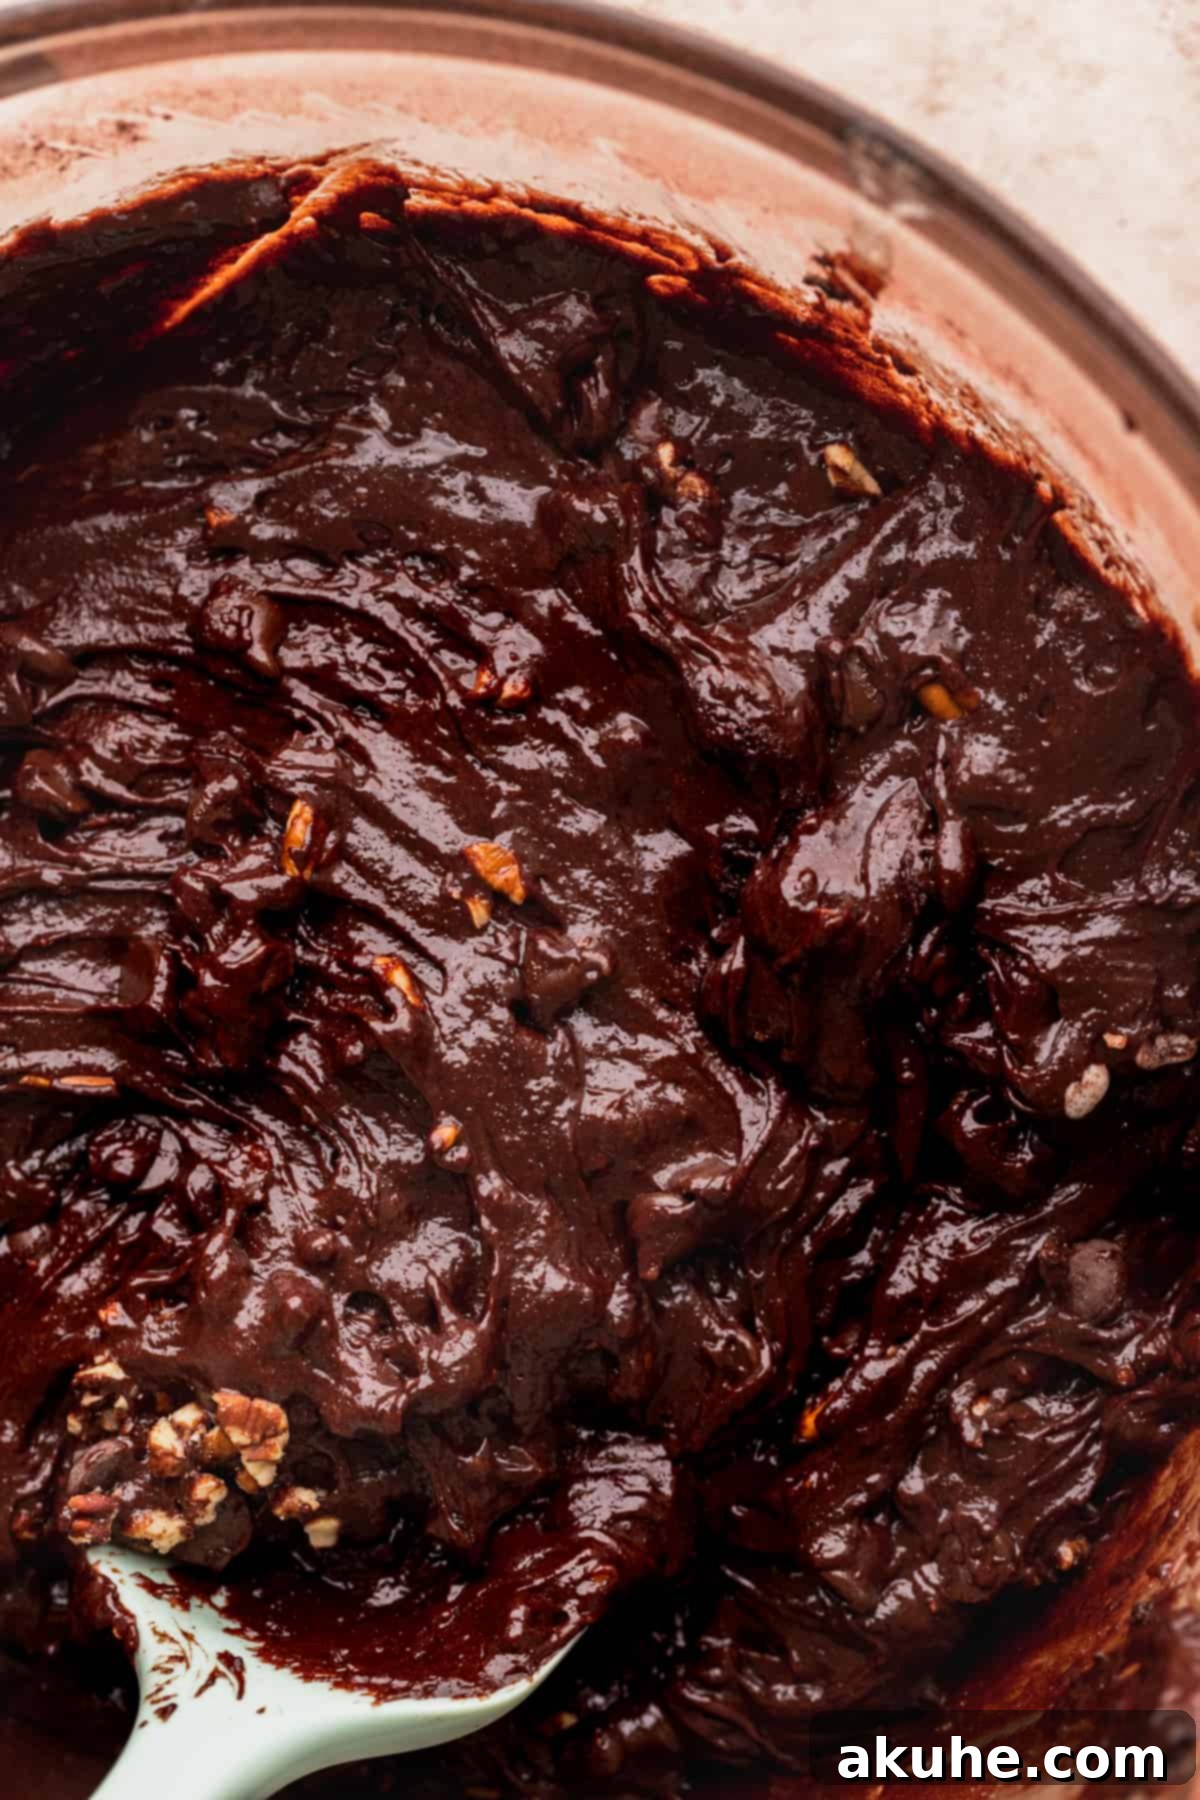
STEP 5: Fold in Dry Ingredients and Add-ins. With the mixer still on low speed, gradually add the dry ingredient mixture (flour, cocoa, cornstarch, salt) to the wet ingredients. Mix until just barely combined – a few streaks of flour are acceptable at this stage. Remove the bowl from the mixer and, using a rubber spatula, gently fold in the semi-sweet chocolate chips and half of the chopped pecans. Be careful not to overmix, as this can develop the gluten in the flour, leading to a tougher brownie.
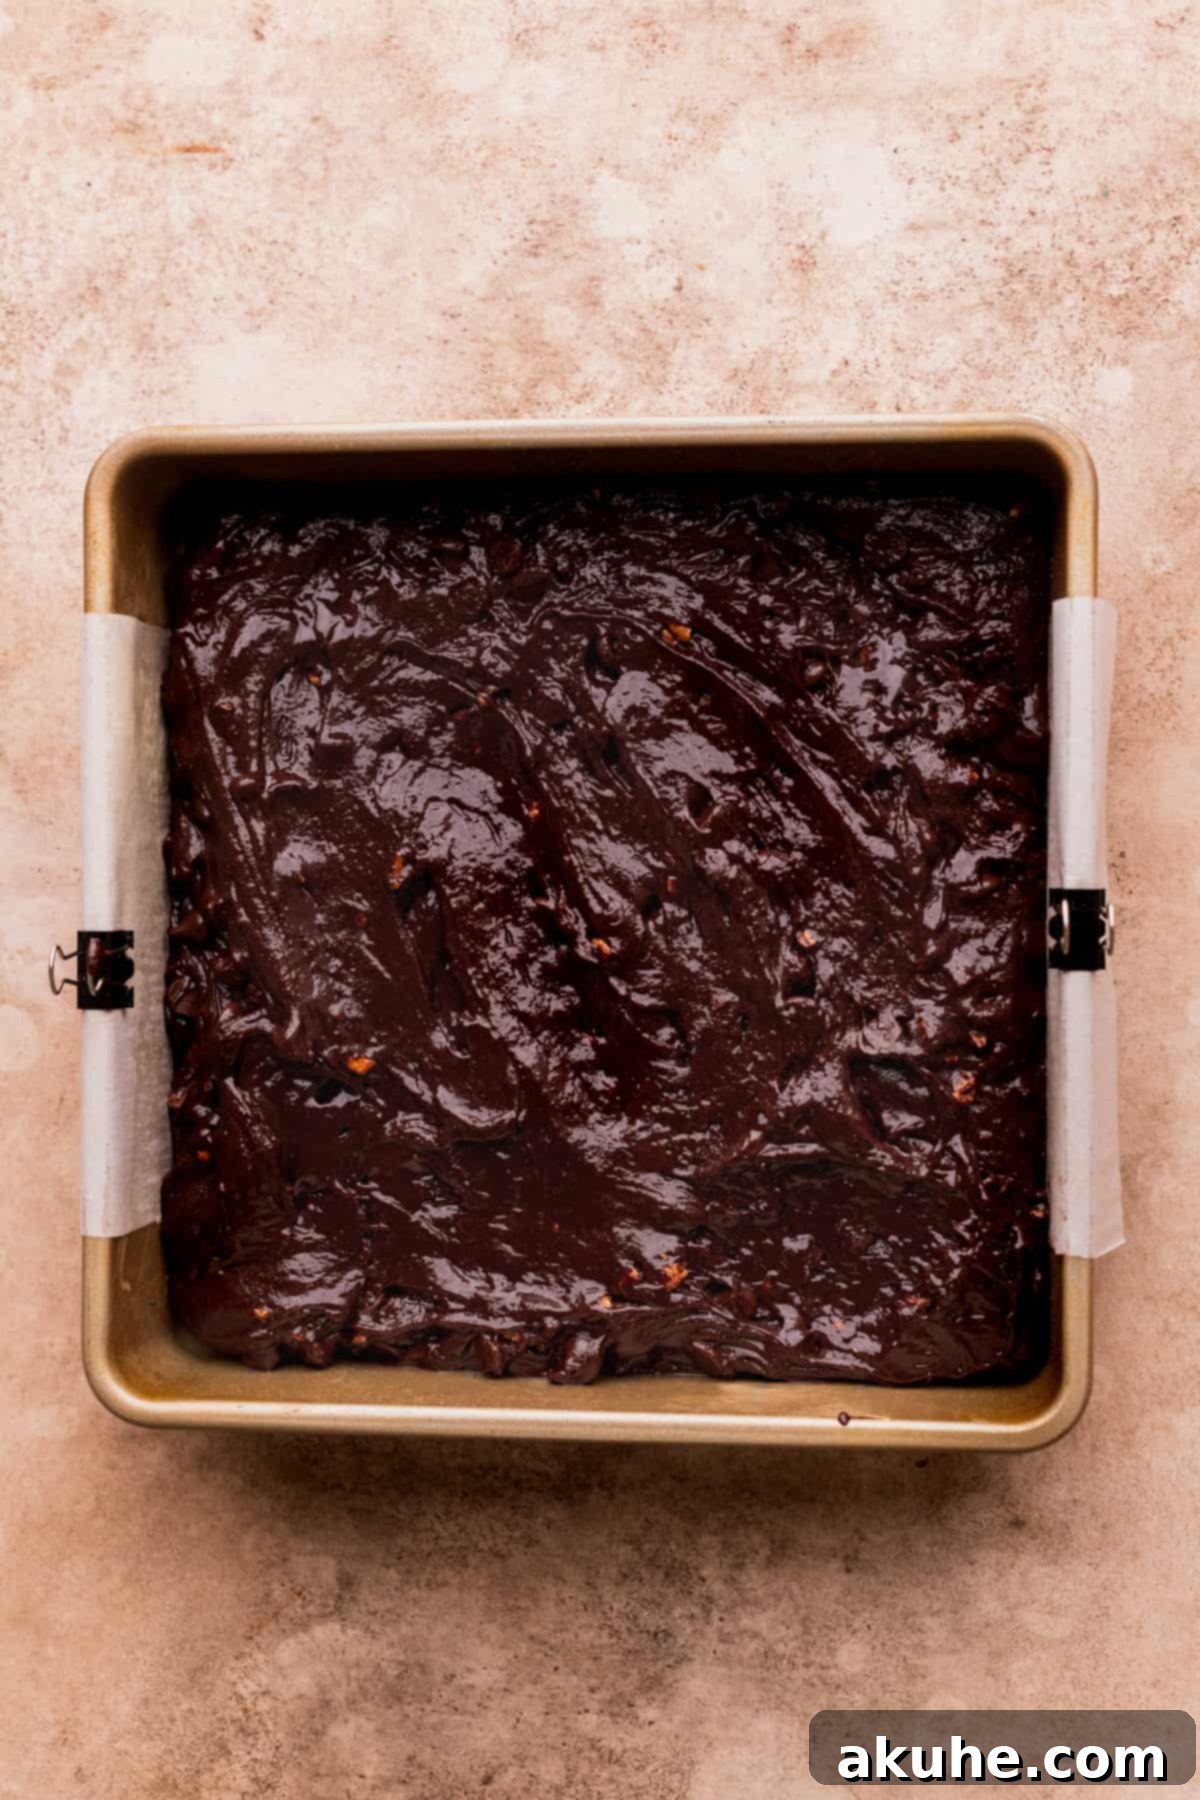
STEP 6: Bake the Brownies to Perfection. Pour the brownie batter evenly into your prepared 9×9 inch pan. Place the pan in the preheated oven and bake for 45-55 minutes. You’re looking for edges that are set and firm, but a center that still appears slightly underbaked and a bit wobbly. To test for doneness, insert a toothpick into the center: if it comes out with wet batter, bake for another 5-10 minutes. If it comes out with moist crumbs attached, your brownies are perfectly fudgy and ready. Avoid baking until the toothpick comes out completely clean, as this indicates overbaking and a drier, more cake-like brownie.
STEP 7: Cool the Brownies Completely. Once baked, remove the brownies from the oven and place the pan on a wire cooling rack. Allow them to cool completely in the pan before attempting to remove or cut them. This cooling period is crucial, as the brownies continue to set and firm up as they cool. Attempting to cut them warm will result in a messy, crumbly outcome. While your brownies are cooling, this is the perfect time to begin preparing your homemade salted caramel.
Step-by-Step Instructions: Homemade Salted Caramel
The luscious, gooey salted caramel is what truly defines these fudgy turtle brownies. While it might seem intimidating, making caramel from scratch is incredibly rewarding and simpler than you think. For more in-depth tips and troubleshooting, refer to our dedicated Homemade Salted Caramel post.
STEP 1: Begin to Melt the Sugar. In a medium, heavy-bottomed saucepan, pour in the granulated white sugar. Place the saucepan over medium heat. Resist the urge to stir the sugar initially. Allow it to begin melting around the edges naturally. As the edges start to liquefy and turn golden, you can then gently use a heat-resistant whisk or wooden spoon to stir the melting sugar. It will appear clumpy at first, but continue stirring patiently until all the sugar crystals have completely melted and the mixture is smooth, transparent, and a very light golden-orange color. Avoid high heat to prevent burning.
STEP 2: Cook Sugar to Amber Perfection. Once the sugar is fully melted and smooth, stop stirring. Allow the sugar to cook undisturbed until it transforms into a rich, deep amber color. This stage happens very quickly, so pay close attention – often in just 10-15 seconds. It is incredibly easy to burn the caramel at this point, which will result in a bitter taste. As soon as it reaches that beautiful amber hue, immediately remove the saucepan from the heat to prevent it from overcooking. Speed and vigilance are key here!
STEP 3: Incorporate Butter and Cream. This step requires quick action and careful technique. Both the cubed unsalted butter (room temperature) and the heavy cream (room temperature, briefly warmed in the microwave for 30 seconds) will be added in two batches. Immediately add half of the cubed butter to the hot sugar. The caramel will bubble up dramatically and aggressively, but keep whisking vigorously until all the butter is completely melted and fully incorporated. Once smooth, add the remaining butter and repeat the whisking process until it’s fully blended. Next, slowly and carefully pour in half of the warm heavy cream, whisking continuously. Again, it will bubble and steam intensely; continue to whisk until smooth. Add the remaining heavy cream and whisk until you have a uniformly smooth and glossy caramel. The bubbling is normal, just keep stirring!
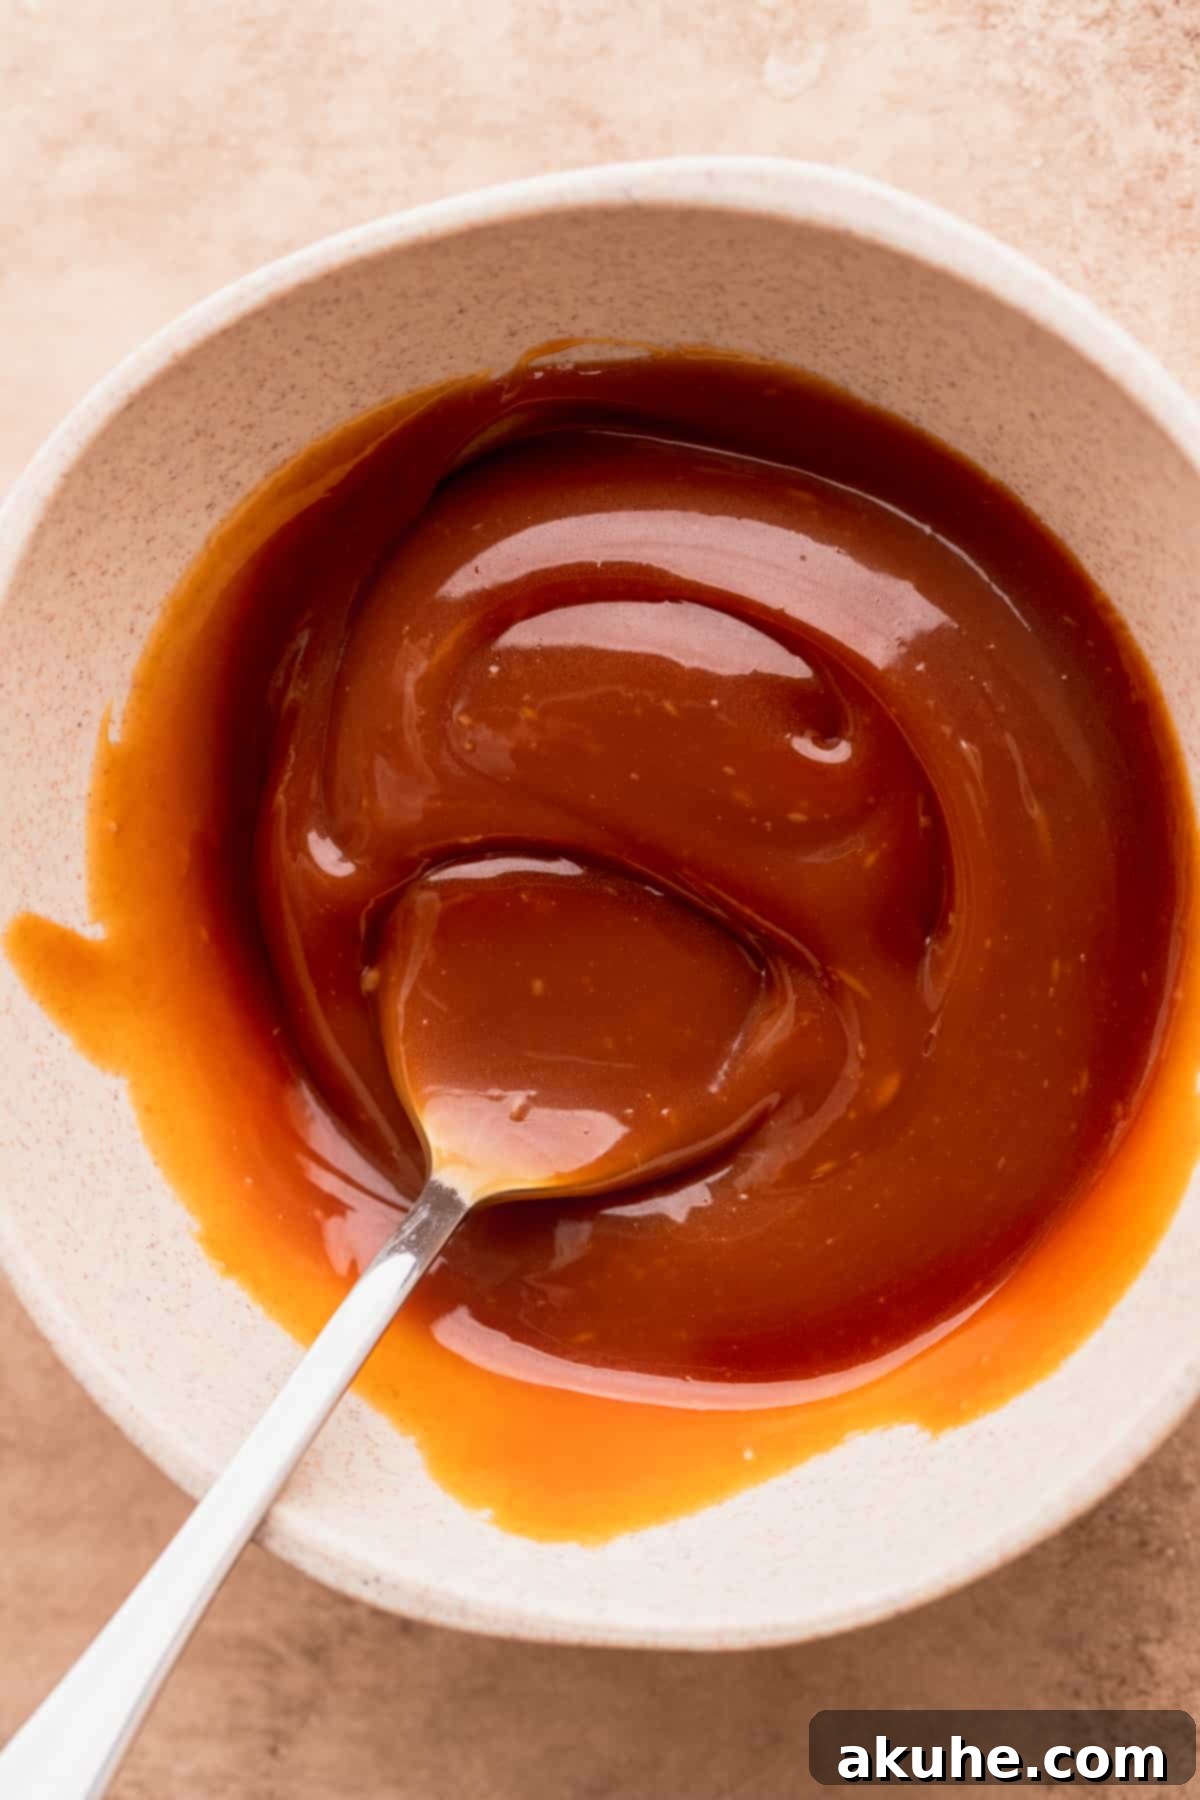
STEP 4: Finish with Salt and Vanilla. Once the butter and cream are fully incorporated, whisk in the salt and pure vanilla extract. These additions enhance the flavor profile, with the salt cutting through the sweetness and the vanilla adding aromatic depth. As soon as these are mixed in, immediately pour the hot caramel into a clean, heat-proof glass jar or measuring cup. Allow the caramel to cool completely to room temperature. As it cools, it will thicken to a wonderfully gooey consistency, perfect for filling your brownies.
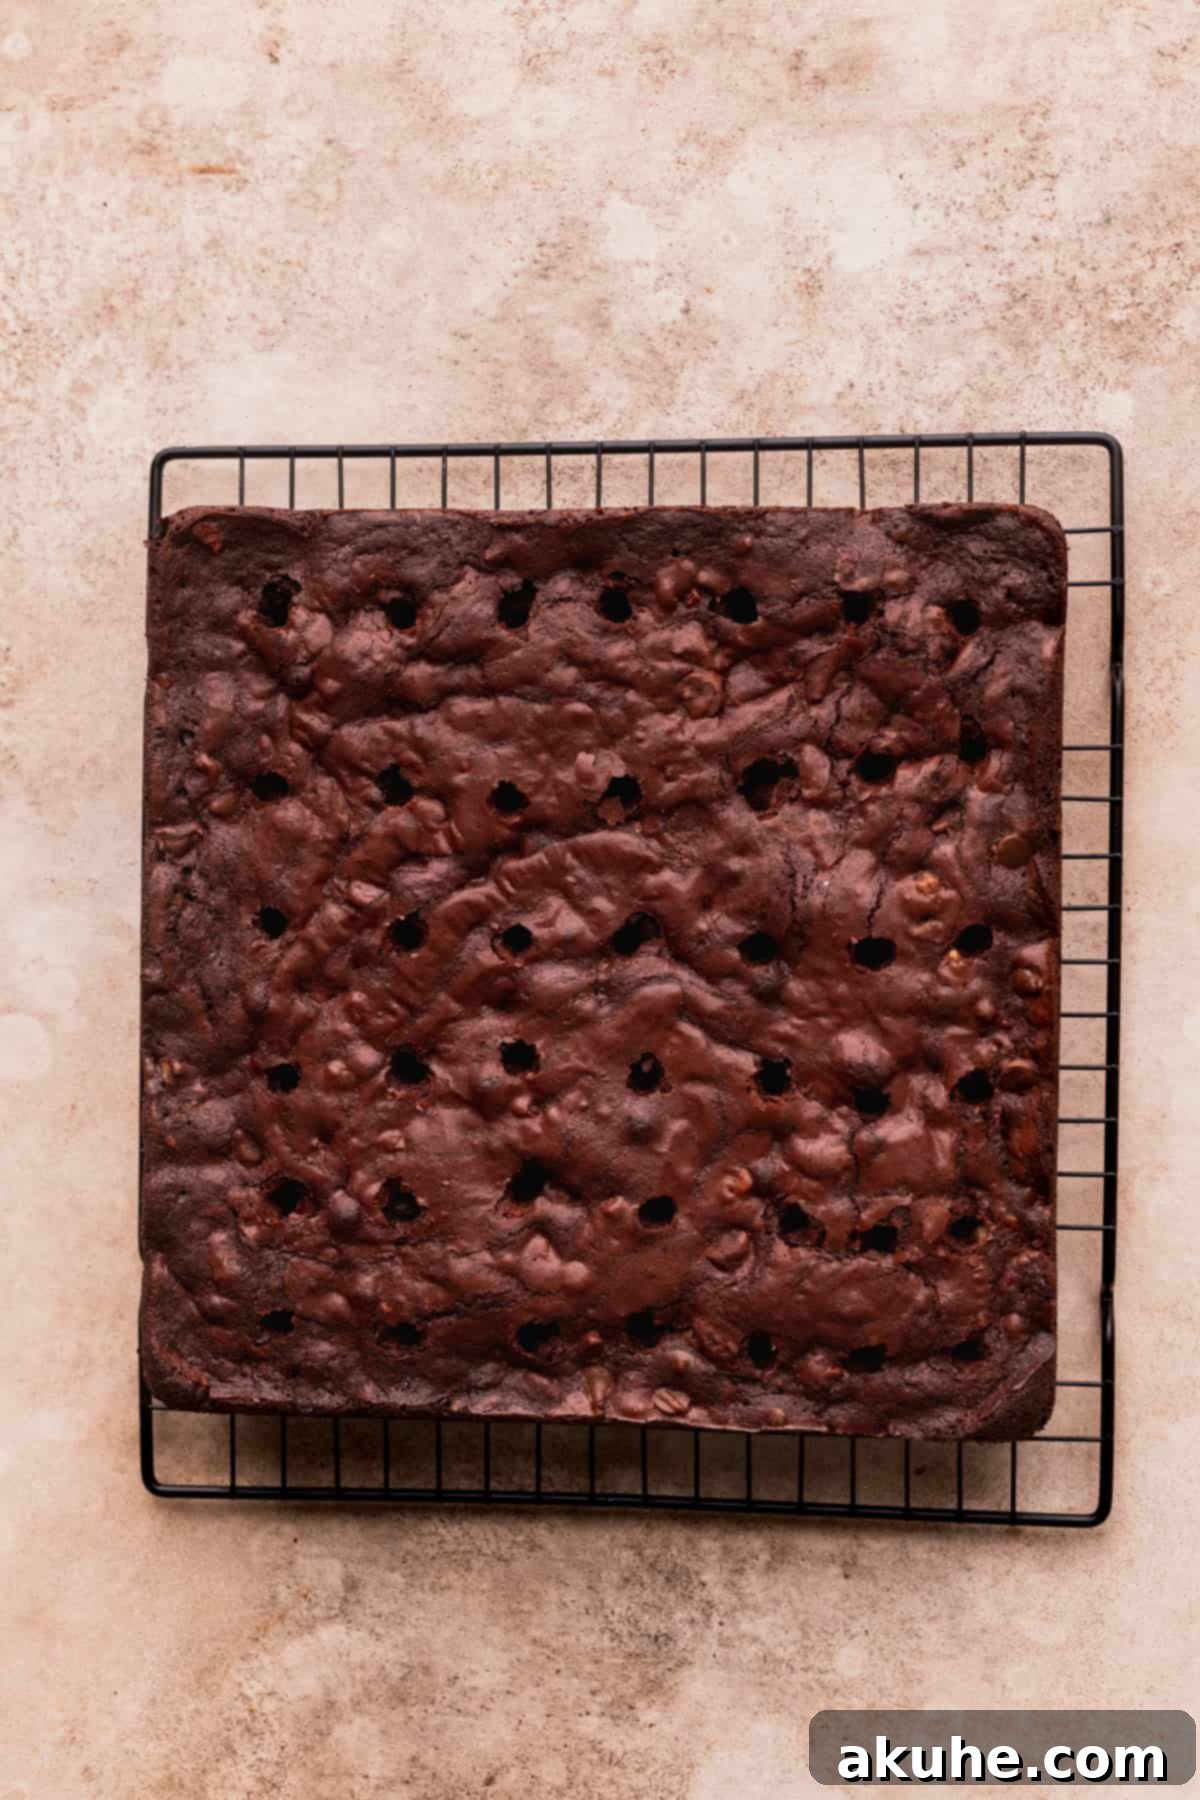
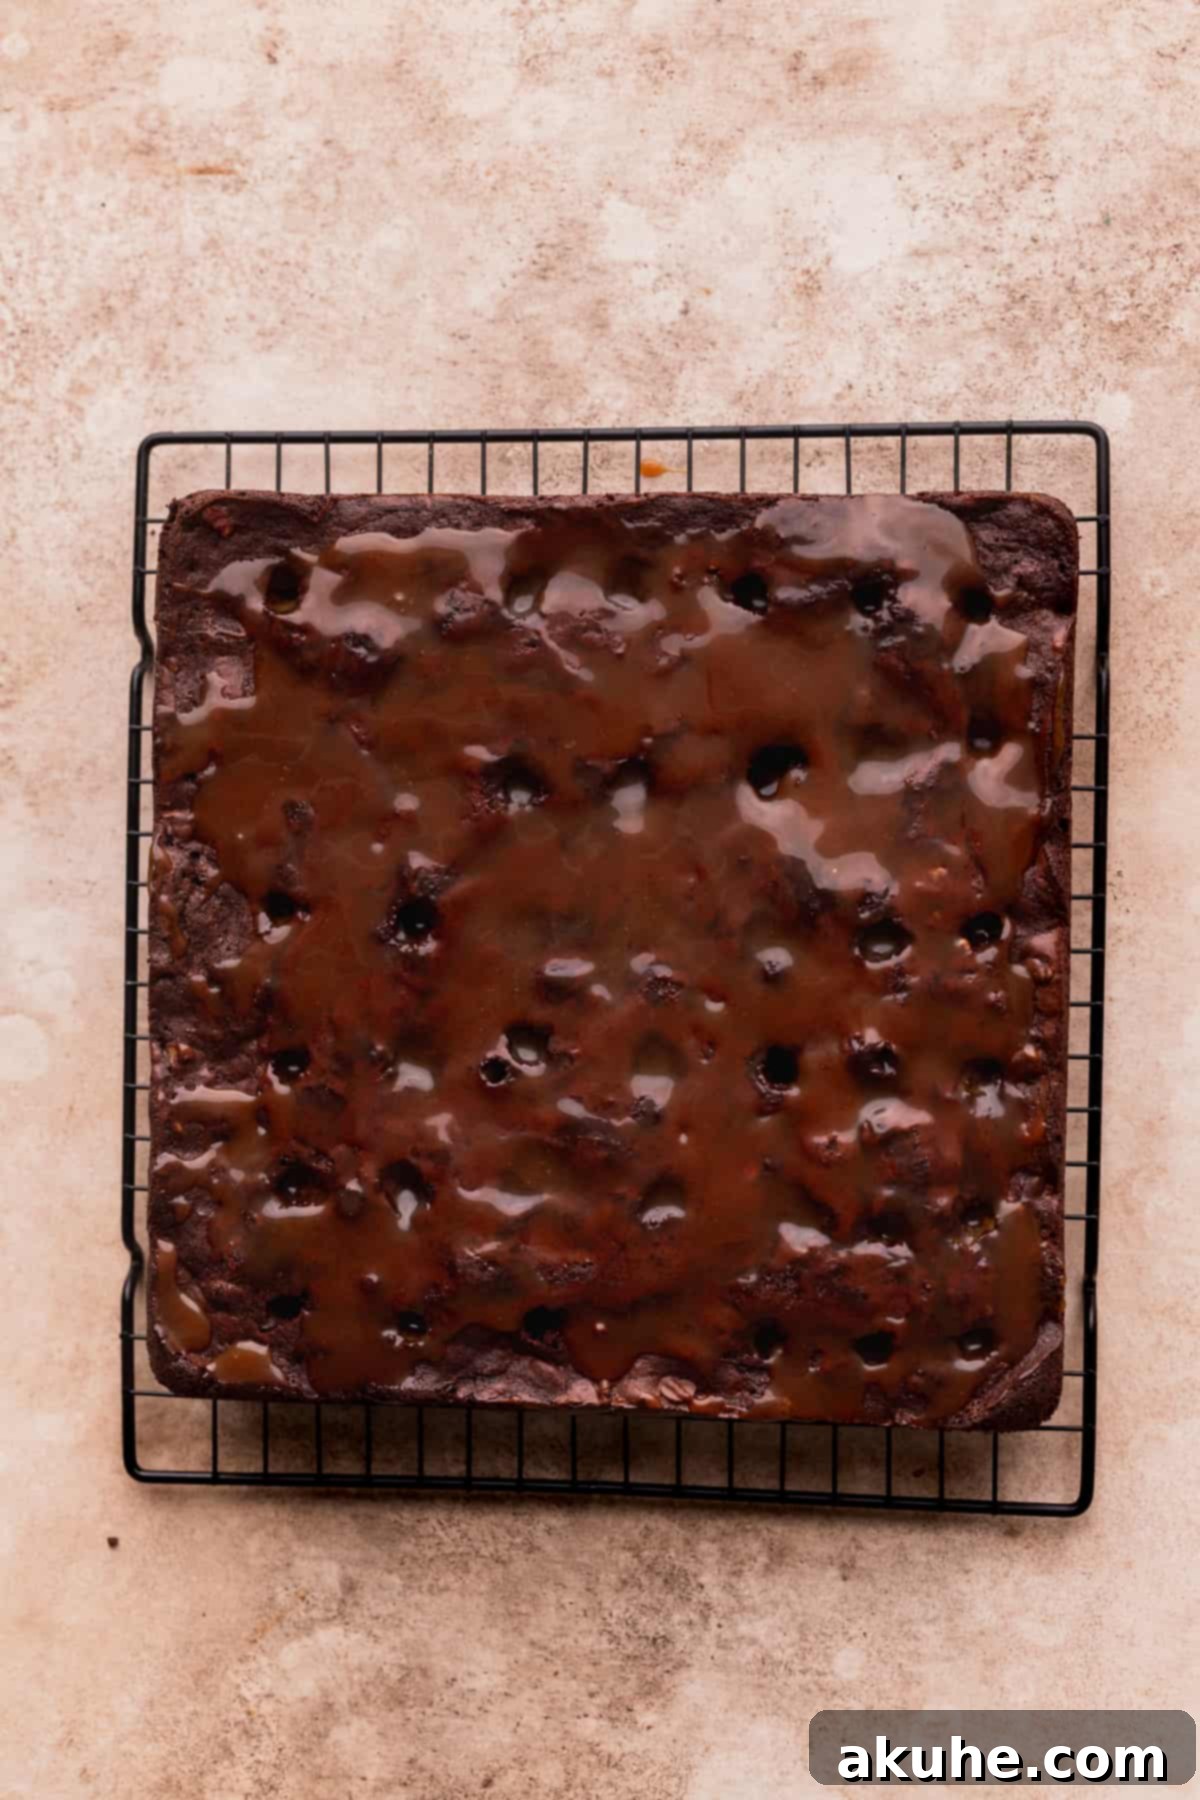
STEP 5: Prepare Brownies for Caramel Infusion. Once your brownies are completely cooled, carefully lift them out of the pan using the parchment paper overhangs. Place them on a cutting board or a clean surface. Using a wooden stick, a chopstick, or the blunt end of a small kitchen utensil, poke holes evenly across the entire surface of the brownies. Aim for holes that are about 1 inch apart and go about halfway deep into the brownie. These holes will act as channels for the luscious salted caramel to soak into, ensuring every bite is infused with gooey goodness. Once holes are poked, gently spread about 1/2 cup of the cooled (but still pourable) salted caramel sauce evenly over the top of the brownies. Let it sit for at least 5 minutes to allow the caramel to slowly seep into those freshly poked holes.
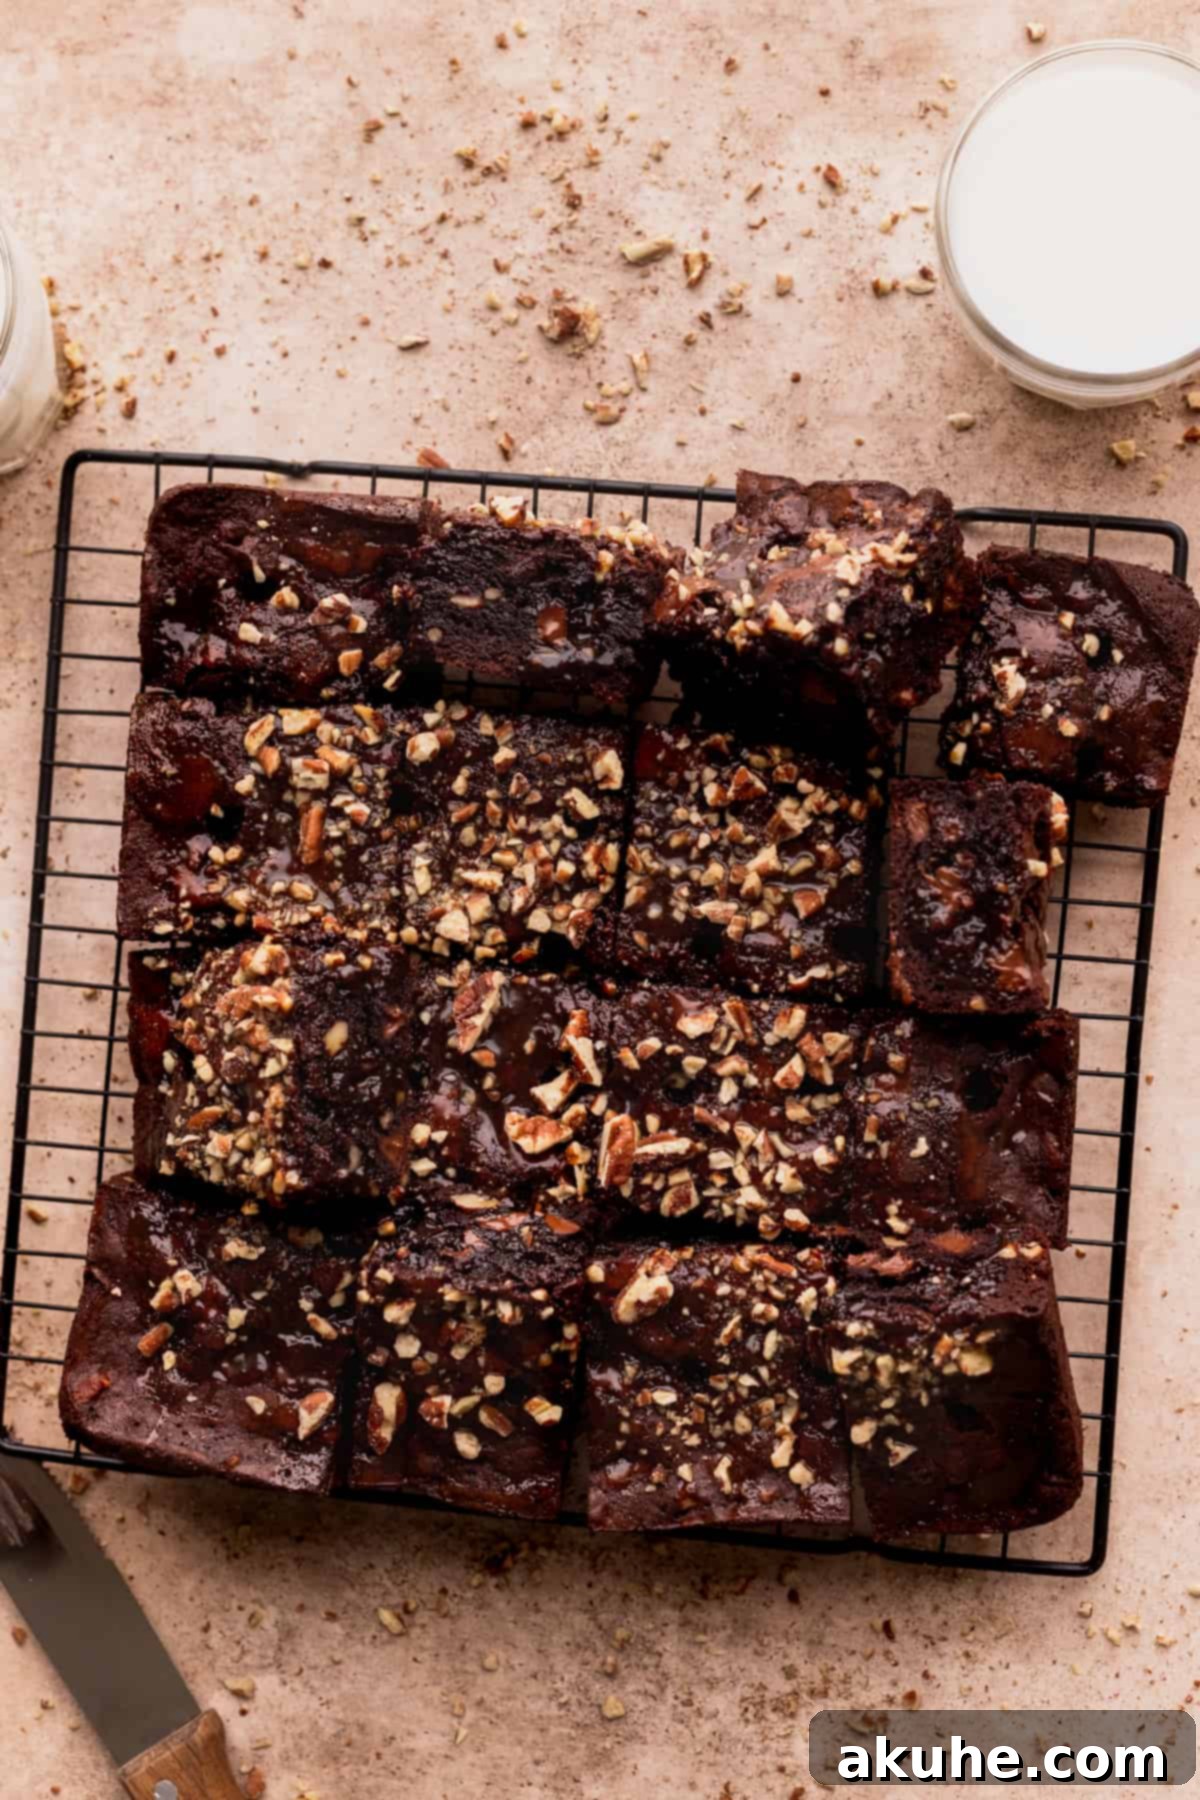
STEP 6: Final Topping and Serve! After the initial caramel has absorbed, it’s time for the grand finale. Drizzle extra salted caramel sauce generously over the top of the brownies – feel free to use as much as you like for an even more decadent experience. Finally, sprinkle the remaining chopped pecans liberally over the caramel. These fudgy chocolate pecan caramel brownies are now ready to be sliced, served, and savored! Enjoy them slightly warm for maximum gooeyness, or at room temperature.
Expert Baking Tips for the Best Turtle Brownies
Achieving bakery-quality turtle brownies at home is entirely possible with a few expert tips. These insights will help you navigate common baking challenges and ensure your brownies are nothing short of spectacular:
- Maintain Air in Egg Mixture: The key to a beautiful, crinkly top and a slightly airy, yet still fudgy, interior lies in the initial whipping of the eggs and sugar. Beat them for the full 5 minutes until pale and voluminous. When adding subsequent wet ingredients (melted butter, oil, vanilla) and then the dry ingredients, always mix on the lowest speed and only until just combined. Overmixing at these stages will deflate the air you worked hard to build, resulting in a denser, less appealing brownie.
- Proper Pan Preparation is Non-Negotiable: Always use non-stick baking spray for your baking pan. Furthermore, lining the bottom and two sides with parchment paper (leaving an overhang) is a game-changer. This creates “handles” that allow you to easily lift the entire slab of brownies out of the pan once cooled, making slicing incredibly neat and preventing any sticking.
- Don’t Overbake Your Brownies: For that signature fudgy texture, it’s essential to slightly underbake your brownies. The edges should be set, but the center should still look a tiny bit moist and give slightly when gently pressed. A toothpick inserted into the center should come out with moist crumbs, not wet batter and certainly not completely clean. Remember, brownies continue to cook slightly from residual heat as they cool in the pan.
- Patience with Cooling: Resist the urge to cut into warm brownies. While tempting, warm brownies are delicate and will crumble or smear when cut. Allow them to cool completely in the pan on a wire rack. This allows the internal structure to set properly and makes for clean, sharp cuts. The caramel also needs time to set before slicing.
- Room Temperature Ingredients for Caramel: When making the salted caramel, ensure your butter is cubed and at room temperature, and your heavy cream is also at room temperature (or slightly warmed in the microwave). Adding cold ingredients to hot sugar can cause the sugar to seize up and crystallize, making your caramel grainy or lumpy.
- Caramel Caution: Making caramel requires your full attention. Never leave it unattended once the sugar begins to melt and turn amber. The transition from perfect golden to burnt can happen in mere seconds. Have all your other ingredients (butter, cream) measured and ready to add immediately after removing the sugar from the heat.
- For the Best Experience: These brownies are absolutely divine on their own, but elevate the indulgence by serving them with a scoop of premium vanilla bean ice cream. The cold, creamy ice cream provides a delightful contrast to the rich, gooey warmth of the brownie and caramel. A sprinkle of flaky sea salt on top can also further enhance the flavors!
Frequently Asked Questions (FAQ) about Turtle Brownies
If your brownies have a noticeably sunken center, it generally indicates they were underbaked. While a slightly underbaked center is desired for fudginess, a truly sunken middle means the structure didn’t fully set. You’ll likely end up with extremely gooey brownies (which some people love!). To avoid this next time, ensure you bake them until the edges are firm and the center gives only a slight jiggle. If you notice sinking after baking, you can try returning them to the oven for another 10-15 minutes, though the texture may still be compromised.
Hard or dry brownies are a classic sign of overbaking. The key to fudgy brownies is to bake them just until the edges are set and the very center is still slightly moist or “underdone.” Refer to the toothpick test in the instructions: it should come out with moist crumbs, not completely clean. Every oven varies, so get to know yours and start checking for doneness a few minutes before the minimum bake time.
This particular recipe relies heavily on eggs for both structure and the characteristic crinkly top. I have not personally tested this recipe with egg substitutes. While some egg substitutes work well in other baking, the specific whipping of eggs and sugar in this recipe is crucial. If you do experiment with an egg substitute, please let us know your results!
Yes, you absolutely can use an 8×8 inch pan. Be aware that this will result in significantly thicker brownies. You may need to increase the baking time by an additional 10-15 minutes (or even more) to ensure they cook through, while still aiming for that slightly underbaked center. Keep a close eye on them during the extended baking period.
To bake these delicious turtle brownies in a larger 9×13 inch pan, you will need to double the entire recipe. This includes doubling all ingredients for both the brownies and the salted caramel. The baking time will likely remain similar, or perhaps slightly less (around 40-50 minutes), as the batter will be spread thinner. Always use the toothpick test for accuracy.
Storing and Freezing Your Turtle Brownies
Once you’ve made a batch of these incredible homemade turtle brownies, you’ll want to ensure they stay fresh and delicious for as long as possible. Proper storage is key to maintaining their fudgy texture and gooey caramel filling.
Storing
To keep your turtle brownies at their best, store them in an airtight container at room temperature. Placed on your countertop, they will remain wonderfully fresh and fudgy for up to 3-4 days. For an even more indulgent experience, gently warm them in the microwave for a few seconds before serving – this will make the caramel extra gooey and the chocolate chips slightly melty, enhancing their deliciousness.
Freezing
These brownies freeze exceptionally well, making them perfect for meal prep or saving for a future craving. To freeze, ensure the brownies are completely cooled and then cut them into individual squares. Wrap each square tightly in plastic wrap, then place them in an airtight, freezer-safe container or a heavy-duty freezer bag. They can be stored in the freezer for up to 30 days without losing quality. When you’re ready to enjoy, simply thaw the brownies at room temperature for about 1 hour. For a warm, freshly baked feel, you can also gently reheat them in the microwave after thawing.
Other Decadent Brownie Recipes To Try
If you’ve loved these turtle brownies, you might want to explore more of our rich and fudgy brownie creations. Brownies are a versatile treat, and we have many variations to satisfy your chocolate cravings.
Turtle Brownies
Print Recipe
Pin Recipe
Leave a Review
1 hour
50 minutes
1 hour 50 minutes
16 brownies
Ingredients
Fudgy Brownies
- 2 cups White granulated sugar
- 3 Large eggs
- 1 Egg yolk
- 1/2 cup Oil, canola or vegetable
- 1/2 cup Unsalted butter, melted and cooled
- 1 tsp Pure vanilla extract
- 3/4 cup All-purpose flour
- 1 cup Unsweetened cocoa powder
- 1 TBSP Cornstarch
- 1 tsp Salt
- 1 1/3 cup Semi-sweet chocolate chips
- 1/2 cup Chopped pecans
Salted Caramel
- 1 cup White granulated sugar
- 4 TBSP Unsalted butter, room temperature and cubed
- 1/2 cup Heavy cream, room temperature
- 1 tsp Salt
- 1/2 tsp Pure vanilla extract
- Chopped pecans, for decoration
Instructions
Fudgy Brownies
- Preheat the oven to 325°F (160°C). Spray a 9×9-inch pan with baking nonstick spray. Line the bottom and two sides of the pan with parchment paper, leaving an overhang, and spray again.
- In a medium bowl, mix (or sift) the flour, cocoa powder, cornstarch, and salt until well combined and lump-free.3/4 cup All-purpose flour, 1 cup Unsweetened cocoa powder, 1 TBSP Cornstarch, 1 tsp Salt
- Using a mixer with a whisk attachment, beat the sugar, eggs, and egg yolk on high speed for 5 minutes. The mixture will become pale, light, and significantly increased in volume.2 cups White granulated sugar, 3 Large eggs, 1 Egg yolk
- On low speed, add the oil, melted and cooled butter, and vanilla extract. Mix until just combined, taking care not to deflate the air. Then, gently mix in the dry ingredients on low speed until just incorporated.1/2 cup Oil, 1/2 cup Unsalted butter, 1 tsp Pure vanilla extract
- Remove the bowl from the mixer. Using a rubber spatula, scrape down the sides of the bowl and gently fold in the semi-sweet chocolate chips and chopped pecans until evenly distributed.1 1/3 cup Semi-sweet chocolate chips, 1/2 cup Chopped pecans
- Pour the brownie batter into the prepared pan. Bake for 45-55 minutes, or until the edges are set and the middle is only slightly underdone. A toothpick inserted into the center should come out with moist crumbs. If it has wet batter, bake for another 5-10 minutes.
- Cool the brownies completely in the pan on a wire cooling rack before removing them. Prepare the salted caramel while the brownies are baking and cooling.
Salted Caramel
- In a medium, heavy-bottomed saucepan over medium heat, melt the white granulated sugar. Do not stir initially. Once the edges begin to melt, gently stir with a whisk until all sugar crystals are completely melted and smooth.1 cup White granulated sugar
- Stop stirring and allow the sugar to cook until it turns a deep amber color (this happens quickly, within 10-30 seconds). Immediately remove from heat. Add in half of the cubed unsalted butter and whisk vigorously until combined. Repeat with the remaining butter.4 TBSP Unsalted butter
- Warm the heavy cream in the microwave for 30 seconds until hot. Slowly whisk in the warm heavy cream in two batches until fully combined and smooth. Stir in the salt and pure vanilla extract.1/2 cup Heavy cream, 1 tsp Salt, 1/2 tsp Pure vanilla extract
- Pour the hot caramel into a heat-proof glass measuring cup or jar and let it cool completely to room temperature until it thickens.
- Once brownies are fully cooled, remove them from the pan. Using a wooden stick or chopstick, poke holes evenly across the surface of the brownies, about 1 inch apart and halfway deep.
- Spread 1/2 cup of the cooled caramel sauce over the poked brownies and let it sit for 5 minutes to soak into the holes. Finally, drizzle extra caramel and sprinkle the remaining chopped pecans generously on top of the brownies before slicing and serving.Chopped pecans
Notes
High-Altitude Baking: If you are baking at high altitudes, consider adding an extra 1 tablespoon of all-purpose flour to the brownie batter. This can help stabilize the structure.
Ingredient Temperature: For best results in both brownies and caramel, pull out dairy ingredients (butter, eggs, heavy cream) from the refrigerator at least 2 hours before you plan to begin baking. Room temperature ingredients emulsify better and result in a smoother, more uniform batter and caramel.
Calories: 458kcal
,
Carbohydrates: 54g
,
Protein: 3g
,
Fat: 28g
,
Saturated Fat: 12g
,
Polyunsaturated Fat: 3g
,
Monounsaturated Fat: 11g
,
Trans Fat: 0.4g
,
Cholesterol: 44mg
,
Sodium: 298mg
,
Potassium: 199mg
,
Fiber: 4g
,
Sugar: 43g
,
Vitamin A: 400IU
,
Vitamin C: 0.1mg
,
Calcium: 29mg
,
Iron: 2mg
Did you make this recipe?
Please leave a star rating and review below!
