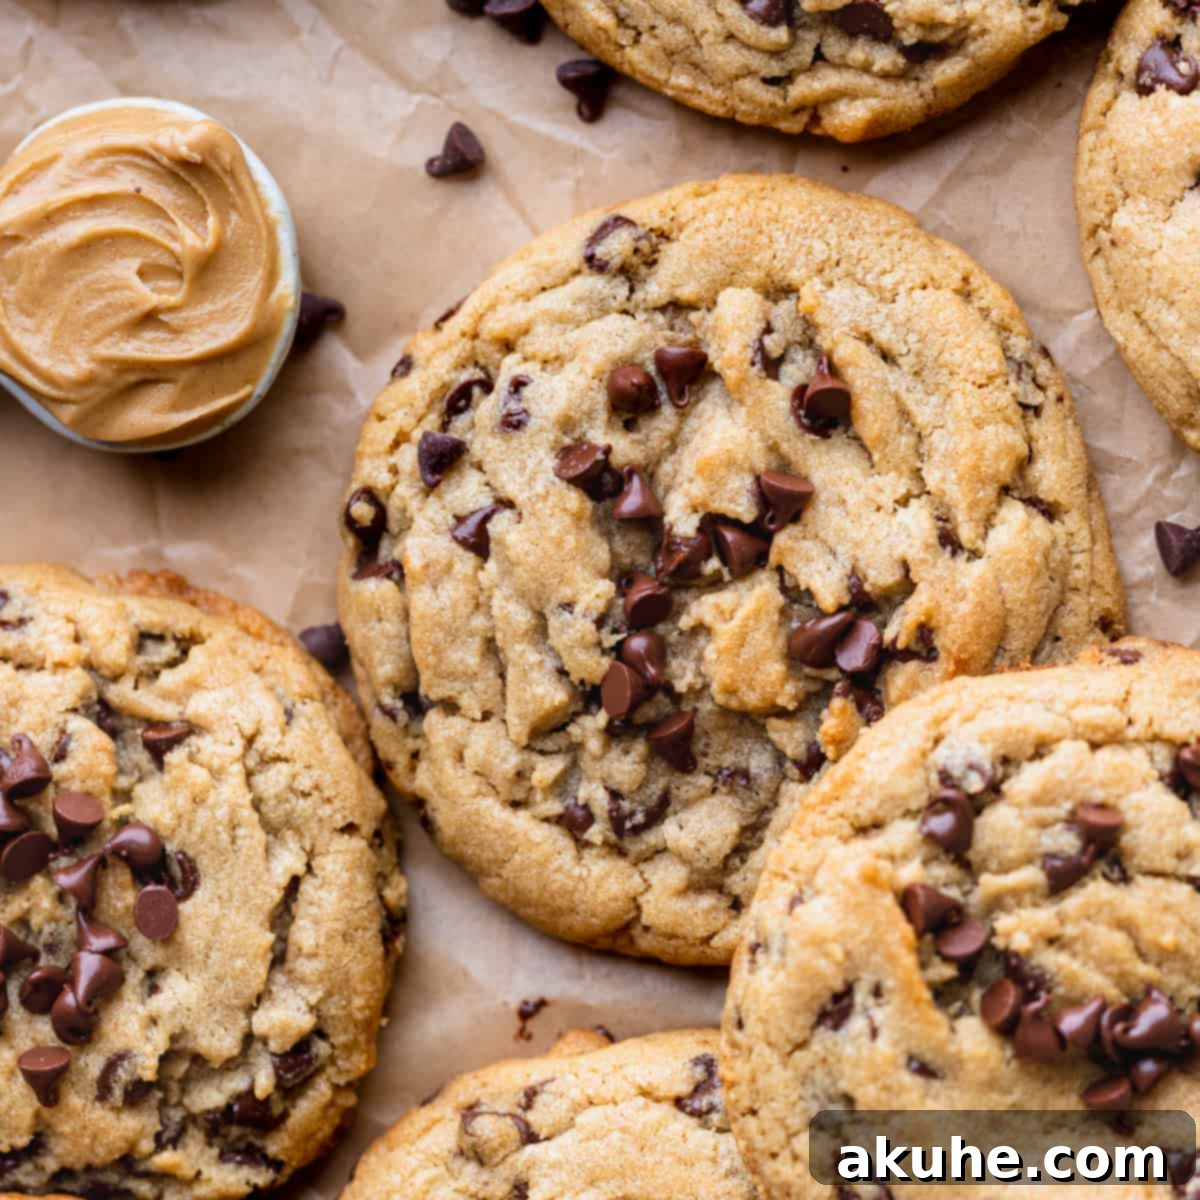
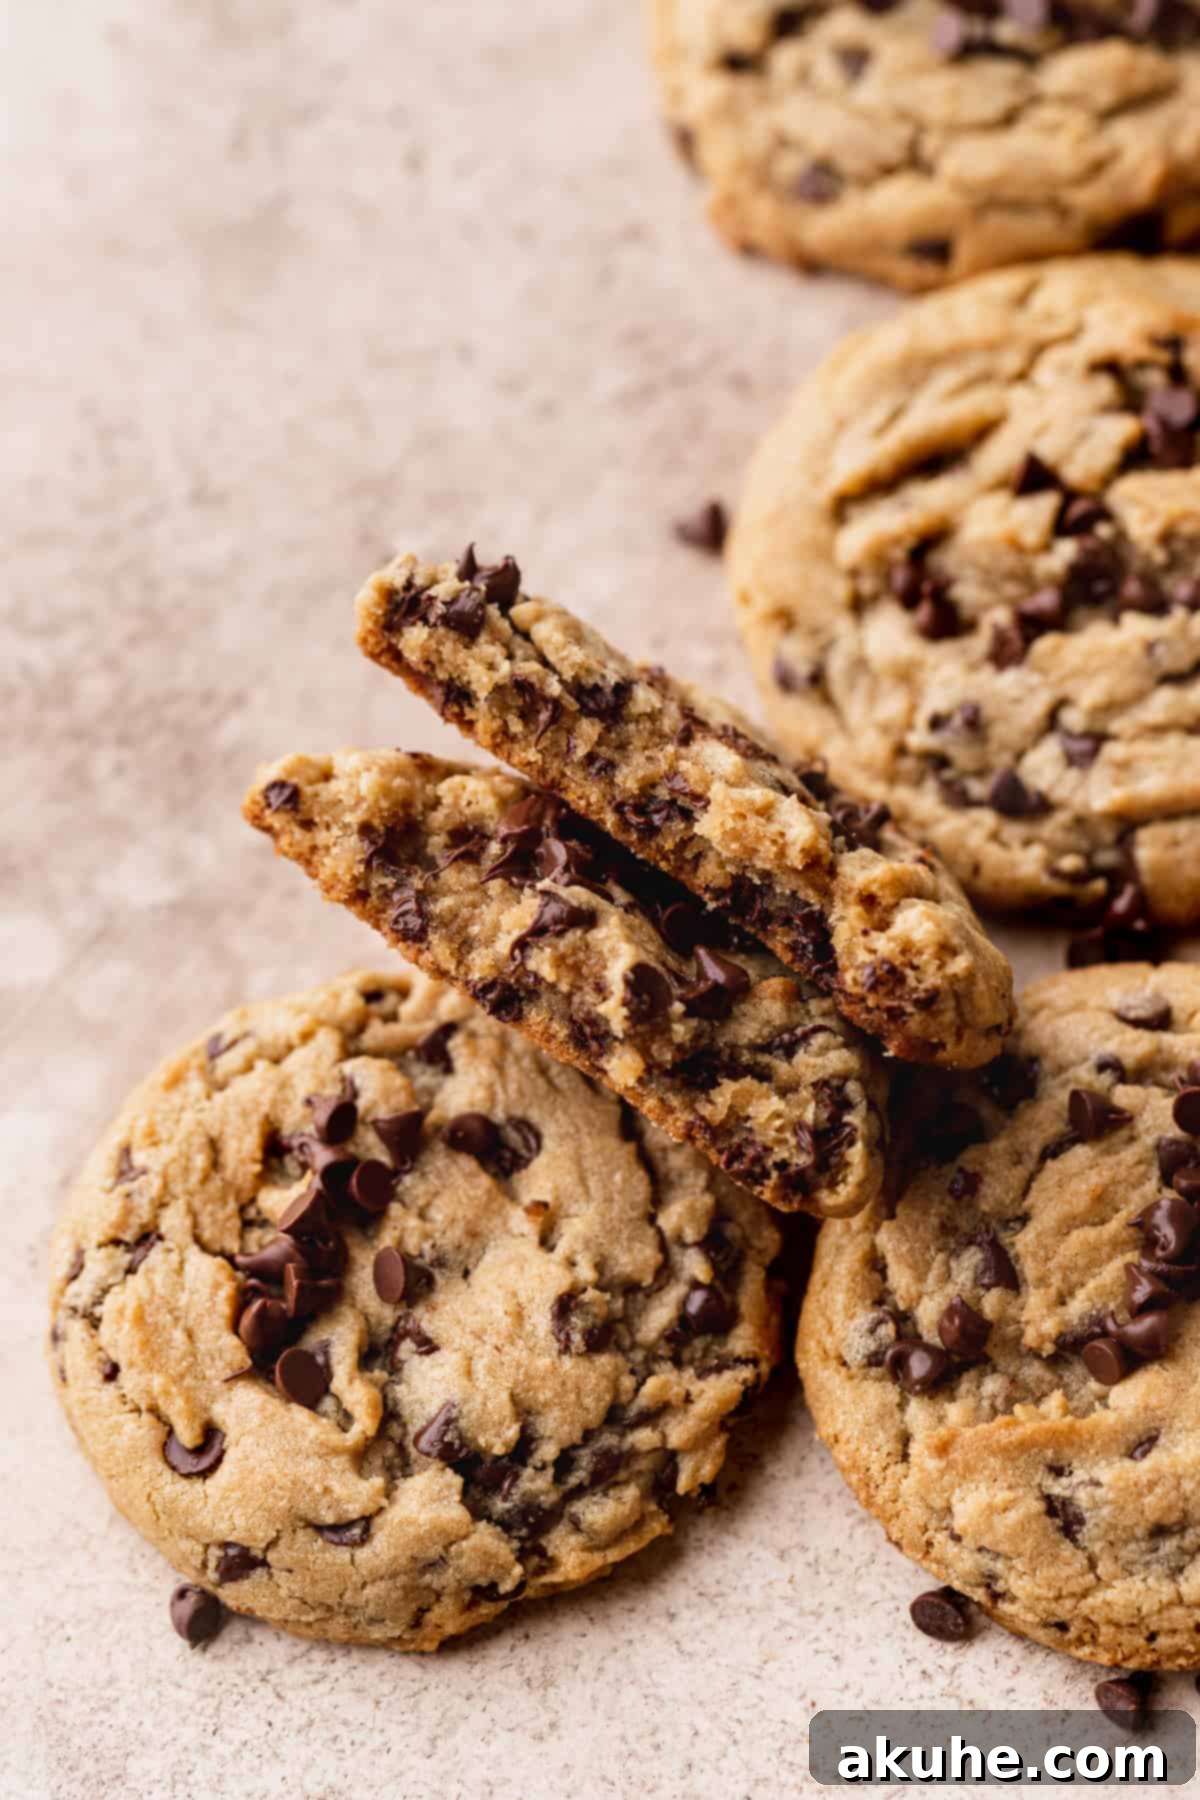
Welcome to the world of truly irresistible homemade treats! If there’s one classic combination that never fails to delight, it’s the magical pairing of creamy peanut butter and rich chocolate. Today, we’re diving into a recipe that elevates this beloved duo to perfection: **Chewy Peanut Butter Chocolate Chip Cookies**. These aren’t just any cookies; they are generously sized, incredibly soft in the center, and boast delightfully crisp edges, making every bite a heavenly experience. Loaded with your favorite creamy peanut butter and an abundance of mini chocolate chips, these cookies are destined to become a staple in your baking repertoire and an instant favorite for anyone who tries them.
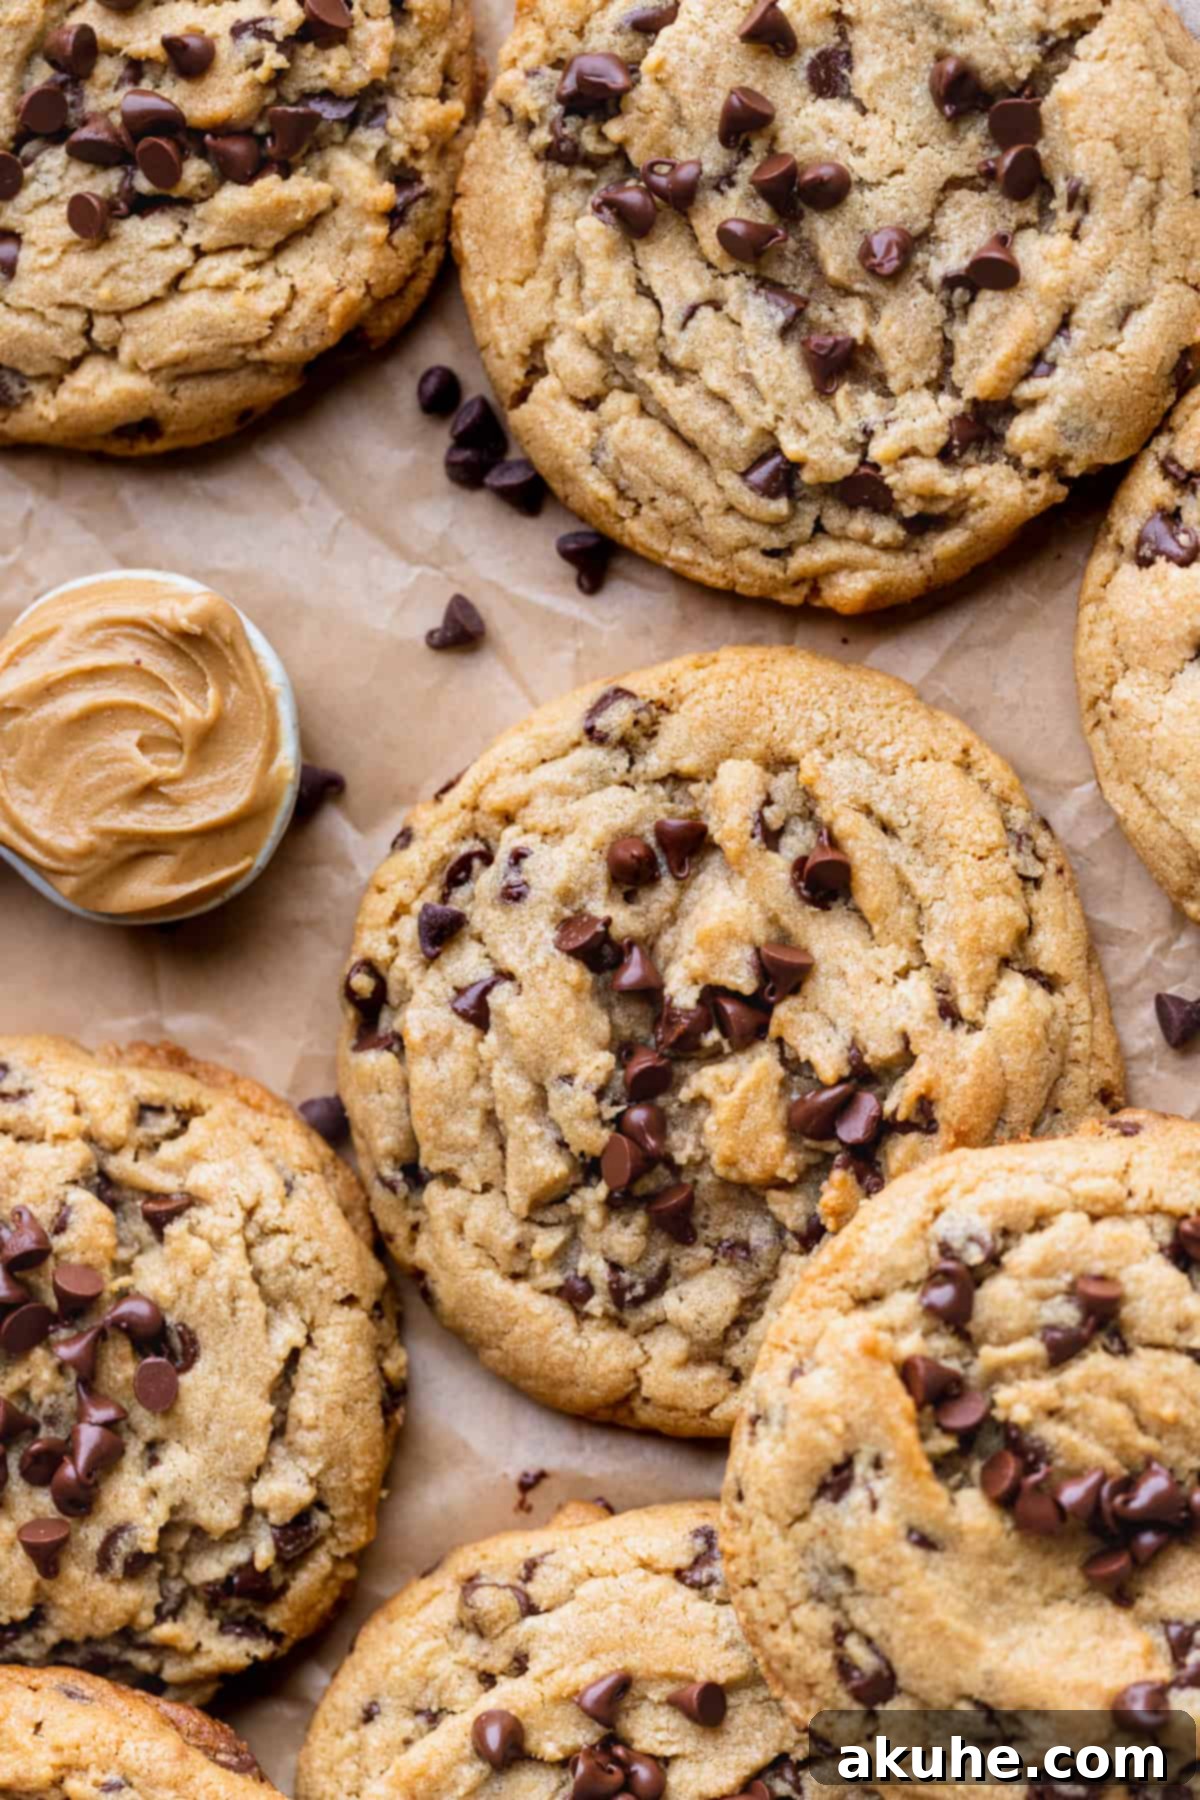
This particular recipe for peanut butter chocolate chip cookies began its journey as a simple experimental bake, a spontaneous creation born purely for the joy of baking. However, the results were so extraordinary, so overwhelmingly delicious, that keeping this secret to myself felt almost criminal. The balance of flavors, the perfect texture, and the sheer simplicity of the process compelled me to share this gem with you. Prepare to be amazed by how easily you can create bakery-quality cookies right in your own kitchen.
If you find yourself captivated by the allure of peanut butter and crave more delightful ways to incorporate it into your desserts, be sure to explore some other fantastic recipes. Indulge in the rich creaminess of a peanut butter cheesecake, savor the fudgy goodness of peanut butter cup brownies, or discover the surprise filling in chocolate peanut butter stuffed cookies. Each offers a unique twist on this comforting flavor.
Why You Will Absolutely Love This Peanut Butter Chocolate Chip Cookie Recipe
There are countless reasons why these peanut butter chocolate chip cookies stand out from the crowd and why they are sure to become a cherished recipe in your home. Here are some of the key highlights that make them truly exceptional:
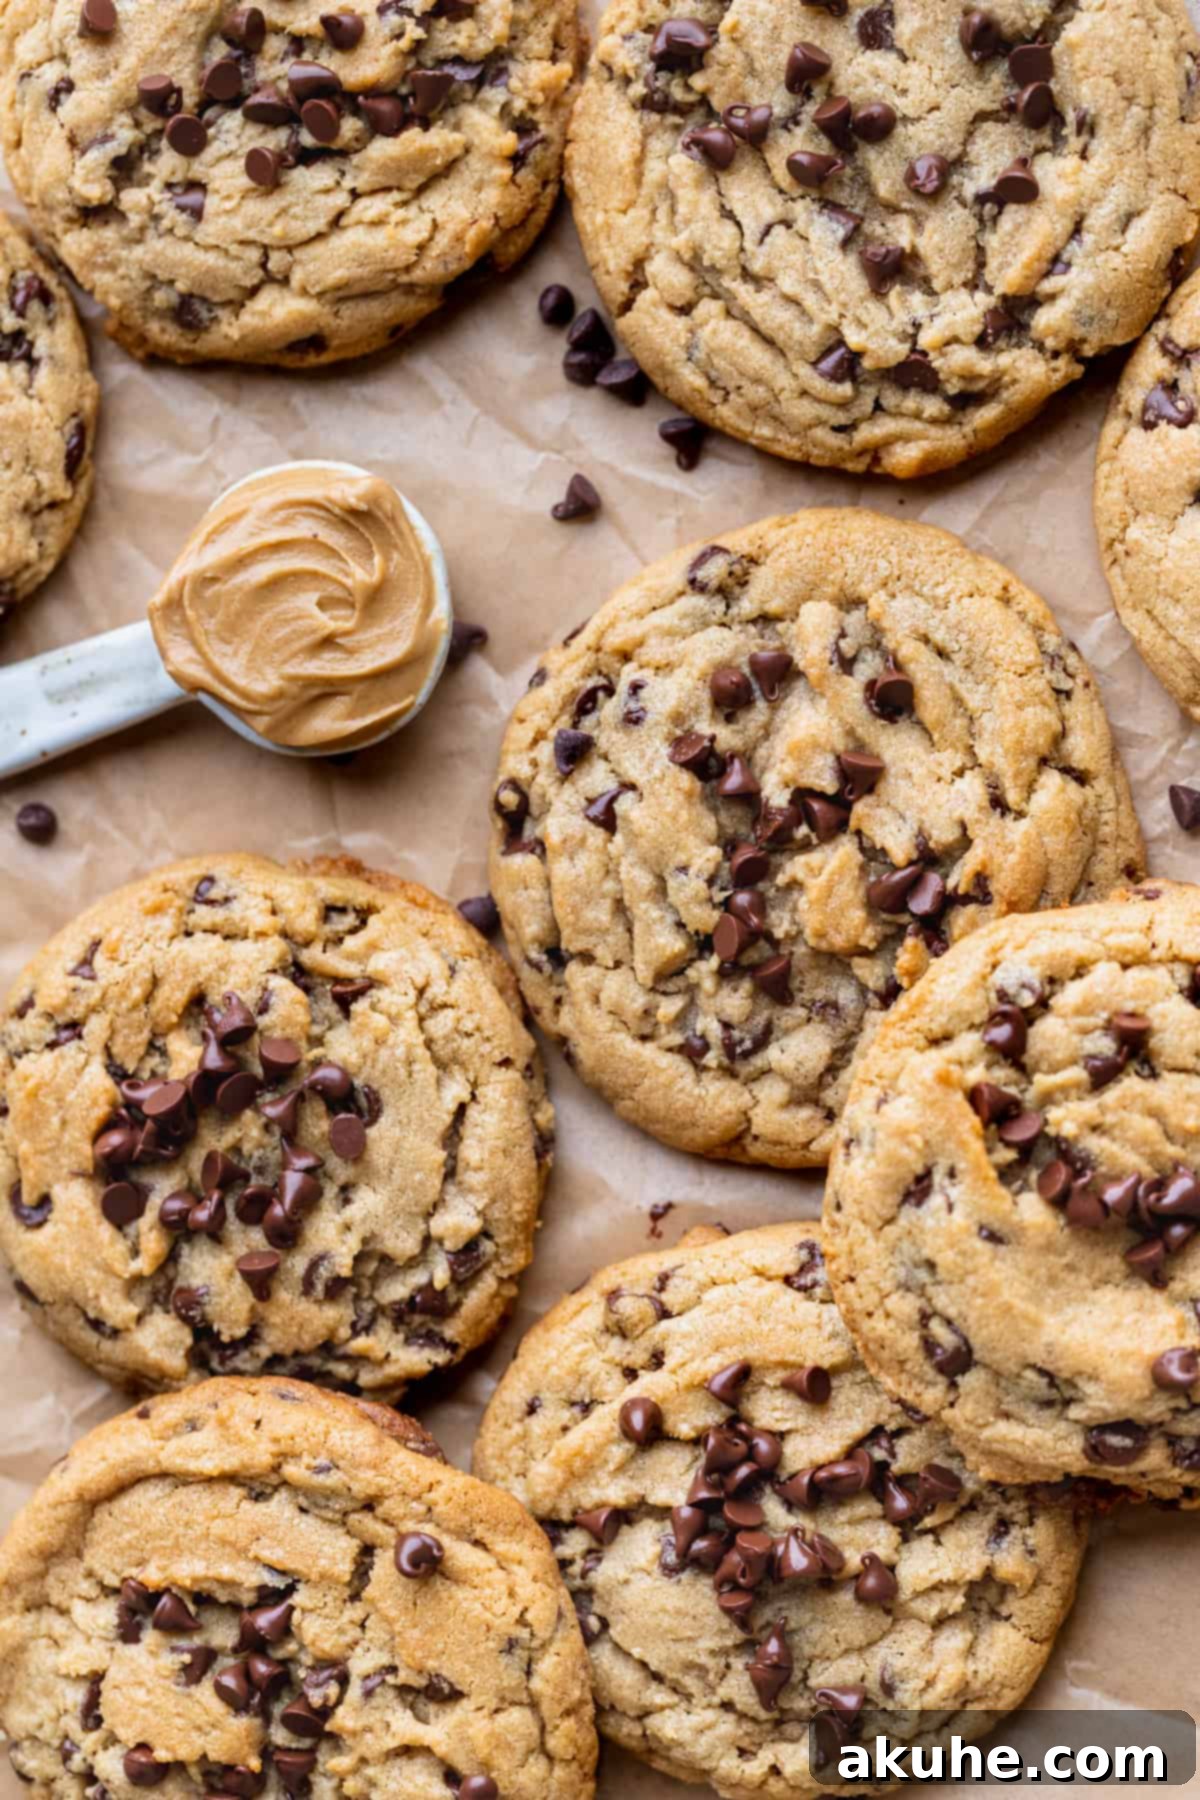
- Irresistibly Chewy Peanut Butter Cookies: The hallmark of a truly great cookie is its texture, and these deliver perfection. With wonderfully soft, moist centers and subtly crisp, golden edges, they offer that ideal chewiness that makes every bite incredibly satisfying. It’s a texture designed to make your taste buds sing.
- Generously Sized Bakery-Style Cookies: Forget small, dainty cookies. These are large, substantial treats, measuring approximately 3-4 inches in diameter. Their impressive size not only looks fantastic but also ensures a truly indulgent experience, providing more of that delightful peanut butter and chocolate goodness in every cookie.
- Evenly Distributed Mini Chocolate Chips: The secret to consistent chocolatey flavor throughout each cookie lies in the use of mini chocolate chips. Unlike their larger counterparts, mini chips ensure that you get a balanced amount of chocolate in every single bite, preventing large pockets of plain cookie dough and enhancing the overall flavor profile.
- Remarkably Easy and Quick to Prepare: Despite their impressive taste and appearance, these cookies are surprisingly simple to make. The dough comes together in just about 15 minutes, meaning you can whip up a batch with minimal fuss. The straightforward process makes this recipe accessible even for novice bakers, promising delicious results every time.
Ingredient Notes for Perfect Peanut Butter Chocolate Chip Cookies
Success in baking often hinges on understanding your ingredients. Here’s what you need to know about the key components of these delightful peanut butter chocolate chip cookies:
- Unsalted Butter: Always use unsalted butter to control the overall saltiness of your cookies. It’s crucial that your butter is at room temperature before you begin mixing. This typically means pulling it out of the refrigerator at least 2 hours before you plan to bake. Room temperature butter creams much more effectively with sugar, creating a light and airy base for your cookie dough, which contributes significantly to the final texture.
- Brown Sugar: This recipe primarily calls for light brown sugar, which provides moisture and chewiness to the cookies due to its molasses content. Packed brown sugar is essential for accurate measurement and optimal texture. You can also experiment with dark brown sugar for a deeper, richer molasses flavor.
- Peanut Butter: For the best results, stick to creamy peanut butter varieties like Jif or Skippy. These brands have a consistent texture and oil content that is ideal for baking. Natural peanut butter, while delicious for snacking, tends to be too runny and its oil can separate, leading to a dough that is difficult to work with and cookies that spread excessively.
- Eggs: Like butter, eggs should also be at room temperature. Take them out of the fridge approximately 2 hours before you start baking. Room temperature eggs emulsify better with the butter and sugar mixture, resulting in a smoother, more uniform dough and a better rise in your baked cookies.
- Mini Chocolate Chips: While you can technically use regular chocolate chips, mini chocolate chips are highly recommended for this recipe. Their smaller size ensures an even distribution of chocolate throughout the cookie, guaranteeing that every bite has that perfect balance of peanut butter and chocolate. This prevents dense pockets of chocolate and ensures a delightful texture throughout.
Ingredient Substitutions and Variations
Baking is an art that encourages creativity, and sometimes, you need to adapt a recipe to dietary needs or personal preferences. Here are some possible substitutions for these peanut butter chocolate chip cookies:
- Dairy-Free Option: To make these cookies dairy-free, you can easily substitute the unsalted butter with your favorite dairy-free butter alternative. Ensure it’s a baking-specific alternative for best results in terms of texture and flavor.
- Gluten-Free Exploration: While this recipe has not been specifically tested with gluten-free flour, many readers have success by substituting an equal amount of a good quality 1:1 gluten-free baking flour blend that contains xanthan gum. If you try this, please share your results!
- Brown Sugar Alternatives: If you only have dark brown sugar on hand, feel free to use it in place of light brown sugar. Dark brown sugar will lend a slightly deeper, more intense molasses flavor to your cookies, which can be a delicious variation.
- Peanut Butter Texture: For those who enjoy a bit more crunch in their cookies, you can substitute creamy peanut butter with crunchy peanut butter. This will introduce pleasant textual elements from the chopped peanuts, adding another layer of interest to your cookie.
- Other Chocolate Varieties: Don’t limit yourself to mini chocolate chips! You can experiment with milk chocolate chips, dark chocolate chips, or even white chocolate chips for a different flavor profile. Roughly chopped chocolate bars can also be used for a more artisanal touch.
Step-By-Step Instructions: Crafting Your Perfect Peanut Butter Cookie Dough
Creating these incredible peanut butter chocolate chip cookies is a straightforward process when you follow these detailed steps. Let’s walk through how to prepare and bake this delightful dough:
STEP 1: Prepare Your Dry Ingredients. In a medium-sized mixing bowl, combine the all-purpose flour, baking soda, and salt. It’s highly recommended to use a sifter to ensure these dry ingredients are thoroughly mixed and free of any lumps. This step is crucial for an even distribution of leavening agents and a smooth cookie texture.
STEP 2: Cream Butter and Sugars. In the bowl of a stand mixer fitted with the paddle attachment (or using a hand mixer), beat the softened unsalted butter with both the brown sugar and white granulated sugar. Cream these ingredients together on high speed for at least 2 minutes, or until the mixture becomes visibly light, fluffy, and pale in color. This creaming process incorporates air into the butter, which is vital for a tender and chewy cookie.
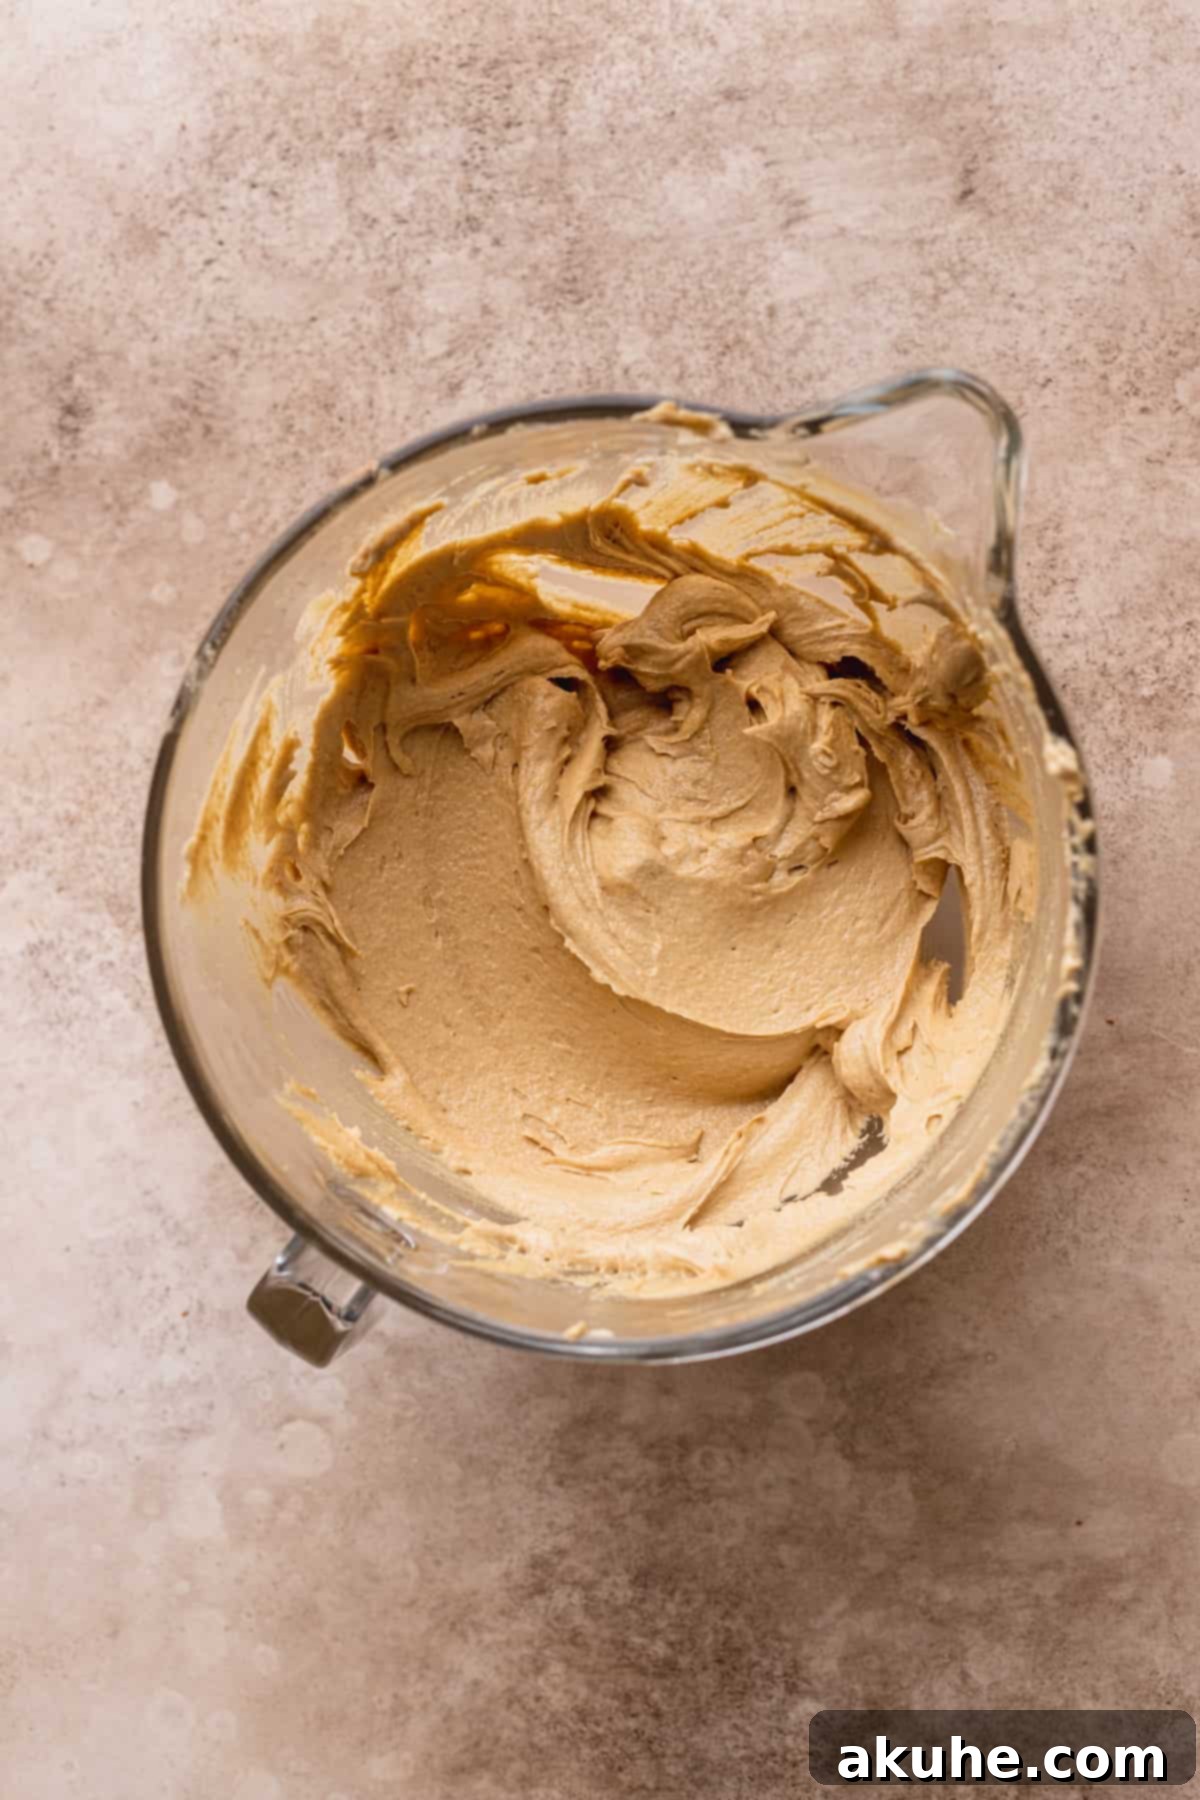
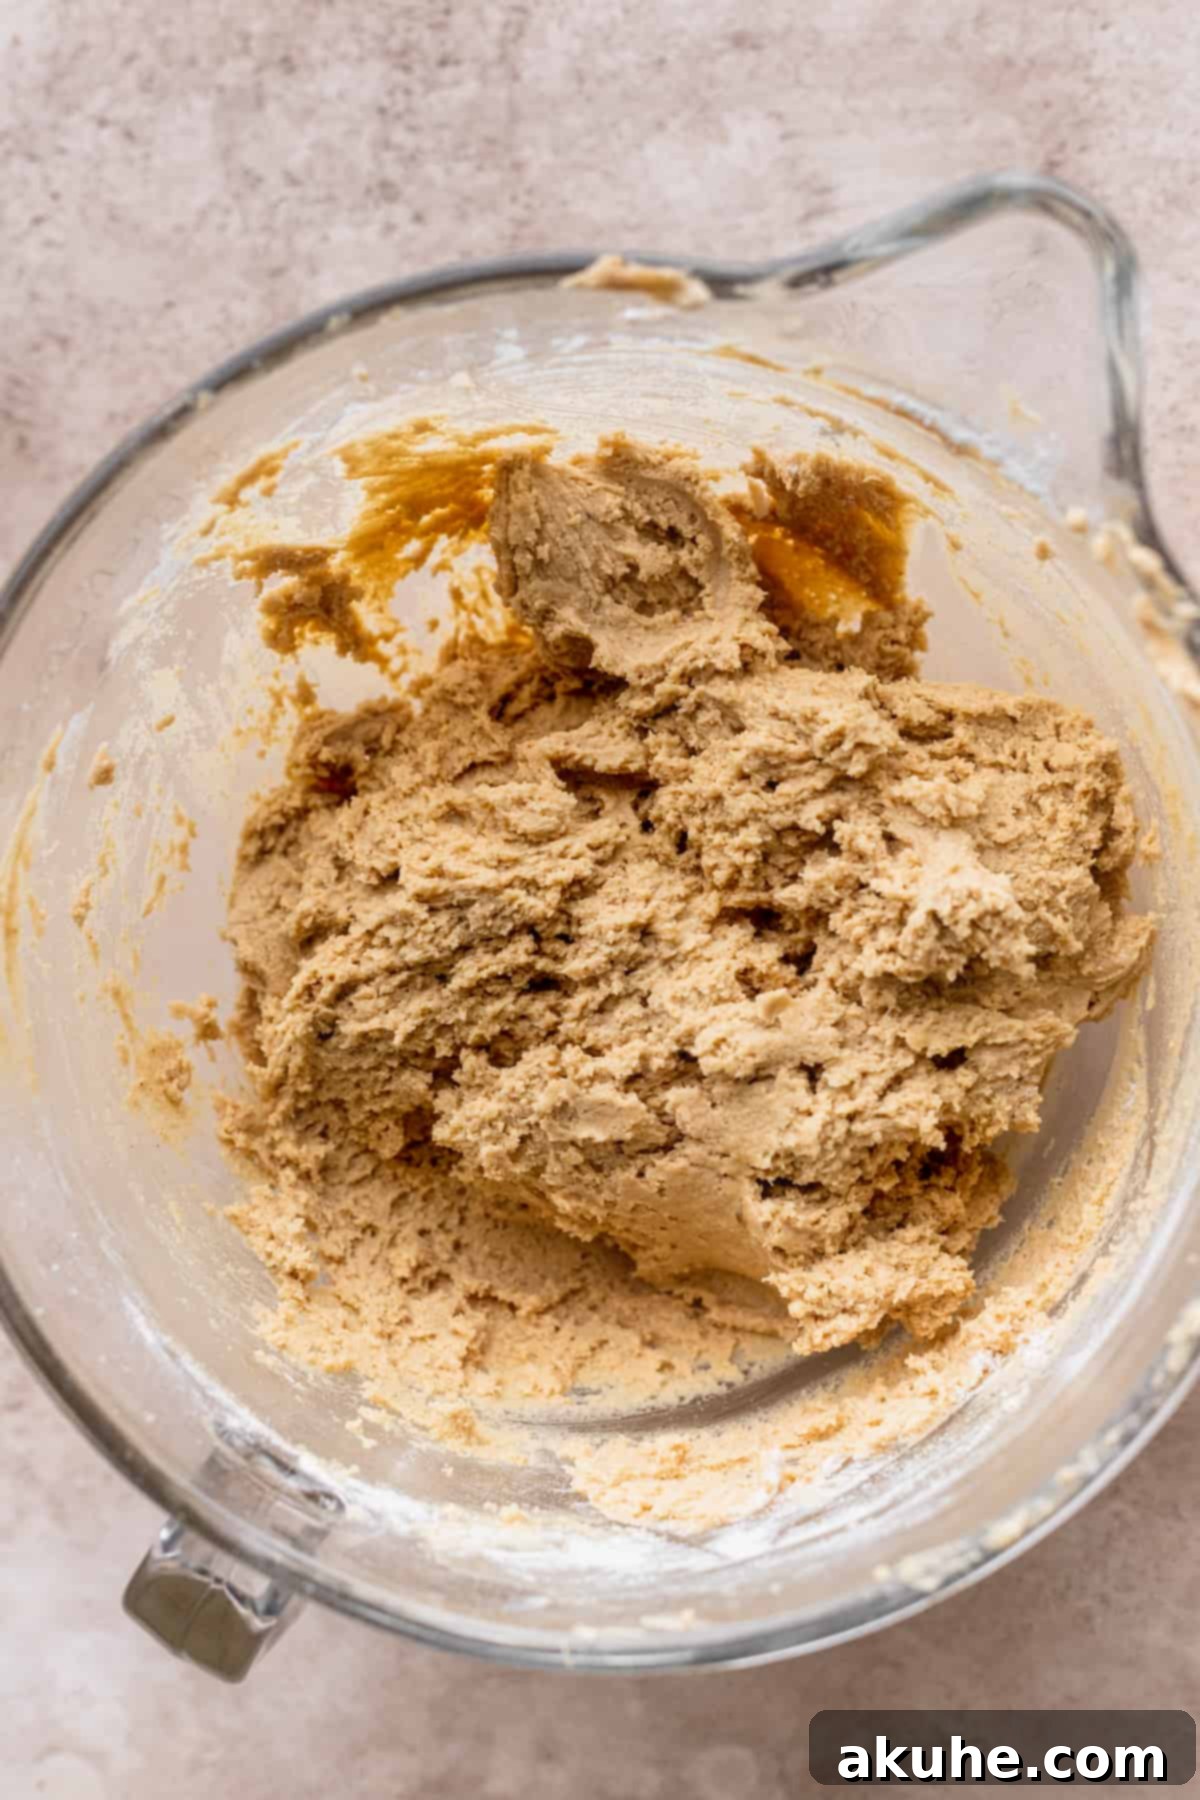
STEP 3: Incorporate Wet Ingredients. Reduce the mixer speed to medium. Add the creamy peanut butter and pure vanilla extract to the creamed butter and sugar mixture. Mix until just combined, being careful not to overmix at this stage. Next, crack in the room temperature large eggs, one at a time, mixing well after each addition until fully incorporated. Beat on high speed for another 1-2 minutes until the mixture appears light and fluffy, resembling the consistency shown in the image below, indicating proper aeration.
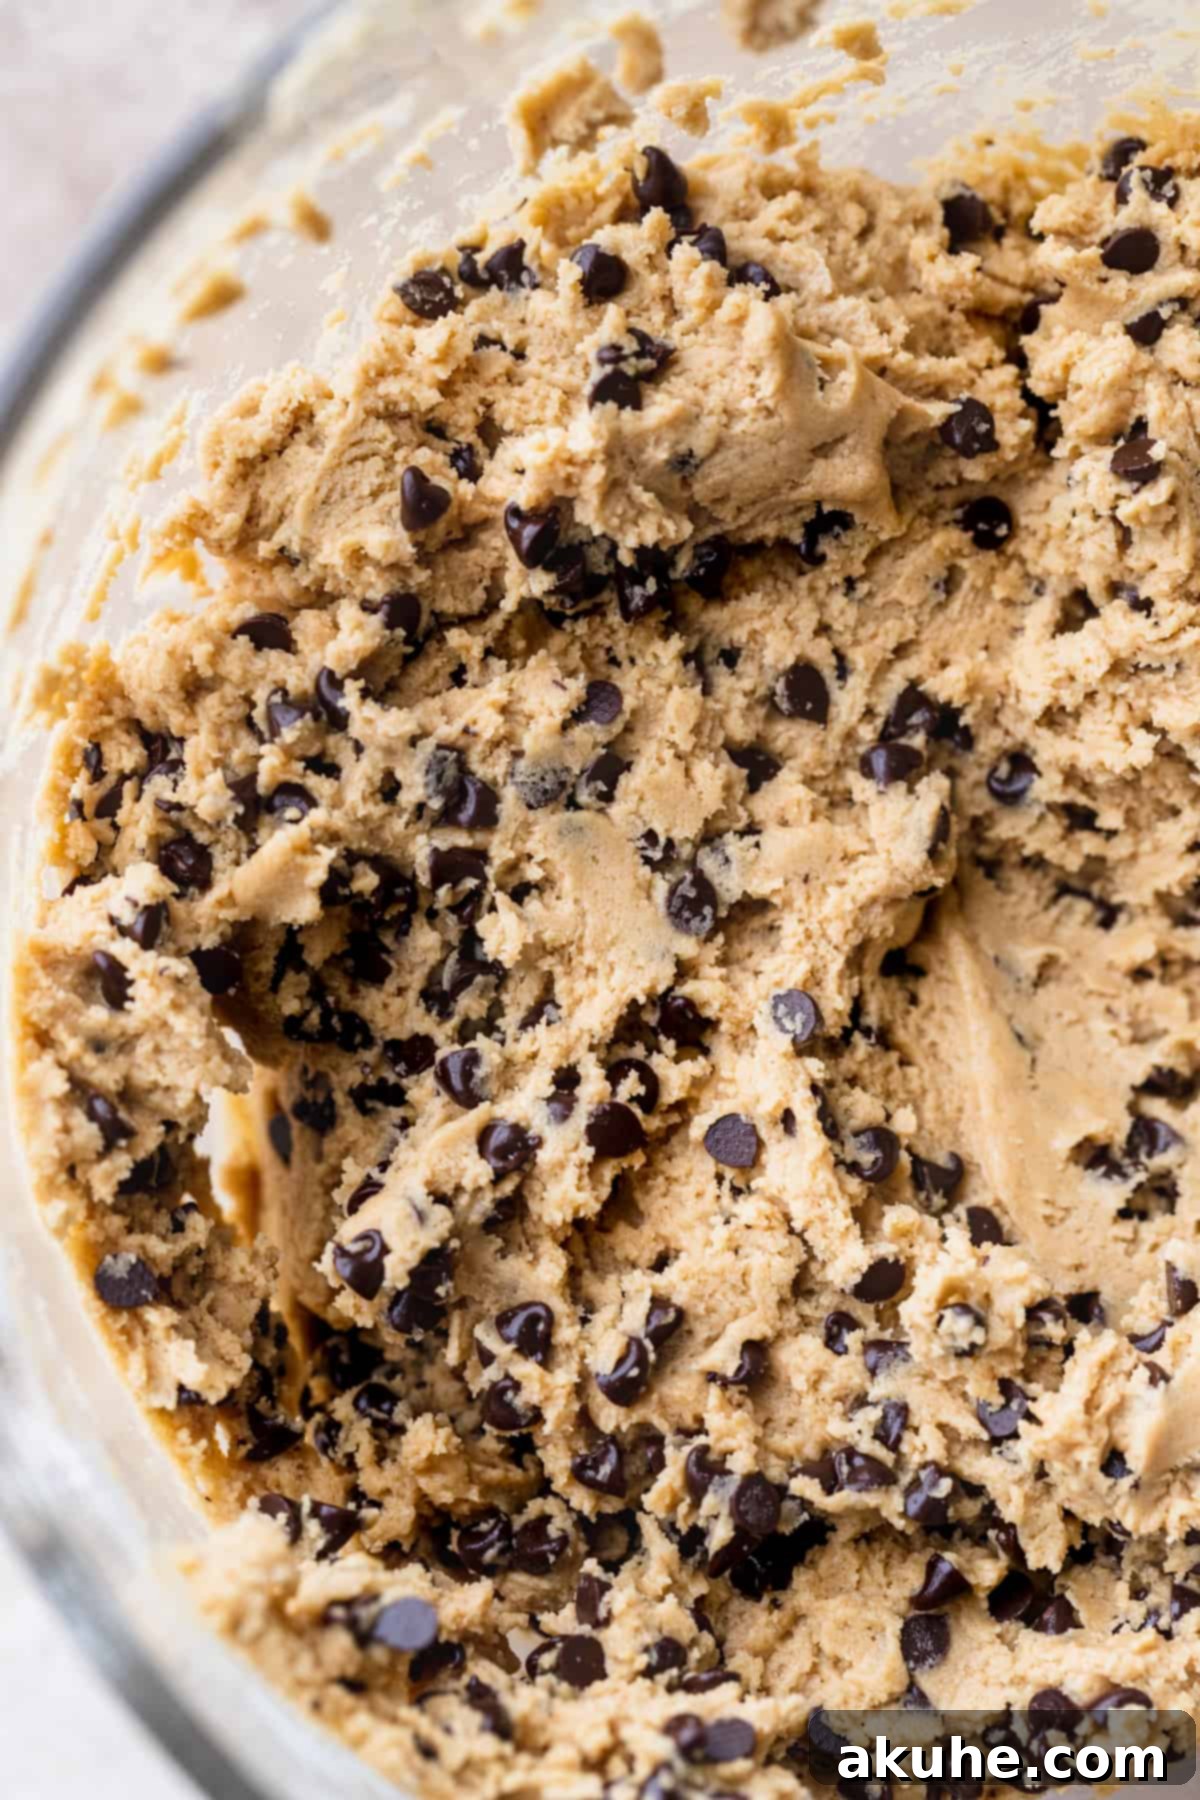
STEP 4: Combine Dry and Wet Ingredients. With the mixer on low speed, gradually add the sifted dry ingredients into the wet mixture, mixing until just combined and no streaks of flour remain. Be careful not to overmix the dough, as this can lead to tough cookies. Finally, fold in the mini chocolate chips using a spatula or by mixing on the lowest speed until they are evenly distributed throughout the dough.
STEP 5: Chill the Dough. Cover the cookie dough tightly with plastic wrap and refrigerate it for at least 2 hours. This chilling step is absolutely crucial for the success of these cookies. It allows the butter to firm up, preventing the cookies from spreading too much during baking, and also deepens the flavors, resulting in a more complex and delicious cookie. If you’re in a hurry, you can place the dough in the freezer for 30-45 minutes for a quicker chill, but for optimal results, the full 2-hour refrigeration is recommended.
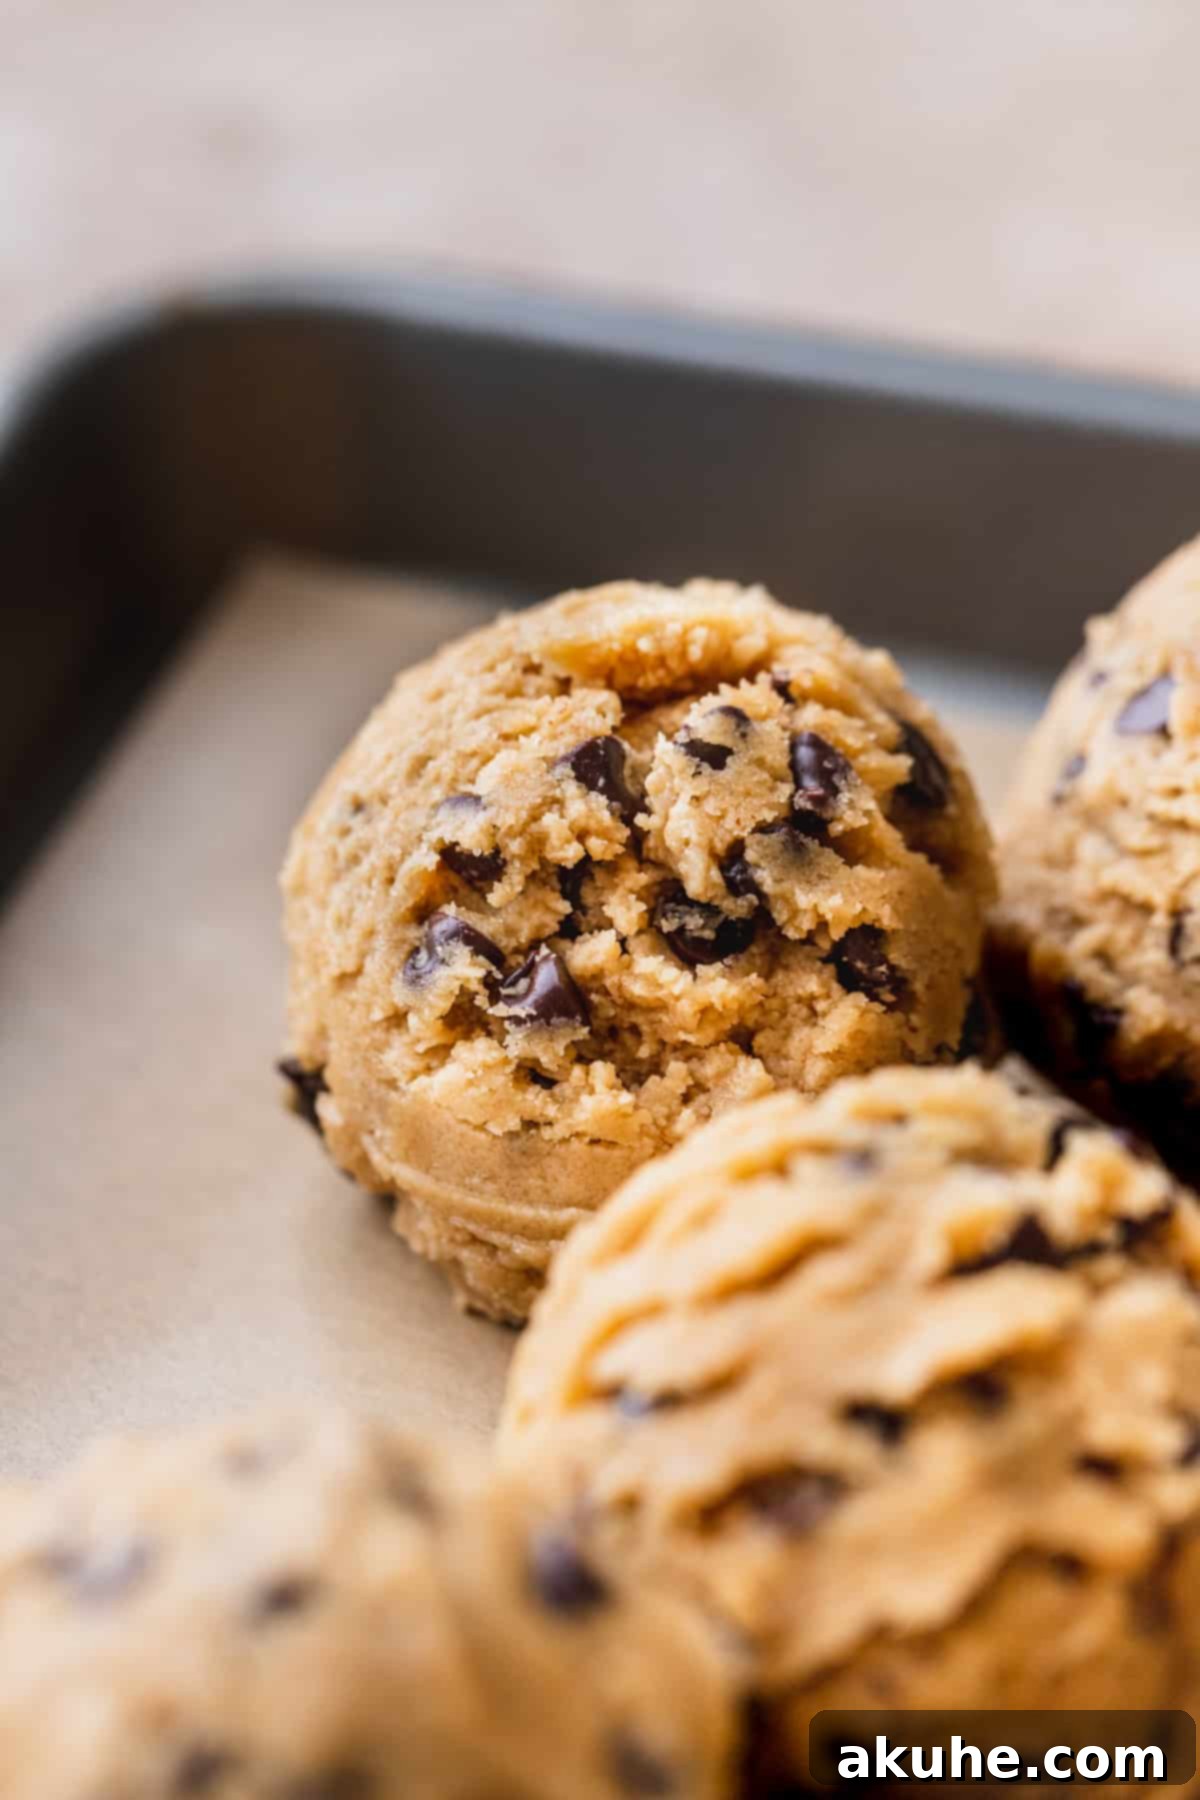
STEP 6: Scoop and Prepare for Baking. Once the dough is thoroughly chilled, preheat your oven to 350°F (175°C). Line two large cookie sheets with parchment paper; this prevents sticking and helps ensure even baking. Using a 3-ounce cookie scoop (a large scoop), portion the dough into heaping balls. These cookies are meant to be large, so don’t be shy! Place approximately 6 cookie dough balls per baking sheet, ensuring enough space between them for spreading. Keep any unbaked dough in the refrigerator while the first batch bakes.
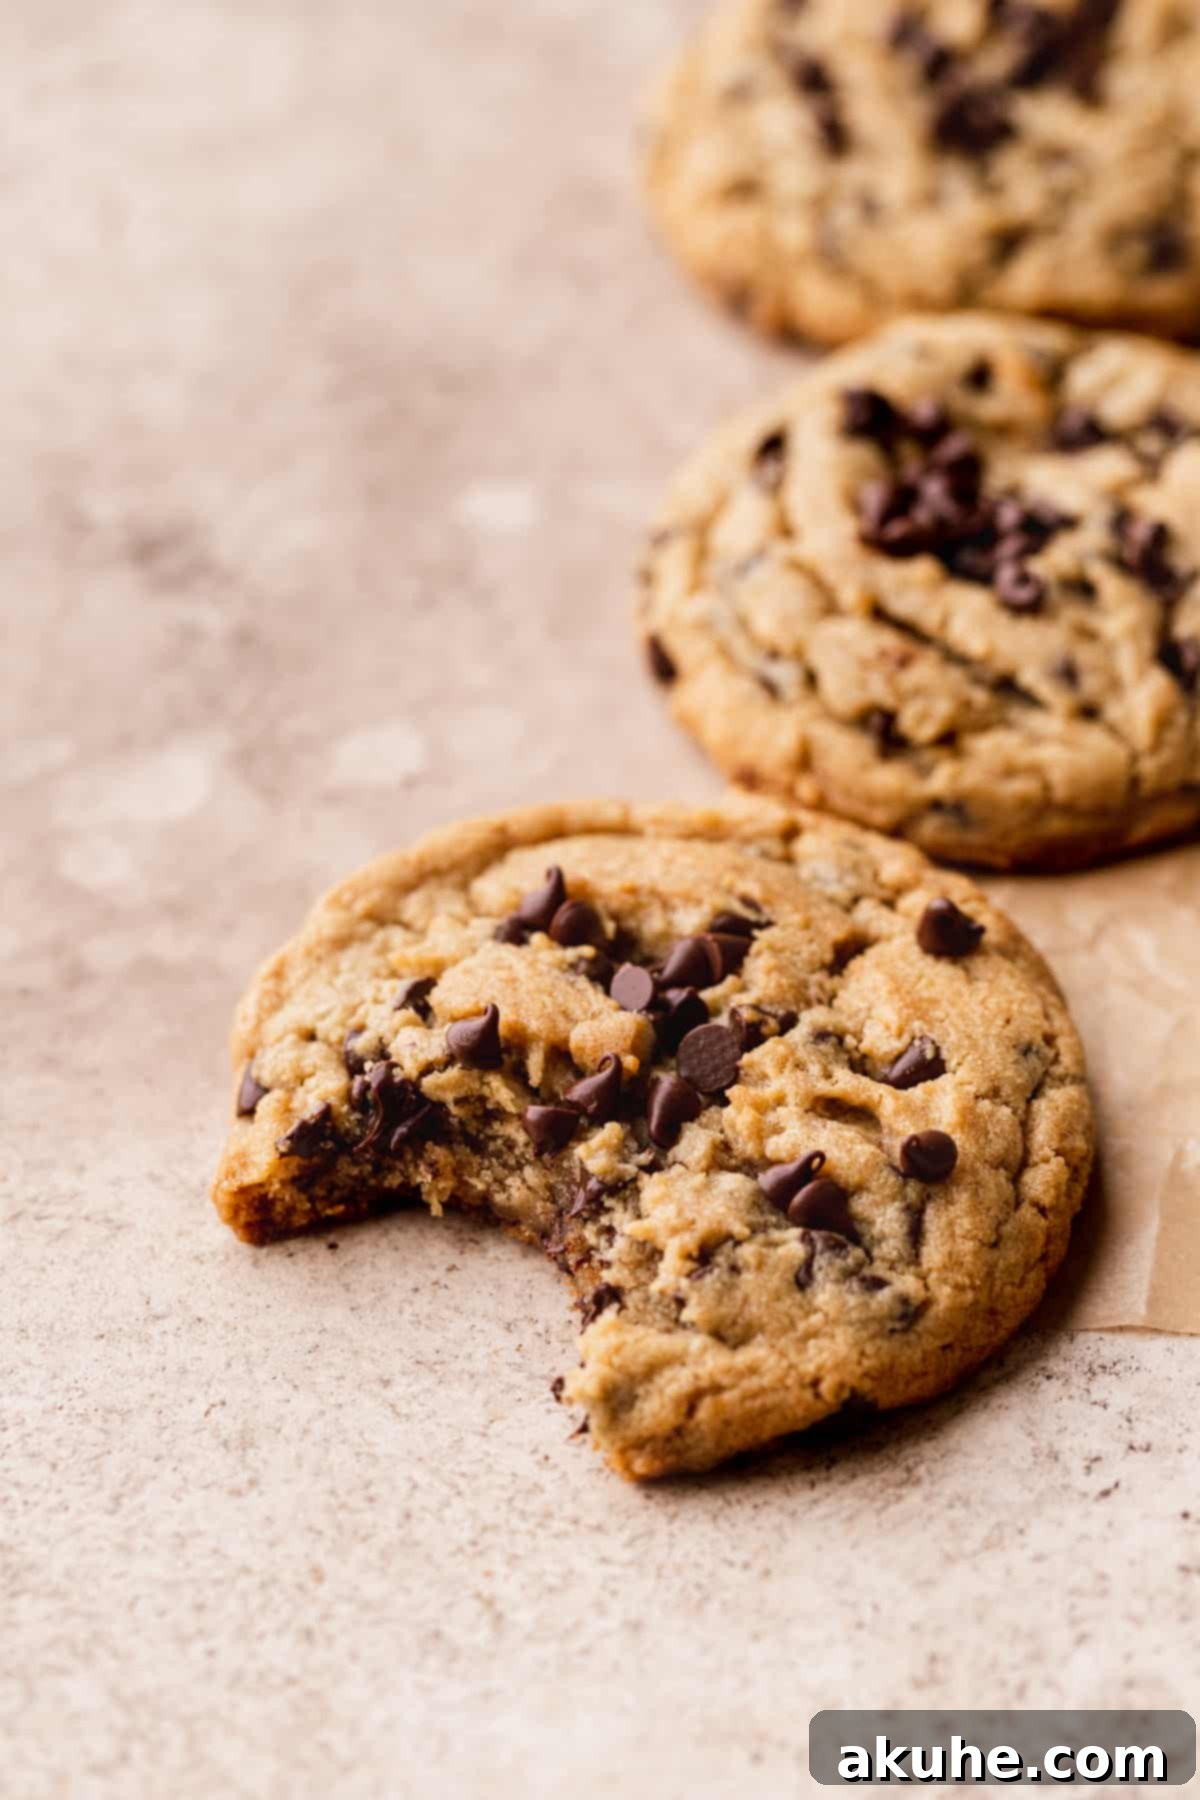
STEP 7: Bake Your Delicious Cookies. Bake the cookies for 13-15 minutes, or until the edges are lightly golden brown and the centers still look slightly soft and puffed. For smaller cookies, the baking time will be closer to 8-10 minutes. Avoid overbaking, as this will result in a dry, crumbly cookie rather than the desired chewy texture. Once baked, remove the cookie sheets from the oven and let the cookies cool on the sheets for about 4 minutes. While they are still warm, you can optionally press a few extra mini chocolate chips onto the tops for a beautiful, bakery-finished look. Finally, carefully transfer the cookies to a wire rack to cool completely. Enjoy the warm, gooey centers!
Expert Baking Tips for Unforgettable Cookies
Achieving cookie perfection often comes down to a few key techniques and considerations. Here are some expert tips to ensure your peanut butter chocolate chip cookies turn out perfectly every time:
- Proper Aeration of Wet Ingredients: To achieve that coveted chewy texture, it’s paramount to beat the butter and sugars, and then the eggs, thoroughly. The process of creaming butter and sugar on high for 2 minutes, followed by beating the eggs until fluffy, incorporates essential air into the mixture. This aeration creates pockets that expand in the oven, contributing to the cookies’ soft, light, and chewy interior.
- The Importance of Chilling the Dough: This recipe features a relatively wet dough, and chilling is not an optional step – it’s crucial. Chilling for at least 2 hours allows the fats in the butter to solidify, preventing excessive spreading during baking and ensuring your cookies maintain their thick, chewy shape. It also gives the flour time to fully hydrate and the flavors to meld, resulting in a richer taste.
- Speeding Up the Chilling Process (with Caution): If time is of the essence, you can place the dough in the freezer for 30-45 minutes. However, be aware that freezing can sometimes chill the dough unevenly. For the most consistent results and the ultimate chewy texture, I highly recommend adhering to the full 2-hour refrigeration time.
- Accurate Flour Measurement: Flour should always be measured by spooning it into a measuring cup and then leveling it off with a straight edge. Alternatively, using a kitchen scale for precise measurement is the most reliable method. Scooping flour directly from the bag can compact it, leading to too much flour in your dough, which will result in dry, dense cookies instead of soft, chewy ones.
- Parchment Paper is Your Best Friend: Always line your cookie sheets with parchment paper. This not only prevents sticking but also helps regulate the heat, ensuring the bottoms of your cookies don’t brown too quickly. Avoid baking directly on a greased cookie sheet or using silicone baking mats, as these can sometimes encourage more spreading.
- Don’t Overbake: The key to a soft, chewy cookie is to pull them from the oven when the edges are set and lightly golden brown, but the centers still look slightly underdone or puffy. They will continue to bake and set on the hot cookie sheet after removal. Overbaking is the quickest way to dry out your cookies.
Frequently Asked Questions About Peanut Butter Chocolate Chip Cookies
Preventing cookies from spreading is crucial for a thick, chewy result. First, always use parchment paper on your cookie sheets; do not bake directly on an unlined sheet or a silicone mat, as these can sometimes contribute to spreading. Secondly, ensure your cookie dough is adequately chilled before baking. A cold dough helps the butter solidify, slowing down its melting process in the oven. If your dough is too warm, the butter will melt too quickly, causing the cookies to flatten. Also, accurately measuring your flour (spooned and leveled, or by weight) is important, as too little flour can lead to excessive spreading.
Absolutely, chilling the cookie dough overnight is not only possible but can also enhance the flavor and texture even further. You have two excellent options for overnight chilling:
1. Chill the dough for the initial 2 hours as specified in the recipe. After this initial chill, scoop the dough into individual balls, cover them tightly, and then chill them overnight. This makes for quick baking the next day.
2. Alternatively, you can chill the entire batch of dough overnight in one covered bowl. Before scooping and baking, allow the dough to sit at room temperature for 30 minutes to 1 hour to make it easier to scoop.
Yes, freezing cookie dough is a fantastic way to prepare ahead! Simply scoop the cookie dough balls as directed and place them on a parchment-lined baking sheet. Freeze until solid (about 1-2 hours), then transfer the frozen dough balls to an airtight freezer-safe bag or container. They can be stored for up to 3 months. When ready to bake, you can bake them directly from frozen, adding an extra 2-4 minutes to the original bake time.
Baking at high altitudes often requires slight adjustments due to lower atmospheric pressure. For this recipe, if you are baking at a high altitude, you may want to add an additional 2 tablespoons of all-purpose flour to the dry ingredients. This helps to strengthen the cookie structure and prevents excessive spreading, which can be common at higher elevations.
Look for golden-brown edges. The centers should still appear slightly soft and puffed up, but not raw or wet. Remember, cookies continue to cook for a few minutes after being removed from the oven due to residual heat. When in doubt, it’s better to slightly underbake for a chewier cookie than to overbake and end up with a dry one.
Special Tools for Effortless Baking
While you don’t need a professional kitchen setup to make these cookies, a few tools can make the process significantly easier and more enjoyable:
- Parchment Paper: Investing in premade sheets of parchment paper is a game-changer. They lie flat on your baking sheets, are perfectly sized, and eliminate the frustration of wrestling with a curled roll of paper. This makes lining cookie sheets a breeze and ensures your cookies don’t stick.
- Large Cookie Scoop: A 3-ounce OXO cookie scoop is highly recommended for achieving consistent, large cookie portions. A scoop ensures uniform size, which leads to even baking across your batch. It also makes the process much quicker and cleaner than using spoons.
- Kitchen Scale: For ultimate precision, especially when measuring flour, a digital kitchen scale is invaluable. It removes the variability of volume measurements, ensuring consistent results every time you bake.
- Stand Mixer or Hand Mixer: While elbow grease works, a good quality stand mixer or electric hand mixer will make creaming butter and sugar, and incorporating eggs, much more efficient and effective, leading to better aeration and a superior cookie texture.
Storing and Freezing Your Delicious Cookies
Once baked, these peanut butter chocolate chip cookies are so good, they might not last long! But if you do manage to have some leftovers, here’s how to properly store them to maintain their freshness and flavor:
Store the baked peanut butter chocolate chip cookies in an airtight container at room temperature for up to 5 days. For optimal freshness, a cookie jar or a container with a tight-fitting lid will do the trick. You can also place a slice of bread in the container with the cookies to help keep them soft and moist.
Freezing Baked Cookies
If you’ve baked a large batch or simply want to save some for later, these cookies freeze beautifully. Once completely cooled, place the baked cookies in a single layer on a baking sheet and freeze until solid. Then, transfer the frozen cookies to an airtight freezer-safe container or a heavy-duty freezer bag, separating layers with parchment paper to prevent sticking. They can be stored in the freezer for up to 30 days. To enjoy, simply thaw them at room temperature for about 1 hour, or warm them slightly in the microwave for a just-baked taste.
Explore More Cookie Recipes To Try
The world of cookies is vast and wonderful! If you’re eager to expand your baking horizons beyond these peanut butter chocolate chip delights, here are some other fantastic cookie recipes worth exploring. From classic comforts to unique flavor combinations, there’s a cookie for every mood and occasion.
Indulge in These Peanut Butter Cookie Recipes
If your heart truly belongs to peanut butter, these additional recipes will satisfy your deepest cravings:
- Peanut butter cheesecake: A creamy, dreamy dessert for serious peanut butter lovers.
- Chocolate peanut butter stuffed cookies: An exciting twist with a surprise peanut butter center.
- Peanut butter snickerdoodles: The classic snickerdoodle with a rich peanut butter twist.
- Peanut butter and jelly cookies: A nostalgic combination baked into a delicious cookie.
- Banana peanut butter cookies: A healthier, naturally sweet option for a satisfying treat.
I hope you absolutely adore these Chewy Peanut Butter Chocolate Chip Cookies as much as I do! They are truly a special treat that brings smiles to every face. If you bake them, please make sure to leave a star review below to let me know how they turned out for you!
I also love seeing your creations! Make sure to tag me on Instagram @stephaniesweettreats when you share your delicious cookies. To discover even more baking inspiration and delicious ideas, be sure to follow me on Pinterest. Happy baking!

Chewy Peanut Butter Chocolate Chip Cookies
Print Recipe
Pin Recipe
Leave a Review
Ingredients
- 2 1/2 cup All-purpose flour
- 1 tsp Baking soda
- 1 tsp Salt
- 1 cup Unsalted butter, room temperature
- 1 1/4 cups Brown sugar, packed light or dark
- 1/4 cup White granulated sugar
- 1 cup Peanut butter, creamy
- 2 tsp Pure vanilla extract
- 2 Large eggs, room temperature
- 1 3/4 cups Mini chocolate chips
Instructions
- In a medium mixing bowl, sift together flour, baking soda and salt. Set aside.2 1/2 cup All-purpose flour, 1 tsp Baking soda, 1 tsp Salt
- Using a mixer, beat butter, brown sugar, and sugar together on medium for 2 minutes. The butter will be light and fluffy. Add in peanut butter and vanilla. Mix on medium until combined.1 cup Unsalted butter, 1 1/4 cups Brown sugar, 1/4 cup White granulated sugar, 1 cup Peanut butter, 2 tsp Pure vanilla extract
- Add in eggs. Mix on high for 2 minutes. Scrape bowl. Slowly add in dry ingredients. Scrape bowl and mix again. Add in mini chocolate chips and stir to combine.2 Large eggs, 1 3/4 cups Mini chocolate chips
- Cover and chill dough for 2 hours. Then, preheat oven to 350°F. Line 2 cookie sheets with parchment paper.
- Use a large 3oz cookie scoop and scoop the dough. These make large cookies. (3-4 inch cookies) Place 6 dough balls per cookie sheet. Keep dough in fridge while cookies bake.
- Bake for 13-16 minutes. Bake until edges are lightly golden brown. If baking smaller cookies they will need 8-10 minutes baking time. Let cookies sit on the cookie sheet for 4 minutes. Top with extra mini chocolate chips while warm. Then, transfer to a cooling rack.
Notes
High altitude baking- Add 2 TBSP extra flour.
Bring butter and eggs out 2 hours before baking. It will get a higher rise in the cookies.
Dough HAS to be chilled for at least 2 hours, it is a very wet dough. Baking before then, will cause them to spread.
