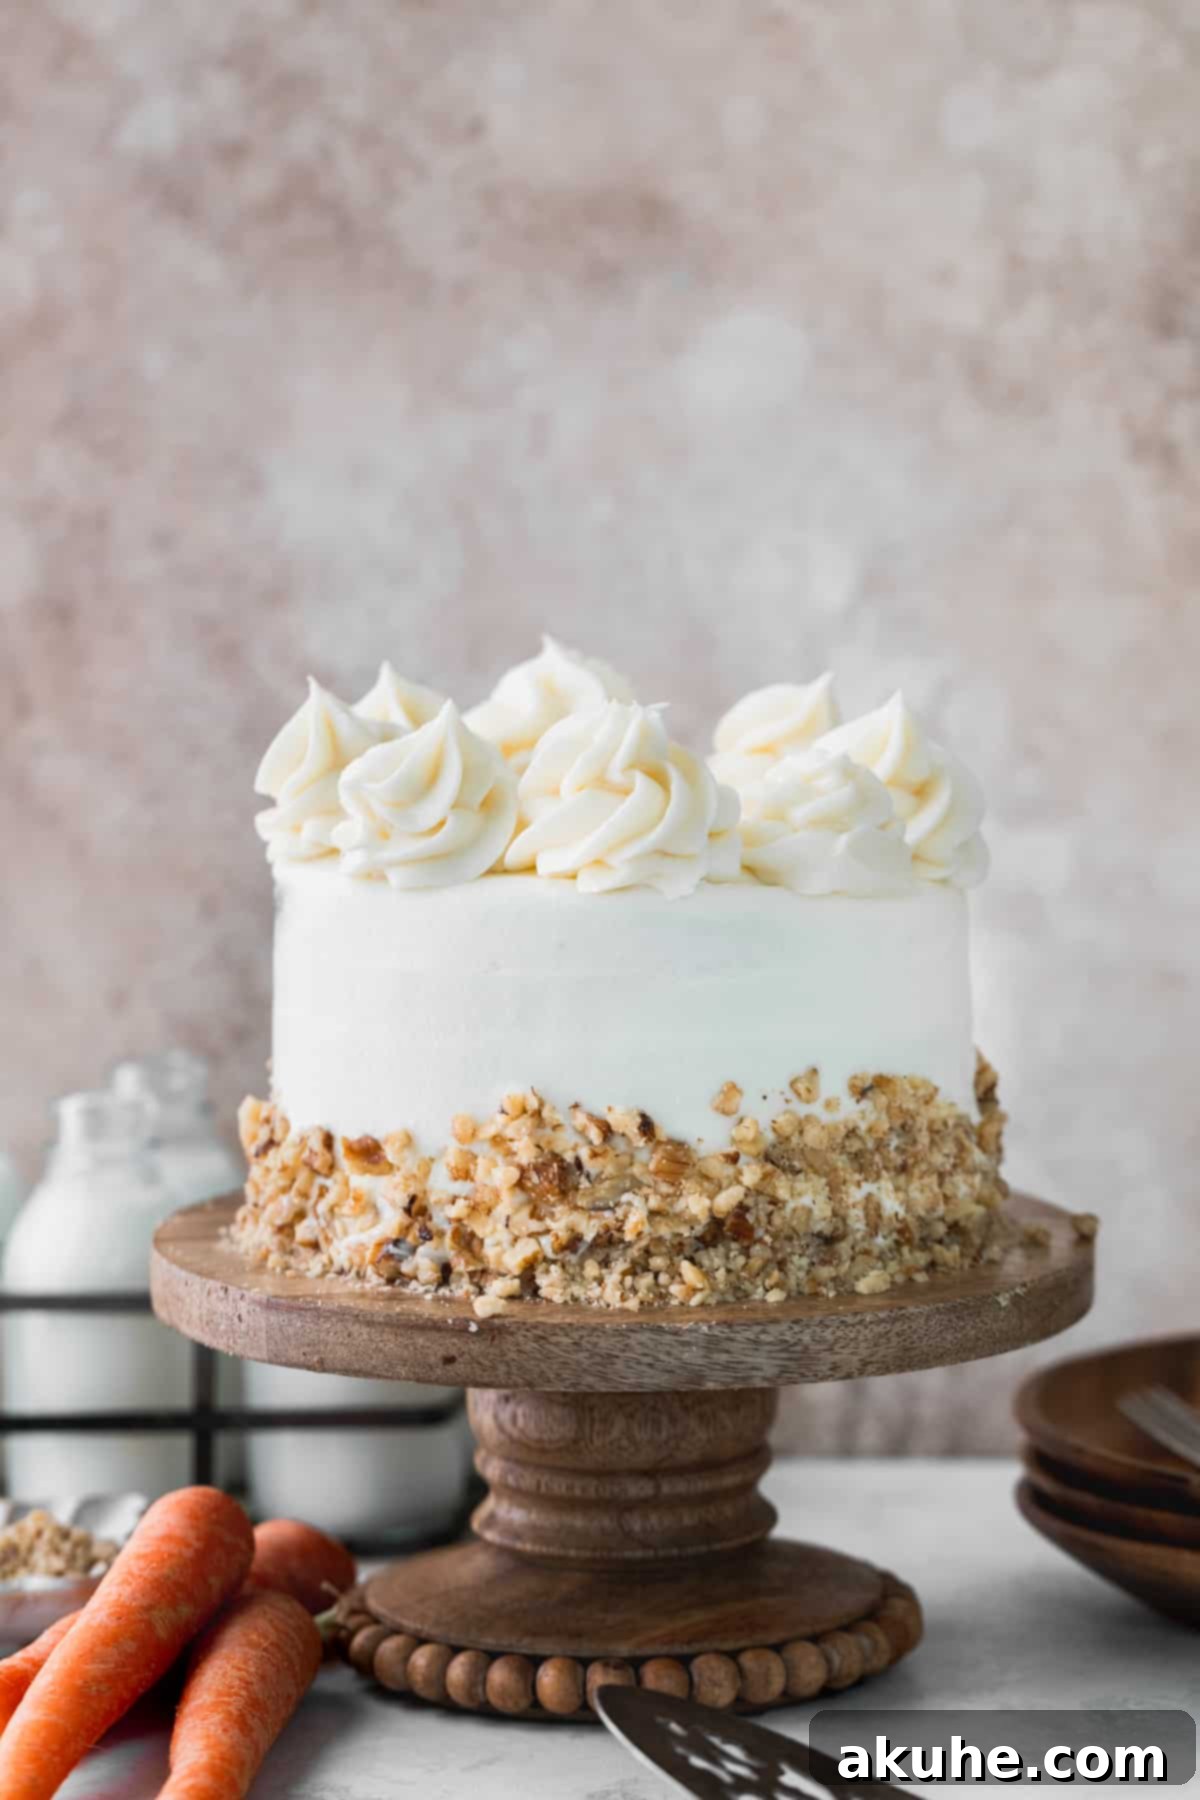
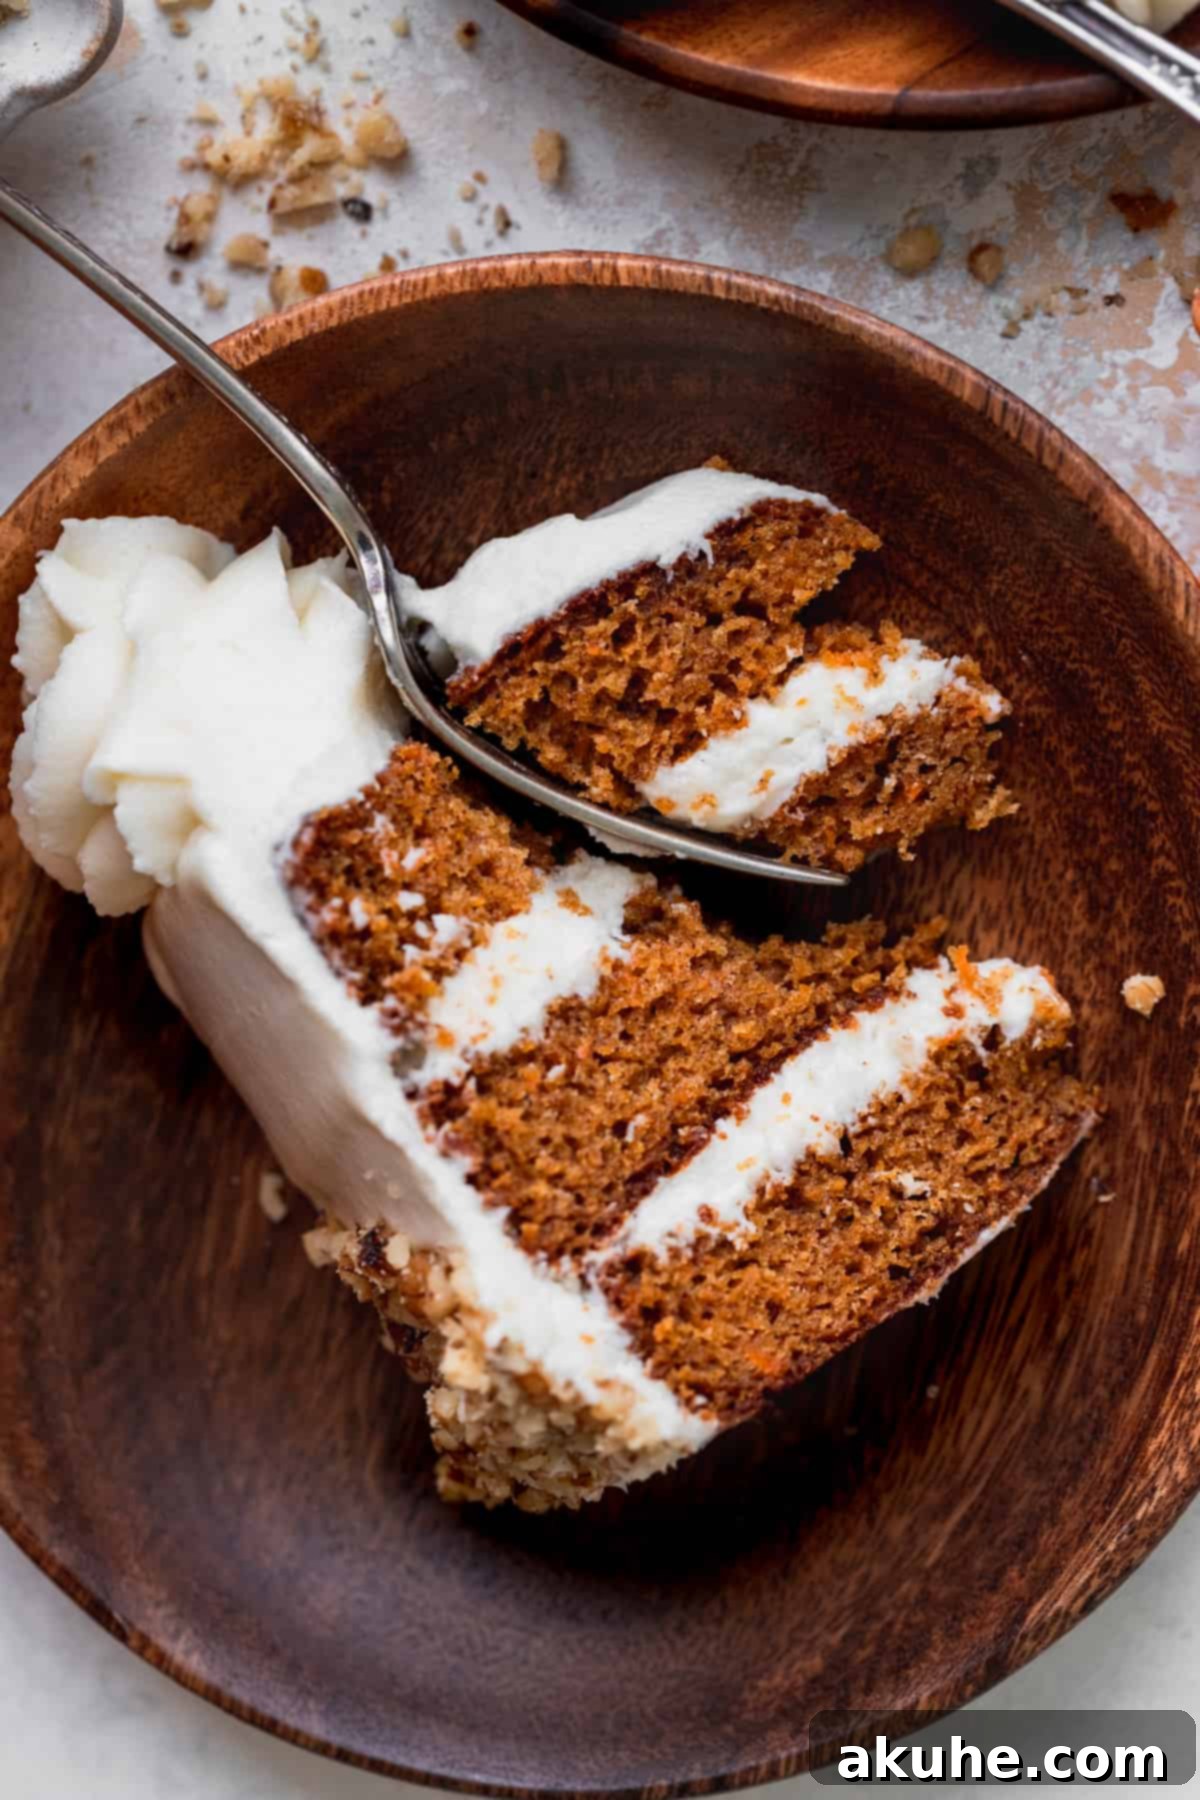
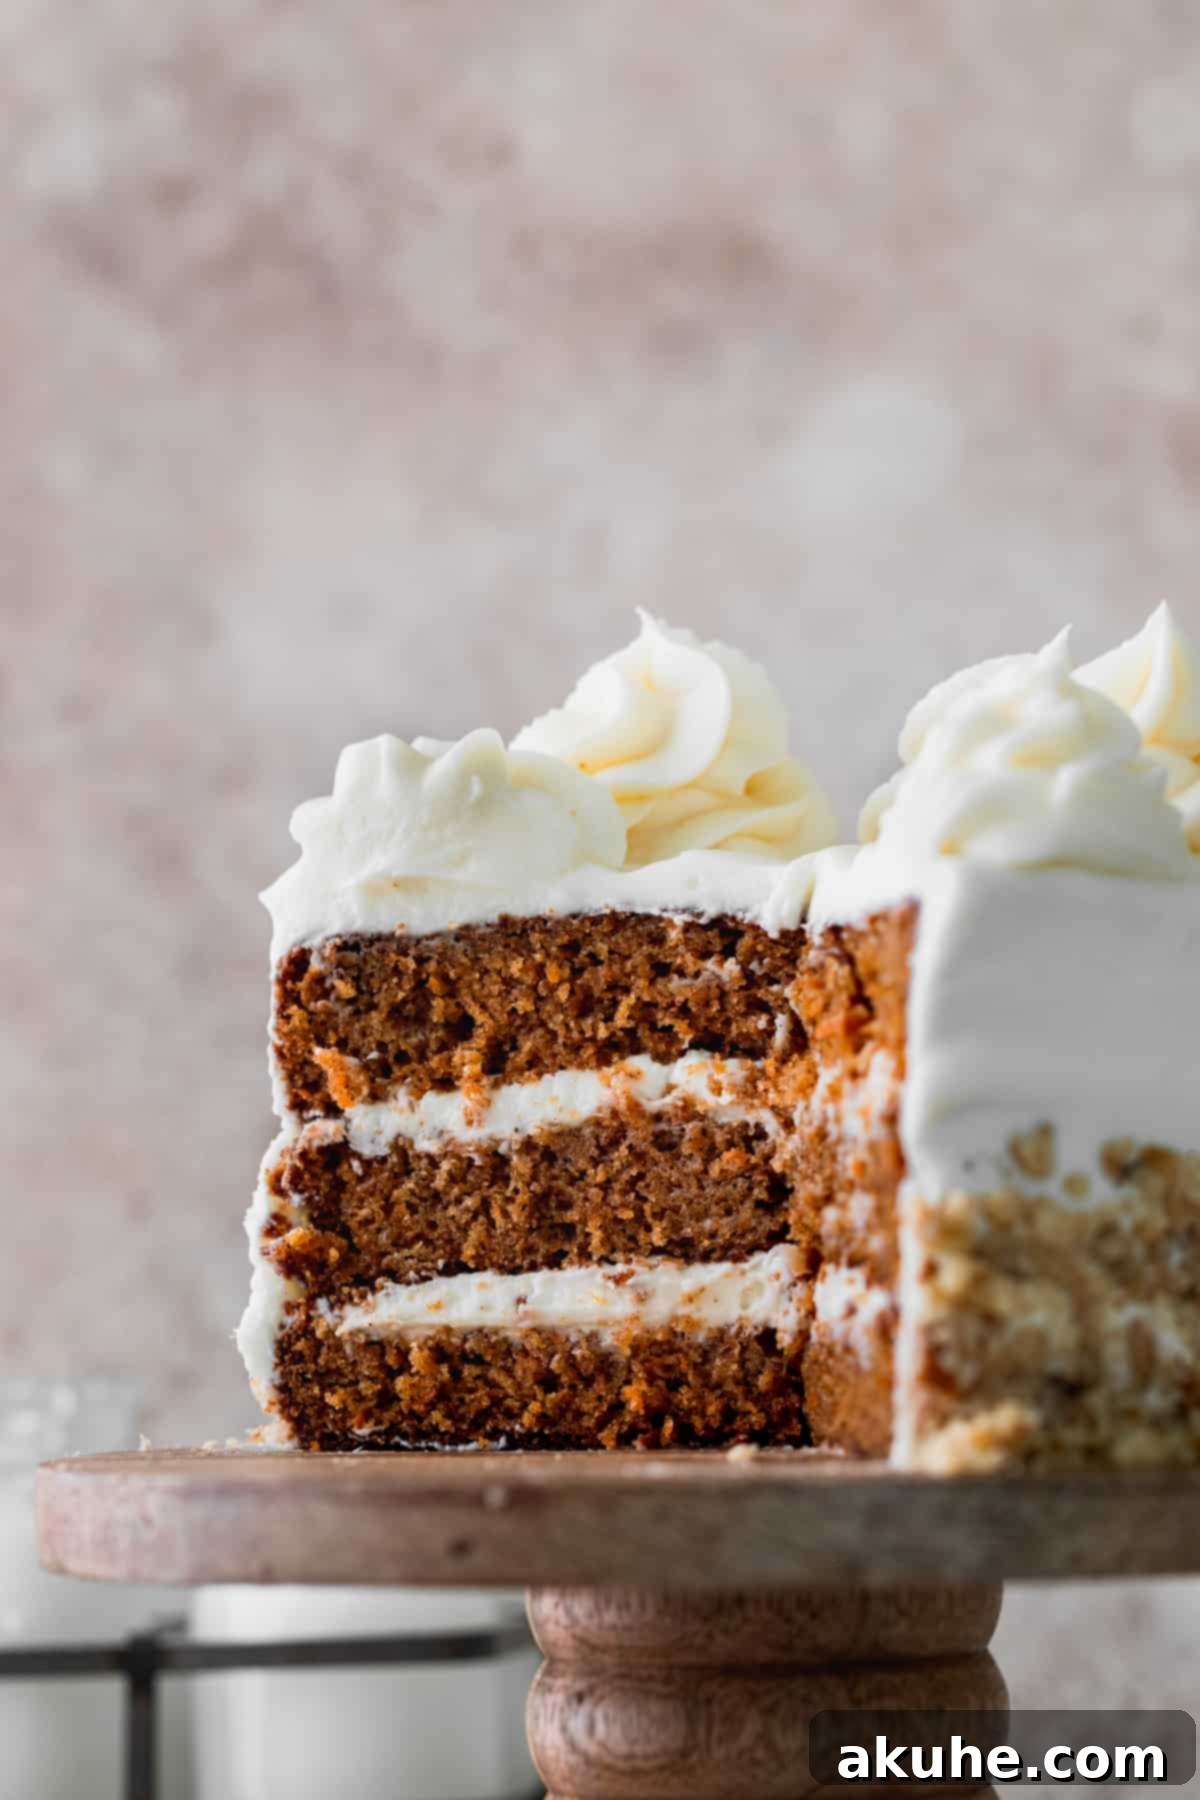
Welcome to the ultimate guide for creating the most delightful and perfectly portioned dessert: the Mini Carrot Cake. This exquisite 6-inch, three-layer cake is a true showstopper, ideal for intimate gatherings, a special Easter treat for two, or any festive spring occasion. Crafted to be incredibly moist, richly spiced, and decadently topped with a luscious cream cheese frosting, then adorned with crunchy chopped walnuts, it promises a truly memorable experience.

Whether you’re celebrating a spring birthday, hosting a small dinner party, or simply craving a classic carrot cake without the commitment of a large bake, this recipe is meticulously designed for you. It’s not just a cake; it’s a culinary hug, delivering classic flavors in a convenient, charming size. Prepare to fall in love with what many consider the best mini carrot cake recipe you’ll ever encounter!
If you adore mini desserts as much as we do, don’t forget to explore our other fantastic recipes such as the Mini Vanilla Cake, Mini Layered Cake, and Mini Oreo Cheesecakes for more scaled-down delights.
Why This Mini Carrot Cake Recipe is a Must-Try
This isn’t just another carrot cake recipe; it’s a meticulously crafted formula designed to deliver maximum flavor and convenience in a charming mini package. Here’s why this 6-inch carrot cake will quickly become your go-to recipe for any occasion:
- Perfectly Portioned 6-Inch Cake Layers: Unlike standard large cakes that can be overwhelming for smaller groups, this recipe utilizes three 6-inch cake pans, yielding a beautifully tall, elegant cake that serves 6-10 people perfectly. It’s ideal for intimate celebrations, reducing waste, and offering manageable serving sizes. The smaller diameter also allows for quicker baking and cooling times, making the entire process more efficient.
- Irresistibly Moist and Expertly Spiced Carrot Cake: The foundation of any great carrot cake is its texture and flavor, and this recipe excels on both fronts. Our layers are super soft, incredibly moist, and bursting with a harmonious blend of warm spices. The inclusion of oil, sour cream, and freshly grated carrots ensures a tender crumb that stays moist for days, while ground cinnamon, nutmeg, ginger, and a hint of pumpkin pie spice create a complex, aromatic profile that is both comforting and sophisticated.
- Luxurious Cream Cheese Frosting: A carrot cake is incomplete without its signature frosting. This recipe features a rich, tangy, and utterly decadent cream cheese buttercream that perfectly complements the spiced cake layers. Its smooth, creamy consistency is easy to work with, allowing for beautiful decoration, and its balanced sweetness prevents it from overpowering the delicate flavors of the cake. It’s truly the crown jewel of this dessert.
- Remarkably Easy to Make (No Mixer Required for Cake Layers!): Despite its impressive appearance, this mini carrot cake is surprisingly simple to prepare. The cake batter can be mixed entirely by hand, eliminating the need for a stand or hand mixer for the layers themselves, making cleanup a breeze and the baking process accessible to even novice bakers. The clear, step-by-step instructions ensure a foolproof experience from start to finish.
- Versatile for Any Occasion: While perfectly suited for Easter or spring celebrations, this mini carrot cake is incredibly versatile. Its elegant presentation makes it fitting for birthdays, anniversaries, bridal showers, or simply as a comforting weekend treat. The smaller size encourages baking more frequently, allowing you to enjoy fresh, homemade cake whenever the craving strikes.

Essential Ingredient Notes for the Perfect Mini Carrot Cake
Achieving the perfect mini carrot cake starts with understanding your ingredients. Below are crucial notes and tips for each component to ensure your cake turns out moist, flavorful, and absolutely delicious. For a complete, detailed list of ingredients with precise measurements, please refer to the recipe card found at the bottom of this page.
- Oil: The key to an exceptionally moist carrot cake. We recommend using neutral-flavored oils like canola oil or vegetable oil. These oils ensure a tender, soft crumb that stays moist for several days, unlike butter, which can sometimes lead to a drier texture in oil-based cakes. The neutral flavor allows the spices and carrots to truly shine.
- Brown Sugar: This recipe calls for light brown sugar, which contributes not only sweetness but also a deeper, more complex molasses flavor and essential moisture to the cake. The slight acidity of brown sugar also works in tandem with baking soda for a perfect rise. While light brown sugar is preferred, you can substitute with dark brown sugar for an even richer, more pronounced molasses note if desired. Remember to pack it firmly when measuring.
- Sour Cream: Full-fat sour cream is a secret weapon for extraordinary moisture and a subtle tang that balances the sweetness of the cake. Its high-fat content contributes to a rich, velvety crumb. For best results and seamless incorporation into the batter, ensure your sour cream is at room temperature. Pull it out of the fridge at least 2 hours before you plan to start baking.
- Carrots: The star of the show! It is absolutely vital to freshly grate your carrots into small, fine pieces. Avoid using pre-shredded carrots from the supermarket as they tend to be drier, tougher, and don’t release as much moisture or flavor into the cake. Freshly grated carrots ensure the cake remains incredibly moist and infuse it with natural sweetness and vibrant color. Use the fine grating side of a box grater for the best texture.
- Eggs: Large eggs are specified in this recipe. Just like with sour cream, it’s important to use room temperature eggs. Eggs at room temperature emulsify more easily with other ingredients, creating a smoother, more uniform batter and contributing to a better cake structure and rise. Take them out of the refrigerator approximately 2 hours before you begin baking.
- Spices: This cake is renowned for its delightful warmth and aroma, thanks to a robust blend of spices. We use a generous combination of ground cinnamon, ground nutmeg, ground ginger, and pumpkin pie spice. This quartet creates a depth of flavor that is both comforting and invigorating, perfectly complementing the sweetness of the carrots and frosting. Feel free to adjust the quantities slightly to suit your personal preference for spice intensity.
- Cream Cheese: For the ultimate cream cheese frosting, always opt for full-fat cream cheese. Its rich, dense texture is essential for creating a stable, pipeable, and flavorful frosting. Critically, the cream cheese must be at room temperature – not too cold and not too warm – to achieve a smooth, lump-free frosting. Softened cream cheese blends perfectly with butter, ensuring a silky, homogenous consistency.
- Unsalted Butter: In baking, unsalted butter gives you control over the salt content. For the frosting, slightly cold butter is the ideal consistency. It should be firm but pliable, not rock hard or completely melted. This “slightly cold” state, often achieved by letting it sit out for about 30 minutes, helps the frosting hold its shape beautifully, making it perfect for decorating.
- Powdered Sugar: Also known as confectioners’ sugar, this fine sugar is crucial for a smooth frosting. It is imperative to sift the powdered sugar before adding it to your frosting mixture. This step prevents any lumps from forming, ensuring your cream cheese frosting is wonderfully smooth and free of grittiness, for a truly professional finish.
Step-by-Step Directions: Crafting Your Moist Carrot Cake Layers
Embark on the journey of creating these wonderfully moist and flavorful carrot cake layers. Follow these detailed steps carefully to ensure a perfect bake every time.
STEP 1: Prepare Your Workspace and Dry Ingredients. Begin by preheating your oven to 350°F (175°C). This ensures a consistent baking temperature from the moment your batter enters the oven. Next, prepare three 6-inch cake pans. Lightly grease them with baking nonstick spray or butter, then line the bottoms with 6-inch parchment paper circles. Spray again over the parchment paper to guarantee easy release. In a medium-sized bowl, use a fine-mesh sieve to sift the all-purpose flour. Sifting is crucial as it aerates the flour, prevents lumps, and ensures a light, tender cake. To the sifted flour, add the baking powder, baking soda, salt, ground cinnamon, ground nutmeg, ground ginger, and pumpkin pie spice. Whisk these dry ingredients together thoroughly until they are evenly combined.
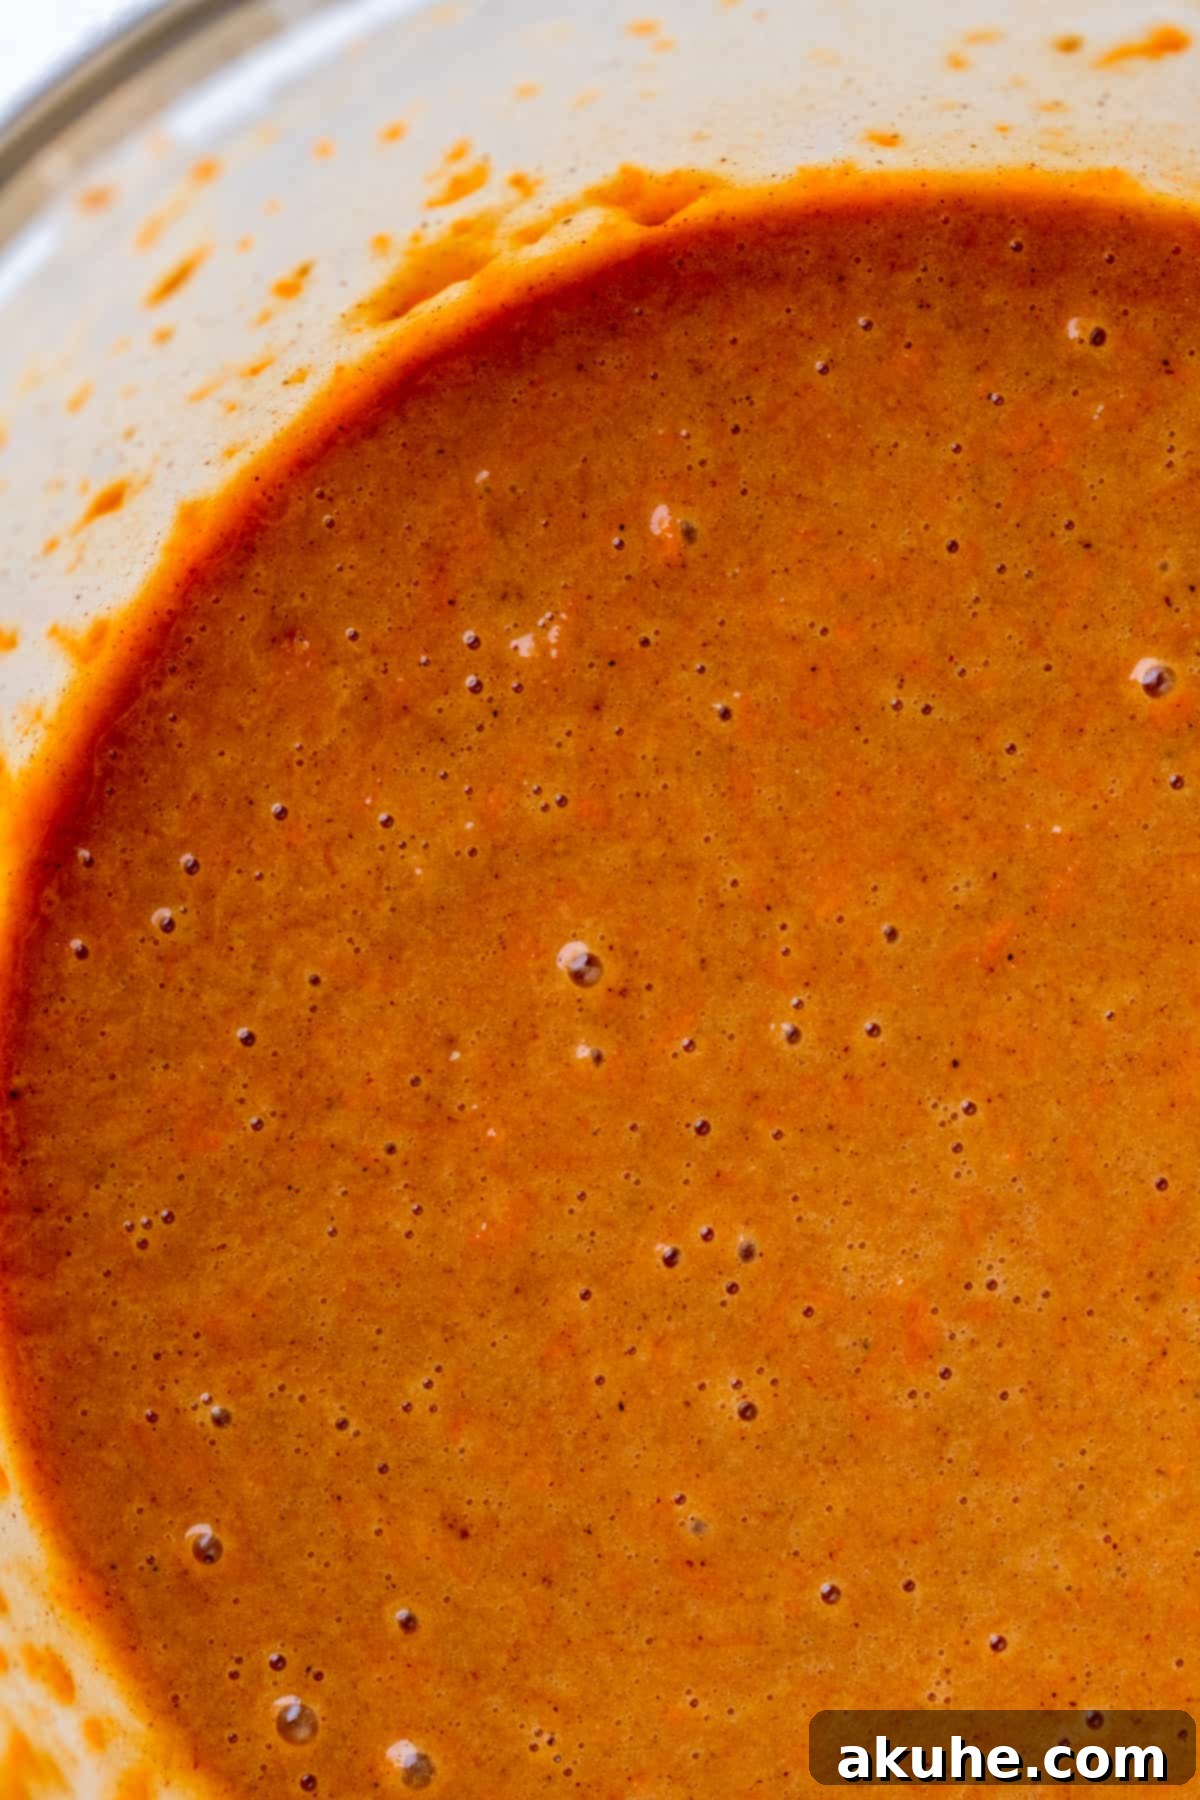
STEP 2: Combine the Wet Ingredients with Care. Now, turn your attention to the wet components. In a separate, large mixing bowl, combine the oil, light or dark brown sugar, white granulated sugar, pure vanilla extract, room temperature sour cream, and room temperature large eggs. Whisk this mixture together vigorously until all ingredients are well-incorporated and the mixture appears smooth and cohesive.
PRO TIP for Carrots: The texture of your carrots is paramount for a moist cake. Use the smallest hole setting on a box grater to finely shred your fresh carrots. This ensures they soften beautifully into the cake and release maximum moisture. When measuring, gently compact the shredded carrots into your measuring cup to get an accurate volume. Avoid pre-shredded carrots from the store at all costs, as they are typically drier and coarser.


STEP 3: Gently Fold Dry into Wet. With your dry and wet mixtures prepared, it’s time to combine them. Pour the sifted flour mixture directly into the large bowl containing the wet ingredients. Using a whisk or a rubber spatula, gently mix until just combined. Be careful not to overmix; overmixing can develop the gluten in the flour, leading to a tough, dry cake. A few streaks of flour are acceptable, as they will disappear during baking. The batter will have a slightly thin consistency, which is perfectly normal for a moist carrot cake.
STEP 4: Distribute the Cake Batter Evenly. Carefully divide the prepared cake batter evenly among your three greased and lined 6-inch cake pans. For precise distribution, you can use a kitchen scale to weigh the batter in each pan. This ensures all layers bake uniformly and are of similar height.
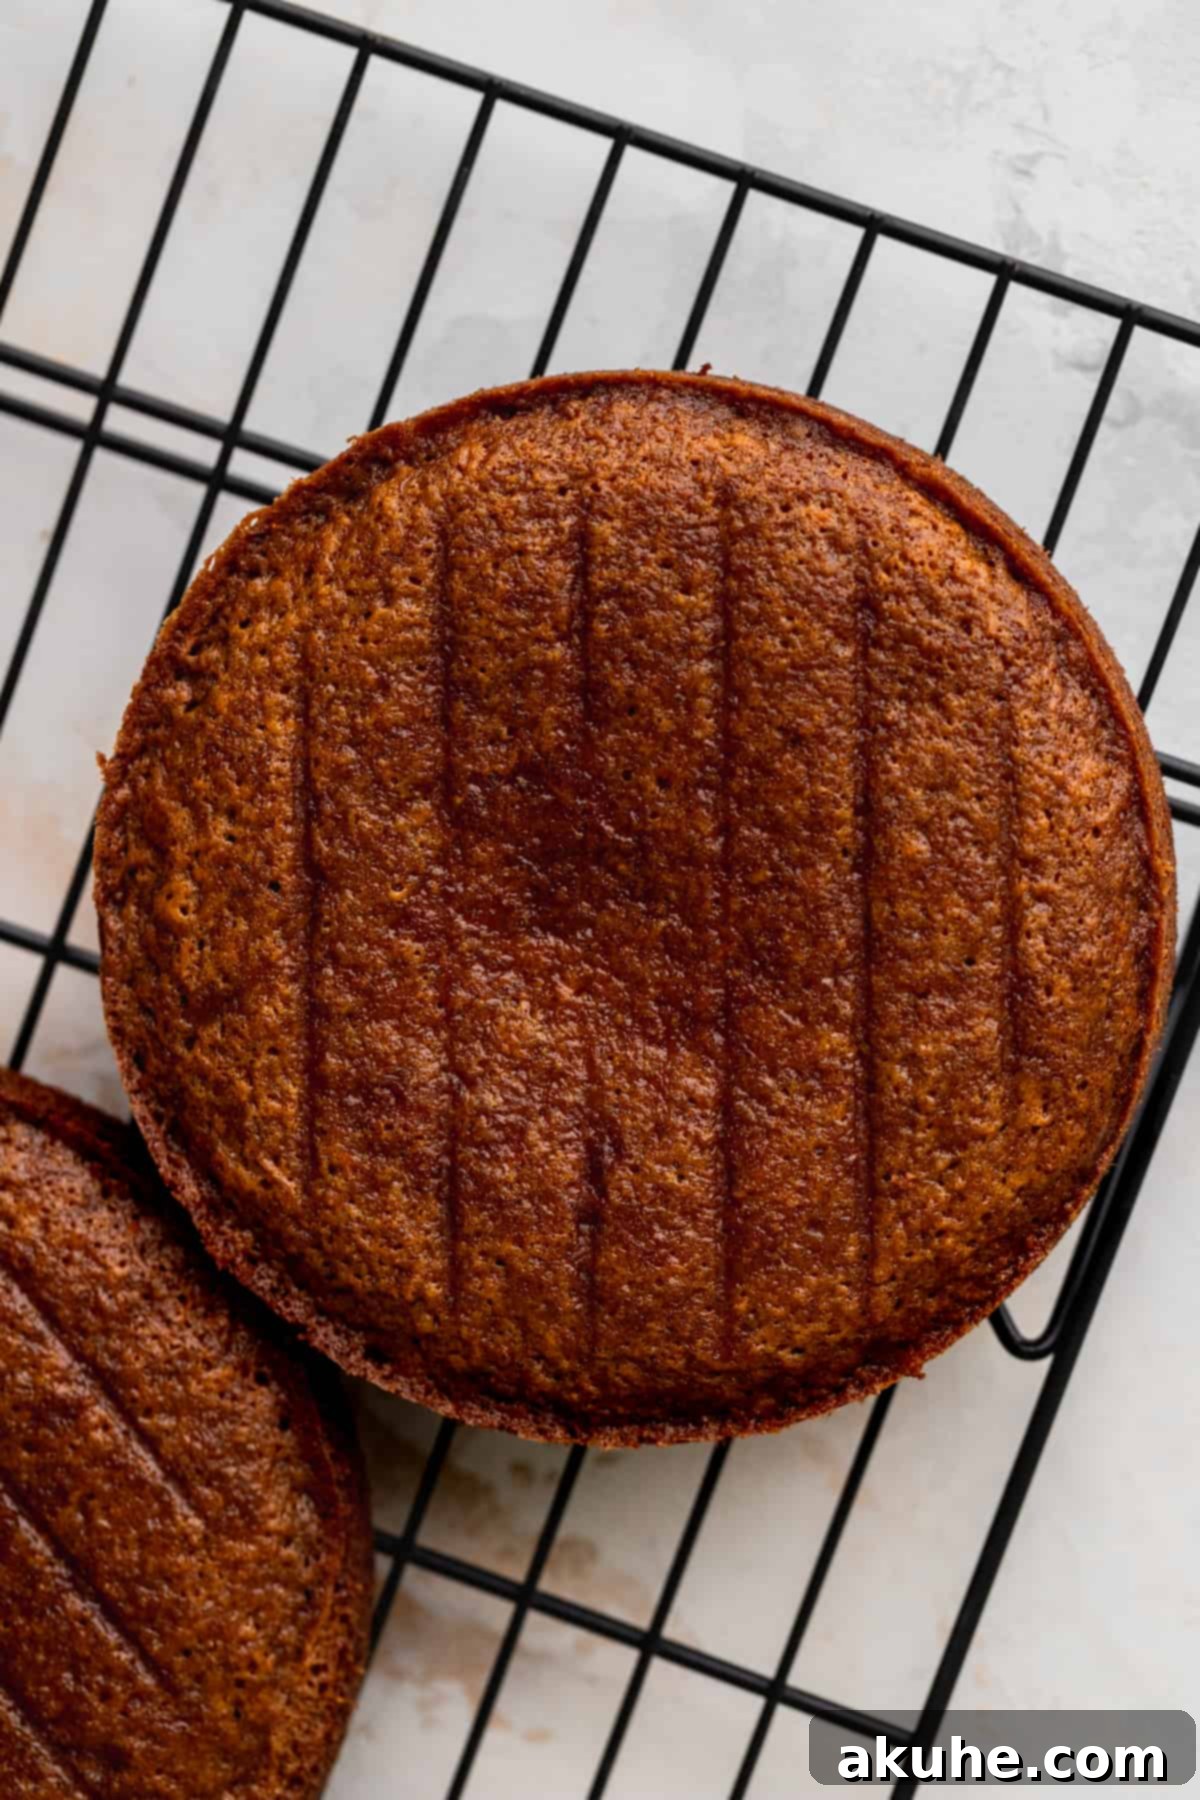
STEP 5: Bake to Golden Perfection and Cool. Transfer the cake pans to your preheated oven. Bake for approximately 20-25 minutes, or until a wooden toothpick inserted into the center of a cake layer comes out clean, with no wet batter clinging to it. The cakes should be lightly golden brown and spring back when gently touched. Once baked, remove the pans from the oven and let the cakes cool in their pans on a wire cooling rack for about 10-15 minutes. This allows the cakes to set and makes them easier to handle. After this initial cooling, carefully invert the cakes onto the wire rack, remove the parchment paper, and let them cool completely to room temperature before attempting to frost them. Cooling completely is essential to prevent the frosting from melting and sliding off.
Step-by-Step Directions: Crafting Decadent Cream Cheese Frosting
The signature cream cheese frosting is what truly elevates this mini carrot cake. Follow these steps for a silky-smooth, perfectly balanced frosting that’s a dream to work with.
STEP 1: Achieve the Perfect Butter and Cream Cheese Base. For optimal results, ensure your full-fat cream cheese is at room temperature and your unsalted butter is slightly cold (having sat out for about 30 minutes). In a large mixing bowl, using either a stand mixer fitted with the paddle attachment or a powerful hand mixer, beat the cream cheese and slightly cold butter together on high speed for 3-5 minutes. This extended beating time is crucial to incorporate air and ensure the mixture is incredibly light, fluffy, and completely smooth, free of any lumps. Scrape down the sides of the bowl frequently to ensure even mixing. This fluffy base is key to a voluminous and light frosting.
STEP 2: Gradually Incorporate Sifted Powdered Sugar. With the mixer on low speed, begin adding the sifted powdered sugar, about a cup at a time. Sifting the sugar beforehand prevents lumps, guaranteeing a silky-smooth frosting. Continue adding and mixing until all the powdered sugar is incorporated. At this stage, the frosting will be quite thick and dense. Increase the speed to medium and beat for another 1-2 minutes until it comes together. Remember to scrape down the bowl as needed.
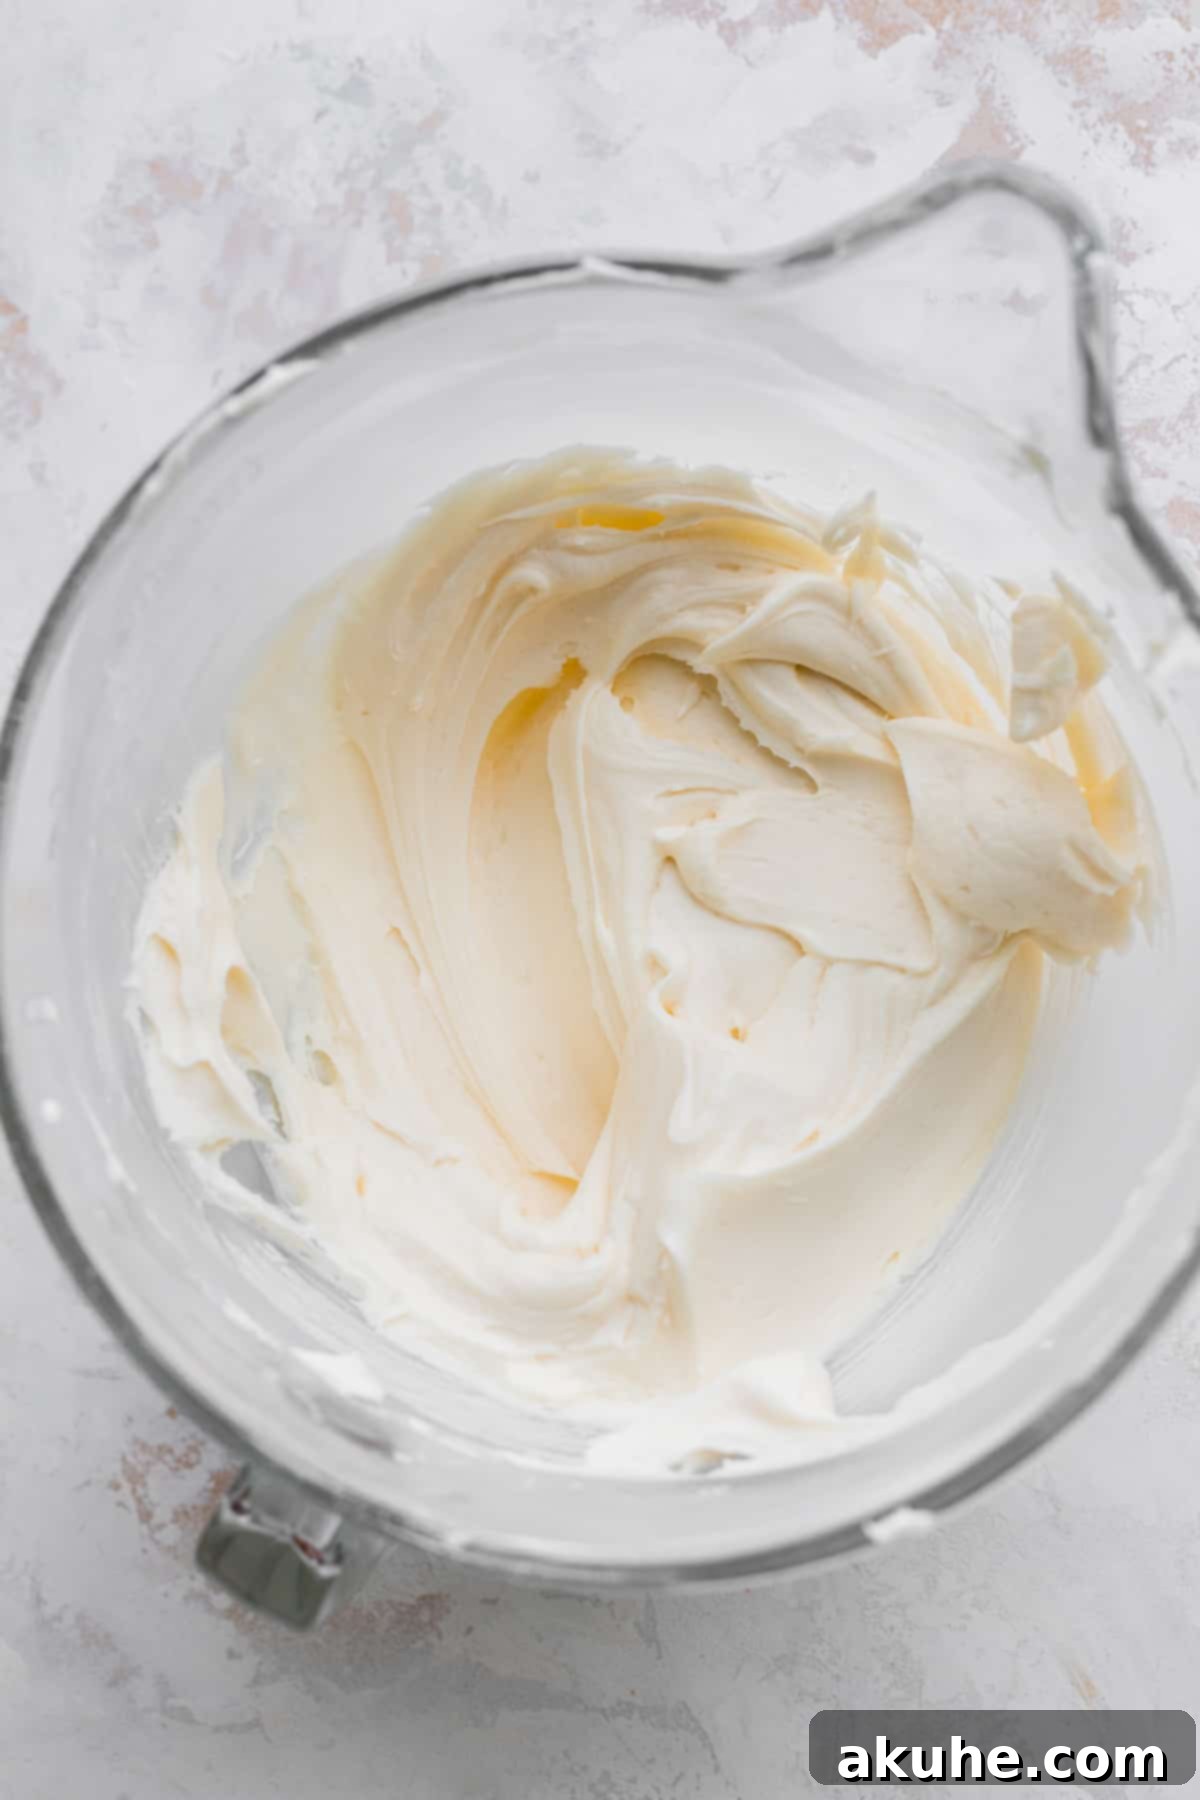
STEP 3: Enhance Flavor and Creaminess. Finally, add the pure vanilla extract, salt, and heavy cream to the thick frosting base. Start mixing on low speed until these liquid ingredients are just combined. Then, increase the mixer speed to high and beat for an additional 1-2 minutes. This final beating will transform the frosting into a light, airy, and wonderfully creamy consistency that is perfect for spreading and piping. The heavy cream helps to achieve that ideal spreadable texture, while the vanilla and salt enhance the overall flavor profile.
Expert Tips for Assembling Your Mini Carrot Cake Like a Pro
Assembling a layered cake can seem daunting, but with these expert tips, you’ll achieve a beautifully decorated mini carrot cake with ease.
- Secure Your Cake Base: To prevent your cake from sliding around while you decorate, pipe or spread a small dab of cream cheese frosting onto the cake board or serving platter where you intend to decorate. This acts as an edible adhesive, ensuring your cake stays firmly in place throughout the decorating process.
- Level Your Cake Layers: For a stable and even cake, it’s often helpful to level your cake layers. If your cake layers have domed tops after baking, use a serrated knife or a cake leveler to gently trim the domes, creating flat surfaces. Freezing the cake layers for 15-20 minutes after baking and before leveling can make them much easier to cut cleanly and reduce crumbling. Cold cakes are much more manageable for decorating.
- Generous and Even Frosting Between Layers: Place your first leveled cake layer onto the secured cake board. Using a small offset spatula or the back of a spoon, evenly spread approximately 3/4 cup of the decadent cream cheese frosting over the top surface. Gently place the second cake layer on top and repeat the frosting process.
- The Secret to a Flat Top Layer: For the top layer, here’s a clever trick: flip the last cake layer upside down so that its flat bottom is now facing up. This creates the flattest possible surface for the top of your cake, providing a perfect canvas for your final frosting and decorations.
- Master the Crumb Coat: This is a crucial step for a professional-looking finish. Apply a very thin, light layer of frosting all over the sides and top of the assembled cake. This is called a “crumb coat” because its primary purpose is to trap any loose crumbs, preventing them from mixing into your beautiful final layer of frosting. Once applied, transfer the cake to the freezer for 15-20 minutes (or the refrigerator for 30 minutes) to allow this crumb coat to firm up. This locks the crumbs in place and provides a stable foundation.
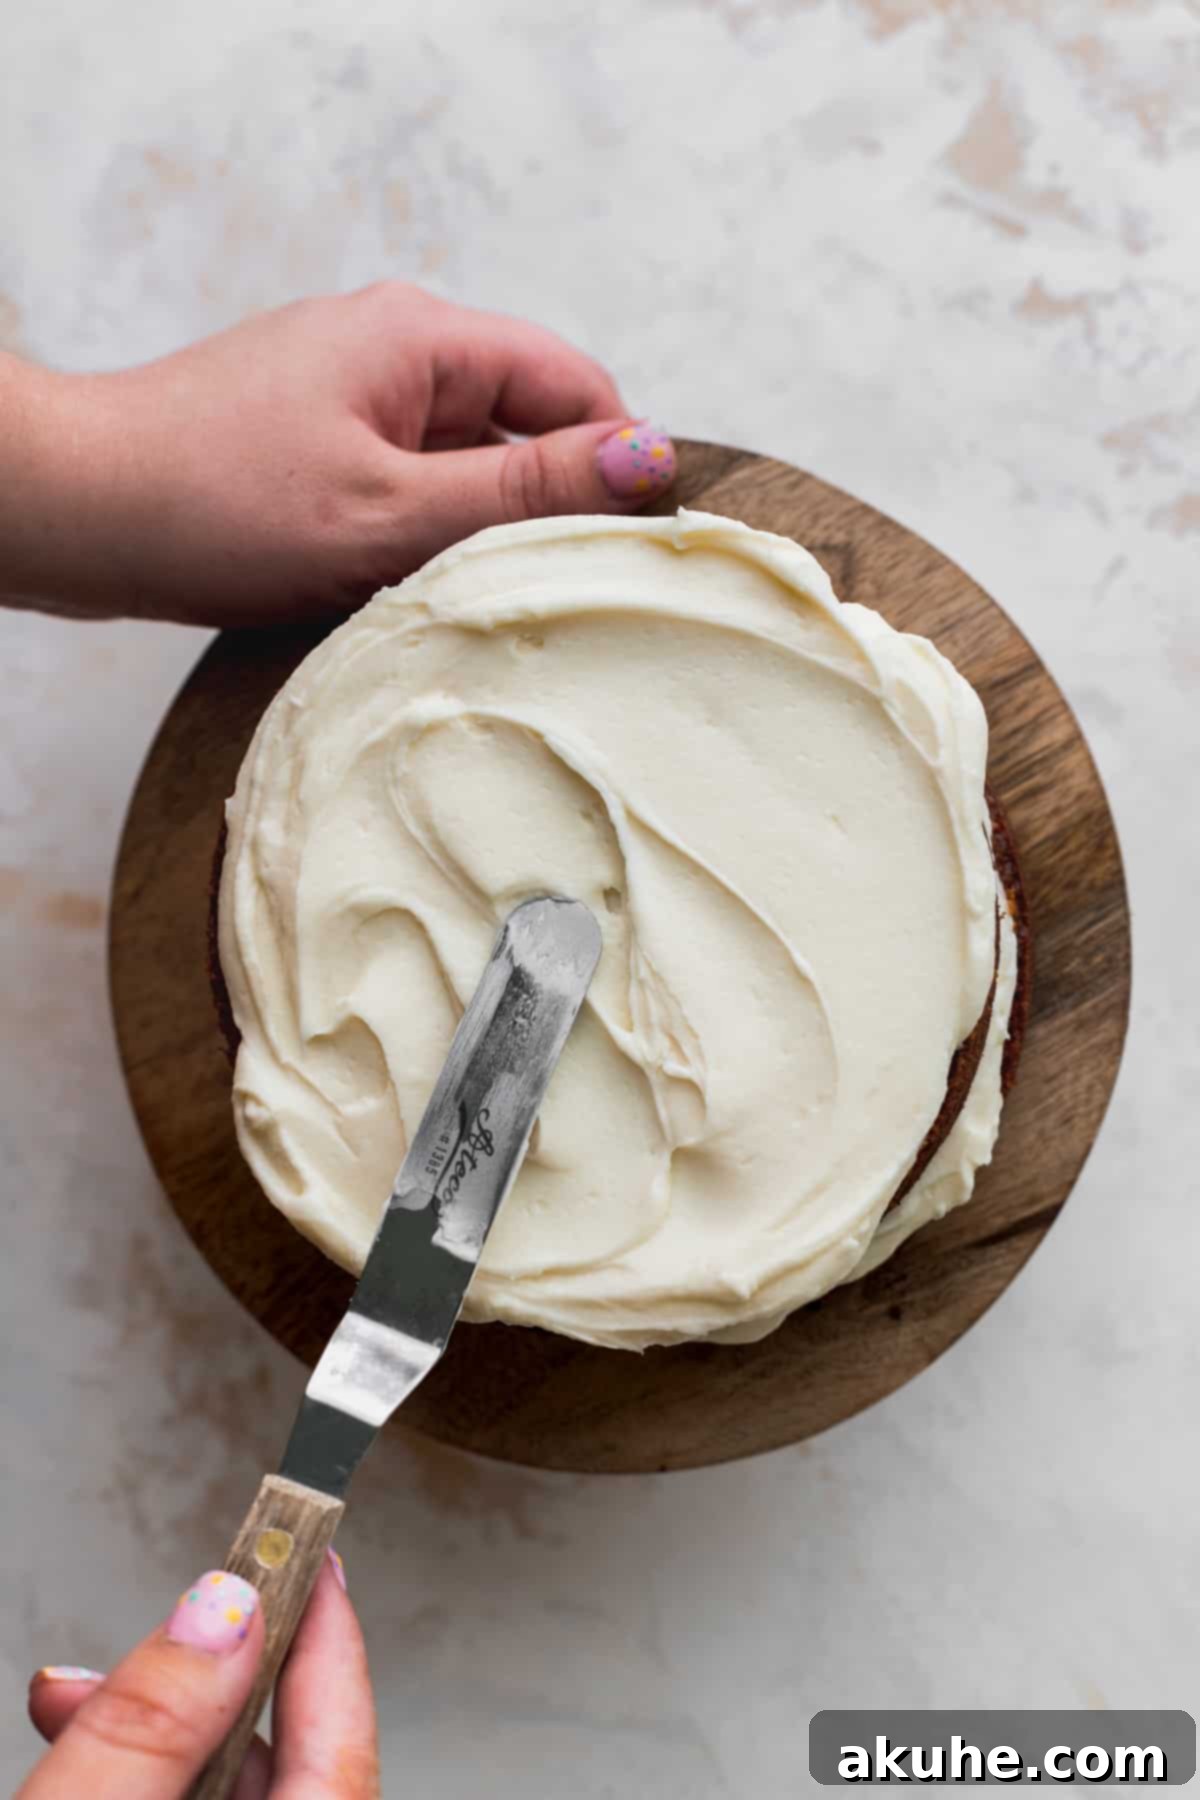
- Apply the Final Frosting Layer: Once the crumb coat is firm, remove the cake from the freezer/fridge. Now, apply the remaining cream cheese frosting generously to the top and sides of the cake. Use your offset spatula or a cake scraper to smooth the frosting to your desired finish. You can go for a rustic look or a perfectly smooth, polished surface.
- Elevate with Elegant Decorations: For a beautiful finish, transfer some of the remaining frosting to a piping bag fitted with your favorite decorative tip (a star tip or round tip works wonderfully). Pipe decorative borders, rosettes, or swirls around the top edge of the cake. Finally, gently press chopped walnuts onto the sides or sprinkle them artistically on top of the cake for a classic touch and delightful crunch. Other options include a dusting of cinnamon, small candy carrots, or even fresh edible flowers for a spring theme.
Frequently Asked Questions (FAQ) About Mini Carrot Cake
While butter adds a rich flavor, using oil in this carrot cake recipe is specifically chosen because it ensures a significantly moister cake that remains tender and delicious for several days. Oil also creates a finer, more open crumb structure. If you absolutely prefer some butter flavor, you can try a 50/50 split of oil and melted butter, but be aware that it might slightly alter the texture and moisture retention compared to an all-oil cake.
Absolutely! This versatile recipe can easily be transformed into delightful carrot cake cupcakes. The batter quantity will yield approximately 12 standard-sized cupcakes. Prepare your muffin tin with cupcake liners. Fill each liner about two-thirds full. The baking time will be similar, around 20-25 minutes, but always check for doneness by inserting a toothpick into the center of a cupcake – it should come out clean. Let them cool completely before frosting with the cream cheese frosting.
This recipe is quite adaptable! If you don’t have three 6-inch pans, you can use:
- One 8×8 inch square baking pan: Bake for approximately 30-35 minutes.
- One 9×9 inch square baking pan: Bake for approximately 28-32 minutes.
- Two 8-inch round cake pans: Divide the batter evenly between the two pans. Baking time will be around 25-30 minutes.
- One 9-inch round cake pan: Bake for approximately 35-40 minutes.
Always monitor for doneness with a toothpick, as baking times can vary slightly based on your oven and pan material. You might need to adjust frosting quantity if making fewer or larger layers.
Yes, absolutely! This recipe welcomes additional textures and flavors. You can gently fold in 1/2 to 1 cup of chopped walnuts or pecans into the batter at the very end, just before pouring it into the pans. For extra sweetness and chewiness, consider adding 1/2 cup of golden raisins or dried cranberries. If you’re feeling adventurous, 1/4 to 1/2 cup of drained, crushed pineapple (patted very dry) can also be added for an extra layer of moisture and tropical flavor. Incorporate any mix-ins gently to avoid overmixing the batter.
Frosting consistency is key!
- If it’s too runny: This usually happens if your cream cheese or butter was too warm, or if you added too much liquid (heavy cream). Try chilling the frosting in the refrigerator for 20-30 minutes, then beat it again. If it’s still too thin, you can gradually add a little more sifted powdered sugar (1/4 cup at a time) until it reaches the desired consistency.
- If it’s too thick: This could be due to too much powdered sugar or not enough liquid. Gradually add very small amounts of heavy cream (1 teaspoon at a time), beating well after each addition until the frosting loosens up to a spreadable consistency.
Always ensure your ingredients are at the correct temperature as specified in the recipe.
Storing and Freezing Your Mini Carrot Cake
To ensure your delicious mini carrot cake remains fresh and moist, proper storage is essential. Here’s how to store it, whether frosted or in individual layers.
Once frosted and decorated, this mini carrot cake should be stored in an airtight container, such as a cake carrier, to protect it from drying out and absorbing odors from the refrigerator. Because of its cream cheese frosting, it must be kept refrigerated. When stored correctly, the cake will maintain its freshness and delicious flavor for up to 5 days. For the best taste and texture, allow the cake to come to room temperature for about 30 minutes before serving, as this enhances the flavors and softens the frosting to its ideal consistency.
Freezing Instructions for Extended Freshness
Freezing is an excellent option for long-term storage, allowing you to enjoy this delightful treat long after baking.
Freezing Individual Cake Layers: For maximum flexibility, you can freeze the unfrosted cake layers ahead of time. Once the baked layers have cooled completely to room temperature, wrap each individual layer tightly in at least two layers of plastic wrap, then an additional layer of aluminum foil. This triple-layer protection prevents freezer burn and protects the cake’s delicate texture. Store these securely wrapped layers in an airtight freezer-safe container or a heavy-duty freezer bag. They can be frozen for up to 30 days. When you’re ready to decorate, simply thaw the wrapped cake layers at room temperature for 1-2 hours before unwrapping and assembling. This method is perfect for preparing components in advance for a stress-free baking day.
Freezing a Frosted Cake: You can also freeze the entire frosted mini carrot cake, though it’s best for shorter periods to preserve the frosting’s texture. First, ensure the frosting is firm (you can chill the cake in the refrigerator for an hour). Then, carefully wrap the entire cake in several layers of plastic wrap, followed by a layer of aluminum foil. Freeze for up to 2-3 weeks. To thaw, transfer the wrapped cake to the refrigerator overnight, then let it come to room temperature on the counter for 1-2 hours before serving.
Explore More Delectable Cake Recipes
If you’ve enjoyed baking this mini carrot cake, we encourage you to explore other delightful cake recipes on our site. From classic flavors to innovative creations, there’s always something new to bake and savor!
Did you absolutely adore this recipe? Please take a moment to leave a STAR REVIEW below! Your feedback helps us grow and inspires other bakers. Don’t forget to tag us on Instagram @stephaniesweettreats with your stunning creations. For even more delicious ideas and baking inspiration, be sure to follow us on Pinterest. Happy baking!
★
★
★
★
★
Mini Carrot Cake
Print Recipe
Pin Recipe
Leave a Review
1 hour
22 minutes
1 hour
2 hours
22 minutes
10
slices
Ingredients
Carrot Cake
- 1 2/3 cup All-purpose flour
- 1 tsp Baking soda
- 1/2 tsp Baking powder
- 1/2 tsp Salt
- 1 1/2 tsp Ground cinnamon
- 1/4 tsp Ground nutmeg
- 1/2 tsp Ground ginger
- 1/4 tsp Pumpkin pie spice
- 1/2 cup Oil, Use canola oil or vegetable oil.
- 1/2 cup Brown sugar, packed light or dark
- 1/2 cup White granulated sugar
- 1/2 cup Sour cream, room temperature
- 1 tsp Pure vanilla extract
- 1 cup Grated carrots, freshly grated. Don’t use pre shredded.
- 2 Large eggs, room temperature
Cream Cheese Frosting
- 6 oz Cream cheese, room temperature
- 1 cup Unsalted butter, slightly cold
- 4 1/2 cups Powdered sugar, sifted
- 1 tsp Pure vanilla extract
- 1/2 tsp Salt
- 1/8 cup Heavy cream
- Chopped walnuts, for decoration
Instructions
Carrot Cake
- Preheat your oven to 350°F (175°C). Prepare three 6-inch cake pans by generously spraying them with baking nonstick spray. Line the bottoms of each pan with a 6-inch parchment paper circle, then spray again over the parchment paper to ensure easy release.
- In a medium bowl, sift the all-purpose flour. Add in the baking powder, baking soda, salt, ground cinnamon, ground nutmeg, ground ginger, and pumpkin pie spice. Whisk these dry ingredients together until thoroughly combined. Meanwhile, freshly grate the carrots using the smallest holes on a cheese grater for a fine shred. Compact the grated carrots in a measuring cup to ensure you have the correct amount.1 2/3 cup All-purpose flour, 1 tsp Baking soda, 1/2 tsp Baking powder, 1/2 tsp Salt, 1 1/2 tsp Ground cinnamon, 1/4 tsp Ground nutmeg, 1/2 tsp Ground ginger, 1/4 tsp Pumpkin pie spice
- In a separate, large bowl, combine the oil, brown sugar, white granulated sugar, pure vanilla extract, room temperature sour cream, finely shredded carrots, and room temperature large eggs. Use a whisk to mix these wet ingredients thoroughly until they are well combined and smooth.1/2 cup Oil, 1/2 cup Brown sugar, 1/2 cup White granulated sugar, 1/2 cup Sour cream, 1 tsp Pure vanilla extract, 1 cup Grated carrots, 2 Large eggs
- Pour the dry ingredients mixture into the wet ingredients bowl. Whisk gently until just combined. Be careful not to overmix; a few streaks of flour are fine. The batter’s consistency will be slightly thin.
- Divide the cake batter evenly among the three prepared 6-inch cake pans. Bake for 20-25 minutes, or until a toothpick inserted into the center of a cake comes out clean, indicating it’s fully baked.
- Allow the baked cakes to cool in their hot pans on a wire rack for 10 minutes. This allows them to firm up slightly. After 10 minutes, carefully invert the cakes onto the cooling rack, remove the parchment paper, and let them cool completely to room temperature before handling or frosting.
Cream Cheese Frosting
- For the perfect frosting consistency, remove your unsalted butter from the refrigerator about 30 minutes before you begin, allowing it to become slightly cold but still pliable. While you wait, sift the powdered sugar to remove any lumps. Ensure your full-fat cream cheese is at room temperature.1 cup Unsalted butter, 4 1/2 cups Powdered sugar
- Using a stand mixer fitted with the paddle attachment or a hand mixer, beat the room temperature cream cheese and slightly cold unsalted butter on high speed for approximately 3 minutes. This process incorporates air, making the mixture very fluffy and smooth. Scrape down the sides of the bowl to ensure everything is well combined. With the mixer on low speed, slowly add the sifted powdered sugar, about 1 cup at a time, until fully incorporated. The frosting will be very thick at this stage.6 oz Cream cheese
- Add the pure vanilla extract, salt, and heavy cream to the frosting mixture. Mix on low speed until these ingredients are just combined. Then, increase the speed to high and beat for 1-2 minutes until the frosting becomes light, airy, and wonderfully creamy with a spreadable consistency.1 tsp Pure vanilla extract, 1/2 tsp Salt, 1/8 cup Heavy cream
Assembling the Cake
- If your cake layers have domes, use a serrated knife or cake leveler to carefully even out the tops. For easier handling and decorating, freeze the cooled cake layers for 15-20 minutes before beginning the assembly process. Cold cakes are much firmer and produce fewer crumbs.
- Place your first leveled cake layer onto your chosen cake board or serving platter (secure it with a dab of frosting if desired). Spread approximately 3/4 cup of cream cheese frosting evenly over the top surface using an offset spatula. Place the second cake layer on top and repeat the process with another 3/4 cup of frosting. For the final layer, invert the third cake layer so its flat bottom faces upward, creating a perfectly level top for your cake.
- Apply a very thin, light layer of cream cheese frosting all over the top and sides of the assembled cake. This is your “crumb coat,” which seals in any loose crumbs and prevents them from showing through your final frosting layer. Freeze the cake for 15 minutes (or refrigerate for 30 minutes) to allow the crumb coat to set firmly.
- Once the crumb coat is firm, apply the remaining cream cheese frosting to the entire cake, smoothing it with an offset spatula or cake scraper for a polished finish. Decorate the top of the cake with any extra piping (using a piping bag and tip) and generously sprinkle or press chopped walnuts onto the sides and top for a classic touch.Chopped walnuts
Notes
High Altitude Baking Adjustments: If you are baking at a high altitude (generally above 3,500 feet), you may need to make slight adjustments to this recipe. Typically, adding an extra 1 tablespoon of all-purpose flour can help maintain the cake’s structure. You might also need to slightly reduce baking powder/soda and increase liquid, but start with the flour adjustment first.
Room Temperature Ingredients are Key: For both the cake layers and the frosting, remember to pull out all dairy ingredients (sour cream, cream cheese, eggs, and butter) at least 2 hours before you plan to start baking. Room temperature ingredients emulsify better, creating a smoother batter and a creamier, lump-free frosting.
Calories: 500kcal
,
Carbohydrates: 97g
,
Protein: 3g
,
Fat: 40g
,
Saturated Fat: 18g
,
Polyunsaturated Fat: 4g
,
Monounsaturated Fat: 14g
,
Trans Fat: 1g
,
Cholesterol: 78mg
,
Sodium: 428mg
,
Potassium: 82mg
,
Fiber: 1g
,
Sugar: 22g
,
Vitamin A: 935IU
,
Vitamin C: 1mg
,
Calcium: 64mg
,
Iron: 1mg
Did you make this recipe?
Please leave a star rating and review below!