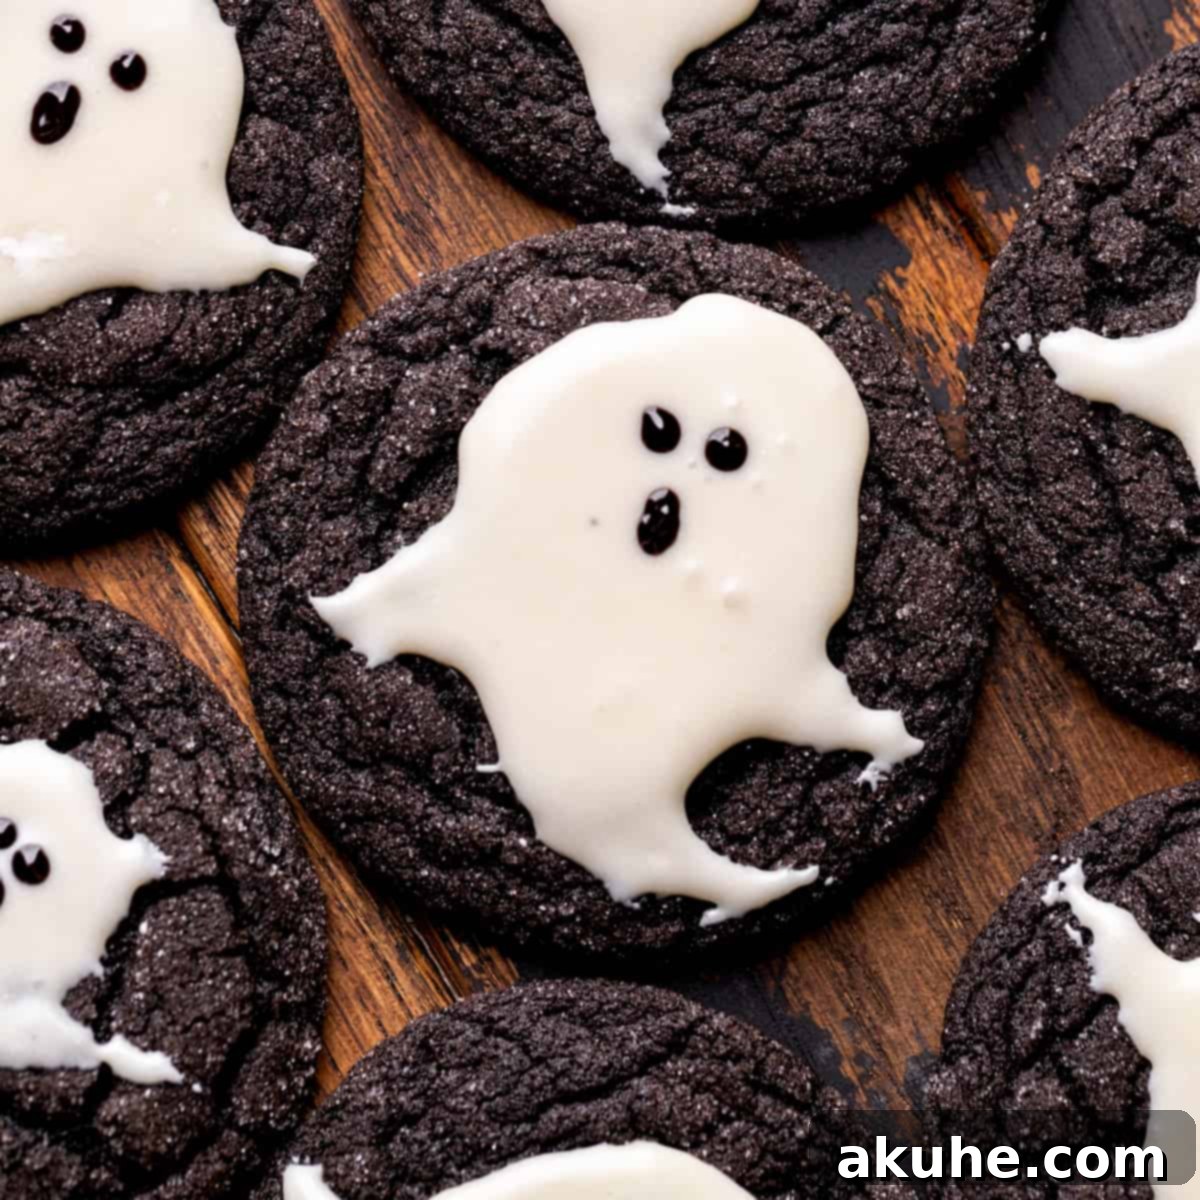
Welcome to the enchanting world of Halloween baking, where spooky meets sweet! Prepare to charm your guests with these utterly adorable and incredibly delicious Ghost Cookies. Far from your average holiday treat, these black cocoa cookies boast a deeply rich chocolate flavor, perfectly contrasted by a shimmering sugar crust and crowned with a whimsical white chocolate ghost. They are not just cookies; they are edible works of art, guaranteed to be the star of any Halloween party, fall gathering, or simply a cozy night in.
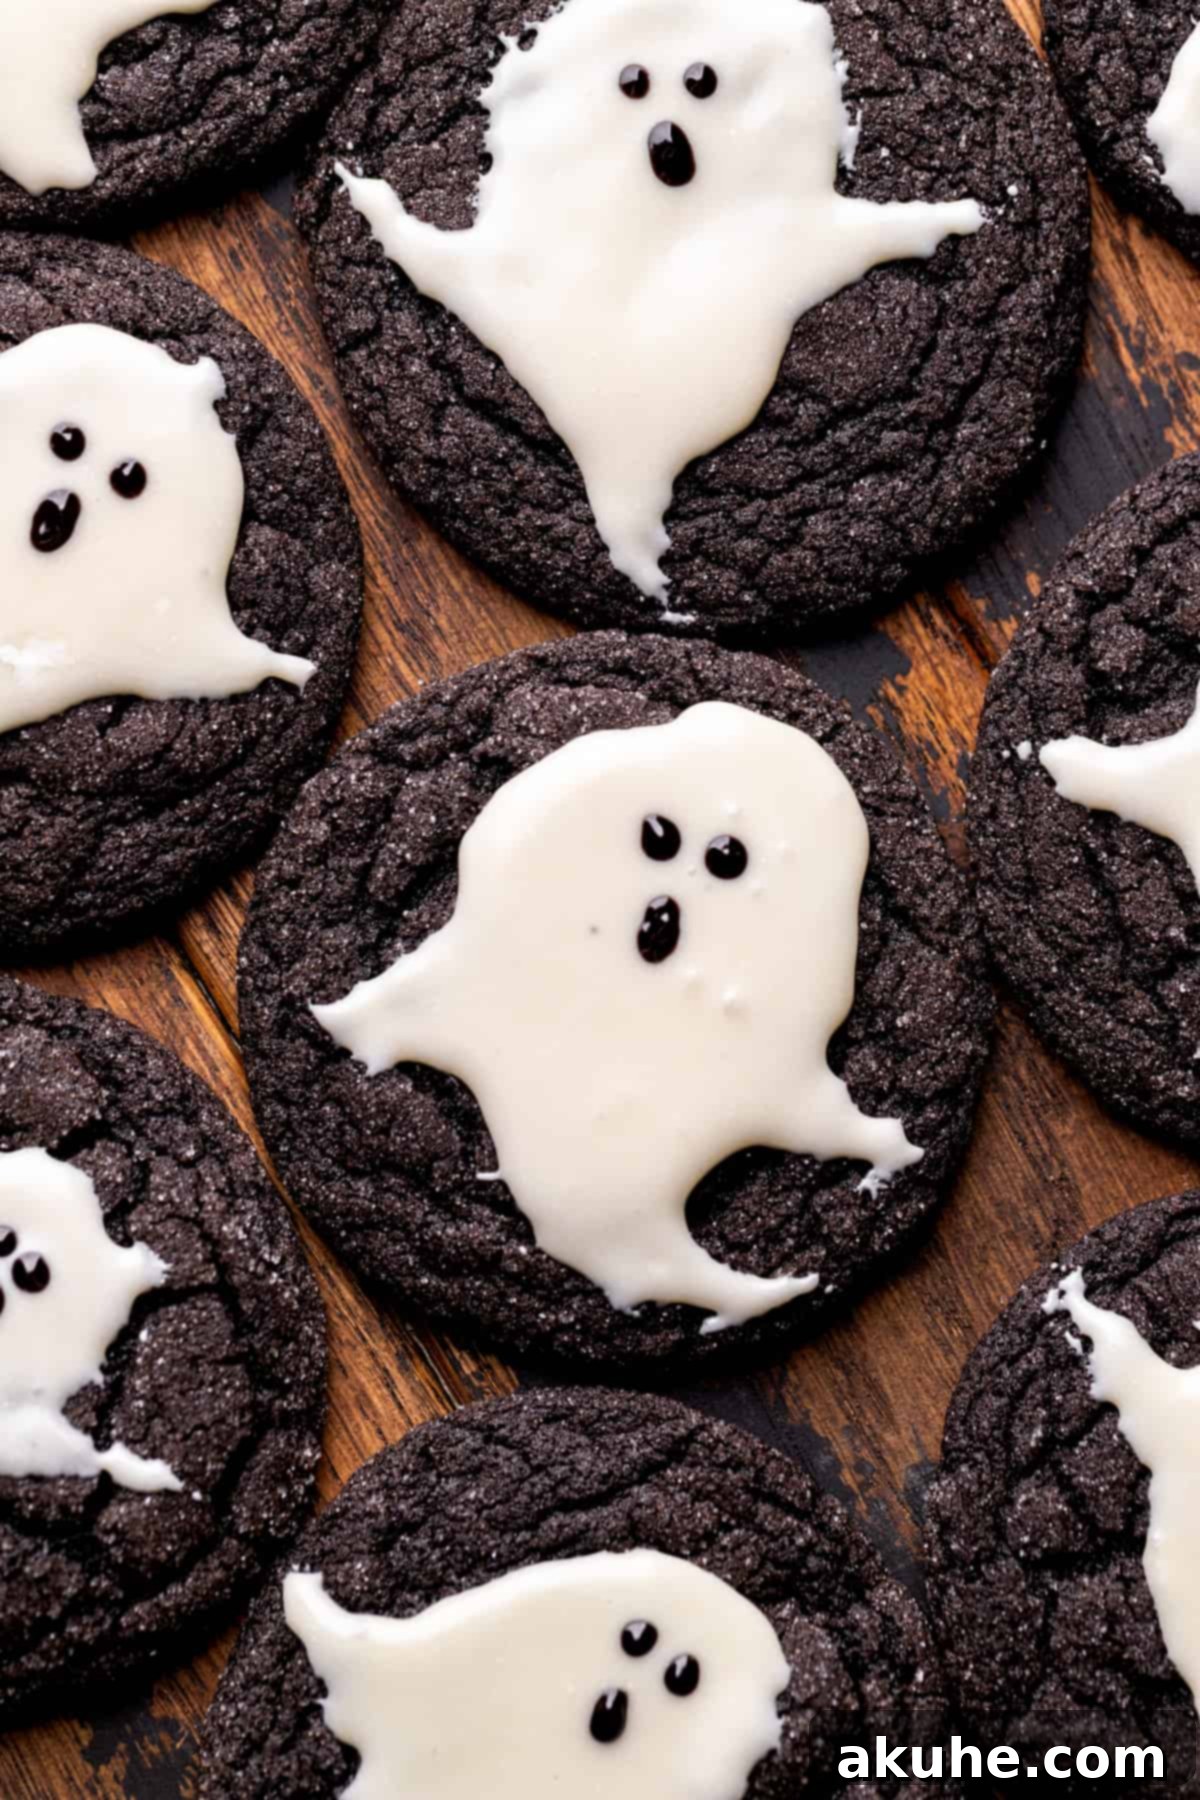
Every year, the quest for the perfect Halloween cookie leads many to elaborate cut-out sugar cookies, which can often be more work than reward. We set out to create a recipe that delivers maximum charm with minimal fuss, and these Ghost Cookies are the delightful result! Forget the endless rolling, chilling, and intricate decorating of traditional ghost sugar cookies. This recipe simplifies the entire process, offering a chewy, melt-in-your-mouth black cocoa base that’s easy to make and decorate. The vibrant contrast of the deep, dark cookie and the bright white ghost makes for an eye-catching treat that tastes as good as it looks. You’ll find yourself reaching for this recipe year after year, eager to recreate these hauntingly good bites!
Craving more rich chocolate cookie recipes? Explore other decadent options like Chocolate Caramel Cookies, our popular Brookies, and the playful Dirt Cake Cookies.
Why These Easy Halloween Ghost Cookies Are a Must-Bake
- Unforgettably Adorable Ghost Cookies: These aren’t just cookies; they’re little edible specters! Even without advanced artistic skills, you can easily create charming ghost shapes. The simple yet effective design makes them far more endearing and less fussy than traditional cut-out cookies. They’re the ideal choice for anyone seeking a super cute Halloween cookie recipe that’s effortlessly impressive.
- Rich Black Cocoa Flavor: Prepare for a deep dive into chocolate bliss. The use of black cocoa powder gives these cookies an intense, almost Oreo-like flavor that chocolate lovers will adore. This distinct dark base provides a striking visual contrast to the white chocolate ghosts, making them as exciting to look at as they are to eat.
- Effortlessly Easy Recipe: Designed for busy schedules, this recipe streamlines the baking process without compromising on taste or appearance. From mixing the dough to decorating the ghosts, each step is straightforward and enjoyable, making it perfect for a fun baking project with kids or a quick dessert when time is short.
Essential Ingredient Notes for Perfect Halloween Ghost Cookies
Understanding your ingredients is key to baking success. Here are some detailed notes to ensure your ghost cookies turn out perfectly. For a complete list of quantities, please refer to the recipe card below.
- Unsalted Butter: Melting the butter before adding it to the mixture is crucial. Allow it ample time to cool to room temperature. Adding hot butter can cause the sugars to melt too quickly and lead to flat, overly greasy cookies. Room temperature melted butter ensures a perfectly chewy texture.
- Brown Sugar: We recommend using light brown sugar for its balanced sweetness and moisture, which contributes to the cookies’ soft, chewy center. However, dark brown sugar can also be used if you prefer a richer, more molasses-like flavor. Either way, make sure it’s packed firmly in your measuring cup.
- Eggs: Always bring your eggs to room temperature before baking. Room temperature eggs emulsify better with other ingredients, creating a smoother, more uniform dough and contributing to a lighter, more consistent cookie texture. Simply take them out of the refrigerator about 30 minutes to an hour before you plan to start baking.
- High-Quality White Chocolate Chips: The quality of your white chocolate chips makes a significant difference, especially for the ganache. Many cheaper “white baking chips” are not true chocolate and often contain little to no cocoa butter, which is essential for a smooth, melty ganache. Opt for a brand that lists cocoa butter as a primary ingredient for the best flavor and texture in your ghostly topping.
- Black Cocoa Powder: This is what gives your cookies their dramatic dark color and unique mild chocolate flavor, reminiscent of sandwich cookies. Do not confuse it with regular cocoa powder; black cocoa is intensely dark and less bitter, making it ideal for this striking treat.
Smart Ingredient Substitutions & Dietary Adjustments
- Dairy-Free Option: To make these charming ghost cookies dairy-free, simply substitute unsalted butter with your favorite plant-based butter alternative (ensure it’s suitable for baking). For the white chocolate ganache, use dairy-free white chocolate chips and a dairy-free heavy cream substitute, such as full-fat canned coconut milk (chilled, only use the thick cream from the top).
- Gluten-Free Exploration: While this recipe has not been formally tested with gluten-free flour, you might achieve success by using a high-quality 1:1 gluten-free baking flour blend that contains xanthan gum. Please note that results can vary, so experiment with a small batch first. If you try this, we’d love to hear about your experience!
- Nut-Free Assurance: This recipe is naturally nut-free, provided you verify that all your ingredients (especially chocolate chips and extracts) are processed in nut-free facilities if severe allergies are a concern.
Step-by-Step Guide: Crafting Your Black Cocoa Cookies
Follow these detailed instructions to create the perfectly chewy and dark chocolate base for your ghost cookies.
STEP 1: Prepare Dry Ingredients. In a medium-sized bowl, meticulously sift together the all-purpose flour, black cocoa powder, baking soda, baking powder, and salt. Sifting ensures that all ingredients are evenly distributed, preventing lumps and promoting a consistent texture in your final cookies. Set this bowl aside.
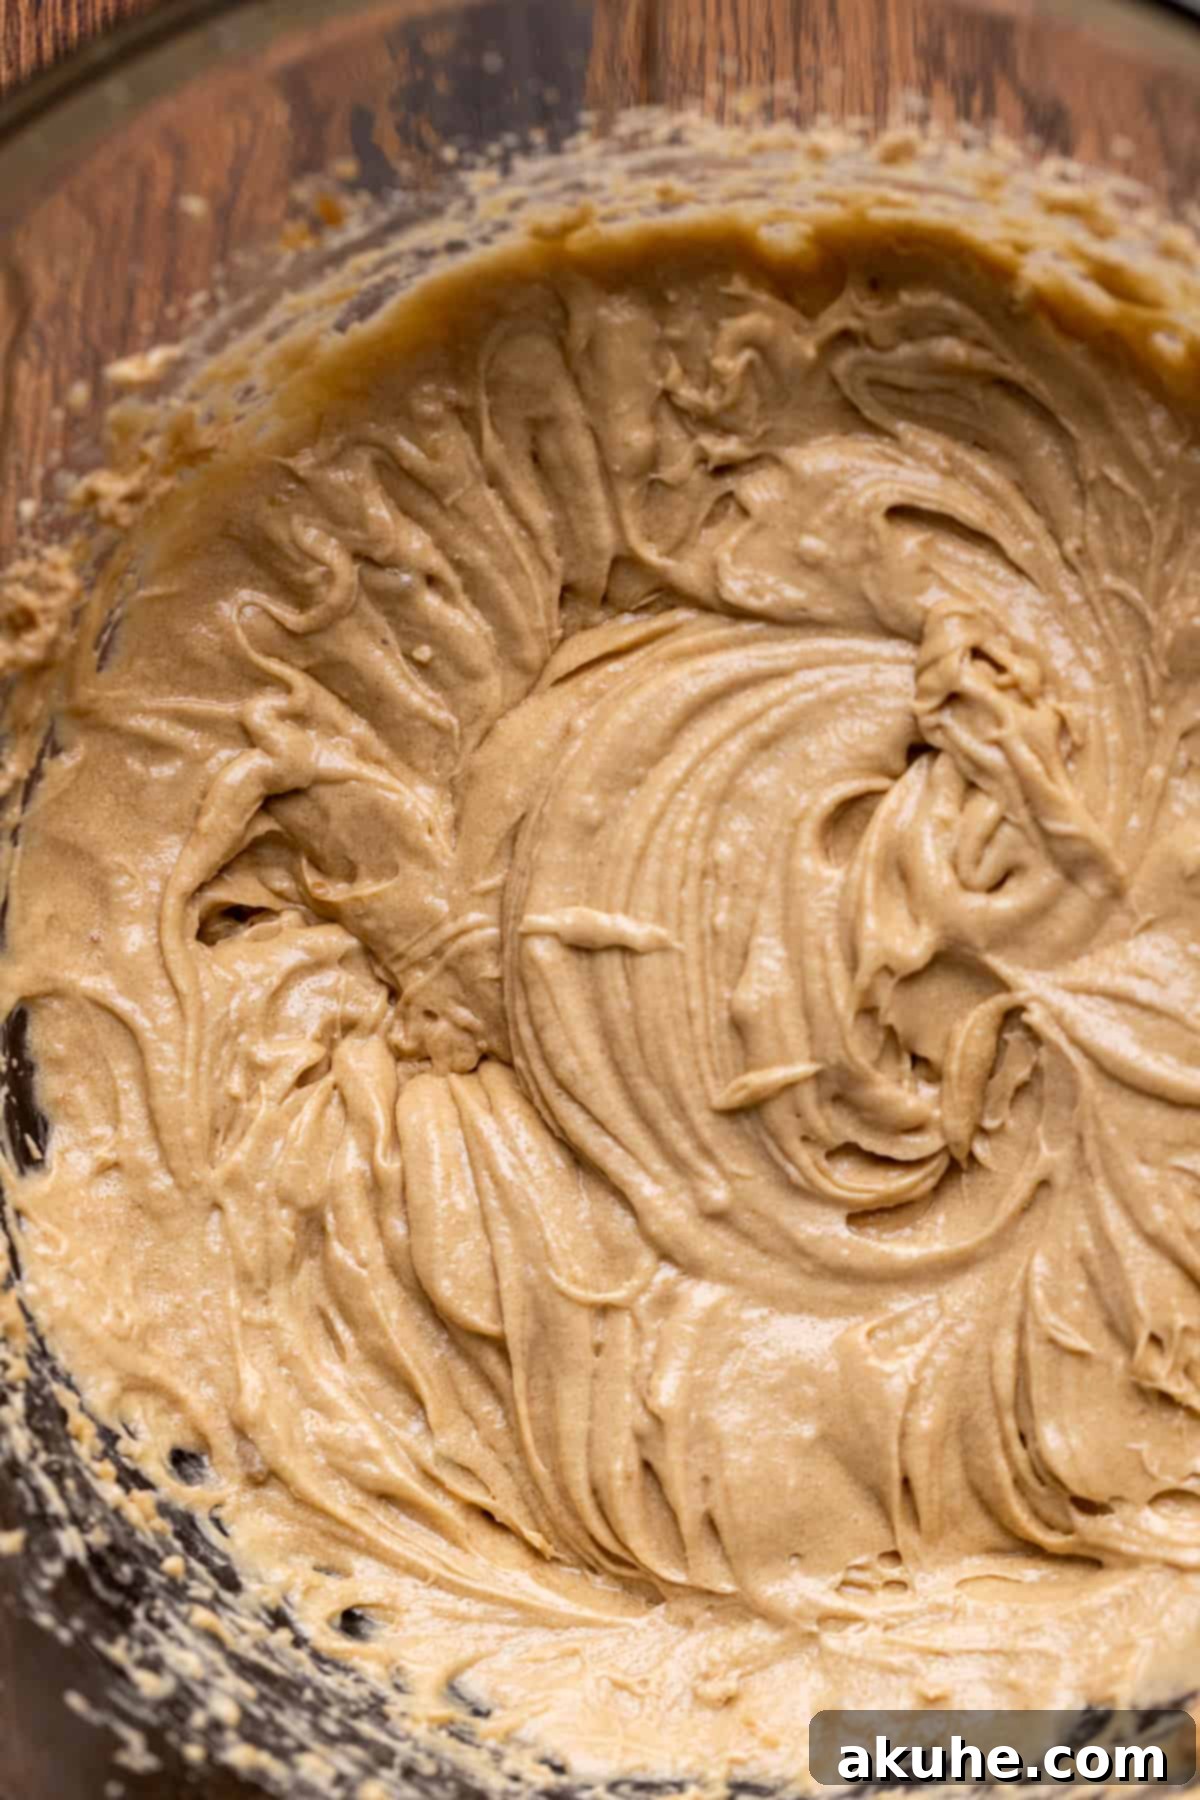
STEP 2: Cream Butter and Sugars. In a separate, larger mixing bowl, use an electric mixer to combine the cooled melted unsalted butter with both the light brown sugar and white granulated sugar. Beat these on high speed for a full 2 minutes until the mixture is lightened in color and fluffy. This step incorporates air, contributing to the cookies’ texture.
STEP 3: Incorporate Wet Ingredients. Reduce the mixer speed to medium. Add the pure vanilla extract, the large room-temperature egg, and the single egg yolk. Mix until they are just combined, being careful not to overmix. Overmixing at this stage can lead to tough cookies.
STEP 4: Combine Wet and Dry. Gradually add the sifted dry ingredients to the wet mixture. Mix on the lowest speed possible until the flour mixture is just incorporated and no dry streaks remain. Again, avoid overmixing; too much agitation develops gluten, resulting in a less tender cookie.
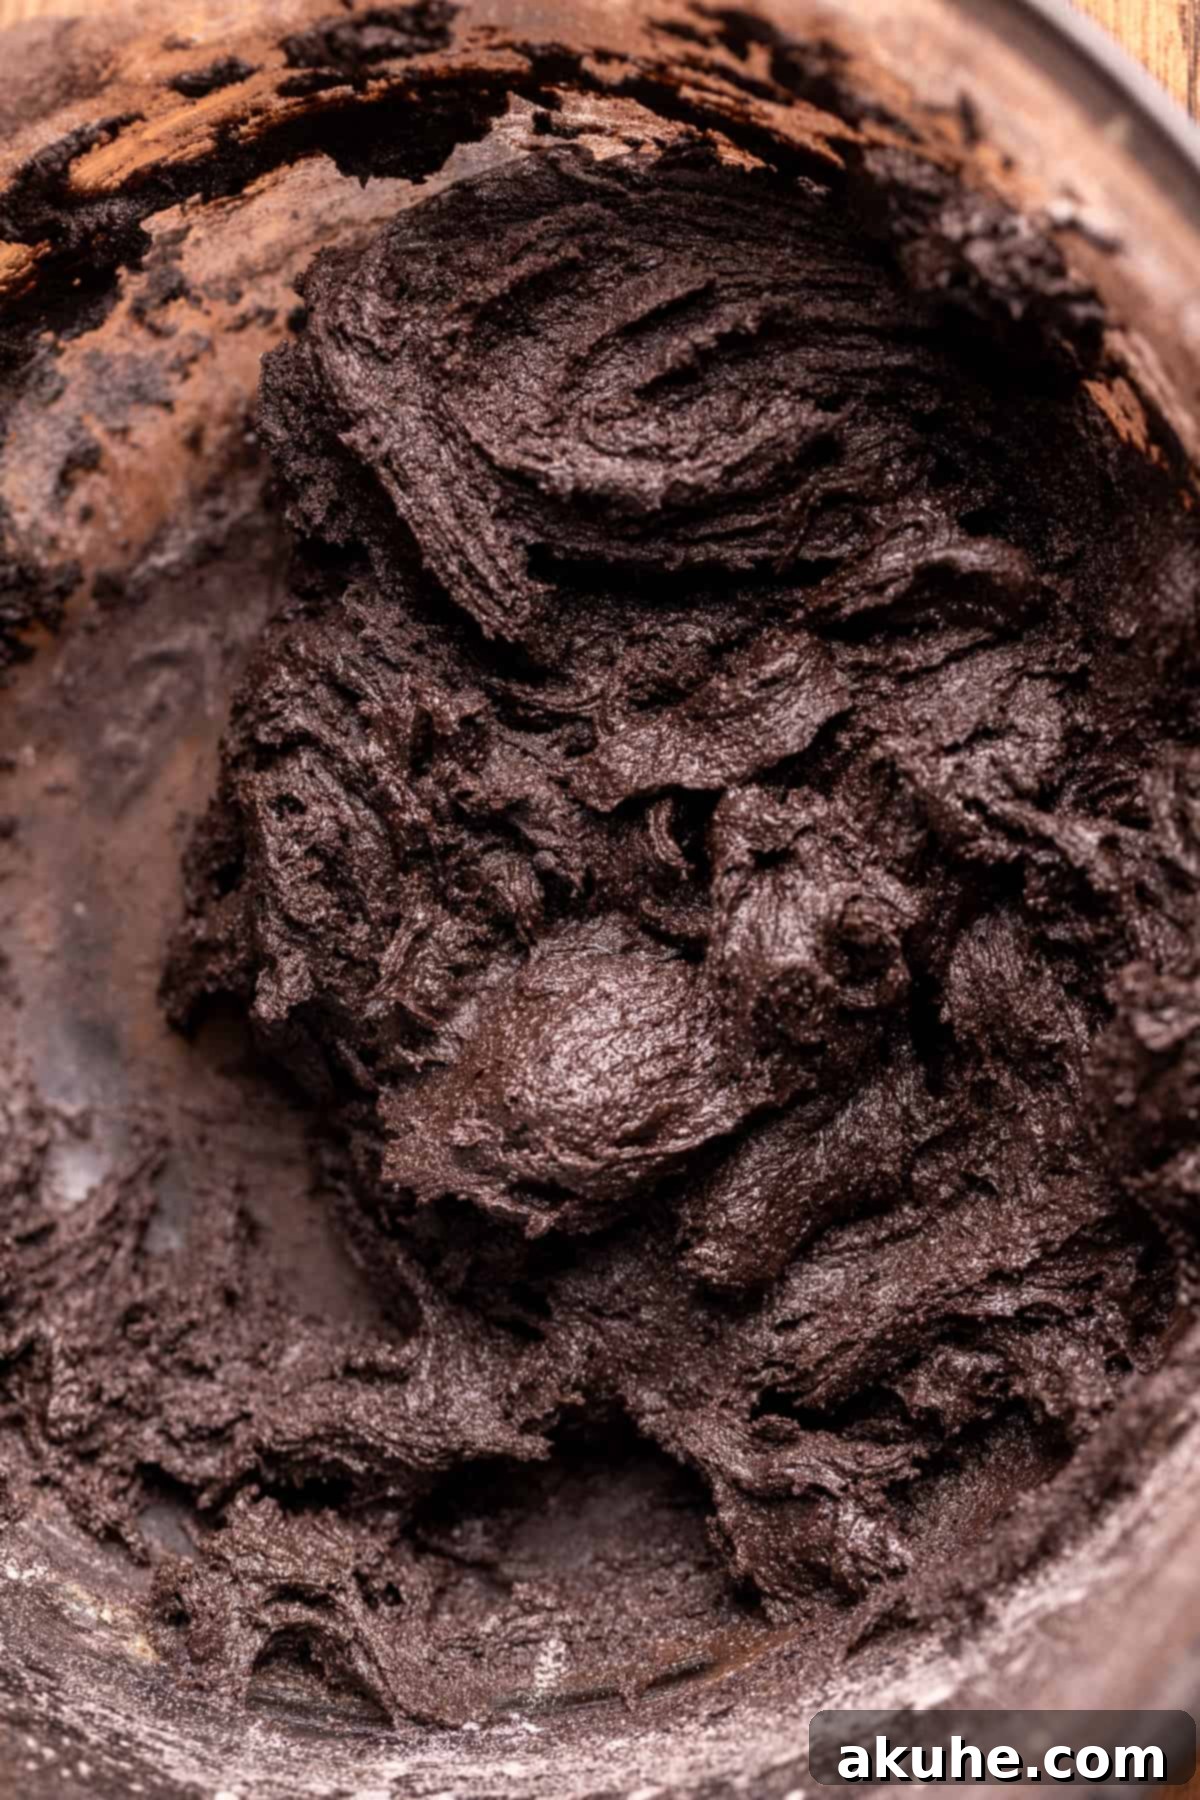
STEP 5: Prepare for Baking. Preheat your oven to 350°F (175°C). Line two large cookie sheets with parchment paper; this prevents sticking and promotes even baking. While the oven preheats, allow your cookie dough to rest for 10 minutes. This brief rest helps the flour fully hydrate, leading to a better texture and less spread.
STEP 6: Scoop and Coat. Pour the extra granulated sugar for coating into a small, shallow bowl. Using a small cookie scoop (approximately 1 ounce or 1 tablespoon capacity), scoop portions of the dough. Roll each dough ball thoroughly in the sugar until completely coated. Arrange 12 sugar-coated dough balls on each prepared cookie sheet, ensuring adequate space between them for spreading.
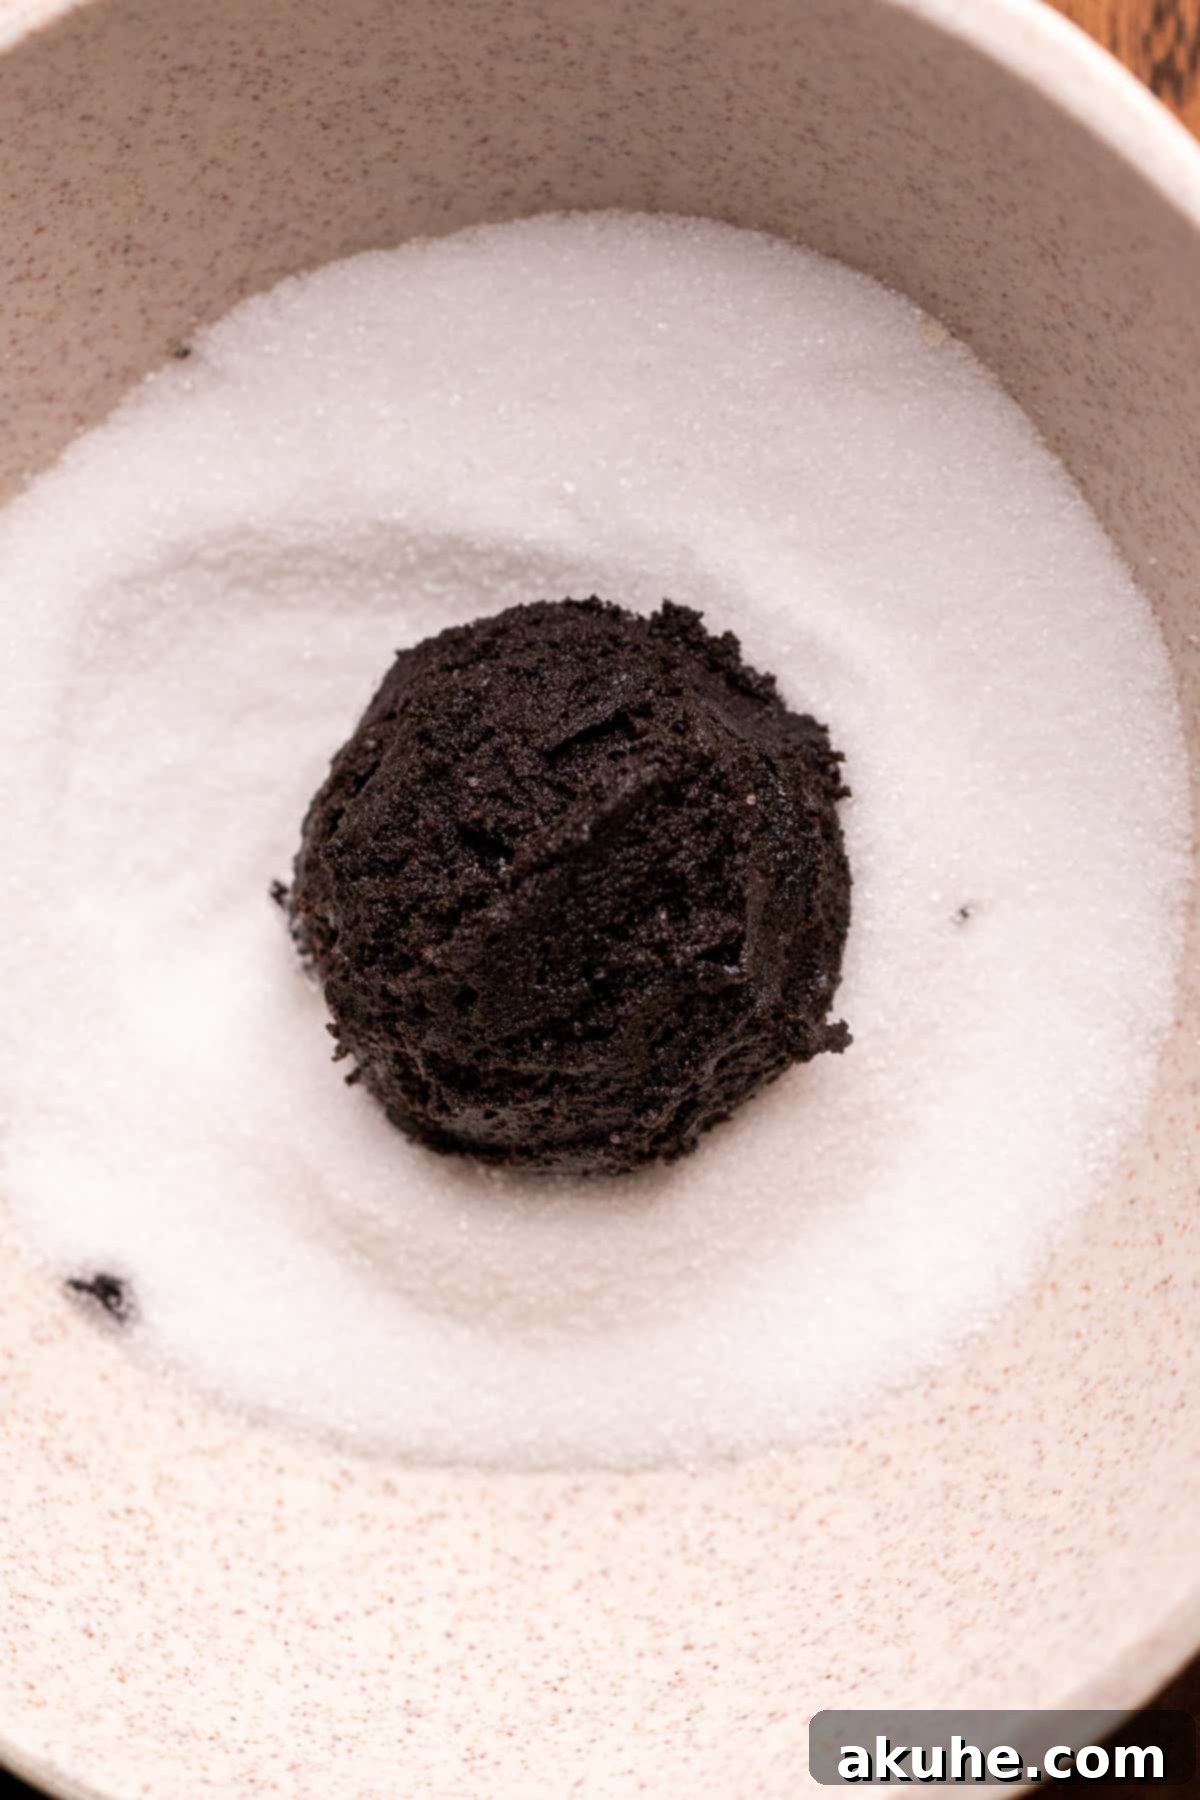
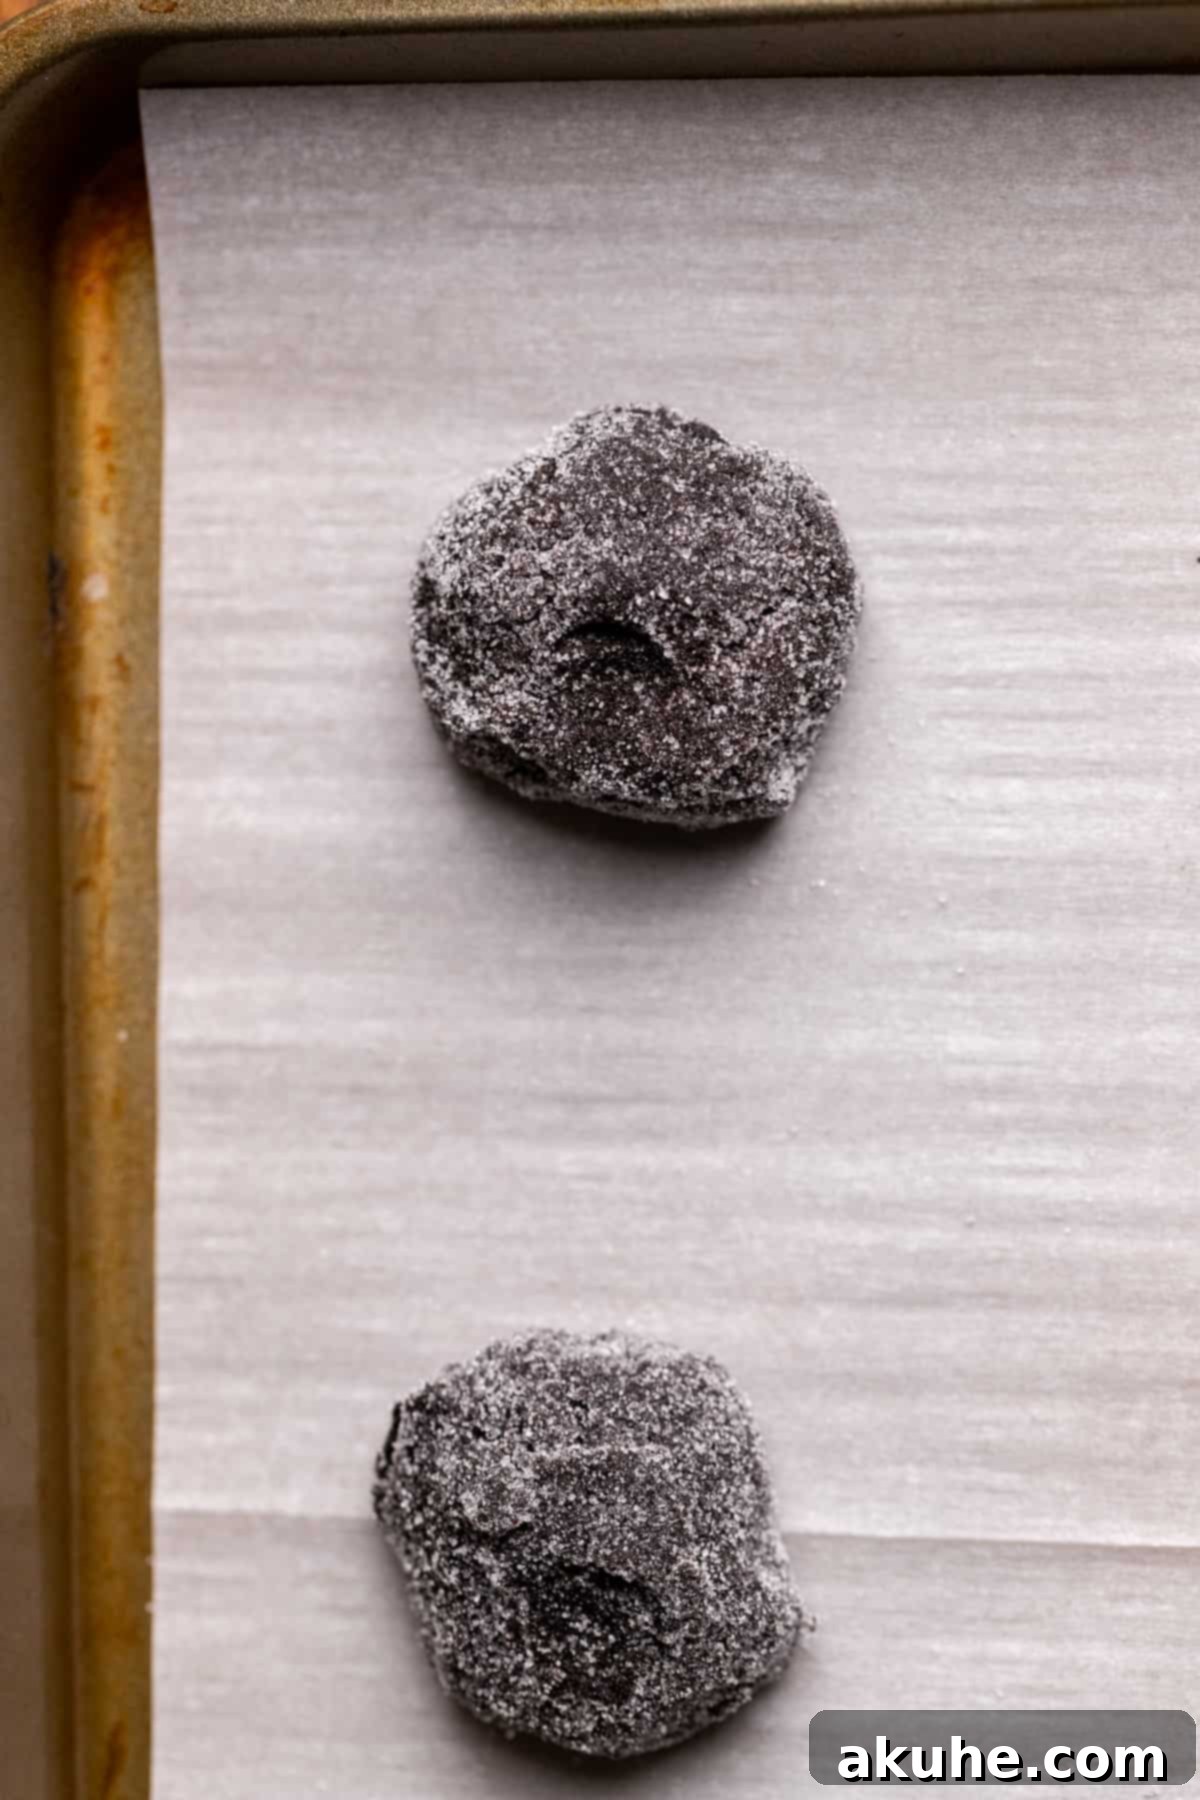
STEP 7: Bake the Cookies. Bake one cookie sheet at a time in the preheated oven for 8-10 minutes. The edges should be set, but the centers may still appear slightly soft. This slight underbaking is key to achieving that desirable chewy center once they cool.
STEP 8: Cool Completely. Once baked, remove the cookie sheet from the oven and allow the cookies to rest on the hot pan for 5 minutes. This carryover cooking helps them firm up without overbaking. After 5 minutes, carefully transfer the cookies to a wire cooling rack to cool completely before decorating. This ensures the ganache sets properly.
Step-by-Step Guide: Creating and Applying White Chocolate Ganache Ghosts
Now for the fun part – transforming your delicious black cocoa cookies into adorable little ghosts!
STEP 1: Prepare Cream and Chocolate. Place your chosen high-quality white chocolate chips into a small, heatproof bowl. In a small saucepan, gently heat the heavy cream over medium-low heat until it’s steaming hot, but not boiling. Look for small bubbles forming around the edges.
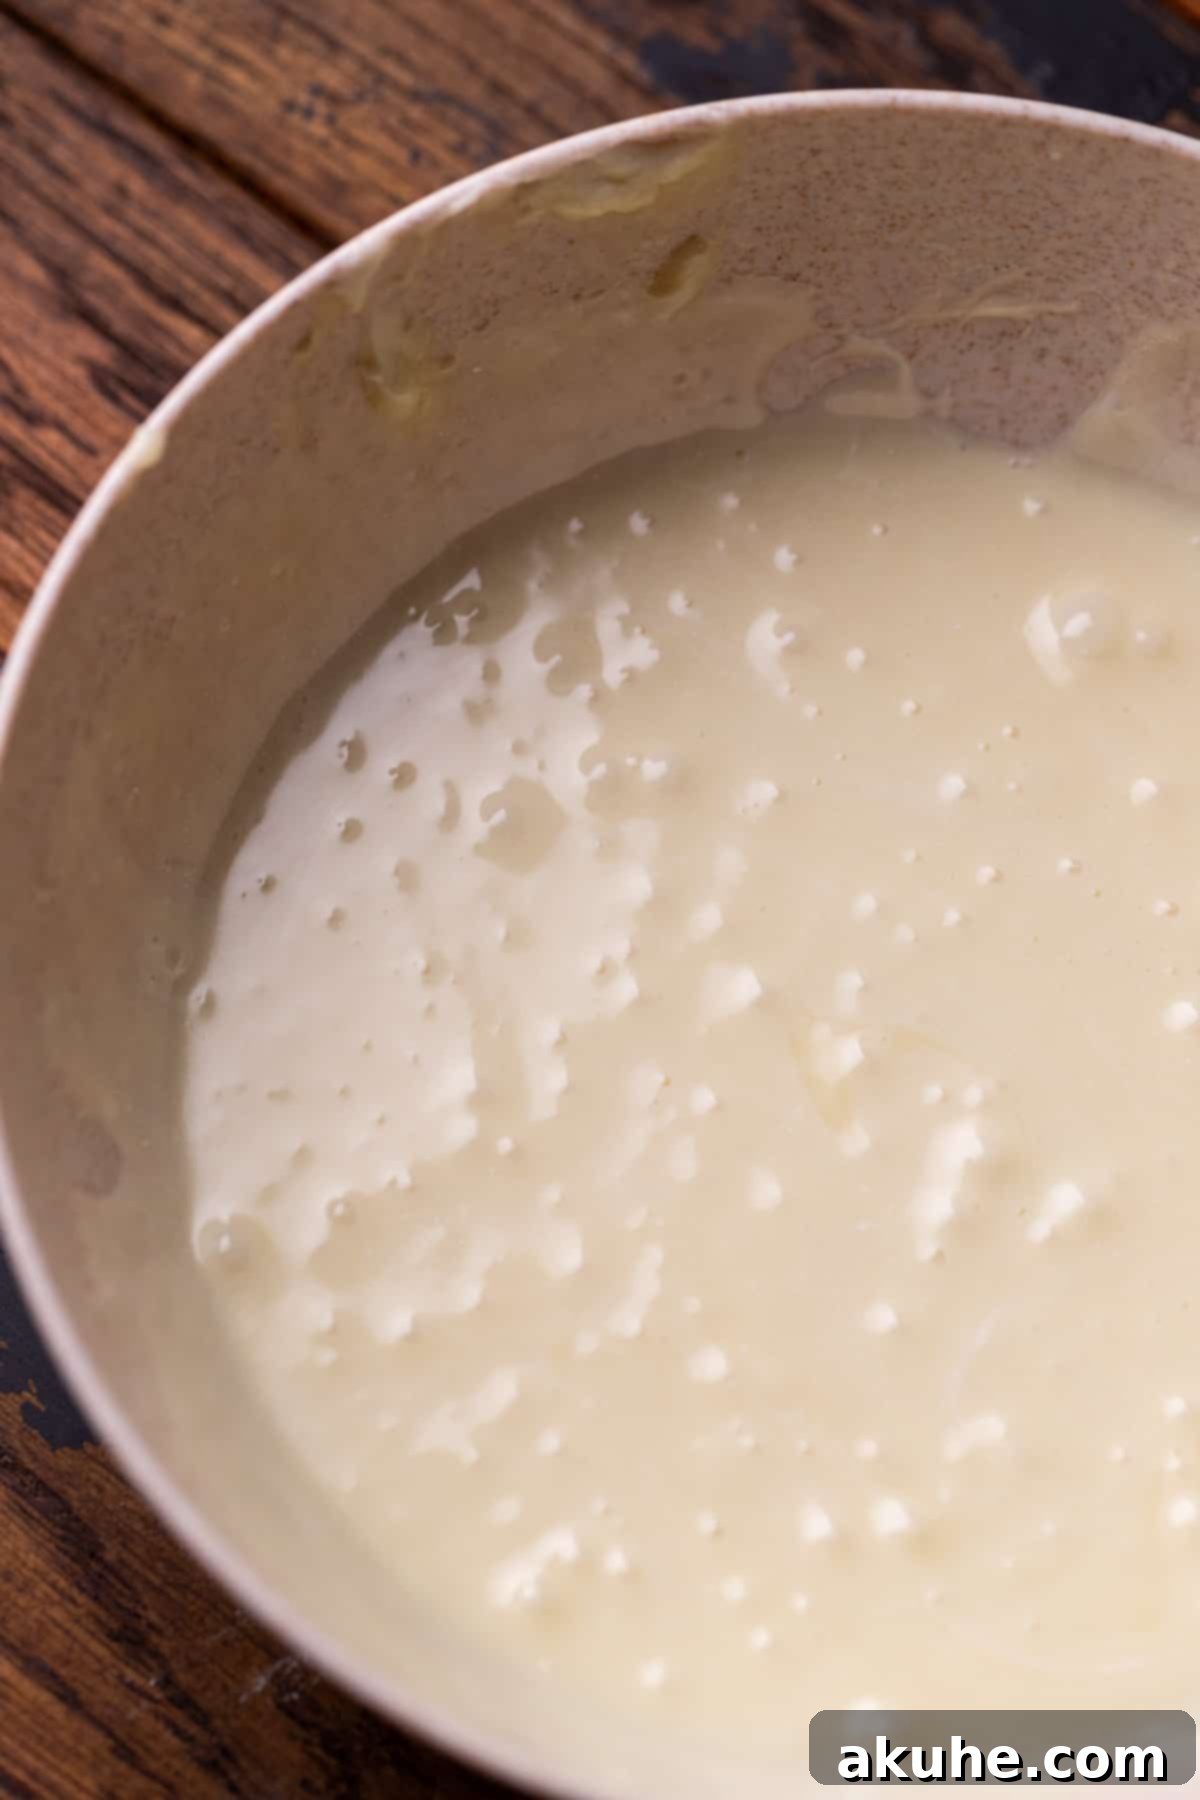
STEP 2: Make the Ganache. Pour the hot cream directly over the white chocolate chips. Resist the urge to stir immediately; let it sit undisturbed for 2 minutes. This allows the heat from the cream to melt the chocolate evenly. After 2 minutes, stir gently with a spatula or whisk until the mixture is smooth and glossy. If any small chunks of white chocolate remain, microwave the bowl in 15-second intervals, stirring after each, until perfectly smooth.
Optional: White chocolate ganache can sometimes have a yellowish tint. For an extra stark white ghost, stir in 2-4 drops of white food dye until evenly colored.
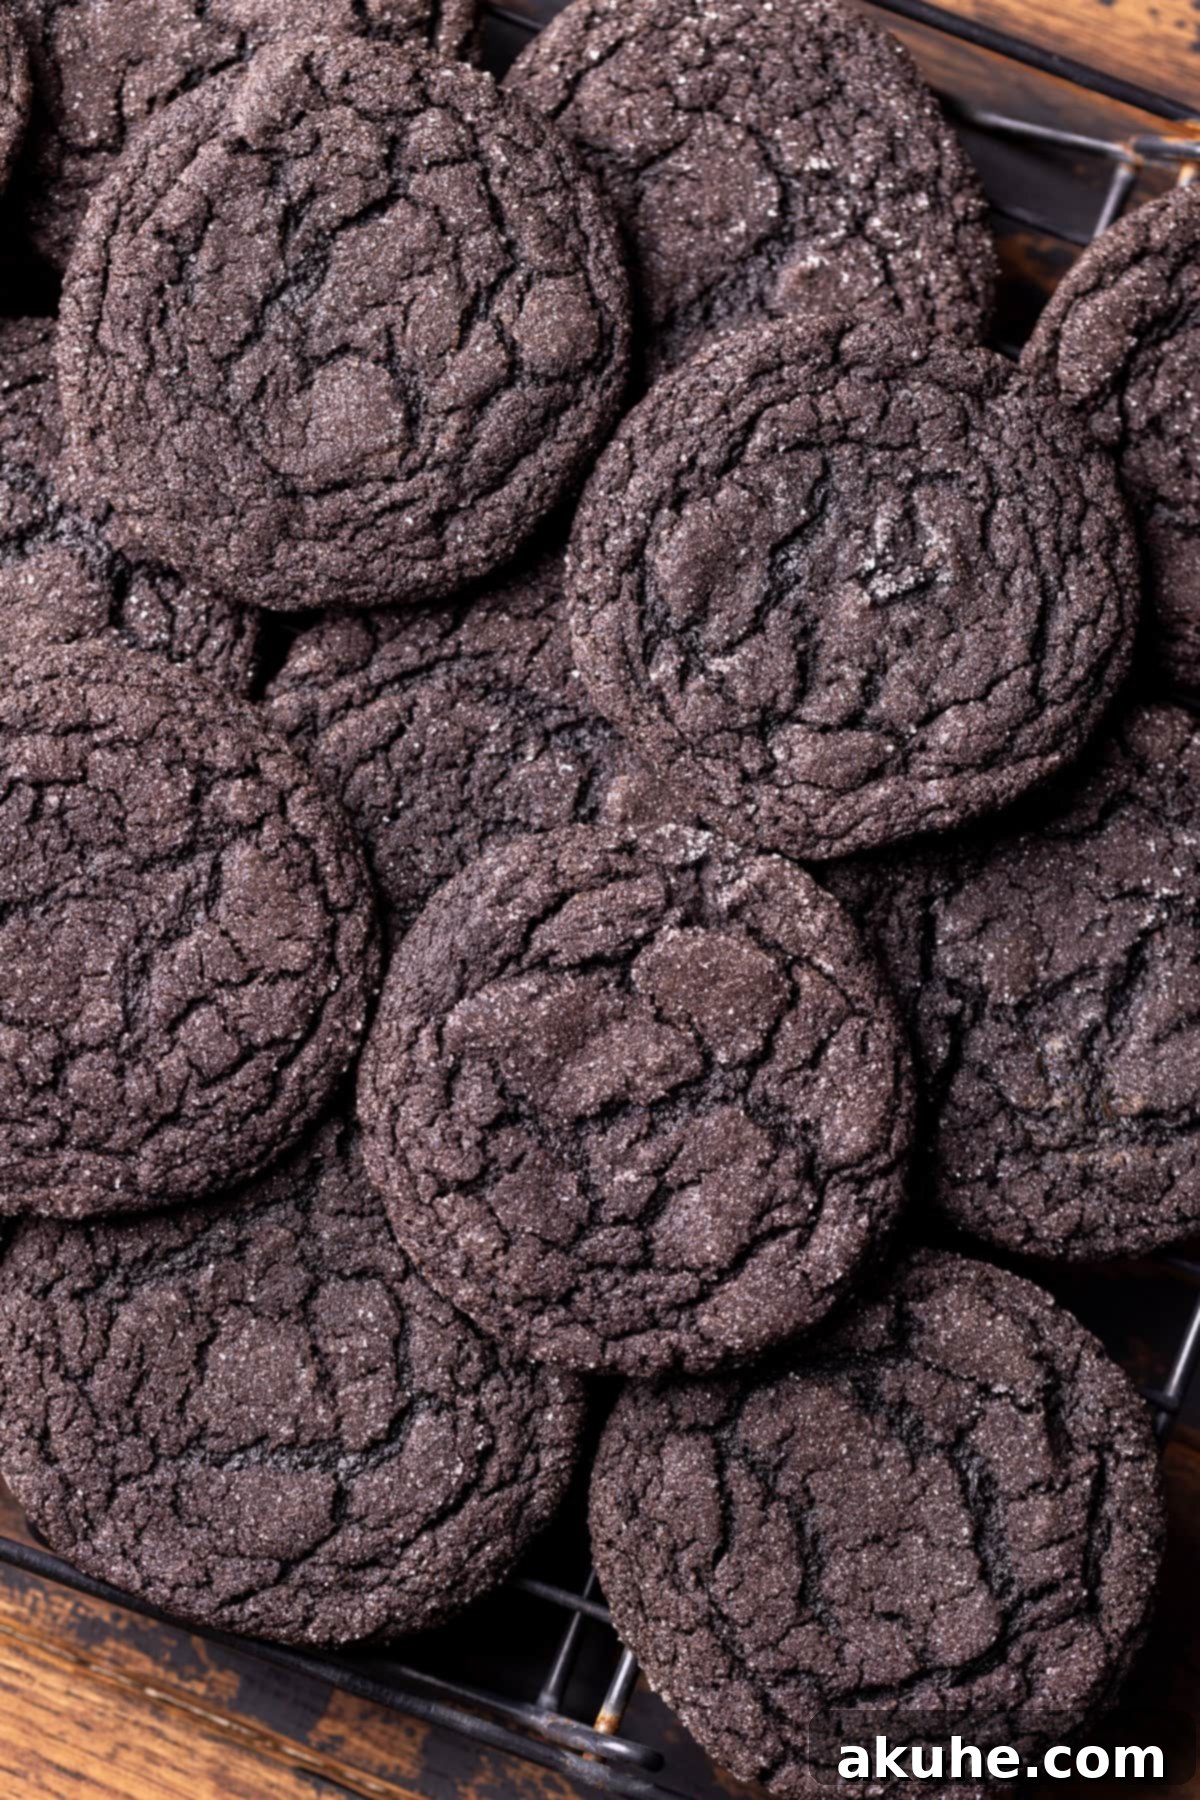
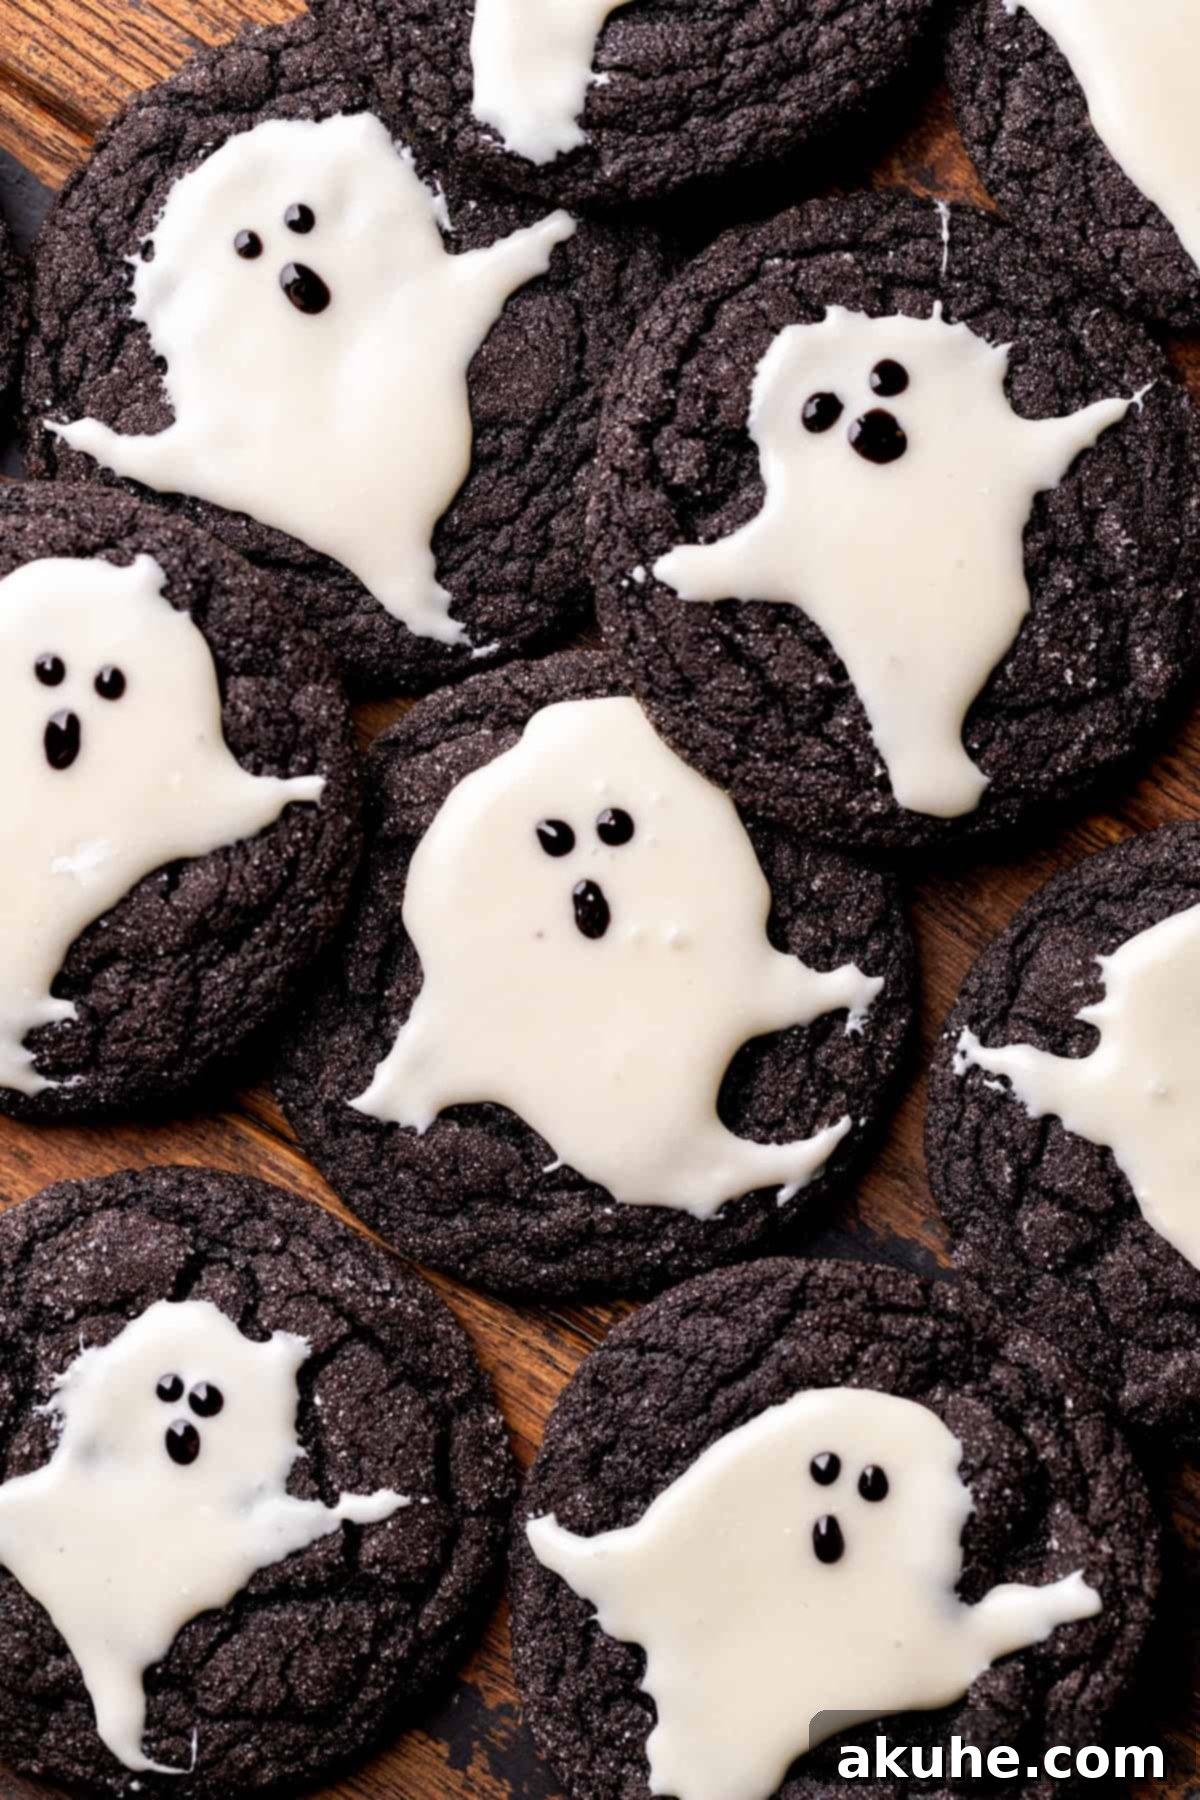
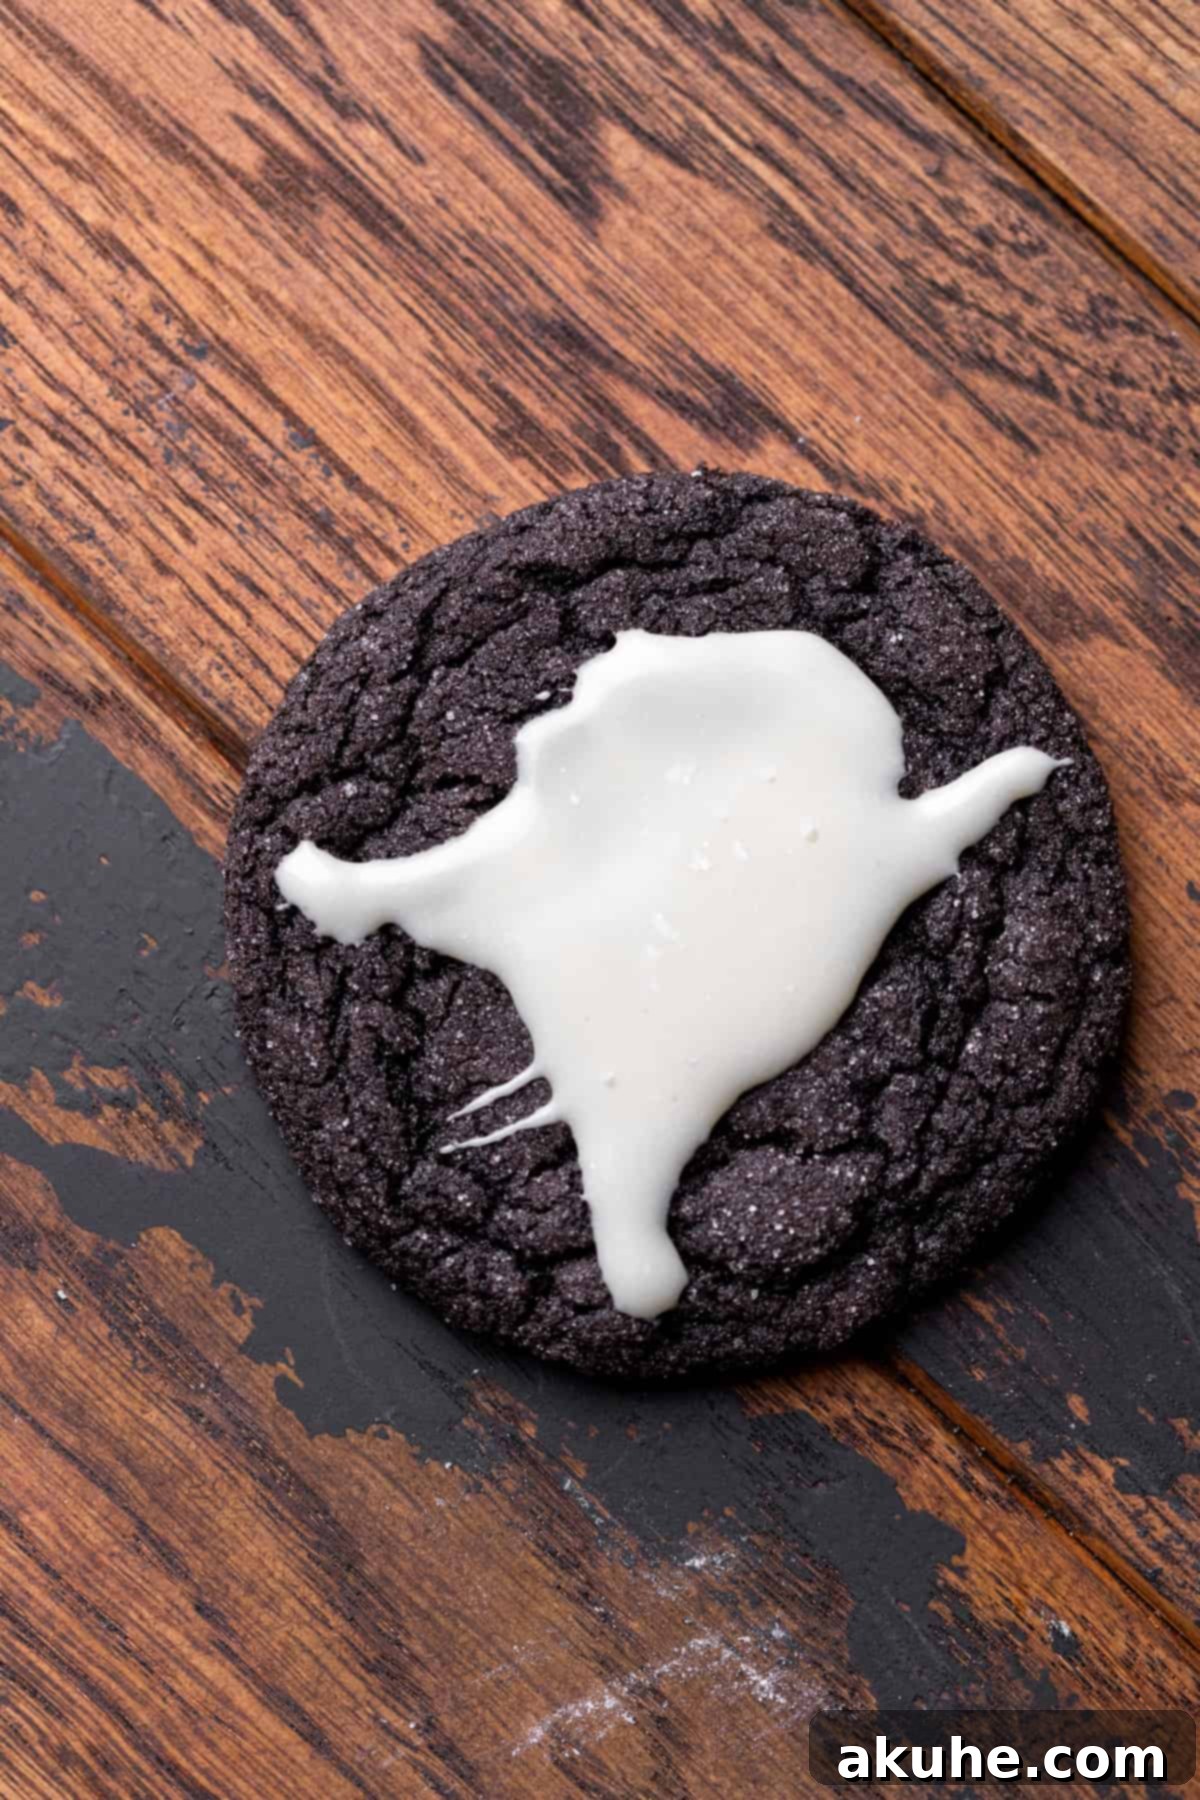
STEP 3: Top with Ghosts. Once the cookies are completely cool, use a 1 teaspoon measuring spoon to gently pour a dollop of the warm (but not hot) white chocolate ganache onto the center of each cookie. Before the ganache sets, use a clean toothpick to lightly spread the white chocolate outwards, forming a small “tail” at the bottom and two “arms” on either side, creating the iconic ghost shape.
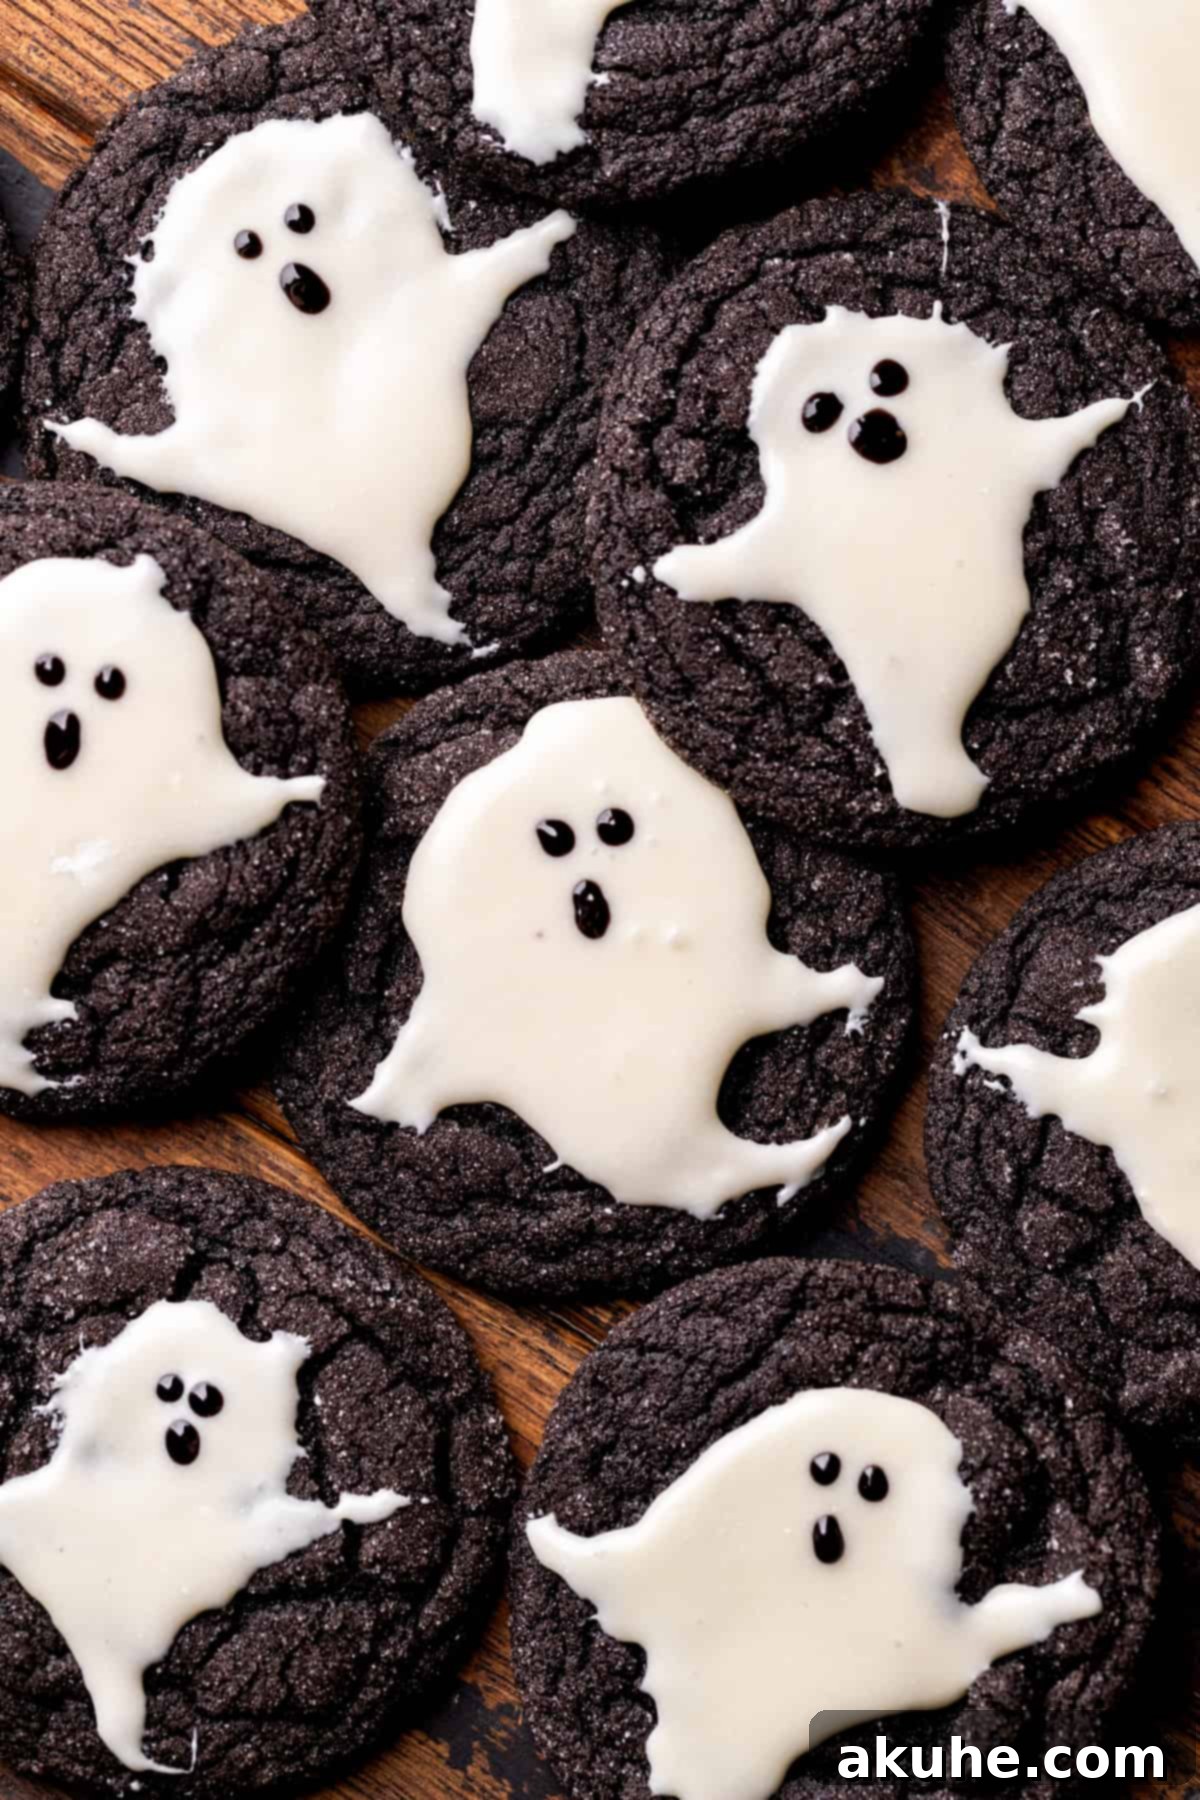
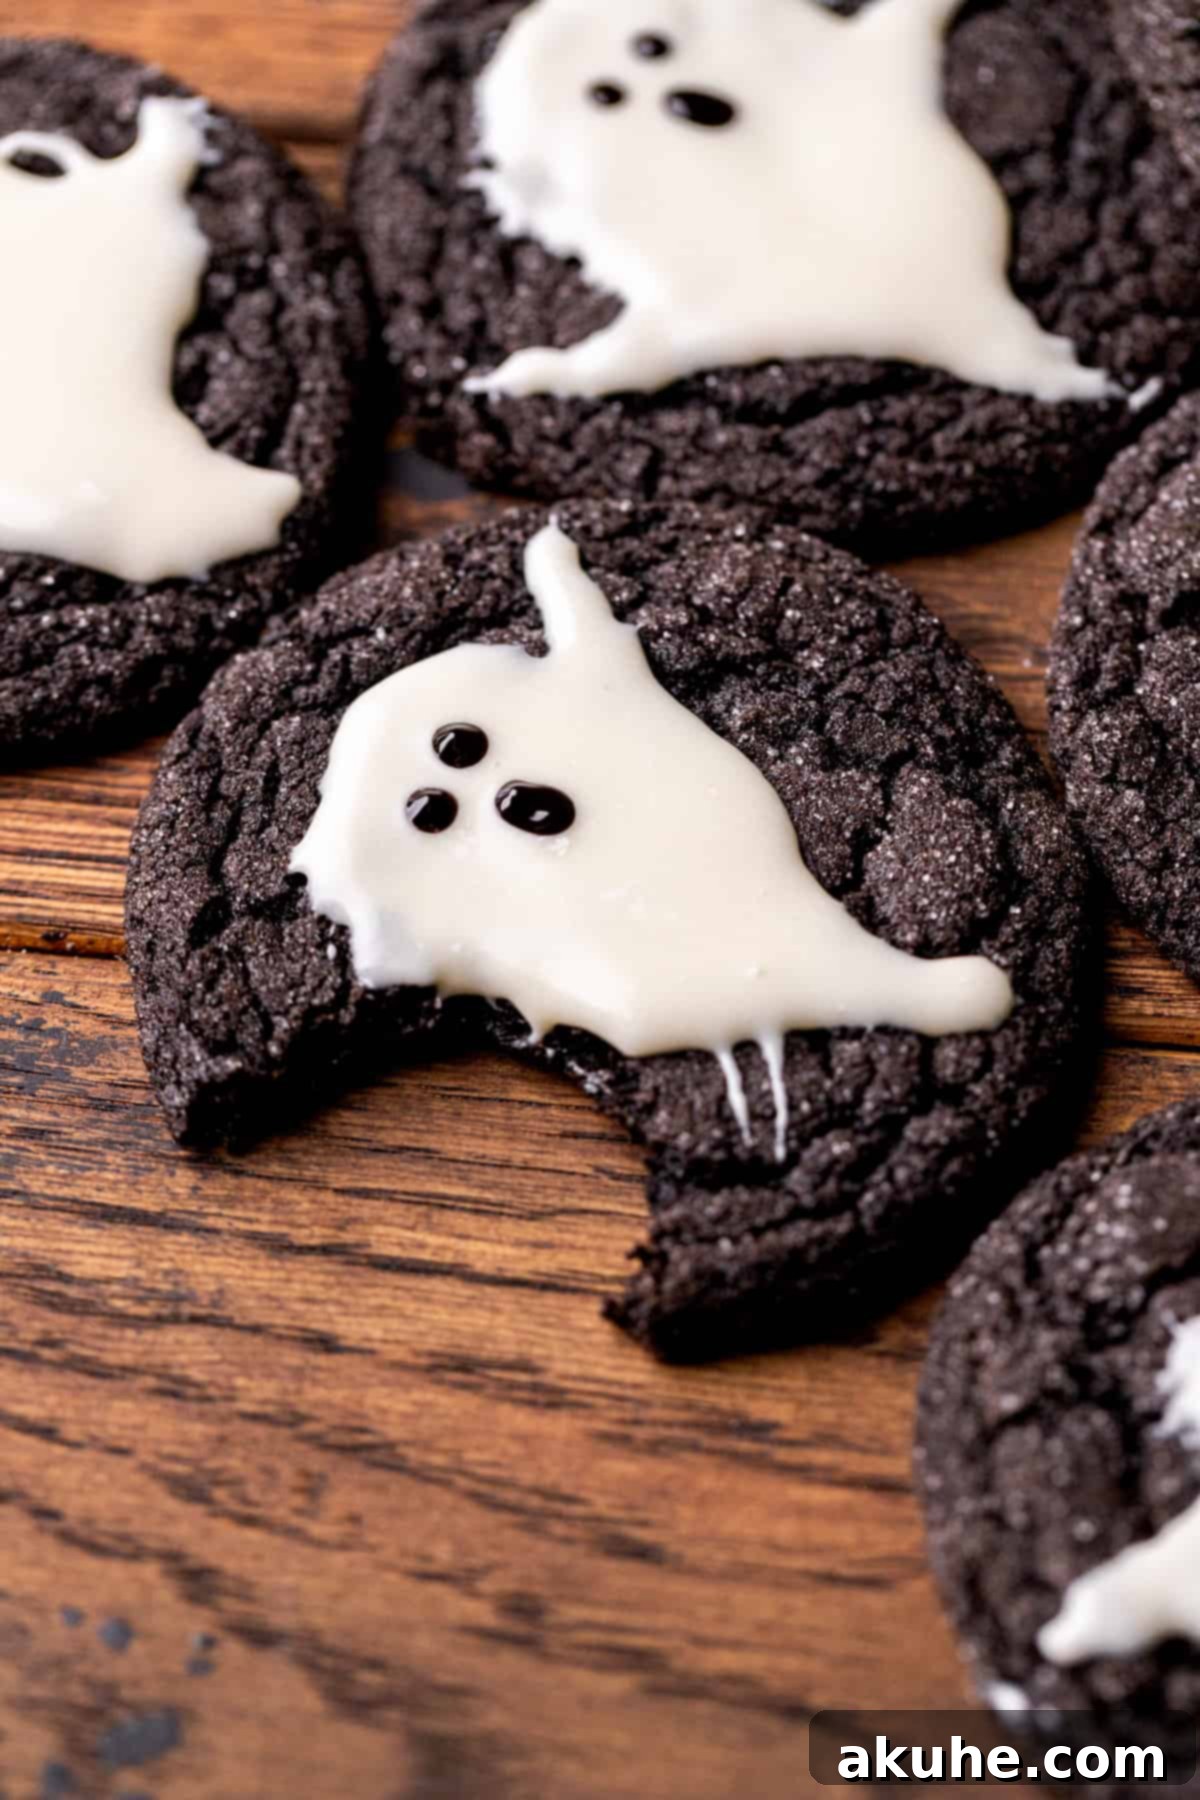
STEP 4: Add Eyes and Mouth. Allow the white chocolate ghosts to set for a few minutes until they are no longer liquid. Then, grab your black writing gel. Carefully draw two small eyes and a playful or spooky mouth on each white chocolate ghost. The precision of the writing gel allows for detailed and expressive facial features.
Expert Baking Tips for Flawless Ghost Cookies
- Accurate Flour Measurement is Essential: Never scoop flour directly from the bag with your measuring cup, as this compacts the flour and can result in too much flour in your recipe. Instead, spoon the flour into your measuring cup and then level it off with a straight edge. For the most accurate results, consider using a kitchen scale to measure flour by weight (grams). Excess flour can lead to dry, crumbly cookies that don’t spread properly.
- Troubleshooting Cookie Spread: If your cookies are spreading more than desired, first ensure you’re using parchment paper on ungreased cookie sheets. Parchment provides a non-stick surface and helps regulate heat. If spreading persists, the butter may have been too warm when added to the dough. You can also try chilling the scooped cookie dough balls for 10-15 minutes before baking to help them hold their shape.
- High Altitude Baking Adjustments: For bakers living at high altitudes (typically 3,000 feet/900 meters above sea level or higher), lower atmospheric pressure can cause cookies to spread excessively. To counteract this, add an extra 2 tablespoons of all-purpose flour to your dry ingredients. This helps strengthen the dough structure and reduce spread.
- The Art of Underbaking for Chewiness: The secret to perfectly chewy cookies lies in slightly underbaking them. When you remove the cookies from the oven, their centers should still look a little soft and underdone. They will continue to cook and set on the hot baking sheet through a process called “carryover cooking,” resulting in a wonderfully soft and chewy interior once fully cooled.
- Room Temperature Ingredients: Beyond eggs, ensure all dairy ingredients like butter are at room temperature. This allows them to combine more smoothly and evenly, creating a consistent emulsion and a superior cookie texture.
Frequently Asked Questions About Ghost Cookies
Can I make these into larger cookies?
It is not recommended to significantly increase the size of these ghost cookies. The recipe is carefully balanced to ensure optimal spread and shape for the ghost decoration. If made larger, they tend to spread too much, becoming thin and potentially too large for the intended ghost design to look cohesive and charming. Stick to the suggested 1-ounce scoops for the best results.
Can these cookie dough balls be frozen for later?
Absolutely! Freezing the cookie dough is a fantastic way to prepare ahead. After rolling the dough balls in sugar, place them on a parchment-lined tray and freeze until solid. Then, transfer the frozen dough balls to an airtight container or a freezer-safe zip-top bag. They can be stored in the freezer for up to 30 days. When ready to bake, allow the frozen dough balls to thaw at room temperature for about 30-60 minutes before baking as directed.
Is it possible to chill the cookie dough overnight?
Yes, you can certainly chill the cookie dough overnight, which can even deepen the flavor. For convenience, we recommend forming the dough into balls and rolling them in sugar before chilling. Arrange the sugar-coated dough balls on a plate or tray, cover them tightly with plastic wrap, and refrigerate overnight. Before baking, ensure the cookie dough balls come to room temperature for about an hour to prevent excessive spreading in the oven.
Can I use a different type of chocolate for the ghosts?
While white chocolate is essential for the classic ghost appearance, you could experiment with other toppings. For example, if you want a different flavor profile or color, a light-colored royal icing or cream cheese frosting could be used, though the texture and application method might differ slightly from ganache. For the spooky ghost effect, white is key!
How do I prevent the white chocolate ganache from being too thick or too thin?
The key to perfect ganache consistency is the cream-to-chocolate ratio and proper heating. If your ganache seems too thick after stirring, add a tiny bit more warm heavy cream (half a teaspoon at a time) and stir until smooth. If it’s too thin, you can try adding a few more white chocolate chips and letting it sit for a minute before stirring again, or gently chilling it in the refrigerator for 5-10 minute intervals until it thickens slightly.
Creative Recipe Variations to Explore
- Spooky Skull Cookies: Instead of ghosts, these black cocoa cookies also make an excellent base for skull decorations. Use the white chocolate ganache to draw skull shapes, then use the black writing gel for eyes, a nose hole, and stitch-like mouth.
- No Sugar Coat Option: If you prefer a less sweet cookie or a cleaner look, you can completely skip rolling the cookie dough in granulated sugar before baking. This will not affect the cookie’s bake or texture, simply its exterior appearance and sweetness level.
- Halloween Sprinkle Fun: Before the white chocolate ganache sets, sprinkle some festive Halloween sprinkles over the ghosts for an extra pop of color and texture.
- Flavor Boost: Add a pinch of espresso powder to the black cocoa cookie dough to deepen the chocolate flavor, or a few drops of peppermint extract for a seasonal twist.
- Two-Tone Ghosts: Drizzle a contrasting color of melted chocolate (like orange or purple) over the white chocolate ghosts once they’ve set for an extra artistic touch.
Recommended Special Baking Tools
- Parchment Paper Sheets: Using premade sheets of parchment paper instead of wrestling with a roll can significantly simplify your baking process. They lay flat, fit most standard baking sheets perfectly, and make cleanup a breeze.
- Small Cookie Scoop: An essential tool for achieving uniform cookie sizes, which ensures even baking. We highly recommend this durable Wilton cookie scoop (1 oz or 1 Tablespoon) for consistently portioned cookies.
- Electric Mixer: A stand mixer or a good hand mixer will make light work of creaming the butter and sugars, ensuring a fluffy and well-aerated dough.
- Wire Cooling Rack: Crucial for allowing cookies to cool completely and evenly, preventing them from becoming soggy on the bottom.
Storing and Freezing Your Ghostly Treats
To keep your ghost cookies fresh and delicious, store them at room temperature in an airtight container, such as a zip-top bag or a cookie tin. They will maintain their quality for up to 5 days. For best results, if stacking decorated cookies, place a piece of parchment paper between layers to prevent the ganache from sticking or smudging.
For longer storage, baked and decorated cookies can be frozen. Arrange them in a single layer on a baking sheet and freeze until solid. Then, transfer the frozen cookies to a freezer-safe airtight container or freezer bag. They will stay fresh in the freezer for up to 30 days. To enjoy, simply thaw the cookies at room temperature for 1-2 hours before serving.
More Delightful Fall Recipes to Try
As the leaves change and the air turns crisp, indulge in more seasonal baking with these fantastic fall-themed treats!
Don’t Miss These Other Irresistible Cookie Recipes!
- Reese’s Cup Peanut Butter Cookies
- Pumpkin Chocolate Chip Cookies
- Butterscotch Chocolate Chip Cookies
- Twix Cookies
- Chocolate Fudge Cookies
We hope you loved baking these delightful ghost cookies! If you enjoyed this recipe, please make sure to leave a STAR REVIEW below. We love seeing your creations, so don’t forget to tag us on Instagram @stephaniesweettreats. For even more delicious baking inspiration, be sure to follow us on Pinterest.

Ghost Cookies
Print Recipe
Pin Recipe
Leave a Review
Ingredients
Black Cocoa Cookies
- 1 1/3 cups All-purpose flour
- 1/4 tsp Baking powder
- 1/4 tsp Baking soda
- 1/2 tsp Salt
- 1/2 cup Black cocoa powder
- 1/2 cup Unsalted butter, melted and cooled
- 3/4 cup Brown sugar, packed light or dark
- 1/4 cup White granulated sugar
- 1 tsp Pure vanilla extract
- 1 Large egg, room temperature
- 1 Egg yolk, room temperature
- 1/3 cup White granulated sugar (for rolling)
White Chocolate Ganache
- 1 cup White chocolate chips, good quality recommended
- 1/3 cup Heavy cream
- Black writing gel (for eyes and mouth)
- White food dye, optional, for extra white ganache
Instructions
Black Cocoa Cookies
- In a medium bowl, thoroughly whisk together the all-purpose flour, black cocoa powder, baking soda, baking powder, and salt. Set this dry mixture aside.
- Using an electric mixer in a separate large bowl, combine the cooled melted butter, brown sugar, and white granulated sugar. Beat on high speed for 2 minutes until light and fluffy.
- Reduce mixer speed to medium. Add the vanilla extract, the large egg, and the egg yolk. Mix until just combined, scraping down the bowl as needed.
- Gradually add the reserved dry ingredients to the wet mixture on low speed. Mix until the flour is just incorporated and no dry pockets remain. Do not overmix.
- Preheat your oven to 350°F (175°C). Line two cookie sheets with parchment paper. Let the cookie dough rest at room temperature for 10 minutes before proceeding.
- Pour the 1/3 cup white granulated sugar into a small bowl for rolling. Use a small cookie scoop (1 oz or 1 Tablespoon) to portion the dough. Roll each cookie dough ball in the sugar until fully coated. Place 12 sugar-coated dough balls evenly spaced on each parchment-lined cookie sheet.
- Bake one cookie sheet at a time for 8-10 minutes. The cookies should be set at the edges but still appear slightly soft in the center.
- Allow the baked cookies to remain on the hot baking sheet for 5 minutes after removing from the oven. Then, carefully transfer them to a wire cooling rack to cool completely before decorating.
White Chocolate Ganache
- Place white chocolate chips into a small, heatproof bowl. Pour the heavy cream into a small saucepan and heat over medium-low heat until it is steaming hot and small bubbles appear around the edges. Do not boil.
- Pour the hot cream over the white chocolate chips. Let it sit undisturbed for 2 minutes. After 2 minutes, stir gently until the ganache is smooth and completely melted. If any lumps remain, microwave in 15-second bursts, stirring between each, until smooth. Optional: Stir in 2-4 drops of white food dye for a brighter white.
- Once cookies are cool, use a 1 teaspoon scoop to place a dollop of white chocolate ganache in the center of each cookie. Using a toothpick, gently spread the ganache to create a “tail” at the bottom and two “arms” on the sides, forming a ghost shape.
- Allow the white chocolate ghosts to set slightly. Then, use black writing gel to draw two eyes and a mouth on each ghost, bringing them to life!
Notes
High Altitude Baking: For altitudes above 3,000 feet, add an extra 1 Tablespoon of flour to help with dough structure and prevent excessive spreading.
Room Temperature Dairy: Ensure all dairy ingredients (butter, eggs) are at room temperature for at least 30 minutes (ideally 2 hours) before baking for best results.
