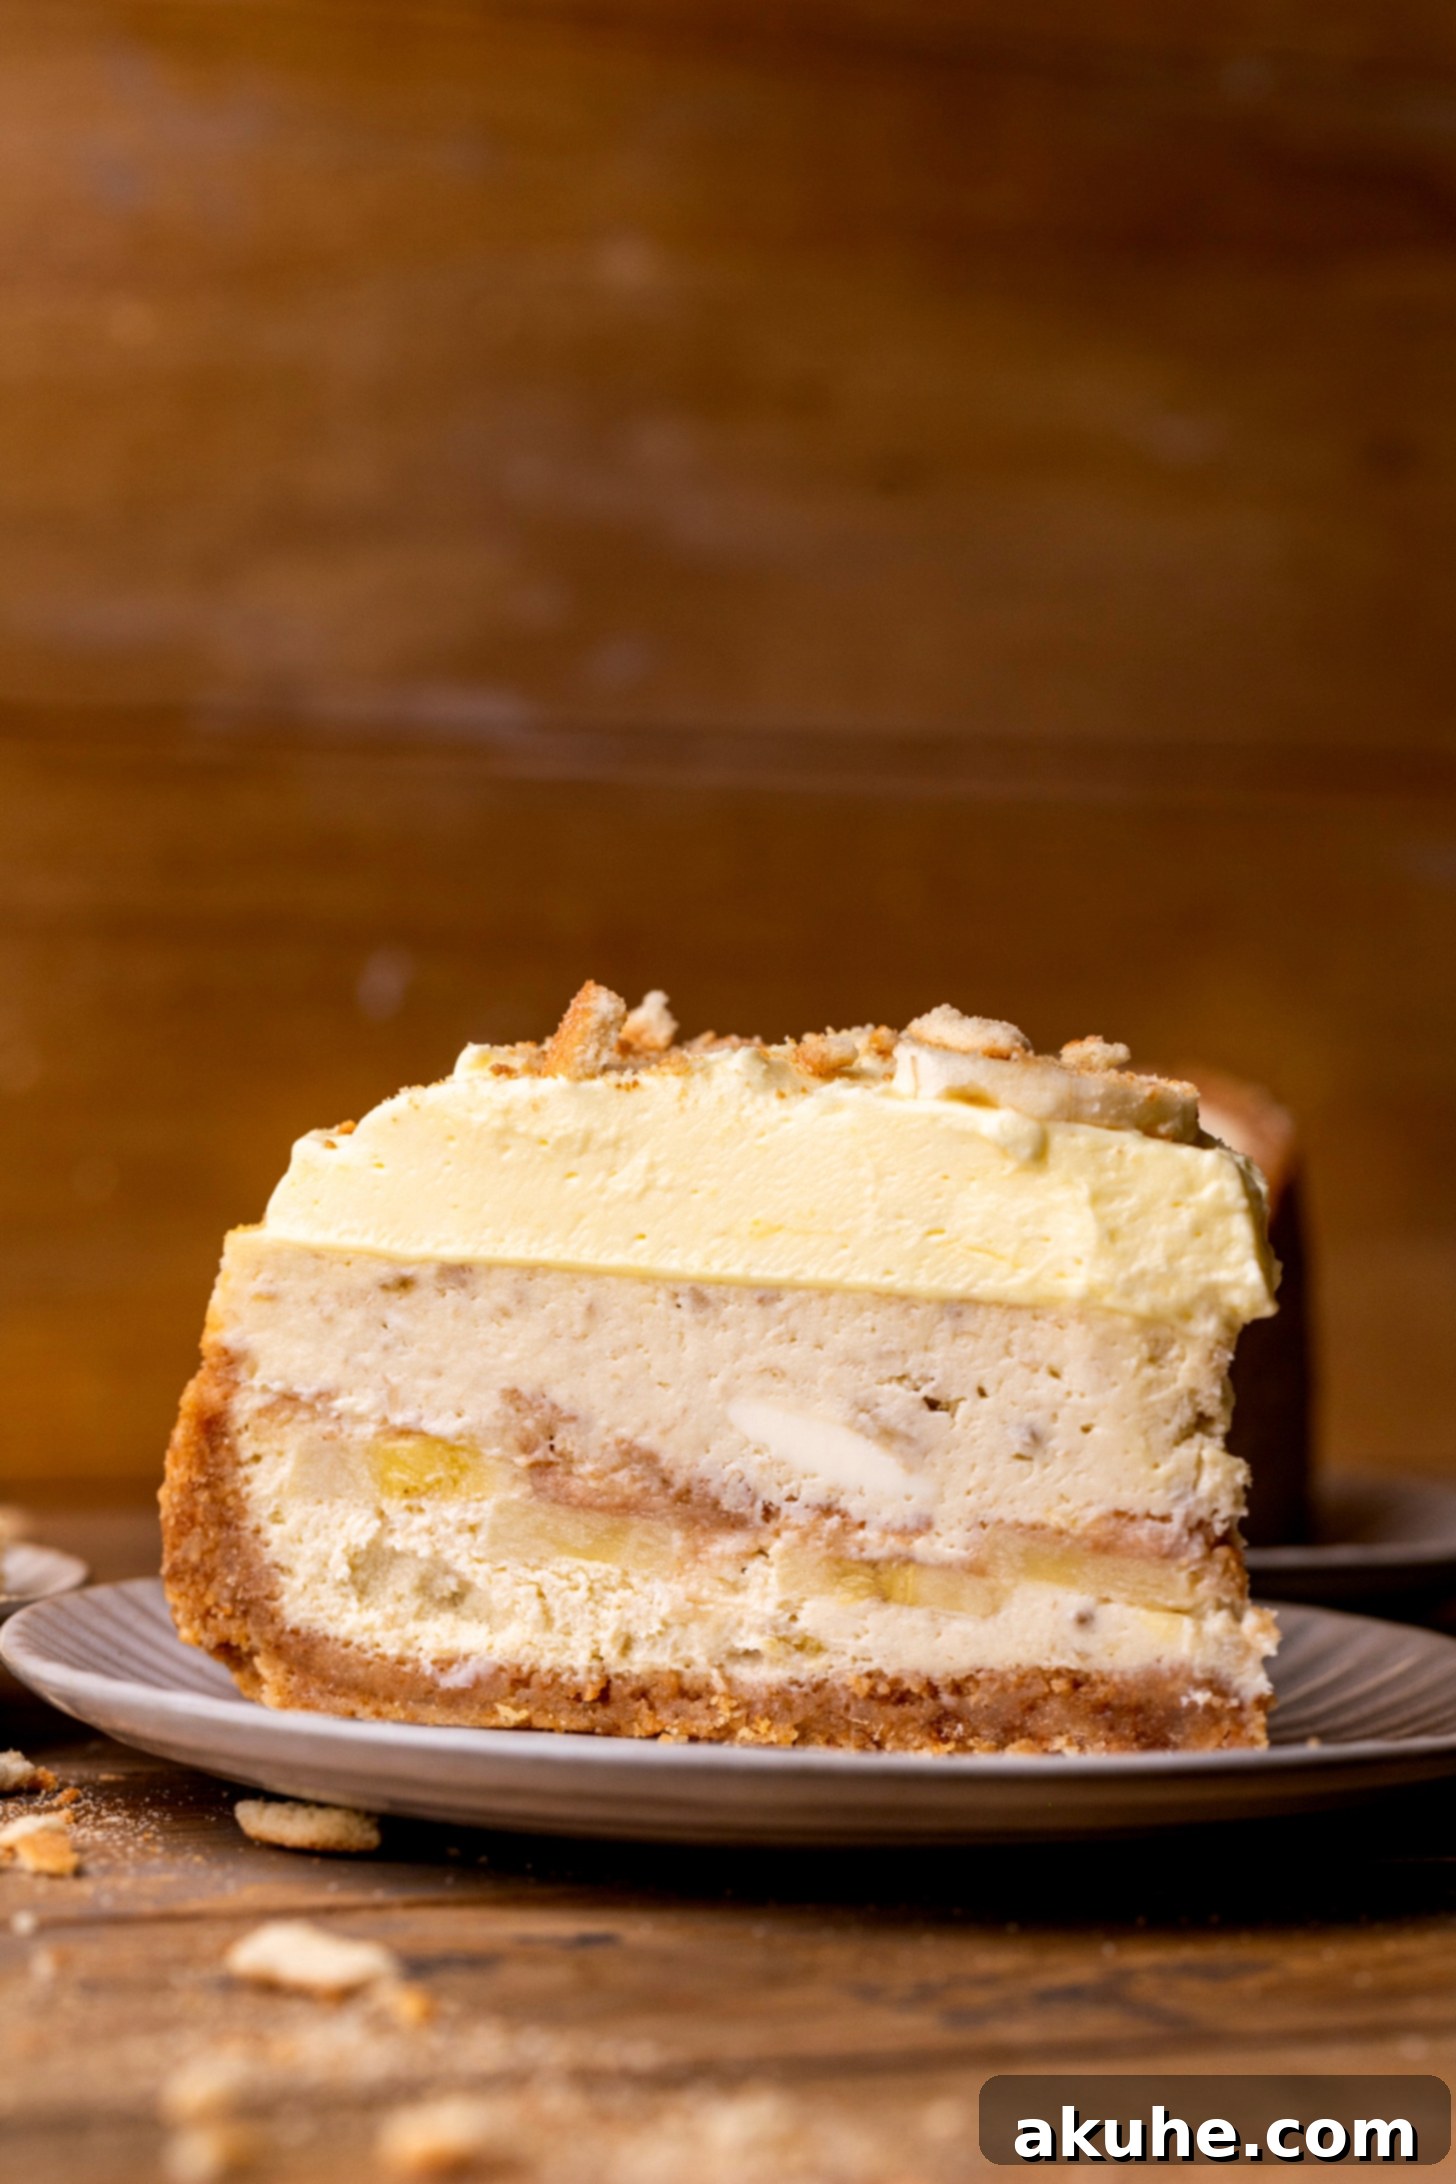
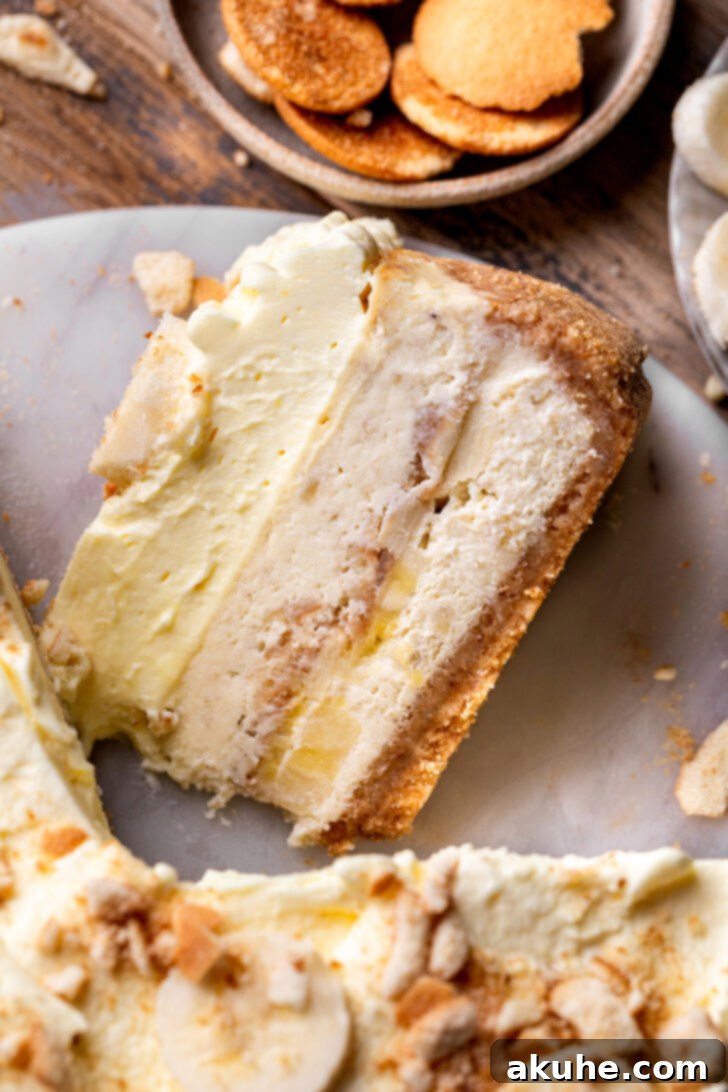
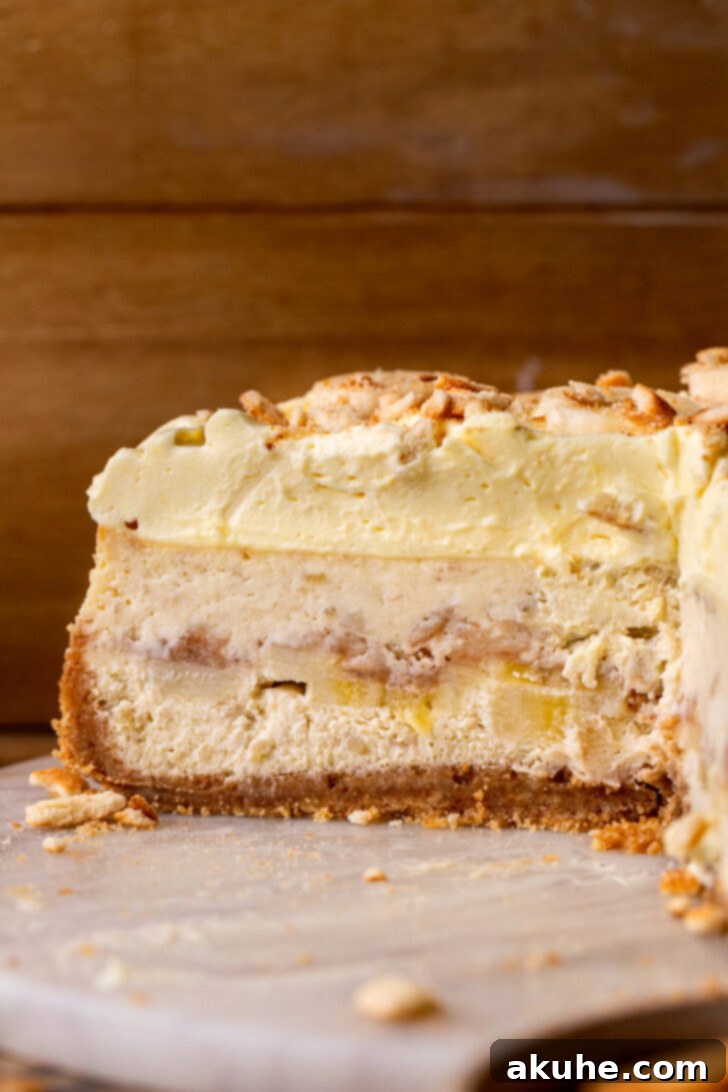
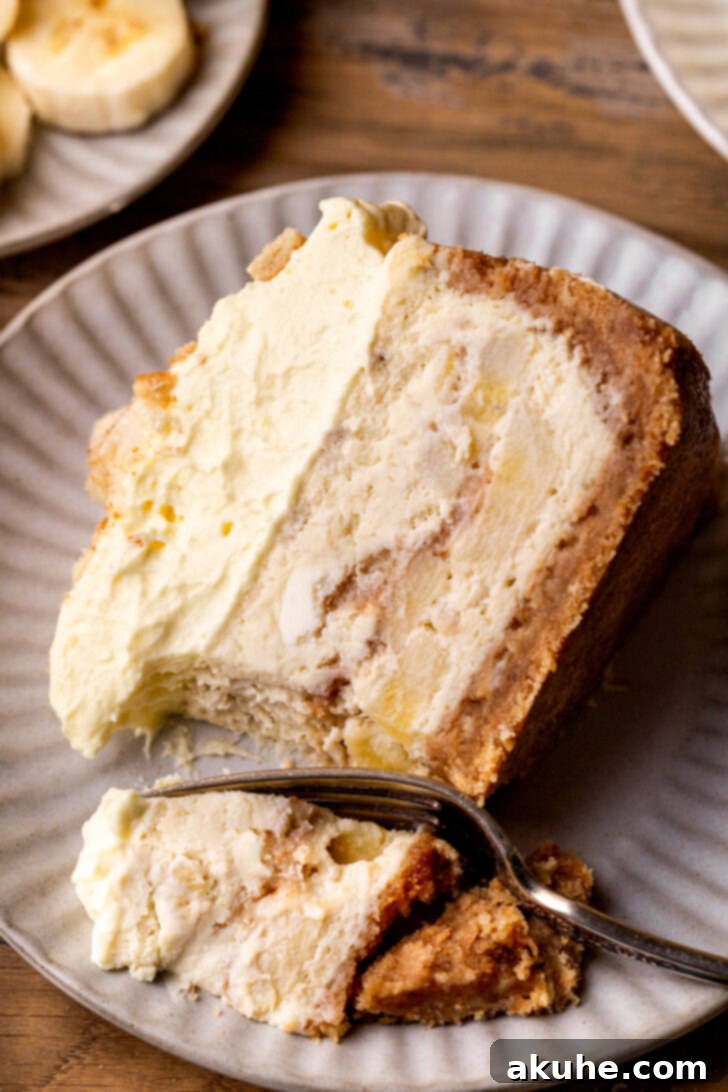
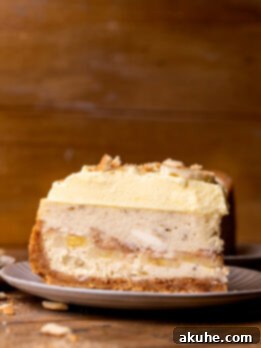
Prepare to be enchanted by a dessert that masterfully combines two beloved classics: the comforting, nostalgic flavors of banana pudding and the sophisticated creaminess of a perfectly baked cheesecake. This isn’t just a dessert; it’s an experience. Our Banana Pudding Cheesecake features a golden, buttery Nilla Wafer crust, a rich, smooth banana-infused cheesecake batter, a delightful surprise layer of fresh banana slices and crushed Nilla Wafers nestled within, all crowned with a cloud of light, whipped vanilla pudding.
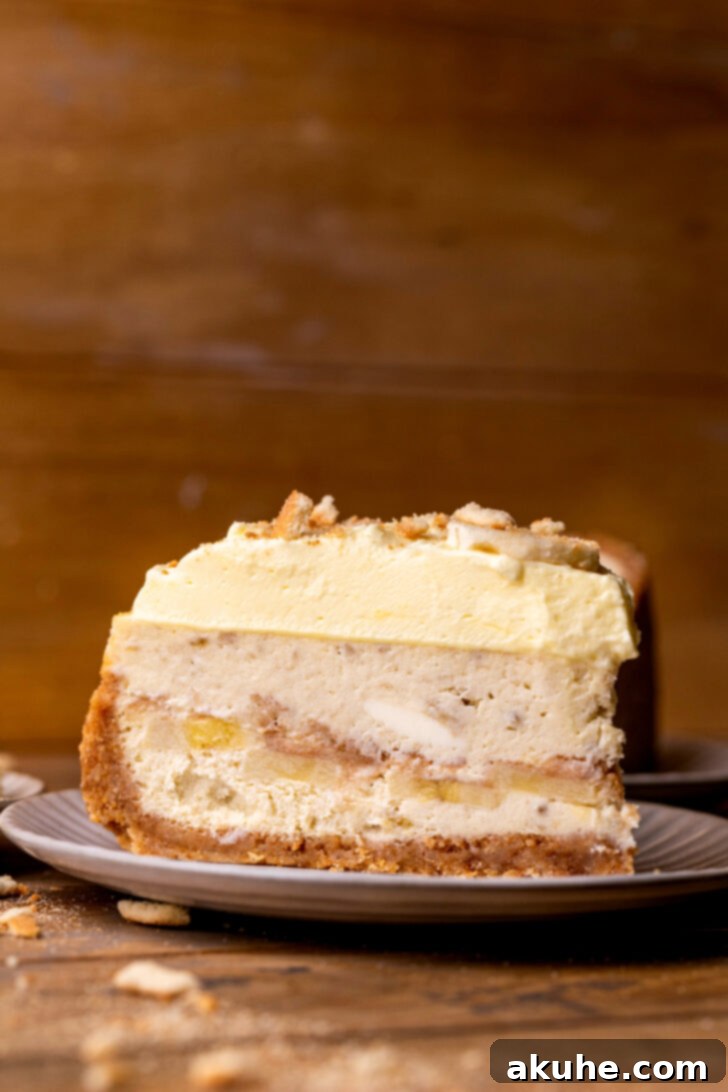
This Banana Pudding Cheesecake promises to be a showstopper at any gathering, a true celebration of flavor and texture. It elevates the classic banana pudding to an entirely new level, marrying its sweet, fruity essence with the decadent, tangy creaminess that makes cheesecake universally adored. Each bite offers a harmonious blend of soft banana, crisp vanilla wafer crunch, and a velvety smooth custard-like filling, culminating in a dessert that’s both familiar and extraordinary. Get ready to impress with this easy-to-follow recipe, complete with expert tips and process photos to guide you every step of the way. If you’re a fan of banana desserts, don’t miss our equally delightful banana pudding cookies for another sweet treat!
Why You’ll Fall in Love with This Banana Pudding Cheesecake
This isn’t just another cheesecake recipe; it’s a culinary masterpiece that brings together the best of two beloved desserts. Here’s why this Banana Pudding Cheesecake will become your new favorite:
- Unforgettable Flavor Fusion: Experience the perfect marriage of sweet, ripe bananas and rich, tangy cream cheese. It’s a delightful balance that truly captures the essence of both banana pudding and classic cheesecake.
- Irresistible Texture Symphony: From the crunchy, buttery Nilla Wafer crust to the silky-smooth banana cheesecake filling, the soft slices of banana, and the airy vanilla pudding topping, every layer contributes to an incredible textural experience.
- Show-Stopping Presentation: With its beautifully layered interior and a luscious whipped topping, this cheesecake is as visually appealing as it is delicious. It’s sure to garner compliments at any dinner party or family gathering.
- Comfort Food Elevated: It takes the nostalgic comfort of homemade banana pudding and elevates it with the elegance and richness of a premium cheesecake, making it a sophisticated yet comforting treat.
- Surprisingly Simple to Master: Despite its impressive appearance, our detailed instructions and expert tips make this recipe accessible for bakers of all skill levels.
Expert Tips for Crafting the Perfect Banana Pudding Cheesecake
Achieving a flawless, crack-free, and incredibly delicious cheesecake is easier than you think with these professional tips and tricks. Follow these guidelines to ensure your Banana Pudding Cheesecake turns out perfectly every time:
- Tip 1: The Right Nilla Wafer Quantity. For the ideal crust, you’ll need approximately 1 full regular-sized box of Nilla Wafers for the base, and an additional half box for the crushed layer within the cheesecake and for garnish. This ensures you have plenty for both structural integrity and bursts of flavor throughout the dessert.
- Tip 2: Room Temperature Dairy is Non-Negotiable. This is crucial for a smooth, lump-free cheesecake batter. Ensure your cream cheese, sour cream, and heavy cream are all at room temperature before you begin mixing. Cold dairy ingredients will result in a lumpy batter and a less uniform texture in your final cheesecake.
- Tip 3: Choose the Right Bananas. While overripe bananas are perfect for banana bread, for this cheesecake, we recommend using bright yellow, firm bananas. These will provide the best flavor and texture within the cheesecake without becoming too mushy during baking. Save your spotty bananas for another recipe!
- Tip 4: Mix Eggs on Low Speed – Gently Does It! Once you add the eggs to your cheesecake batter, mix them on the absolute lowest speed until they are *just* combined. Over-mixing the eggs incorporates too much air, which expands during baking and then collapses as the cheesecake cools, leading to unsightly cracks on the surface.
- Tip 5: The Indispensable Water Bath. A water bath (bain-marie) is your best friend for a perfectly smooth, evenly baked, and crack-free cheesecake. The moist heat prevents the edges from baking faster than the center, ensuring a gentle, consistent rise and fall. We’ll detail two effective methods in the instructions.
- Tip 6: Patience is a Virtue (Especially When Cooling). Do not rush the cooling process! Letting the cheesecake cool slowly in the oven with the door cracked, then at room temperature, and finally chilling it overnight in the refrigerator is vital. This gradual cooling prevents drastic temperature changes that can also cause cracking and ensures the cheesecake sets properly, becoming firm and flavorful.
Crafting the Layers: Filling and Decorating Your Cheesecake
The beauty of this banana pudding cheesecake lies in its thoughtful layers. Here’s how to assemble and adorn your masterpiece for maximum visual appeal and flavor:
Craving more delightful banana recipes? Be sure to try my irresistible banana cake and decadent banana cinnamon rolls!
If you absolutely loved this recipe, please leave a star review to let us know! We’d also love to see your creations – make sure to tag me on Instagram @stephaniesweettreats. For endless baking inspiration and more delicious ideas, follow me on Pinterest.
Recipe Video Guide
Banana Pudding Cheesecake
Stephanie Rutherford
Print Recipe
Pin Recipe
Leave a Review
1 hour
1 hour 25 minutes
6 hours
8 hours 25 minutes
16 slices
Ingredients
Nilla Wafer Crust
- 1 box Nilla Wafers
- 2 TBSP Brown sugar, packed light or dark
- 1/2 cup Unsalted butter, melted
Banana Cheesecake
- 24 oz Cream cheese, room temperature
- 3/4 cup White granulated sugar
- 1 tsp Pure vanilla extract
- 2 Bananas, mashed
- 1/2 cup Sour cream, room temperature
- 1/4 cup Heavy cream, room temperature
- 4 Large eggs, room temperature
- 1 cup Crushed Nilla wafers
- 2 Bananas, sliced thinly
Whipped Vanilla Pudding
- 1 package Instant vanilla pudding, 3.4 oz
- 1 cups Milk, cold
- 1 tsp Pure vanilla extract
- 1 cup Heavy cream, cold
- Crushed Nilla Wafers, for decorating
Instructions
Nilla Wafer Crust
- Preheat your oven to 325℉ (160°C). Prepare a 9-inch springform pan by spraying it thoroughly with baking nonstick spray. Line the bottom with a precisely cut 9-inch parchment paper circle and spray it again. This double layer of protection ensures your crust won’t stick.
- In a food processor, blend the Nilla Wafers until they form a very fine, consistent crumb. Add the brown sugar and melted unsalted butter to the food processor and pulse until well combined, creating a moist, sandy mixture.1 box Nilla Wafers, 2 TBSP Brown sugar, 1/2 cup Unsalted butter
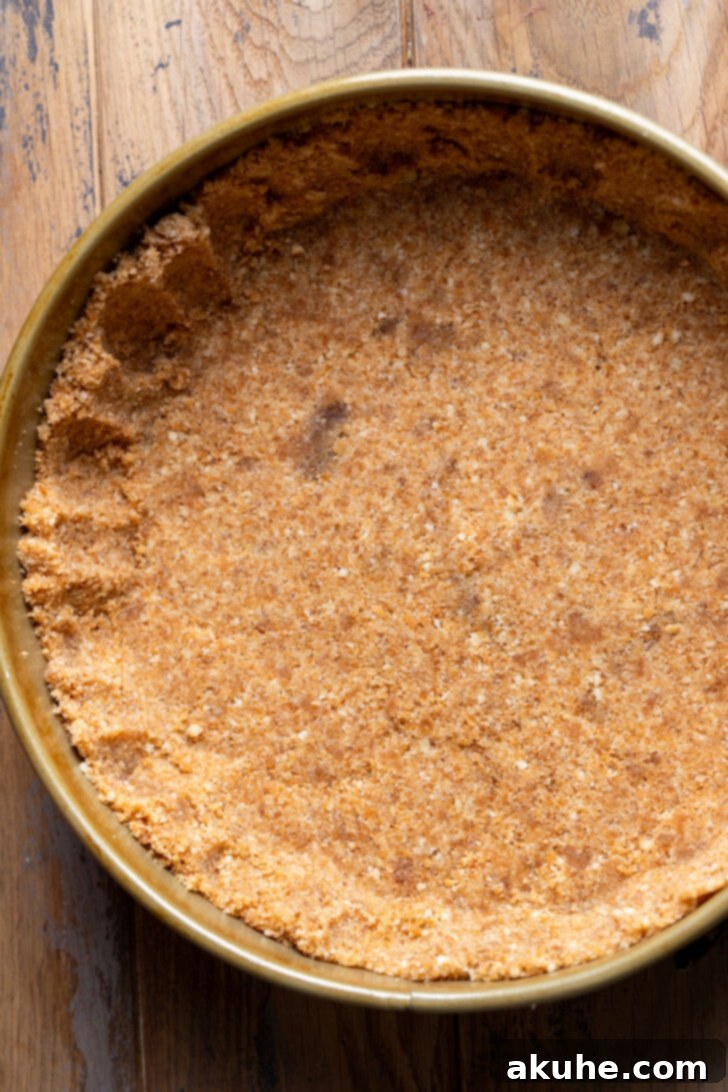
- Pour the crumb mixture into the prepared springform pan. Press the crust firmly and evenly across the bottom and about halfway up the sides of the pan. Using the flat bottom of a measuring cup or glass can help you achieve a compact, uniform crust.
- Bake the crust for 11 minutes. This short bake helps to set the crust, making it sturdy and deliciously crisp. Remove from the oven and let it cool slightly while you prepare the filling.
Banana Cheesecake
- In the bowl of a stand mixer fitted with the paddle attachment (or using a hand mixer), beat the room temperature cream cheese and granulated sugar on high speed for approximately 2 minutes. The mixture should be light, fluffy, and completely smooth. Be sure to stop and scrape down the sides and bottom of the bowl with a rubber spatula to ensure everything is fully incorporated.24 oz Cream cheese, 3/4 cup White granulated sugar
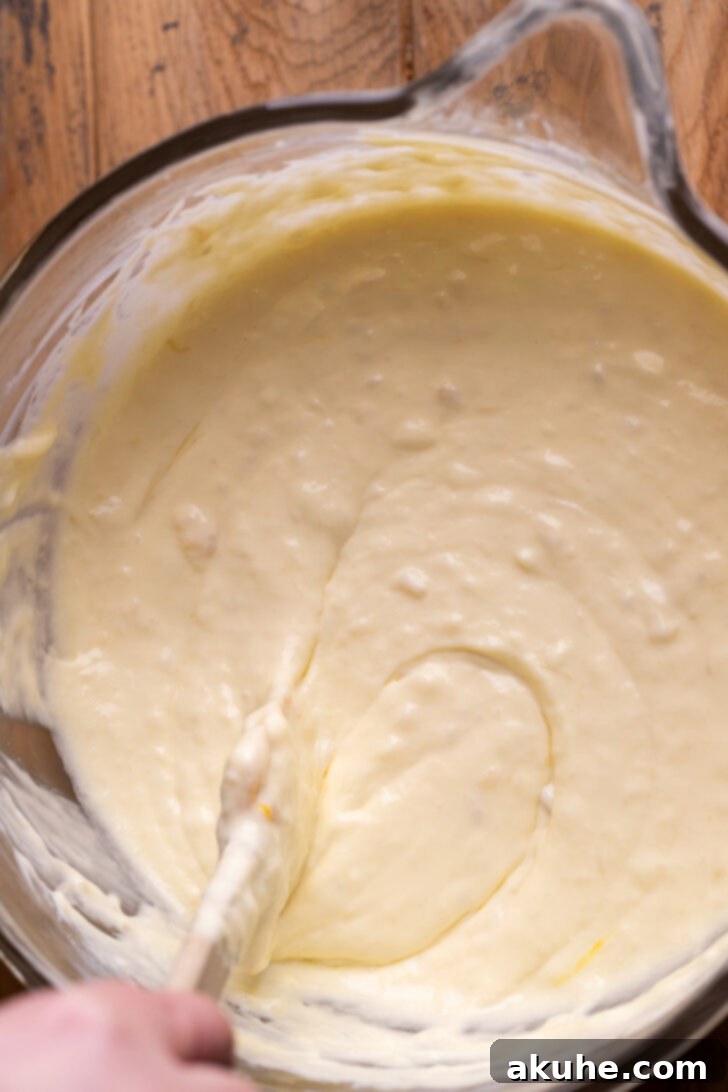
- Ensure the 2 bananas for the batter are thoroughly mashed – almost to a puree consistency. Add the mashed bananas, pure vanilla extract, room temperature sour cream, and room temperature heavy cream to the cream cheese mixture. Mix on medium speed until all ingredients are well combined. Don’t worry if the batter appears slightly lumpy from the bananas; this is expected and adds to the rustic banana pudding character.1 tsp Pure vanilla extract, 2 Bananas, 1/2 cup Sour cream, 1/4 cup Heavy cream
- Add the 4 large, room temperature eggs to the batter. Mix on the lowest speed possible until the eggs are *just* incorporated. Over-mixing at this stage can introduce too much air, leading to cracks. Remove the bowl from the mixer and give it one final scrape with your rubber spatula to ensure everything is evenly mixed.4 Large eggs
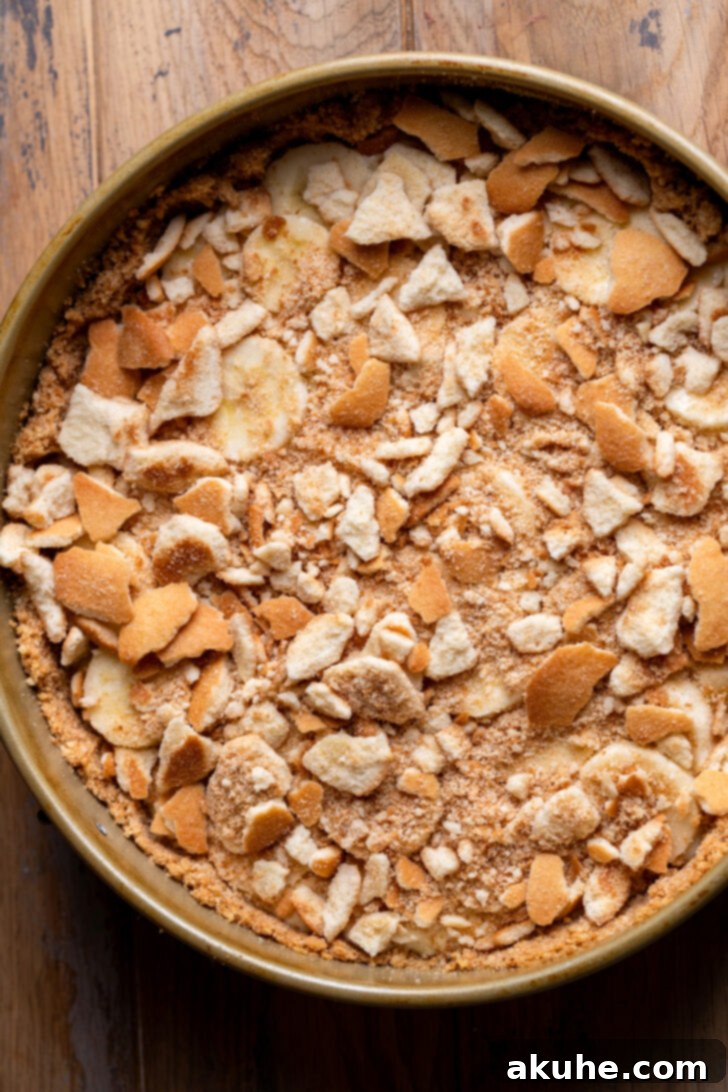
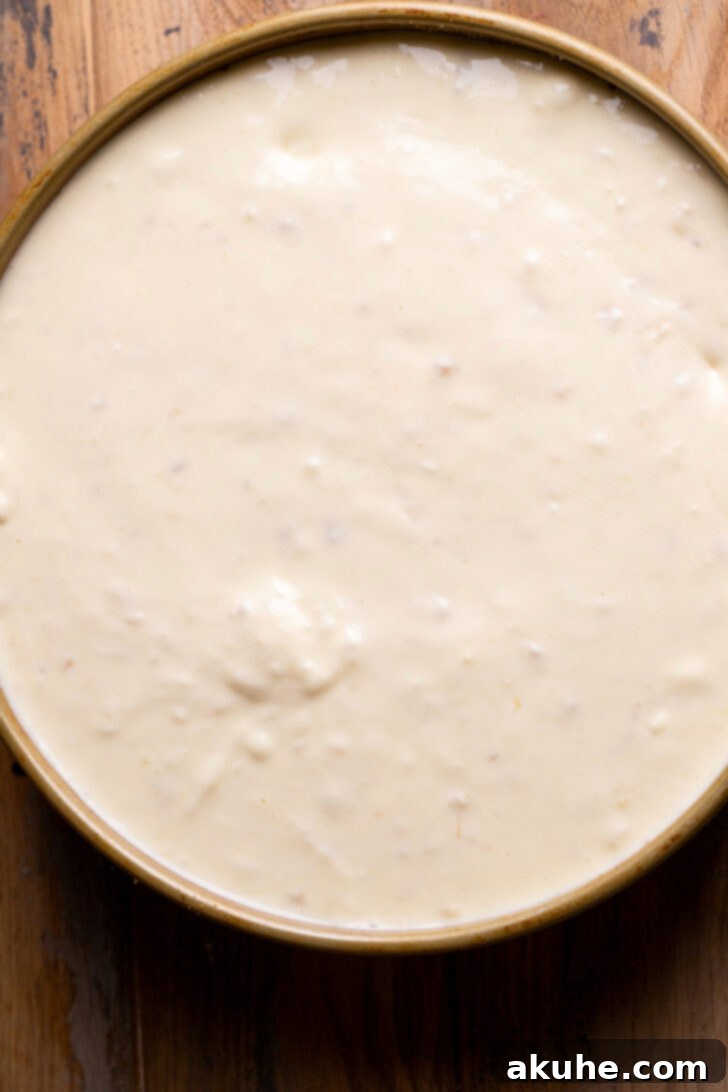
- Pour half of the prepared cheesecake batter evenly over the cooled Nilla Wafer crust. Arrange the thinly sliced bananas over this layer, creating a uniform blanket. Then, sprinkle half of the crushed Nilla Wafers over the bananas. Finally, carefully pour the remaining cheesecake batter on top, gently spreading it to cover the bananas and wafers completely.1 cup Crushed Nilla wafers, 2 Bananas
- Prepare your water bath. This is a critical step for a smooth, crack-free cheesecake. You will need a large roasting pan and hot, steaming water.
Method 1 (Recommended for No Leaks): Place your 9-inch springform pan inside a slightly larger 10-inch round cake pan. Place the cake pan (containing the springform pan) into the large roasting pan. Carefully fill the roasting pan with hot water, ensuring it comes halfway up the sides of the 10-inch cake pan. This method provides an extra barrier against water seeping into your crust.
Method 2 (Direct Water Bath): Tightly wrap the bottom and sides of your 9-inch springform pan with two layers of heavy-duty aluminum foil. Ensure there are no gaps for water to enter. Place the foil-wrapped springform pan directly into the large roasting pan. Fill the roasting pan with hot water halfway up the sides of the springform pan. While effective, this method occasionally runs the risk of water leakage if not wrapped perfectly.
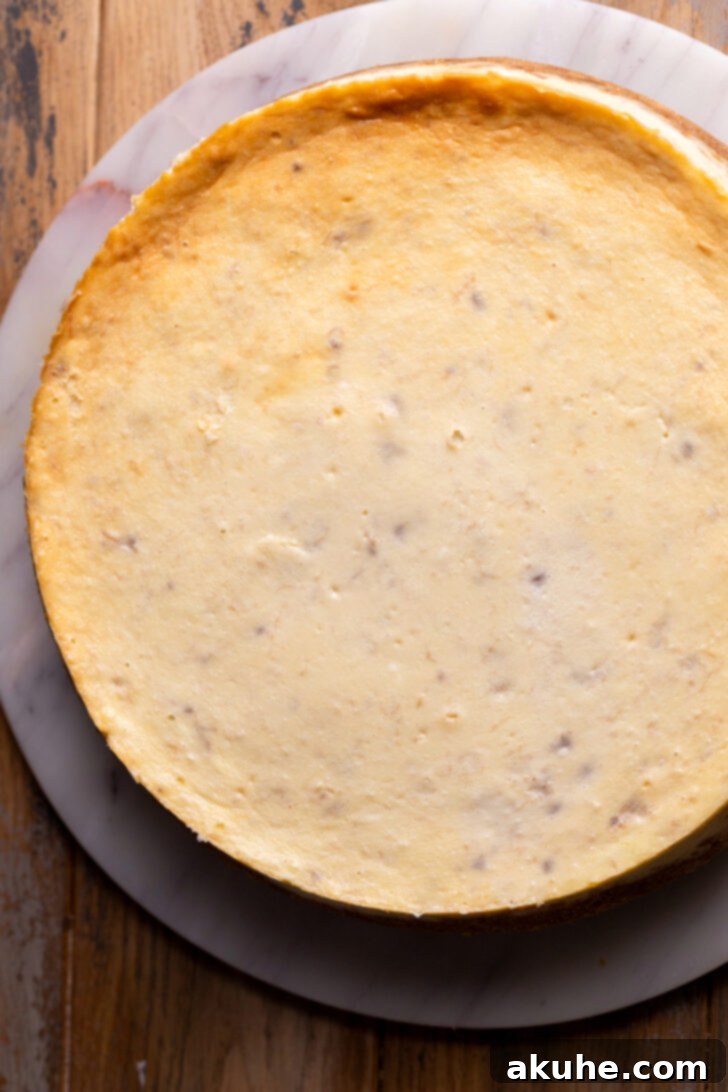
- Carefully transfer the roasting pan with the cheesecake (and water bath) to the preheated 325℉ (160°C) oven. Bake for 80-90 minutes. The cheesecake is done when the edges are set and appear slightly puffed, but the very center still has a slight jiggle when gently nudged. Do not overbake!
- Once baked, turn off the oven, but do not remove the cheesecake immediately. Crack open the oven door a few inches and let the cheesecake slowly cool inside for 30 minutes. This gradual cooling helps prevent cracks. After 30 minutes, carefully remove the springform pan from the water bath (discard the water) and place the cheesecake on a wire cooling rack to cool completely to room temperature.
- Once cooled to room temperature, wrap the springform pan (with the cheesecake still inside) tightly with aluminum foil or plastic wrap. Transfer it to the refrigerator and chill for at least 6 hours, or ideally, overnight. This crucial chilling period allows the cheesecake to firm up, develop its full flavor, and become sliceable.
Whipped Vanilla Pudding Topping
- In a large mixing bowl, combine the instant vanilla pudding powder and cold milk. Using a hand mixer (or stand mixer with whisk attachment), beat the pudding on medium speed for 2 minutes until it begins to thicken. Place the bowl in the fridge to chill further while you prepare the whipped cream.1 package Instant vanilla pudding, 1 cups Milk
- In a separate, very cold metal bowl (chilling your bowl and whisk attachment beforehand can help!), beat the cold heavy cream and 1 tsp pure vanilla extract on high speed using a whisk attachment. Continue beating until stiff peaks form. The cream should hold its shape firmly.1 tsp Pure vanilla extract, 1 cup Heavy cream
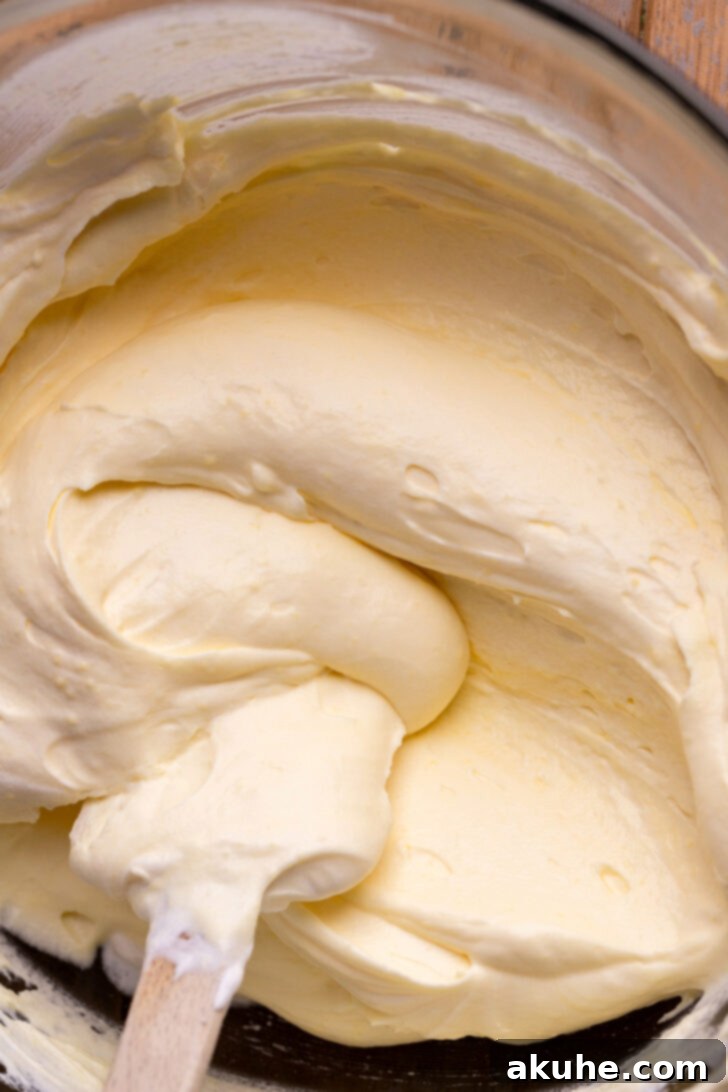
- Retrieve the chilled pudding from the fridge. Gently pour the freshly whipped cream into the bowl of pudding. Using a rubber spatula, carefully fold the whipped cream into the pudding until completely combined. Be gentle with your folding to avoid deflating the air you’ve incorporated into the cream, which keeps the topping light and fluffy.
- Once the cheesecake is thoroughly chilled, remove it from the refrigerator. Carefully unlatch the springform pan and remove the sides. Gently slide the cheesecake off the base and peel away the parchment paper from the bottom.
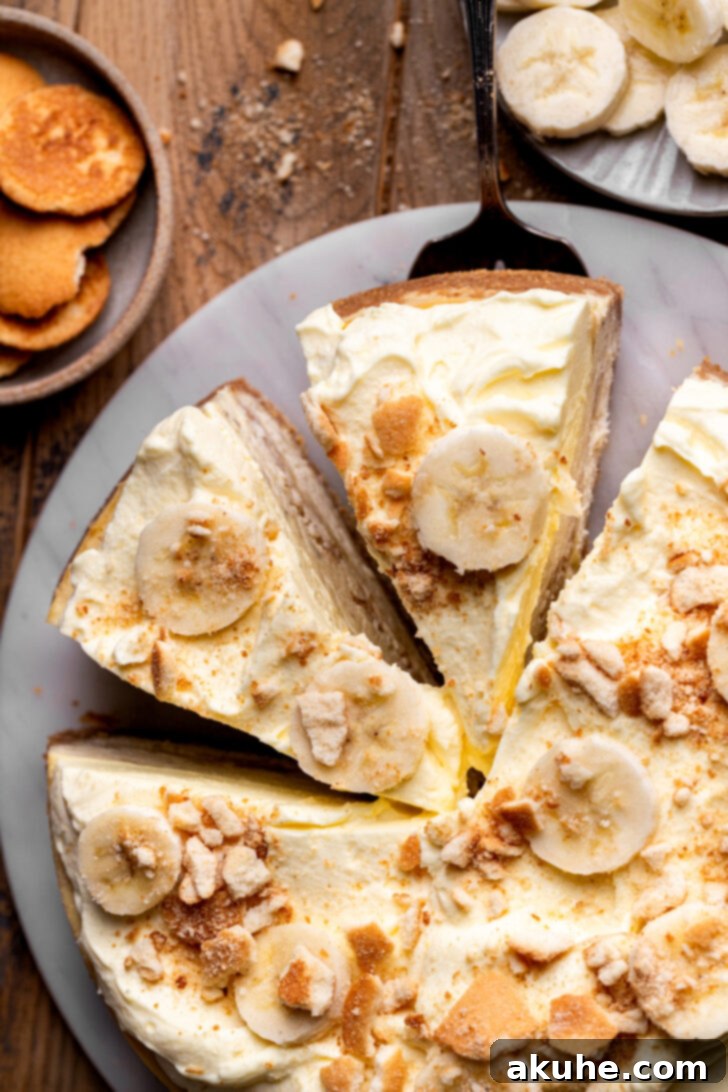
- Evenly spread the prepared whipped vanilla pudding mixture over the top of the chilled cheesecake. For a final flourish, sprinkle the remaining crushed Nilla Wafers around the edges or over the entire surface of the pudding. Slice and serve your magnificent Banana Pudding Cheesecake!Crushed Nilla Wafers
Notes
Calories: 370kcal
,
Carbohydrates: 28g
,
Protein: 4g
,
Fat: 28g
,
Saturated Fat: 17g
,
Polyunsaturated Fat: 1g
,
Monounsaturated Fat: 7g
,
Trans Fat: 0.2g
,
Cholesterol: 82mg
,
Sodium: 189mg
,
Potassium: 228mg
,
Fiber: 1g
,
Sugar: 23g
,
Vitamin A: 1076IU
,
Vitamin C: 3mg
,
Calcium: 93mg
,
Iron: 0.2mg
Did you make this recipe?
Please leave a star rating and review below!
Serving and Storage Suggestions
To fully appreciate the delightful layers and flavors of your Banana Pudding Cheesecake, it’s best served chilled. Here are some ideas for serving and ensuring its freshness:
- Garnish for Elegance: Before serving, consider adding a few fresh banana slices (tossed lightly in lemon juice to prevent browning) and a sprinkle of extra crushed Nilla Wafers, or even a delicate drizzle of caramel sauce for an extra touch of indulgence.
- Perfect Pairing: This cheesecake is rich and satisfying on its own, but it pairs beautifully with a light cup of coffee or a cold glass of milk.
- Storage: Store leftover Banana Pudding Cheesecake in an airtight container in the refrigerator. It will stay fresh and delicious for 3-4 days. The Nilla Wafers will soften over time, but the flavors will continue to meld beautifully.
- Make-Ahead Tips: The cheesecake base (without the pudding topping) can be baked and chilled for up to 2 days in advance. Prepare the whipped vanilla pudding and assemble the cheesecake just a few hours before serving for the freshest texture.
- Freezing: While the cheesecake itself can be frozen (without the pudding topping, which doesn’t freeze well), the banana layers may change texture slightly upon thawing. If freezing, wrap the baked and cooled cheesecake (without topping) tightly in plastic wrap, then in foil. It can be frozen for up to 1 month. Thaw in the refrigerator overnight before adding the fresh pudding topping.
Frequently Asked Questions (FAQ)
Here are answers to some common questions about making this Banana Pudding Cheesecake:
- Can I use a different type of crust? Absolutely! While Nilla Wafers are traditional for banana pudding, you could use a graham cracker crust as an alternative. Just substitute the Nilla Wafer crumbs with an equal amount of graham cracker crumbs.
- How do I prevent my cheesecake from cracking? The key is a consistent baking temperature (achieved with a water bath), gentle mixing of the eggs (avoiding excess air), and gradual cooling (first in the oven with the door cracked, then at room temperature, and finally in the fridge).
- My cheesecake batter looks lumpy, is that normal? Yes, when incorporating mashed bananas, the batter will have a slightly lumpy texture. This is completely normal and contributes to the authentic banana flavor in the finished cheesecake.
- Can I use homemade vanilla pudding? Yes, you can! If you prefer a homemade vanilla pudding for the topping, ensure it is thick and well-chilled before folding in the whipped cream.
- What if I don’t have a springform pan? While a springform pan makes removal very easy, you can use a regular 9-inch round cake pan. Line it completely with parchment paper, leaving an overhang on the sides to create “handles.” Once chilled, you can lift the cheesecake out using these handles.
This Banana Pudding Cheesecake is more than just a recipe; it’s a delightful journey for your taste buds, combining the best of two beloved desserts into one unforgettable treat. Its rich flavors, varied textures, and beautiful presentation make it perfect for any occasion, from casual family dinners to festive celebrations. We encourage you to try it and experience the magic for yourself. Happy baking!
