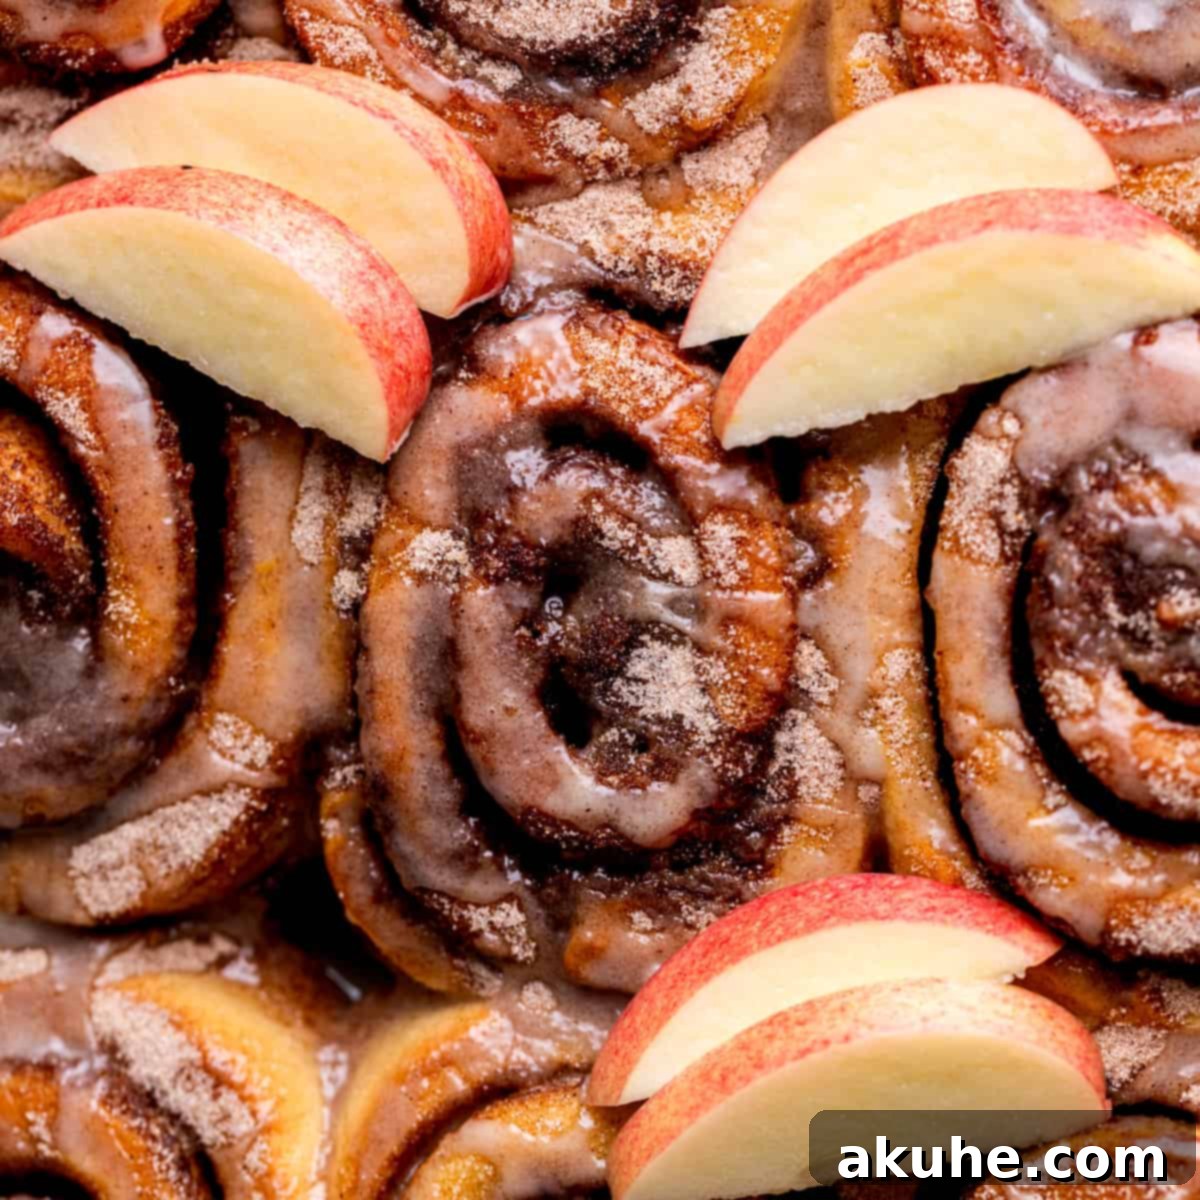
Welcome to the ultimate guide for crafting the most exquisite **Apple Cider Cinnamon Rolls** you’ll ever taste! Imagine waking up to the irresistible aroma of warm spices, sweet apple cider, and freshly baked dough filling your home. These aren’t just any cinnamon rolls; they feature a delicate, flavorful apple cider dough, a luscious cinnamon filling, and are baked to perfection in a bath of heavy cream. Each roll is then generously brushed with butter-infused apple cider, topped with a delightful cinnamon sugar crunch, and finished with a vibrant apple cider glaze. This recipe transforms a classic comfort food into a seasonal masterpiece, perfect for cozy autumn mornings or festive holiday brunches.
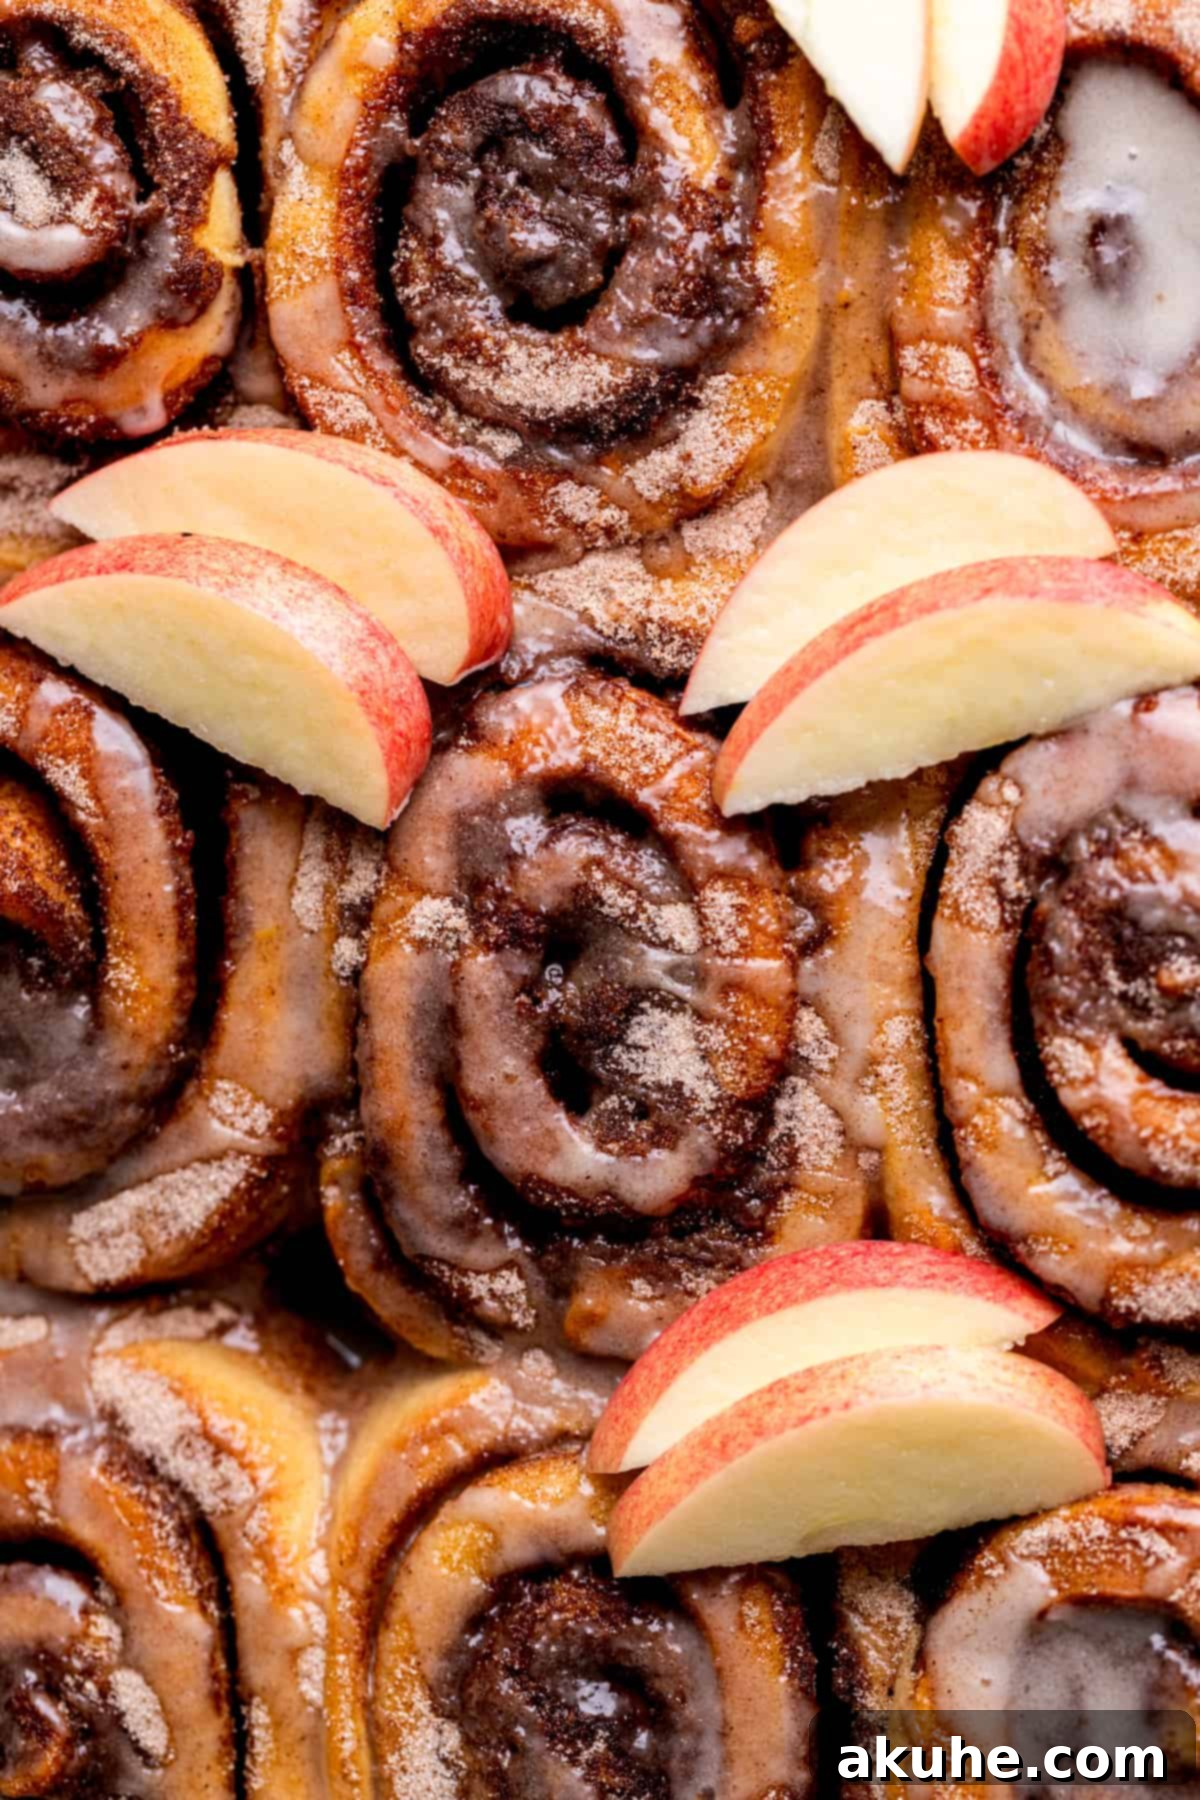
There’s something truly magical about the fall season, and for many, it’s synonymous with crisp apples, warm cider, and the comforting embrace of baked goods. Our **homemade apple cider cinnamon rolls** capture that essence perfectly. They evoke the nostalgic taste of fresh apple cider donuts from a local orchard, but in a supremely soft, pillowy cinnamon roll form. This recipe goes beyond the ordinary, delivering tender, flavorful cinnamon buns that might just earn the title of the BEST homemade cinnamon roll recipe you’ll ever encounter.
If you’re a devoted fan of cinnamon rolls and eager to explore more delightful variations, be sure to try our Chocolate Chip Cinnamon Rolls for a decadent twist, our Mini Cinnamon Rolls for bite-sized indulgence, or our playful Cookie Dough Cinnamon Rolls for an extra special treat.
Why These Apple Cider Cinnamon Rolls Are Unforgettable
What sets these apple cider cinnamon rolls apart and makes them a must-try recipe? It’s a combination of thoughtfully selected ingredients and clever baking techniques that elevate them from simple pastries to a truly unforgettable experience. Here’s why this recipe deserves a prime spot in your baking repertoire:
- Authentic Apple Cider Flavor Throughout: The star of this recipe is undoubtedly the vibrant apple cider. We don’t just add a splash; concentrated apple cider is incorporated directly into the dough, infusing every bite with that delightful, tangy-sweet apple essence. This flavor is then beautifully echoed in the final glaze, creating a cohesive and deeply satisfying apple experience that is simply perfect for apple season when orchards are brimming with fresh cider.
- Irresistible Cinnamon Sugar Coating: Just like your favorite apple cider donuts, these rolls boast a generous cinnamon sugar coating. This isn’t merely for sweetness; it adds a wonderful textural contrast and an extra layer of warm spice that perfectly complements the apple notes. The subtle crunch and aromatic flavor transform each roll into a truly indulgent bite, reminiscent of classic fall treats.
- Convenient Prep-Ahead Option: Life is busy, but delicious homemade treats shouldn’t be out of reach. This recipe is designed with flexibility in mind, offering a fantastic make-ahead option. You can prepare the dough the night before, allowing it to undergo a slow, cold rise in the refrigerator. This not only deepens the flavor of the dough but also means you can wake up and simply finish the baking process, enjoying warm, fresh cinnamon rolls with minimal effort on a busy morning. Just follow our simple overnight instructions for the dough rise.
- Remarkably Soft and Fluffy Texture: Achieving the perfect cinnamon roll texture is crucial, and this recipe delivers rolls that are incredibly soft, light, and pillowy. The careful balance of ingredients, precise kneading, and the unique method of baking them in heavy cream contribute to an unbelievably tender crumb that melts in your mouth.
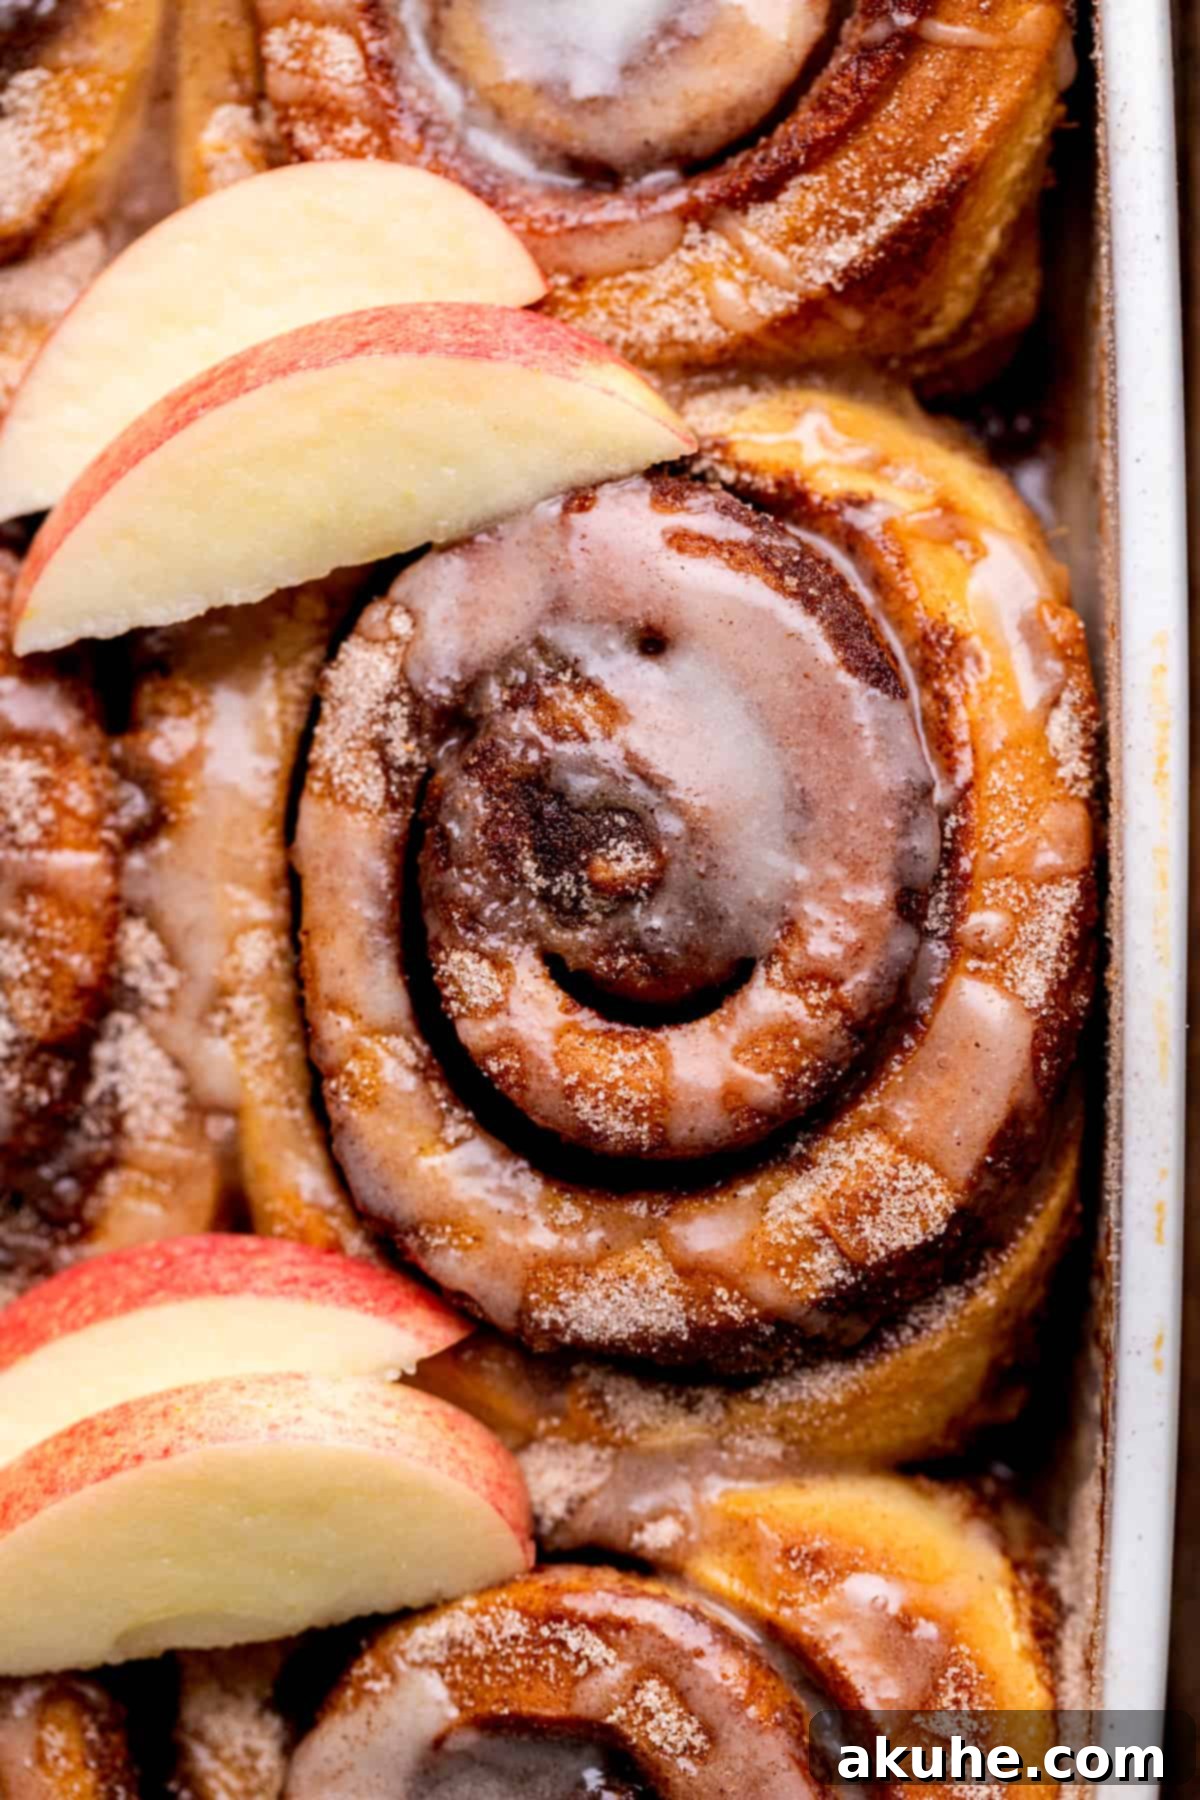
Essential Ingredient Notes for Perfect Apple Cinnamon Rolls
Baking is often a science, and understanding your ingredients is key to achieving consistent, delicious results. Here are some detailed notes on the specific ingredients used in this **apple cider cinnamon roll recipe** to ensure your success. For a comprehensive list of quantities, please refer to the recipe card below.
- Unsalted Butter: The quality of your butter significantly impacts the flavor and texture of these rolls. Always use unsalted butter to control the overall salt content of your bake. For optimal creaminess in the dough and filling, ensure your butter is softened to room temperature. This usually means pulling it out of the refrigerator at least two hours before you plan to start baking. Softened butter incorporates more evenly, creating a smoother dough and filling.
- Milk: Any type of milk (whole, 2%, or even a dairy-free alternative if substituting) will work, but its temperature is critical for yeast activation. You’ll need to warm the milk to precisely 110°F (43°C). If the milk is too hot, it can kill the yeast, preventing your dough from rising. If it’s too cool, the yeast’s activity will be dramatically slowed down, resulting in a dense dough. A quick microwave zap for about 40 seconds is usually sufficient, but always check with a thermometer.
- Active Dry Yeast: This recipe calls for one packet of active dry yeast, which is typically 2 1/4 teaspoons. Active dry yeast needs to be “activated” or bloomed in warm liquid before being added to the dry ingredients, confirming its potency. It is generally interchangeable with instant yeast in most recipes, but avoid using “fast-rise” or “rapid-rise” yeast as it behaves differently and can alter the timing and texture of the dough in this recipe.
- Eggs: Large eggs are standard in baking for a reason – they provide structure, richness, and help with leavening. Like butter, eggs should be at room temperature before use. This allows them to emulsify better with other ingredients, creating a more uniform dough. Don’t forget to lightly beat them before adding them to your flour mixture for even distribution.
- Brown Sugar: Whether you choose light or dark brown sugar, both will lend a beautiful caramel note and moist texture to your cinnamon filling. Light brown sugar offers a milder molasses flavor, while dark brown sugar provides a richer, deeper taste. Both work wonderfully, so use whichever you prefer or have on hand.
- Powdered Sugar (Confectioners’ Sugar): This fine sugar is essential for achieving a silky-smooth apple cider glaze. To prevent any grittiness or lumps in your icing, always sift powdered sugar before mixing it with the apple cider. This simple step ensures a beautifully smooth and pourable glaze that evenly coats your warm rolls.
- Apple Cider: For the most pronounced and authentic apple flavor, use high-quality, unsweetened apple cider. Reducing the cider concentrates its natural sweetness and tartness, making the apple flavor truly shine in both the dough and the glaze.
Smart Ingredient Substitutions and Adaptations
While this recipe is crafted for optimal flavor and texture, we understand that dietary needs and preferences vary. Here are some potential ingredient substitutions to help you adapt these **apple cider cinnamon rolls**:
- Dairy-Free Option: For those with dairy sensitivities or preferences, this recipe is quite adaptable. You can confidently use your favorite dairy-free milk alternatives (such as almond milk, soy milk, or oat milk), dairy-free butter substitutes, and even dairy-free heavy cream alternatives. Ensure your dairy-free milk is warmed to the correct temperature for yeast activation, just as you would with traditional milk.
- Gluten-Free Option: While I haven’t personally tested this recipe with gluten-free flour, many readers have successfully adapted similar recipes. If you plan to try a gluten-free version, I recommend using a high-quality, all-purpose gluten-free flour blend that contains xanthan gum. Please note that gluten-free doughs can behave differently and may require slight adjustments to liquid content or kneading time. If you do experiment with a gluten-free flour blend, I’d love to hear about your results!
Step-by-Step Instructions: Crafting the Apple Cider Dough and Cinnamon Filling
Making these **homemade apple cider cinnamon rolls** is a rewarding process, and following these detailed steps will guide you to a perfect batch. This section covers preparing the flavorful dough and the rich, spiced filling.
STEP 1: Reduce the Apple Cider for Intense Flavor. Begin by pouring 1 cup of apple cider into a small saucepan. Place it over medium-high heat on your stove. Bring the cider to a gentle simmer and let it reduce, stirring occasionally, until only about 1/2 cup of concentrated liquid remains. This reduction process intensifies the apple flavor, which is crucial for our dough. Once reduced, pour the apple cider into a separate bowl and allow it to cool completely before proceeding. This step is vital to prevent the hot cider from affecting your yeast.
STEP 2: Activate the Yeast. In a microwave-safe bowl or measuring cup, heat 1/2 cup of milk for approximately 40 seconds, or until it reaches a temperature of 110°F (43°C). It’s essential to use a thermometer to ensure accuracy, as too hot or too cold milk will compromise the yeast. Once the milk is at the correct temperature, sprinkle the active dry yeast evenly over the surface. Let the mixture sit undisturbed for about 10 minutes. During this time, the yeast will activate, becoming foamy and fragrant, indicating it’s alive and ready to work its magic.
STEP 3: Prepare the Flour Mixture and Knead in Butter. Sift 4 1/2 cups of all-purpose flour into a large mixing bowl. Sifting ensures a lighter texture and removes any lumps. Add 1/4 cup of white granulated sugar and 1 teaspoon of salt to the flour, then whisk them together to combine. Next, add the 10 tablespoons of cubed, room-temperature unsalted butter. Using a pastry blender or your fingertips, work the butter into the flour mixture until it resembles coarse crumbs, with butter lumps no larger than the size of a small pea. This technique creates pockets of butter in the dough, contributing to its tender texture.
STEP 4: Form the Apple Cider Dough. Pour the cooled reduced apple cider, the activated yeast and milk mixture, and the 2 lightly beaten eggs into the flour and butter mixture. If you’re using a stand mixer, attach the dough hook and mix on low speed until all ingredients are just combined and a shaggy dough begins to form. Be careful not to overmix at this stage. (If you are kneading by hand, please refer to the detailed notes in the recipe card for specific instructions on hand-kneading.)
STEP 5: Knead the Dough to Perfection. Increase the stand mixer speed to medium and continue to knead the dough for 5 minutes. During this time, the dough will become smooth, elastic, and less sticky. While the mixer is running, lightly spray a separate large mixing bowl with nonstick cooking spray. Once the kneading is complete, carefully remove the dough from the mixer and transfer it to the prepared bowl, turning it once to coat lightly with the spray.
STEP 6: First Rise for Optimal Flavor and Texture. You have two excellent options for the first rise:
- For immediate baking: If you plan to bake the rolls on the same day, preheat your oven to its lowest setting, usually 200°F (93°C). Once preheated, immediately turn OFF the oven. Cover the bowl with a clean kitchen towel and place it inside the warm, turned-off oven, leaving the oven door cracked open slightly. Let the dough rise for 1 hour, or until it has visibly doubled in size.
- For overnight rising (recommended for deeper flavor): For enhanced flavor and convenience, cover the bowl tightly with plastic wrap or aluminum foil and place it in the refrigerator overnight. A slow, cold rise develops more complex flavors in the dough and makes it easier to work with the next morning.
STEP 7: Prepare the Rich Cinnamon Filling. In a small bowl, combine 1/2 cup of room-temperature unsalted butter with 3/4 cup of packed brown sugar (light or dark), 1 tablespoon of ground cinnamon, and 1/4 teaspoon of ground nutmeg. Using a hand mixer on high speed, beat these ingredients together until the filling is light, fluffy, and soft. This ensures it spreads easily and evenly.
Step-by-Step Instructions: Baking Apple Cider Rolls and Crafting the Glaze
Now that your dough is perfectly risen and your filling is ready, it’s time to bring these **apple cider cinnamon rolls** to life in the oven and add their glorious toppings.
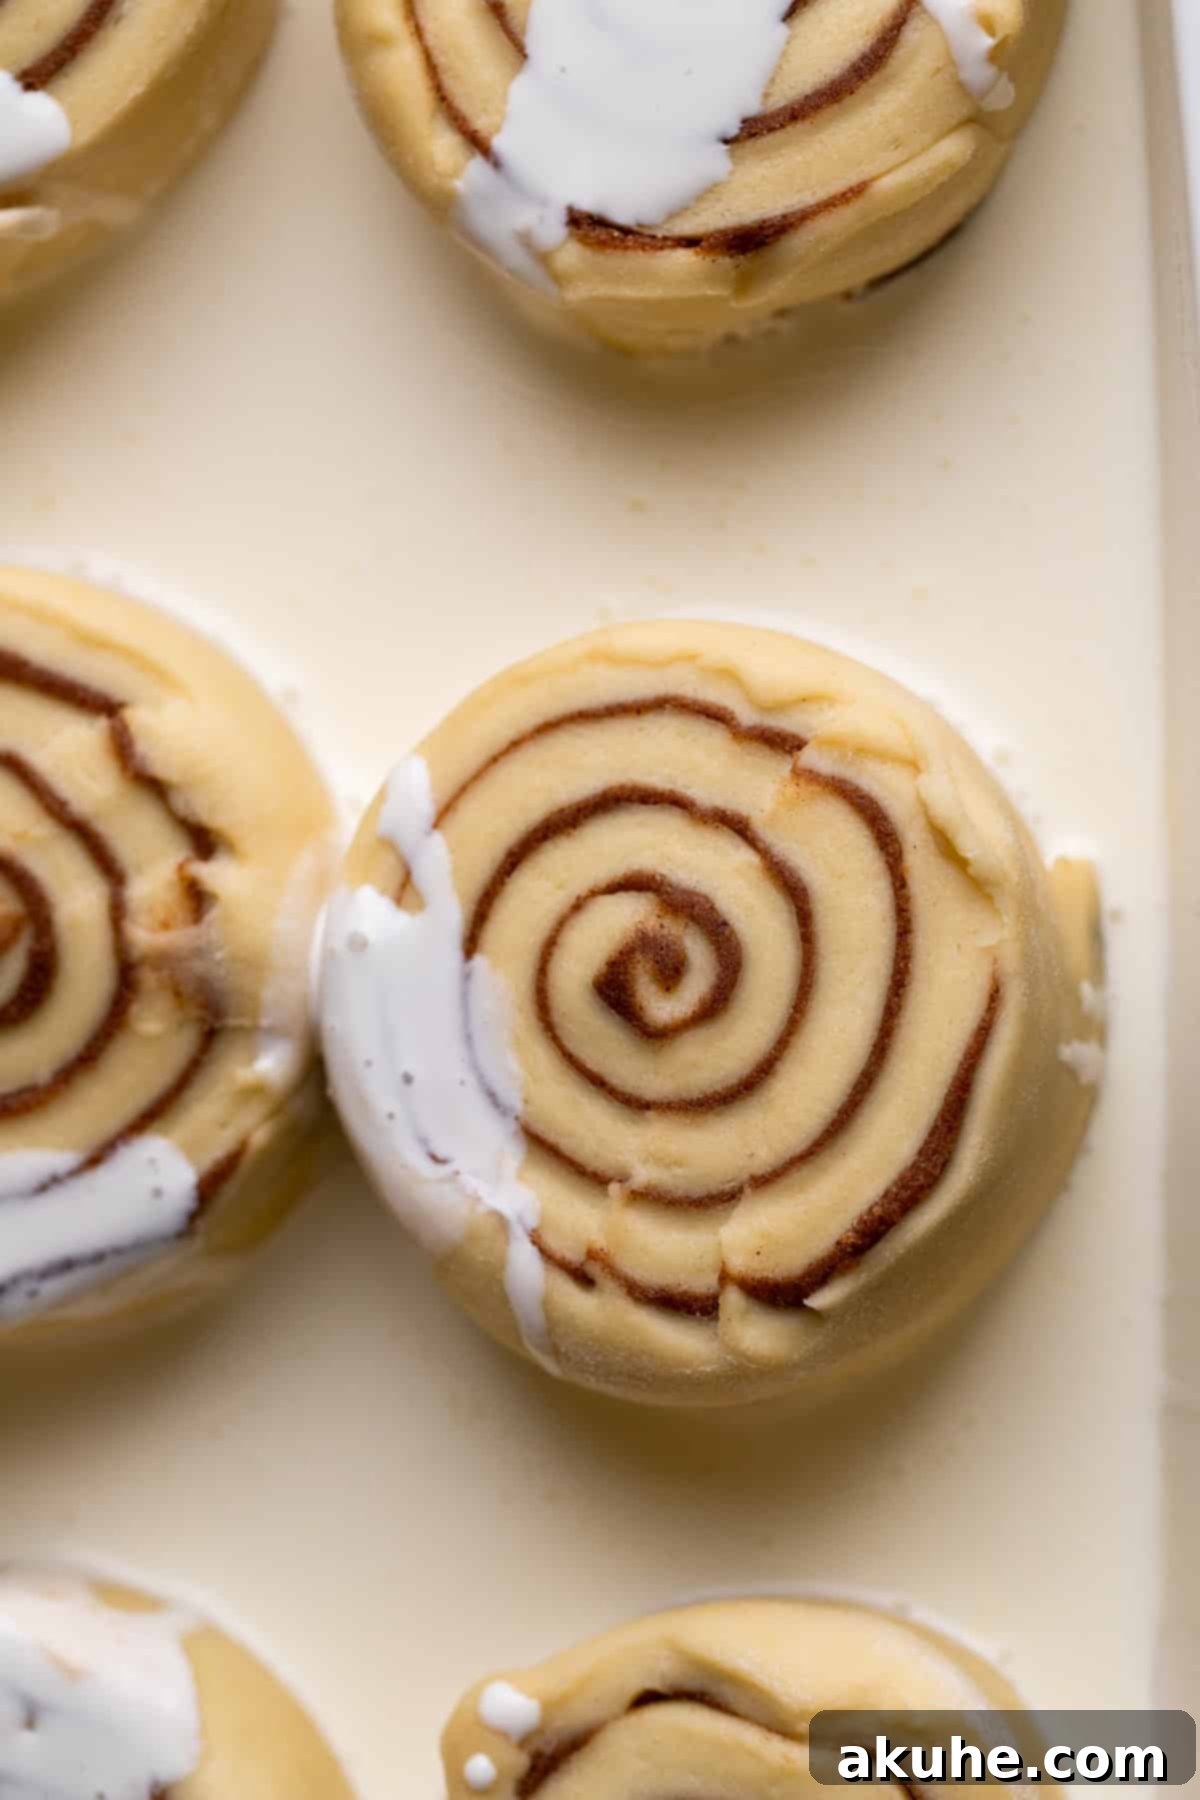
STEP 1: Roll Out the Dough. Lightly flour a clean work surface and your rolling pin. If your dough was refrigerated overnight, let it sit at room temperature for 15-20 minutes to take off the chill, making it easier to roll. Transfer the risen dough to the floured surface and use your rolling pin to roll it into a large rectangle, approximately 1/4 inch thick. Aim for an even thickness across the entire rectangle for uniformly sized rolls.
STEP 2: Evenly Spread the Cinnamon Filling. Using an offset spatula (or the back of a spoon), carefully spread the prepared cinnamon filling over the entire surface of the rolled-out dough, making sure to extend it all the way to the edges. An even layer of filling ensures every part of your roll is bursting with flavor.


STEP 3: Roll into a Log and Slice. Starting from one of the short sides of your rectangle, carefully and tightly roll the dough into a log. Once rolled, use a serrated sharp knife to gently slice off any uneven ends to create a neat cylinder. Then, cut the log into 9 equal pieces. A serrated knife helps to cut through the layers without squishing the rolls. For best results, measure each roll for consistency.
STEP 4: Second Rise in the Pan. Lightly spray a 9×13-inch baking pan with baking spray. Arrange the cut cinnamon rolls evenly within the prepared pan, leaving a little space between each roll for expansion. Cover the pan with a clean kitchen towel and let the rolls rise in a warm spot for an additional 20 minutes. This second, shorter rise will make them extra fluffy.
STEP 5: Prepare Rolls for Baking with Heavy Cream. While your rolls are undergoing their second rise, preheat your oven to 375°F (190°C). Once the rolls have finished rising, carefully pour 1/2 cup of heavy cream into the pan around the rolls. Don’t pour it directly over them, but it’s perfectly fine if some heavy cream splashes onto the tops of the rolls. Baking in heavy cream is a secret trick that ensures the bottoms of the rolls stay incredibly moist and tender.
STEP 6: Bake to Golden Perfection. Place the pan of rolls into the preheated oven and bake for 23-27 minutes. The exact baking time may vary depending on your oven, so keep an eye on them. The rolls are done when their tops are beautifully golden brown and the internal temperature reaches around 200-205°F (93-96°C). Once baked, remove the pan from the oven and let the rolls sit in the hot pan for 10 minutes before adding any toppings. This allows them to set slightly and absorb more of that wonderful heavy cream.

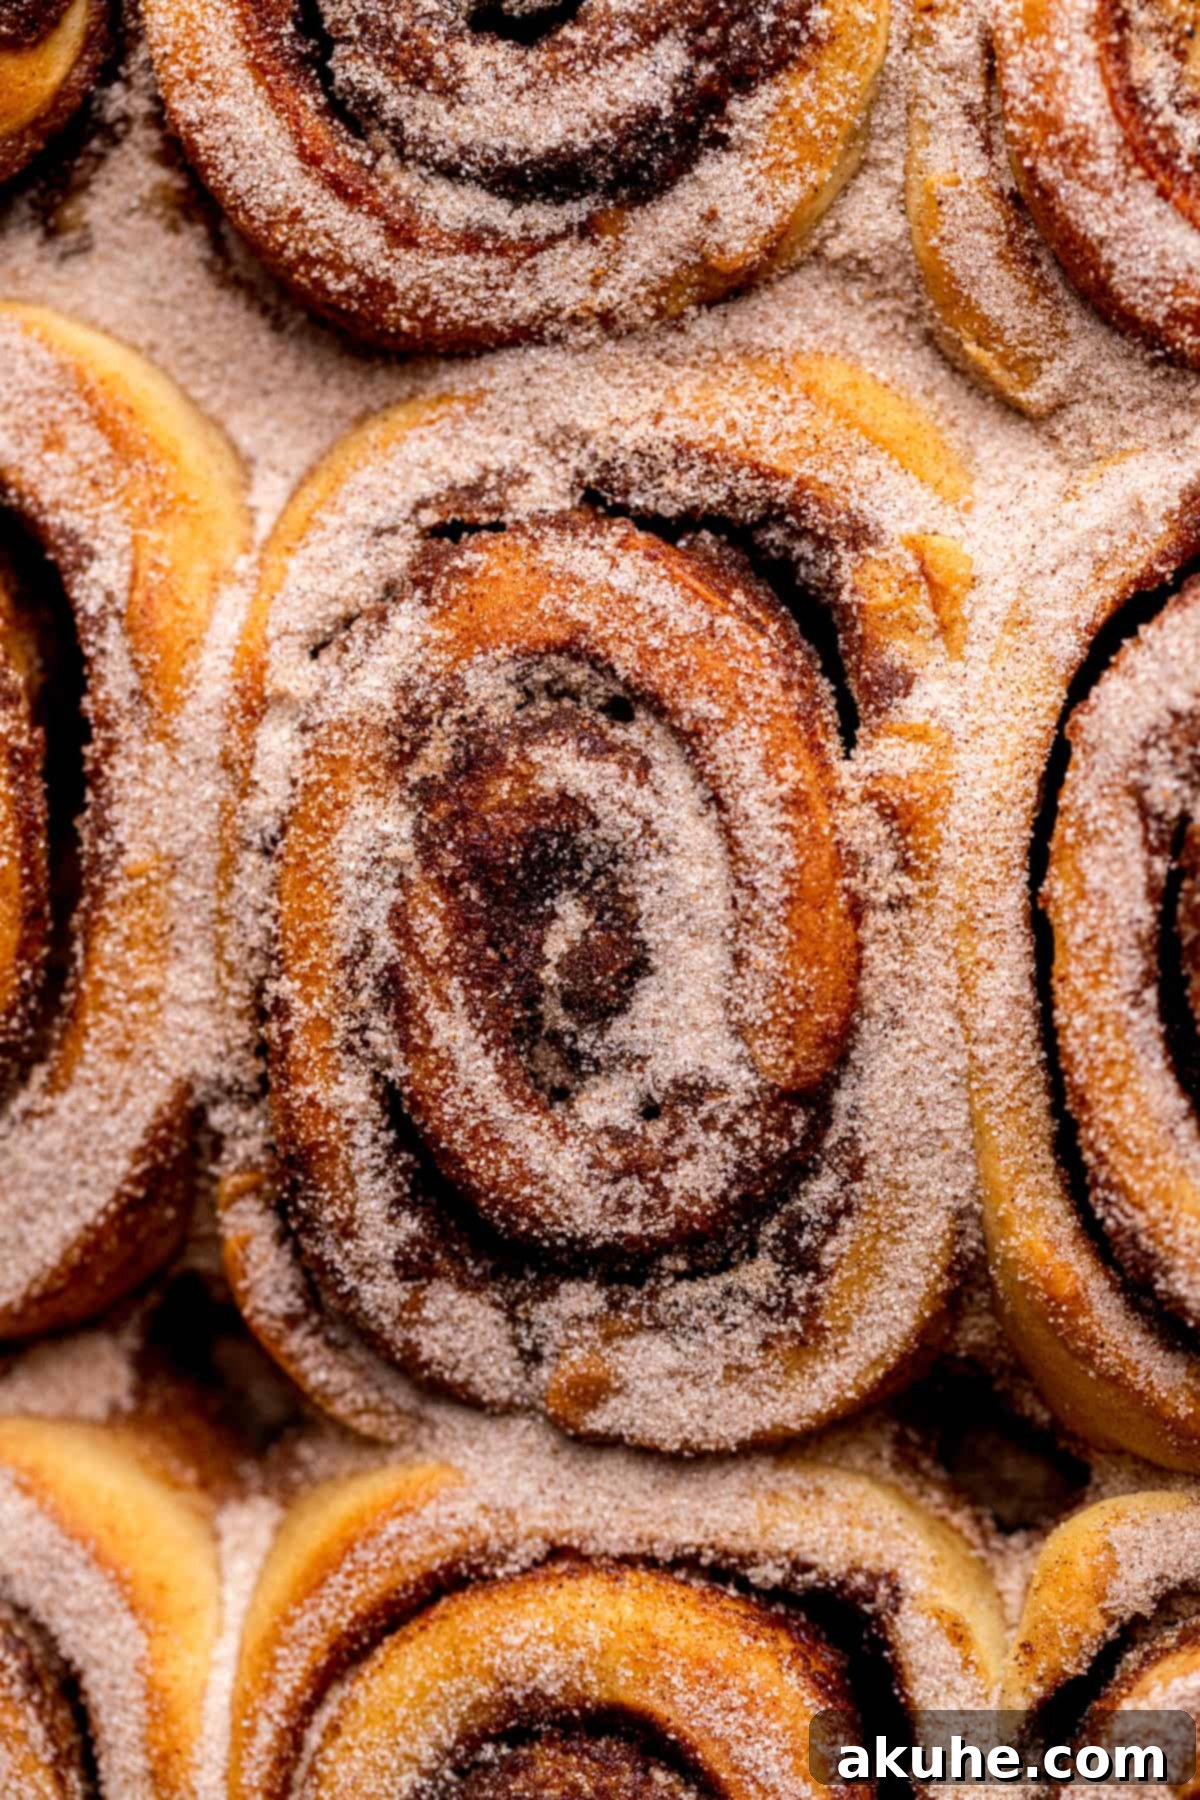
STEP 7: Add the Flavorful Cinnamon Sugar Topping. While the rolls are resting, melt 1 tablespoon of unsalted butter and 1 tablespoon of apple cider together in a small, microwave-safe bowl. In a separate small bowl, combine 1/2 cup of white granulated sugar with 2 teaspoons of ground cinnamon. Use a pastry brush to liberally brush the melted butter and apple cider mixture over the tops of the warm rolls. Immediately after, sprinkle the cinnamon sugar mixture on top in a thick, even coat. Don’t be shy here; a “more is more” approach ensures that classic apple cider donut flavor and texture.
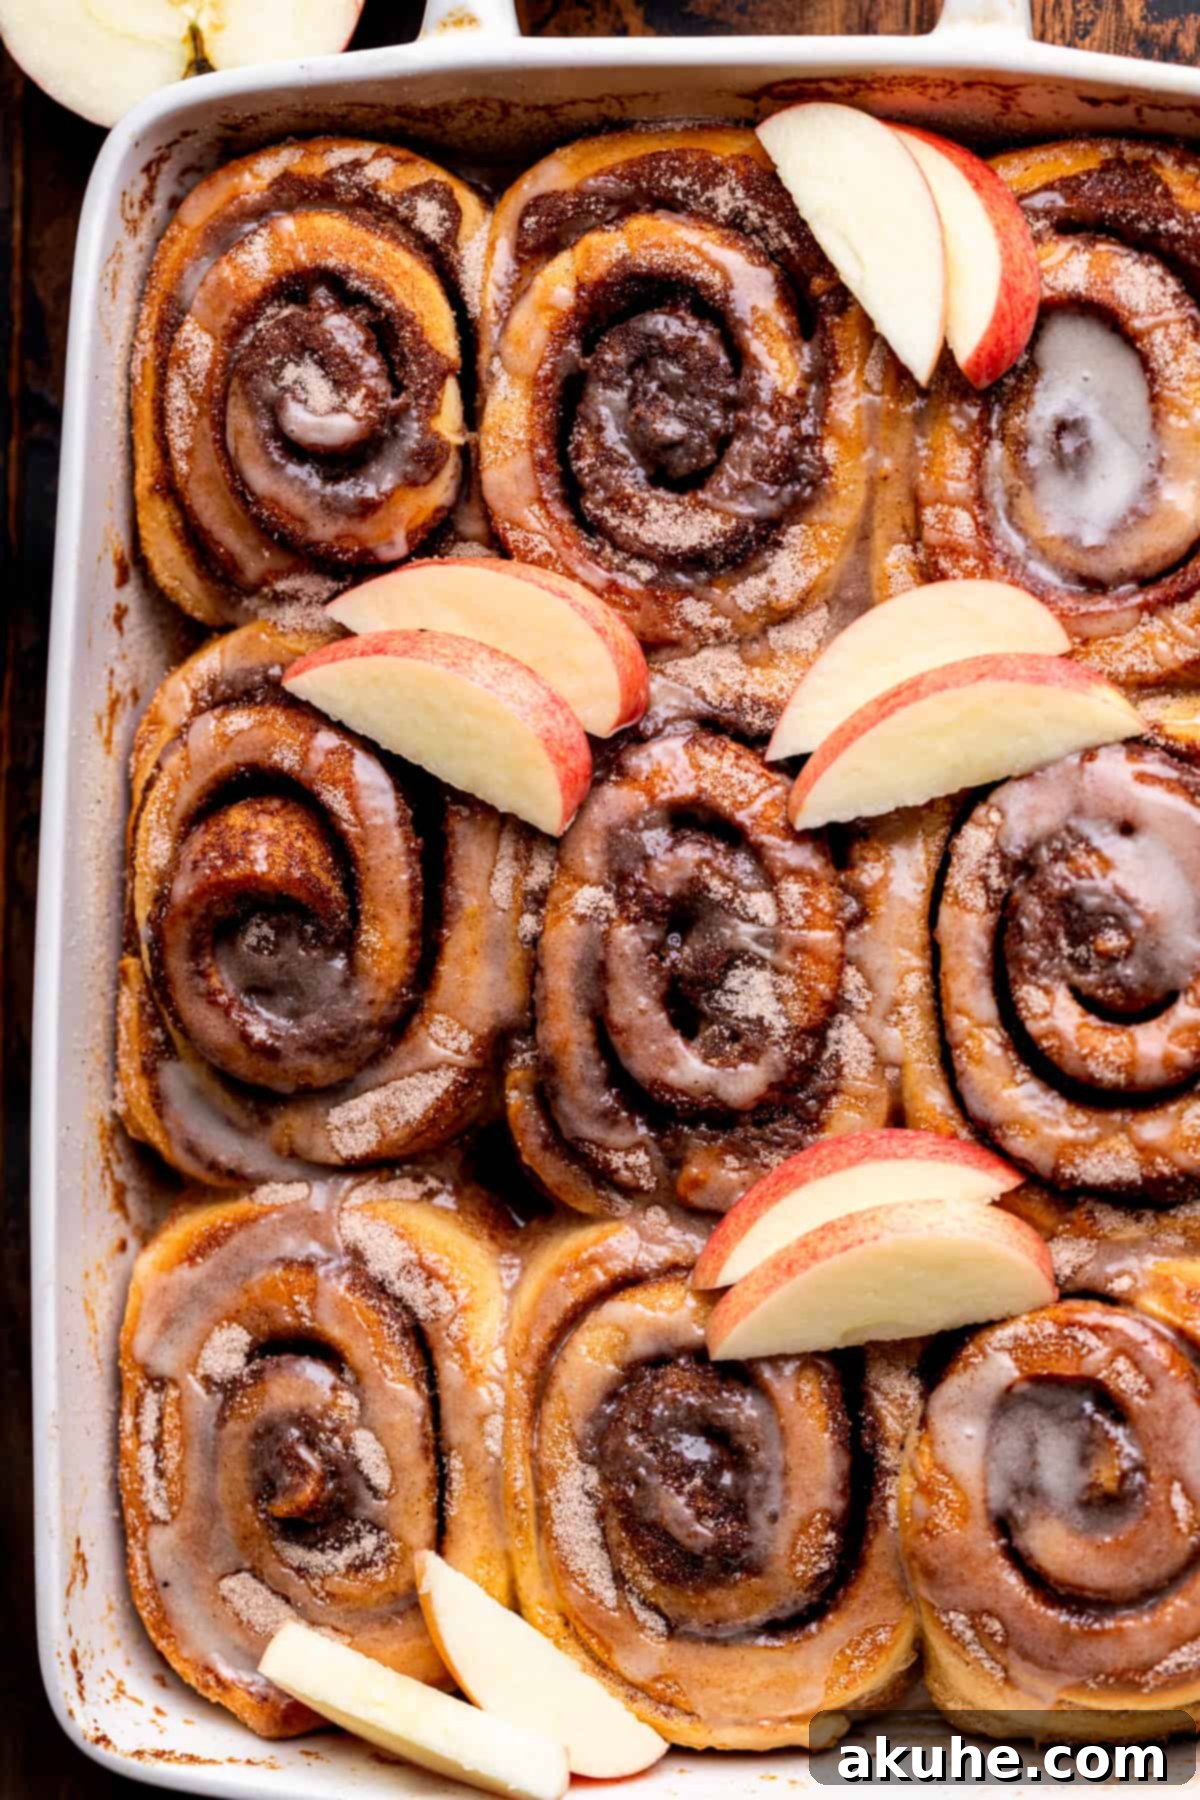
STEP 8: Drizzle with Apple Cider Glaze. In another small bowl, sift 1 cup of powdered sugar to remove any lumps. Add 2 tablespoons of apple cider and whisk vigorously until the mixture is completely smooth and pourable. This creates a beautifully tangy and sweet glaze. Drizzle this fresh apple cider glaze generously over the warm, cinnamon-sugar-coated rolls. Serve immediately and enjoy the ultimate fall breakfast or dessert!
Expert Baking Tips for Flawless Apple Cider Cinnamon Rolls
Achieving bakery-quality cinnamon rolls at home is within your grasp with these professional baking tips. Pay close attention to these details for the best possible outcome:
- Master Proper Flour Measurement: One of the most common baking mistakes is improperly measuring flour. To avoid dry, dense rolls, always use the “spoon and level” method. Gently spoon flour into your measuring cup until it’s overflowing, then use a straight edge (like a knife) to level off the excess. Never scoop the measuring cup directly into the flour bag, as this compacts the flour, resulting in significantly more flour than needed and a dry dough. For ultimate precision, a kitchen scale is your best friend.
- Ensure Your Yeast is Active and Fresh: Yeast is a living organism, and its activity is paramount for a proper rise. Always check the expiration date on your yeast packet. If your yeast is expired or if you add it to milk that is either too hot (which kills it) or too cold (which dramatically slows it down), it will not activate properly. The result will be a dense, unrisen dough. Look for visible foam and a yeasty aroma after blooming in warm milk – this is your sign of active yeast.
- Understand Your Dough’s Rise Options: This recipe offers flexibility for the first rise. While rising the rolls immediately after forming in a warm environment (like a turned-off oven) works well for same-day baking, chilling them overnight in the refrigerator for the first rise (often called a cold fermentation) offers several advantages. The slow, cold rise allows the flavors in the dough to develop more deeply, resulting in a richer taste. It also makes the dough much easier to handle and roll out the next day. If you opt for an overnight rise for the dough, you can then proceed with forming and baking the rolls the following morning.
- Don’t Overbake: Overbaking is the enemy of soft cinnamon rolls. Keep a close eye on your rolls during the last few minutes of baking. They should be golden brown on top, but still feel slightly soft to the touch. A toothpick inserted into the center should come out clean. An internal temperature of 200-205°F (93-96°C) indicates they are perfectly cooked.
- Room Temperature Ingredients are Key: Beyond butter and eggs, many baking ingredients perform best at room temperature. This includes milk and even the reduced apple cider. Room temperature ingredients emulsify better, leading to a smoother, more uniform dough and improved texture in the final product. Plan ahead and pull out your dairy ingredients a couple of hours before you start mixing.
Frequently Asked Questions About Apple Cider Cinnamon Rolls
Here are answers to some common questions you might have when baking these delicious apple cider cinnamon rolls:
Do the rolls have to rise in the oven?
The oven provides a consistently warm environment, which is ideal for dough rising, especially if your kitchen is cool. A warm place helps the yeast activate quickly and efficiently. If your oven is busy, you can certainly let the dough rise at room temperature, provided your house isn’t overly cold. A slightly warmer area will yield the best results for a quick rise. However, for maximum flavor development and convenience, an overnight rise in the fridge is often the best choice.
What is the best way to reheat cinnamon rolls?
To enjoy your **apple cider cinnamon rolls** as if they were freshly baked, reheating is simple. If you’re warming up just one or two rolls, place them on a microwave-safe plate and microwave for 15-25 seconds until they are warm and soft. Microwave wattages vary, so adjust the time as needed. For reheating an entire tray, preheat your oven to 350°F (175°C) and place the baking dish of rolls in the oven for about 5 minutes, or until they are heated through and delightfully warm. Then, savor your perfectly reheated rolls!
Can I pre-bake these cinnamon rolls?
Yes, you absolutely can! If you want to get a head start on your baking or prepare them for a later time, you can partially bake these rolls. Follow all the instructions up to the baking step (Step 6), but only bake them for about 10 minutes. At this point, they will be lightly set but not fully golden. Remove them from the oven, let them cool, and then chill them. When you’re ready to serve, simply continue the rest of the bake time (approximately 13-17 minutes) in a preheated 375°F (190°C) oven until they are golden brown and cooked through. This method is great for fresh, warm rolls on demand.
Can I use store-bought apple cider instead of reducing it myself?
While you can use store-bought apple cider directly for the dough and glaze, reducing it yourself significantly concentrates the apple flavor, making it much more prominent in the final product. Store-bought cider might result in a more subtle apple note. For the best “apple cider” experience, we highly recommend taking the extra step to reduce it.
My dough isn’t rising, what went wrong?
If your dough isn’t rising, the most common culprits are inactive yeast or incorrect liquid temperature. Ensure your yeast isn’t expired and that your milk was warmed to the precise 110°F (43°C) mark. If the milk was too hot, it would have killed the yeast; if too cold, it wouldn’t have activated sufficiently. Also, make sure your rising environment is warm enough; cold drafts can inhibit yeast activity.
Delicious Recipe Variations to Explore
While these **apple cider cinnamon rolls** are perfect as is, you can always get creative and customize them to your liking. Here are a few tempting variations:
- Classic Cream Cheese Glaze: For those who adore the traditional tangy sweetness of cream cheese frosting, feel free to substitute the apple cider glaze. A rich, creamy cream cheese frosting provides a wonderful contrast to the spiced apple rolls. For detailed instructions on making a superb cream cheese glaze, refer to our Mini Cinnamon Rolls recipe.
- Simplified Glaze Option (No Cinnamon Sugar): If you prefer a less sweet or less textured topping, you can certainly skip the apple cider butter brush and the cinnamon sugar sprinkle. In this case, simply apply the tangy-sweet apple cider glaze directly onto the warm baked rolls. The concentrated apple flavor in the glaze will still provide a fantastic finish.
- Add Chopped Apples to the Filling: For an even more intense apple experience, consider folding finely diced and sautéed apples (such as Granny Smith or Honeycrisp) into your cinnamon filling. Sautéing them briefly will soften them and bring out their natural sweetness before baking.
- Maple Glaze Alternative: Embrace another classic fall flavor by swapping out the apple cider in the glaze for maple syrup. A pure maple syrup glaze would complement the cinnamon and apple notes beautifully, adding a rich, earthy sweetness.
Special Tools to Elevate Your Baking Experience
Having the right tools can make a significant difference in the ease and success of your baking. Here are some special tools that will come in handy for making these **apple cider cinnamon rolls**:
- Baking Spray with Flour: To ensure your precious rolls don’t stick to the pan, I highly recommend using a nonstick baking spray that contains flour. This creates a superior non-stick coating compared to regular cooking spray. You can find excellent options like this nonstick spray on Amazon.
- Offset Spatula: An offset spatula is an incredibly versatile tool, especially for spreading fillings and glazes smoothly and evenly. Its angled blade allows for precise application without dragging your knuckles through the ingredients. I use this specific offset spatula regularly for perfect coverage.
- 9×13 Inch Baking Pan: While any standard baking pan will work, I personally love using a sturdy casserole pan for these cinnamon rolls. A good quality pan promotes even baking and browning, which is essential for that perfect golden crust and tender interior.
- Rolling Pin: A reliable rolling pin is crucial for achieving that perfectly thin and even rectangle of dough. Whether you prefer a classic wooden rolling pin or a modern non-stick version, any rolling pin you have on hand will do the trick!
- Instant-Read Thermometer: While not listed as a “special tool” in the original, an instant-read thermometer is invaluable for ensuring your milk reaches exactly 110°F for yeast activation, and for checking the internal temperature of your rolls to prevent under or overbaking. It’s a small investment that guarantees baking success.
Storing and Freezing Your Apple Cider Cinnamon Rolls
To keep your **apple cider cinnamon rolls** fresh and delicious, proper storage is key. Luckily, they store and freeze beautifully, allowing you to enjoy them long after baking day.
Store any leftover apple cider cinnamon rolls in an airtight container at room temperature for up to 2 days, or in the fridge for up to 5 days. They are always best when gently warmed before eating; a quick zap in the microwave will bring back their soft texture and warm aroma.
These delightful apple cider cinnamon rolls can also be frozen in two convenient ways:
- Freeze Unbaked Rolls: After you’ve sliced the dough into individual rolls and placed them in the baking pan (before the second rise and before adding heavy cream), cover the pan tightly with plastic wrap and then aluminum foil. Freeze them for up to 30 days. When you’re ready to bake, transfer the pan directly from the freezer to the refrigerator overnight to thaw. The rolls may not rise quite as much as fresh dough, but they will still bake up wonderfully soft and flavorful. You can then proceed with the second rise and baking instructions.
- Freeze Already Baked Rolls: If you’ve baked an entire batch and want to save some for later, let the rolls cool completely after baking and glazing. Place them in an airtight freezer-safe container or individual freezer bags. Freeze them for up to 30 days. To enjoy, simply thaw them at room temperature for about 1 hour, then reheat gently in the microwave or oven as described in the FAQ section.

More Apple Recipes to Indulge In
If you’ve fallen in love with the apple flavors in these cinnamon rolls, be sure to explore other fantastic apple-themed recipes perfect for any occasion. From crisp apple pies to comforting apple crisps, the possibilities are endless for celebrating this versatile fruit!
Discover More Cozy Fall Recipes
As the leaves change and the air turns crisp, our kitchens beckon with the promise of warm, comforting treats. Beyond these incredible apple cider cinnamon rolls, delve into a collection of recipes that celebrate the best of autumn’s bounty and cozy flavors. Explore these other delightful fall recipes:
- Reese’s Cup Peanut Butter Cookies: A classic cookie with a delightful peanut butter and chocolate twist.
- Pumpkin Caramel Cookies: Embrace the essence of fall with soft pumpkin cookies featuring luscious caramel swirls.
- Sticky Buns: A decadent, sweet, and sticky classic that’s perfect for breakfast or brunch.
- Pumpkin Chocolate Chip Cookies: The ultimate chewy cookie combining two beloved fall flavors.
- Cherry Pie Bars: All the goodness of cherry pie in an easy-to-eat bar form.
Loved this recipe? Please consider leaving a STAR REVIEW below! Your feedback helps others discover these delicious **apple cider cinnamon rolls**. Don’t forget to share your creations and tag me on Instagram @stephaniesweettreats. For more baking inspiration and delicious ideas, be sure to follow me on Pinterest. Happy baking!

Apple Cider Cinnamon Rolls
By: Stephanie Rutherford
These apple cider cinnamon rolls feature a rich apple cider dough and a delightful cinnamon filling. Baked to perfection in heavy cream, they are then brushed with butter-apple cider, coated in cinnamon sugar, and finished with a sweet apple cider glaze.
Print Recipe | Pin Recipe | Leave a Review
Prep Time: 1 hr | Cook Time: 23-27 mins | Resting Time: 1 hr 20 mins | Total Time: 2 hrs 43 mins
Servings: 9 Large rolls
Ingredients
Apple Cider Dough
- 1 cup Apple cider, reduced down to 1/2 cup
- 1/2 cup Milk, warmed to 110℉
- 2 1/4 tsp Active dry yeast (1 packet)
- 2 Large eggs, lightly beaten, room temperature
- 4 1/2 cups All-purpose flour
- 1/4 cup White granulated sugar
- 1 tsp Salt
- 10 TBSP Unsalted butter, cubed and room temperature
Cinnamon Filling
- 1/2 cup Unsalted butter, room temperature
- 3/4 cup Brown sugar, packed (light or dark)
- 1 TBSP Ground cinnamon
- 1/4 tsp Ground nutmeg
Roll Components
- 1/2 cup Heavy cream (for baking)
Roll Topping
- 1 TBSP Unsalted butter, room temperature
- 1 TBSP Apple cider
- 1/2 cup White granulated sugar
- 2 tsp Ground cinnamon
Apple Cider Glaze
- 1 cup Powdered sugar, sifted
- 2 TBSP Apple cider
Instructions
Apple Cider Dough
- In a saucepan over medium-high heat, heat 1 cup of apple cider until it reduces down to 1/2 cup. Pour into a bowl and cool completely.
- Heat 1/2 cup of milk in the microwave for approximately 40 seconds until it is warmed to 110℉. Sprinkle 2 1/4 tsp active dry yeast on top of the milk and let it sit for 10 minutes.
- In a large bowl, sift 4 1/2 cups of all-purpose flour. Add 1/4 cup of white granulated sugar and 1 tsp of salt. Add in 10 TBSP of cubed, room-temperature unsalted butter. Use a pastry kneader or your hands to knead the butter into the flour until the butter lumps are the size of a pea.
- Add in the cooled reduced apple cider, the milk/yeast mixture, and the 2 lightly beaten eggs. Use a stand mixer with a dough hook attachment to mix on low speed until a dough starts to form. (For making by hand instructions, see notes below.)
- Turn the mixer to medium speed and knead for 5 minutes. Spray a large mixing bowl with nonstick spray. Place the dough in the bowl.
- For making right away: Preheat the oven to 200℉. Cover the bowl with a kitchen towel. Turn off the oven, place the bowl in the oven, and crack open the door. Let rise for 1 hour. For overnight: Cover the bowl with foil or plastic wrap. Place in the fridge to rise overnight.
Cinnamon Filling & Assembly
- In a small bowl, beat 1/2 cup of room-temperature unsalted butter on high speed using a hand mixer. Add in 3/4 cup brown sugar, 1 TBSP ground cinnamon, and 1/4 tsp ground nutmeg. Beat until the filling is soft and creamy.
- Roll the dough out using a rolling pin on a lightly floured surface. Roll it into a large rectangle, about 1/4 inch thick.
- Spread the filling evenly over the dough using an offset spatula, extending it all the way to the edges.
- Roll the dough into a log, starting on the short side of the rectangle. Use a serrated knife to cut off any uneven ends. Cut the roll into 9 equal pieces.
- Spray a 9×13-inch pan with nonstick baking spray. Place the rolls into the pan. Cover with a towel and let rise for 20 minutes in a warm spot.
- Preheat the oven to 375℉. Once the rolls are done rising, pour 1/2 cup of heavy cream into the pan around the rolls. It is okay if some heavy cream gets on top of the rolls.
- Bake for 23-27 minutes, or until the tops of the rolls are golden brown.
- Let the rolls sit in the hot pan for 10 minutes before topping them.
Roll Topping and Glaze
- Melt 1 TBSP unsalted butter and 1 TBSP apple cider together in a small bowl. In a separate small bowl, mix 1/2 cup white granulated sugar and 2 tsp ground cinnamon together. Use a pastry brush to brush the melted butter mixture on top of the rolls. Then, sprinkle the cinnamon sugar mixture generously on top, ensuring they are very well covered for a “more is more” approach.
- In a small bowl, sift 1 cup of powdered sugar. Add 2 TBSP apple cider and whisk until smooth. Drizzle this glaze on top of the rolls.
Notes
Flour Measurement: Make sure flour is spooned and leveled, or use a kitchen scale for accuracy. Compacted flour can lead to dry rolls.
Temperature Matters: Pull out all dairy ingredients (butter, eggs, milk) at least 2 hours before baking so they reach room temperature.
Making by Hand Instructions:
- Mix the wet ingredients into the dry by using a rubber spatula. Switch to using your hands to mix until a shaggy dough starts to form.
- Place the dough on a lightly floured surface. Knead using your hands for 5-8 minutes until it becomes smooth and elastic.
- To check if it’s done kneading, spread a small piece of dough apart thinly using your fingers. Hold the dough to the light; if you can see light through it (the “windowpane test”), then it is properly kneaded.
Nutrition Facts (per serving)
Calories: 648kcal, Carbohydrates: 102g, Protein: 8g, Fat: 30g, Saturated Fat: 19g, Polyunsaturated Fat: 1g, Monounsaturated Fat: 8g, Trans Fat: 1g, Cholesterol: 80mg, Sodium: 279mg, Potassium: 177mg, Fiber: 3g, Sugar: 39g, Vitamin A: 963IU, Vitamin C: 0.4mg, Calcium: 74mg, Iron: 3mg
⭐️ Did you make this recipe? Please leave a star rating and review below!
