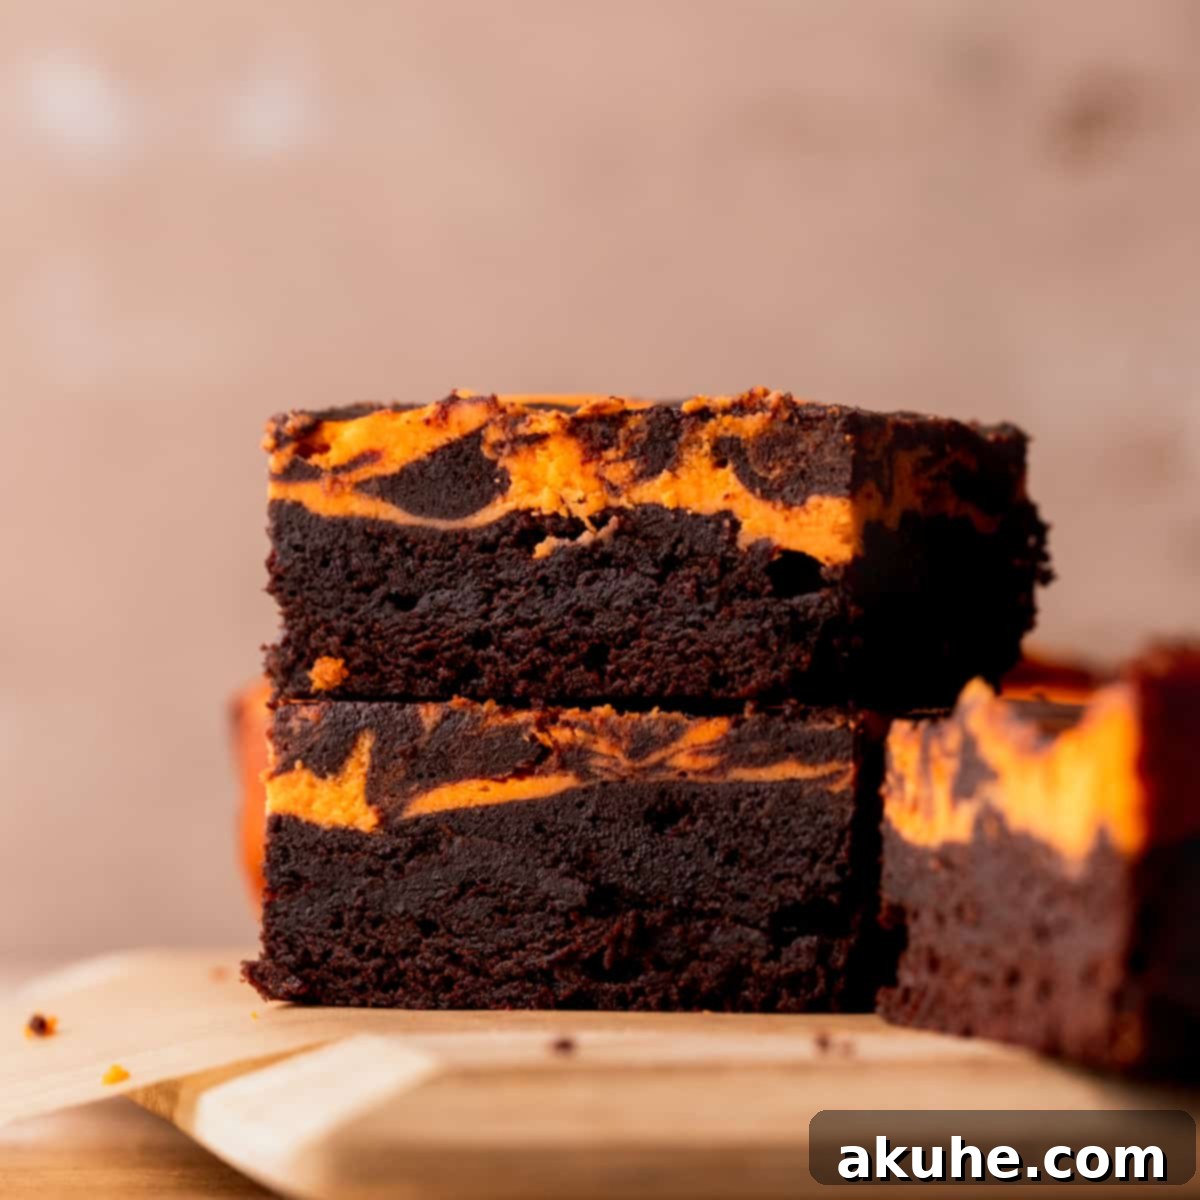
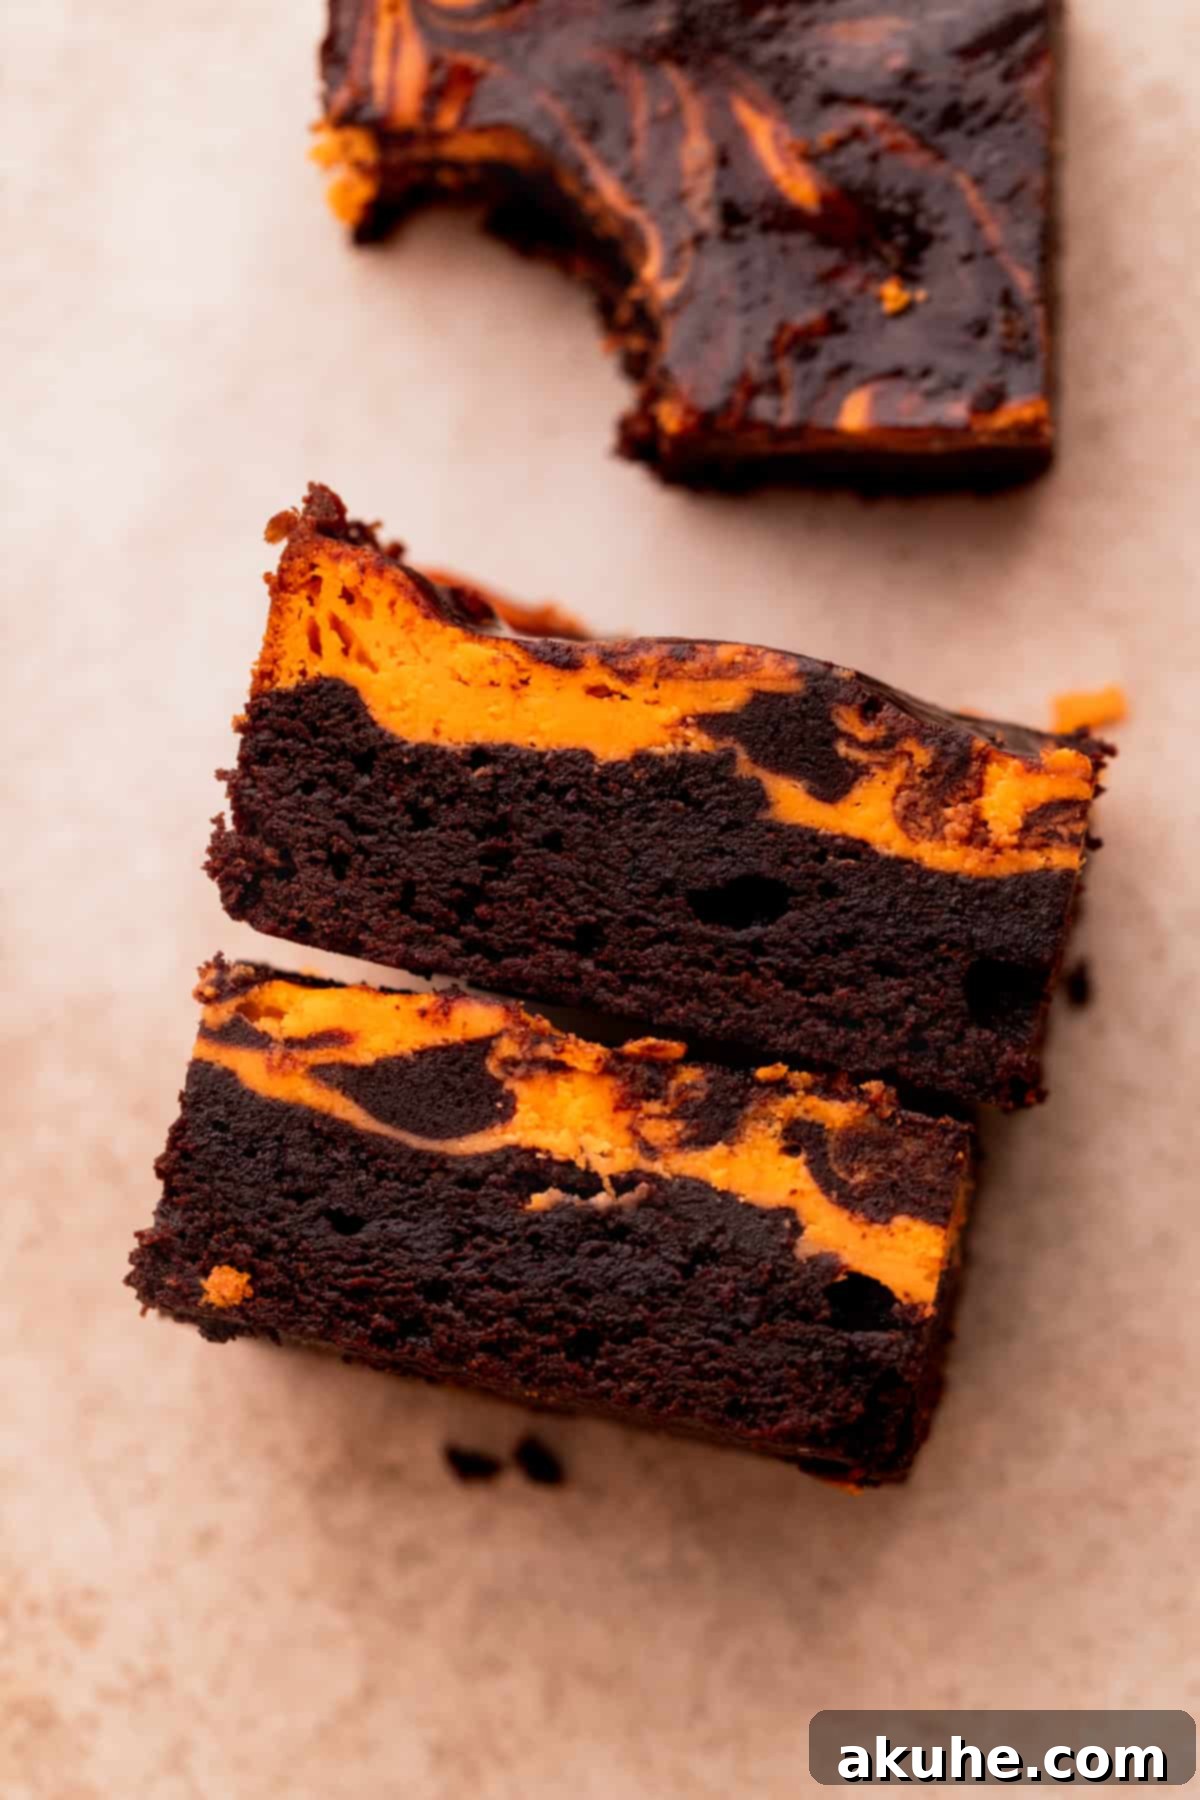
Get ready for the spooky season with the most enchanting dessert on the block: our incredible Halloween Brownies! These aren’t just any brownies; they’re a symphony of rich, fudgy chocolate brownie layers perfectly contrasted with a vibrant, orange-colored cheesecake swirl. The dramatic black and orange hues make them an absolute showstopper for any Halloween party, fall gathering, or simply a fun, festive treat to bake with the family. Easy to make and utterly irresistible, these marbled cheesecake brownies will become your go-to recipe for autumnal celebrations.
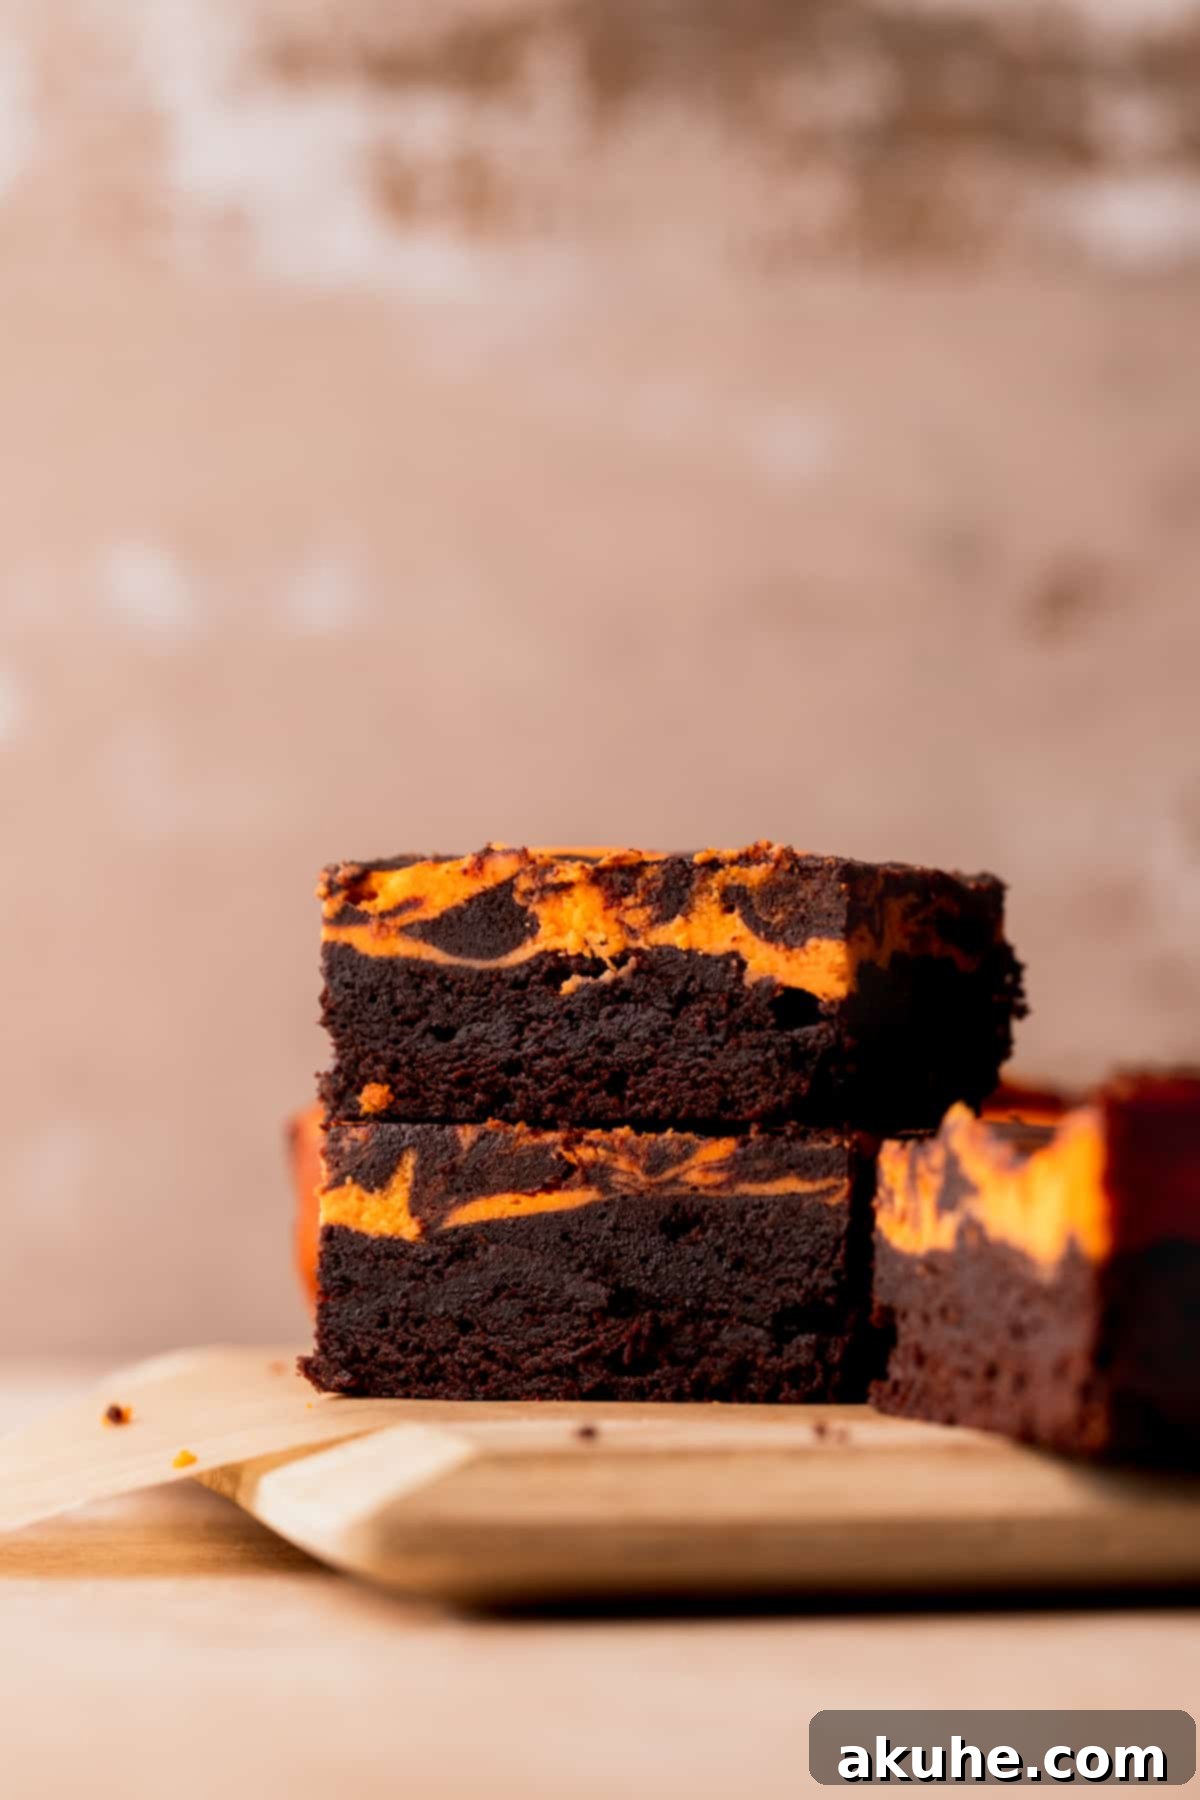
Crafting these Halloween brownies is not only straightforward but also incredibly rewarding. The magic lies in transforming classic fudgy brownies into a festive masterpiece by incorporating a creamy, orange-tinted cheesecake layer, then swirling in extra brownie batter for that mesmerizing marbled effect. Imagine the delight on everyone’s faces as they bite into a treat that perfectly balances intense chocolate with tangy cheesecake – a truly unforgettable flavor combination that screams Halloween fun! They are the ultimate dessert for potlucks, school parties, or a cozy evening in, enjoying the season’s eerie charm.
Looking for more Halloween dessert inspiration? Explore these other spooktacular recipes:
- Halloween Pumpkin Ghost Cupcakes
- Halloween Candy Chocolate Cake
- Mummy Cookies
Why These Halloween Brownies Are a Must-Make This Season
These Halloween Swirl Cheesecake Brownies stand out for several reasons, making them an ideal choice for your autumnal baking adventures:
- Unbelievably Fudgy Brownie Base: Our homemade brownie recipe is a tried-and-true classic, derived from our popular Better Than Boxed Brownies, but specifically adapted for this recipe without chocolate chips. The result is an intensely rich, dense, and perfectly moist brownie that melts in your mouth, providing the perfect dark canvas for our Halloween theme.
- Creamy Orange Cheesecake Layer: Elevating these brownies to another level is the luscious cheesecake layer. It’s wonderfully creamy, delightfully tangy, and incredibly simple to prepare with just a few staple ingredients. The real trick here is infusing it with vibrant orange food coloring, creating that iconic Halloween look that perfectly complements the dark brownie.
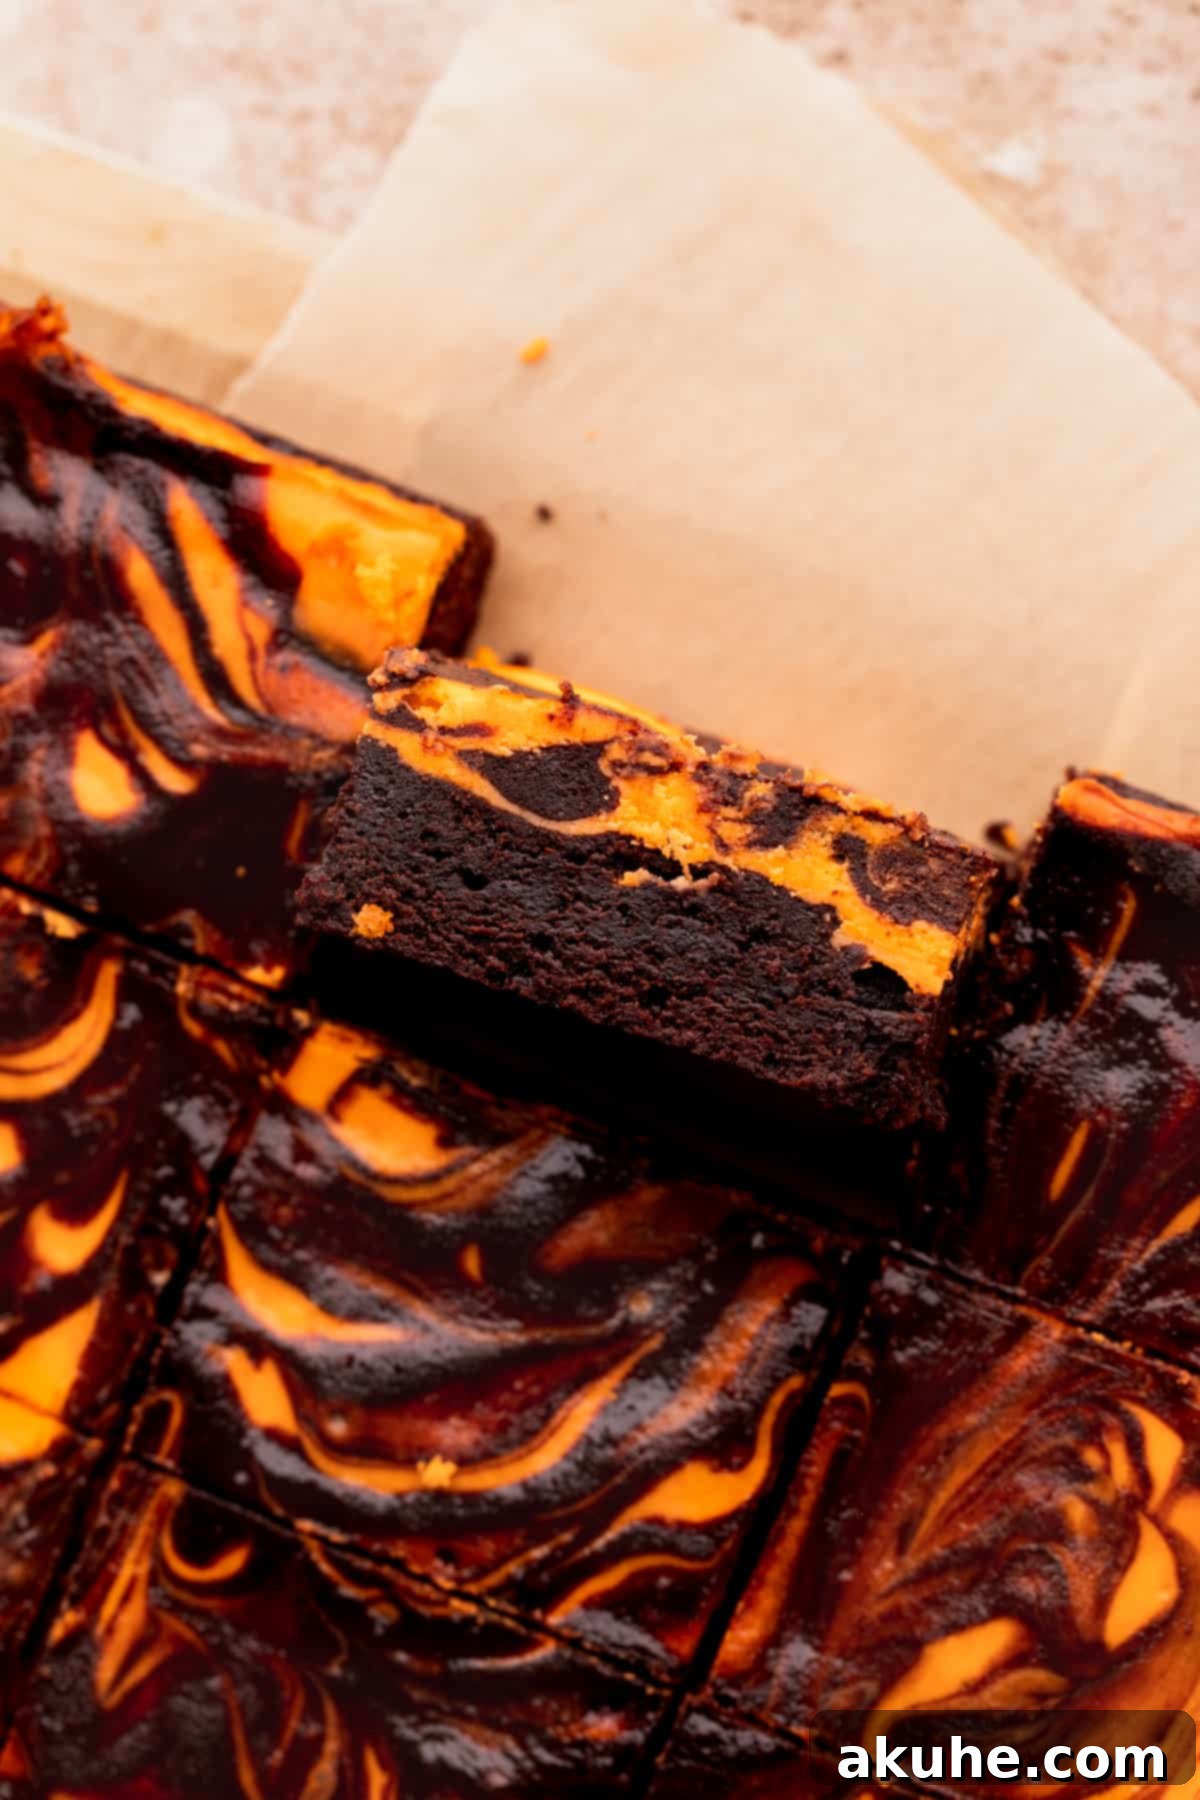
- Eye-Catching Swirled Design: The final touch that makes these brownies truly special is the elegant swirl of extra brownie batter on top of the orange cheesecake. This isn’t just for aesthetics; it adds another dimension of chocolatey goodness and creates a beautiful marbled pattern, making each slice a unique work of art. The technique is surprisingly easy and adds a professional flourish to your homemade treat.
- Kid-Approved and Family Favorite: When tested on even the pickiest eaters (including my own 4-year-old!), these brownies received rave reviews. Their exciting colors and delicious flavor make them a guaranteed hit with children and adults alike, ensuring they’ll be devoured at any gathering.
- Simple Yet Impressive: Despite their sophisticated appearance, this recipe is designed to be accessible for home bakers of all skill levels. With clear, step-by-step instructions and readily available ingredients, you can create a truly impressive dessert without feeling overwhelmed.
- Perfect for Any Halloween Occasion: Whether you’re hosting a grand Halloween bash, contributing to a school bake sale, or simply want a festive treat for a movie night, these brownies fit the bill. Their striking orange and black colors are emblematic of the holiday, instantly setting a celebratory mood.
Essential Ingredient Notes for Perfect Halloween Brownies
Understanding the role of each ingredient is key to achieving the best possible results. Below are some important notes and tips for the key components of this recipe. For a complete list of measurements, please refer to the detailed recipe card at the end of this article.
- Large Eggs: For both the brownie and cheesecake layers, it’s crucial to use large eggs that are at room temperature. This allows the eggs to emulsify more effectively with other ingredients, creating a smoother, more uniform batter and a better texture in your finished brownies and cheesecake. Plan ahead and pull them out of the refrigerator at least 2 hours before you start baking.
- Unsalted Butter: The butter for the brownie layer should be melted and then cooled slightly before being incorporated. Using unsalted butter gives you control over the overall saltiness of your dessert. Cooling the butter prevents it from scrambling the eggs when added to the batter, ensuring a smooth consistency.
- Neutral Oil: A neutral-flavored oil such as canola oil, vegetable oil, or a light olive oil (not extra virgin) is recommended for the brownie batter. Oil contributes significantly to the fudgy texture of the brownies, keeping them moist and tender.
- Unsweetened Cocoa Powder: For the most intense chocolate flavor and rich, dark color, Dutch-processed cocoa powder is highly recommended. Dutch-processed cocoa has been treated to reduce its acidity, resulting in a smoother, less bitter chocolate taste and a deeper hue, which is perfect for creating that dramatic black brownie layer. This brand is a personal favorite.
- Cornstarch: This seemingly small addition plays a big role in achieving that coveted fudgy brownie texture. Cornstarch inhibits gluten development, resulting in a softer, chewier, and more decadent brownie. If you don’t have it on hand, you can skip it, but for optimal fudginess, it’s a worthwhile inclusion.
- Full-Fat Cream Cheese: For a truly rich and creamy cheesecake layer, always opt for full-fat cream cheese. Like eggs, cream cheese should be at room temperature. This makes it easier to beat until smooth and lump-free, ensuring a silky cheesecake consistency. Remove it from the fridge at least 2 hours before you plan to bake.
- Orange Food Coloring: To achieve a vivid, striking orange for your cheesecake, a gel food dye is superior to liquid food coloring. Gel dyes are more concentrated, requiring less product to achieve a bright color without altering the consistency of your batter. Americolor is a fantastic choice for its intense pigments.
- All-Purpose Flour: Proper measurement of flour is critical. Always spoon flour into your measuring cup and then level it off with a straight edge. Scooping directly from the bag can compact the flour, leading to an excess amount that will result in dry, cakey brownies rather than fudgy ones.
- Granulated Sugar & Salt: These foundational ingredients balance the flavors, enhance sweetness, and bring out the depth of the chocolate and tang of the cream cheese. Don’t skip the salt – it’s vital for cutting through richness and highlighting other flavors.
Step-by-Step Instructions: Crafting Your Halloween Swirl Cheesecake Brownies
Follow these detailed steps to create your perfectly fudgy and festive Halloween brownies. You’ll need a stand mixer equipped with both whisk and paddle attachments, or a reliable hand mixer. A standard 8×8-inch square baking pan is also essential.
Preparation:
Preheat your oven to 325°F (160°C). Prepare your 8×8-inch baking pan by spraying it generously with nonstick baking spray. Line the bottom and two opposing sides with parchment paper, allowing an overhang on the sides to create “slings” for easy removal of the baked brownies. Spray the parchment paper again for extra nonstick assurance.
Brownie Layer:
STEP 1: Combine Sugar and Eggs. In a large mixing bowl, using the whisk attachment of your stand mixer (or a hand mixer), beat the granulated sugar and large eggs on high speed for precisely 5 minutes. This process is crucial as it incorporates air, resulting in a light, pale, and voluminous mixture that contributes to the brownies’ signature crackly top and fudgy texture. While this mixes, gently melt your unsalted butter.
Once the sugar and eggs are whipped, reduce the mixer speed to low. Carefully add the cooled melted butter, oil, and pure vanilla extract. Mix until just combined, being careful not to overmix.
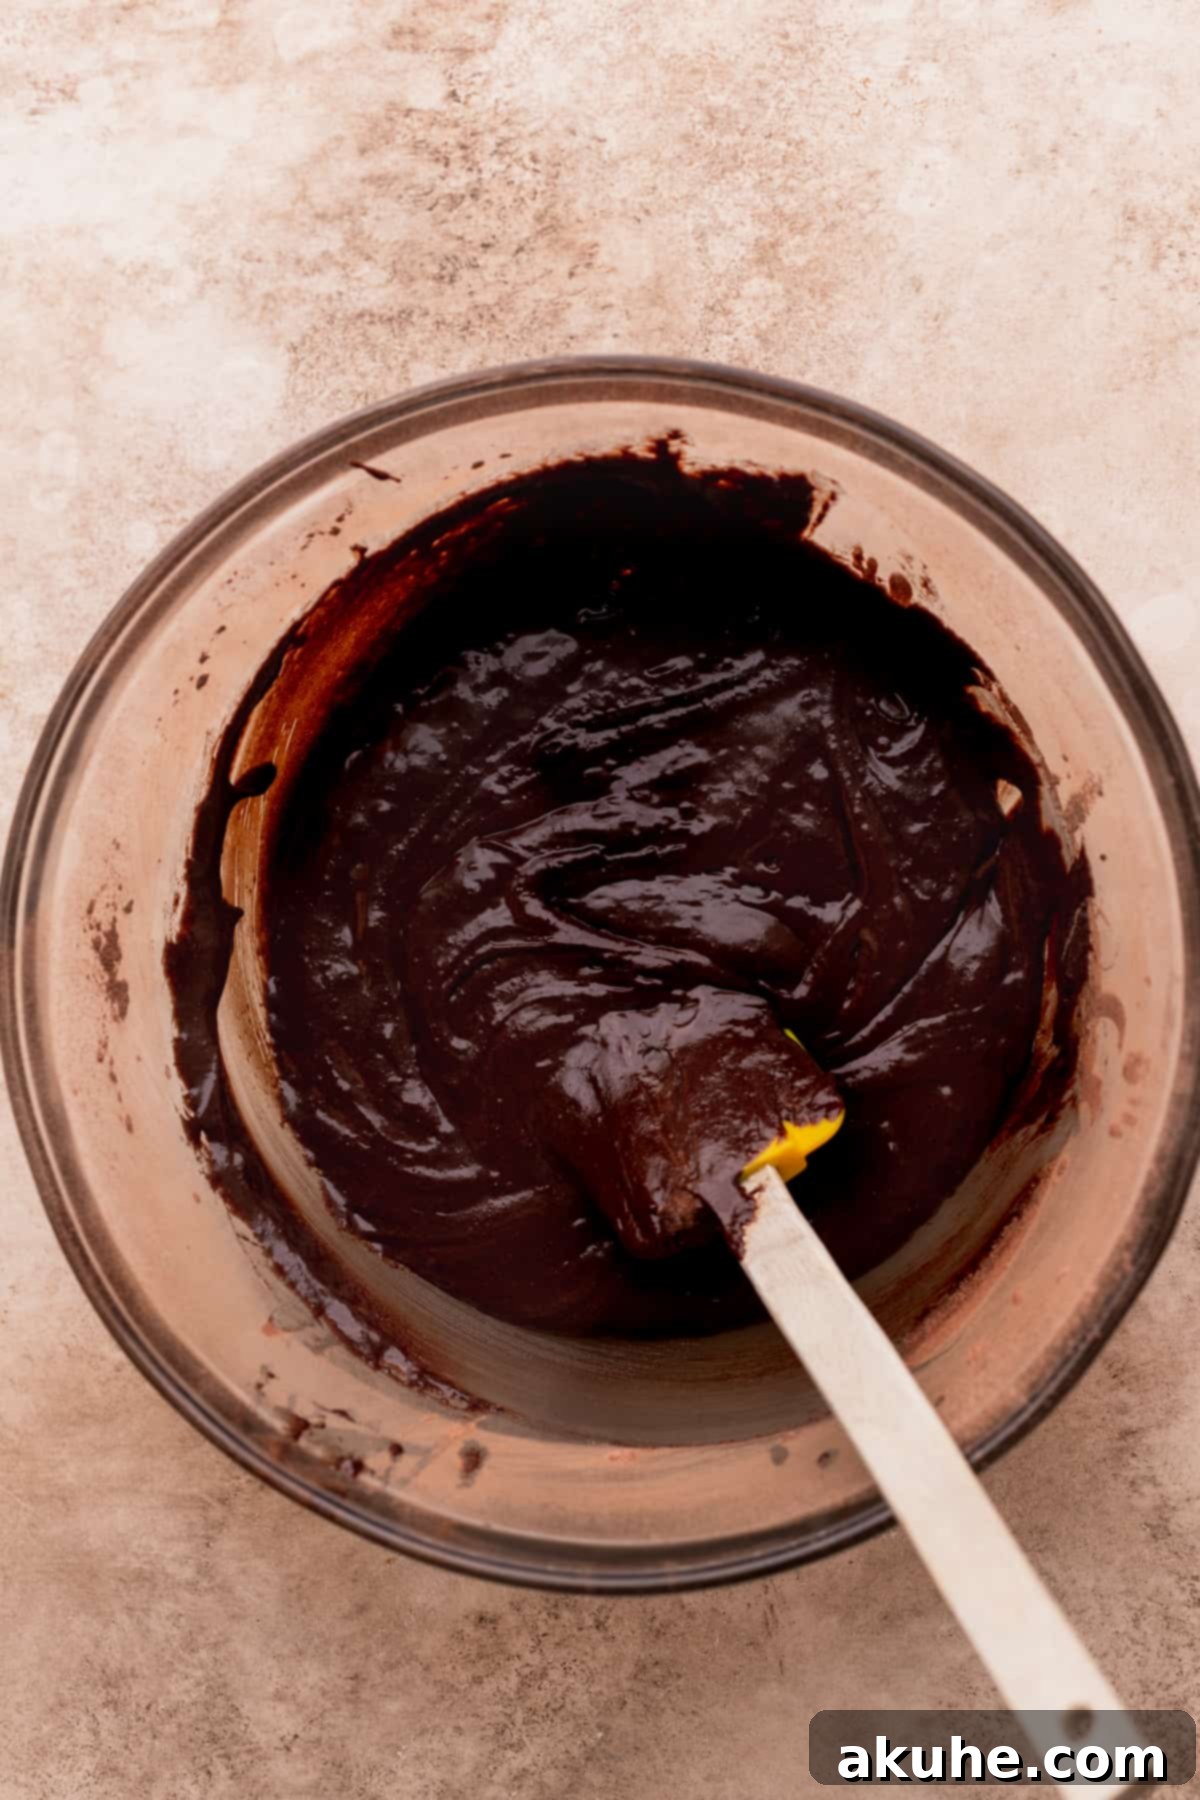
STEP 2: Incorporate Dry Ingredients. Sift together or thoroughly whisk your all-purpose flour, unsweetened cocoa powder, cornstarch, and salt in a separate medium bowl. Gradually add these dry ingredients to the wet mixture in the stand mixer, mixing on low speed until *just* combined. Stop mixing as soon as no dry streaks remain. Overmixing at this stage can develop gluten, leading to tougher brownies.
Reserve exactly 1/4 cup of this rich brownie batter in a small separate bowl. This will be used later for the dramatic swirl effect.
Cheesecake Layer:
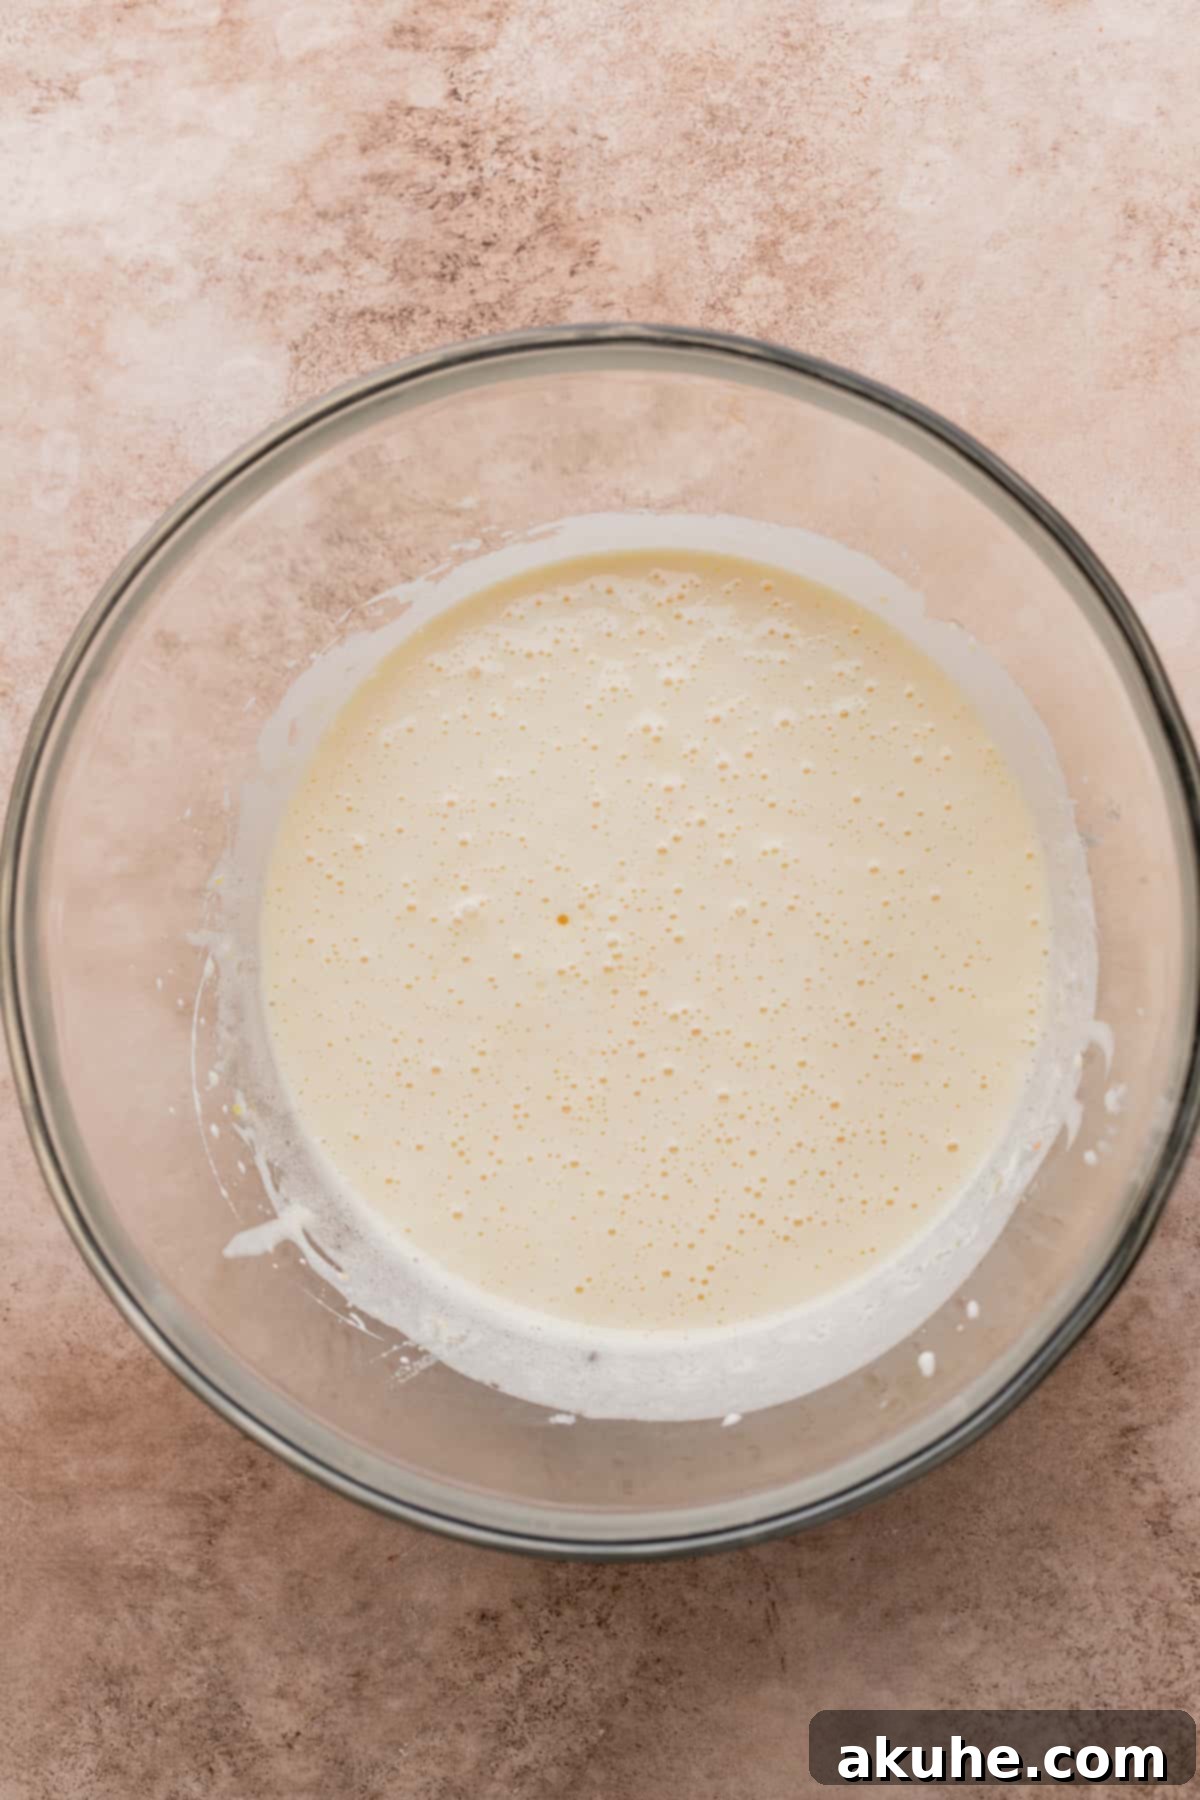
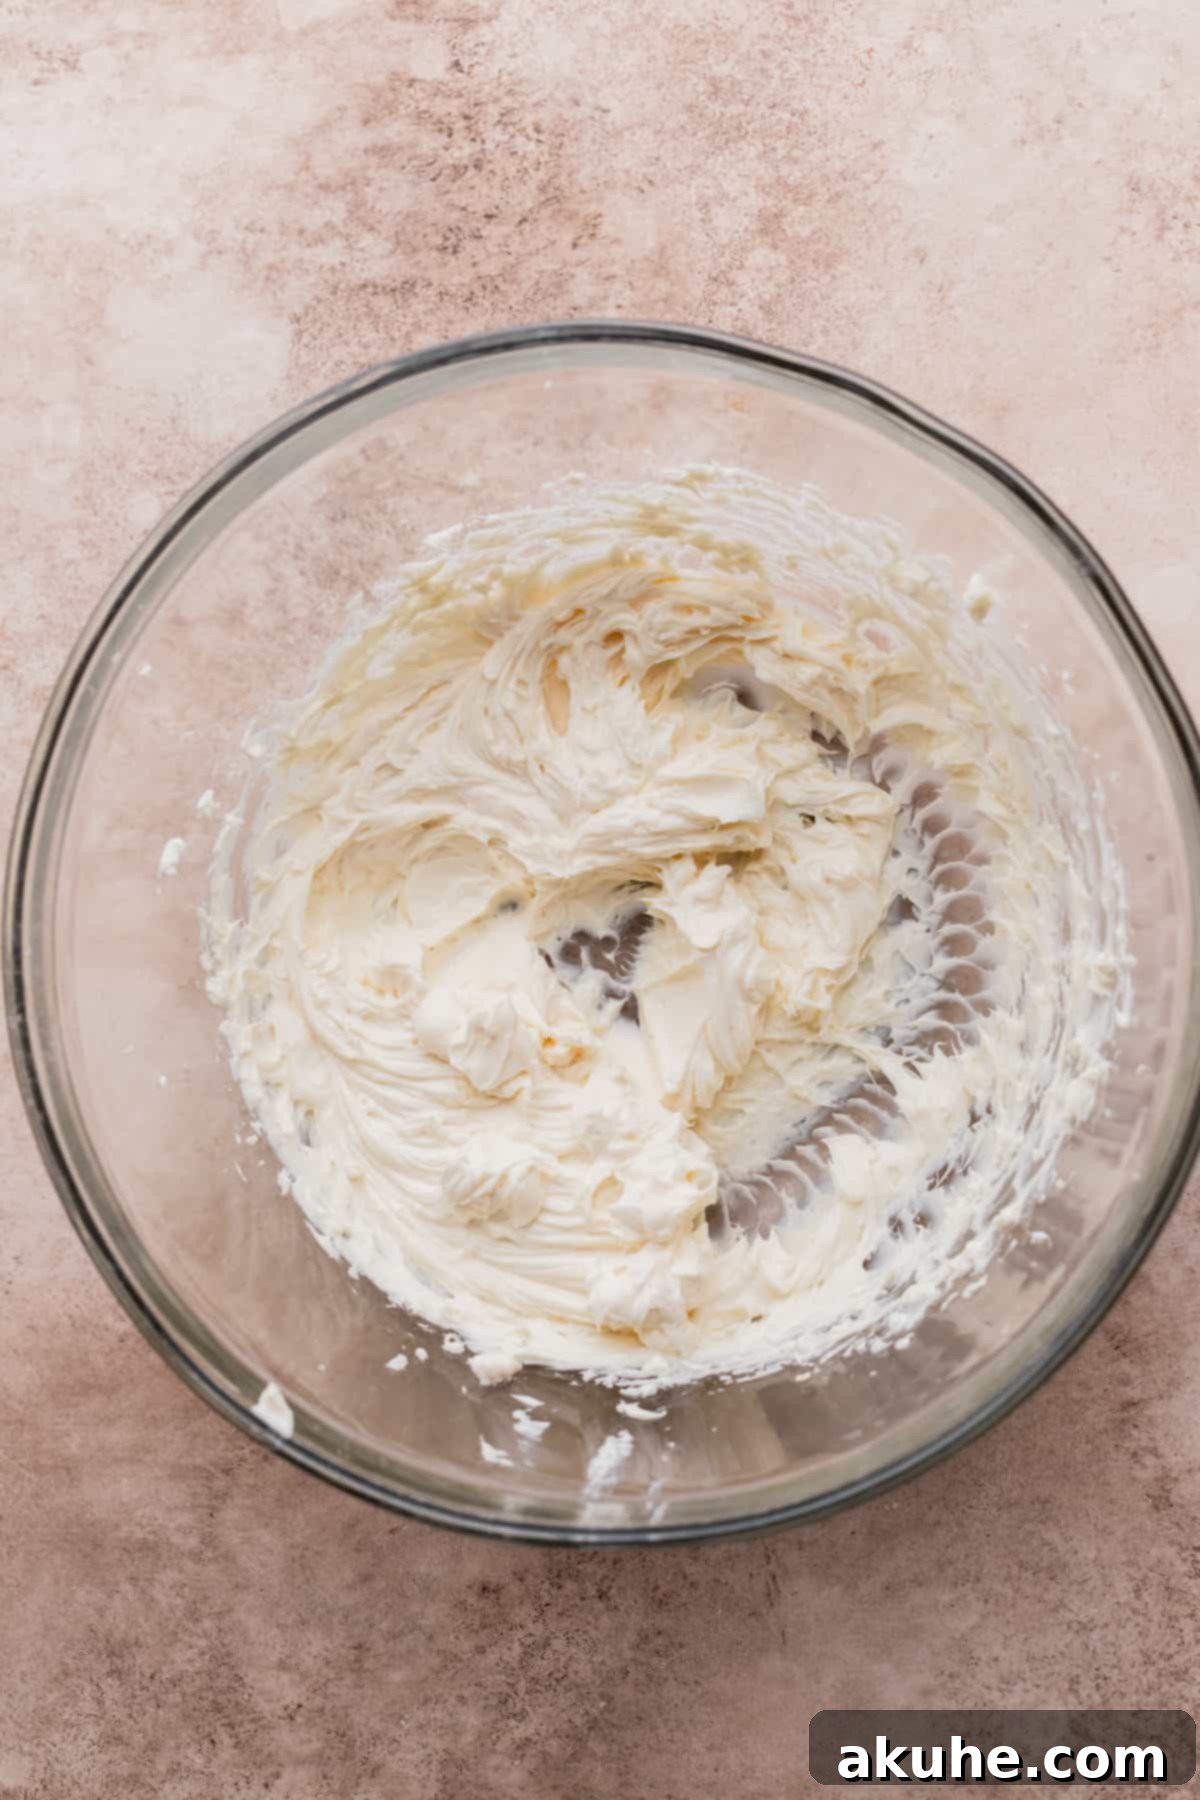
STEP 3: Beat Cream Cheese and Sugar. In a separate medium bowl, using the paddle attachment on your stand mixer or a hand mixer, beat the room temperature full-fat cream cheese and granulated sugar on high speed for 1 minute. The mixture should become smooth and creamy. Ensure there are no lumps of cream cheese remaining.
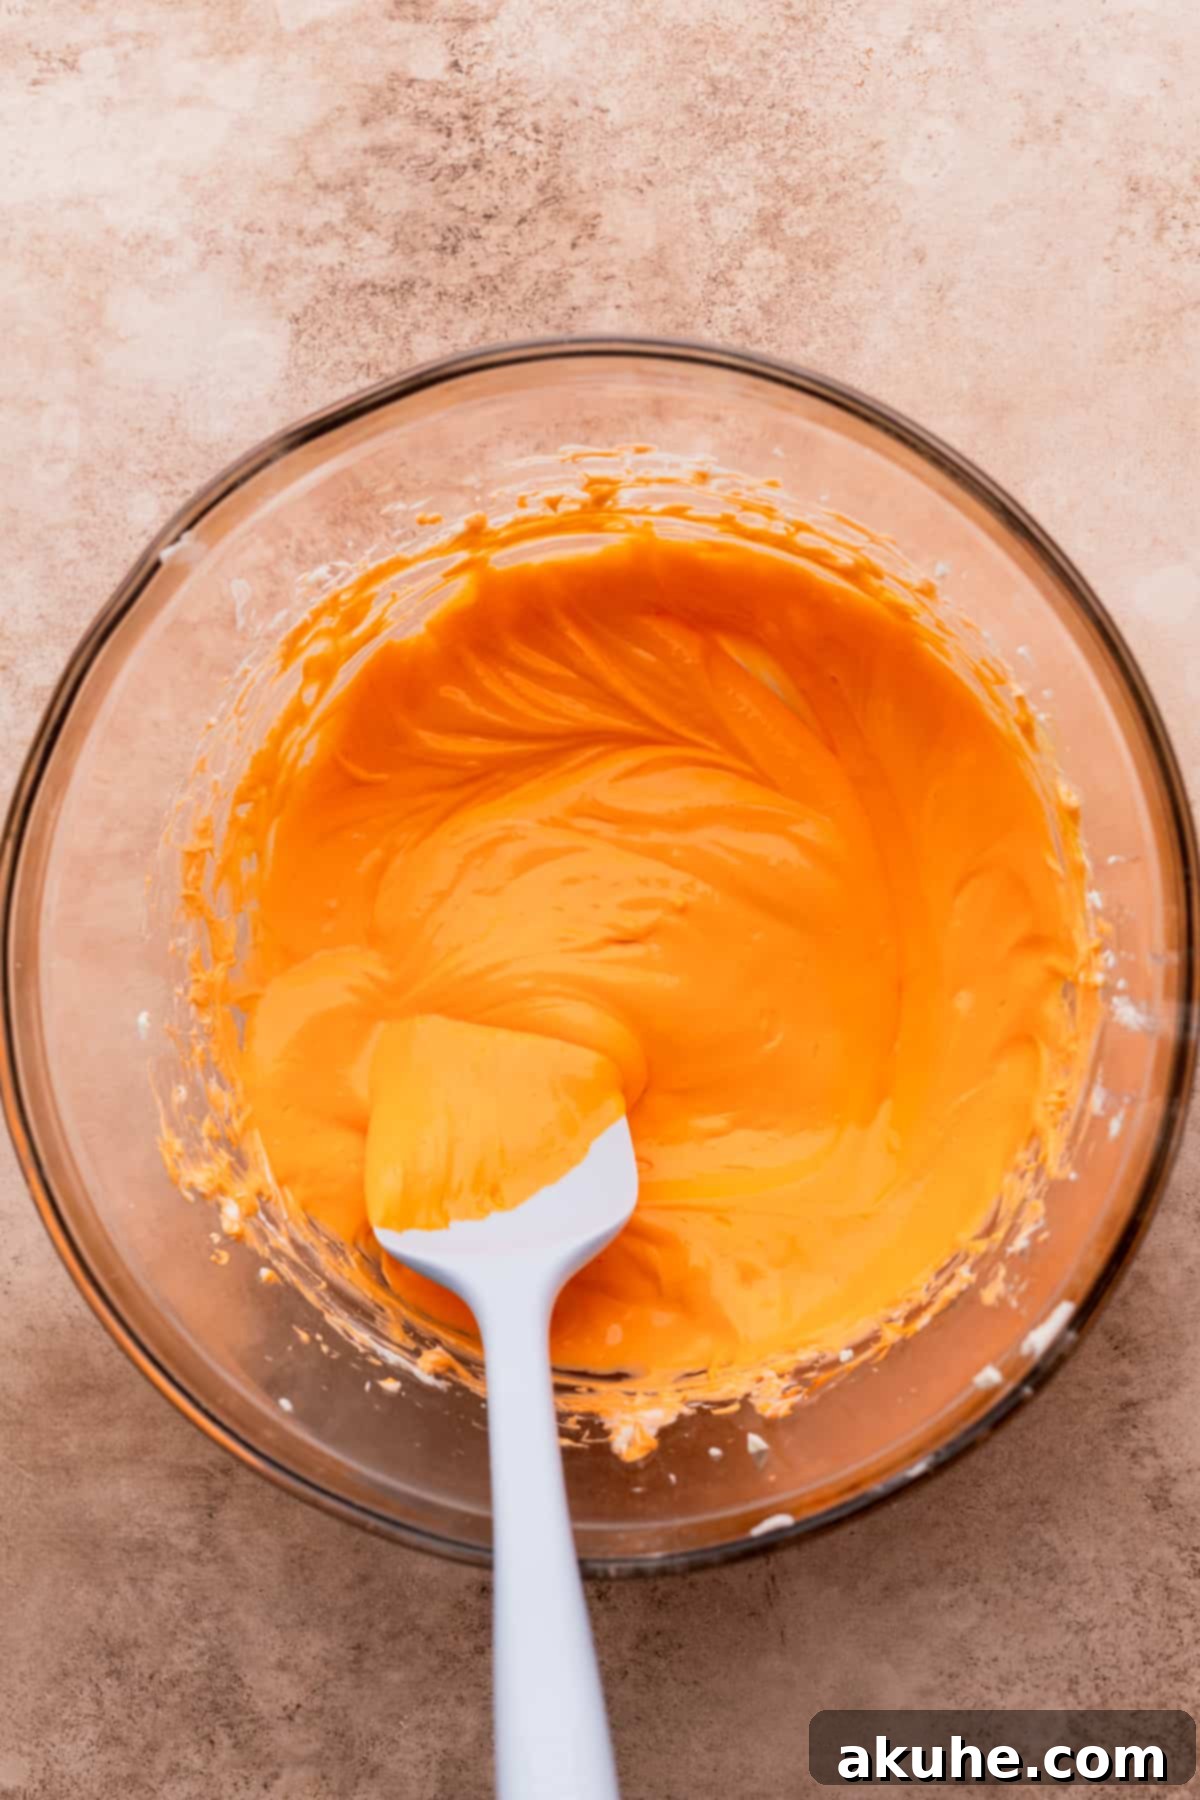
Next, add the pure vanilla extract and your orange gel food dye. Mix on medium speed until the desired vibrant orange color is achieved. Start with a few drops and add more gradually until you reach the perfect Halloween hue.
STEP 4: Gently Add the Egg. Introduce the room temperature large egg to the cream cheese mixture and mix on very low speed, just until incorporated. It’s important to minimize the amount of air beaten into the cheesecake batter at this stage, as too much air can cause cracks on the surface during baking.
Assembly & Baking:
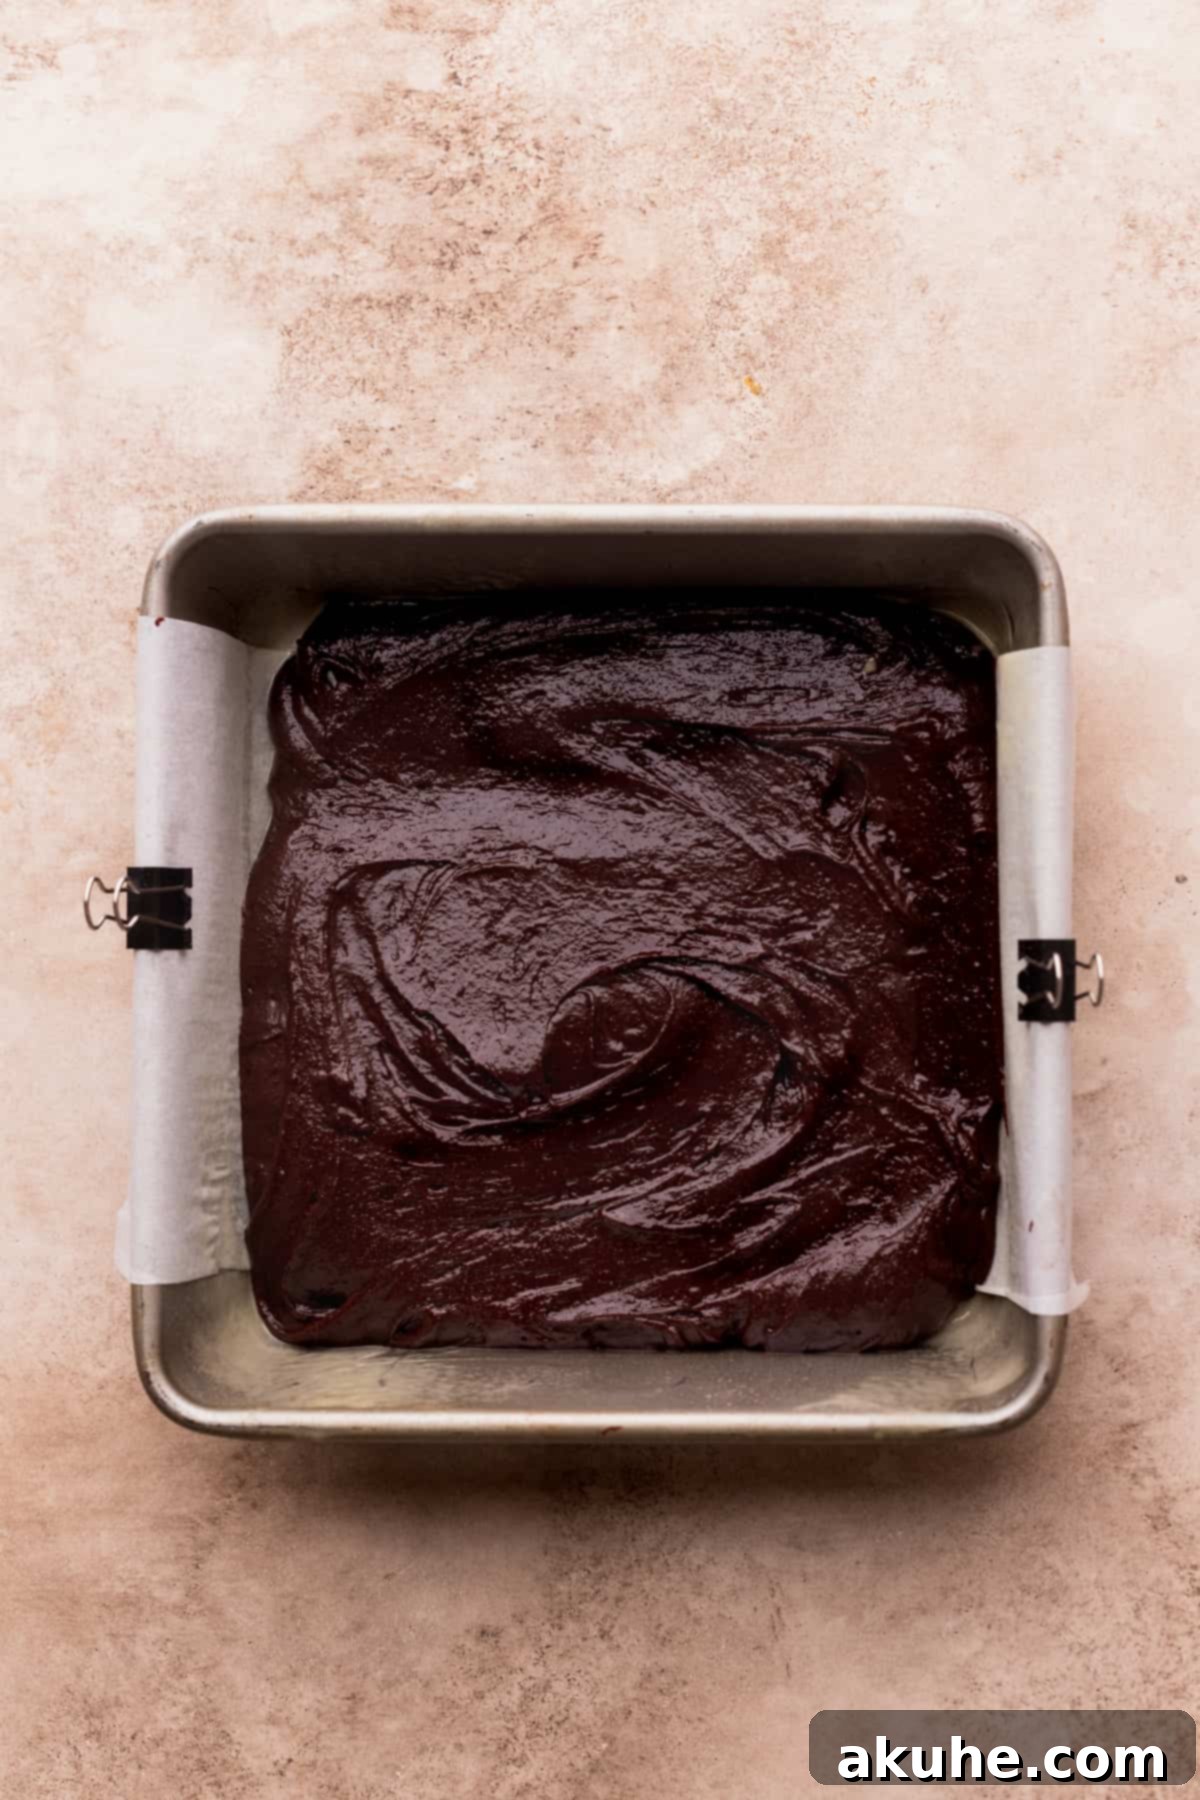
STEP 5: Layer the Batters. Pour the main brownie batter (all but the reserved 1/4 cup) into your prepared 8×8-inch baking pan. Use an offset spatula or the back of a spoon to spread it evenly to all corners. Gently pour the orange cheesecake batter on top of the brownie layer, spreading it carefully to form an even layer.
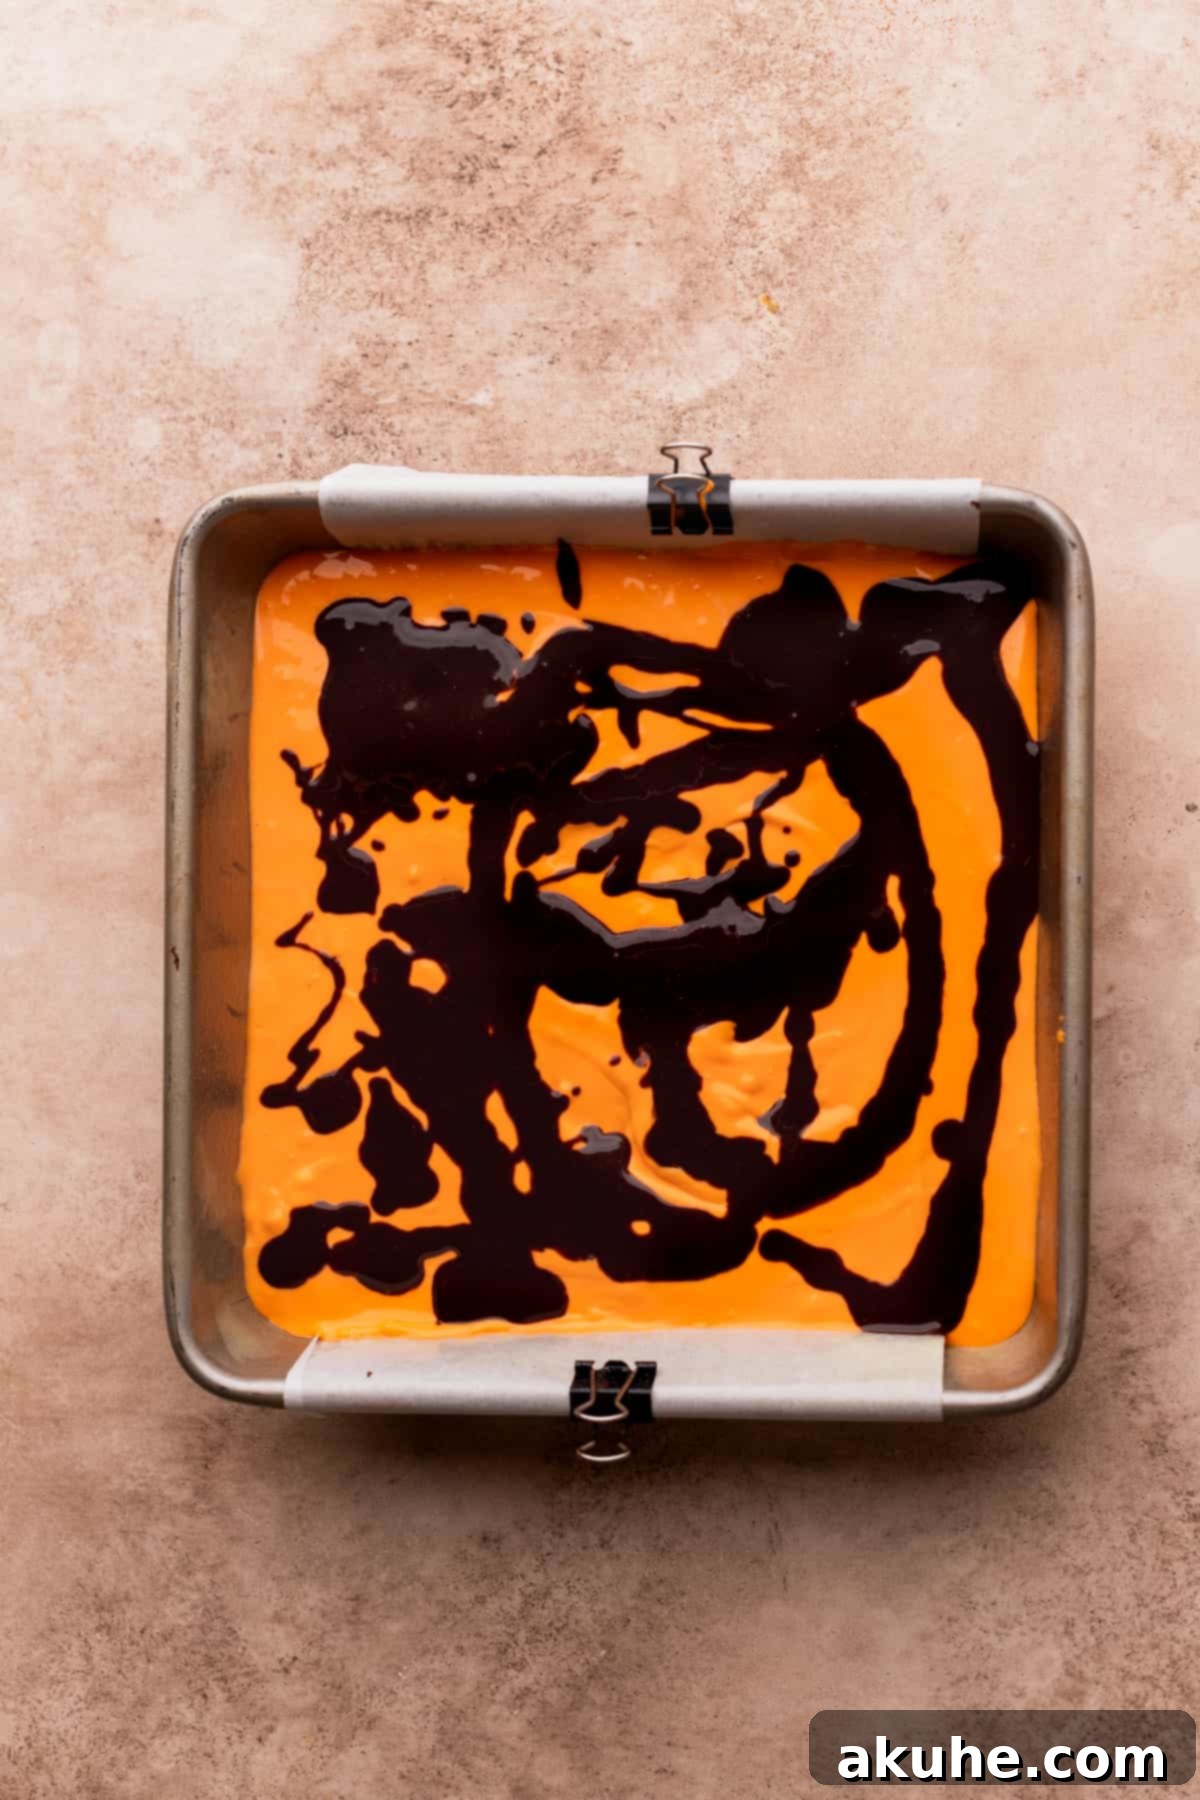
Now, prepare the reserved 1/4 cup of brownie batter for the swirl. Heat 1 1/2 tablespoons of water on the stovetop until it’s steaming hot (not boiling). Pour this hot water into the reserved brownie batter and whisk vigorously until it becomes a smooth, liquid consistency. This thinning process is essential for creating a beautiful, delicate swirl.
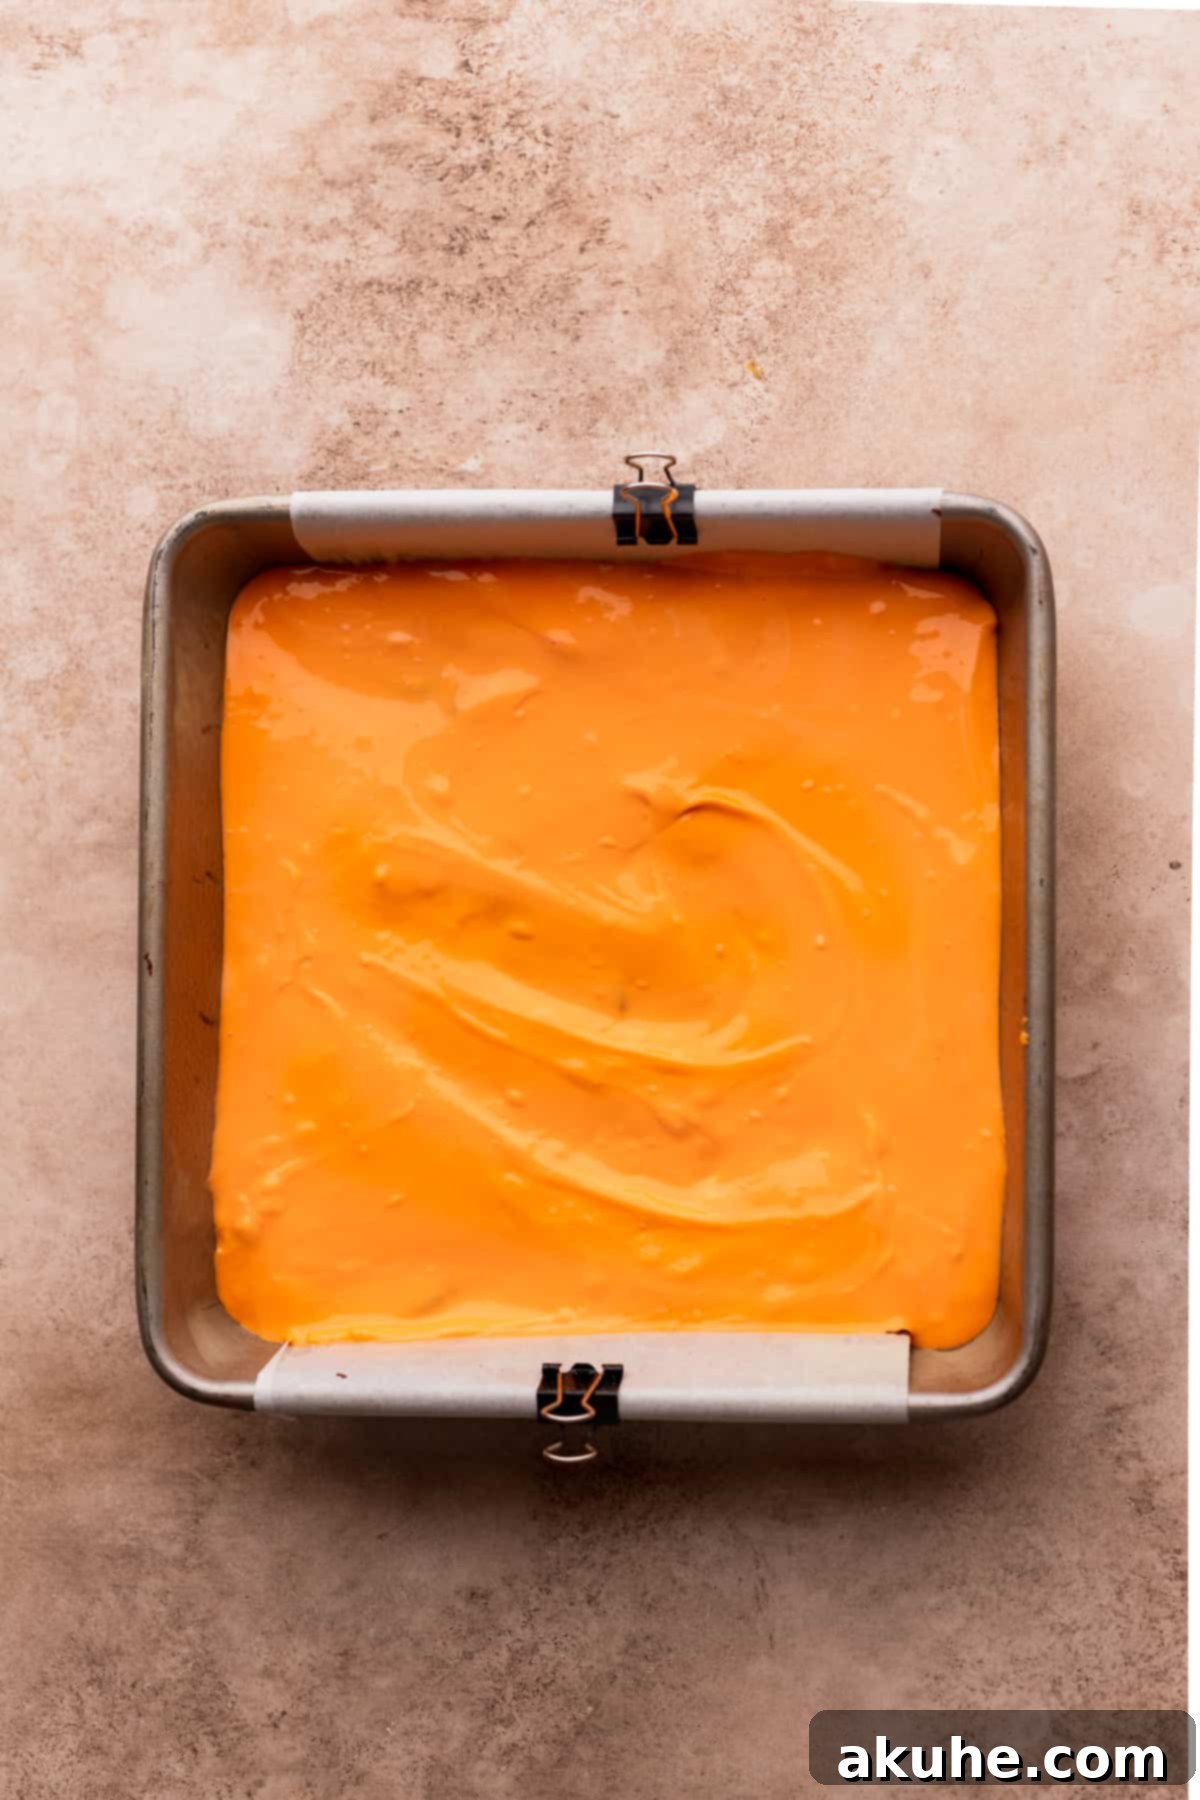
STEP 6: Create the Swirl. Drizzle the thinned brownie batter over the orange cheesecake layer in a desired pattern – zigzags, dots, or random drizzles work well. Take a butter knife or a thin skewer and very gently swirl the brownie batter into the cheesecake. Be careful not to drag too deeply into the brownie base, aiming for swirls mostly within the cheesecake layer to maintain distinct layers. A few gentle passes are usually sufficient for an elegant marble effect.
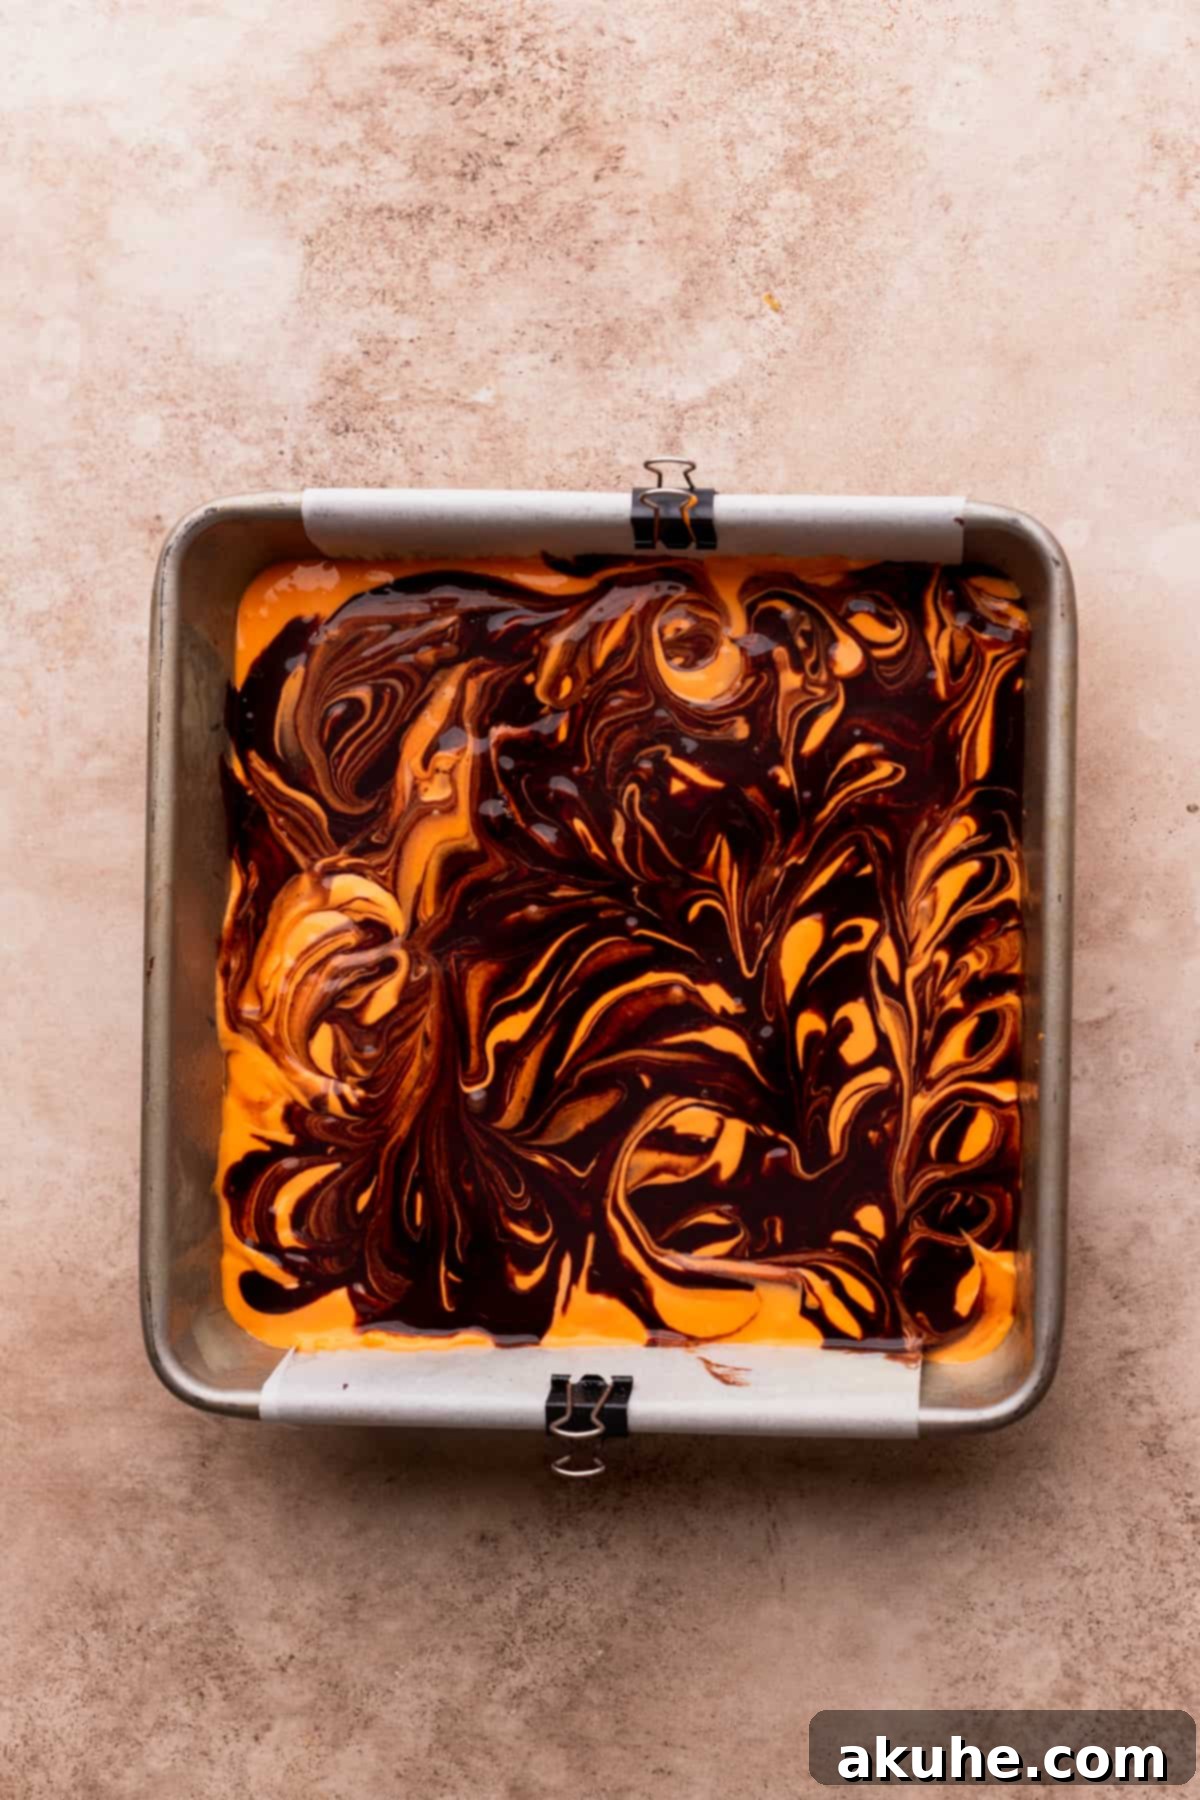
STEP 7: Bake to Perfection. Transfer the baking pan to your preheated oven and bake for 40-50 minutes. The brownies are done when a toothpick inserted into the center (avoiding the very edges where it might seem dryer) comes out with moist crumbs attached, but not wet batter. If it appears too gooey, bake for an additional 5 minutes, checking again. Remember, brownies continue to set as they cool, so it’s better to slightly underbake than overbake for maximum fudginess.
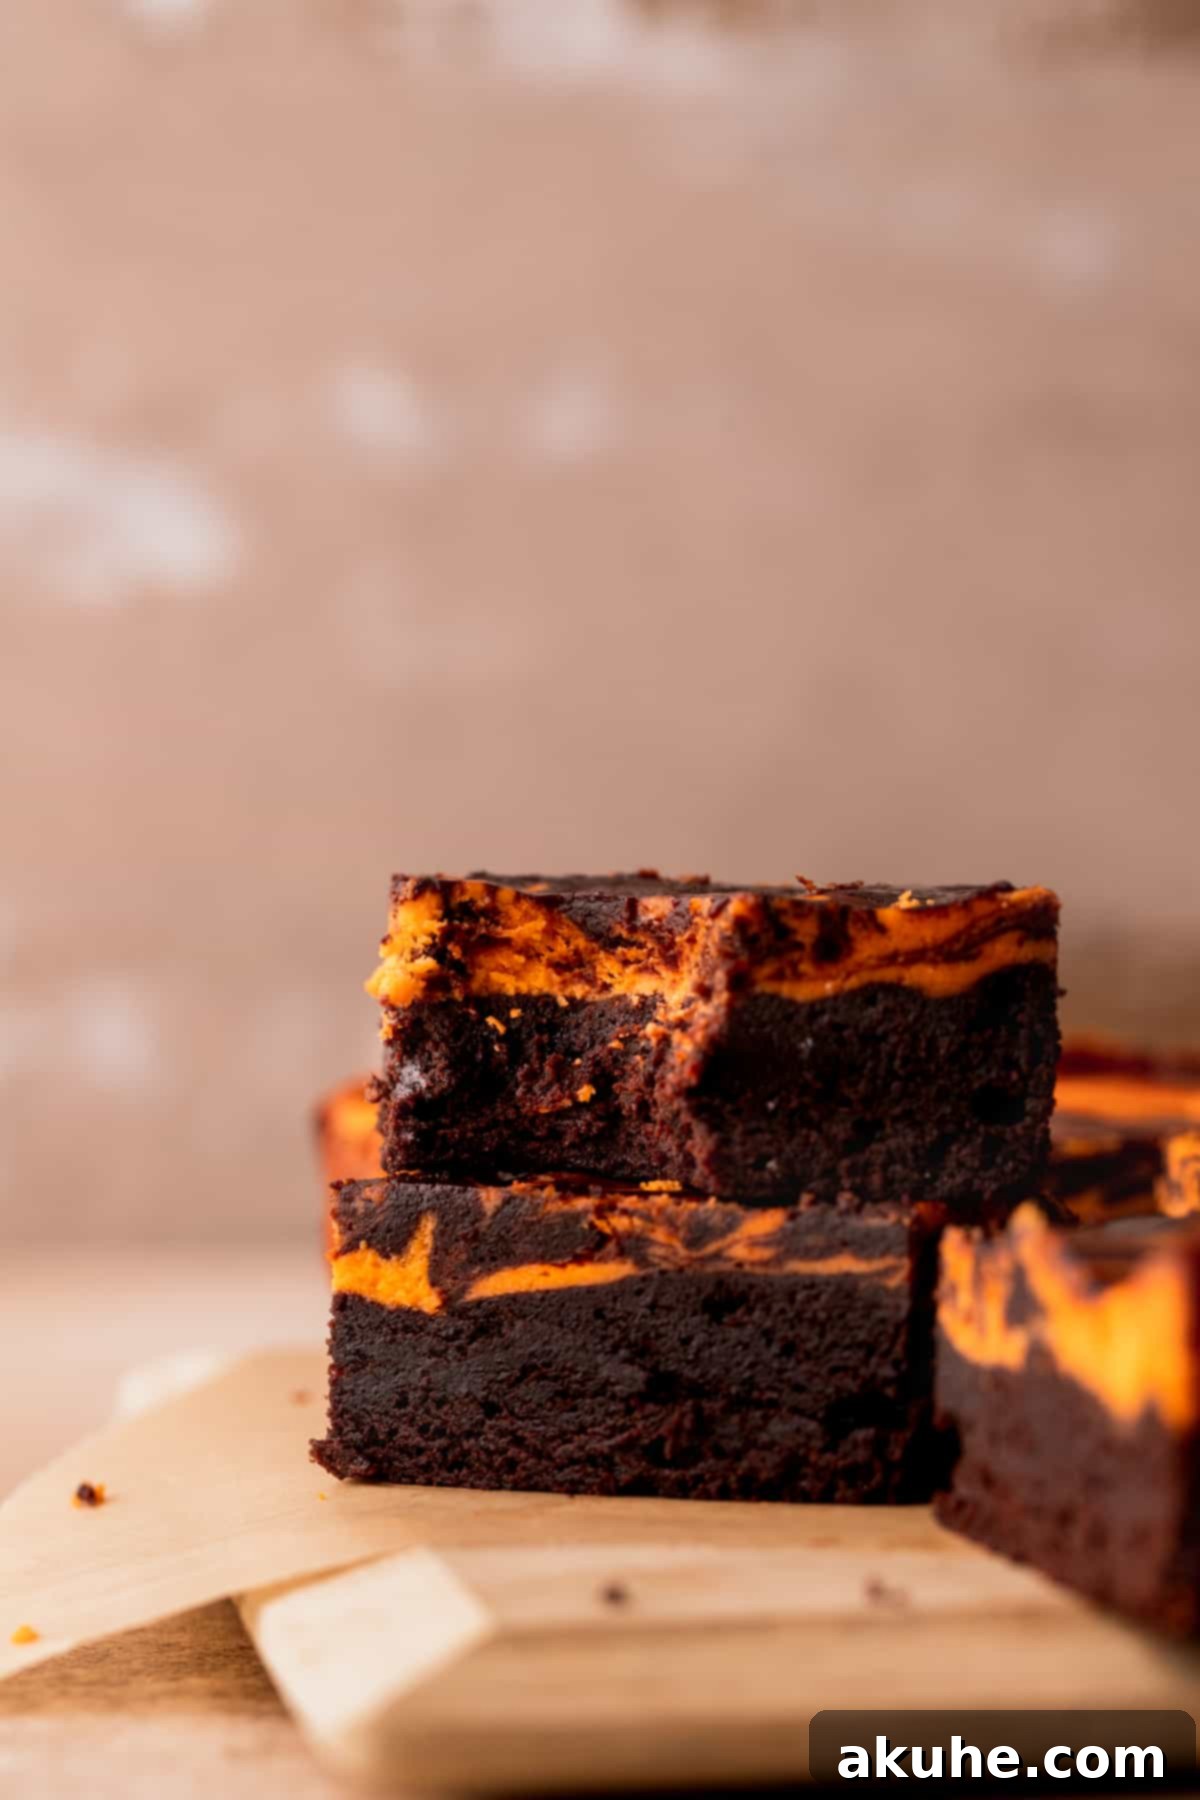
STEP 8: Chill for Optimal Texture. This step is non-negotiable for perfectly fudgy and clean-cut brownies. First, allow the brownies to cool completely on a wire rack at room temperature. Once cool, cover the pan tightly with plastic wrap and transfer it to the refrigerator. Chill overnight or for a minimum of 2-3 hours. The chilling process allows the brownie and cheesecake layers to firm up, making them incredibly fudgy and easy to slice into neat squares.
Expert Baking Tips for Flawless Halloween Brownies
Mastering these simple techniques will ensure your Halloween Swirl Cheesecake Brownies are nothing short of perfection:
- Accurate Flour Measurement: Always spoon your all-purpose flour into the measuring cup and then level it off with a straight edge (like the back of a knife). Never scoop directly from the bag, as this compacts the flour, leading to an excess amount that can dry out your brownies and make them cakey instead of fudgy. For ultimate precision, use a kitchen scale.
- Whip Eggs and Sugar Thoroughly: The instruction to beat the sugar and eggs on high speed for 5 minutes is crucial. This step incorporates air, creating a light, voluminous mixture that contributes to the brownies’ desired crackly top and chewy texture. Don’t shorten this time.
- Avoid Overmixing After Adding Flour: Once you add the dry ingredients to the wet batter, mix only until just combined. Overmixing develops gluten, which can result in tough, dense brownies. Use a rubber spatula for the final folds to ensure everything is incorporated without overworking the batter. This also helps preserve the air bubbles for that classic brownie rise and crackle.
- Proper Pan Preparation: The parchment paper sling is your best friend here! Lining the bottom and two sides of your baking pan with parchment paper, leaving an overhang, allows you to easily lift the entire slab of cooled brownies out of the pan. This prevents sticking and makes cutting much simpler and cleaner. Don’t forget to spray the parchment as well!
- Room Temperature Ingredients: Ensure all cold ingredients (eggs, cream cheese, butter) are at room temperature unless otherwise specified. This facilitates easier mixing, creates smoother batters, and helps ingredients emulsify properly for a consistent texture.
- Don’t Rush the Cooling and Chilling: Patience is a virtue in baking, especially with these brownies. Cooling completely at room temperature before chilling is vital. The subsequent refrigeration allows the fudgy texture to fully develop and makes the cheesecake layer firm enough for clean, precise cuts. Attempting to slice warm brownies will result in a messy, crumbling disaster.
- The Toothpick Test: When checking for doneness, aim for moist crumbs, not wet batter, on your toothpick. A few moist crumbs indicate a fudgy center that will set perfectly upon cooling. If the toothpick comes out completely clean, your brownies might be on the drier side.
Frequently Asked Questions (FAQ) About Halloween Swirl Cheesecake Brownies
Absolutely! This recipe adapts beautifully to mini portions. Simply use a cupcake tin lined with cupcake liners. Fill each liner with a layer of brownie batter, top with cheesecake batter, swirl, and bake for approximately 20-25 minutes, or until a toothpick comes out with moist crumbs. Keep a close eye on them as baking times will be shorter.
While an 8×8-inch pan yields perfectly thick brownies, you can use a 9×9-inch square pan for thinner bars. Be aware that baking times will need to be adjusted; a 9×9-inch pan will likely require a slightly shorter baking time, so start checking for doneness around 30-35 minutes. Always rely on the toothpick test for accuracy.
No, a water bath is not necessary for this particular cheesecake brownie recipe! The fudgy brownie base and the specific proportions of the cheesecake layer are designed to bake perfectly without the need for a water bath, simplifying the process while still ensuring a creamy, delightful cheesecake component.
Yes, absolutely! The beauty of this recipe is its versatility. You can easily swap out the orange food coloring for other shades to match different holidays or themes. Think red and green for Christmas, pink for Valentine’s Day, or blue for a baby shower. The possibilities are endless!
The key to a perfect swirl is to be gentle and not overdo it. Drizzle the thinned brownie batter over the cheesecake, then use a butter knife or a thin skewer. Make only a few quick, gentle passes through the batter in an ‘S’ shape or figure-eight pattern. Avoid digging too deep, as you want the distinct layers to remain visible, creating a beautiful marbled effect on top.
Storing and Freezing Your Halloween Brownies
To keep your festive treats fresh and delicious, proper storage is essential.
Storage:
Store these Halloween brownies in an airtight container in the refrigerator. The cheesecake layer requires refrigeration. They will maintain their fresh taste and fudgy texture for up to 5 days.
Freezing:
These marbled cheesecake brownies freeze beautifully! For best results, cut the brownies into individual squares before freezing. Place them in a single layer on a baking sheet lined with parchment paper and freeze for about an hour until firm. Then, transfer the frozen brownies to an airtight, freezer-safe container or a heavy-duty freezer bag, separating layers with parchment paper to prevent sticking. They can be frozen for up to 30 days.
To enjoy, simply thaw the desired number of brownies at room temperature for 1-2 hours. Freezing them in slices makes thawing quick and convenient, allowing you to enjoy a perfect fudgy bite whenever a craving strikes.
Other Decadent Brownie Recipes to Try
If you loved this recipe, please consider leaving a STAR REVIEW below! Don’t forget to tag me on Instagram @stephaniesweettreats with your creations. For more delicious baking ideas and inspiration, make sure to follow me on Pinterest.
Halloween Brownies Recipe
Author: Stephanie Rutherford
These Halloween brownies feature intensely fudgy layers topped with a creamy, vibrant orange cheesecake and swirled with extra brownie batter. They are the perfect orange and black festive treat for any spooky celebration, combining rich chocolate with a tangy cheesecake twist.
- Print Recipe
- Pin Recipe
- Leave a Review
Recipe Details
- Prep Time: 30 minutes
- Cook Time: 50 minutes
- Chilling Time: 6 hours (or overnight)
- Total Time: 7 hours 20 minutes
- Servings: 12 brownies
Ingredients
Brownie Layer
- 1 cup White granulated sugar
- 2 Large eggs
- 4 TBSP Unsalted butter, melted and cooled
- 1/4 cup Oil (canola or vegetable oil recommended)
- 1 tsp Pure vanilla extract
- 2/3 cup All-purpose flour
- 2/3 cup Unsweetened cocoa powder (Dutch-processed is best for rich color)
- 1/2 TBSP Cornstarch
- 1/2 tsp Salt
- 1 1/2 TBSP Hot water (for swirling)
Cheesecake Layer
- 8 oz Full-fat cream cheese, softened to room temperature
- 1/4 cup White granulated sugar
- 1 tsp Pure vanilla extract
- 1 Large egg, room temperature
- Orange gel food dye (Americolor is a great choice)
Instructions
- Prepare Your Pan: Preheat oven to 325°F (160°C). Spray an 8×8-inch baking pan with nonstick spray. Line the bottom and two opposing sides with parchment paper, leaving an overhang to easily lift the brownies. Spray the parchment paper again.
- Prepare Dry Brownie Mix: In a medium bowl, whisk together the all-purpose flour, unsweetened cocoa powder, cornstarch, and salt. Set aside.
- Whip Brownie Wet Ingredients: In a large mixing bowl, using a stand mixer with a whisk attachment (or a hand mixer), beat 1 cup of white granulated sugar and 2 large eggs on high speed for 5 minutes until light, pale, and voluminous. While mixing, melt the butter and allow it to cool slightly.
- Combine Brownie Wet Ingredients: Reduce mixer speed to low. Add the cooled melted unsalted butter, 1/4 cup oil, and 1 tsp pure vanilla extract. Mix until just combined.
- Finish Brownie Batter: Gradually add the dry ingredient mixture to the wet ingredients, mixing on low speed until just combined and no dry streaks remain. Be careful not to overmix.
- Reserve Batter for Swirl: Scoop out 1/4 cup of the finished brownie batter and set it aside in a small bowl. Spread the remaining brownie batter evenly into the prepared baking pan.
- Prepare Cheesecake Batter: In a separate medium bowl, beat the 8 oz softened cream cheese, 1/4 cup white granulated sugar, and 1 tsp pure vanilla extract on high speed for 1 minute until smooth and creamy.
- Color the Cheesecake: Add orange gel food dye to the cream cheese mixture and mix on medium speed until you reach your desired vibrant orange color.
- Add Egg to Cheesecake: Gently mix in 1 large room temperature egg on low speed until just combined. Minimize air incorporation to prevent cracks.
- Layer the Batters: Carefully spread the orange cheesecake batter evenly over the brownie batter in the pan.
- Thin Swirl Batter: Heat 1 1/2 tablespoons of water until steaming hot. Pour it into the reserved 1/4 cup brownie batter and whisk until it becomes a smooth, liquid consistency.
- Create the Swirl: Drizzle the thinned brownie batter over the orange cheesecake layer. Using a butter knife or thin skewer, gently swirl the brownie batter into the cheesecake, making sure not to dig too deep into the bottom brownie layer.
- Bake: Bake in the preheated oven for 40-50 minutes. The brownies are done when a toothpick inserted into the center comes out with moist crumbs (not wet batter). If still too gooey, bake for an additional 5 minutes.
- Cool and Chill: Let the brownies cool completely on a wire rack at room temperature. Once cooled, cover the pan tightly with plastic wrap and chill in the refrigerator overnight, or for at least 2-3 hours, before cutting into squares and serving.
Notes
- Flour Measurement: Always spoon and level flour, or use a kitchen scale, to prevent dry brownies.
- High Altitude Baking: For high altitudes, consider adding an extra 1 tablespoon of all-purpose flour to the brownie batter.
- Room Temperature Ingredients: Ensure all dairy ingredients (eggs, cream cheese, butter) are at room temperature for optimal mixing and texture.
Nutrition Information (per serving)
Calories: 250kcal, Carbohydrates: 27g, Protein: 2g, Fat: 15g, Saturated Fat: 7g, Polyunsaturated Fat: 2g, Monounsaturated Fat: 6g, Trans Fat: 0.2g, Cholesterol: 29mg, Sodium: 157mg, Potassium: 35mg, Fiber: 0.2g, Sugar: 22g, Vitamin A: 370IU, Calcium: 21mg, Iron: 0.4mg
Did you make this recipe? Please leave a star rating and review below!
