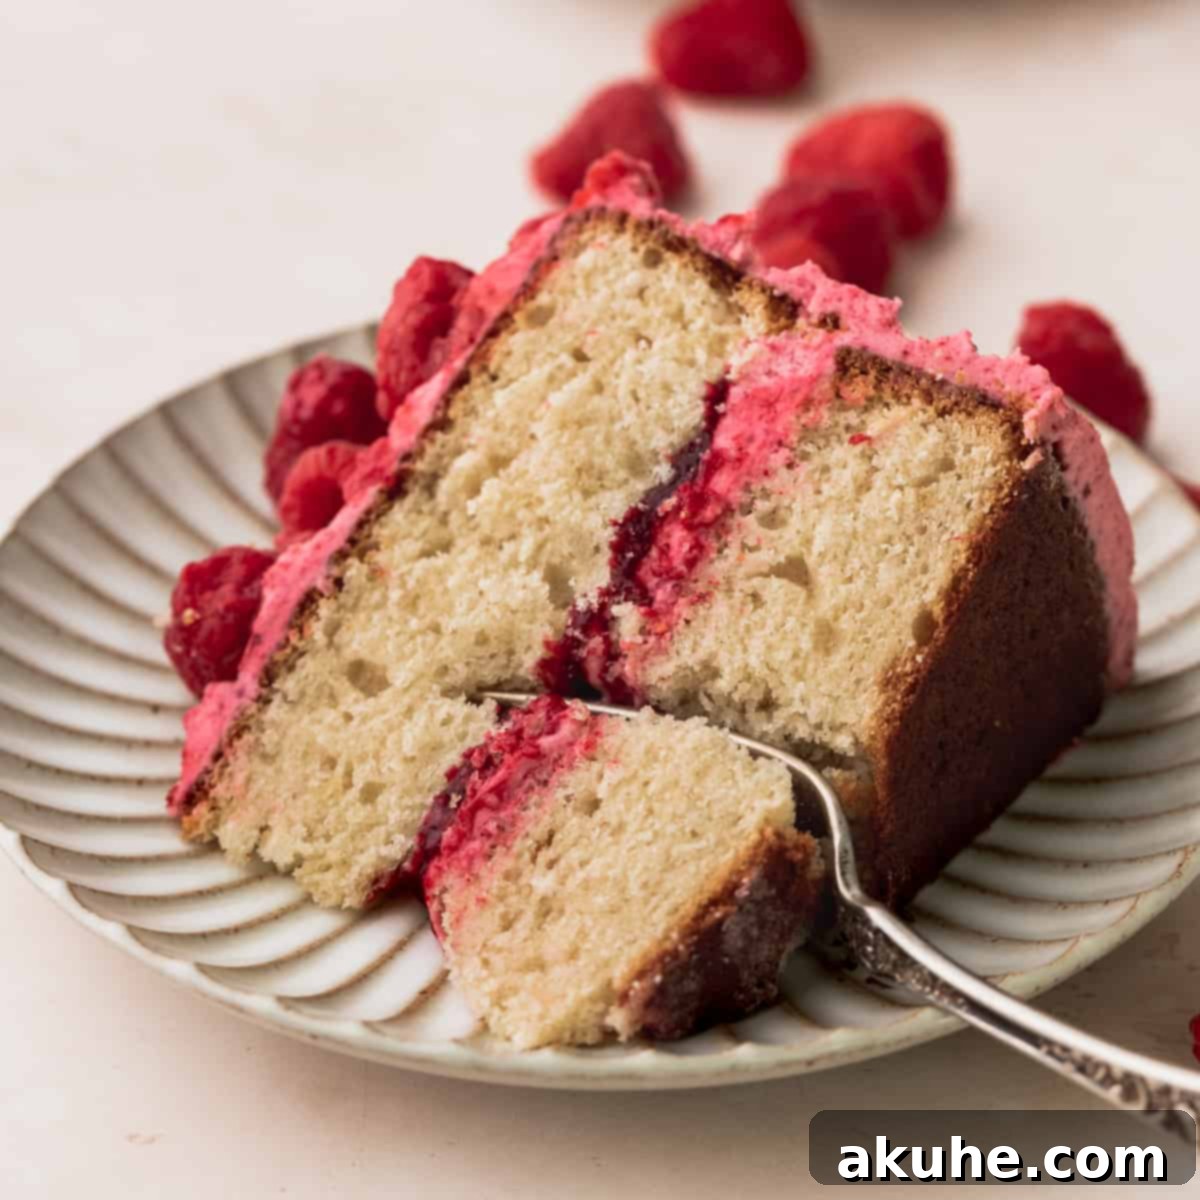
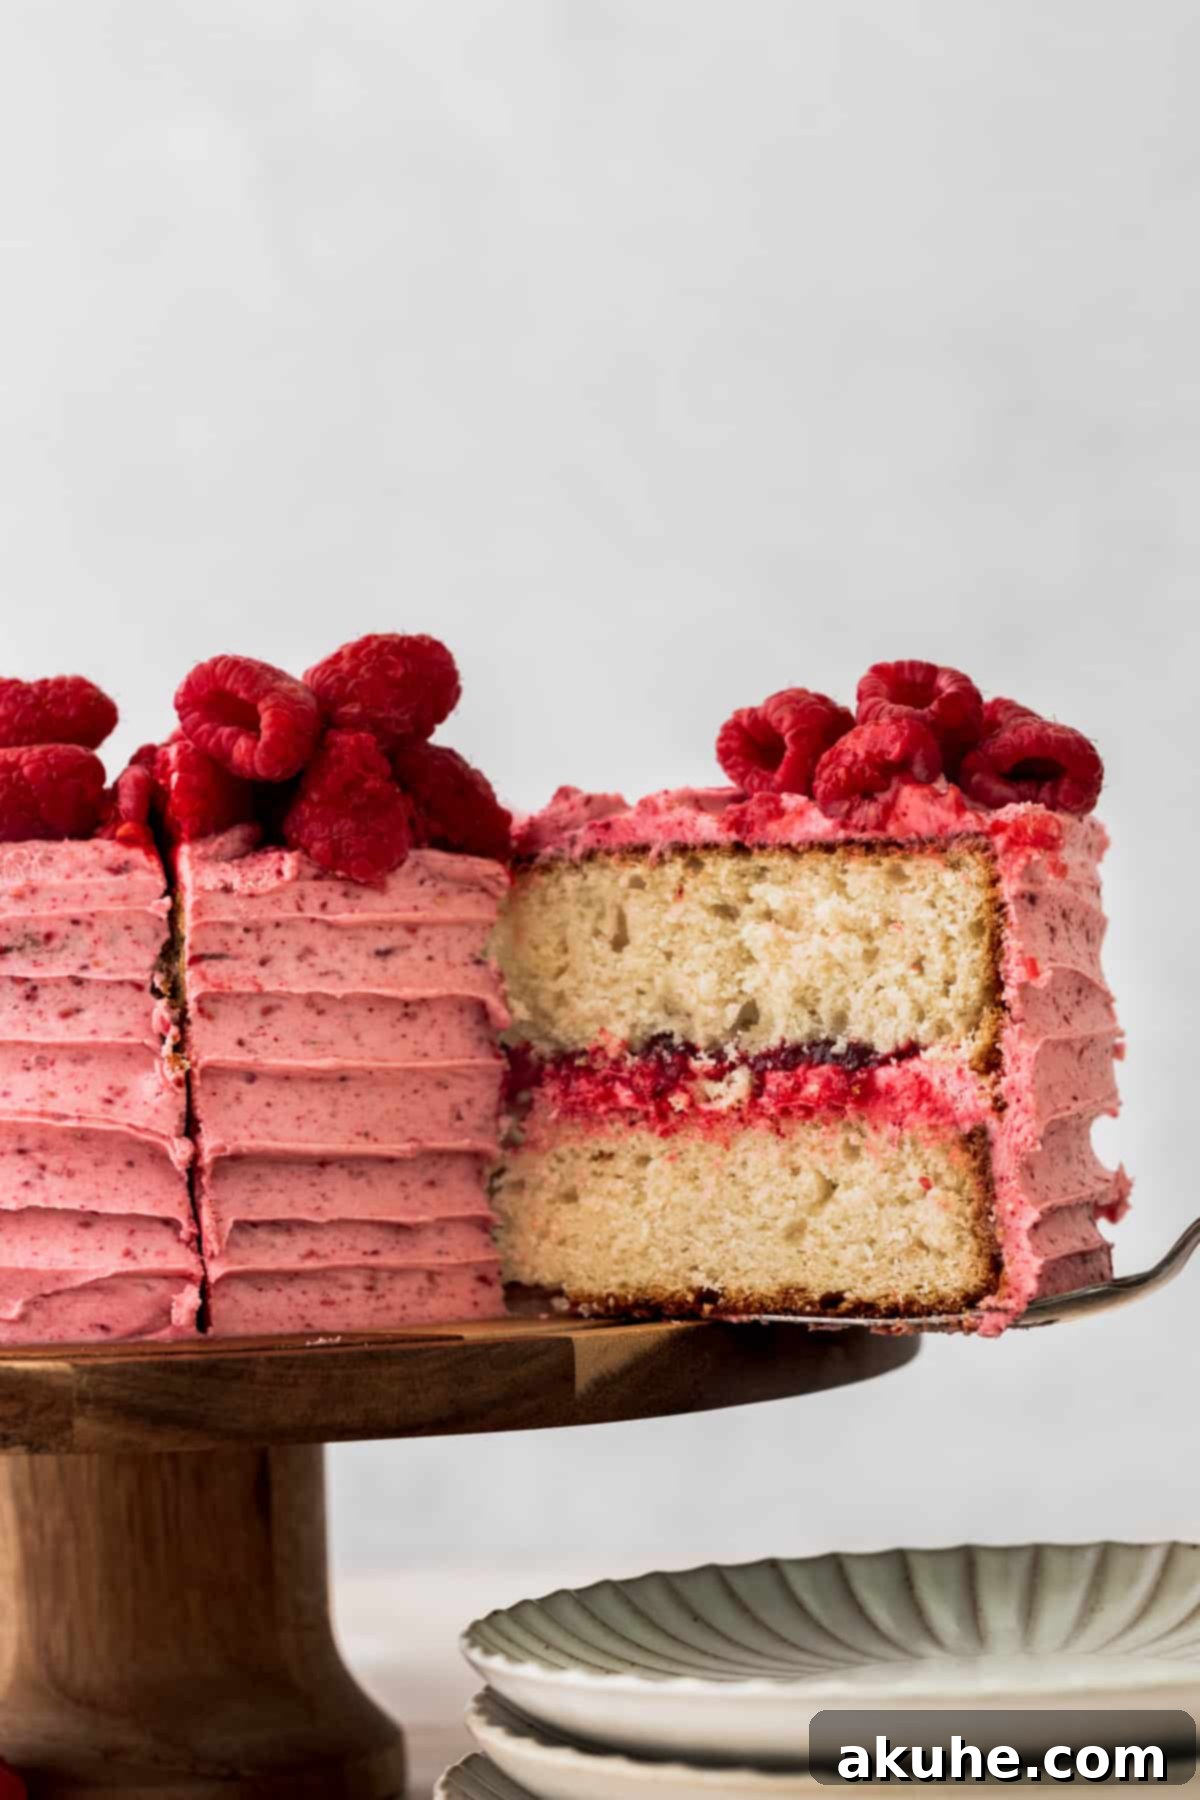
Welcome to the ultimate guide for creating an extraordinary Vanilla Raspberry Cake. This isn’t just any dessert; it’s a celebration of flavors and textures, featuring two layers of moist, tender vanilla cake generously filled with luscious raspberry jam and crowned with a light, airy raspberry cream cheese frosting. Whether you’re a devoted raspberry enthusiast or simply seeking a show-stopping cake for your next gathering, this recipe promises an unforgettable experience. Its vibrant flavor profile and elegant presentation make it perfect for any special occasion, from intimate family dinners to grand celebrations.
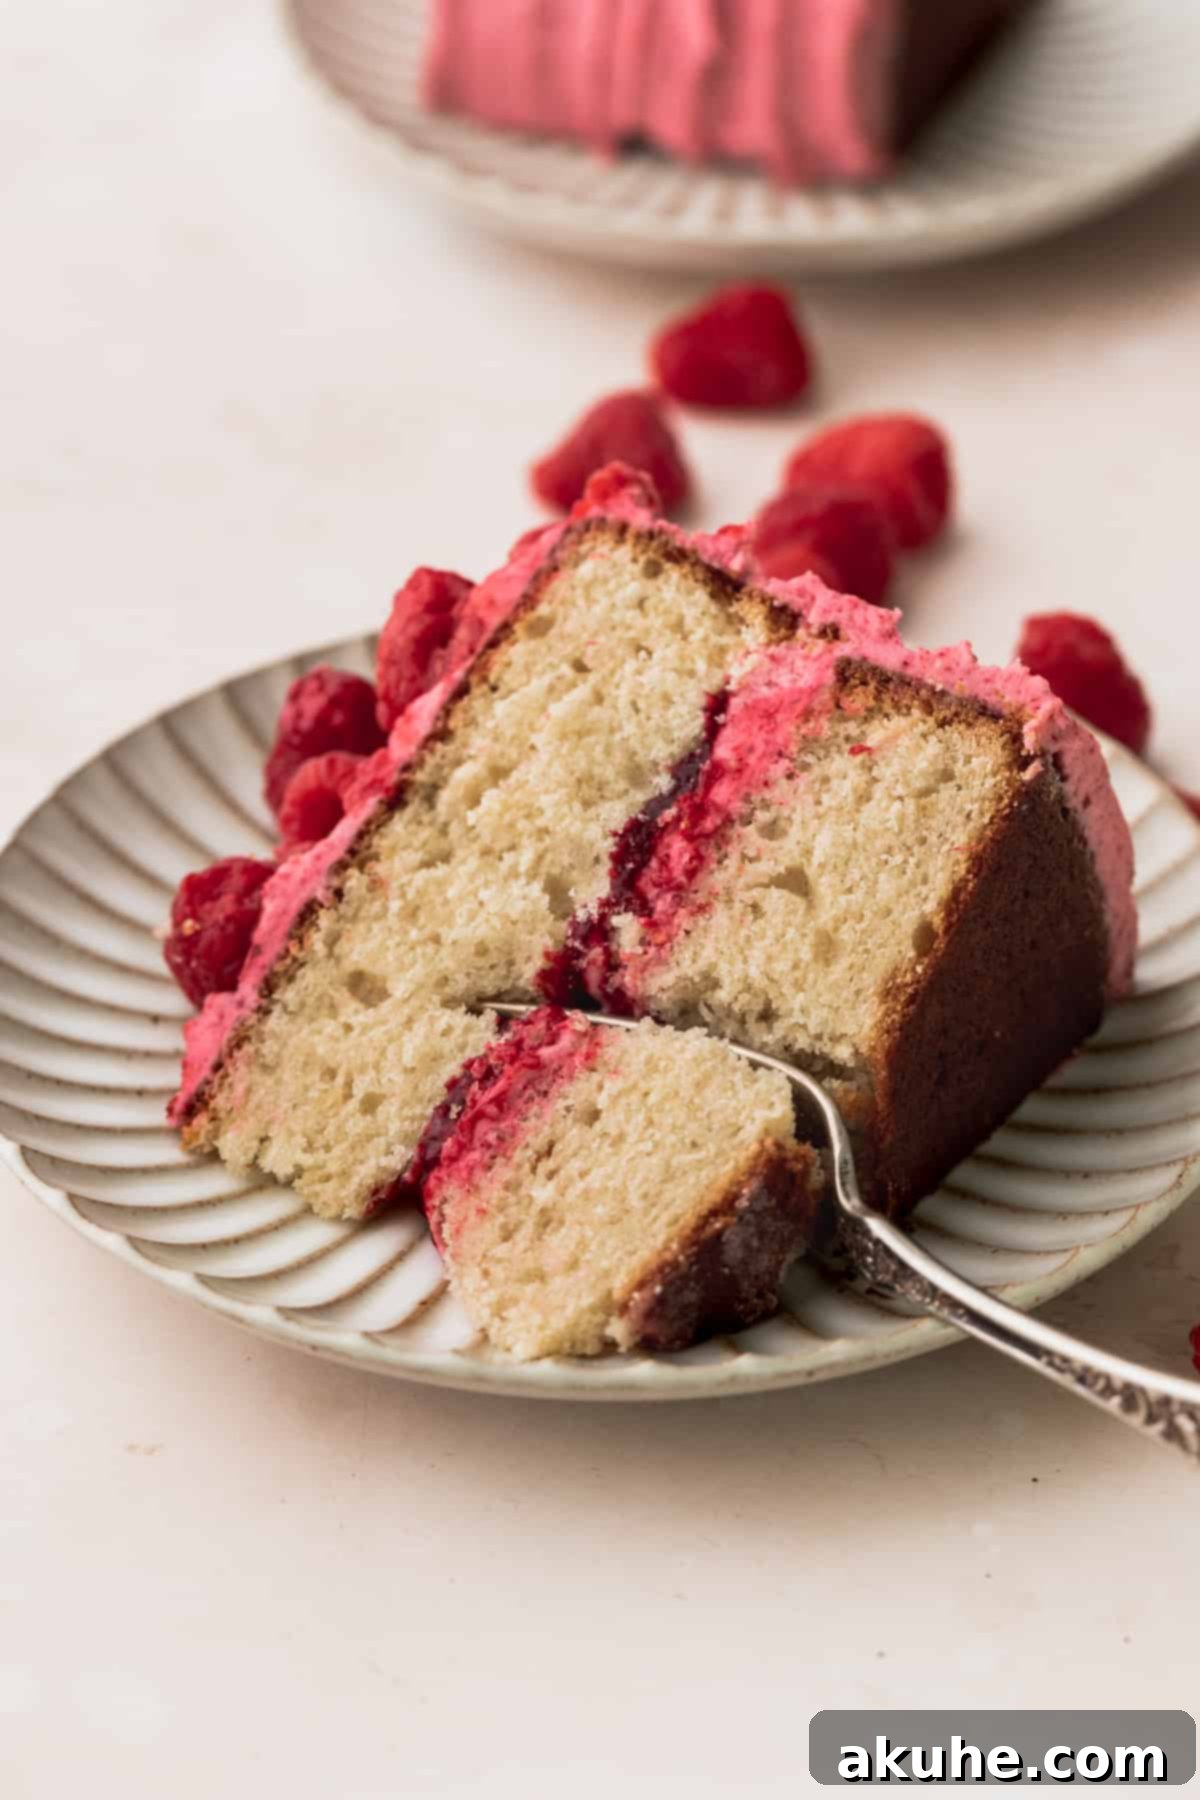
There’s a reason why this vanilla raspberry cake stands out. The foundation is a classic vanilla cake recipe, perfected over time to deliver unparalleled moistness and a delicate crumb. What truly elevates it are the layers of vibrant raspberry goodness: a homemade, seedless raspberry jam provides a delightful burst of tartness, perfectly balanced by the sweet, tangy raspberry cream cheese frosting. Each bite is a symphony of flavors, with a strong, natural raspberry essence shining through, making it a true delight for the senses.
One of the best aspects of this recipe is its adaptability. You don’t need to wait for raspberry season to enjoy this incredible cake. Using high-quality frozen raspberries allows you to whip up this masterpiece any time of the year, whether fresh berries are abundant in summer or you crave a taste of sunshine in the heart of winter. It’s designed to be a perfect centerpiece for birthdays, anniversaries, holidays, or any moment that calls for something truly special.
If your love for raspberries extends beyond cake, you might also enjoy exploring other delightful raspberry creations. Consider trying our Raspberry White Chocolate Cookies, fluffy Raspberry Filled Cupcakes, or the luxurious Raspberry White Chocolate Cake for more berry-infused treats.
Why This Vanilla Raspberry Cake Recipe is a Must-Try
This vanilla raspberry cake isn’t just a recipe; it’s a meticulously crafted experience designed to deliver maximum flavor and enjoyment. Here’s why it consistently wins hearts and palates:
- Incredibly Moist Vanilla Cake: Our foundational vanilla cake recipe ensures two layers of exceptionally soft, tender cake. The secret lies in a careful balance of ingredients that guarantees a moist crumb, making it an ideal canvas for the vibrant raspberry additions. It’s rich in vanilla flavor, providing the perfect complement to the fruity components.
- Seedless Raspberry Jam Perfection: The homemade raspberry jam is more than just a filling; it’s a crucial layer of intense raspberry flavor. We ensure it’s seedless for a silky-smooth texture that melts in your mouth, providing a delightful tart counterpoint that cuts through the sweetness of the cake and frosting.
- Luscious Raspberry Cream Cheese Frosting: Prepare to be amazed by this frosting. It’s not just any raspberry frosting; it achieves its vibrant color and authentic, deep raspberry flavor using freeze-dried raspberries. Grinding these berries into a fine powder intensifies their essence without adding excess moisture, resulting in a naturally flavored and beautifully tinted cream cheese frosting that’s both tangy and sweet.
- Elegant Layered Presentation: This cake is designed to impress. Its stunning layered structure, with distinct cake, jam, and frosting layers, makes it perfect for any celebratory event. Whether it’s the centerpiece of a birthday party, an anniversary dessert, or even a smaller, intimate wedding, its visual appeal is matched only by its incredible taste.
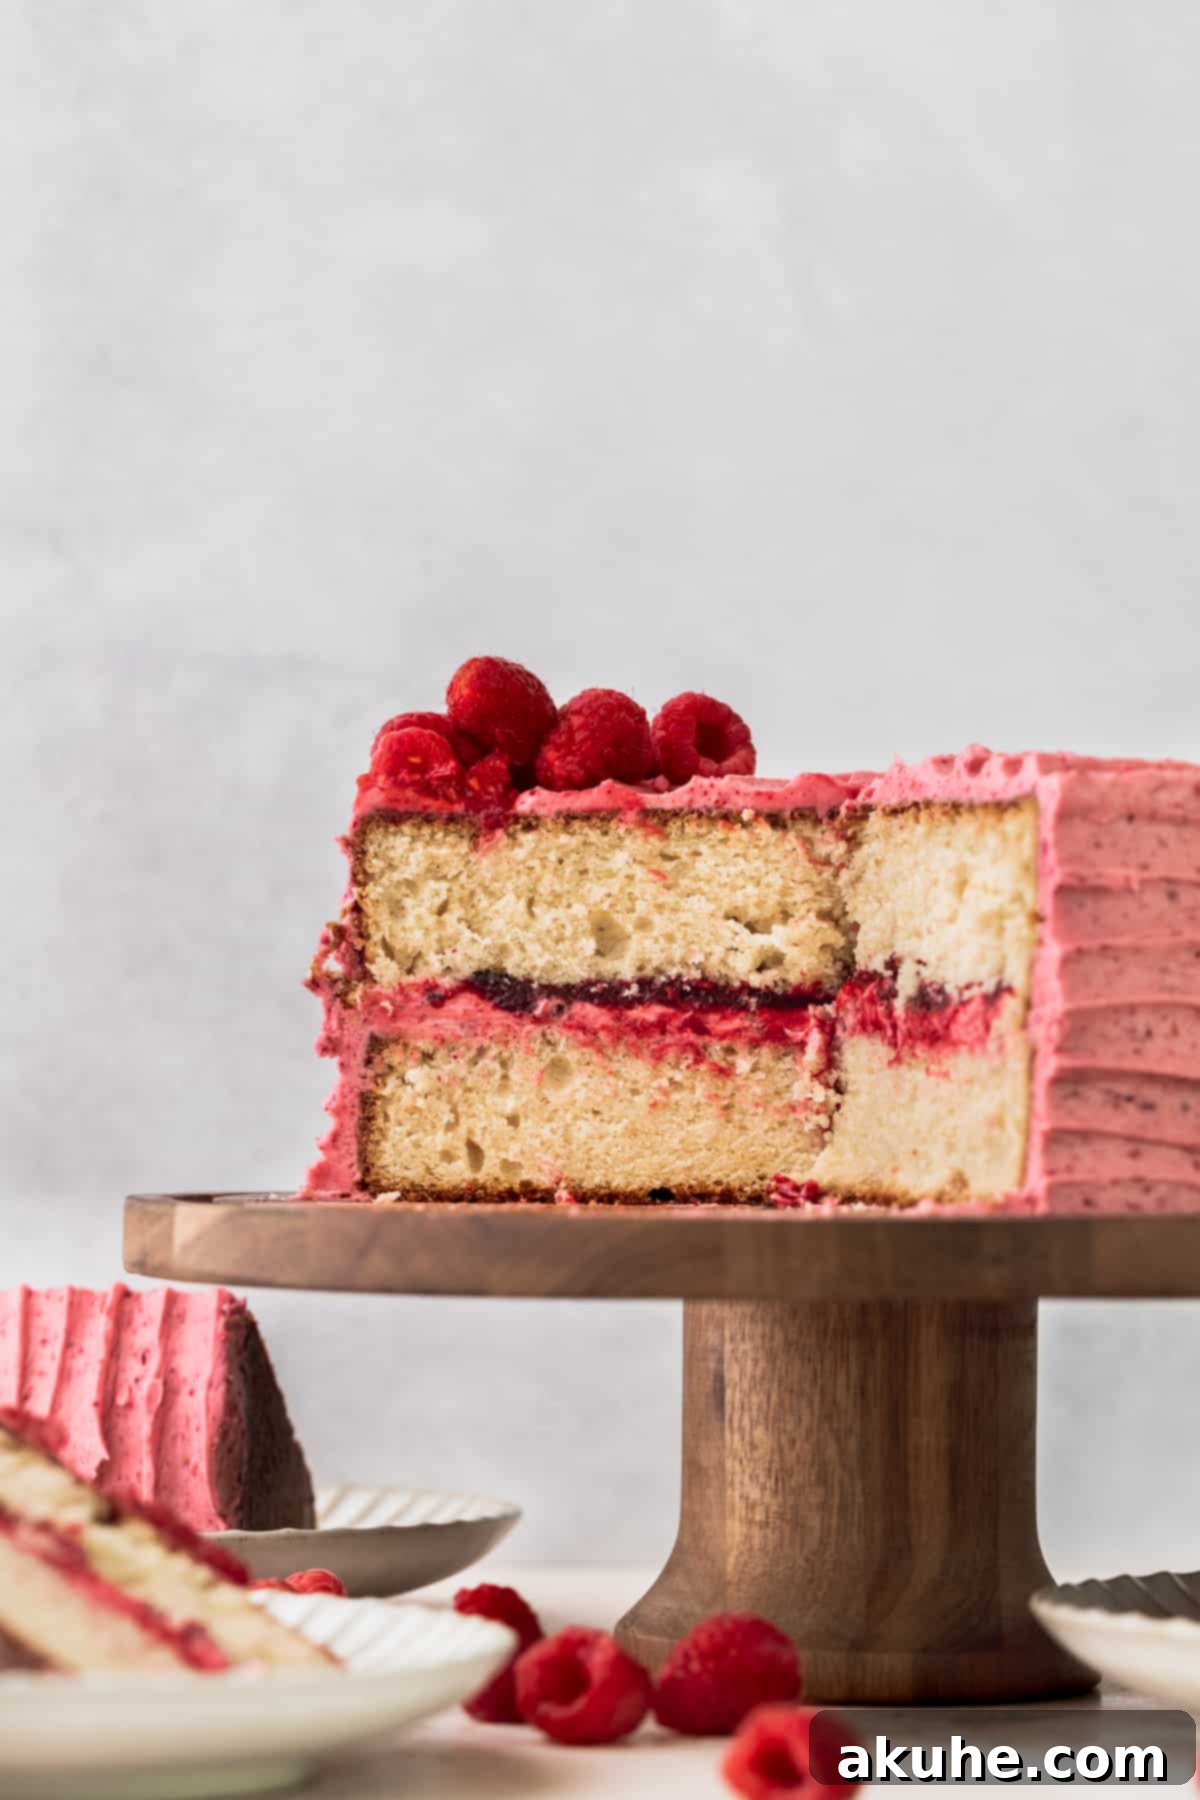
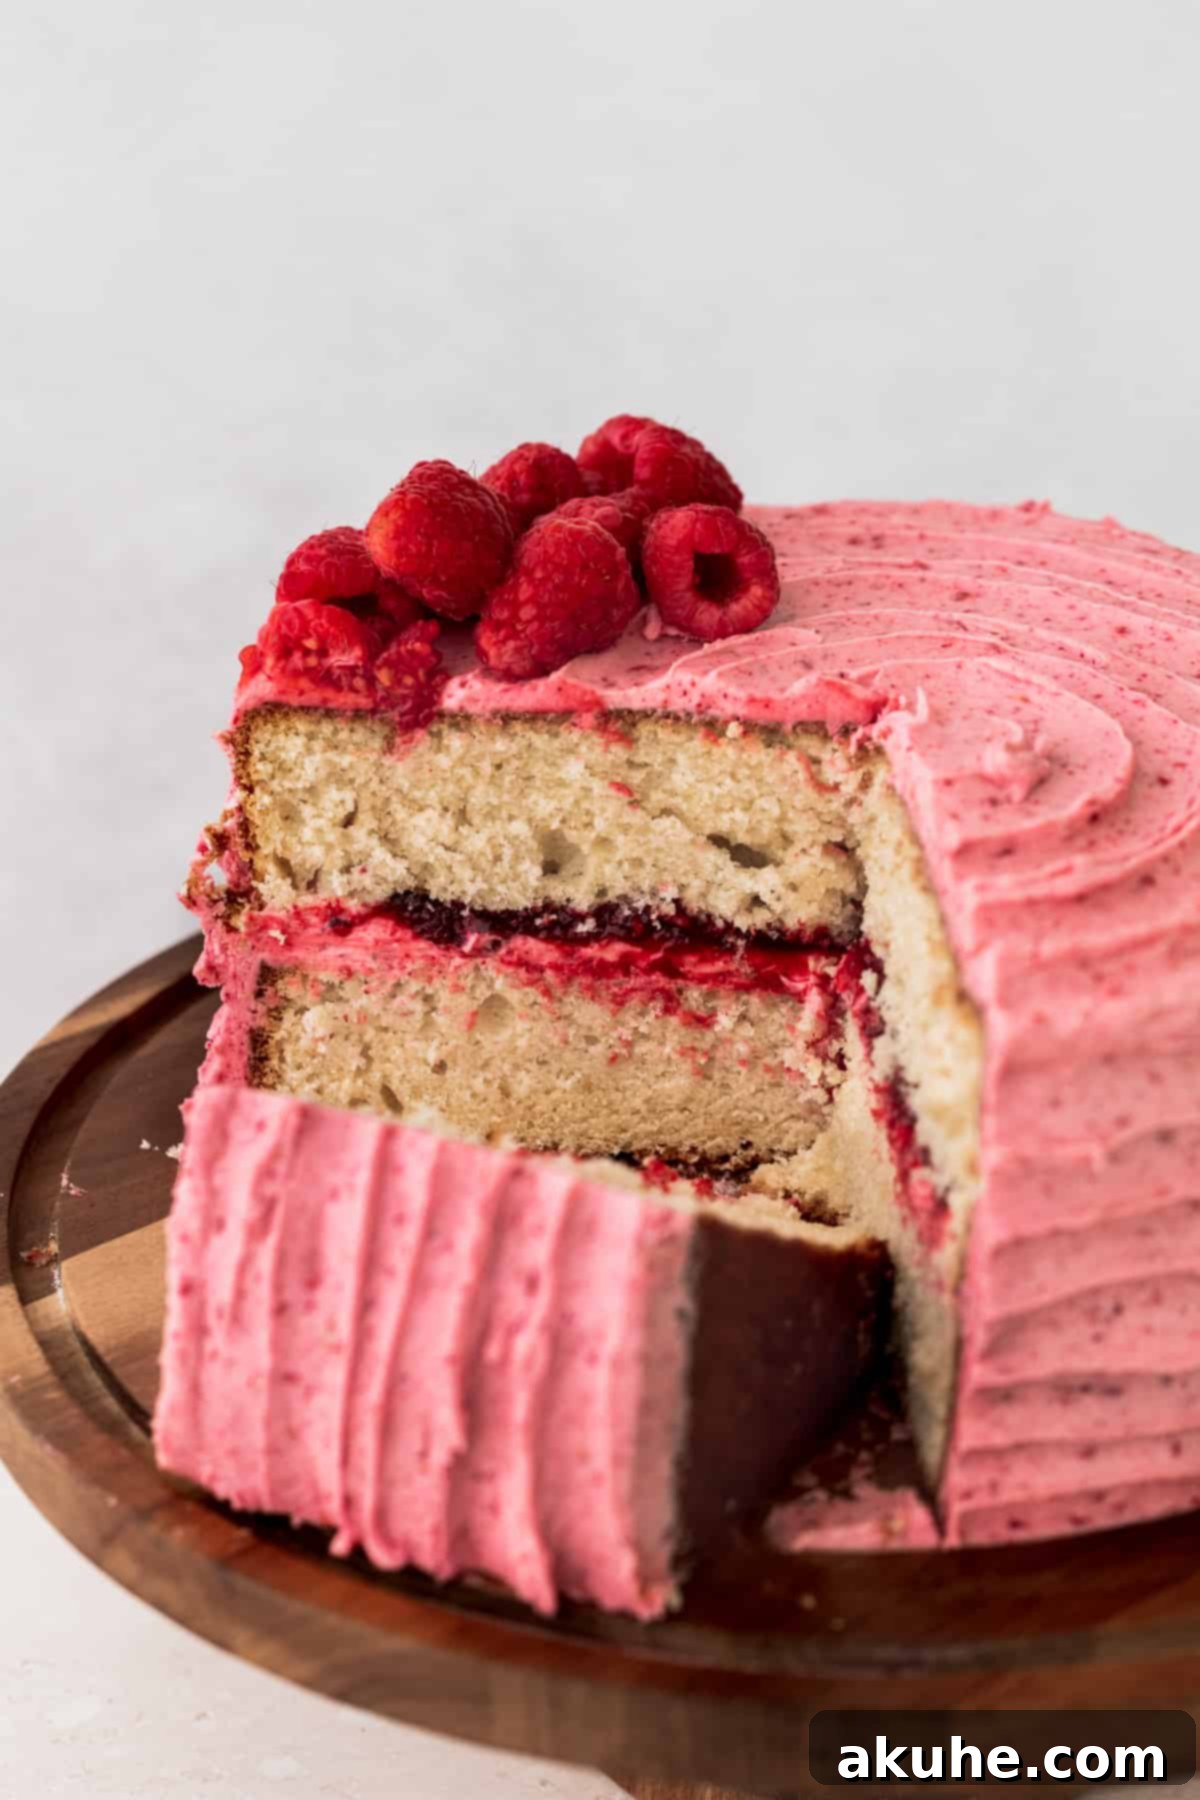
Crafting the Perfect Vanilla Cake Layers: A Step-by-Step Guide
Creating moist and flavorful cake layers is the first essential step to this incredible dessert. Precision and attention to detail will ensure your cake is light, fluffy, and perfectly baked. For this process, you will need a stand mixer fitted with a paddle attachment, or a reliable electric hand mixer, and two 8-inch round cake pans.
- Prepare Your Dry Ingredients: Begin by sifting your all-purpose flour into a medium-sized bowl. Sifting is crucial as it removes any lumps and aerates the flour, contributing to a lighter cake texture. Add the baking powder, baking soda, and salt to the sifted flour, then whisk gently to ensure all ingredients are evenly distributed. Set this dry mixture aside.
- Cream the Wet Ingredients: In a large mixing bowl, combine the softened unsalted butter, vegetable oil, and granulated white sugar. Beat these ingredients together on high speed for at least 3 minutes. This crucial step, known as creaming, incorporates air into the mixture, resulting in a light and fluffy base. Continue beating until the mixture is visibly lighter in color and texture. Next, reduce the mixer speed to medium and gradually incorporate the sour cream and pure vanilla extract, mixing until just combined. Finally, add the eggs one at a time, allowing each egg to fully incorporate into the batter before adding the next. This ensures a smooth emulsion and prevents curdling.
- Combine Dry and Wet Mixtures with Buttermilk: With your mixer on the lowest speed setting, begin to alternate adding the dry flour mixture and the buttermilk to the wet ingredients. Start by adding one-third of the dry ingredients, mixing just until streaks of flour disappear. Then, add half of the buttermilk and mix until nearly combined. Repeat with another third of the dry ingredients, followed by the remaining buttermilk, and finish with the last third of the dry ingredients. Be careful not to overmix the batter at this stage, as overmixing can develop gluten and lead to a tough cake. Use a rubber spatula to scrape down the sides and bottom of the bowl periodically to ensure everything is thoroughly incorporated.
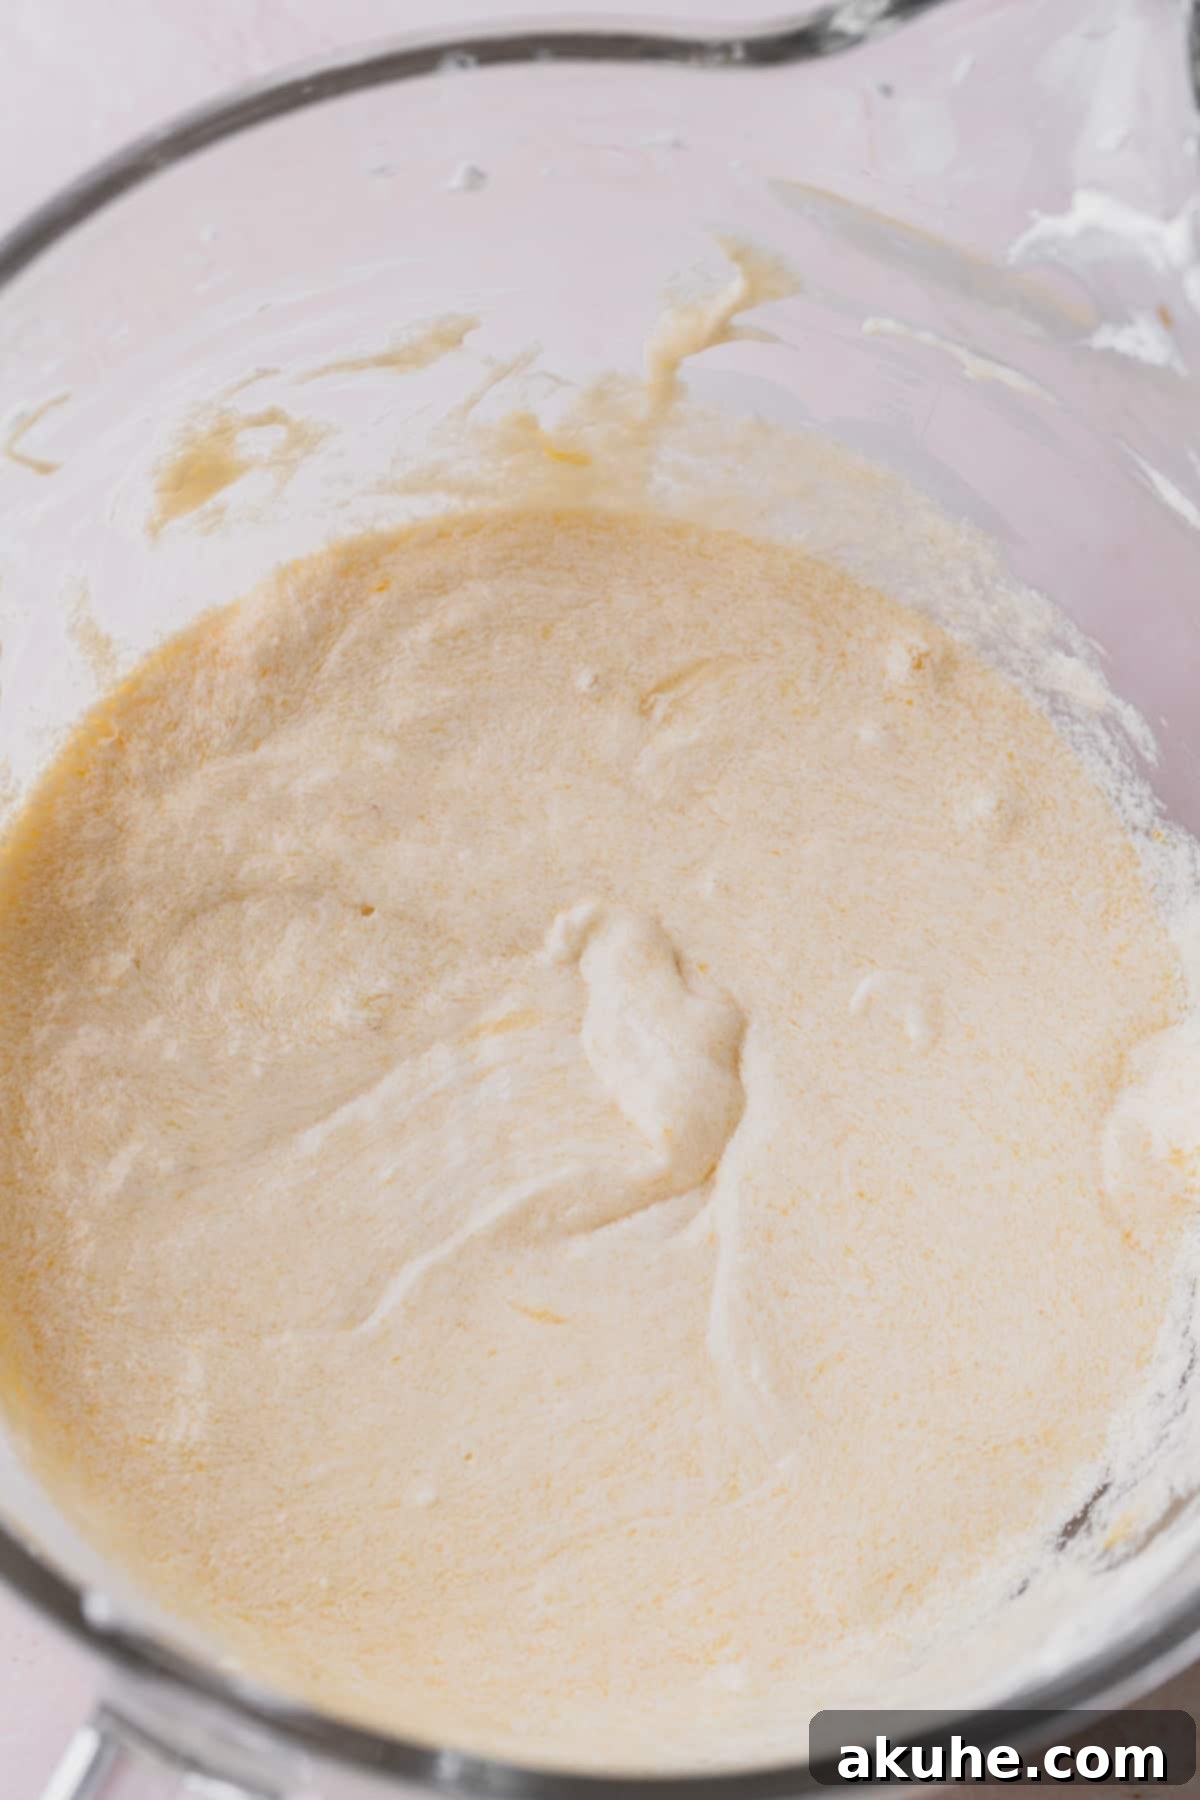
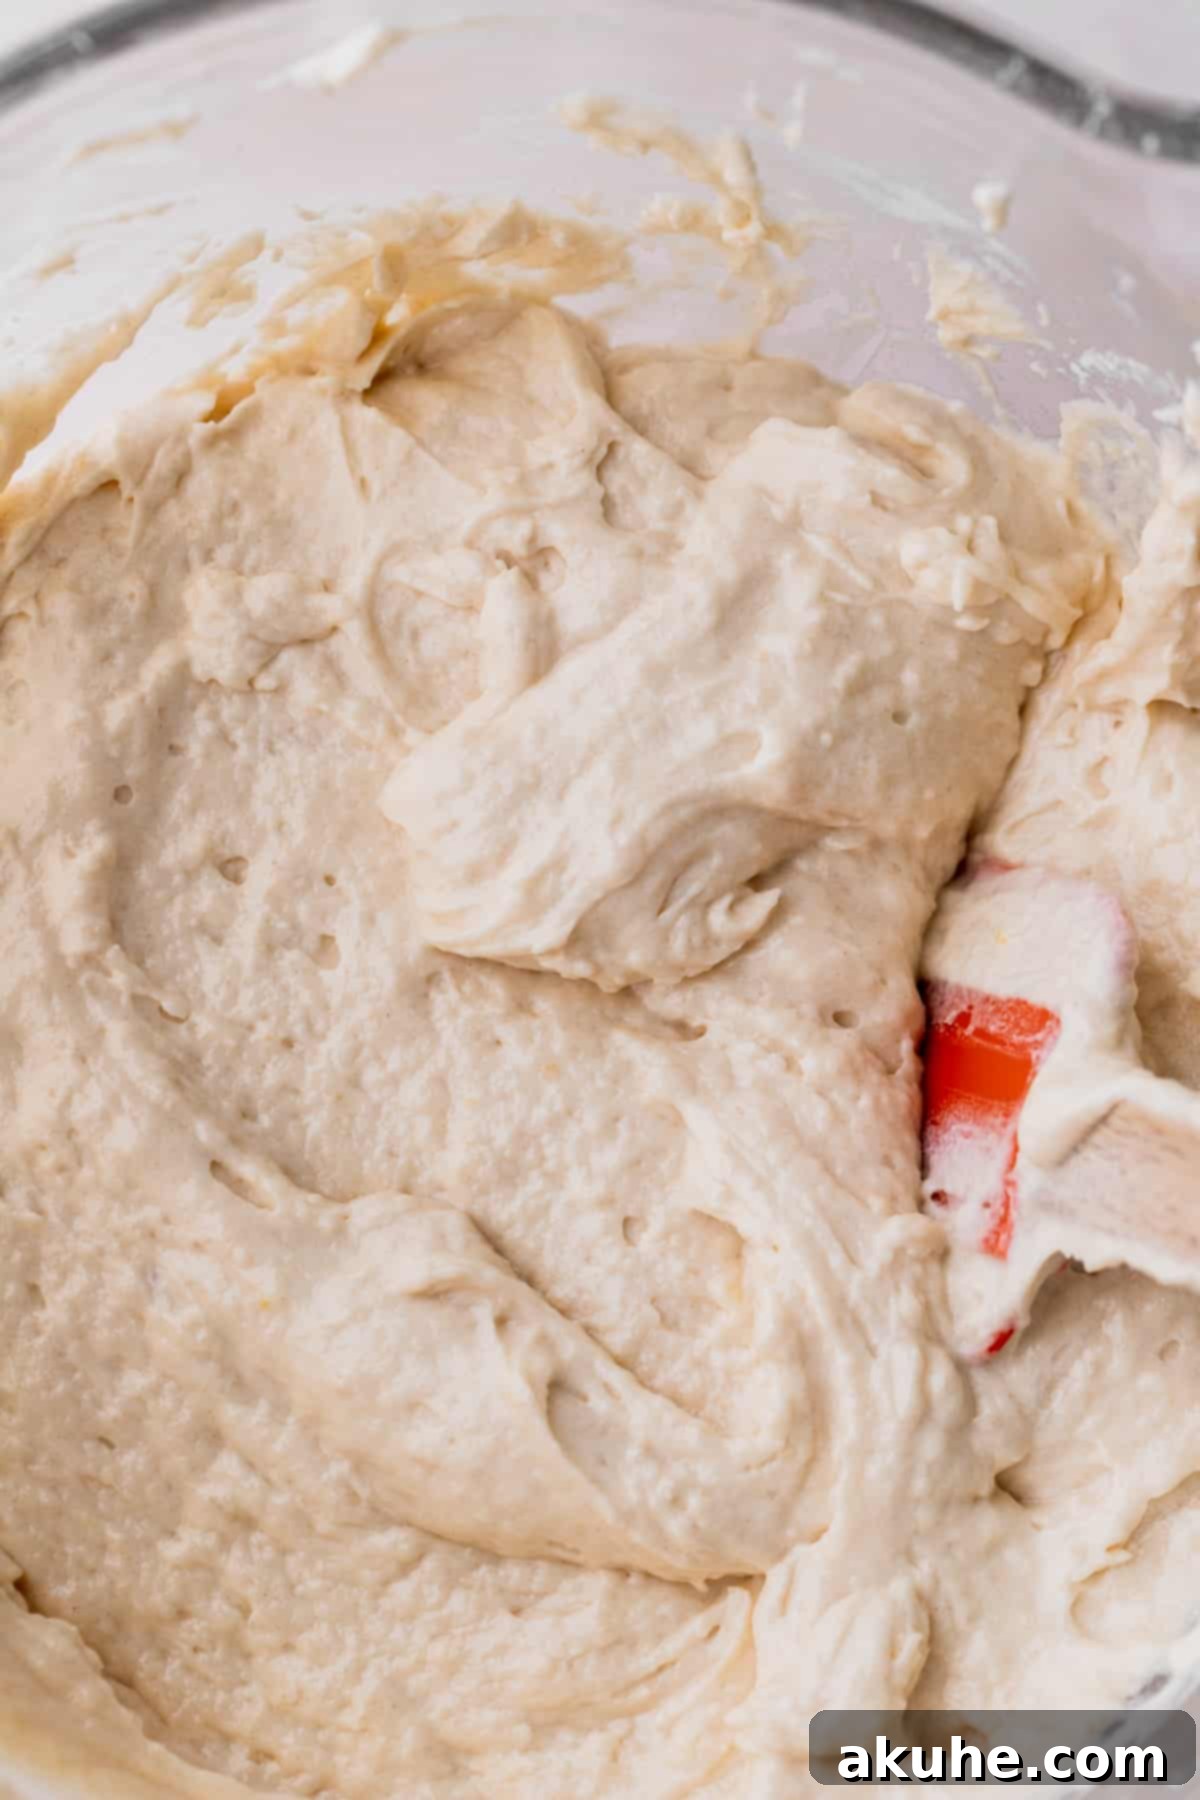
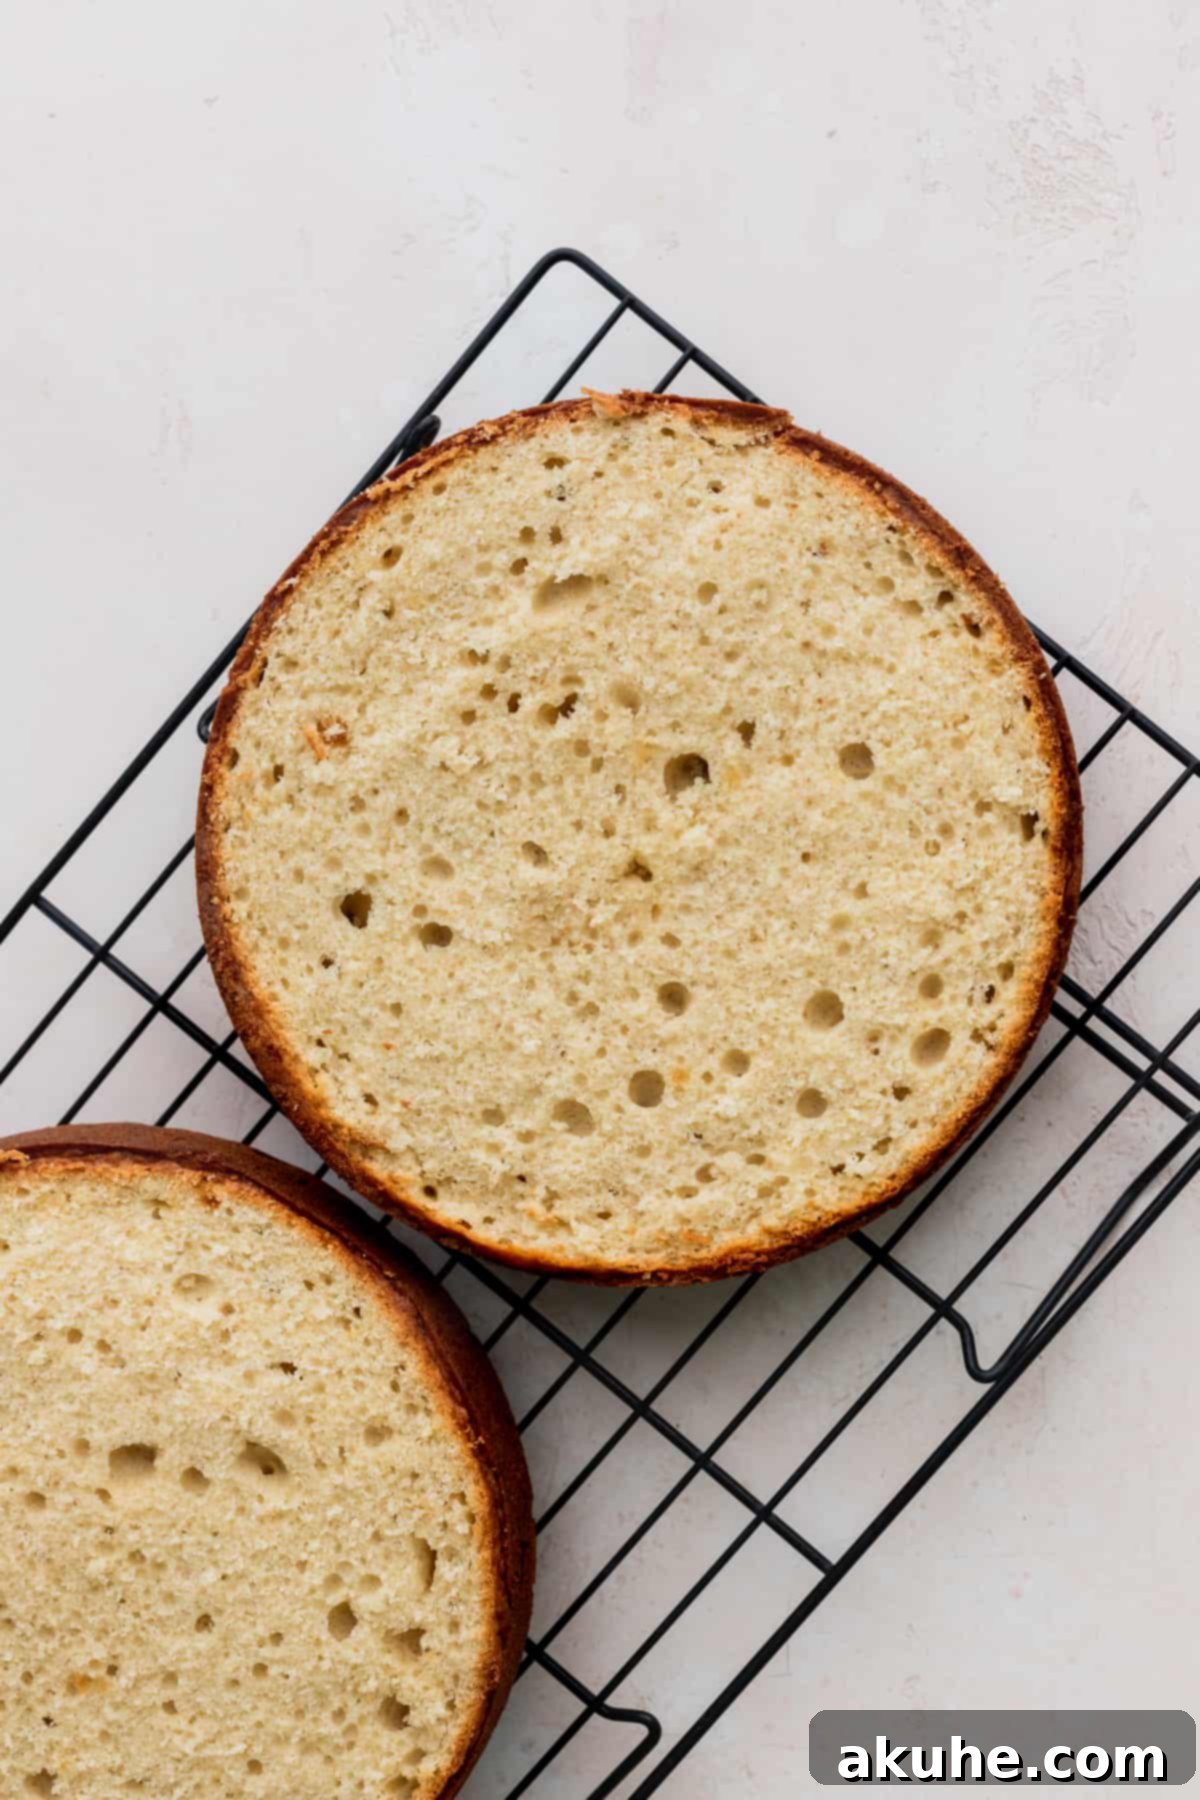
- Bake to Golden Perfection: Divide the cake batter evenly between the two prepared 8-inch cake pans. Use a kitchen scale for precision if you want perfectly even layers. Bake in a preheated oven at 350°F (175°C) for approximately 27-30 minutes. To check for doneness, insert a toothpick into the center of each cake; if it comes out clean, your cakes are ready. Avoid opening the oven door too frequently during baking, as this can cause the cakes to sink.
- Cooling Process: Once baked, remove the cake pans from the oven and allow the cakes to cool in their pans for about 10-15 minutes. This allows the cakes to set and become firmer, making them easier to handle. After this initial cooling, carefully invert the cakes onto a wire cooling rack to cool completely. Ensure the cakes are absolutely cool to the touch before attempting to frost them; otherwise, your frosting will melt and slide off.
Preparing the Exquisite Raspberry Jam and Cream Cheese Frosting
The raspberry jam and cream cheese frosting are what truly make this cake a raspberry lover’s dream. Each component is designed to be bursting with fresh, vibrant raspberry flavor. For additional insights and detailed tips on making these elements, you can refer to our dedicated posts on simple raspberry jam and the best raspberry frosting.
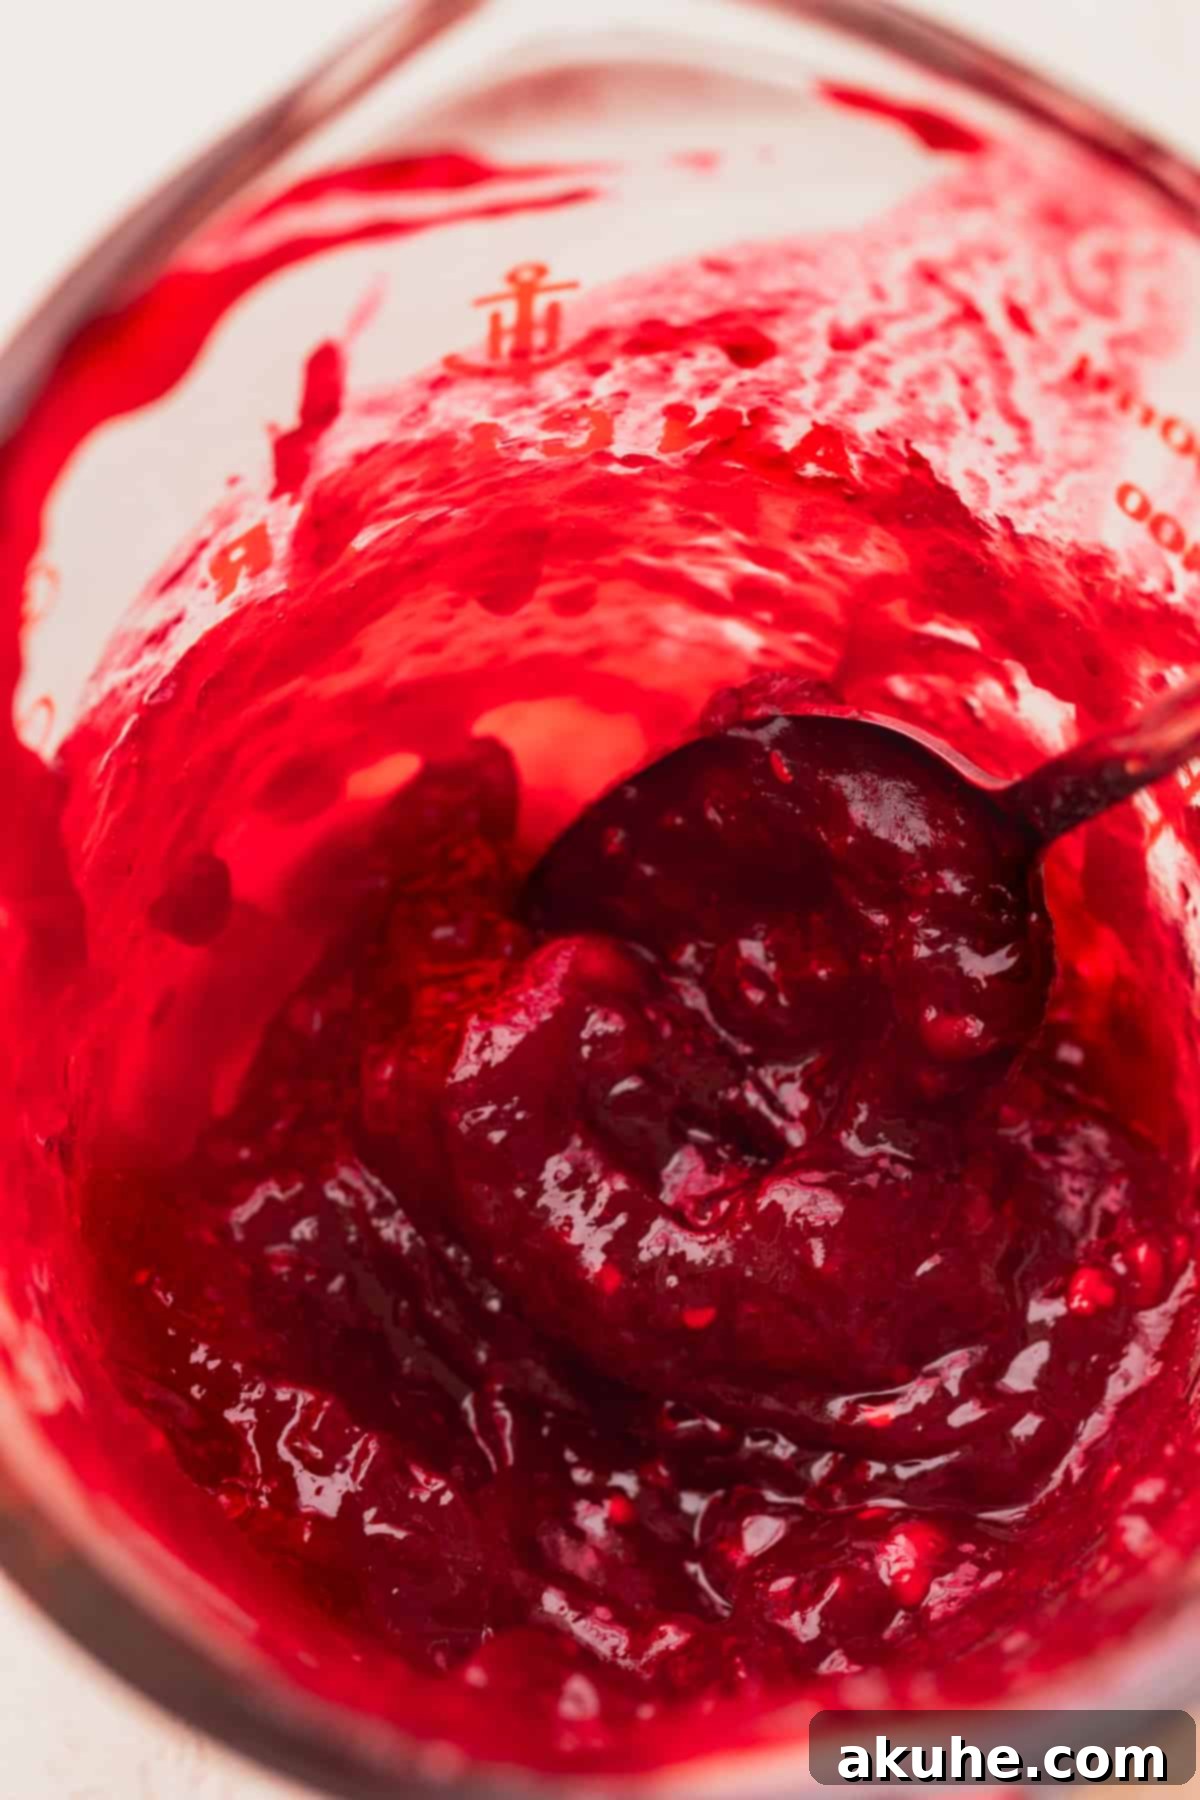
- Crafting the Homemade Raspberry Jam: In a medium saucepan, combine the fresh or frozen raspberries, granulated sugar, fresh lemon juice, and a pinch of salt. Place the saucepan over medium heat, stirring occasionally. As the berries heat up, they will begin to soften and release their juices. Once softened, use the back of a spoon or a potato masher to gently mash the raspberries, extracting as much juice and pulp as possible. Continue to cook for another 5-7 minutes, allowing the flavors to meld and the mixture to gently bubble.
- Achieving a Seedless Jam: To ensure a smooth, luxurious texture, the next step is to remove the seeds. Carefully pour the hot raspberry puree through a fine-mesh sieve set over a heatproof bowl. Use a rubber spatula to press the puree firmly against the sieve, extracting all the flavorful juice and pulp, leaving only the seeds behind. Discard the seeds. Return the smooth raspberry sauce to the saucepan. In a small bowl, whisk the cornstarch with a tablespoon or two of cold water until a smooth slurry forms. Add this cornstarch slurry to the raspberry sauce in the saucepan. Continue to cook over medium heat, stirring constantly, until the jam thickens considerably and begins to bubble vigorously. This indicates the cornstarch has activated and the jam is properly set. Once thickened, pour the jam into a glass measuring cup or a clean jar and chill it completely in the refrigerator. It needs to be thoroughly cooled and set before being used as a cake filling.
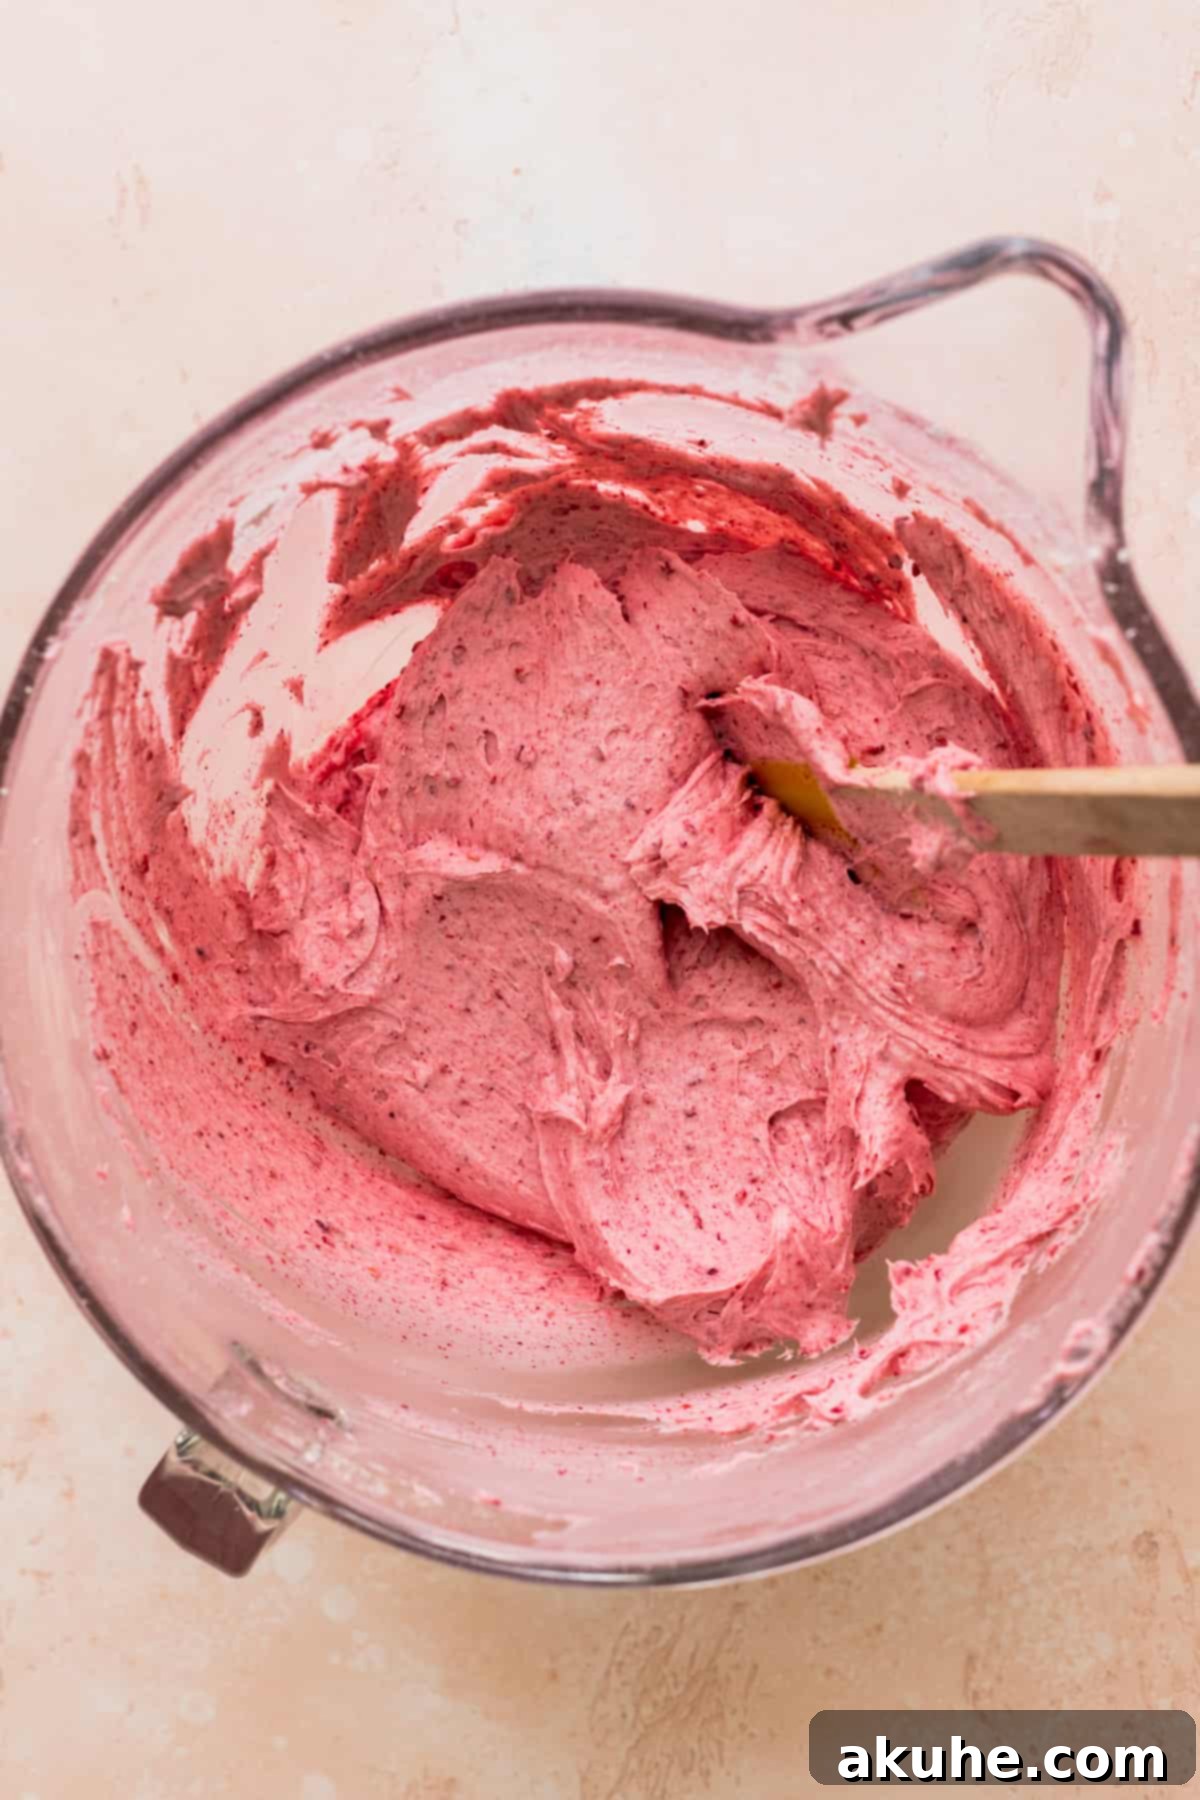
- Preparing the Raspberry Cream Cheese Frosting Base: For the frosting, ensure your cream cheese is at room temperature and your unsalted butter is slightly cold (pulled from the fridge about 30 minutes prior). In a large mixing bowl, using your stand mixer with the paddle attachment or an electric hand mixer, beat the cream cheese and butter together on high speed for at least 3 minutes. The mixture should become light, fluffy, and well combined. While the butter and cream cheese are creaming, sift the powdered sugar into a separate bowl. Then, using a food processor, finely grind the freeze-dried raspberries until they form a powder. This step is key to infusing the frosting with intense raspberry flavor and natural color. Add the sifted powdered sugar and the ground freeze-dried raspberries to the creamed butter and cream cheese mixture. Mix on low speed until just combined. The mixture will be quite thick at this stage.
- Finishing the Frosting: To achieve the perfect creamy consistency and additional flavor, add the pure vanilla extract, salt, and heavy cream to the frosting mixture. Increase the mixer speed to high and beat for another 2-3 minutes until the frosting becomes incredibly light, fluffy, and creamy. Be careful not to overbeat, especially with cream cheese frosting, as it can become too soft. The result should be a beautifully tinted, intensely flavored raspberry cream cheese frosting that’s ready for assembling your cake.
Assembling Your Exquisite Vanilla Raspberry Cake
Assembling a layered cake is an art form that brings all your delicious components together into a beautiful and stable dessert. Follow these steps for a professional-looking finish:
- Prepare Your Cake Layers: Begin by ensuring your cake layers are completely cool. Use a serrated knife or a specialized cake leveler to carefully trim any domed tops, making your cake layers perfectly flat and even. This creates a stable base and a neat appearance for your finished cake.
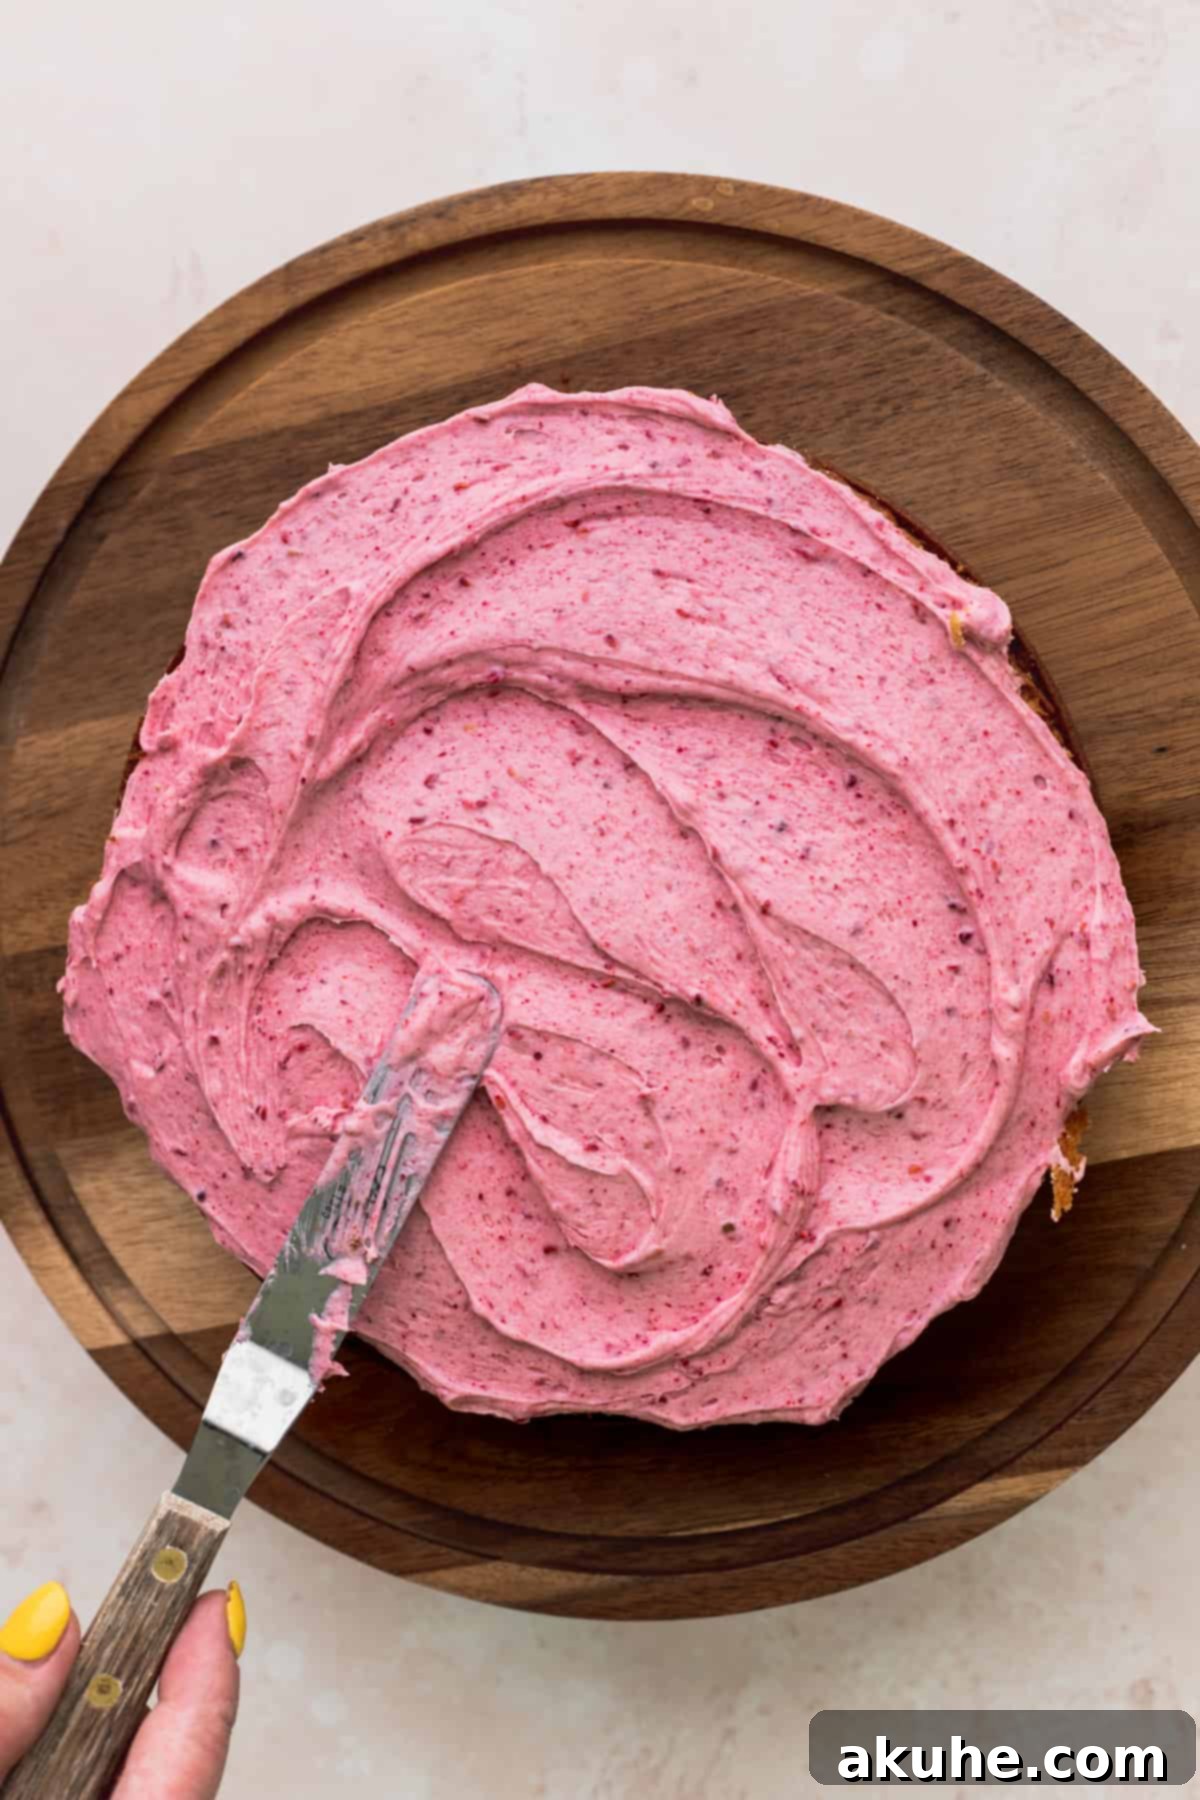
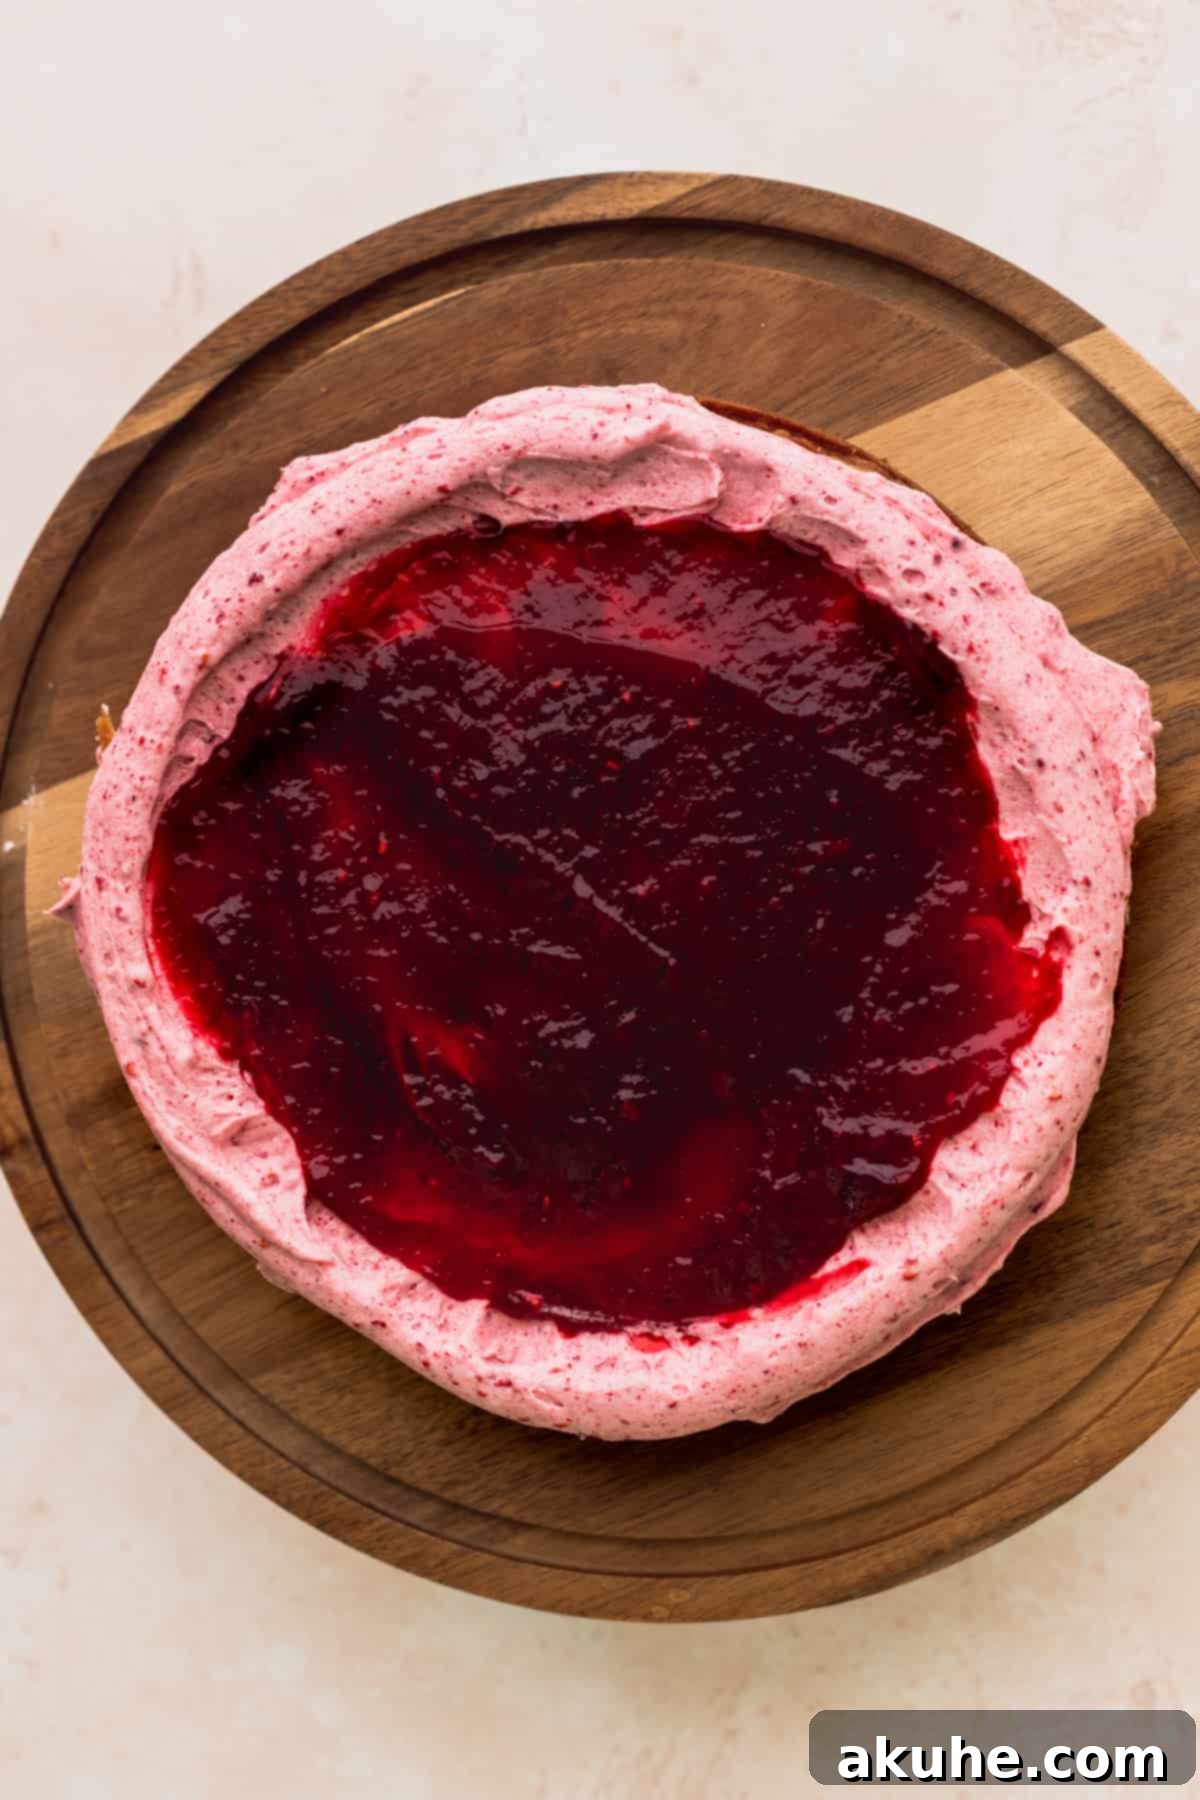
- First Layer and Filling: Place a small dollop of frosting on your serving plate or cake stand; this acts as “glue” to prevent the cake from sliding. Position your first cake layer on top. If you have a cake turntable, this is an excellent tool for easier frosting application. Spread about 1 cup of the raspberry cream cheese frosting evenly over the top of this first layer using an offset spatula. Next, using a piping bag fitted with a round tip (or simply cut the corner off a Ziploc bag), pipe a sturdy border of frosting around the very edge of the cake layer. This creates a dam that will hold your jam filling in place. Carefully spoon and spread the chilled raspberry jam into the center of the frosting border, ensuring it’s evenly distributed.
- Adding the Second Layer: Gently place the second cake layer on top of the jam-filled first layer. For the neatest possible finish and a perfectly flat top, it’s often helpful to flip this layer so that its original bottom surface (which is naturally flat) faces upwards. This creates a level surface for your final frosting.
- The Crumb Coat: Apply a very thin layer of raspberry frosting all over the entire cake – top and sides. This is called a “crumb coat,” and its purpose is to trap any loose cake crumbs, preventing them from mixing into your final decorative frosting. Don’t worry about perfection here; a thin, even layer is all you need. Once applied, place the cake in the freezer for about 15-20 minutes, or in the refrigerator for 30 minutes, allowing the crumb coat to firm up. This makes the final frosting application much smoother.
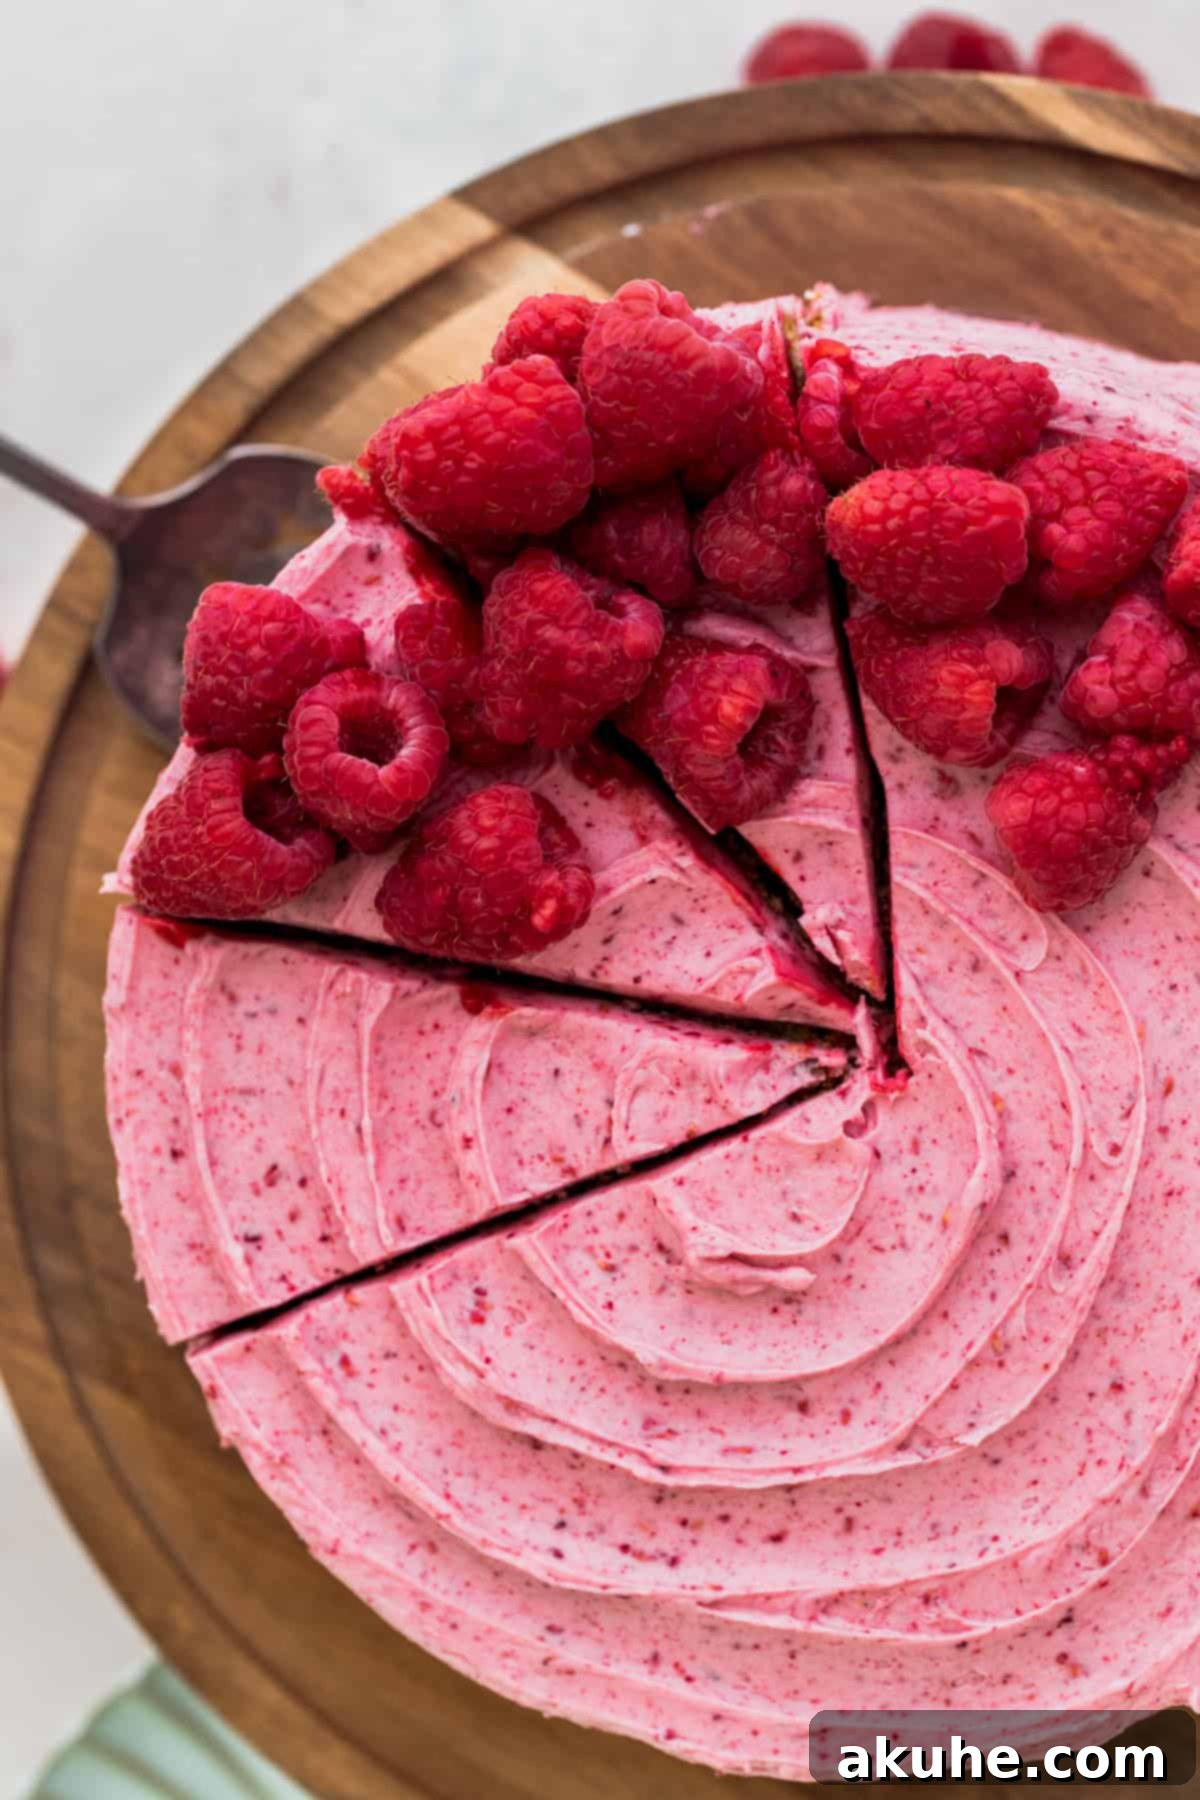
- Final Frosting and Decoration: Once the crumb coat is firm, remove the cake from the freezer or fridge. Apply the remaining raspberry cream cheese frosting to the cake. Use a straight spatula or a cake scraper to achieve smooth, even sides and a flat top. For decorative flair, you can pipe additional frosting borders or swirls. Finally, artfully arrange fresh raspberries on top of the cake. You can place them whole, halved, or create a beautiful berry design. For best results, chill the cake for another 15 minutes before slicing and serving to allow the frosting to set completely.
Frequently Asked Questions About This Raspberry Cake
Can I make this into different sizes or shapes of pans?
Absolutely! This versatile recipe can be adapted to various pan sizes. For three 6-inch cake layers, use the full recipe. If you’re opting for a 9×13-inch sheet cake, you’ll want to use half the frosting quantity, as a single layer doesn’t require as much. To make two 6-inch cakes, an 8×8-inch square cake, or a 9×9-inch square cake, simply halve the entire recipe.
Can I transform this recipe into cupcakes?
Yes, this recipe works wonderfully for cupcakes! To make 12 delicious cupcakes, halve both the cake batter and the frosting recipe. Bake the cupcakes for approximately 18-20 minutes, or until a toothpick inserted into the center comes out clean. Ensure they are completely cooled before frosting.
Can I use fresh raspberries for the filling instead of making jam?
While our homemade raspberry jam provides a superior, rich, and seedless filling, you can certainly use fresh raspberries directly. For a simpler approach, you can lightly mash fresh raspberries and mix them with a tablespoon of powdered sugar and a squeeze of lemon juice. However, be aware that this will yield a thinner, more liquid filling and won’t have the same intense, concentrated flavor or smooth texture as the cooked jam. It may also make the cake a bit more challenging to slice neatly.
What kind of raspberries should I use for the jam and frosting?
For the raspberry jam, both fresh and frozen raspberries work beautifully. If using frozen, there’s no need to thaw them beforehand; just add them directly to the saucepan. For the raspberry cream cheese frosting, freeze-dried raspberries are highly recommended as they provide concentrated flavor and vibrant color without adding excess moisture, ensuring the frosting remains stable and creamy. Fresh raspberries can be used as a garnish.
Can I make this cake ahead of time?
Yes, many components of this cake can be prepared in advance. The cake layers can be baked and frozen (see “Freezing” section below). The raspberry jam can be made up to a week ahead and stored in an airtight container in the fridge. The frosting can be made 1-2 days in advance and stored in the refrigerator; let it come to room temperature and re-whip briefly before frosting the cake.
Storing and Freezing Your Vanilla Raspberry Cake
Proper storage is key to preserving the freshness and deliciousness of your homemade vanilla raspberry cake. Follow these guidelines to ensure it tastes as good on day five as it did on day one.
To store the assembled vanilla raspberry cake, place it in an airtight container, such as a cake carrier, to protect it from drying out and absorbing other refrigerator odors. Store the cake in the refrigerator for up to 5 days. While refrigeration is necessary due to the cream cheese frosting, this cake truly tastes best when served at room temperature. For optimal flavor and texture, remove the cake from the fridge 1-2 hours before serving to allow the cake layers to soften and the frosting to become creamy.
Freezing Instructions
This vanilla raspberry cake is quite freezer-friendly, allowing you to enjoy slices later or prepare components in advance:
- Freezing Individual Slices: If you have leftover cake or wish to enjoy single servings at a later date, individual slices can be frozen. Place each slice on a plate and freeze until firm (about 1-2 hours). Once firm, wrap each slice tightly in plastic wrap, then place them in an airtight freezer-safe container or freezer bag. They can be frozen for up to 30 days. To thaw, simply unwrap a slice and let it sit at room temperature for 1-2 hours before enjoying.
- Freezing Cake Layers: For advanced preparation, you can freeze the un-frosted vanilla cake layers. Once the cake layers have cooled completely on a wire rack, wrap each layer tightly in at least two layers of plastic wrap, ensuring no air can get in. You can also add a layer of aluminum foil for extra protection against freezer burn. Freeze the wrapped cake layers for up to 30 days. To use, thaw the wrapped layers at room temperature for about 1 hour before unwrapping and decorating. This method is excellent for spreading out your baking tasks and ensuring fresh-tasting cake whenever you’re ready to assemble.
Explore More Layered Cake Recipes
If you loved creating and tasting this vanilla raspberry cake, be sure to explore our collection of other layered cake recipes. Each one offers a unique and delightful experience for your baking adventures.
We’d love to hear from you! If you enjoyed this recipe, please take a moment to leave a STAR REVIEW below. Your feedback helps us grow and share more delicious creations. Don’t forget to tag us on Instagram @stephaniesweettreats when you make this beautiful cake. For more baking inspiration and ideas, be sure to follow us on Pinterest. Happy baking!
Vanilla Raspberry Cake
Print Recipe | Pin Recipe | Leave a Review
Ingredients
Vanilla Cake
- 3 1/2 cups All-purpose flour
- 2 tsp Baking powder
- 1 tsp Baking soda
- 1 tsp Salt
- 3/4 cup Unsalted butter, room temperature
- 1/4 cup Oil, canola or vegetable
- 1 1/2 cups White granulated sugar
- 1/4 cup Sour cream, room temperature
- 1 TBSP Pure vanilla extract
- 4 Large eggs
- 1 cup Buttermilk
Raspberry Jam
- 2 cups Raspberries, fresh or frozen
- 3/4 cup White granulated sugar
- 2 TBSP Lemon juice
- 1/8 tsp Salt
- 1 TBSP Cornstarch
Raspberry Frosting
- 6 oz Cream cheese, room temperature
- 1 cup Unsalted butter, slightly cold
- 5 cups Powdered sugar, sifted
- 1 oz Freeze-dried raspberries, grounded
- 1 tsp Pure vanilla extract
- 1/2 tsp Salt
- 2 1/2 TBSP Heavy cream
Instructions
Vanilla Cake
- Preheat oven to 350°F (175°C). Spray two 8-inch cake pans with non-stick baking spray. Line the bottom of the pans with 8-inch parchment paper circles and spray again.
- In a medium bowl, sift the flour. Add the baking powder, baking soda, and salt. Whisk to combine and set aside. (3 1/2 cups All-purpose flour, 2 tsp Baking powder, 1 tsp Baking soda, 1 tsp Salt)
- Using a mixer, beat the unsalted butter, oil, and white granulated sugar on high speed for 3 minutes until light and fluffy. Next, add the vanilla extract and sour cream, mixing until just combined. (3/4 cup Unsalted butter, 1/4 cup Oil, 1 1/2 cups White granulated sugar, 1/4 cup Sour cream, 1 TBSP Pure vanilla extract)
- Add the large eggs one at a time, mixing on medium speed until each is fully incorporated before adding the next. (4 Large eggs)
- Alternate adding the dry ingredients and buttermilk to the wet mixture. Start by adding 1/3rd of the dry ingredients, mixing on low speed until just combined. Then add half of the buttermilk and mix. Add another 1/3rd of the dry ingredients, then the rest of the buttermilk, and finally finish with the remaining dry ingredients. Mix on low speed, scraping the sides of the bowl, until just combined and no streaks of flour remain. (1 cup Buttermilk)
- Pour the cake batter evenly between the two prepared cake pans.
- Bake for 27-30 minutes until a toothpick inserted into the center of the cakes comes out clean. Let the cakes sit in the hot pans for 10 minutes before carefully transferring them to a wire cooling rack to cool completely.
Raspberry Jam
- In a medium saucepan over medium heat, combine the raspberries (fresh or frozen), white granulated sugar, lemon juice, and salt. (2 cups Raspberries, 3/4 cup White granulated sugar, 2 TBSP Lemon juice, 1/8 tsp Salt)
- Heat the mixture until the raspberries soften and release their juices. Mash the raspberries with the back of a spoon or a potato masher. Once mashed, pour the mixture through a fine-mesh sieve to remove the seeds. Discard the seeds. Return the smooth raspberry puree to the saucepan. In a small bowl, whisk the cornstarch with 1-2 tablespoons of cold water to create a slurry. Add the cornstarch slurry to the raspberry puree in the saucepan and cook, stirring constantly, until the jam thickens and bubbles vigorously. Pour into a glass measuring cup or jar and cool completely in the fridge. (1 TBSP Cornstarch)
Raspberry Frosting
- Take the unsalted butter out of the refrigerator 30 minutes before starting, so it is slightly cold but pliable. In a large bowl, sift the powdered sugar. Using a food processor, blend the freeze-dried raspberries into a fine powder. Add the raspberry powder to the powdered sugar and whisk to combine. (1 cup Unsalted butter, 5 cups Powdered sugar, 1 oz Freeze-dried raspberries)
- Using a mixer, beat the slightly cold butter and room temperature cream cheese on high speed for 3 minutes until light and fluffy. Then, add the powdered sugar and ground freeze-dried raspberries mixture, mixing on low speed until just combined. The frosting will be thick. Add the vanilla extract, salt, and heavy cream. Mix on high speed until the frosting is creamy, fluffy, and well combined. (6 oz Cream cheese, 1 tsp Pure vanilla extract, 1/2 tsp Salt, 2 1/2 TBSP Heavy cream)
Assembling the Cake
- Use a serrated knife or cake leveler to carefully trim the domed tops off the cooled cake layers, creating flat surfaces. Place a small amount of frosting on your cake board or serving plate to act as an anchor.
- Place the first cake layer down. Spread about 1 cup of the raspberry cream cheese frosting evenly over the top of the cake layer using an offset spatula. Using a piping bag (or a Ziploc bag with the corner snipped), pipe a border of frosting around the edge of the cake to create a dam for the filling. Carefully spread the chilled raspberry jam into the center of this frosting border.
- Gently place the second cake layer on top. For a perfectly even surface, you can flip this layer so its flat bottom side faces upwards. Apply a thin layer of frosting all over the cake (top and sides) to create a “crumb coat.” This traps any loose crumbs. Freeze the cake for 15-20 minutes (or refrigerate for 30 minutes) to set the crumb coat.
- Once the crumb coat is firm, remove the cake and apply the remaining raspberry cream cheese frosting using a straight spatula or cake scraper to achieve smooth, even sides and a neat top. Decorate the top of the cake with fresh raspberries as desired. For the best slicing, freeze the cake for another 15 minutes before serving.
Notes
High Altitude Baking: If you are baking at a high altitude, you may need to make slight adjustments. Consider adding an extra 3 tablespoons of flour to help with cake structure.
Dairy Ingredients: For best results, pull out dairy ingredients such as butter, sour cream, buttermilk, and cream cheese from the refrigerator approximately 1-2 hours before you begin baking. This allows them to come to room temperature, which is essential for proper emulsion and a smooth cake batter and frosting.
Carbohydrates: 92g,
Protein: 5g,
Fat: 30g,
Saturated Fat: 16g,
Polyunsaturated Fat: 2g,
Monounsaturated Fat: 9g,
Trans Fat: 1g,
Cholesterol: 71mg,
Sodium: 412mg,
Potassium: 103mg,
Fiber: 2g,
Sugar: 30g,
Vitamin A: 850IU,
Vitamin C: 5mg,
Calcium: 77mg,
Iron: 1mg
Did you make this recipe?Please leave a star rating and review below!
