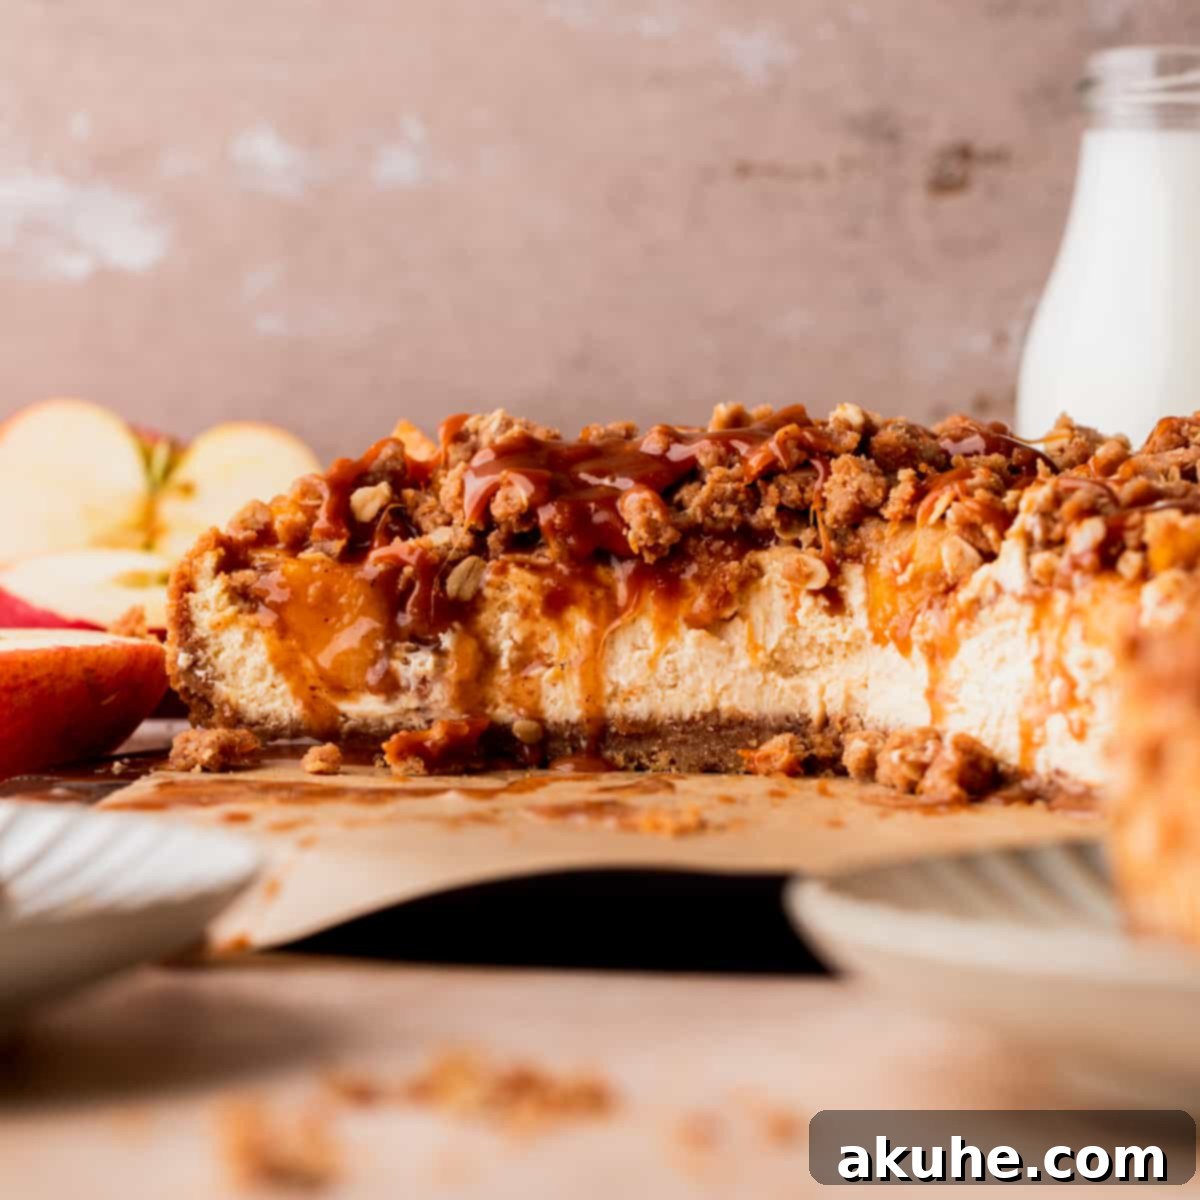
Indulge in the ultimate autumnal delight with this extraordinary Apple Crumble Cheesecake! This isn’t just a dessert; it’s a culinary masterpiece that seamlessly blends the comforting flavors of a classic apple crisp with the creamy luxury of a rich cheesecake. Featuring a perfectly buttery graham cracker crust, a luscious brown sugar and salted caramel infused cheesecake filling, a warmly spiced apple pie topping, a satisfyingly crunchy cinnamon oat crumble, and a final decadent drizzle of homemade caramel, this cheesecake promises an unforgettable experience. It’s the perfect showstopper for Thanksgiving gatherings, holiday celebrations, or any special occasion that calls for an exceptional dessert.
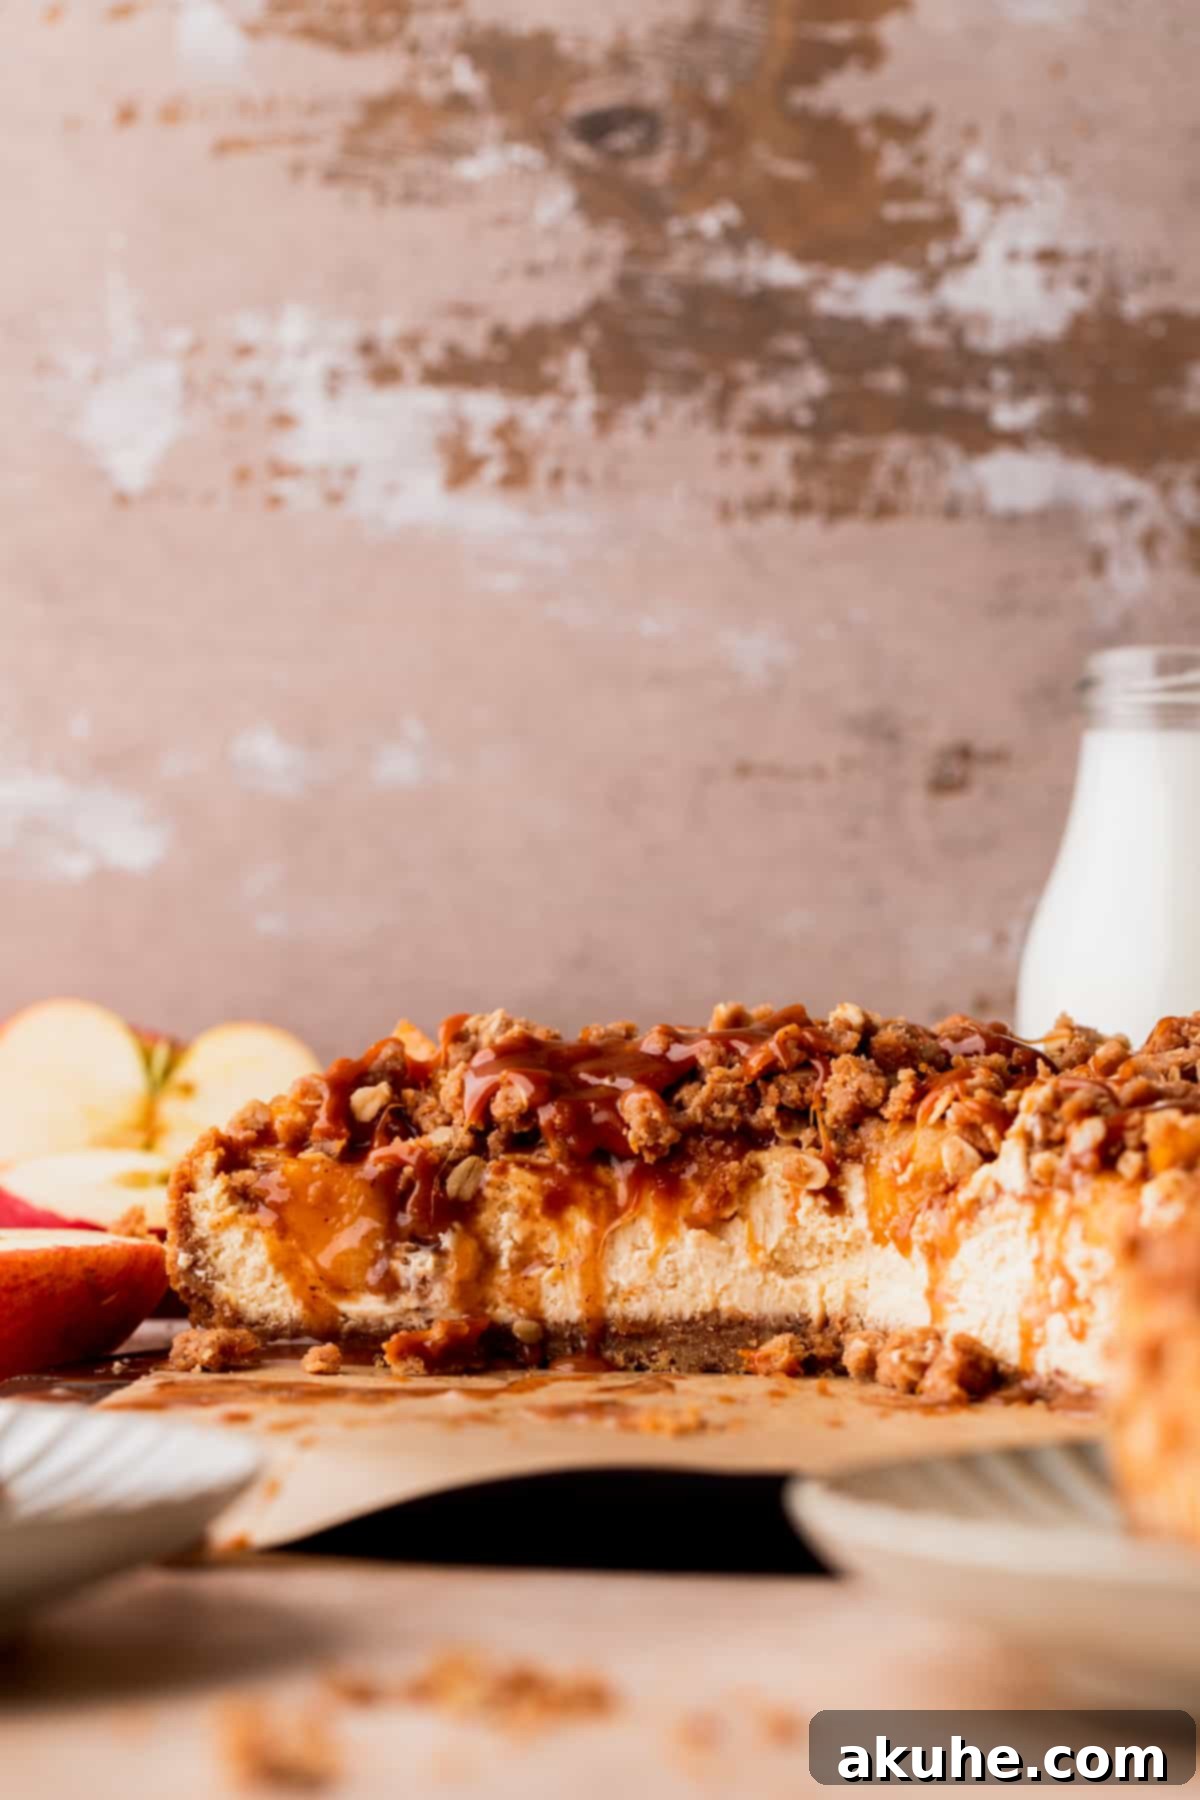
Crafted to be the pinnacle of celebratory cheesecakes, this recipe was designed with decadence and a harmonious blend of textures and tastes in mind. Every component is carefully considered to create a symphony of flavors – from the crispiness of the oat crumble to the smooth, rich cheesecake and the tender, spiced apples. It truly embodies the spirit of apple season, delivering a taste that’s both familiar and uniquely elevated.
If you’re a fan of apple-inspired treats, you might also enjoy exploring other delightful recipes like our Apple Pie Cookies, a comforting Apple Cinnamon Cake, or the wonderfully seasonal Apple Cider Cookies. For another cheesecake-apple fusion, be sure to try these Caramel Apple Cheesecake Bars.
Why This Apple Crumble Cheesecake Recipe is a Must-Try
This Apple Crumble Cheesecake stands out for several reasons, making it an absolute must-bake for anyone seeking an extraordinary dessert:
- Irresistible Cinnamon Graham Cracker Crust: Unlike typical cheesecake crusts, ours is infused with warm cinnamon, creating a fragrant, perfectly tender base that complements the apple and caramel flavors beautifully without becoming soggy. It’s the ideal foundation for this layered dessert.
- Decadent Brown Sugar & Salted Caramel Cheesecake Filling: The heart of this cheesecake is its incredibly rich and creamy filling. Brown sugar lends a deeper, molasses-rich sweetness, while homemade salted caramel is generously swirled in, infusing every bite with a complex, buttery, and slightly salty depth that is utterly incredible.
- Luscious Homemade Apple Pie Topping: Forget canned fillings! Our homemade apple pie topping is made with fresh, tender apples simmered in brown sugar and cinnamon until perfectly soft and flavorful. This creates a vibrant, juicy layer that perfectly balances the cheesecake’s richness.
- Perfectly Crunchy Cinnamon Oat Crumble: This isn’t just an afterthought; it’s a crucial textural element. Baked separately to ensure maximum crispness, this cinnamon-spiced oat crumble adds a delightful crunch that contrasts wonderfully with the smooth cheesecake and soft apples, mimicking a true apple crisp experience.
- Signature Salted Caramel Drizzle: What could be better than homemade caramel? Our recipe includes a guide to making your own rich, buttery, and perfectly salted caramel sauce. This golden drizzle ties all the elements together, adding an extra layer of gourmet indulgence. While homemade is always recommended for its superior taste, a good quality store-bought caramel can be used in a pinch.
Essential Ingredient Notes for Your Apple Crumble Cheesecake
Achieving the perfect Apple Crumble Cheesecake starts with understanding your ingredients. Here are detailed notes to guide you. A full, comprehensive list of ingredients and precise measurements can be found in the recipe card at the end of this article.
- Graham Crackers: For the most flavorful and sturdy crust, you’ll need approximately two sleeves of graham crackers, which typically yield about 2 ¼ cups of fine crumbs. A food processor is ideal for achieving a consistent, fine crumb texture. While graham crackers are traditional, feel free to experiment with other cookie options like Oreos (for a chocolatey twist), vanilla wafers, or even shortbread for a different flavor profile.
- Brown Sugar: Both light or dark brown sugar work wonderfully in this recipe, imparting a rich, molasses-like flavor that granulated sugar simply can’t replicate. Light brown sugar offers a milder caramel note, while dark brown sugar provides a more intense, deeper flavor. Ensure it’s packed tightly when measuring to get the correct amount.
- Unsalted Butter: Butter is a key player here, used in multiple components. It needs to be melted for the graham cracker crust, the apple filling, and the oat crumble to bind ingredients and add richness. For the homemade salted caramel sauce, softened and cubed butter is crucial for achieving a smooth, emulsified texture. Using unsalted butter allows you to control the overall saltiness, especially when adding salt to the caramel.
- Heavy Cream: Essential for the luscious texture of the salted caramel. It’s important to warm the heavy cream slightly (usually in the microwave for about 30 seconds) before adding it to the hot sugar. This temperature moderation helps prevent the sugar from seizing and ensures a smooth caramel.
- Apples: The choice of apples significantly impacts the flavor and texture of your apple pie topping. For optimal results, we highly recommend using Gala apples. They are firm enough to hold their shape when cooked but become tender, and their balanced sweet-tart flavor complements the other components. Remember to peel and slice them uniformly for even cooking. Other good choices include Honeycrisp or Fuji.
- Cornstarch: This acts as a thickening agent for the apple filling, ensuring it has a desirable consistency that holds together well without being watery. Without it, your apple layer might be too runny, affecting the cheesecake’s structure.
- Full-Fat Cream Cheese: This is non-negotiable for a truly rich, creamy, and classic cheesecake texture. Low-fat cream cheese can result in a thinner, less luxurious consistency. For a smooth, lump-free batter, it is absolutely essential that your cream cheese is at room temperature. Take it out of the fridge at least two hours before you plan to start baking.
- Sour Cream (or Greek Yogurt): Full-fat sour cream adds a delicate tanginess and extra moisture to the cheesecake, contributing to its signature creamy texture. It also helps prevent cracks. As with cream cheese, ensure it’s at room temperature for seamless incorporation into the batter. Full-fat plain Greek yogurt can be used as a suitable substitute if sour cream isn’t available.
- Large Eggs: Eggs provide structure and richness to the cheesecake. Like the other dairy ingredients, large eggs should be at room temperature. This helps them emulsify properly with the other ingredients, creating a smooth, cohesive batter and preventing overmixing, which can lead to cracks.
Step-By-Step Instructions: Crafting Your Decadent Apple Crumble Cheesecake
Creating this masterpiece is a rewarding process. Gather your tools: a 9-inch parchment paper circle, a 9-inch springform tin, a reliable hand mixer or a stand mixer with a paddle attachment, and a versatile rubber spatula. Precision and patience are your best friends here!
Part 1: The Perfect Cheesecake Base & Filling
STEP 1: Prepare the Salted Caramel. It’s crucial to make the caramel first, as it needs ample time to cool completely before being incorporated into the cheesecake filling. For detailed tips and troubleshooting, you can refer to dedicated caramel-making guides. Begin by heating granulated sugar in a medium saucepan over medium heat. Stir continuously with a whisk, ensuring all sugar crystals melt into a smooth, amber liquid. Remove from heat. Gradually, add the softened, cubed unsalted butter, whisking vigorously until fully incorporated and bubbly. Next, slowly pour in the warm heavy cream, mixing until smooth. Finally, stir in the vanilla extract and salt. Transfer the caramel to a heatproof glass container and allow it to cool completely to room temperature until it’s pourable but not hot.
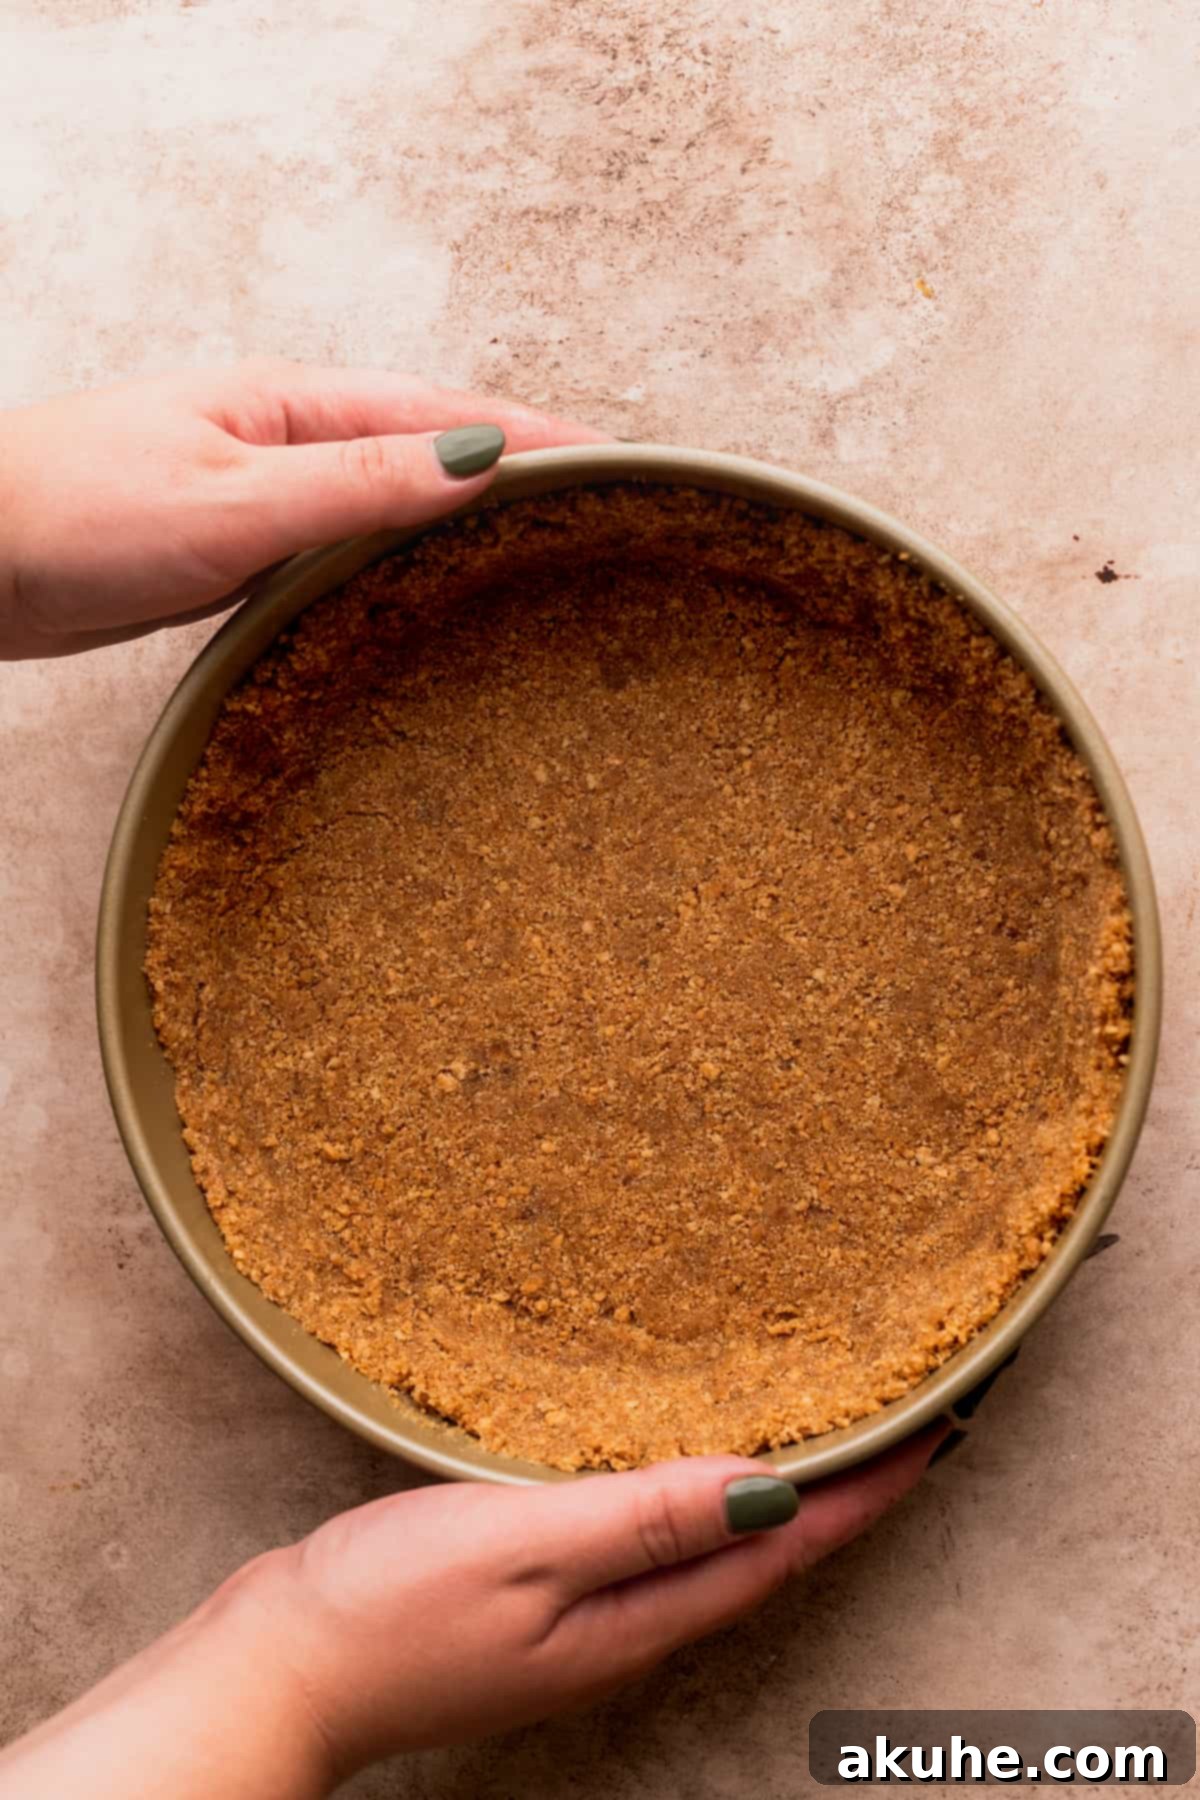
STEP 2: Construct the Cinnamon Graham Cracker Crust. Preheat your oven to 325°F (160°C). Lightly spray a 9-inch springform pan with nonstick baking spray. Line the bottom with a 9-inch parchment paper circle, then spray the parchment paper again. In a medium bowl, combine the finely blended graham cracker crumbs, brown sugar, and ground cinnamon. Pour in the melted unsalted butter and mix thoroughly with a fork until the crumbs are evenly moistened and resemble wet sand. Transfer the mixture to the prepared springform pan. Use your hands to firmly press the crumbs about halfway up the sides of the pan and evenly across the bottom. For a compact and sturdy crust, use the bottom of a flat measuring cup or a spice jar to firmly press the mixture into place.
STEP 3: Pre-Bake the Crust. Place the prepared crust in the preheated oven and bake for 10 minutes. This essential step helps prevent the crust from becoming soggy once the cheesecake batter is added. While the crust bakes, resist the urge to start the cheesecake batter immediately. We want the baked crust to cool slowly before the cold batter is introduced, minimizing thermal shock.
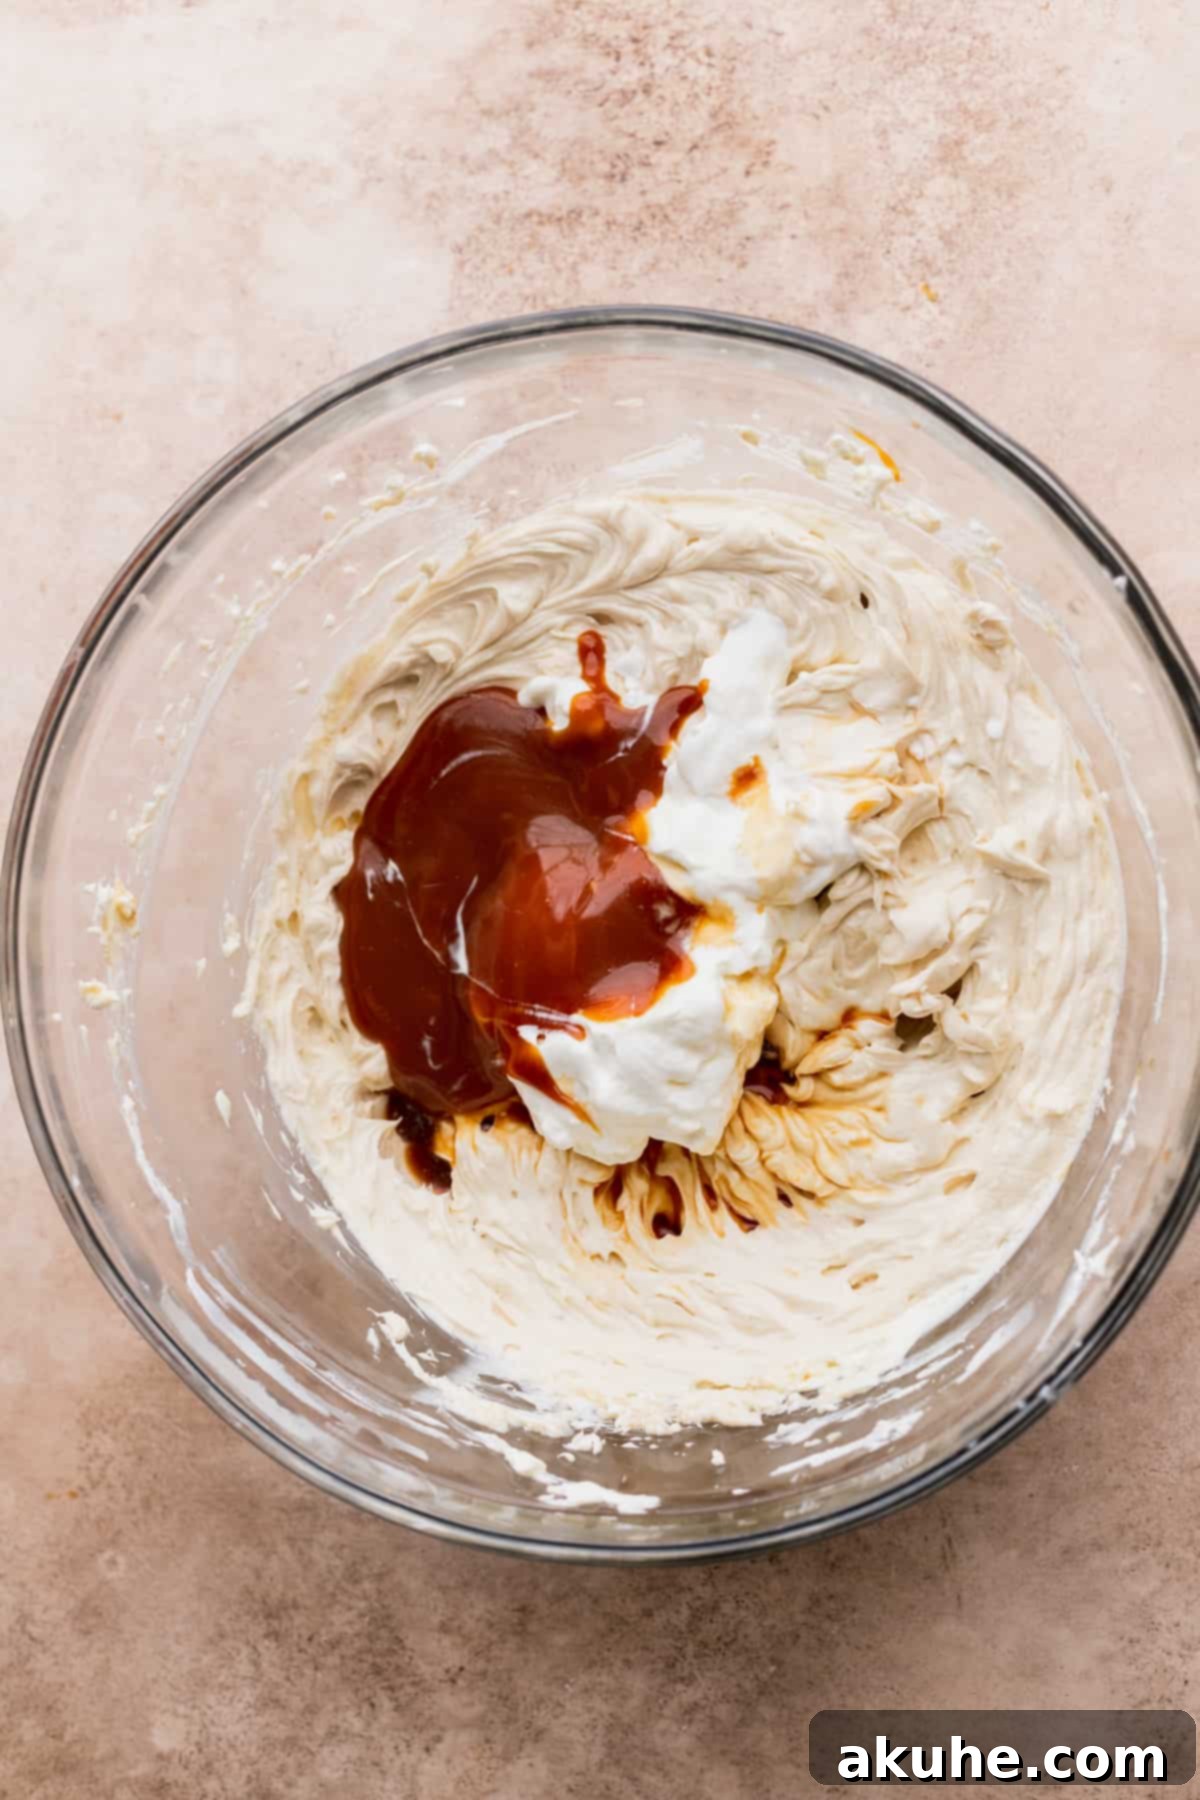
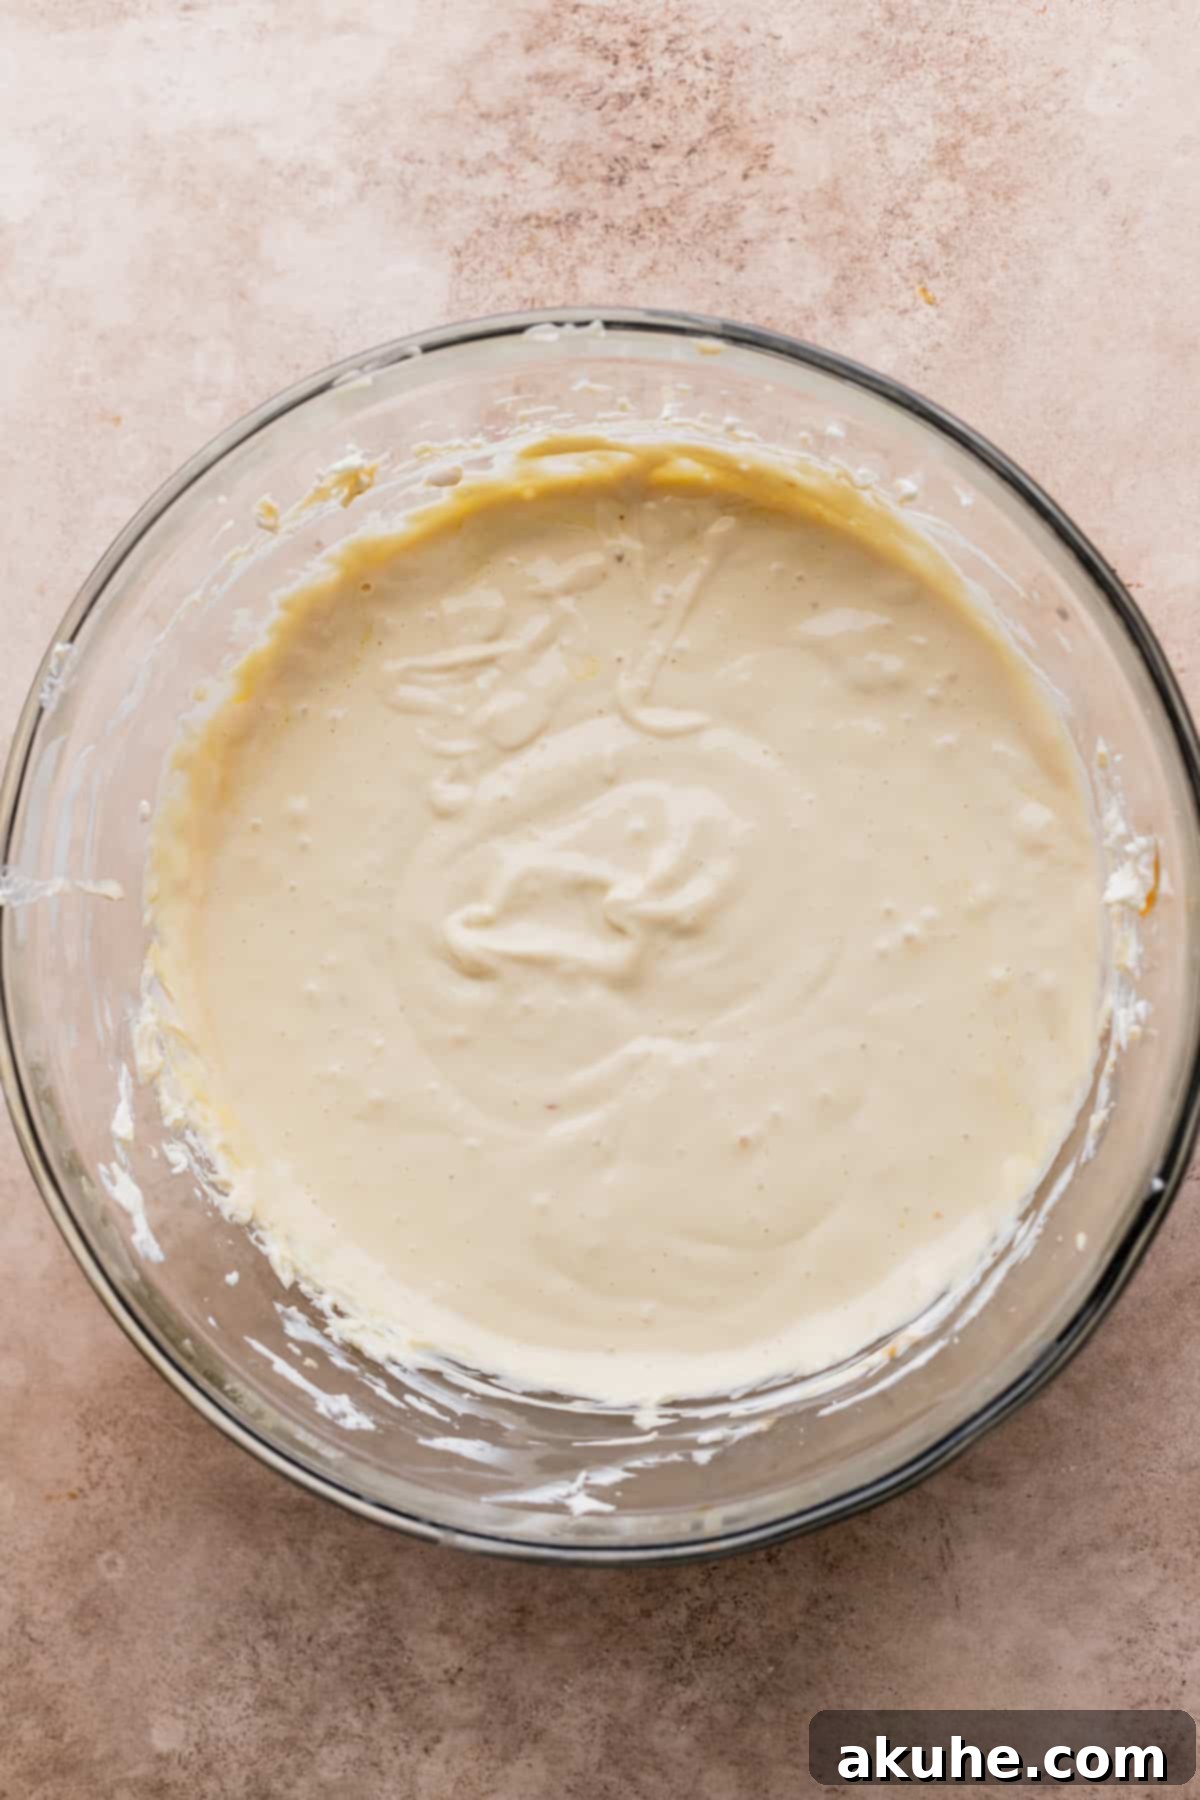
STEP 4: Prepare the Rich Cheesecake Batter. As your crust cools, you can begin preparing the luxurious cheesecake filling. In a large mixing bowl, using an electric mixer (handheld or stand mixer with paddle attachment), beat the room temperature full-fat cream cheese on high speed for 1-2 minutes until it’s exceptionally smooth and free of any lumps. This is critical for preventing cracks. Add the brown sugar and continue to beat on high speed for another 2 minutes, scraping down the sides of the bowl with a rubber spatula frequently to ensure everything is well combined. Reduce the mixer speed to medium. Incorporate the room temperature sour cream, the cooled salted caramel, and the pure vanilla extract. Mix until just combined and smooth. Be careful not to overmix at this stage.
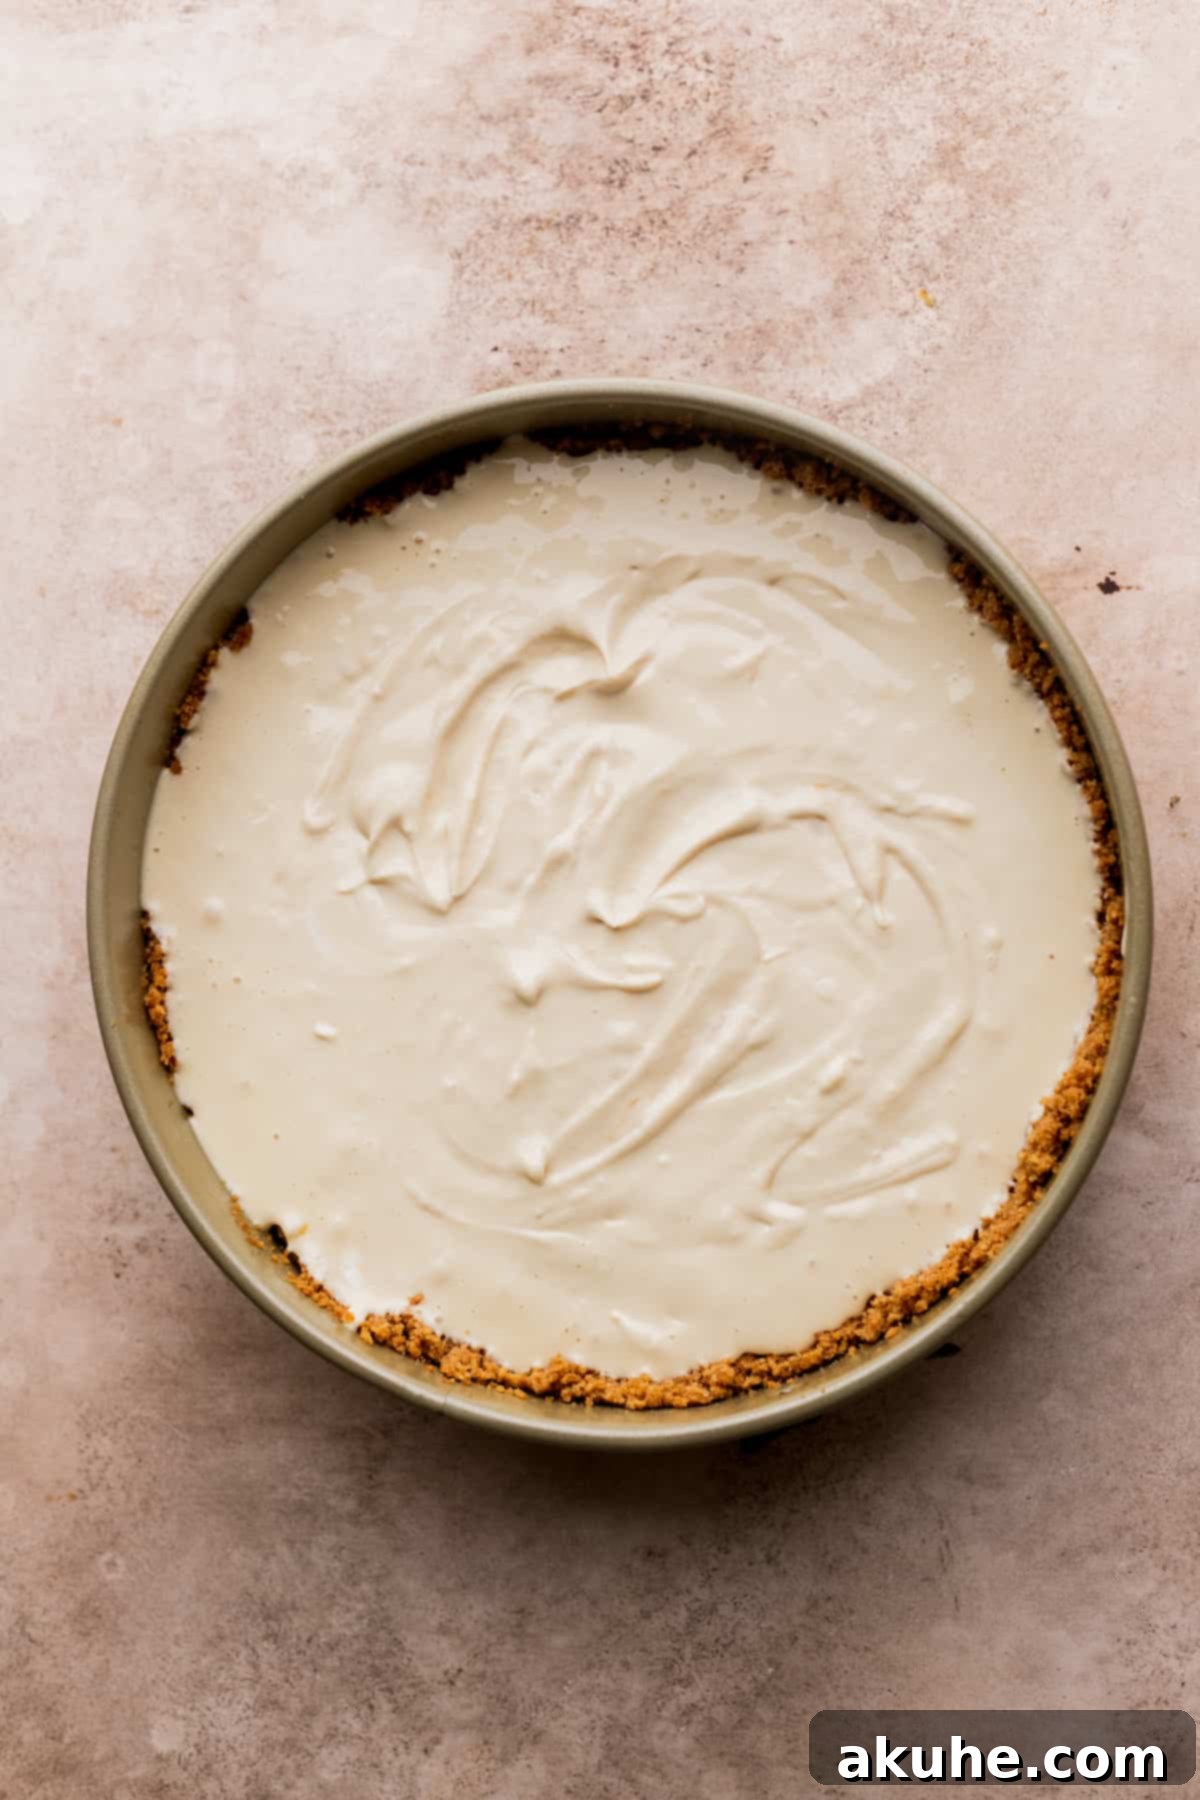
STEP 5: Gently Add the Eggs. With the mixer on its lowest speed, add the room temperature large eggs one at a time. Mix each egg in just until it’s fully incorporated before adding the next. Overmixing the eggs can introduce too much air into the batter, which can cause the cheesecake to puff up too much during baking and then collapse, leading to cracks. Once the last egg is just combined, stop mixing immediately. Pour the silky-smooth cheesecake batter directly onto the cooled, pre-baked graham cracker crust in the springform pan. Now, it’s time to prepare your water bath.
STEP 6: Bake the Cheesecake to Perfection. Carefully place the springform pan (secured in its water bath – see tips below) into the preheated oven. Bake for 60-70 minutes, or until the edges of the cheesecake are set and slightly puffed, but the very center still has a slight, delicate jiggle when the pan is gently nudged. Do not overbake! Once baked, turn off the oven, crack open the oven door a few inches, and allow the apple crisp cheesecake to cool slowly inside the oven for an additional 30 minutes. This gradual cooling prevents drastic temperature changes that can lead to cracks.
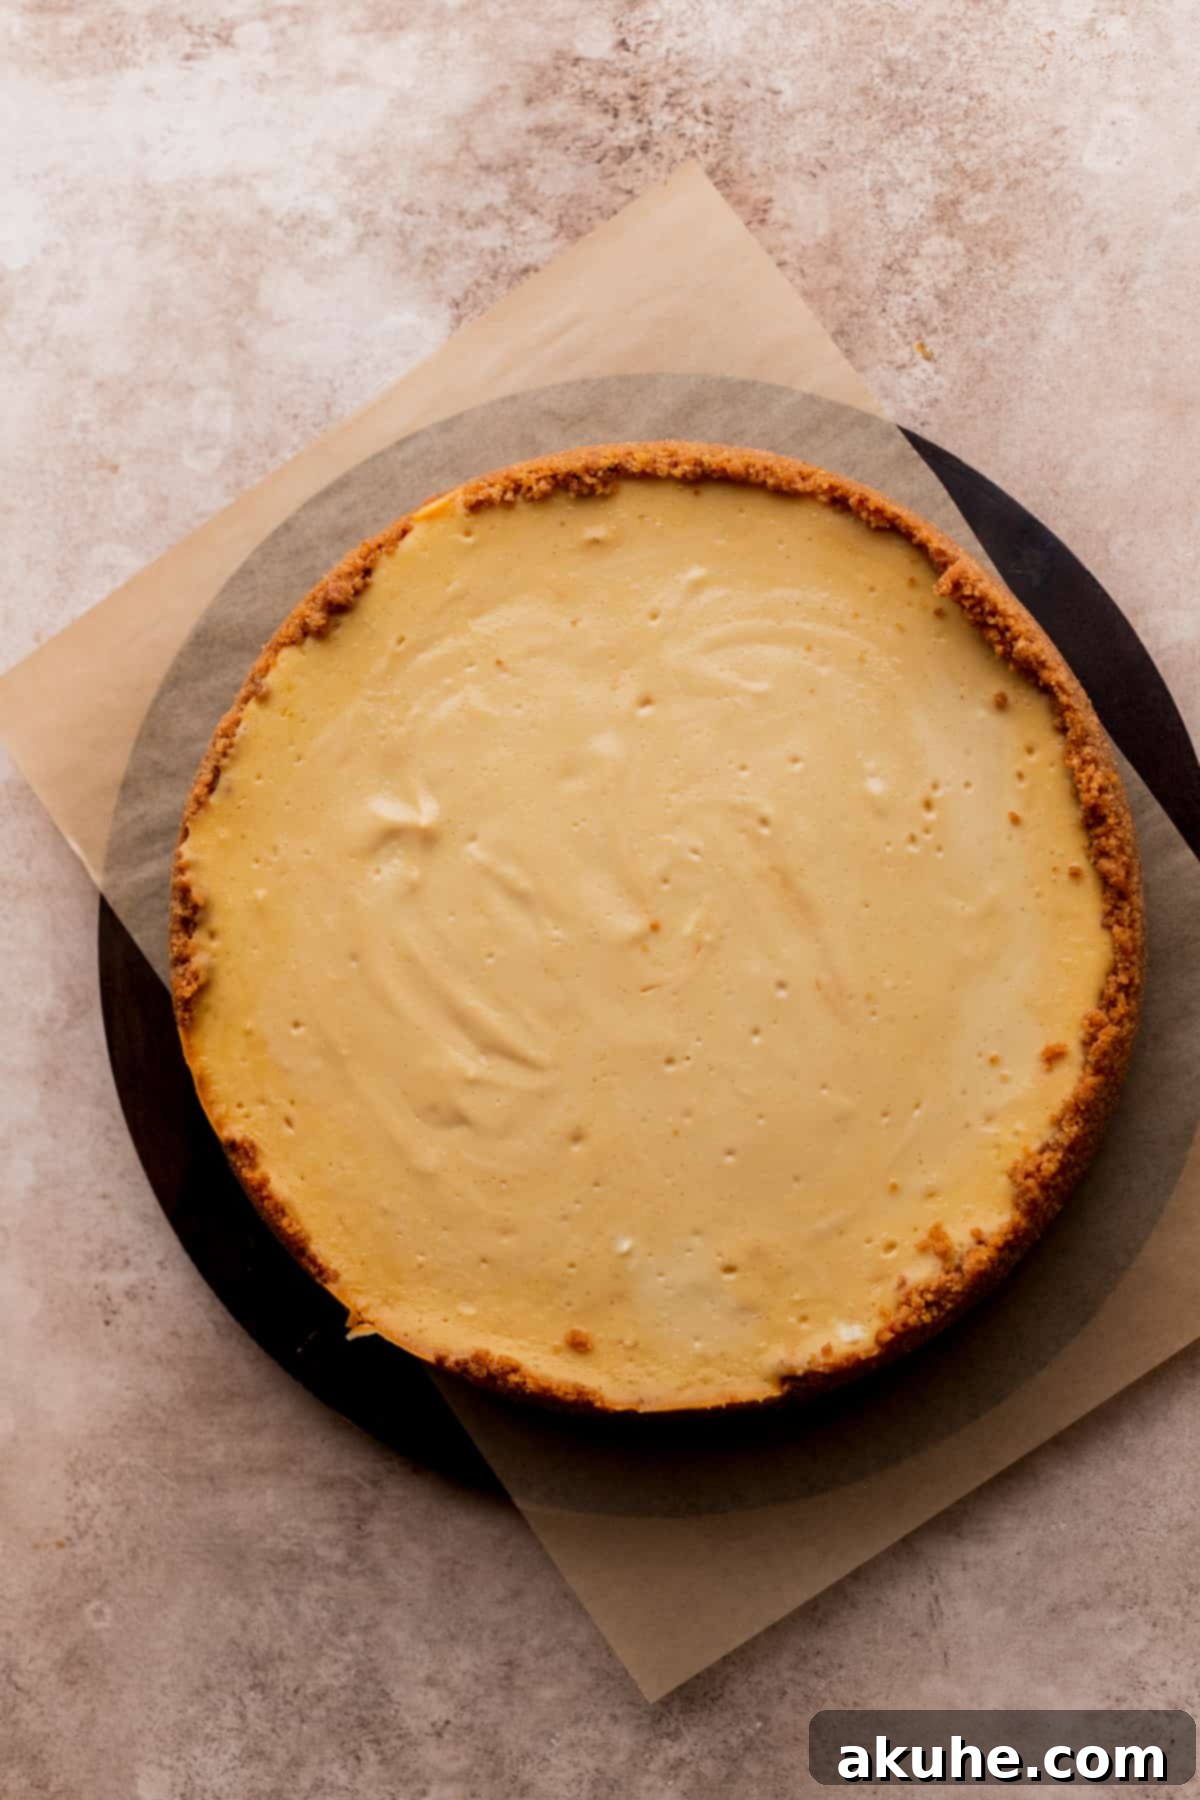
STEP 7: Chill for Optimal Firmness. After the oven cool-down, remove the cheesecake from the oven and carefully lift it from the water bath. Place the springform pan on a wire cooling rack and allow it to cool completely to room temperature. This can take several hours. Once fully cooled, wrap the entire springform pan tightly in plastic wrap (or remove the cheesecake and place it in an airtight cake carrier). Transfer it to the refrigerator and chill for a minimum of 6 hours, but ideally overnight, for the best texture and flavor development. Chilling overnight is crucial for the cheesecake to firm up properly and ensures clean slices.
Step-By-Step Instructions: Preparing the Irresistible Toppings
The toppings are what elevate this into an apple crumble cheesecake. Prepare these components while the cheesecake is chilling, or even a day ahead.
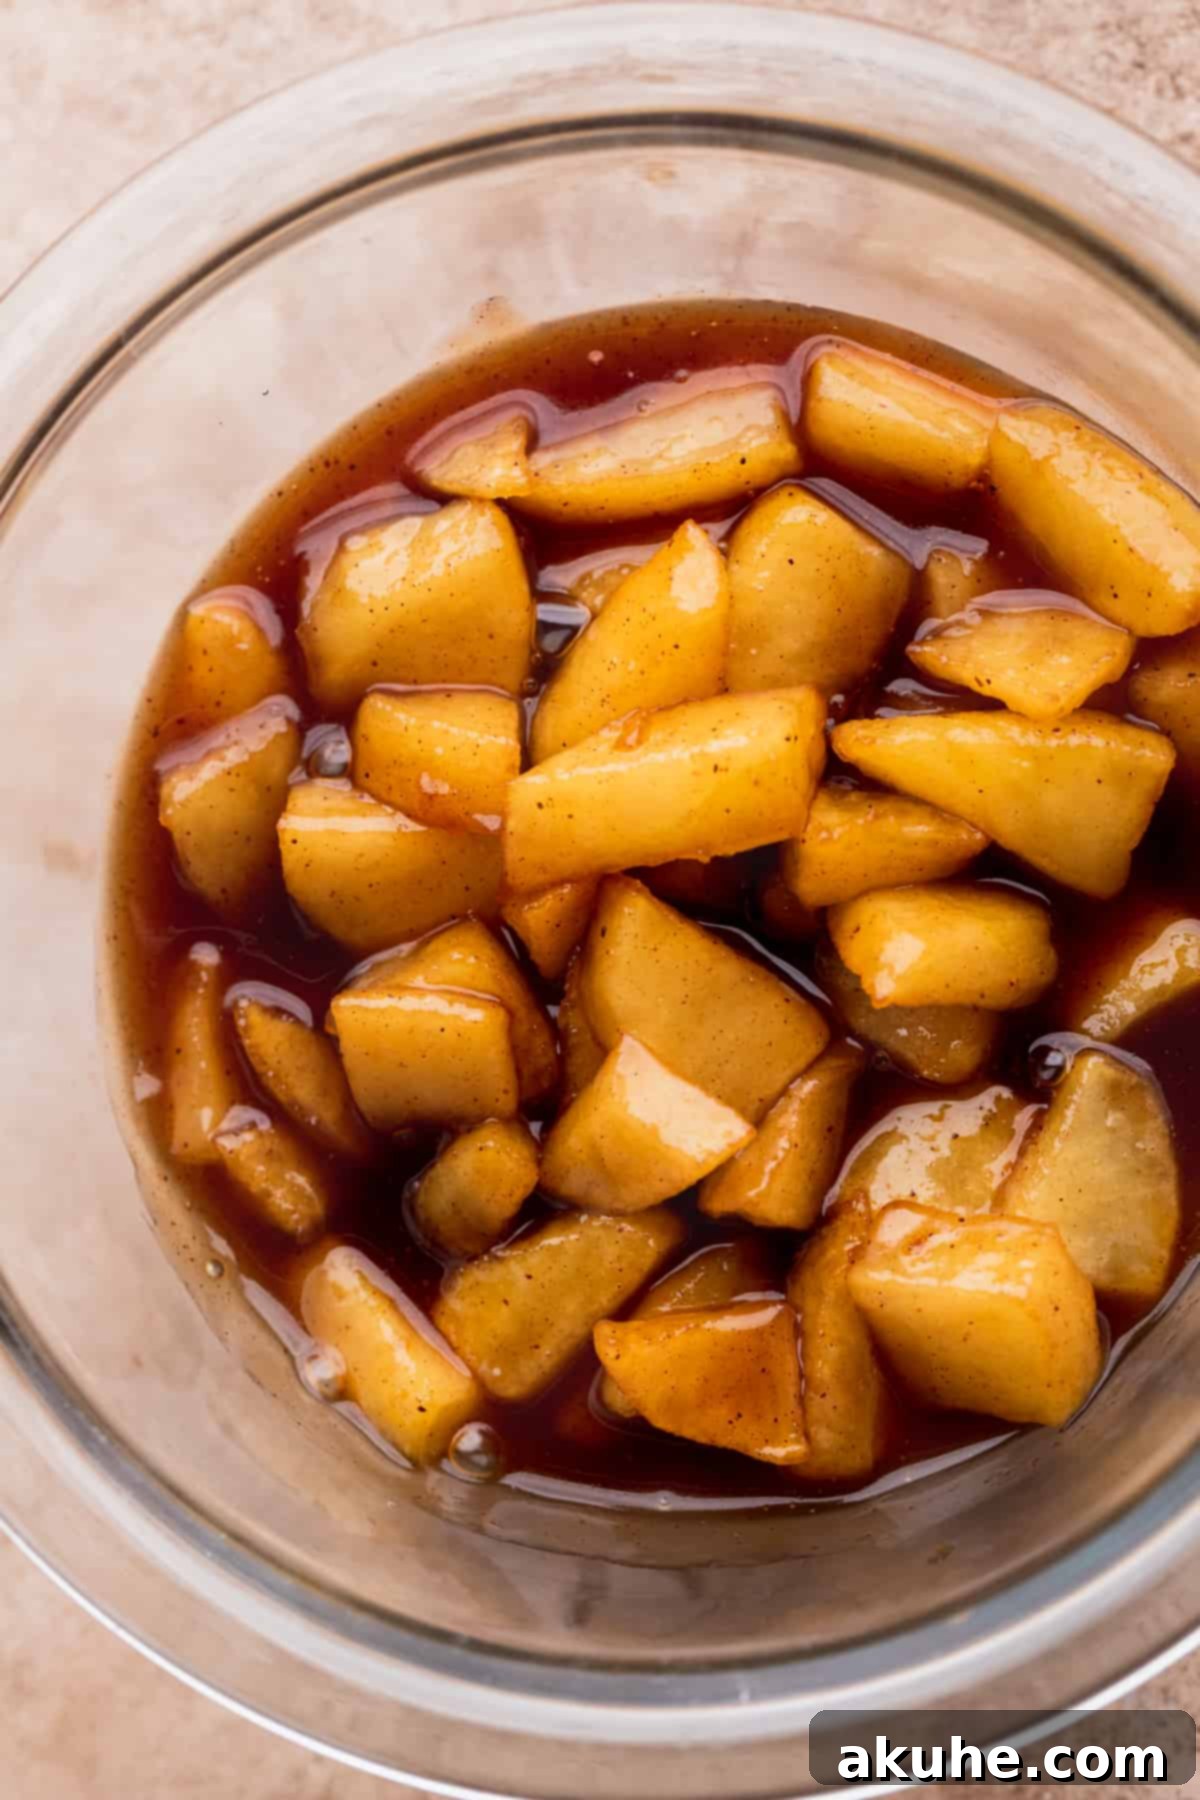
STEP 1: Create the Spiced Apple Pie Filling. In a medium saucepan over medium heat, melt the unsalted butter. Add the peeled and thinly sliced apples, brown sugar, ground cinnamon, and cornstarch. Stir continuously as the mixture heats. Cook until the apples begin to soften but still retain a slight bite, and the liquid has thickened into a glossy, cohesive sauce. It’s important not to overcook the apples until they are mushy. Once cooked, transfer the apple filling to an airtight container and allow it to cool completely before chilling it in the refrigerator overnight. This ensures it’s firm and flavorful when added to the cheesecake.
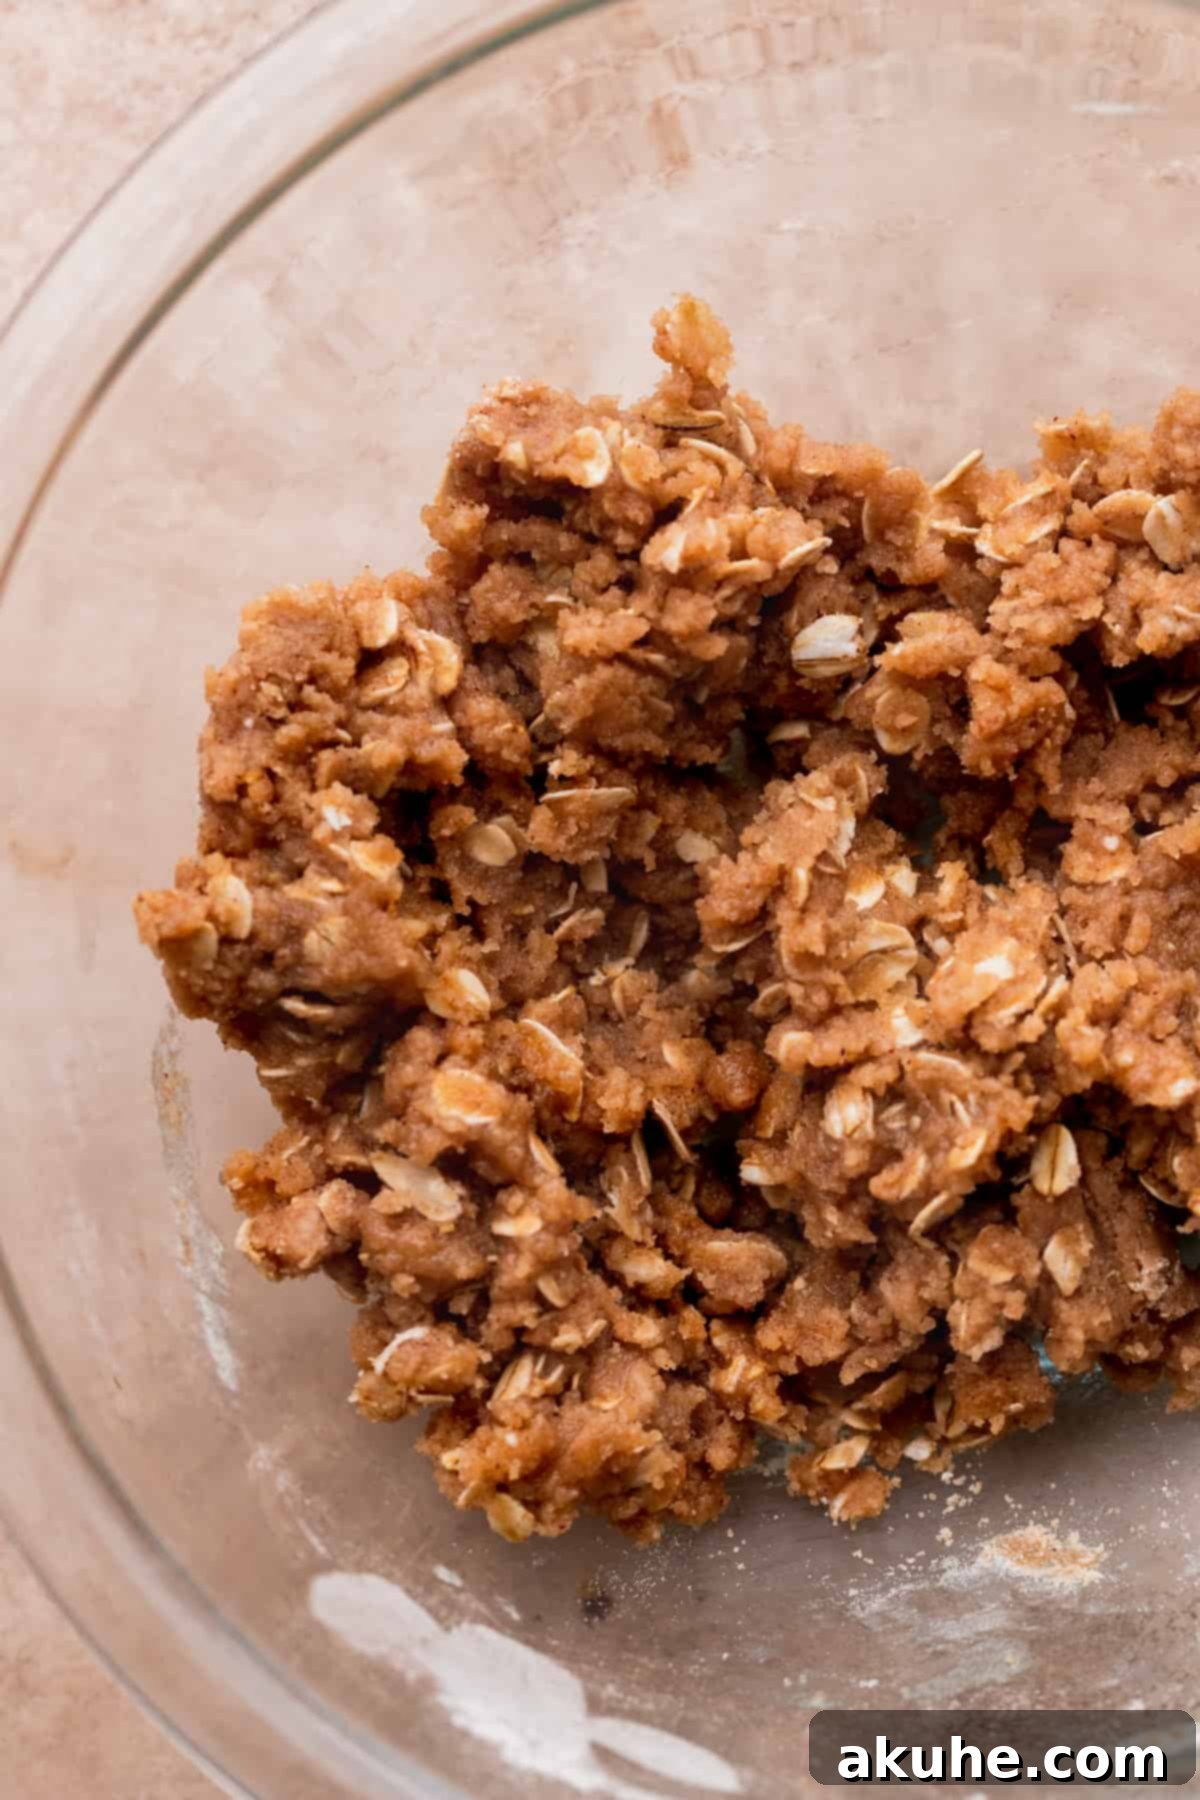
STEP 2: Prepare the Crunchy Cinnamon Oat Crumble. In a small bowl, combine the all-purpose flour, quick oats, brown sugar, and ground cinnamon. Mix these dry ingredients thoroughly. Pour in the melted unsalted butter and mix with a fork or your fingers until coarse crumbs form. Avoid overmixing, as we want distinct crumble pieces. For a better texture and to prevent it from melting too quickly when baked, place the crumble mixture in the freezer for about 5-10 minutes.
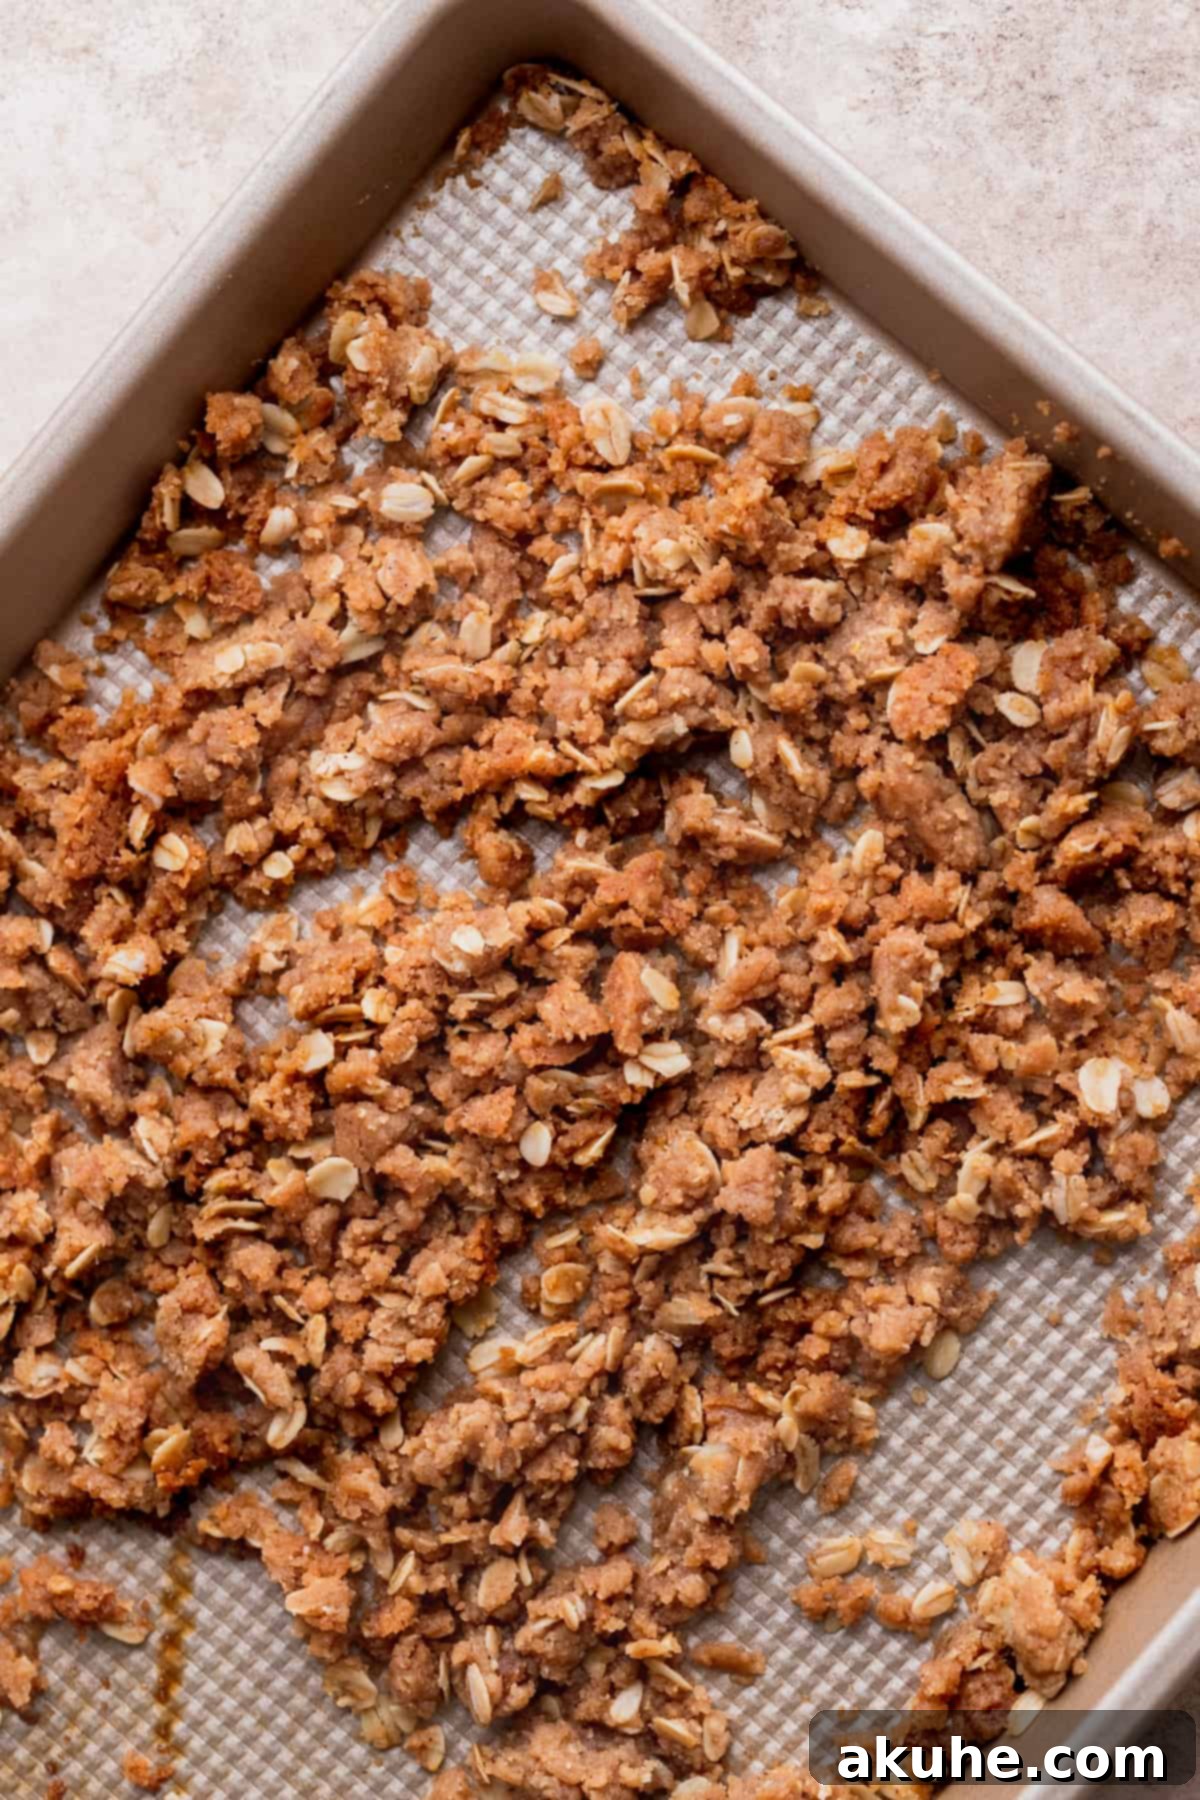
STEP 3: Bake the Oat Crumble. Preheat your oven to 300°F (150°C). Lightly spray a small cookie sheet with nonstick baking spray. Spread the chilled crumble mixture evenly onto the prepared cookie sheet. Bake for approximately 15 minutes, stirring the crumble every 5 minutes to ensure even browning and crispness. Once baked, remove from the oven and let it cool completely on the cookie sheet. As it cools, gently break up any larger clumps with your fingers to create small, distinct, crunchy pieces.
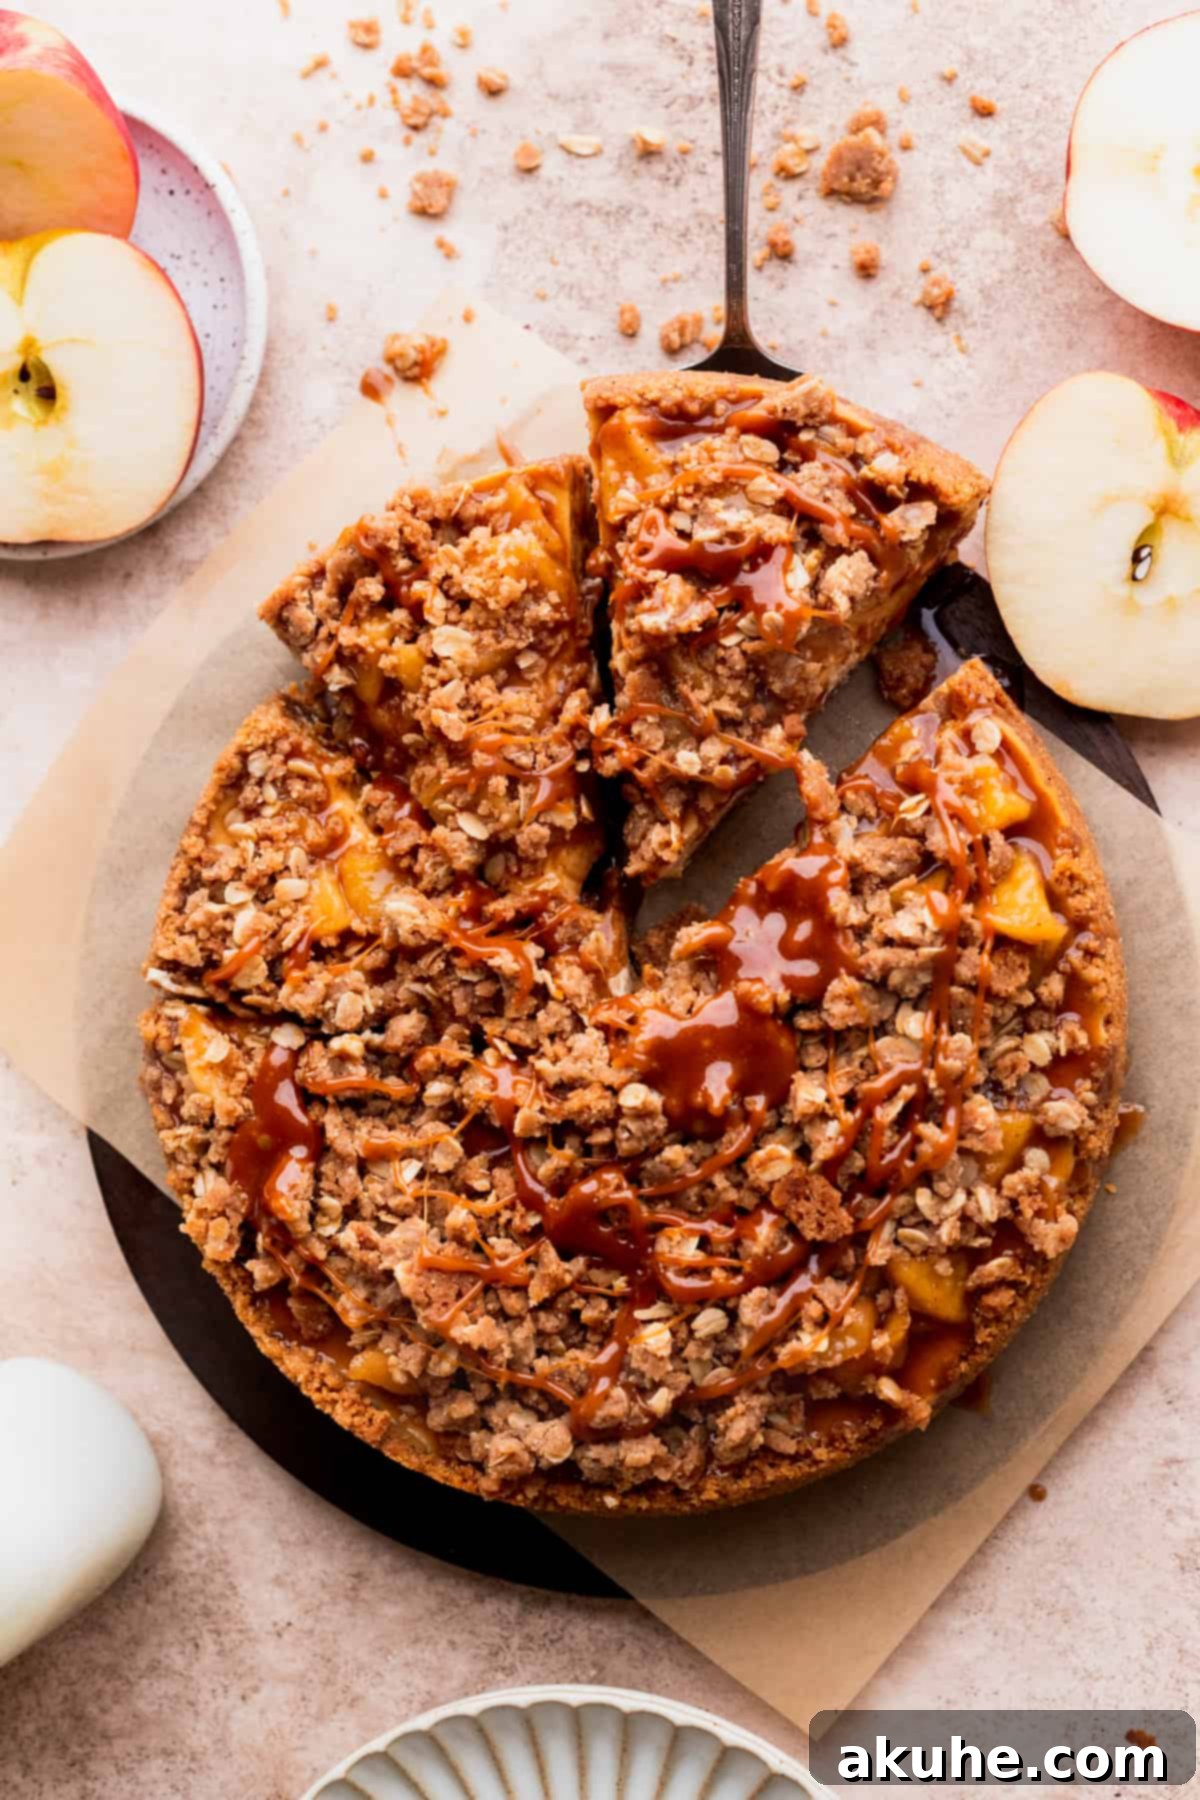
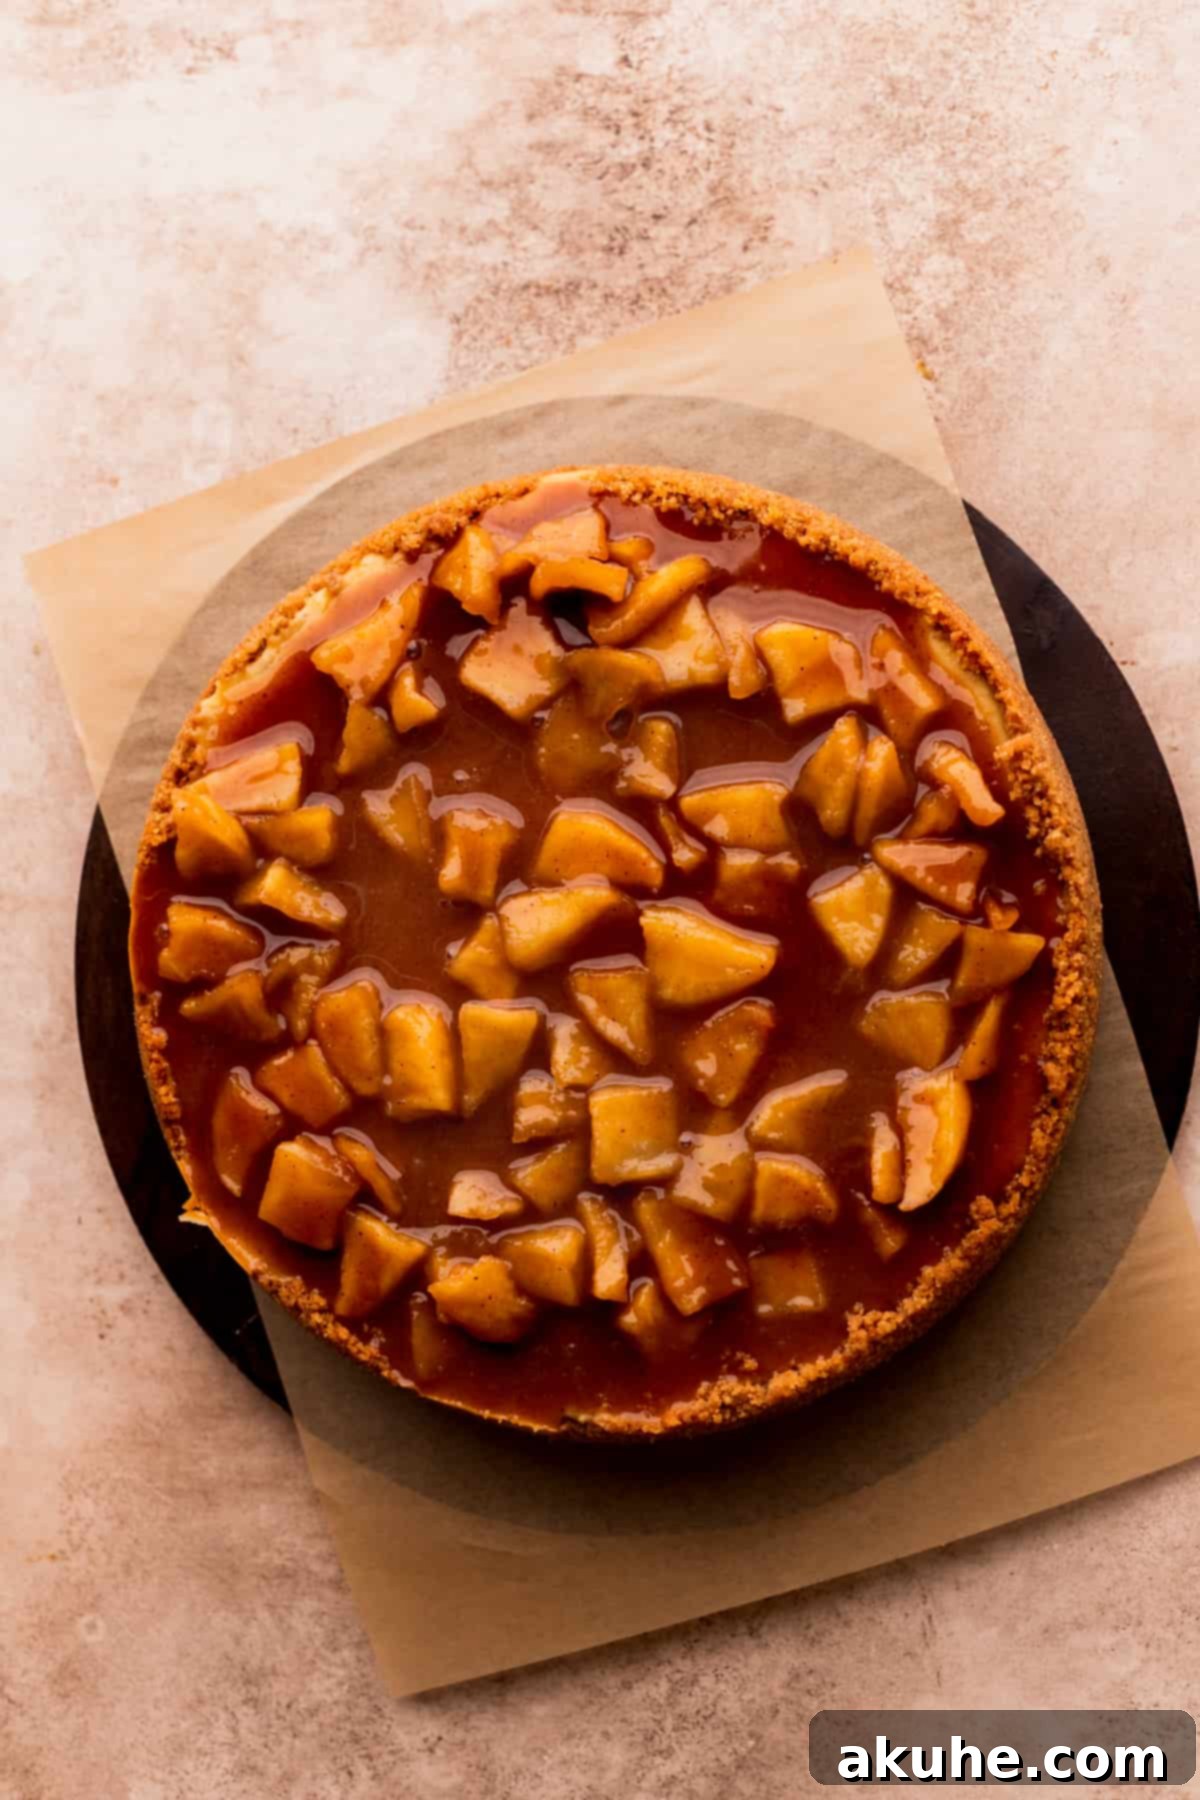
STEP 4: Assemble Your Masterpiece. Once the cheesecake is thoroughly chilled, carefully run a thin knife around the edge of the springform pan before releasing and removing the sides. Gently slide the cheesecake onto a serving plate or cake stand, then carefully remove the parchment paper from the bottom. Evenly spread the cooled apple pie filling over the top of the cheesecake. If the apple filling has become too thick to spread easily, you can microwave it for 10-15 seconds and stir until it reaches a spreadable consistency. Generously sprinkle the cinnamon oat crumble over the apple layer, ensuring even coverage for that perfect crunch in every bite. Finally, drizzle the remaining salted caramel sauce over the entire cheesecake. If your caramel has solidified, warm it slightly in the microwave in 15-second intervals, stirring between each, until it’s pourable.
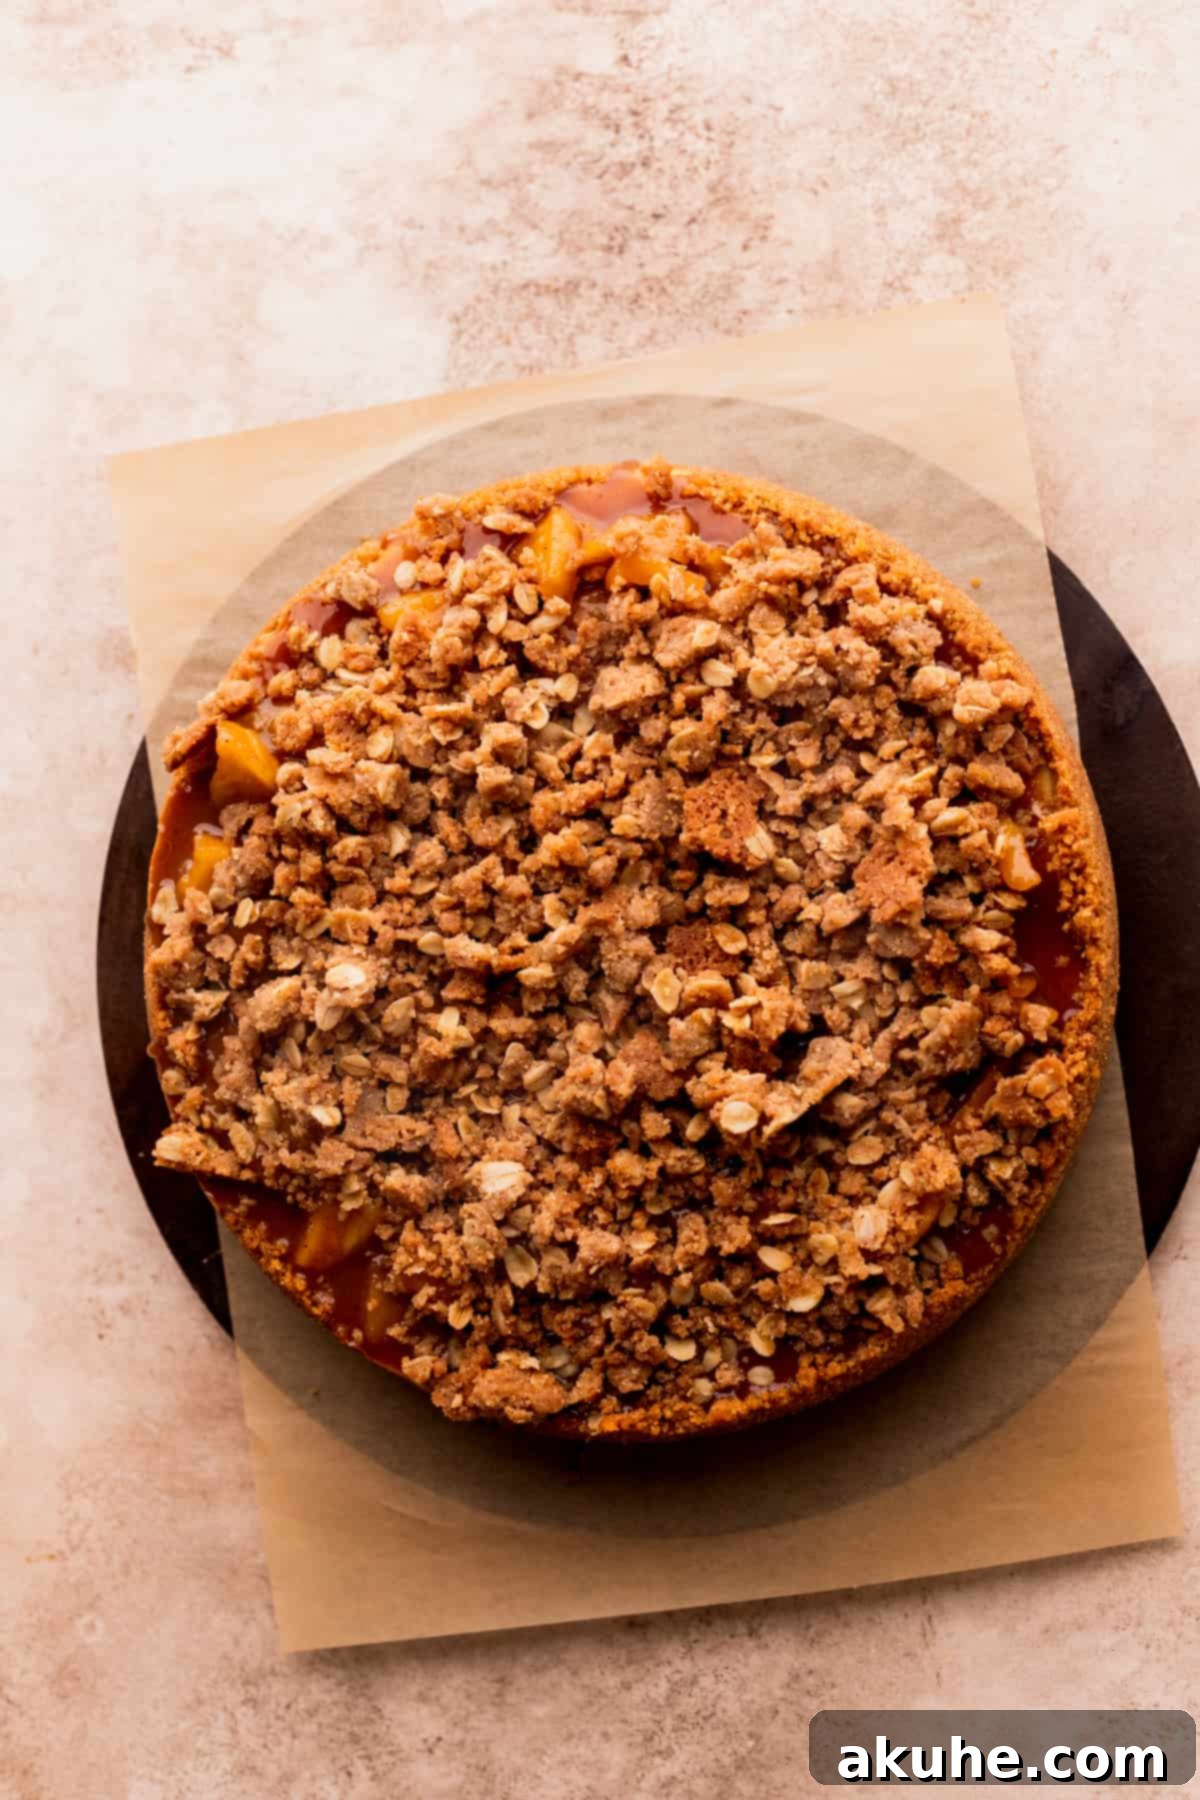
Mastering the Water Bath for Perfect Cheesecake
The water bath, also known as a “bain-marie,” is a secret weapon in cheesecake baking, providing a consistently moist and gentle baking environment. This gentle heat transfer, coupled with the steam it generates, is crucial for preventing the cheesecake from drying out, baking too quickly, or developing unsightly cracks on its surface. It helps the cheesecake cook evenly from the edges to the center, resulting in a perfectly smooth, creamy, and unblemished texture.
Here are two highly effective techniques for setting up a water bath, both utilizing a large roasting pan and hot, steaming water:
- The “Double Pan” Method (Highly Recommended): This is my absolute favorite method and offers the best protection against water seeping into your crust. Place your springform pan (with the cheesecake batter) inside a slightly larger 10-inch cake pan. Then, carefully place this cake pan assembly into your large roasting pan. Fill the roasting pan with hot, steaming water (you can heat it on the stove or in a kettle) until it reaches approximately halfway up the sides of the 10-inch cake pan. This method creates an extra barrier, ensuring no water can penetrate the crust, making cheesecake baking virtually foolproof.
- The “Foil Wrap” Method: While effective, this method carries a slightly higher risk of water leakage. Tightly wrap your springform pan twice over with heavy-duty aluminum foil, ensuring no seams are exposed where water could enter. Place the wrapped springform pan directly into the large roasting pan. Fill the roasting pan halfway up the sides of the springform pan with hot, steaming water. While this method generally works well, it’s crucial to wrap the foil very securely to avoid a soggy crust – an unwelcome surprise after all your hard work!
I strongly advocate for the first method. It completely eliminates the worry of water getting into the crust, simplifying the cheesecake baking process and guaranteeing a crisp, uncompromised base every time.
Expert Tips for Preventing Cheesecake Cracks
Achieving a perfectly smooth, uncracked cheesecake surface is the mark of a skilled baker. While the water bath is essential, several other factors contribute to a flawless finish:
- Ensure Smooth, Creamy Base Ingredients: Begin by beating the room temperature cream cheese and sugar on high speed until the mixture is incredibly smooth and creamy, with no lumps whatsoever. Any unmixed lumps of cream cheese can create weak spots in the batter, which are prone to cracking during baking. Scrape down the bowl frequently.
- Add Eggs Gently and Minimally: Once the initial wet ingredients (cream cheese, sugar, sour cream, caramel, vanilla) are perfectly creamy, switch your mixer to the lowest possible speed when adding the eggs. Add them one at a time, mixing only until each egg is just incorporated. The goal is to introduce as little air as possible into the batter at this stage. Too much air will cause the cheesecake to rise excessively and then fall too quickly, leading to cracks.
- Utilize a Water Bath Religiously: As discussed above, the water bath is absolutely essential! It provides a humid, gentle baking environment, ensuring even cooking and preventing the cheesecake from drying out and cracking. Never skip this step for a perfect cheesecake.
- Master the Slow Cooling Process: The cooling process is just as important as the baking. Once the cheesecake is done, do not remove it from the oven immediately. Turn off the oven, crack open the door a few inches, and allow the cheesecake to sit in the gradually cooling oven for at least 30 minutes. This slow, controlled decrease in temperature prevents a rapid thermal shock, which is a common culprit for cracks.
- Avoid Abrupt Temperature Changes: After the initial oven cool-down, transition the cheesecake to a wire rack to cool completely at room temperature. Resist the urge to place a warm cheesecake directly into the refrigerator. A sudden drop in temperature can shock the delicate structure, leading to unsightly cracks. Patience is key!
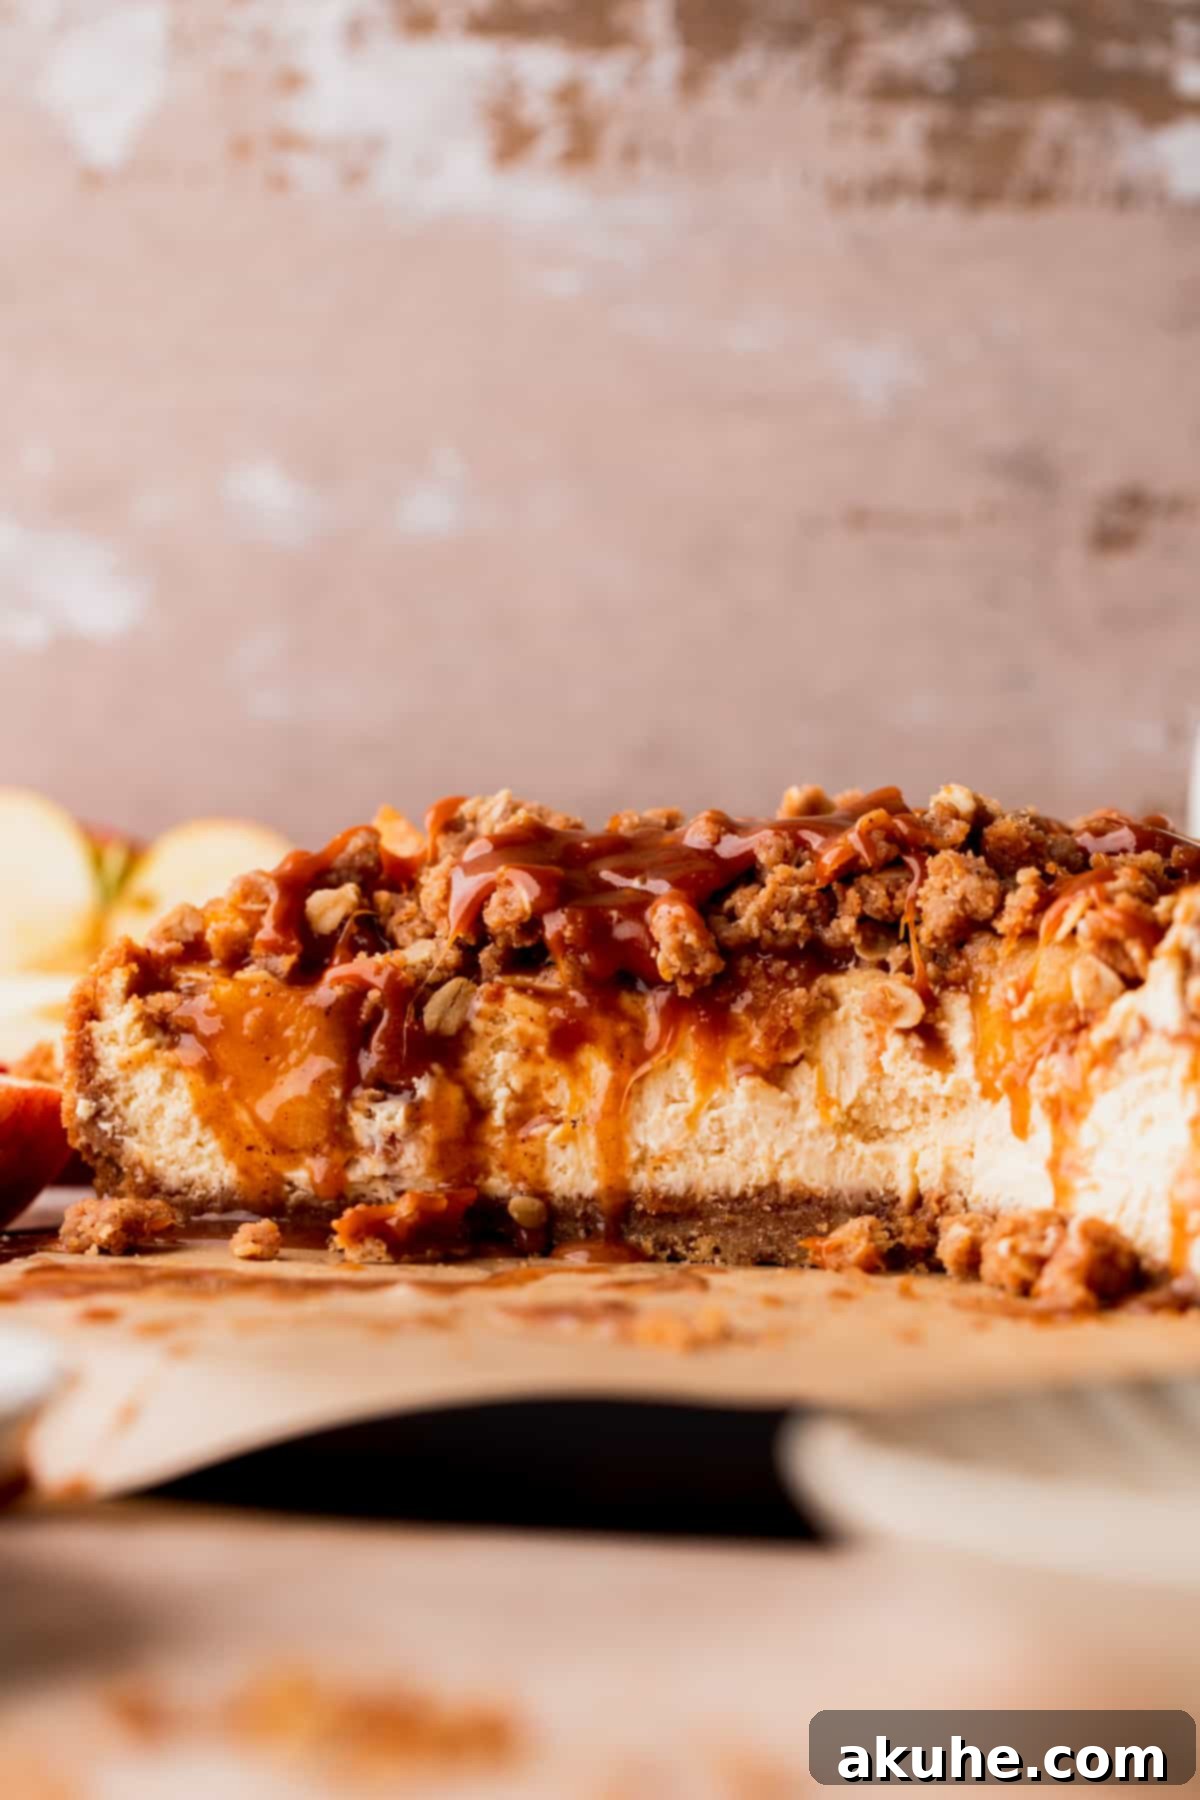
Frequently Asked Questions (FAQ) About Apple Crumble Cheesecake
Absolutely! This recipe is incredibly versatile. To create delightful mini apple crumble cheesecakes, simply divide the recipe ingredients into thirds. You can bake these in a standard muffin pan lined with paper liners. Reduce the baking time to approximately 18-20 minutes, or until the centers are set. For more detailed instructions on baking mini cheesecakes, you can refer to a guide like our Mini Oreo Cheesecakes recipe.
This recipe is quite adaptable to various pan sizes. For cheesecake bars, you can halve the recipe and bake it in an 8×8-inch or 9×9-inch baking pan (using 16 oz of cream cheese for the halved recipe). Alternatively, you can use an 8-inch springform pan with the full recipe, though the cheesecake will be slightly thicker and may require a few extra minutes of baking time. If you prefer a smaller, thicker cheesecake in a 6-inch springform pan, half the recipe ingredients, but maintain 16 oz of cream cheese for adequate height.
Yes, this cheesecake freezes beautifully! Once your cheesecake has been baked and thoroughly chilled in the refrigerator overnight (this initial chilling is crucial for stability), you can prepare it for freezing. Wrap the entire cooled cheesecake tightly in several layers of plastic wrap, followed by a layer of aluminum foil, to protect it from freezer burn. It can be frozen for up to 30 days. When you’re ready to serve, thaw the frozen cheesecake in the refrigerator for 1-2 hours before decorating with the apple filling, oat crumble, and caramel drizzle. This makes it an excellent make-ahead dessert for entertaining.
Storing and Freezing Your Apple Crumble Cheesecake
Proper storage is key to enjoying your Apple Crumble Cheesecake at its best and extending its freshness.
Storage in the Refrigerator
Store any leftover apple crumble cheesecake in an airtight container, such as a specialized cake carrier, to prevent it from drying out or absorbing other odors from your refrigerator. When stored correctly, this delicious cheesecake will remain fresh and delightful for up to 5 days in the fridge.
Freezing Instructions
To preserve your apple crumble cheesecake for longer periods, individual cake slices are ideal for freezing. This allows you to thaw and enjoy single portions whenever a craving strikes. Simply wrap each slice tightly in plastic wrap, then place them in an airtight freezer-safe container. They can be frozen for up to 30 days. To enjoy a frozen slice, transfer it to the refrigerator to thaw for 1-2 hours, or leave it at room temperature for about 30 minutes, before serving.
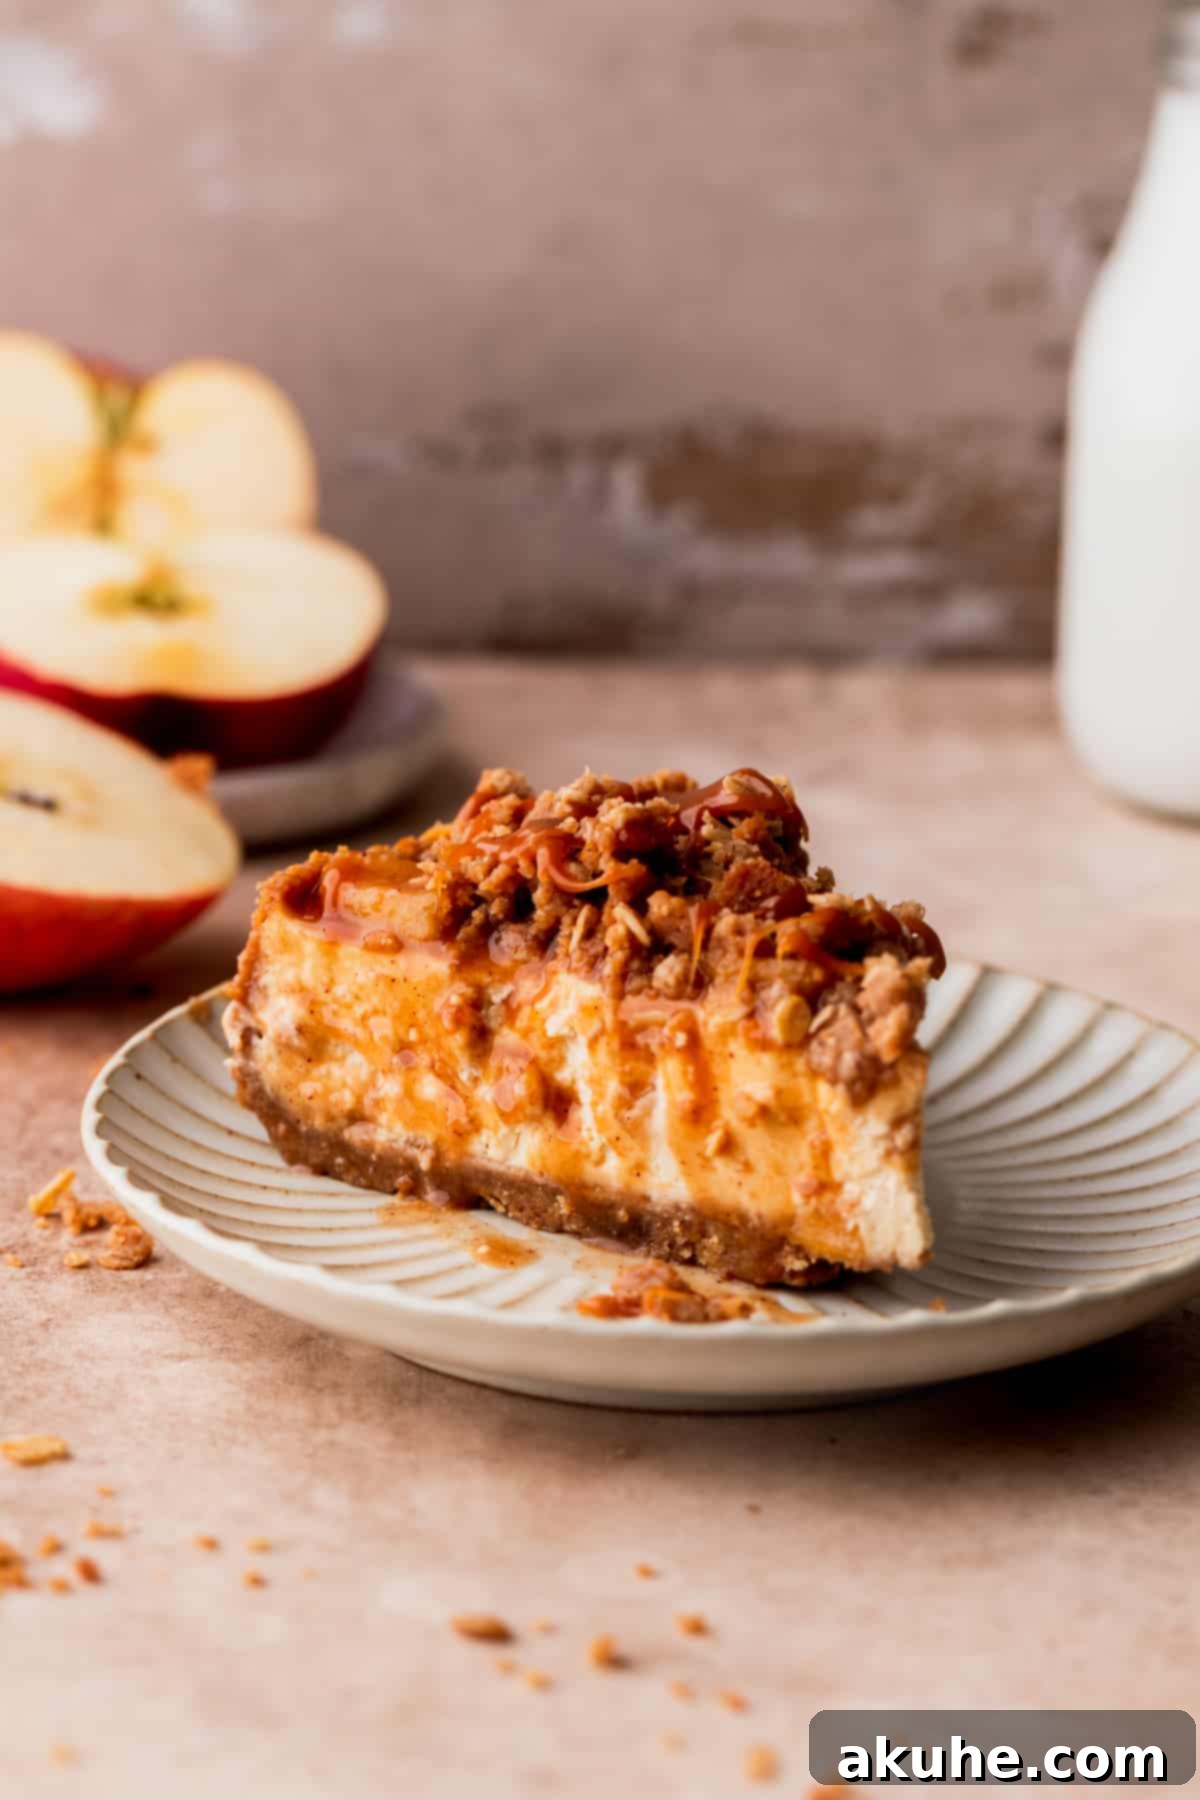
Other Cheesecake Recipes To Try
If you absolutely loved creating and tasting this recipe, please make sure to leave a STAR REVIEW below! Your feedback helps other bakers discover this wonderful dessert. Don’t forget to tag me on Instagram @stephaniesweettreats with your creations. For more baking inspiration and delightful ideas, make sure to follow me on Pinterest.
Apple Crumble Cheesecake
Print Recipe
Pin Recipe
Leave a Review
Ingredients
Salted Caramel
- 1/2 cup White granulated sugar
- 2 TBSP Unsalted butter, room temperature and cubed
- 1/4 cup Heavy cream, room temperature
- 1/2 tsp Pure vanilla extract
- 1/2 tsp Salt
Graham Cracker Crust
- 2 1/4 cups Graham cracker crumbs, 2 sleeves of graham crackers
- 1/4 cup Brown sugar, packed light or dark
- 1/2 tsp Ground cinnamon
- 10 TBSP Unsalted butter, melted
Cheesecake
- 24 oz Cream Cheese, room temperature
- 3/4 cup Brown sugar, packed light or dark
- 1/2 cup Sour cream, room temperature
- 1/4 cup Salted caramel, make sure it is cooled and pourable
- 1 tsp Pure vanilla extract
- 3 Large eggs, room temperature
Apple Pie Filling
- 2 TBSP Unsalted butter
- 2 Apples, Gala apples peeled and sliced.
- 1/2 cup Brown sugar, packed light or dark
- 1/2 tsp Ground cinnamon
- 1 TBSP Cornstarch
Crisp Topping
- 1/2 cup All-purpose flour
- 1/4 cup Oats
- 1/4 cup Brown sugar, packed light or dark
- 1/2 tsp Ground cinnamon
- 5 TBSP Unsalted butter, melted
Instructions
Salted Caramel
- Prepare the salted caramel before starting the cheesecake, as it needs to cool completely.
- In a medium saucepan over medium heat, gently heat the granulated sugar. Stir constantly with a whisk until all sugar crystals have melted into a smooth, clear amber liquid. Remove the saucepan from the heat immediately.1/2 cup White granulated sugar
- Add half of the softened butter to the sugar and whisk until fully melted and incorporated. The mixture will bubble vigorously. Stir in the remaining butter. Separately, warm the heavy cream in the microwave for about 30 seconds. Slowly and carefully pour the warm cream into the sugar mixture, whisking continuously until smooth. Finally, stir in the salt and vanilla extract.2 TBSP Unsalted butter, 1/4 cup Heavy cream, 1/2 tsp Pure vanilla extract, 1/2 tsp Salt
- Return the caramel saucepan to the stove over medium-low heat and cook for 3-4 minutes, stirring occasionally. It will continue to bubble, and this step helps thicken the caramel slightly. Pour the caramel into a clean glass container and allow it to cool completely to room temperature before using in the cheesecake filling.
Graham Cracker Crust
- Preheat your oven to 325°F (160°C). Spray a 9-inch springform pan lightly with nonstick baking spray. Place a 9-inch parchment paper circle at the bottom of the pan, then spray the parchment paper again.
- Use a food processor to blend the graham crackers into a very fine, uniform crumb. In a medium bowl, combine the graham cracker crumbs, brown sugar, ground cinnamon, and melted unsalted butter. Mix thoroughly with a fork until the crumbs are evenly moistened.2 1/4 cups Graham cracker crumbs, 1/4 cup Brown sugar, 1/2 tsp Ground cinnamon, 10 TBSP Unsalted butter
- Pour the crumb mixture into the prepared springform pan. Use your hands to firmly press the crust about two-thirds of the way up the sides of the pan. For a dense and even crust, use the bottom of a flat measuring cup or a spice jar to firmly compact the crumbs.
- Bake the crust for 10 minutes. Remove from oven and let it cool completely while you prepare the cheesecake batter.
Cheesecake
- While preparing the batter, begin heating water on the stove in a kettle or saucepan until it’s steaming hot for the water bath. In a large mixing bowl, beat the room temperature full-fat cream cheese on high speed for 1 minute until smooth. Add the brown sugar and beat for another 1 minute, frequently scraping down the sides of the bowl with a rubber spatula to ensure all ingredients are well combined and lump-free.24 oz Cream Cheese, 3/4 cup Brown sugar
- Add the room temperature sour cream, cooled salted caramel, and pure vanilla extract to the cream cheese mixture. Mix on medium speed until the batter is completely smooth. With the mixer on its lowest speed, add the room temperature large eggs one at a time, mixing only until each egg is just incorporated. Stop mixing as soon as the last egg is combined to avoid incorporating too much air.1/2 cup Sour cream, 1/4 cup Salted caramel, 1 tsp Pure vanilla extract, 3 Large eggs
- Pour the cheesecake batter carefully onto the cooled graham cracker crust in the springform pan.
- Prepare your water bath using one of the following methods, both involving a large roasting pan and hot steaming water:
1. The “Double Pan” Method (Recommended): Place your springform pan inside a 10-inch cake pan. Place this assembly into the large roasting pan and fill the roasting pan with hot water until it reaches halfway up the cake pan. This method provides superior protection against water leakage into the crust.
2. The “Foil Wrap” Method: Tightly wrap the springform pan twice with heavy-duty aluminum foil to create a waterproof seal. Place the wrapped springform pan directly into the roasting pan. Fill the roasting pan halfway up the sides of the springform pan with hot water.
- Carefully place the roasting pan with the cheesecake and water bath into the preheated oven. Bake for 60-70 minutes, or until the edges are set and the center still has a slight, delicate jiggle. Turn off the oven, crack the door open a few inches, and let the cheesecake cool slowly in the oven for 30 minutes.
- Remove the springform pan from the oven and water bath, then place it on a wire cooling rack to cool completely to room temperature. Once cooled, wrap the cheesecake (still in its pan) tightly in plastic wrap and chill in the refrigerator for at least 6 hours, or preferably overnight, to allow it to fully firm up.
Apple Pie Filling
- Prepare this filling the day before or on the same day you bake the cheesecake. Peel the apples and slice them into thin, uniform strips, then cut each strip in half for manageable pieces.2 Apples
- In a medium saucepan over medium heat, melt the unsalted butter. Add the sliced apples, brown sugar, ground cinnamon, and cornstarch. Cook, stirring frequently, until the apples have softened to your desired tenderness (they should still have a slight bite) and the filling has thickened to a syrupy consistency.2 TBSP Unsalted butter, 1/2 cup Brown sugar, 1/2 tsp Ground cinnamon, 1 TBSP Cornstarch
- Transfer the apple pie filling to an airtight container and let it cool completely to room temperature. Then, chill it in the refrigerator overnight to allow the flavors to meld and the filling to set properly.
Crisp Topping
- This topping can also be made the same day as the cheesecake. In a small bowl, combine the all-purpose flour, oats, brown sugar, and ground cinnamon. Mix these dry ingredients thoroughly. Pour in the melted unsalted butter and mix with a fork or your fingers until a coarse, crumbly mixture forms. Place the bowl in the freezer for 10 minutes to firm up the butter and create better clumps.1/2 cup All-purpose flour, 1/4 cup Oats, 1/4 cup Brown sugar, 1/2 tsp Ground cinnamon, 5 TBSP Unsalted butter
- Preheat the oven to 300°F (150°C). Spray a small cookie sheet with nonstick baking spray. Spread the chilled crumble mixture evenly onto the prepared tray.
- Bake for 15 minutes, stirring the crumble every 5 minutes to ensure even baking and crispness. Remove from the oven and let it cool completely on the cookie sheet. As it cools, gently break it into very small, crunchy chunks. Store in an airtight container in the fridge until ready to use.
Decorating and Serving
- Once the cheesecake is thoroughly chilled, carefully run a thin knife around the edge of the springform pan before releasing the sides. Gently transfer the cheesecake to a serving platter and remove the parchment paper from the bottom. Evenly pour and spread the chilled apple pie filling over the top of the cheesecake. If the filling has thickened too much, microwave it in 15-second intervals, stirring, until it’s a spreadable consistency.
- Generously sprinkle all of the crunchy oat crumbles over the apple layer. Finally, drizzle the remaining salted caramel sauce over the top of the cheesecake. If the caramel has solidified, warm it briefly in the microwave in 15-second bursts until it’s pourable. Slice and serve your magnificent Apple Crumble Cheesecake!
