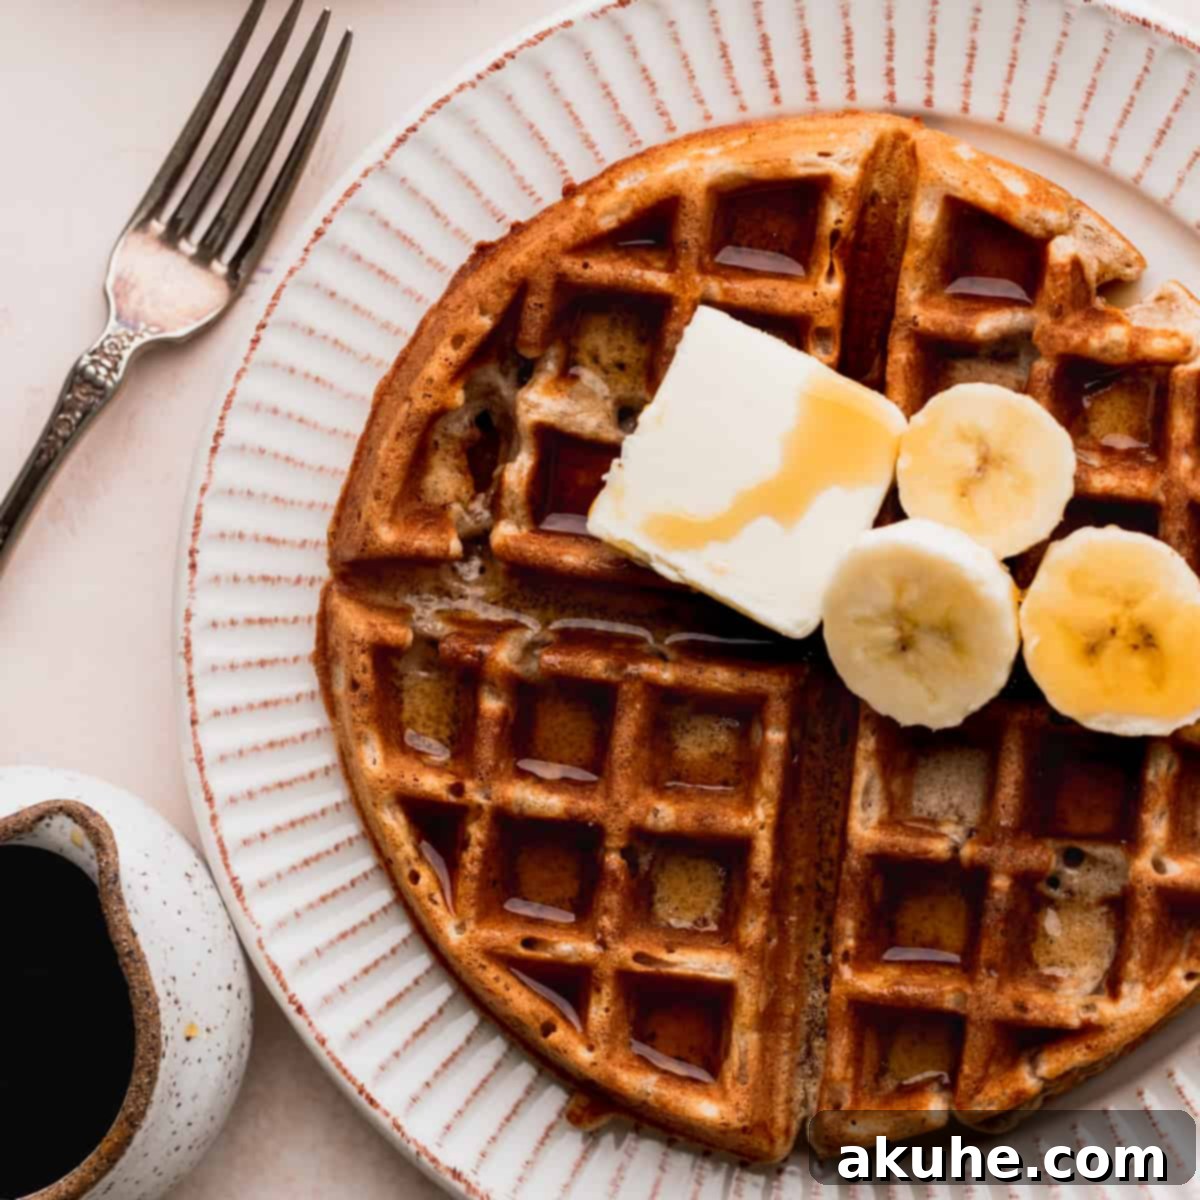
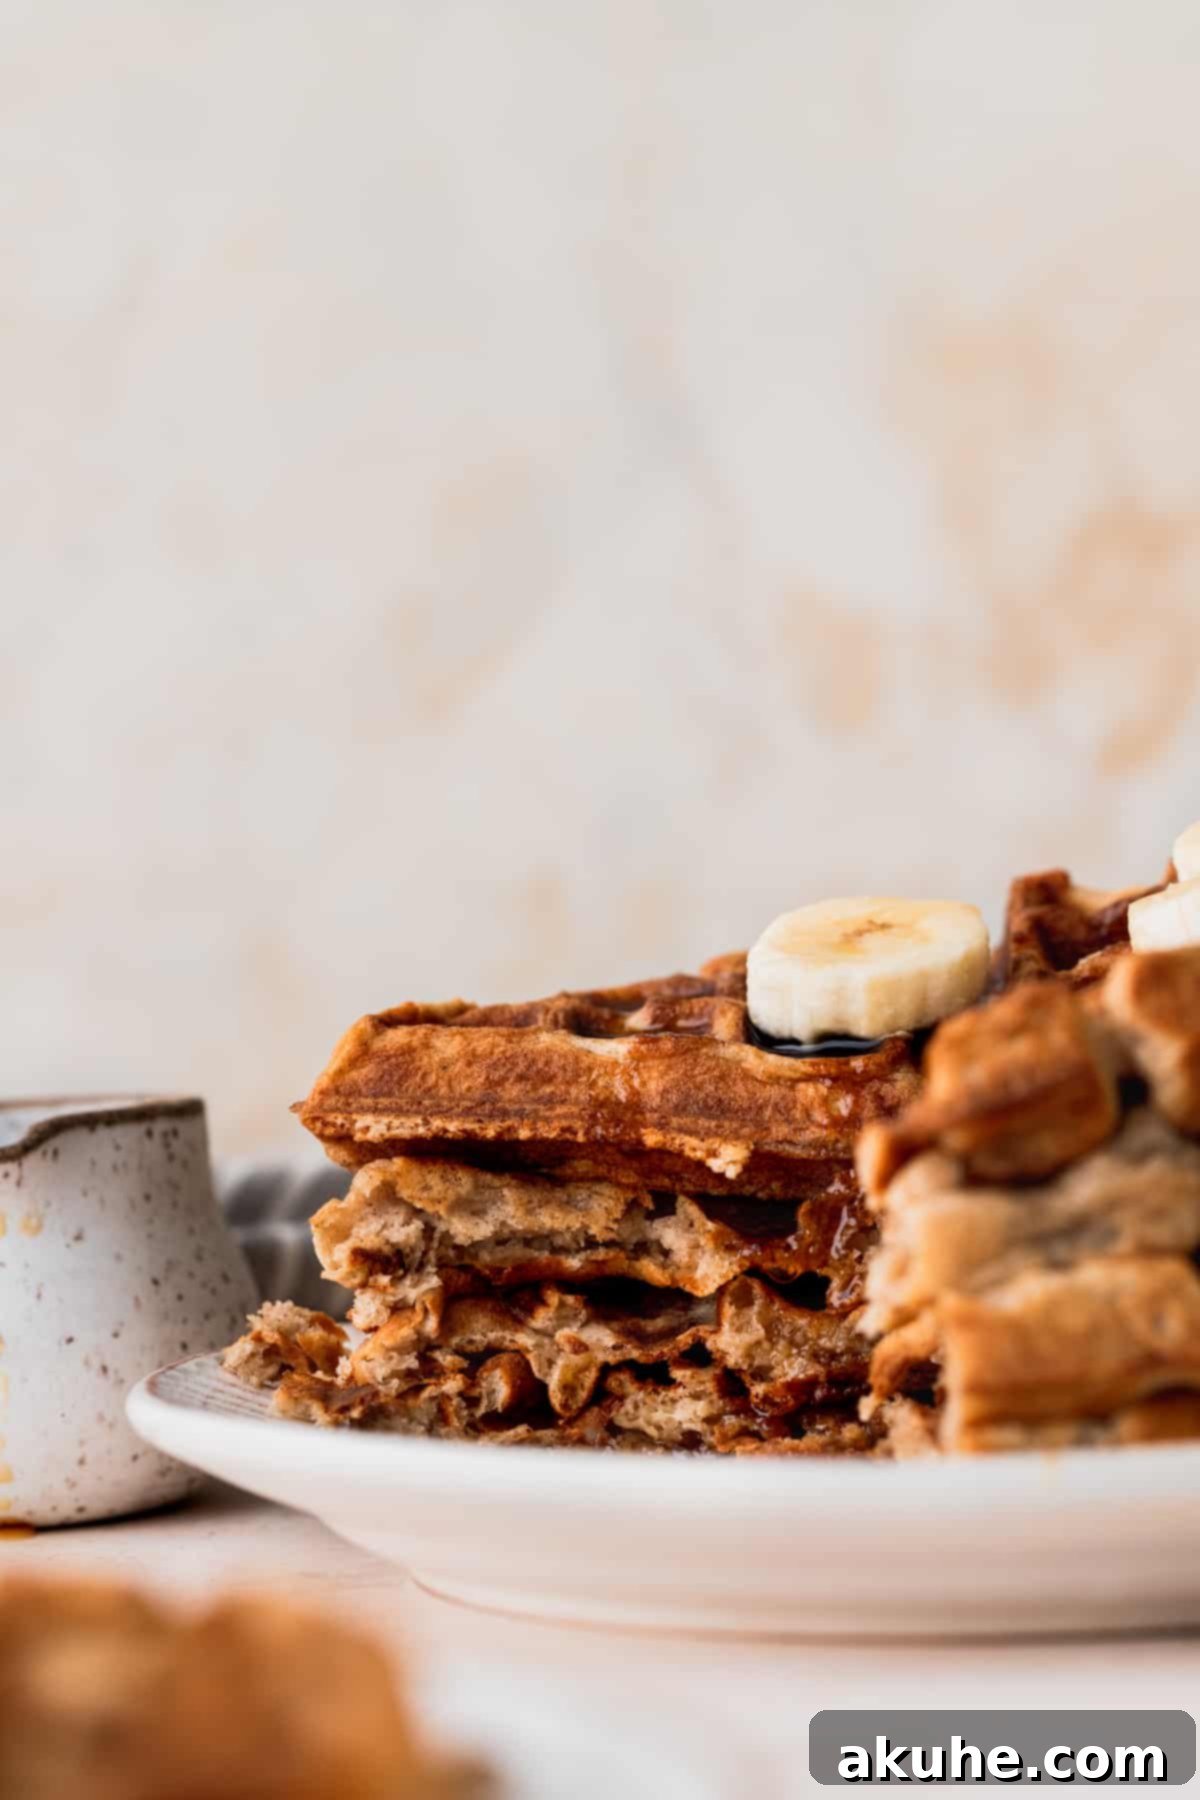
Indulge in the ultimate breakfast experience with these unbelievably fluffy banana waffles. Crafted to perfection, these thick Belgian-style waffles are generously infused with the natural sweetness of ripe bananas and the warm spice of cinnamon, creating a symphony of flavors that will awaken your senses. More than just a meal, these waffles are a celebration, making them the ideal centerpiece for any special brunch gathering or a delightful weekend morning treat. If your kitchen counter is graced with a few extra-ripe bananas displaying those tell-tale brown spots, consider it an invitation to create something truly magical!
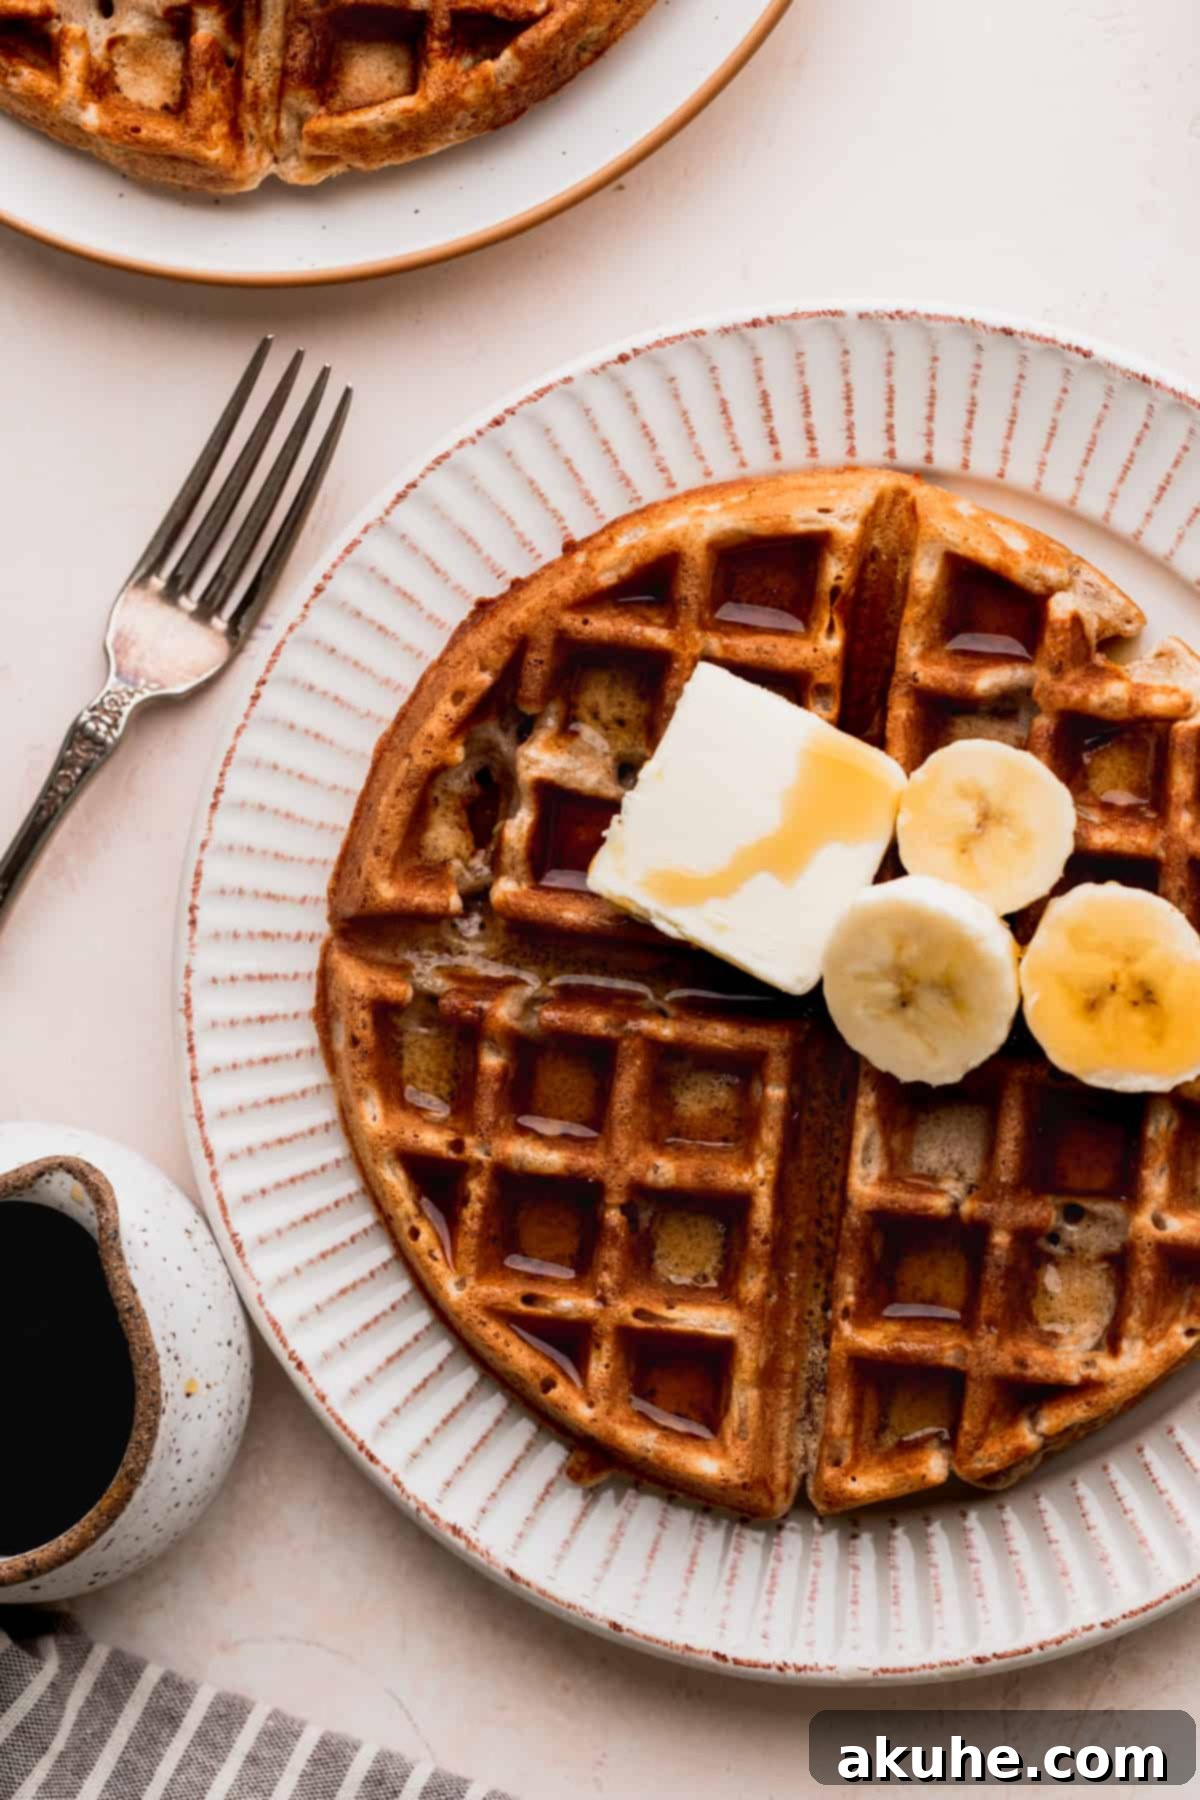
There’s a reason these banana waffles have earned a permanent spot as a family favorite in my home. Whenever I plan a special brunch, especially for those cherished weekend mornings, these are the waffles I turn to. The harmonious blend of sweet bananas, fragrant cinnamon, and a hint of nutmeg creates an exquisite flavor profile that elevates them far beyond ordinary waffles. Once you experience their rich taste and tender texture, you might find it hard to go back to plain versions!
If you’re looking to expand your breakfast repertoire, consider trying our Sweet Cream Pancakes for another fluffy delight, these impressive Giant Fluffy Cinnamon Rolls perfect for a crowd, or our incredibly moist Chocolate Chip Buttermilk Muffins.
Why This Banana Waffle Recipe Will Become Your New Favorite
This banana waffle recipe isn’t just another breakfast idea; it’s a game-changer. Here’s why it’s destined to become a staple in your kitchen:
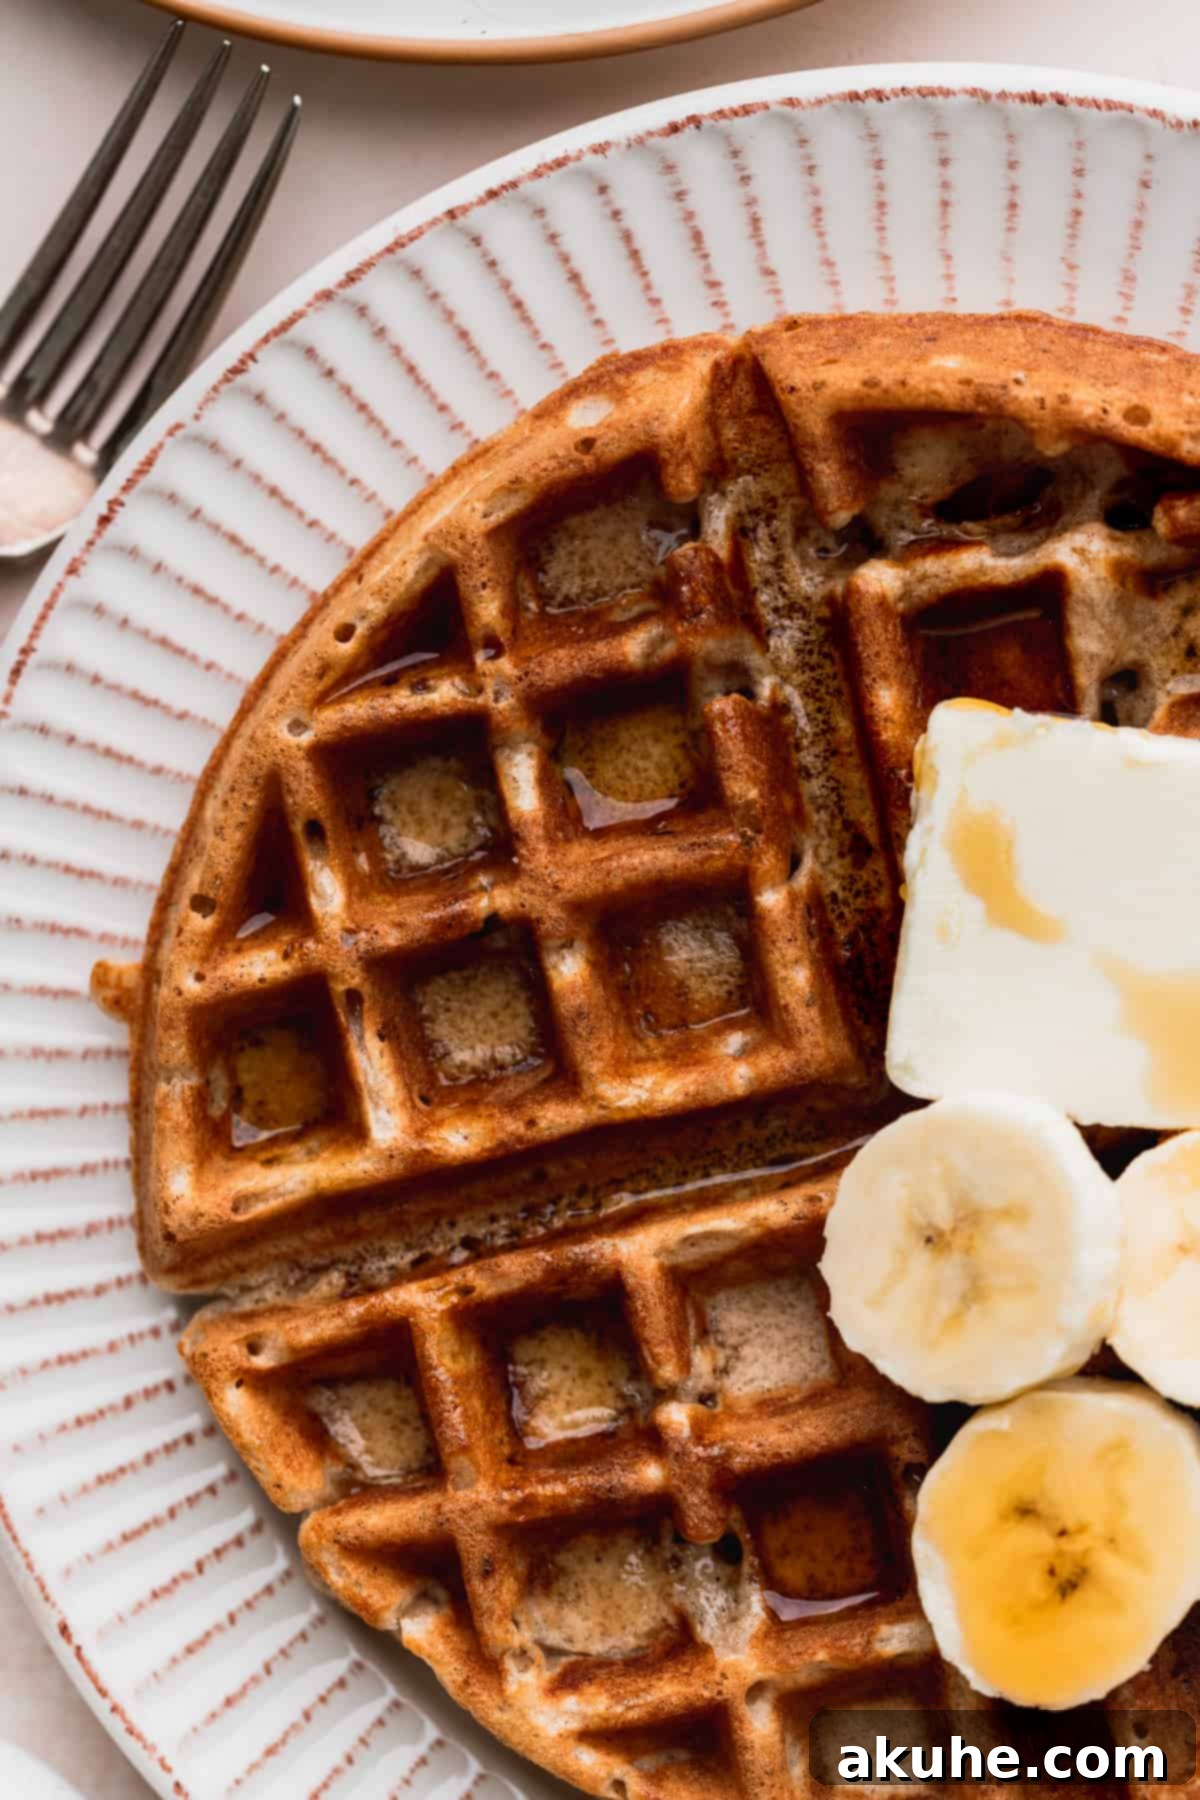
- Unbelievably Fluffy & Crispy Waffles: We all dream of waffles that are soft and pillowy on the inside yet delightfully crisp on the outside. This recipe delivers exactly that! The secret lies in a clever combination of leavening agents and a touch of cornstarch, ensuring every bite is a perfect balance of tenderness and crunch. You’ll be amazed at how light and airy these Belgian-style waffles turn out.
- Effortless Preparation: Don’t let the gourmet taste fool you; these banana waffles are remarkably easy to make. The batter comes together quickly with minimal fuss, making it an ideal recipe for busy mornings or when you want to whip up a delicious meal without spending hours in the kitchen. It’s simple enough for even beginner bakers, and kids will love helping mash the bananas and whisk the ingredients!
- Bursting with Natural Flavor: Forget bland waffles! These are packed with the sweet, comforting essence of ripe bananas, beautifully complemented by the warm, aromatic spices of ground cinnamon and nutmeg. Each mouthful is a taste of pure bliss, making them incredibly satisfying and utterly addictive. The natural sweetness from the bananas also means you might need less added sugar, contributing to a healthier profile.
- The Perfect Special Occasion Breakfast: While easy enough for any day, these banana waffles truly shine as a special treat for weekend brunches, holidays, or any occasion where you want to serve something extra delicious and comforting. Their impressive appearance and incredible flavor make them feel gourmet, without the gourmet effort.
- An Excellent Way to Use Ripe Bananas: Say goodbye to throwing away overripe bananas! This recipe is the perfect solution, transforming those speckled fruits into a spectacular breakfast. The riper the bananas, the sweeter and more flavorful your waffles will be.
Essential Ingredients for Perfect Banana Waffles
Creating these delicious banana waffles starts with gathering the right ingredients. Each component plays a crucial role in achieving that perfect texture and incredible flavor. Below are some detailed notes on the key ingredients. For the complete list of quantities, please refer to the recipe card towards the end of this article.
- All-Purpose Flour: This forms the base of our waffle batter. Ensure you measure it correctly by spooning the flour into your measuring cup and leveling it off with a straight edge. This prevents compacting the flour, which can lead to dry, dense waffles.
- Cornstarch: This often-overlooked ingredient is a game-changer! Adding cornstarch to the dry mixture is our secret weapon for achieving truly fluffy and crisp waffles. It contributes to a lighter texture and helps create that desirable golden-brown, slightly crunchy exterior.
- Baking Powder & Baking Soda: These are the dynamic duo of leavening agents. Baking powder provides the primary lift, while baking soda reacts with the acidity in the buttermilk to give an extra boost, resulting in incredibly airy and tender waffles. Make sure both are fresh for optimal results.
- Ground Cinnamon & Nutmeg: These warm spices are essential for the signature flavor of these banana waffles. Cinnamon brings a comforting sweetness, while a touch of nutmeg adds depth and a subtle, aromatic warmth that pairs beautifully with bananas.
- White Granulated Sugar: Just enough sugar to enhance the natural sweetness of the bananas and aid in browning, without making the waffles overly sweet.
- Ripe Bananas: The star of the show! The best bananas for this recipe are those that are overly ripe, featuring plenty of brown spots on their peel. These bananas are naturally sweeter and softer, making them easier to mash and ensuring a more intense banana flavor throughout your waffles. If your bananas aren’t quite ripe enough, you can speed up the process by baking them in their peels at 300°F (150°C) for 15-30 minutes until they turn black and soft.
- Buttermilk: Buttermilk is vital for tender waffles. Its acidity reacts with the baking soda, creating a light and airy crumb. It also helps break down gluten, preventing tough waffles. Full-fat or reduced-fat buttermilk both work wonderfully. If you don’t have buttermilk on hand, don’t worry! You can easily make a substitute: simply add 1 ½ tablespoons of fresh lemon juice or white vinegar to a measuring cup, then fill the rest with whole milk (up to 1 ½ cups). Stir it gently and let it sit for about 10 minutes until it slightly curdles before using.
- Milk: Any type of milk you prefer can be used here – whole, 2%, or even non-dairy alternatives like almond or oat milk will work to adjust the batter consistency.
- Oil: A neutral-flavored oil like canola oil or vegetable oil adds moisture and helps create that coveted crispy exterior. It also prevents the waffles from sticking to the iron.
- Unsalted Butter: Melted unsalted butter contributes richness and a lovely flavor to the waffles. Using unsalted butter allows you to control the overall salt content of the recipe.
- Large Eggs: Eggs act as a binder, providing structure to the waffles and contributing to their rich flavor and tender texture. Make sure to use large-sized eggs.
- Pure Vanilla Extract: A touch of vanilla enhances all the other flavors, adding a layer of aromatic sweetness that completes the profile of these delightful banana waffles.
Step-by-Step Instructions: Crafting Your Perfect Banana Waffles
Making these fluffy banana waffles is a straightforward process, ensuring a delicious outcome every time. You’ll need two mixing bowls, a whisk, and, ideally, a waffle maker where you can control the heat. For reference, I find that a good quality Belgian waffle maker with adjustable temperature settings yields the best results. (The waffle maker I use is a fantastic choice for consistent performance.)
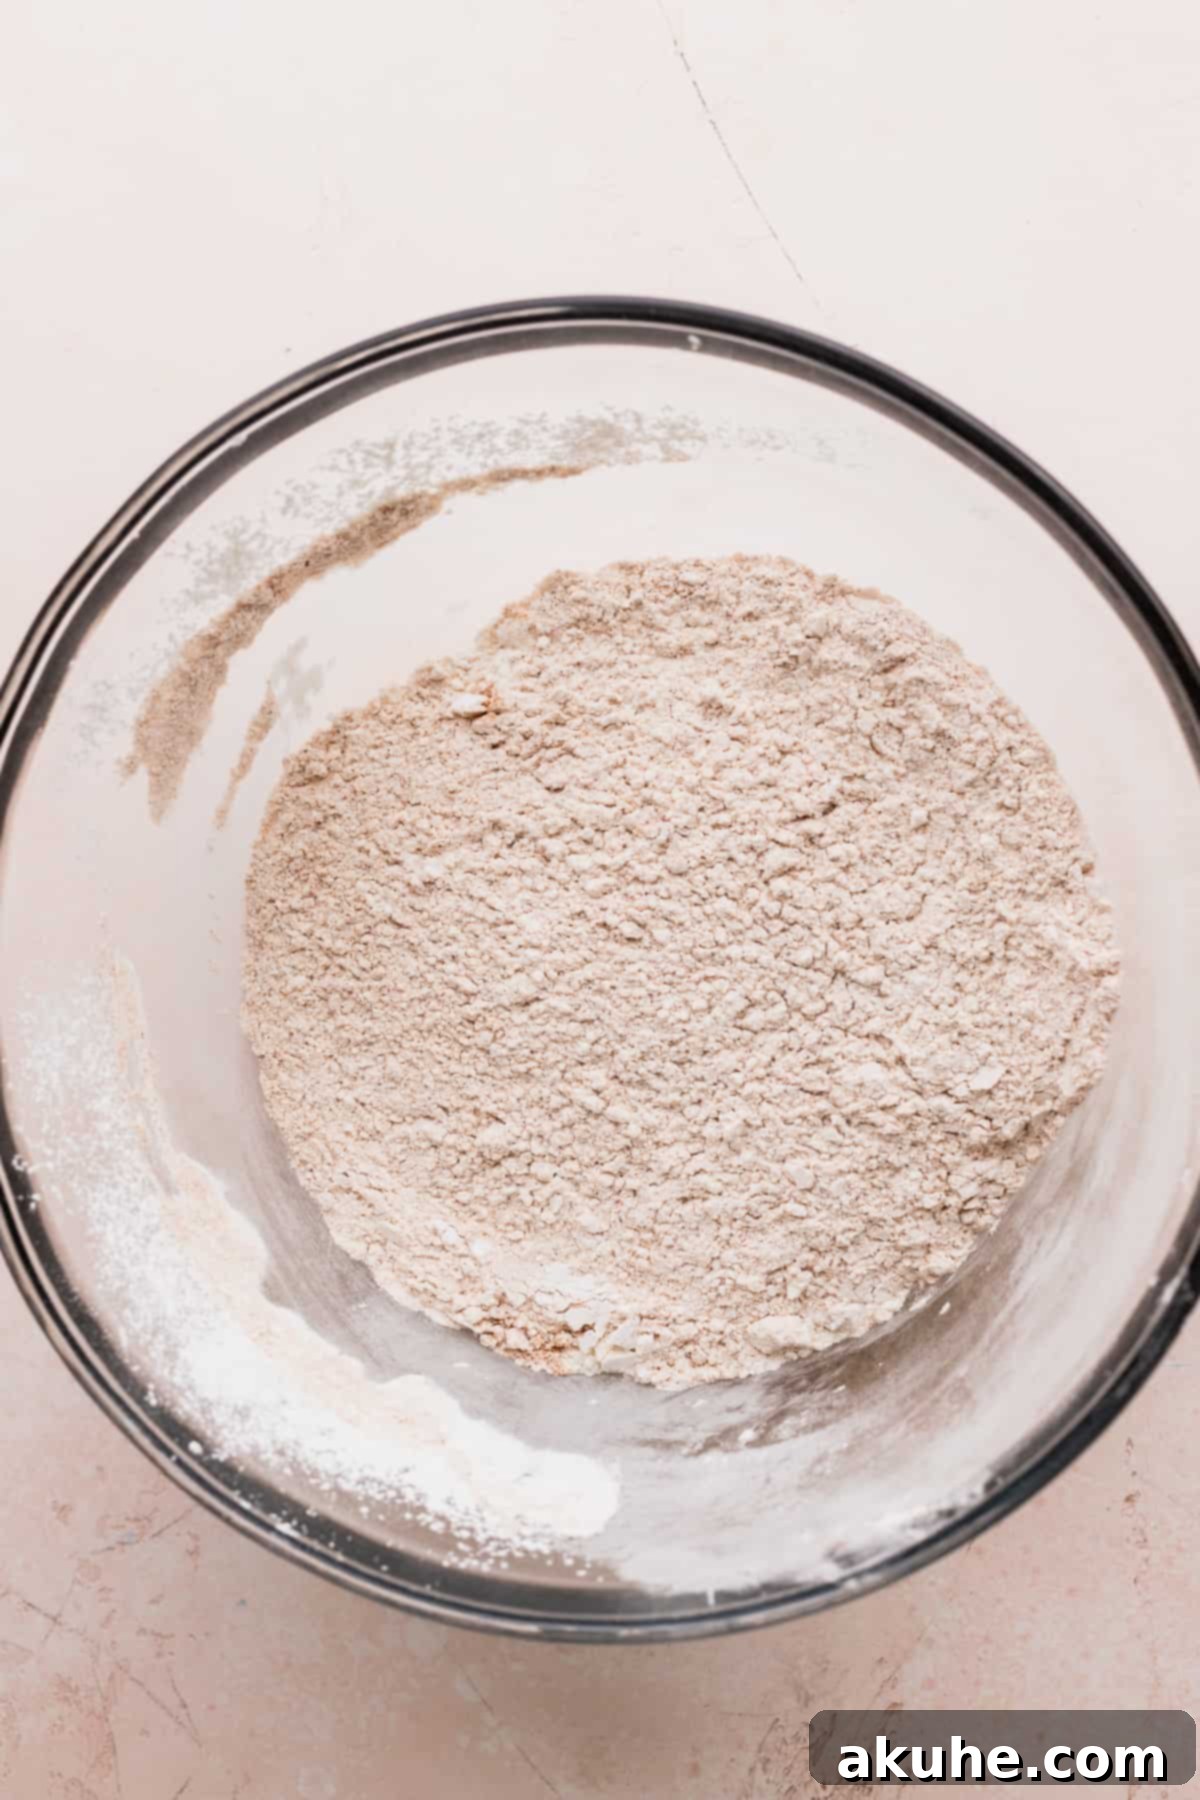
STEP 1: Prepare the Dry Ingredients. In a large mixing bowl, combine your all-purpose flour, cornstarch, baking powder, baking soda, salt, ground cinnamon, ground nutmeg, and white granulated sugar. Whisk these dry ingredients together thoroughly to ensure they are well combined and evenly distributed. This step is crucial for consistent leavening and flavor in every waffle. Set this bowl aside.
STEP 2: Combine the Wet Ingredients. Next, take a medium-sized bowl. Add the mashed ripe bananas, buttermilk, milk, oil, melted unsalted butter, pure vanilla extract, and eggs. Using a whisk, mix these wet ingredients together until they are well combined and smooth. Don’t worry if there are still small lumps of banana; that’s perfectly fine and adds to the rustic charm and flavor of the waffles.
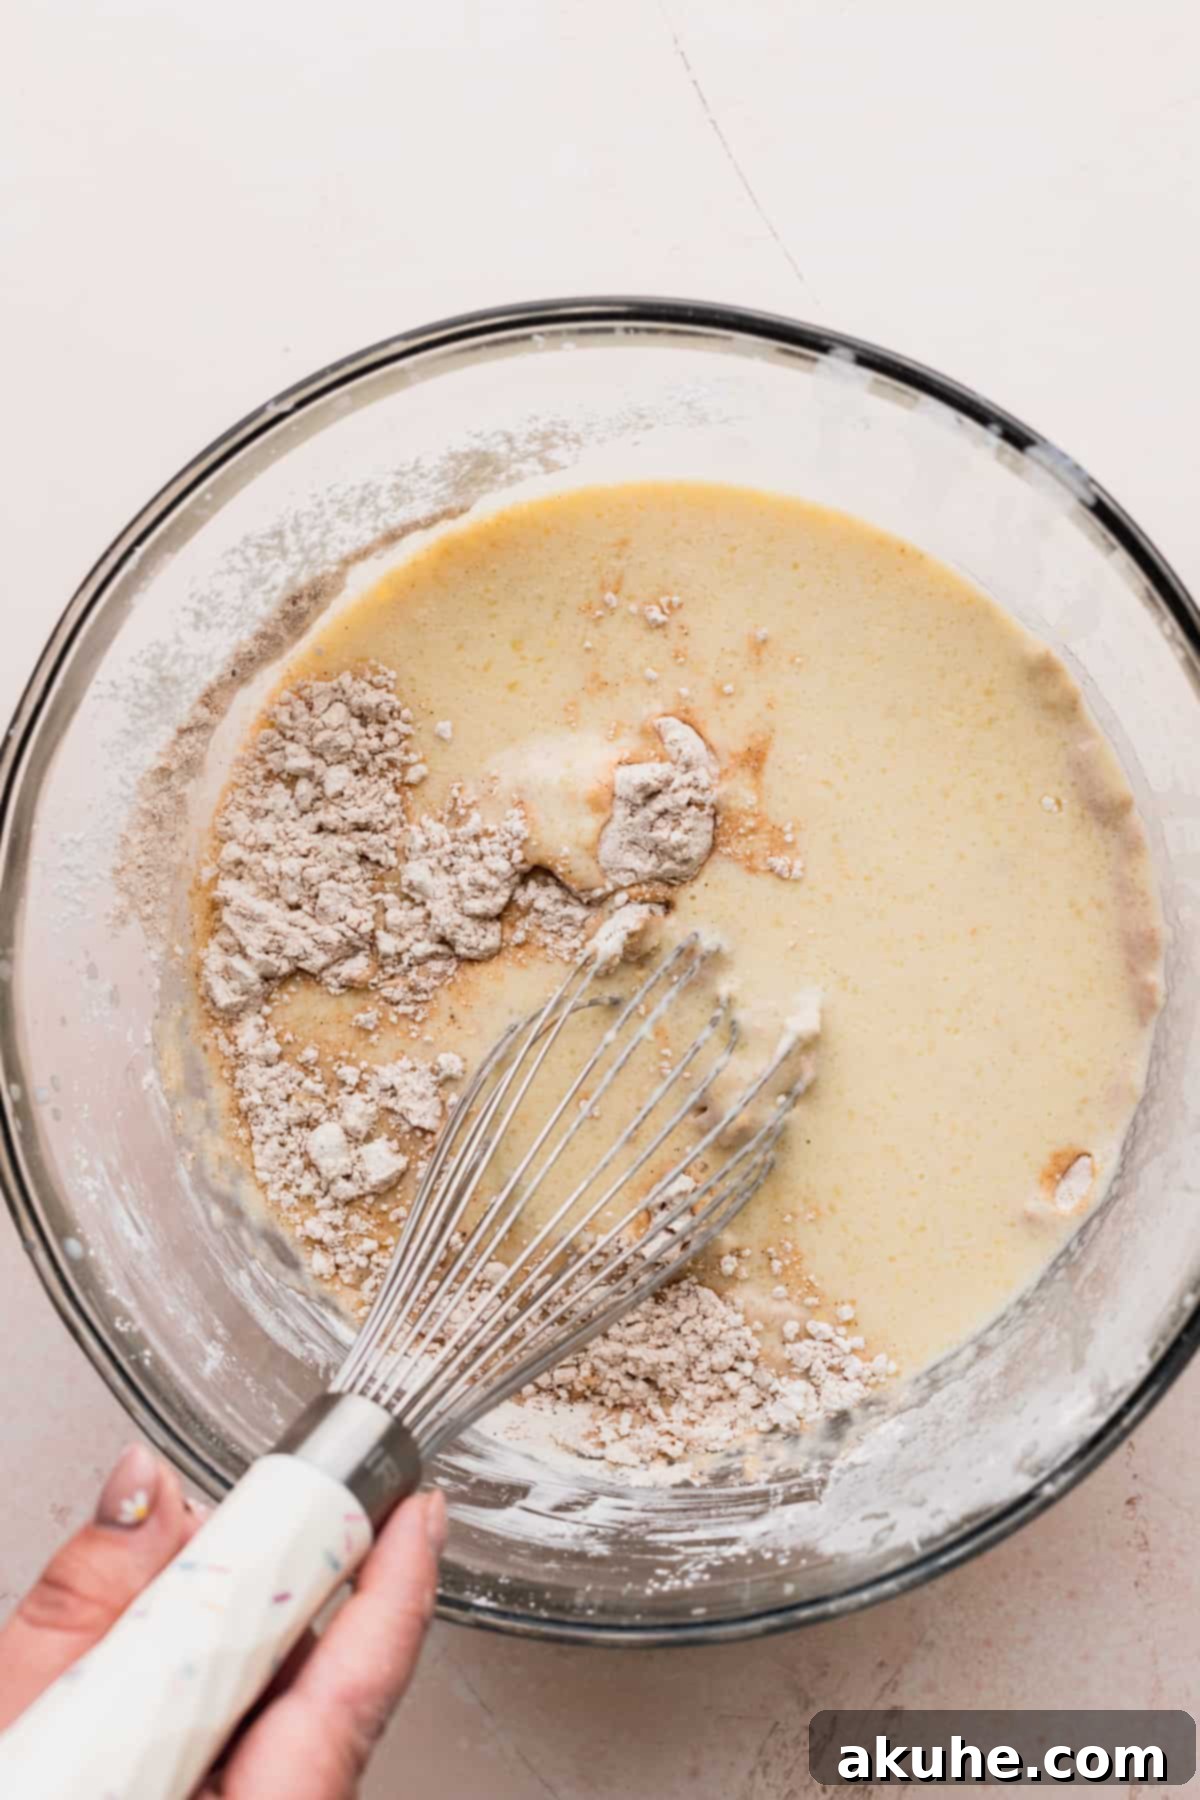
STEP 3: Gently Combine Wet and Dry Mixtures. Now, pour the wet banana-buttermilk mixture into the bowl containing the dry ingredients. Using your whisk, gently mix until just combined. It’s important not to overmix the batter; a few small lumps are absolutely normal and even desirable, as overmixing can lead to tough waffles. Once combined, let the batter rest on the counter for about 10 minutes while you proceed to the next step.
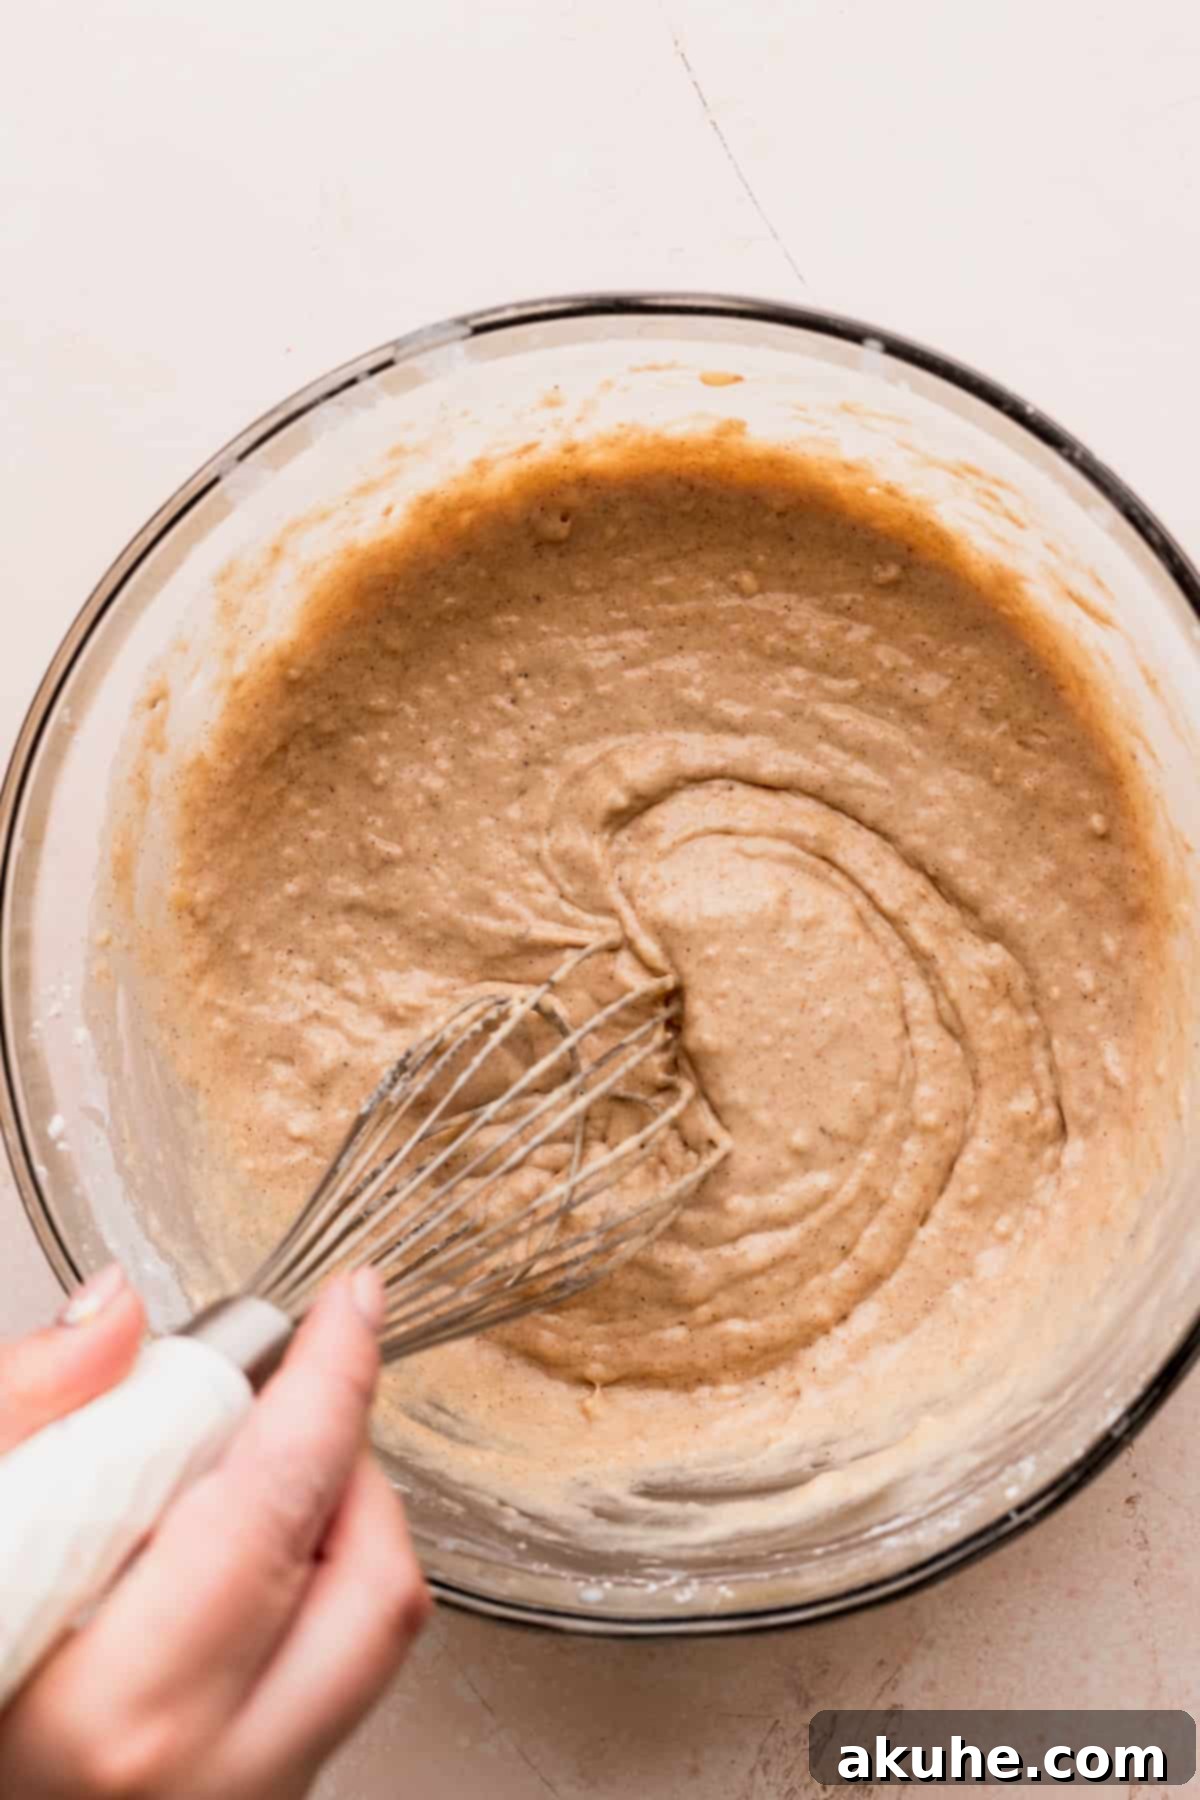
STEP 4: Preheat Your Waffle Maker. While the batter is resting, preheat your waffle maker. For best results, heat it to a medium-high setting. Allowing the waffle maker to reach its optimal temperature is key to achieving that perfect golden-brown crispness and even cooking. A well-heated iron also prevents sticking. If your waffle maker has an indicator light, wait for it to signal that it’s ready.
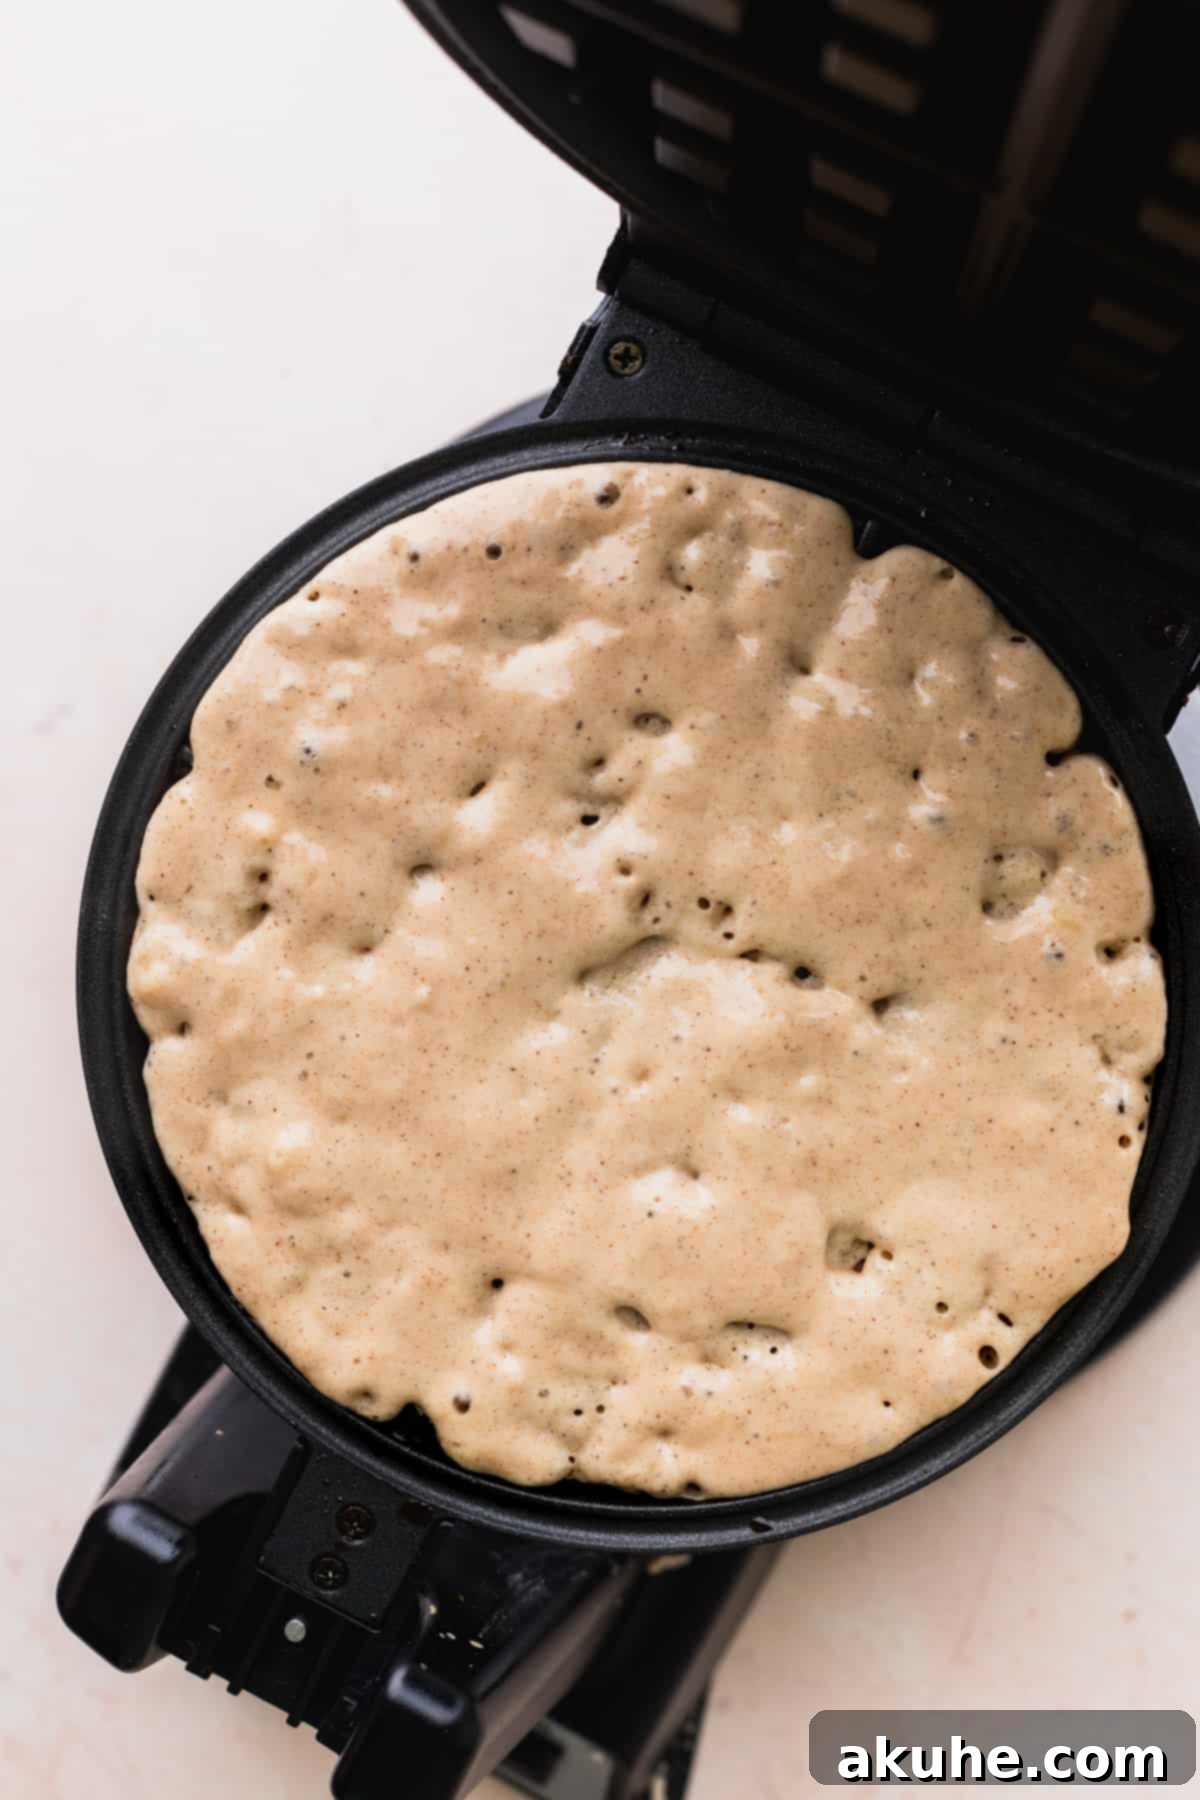
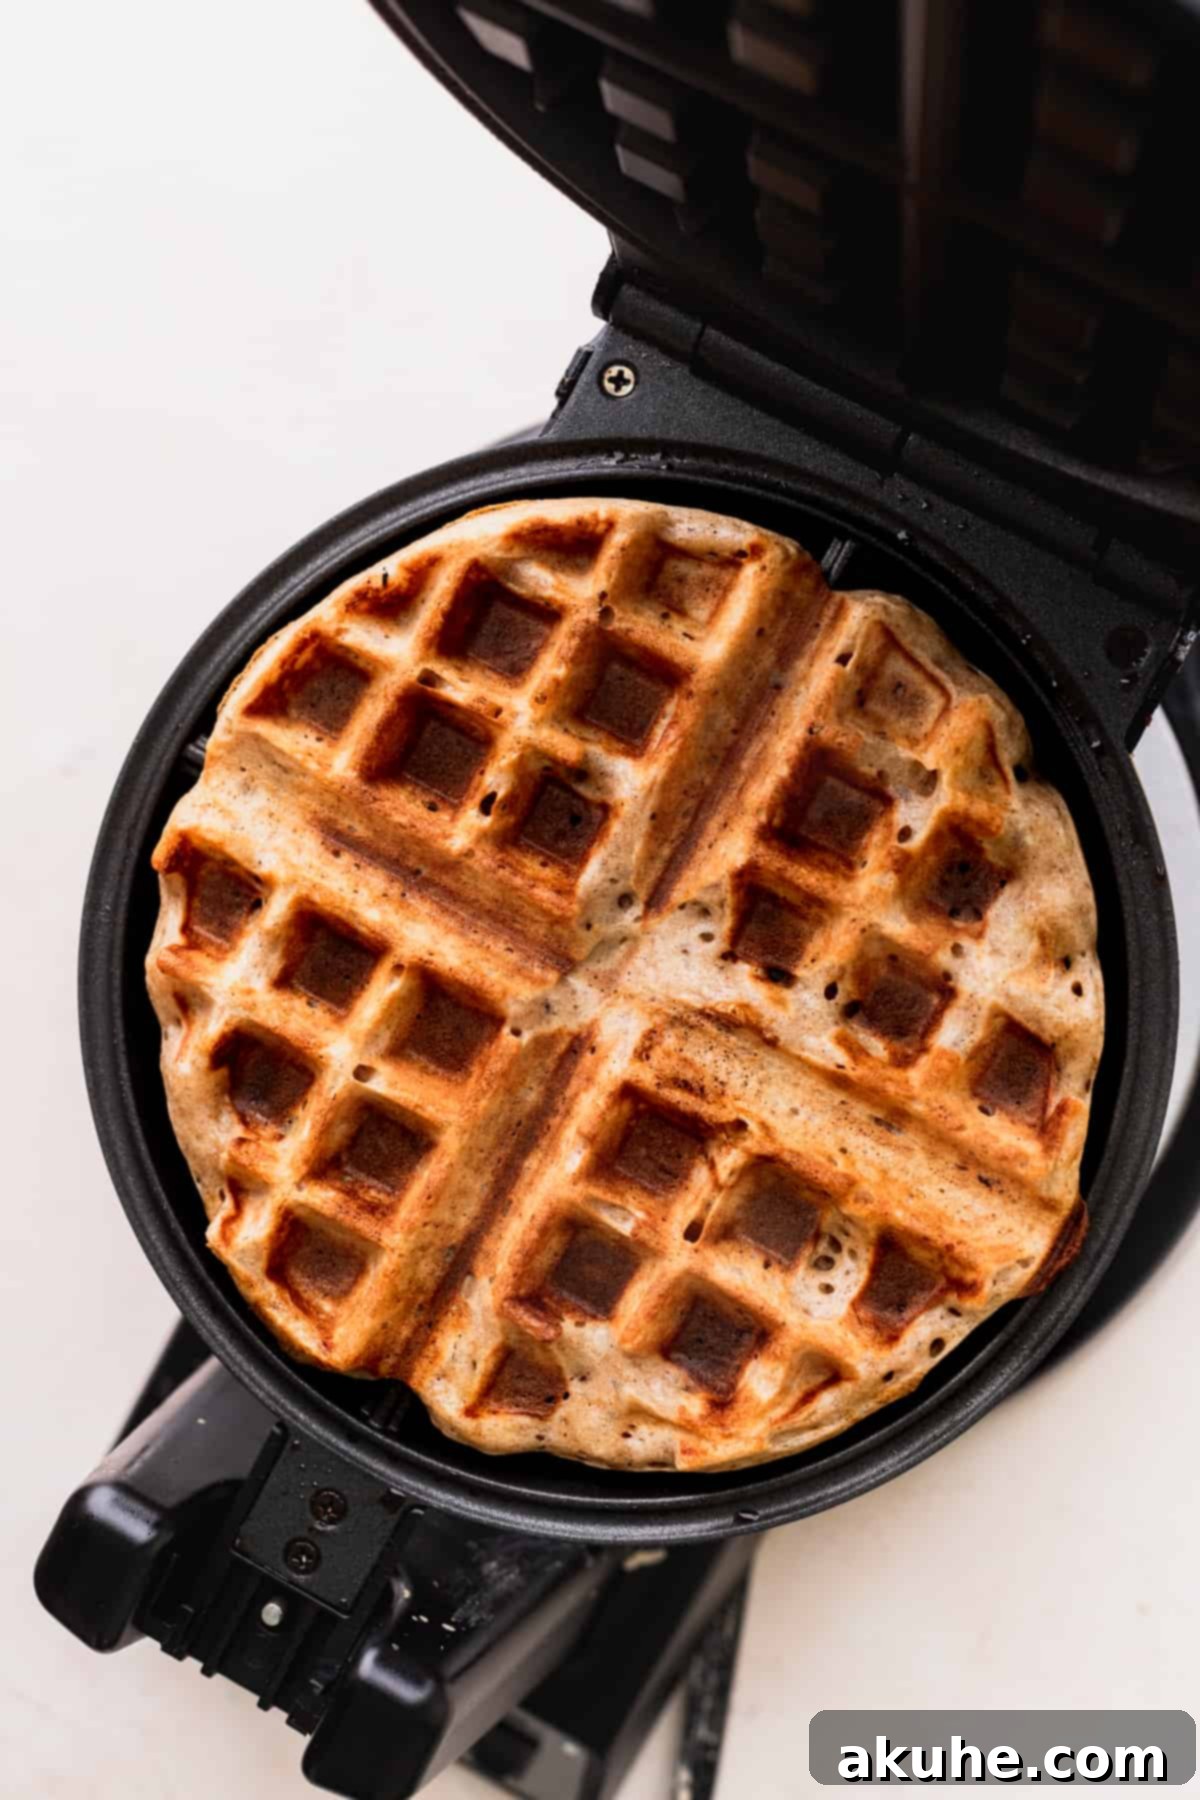
STEP 5: Cook the Waffles to Golden Perfection. Lightly grease your hot waffle maker with cooking spray or a brush of oil to prevent sticking. The amount of batter you’ll need will depend on your specific waffle maker. For a standard Belgian waffle maker, approximately ½ cup of batter is usually ideal. Be careful not to overfill the waffle maker, as the batter will expand during cooking, and you don’t want it overflowing. Pour the batter evenly onto the heated waffle iron, close the lid, and cook until the waffles are beautifully golden brown and steam is no longer vigorously escaping from the sides. This typically takes 3-5 minutes, depending on your waffle maker’s heat setting.
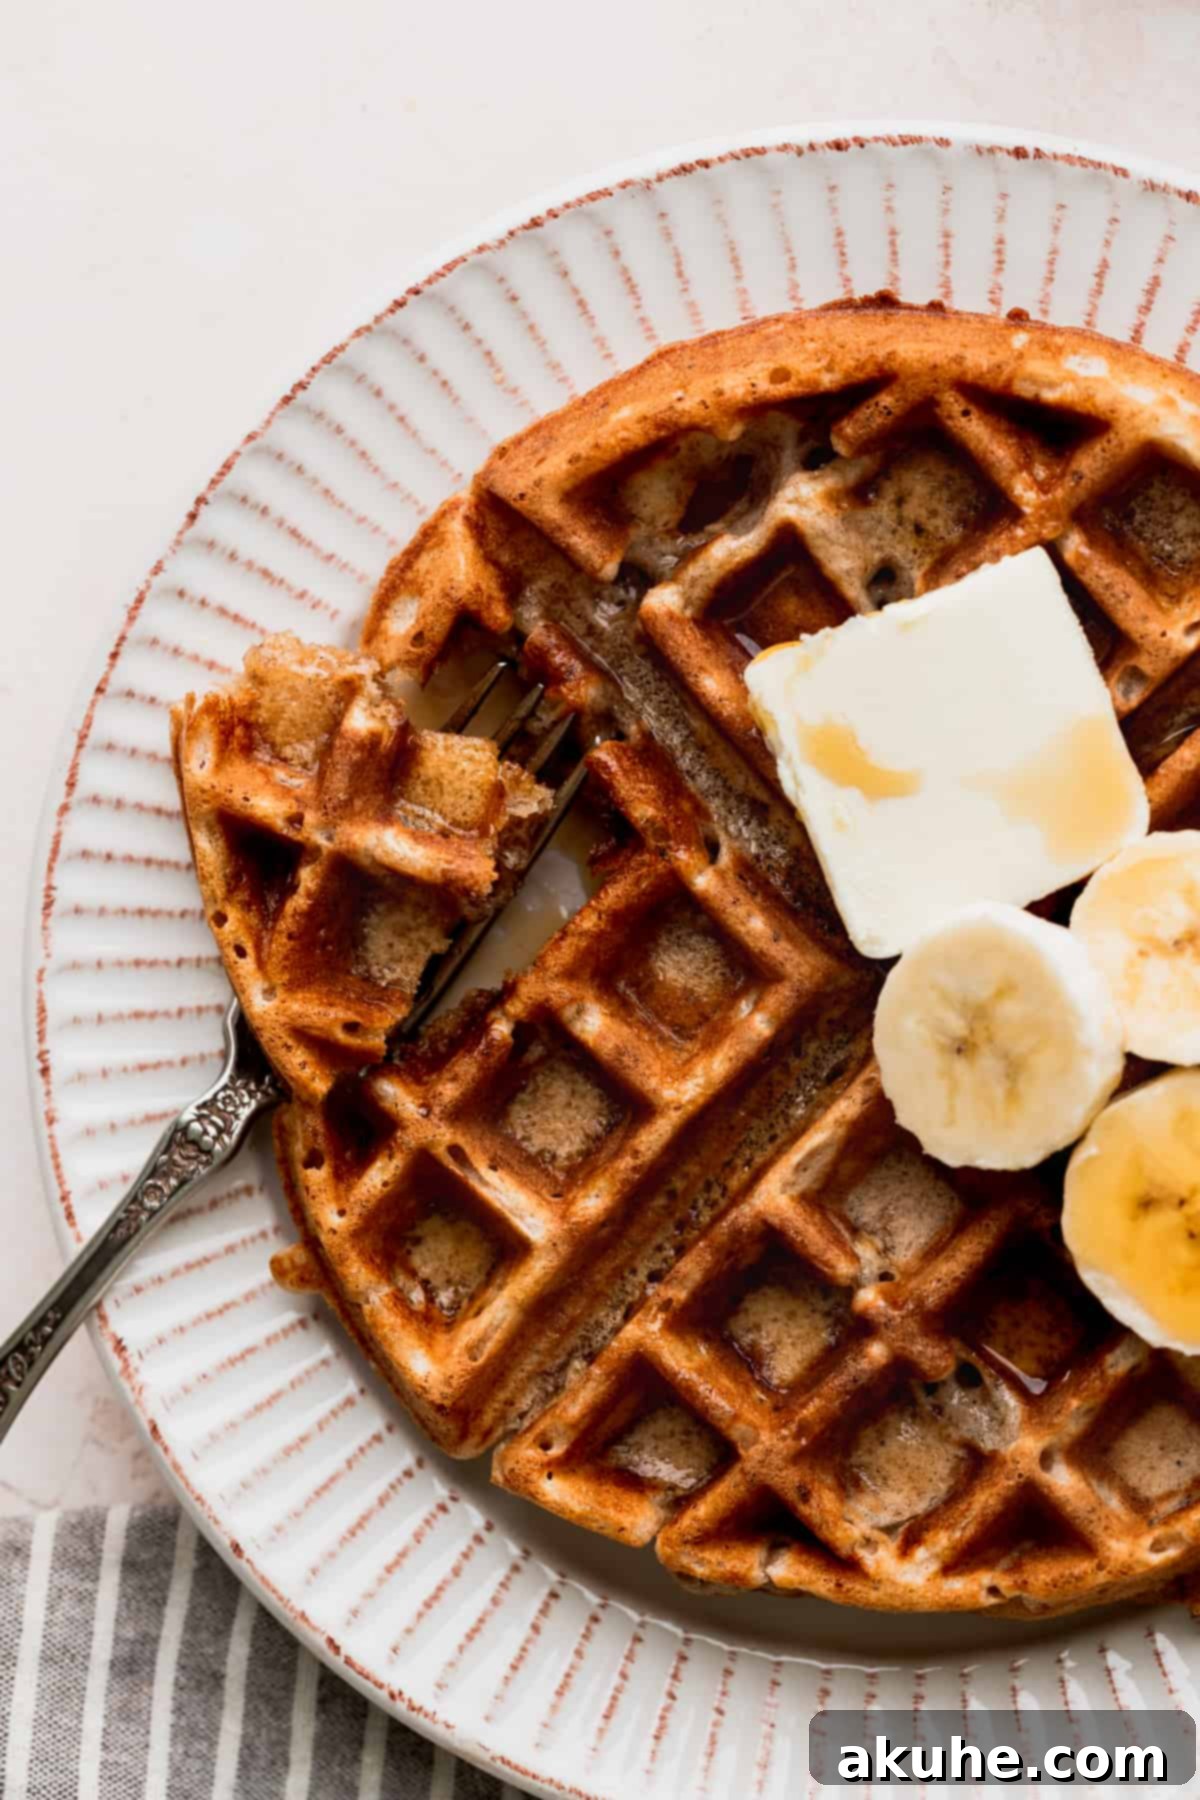
STEP 6: Serve and Enjoy! As each fluffy banana waffle is cooked, transfer it to a wire rack while you finish making the rest. This prevents them from becoming soggy. Serve your warm waffles immediately with your favorite toppings. Classic choices include a pat of melting butter, rich real maple syrup, a dollop of whipped cream, or a sprinkle of fresh fruit like extra banana slices or berries. For an extra treat, a handful of chocolate chips or a dusting of powdered sugar are always welcome additions! These are truly my absolute favorite toppings to enjoy with these delicious waffles.
Expert Baking Tips for the Best Banana Waffles
Achieving bakery-quality banana waffles at home is easier than you think with these expert tips:
- Accurate Flour Measurement is Key: For the fluffiest results, always measure your flour using the “spoon and level” method. Instead of scooping directly from the bag (which compacts the flour), gently spoon the flour into your measuring cup until it overflows, then level it off with a straight edge. This prevents adding too much flour, which can lead to dense, dry waffles.
- Perfectly Mashed Bananas: The riper the bananas, the easier they are to mash. For a smooth consistency, place your ripe bananas on a plate or in a bowl and use a fork or a potato masher to mash them thoroughly until mostly lump-free. A few small chunks are fine and add texture.
- Don’t Overmix the Batter: After combining the wet and dry ingredients, mix just until no streaks of dry flour remain. Overmixing develops the gluten in the flour, resulting in tough, chewy waffles rather than light and tender ones. A few small lumps are perfectly acceptable.
- Give Your Batter a Rest: Allowing the batter to rest for 10-15 minutes after mixing helps the flour absorb the liquids more fully, relaxes the gluten, and allows the leavening agents to begin activating. This leads to a more uniform, tender, and fluffy waffle.
- Temperature Control Matters: For crisp edges and a soft interior, a waffle maker with temperature control is highly recommended. Aim for a medium-high heat setting. If your waffle maker doesn’t have temperature control, monitor cooking times closely.
- Avoid Mini Waffle Makers: While cute, mini waffle makers often don’t provide the same crispness or fluffiness as full-sized models, especially Belgian-style irons. For the best texture and flavor profile this recipe is designed for, use a standard or Belgian waffle maker.
- Prevent Soggy Waffles After Cooking: As waffles come off the iron, steam can accumulate and make them soggy. To keep them crisp, place cooked waffles directly onto a wire rack to allow air to circulate around them. If serving a crowd, you can keep them warm in a single layer on a baking sheet in a preheated oven at 200°F (93°C) for a short period.
- Don’t Peek Too Early: Resist the urge to open your waffle maker too early while cooking. This can interrupt the cooking process and prevent the waffles from browning evenly or developing their crisp exterior. Wait for the steam to subside or for your waffle maker’s indicator light to signal doneness.
Frequently Asked Questions About Banana Waffles
Soggy waffles are often a result of steam becoming trapped. If your waffles come out soggy, there are a few things to check. First, try placing them back into the hot waffle maker for another minute or two; this often helps crisp them right back up. Ensure your waffle maker is fully preheated to medium-high heat before adding the batter, as an iron that isn’t hot enough won’t properly crisp the waffles. Also, avoid overcrowding the waffle maker, which can lower the temperature and lead to uneven cooking. Lastly, once cooked, always transfer waffles to a wire rack, not a plate, to allow steam to escape and prevent them from getting soggy.
Waffles are definitely at their best when served fresh and hot. However, if you’re cooking for a crowd and want to keep a batch warm, you can preheat your oven to a low temperature, around 200-250°F (93-120°C). Place the cooked waffles in a single layer on a wire rack set over a baking sheet. This method will keep them warm without making them too soggy, though be aware that keeping them in the oven for extended periods might dry them out slightly. The wire rack is crucial for air circulation.
While it might seem tempting to use the same batter, it’s generally not recommended. Waffle batter typically has a higher fat content (from butter and oil) and often less liquid than pancake batter. This difference in ratios is precisely what gives waffles their crisp exterior and holds their shape in a waffle iron. If you were to use this batter for pancakes, they would likely be too dense, not spread properly, and might not cook evenly or fluff up as desired. For delicious pancakes, it’s best to use a recipe specifically formulated for them.
The ideal waffle batter should be thick enough to cling to a spoon but still pourable. If your batter seems too thick, try adding a tablespoon of milk at a time, mixing gently until it reaches the right consistency. If it’s too thin, it could be due to inaccurate flour measurement. You can try adding a tablespoon or two of flour, again mixing gently, but be cautious not to overmix.
Absolutely! This is a great time-saving trick. You can prepare the waffle batter and store it in an airtight container in the refrigerator for up to 2 days. The batter might separate a bit, and the leavening agents might lose some of their potency, so give it a gentle whisk right before using. You might notice a slight decrease in fluffiness compared to freshly made batter, but it will still yield delicious waffles.
Storing and Freezing Your Homemade Banana Waffles
To enjoy the deliciousness of these banana waffles beyond breakfast, proper storage is key.
Once cooled to room temperature, store leftover homemade banana waffles in an airtight container in the refrigerator for up to 5 days. For reheating, your best bet is to pop them back into the waffle maker for a minute or two. This will crisp them up beautifully, making them taste almost as fresh as when they were first made. Avoid using the microwave for reheating, as it tends to make waffles soggy and diminishes their lovely texture.
Freezing for Future Enjoyment
These waffles freeze exceptionally well, making them perfect for meal prep or quick weekday breakfasts. To freeze, allow the cooked waffles to cool completely. Then, wrap each waffle individually in plastic wrap, or place them in a single layer on a baking sheet and freeze until solid before transferring to a freezer-safe bag. This prevents them from sticking together. Store them in the freezer for up to 30 days. When you’re ready to enjoy them, simply place the frozen waffles directly into a hot waffle maker or a toaster oven until they are heated through and crispy. This method efficiently thaws and crisps them simultaneously, bringing back their delightful texture.
More Delicious Breakfast Recipes to Brighten Your Day
If you’ve loved this recipe, please consider leaving a STAR REVIEW below! Your feedback is invaluable. Don’t forget to tag me on Instagram @stephaniesweettreats to share your creations. For more inspiring baking ideas, make sure to follow me on Pinterest.

Banana Waffles
These fluffy banana waffles are thick and generously flavored. They are packed with ripe bananas and cinnamon, tasting best when made with a Belgian waffle maker for that perfect crisp exterior.
Prep Time: 15 mins
Cook Time: 10 mins
Resting Time: 10 mins
Total Time: 35 mins
Servings: 7 waffles
Pin Recipe
Ingredients
- 1 3/4 cups All-purpose flour
- 1/2 cup Cornstarch
- 1 tsp Baking powder
- 1/2 tsp Baking soda
- 1/2 tsp Salt
- 2 tsp Ground cinnamon
- 1/2 tsp Ground nutmeg
- 1/4 cup White granulated sugar
- 2 Ripe bananas, mashed
- 1 1/2 cup Buttermilk
- 1/4 cup Milk
- 2 TBSP Oil, canola or vegetable oil
- 4 TBSP Unsalted butter, melted
- 1 tsp Pure vanilla extract
- 2 Large eggs
Instructions
- In a medium mixing bowl, sift together the flour, cornstarch, baking powder, baking soda, salt, cinnamon, nutmeg, and sugar.
- In a small bowl, mash the ripe bananas using a fork or potato masher. Once mashed, combine the bananas, buttermilk, milk, oil, melted butter, vanilla, and eggs in a separate bowl. Whisk until well combined.
- Combine the wet ingredients into the dry ingredients and whisk until just combined. There will be some lumps from the bananas, which is normal. Do not overmix. Let the batter sit for 10 minutes while you preheat your waffle maker. A Belgian waffle maker is best, or one where you can control the temperature. You want it at medium-high heat.
- Spray the waffle maker with nonstick cooking spray. Fill the waffle maker with batter (for a traditional Belgian waffle maker, about 1/2 cup of batter is needed). Cook until golden brown. Serve immediately with butter and syrup.
Notes
Flour should be spooned and leveled for accurate measurement.
The dairy ingredients can be used cold, directly from the refrigerator.
Nutrition Information (per serving)
- Calories: 340 kcal
- Carbohydrates: 51g
- Protein: 6g
- Fat: 13g
- Saturated Fat: 6g
- Polyunsaturated Fat: 2g
- Monounsaturated Fat: 5g
- Trans Fat: 1g
- Cholesterol: 24mg
- Sodium: 365mg
- Potassium: 243mg
- Fiber: 2g
- Sugar: 14g
- Vitamin A: 322IU
- Vitamin C: 3mg
- Calcium: 118mg
- Iron: 2mg
⭐
Did you make this recipe? Please leave a star rating and review below!
