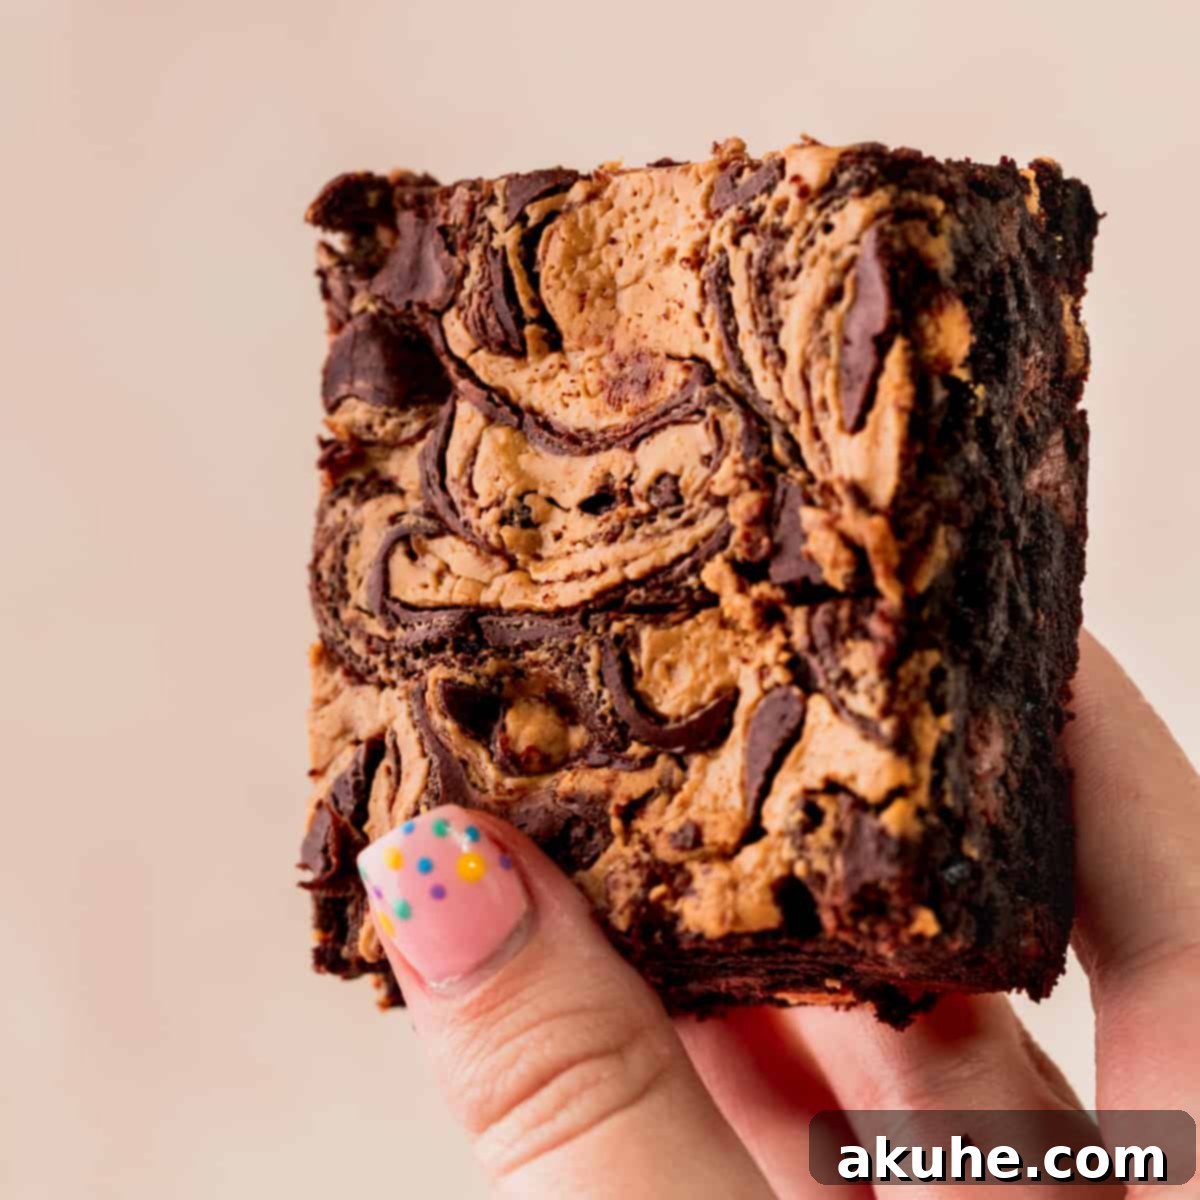
Prepare to tantalize your taste buds with the ultimate combination of rich chocolate and creamy peanut butter in these phenomenal Swirled Chocolate Peanut Butter Brownies. This recipe delivers an experience far beyond your average brownie – imagine ultra-fudgy chocolate bases, generously studded with both decadent chocolate chips and delightful peanut butter chips, all crowned with an artistic swirl of velvety peanut butter. If you’re a true enthusiast of the classic chocolate peanut butter pairing, then this homemade dessert is destined to become your new obsession.
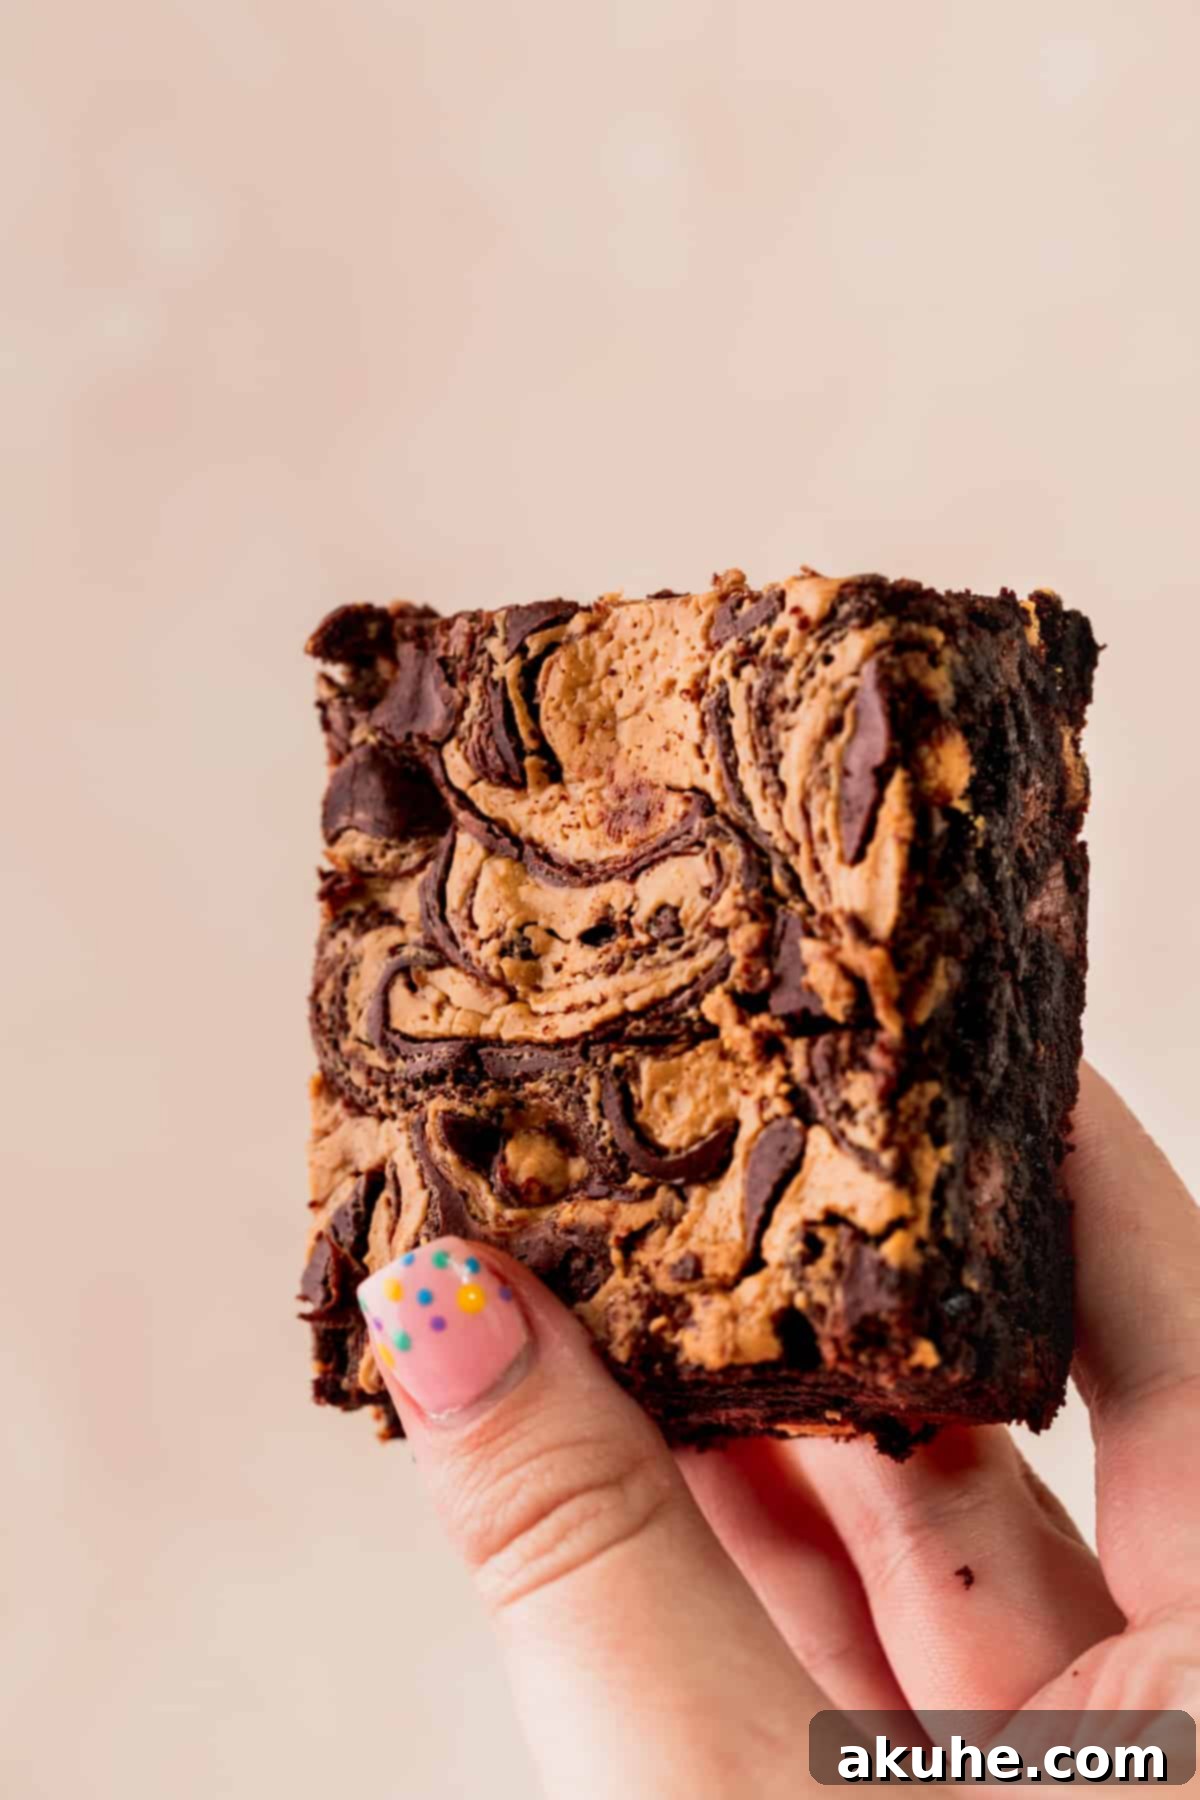
Each bite of these luscious brownies offers a symphony of textures and flavors. The deep, intense chocolate flavor provides a perfect counterpoint to the salty-sweet richness of peanut butter, creating a harmonious balance that will leave you craving more. The striking peanut butter swirl on top isn’t just for aesthetics; it guarantees that every square delivers that unmistakable, perfect blend of chocolate and peanut butter in every single mouthful. These aren’t just brownies; they’re a celebration of two beloved flavors coming together in a perfectly baked treat.
What makes these brownies truly exceptional is their dual chocolate profile, achieved by incorporating both unsweetened cocoa powder for a profound chocolate base and an abundance of chocolate chips for pockets of melted bliss. This ensures an intensely rich chocolate experience that pairs flawlessly with the added peanut butter. Whether you’re battling a serious chocolate-peanut butter craving or simply seeking a show-stopping dessert for a gathering, this recipe is your answer to creating irresistible homemade delights. For those who can’t get enough of this iconic duo, be sure to explore other delightful options like Peanut Butter Nutella Cookies, classic Peanut Butter Chocolate Chip Cookies, and decadent Peanut Butter Cup Brownies.
Why These Chocolate Peanut Butter Brownies Are a Must-Try
These aren’t just any brownies; they’re carefully crafted to deliver an unforgettable dessert experience. Here’s what makes this Swirled Chocolate Peanut Butter Brownie recipe truly stand out:
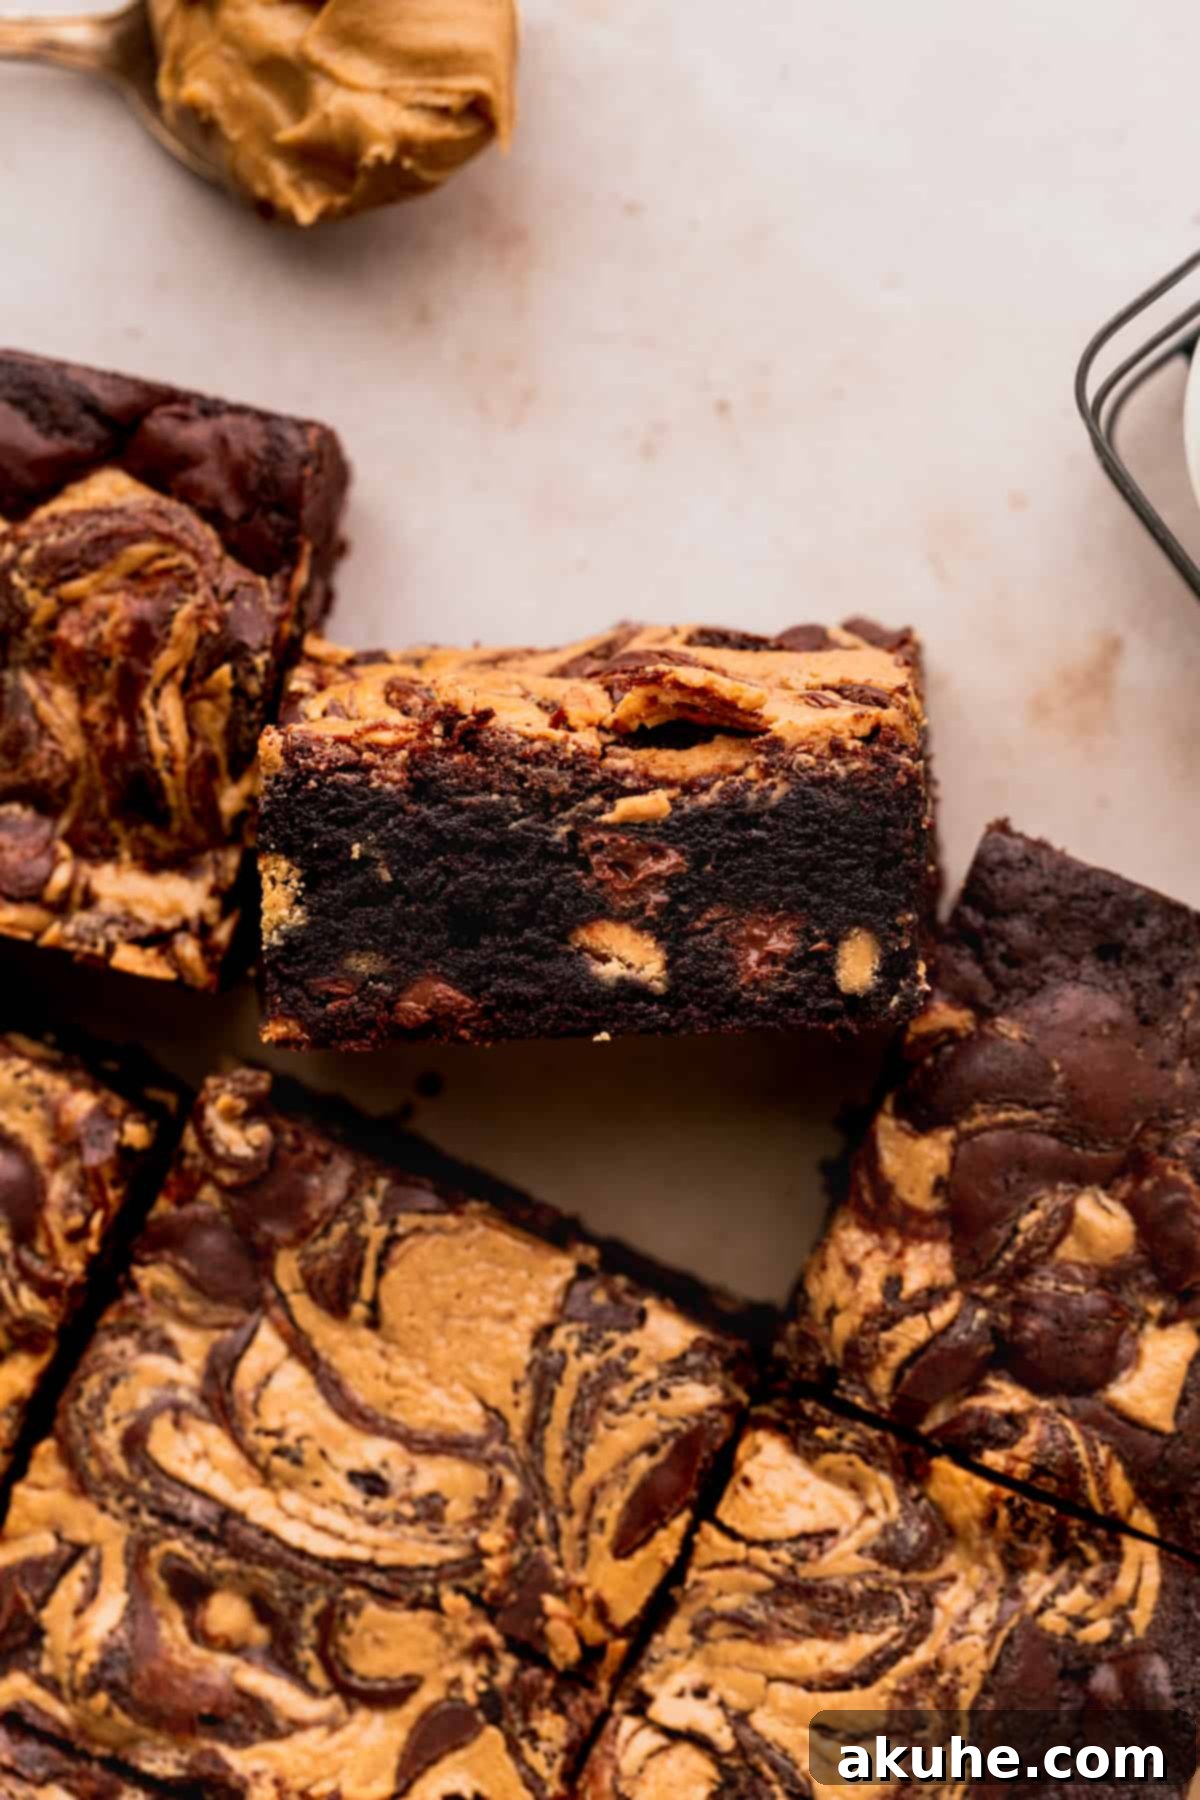
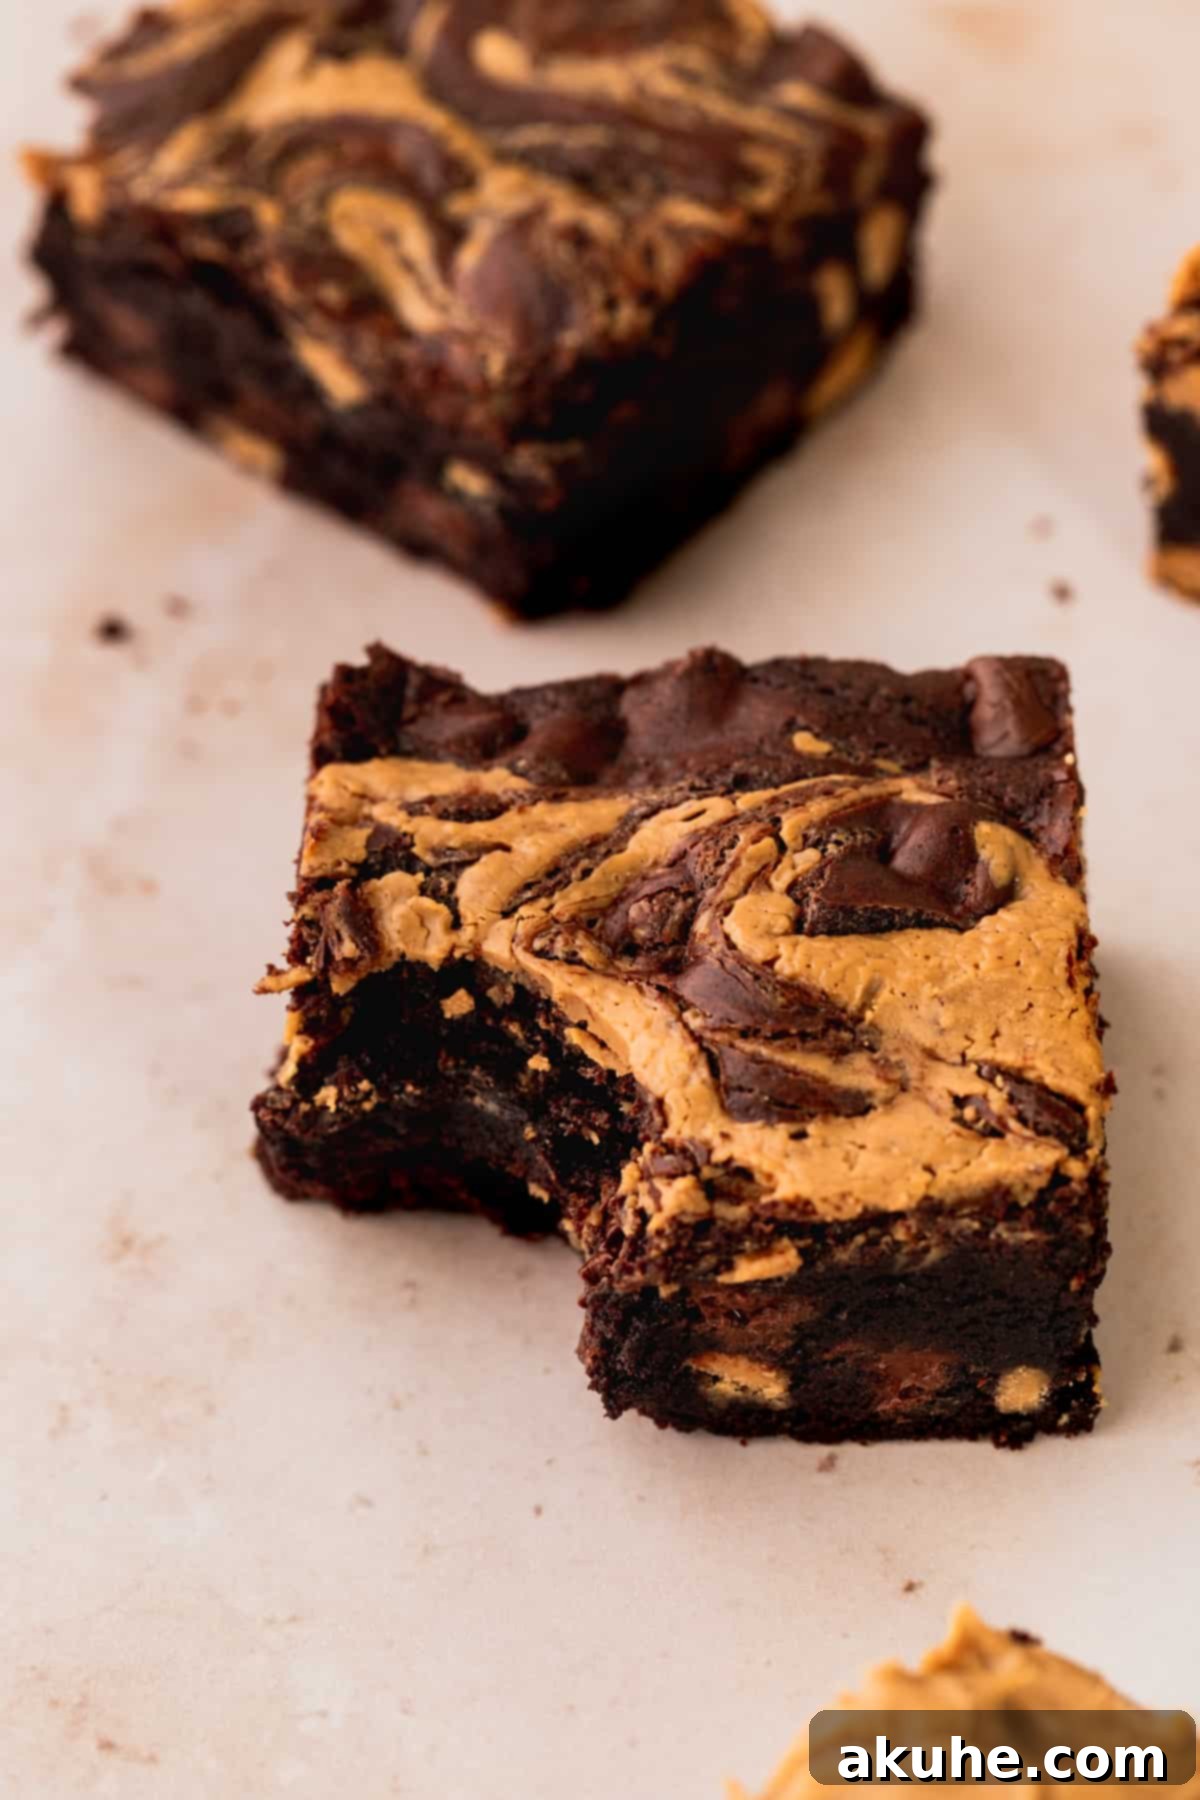
- Unbeatable Fudgy Texture: Say goodbye to dry, cakey brownies! Our recipe yields incredibly fudgy brownies with a desirable crinkly top. The precise balance of ingredients ensures an irresistibly dense, moist, and chewy interior that melts in your mouth, defining the gold standard for homemade brownies.
- Rich and Decadent Flavor: These aren’t for the faint of heart – these peanut butter brownies are exceptionally rich and intensely flavorful. The deep chocolate notes combined with the creamy, nutty sweetness of peanut butter create a truly indulgent treat. Every bite is a luxurious experience, making them perfect for special occasions or when you simply need a decadent dessert fix.
- Double the Peanut Butter Impact: We elevate the peanut butter experience by not only incorporating a luscious peanut butter swirl on top but also by mixing peanut butter chips directly into the brownie batter. This thoughtful addition ensures that the delightful peanut butter flavor is woven throughout the entire brownie, creating a harmonious and pronounced taste in every morsel.
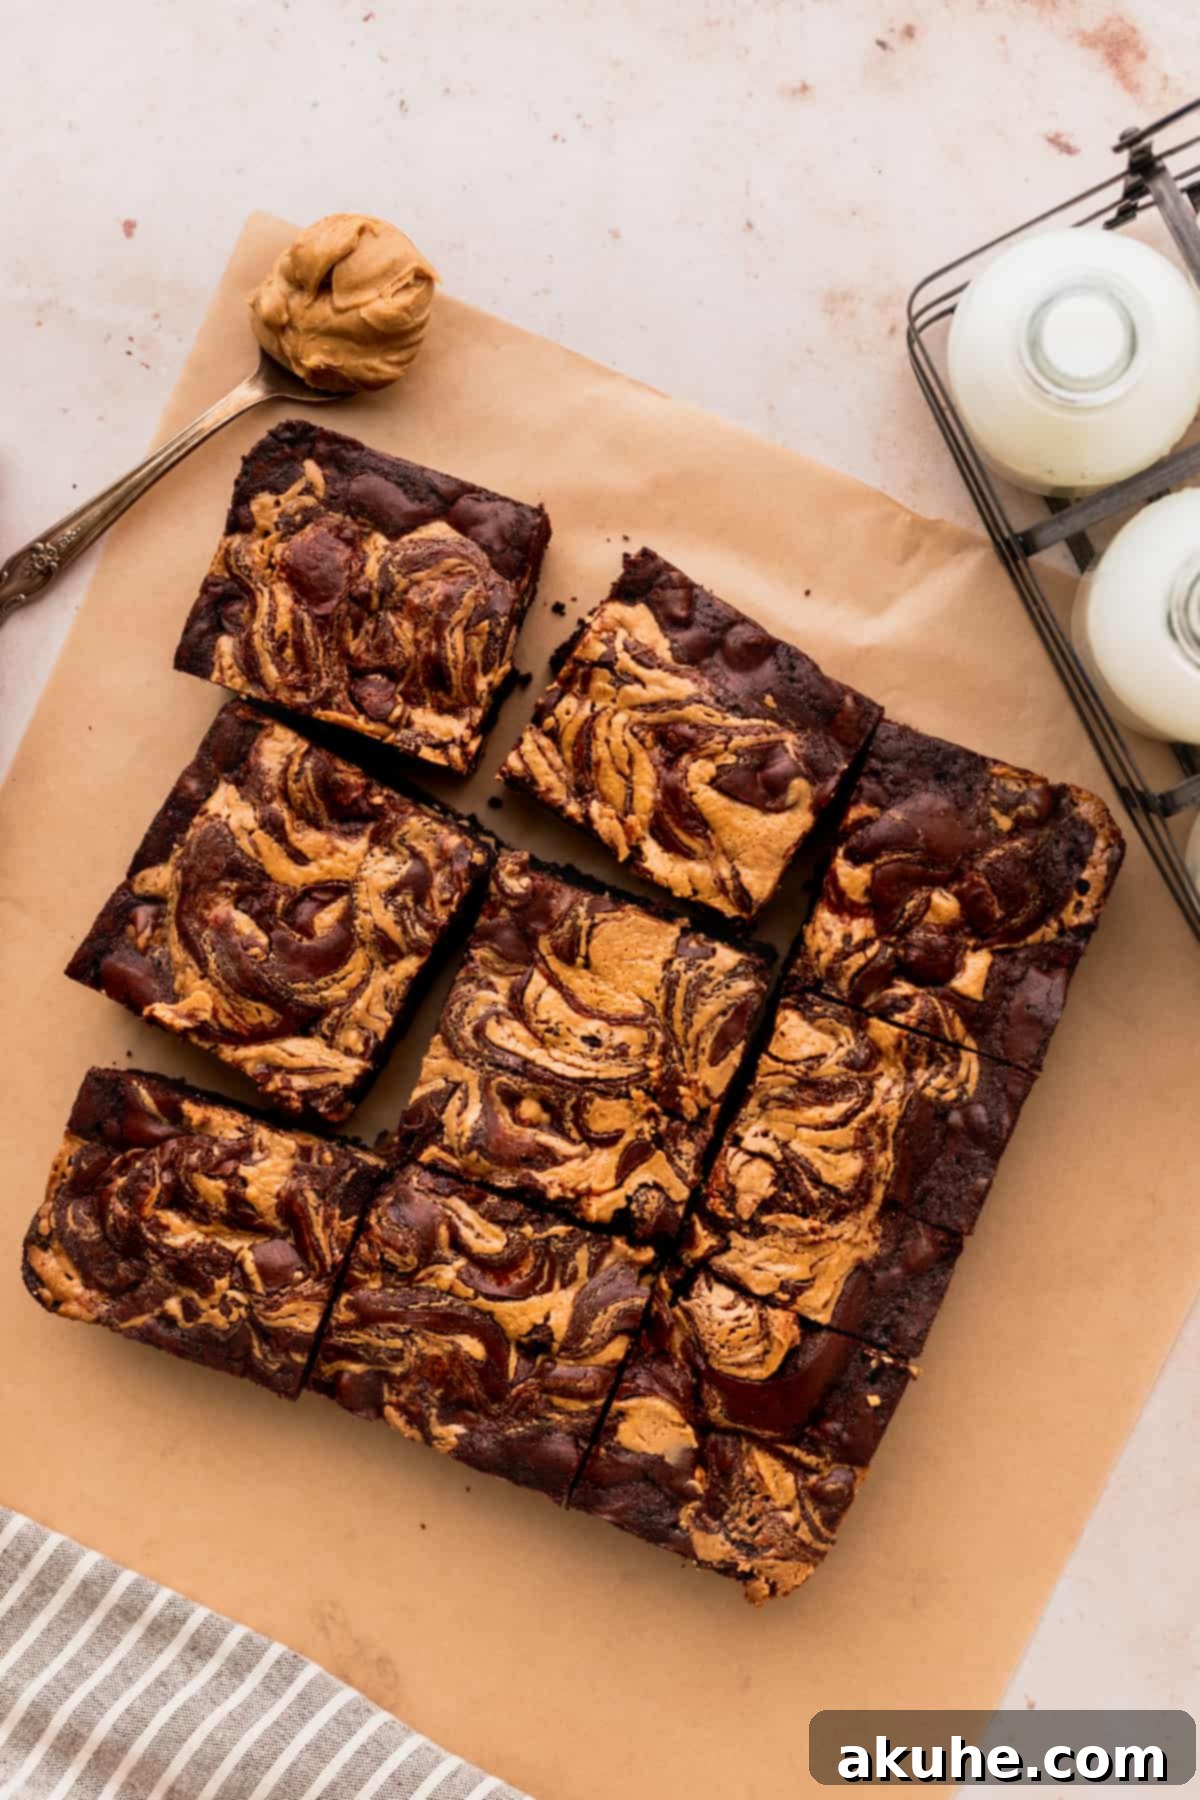
- Visually Stunning Swirl: The elegant swirl of peanut butter across the dark chocolate surface is more than just pretty; it guarantees the ideal chocolate-to-peanut-butter ratio in every single square. This visual appeal makes these brownies perfect for gifting or impressing guests, showcasing both flavor and artistry.
- Surprisingly Simple to Make: Despite their impressive appearance and complex flavor, these brownies are remarkably easy to prepare. While a mixer is recommended for achieving that signature crinkle top, the overall process is straightforward and manageable for home bakers of all skill levels, making delicious results accessible to everyone.
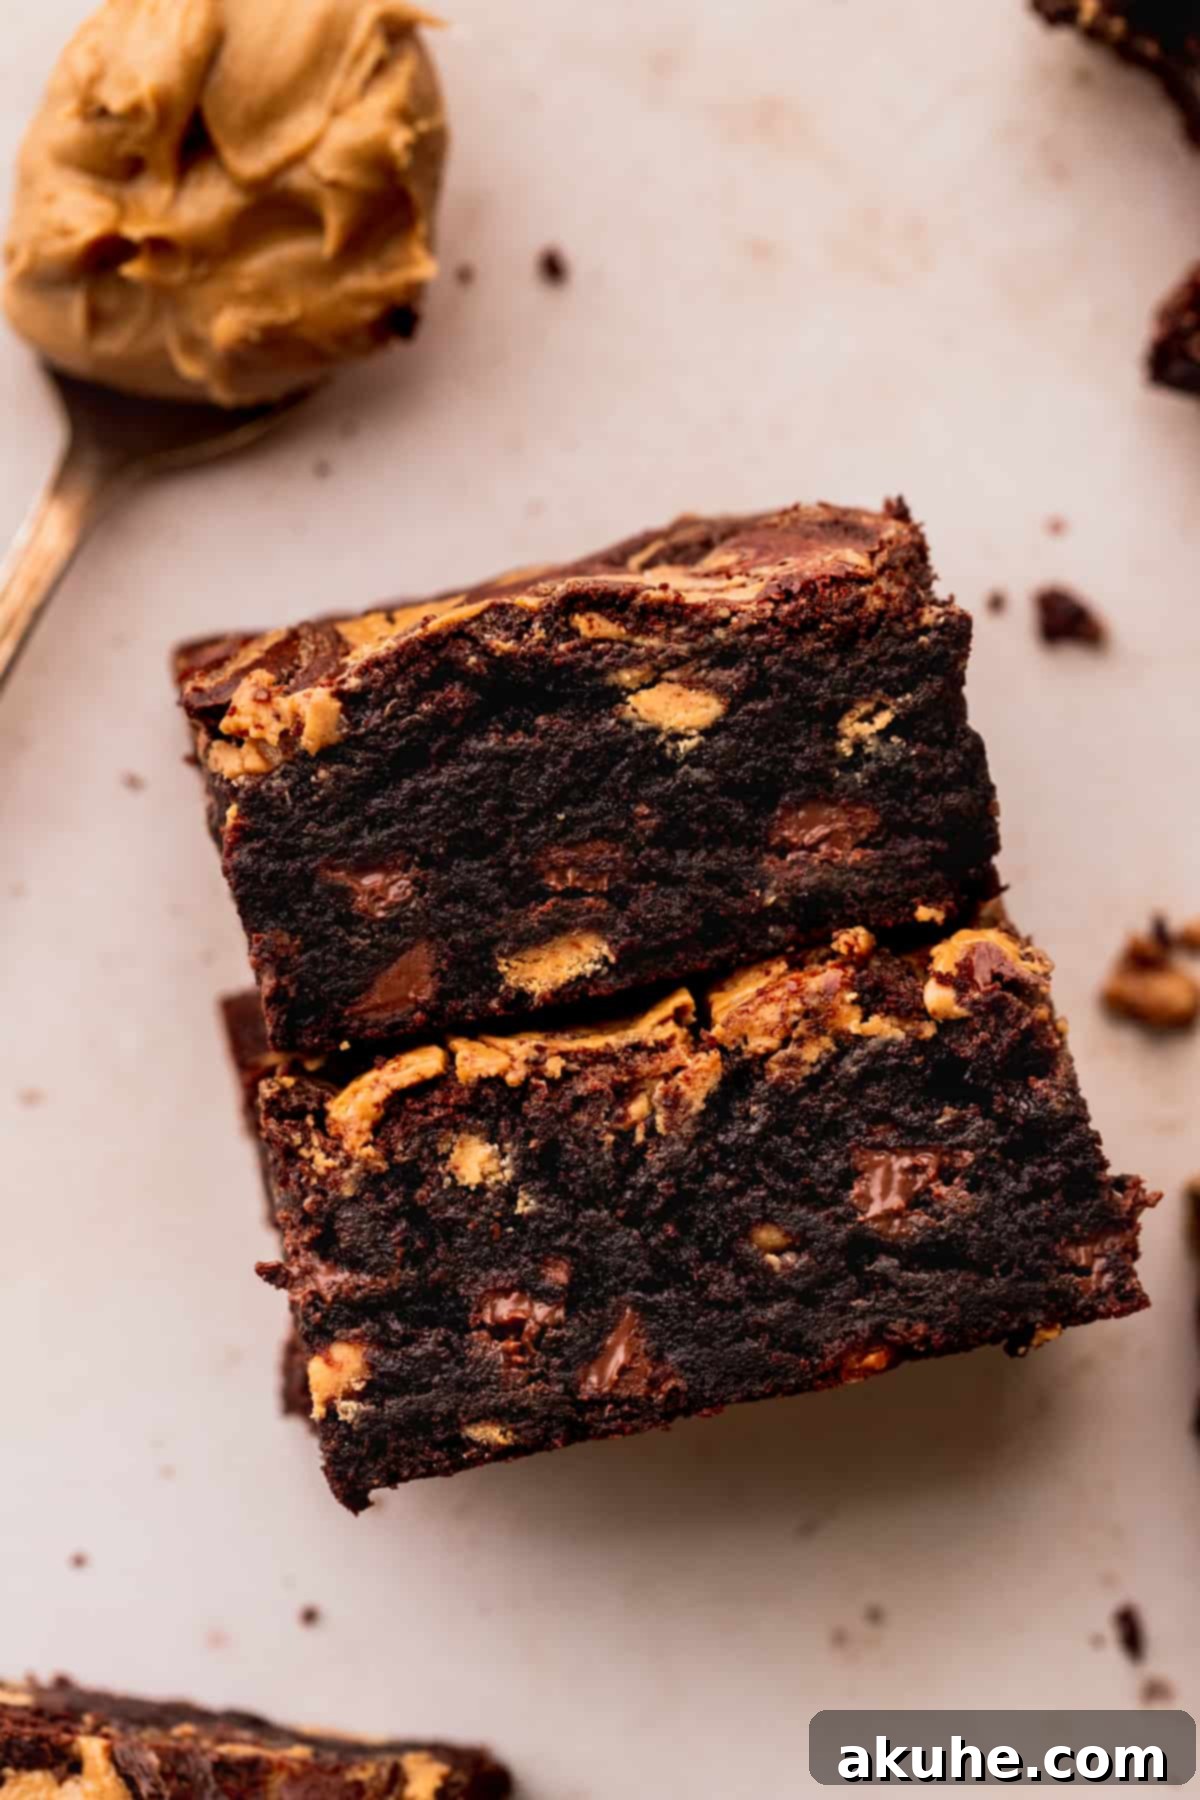
Essential Ingredient Notes for Perfect Brownies
The quality and type of your ingredients play a crucial role in achieving the perfect fudgy texture and rich flavor of these chocolate peanut butter brownies. Here are some detailed notes on the key components for this recipe. For a complete list of quantities, please refer to the recipe card below.
- Large Eggs + Extra Egg Yolk: The combination of two large eggs and an additional egg yolk is vital for the incredible fudgy texture. The extra fat from the yolk contributes significantly to a denser, chewier brownie, preventing a cake-like consistency. Ensure your eggs are at room temperature for better emulsion with other ingredients.
- Unsalted Butter: Always opt for unsalted butter to control the overall saltiness of your brownies. It’s essential to melt the butter completely and then allow it to cool slightly before incorporating it into the batter. Adding hot butter could scramble the eggs or affect the sugar’s crystalline structure.
- Vegetable or Canola Oil: Adding a touch of neutral oil, such as canola or vegetable oil, enhances the moistness and tenderness of the brownies. Oil helps keep the brownies softer for longer, preventing them from drying out, while also contributing to their delightfully chewy texture.
- Unsweetened Cocoa Powder: For the most profound and rich chocolate flavor, Dutch process cocoa powder is highly recommended. Its darker color and less acidic profile create a deeper, more mellow chocolate taste. While natural cocoa powder can be used in a pinch, expect a slightly lighter color and tangier flavor.
- Cornstarch: This might seem like an unusual ingredient for brownies, but cornstarch is a secret weapon for fudginess! It helps to soften the gluten development in the flour, resulting in a more tender crumb and a delightfully fudgy, rather than cakey, texture.
- Chocolate Chips: Semi-sweet or dark chocolate chips are your best choices here. They provide a robust chocolate flavor that complements the richness of the brownie batter without making it overly sweet. Milk chocolate chips are generally not recommended as they can lead to an excessively sweet brownie, overpowering the other flavors.
- Peanut Butter Chips: These are key for an extra burst of peanut butter flavor throughout the brownie. Brands like Reese’s are excellent for this. If peanut butter chips are unavailable, you can substitute with additional regular chocolate chips, though the distinct peanut butter essence will be less prominent.
- Creamy Peanut Butter (for swirl): For the signature swirl, creamy peanut butter is essential. Brands like Jif or Skippy work wonderfully. Avoid crunchy peanut butter, as the nuts will interfere with the smooth swirling effect. Natural peanut butter (the kind that separates) can also be used, but ensure it’s well-stirred and smooth before melting for the swirl.
Step-by-Step Instructions to Bake Your Swirled Chocolate Peanut Butter Brownies
Creating these sensational brownies is a delightful process. Follow these detailed steps to achieve perfect fudgy brownies with an irresistible peanut butter swirl. This recipe utilizes either a stand mixer with a whisk attachment or a reliable electric hand mixer.
STEP 1: Prepare Your Baking Essentials. Begin by preheating your oven to 325°F (160°C). Prepare an 8×8 inch square baking pan by lightly spraying it with a non-stick baking spray. To ensure effortless removal of your cooled brownies, line the bottom and two opposing sides of the pan with parchment paper, leaving an overhang on the sides for “handles.” Spray the parchment paper again lightly. Set the prepared pan aside.
STEP 2: Combine Dry Ingredients. In a medium-sized mixing bowl, meticulously sift together the all-purpose flour and cocoa powder. This step helps to remove any lumps and ensures a smooth, even distribution. Once sifted, stir in the cornstarch and salt until well combined. Set this dry mixture aside. Separately, melt the unsalted butter in a microwave-safe bowl and allow it to cool to room temperature.
STEP 3: Achieve the Signature Crinkle Top. In a large mixing bowl, using your stand mixer (fitted with the whisk attachment) or a hand mixer, combine the white granulated sugar, large eggs, and the extra egg yolk. Beat these ingredients together on high speed for a full 5 minutes. During this process, the mixture will become significantly lighter in color and noticeably thicker and airy. This aeration is crucial for developing the coveted crinkle top on your brownies.
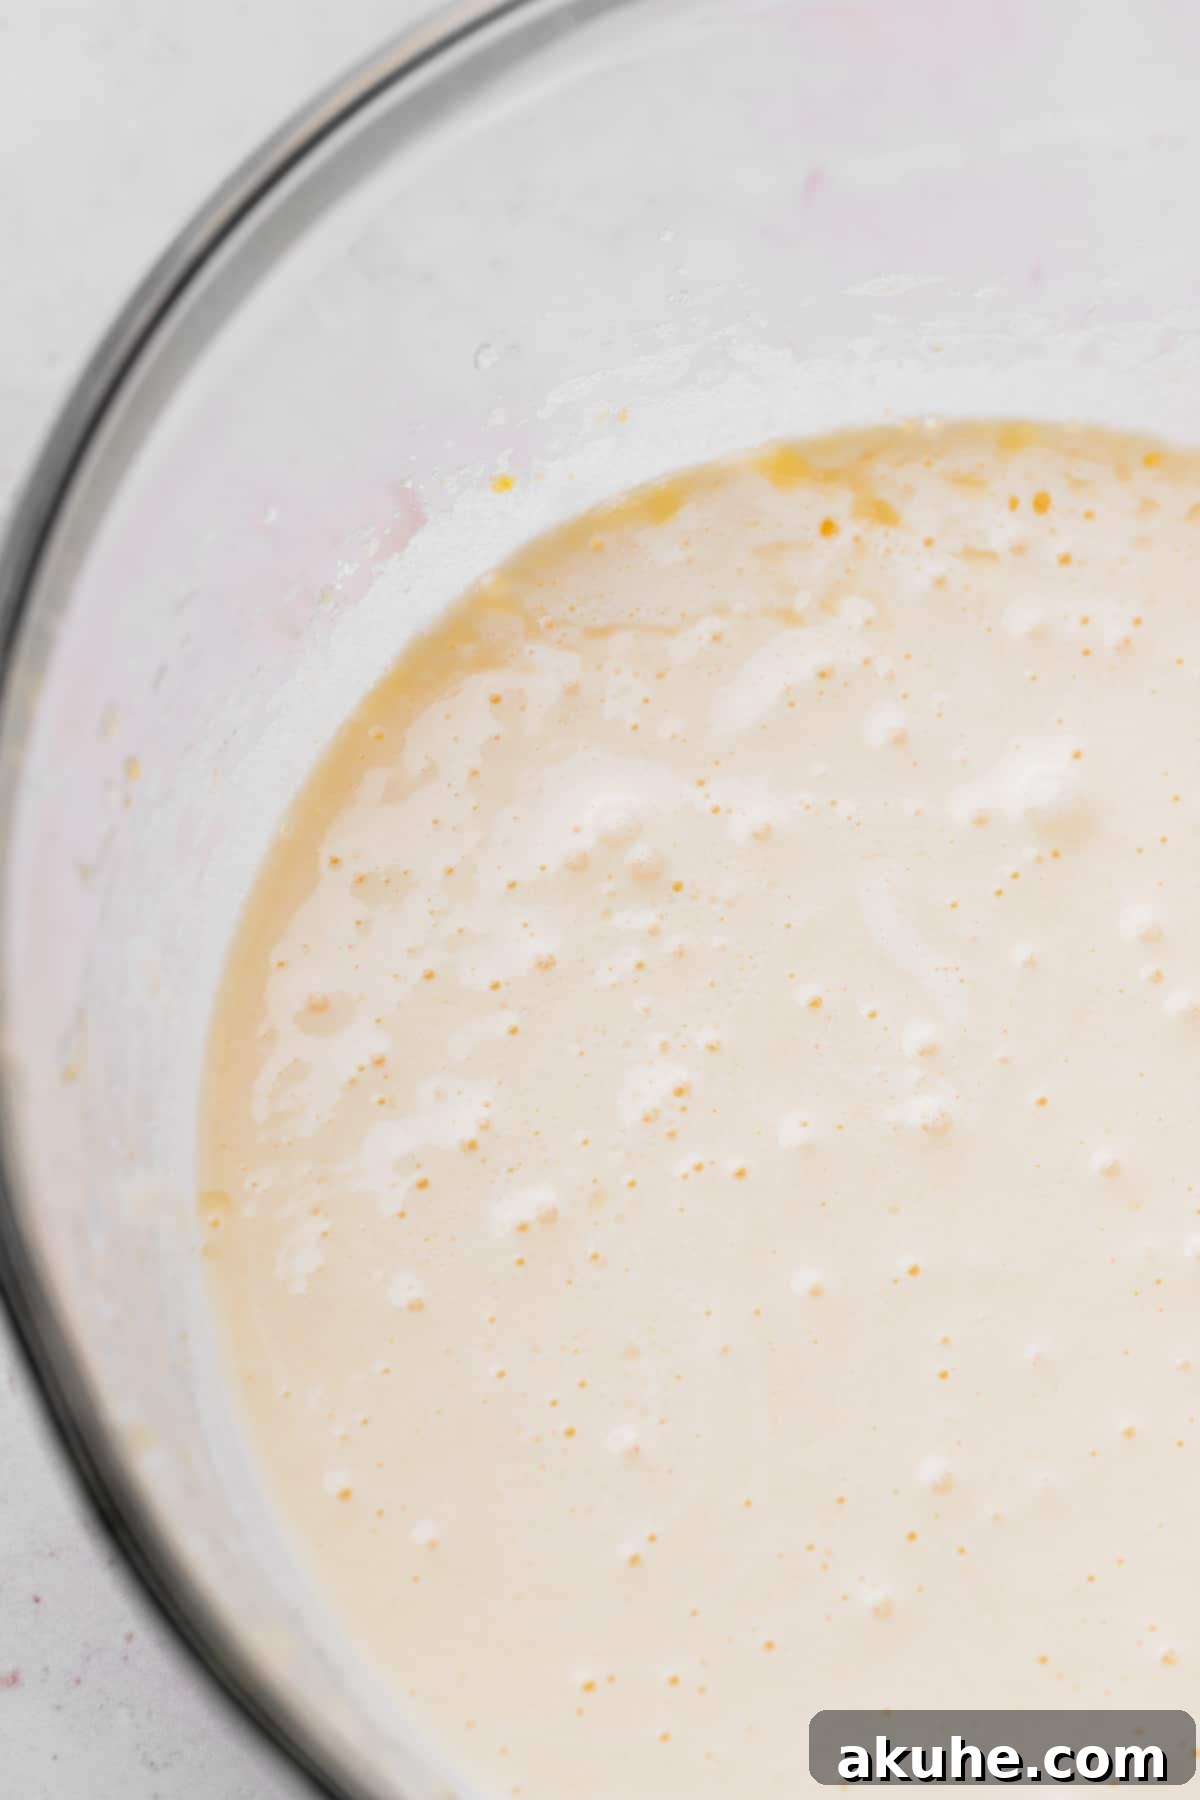
STEP 4: Incorporate Wet Ingredients. With the egg and sugar mixture now light and fluffy, reduce the mixer speed to low. Gradually pour in the cooled melted butter, vegetable or canola oil, and pure vanilla extract. Mix on low speed only until these wet ingredients are just combined into the batter. Be careful not to overmix at this stage.
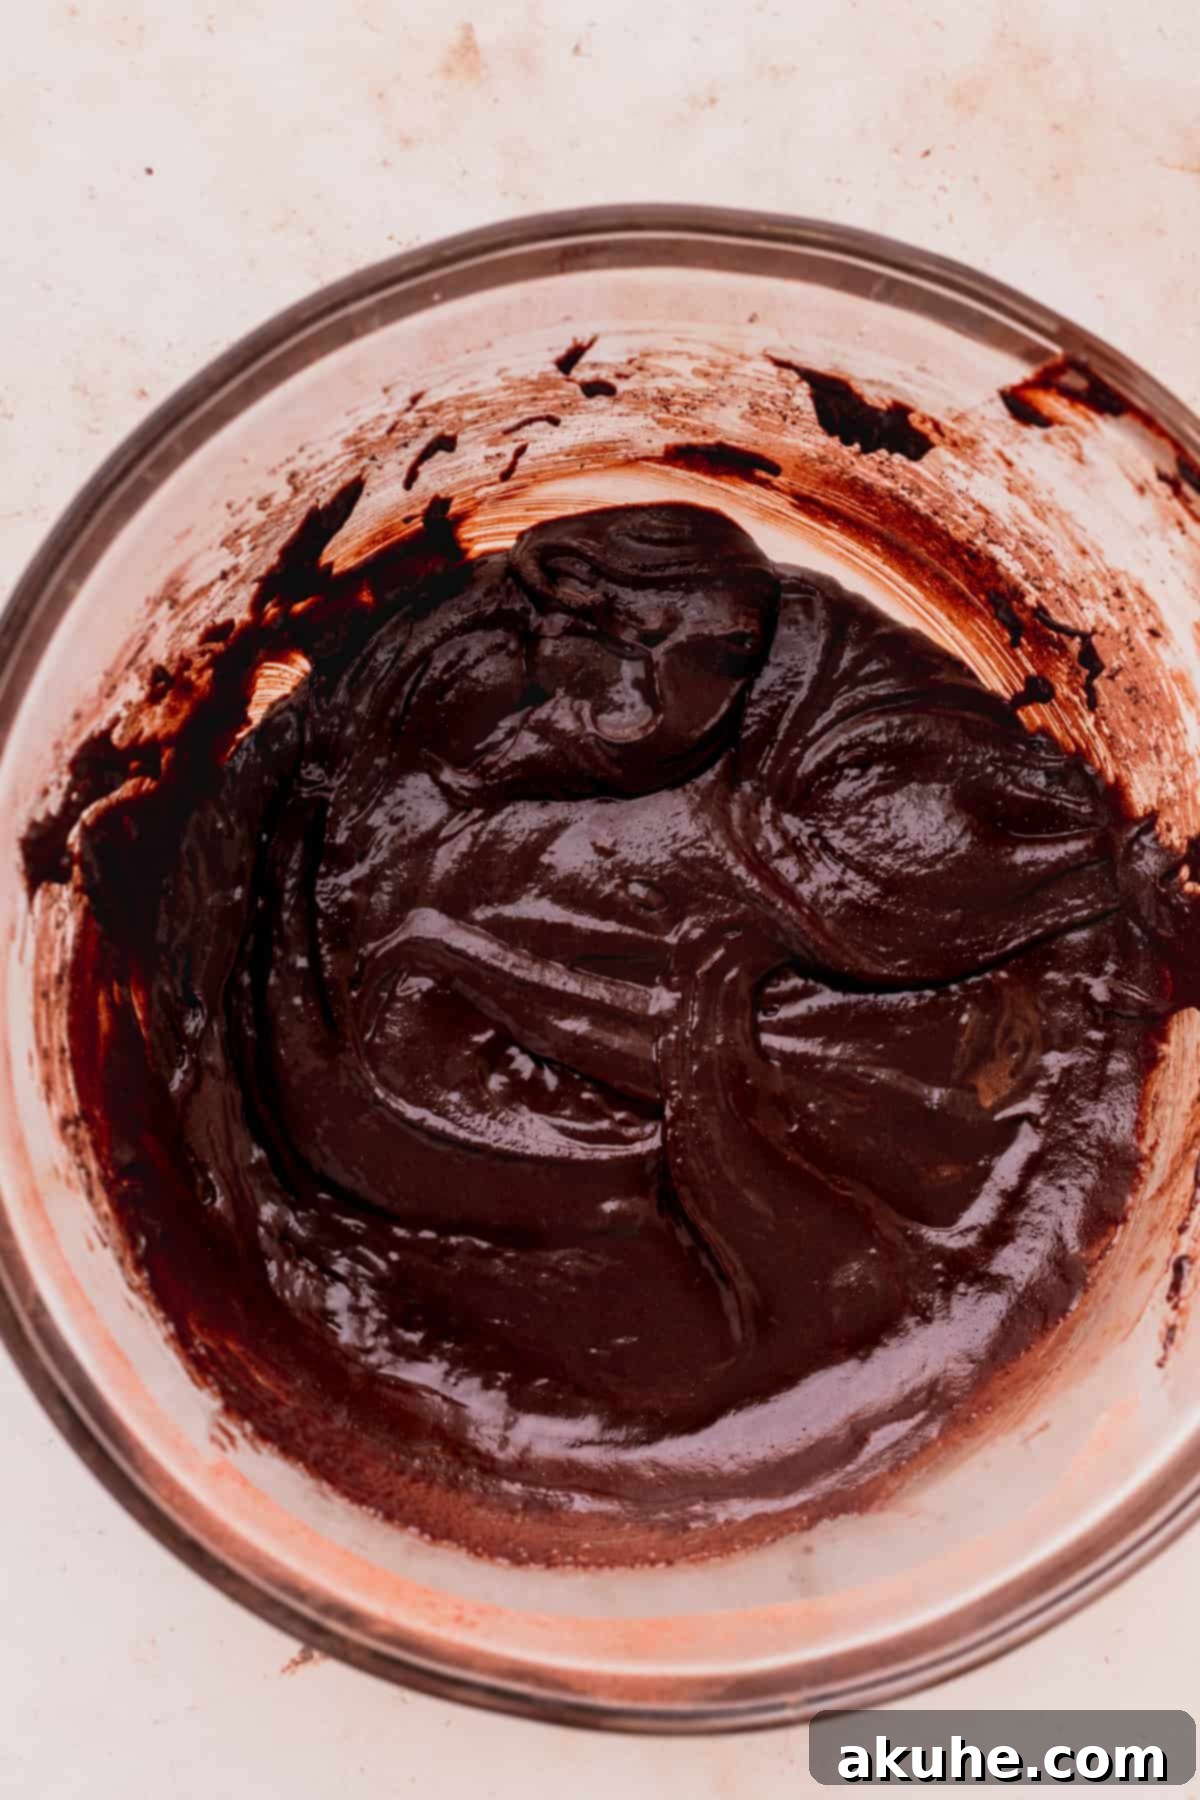
STEP 5: Gently Fold in Dry Ingredients. Now, add the previously combined dry ingredient mixture (flour, cocoa powder, cornstarch, salt) to the wet ingredients in the large bowl. Mix on low speed until the dry ingredients are about 70% incorporated. At this point, remove the bowl from the mixer and switch to a rubber spatula. Gently fold the remaining dry ingredients into the batter by hand until just combined. Overmixing the flour can develop too much gluten, leading to tougher, less fudgy brownies.
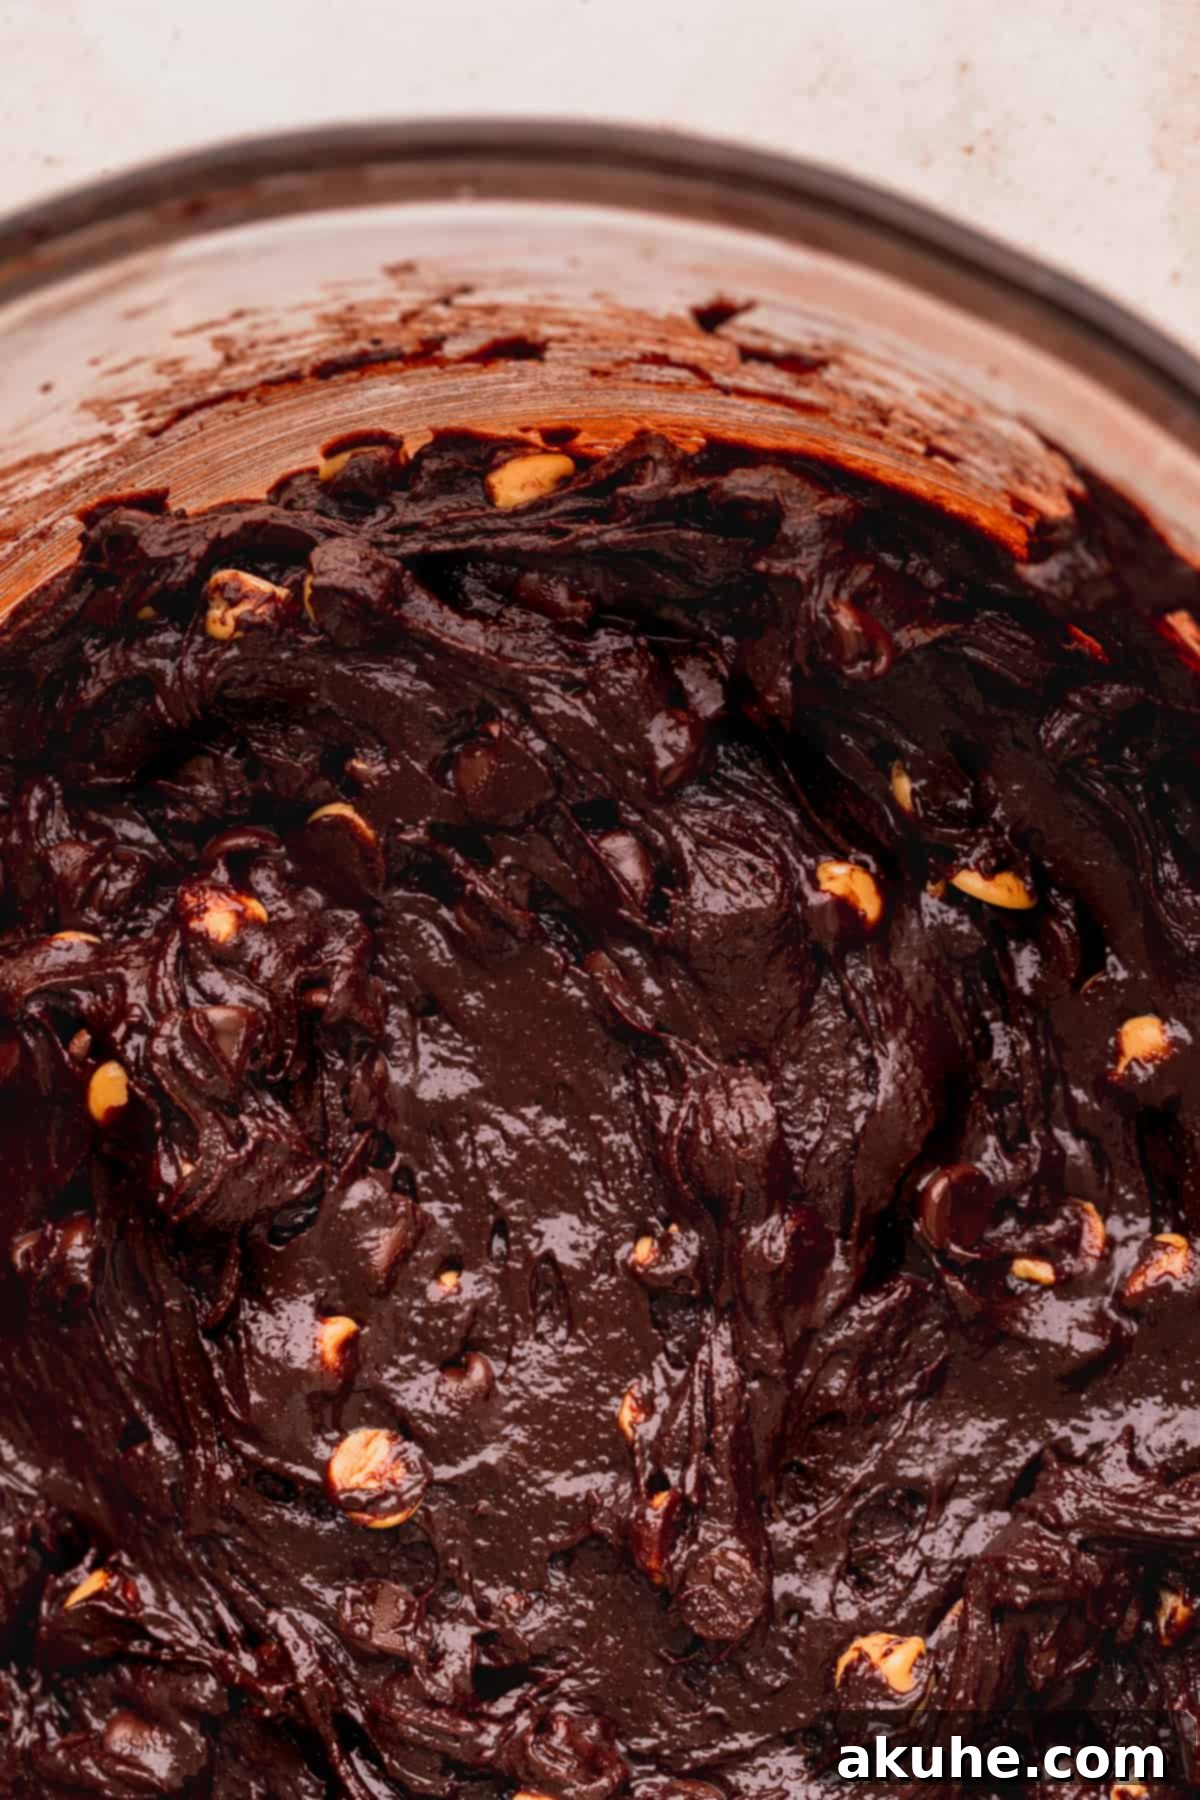
STEP 6: Add the Chips. Finally, fold in both the semi-sweet chocolate chips and the peanut butter chips using your rubber spatula. Distribute them evenly throughout the batter to ensure a delightful surprise in every bite.
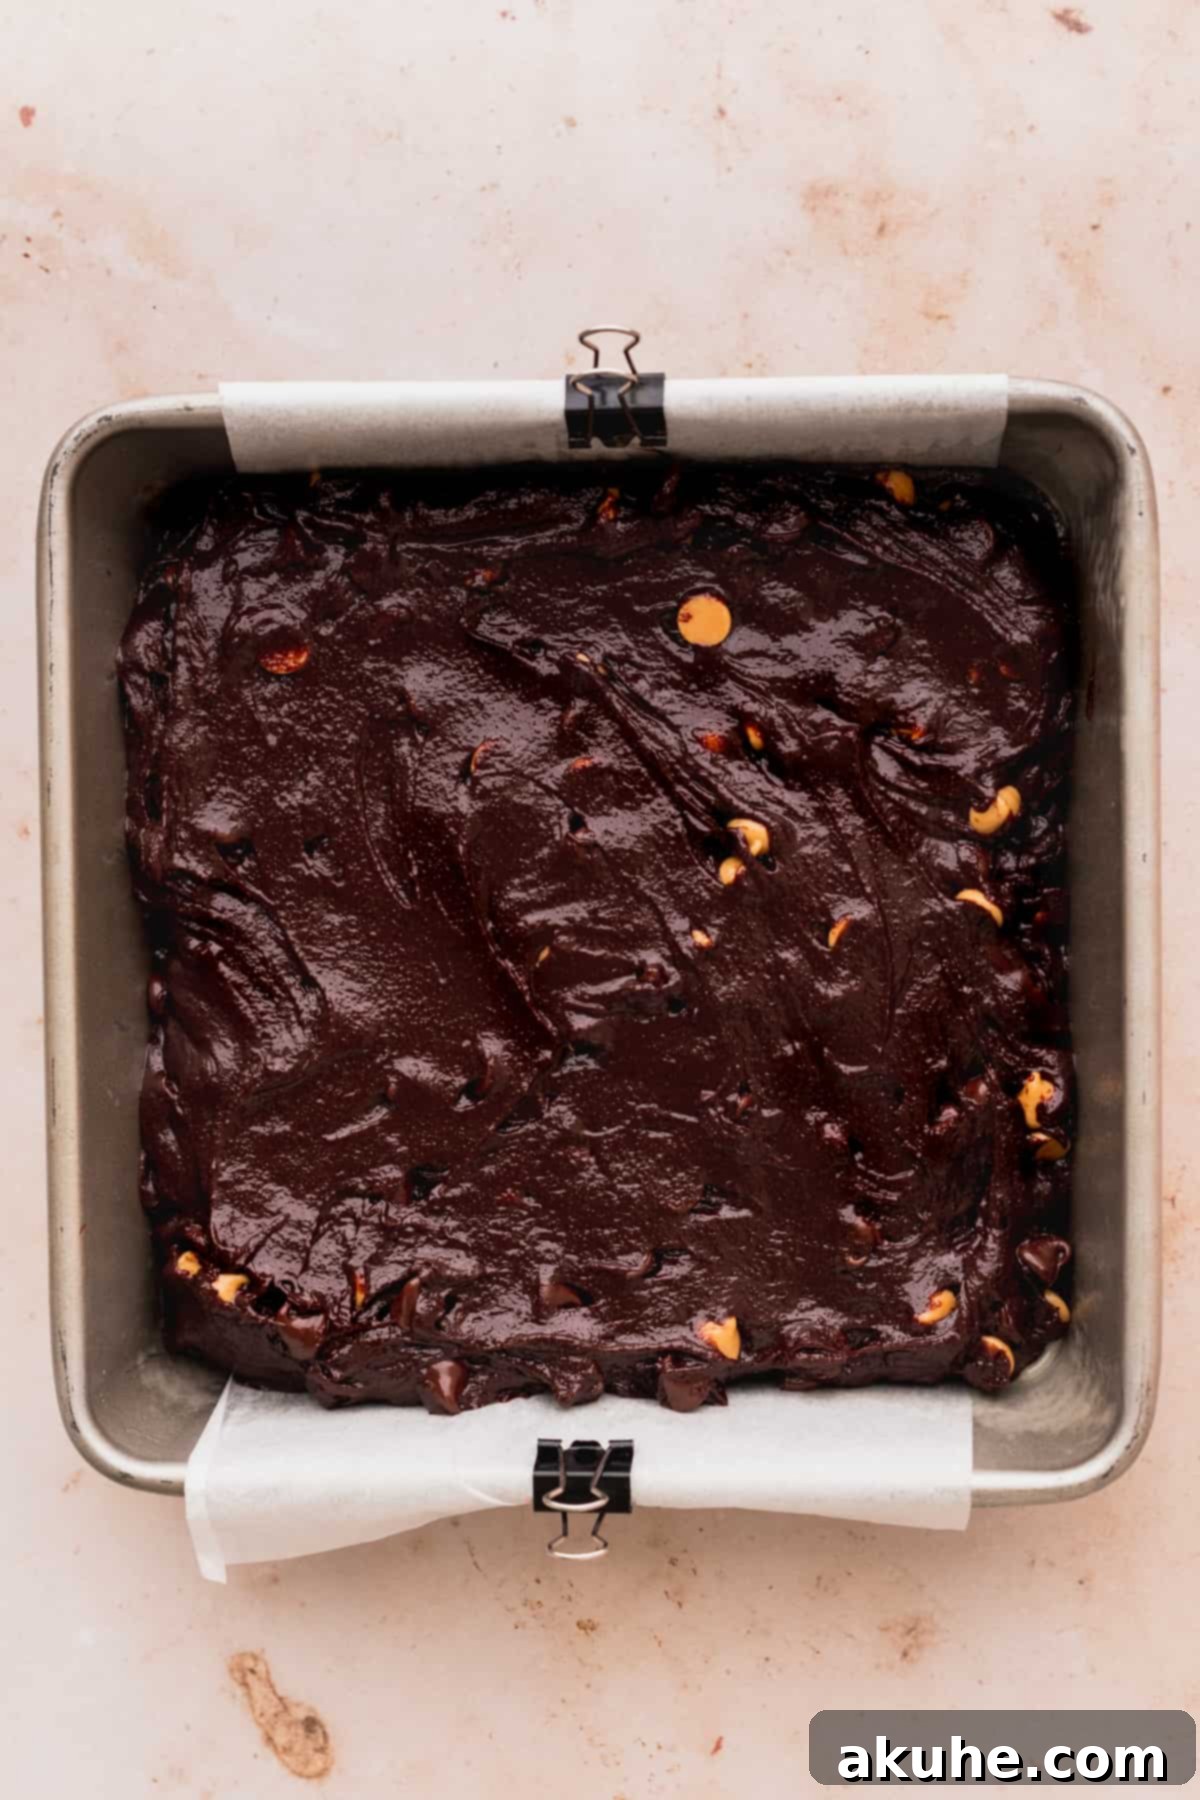
STEP 7: Prepare for the Swirl. Pour the rich brownie batter into your prepared 8×8 inch square baking pan, spreading it evenly with the spatula. For the peanut butter swirl, place the ¼ cup of creamy peanut butter in a microwave-safe bowl and heat it for about 30 seconds, or until it becomes soft, smooth, and easily pourable. It should be liquidy enough to drizzle.
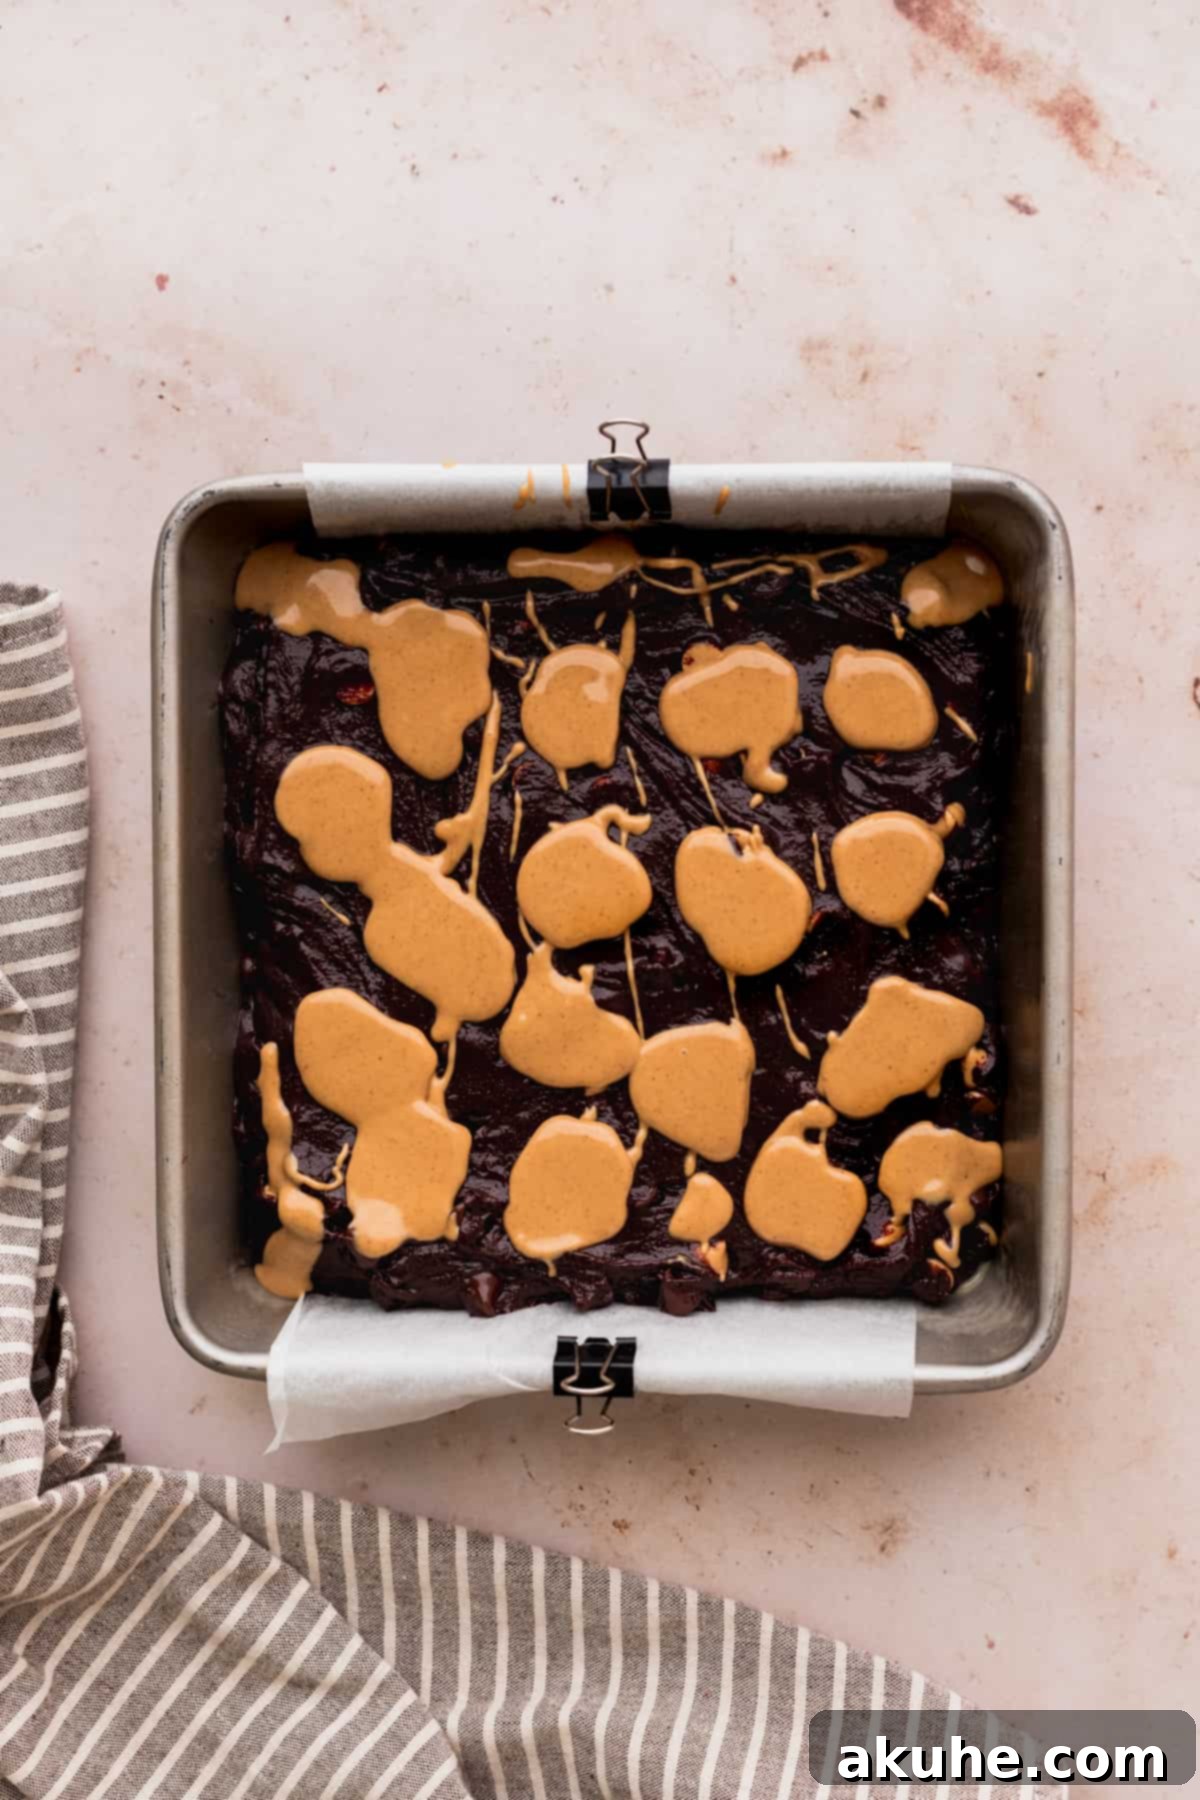
STEP 8: Create the Swirl. Using a ½ teaspoon measure or a small spoon, dollop small drops of the melted peanut butter randomly all over the surface of the brownie batter in the pan. Aim for an even distribution of dollops. Once all the peanut butter has been added, take a butter knife or a skewer and gently swirl it through the peanut butter dollops and into the brownie batter. Create fluid S-shapes or figure-eights to achieve an elegant marble effect without fully incorporating the peanut butter.
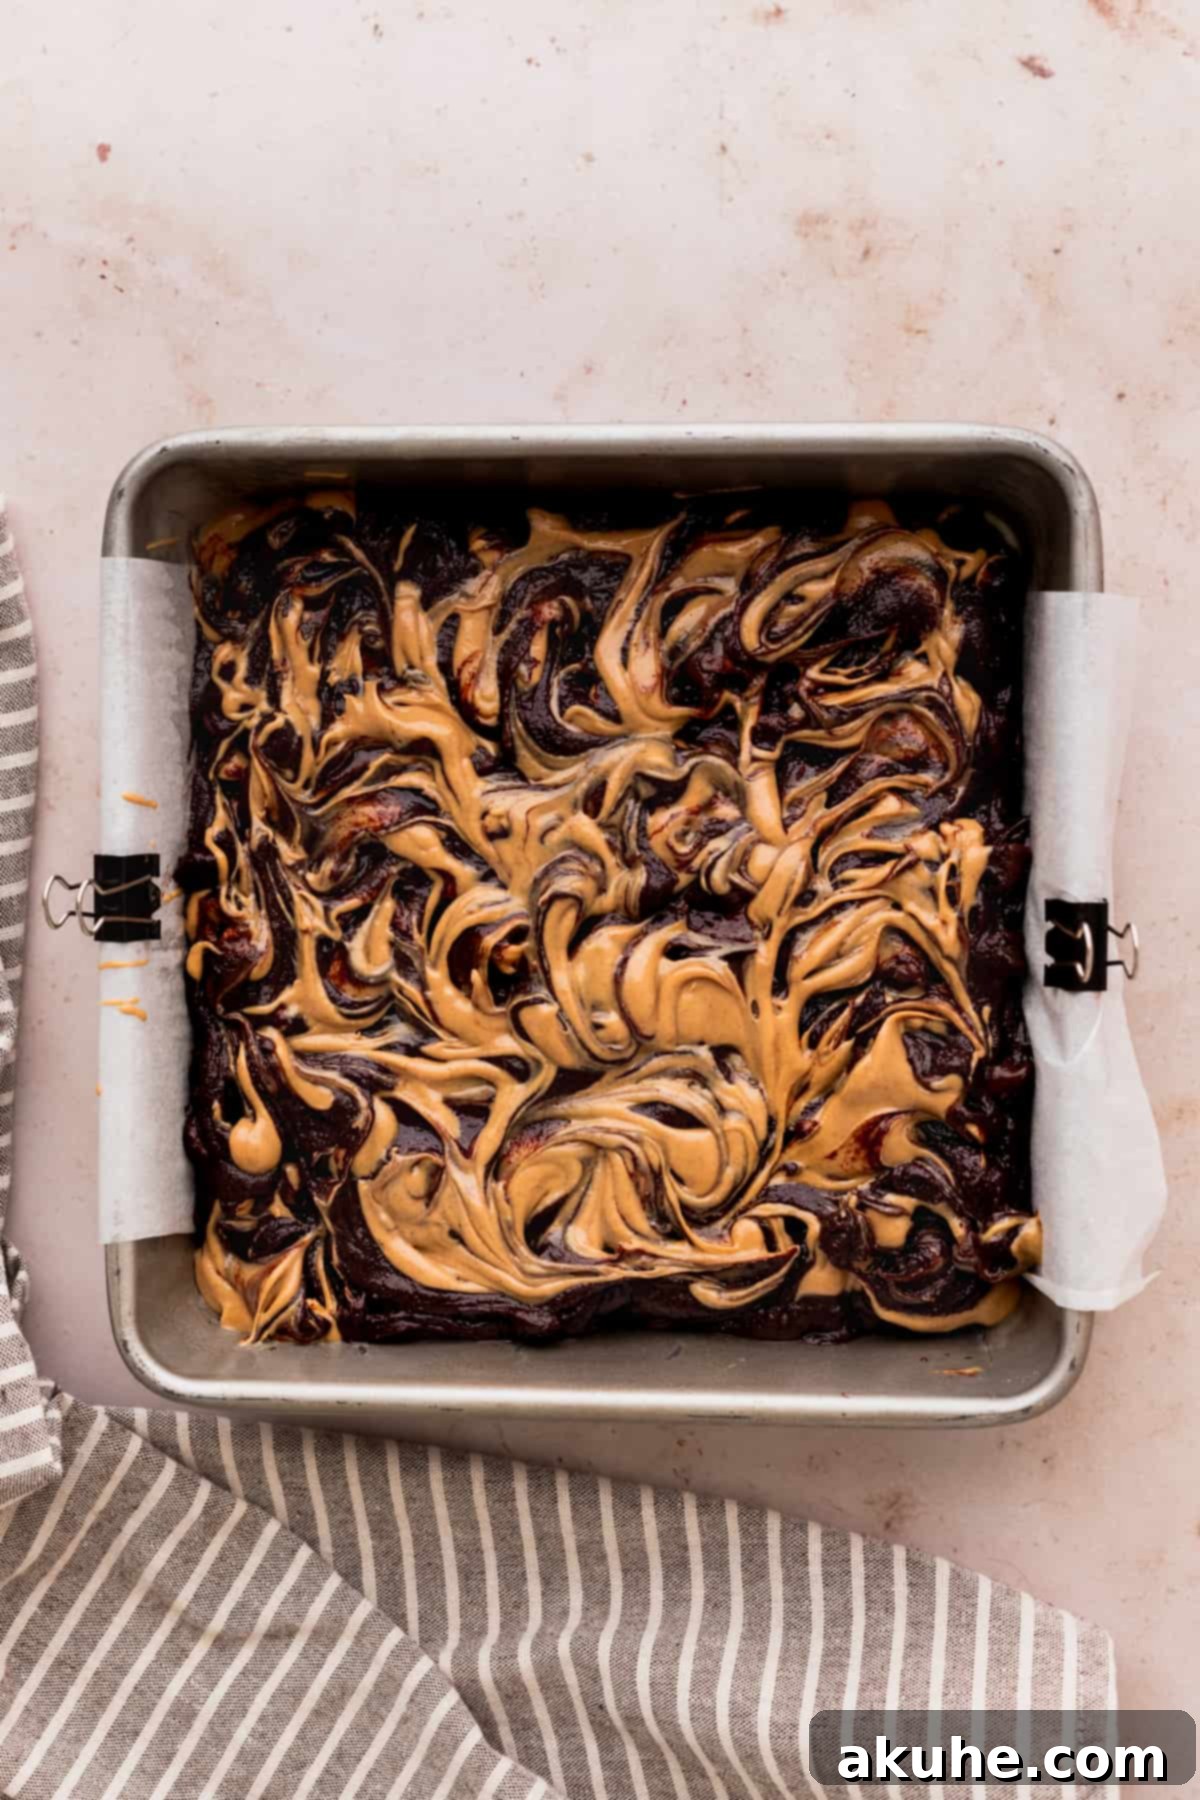
STEP 9: Bake to Perfection. Carefully transfer the pan to your preheated oven and bake for 40-50 minutes. The brownies are perfectly done when the edges are set and firm to the touch, but the center still appears slightly underdone and might have a slight jiggle when gently shaken. A toothpick inserted into the center should come out with moist crumbs, not wet batter. Remember, brownies continue to cook slightly as they cool.
STEP 10: Cool Completely. This is perhaps the most critical step for optimal texture! Once baked, remove the brownies from the oven and place the pan on a wire rack to cool completely. Resist the temptation to cut into them while warm; allowing them to cool fully allows the fudgy texture to set and prevents them from falling apart. This can take several hours. Once cooled, use the parchment paper overhangs to carefully lift the entire brownie slab out of the pan before slicing.
Expert Baking Tips for Flawless Fudgy Brownies
Achieving the perfect fudgy brownie with that irresistible crinkle top requires attention to a few key details. Here are some expert tips to ensure your Swirled Chocolate Peanut Butter Brownies turn out absolutely perfect every time:
- Accurate Flour Measurement is Key: The way you measure your flour can significantly impact the final texture of your brownies. Always use the “spoon and level” method: gently spoon flour into your measuring cup until it overflows, then use a straight edge (like the back of a knife) to level off the excess. Dipping the measuring cup directly into the flour bag compacts it, leading to too much flour and a dry, cakey brownie instead of the desired fudgy one. For ultimate accuracy, a kitchen scale is always recommended.
- Mastering the Sugar and Egg Beat: Don’t skip or shorten the 5-minute high-speed beating of the sugar and eggs. This step is fundamental. It incorporates air into the mixture, creating a stable emulsion that contributes directly to the glossy, crinkly top and the wonderfully chewy texture of these brownies. It’s the secret to that classic brownie crust!
- Effortless Removal with Proper Pan Prep: To guarantee your beautifully baked brownies come out of the pan without a hitch, employ this simple trick. After spraying your pan with non-stick spray, line the bottom and two opposing sides with parchment paper, leaving generous overhangs. These parchment “slings” act as handles, allowing you to easily lift the entire cooled brownie slab out of the pan before slicing, minimizing mess and breakage.
- Addressing an Underbaked Middle: If, after the recommended baking time, your brownies still appear too raw or jiggly in the very center, don’t panic. Simply return them to the oven and bake for an additional 5-10 minutes. Check them again, but remember that the center should remain slightly moist and “barely set” for maximum fudginess. Overbaking is the enemy of a truly fudgy brownie.
- The Art of Cooling for Perfect Texture: Patience is a virtue, especially with brownies! It’s crucial that the brownies cool completely on a wire rack before you attempt to cut into them. While they may seem done in the oven, they continue to set and firm up as they cool. Cutting them warm will result in gooey, crumbly pieces that are difficult to manage and won’t showcase their optimal fudgy texture. Allow them to cool for several hours, or even overnight, for the best results.
- Consider Your Oven Temperature: Oven temperatures can vary significantly. If you frequently find your baked goods either undercooked or overcooked, consider investing in an oven thermometer. Calibrating your oven can make a big difference in consistent baking results.
- Don’t Overmix the Batter: Once you add the dry ingredients and especially the chocolate and peanut butter chips, mix only until just combined. Overmixing develops gluten in the flour, which can lead to a tough, cake-like brownie rather than a tender, fudgy one.
Frequently Asked Questions About Baking Brownies
Brownies typically sink in the middle if they were underbaked. This means the internal structure wasn’t fully set, and as the air within the batter cools, it causes the center to collapse. While a fully sunken brownie cannot be “fixed,” you can prevent it next time by ensuring they are baked sufficiently. Look for set edges and a center that is barely jiggly. If you notice sinking during baking, try baking for an extra 5-10 minutes, checking frequently.
This recipe is designed for an 8×8 inch pan, which yields thick, fudgy brownies. If you prefer thinner brownies, you can use a 9×9 inch pan, but be sure to reduce the baking time by about 5-10 minutes and keep a close eye on them to prevent overbaking. Alternatively, for a smaller batch, you can halve the recipe and bake it in a 9×5 inch loaf pan, adjusting the baking time accordingly (likely around 30-40 minutes).
The secret to perfectly neat brownie squares lies in two things: cooling and technique. First and foremost, ensure your brownies are completely cooled. If they are even slightly warm, they will crumble. For very clean cuts, you can chill the cooled brownies in the freezer for about 10-15 minutes. Then, use a long, sharp knife. For each cut, wipe the knife clean with a damp cloth or paper towel to remove any sticky residue before making the next cut. This prevents dragging crumbs and creates crisp edges.
Absolutely! Brownies often taste even better the day after they are baked as the flavors have more time to meld and develop. Simply bake, cool completely, and then store them as described in the “Storing and Freezing” section.
While Dutch process cocoa is recommended for its deep color and mellow flavor, you can substitute it with natural unsweetened cocoa powder. If you do this, you might notice a slightly lighter color and a more pronounced chocolate flavor with a hint of tang. The texture will still be fudgy, but the overall flavor profile will be a little different.
Storing and Freezing Your Swirled Chocolate Peanut Butter Brownies
Once you’ve baked a batch of these incredible chocolate peanut butter brownies, you’ll want to ensure they stay fresh and delicious for as long as possible. Proper storage is key to maintaining their delightful fudgy texture and rich flavor.
To store these irresistible brownies, place them in an airtight container at room temperature. They will remain wonderfully fresh and fudgy for up to 5 days. For an extra treat, try warming them slightly in the microwave for a few seconds before serving, then pair them with a generous scoop of vanilla bean ice cream – a truly heavenly combination!
Freezing Instructions
These brownies are excellent candidates for freezing, making them perfect for meal prep, unexpected cravings, or larger batches. You can freeze them in individual servings to easily grab one whenever you desire.
To freeze, first ensure the brownies are completely cooled. Then, wrap each individual brownie square tightly in plastic wrap, followed by a layer of aluminum foil for extra protection against freezer burn. Alternatively, you can place the wrapped brownies in a freezer-safe airtight container or a heavy-duty freezer bag. They can be frozen for up to 30 days without significant loss of quality.
When you’re ready to enjoy a frozen brownie, simply remove it from the freezer and allow it to thaw at room temperature for 1-2 hours. For a warm, gooey treat, you can gently reheat a thawed brownie in the microwave for 15-30 seconds.
Other Decadent Brownie Recipes to Satisfy Your Cravings
If you adored this recipe, please consider leaving a STAR REVIEW below! We love seeing your creations, so be sure to tag us on Instagram @stephaniesweettreats. For more delectable baking ideas and inspiration, follow us on Pinterest.
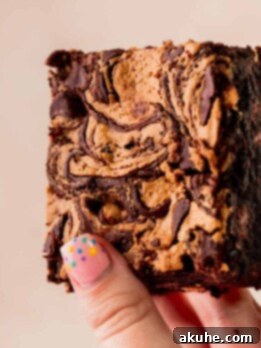
Chocolate Peanut Butter Brownies
By Stephanie Rutherford
These chocolate peanut butter brownies are thick, fudgy brownies with a perfect crinkle top. They are loaded with rich chocolate chips and savory peanut butter chips, and beautifully swirled with creamy peanut butter on top for an ultimate flavor experience.
Print Recipe | Pin Recipe | Leave a Review
Recipe Details
Prep Time: 30 minutes
Cook Time: 45 minutes
Total Time: 1 hour 15 minutes
Servings: 12 pieces
Ingredients
- 1/2 cup All-purpose flour
- 3/4 cup Dutch process cocoa powder
- 1 TBSP Cornstarch
- 1/2 tsp Salt
- 1 1/3 cups White granulated sugar
- 2 Large eggs
- 1 Egg yolk
- 5 TBSP Unsalted butter, melted and cooled
- 1/3 cup Oil, vegetable or canola oil
- 1 tsp Pure vanilla extract
- 3/4 cup Semi-sweet chocolate chips
- 1/2 cup Peanut butter chips
- 1/4 cup Creamy peanut butter (for swirl)
Instructions
- Preheat your oven to 325°F (160°C). Spray an 8×8 inch baking pan with non-stick spray. Line the bottom and two sides with parchment paper, leaving an overhang, then spray the parchment paper again. Set aside.
- In a medium bowl, sift together the all-purpose flour and cocoa powder. Stir in the cornstarch and salt. Melt the unsalted butter and allow it to cool completely.
- In a large mixing bowl, using a stand mixer with a whisk attachment or a hand mixer, beat the white granulated sugar, large eggs, and egg yolk on high speed for 5 minutes. The mixture should become pale, thick, and airy.
- Reduce mixer speed to low. Add the cooled melted butter, oil (vegetable or canola), and pure vanilla extract. Mix until just combined.
- Gradually add the dry ingredient mixture to the wet ingredients. Mix on low speed until about 70% combined. Remove from the mixer and use a rubber spatula to gently fold in the remaining dry ingredients until just incorporated. Do not overmix.
- Gently fold in the semi-sweet chocolate chips and peanut butter chips with the rubber spatula until evenly distributed.
- Pour the brownie batter into the prepared 8×8 inch pan, spreading it evenly. Heat the 1/4 cup creamy peanut butter in the microwave for about 30 seconds until it’s melted and liquidy.
- Using a 1/2 teaspoon, dollop small drops of the melted peanut butter over the top of the brownie batter, using all of the peanut butter. Then, use a butter knife to gently swirl the peanut butter into the brownie batter for a marbled effect.
- Bake for 40-50 minutes. The brownies are done when the edges are set and the center is barely set and slightly jiggly. A toothpick inserted into the center should come out with moist crumbs, not wet batter.
- Remove from the oven and let the brownies cool completely on a wire rack in the pan before attempting to cut and serve them.
Notes
- Flour Measurement: Always use the “spoon and level” method for flour, or ideally, a kitchen scale. Compacted flour can lead to cakey brownies.
- High Altitude Baking: For baking at high altitudes, consider adding an extra 1/2 TBSP of flour to the dry ingredients to help stabilize the batter.
Nutrition Information (per serving)
- Calories: 357 kcal
- Carbohydrates: 41g
- Protein: 5g
- Fat: 21g
- Saturated Fat: 9g
- Polyunsaturated Fat: 3g
- Monounsaturated Fat: 8g
- Trans Fat: 1g
- Cholesterol: 31mg
- Sodium: 138mg
- Potassium: 185mg
- Fiber: 4g
- Sugar: 30g
- Vitamin A: 173 IU
- Calcium: 21mg
- Iron: 2mg
