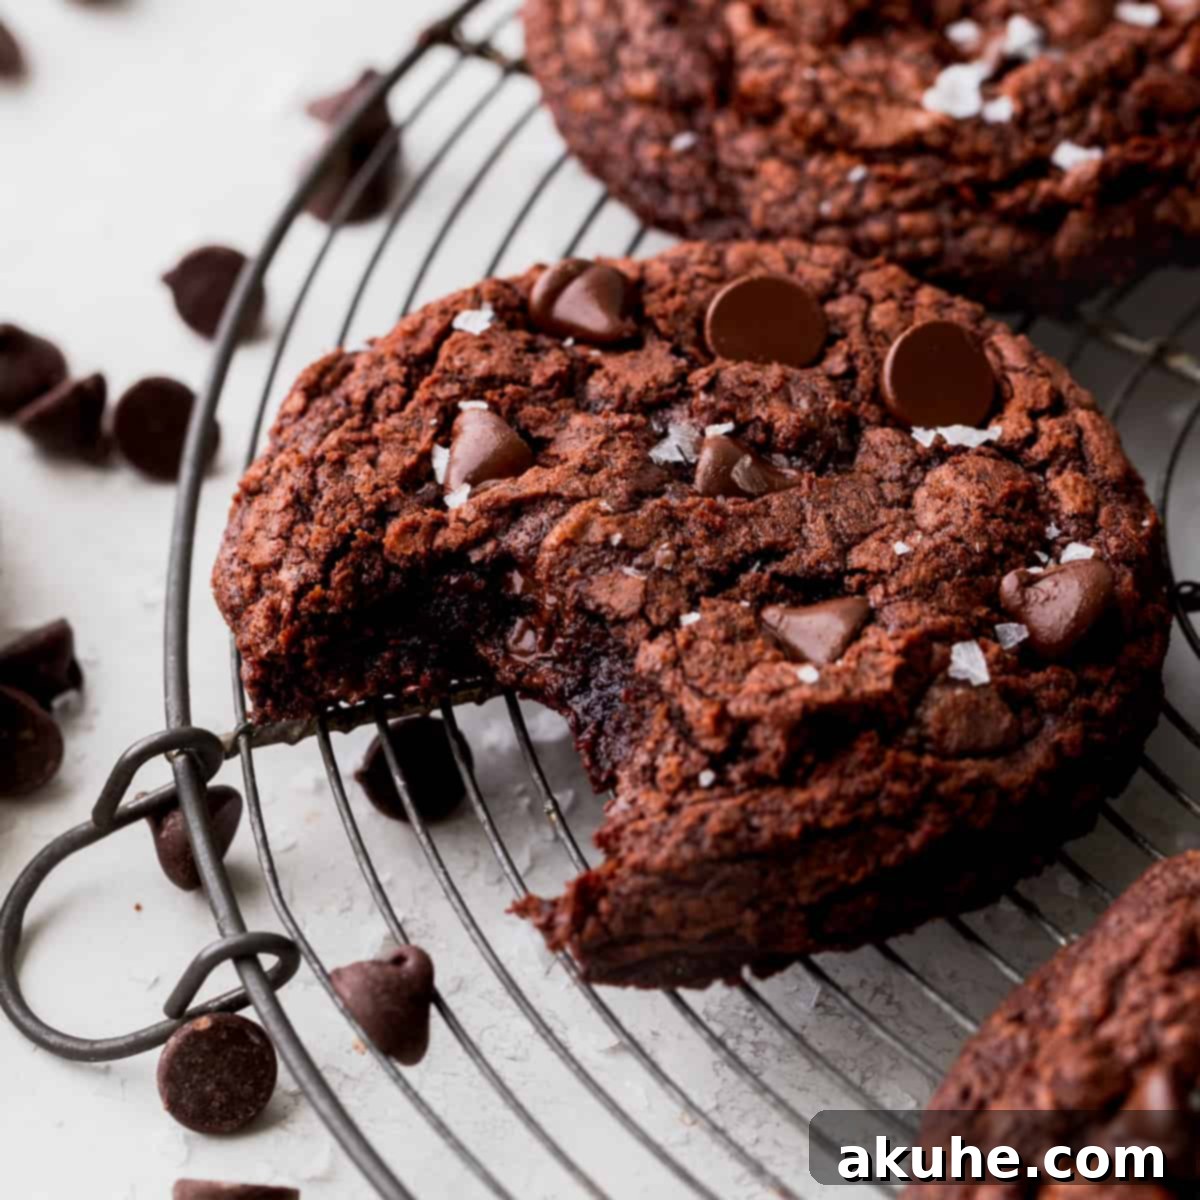
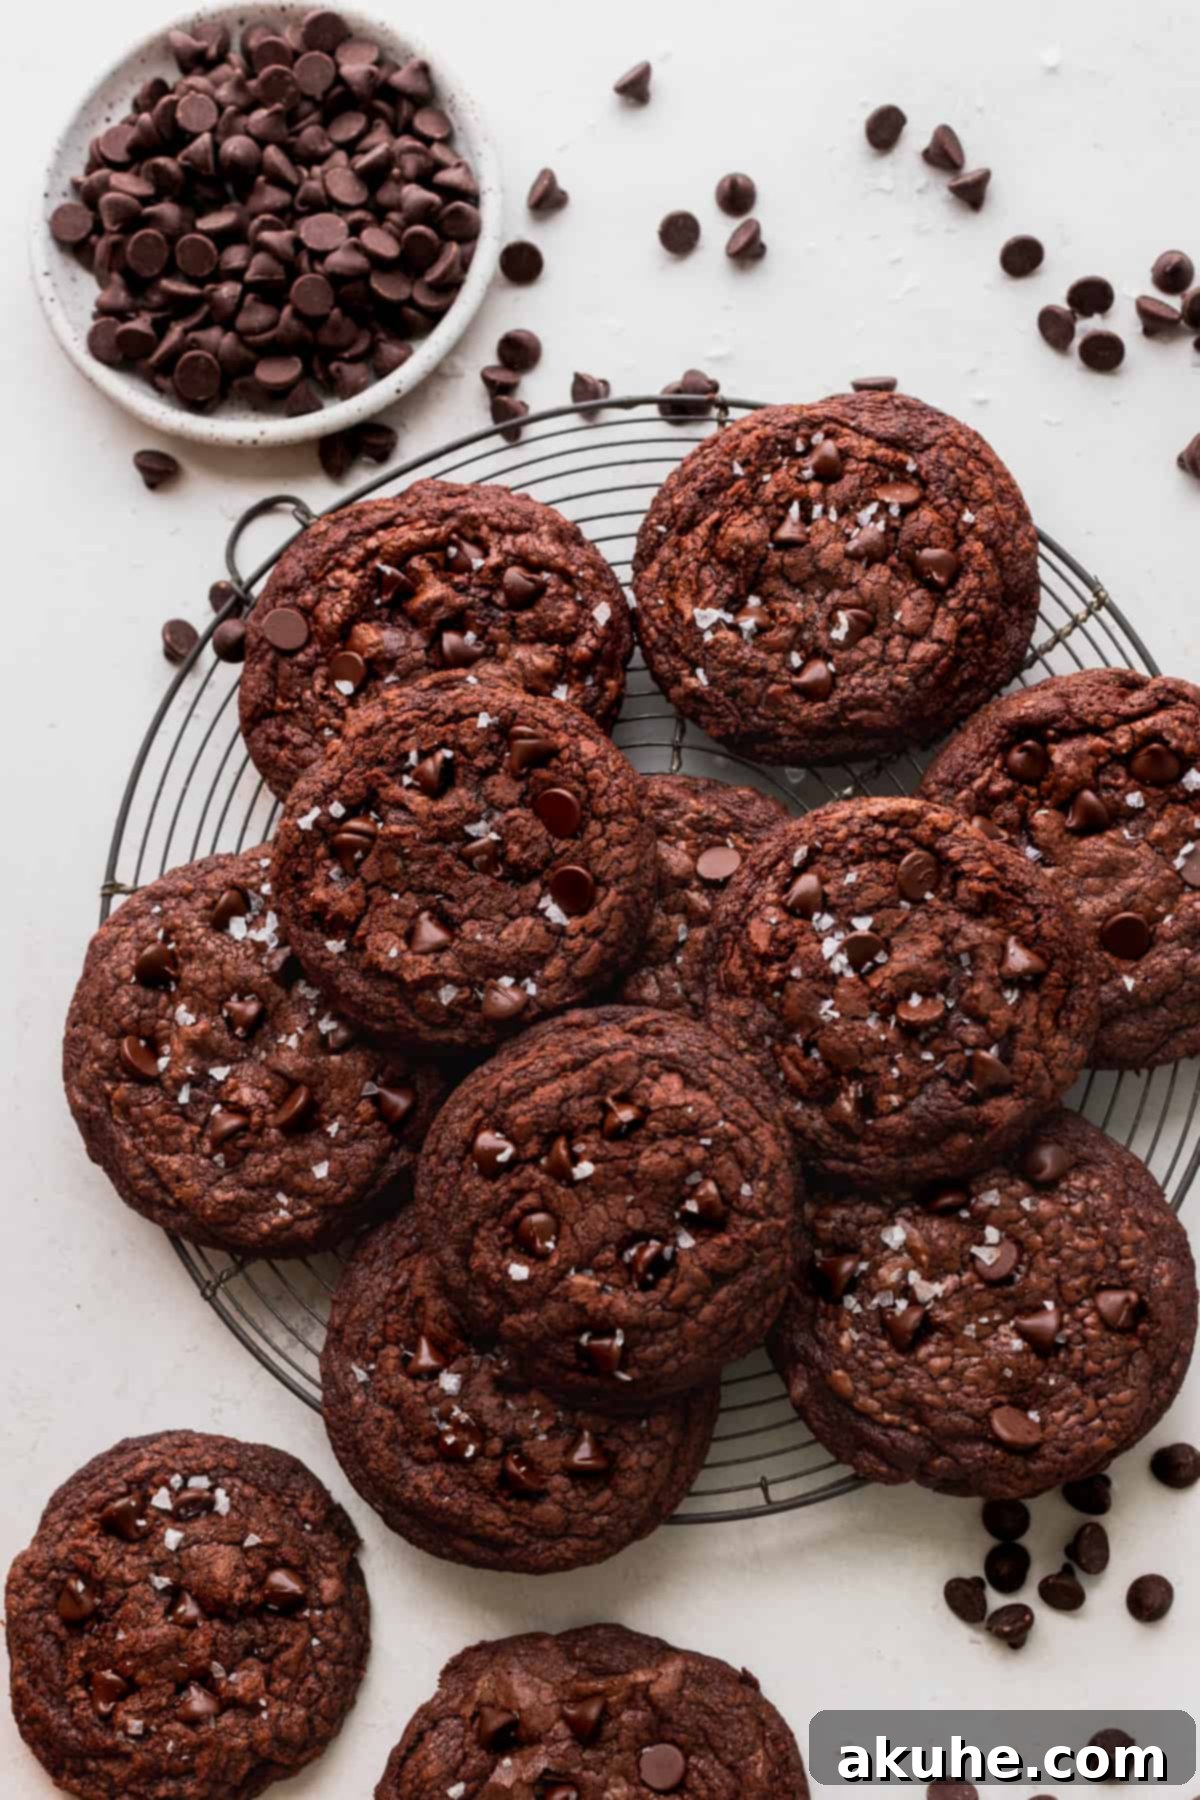
Welcome to the ultimate guide for creating irresistible Brownie Crinkle Cookies, a decadent treat that perfectly fuses the rich, fudgy essence of your favorite brownie with the delightful chewiness and convenience of a classic cookie. These aren’t just any chocolate cookies; they are an experience in deep chocolate flavor, featuring a trifecta of chocolate ingredients that ensures every bite is profoundly satisfying. Expect a luxurious, fudgy interior, delightfully chewy edges, and that signature crackled, crinkled top that makes them as visually appealing as they are delicious. Ideal for chocolate enthusiasts and casual bakers alike, this recipe promises bakery-quality results from your own kitchen.
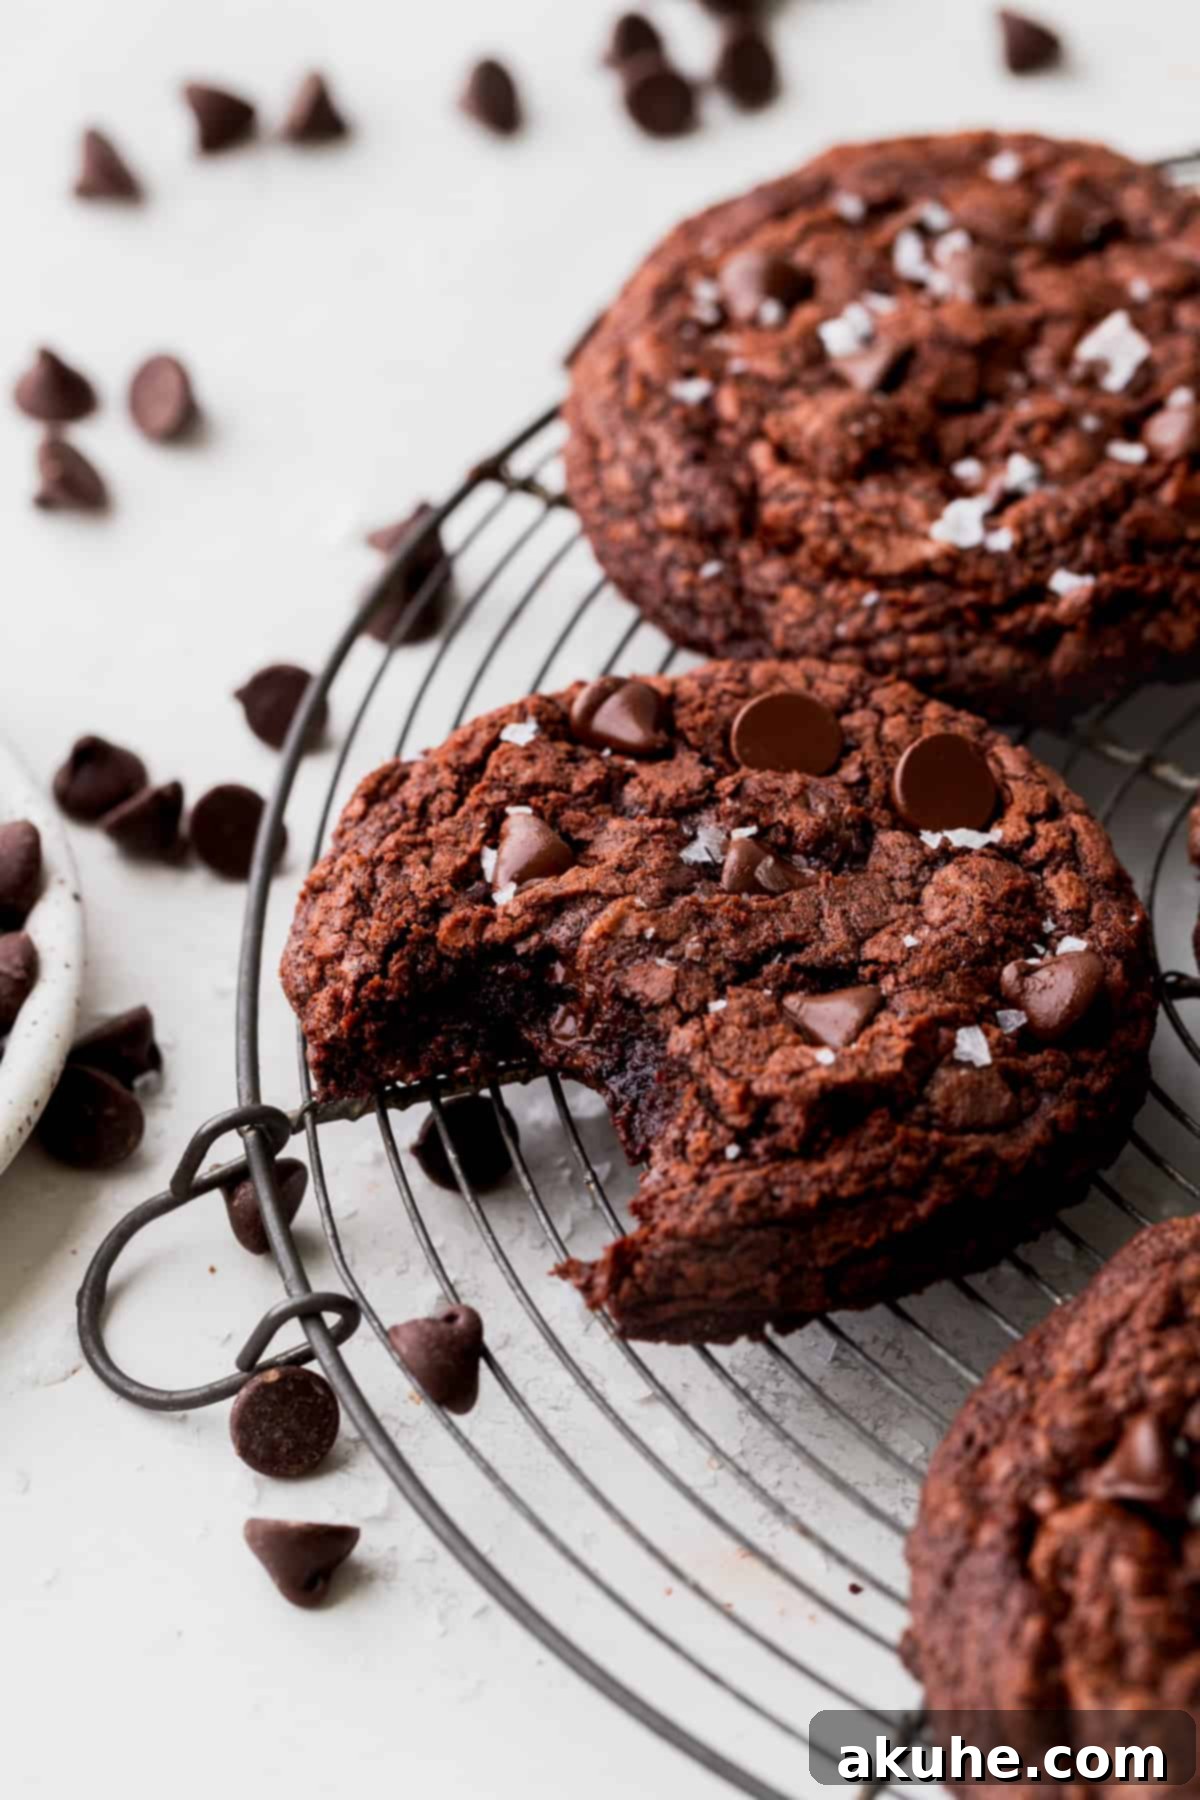
Our quest for the perfect chocolate cookie often leads us down many paths, but the Brownie Crinkle Cookie stands out as a true masterpiece. It’s the kind of dessert that feels gourmet yet remains incredibly approachable to bake. The secret lies in a carefully balanced blend of cocoa powder, melted chocolate, and chocolate chips, each contributing to a layered chocolate profile that’s simply unmatched. This isn’t just a cookie that tastes like a brownie; it’s a meticulously crafted fusion that delivers the best of both worlds – the intense flavor and moist texture of a brownie in a portable, cookie form. Get ready to elevate your baking game with these exceptionally fudgy, chewy, and beautifully crinkled delights.
For those who adore rich, chocolaty treats, these cookies are a dream come true. With three distinct sources of chocolate packed into every batch, they offer an unparalleled depth of flavor that will satisfy even the most discerning chocoholic. Whether you’re baking for a special occasion, a casual get-together, or simply treating yourself, these cookies are guaranteed to be a hit. Their distinctive appearance and complex flavor make them a standout addition to any dessert table.
Craving more chocolate cookie inspiration? Be sure to explore other delightful recipes like Chocolate Marshmallow Cookies for a gooey, fluffy twist, Cosmic Brownie Cookies for a nostalgic bite, and White Chip Double Chocolate Cookies for a delightful contrast of flavors and textures.
Why These Brownie Crinkle Cookies Are a Must-Try
There are countless reasons why these brownie crinkle cookies will quickly become your go-to chocolate dessert. From their irresistible texture to their straightforward preparation, they offer a perfect blend of indulgence and ease.
- The Best of Both Worlds: Brownie in Cookie Form: Imagine the dense, rich, and intensely chocolatey experience of a freshly baked brownie, but in a convenient, hand-held cookie. That’s precisely what these cookies deliver. They offer the portability and crisp edges of a cookie coupled with the deep, complex flavor and soft, moist center of a classic brownie, making them ideal for any occasion where you want to impress without the fuss of cutting a full pan of brownies.
- Unrivaled Fudgy and Chewy Texture: The hallmark of an exceptional brownie is its texture, and these cookies are no exception. They boast a perfectly fudgy interior that practically melts in your mouth, complemented by delightfully chewy edges and a beautifully crackled, crisp top. This multi-textured experience is what sets them apart, ensuring a satisfying bite every single time.
- Minimal Chill Time for Quick Indulgence: We know that waiting for cookie dough to chill can be the most challenging part of baking. Fortunately, this recipe requires only a short chill time, just enough to prevent excessive spreading and develop a richer flavor without prolonged waiting. This means you can go from craving to enjoying these incredible cookies in less time than you might expect.
- A Guaranteed Kid-Approved Favorite (and Adult, too!): With their intensely chocolatey flavor and appealing crinkled appearance, these cookies are an absolute winner with children. The generous amount of chocolate ensures they are sweet, rich, and utterly delicious, making them a perfect treat for school lunches, after-school snacks, or family dessert nights. And let’s be honest, adults will find them just as irresistible!
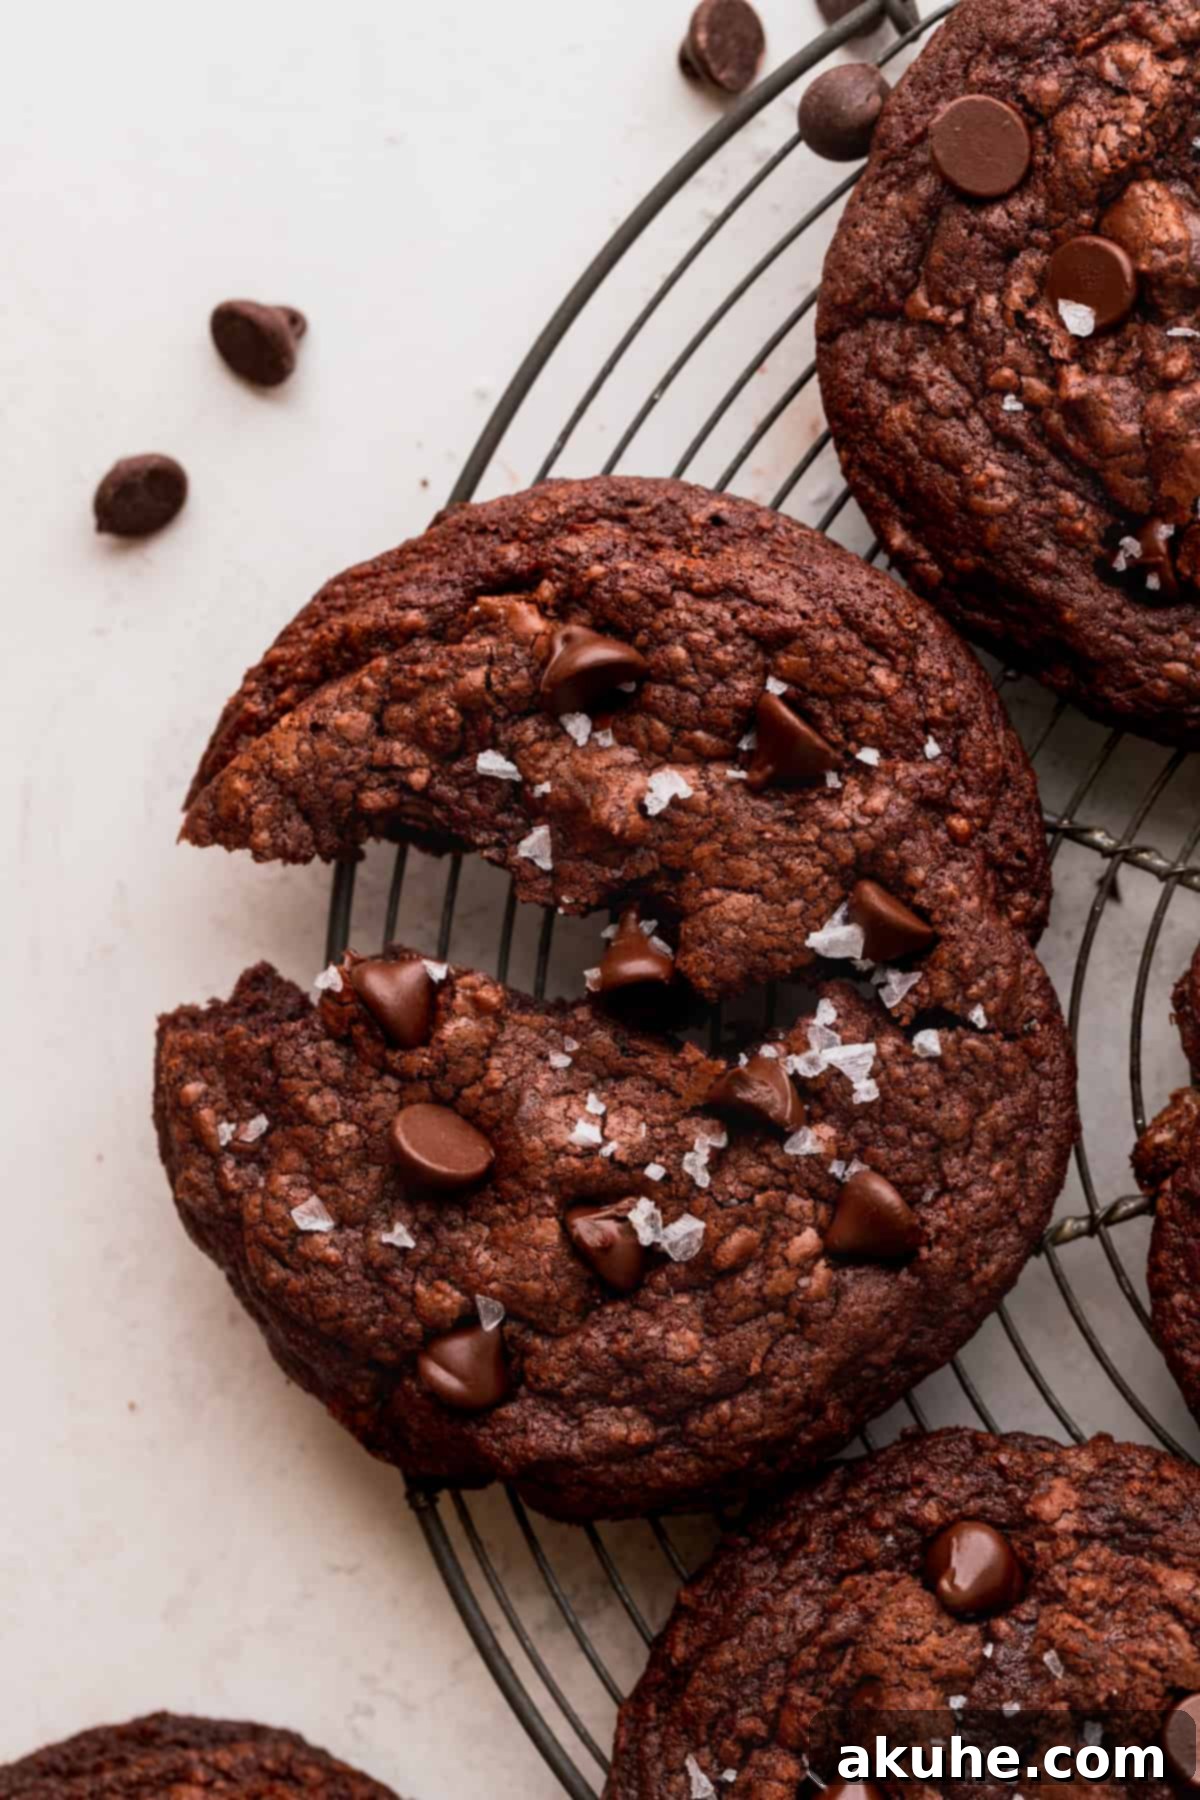
Understanding Your Ingredients: The Key to Perfect Brownie Crinkle Cookies
Each ingredient plays a crucial role in achieving the signature fudgy texture and rich flavor of these brownie crinkle cookies. Here’s a detailed look at what you’ll need and why it matters:
- Unsweetened Cocoa Powder: For the deepest chocolate flavor and a rich, dark color, we highly recommend using Dutch-process cocoa powder. Unlike natural cocoa powder, Dutch-process cocoa has been alkalized, which neutralizes its acidity and results in a smoother, less bitter chocolate taste. This also enhances the cookie’s deep, dark hue, making it visually more appealing. This particular brand is an excellent choice for superior results.
- Cornstarch: This may seem like an unusual addition to a cookie recipe, but cornstarch is a secret weapon for achieving that ultra-fudgy, almost chewy texture. It helps to tenderize the cookie dough and inhibits gluten development, contributing to a softer, more decadent crumb without making the cookies tough.
- Melted Chocolate (Semi-Sweet): The inclusion of melted chocolate alongside cocoa powder is what truly elevates the chocolate intensity of these cookies, giving them an authentic brownie-like depth. We used two bars of Lindt 70% chocolate, which provides a rich, slightly bittersweet profile that balances the sweetness. It’s crucial to melt the chocolate carefully and allow it to cool slightly before incorporating it into the wet ingredients to prevent scrambling the eggs or overheating the butter.
- Unsalted Butter: Always opt for unsalted butter in baking recipes to control the overall salt content. For optimal creaming with the sugars, the butter should be softened to room temperature. This means pulling it out of the refrigerator at least 1-2 hours before you plan to start baking. Properly softened butter incorporates air more effectively, leading to a lighter, more tender cookie.
- Brown Sugar (Light): Light brown sugar is essential for both flavor and texture. Its molasses content adds a subtle caramel note to the cookies and, more importantly, contributes significantly to their moistness and chewiness. Packed brown sugar helps maintain the soft, fudgy center that we’re aiming for in these brownie cookies.
- Large Eggs + Extra Egg Yolk: The two large eggs provide structure and moisture, while the additional egg yolk is the key to extra richness and fudginess. The egg yolk is primarily fat, which creates a more tender, less crumbly texture. Like butter, eggs should be at room temperature to ensure they emulsify properly with the other ingredients, leading to a smoother, more uniform dough.
- Chocolate Chips: Semi-sweet chocolate chips or dark chocolate chips are recommended for this recipe. They complement the intense chocolate base without making the cookies overly sweet, allowing the nuanced flavors of the cocoa powder and melted chocolate to shine. We advise against using milk chocolate chips, as they can make the cookies too sugary and detract from the rich brownie flavor. Feel free to use mini or regular-sized chips based on your preference.
Crafting Your Brownie Crinkle Cookies: A Step-by-Step Guide
Creating these sensational brownie crinkle cookies is a rewarding process. Follow these detailed instructions to achieve perfect, fudgy, and chewy results every time. For this recipe, a stand mixer with a paddle attachment or a reliable hand mixer will be your best friend.
STEP 1: Prepare Your Chocolate. Begin by finely chopping your semi-sweet chocolate bars into small, uniform pieces. Transfer the chopped chocolate to a microwave-safe bowl. Melt the chocolate in short bursts, typically 15-20 second intervals, stirring thoroughly after each interval. This gentle melting process prevents scorching and ensures a smooth, lump-free consistency. Once melted, set the chocolate aside to cool down to lukewarm temperature while you prepare the other ingredients. It must not be hot when added to the butter mixture.
STEP 2: Combine the Dry Ingredients. In a medium-sized mixing bowl, sift together the all-purpose flour and unsweetened cocoa powder. Sifting helps to eliminate lumps and ensures these dry ingredients are evenly distributed, contributing to a consistent cookie texture. After sifting, add the baking powder, cornstarch, and salt to the mixture. Whisk everything together briefly to ensure it’s well combined, then set this bowl aside.
STEP 3: Cream Butter and Sugars, Then Add Eggs. In the large bowl of your stand mixer (or using a hand mixer), combine the softened unsalted butter, light brown sugar, and white granulated sugar. Beat these on high speed for about 1-2 minutes until the mixture is light, fluffy, and well combined. This creaming process incorporates air, which is crucial for the cookies’ texture and helps create that iconic crinkle top. Next, crack in the two large eggs and the additional large egg yolk. Continue beating on high speed for another 2-3 minutes. This extended beating with the eggs is a vital step, as it creates an emulsion that traps air, contributing significantly to the signature crackly top and chewy texture of your cookies.
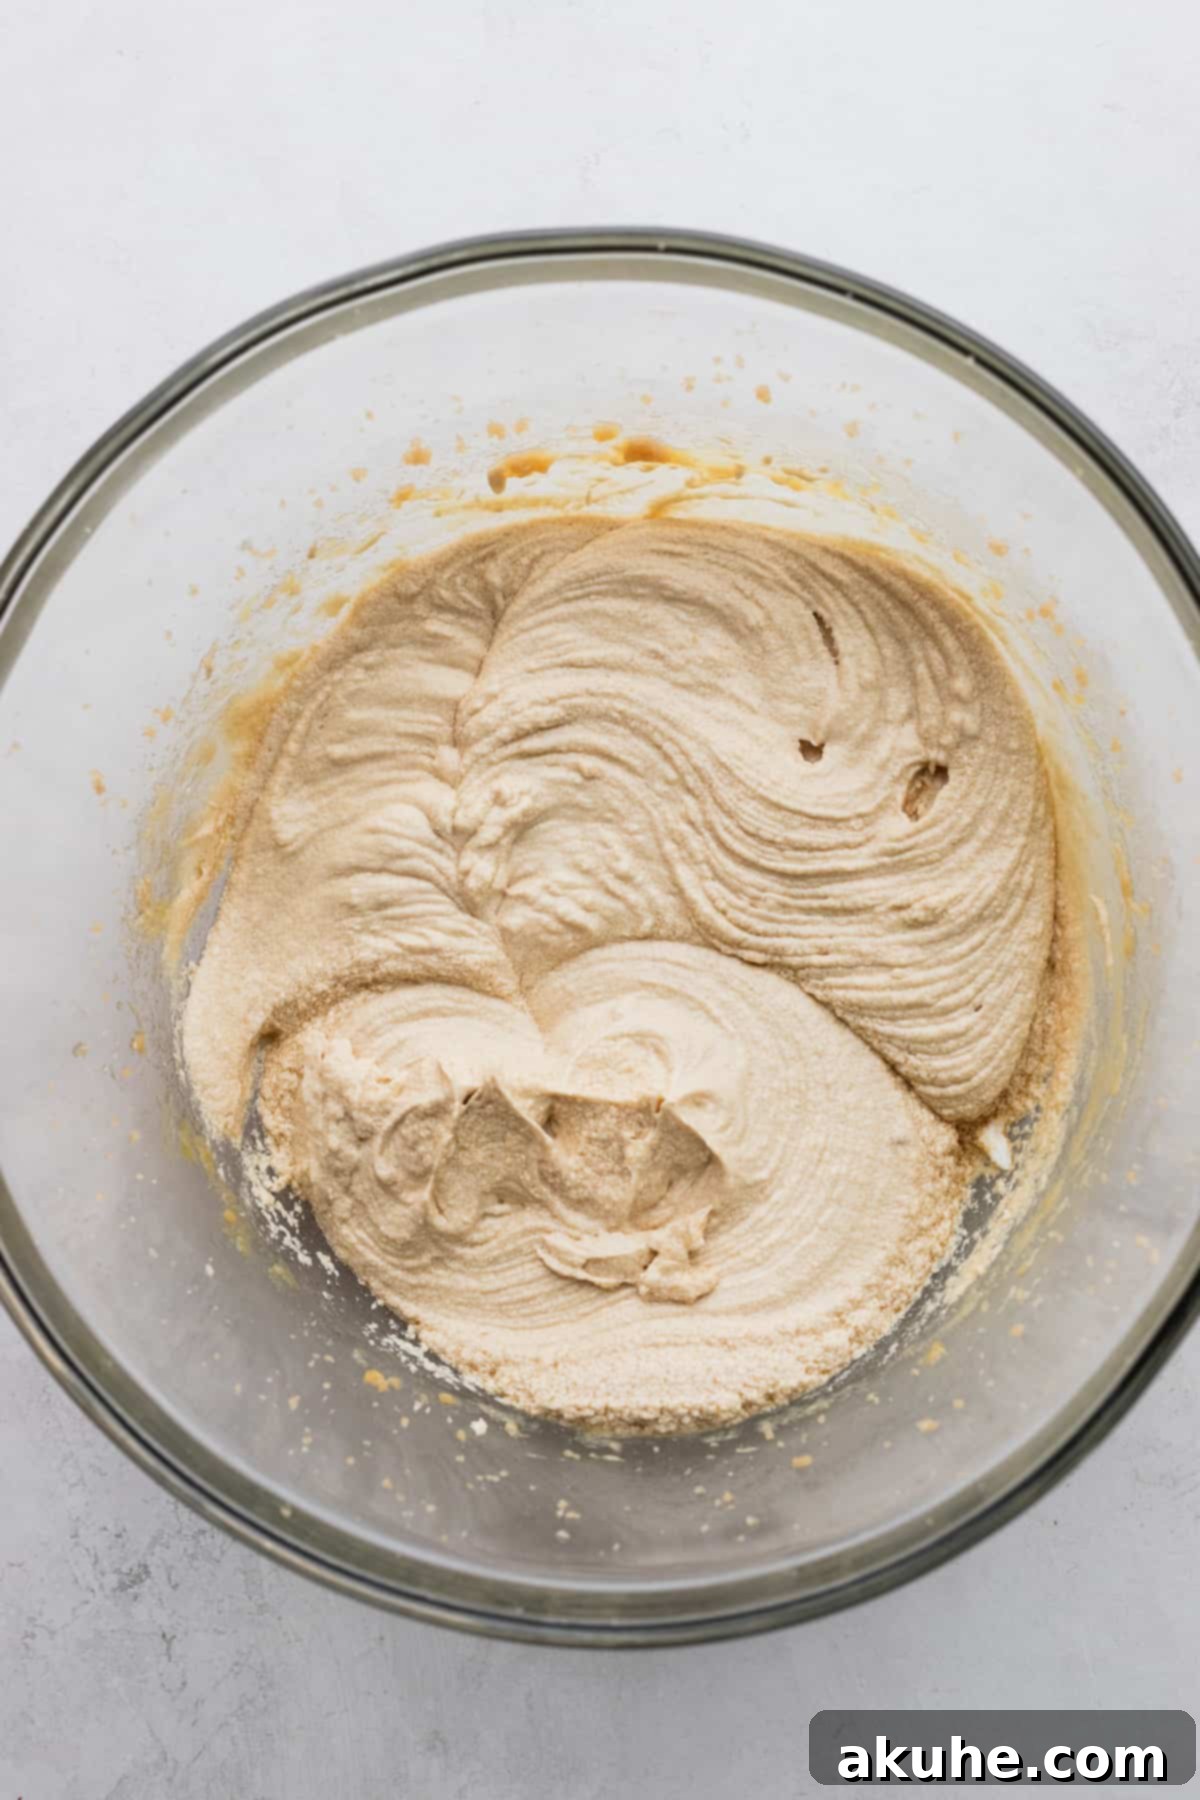
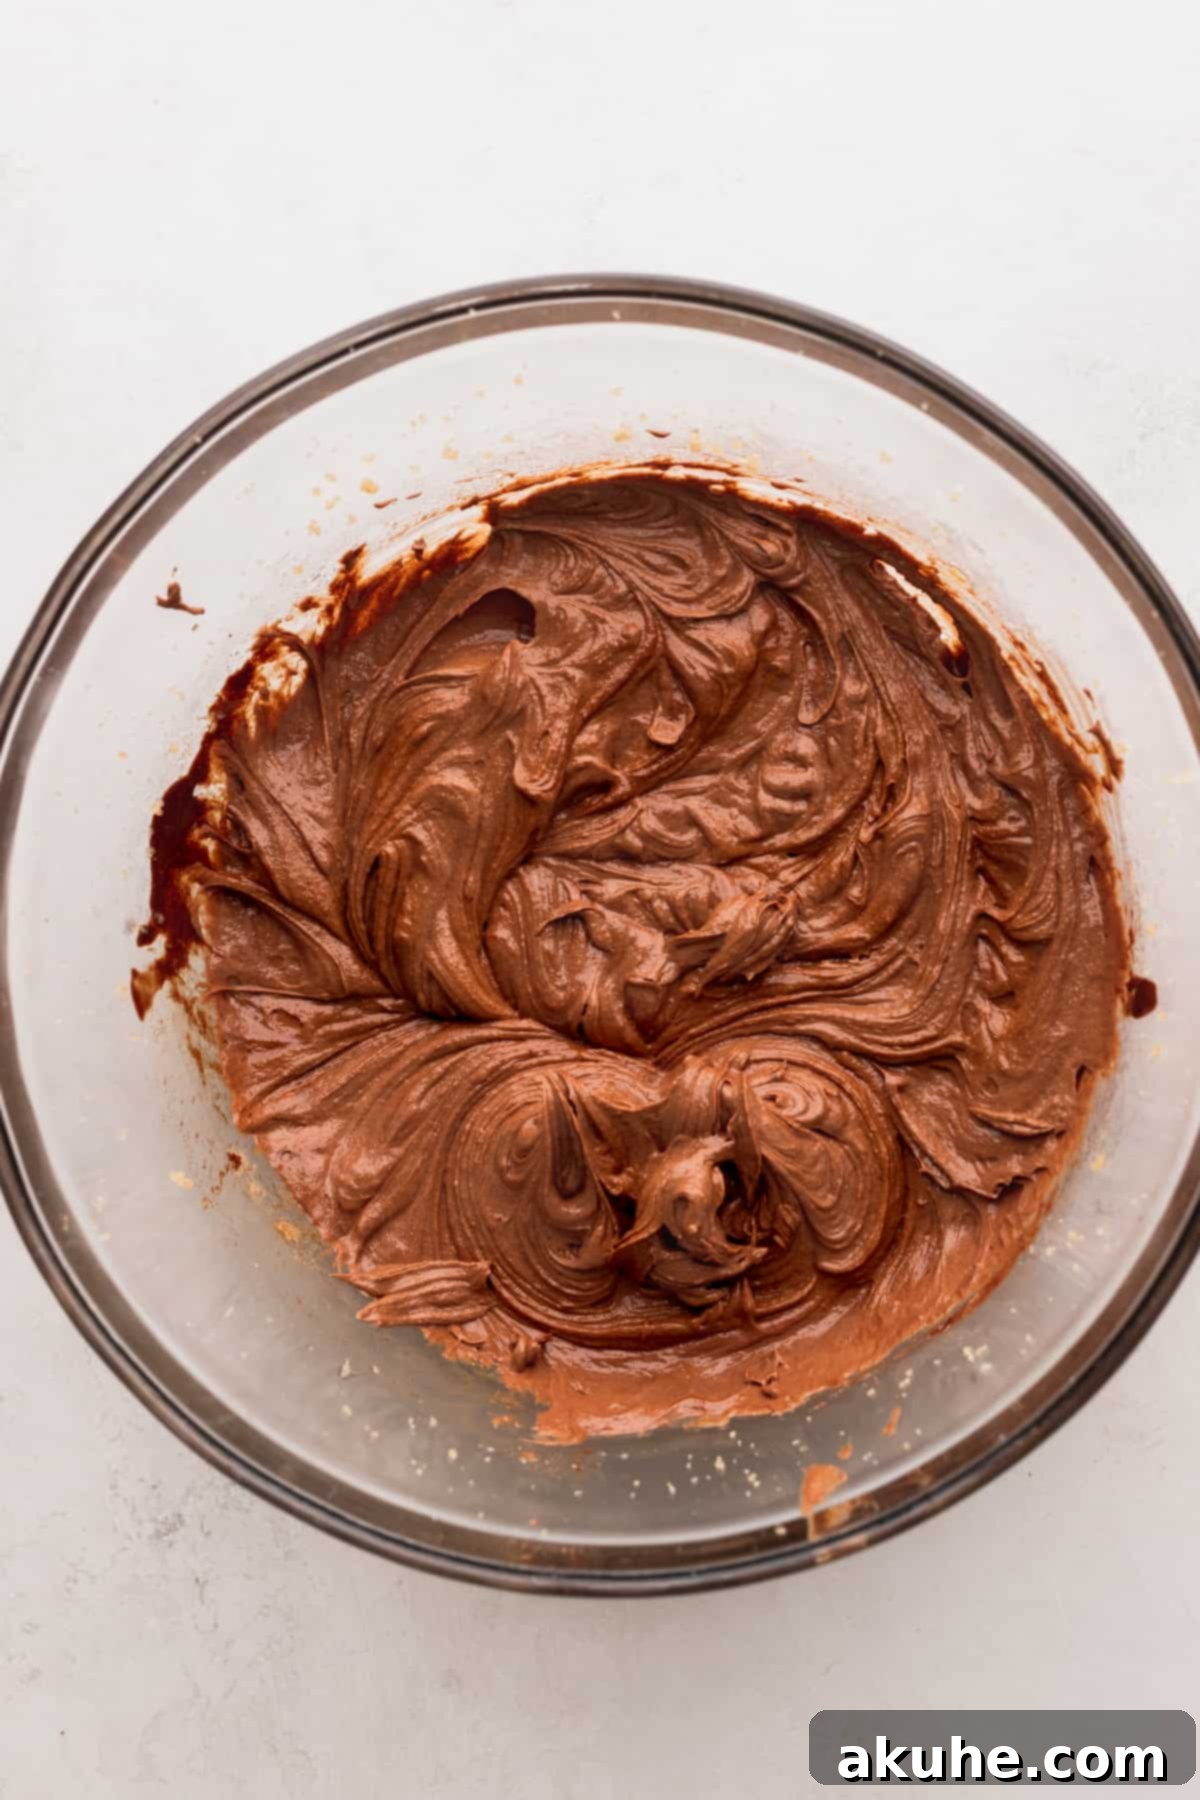
STEP 4: Incorporate Wet Flavorings. Reduce the mixer speed to low. Carefully pour in the cooled melted chocolate and the pure vanilla extract. Mix until these wet ingredients are just combined. The mixture will take on a beautiful light chocolate color and a smooth consistency. Be careful not to overmix at this stage; simply combine until no streaks of chocolate remain.
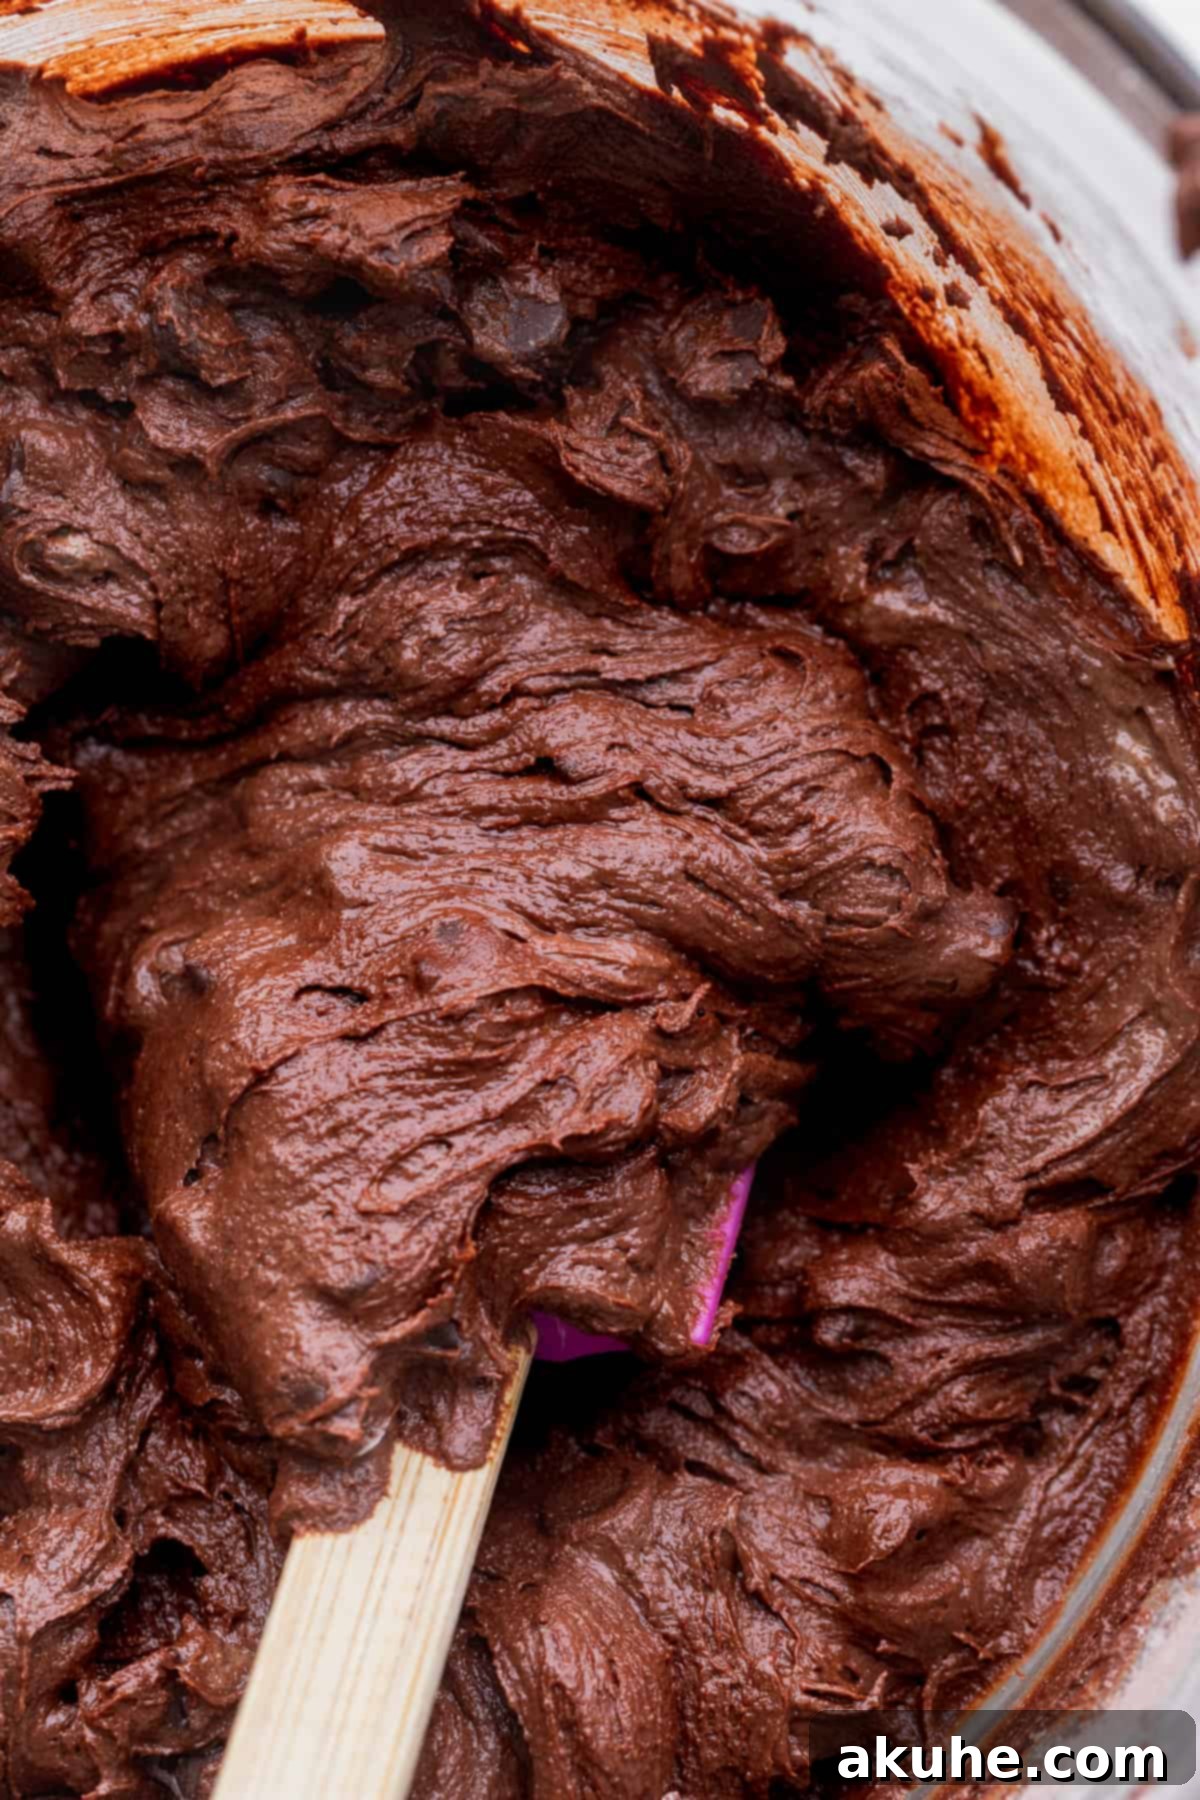
STEP 5: Gently Add Dry Ingredients and Chocolate Chips. With the mixer still on low speed, gradually add the reserved dry ingredient mixture to the wet mixture. Mix only until the flour streaks have almost disappeared. Overmixing flour develops gluten, which can lead to tough cookies. Once the dry ingredients are mostly incorporated, fold in the semi-sweet chocolate chips using a rubber spatula or mix briefly on the lowest speed. Be sure to scrape down the sides and bottom of the bowl with your spatula to ensure all ingredients are fully integrated without overworking the dough.
STEP 6: Chill the Dough Briefly. Cover the bowl with plastic wrap or transfer the dough to an airtight container. Place the cookie dough in the refrigerator for a brief chill of 10-15 minutes. This short chilling period is crucial; it helps to firm up the butter, preventing the cookies from spreading too much during baking and ensuring they maintain their fudgy, chewy texture. While the dough chills, preheat your oven to 350°F (175°C) and line two baking sheets with parchment paper.
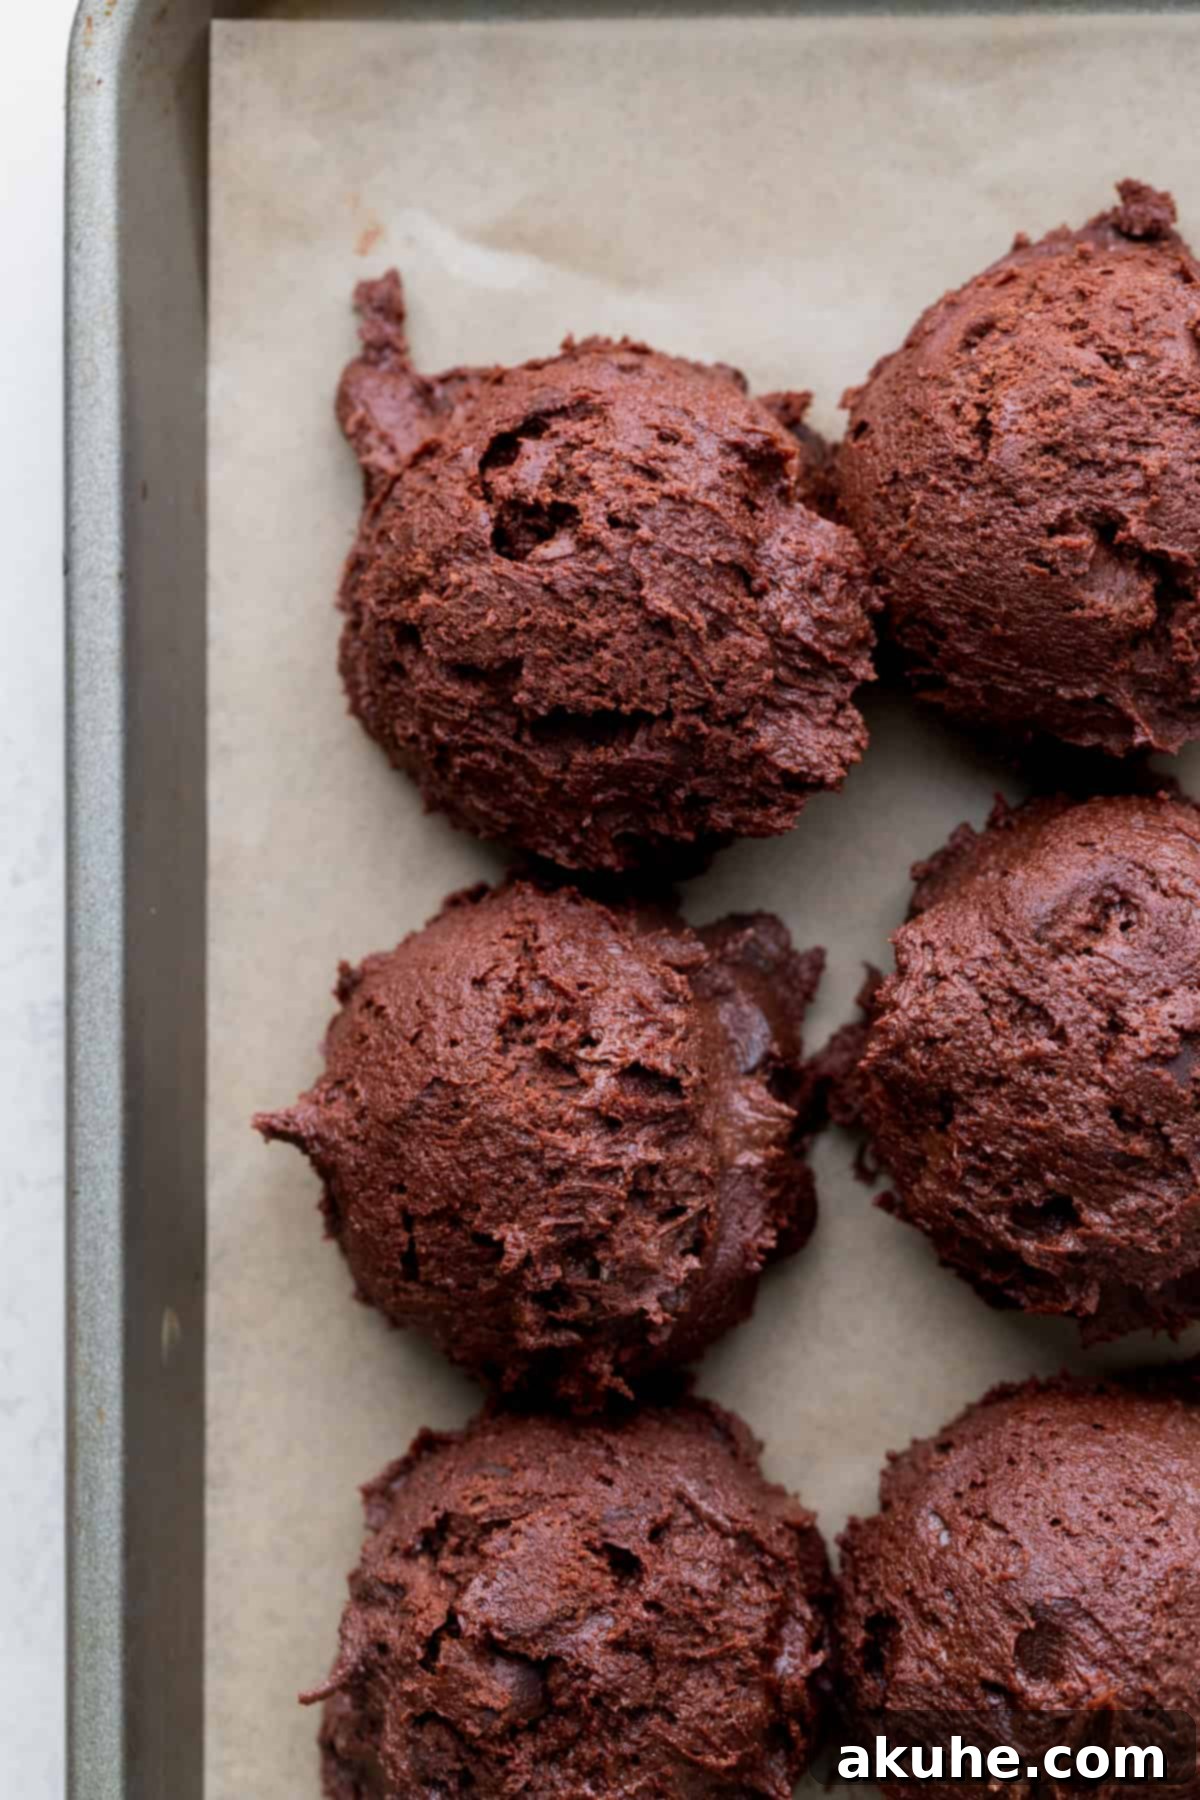
STEP 7: Scoop and Prepare for Baking. Once the dough is chilled, use a large cookie scoop (approximately 3 tablespoons or 2 ounces) to scoop uniform balls of dough. Place 6 cookie dough balls evenly spaced on each parchment-lined baking sheet. Crowding the baking sheet can lead to uneven baking and prevent the cookies from spreading properly. Optionally, press a few extra chocolate chips onto the top of each scooped dough ball for an even more enticing appearance after baking.
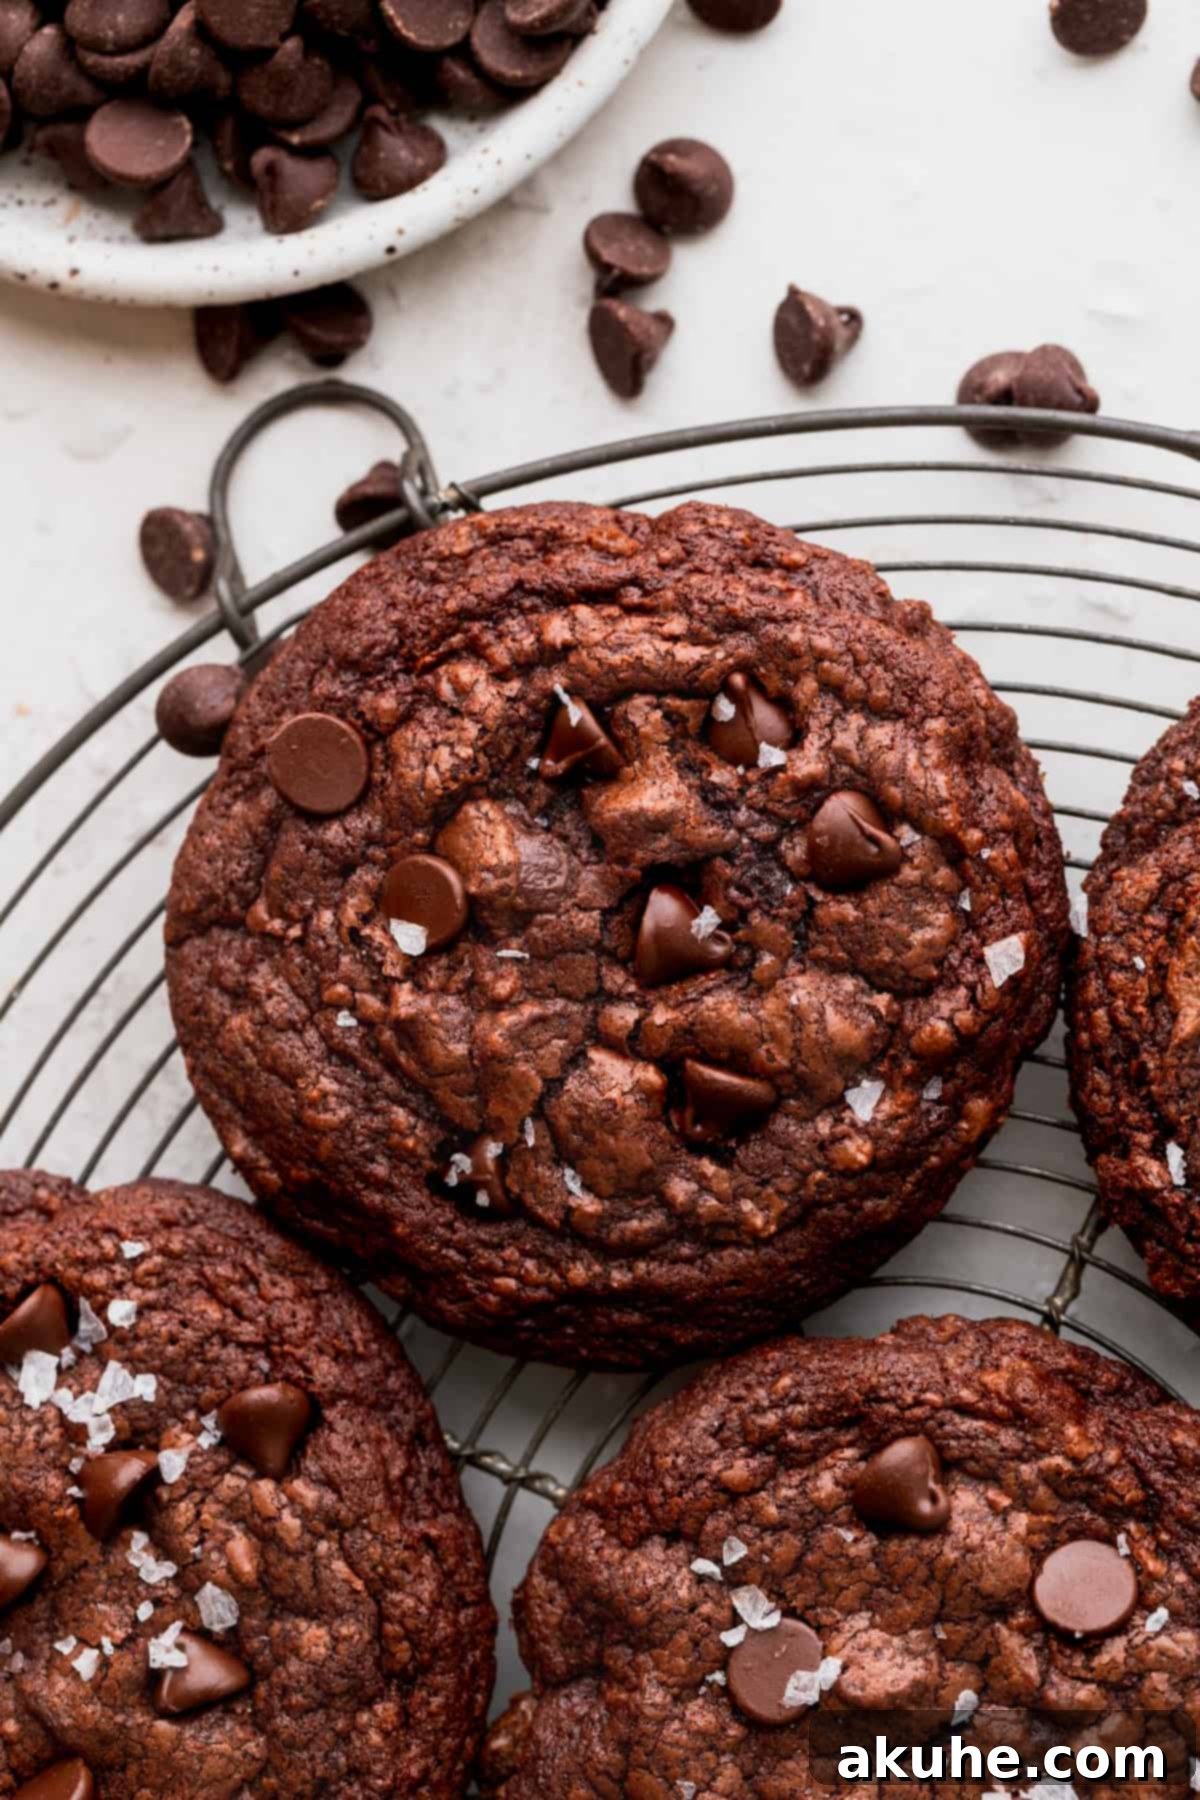
STEP 8: Bake to Perfection. Bake one prepared baking sheet at a time in your preheated oven for 12-14 minutes. The cookies are ready when their edges are set and appear slightly crisp, but the centers still look slightly soft and gooey. This slight underbaking is key to achieving that signature fudgy and chewy interior once the cookies have cooled. Once out of the oven, allow the cookies to rest on the hot baking sheet for 5 minutes. This allows them to set further and continue cooking gently from residual heat. After 5 minutes, carefully transfer them to a wire rack to cool completely.
Achieving Brownie Crinkle Cookie Perfection: Expert Tips and Tricks
Elevate your brownie crinkle cookies from good to extraordinary with these essential baking tips:
- Accurate Flour Measurement is Key: The most common baking mistake is incorrectly measuring flour. To ensure your cookies have the perfect texture and spread, always “spoon and level” your flour. Gently spoon the flour into your measuring cup until it overflows, then level it off with a straight edge (like the back of a knife). Do not scoop flour directly from the bag, as this compacts it and can add too much flour, resulting in dense, dry cookies that don’t spread properly. For ultimate precision, consider using a kitchen scale to measure ingredients by weight.
- Troubleshooting Cookie Spreading Issues: If your cookies are spreading more than desired, several factors could be at play. First, ensure you are always baking on parchment paper-lined baking sheets; this helps with even heat distribution and prevents sticking. If spreading persists, double-check your butter temperature – if it’s too soft or melted, your cookies will spread excessively. Ensure your oven temperature is accurate; an oven that’s too cool can also cause spreading. Finally, if all else fails, a slightly longer chill time for the cookie dough balls (15-20 minutes) can help firm them up before baking.
- Baking at High Altitude: For bakers living at high altitudes (typically 3,500 feet/1,067 meters or higher), cookie recipes often require slight adjustments. The lower atmospheric pressure causes baked goods to rise more quickly and spread more. To counteract this, add an extra 1 tablespoon of all-purpose flour to your dry ingredients. This small adjustment will help the cookies hold their shape and prevent over-spreading.
- Embrace the Underbaked Center for Maximum Fudginess: The secret to a truly fudgy and chewy brownie cookie is to bake them until they are slightly underdone. When you pull them from the oven, the centers should still look a little soft and perhaps even shiny. They will continue to cook from the residual heat of the baking sheet as they cool (this is called carry-over baking). This technique is crucial for achieving that wonderfully moist, gooey, and chewy interior that defines a perfect brownie cookie.
- Achieve Bakery-Perfect Circles and Top with Flair: For that professional, perfectly round cookie shape, try this trick: immediately after removing the hot cookies from the oven, use a large biscuit cutter (or an overturned glass) that is slightly larger than your cookies. Place it around each cookie and gently swirl it to nudge the edges into a neat circle. While the cookies are still warm and gooey, press a few extra chocolate chips onto their tops, and if you’re feeling fancy, sprinkle a pinch of flaky sea salt. The salt enhances the chocolate flavor and adds a delightful textural contrast.
Frequently Asked Questions About Brownie Crinkle Cookies
Absolutely, you can adjust the size! While these cookies are truly impressive baked large (approximately 3 tablespoons of dough), you can certainly make them smaller. For a more petite bite, use a small cookie scoop (about 1.5 tablespoons). You’ll be able to fit more cookies per baking sheet, roughly 12 dough balls per sheet. Remember to adjust your baking time accordingly; smaller cookies will bake faster, usually needing 8-11 minutes. Keep a close eye on them to prevent overbaking and losing their fudgy texture.
Yes, freezing the cookie dough is an excellent way to prepare ahead and enjoy fresh-baked cookies whenever a craving strikes! Once you’ve scooped the cookie dough into balls, arrange them on a baking sheet and freeze for about an hour until firm. Then, transfer the frozen dough balls to an airtight container or a freezer-safe bag. They can be stored in the freezer for up to 30 days. When you’re ready to bake, simply place the frozen dough balls on a parchment-lined baking sheet and let them thaw at room temperature for about 30-60 minutes before baking as directed. You might need to add an extra minute or two to the bake time if they’re still quite cold.
Chilling the cookie dough overnight is a fantastic idea, as it often deepens the flavors and results in an even better texture. If you plan to chill the dough overnight, we recommend forming the cookie dough into balls first. This way, they’re ready to bake with minimal fuss the next day. Arrange the scooped dough balls on a plate or small baking sheet, cover them tightly with plastic wrap, and refrigerate. Before baking, ensure the dough balls come to room temperature for about 30-60 minutes. Baking cold dough directly from the fridge can lead to uneven spreading and potentially overbaking the edges before the center is cooked through.
Storing and Freezing Your Brownie Crinkle Cookies
Ensuring your delicious brownie crinkle cookies stay fresh and enjoyable is simple with these storage and freezing tips.
To keep your freshly baked cookies at their best, store them in an airtight container at room temperature. They will maintain their incredible fudgy and chewy texture for up to 5 days. For optimal freshness, place a slice of bread in the container with the cookies; the bread will absorb moisture, helping to keep the cookies soft.
Freezing Baked Brownie Crinkle Cookies
If you’ve baked a large batch or simply want to enjoy these treats at a later date, freezing baked cookies is a great option. Allow the cookies to cool completely on a wire rack before freezing. Once cooled, place them in an airtight, freezer-safe container, separating layers with parchment paper to prevent sticking. They can be frozen for up to 30 days without compromising their quality. When you’re ready to indulge, simply remove the desired number of cookies from the freezer and let them thaw at room temperature for 1-2 hours. For an extra treat, you can warm them slightly in the microwave for a few seconds to restore a just-baked warmth.
More Decadent Brownie & Chocolate Cookie Recipes to Explore
If you’ve fallen in love with these brownie crinkle cookies, you’ll surely enjoy exploring other rich, chocolate-filled delights. Dive into our collection of brownie and chocolate cookie recipes to discover new favorites and expand your baking repertoire!
We love hearing from you! If you adored this recipe, please take a moment to leave a STAR REVIEW below. Share your creations on Instagram and tag us @stephaniesweettreats. For more delicious ideas and baking inspiration, make sure to follow us on Pinterest.

★
★
★
★
Brownie Crinkle Cookies
Print Recipe
Pin Recipe
Leave a Review
15
13
10
38
14 Large cookies
Ingredients
- 1 cup All-purpose flour
- 1/3 cup Unsweetened cocoa powder, Use Dutch-process cocoa powder for best results
- 1 tsp Salt
- 1 tsp Cornstarch
- 8 oz Semi-sweet chocolate bars, melted and cooled (e.g., Lindt 70% chocolate)
- 1/2 cup Unsalted butter, room temperature
- 1 cup Brown sugar, packed light brown sugar
- 1/3 cup White granulated sugar
- 2 Large eggs, room temperature
- 1 Large egg yolk, room temperature
- 2 tsp Pure vanilla extract
- 1 1/2 cups Semi-sweet chocolate chips
- Flaky sea salt, optional, for topping
Instructions
- In a medium bowl, sift together the all-purpose flour and cocoa powder. Add the salt and cornstarch, then whisk to combine and set aside.
- Melt the chopped chocolate bars in a microwave-safe bowl using 20-second intervals, stirring well between each, until smooth. Let the melted chocolate cool to lukewarm.
- Using a mixer with a whisk attachment, beat the softened butter, brown sugar, and granulated sugar on high speed for 2 minutes until light and fluffy. Add the room temperature eggs and egg yolk, then beat on high for another 3 minutes until pale and airy.
- Switch to a paddle attachment if using a stand mixer. Add the cooled melted chocolate and vanilla extract, mixing on high speed until fully combined. Reduce speed to low, gradually add the dry ingredients, and mix until just combined. Fold in the chocolate chips.
- Preheat oven to 350°F (175°C). Line two cookie sheets with parchment paper. Place the cookie dough in the fridge for 10-15 minutes while the oven preheats for a brief chill.
- Use a 2oz (3 tablespoon) cookie scoop to portion 6 cookie dough balls per baking sheet. Optionally, press extra chocolate chips onto the tops.
- Bake one cookie sheet at a time for 12-13 minutes, or until the edges are set and the centers still look slightly soft and fudgy.
- Upon removing from the oven, top with additional chocolate chips and a pinch of flaky sea salt if desired. Let the cookies cool on the hot pan for 5 minutes before transferring them to a wire rack to cool completely.
Notes
High Altitude Baking: If you live at a high altitude, add an extra 1 tablespoon of all-purpose flour to your dry ingredients to help with the cookies’ structure and prevent excessive spreading.
Room Temperature Ingredients: For best results, ensure all dairy ingredients (butter, eggs) are at room temperature. Take them out of the refrigerator approximately 2 hours before you plan to start baking. This aids in better emulsification and a smoother, more uniform dough.
Did you make this recipe?Please leave a star rating and review below!
