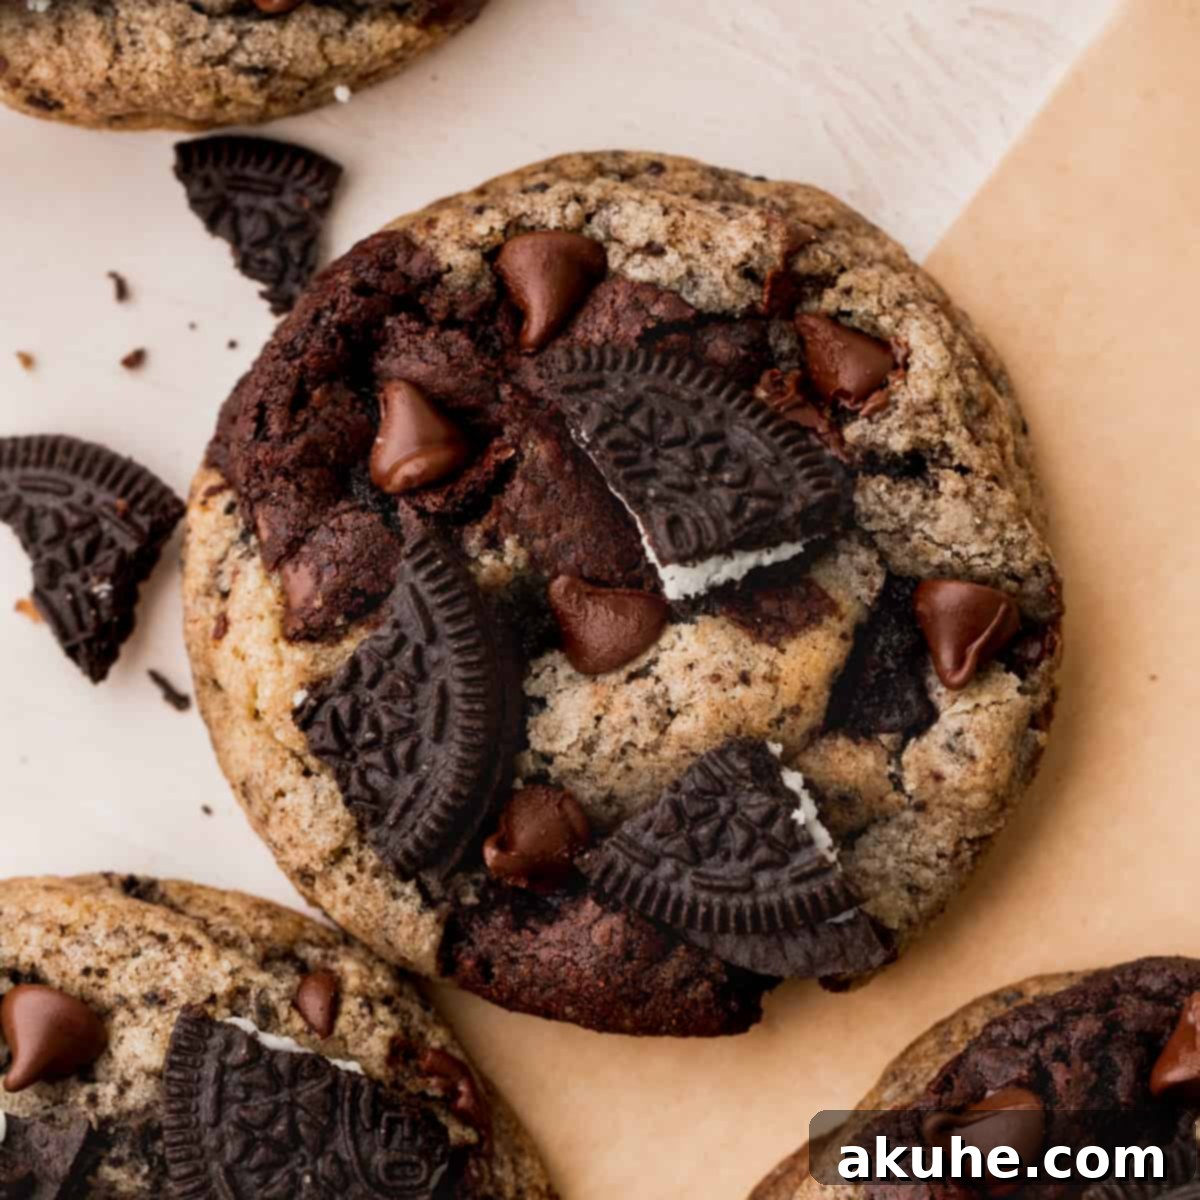
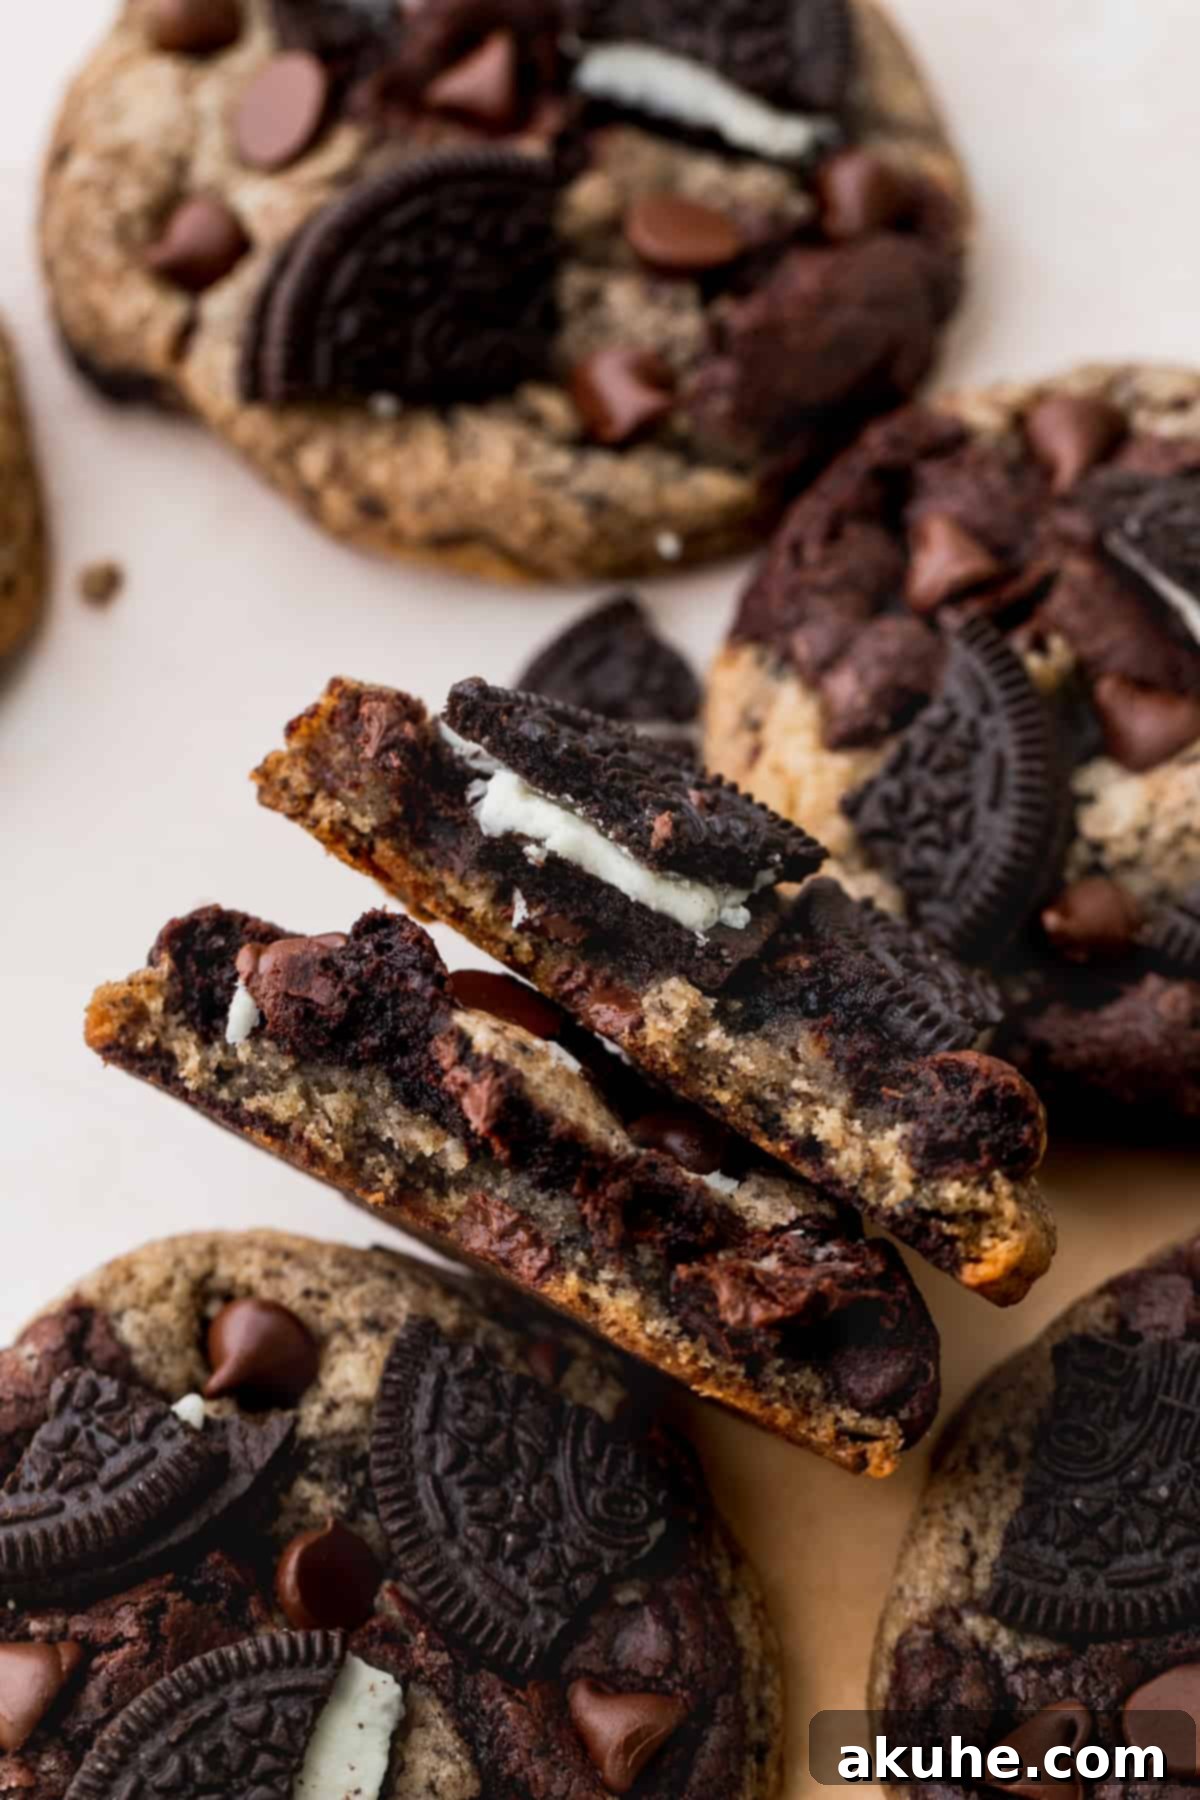
Prepare to embark on a truly sensational baking journey with these incredible Oreo Brookies! Imagine the rich, decadent fudge of a brownie perfectly fused with the comforting, chewy delight of an Oreo chocolate chip cookie, all masterfully combined into one extraordinary treat. These aren’t just cookies; they’re an experience – a symphony of textures and flavors that will captivate any chocolate and cookie enthusiast. Each bite offers a blissful combination of fudgy centers, crisp edges, and an abundance of chocolate chips and crunchy Oreo pieces. Forget choosing between your favorite desserts; these brookies deliver the best of both worlds, making them the ultimate indulgence for any occasion.
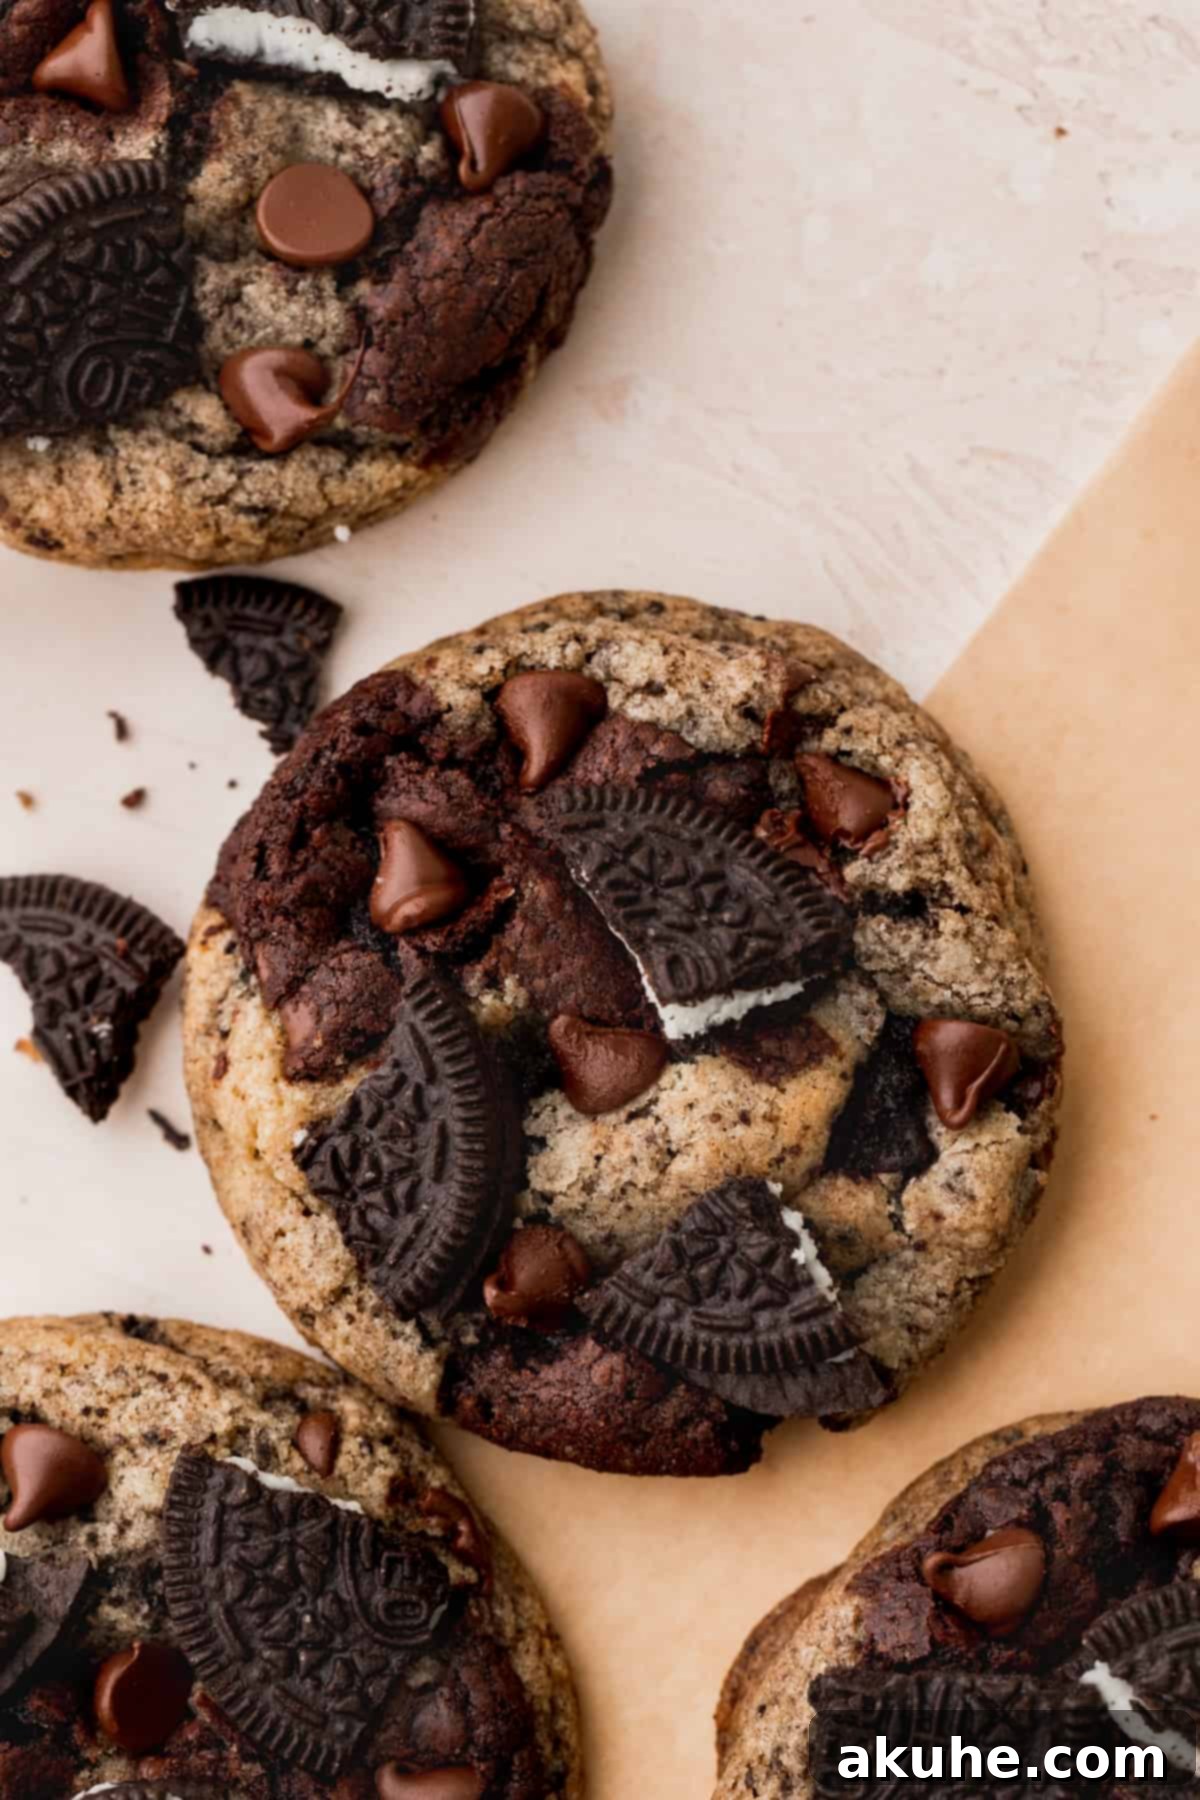
This unique recipe is a brilliant fusion, thoughtfully combining my beloved Oreo brownie cookie recipe with my irresistibly chewy Oreo chocolate chip cookies. The result is a truly remarkable cookie creation that brings together the best attributes of both. The deep, intense chocolate flavor and fudgy texture of the brownie dough intertwine with the sweet, vanilla-infused chewiness of the chocolate chip cookie dough, creating a harmonious blend that’s simply irresistible. This inventive approach eliminates the need to decide between two classic treats, offering a singular, elevated dessert experience that is sure to become a new favorite.
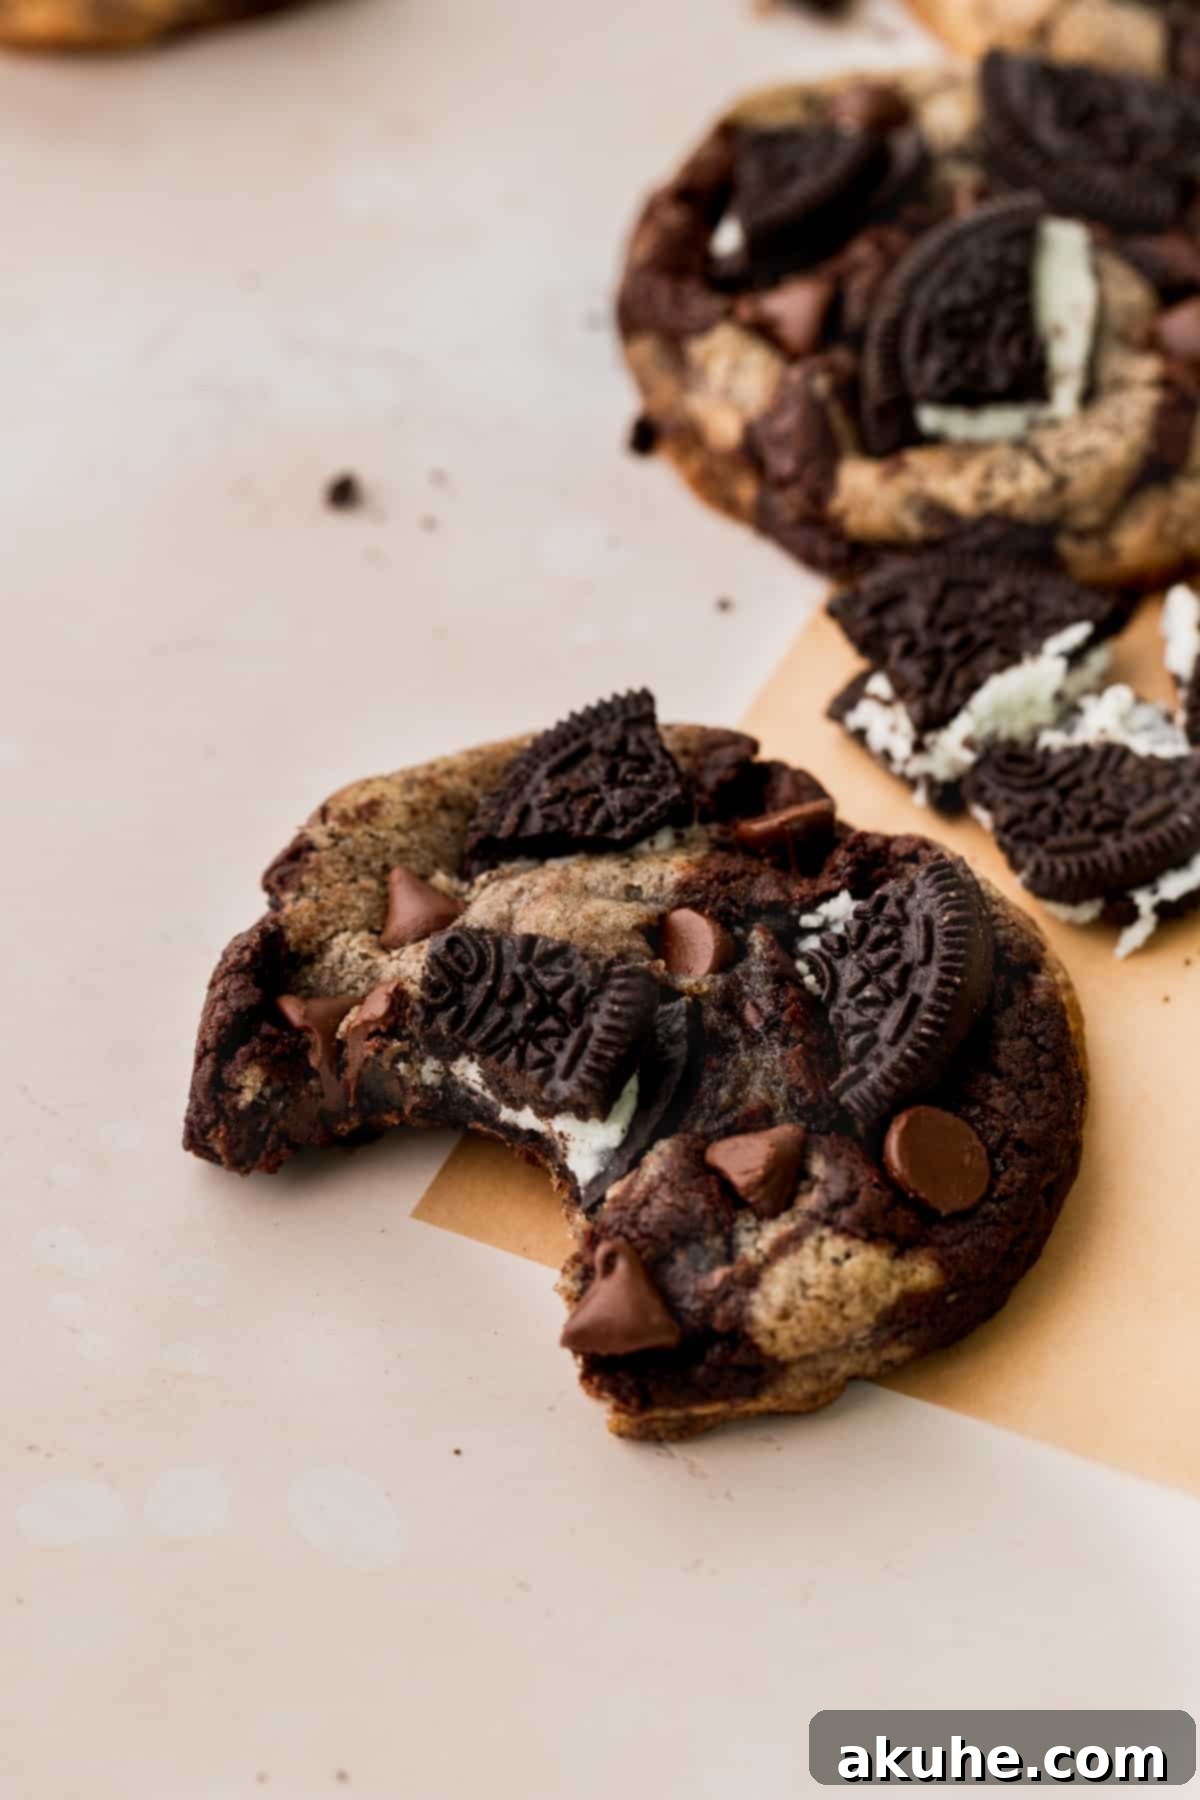
For me, bringing these two cherished cookie recipes together into a single, cohesive treat has been a dream come true! Unlike traditional brookie bars baked in a pan, this recipe delivers individual cookies, each boasting a perfectly chewy texture with those delightful, slightly crisp edges that bakers adore. The distinct swirling of the two doughs not only creates a visually appealing marble effect but also ensures a complex flavor profile in every bite. This recipe is an absolute must-try for any chocolate lover, promising a deeply satisfying and intensely flavorful cookie that stands out from the crowd. Whether you’re a seasoned baker or just starting, these brookies are designed to impress and deliver pure joy.
If you find yourself craving more delightful Oreo creations, be sure to explore other fantastic recipes like our rich Oreo Cheesecake Brownies, charming Mini Oreo Cheesecakes, and celebratory Oreo Cupcakes. Each offers a unique way to enjoy the classic cookie everyone loves.
Why These Oreo Brookies Are a Must-Try
These Oreo Brookies aren’t just another cookie recipe; they’re a carefully crafted indulgence designed to deliver maximum flavor and texture. Here’s why this particular recipe stands out and guarantees a baking success:
- Drop Cookies, Not Bars: While many brookie recipes lead to a dense, pan-baked bar, our approach transforms this decadent combo into individual, perfectly portioned drop cookies. This unique method results in a superior texture, offering those desirable crisp edges and wonderfully chewy centers that are often harder to achieve in a bar form. It’s a next-level cookie experience that elevates the humble brookie.
- Signature Oreo Brownie Cookie Dough: The brownie component of these brookies is truly special. It’s an incredibly rich, intensely chocolatey dough, generously studded with both chocolate chips and finely crushed Oreos. This dough provides that signature fudgy texture and deep cocoa flavor, making each swirl a bite of pure chocolate bliss. Despite its richness, it bakes up beautifully with a slight crinkle top, reminiscent of a perfect brownie.
- Perfectly Chewy Oreo Chocolate Chip Cookie Dough: Complementing the brownie is a classic, tender, and chewy chocolate chip cookie dough, brimming with even more Oreo pieces and chocolate chips. This vanilla-infused dough provides a delightful contrast in flavor and texture, contributing to the cookie’s structural integrity and ensuring those beloved crisp edges. It’s like having a fudgy brownie cookie merged with your favorite chocolate chip cookie.
- Artful Swirled Design: Achieving the beautiful swirled effect is surprisingly simple and creates a visually stunning cookie. By combining equal scoops of each dough and gently swirling them by hand before baking, you ensure every cookie is a unique masterpiece. This swirling technique ensures that each bite delivers a balanced taste of both the fudgy brownie and the chewy chocolate chip cookie.
- Unbeatable Chewy Texture: The magic of these brookies lies in their perfect chewiness. The combination of both doughs creates a soft, yielding center that remains moist and fudgy, while the edges bake to a satisfying crispness. This textural interplay is what makes these cookies so incredibly addictive and sets them apart from standard cookies or brownies.
Essential Ingredient Notes for Perfect Brookies
Success in baking often comes down to understanding your ingredients. Here are some detailed notes to ensure your Oreo Brookies turn out perfectly. For a complete list of quantities, please refer to the recipe card further down this page.
- Quality Chocolate Bar: The choice of chocolate significantly impacts the depth of flavor in your brownie cookie dough. I highly recommend using a high-quality dark chocolate bar, specifically one with about 70% cocoa content, such as Lindt. Melting it gently in the microwave is key; do so in short bursts, stirring well in between, to prevent scorching. Crucially, allow the melted chocolate to cool slightly before incorporating it into your butter mixture. Adding hot chocolate can prematurely melt your butter, leading to an oily dough and a less desirable cookie texture.
- Unsweetened Cocoa Powder: For an exceptionally rich and deep chocolate flavor in your brownie portion, Dutch-process cocoa powder is the superior choice. This type of cocoa has been treated with an alkali to neutralize its acidity, resulting in a darker color and a smoother, less bitter chocolate taste. While natural cocoa can work, Dutch-process truly elevates the brownie’s intensity.
- Unsalted Butter: Butter temperature is paramount for both doughs. For the brownie cookies, ensure your unsalted butter is at true room temperature (soft enough to indent with a finger, but not greasy or melted). This usually requires pulling it out of the refrigerator at least two hours before you plan to bake. For the Oreo chocolate chip cookies, the recipe calls for melted and cooled butter. It’s vital that it cools back down to room temperature; if the butter is too warm when added, it can cause your cookies to spread excessively during baking, resulting in flat, crispy cookies instead of chewy ones.
- Brown Sugar: I use light brown sugar in this recipe. Its molasses content contributes to a softer, chewier cookie with a richer, more caramel-like flavor compared to white sugar alone. Ensure it’s packed firmly when measuring to get the correct amount. Both light and dark brown sugar will work, with dark brown sugar offering a slightly more pronounced molasses flavor.
- Eggs: Large eggs should also be at room temperature. Room temperature eggs emulsify more effectively with other ingredients, creating a smoother, more uniform dough structure. This leads to a better rise and a more consistent texture in your final baked goods. Take them out of the fridge at least 30 minutes to an hour beforehand.
- Chocolate Chips: To complement the sweetness of the Oreos, I recommend using semi-sweet or dark chocolate chips. These offer a pleasant contrast and prevent the cookies from becoming overly sweet. Milk chocolate chips might be too sugary when combined with the already sweet Oreo cookies, potentially overwhelming the balance of flavors.
- Oreos: Stick to regular Oreos for this recipe. While Double Stuf Oreos are tempting, the extra cream filling can introduce too much moisture into the dough, altering its consistency and potentially leading to a softer, less structured cookie. We need regular Oreos for their perfect crumb-to-cream ratio, which is ideal for both the crushed pieces and the fine crumbs.
Step-by-Step Instructions: Crafting the Oreo Chocolate Chip Cookie Dough
To achieve the perfect balance in these brookies, we’ll prepare each dough separately. This recipe benefits from a stand mixer with a paddle attachment or an electric hand mixer for the brownie cookie batter, while the Oreo chocolate chip cookie dough can be easily made by hand, which helps prevent overmixing.
It’s best to start with the Oreo chocolate chip cookie dough first, as the brownie cookie dough will require a short chilling period. This sequence streamlines the process and ensures both doughs are ready when it’s time to combine them.
STEP 1: Prepare the Dry Ingredients. In a medium-sized mixing bowl, thoroughly whisk together the all-purpose flour, baking powder, baking soda, and salt. Whisking ensures these leavening agents and seasonings are evenly distributed throughout the flour, which is crucial for uniform cookie texture and rise. Set this bowl aside for later use.
STEP 2: Combine the Wet Ingredients. In a large mixing bowl, combine the melted and cooled unsalted butter, light brown sugar, granulated white sugar, pure vanilla extract, and one large room-temperature egg. Using a sturdy rubber spatula, mix these ingredients together until they are well combined and smooth. Ensure there are no lumps of sugar remaining. This mixture will form the rich, flavorful base for your chocolate chip cookie dough.
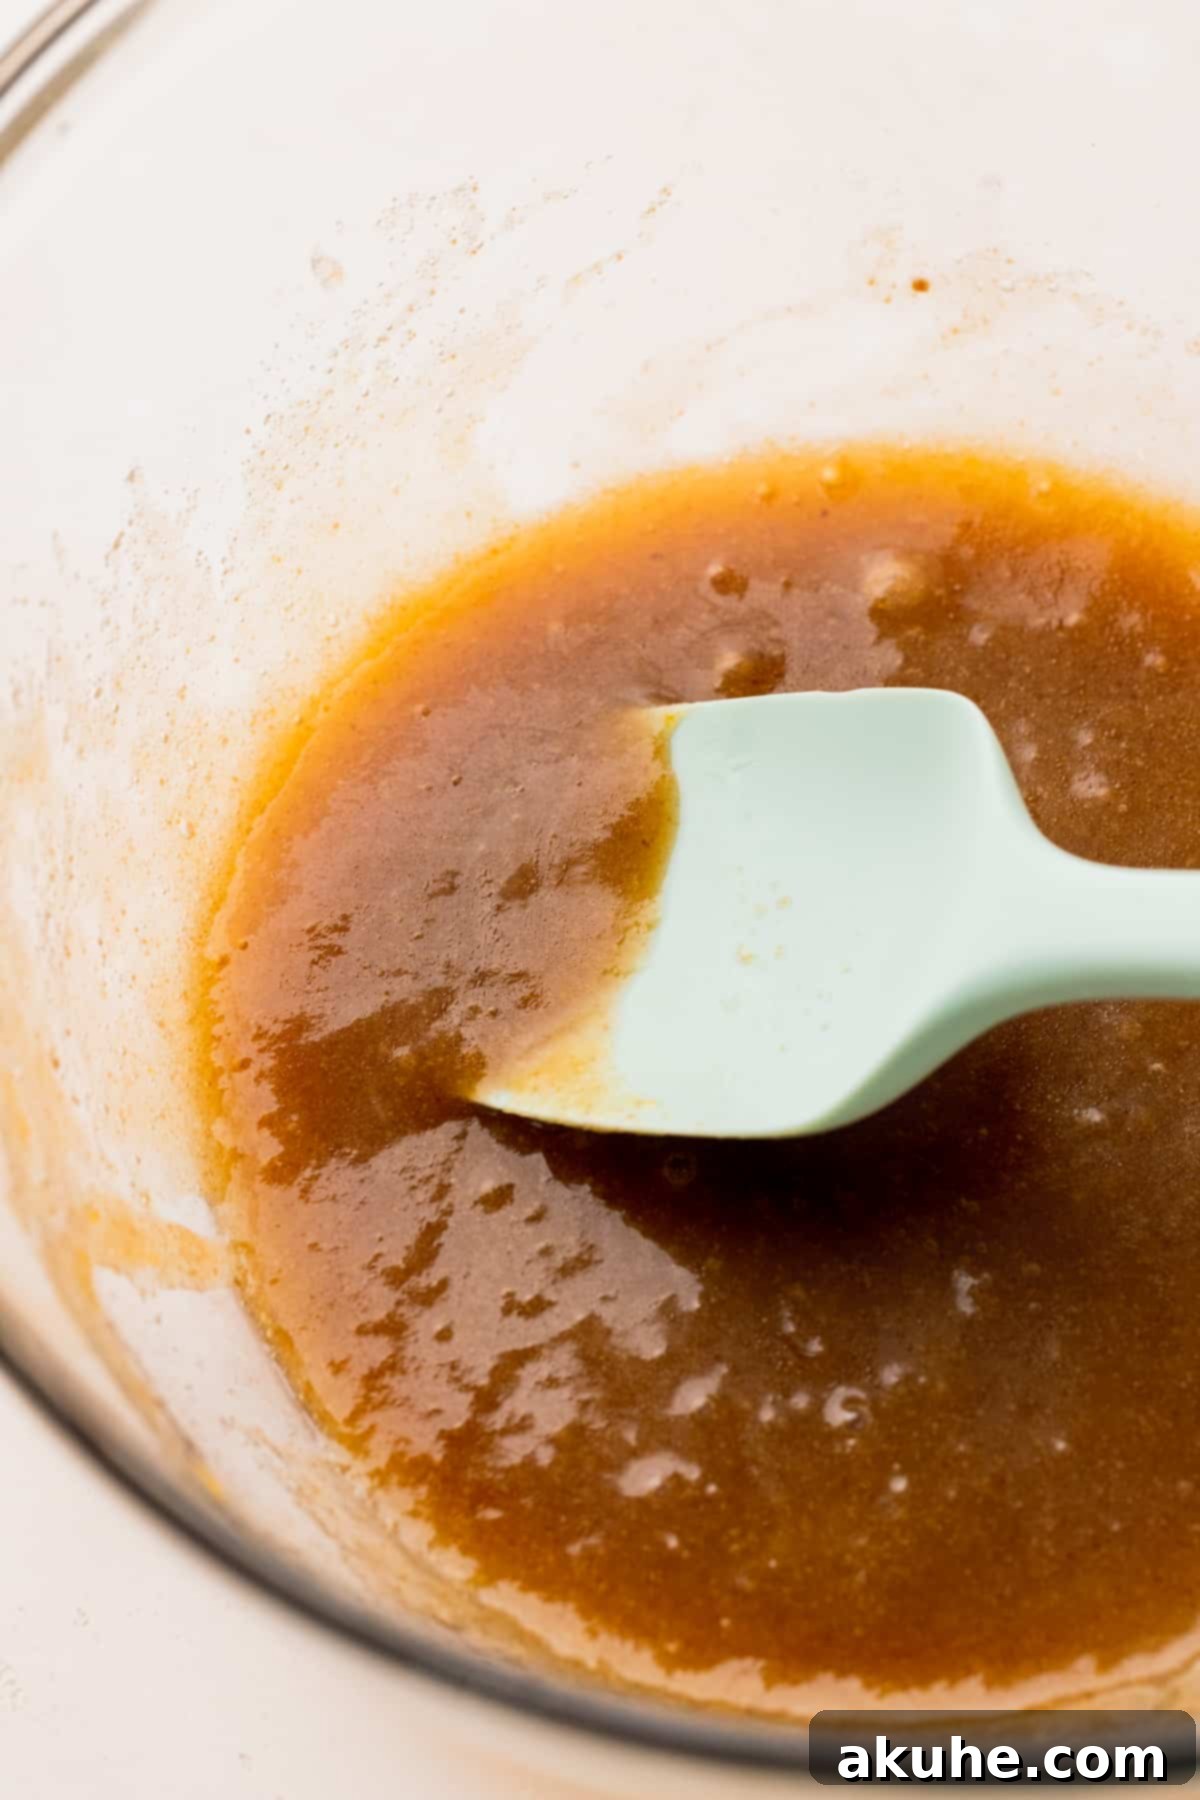
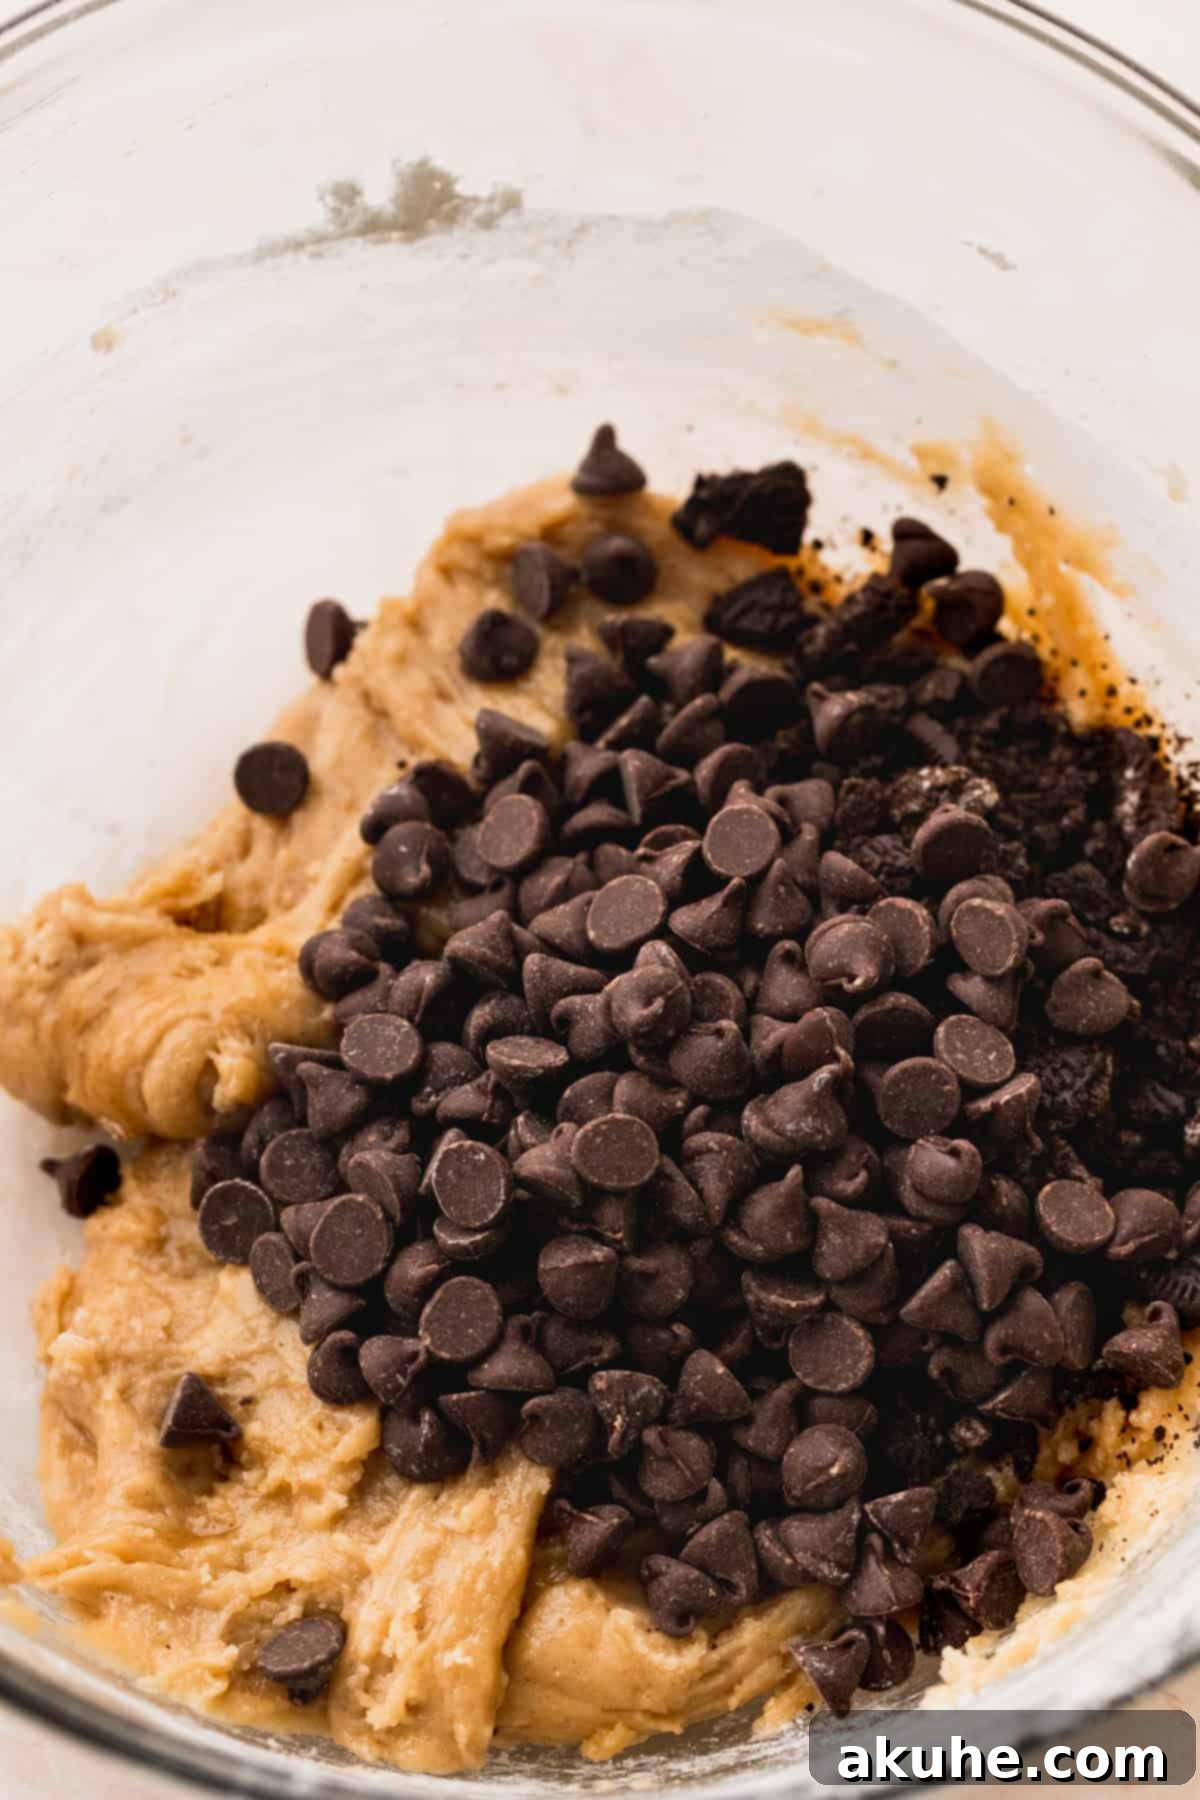
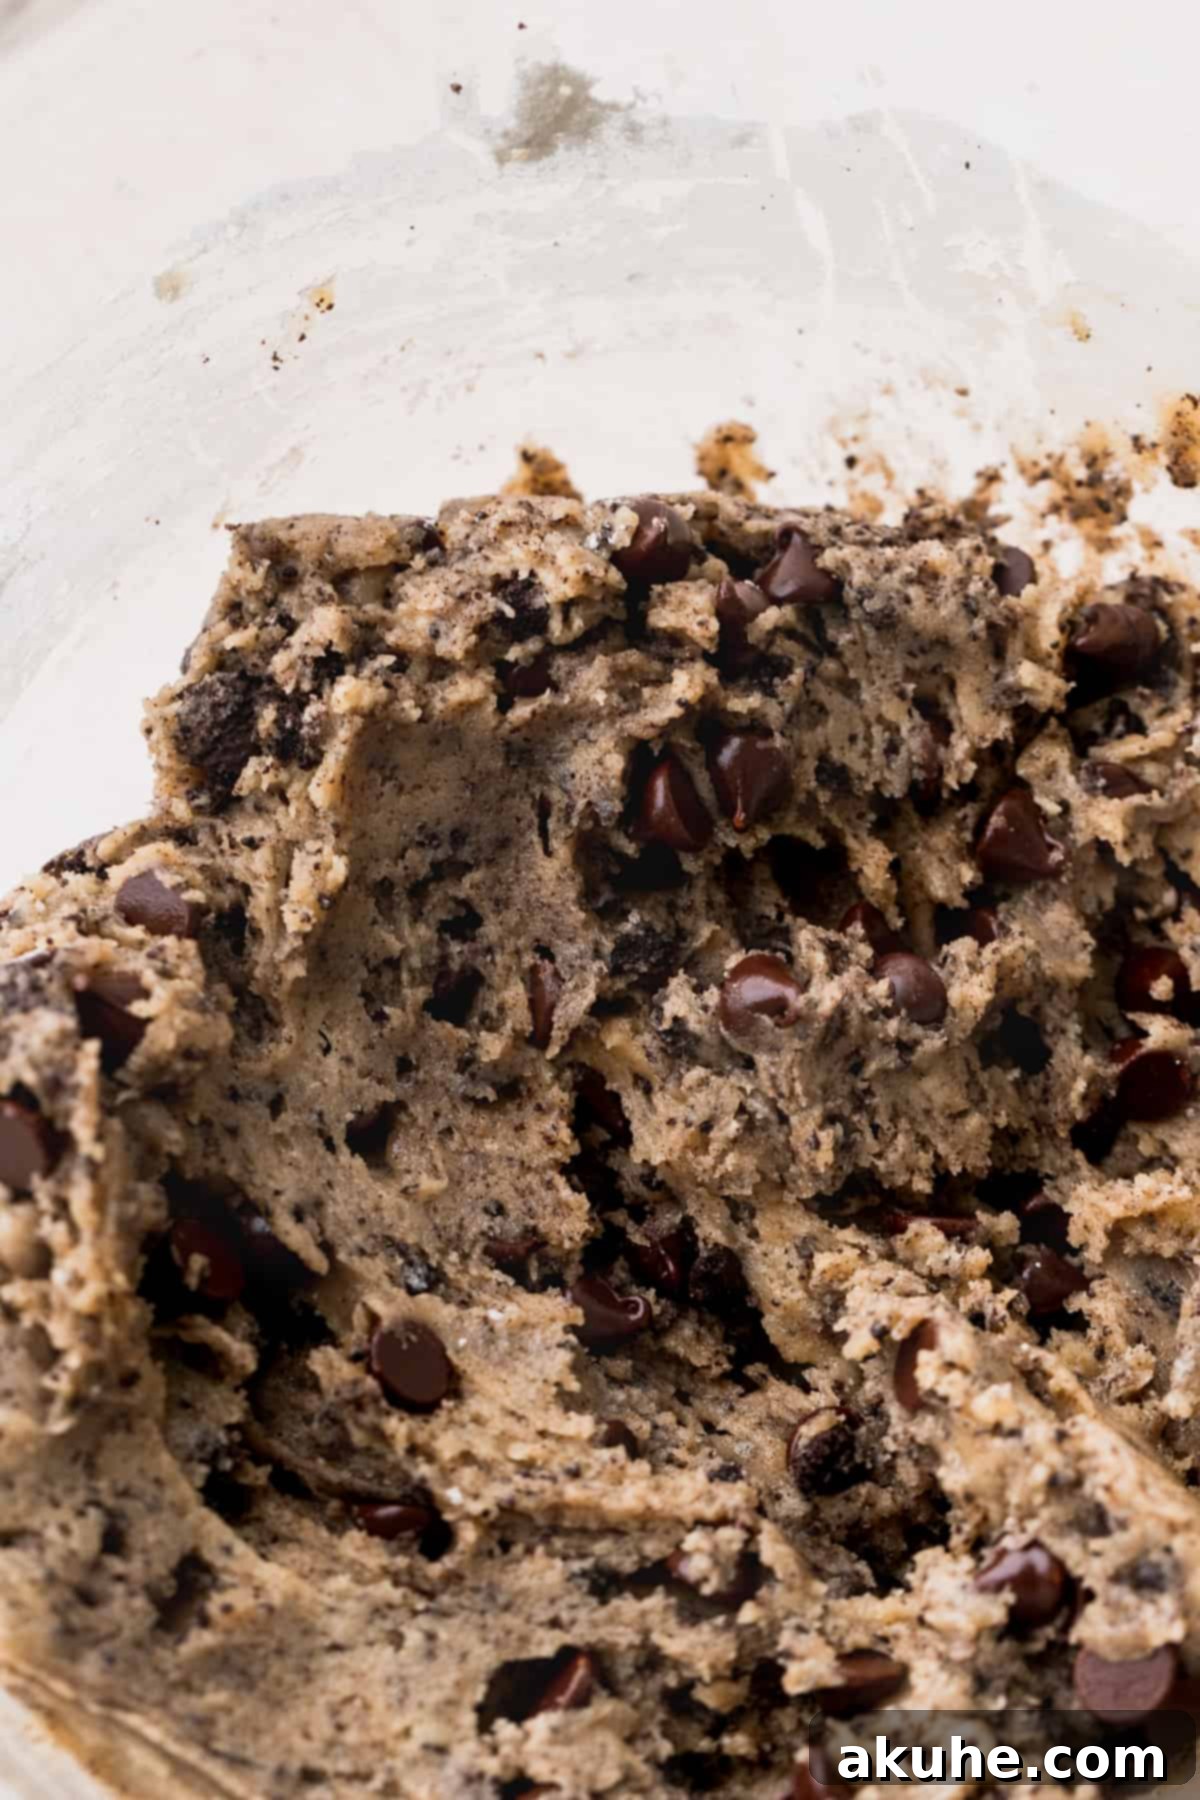
STEP 3: Integrate Dry Ingredients and Add-ins. Gradually add the reserved flour mixture from Step 1 to the wet ingredients. Mix with your rubber spatula until just combined; be careful not to overmix, as this can develop the gluten too much, leading to tough cookies. Once the flour is mostly incorporated, fold in the semi-sweet chocolate chips, the larger Oreo pieces, and the fine Oreo crumbs. Continue mixing gently until these delicious add-ins are evenly distributed throughout the cookie dough. Set this completed Oreo chocolate chip cookie dough aside while you prepare the brownie portion.
Step-by-Step Instructions: Preparing the Oreo Brownie Cookie Dough
Now that your Oreo chocolate chip cookie dough is resting, it’s time to prepare the rich and fudgy brownie cookie dough. This component will bring that deep chocolate intensity and characteristic crinkly top to your brookies.
STEP 1: Melt and Cool the Chocolate. Begin by carefully melting your high-quality semi-sweet chocolate bar. Break the chocolate into small pieces and place them in a microwave-safe bowl. Microwave on high for 20-30 seconds, then stir thoroughly. Continue microwaving in 15-second intervals, stirring vigorously after each, until the chocolate is smooth and fully melted. The key is to melt it gently to avoid burning. Once melted, set the chocolate aside to cool down to a warm room temperature while you proceed with the rest of the dough preparation. It’s crucial that it’s not hot when added to the butter mixture.
STEP 2: Combine Dry Ingredients. In a separate medium bowl, whisk together the all-purpose flour, Dutch-process cocoa powder, baking powder, and salt. Just like with the previous dough, ensure these ingredients are well-combined to guarantee an even distribution and consistent results in your baked cookies. Set this dry mixture aside.
STEP 3: Cream Wet Ingredients. In a large mixing bowl, using a stand mixer fitted with a paddle attachment (or an electric hand mixer), beat the room-temperature unsalted butter, light brown sugar, and granulated white sugar together on high speed for approximately 2 minutes. The mixture should become light, fluffy, and visibly paler. Next, add the pure vanilla extract and the cooled melted chocolate. Beat again on high speed for another minute, stopping to scrape down the sides of the bowl to ensure all ingredients are thoroughly incorporated. Finally, add the large room-temperature egg and beat for an additional minute until the mixture is smooth and well-emulsified, showing no streaks of egg.
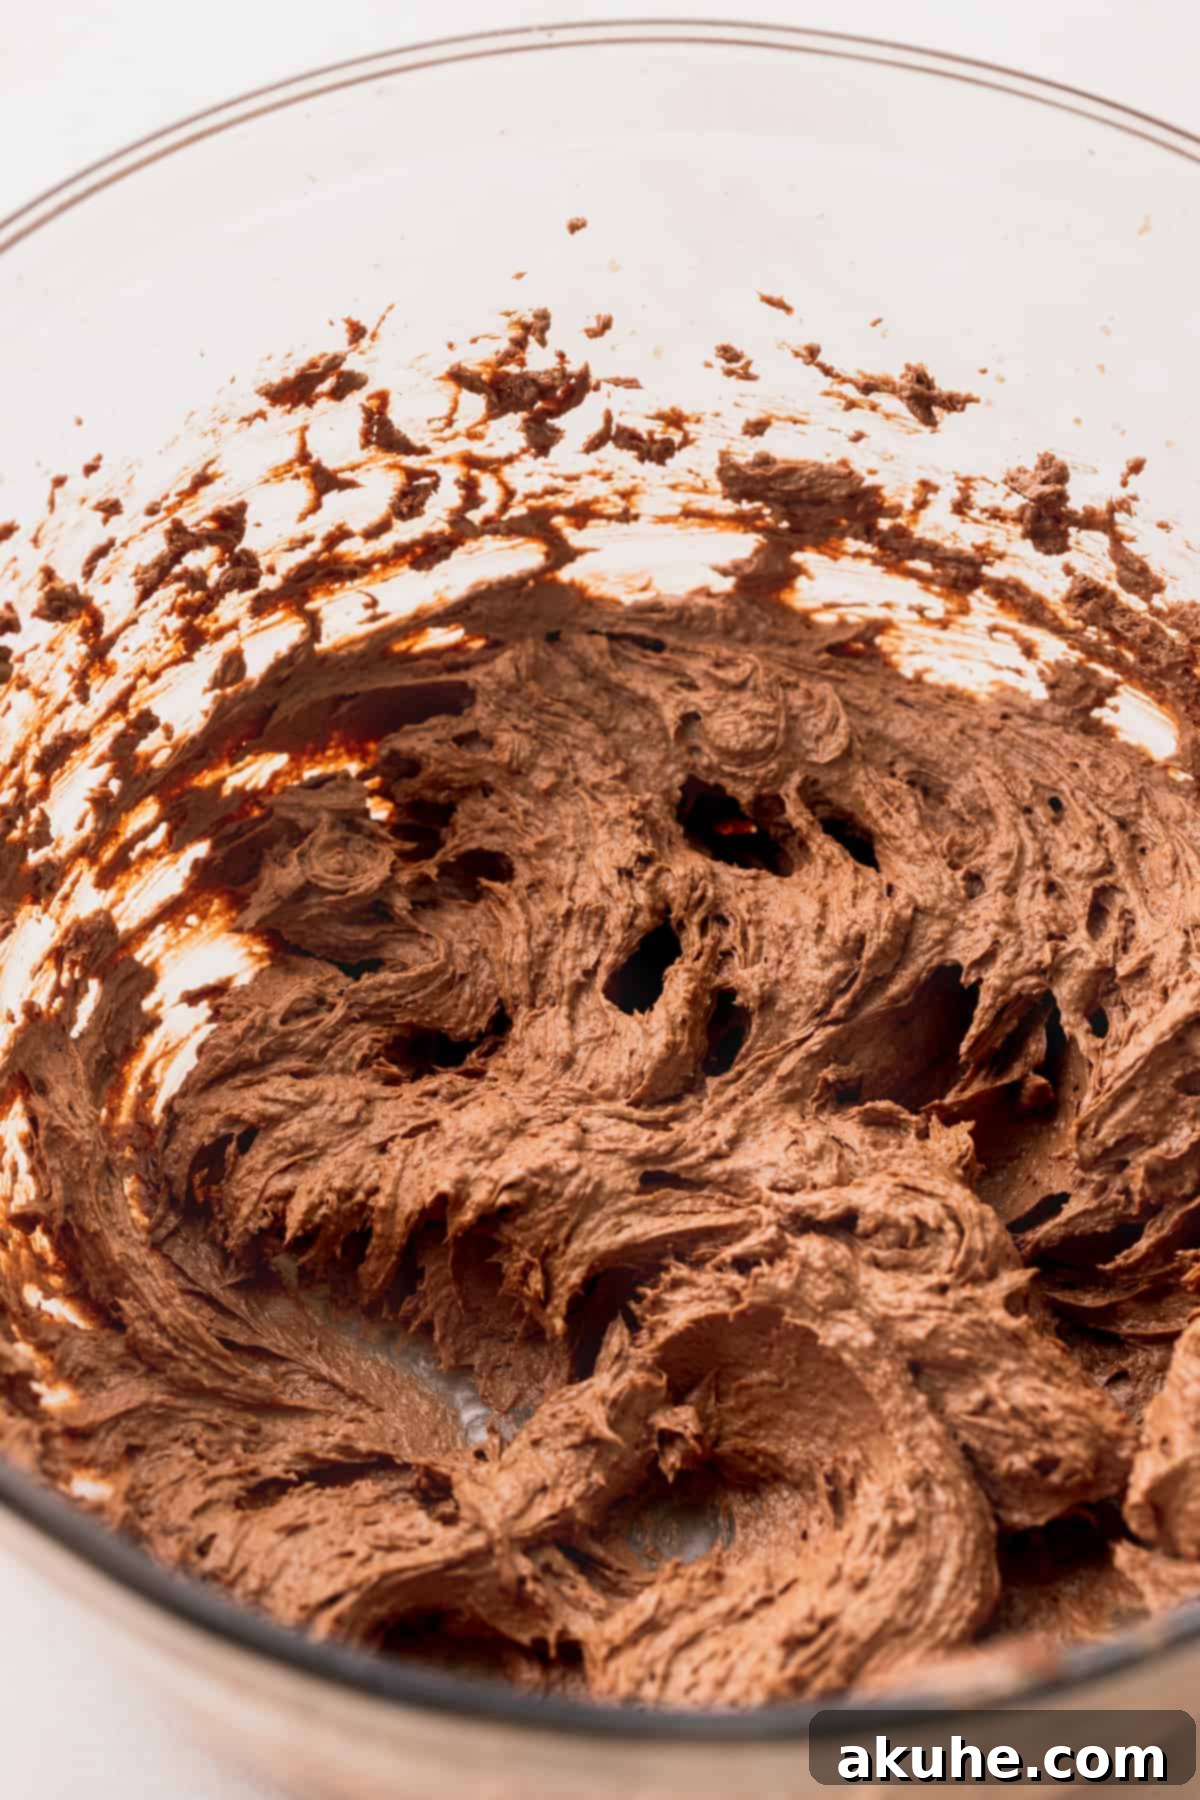
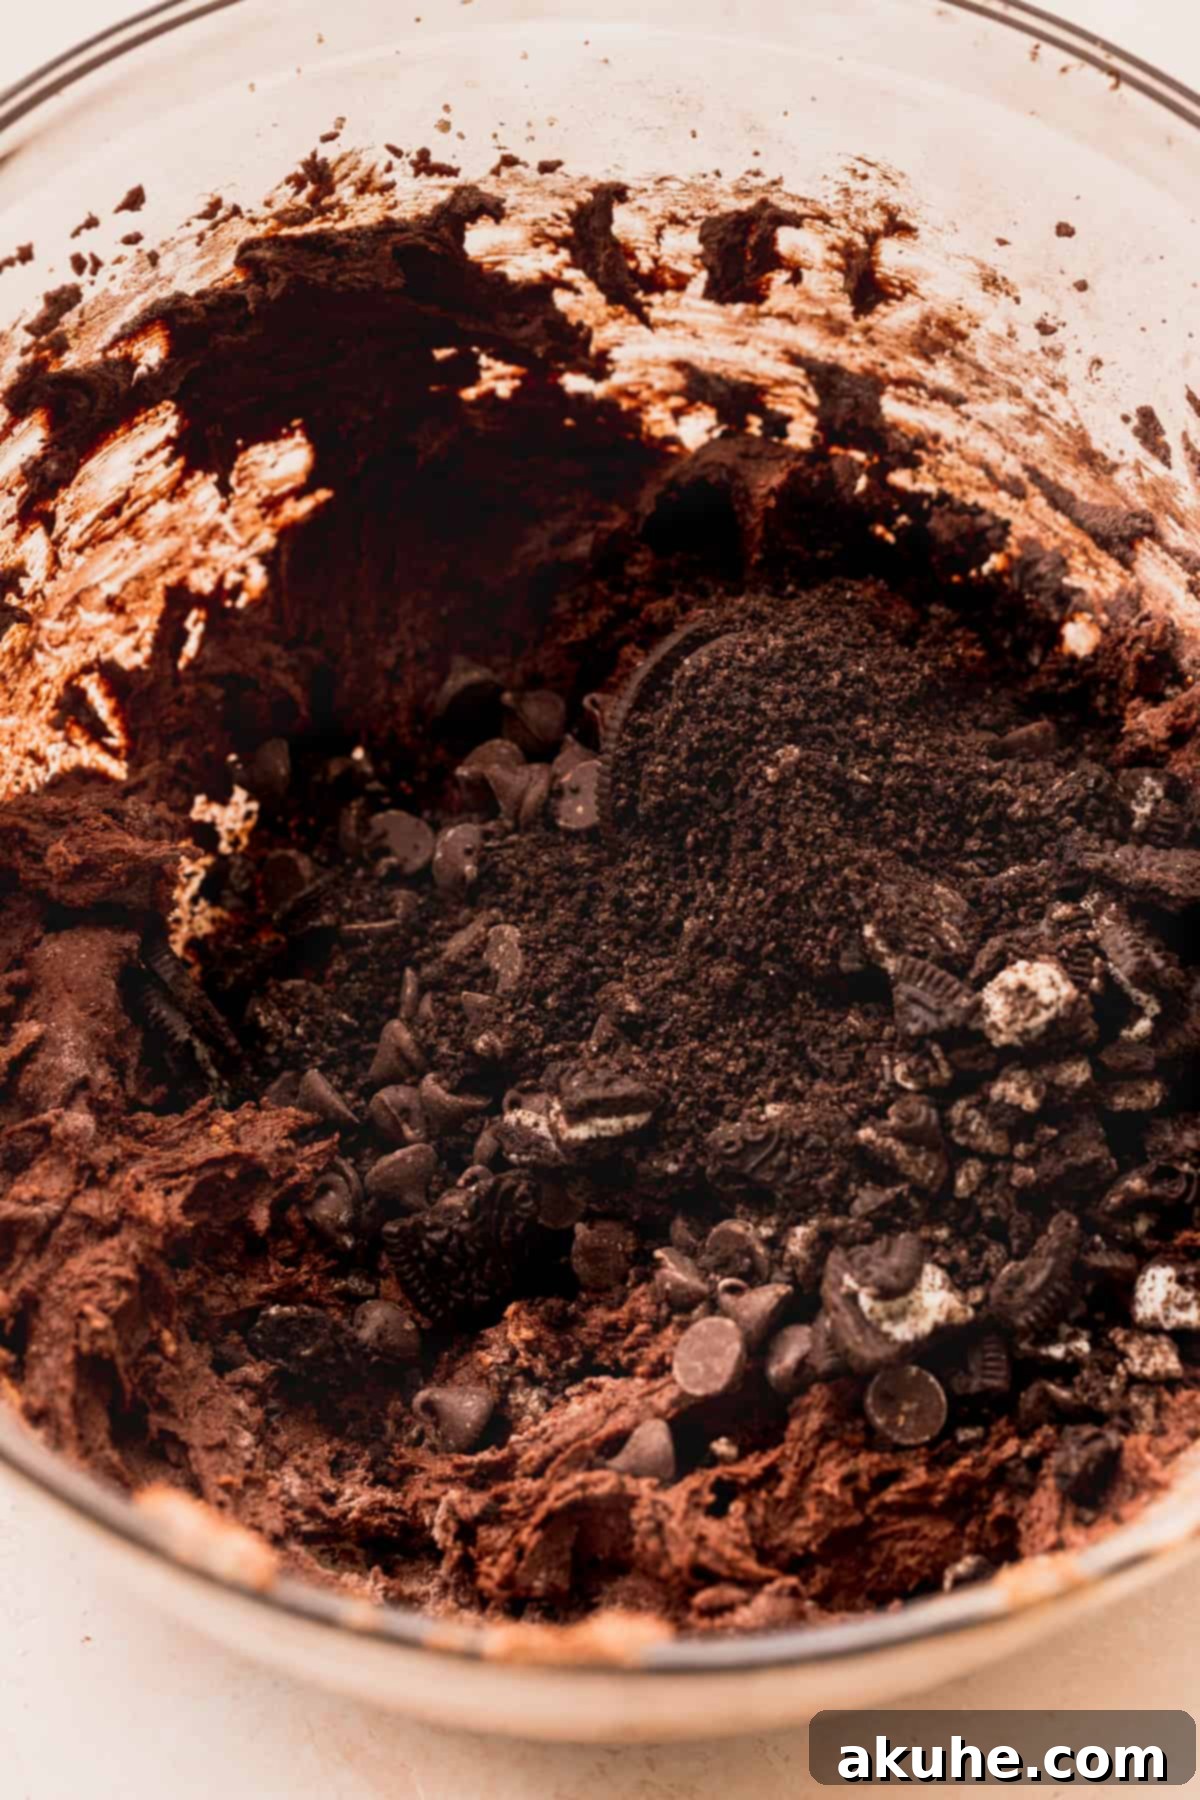
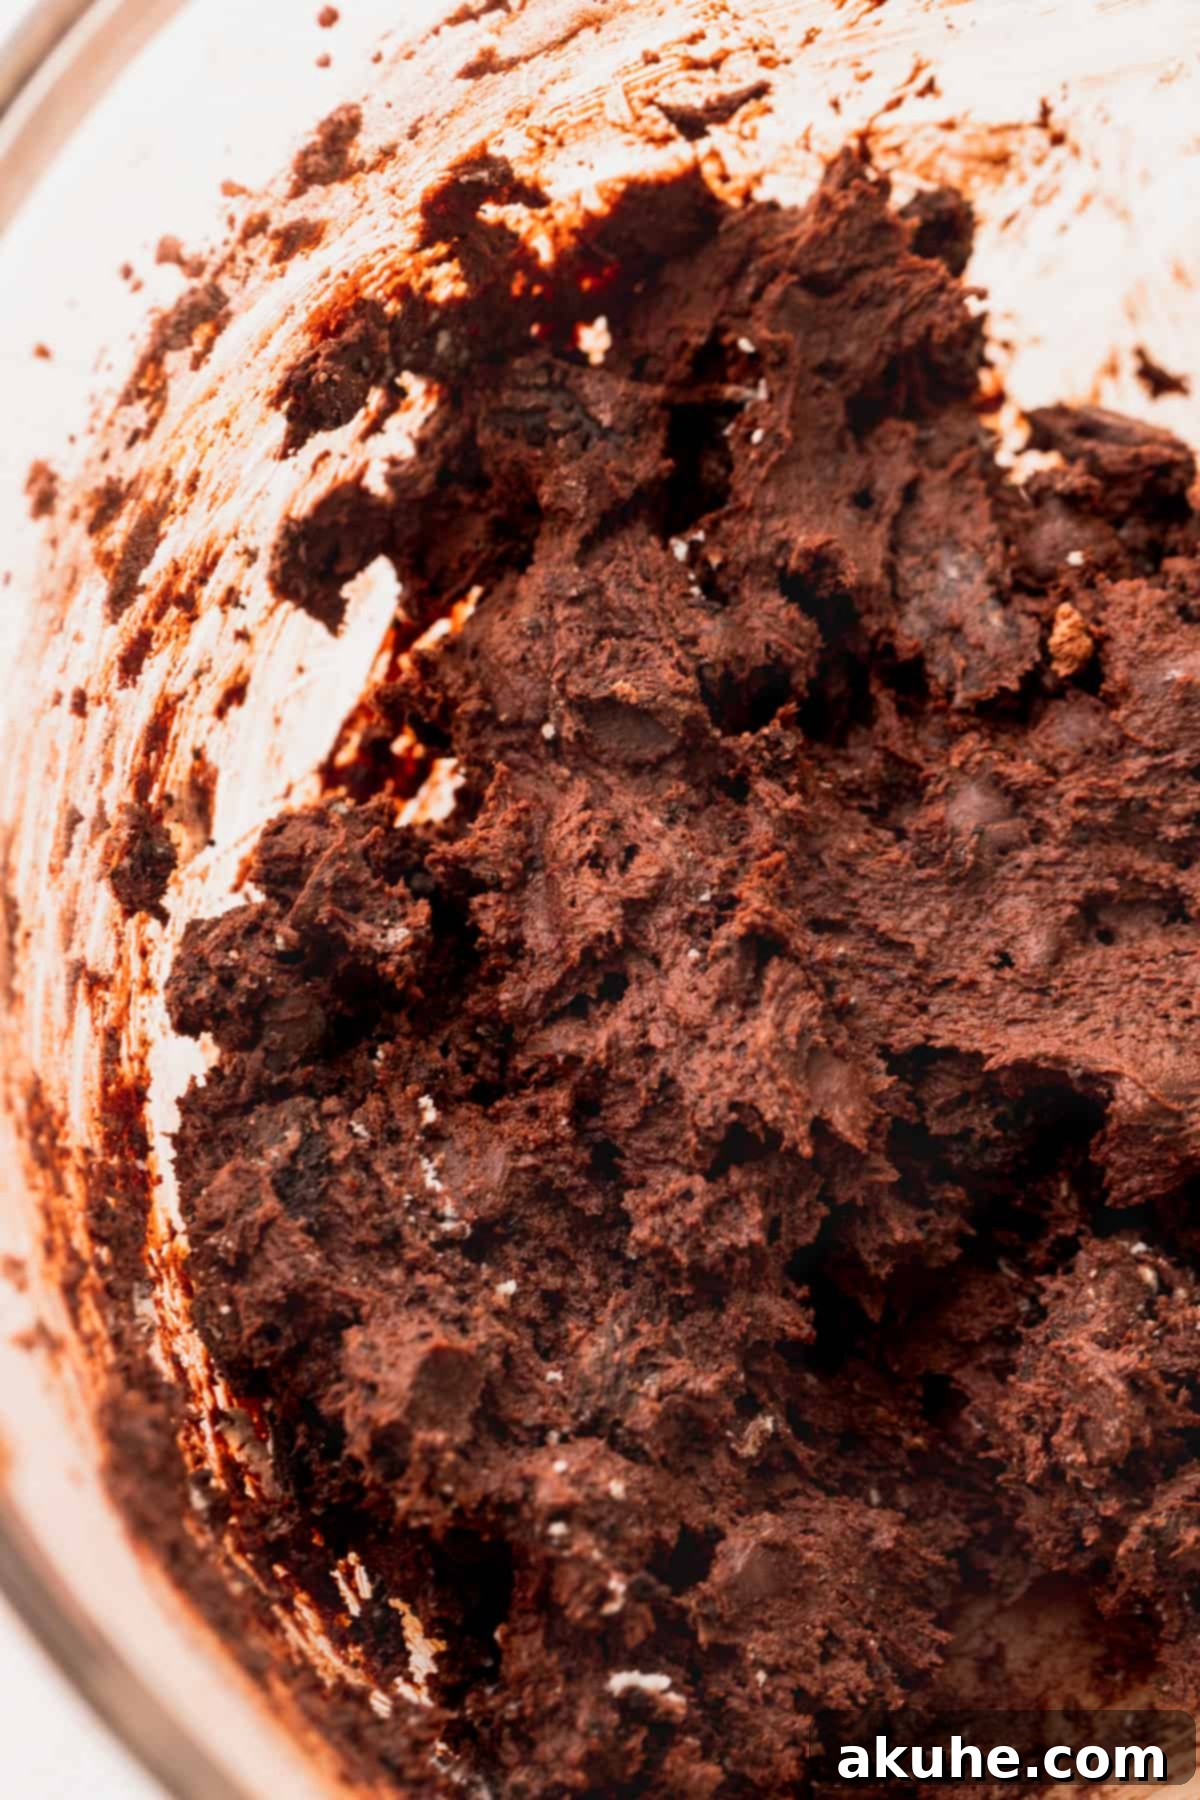
STEP 4: Finish the Dough and Chill. With the mixer on low speed, gradually add the dry ingredient mixture (flour, cocoa powder, baking powder, salt) into the wet ingredients until just combined. Be careful not to overmix. Then, gently fold in the semi-sweet chocolate chips, the larger Oreo pieces, and the fine Oreo crumbs until they are evenly distributed. Once combined, cover the brownie cookie dough and chill it in the refrigerator for a short period of 10-15 minutes. This brief chilling time is essential for the brownie dough as it helps to firm it up, making it easier to handle and preventing excessive spreading during baking. The Oreo chocolate chip cookie dough does not require chilling.
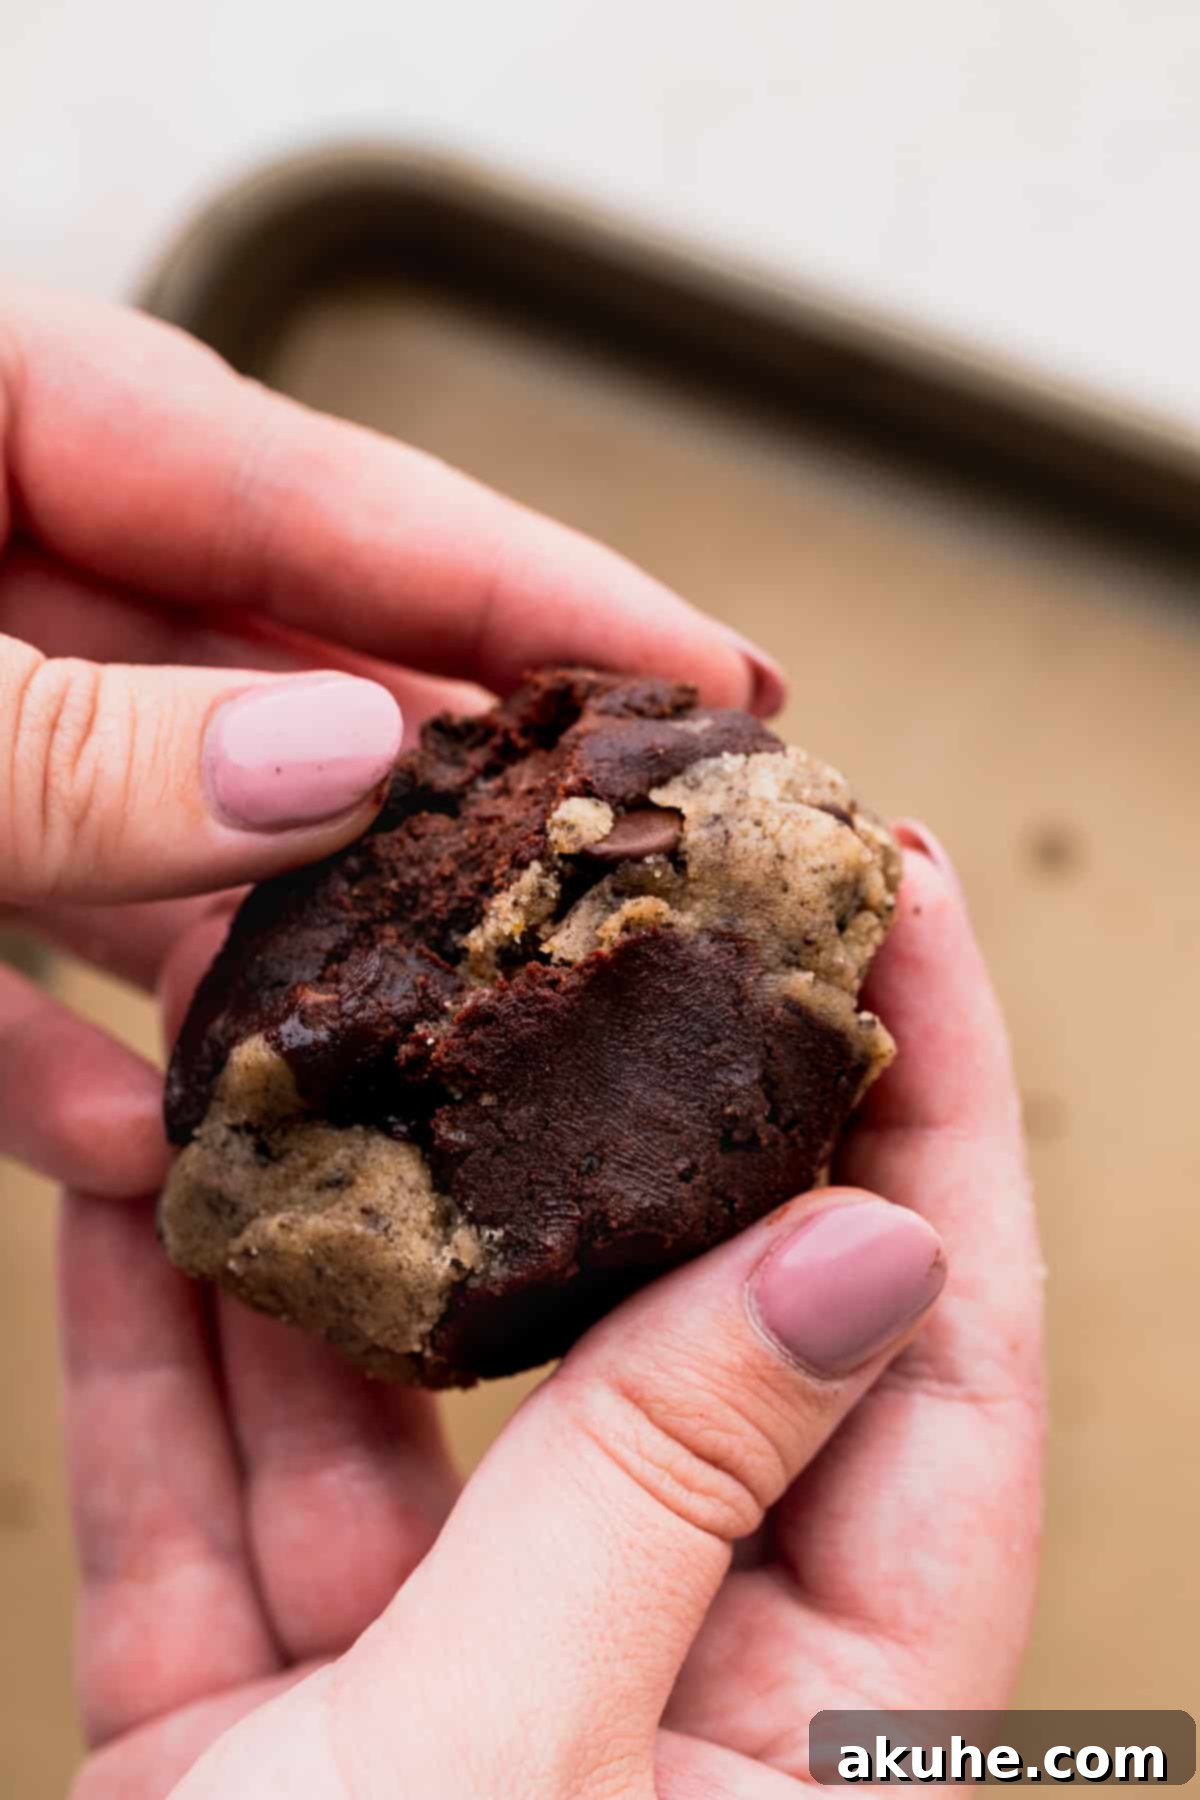
STEP 5: Scoop, Swirl, and Shape the Brookies. Preheat your oven to 350°F (175°C) and line two large baking sheets with parchment paper. Using a 1-ounce cookie scoop, portion out all of the chilled brownie cookie dough onto one plate, and all of the Oreo chocolate chip cookie dough onto another plate. Now, for the fun part: take one scoop of brownie dough and one scoop of chocolate chip dough. Gently flatten them slightly in your hands, then use your fingers to carefully pinch, twist, and fold the two doughs together. Roll the combined dough into a neat ball, ensuring the two distinct doughs are beautifully swirled but not fully blended. This technique creates those visually appealing marbleized cookies, with each half retaining its unique texture and flavor.
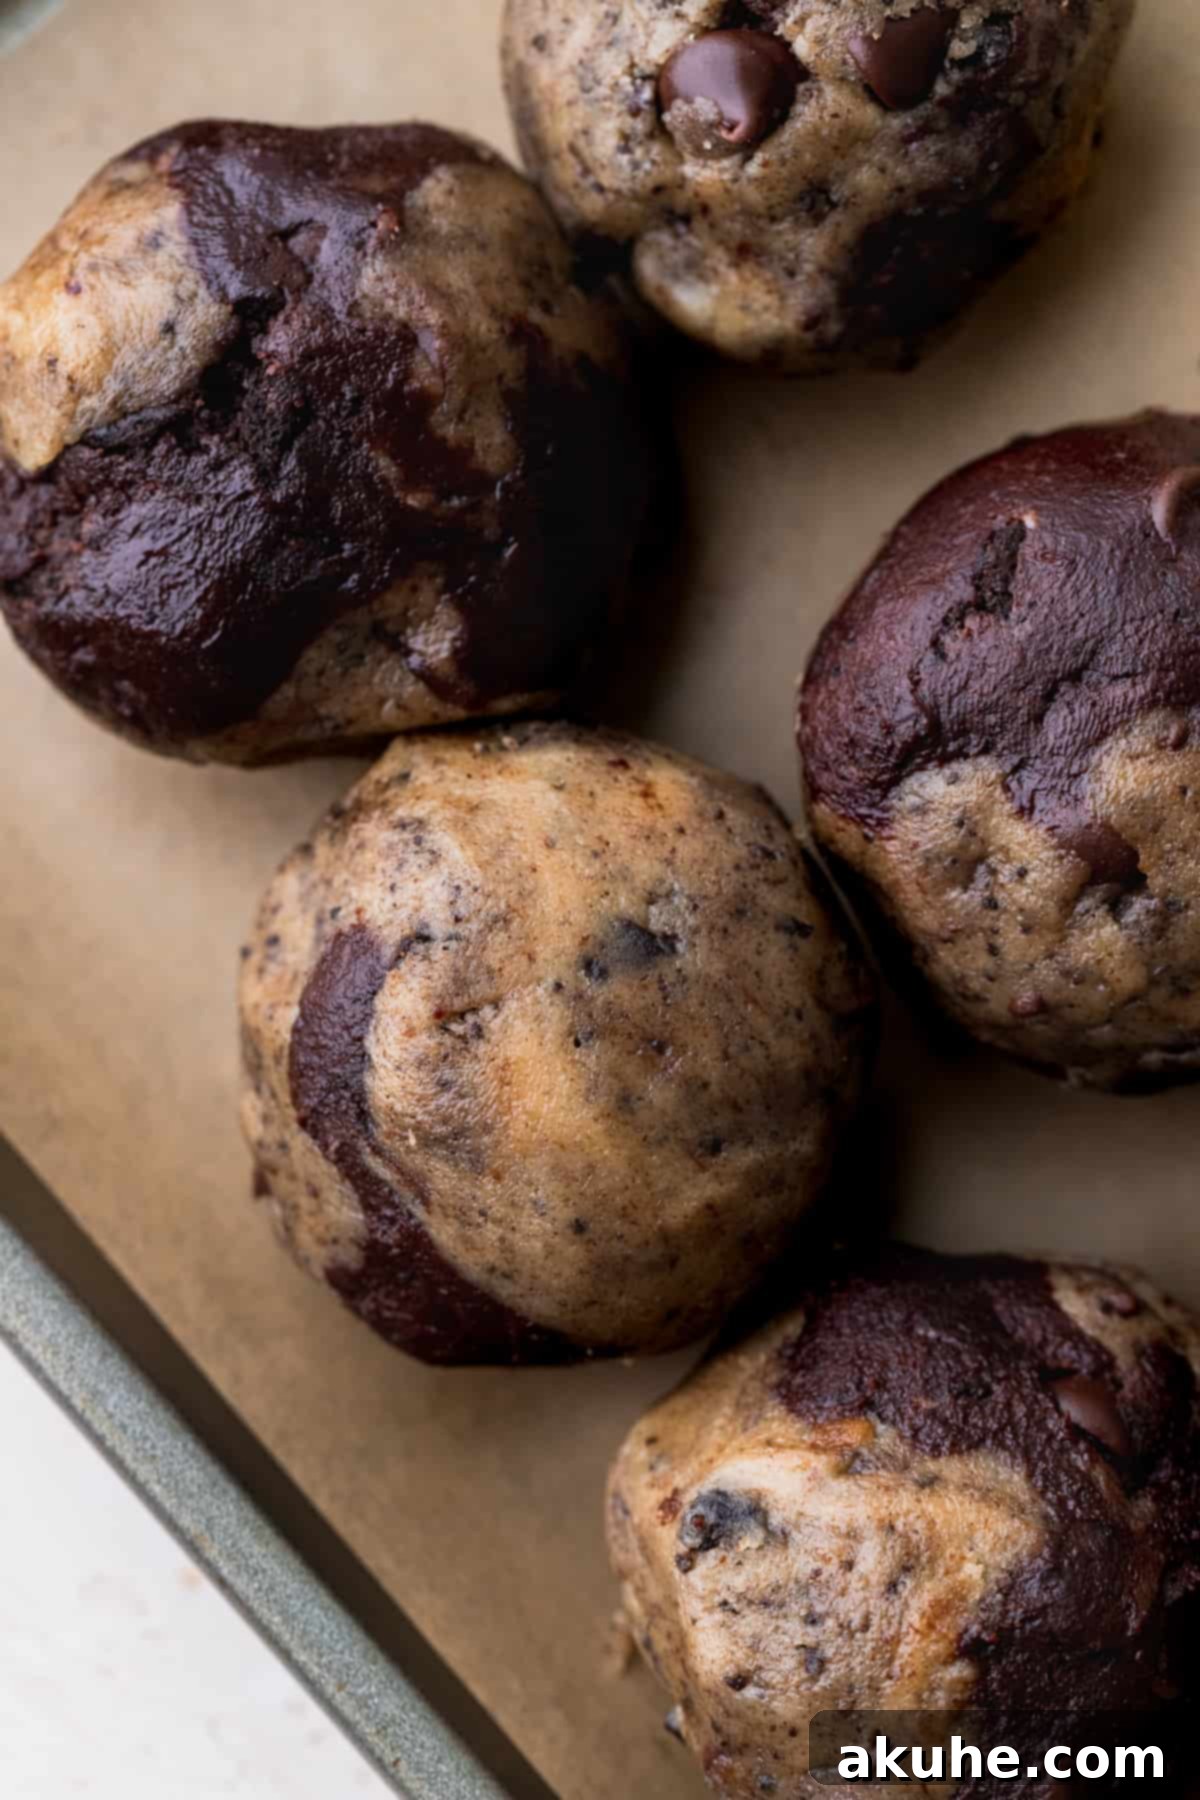
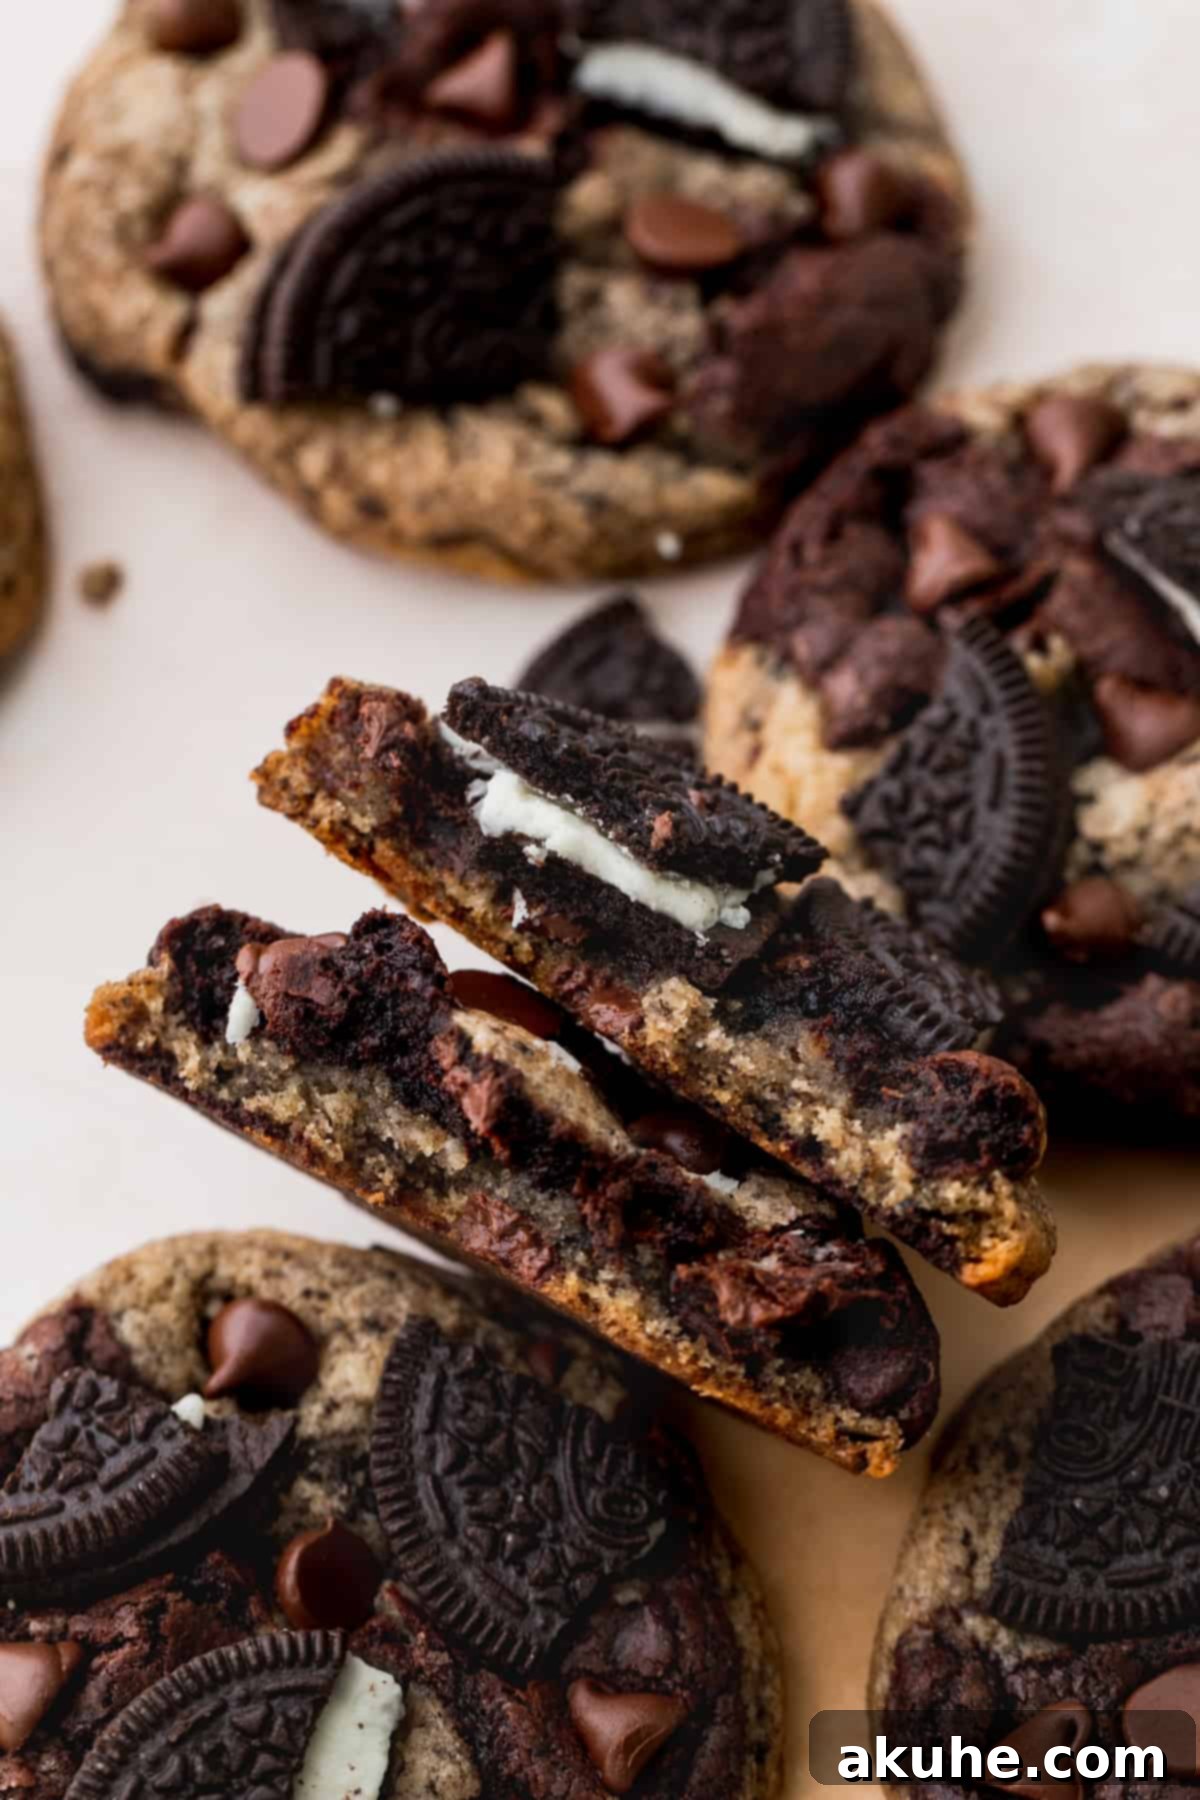
STEP 6: Bake to Perfection. Arrange no more than 6 large cookie dough balls on each parchment-lined baking sheet, ensuring adequate space between them for spreading. It is crucial to bake one baking pan at a time in the center rack of your oven for even cooking. Bake for 13-15 minutes, or until the edges appear golden brown and set, but the centers still look slightly soft and underdone. This slight underbaking is key to achieving those coveted chewy centers. Immediately upon removing the hot cookies from the oven, sprinkle them with a few extra chocolate chips and large pieces of crushed Oreos for an appealing finish. Allow the cookies to cool on the hot baking sheet for 5 minutes before carefully transferring them to a wire cooling rack to cool completely. This resting period on the hot pan allows them to set further without overcooking.
Expert Baking Tips for Flawless Oreo Brookies
Achieving bakery-quality Oreo Brookies is entirely within reach with a few essential baking tips:
- Accurate Flour Measurement is Key: Improper flour measurement is a common culprit for baking issues. Always use the “spoon and level” method: spoon flour into your measuring cup until it overflows, then level off the excess with a straight edge (like the back of a knife). Never scoop directly from the flour bag, as this compacts the flour, leading to an excess amount that can result in dry, crumbly cookies that don’t spread properly. For ultimate precision, consider using a kitchen scale to measure flour by weight.
- Controlling Cookie Spread: If your cookies are spreading too much, several factors could be at play. First, always ensure you’re baking on parchment paper, which helps prevent sticking and promotes even baking. Secondly, double-check that your butter is at the correct temperature for each dough—room temperature for the brownie dough and melted-then-cooled-to-room-temperature for the chocolate chip dough. If the butter is too warm, it will cause excessive spreading. If, after checking these, your cookies are still spreading excessively, try adding an extra 1-2 tablespoons of all-purpose flour to each dough. This small adjustment can help absorb excess moisture and give the cookies more structure.
- The Secret to Chewy Centers: The ideal Oreo Brookie boasts a wonderfully chewy interior. To achieve this, resist the urge to overbake. Your cookies should look slightly underdone in the very center when you pull them out of the oven. The residual heat from the baking sheet will continue to cook them as they cool, known as “carryover baking.” This brief period of carryover ensures that the edges are set and crisp, while the center remains delightfully soft, fudgy, and chewy.
- High Altitude Adjustments: For bakers living at high altitudes (above 3,000 feet), baking recipes often require slight modifications. You may need to add an extra tablespoon of flour to each cookie dough (Oreo brownie and Oreo chocolate chip). This helps to compensate for the lower air pressure, which can cause cookies to spread more and rise too quickly. Additionally, a slight decrease in baking soda/powder (about 1/4 teaspoon total) and an increase in liquid (1-2 tablespoons milk or water) can also help maintain structure and moisture.
Frequently Asked Questions (FAQ)
Absolutely! If you prefer bite-sized treats, you can certainly scale down the cookies. Instead of a 1-ounce scoop, use a 1-tablespoon cookie scoop. Place approximately 8 cookie dough balls per baking sheet, ensuring they still have enough space to spread. Adjust the baking time to 8-11 minutes. Keep in mind that smaller cookies tend to have a slightly less chewy center and may be a bit crispier, but they’ll still be delicious!
Yes, they can! Freezing cookie dough is a fantastic way to prepare ahead and enjoy freshly baked cookies anytime. Once you’ve scooped and swirled the individual cookie dough balls (as described in Step 5), place them on a parchment-lined baking sheet and freeze until solid, about 1-2 hours. Once frozen, transfer the solid dough balls to an airtight freezer-safe container or a heavy-duty plastic freezer bag. They can be stored in the freezer for up to 30 days. When you’re ready to bake, allow the frozen cookie dough balls to thaw completely at room temperature for about 1-2 hours before baking as directed in the recipe.
You can certainly chill the cookie dough overnight, and this can sometimes enhance the flavor development. However, I highly recommend forming the cookie dough into individual balls first (following Step 5) before chilling them overnight. This makes them much easier to handle the next day. Place the formed cookie dough balls on a parchment-lined plate or baking sheet, cover tightly with plastic wrap, and refrigerate. Before baking, let the cookie dough balls come to room temperature for at least 30-60 minutes to ensure even spreading and optimal texture.
For the best results, use standard original Oreos. Double Stuf Oreos contain too much cream filling, which can introduce excess moisture into the dough and alter the cookie’s texture, potentially making them spread more or become too soft. The classic Oreo provides the perfect balance of chocolatey cookie and creamy filling for both the crushed pieces and crumbs needed in this recipe.
While baking is a science, some minor substitutions can work. For chocolate, use good quality semi-sweet or dark chocolate. For cocoa powder, Dutch-process is recommended for a rich flavor, but natural cocoa can be used if that’s all you have, though the flavor profile will differ slightly. Avoid substituting butter with oil, as butter provides essential flavor and structure. When it comes to brown sugar, light or dark brown sugar works, with dark offering a deeper molasses flavor. For best results, it’s always recommended to stick to the recipe’s specified ingredients as closely as possible.
Storing and Freezing Your Oreo Brookies
Ensuring your delicious Oreo Brookies stay fresh is simple with these storage tips:
Once completely cooled, store your baked Oreo Brookies in an airtight container at room temperature. Placed on your counter or in a pantry, they will maintain their freshness, chewiness, and delightful flavor for up to 5 days. For optimal freshness, you can also place a slice of bread in the container; the cookies will absorb moisture from the bread, helping to keep them soft.
Freezing Baked Oreo Brookies
Yes, these fantastic Oreo Brookies are perfectly suitable for freezing, allowing you to enjoy them long after baking! Once your cookies have cooled completely to room temperature, arrange them in a single layer on a baking sheet and flash freeze for about 30 minutes until solid. This prevents them from sticking together. Then, transfer the frozen cookies to a freezer-safe airtight container or a heavy-duty freezer bag, separating layers with parchment paper if stacking. They can be safely stored in the freezer for up to 30 days. To enjoy, simply remove them from the freezer and let them thaw at room temperature for 1-2 hours before eating. For a warm, gooey treat, you can also gently reheat them in a microwave for 10-15 seconds or in a low oven for a few minutes.
Other Irresistible Cookie Recipes to Try
If you’ve loved making these Oreo Brookies, you might be excited to explore other delightful cookie recipes to expand your baking repertoire. From classic chocolate chip variations to unique flavor combinations, there’s a world of cookies waiting to be discovered. Don’t hesitate to dive into more baking adventures!
If you’ve enjoyed baking these amazing Oreo Brookies, please take a moment to leave a STAR REVIEW for the recipe below! Your feedback is incredibly valuable. We’d also love to see your creations, so be sure to tag us on Instagram @stephaniesweettreats. For even more delectable baking ideas and inspiration, remember to follow us on Pinterest. Happy baking!

Oreo Brookies
Print Recipe
Ingredients
Brownie Cookie
- 4 oz Semi-sweet chocolate bar, I used Lindt 70% chocolate.
- 1/2 cup All-purpose flour
- 3 TBSP Unsweetened cocoa powder, For best results use dutch process cocoa powder
- 3/4 tsp Baking powder
- 1/2 tsp Salt
- 1/4 cup Unsalted butter, room temperature
- 1/2 cup Brown sugar, packed light or dark
- 3 TBSP White granulated sugar
- 1 tsp Pure vanilla extract
- 1 Large egg, room temperature
- 3/4 cup Semisweet chocolate chips
- 1/2 cup Oreo pieces, small and medium pieces
- 1/8 cup Oreo crumbs, fine crumb
Oreo Chocolate Chip Cookies
- 1 1/3 cup All-purpose flour
- 1/4 tsp Baking powder
- 1/4 tsp Baking soda
- 1/2 tsp Salt
- 1/2 cup Unsalted butter, melted and cooled
- 1/4 cup White granulated sugar
- 1/2 cup Brown sugar, packed light or dark
- 1 tsp Pure vanilla extract
- 1 Large egg, room temperature
- 3/4 cup Semisweet chocolate chips
- 1/3 cup Oreo pieces, small and medium pieces
- 1/4 cup Oreo crumbs, fine crumb
Instructions
Oreo Chocolate Chip Cookies
- Begin by preparing the Oreo chocolate chip cookie dough. Melt the butter in the microwave, then set it aside to cool for 10-15 minutes until it reaches room temperature.1/2 cup Unsalted butter
- In a medium bowl, whisk together the flour, baking powder, baking soda, and salt. Set aside. Use a food processor to pulse 8 regular Oreos a few times until they are in small pieces. Then, blend 4 additional Oreos until they form a fine crumb. Carefully separate the Oreo pieces and crumbs for both the chocolate chip and brownie cookie recipes, ensuring you have the correct amounts for each.1 1/3 cup All-purpose flour, 1/4 tsp Baking powder, 1/4 tsp Baking soda, 1/2 tsp Salt
- In a large bowl, combine the cooled melted butter, brown sugar, white granulated sugar, vanilla extract, and one large egg. Mix these ingredients thoroughly using a rubber spatula until well combined and smooth.1/2 cup Unsalted butter, 1/4 cup White granulated sugar, 1/2 cup Brown sugar, 1 tsp Pure vanilla extract, 1 Large egg
- Add the dry ingredients to the wet mixture and mix until just combined, being careful not to overmix. Fold in the chocolate chips, the prepared Oreo pieces, and Oreo crumbs. Set this dough aside while you proceed to make the brownie cookie dough.3/4 cup Semisweet chocolate chips, 1/3 cup Oreo pieces, 1/4 cup Oreo crumbs
Brownie Cookie
- Melt the semi-sweet chocolate bar in the microwave by heating it for 20 seconds, then stirring. Continue to heat in 15-second intervals, stirring well after each, until the chocolate is smooth and completely melted. Allow it to cool down to a warm room temperature before using.4 oz Semi-sweet chocolate bar
- In a medium bowl, combine the all-purpose flour, cocoa powder, baking powder, and salt. Whisk them together thoroughly and set this dry mixture aside.1/2 cup All-purpose flour, 3 TBSP Unsweetened cocoa powder, 3/4 tsp Baking powder, 1/2 tsp Salt
- Using a stand mixer fitted with a paddle attachment (or an electric hand mixer), beat the room-temperature unsalted butter, brown sugar, and white granulated sugar on high speed for 2 minutes until the mixture is light and fluffy. Add the cooled melted chocolate and pure vanilla extract, then beat on high speed for 1 minute, scraping down the sides of the bowl to ensure everything is well combined.4 oz Semi-sweet chocolate bar, 1/4 cup Unsalted butter, 1/2 cup Brown sugar, 3 TBSP White granulated sugar, 1 tsp Pure vanilla extract
- Add the large room-temperature egg and mix on medium speed for 1 minute until fully incorporated. Then, with the mixer on low speed, gradually add the dry ingredients and mix until just combined, being careful not to overmix. Finally, fold in the semi-sweet chocolate chips, Oreo pieces, and Oreo crumbs until they are evenly distributed throughout the dough.1 Large egg, 3/4 cup Semisweet chocolate chips, 1/2 cup Oreo pieces, 1/8 cup Oreo crumbs
- Preheat your oven to 350°F (175°C). Line two cookie sheets with parchment paper and set them aside. While the oven is preheating, place only the brownie cookie dough into the refrigerator to chill for 10-15 minutes. This brief chilling period will help the brownie dough firm up slightly, making it less sticky and easier to handle, which prevents excessive spreading during baking. The Oreo chocolate chip cookie dough does not require chilling.
- While the brownie cookie dough is chilling, use a 1-ounce cookie scoop to portion out heaping scoops of the Oreo chocolate chip cookie dough onto a plate. Once the brownie cookie dough has finished chilling, do the same for that dough. You should now have two plates, each filled with small, uniform cookie dough balls.
- Using your hands, take one ball of brownie cookie dough and one ball of Oreo chocolate chip cookie dough. Gently flatten them together slightly. Then, use your fingers to carefully pinch and twist the two doughs together, creating a beautiful marbled swirl. Once swirled, roll the combined dough into a single, cohesive ball. Repeat this process until all dough is used.
- Place 6 of the swirled cookie dough balls onto each prepared cookie sheet, ensuring they are adequately spaced apart. Bake one sheet at a time in the preheated oven for 13-15 minutes. The cookies are done when the edges appear slightly golden and set, but the centers still look soft and slightly underdone. This ensures a perfectly chewy interior.
- Immediately after removing the cookies from the oven, while they are still warm, gently press a few extra Oreo pieces and chocolate chips onto the tops for a beautiful finish. Allow the cookies to cool on the hot pan for 5 minutes before carefully transferring them to a wire cooling rack to cool completely. This resting period helps them set without over-baking.
Notes
High Altitude Baking: If baking at high altitudes, consider adding an extra 1-2 tablespoons of flour to each cookie dough to help maintain structure and prevent excessive spreading.
Ingredient Temperatures: For best results, ensure all dairy ingredients (butter, eggs) are at room temperature unless otherwise specified. This helps them combine smoothly and creates a more uniform dough.
