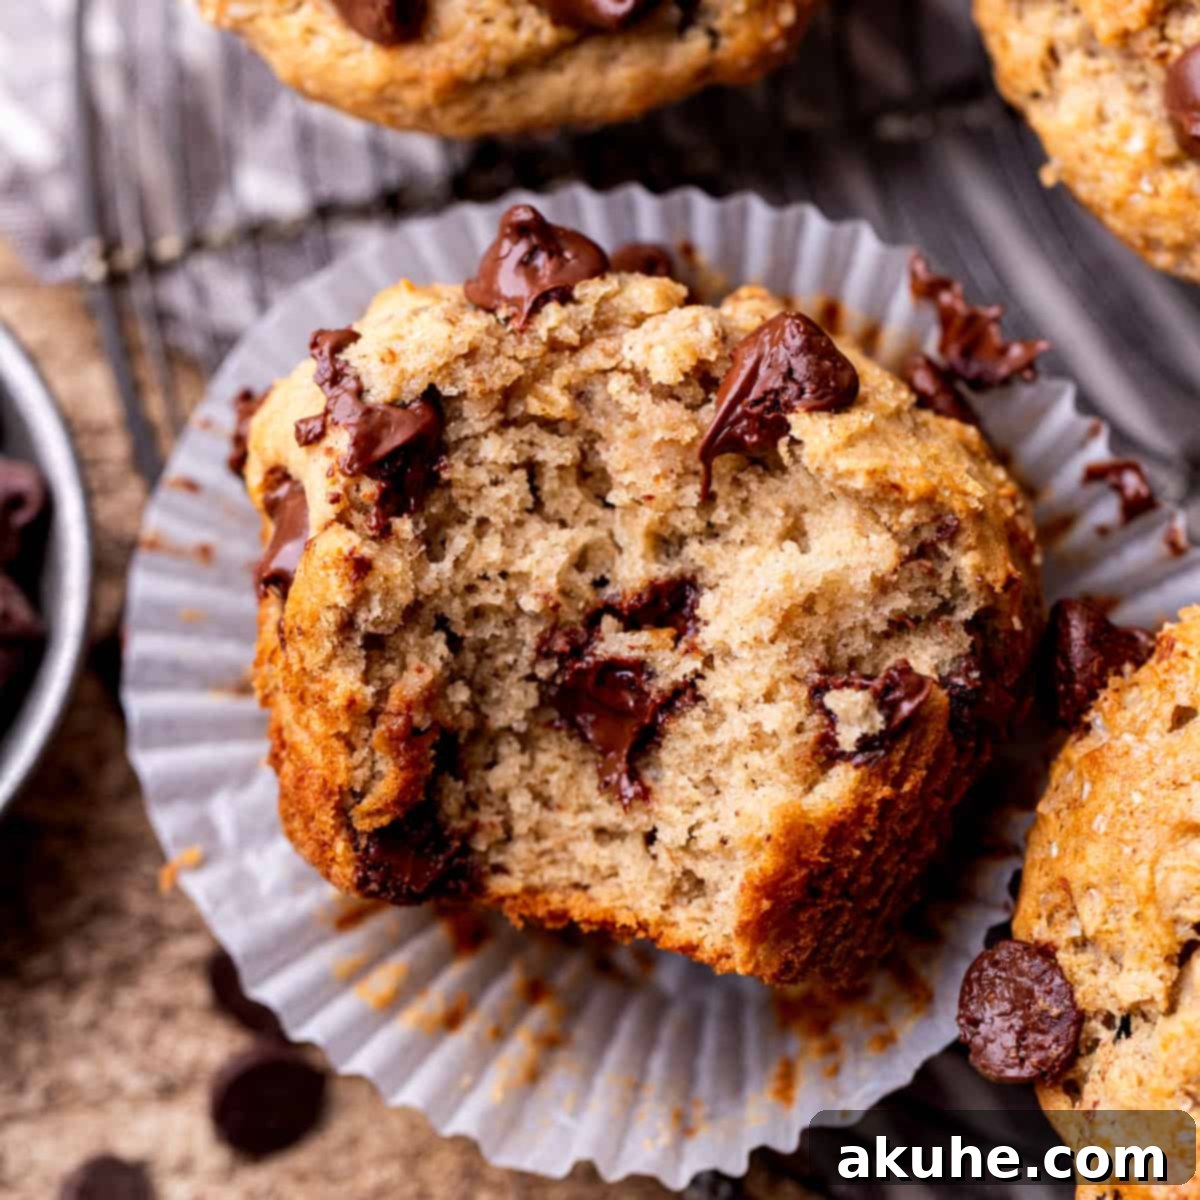
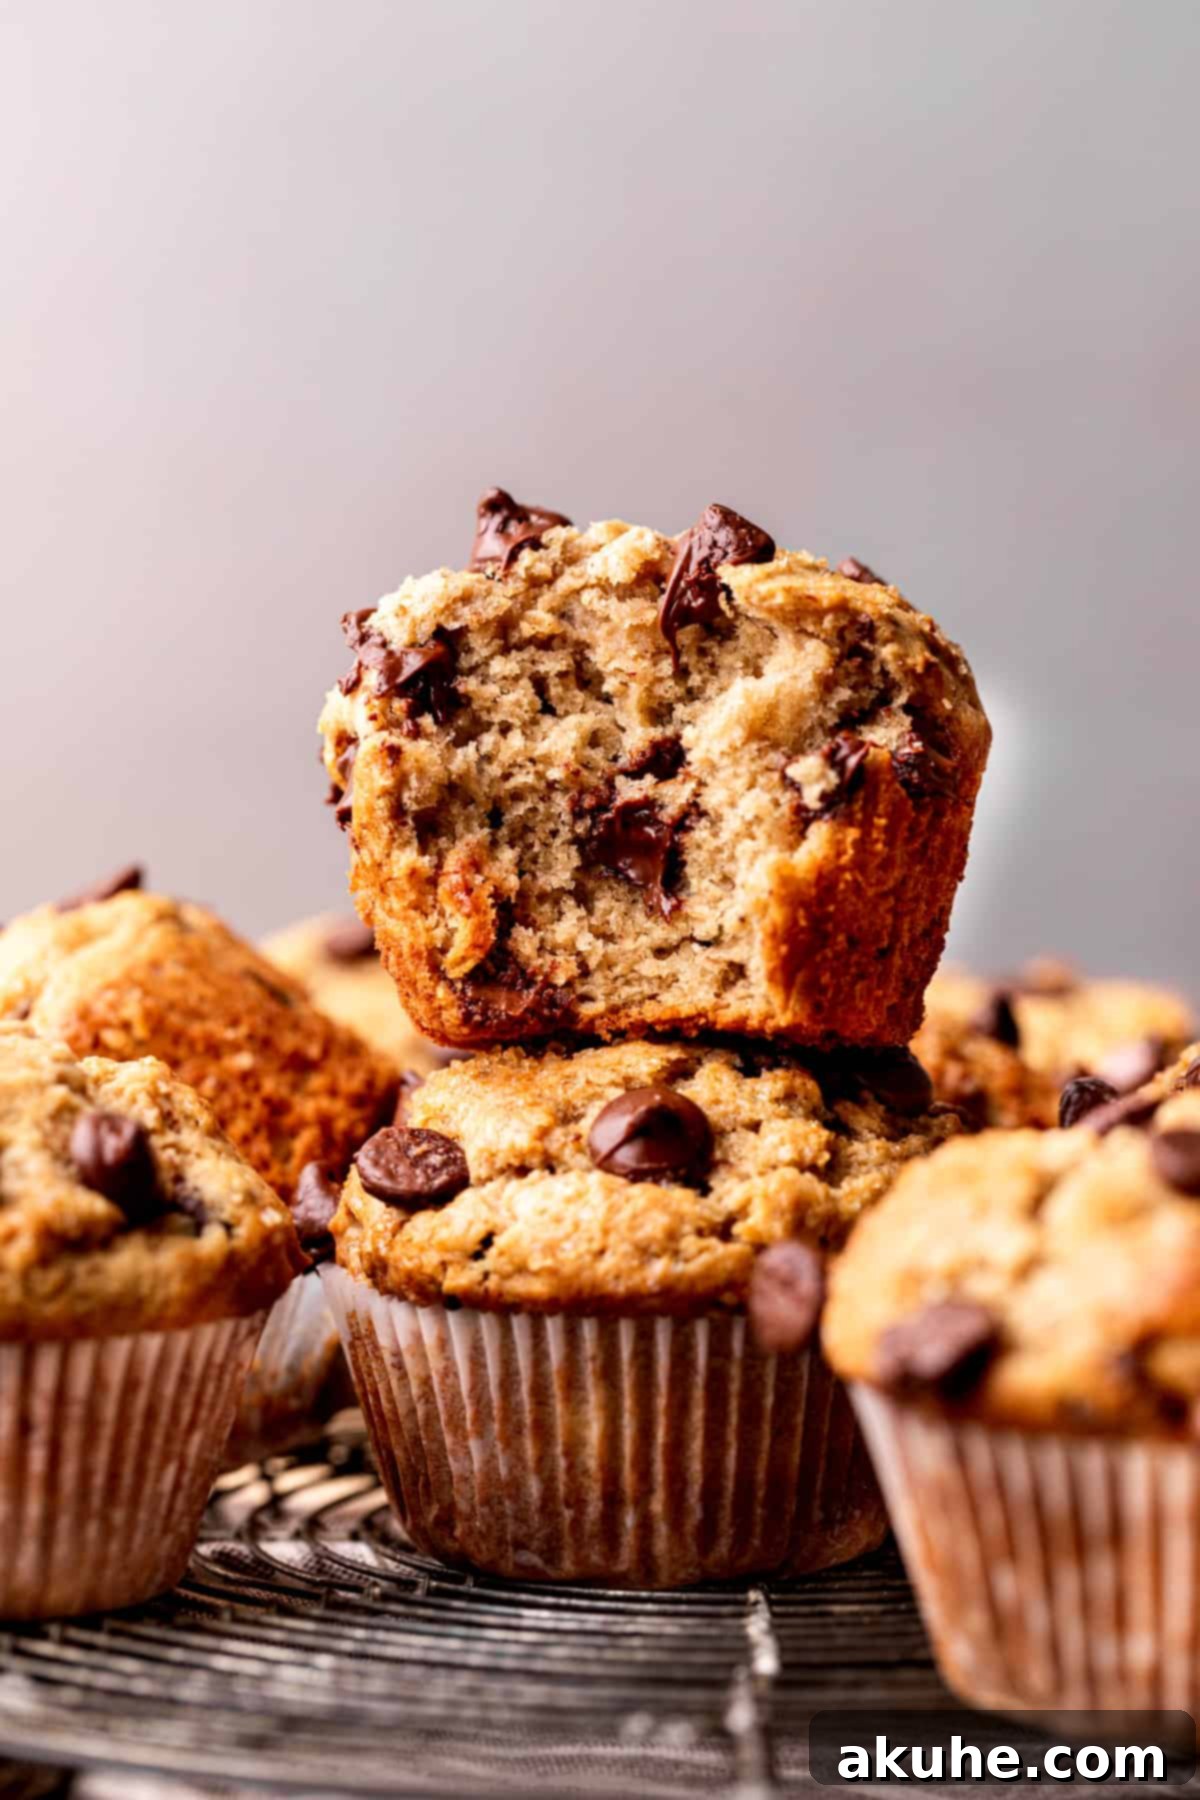
There’s nothing quite like the aroma of freshly baked muffins wafting through your home. And when those muffins combine the classic, comforting flavors of peanut butter and banana with delightful chocolate chips, you’ve found a truly irresistible treat. These aren’t just any muffins; they’re incredibly moist, perfectly balanced, and surprisingly easy to make. Whether you’re seeking a quick and delicious breakfast, an energizing afternoon snack, or simply looking to use up those ripe bananas on your counter, these peanut butter banana muffins are your ultimate solution.
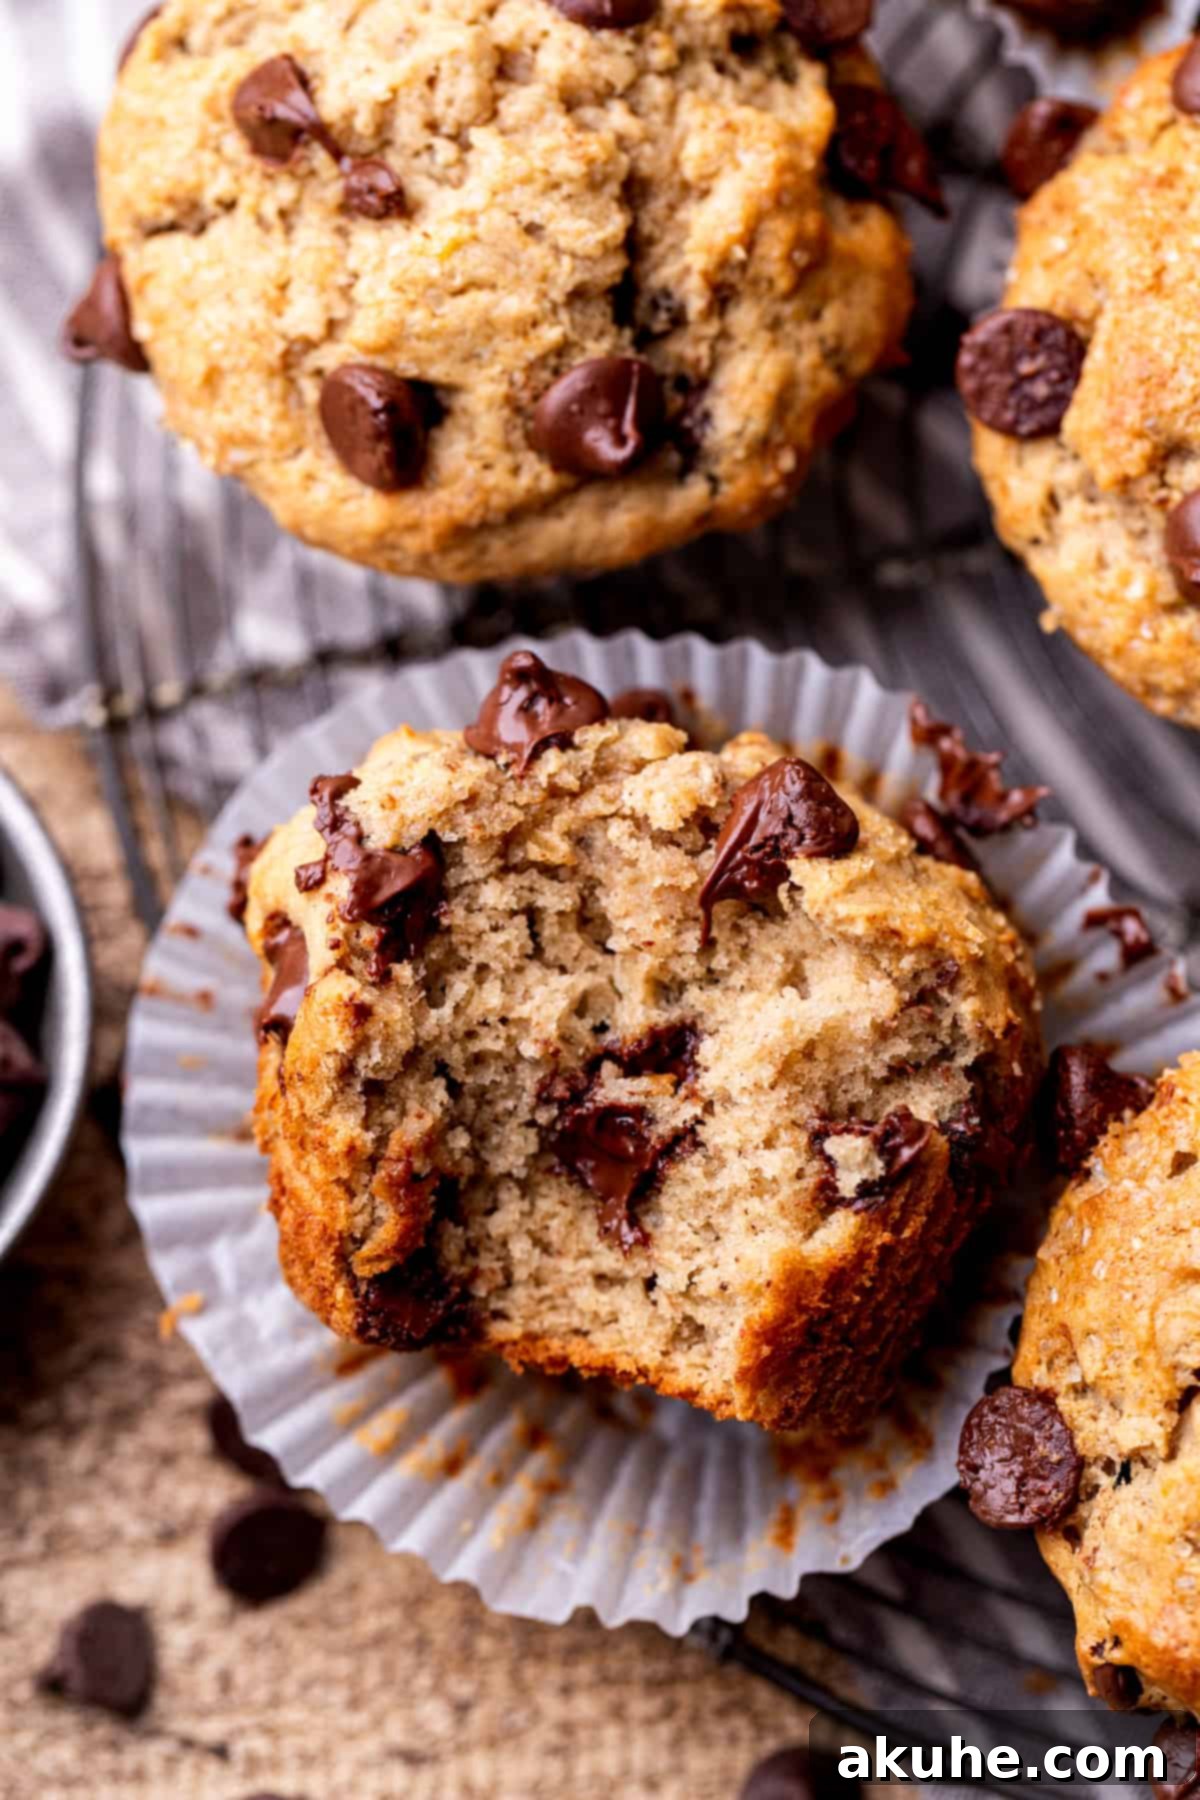
Forget the banana bread! Next time you have a bounty of overripe bananas, let this recipe for soft, tender, and intensely flavorful peanut butter banana muffins be your go-to. Each bite offers a harmonious blend of sweet banana, rich peanut butter, and melty chocolate, creating a symphony of taste and texture that will keep you reaching for just one more. This recipe elevates the humble muffin to an extraordinary experience, perfect for sharing with family or savoring solo.
If you’re a fan of delightful breakfast treats and baked goods, be sure to explore other mouth-watering options like Mini Cinnamon Rolls, the surprisingly delicious Chocolate Zucchini Bread, and the decadent Cookie Dough Cinnamon Rolls.
Why You’ll Love This Peanut Butter Banana Muffin Recipe
This recipe isn’t just another muffin recipe; it’s designed to deliver outstanding results with minimal fuss. Here’s why these peanut butter banana muffins will quickly become a cherished favorite in your baking repertoire:
- Irresistible Flavor Combination: The timeless pairing of peanut butter and banana is truly a match made in heaven. This recipe expertly balances these two star ingredients, complemented by the sweet indulgence of chocolate chips, creating a flavor profile that’s both comforting and exciting. It’s the perfect way to kickstart your day or enjoy a delightful treat.
- Remarkably Moist and Tender Texture: Say goodbye to dry, crumbly muffins! These muffins are celebrated for their incredibly moist and tender crumb that practically melts in your mouth. The combination of ripe bananas, sour cream, and precise baking techniques ensures a consistently soft texture that remains delicious for days.
- Effortless Baking Experience: Even if you’re a novice baker, this recipe makes creating bakery-quality muffins incredibly simple. Broken down into clear, easy-to-follow steps, it guides you through the process from start to finish, ensuring successful and delicious homemade muffins every time. You’ll be amazed at how easily you can achieve such impressive results.
- Perfect for Ripe Bananas: This recipe is an ideal way to utilize those forgotten, overripe bananas sitting on your kitchen counter. Their natural sweetness and moisture are essential for the muffins’ incredible flavor and texture, transforming them from a forgotten fruit into a star ingredient.
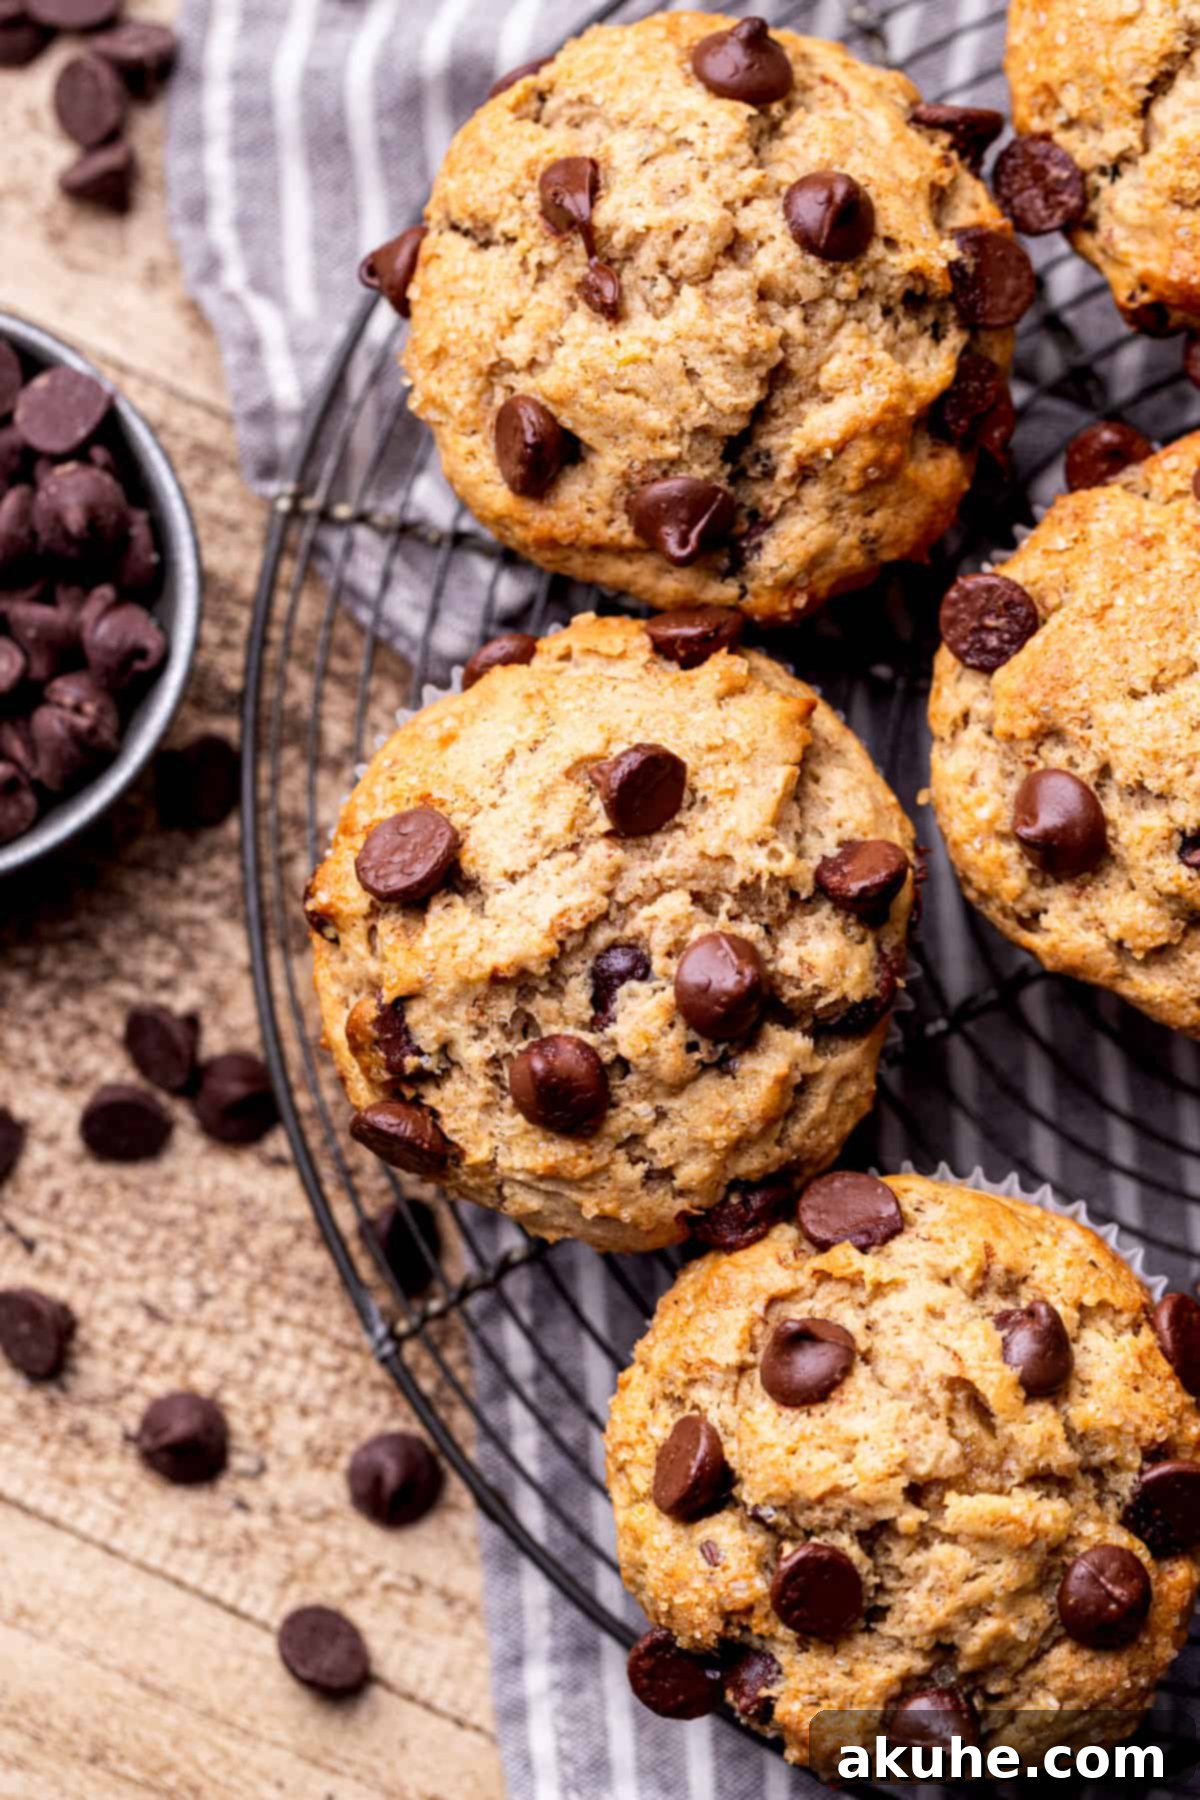
Essential Ingredient Notes for Perfect Muffins
The quality and preparation of your ingredients play a crucial role in the success of these peanut butter banana muffins. Here are some detailed notes to guide you. For the complete list of ingredients and their exact measurements, please refer to the comprehensive recipe card below.
- Sour Cream (or Greek Yogurt): For the best results, use full-fat sour cream. If sour cream isn’t available, plain full-fat Greek yogurt makes an excellent substitute. Both add significant moisture and a tender crumb to the muffins without making them taste sour. Remember to bring this ingredient to room temperature at least two hours before you begin baking; this helps it incorporate smoothly and contributes to a lighter texture.
- Eggs: Like the sour cream, large eggs should be at room temperature. Room temperature eggs emulsify better with other ingredients, creating a more uniform batter and a finer crumb in your finished muffins. Take them out of the refrigerator a couple of hours before you plan to bake.
- Baking Powder and Baking Soda: This recipe utilizes both leavening agents to achieve the perfect rise and texture. Baking powder provides an initial lift in the oven, while baking soda reacts with the acidic sour cream and brown sugar to give the muffins their signature domed tops and a light, airy crumb. Ensure both are fresh for optimal leavening power.
- Unsalted Butter: Using unsalted butter gives you complete control over the salt content in your muffins. The butter needs to be melted and then cooled slightly before being added to the batter. If the melted butter is too hot, it can scramble the eggs or negatively impact the texture of the muffins. Allow it to cool until it’s just warm to the touch, or even fully cooled.
- Brown Sugar: Light brown sugar is specified for its mild molasses flavor and moisture content, which enhances the muffin’s tenderness. However, dark brown sugar can also be used if you prefer a richer, deeper molasses note. Both contribute to the lovely caramelization and soft texture.
- Semisweet Chocolate Chips: Semisweet chocolate chips offer a balanced sweetness that complements the banana and peanut butter without being overly cloying. Dark chocolate chips are a fantastic alternative if you prefer a more intense chocolate flavor. While delicious, milk chocolate chips are generally not recommended for this recipe as they can make the muffins excessively sweet.
- Bananas: The riper, the better! Overripe bananas with plenty of brown spots are ideal because they are sweeter and much easier to mash, contributing significantly to the muffins’ moisture and flavor. If you only have less ripe bananas, they will still work, but the muffins might be slightly less sweet, and you may need to mash them more vigorously.
- Peanut Butter: For a smooth, consistent batter and an even distribution of flavor, creamy peanut butter is highly recommended. Crunchy peanut butter can introduce an uneven texture. It’s also best to avoid natural peanut butter (the kind that separates) as its oil content and texture can vary significantly and may lead to a different result in the muffin structure. Stick to a standard creamy peanut butter for reliability.
Step-by-Step Guide to Baking Perfect Peanut Butter Banana Muffins
Creating these delightful muffins is a straightforward process when you follow these clear instructions. Get ready to enjoy homemade perfection!
STEP 1: Prepare Your Baking Environment. Begin by preheating your oven to a robust 425°F (220°C). This initial high heat is key for achieving those beautiful, high-domed muffin tops. Next, prepare your muffin pans. Line two 12-cup muffin tins with paper liners. If you only have one muffin pan, you’ll simply bake in two batches. For superior rise and even baking, place liners in only every other muffin cup, totaling 6 liners per pan. This strategic spacing allows heat and air to circulate more effectively around each muffin, encouraging them to bake faster and rise higher.
STEP 2: Combine Dry Ingredients & Mash Bananas. In a medium-sized mixing bowl, whisk together the all-purpose flour, baking powder, baking soda, ground cinnamon, and salt. Ensure these dry ingredients are thoroughly combined to distribute the leavening agents evenly. Set this bowl aside for a moment. Now, turn your attention to the bananas. On a plate or in a separate small bowl, use a potato masher or a fork to mash the three ripe bananas until they reach a relatively smooth consistency with only a few small lumps remaining. Aim for about 3/4 cup of mashed banana.
STEP 3: Cream Butter, Sugar, and Peanut Butter. In a large mixing bowl, using an electric mixer, combine the cooled melted butter, brown sugar, and creamy peanut butter. Beat these ingredients together on high speed for approximately 2 minutes. This creaming process aerates the mixture, contributing to the muffins’ light texture and ensuring all components are well integrated.
STEP 4: Incorporate Wet Ingredients. To the creamed mixture, add the room-temperature sour cream, pure vanilla extract, mashed bananas, and room-temperature large eggs. Mix these on medium speed until they are just combined. Be careful not to overmix at this stage; a few lumps are perfectly fine. Next, gently pour the dry ingredients (from Step 2) and the semisweet chocolate chips into the wet mixture. Mix on low speed until the dry ingredients are just incorporated and no streaks of flour remain. Overmixing the batter can lead to tough muffins, so stop as soon as it’s combined.
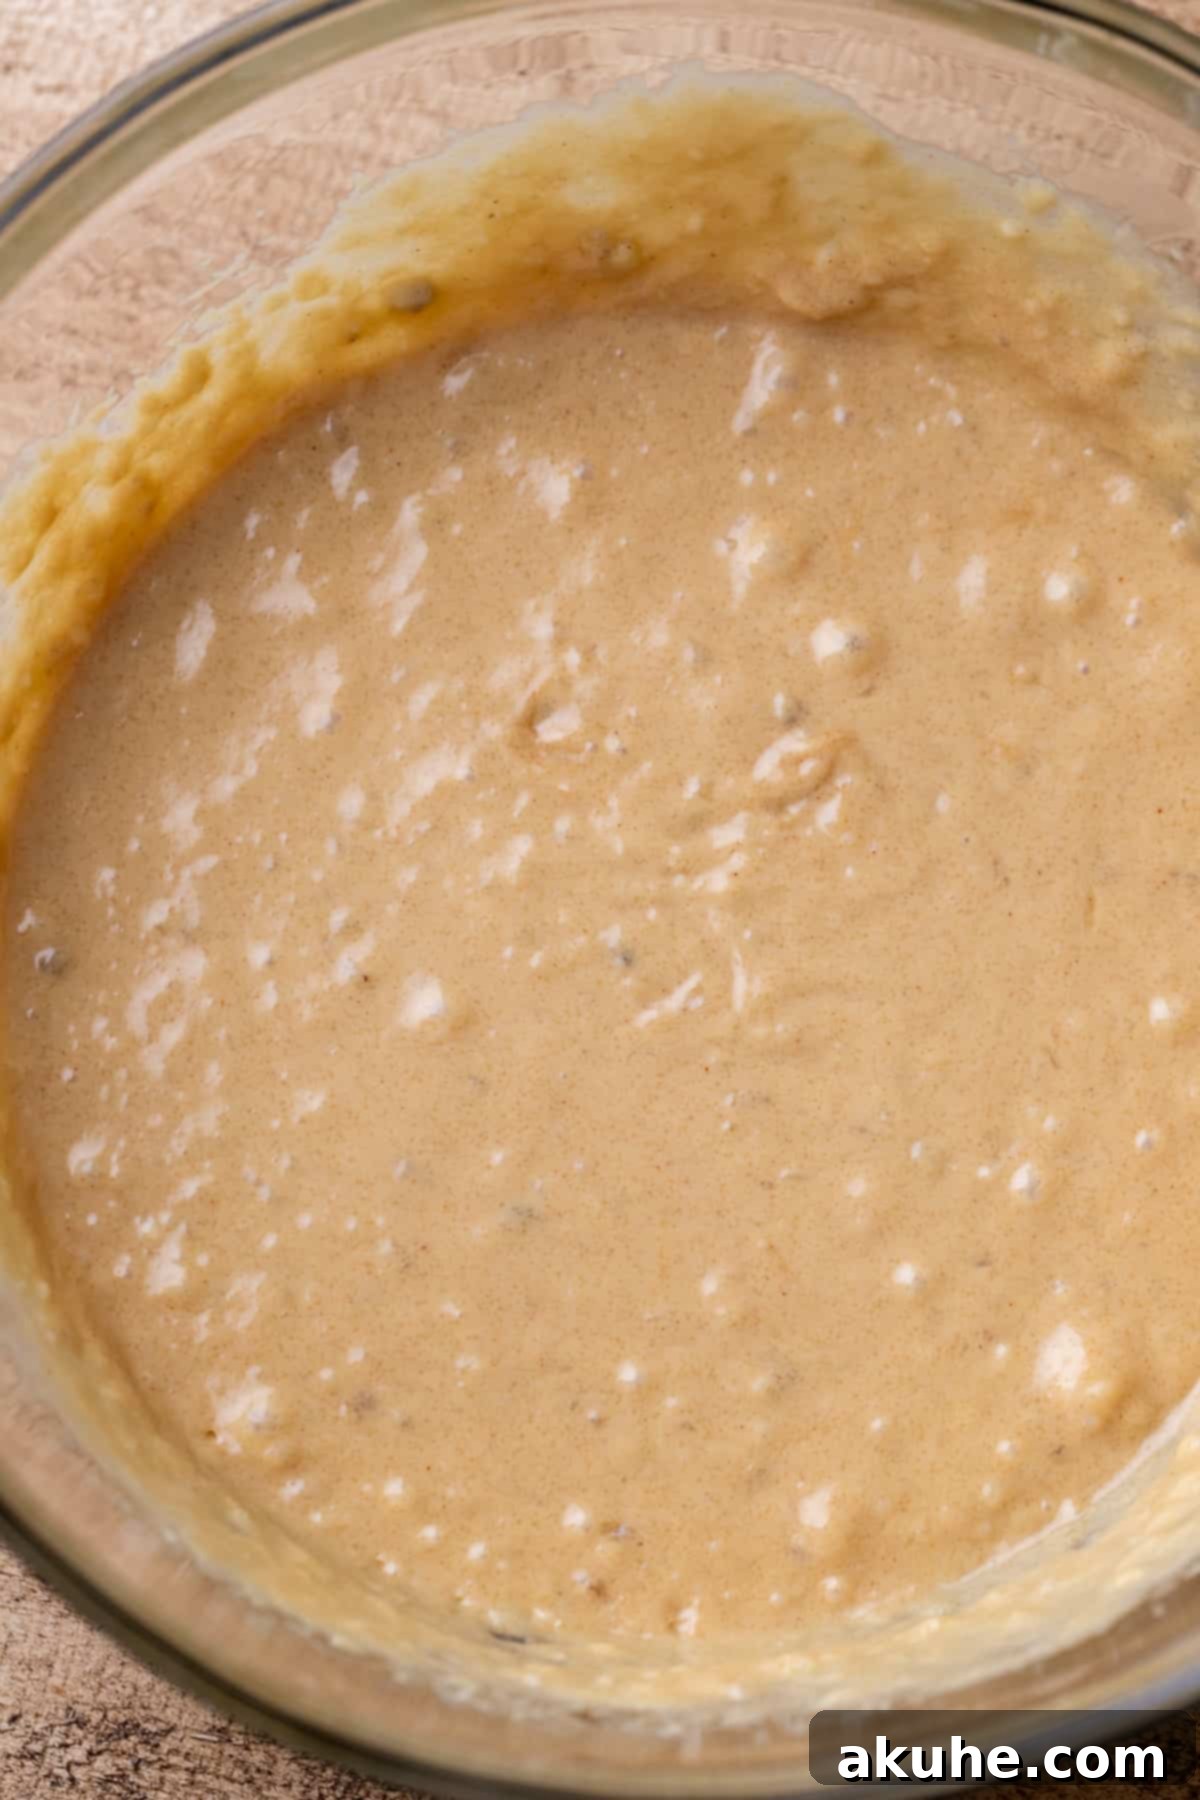
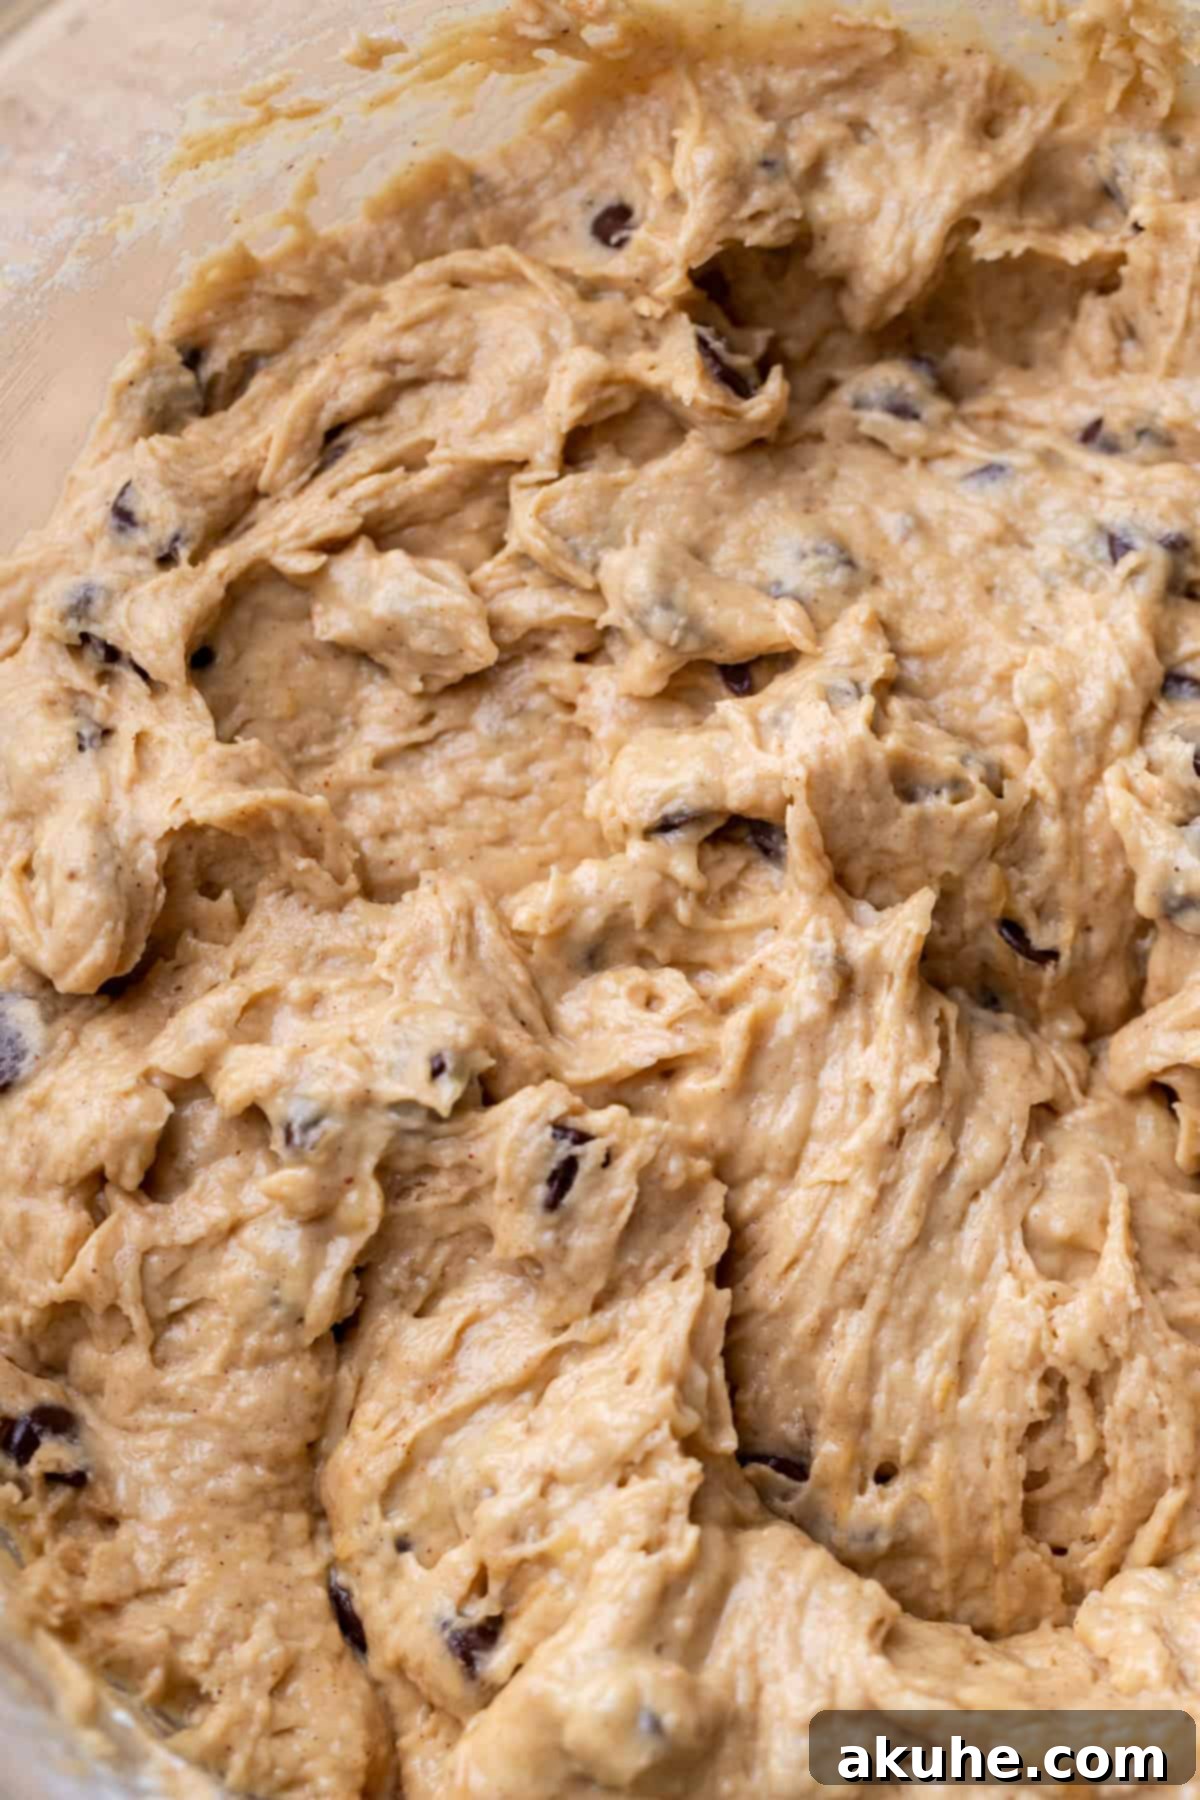
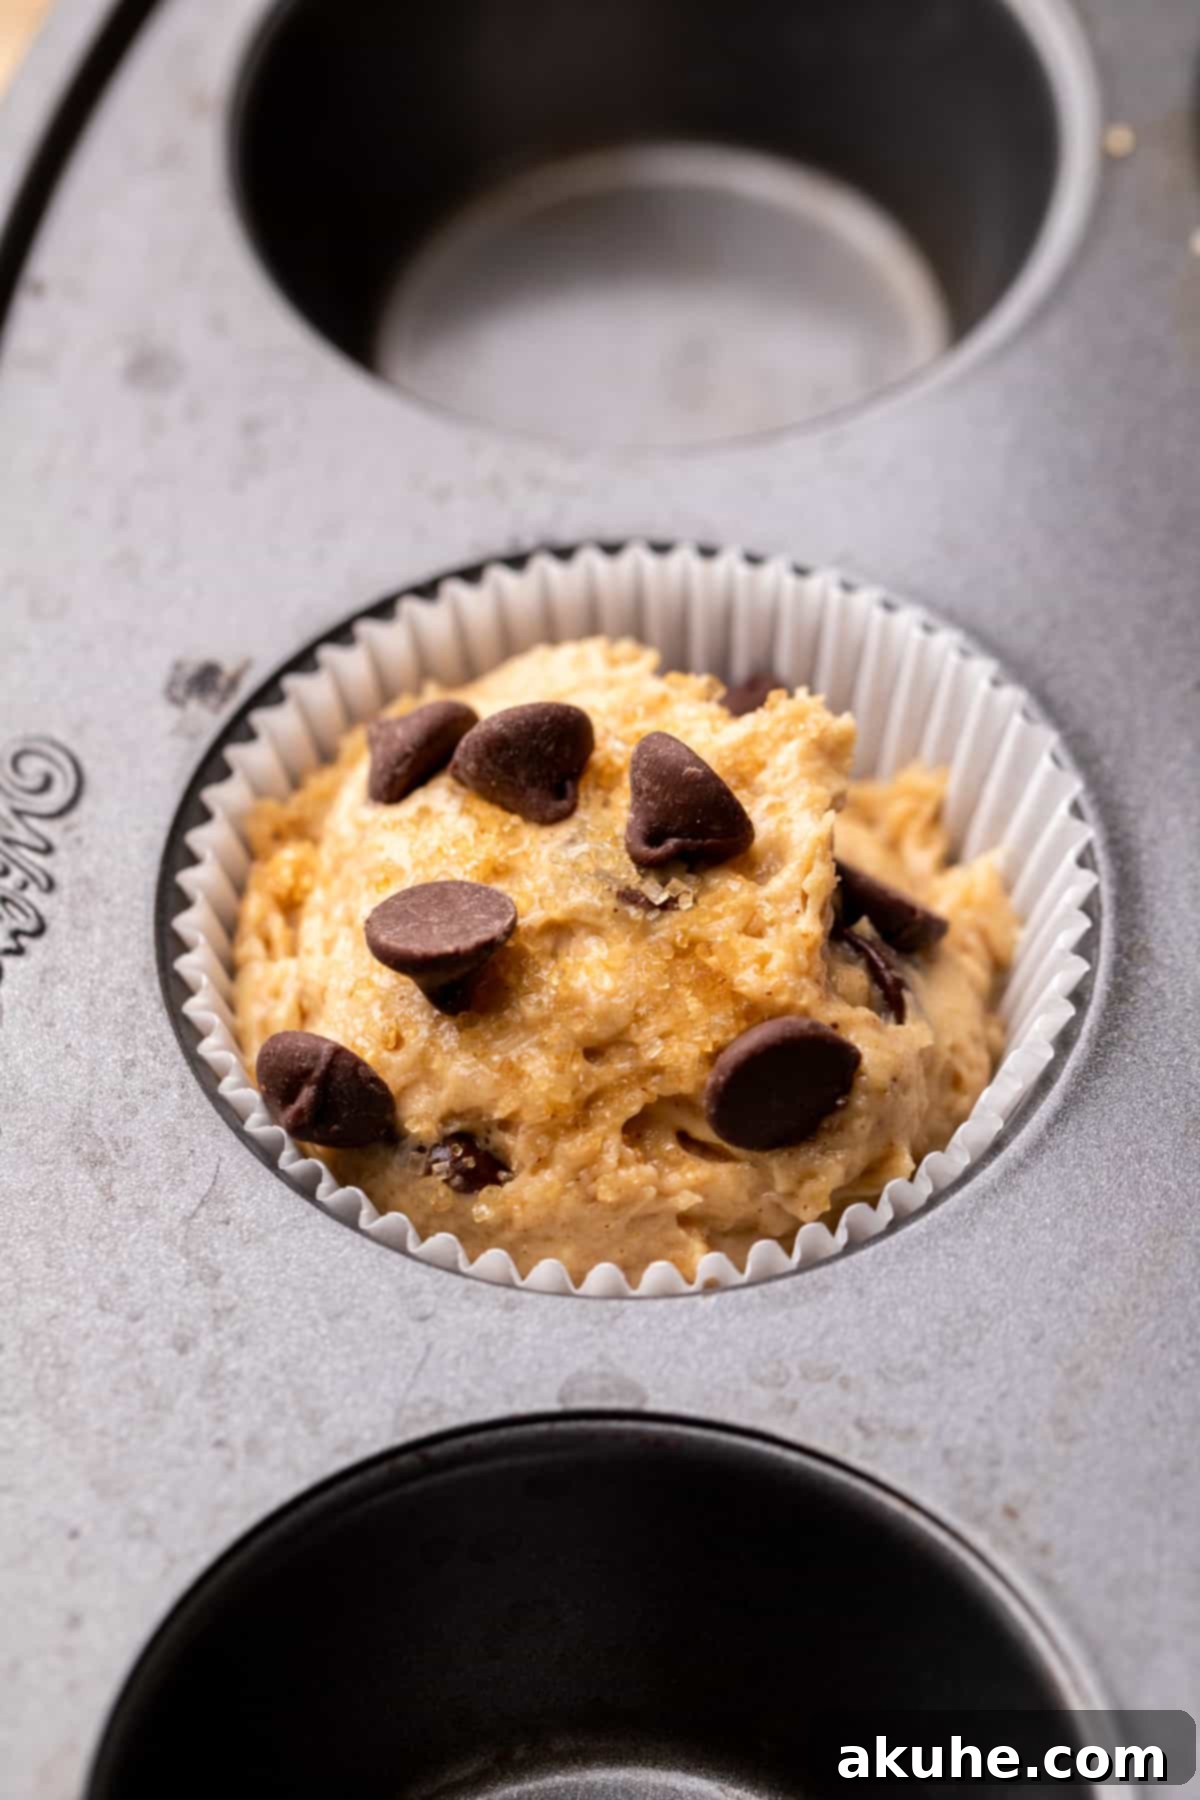
STEP 5: Fill Muffin Liners. Use a large cookie scoop (equivalent to 2 tablespoons or 2 ounces) to divide the batter evenly among the prepared muffin liners. Each liner should receive a generous, heaping scoop, filling it almost to the very top with batter. This full fill contributes to the impressive domed tops.
STEP 6: Add Toppings. For an extra touch of bakery-style elegance and a delightful crunch, sprinkle a generous amount of coarse sugar (like turbinado or demerara sugar) over the tops of each muffin. Then, scatter a few extra chocolate chips on top of the batter in each cup. This ensures plenty of visible chocolate once baked.
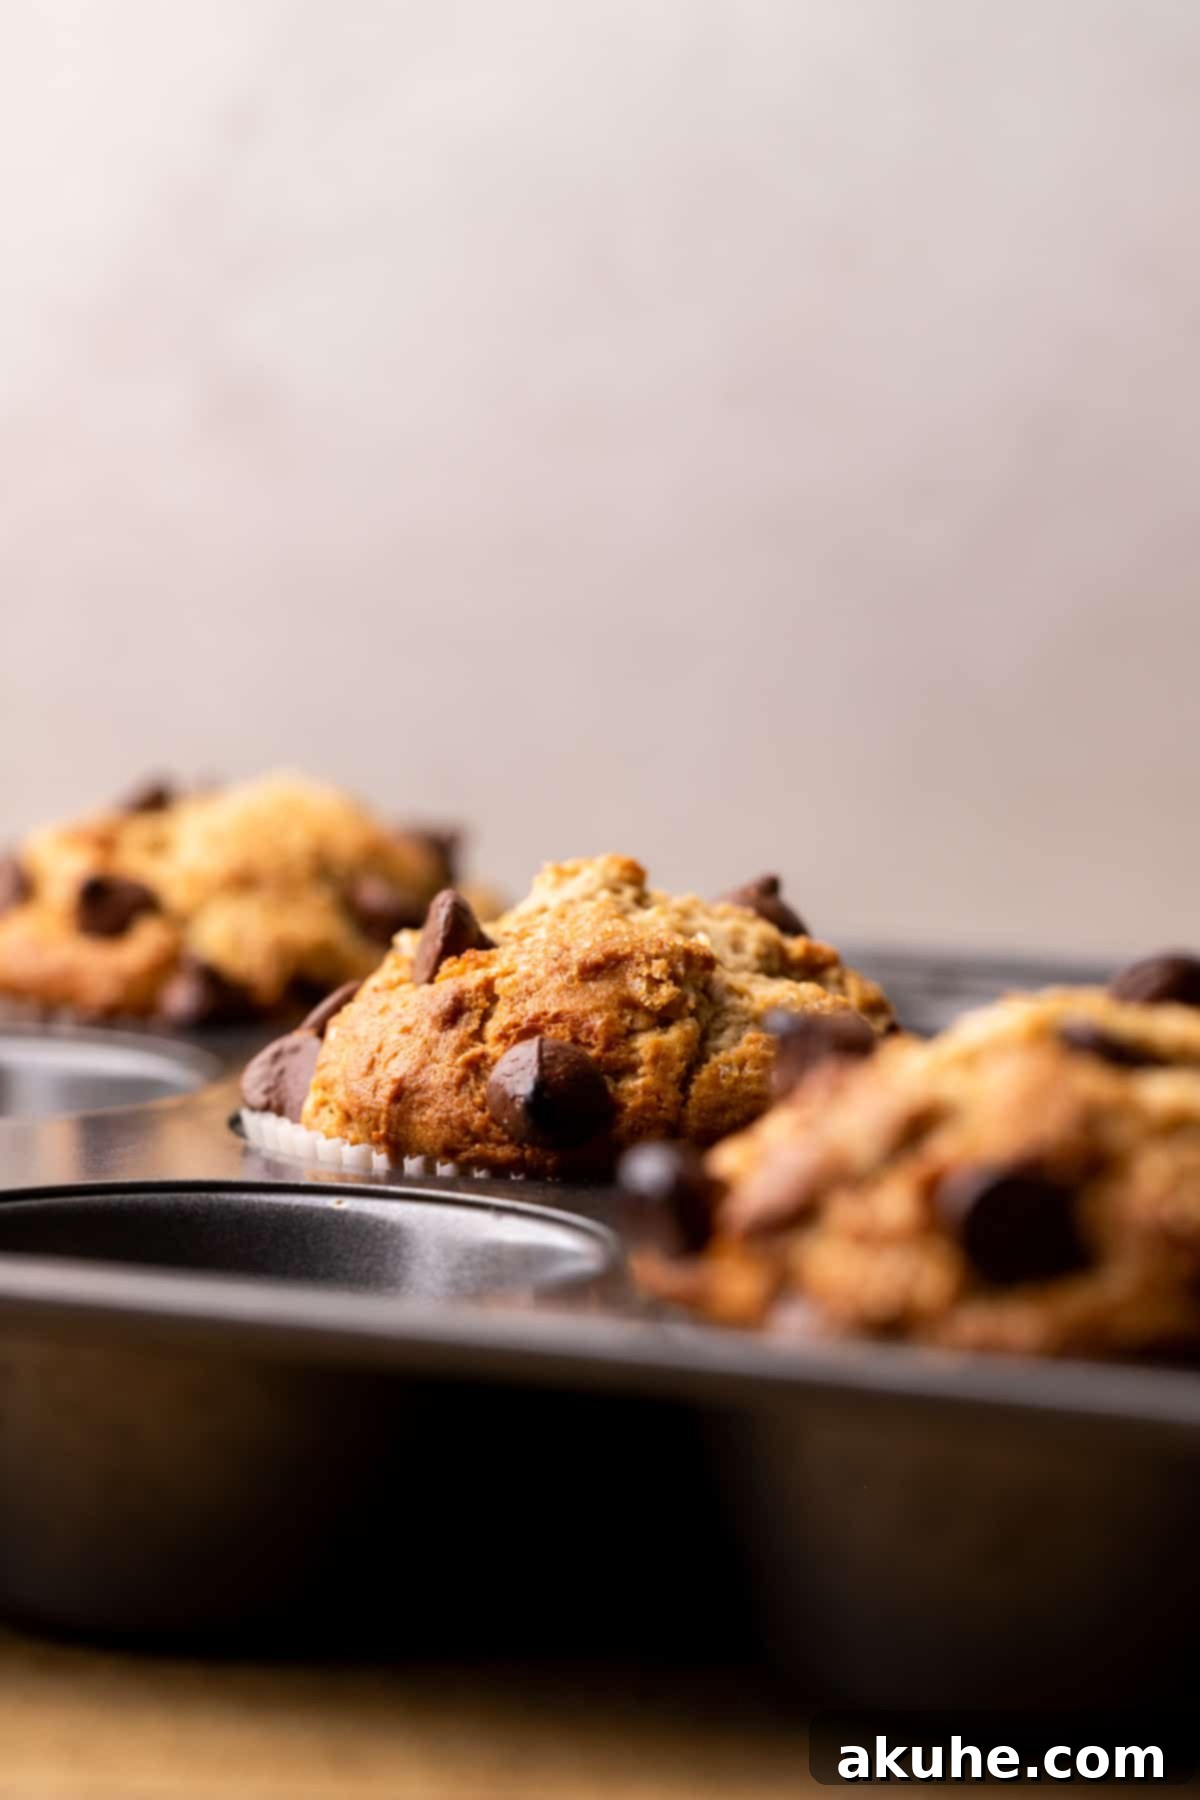
STEP 7: Bake to Perfection. Place one baking tray at a time into your preheated 425°F (220°C) oven. Bake for precisely 8 minutes at this high temperature. This initial blast of heat causes the muffins to rise rapidly. After 8 minutes, reduce the oven temperature to 375°F (190°C) and continue baking for another 6-8 minutes. The muffins are done when a toothpick inserted into the center comes out clean or with only moist crumbs attached. Avoid overbaking to keep them supremely moist.
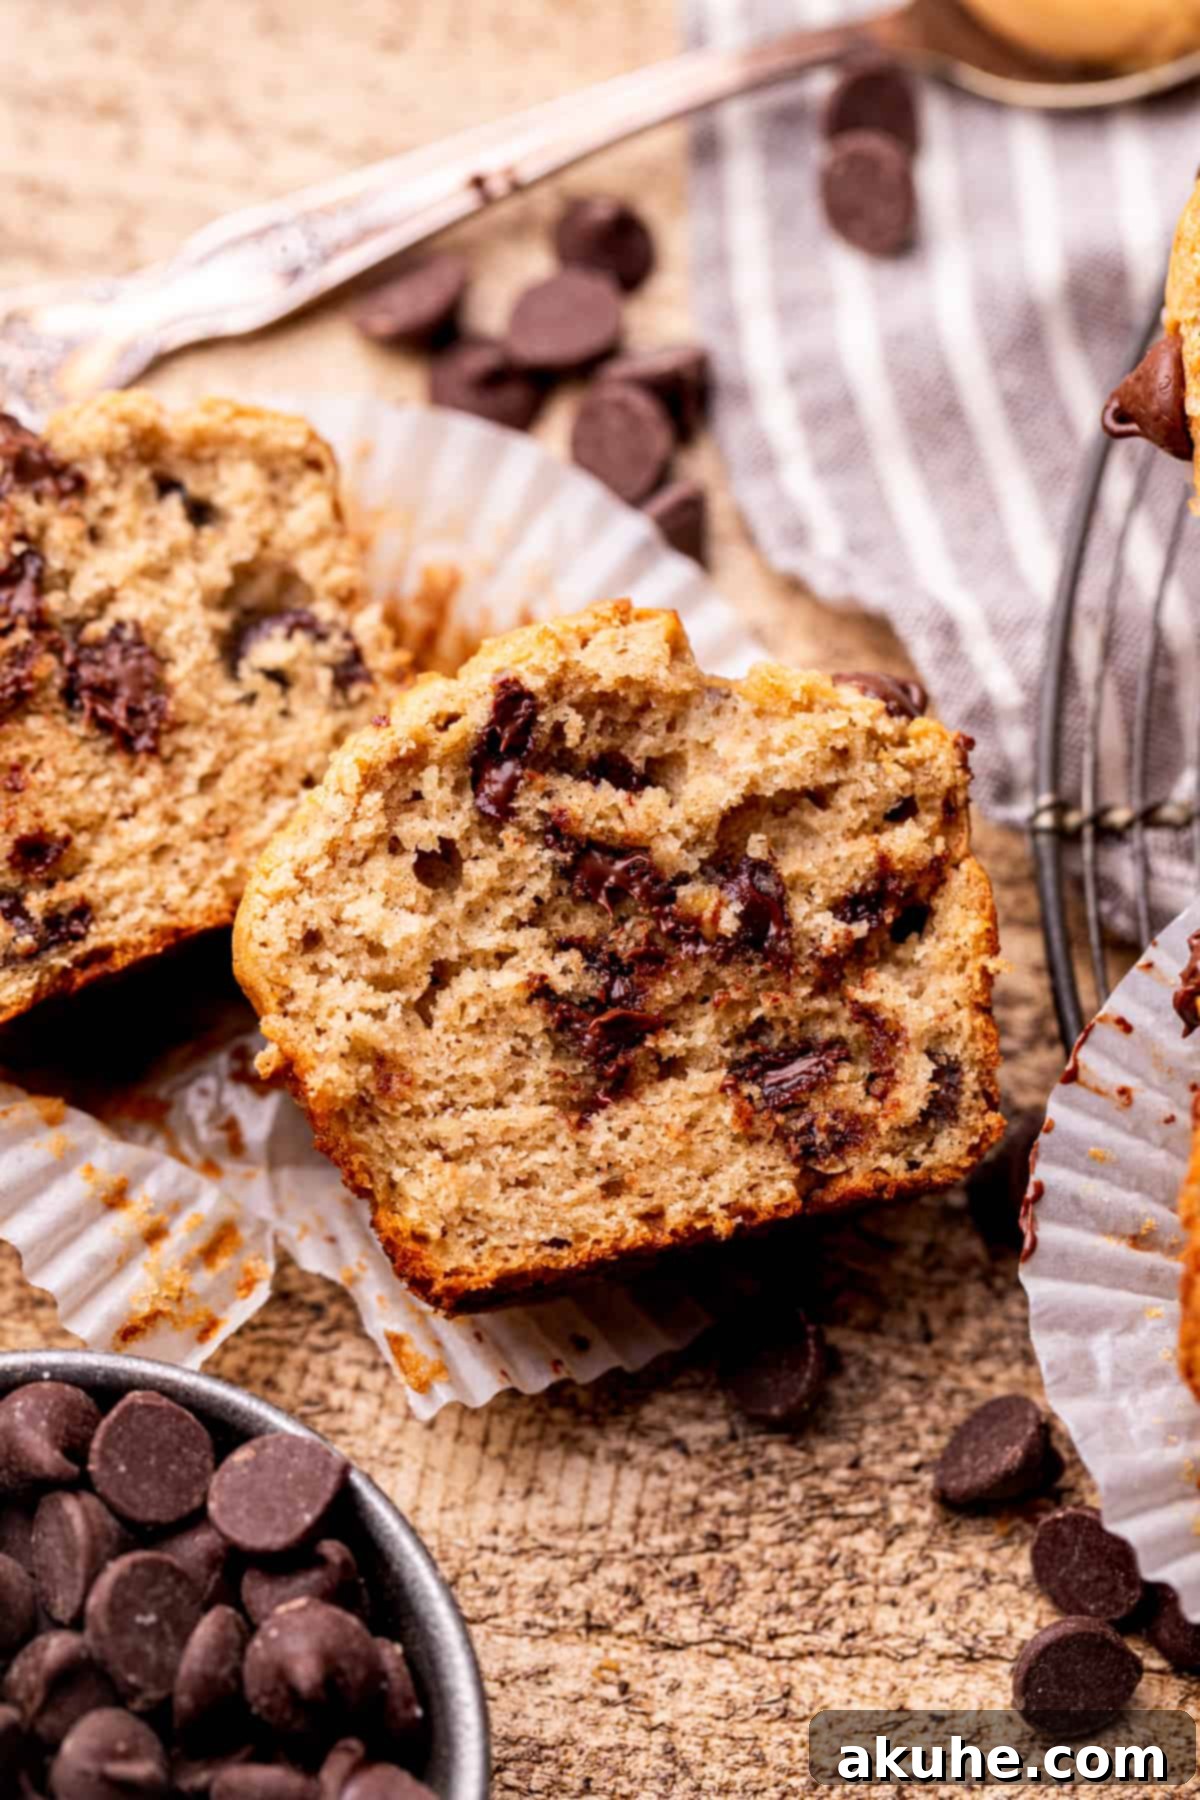
STEP 8: Cool and Enjoy. Once baked, remove the muffin pan from the oven and let the muffins rest in the hot pan for about 10 minutes. This allows them to set properly and prevents them from collapsing. After 10 minutes, carefully transfer the muffins to a wire cooling rack to cool completely. While they are delicious warm, allowing them to cool fully helps to lock in moisture and further develops their flavors.
Expert Baking Tips for Bakery-Style Muffins
Achieving perfectly domed, moist, and tender muffins every time is within reach with these expert tips:
- Accurate Flour Measurement is Key: Improperly measured flour is a common culprit for dry baked goods. Always spoon your all-purpose flour into the measuring cup and then level it off with a straight edge. Never scoop directly from the flour bag with your measuring cup, as this compacts the flour, resulting in too much flour and subsequently dry, dense muffins. For ultimate accuracy, consider using a kitchen scale to measure your flour by weight.
- Strategic Muffin Placement: To encourage an impressive rise and beautiful, domed tops, bake only 6 muffins at a time in a standard 12-cup muffin pan. By placing the muffin liners in alternating cups (every other cup), you create more space around each muffin. This allows for better airflow and heat distribution, leading to a larger, more even rise and a superior texture. If you have two pans, you can still follow this method to ensure consistently excellent results across both batches.
- Do Not Overmix the Batter: Muffin batter is delicate. Once you’ve added the dry ingredients to the wet, mix on low speed only until they are just combined and no streaks of dry flour are visible. Overmixing develops the gluten in the flour, which leads to tough, chewy muffins instead of light and tender ones. A few small lumps in the batter are perfectly acceptable and even desirable.
- The Power of Resting Batter: For an even higher rise and a slightly more tender crumb, consider letting your muffin batter rest for about 30 minutes at room temperature before scooping it into the liners and baking. This resting period allows the flour to fully hydrate and the leavening agents to begin their work, resulting in taller, fluffier muffins.
- Room Temperature Ingredients: Ensure dairy products (sour cream, eggs) are at room temperature. This allows them to combine more smoothly with the other ingredients, creating a more uniform batter and a better overall texture in the final product. Plan ahead by taking them out of the refrigerator at least 30 minutes to an hour before you start mixing.
Frequently Asked Questions About Baking Muffins
The key to fluffy muffins lies in a few critical steps. First, ensure all your dairy ingredients, especially eggs and sour cream, are at room temperature before mixing. This allows them to emulsify better and create a smoother, lighter batter. Additionally, sour cream itself is a fantastic ingredient for tenderness and fluffiness, thanks to its fat content and acidity which reacts with baking soda for a good rise. Finally, avoid overmixing the batter, as this can develop gluten and lead to a tough texture instead of a fluffy one.
Dry muffins are a common problem often caused by two main issues: overbaking or using too much flour. Overbaking draws out too much moisture from the muffins, making them crumbly and dry. Always check for doneness a few minutes before the recipe’s minimum bake time. If your oven tends to run hot, consider investing in an oven thermometer to ensure accurate temperatures, or simply reduce baking time slightly. Secondly, over-measuring flour (often by scooping directly from the bag, which compacts it) can lead to a dry batter. Always spoon and level your flour, or use a kitchen scale for precise measurement.
Absolutely! This recipe can be easily adapted for mini muffin pans. However, you will need to significantly reduce the baking time. Mini muffins typically bake for a shorter duration, often around 10-14 minutes in total, depending on your oven. Start checking for doneness around 8-10 minutes by inserting a toothpick into the center of a muffin; it should come out clean. Keep a close eye on them to prevent overbaking.
Yes, these peanut butter banana muffins are wonderfully versatile! Feel free to experiment with other mix-ins. Chopped nuts like walnuts or pecans can add a delightful crunch. A sprinkle of shredded coconut would also be a delicious addition. If you’re a fan of dried fruit, a small amount of dried cranberries or raisins could work well. Just be mindful not to overcrowd the batter, as too many additions can affect the overall texture and rise of the muffins.
While sour cream or Greek yogurt are highly recommended for their moisture and tenderizing properties, you can substitute them. Buttermilk is a good alternative, or you can even make a quick buttermilk substitute by adding 1 tablespoon of lemon juice or white vinegar to regular milk and letting it sit for 5-10 minutes until it slightly curdles. While these substitutes will still yield delicious muffins, the texture might be slightly different than with sour cream.
Understanding Muffin Pan Spacing: Why Bake Only Six?
You might wonder why the instructions suggest using only 6 cups in a 12-cup muffin pan, leaving alternating cups empty. This isn’t just a quirk; it’s a clever baking technique designed to produce superior muffins. When muffins are baked with extra space between them, air and heat can circulate more effectively and evenly around each individual muffin. This optimal heat distribution allows the muffins to bake more uniformly and, critically, encourages a larger, more dramatic rise. The result is those coveted tall, domed tops you often see in bakeries. This extra room also helps to incorporate more air into the baking structure, contributing to a lighter, more airy, and overall better texture. It’s a simple adjustment that makes a significant difference in the final quality of your homemade muffins.
Storing and Freezing Your Peanut Butter Banana Muffins
To keep your delicious peanut butter banana muffins fresh and flavorful for as long as possible, proper storage is essential.
Storing: Once the muffins have cooled completely to room temperature, transfer them to an airtight container. If you plan to store them for more than a day or two, it’s best to keep them in the refrigerator. Stored in the fridge, these muffins will maintain their freshness and moisture for up to 5 days. You can gently warm them in the microwave for a few seconds before serving to bring back that freshly baked feel.
Freezing for Later Enjoyment
These banana peanut butter muffins freeze beautifully, making them perfect for meal prep or having a quick treat on hand whenever a craving strikes.
- Preparation for Freezing: Ensure the muffins are completely cooled before freezing. Warm muffins will create condensation in the freezer, leading to ice crystals and potential sogginess.
- Wrapping: For best results, individually wrap each muffin tightly in plastic wrap. This extra layer of protection helps prevent freezer burn.
- Container: Place the individually wrapped muffins in a heavy-duty freezer bag or an airtight freezer-safe container. This dual-layer protection is crucial for maintaining their quality.
- Freezing Duration: You can freeze these muffins for up to 30 days without significant loss of quality. Beyond this, they are still safe to eat but might start to lose some of their optimal flavor and texture.
- Thawing: To enjoy a frozen muffin, simply remove it from the freezer and let it thaw at room temperature for 1-2 hours. For a quick warm treat, you can remove the plastic wrap and microwave a frozen muffin for 30-60 seconds, or until heated through.
More Muffin Recipes to Inspire Your Baking
If you’ve enjoyed these delightful peanut butter banana muffins, you might love exploring other fantastic muffin creations. There’s a whole world of muffin flavors waiting to be discovered, from fruity delights to rich chocolate concoctions. Keep experimenting with different ingredients and techniques to find your next favorite baked good!
We hope you loved this recipe! If you did, please consider leaving a STAR REVIEW below. We’d also love to see your creations! Tag us on Instagram @stephaniesweettreats. For more delicious recipe ideas and baking inspiration, be sure to follow us on Pinterest.
Peanut Butter Banana Muffins Recipe
Peanut Butter Banana Muffins
These peanut butter banana muffins are super moist banana muffins that have both peanut butter and chocolate chips. They are great to make when you have extra ripe bananas around.
Author: Stephanie Rutherford
Prep Time: 15 mins
Cook Time: 16 mins
Total Time: 31 mins
Yields: 14 muffins
Ingredients
- 1/2 cup Unsalted butter, melted
- 1/2 cup Brown sugar, packed light or dark
- 1/2 cup Peanut butter, creamy
- 1/4 cup Sour cream, or Greek yogurt (room temperature)
- 1 tsp Pure vanilla extract
- 3 Ripe medium bananas, equal to 3/4 cup mashed
- 2 Large eggs, room temperature
- 2 cups All-purpose flour
- 2 tsp Baking powder
- 1/4 tsp Baking soda
- 1 tsp Ground cinnamon
- 1/2 tsp Salt
- 1 cup Semi-sweet chocolate chips, plus more for topping
- Coarse sugar in the raw, for topping
Instructions
- Preheat the oven to 425°F (220°C). Line two 12-cup muffin pans with muffin liners (or one pan if baking in batches). Fill every other cup with a muffin liner, placing 6 liners per pan, to aid in baking and rising.
- In a medium bowl, thoroughly mix the all-purpose flour, baking powder, baking soda, cinnamon, and salt. Set aside. Mash the three ripe bananas on a plate using a potato masher or a fork.
- In a large mixing bowl, using an electric mixer, beat the cooled melted butter, brown sugar, and creamy peanut butter on high speed for 2 minutes until light and fluffy.
- Add in the room-temperature sour cream, vanilla extract, mashed bananas, and room-temperature eggs. Mix on medium speed until just combined.
- Gently pour in the prepared dry ingredients and the 1 cup of semi-sweet chocolate chips. Mix on low speed until just combined. Be careful not to overmix.
- Using a large cookie scoop (2 tablespoons or 2 ounces), scoop the batter into each prepared muffin liner. Each liner should be filled generously to the top.
- Sprinkle coarse sugar over the tops of the muffins, then add a few extra chocolate chips on top of each for visual appeal.
- Bake for 8 minutes at 425°F (220°C). Then, reduce the oven temperature to 375°F (190°C) and continue baking for another 6-8 minutes. Muffins are done when a toothpick inserted into the center comes out clean.
- Allow the muffins to cool in the hot pan for 10 minutes before carefully transferring them to a wire cooling rack to cool completely.
Notes
- Flour Measurement: Always spoon and level your flour, or use a kitchen scale for precise measurement. Compacted flour can lead to dry muffins.
- High Altitude Baking: If you are baking at a high altitude, consider adding an extra 2 tablespoons of all-purpose flour to the dry ingredients.
- Room Temperature Ingredients: For optimal results, ensure all dairy ingredients (eggs, sour cream) are pulled out of the refrigerator and brought to room temperature at least 2 hours before you plan to start baking.
Nutrition Information (per muffin, approximately):
- Calories: 292 kcal
- Carbohydrates: 31g
- Protein: 5g
- Fat: 17g
- Saturated Fat: 8g
- Polyunsaturated Fat: 2g
- Monounsaturated Fat: 6g
- Trans Fat: 0.3g
- Cholesterol: 21mg
- Sodium: 209mg
- Potassium: 163mg
- Fiber: 2g
- Sugar: 14g
- Vitamin A: 235 IU
- Vitamin C: 0.04mg
- Calcium: 63mg
- Iron: 2mg
