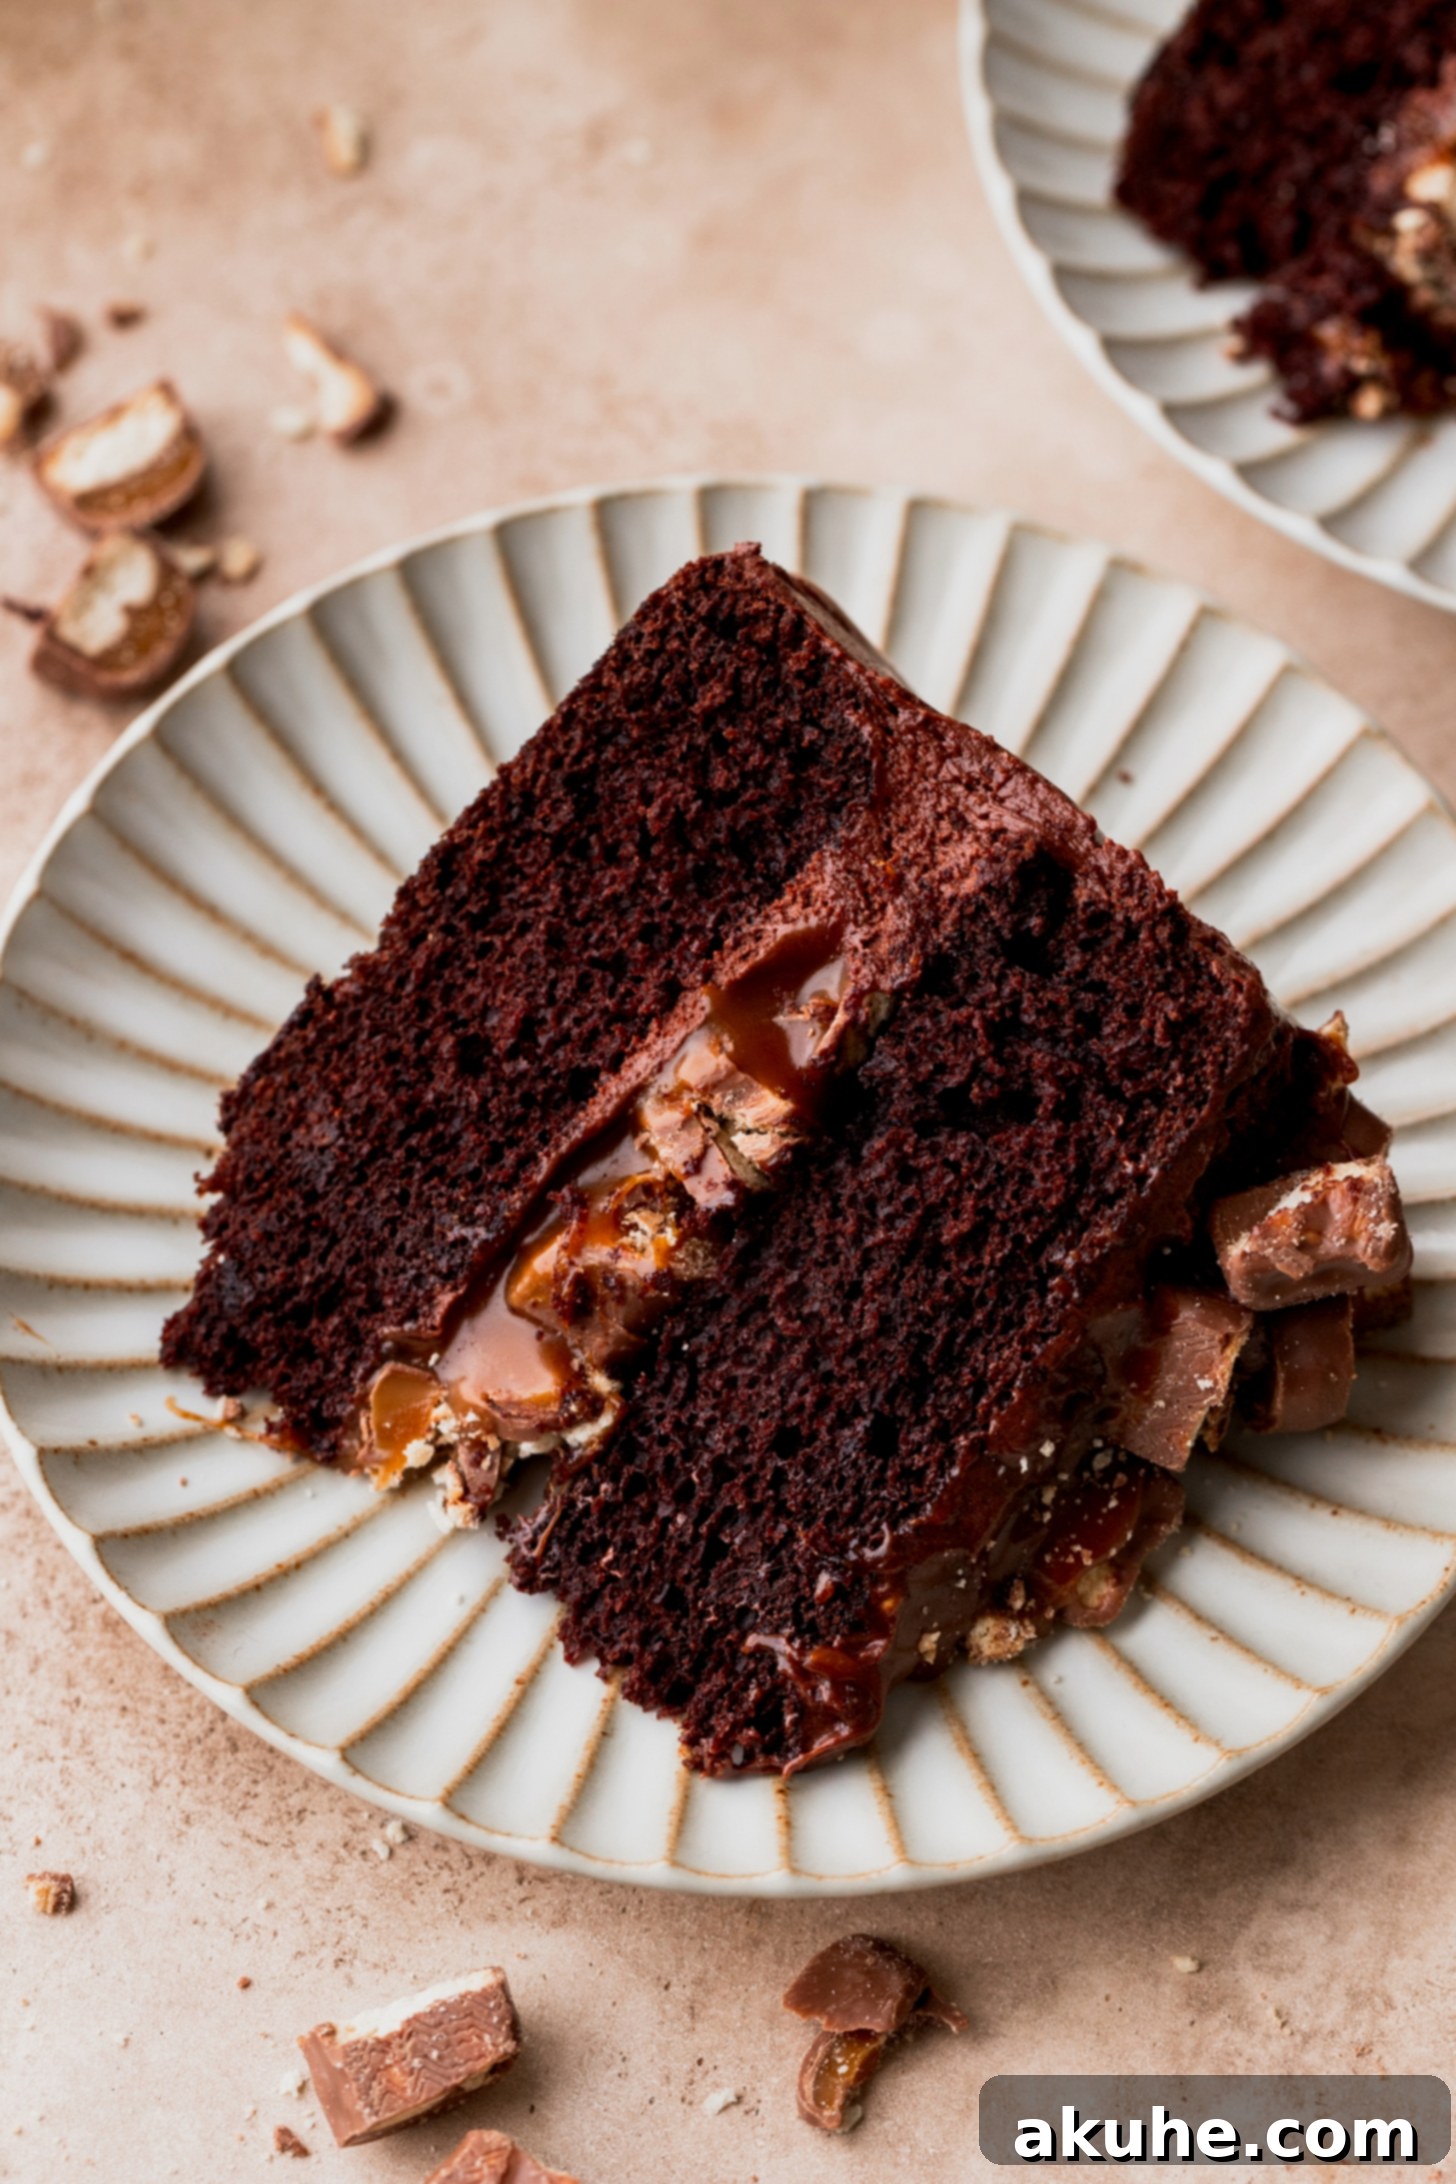
Indulge in the Ultimate Twix Cake: A Chocolate Caramel Dream
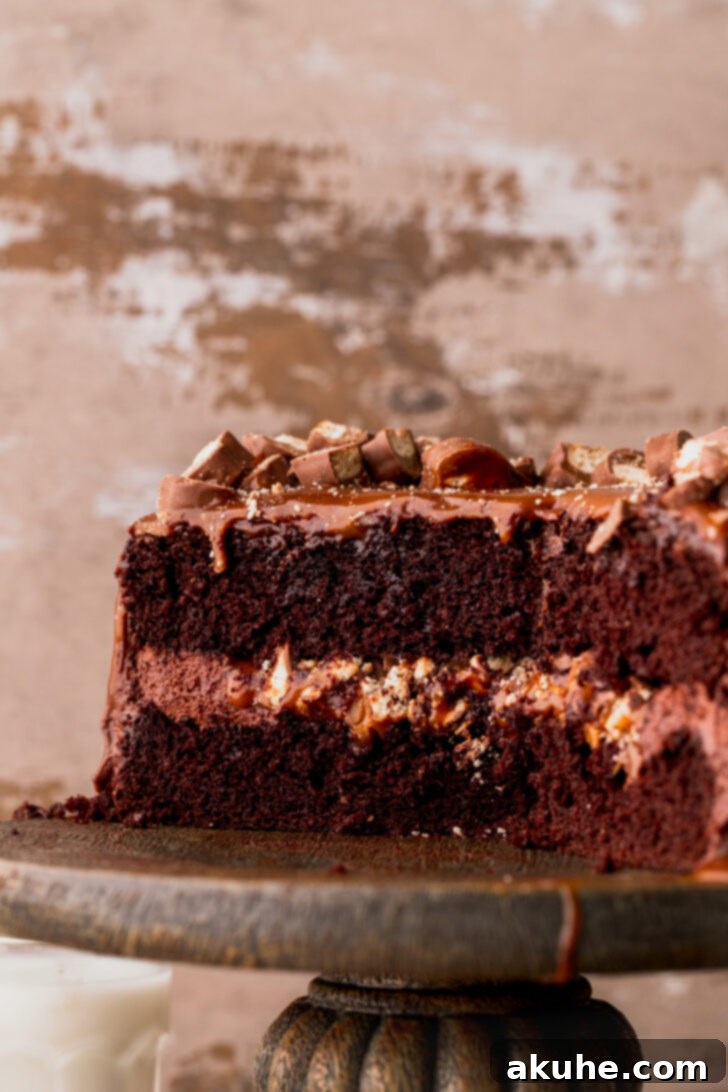
Prepare to be enchanted by this show-stopping Twix Cake, a decadent creation that transforms your favorite candy bar into an unforgettable dessert experience. This masterpiece features moist, rich chocolate cake layers generously filled with luxurious salted caramel and crunchy chopped Twix bars. Each slice is a symphony of textures and flavors, crowned with smooth chocolate cream cheese frosting and an artful caramel drip, making it the perfect centerpiece for any celebration or a delightful treat for yourself.
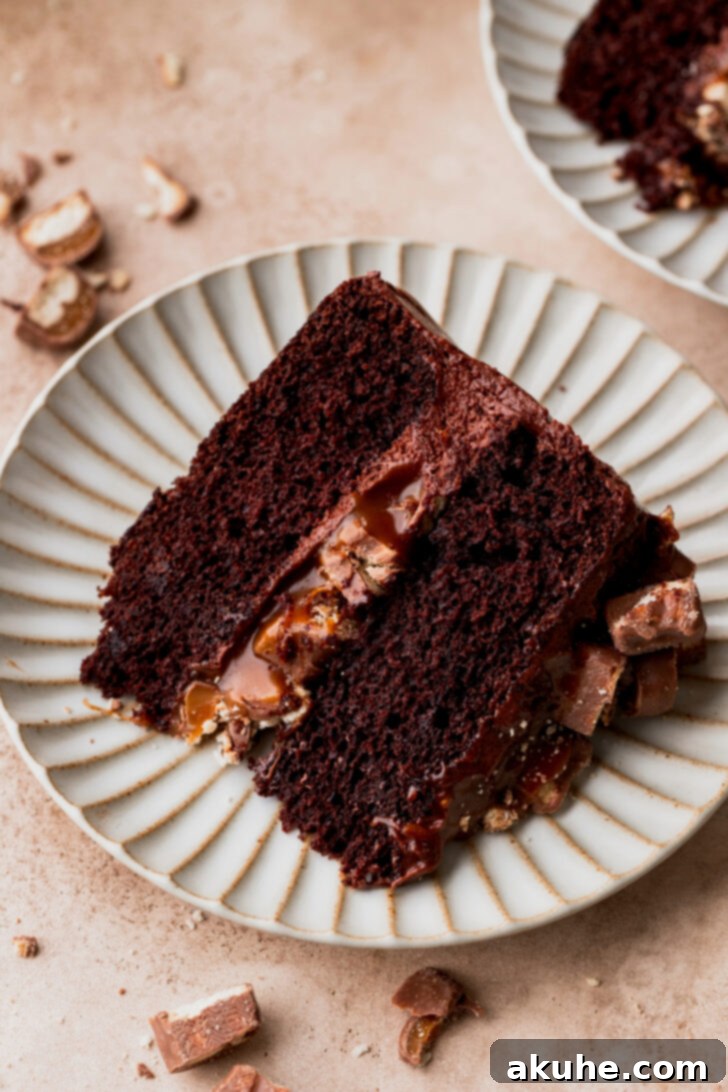
Imagine sinking your teeth into a slice of pure bliss, where the familiar, beloved taste of a Twix candy bar is elevated to gourmet status. This homemade Twix cake delivers all the classic elements – the buttery biscuit, chewy caramel, and smooth chocolate – reimagined in a soft, moist cake form. It’s an ideal choice for a birthday cake, holiday gathering, or any occasion where you want to impress with a truly special dessert. We’ve packed this guide with detailed tips, tricks, and step-by-step photos to ensure your baking journey is smooth and successful. If you’re a true Twix enthusiast, don’t forget to try our Twix Cookies too!
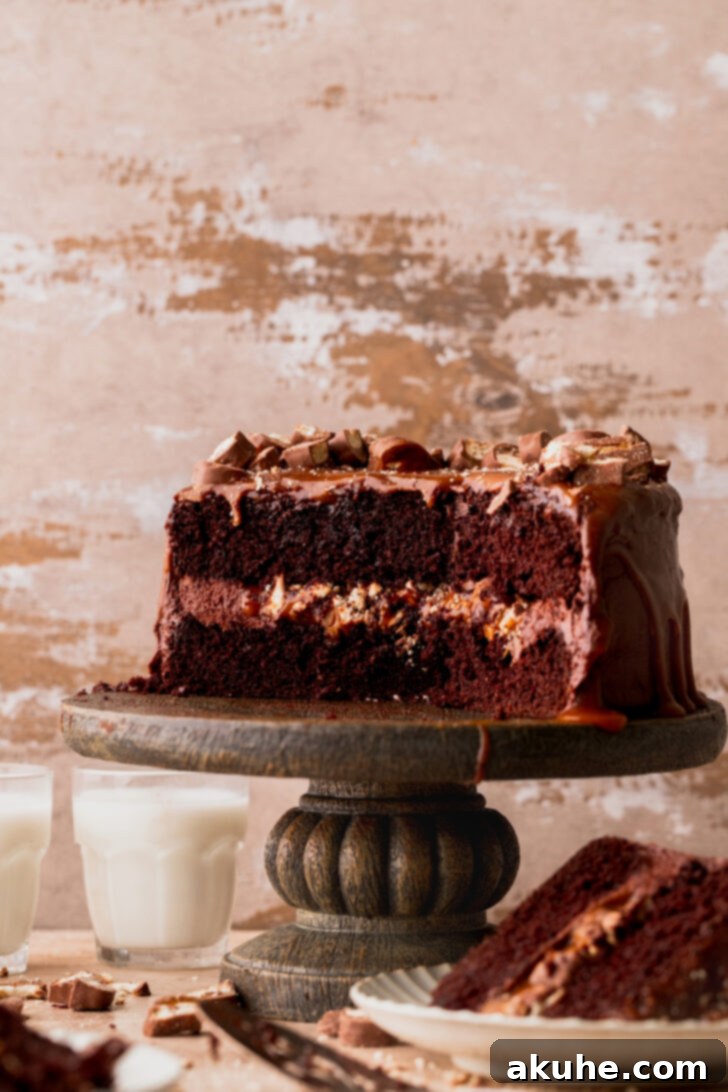
Unlocking the Secrets to a Flawless Twix Cake
Achieving bakery-quality results at home is easier than you think with these essential tips. From preparing your ingredients to perfecting each component, these insights will help you create a Twix cake that looks and tastes incredible. For even more detailed guidance on specific elements, explore our dedicated posts on homemade salted caramel and chocolate cream cheese frosting.
- Precisely Measure Your Flour: The Key to a Moist Cake
Avoid a dry, dense cake by measuring your flour correctly. Instead of scooping directly with your measuring cup, which can compact the flour and lead to excess, gently spoon the flour into your measuring cup. Once filled, level it off with the straight edge of a knife. This method ensures you get the exact amount required, resulting in a perfectly moist and tender chocolate cake. - Patience is a Virtue When Making Salted Caramel
Caramel making can seem daunting, but patience is your best friend. Resist the urge to crank up the heat on the stove. Sugar melts and caramelizes quickly once all the crystals are dissolved, and high heat can lead to burning in a flash. Keep the heat at a steady medium and stir continuously until the sugar fully dissolves, then allow it to transform into a beautiful amber color. A watchful eye and a calm hand will yield a rich, delicious salted caramel every time. - Temperature Matters for Silky Smooth Frosting
For a perfectly smooth, luscious chocolate cream cheese frosting, it’s crucial that both your butter and cream cheese are at the exact same room temperature. If one ingredient is colder than the other, it can cause the frosting to curdle or separate, resulting in an unappealing lumpy texture. Plan ahead and take your dairy ingredients out of the refrigerator at least an hour or two before you begin baking to allow them to soften properly.
Crafting Each Irresistible Component
Baking the Perfect Chocolate Cake Layers
Our chocolate cake layers are designed to be incredibly moist and rich, providing the ideal foundation for the salted caramel and Twix fillings. Starting with the right preparation ensures a tender crumb and deep chocolate flavor.
- Begin by preheating your oven to 350°F (175°C) and preparing two 8-inch cake pans. Lightly spray them with a nonstick baking spray, then line the bottoms with parchment paper circles. Spray the parchment paper again for easy release.
- In a medium-sized bowl, sift together the all-purpose flour, unsweetened cocoa powder, granulated sugar, baking powder, baking soda, and salt. Sifting helps prevent lumps and ensures all ingredients are well combined, contributing to a smoother batter and a finer cake texture. Set this dry mixture aside.
- Heat one cup of water in a small saucepan until it’s steaming, but not vigorously boiling. In a large mixing bowl, combine the oil, pure vanilla extract, room temperature large eggs, and buttermilk. Gently pour in the hot water and mix until just combined. The hot water helps to bloom the cocoa powder, intensifying the chocolate flavor.
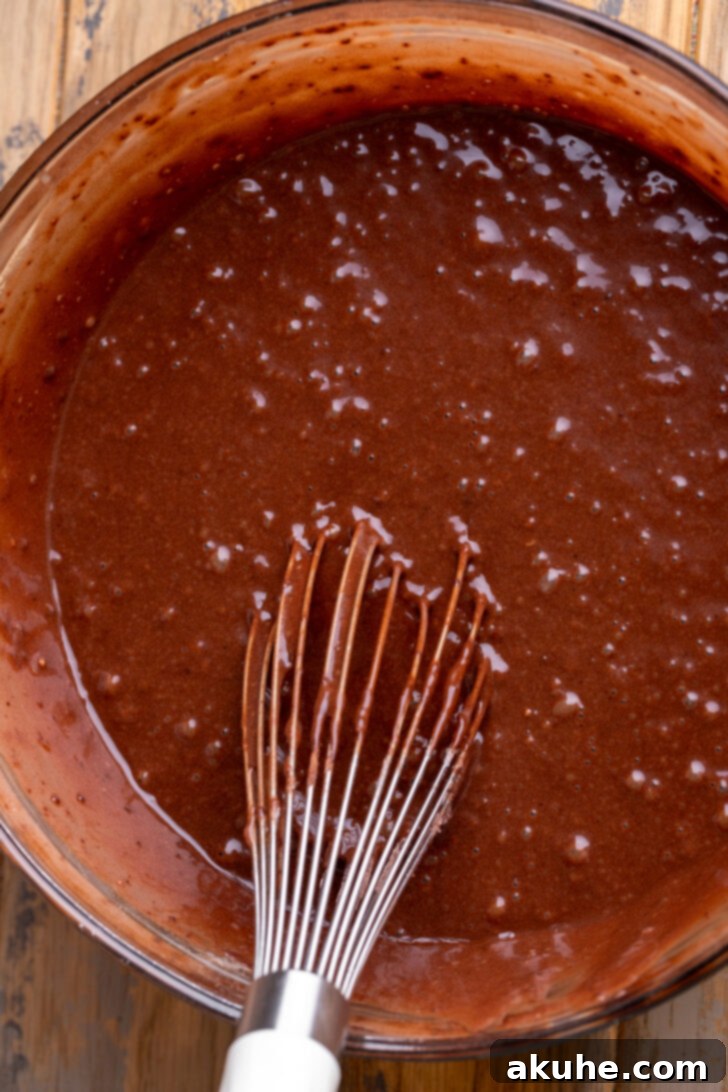
- Gradually add the sifted dry ingredients into the wet ingredients. Mix on low speed, or by hand with a whisk, until the batter is just combined and no streaks of flour remain. Be careful not to overmix, as this can develop the gluten too much, leading to a tough cake. The batter will be quite thin; this is normal for such a moist cake.
- Divide the runny cake batter evenly between your two prepared cake pans.
- Bake the cake layers for 32-36 minutes, or until a wooden skewer or toothpick inserted into the center comes out clean. Baking times can vary, so keep an eye on them.
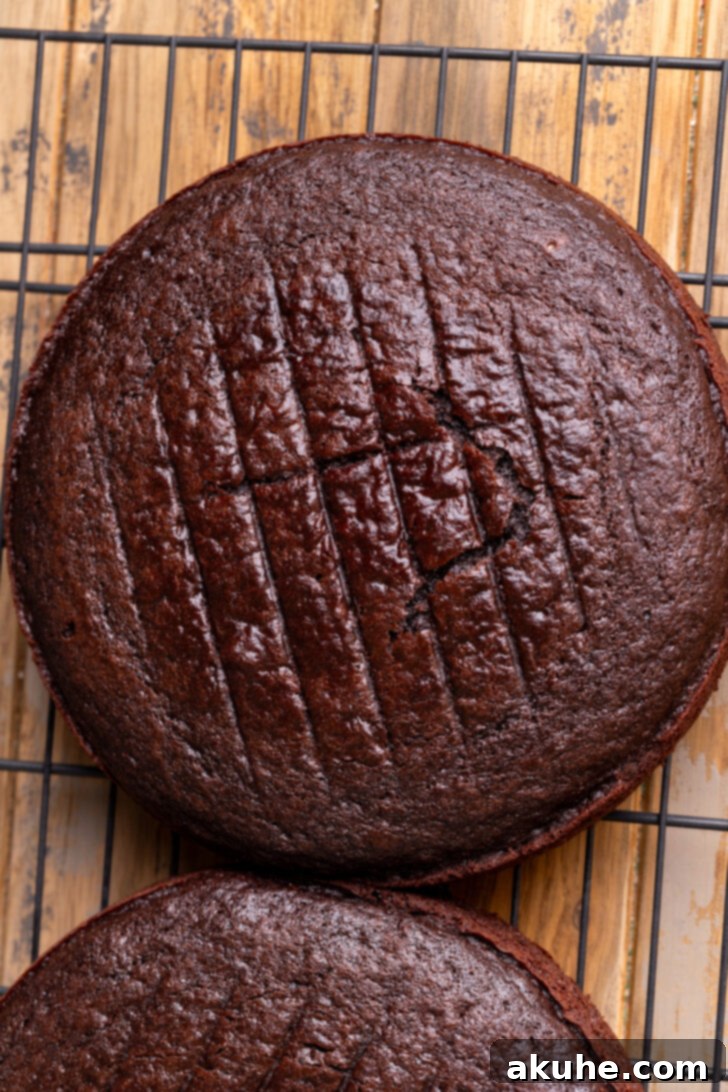
- Once baked, let the cakes cool in their pans for about 10 minutes. This allows them to firm up slightly before you attempt to remove them. After 10 minutes, invert them onto a wire cooling rack to cool completely. Ensure the cakes are entirely cool before moving on to assembly; otherwise, your frosting and caramel will melt.
Crafting Silky Salted Caramel
Homemade salted caramel is surprisingly simple to make and adds an incomparable depth of flavor to this cake. Its rich, buttery, and slightly salty notes perfectly complement the chocolate and crunchy Twix.
- You can start your salted caramel while the cake layers are baking or make it ahead of time. In a heavy-bottomed saucepan over medium heat, melt the granulated sugar. Use a whisk to stir continuously until all the sugar crystals have dissolved and the sugar transforms into a clear, bubbling liquid.
- Once the sugar is completely melted, stop stirring and let it cook until it turns a beautiful amber color. This step happens quickly – usually in under 30 seconds once it starts to change color – so watch it very carefully to prevent burning. Immediately remove the saucepan from the heat once it reaches the desired amber hue.
- Carefully add half of the cubed unsalted butter to the hot caramel and vigorously whisk until it is fully incorporated. Then, add the remaining butter and continue whisking until smooth.
- Warm the heavy cream in the microwave for about 30 seconds until it’s hot. Slowly pour the warm cream into the caramel mixture, whisking constantly. Be extremely cautious as the mixture will bubble up intensely. Continue whisking until the cream is fully combined.
- Finally, stir in the pure vanilla extract and salt.
- Return the saucepan to low-medium heat and cook for an additional 5-7 minutes, stirring occasionally. This simmering period is crucial for thickening the caramel, ensuring it has a perfect pourable yet slightly viscous consistency that won’t ooze excessively when layered in the cake.
- Pour the finished salted caramel into a heatproof glass bowl or jar and allow it to cool completely at room temperature. It will thicken considerably as it cools.
Preparing the Velvety Chocolate Cream Cheese Frosting
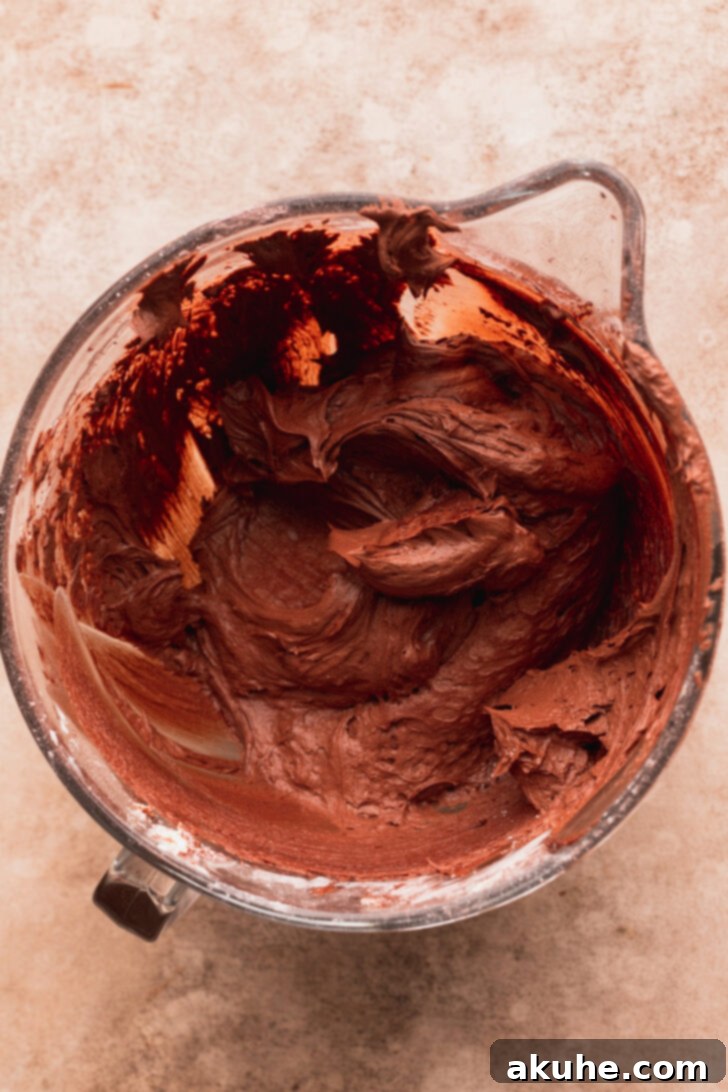
This rich and tangy chocolate cream cheese frosting provides a perfect counterpoint to the sweet caramel and chocolate cake. Its creamy texture and deep chocolate flavor make it an absolute delight.
- In a large bowl, sift together the powdered sugar and unsweetened cocoa powder. Sifting prevents lumps and ensures a smooth, uniform frosting.
- In a separate, larger mixing bowl, use an electric mixer to beat the room temperature unsalted butter on high speed for 2 minutes until it becomes light and fluffy.
- Add the room temperature cream cheese to the butter and beat for another minute until thoroughly combined and smooth. Remember our tip: both butter and cream cheese must be at the same room temperature to prevent separation!
- Scrape down the sides of the bowl with a rubber spatula to ensure everything is well mixed.
- Gradually add half of the sifted powdered sugar and cocoa powder mixture to the butter and cream cheese. Mix on low speed until smooth.
- Add the remaining powdered sugar and cocoa powder, continuing to mix on low speed until the frosting is smooth and lump-free.
- Stir in the pure vanilla extract and beat for a final 30 seconds to ensure everything is perfectly incorporated and the frosting is light and airy.
Assembling Your Epic Twix Cake
Now for the exciting part – bringing all the components together to create your spectacular Twix cake! Careful assembly ensures beautiful, stable layers and an even distribution of all the delicious fillings.
- First, use a serrated knife to carefully level the tops of your cooled cake layers, removing any domes to create flat surfaces. This ensures your cake stacks evenly and looks professional.
- Place your first leveled cake layer on your serving plate or cake stand. Spread approximately 3/4 cup of the chocolate cream cheese frosting evenly over the top.
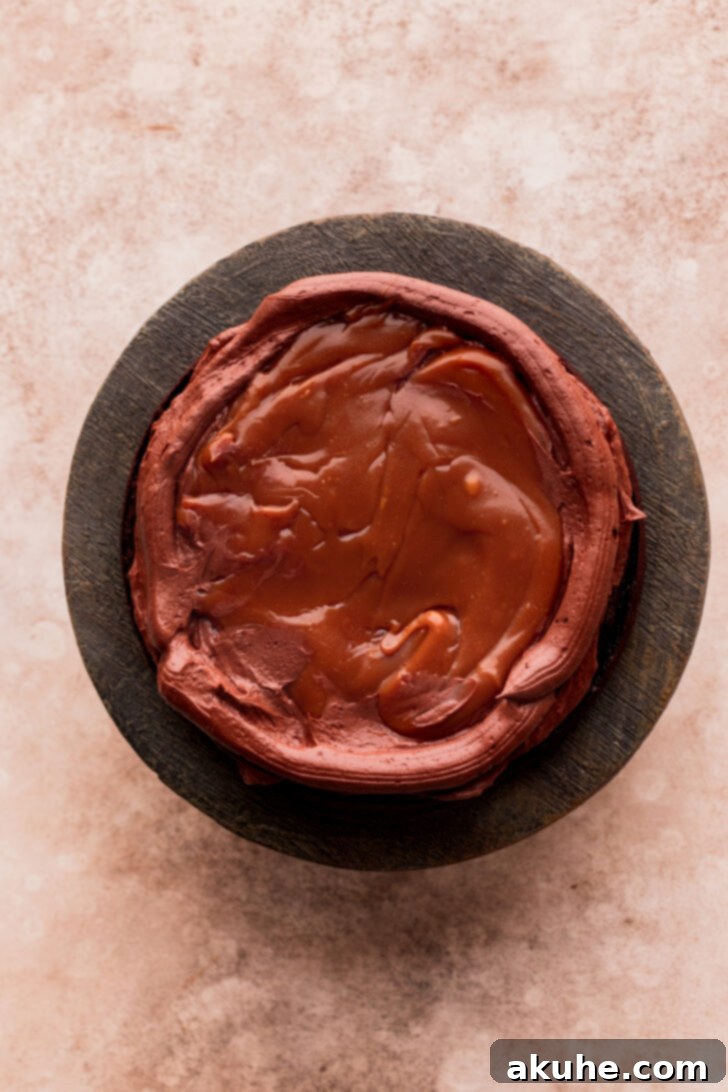
- Using a piping bag fitted with a round tip (or simply snip the corner off a Ziploc bag), pipe a sturdy border of frosting around the very edge of the cake layer. This creates a dam that will hold in your caramel filling.
- Pour about 1/2 cup of the cooled salted caramel inside the frosting border and spread it gently to cover the surface.
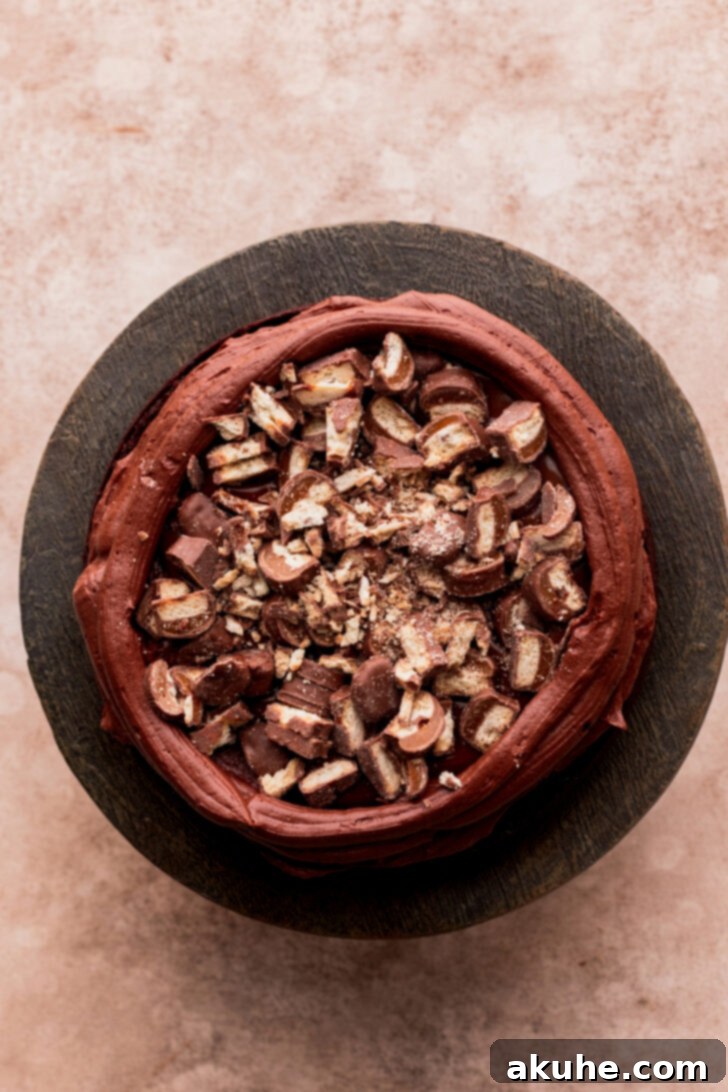
- Sprinkle approximately 1 1/2 cups of chopped Twix bars over the caramel layer. To help the next cake layer adhere firmly and prevent shifting, pipe 3 small dollops of frosting directly on top of the Twix pieces, creating sticky anchors.
- Carefully place the second cake layer on top, with the bottom of the cake facing up. This creates the flattest possible top surface for your cake.
- Transfer the assembled cake to the freezer for 10 minutes. This quick chill helps set the fillings and layers, making the entire cake much more stable and easier to frost.
- Once chilled, remove the cake from the freezer and apply a crumb coat of frosting all over the cake. Then, apply the remaining chocolate cream cheese frosting, smoothing it out for a beautiful finish.
- For the elegant caramel drip: Freeze the frosted cake for another 10 minutes. This helps the frosting firm up, creating a perfect cold canvas for the caramel drips. Using a piping bag (or a spoon for a more rustic look), pipe or drizzle the cooled caramel around the edge of the top of the cake, allowing it to slowly drip down the sides.
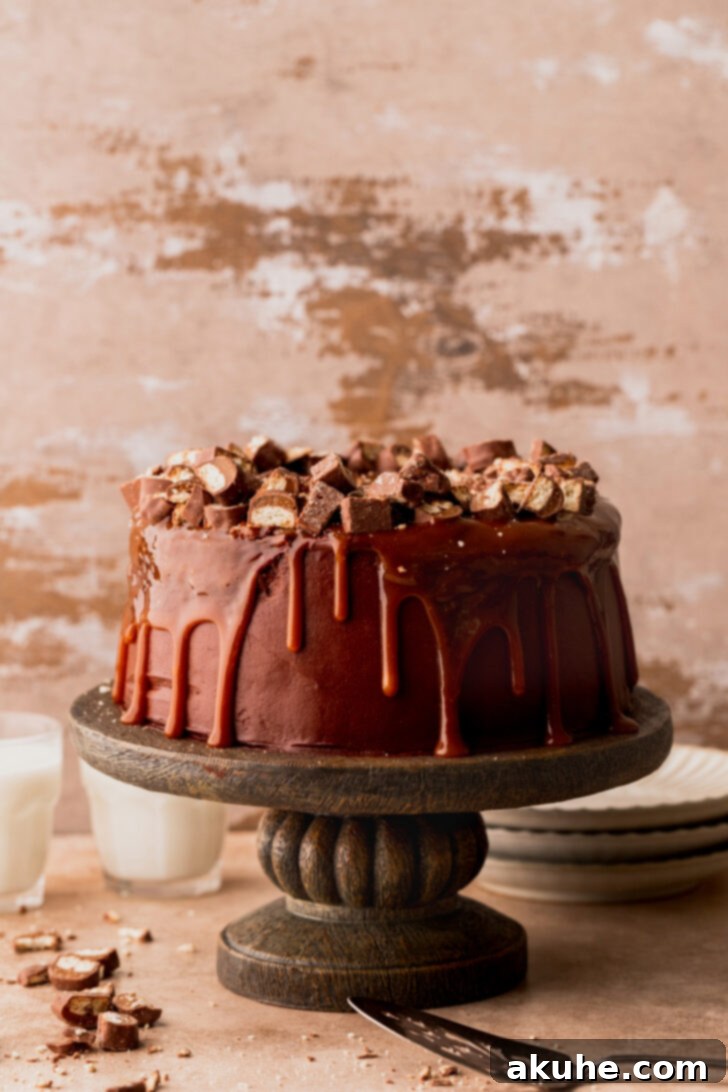
- After the drips are complete, spread any extra caramel remaining over the very top of the cake.
- Freeze the cake one last time for 10 minutes to set the caramel drip and top layer.
- Finally, generously sprinkle additional chopped Twix bars over the caramel on top of the cake for a stunning presentation and an extra burst of candy bar goodness. Your Twix Cake is now complete and ready to amaze!
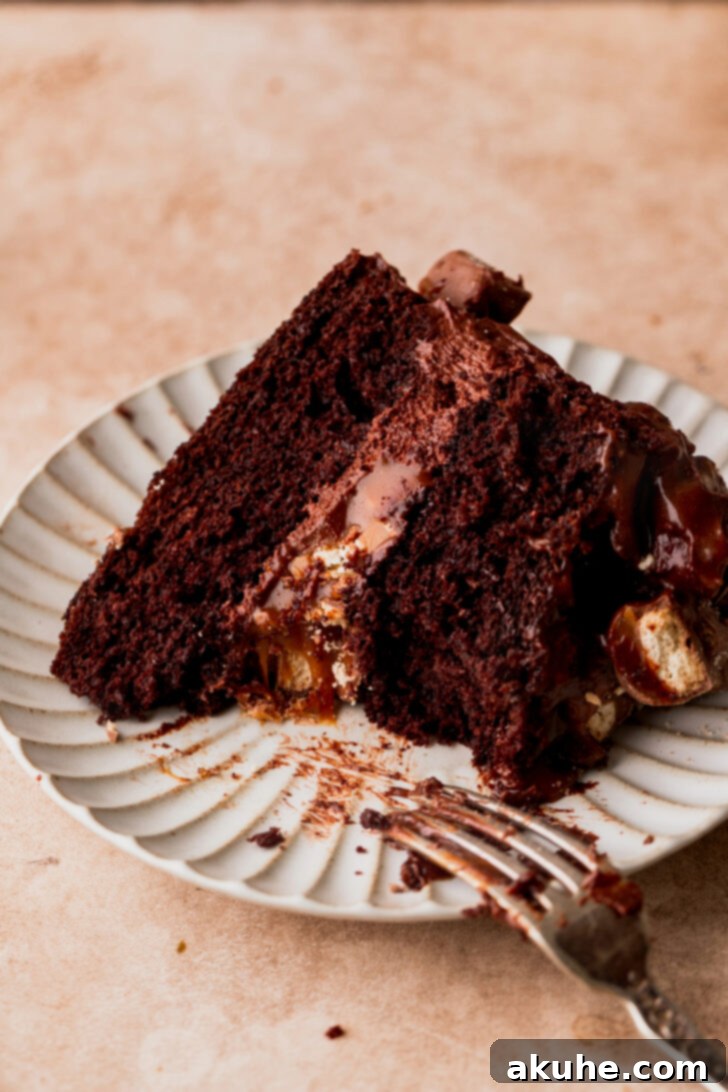
Storing and Serving Your Twix Cake
To keep your Twix cake tasting its best, store it in an airtight container in the refrigerator for up to 3-4 days. Because of the cream cheese frosting, it’s best kept chilled. For optimal flavor and texture, allow the cake to come to room temperature for about 30 minutes before serving. This softens the cake and frosting, allowing all the nuanced flavors to shine through. Serve slices with a sprinkle of sea salt or a dollop of whipped cream for an extra touch of indulgence. This cake pairs wonderfully with a cup of coffee or a glass of cold milk.
For more incredible candy-inspired cake recipes, be sure to try our irresistible Snickers Cake and our delightful Butterfinger Cake!
We hope you adore this recipe! If you loved making and tasting this Twix Cake, please consider leaving a star review below to help other bakers. We’d also love to see your creations! Make sure to tag us on Instagram @stephaniesweettreats. For more delicious inspiration and sweet ideas, follow us on Pinterest.
Recipe Video
A step-by-step recipe video for making this amazing Twix Cake can be found here.
Twix Cake
Print Recipe
Pin Recipe
Leave a Review
Ingredients
Chocolate Cake
- 2 1/2 cups All-purpose flour
- 1 cup Unsweetened cocoa powder
- 1 3/4 cups White granulated sugar
- 2 tsp Baking powder
- 1 tsp Baking soda
- 1 tsp Salt
- 3/4 cup Oil
- 1 tsp Pure vanilla extract
- 4 Large eggs, room temperature
- 1 cup Buttermilk, room temperature
- 1 cup Hot water, steaming
Salted Caramel
- 1 cup White granulated sugar
- 4 TBSP Unsalted butter
- 1/2 cup Heavy cream
- 1 tsp Pure vanilla extract
- 1/2 tsp Salt
Chocolate Cream Cheese Frosting
- 1 1/2 cups Unsalted butter, room temperature
- 8 oz Cream cheese, room temperature
- 5 cups Powdered sugar, sifted
- 1 cup Unsweetened cocoa powder
- 1 tsp Pure vanilla extract
- 3 cups Chopped Twix
Instructions
Chocolate Cake
- Preheat the oven to 350°F (175°C). Spray two 8-inch cake pans with nonstick baking spray. Line the bottoms with 8-inch parchment paper circles and spray again.
- In a medium bowl, sift the flour, cocoa powder, baking powder, baking soda, salt, and sugar together. Set aside.
- Heat the water in a saucepan until steaming. In a large bowl, mix the oil, vanilla, eggs, and buttermilk. Slowly add in the hot water and mix until just combined.
- Pour the dry ingredients into the wet and mix until just combined. This will be a runny batter. Pour the cake batter evenly into the 2 cake pans.
- Bake for 32-36 minutes until a toothpick inserted into the center comes out clean.
- Let the cakes sit in the hot pans for 10 minutes before flipping onto a cooling rack. Cool cakes completely before decorating.
Salted Caramel
- Start cooking the caramel either ahead of time or when the cake layers are baking. In a saucepan over medium heat, melt the sugar. Use a whisk to stir until all the sugar crystals are melted.
- Let it sit until it turns amber in color. This process takes less than 30 seconds, so watch carefully. Take off the heat.
- Add half of the cubed butter and mix vigorously until combined. Add the rest of the butter and mix. Heat the cream in the microwave for 30 seconds so it is hot. Slowly pour in the cream and mix until combined. Add in the vanilla and salt.
- Place the caramel back on the heat and cook for another 5-7 minutes. It will bubble up more while cooking. This is to thicken the caramel so it doesn’t ooze all over the cake.
- Pour the caramel into a glass bowl and let it cool completely.
Chocolate Cream Cheese Frosting
- In a large bowl, sift the powdered sugar and cocoa powder together. Using a mixer, in a separate bowl, beat the butter on high speed for 2 minutes. Add the cream cheese and beat for 1 minute.
- Scrape the bowl using a rubber spatula. Add half of the powdered sugar mixture and mix on low speed until smooth. Add the remaining powdered sugar and mix until smooth again. Add the vanilla.
Assembly
- Use a serrated knife to cut the domes off the cakes for a flat surface.
- Place the first cake layer down. Spread 3/4 cup of frosting over the cake. Pipe a border of frosting around the edge of the cake. Spread 1/2 cup of caramel on top. Fill with 1 1/2 cups of chopped Twix. Pipe 3 small dollops of frosting on top of the Twix to help the cake stick.
- Place the last cake layer, with the bottom of the cake facing up, on top of the first layer. Freeze for 10 minutes to set the fillings.
- Frost the entire cake with the remaining chocolate cream cheese frosting.
- Optional for caramel drip: Freeze the cake for 10 minutes. Then, use a piping bag to pipe caramel drips off the edge of the cake. Top the cake with extra caramel. Top with extra chopped Twix bars.
Notes
High altitude baking: Add an extra 2 TBSP of flour to the cake batter.
Ingredient Temperature: Pull out all dairy ingredients (butter, cream cheese, eggs, buttermilk) at least 2 hours before baking to allow them to reach proper room temperature.
Carbohydrates: 96g,
Protein: 6g,
Fat: 40g,
Saturated Fat: 19g,
Polyunsaturated Fat: 4g,
Monounsaturated Fat: 14g,
Trans Fat: 1g,
Cholesterol: 78mg,
Sodium: 600mg,
Potassium: 238mg,
Fiber: 5g,
Sugar: 36g,
Vitamin A: 944IU,
Vitamin C: 0.04mg,
Calcium: 96mg,
Iron: 3mg
Did you make this recipe?
Please leave a star rating and review below!
