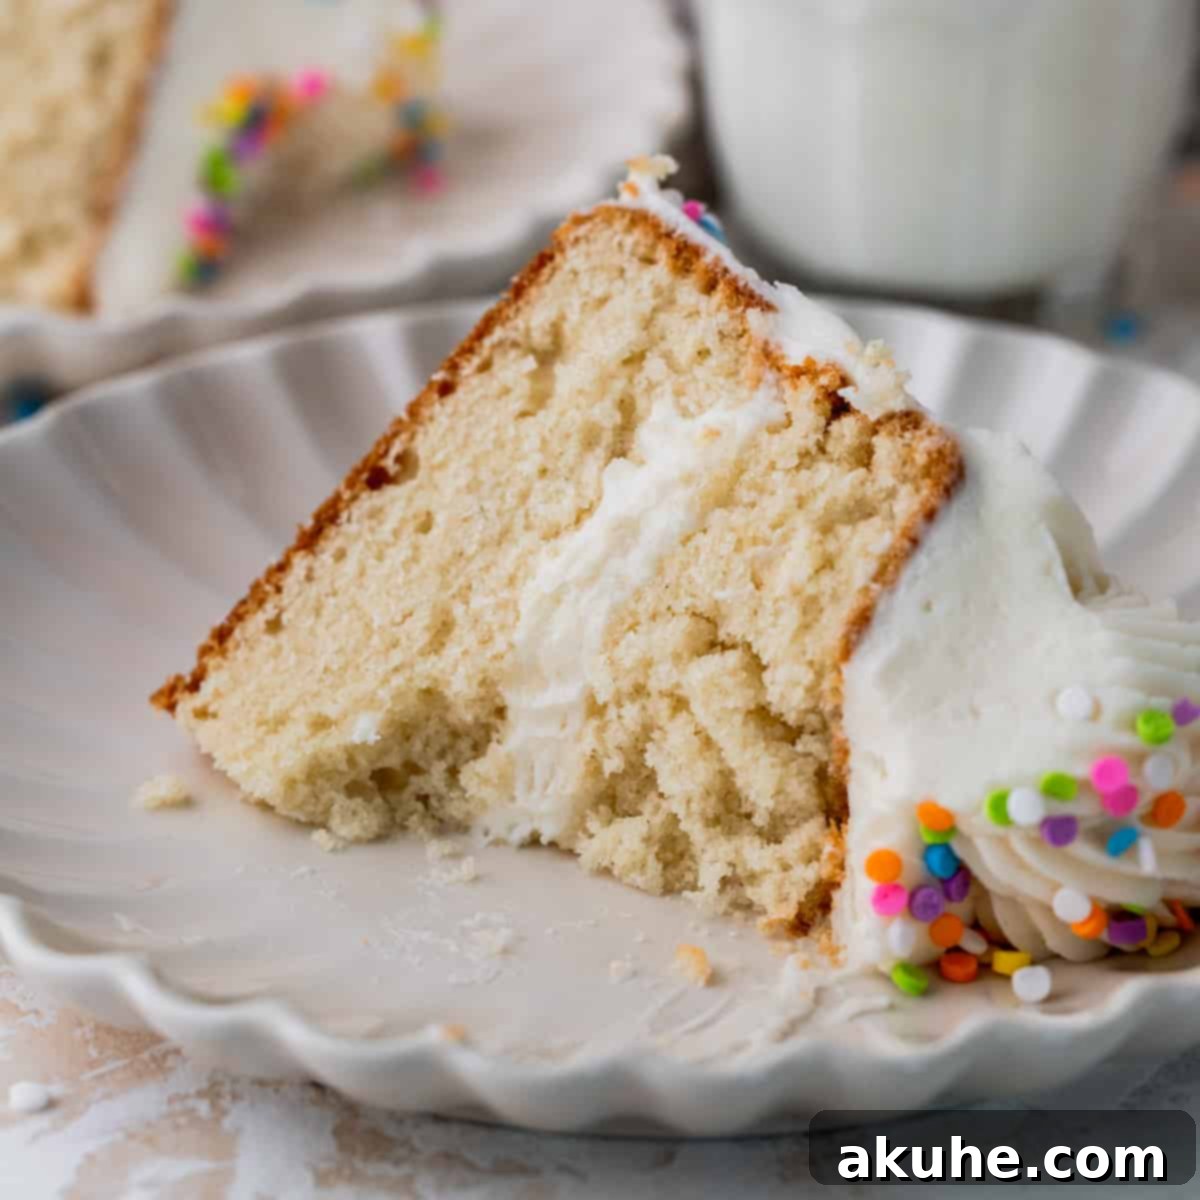
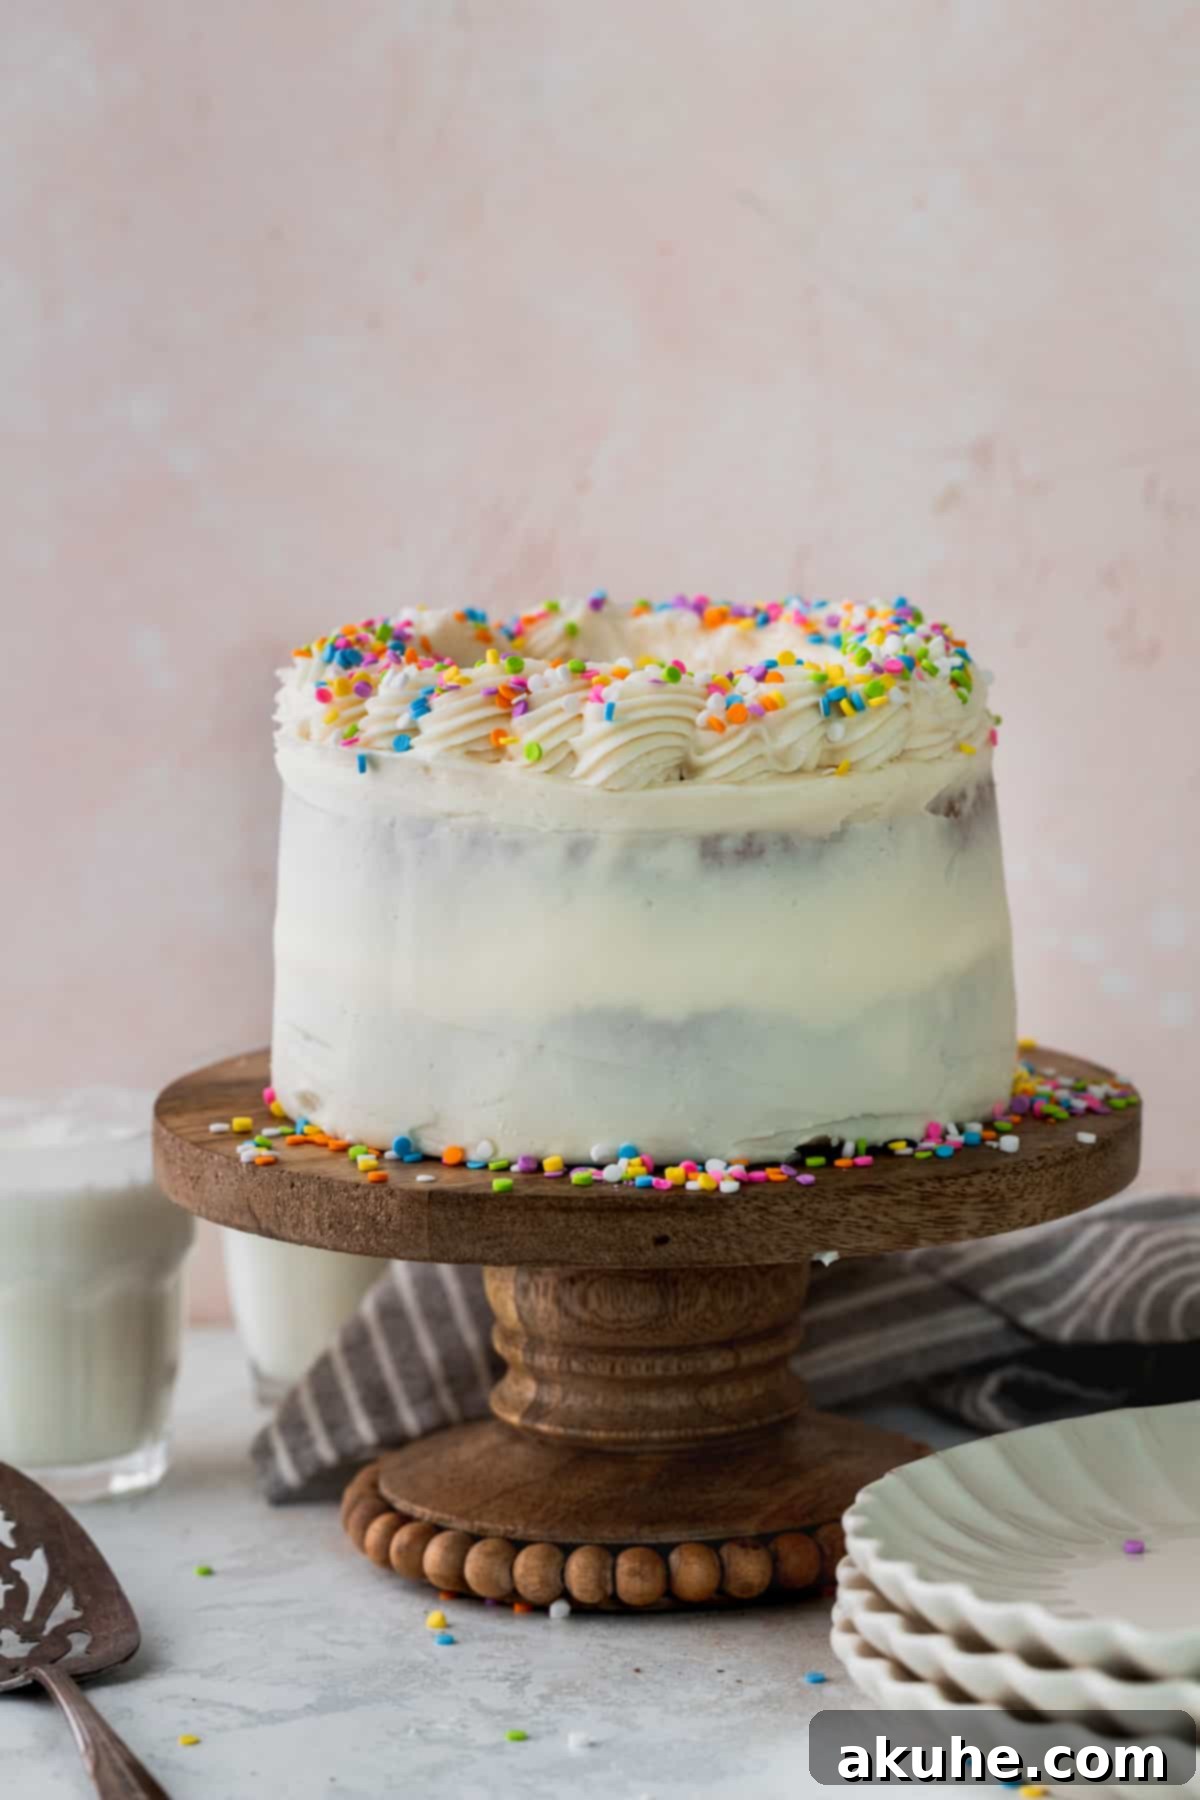
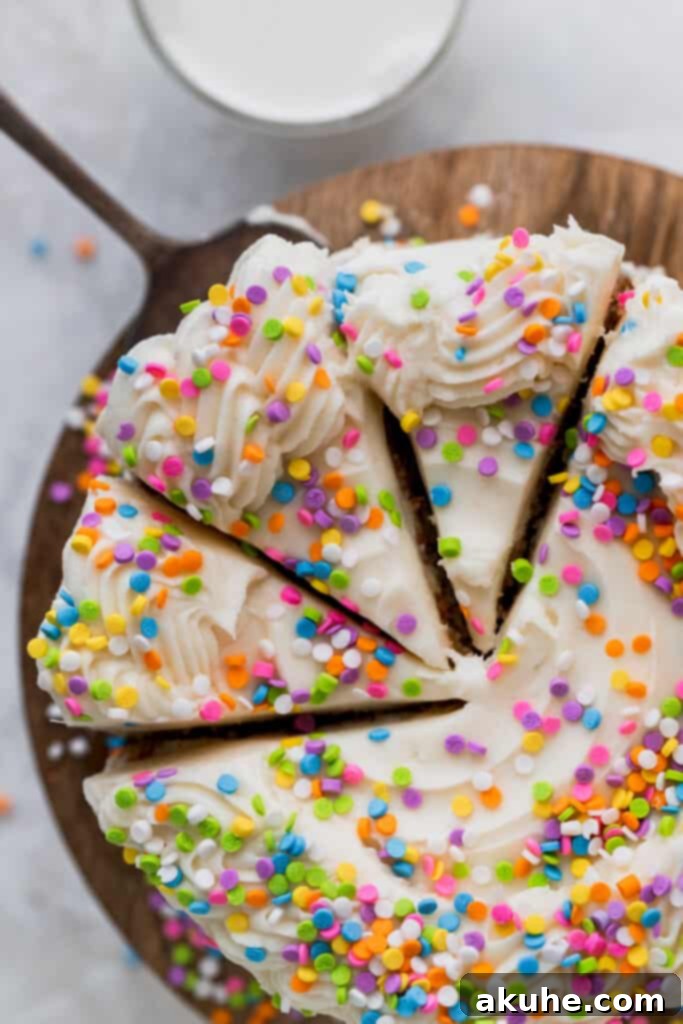
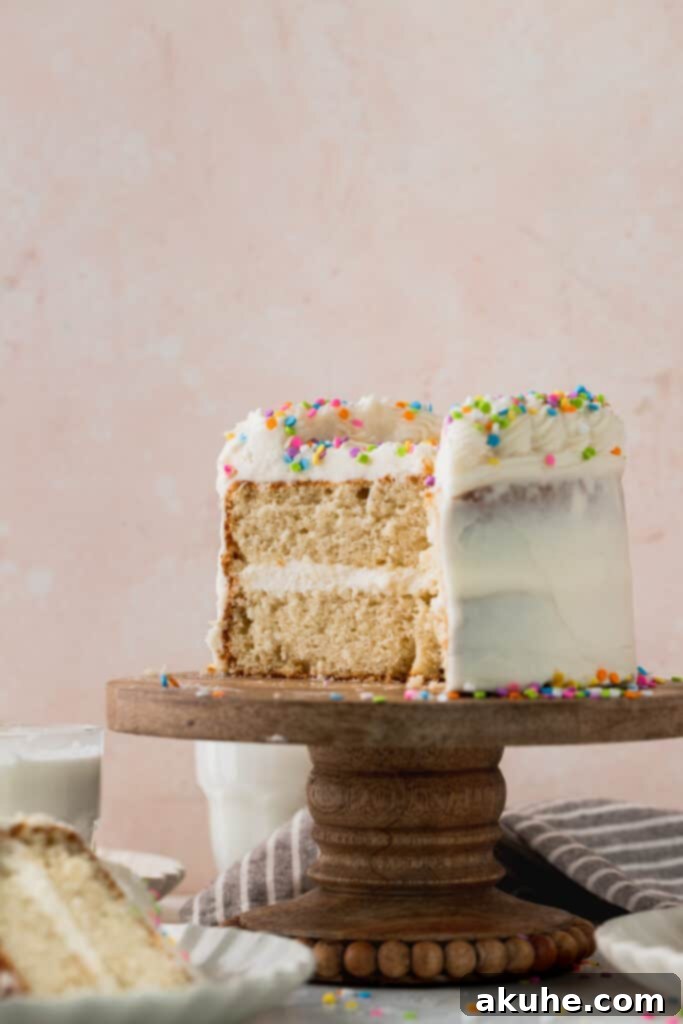
Indulge in the charm of a perfectly portioned dessert with this delightful Mini Vanilla Cake. Ideal for intimate celebrations, a special treat for two, or a modest birthday gathering, this recipe delivers an experience of pure joy in every bite. Featuring two layers of incredibly soft, moist, and fluffy vanilla cake, this confection is generously filled and frosted with a luscious cream cheese buttercream, then playfully adorned with vibrant sprinkles. It’s a miniature masterpiece designed to bring maximum smiles, perfect for any occasion that calls for a touch of sweetness and celebration without the grandeur of a full-sized cake.
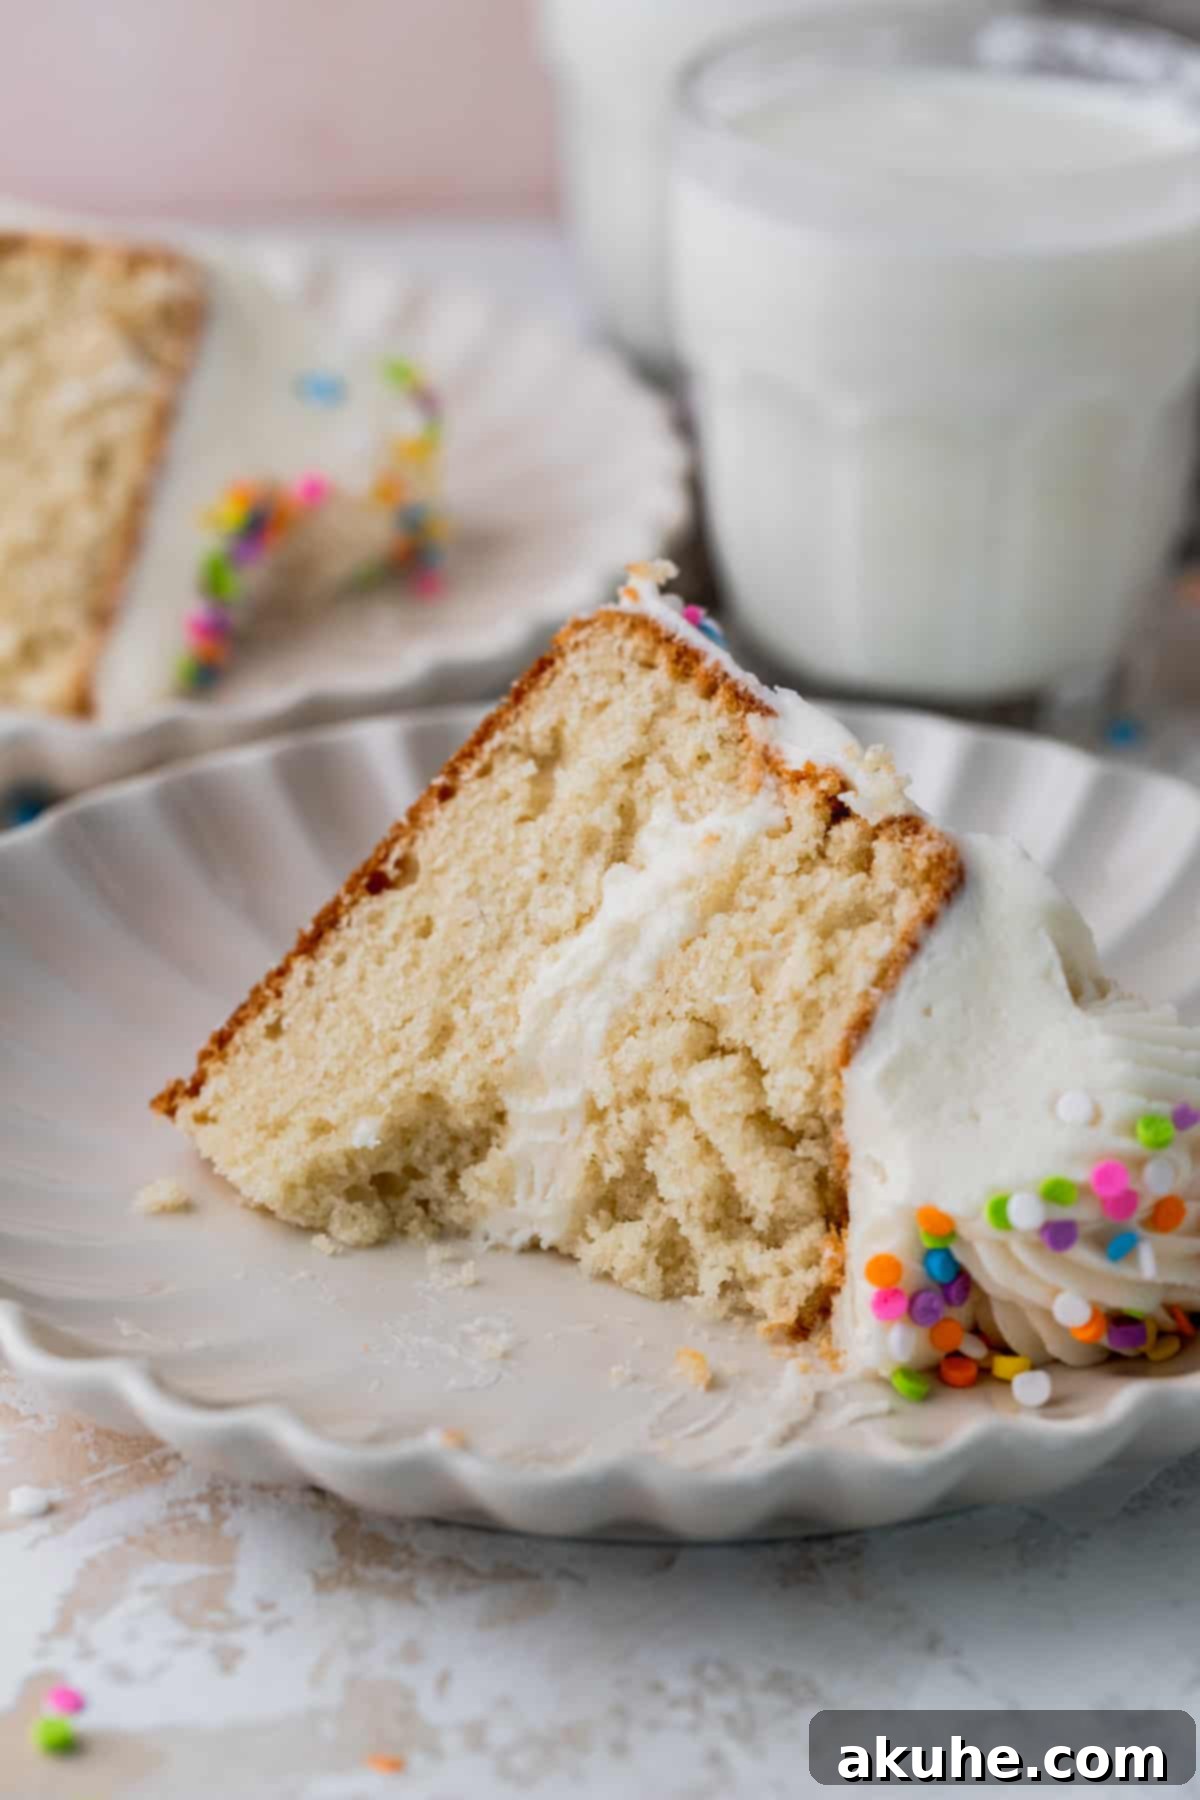
Crafting this mini vanilla cake recipe was an endeavor to create something not only irresistibly delicious but also remarkably straightforward to prepare. The design centers around two perfectly baked 6-inch vanilla cake layers, sandwiched together with a single, generous layer of our signature cream cheese frosting. The result is an impossibly cute cake that maintains all the deliciousness of its larger counterparts, making it an excellent choice when you desire a homemade touch without the scale of a traditional party cake. It’s truly a testament to the idea that great things come in small packages!
Sometimes, a smaller gathering simply doesn’t warrant a massive cake. That’s where this mini birthday cake shines, offering full-sized flavor and fun in a more manageable size. Smaller cakes are an ingenious way to ensure you have just the right amount of dessert, minimizing waste and making every slice feel special. This recipe ensures that whether you’re celebrating with a loved one or a small circle of friends, everyone gets to enjoy a freshly baked, beautifully decorated cake.
If you’re fond of the concept of miniature desserts and wish to explore more delightful options, be sure to try our Mini Layered Cake for another charming individual treat, our decadent Mini Oreo Cheesecakes, or the bright and zesty Lemon Mini Bundt Cakes. Each offers a unique flavor profile and the same irresistible appeal of a perfectly portioned dessert.
Why This Mini Vanilla Cake Recipe is a Must-Try
This Mini Vanilla Cake stands out for several compelling reasons, making it a beloved choice for bakers and dessert enthusiasts alike. From its convenient size to its exquisite flavor profile, every element has been thoughtfully designed to deliver an exceptional baking and eating experience.
- Perfect Mini Size: This recipe yields a beautifully proportioned two-layer, 6-inch cake. It’s the ideal size for a small, intimate gathering, a romantic celebration for two, or even a personal indulgence. The smaller scale means less leftover cake and makes the baking process feel less daunting.
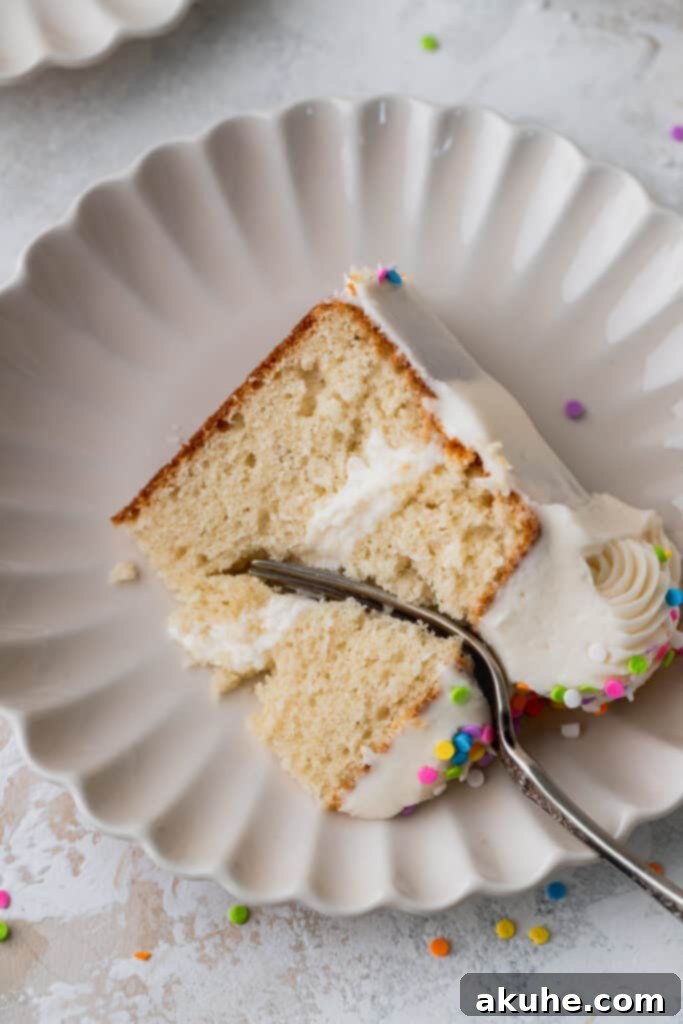
- Unforgettable Vanilla Cake: Prepare for a vanilla cake experience that redefines expectations. Our vanilla cake is not just soft; it’s incredibly moist and wonderfully fluffy, boasting a rich, authentic vanilla flavor that truly shines. The texture is delicate yet holds up perfectly to the frosting, creating a harmonious balance in every bite.
- Irresistible Cream Cheese Frosting: My personal favorite, this cream cheese buttercream is the perfect complement to the vanilla cake. Its tangy sweetness and incredibly creamy texture elevate the cake, providing a delightful contrast to the sweet cake layers. While cream cheese frosting is highly recommended, we also provide guidance if you prefer a classic vanilla buttercream instead, allowing you to customize your dessert to your exact preferences.
- Effortless Preparation: Don’t let its elegant appearance fool you; this cake is remarkably easy to make. With just two cake layers and a straightforward frosting recipe, it’s designed to be approachable for bakers of all skill levels. You’ll be amazed at how quickly you can create such a stunning and delicious dessert.
Essential Ingredient Notes for the Perfect Mini Vanilla Cake
The quality and preparation of your ingredients are crucial for achieving the best possible results with this mini vanilla cake. Below are detailed notes on key ingredients to ensure your cake is moist, fluffy, and full of flavor. For a comprehensive list of all ingredients and precise measurements, please refer to the full recipe card further down this page.
- Unsalted Butter (for cake): For the cake batter, it’s essential to use unsalted butter that has been softened to room temperature. This typically means pulling it out of the refrigerator at least 2 hours before you plan to start baking. Room temperature butter creams beautifully with sugar, incorporating air and creating a light, fluffy texture in your cake.
- Unsalted Butter (for frosting): For the cream cheese frosting, the butter should be slightly cold, rather than fully softened. This helps achieve a stable, pipeable frosting that holds its shape well, which is ideal for decorating. You can achieve this by leaving it out for about 30 minutes, or cutting it into cubes and letting it sit for a shorter period.
- Oil (Canola or Vegetable): A small amount of neutral-flavored oil, such as canola or vegetable oil, is added to the cake batter. This contributes significantly to the cake’s moistness and tender crumb, ensuring it stays fresh longer.
- Sour Cream (Full-Fat): Full-fat sour cream is a secret ingredient for an exceptionally moist and tender cake. Like the butter, it should be at room temperature when added to the batter. This ensures it emulsifies smoothly with the other ingredients, contributing to a consistently tender crumb.
- Large Eggs: Always use large eggs for this recipe. Like the sour cream and butter, the eggs should be brought to room temperature before mixing. Room temperature eggs combine more easily with other ingredients, creating a smoother, more uniform batter and contributing to the cake’s overall structure and lift.
- Vanilla Extract (Pure or Clear): The star flavor of our vanilla cake! Use high-quality pure vanilla extract for the best flavor. If you prefer a pure white cake, especially for wedding or special occasion aesthetics, you can opt for clear vanilla extract.
- Buttermilk: Buttermilk is key to the cake’s tender texture and slight tang. Ensure it’s at room temperature for optimal mixing. If you don’t have buttermilk on hand, you can easily make a substitute: add 1/2 tablespoon of lemon juice or white vinegar to 1/2 cup of whole milk, stir, and let it sit for 10 minutes until it slightly curdles.
- Cream Cheese (Full-Fat): For the creamiest, most flavorful frosting, use full-fat block cream cheese. It must be at room temperature to ensure a smooth, lump-free frosting. Take it out of the fridge at least 2 hours before you begin preparing your frosting.
Step-by-Step Directions: Baking the Perfect Vanilla Cake Layers
Creating these fluffy vanilla cake layers is a straightforward process that will yield delicious results every time. For this recipe, you’ll need either a stand mixer with a paddle attachment or a good quality electric hand mixer to ensure proper aeration and mixing. Pay attention to ingredient temperatures and mixing times for the best texture.
STEP 1: Prepare Dry Ingredients. Begin by preheating your oven to 350°F (175°C). Prepare your two 6-inch cake pans by spraying them thoroughly with nonstick baking spray. For easy removal and to prevent sticking, line the bottoms of each pan with a 6-inch parchment paper circle, then spray again. In a medium bowl, use a sifter to combine the all-purpose flour, baking powder, baking soda, and salt. Sifting helps prevent lumps and ensures an even distribution of leavening agents. Whisk briefly to combine the dry ingredients thoroughly and set aside.
STEP 2: Cream Butter, Oil, and Sugar. In a large mixing bowl, preferably of a stand mixer, combine the room temperature unsalted butter, vegetable or canola oil, and white granulated sugar. Beat these ingredients together on high speed for approximately 3 minutes. The mixture should become noticeably light in color and fluffy in texture. This creaming process is crucial for incorporating air into the batter, which contributes to the cake’s light crumb. Next, add in the room temperature sour cream and pure vanilla extract. Mix on medium speed until these ingredients are fully combined, ensuring no streaks remain. Take a moment to scrape down the sides of the bowl with a rubber spatula to ensure all ingredients are incorporated.
STEP 3: Incorporate Eggs, Flour Mixture, and Buttermilk. Add the large eggs to the butter mixture, one at a time. Beat each egg into the batter on medium-high speed for about 1 minute until it is fully incorporated before adding the next. Once all eggs are in, beat the mixture on medium speed for another minute. Now, with the mixer on low speed, begin adding the dry ingredient mixture and the buttermilk alternately. Start with one-third of the dry ingredients, mixing just until combined. Follow with half of the buttermilk, mixing until just combined. Repeat with another third of the dry ingredients, then the remaining buttermilk, and finally the last third of the dry ingredients. Be careful not to overmix the batter at this stage; mix only until the ingredients are just combined. Overmixing can develop the gluten in the flour, leading to a tough cake. Always scrape the sides of the bowl using a rubber spatula to ensure a uniform batter.
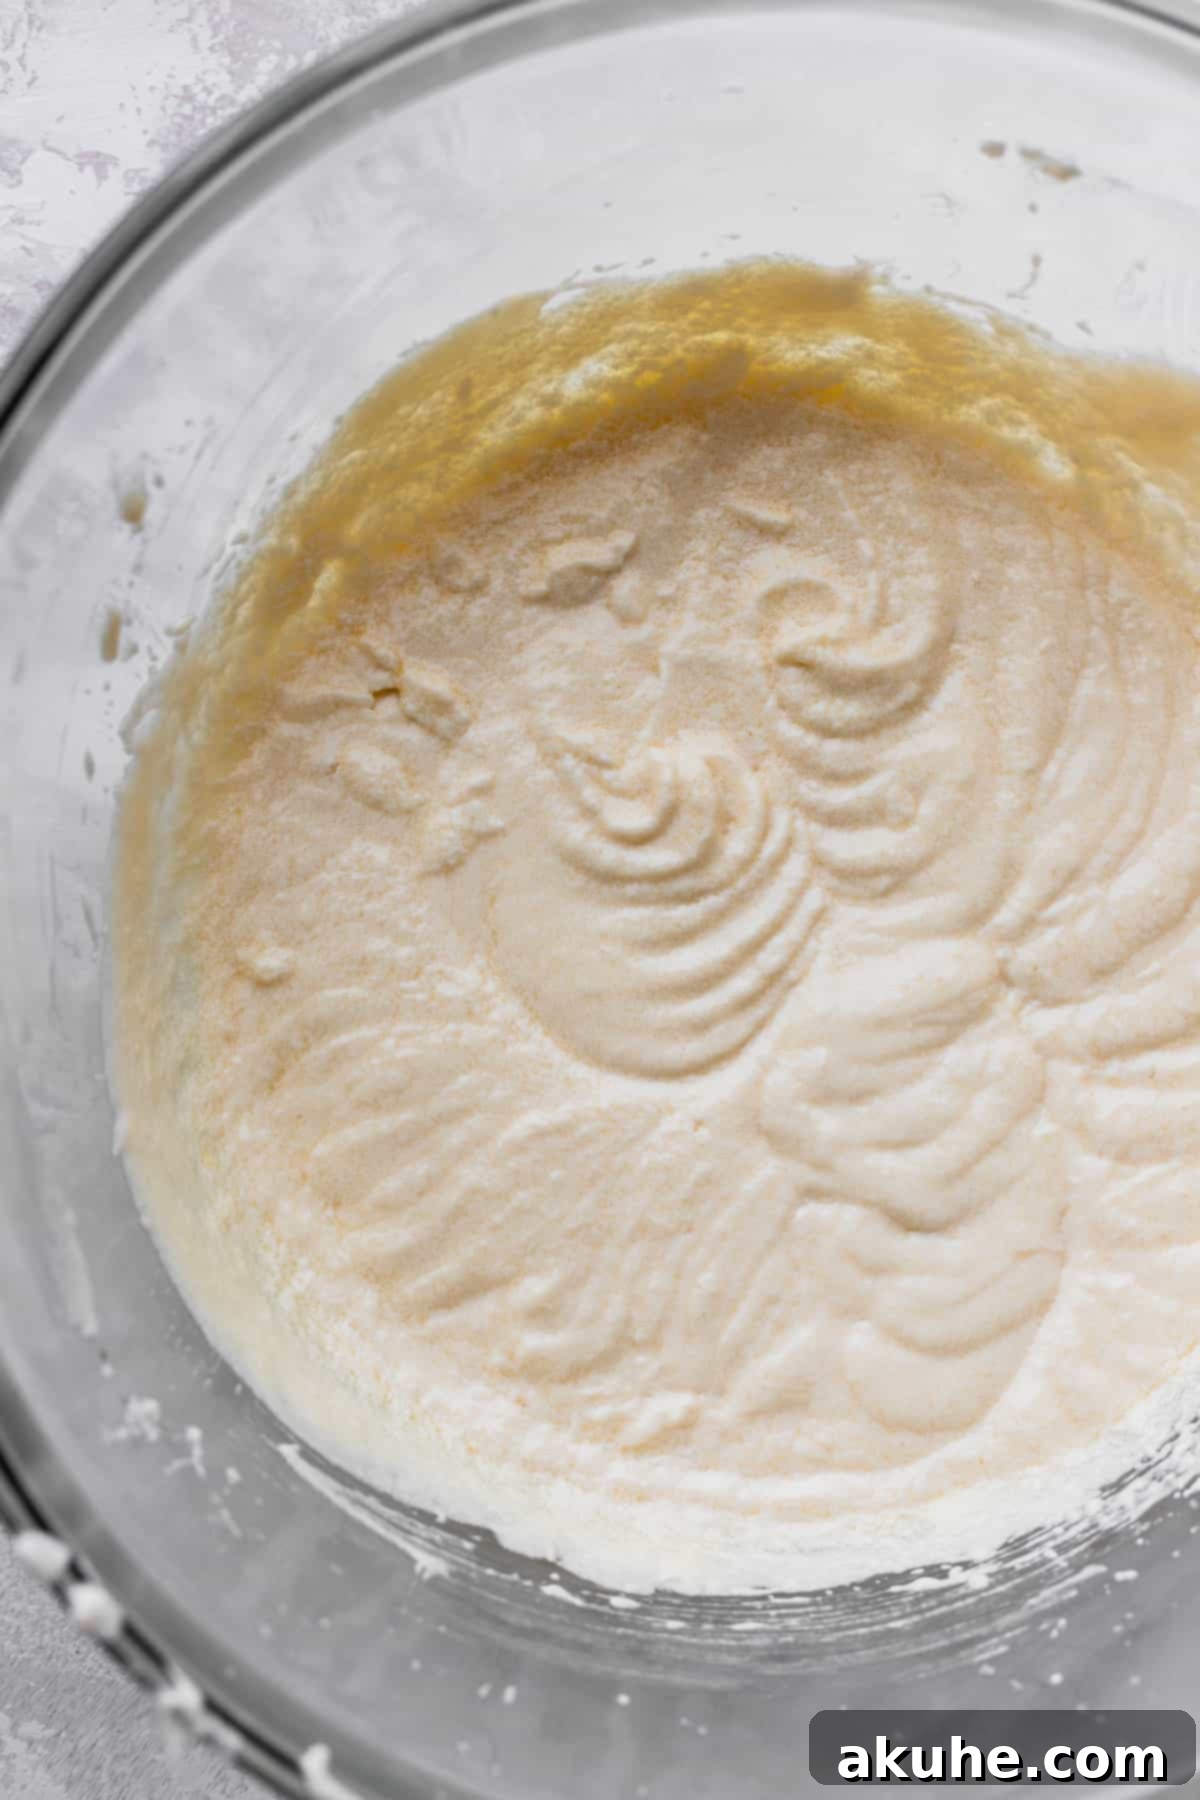
STEP 4: Pour the Cake Batter. Once your batter is perfectly mixed, carefully divide it evenly between the two prepared 6-inch cake pans. Ensure the batter is distributed as equally as possible to promote even baking. Lightly tap the cake pans on your counter a few times to release any large air bubbles.
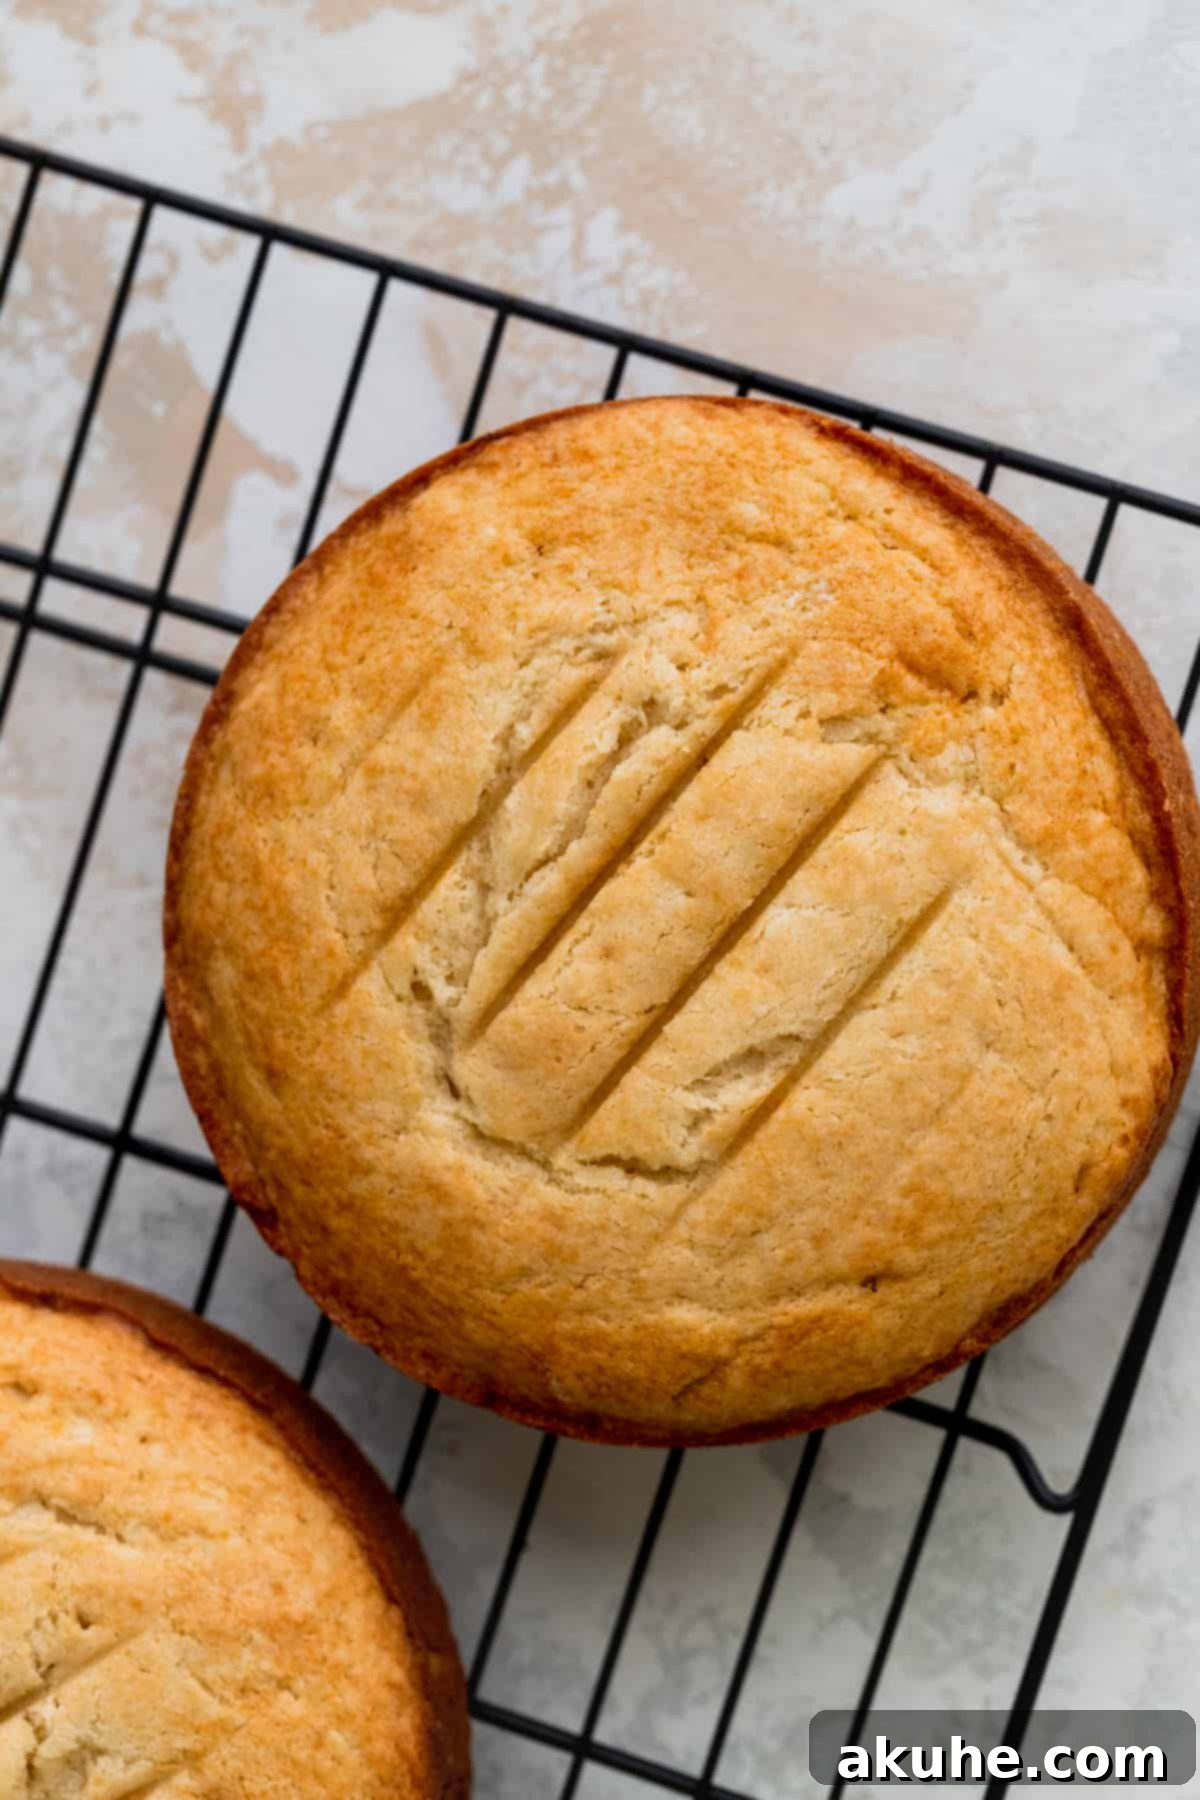
STEP 5: Bake the Cake. Place the cake pans into your preheated oven and bake for approximately 25-30 minutes. Baking time may vary slightly depending on your oven, so always rely on the visual and tactile cues. The cakes are done when a wooden toothpick inserted into the center comes out clean, with no wet batter clinging to it. The tops should be lightly golden and spring back when gently touched. Once baked, remove the cakes from the oven and let them cool in their hot pans for about 10 minutes. This allows them to firm up slightly before you handle them. After 10 minutes, carefully invert the cakes onto a wire cooling rack to cool completely. Ensure the cakes are entirely cool before attempting to frost them, as warm cake will melt your frosting.
Step-by-Step Directions: Crafting Creamy Cream Cheese Frosting
This cream cheese frosting is renowned for its incredible creaminess and delightful tangy-sweet flavor, making it the perfect partner for our vanilla cake. Follow these steps to achieve a perfectly fluffy and stable frosting.
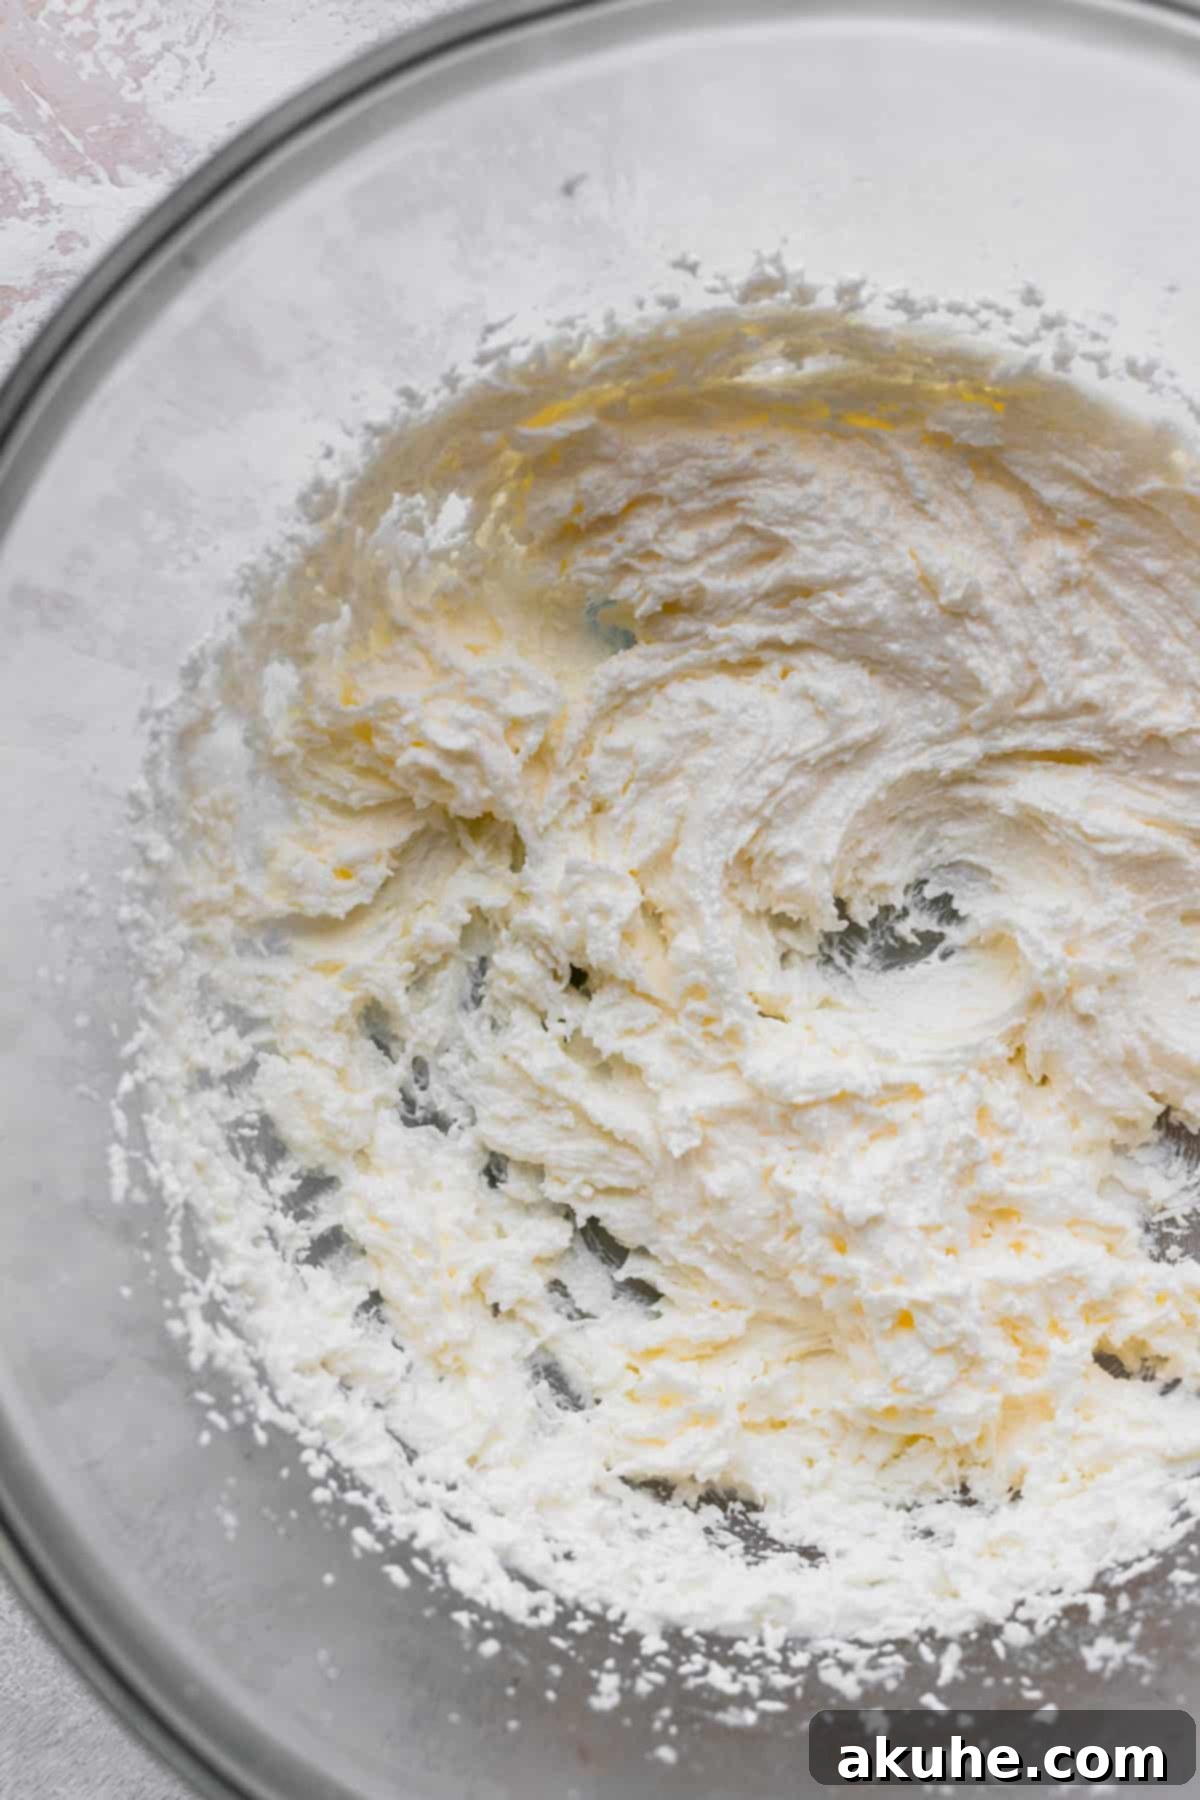
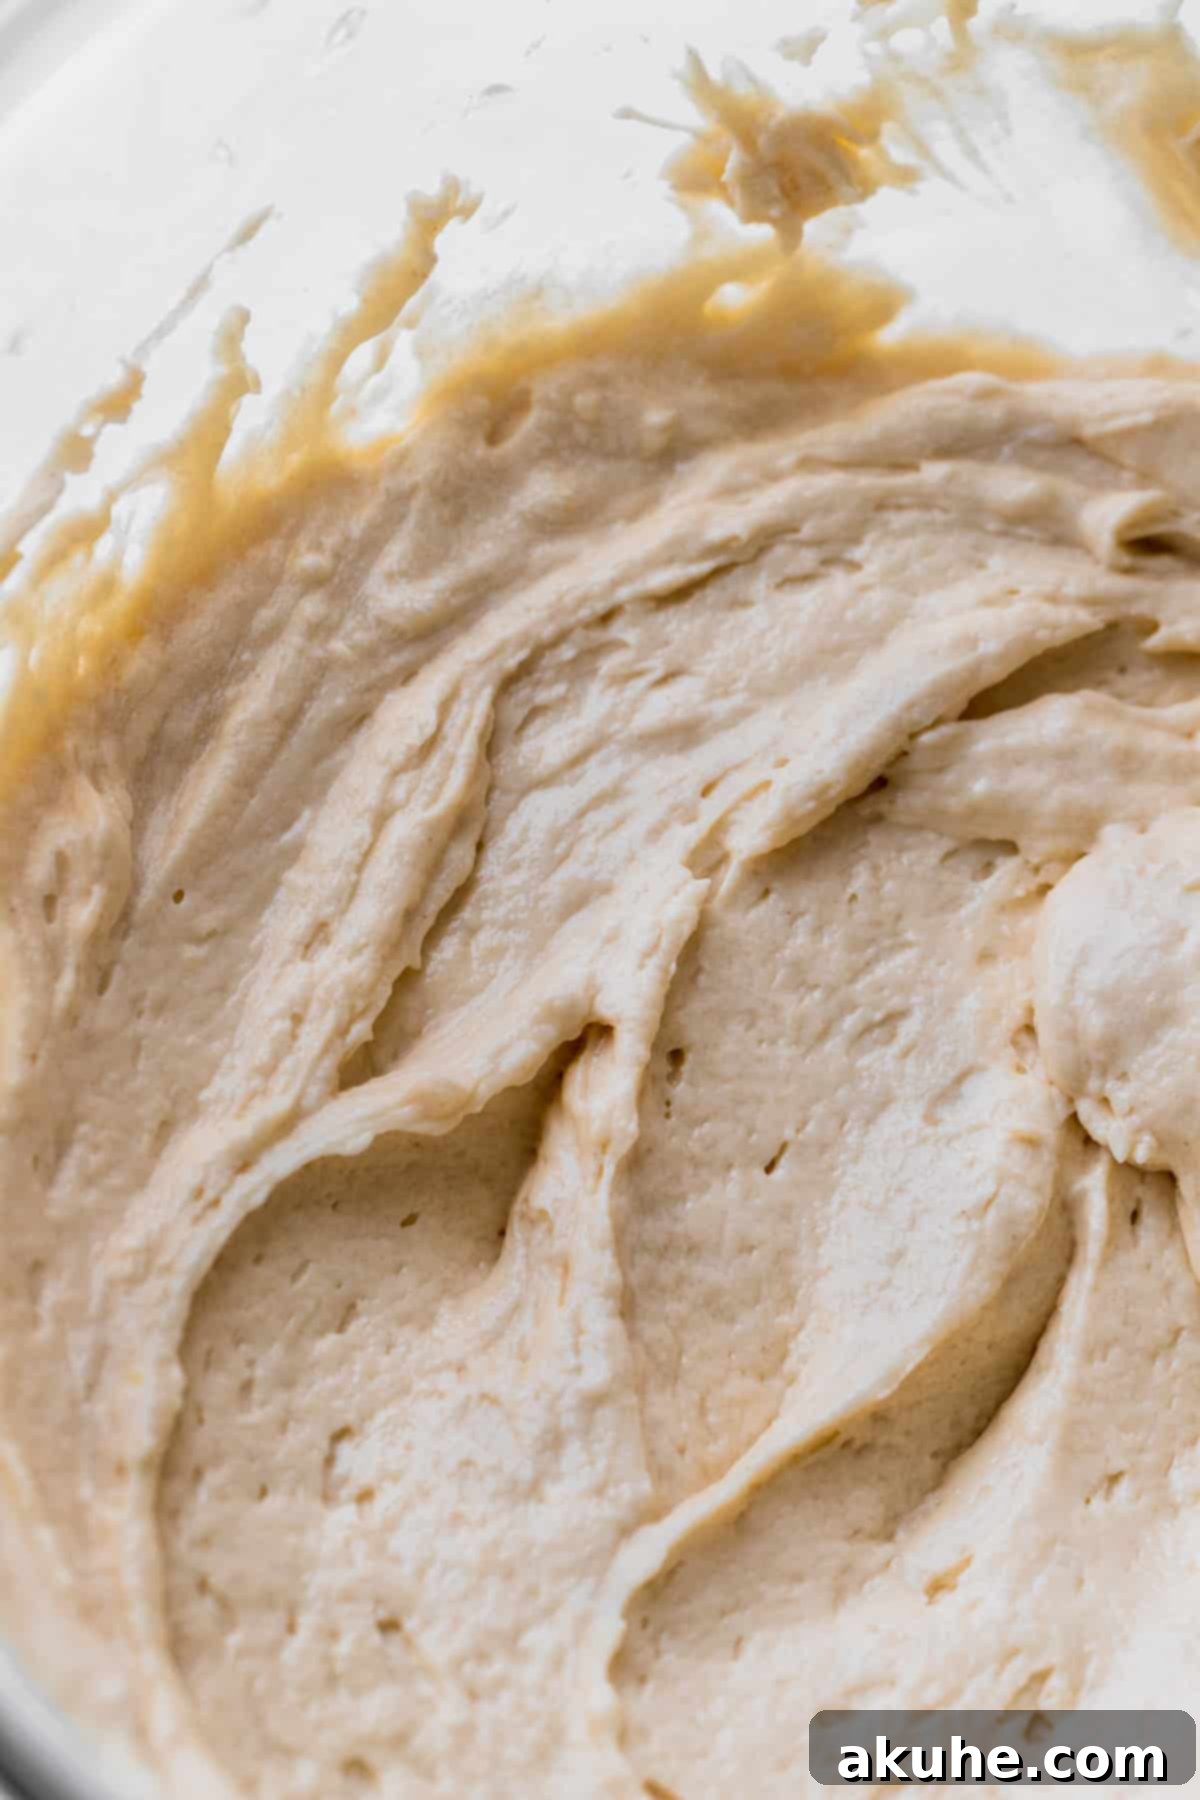
STEP 1: Beat Butter and Cream Cheese. For the ideal frosting texture, ensure your cream cheese is at room temperature and your unsalted butter is slightly cold (not rock hard, but not fully softened either). In a large mixing bowl with an electric mixer (stand or hand), beat the cream cheese and butter together on high speed for at least 3 minutes. This prolonged beating time is crucial for incorporating air and achieving a wonderfully light and fluffy consistency. Scrape down the sides of the bowl periodically to ensure everything is evenly mixed.
STEP 2: Gradually Add Powdered Sugar. With the mixer on low speed, begin adding the sifted powdered sugar, one cup at a time, until it’s fully incorporated. It’s important to add it slowly to prevent a cloud of sugar from enveloping your kitchen! As you add the sugar, the frosting will become quite thick. Once all the sugar is added, pause to scrape the bottom and sides of the bowl thoroughly to catch any unmixed ingredients.
STEP 3: Finish with Flavor and Cream. Finally, add the pure vanilla extract, a pinch of salt (which enhances all the flavors), and the heavy cream. Mix on low speed until these ingredients are just combined. Then, increase the speed to high and beat for another 1-2 minutes. This final beating will transform the frosting into an incredibly creamy, smooth, and fluffy consistency, perfect for spreading and piping. Your rich, delicious cream cheese frosting is now ready!
Alternative: Classic Vanilla Buttercream
If you prefer a more traditional vanilla buttercream frosting, you can easily adapt this recipe. Simply omit the cream cheese entirely. Increase the unsalted butter to 1 cup (2 sticks) and ensure it’s at room temperature. Also, reduce the powdered sugar to 3 cups, sifting it before adding. Follow the same beating process, starting with the butter and gradually adding the powdered sugar, vanilla, salt, and heavy cream until light and fluffy. This will give you a sweet, rich vanilla buttercream.
Expert Tips for Assembling Your Mini Vanilla Cake
Assembling a cake can be the most rewarding part, especially when you follow a few key techniques to ensure a professional and beautiful finish. These tips will help you create a perfectly structured and frosted mini vanilla cake.
- Level Your Cake Layers: After your cake layers have cooled completely, inspect them for any doming. Most homemade cakes will have a slight dome. Use a long, sharp serrated knife to carefully level the tops of your cake layers, creating perfectly flat surfaces. This ensures your cake stacks evenly and looks polished.
- Secure the First Layer: To prevent your cake from sliding around while you’re frosting it, place a small dollop (about a tablespoon) of frosting on the center of your cake stand or serving plate. This acts as an adhesive to hold the first cake layer firmly in place.
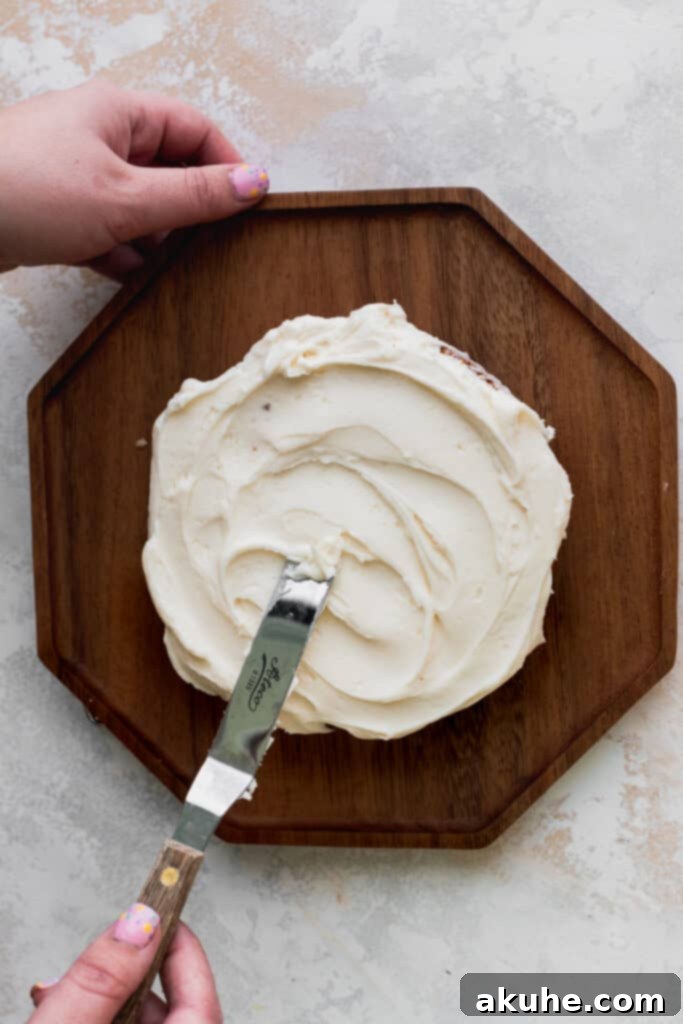
- Apply the Filling: Place the first leveled cake layer onto your prepared stand. Using a small offset spatula, spread about 3/4 cup of your delicious cream cheese frosting evenly over the top surface of this layer. Spread it right to the edges for a clean look.
- Position the Second Layer: Gently place the second cake layer on top of the frosted first layer. For the flattest possible top surface, it’s a great trick to place the second layer upside down, so the perfectly flat bottom of the cake now becomes the top. This creates a smooth canvas for your final frosting.
- Apply a Crumb Coat: Using a minimal amount of frosting, apply a very thin, light layer all over the entire cake – top and sides. This is known as a “crumb coat” and its purpose is to trap any loose cake crumbs, preventing them from showing up in your final layer of frosting. Once applied, place the cake in the freezer for about 15 minutes to allow the crumb coat to firm up. This step is crucial for a smooth, crumb-free finish. I often use a cake scraper during this step to ensure the sides are as smooth as possible.
- Final Frosting Layer: After the crumb coat is set, remove the cake from the freezer. Now, apply a generous second layer of frosting to the sides and top of the cake. Use your offset spatula or a cake scraper to achieve your desired finish – whether you prefer perfectly smooth sides or a rustic, textured look.
Decorating Your Mini Masterpiece
Once your cake is beautifully frosted, it’s time to add those delightful finishing touches! On the top of the cake, I love to use an offset spatula to create an elegant, swirling pattern. This adds a simple yet sophisticated texture. Then, for a charming border, I use a piping bag fitted with a Wilton 1M tip to pipe decorative rosettes or stars around the top edge of the cake. To truly make it a celebration cake, finish by generously scattering a selection of fun, colorful sprinkles over the top. This adds a festive pop of color and texture that instantly makes the cake feel ready for any special occasion!
Frequently Asked Questions (FAQ) About Mini Vanilla Cake
Absolutely! This versatile vanilla cake batter works wonderfully for cupcakes. This recipe will yield approximately 12 standard-sized vanilla cupcakes. Simply fill your cupcake liners about two-thirds full and adjust the baking time to around 18-22 minutes, or until a toothpick inserted comes out clean.
Yes, you can certainly create a three-layer cake using this recipe. Instead of two thicker layers, you can bake three thinner cake layers in 6-inch cake pans. This might slightly reduce the baking time for each layer, so keep a close eye on them during baking and test for doneness with a toothpick.
This recipe is well-suited for a single 8×8 inch square baking dish or a 9×9 inch square baking dish, yielding a single-layer sheet cake. If you’re looking to make a larger 9×13 inch sheet cake, you will need to double the entire recipe to ensure adequate batter and frosting.
The best sprinkles are entirely up to your preference and the occasion! Jimmie sprinkles (the long, thin ones) are classic and colorful. Nonpareils (tiny spheres) add a beautiful textured look. For birthdays, themed mixes with shapes like stars or candles are always a hit. Ensure they are fresh for the best appearance and texture.
The key to preventing sticking is proper pan preparation. Always spray your cake pans generously with nonstick baking spray (one that contains flour is ideal). Then, line the bottom of each pan with a parchment paper circle cut to size. Spray the parchment paper again. This creates a double barrier against sticking, ensuring your cakes release cleanly every time.
Storing and Freezing Your Mini Vanilla Cake
Proper storage is essential to maintain the freshness and deliciousness of your mini vanilla cake. Here’s how to keep your cake tasting its best for as long as possible.
Store this mini vanilla cake in an airtight container, such as a cake carrier, to protect it from drying out and absorbing other odors from the refrigerator. Because of the cream cheese frosting, the cake must be stored in the fridge. It will stay fresh for up to 5 days. For the best flavor and texture, I highly recommend allowing the cake to come to room temperature for about 30-60 minutes before serving. This softens the butter in the frosting and brings out the full flavor of the cake.
Freezing Instructions
Both frosted cake slices and unfrosted cake layers can be frozen, offering excellent flexibility for future enjoyment.
If you have leftover frosted cake, you can freeze individual cake slices. Simply wrap each slice tightly in plastic wrap, then place them in an airtight freezer-safe container or a freezer bag. Frozen slices can be stored for up to 30 days. To enjoy, thaw the slices at room temperature for about 1 hour before eating. They will taste remarkably fresh.
You can also prepare the cake layers ahead of time and freeze them. Once the baked cake layers have cooled completely, wrap each layer individually and tightly in several layers of plastic wrap, then an additional layer of aluminum foil for maximum protection against freezer burn. These unfrosted cake layers can be frozen for up to 30 days. When you’re ready to decorate, simply thaw the wrapped cake layers at room temperature for about 1 hour before unwrapping and assembling. This makes baking for special occasions much less stressful!
More Delicious Cake Recipes to Explore
If you loved baking and enjoying this mini vanilla cake, you’ll find plenty more inspiration on our site! Be sure to explore our collection of other delightful cake recipes that are perfect for any occasion. We encourage you to try new flavors and techniques to expand your baking repertoire.
We absolutely love hearing from you! If you tried this recipe, please make sure to leave a star review below to share your experience and help other bakers. Don’t forget to tag us on Instagram @stephaniesweettreats with your beautiful creations – we can’t wait to see them! For even more baking inspiration and delicious ideas, be sure to follow us on Pinterest.
Mini Vanilla Cake
Author: Stephanie Rutherford
This mini vanilla cake is a perfect cake for two! It features two layers of extra moist vanilla cake, generously filled with a delightful cream cheese frosting and adorned with fun sprinkles.
Print Recipe |
Pin Recipe |
Leave a Review
Prep Time: 1 hr
Cook Time: 30 mins
Decorating Time: 1 hr
Total Time: 2 hrs 30 mins
Servings: 10 slices
Ingredients
Vanilla Cake
- 1 3/4 cup All-purpose flour
- 1 tsp Baking powder
- 1/2 tsp Baking soda
- 1/2 tsp Salt
- 7 TBSP Unsalted butter, room temperature
- 1 TBSP Oil, canola or vegetable oil
- 3/4 cup White granulated sugar
- 1/4 cup Sour cream, room temperature
- 3/4 TBSP Pure vanilla extract
- 2 Large eggs, room temperature
- 1/2 cup Buttermilk, room temperature
Cream Cheese Frosting
- 4 oz Cream cheese, room temperature
- 3/4 cup Unsalted butter, slightly cold
- 4 cups Powdered sugar, sifted
- 1 tsp Pure vanilla extract
- 1/4 tsp Salt
- 1/8 cup Heavy cream
- Sprinkles, optional for decoration
Instructions
Vanilla Cake
- Preheat the oven to 350°F (175°C). Spray two 6-inch cake pans with nonstick baking spray. Line the bottoms with 6-inch parchment paper circles. Spray again.
- In a medium bowl, sift the flour. Add in baking powder, baking soda, and salt. Whisk briefly to combine and set aside.
- Using a mixer, beat the butter, oil, and sugar on high speed for 3 minutes until light in color and fluffy. Add in sour cream and vanilla. Mix on medium speed until combined. Scrape the bowl.
- Add in the eggs, one at a time, mixing on medium-high speed for 1 minute after each addition until well blended.
- Alternately add one-third of the dry ingredients and half of the buttermilk, mixing on low speed until just combined after each addition. Finish with the remaining dry ingredients, mixing until just combined. Be careful not to overmix.
- Pour the batter evenly into the two prepared cake pans.
- Bake for 25-30 minutes, or until a toothpick inserted into the center comes out clean. Let the cakes sit in the hot pans for 10 minutes. Then, transfer to a cooling rack to cool completely.
Cream Cheese Frosting
- Allow the unsalted butter to sit on the counter for about 30 minutes to become slightly cold, not fully softened. Sift the powdered sugar while you wait.
- Using a mixer, beat the slightly cold butter and room temperature cream cheese on high speed for 3 minutes until very fluffy. Scrape the bowl.
- Slowly add the sifted powdered sugar, a cup at a time, mixing on low speed until fully incorporated. Scrape the bottom and sides of the bowl to ensure no lumps remain.
- Add in vanilla, salt, and heavy cream. Mix on low speed until just combined. Switch to high speed and beat for 1-2 minutes until the frosting is creamy and fluffy.
Assembling The Cake
- Once the cake layers are completely cool, use a serrated knife to level any domes, creating perfectly even cake layers. Place a small amount of frosting on the cake stand or board you are decorating on to secure the cake.
- Place the first leveled cake layer down. Spread approximately 3/4 cup of frosting evenly over the cake using an offset spatula.
- Place the second cake layer on top, with its bottom side facing up, for the flattest surface.
- Apply a thin layer of frosting all over the cake (top and sides) to create a crumb coat. Freeze for 15 minutes to set the crumb coat and lock in any crumbs.
- Once the crumb coat is set, apply the remaining frosting to the sides and top of the cake. Use a cake scraper for smooth sides or an offset spatula for a textured finish.
- Decorate the top of the cake. You can create a swirl with an offset spatula, pipe a decorative border using a piping bag fitted with a Wilton 1M tip, and finish with a generous scattering of fun sprinkles for a festive touch.
Notes
- Flour Measurement: Always spoon and level your flour, or use a kitchen scale for accuracy. Compacted flour can lead to dense, dry cake layers.
- High Altitude Baking: For higher altitudes, consider adding an extra 1 tablespoon of all-purpose flour to the dry ingredients.
- Room Temperature Ingredients: For best results and a smooth, emulsified batter, ensure all dairy ingredients (butter, sour cream, eggs, buttermilk, cream cheese) are at room temperature for at least 2 hours before baking.
Nutrition Facts (per slice)
- Calories: 415kcal
- Carbohydrates: 83g
- Protein: 4g
- Fat: 30g
- Saturated Fat: 18g
- Polyunsaturated Fat: 2g
- Monounsaturated Fat: 8g
- Trans Fat: 1g
- Cholesterol: 77mg
- Sodium: 326mg
- Potassium: 73mg
- Fiber: 1g
- Sugar: 17g
- Vitamin A: 922IU
- Vitamin C: 1mg
- Calcium: 66mg
- Iron: 1mg
