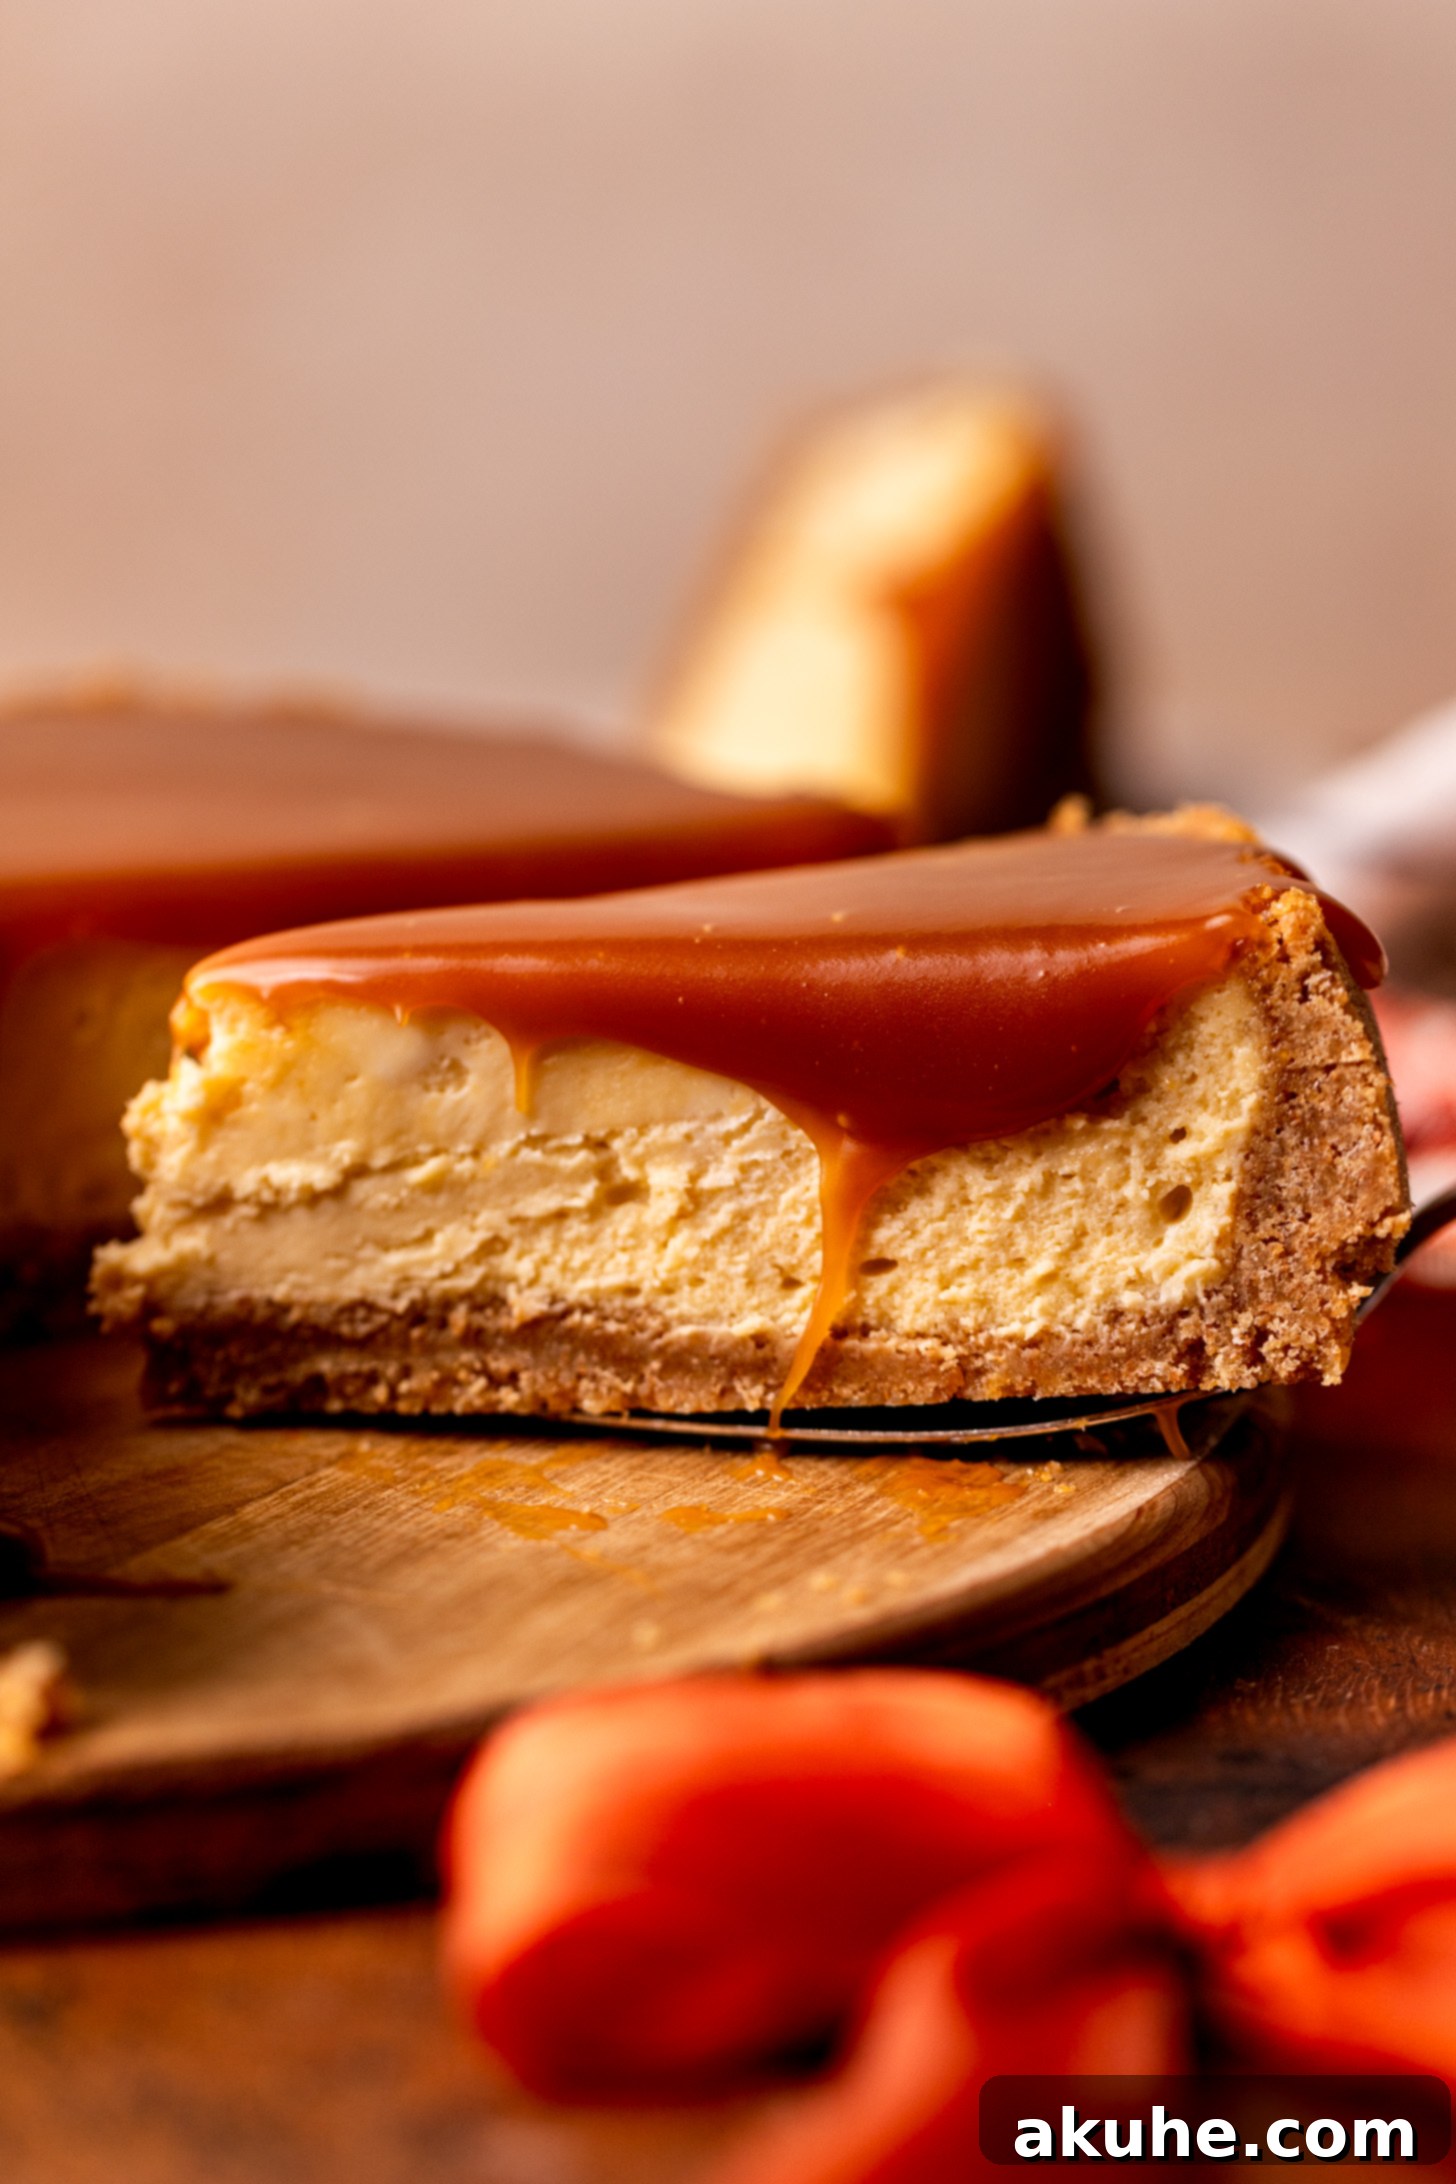
Indulge in the Ultimate Salted Caramel Cheesecake: A Decadent Homemade Delight
Prepare yourself for an extraordinary dessert experience with this ultimate salted caramel cheesecake. Imagine a luscious, ultra-creamy cheesecake filling, perfectly balanced with sweet and salty homemade caramel, all nestled within a crisp, buttery graham cracker crust. This recipe isn’t just about baking a cheesecake; it’s about crafting a show-stopping masterpiece that will leave a lasting impression on every palate. Whether you’re a seasoned baker or new to the world of cheesecakes, our detailed guide will help you achieve perfection, ensuring a smooth, crack-free top and an explosion of caramel flavor in every bite.
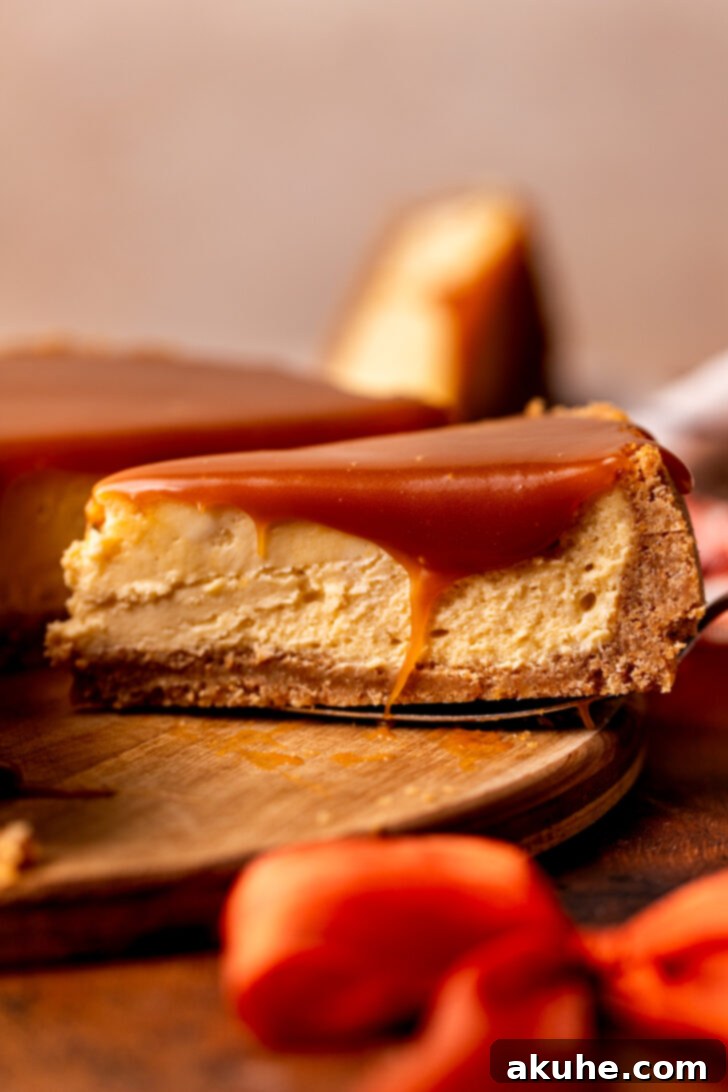
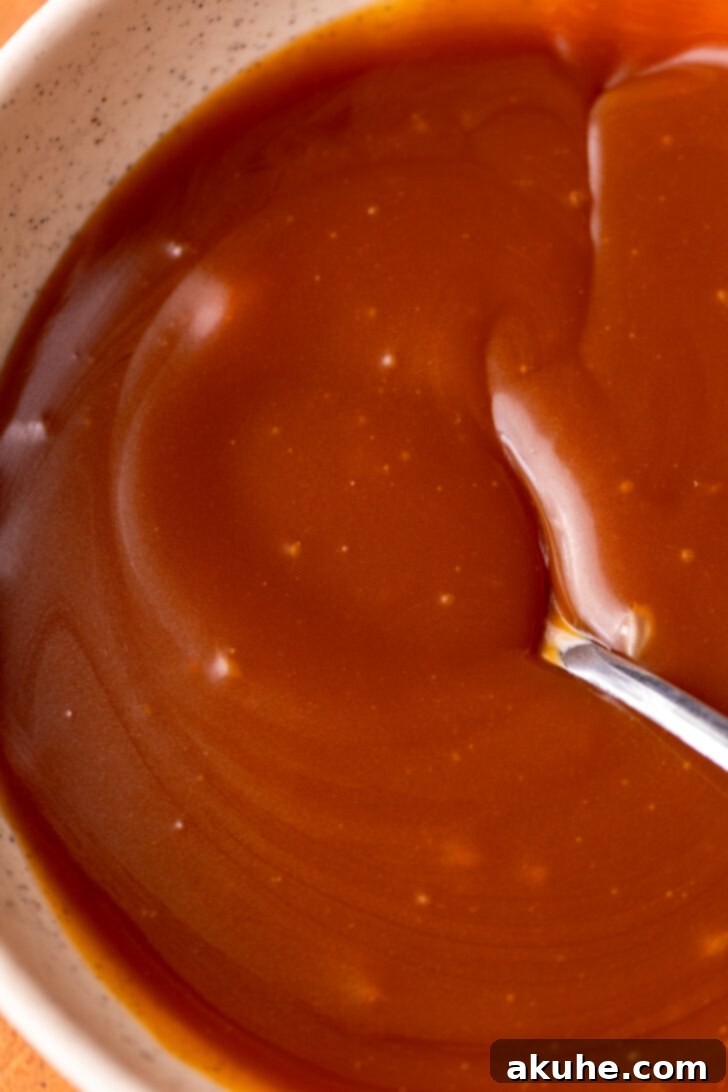
There’s an undeniable magic that happens when rich, gooey caramel intertwines with the smooth, tangy sweetness of a classic cheesecake. It’s a harmonious blend of textures and flavors that simply wins every time. While store-bought caramel can be a quick alternative in a pinch (you’ll need about 1 1/3 cups for this recipe), dedicating a little extra time to making your own homemade salted caramel truly elevates this dessert. The depth of flavor, the perfect consistency, and the touch of sea salt from scratch make all the difference, transforming a great cheesecake into an unforgettable one. We’ve included comprehensive tips, tricks, and step-by-step photos to make the process as easy and enjoyable as possible, guiding you from a simple graham cracker base to a gloriously topped, golden-brown dessert. If your love for caramel desserts runs deep, you absolutely must explore other delightful creations like our Caramel Pumpkin Cheesecake Bars for another seasonal treat.
Expert Tips for Crafting the Perfect Caramel Cheesecake
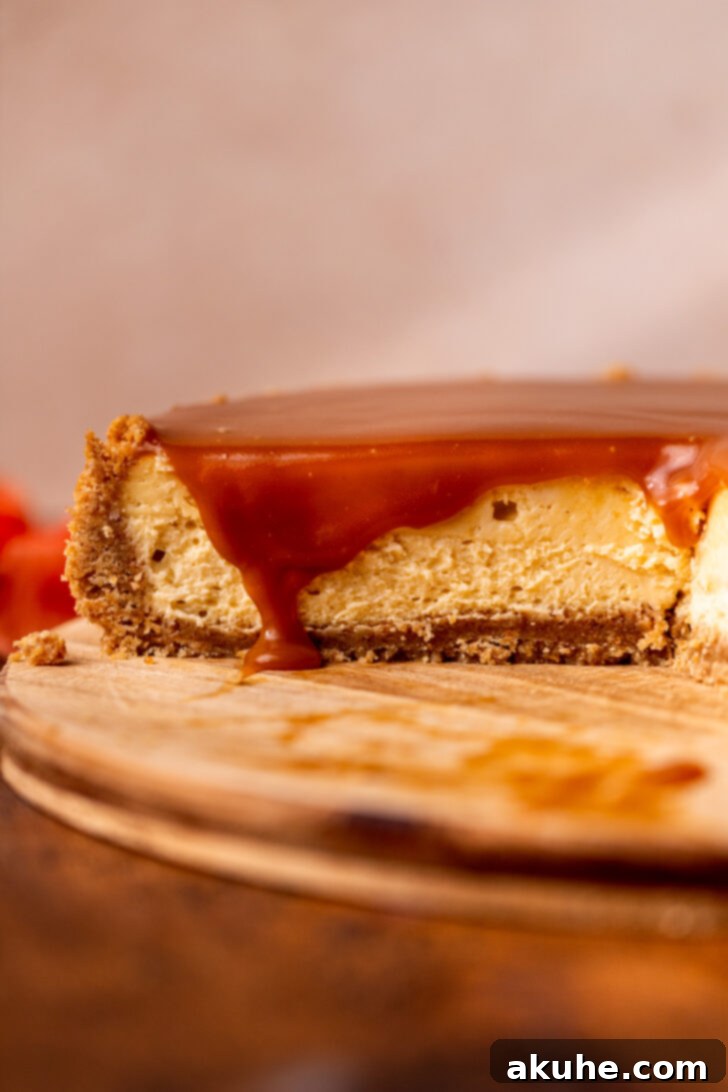
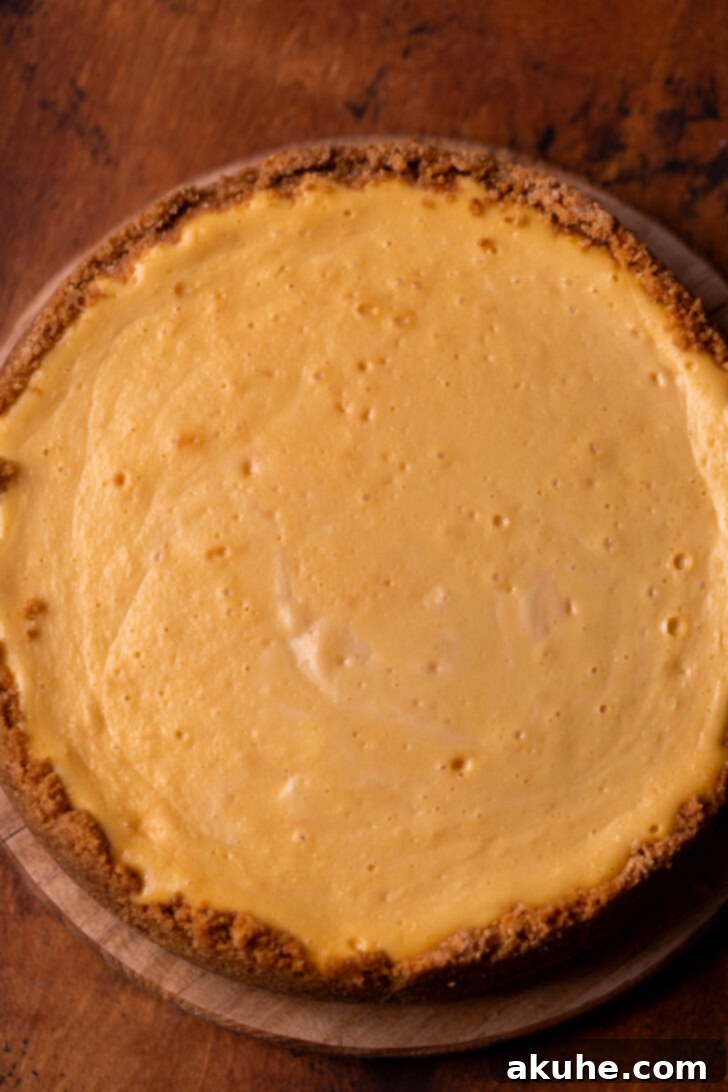
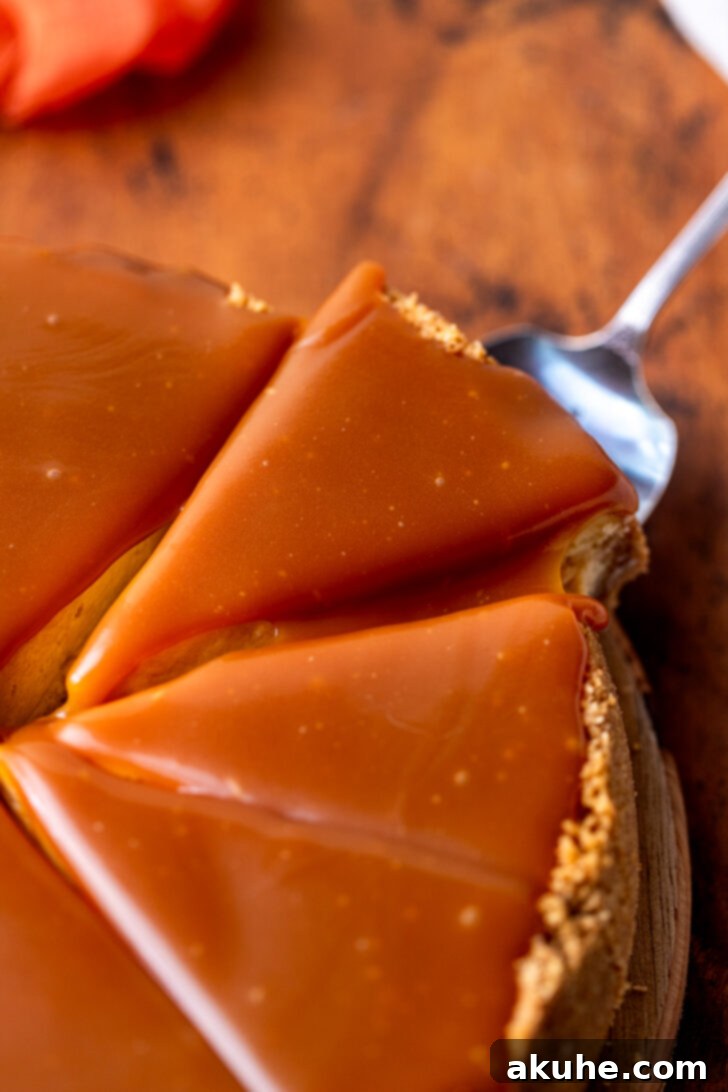
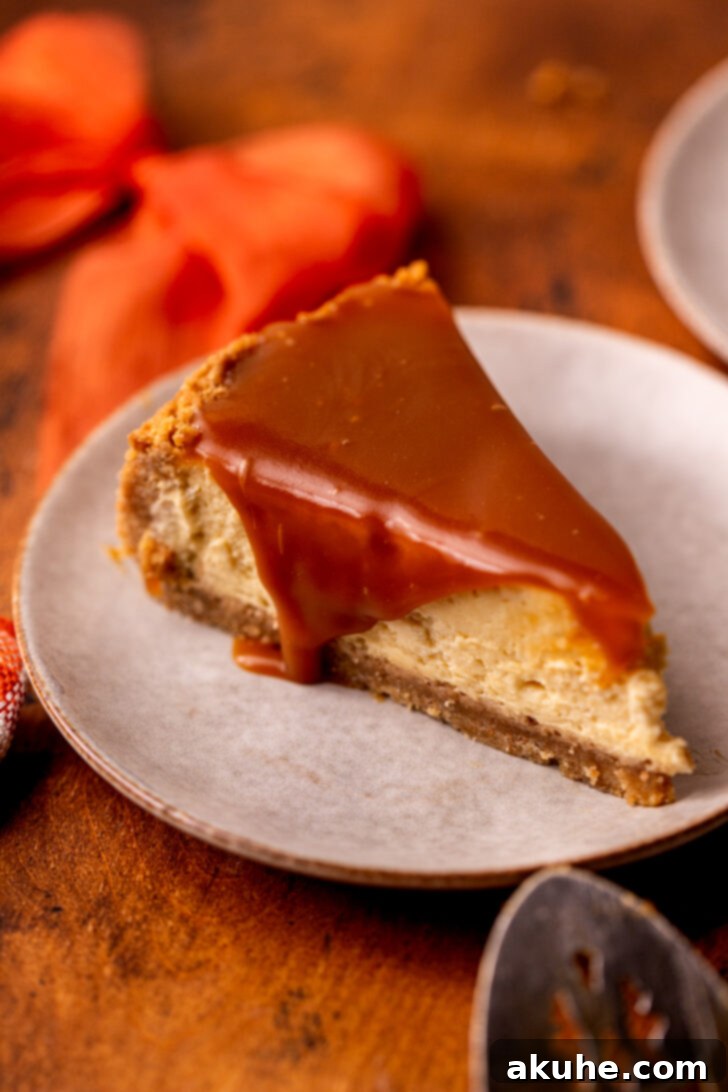
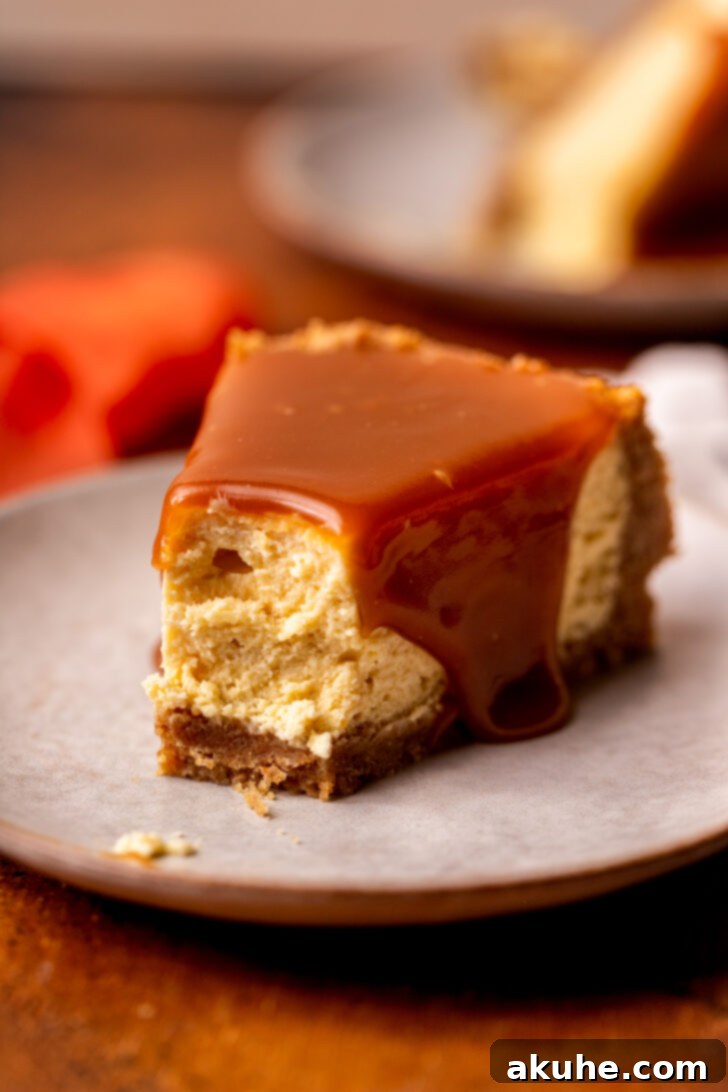
Achieving a bakery-quality caramel cheesecake at home is entirely within your reach with these expert tips. These insights are designed to help you avoid common pitfalls and ensure your cheesecake turns out beautifully smooth, creamy, and crack-free, just like the one pictured. For even more detailed guidance on perfecting your caramel, refer to our dedicated Homemade Salted Caramel post.
- Tip 1: Prepare Your Salted Caramel in Advance. This might seem like an extra step, but it’s a game-changer. Homemade caramel needs to cool completely before it can be incorporated into the cheesecake batter without compromising the texture or temperature of the other ingredients. Making it a day ahead not only saves time on baking day but also allows the flavors to deepen and the caramel to achieve the perfect consistency. A well-chilled caramel is easier to work with and ensures a more uniform mix within your cheesecake.
- Tip 2: Gentle Mixing is Key, Especially with Eggs. When it’s time to add the eggs to your cheesecake batter, resist the urge to mix on high speed. Overmixing, particularly after the eggs are introduced, incorporates too much air into the batter. This excess air can cause the cheesecake to puff up rapidly during baking and then dramatically collapse as it cools, leading to unsightly cracks on the surface. Mix on the lowest speed possible, just until the eggs are combined and no streaks remain. This technique is crucial for maintaining a dense, creamy texture and a smooth top.
- Tip 3: Embrace the Water Bath for Flawless Results. A water bath (bain-marie) is your secret weapon for preventing cracks and achieving an incredibly creamy cheesecake. The gentle, even heat provided by the water bath ensures the cheesecake bakes slowly and uniformly, preventing the edges from cooking faster than the center. To ensure no water seeps into your graham cracker crust, a foolproof method is to place your springform pan inside a larger 10-inch cake pan before setting both into a roasting pan filled with hot water. This creates an extra barrier, guaranteeing a perfectly dry and crisp crust.
- Tip 4: Master the Cheesecake Jiggle Test. Knowing when your cheesecake is perfectly baked is an art. Don’t rely solely on visual cues. Instead, gently shake the pan. The edges of the cheesecake should appear set, but the center, roughly a 2-3 inch diameter, should have a slight, almost custardy jiggle. If the entire cheesecake jiggles excessively, it’s underbaked and needs more time. If there’s no jiggle at all, it’s likely overbaked, which can result in a dry texture and potential cracking. A subtle jiggle ensures a supremely creamy interior.
- Tip 5: Patience is a Virtue – Cool and Chill Properly. Once baked, the cheesecake’s journey to perfection isn’t over. Proper cooling is just as vital as baking. After turning off the oven, leave the cheesecake inside with the door ajar for 30-60 minutes. This slow transition prevents drastic temperature changes that can cause cracking. Then, transfer it to a wire rack to cool completely at room temperature before chilling it in the refrigerator. For the absolute best texture and flavor, chilling overnight (at least 6 hours) is highly recommended. This allows the cheesecake to firm up, settle, and for all the incredible flavors to fully meld.
Craving more exquisite caramel creations? Be sure to try our incredibly rich Snickers Cheesecake and our delightfully chewy Caramel Cookie Bars for more sweet satisfaction.
If you absolutely adored this recipe, please leave a star review below! Your feedback is incredibly valuable. Don’t forget to share your baking triumphs with us on Instagram by tagging @stephaniesweettreats. For more inspiring dessert ideas and baking insights, make sure to follow us on Pinterest.
Recipe Video
A step-by-step recipe video for making this delicious caramel cheesecake is available to guide you through each stage of the process.
Watch the Caramel Cheesecake Recipe Video
Caramel Cheesecake
By Stephanie Rutherford
This delightful caramel cheesecake features a classic graham cracker crust, filled with a rich and creamy salted caramel cheesecake base. For an extra touch of decadence, it’s generously topped with even more homemade caramel!
Print Recipe |
Pin Recipe |
Leave a Review
Prep Time: 1 hr
Cook Time: 1 hr 20 mins
Chilling Time: 6 hrs
Total Time: 8 hrs 20 mins
Servings: 16 servings
Ingredients
Graham Cracker Crust
- 2 1/2 cups Graham cracker crumbs (from 2 packets)
- 1/4 cup Brown sugar, packed
- 10 TBSP Unsalted butter, melted
Salted Caramel
- 1 cup White granulated sugar
- 4 TBSP Unsalted butter, room temperature
- 1/2 cup Heavy cream, room temperature
- 1 tsp Salt
- 2 tsp Pure vanilla extract
Caramel Cheesecake
- 24 oz Cream cheese, room temperature
- 3/4 cup White granulated sugar
- 1/4 cup Sour cream, room temperature
- 1/3 cup Salted caramel (find a recipe here)
- 1 tsp Pure vanilla extract
- 4 Large eggs, room temperature
Instructions
Salted Caramel
- Place white granulated sugar in a medium saucepan over medium heat. Let it sit undisturbed until the sugar begins to melt around the edges, then gently stir with a wire whisk. Continue mixing until all sugar crystals have melted and the mixture turns an even amber color. This process is very quick, often less than 15 seconds once the color starts to change. Remove the pan immediately from the heat to prevent burning.
- Carefully add half of the room temperature unsalted butter to the hot sugar. Stir vigorously until fully combined; the mixture will bubble intensely. Incorporate the remaining butter and mix until smooth. Next, gradually add half of the heavy cream, stirring continuously, followed by the rest of the heavy cream. Finally, stir in the salt and pure vanilla extract until everything is well combined.
- Return the saucepan to the burner over low heat and cook for an additional 2 minutes, stirring gently. This brief simmer will help the caramel thicken slightly, giving it a more substantial consistency ideal for topping your cheesecake.
- Pour the finished caramel into a heatproof glass container and allow it to cool completely at room temperature. This homemade salted caramel can be prepared several days in advance. Once cooled, cover the container tightly with cling wrap and store it in the refrigerator until ready to use.
Graham Cracker Crust
- Preheat your oven to 325°F (160°C). Lightly spray a 9-inch springform pan with a non-stick baking spray. Line the bottom of the pan with a 9-inch parchment paper circle, then spray the parchment paper again. This double-layer of spray and parchment helps ensure easy release.
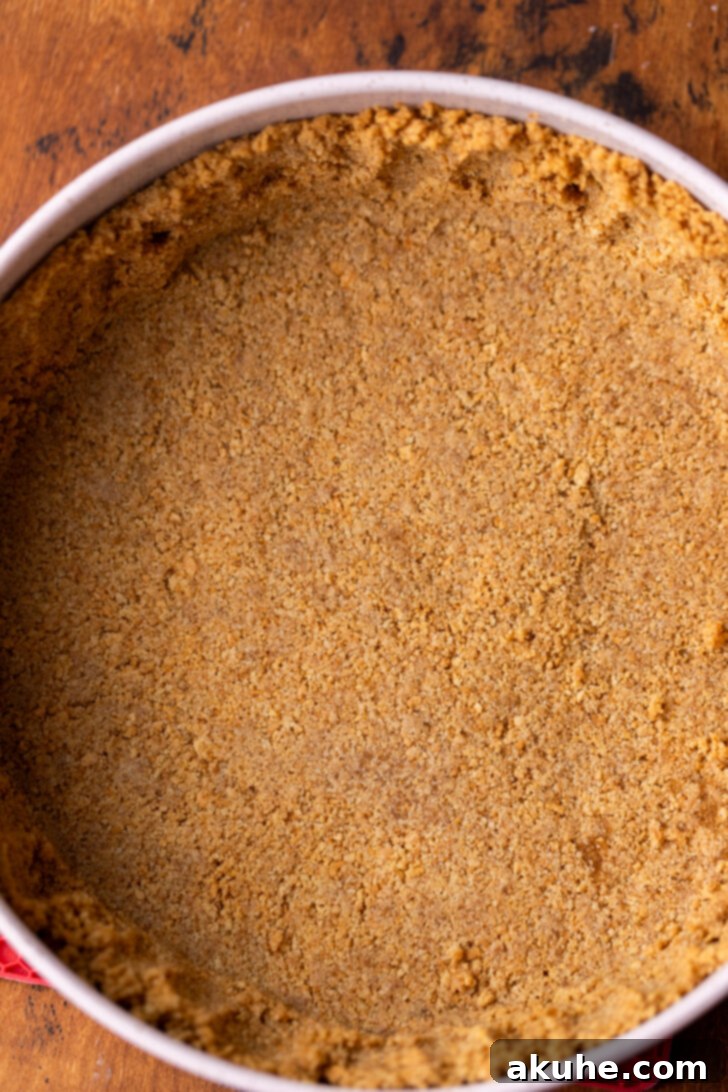
- In a food processor, blend the graham crackers until they form very fine crumbs. Transfer the graham cracker crumbs, packed brown sugar, and melted unsalted butter into a small mixing bowl. Stir thoroughly until all ingredients are evenly combined and the mixture resembles wet sand.
- Pour the crust mixture into the prepared springform pan. Use your hands to evenly press the crumbs halfway up the sides of the pan. Then, use the flat bottom of a measuring cup or a glass to firmly compact the crust, creating a dense and stable base.
- Bake the compacted graham cracker crust in the preheated oven for 12 minutes. This brief pre-baking step helps to set the crust, preventing it from becoming soggy once the cheesecake filling is added.
Caramel Cheesecake Filling
- Using an electric mixer, beat the room temperature cream cheese and white granulated sugar together on high speed for approximately 2 minutes. Continue mixing until the mixture is light, fluffy, and completely smooth, with no lumps of cream cheese remaining.
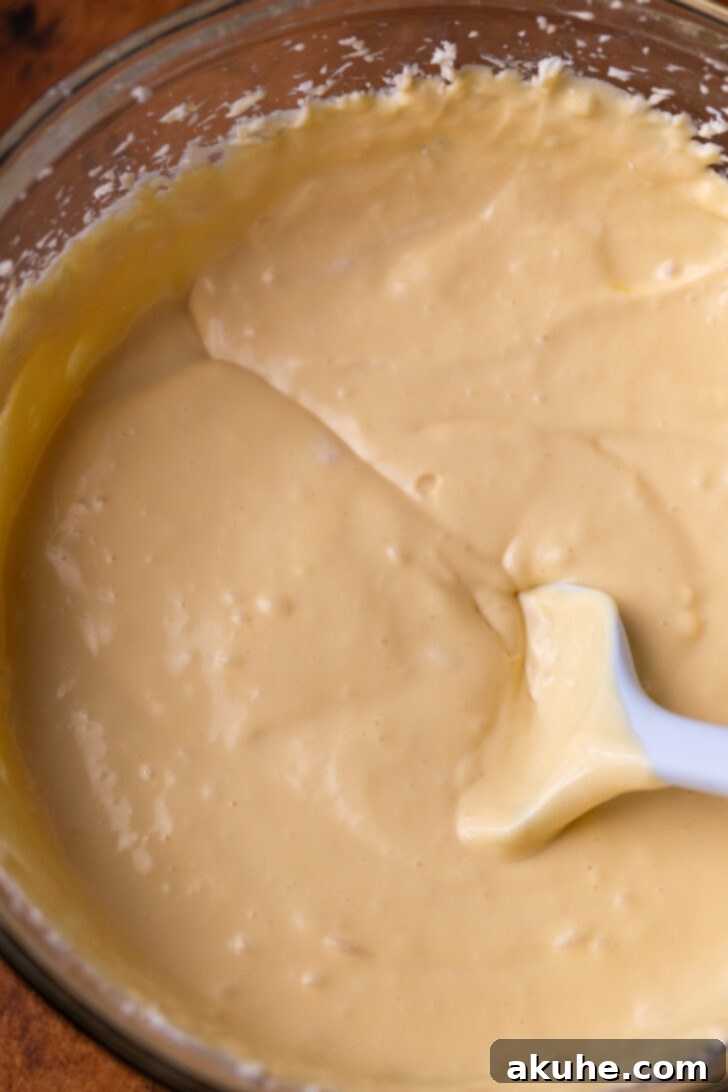
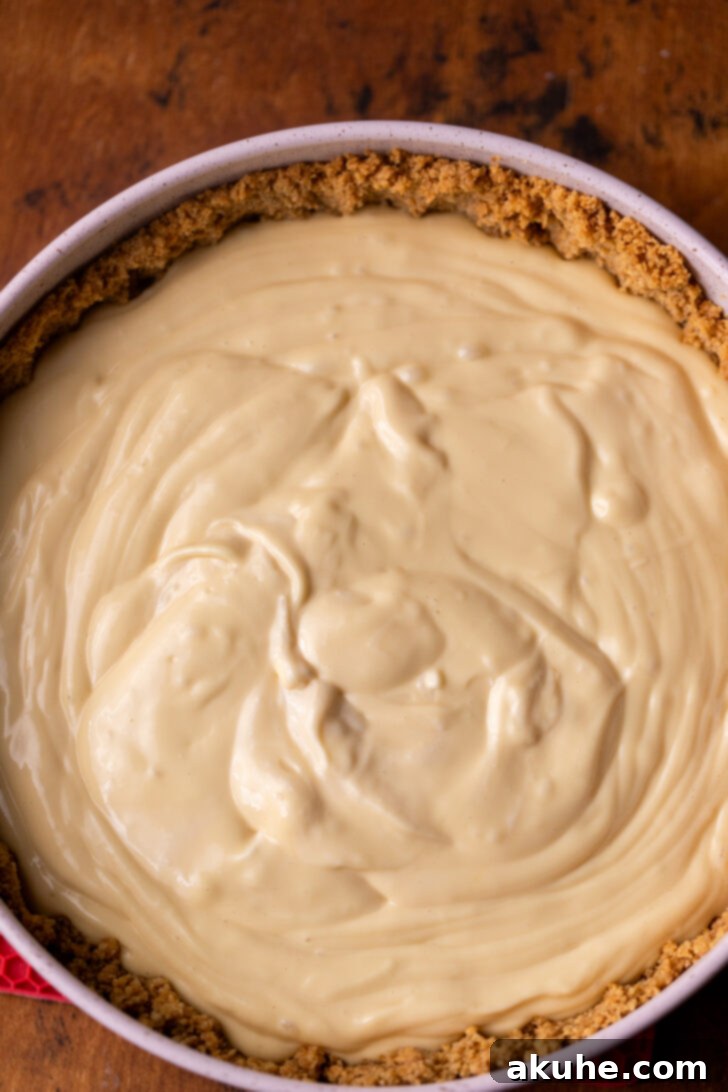
- Reduce the mixer speed to low. Add the room temperature sour cream, 1/3 cup of the cooled salted caramel (microwave for 10 seconds if it’s too thick to pour), and pure vanilla extract. Mix until all ingredients are just combined, ensuring you scrape down the sides and bottom of the bowl multiple times to incorporate everything evenly.
- Gently add the room temperature large eggs, one at a time, mixing on the lowest speed possible. Mix only until each egg is just incorporated into the batter. Overmixing at this stage can introduce too much air, leading to cracks in your finished cheesecake.
- Prepare a water bath for baking. You will need a large roasting pan and boiling water. You have two excellent options for setting up your water bath:
1. My Preferred Method: Place the springform pan containing your crust and batter into a larger 10-inch round cake pan. Then, place both pans together into the large roasting pan. Carefully fill the roasting pan with hot (preferably boiling) water until it reaches halfway up the sides of the cake pan. This method provides an extra layer of protection, guaranteeing no water seeps into your graham cracker crust.
2. Alternative Method: Tightly wrap the exterior of your springform pan with heavy-duty aluminum foil, wrapping it twice to ensure no leaks. Place the foil-wrapped springform pan directly into the large roasting pan and fill the roasting pan with hot water until it reaches halfway up the sides of the springform pan. - Carefully transfer the roasting pan with the cheesecake and water bath to the preheated oven. Bake for 70-85 minutes. The cheesecake is done when the edges are set and appear firm, but the very center (about a 2-3 inch diameter) still has a slight, delicate jiggle when you gently shake the pan. If the center jiggles too much, bake for an additional 10 minutes and check again.
- Once baked, turn off the oven but do not remove the cheesecake immediately. Crack the oven door open slightly and let the cheesecake sit inside for 30 minutes. This gradual cooling prevents sudden temperature changes that can cause cracks. After 30 minutes, transfer the cheesecake to a wire cooling rack and allow it to cool completely at room temperature. Once cool, wrap the entire cheesecake (still in its springform pan) tightly with foil and chill in the refrigerator for at least 6 hours, or ideally, overnight.
- When ready to serve, carefully remove the springform pan sides and then slide a thin knife or spatula under the crust to separate it from the parchment paper and bottom of the pan. Drizzle the remaining homemade salted caramel generously over the top of the chilled cheesecake. If the caramel is too thick, microwave it for 10-15 seconds to achieve a pourable consistency. Slice, serve, and enjoy!
Notes
For optimal results and smooth mixing, ensure all “room temperature” ingredients (cream cheese, butter, sour cream, eggs, heavy cream) are pulled out of the refrigerator at least 2 hours before you begin baking.
Nutrition Facts (per serving, estimated for 16 servings)
Calories: 424 kcal, Carbohydrates: 38g, Protein: 4g, Fat: 29g, Saturated Fat: 17g, Polyunsaturated Fat: 1g, Monounsaturated Fat: 8g, Trans Fat: 0.4g, Cholesterol: 80mg, Sodium: 371mg, Potassium: 100mg, Fiber: 0.4g, Sugar: 30g, Vitamin A: 1009IU, Vitamin C: 0.1mg, Calcium: 66mg, Iron: 1mg
Did you make this recipe? Please leave a star rating and review below!
