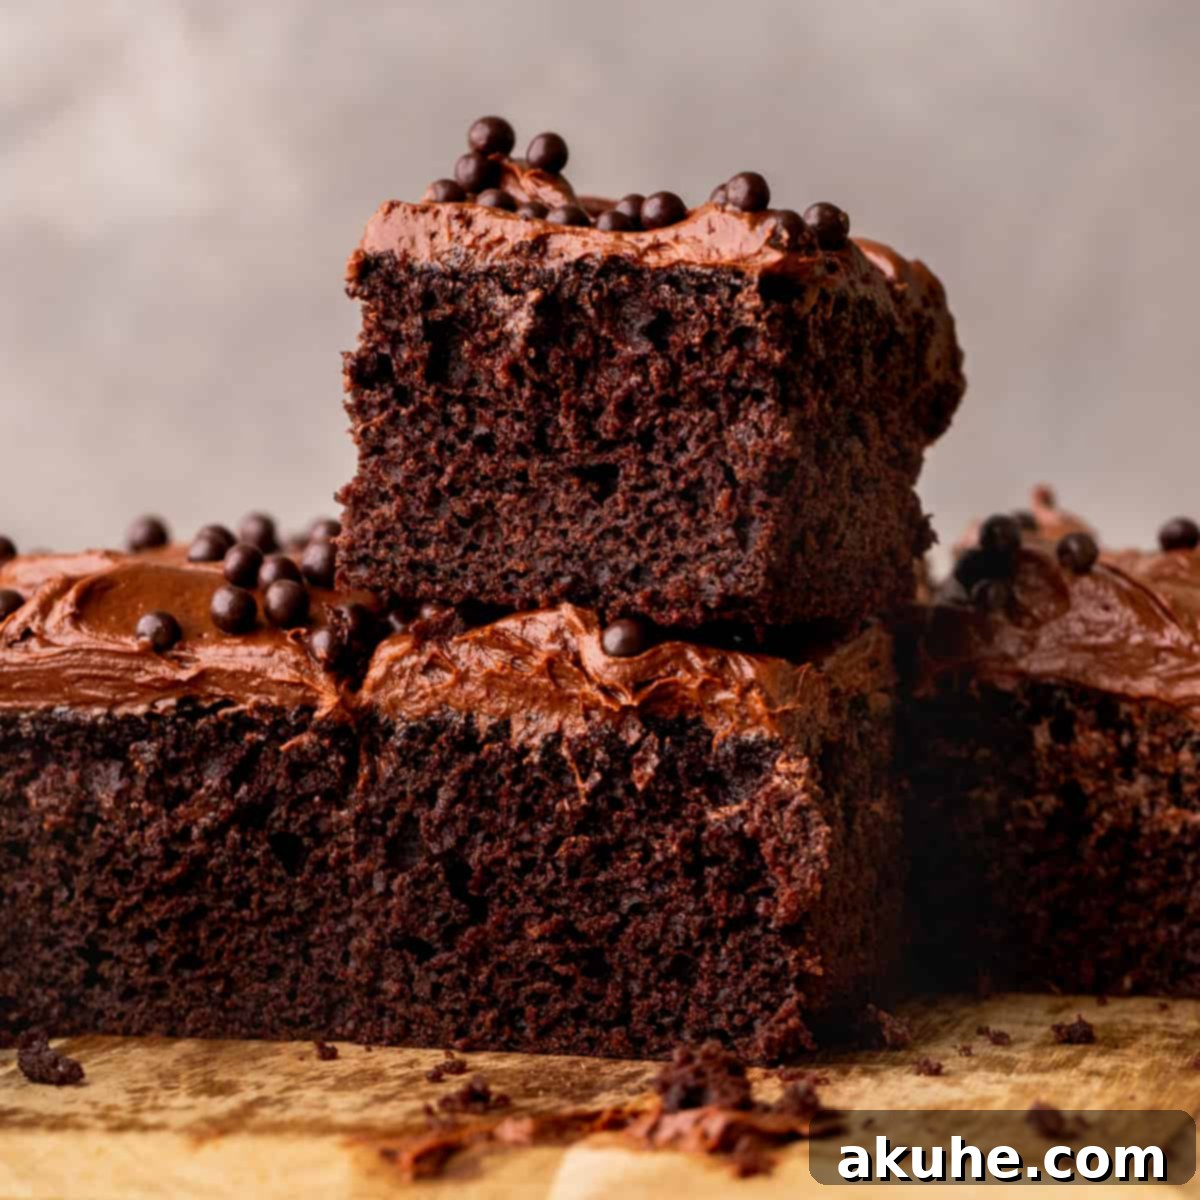
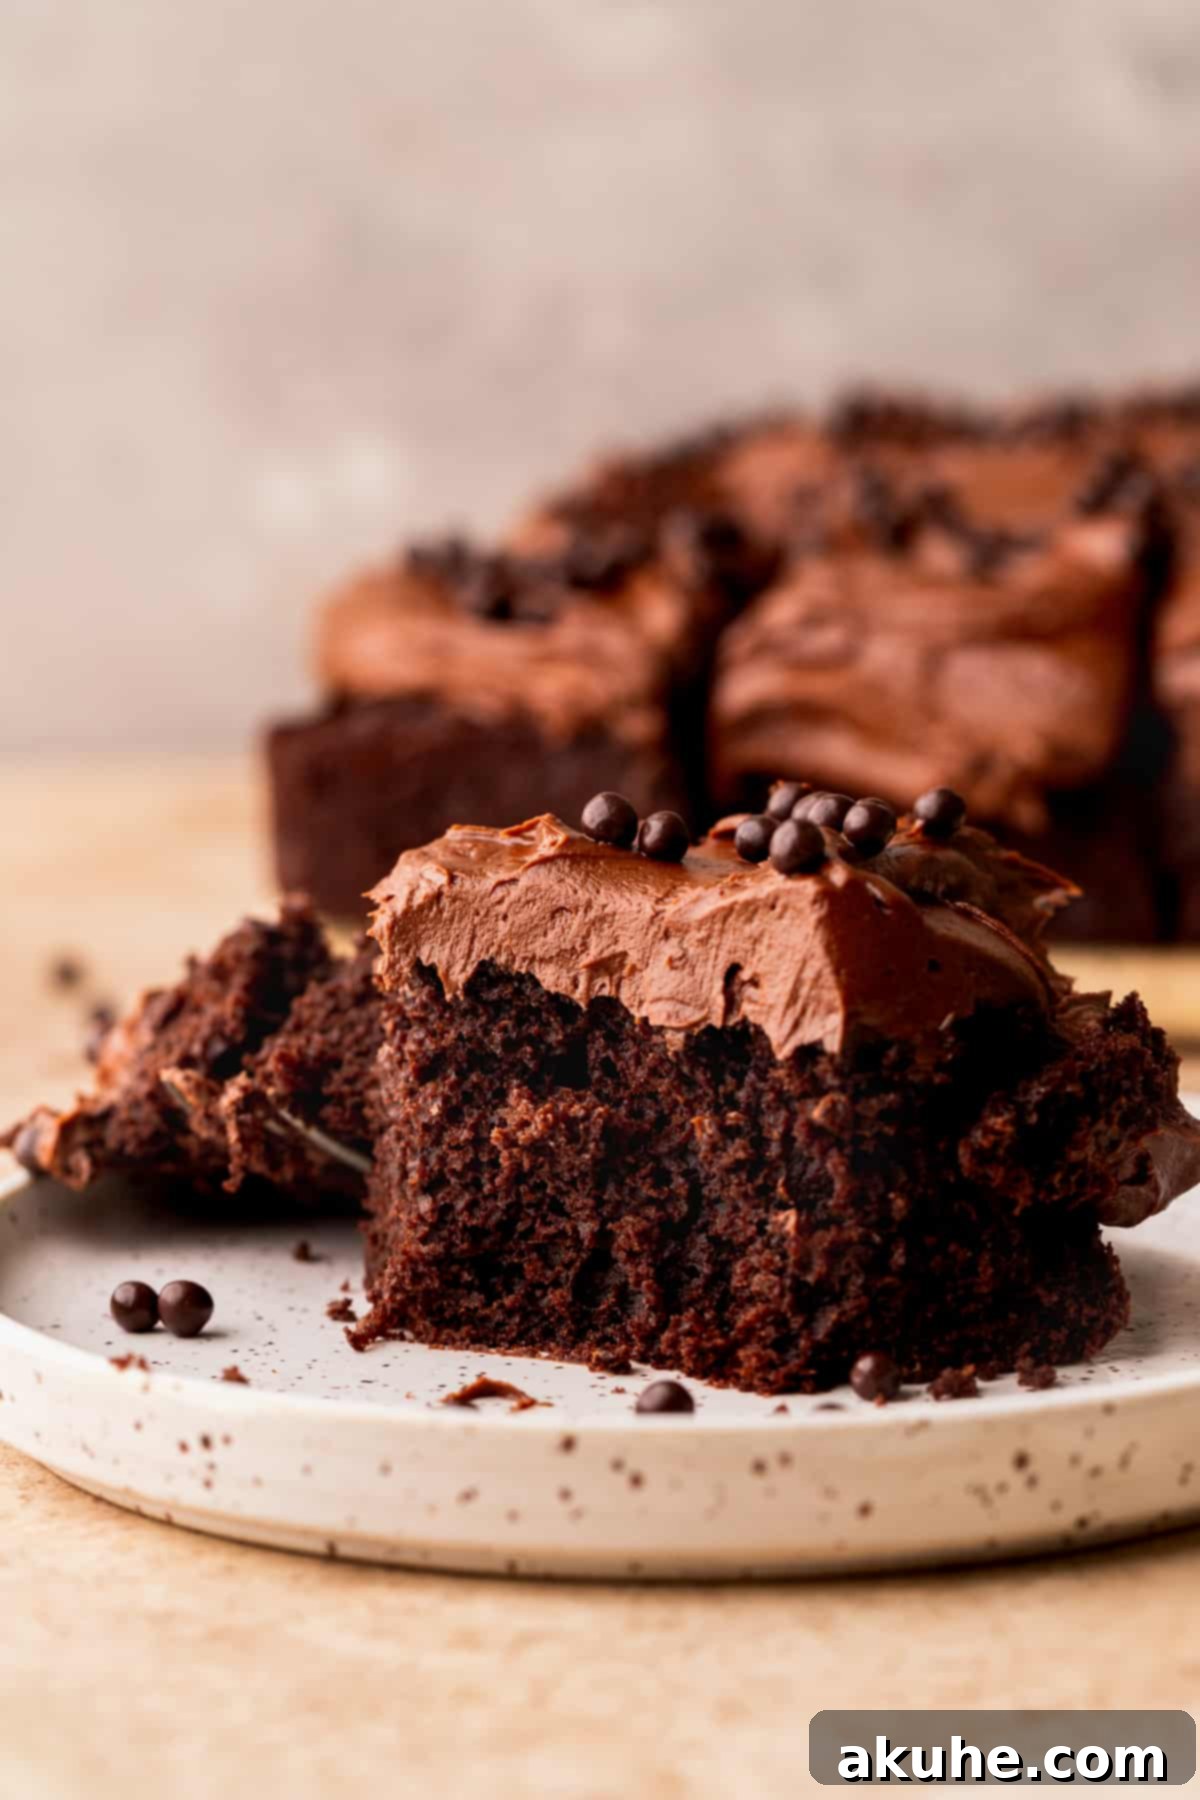
Indulge in the ultimate chocolate experience with our incredibly moist and easy-to-make Chocolate Ganache Cake. This decadent dessert features a tender, rich chocolate cake base generously crowned with a luxurious, velvety smooth chocolate ganache frosting. Forget complicated techniques or store-bought mixes; this homemade chocolate cake recipe elevates a classic to new heights, promising an unforgettable treat for any occasion.
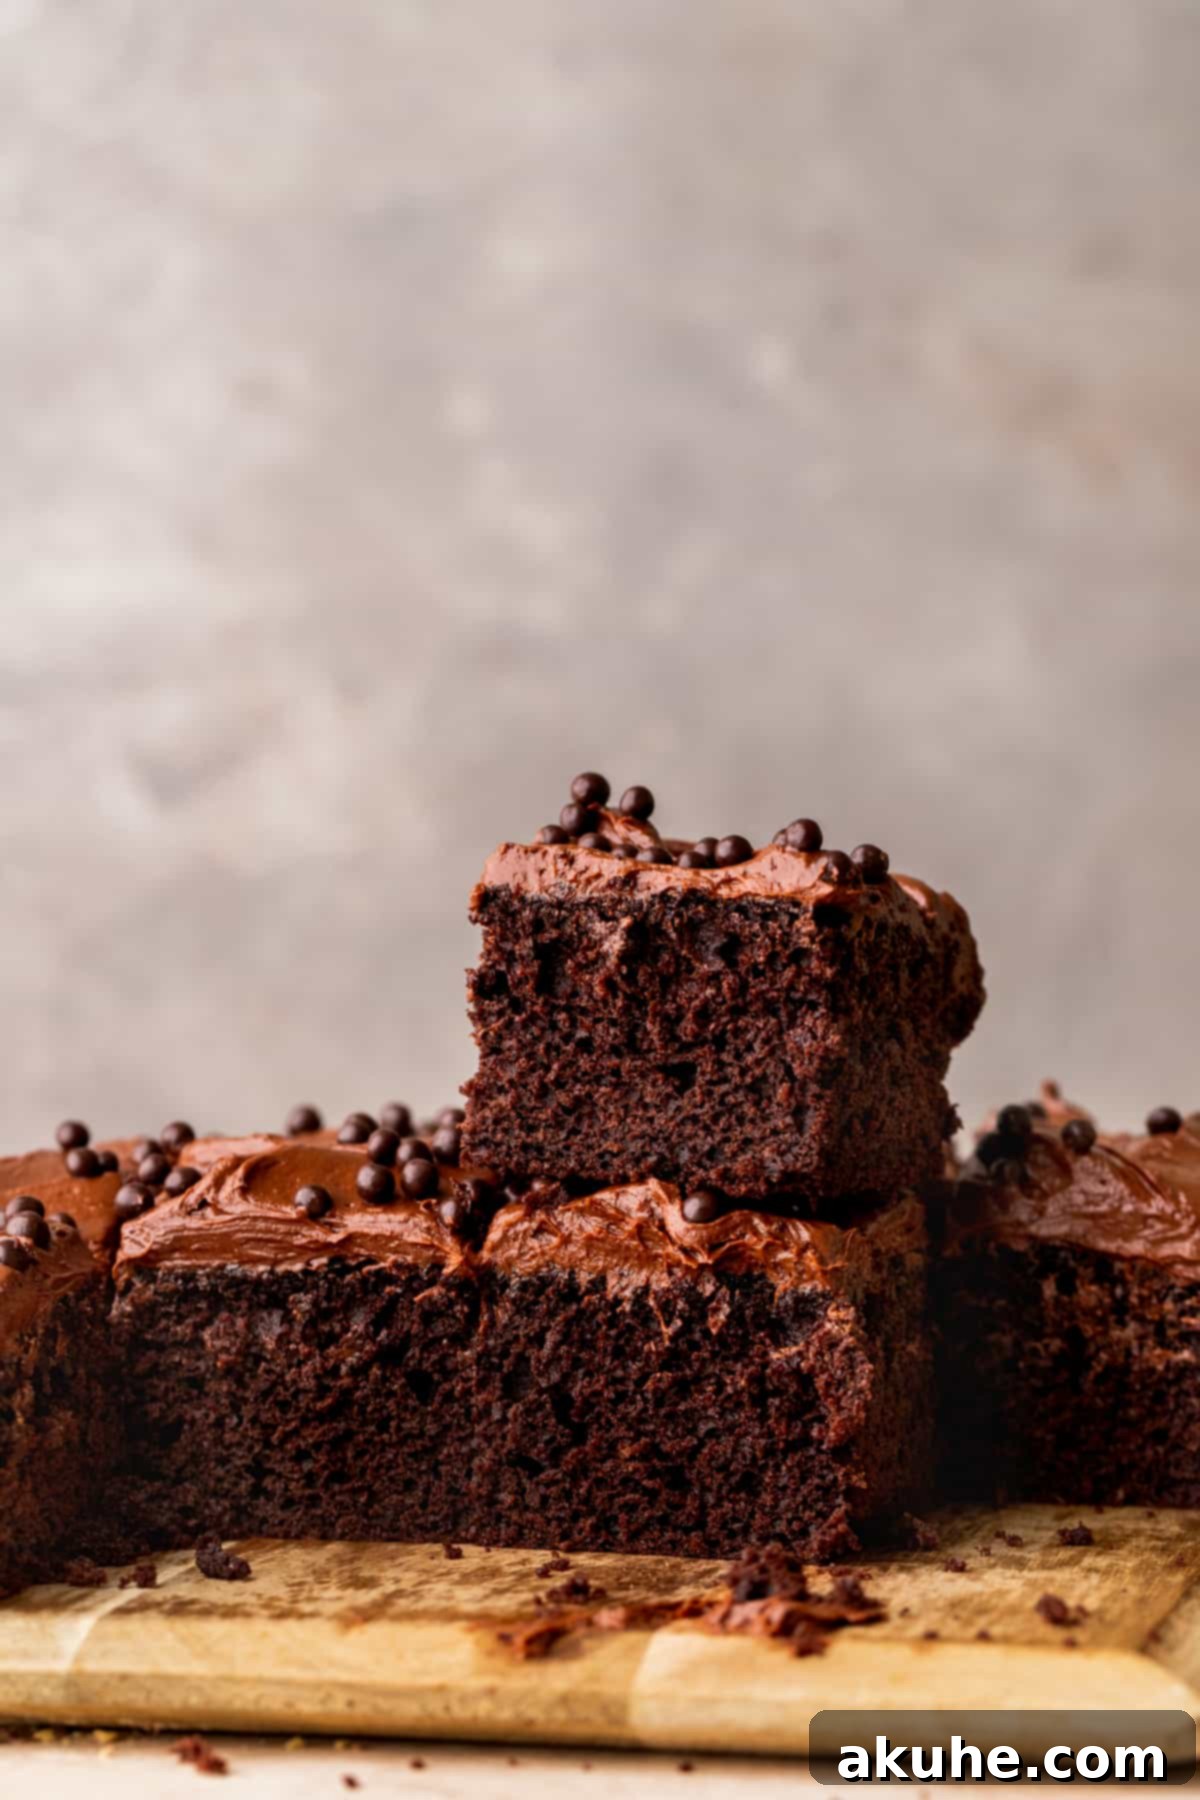
Every bite of this exquisite chocolate ganache cake delivers a harmonious blend of deep chocolate flavor and a delightfully moist texture. The secret lies in a carefully crafted cake batter that stays incredibly tender, perfectly complemented by what we confidently believe is the best chocolate ganache frosting you’ll ever taste. This recipe isn’t just about baking a cake; it’s about creating a show-stopping dessert that truly stands out, proving that simple, high-quality ingredients and straightforward steps can yield extraordinary results.
If you’re a chocolate enthusiast eager to explore more delightful recipes, don’t miss our other irresistible creations: Fluffy Chocolate Pancakes, a rich and satisfying Decadent Chocolate Pie, and chewy, delightful Chocolate Marshmallow Cookies.
Why This Chocolate Ganache Cake Recipe is a Must-Try
Discover the compelling reasons why this particular chocolate ganache cake recipe will become your go-to for all future dessert cravings and special occasions:
- Unforgettable Chocolate Flavor: Prepare your taste buds for an intense and sophisticated chocolate experience. This cake is crafted to deliver maximum cocoa impact, achieving a richness that’s truly decadent. We confidently declare it the BEST chocolate ganache cake, a testament to its deep, satisfying flavor profile that chocolate lovers dream of.
- Perfectly Moist Texture: Say goodbye to dry, crumbly cakes. Our recipe ensures an incredibly tender and moist crumb that practically melts in your mouth. The balance of ingredients creates a luxurious texture that’s so irresistible, you might find it challenging to stick to just one slice!
- Surprisingly Easy to Make: Don’t let the elegant appearance fool you. This chocolate ganache cake recipe is remarkably simple and straightforward, making it accessible even for novice bakers. The clear, step-by-step instructions ensure a stress-free baking process, proving that homemade perfection doesn’t have to be complicated. Once you experience the superior taste and ease, you’ll never consider a boxed cake mix again.
- Versatile for Any Occasion: Whether you’re celebrating a birthday, hosting a dinner party, or simply craving a sweet escape, this chocolate ganache cake fits every scenario. Its classic appeal and rich flavor make it a crowd-pleaser that’s guaranteed to impress, regardless of the event.
Unlock the Magic of Homemade Chocolate Ganache
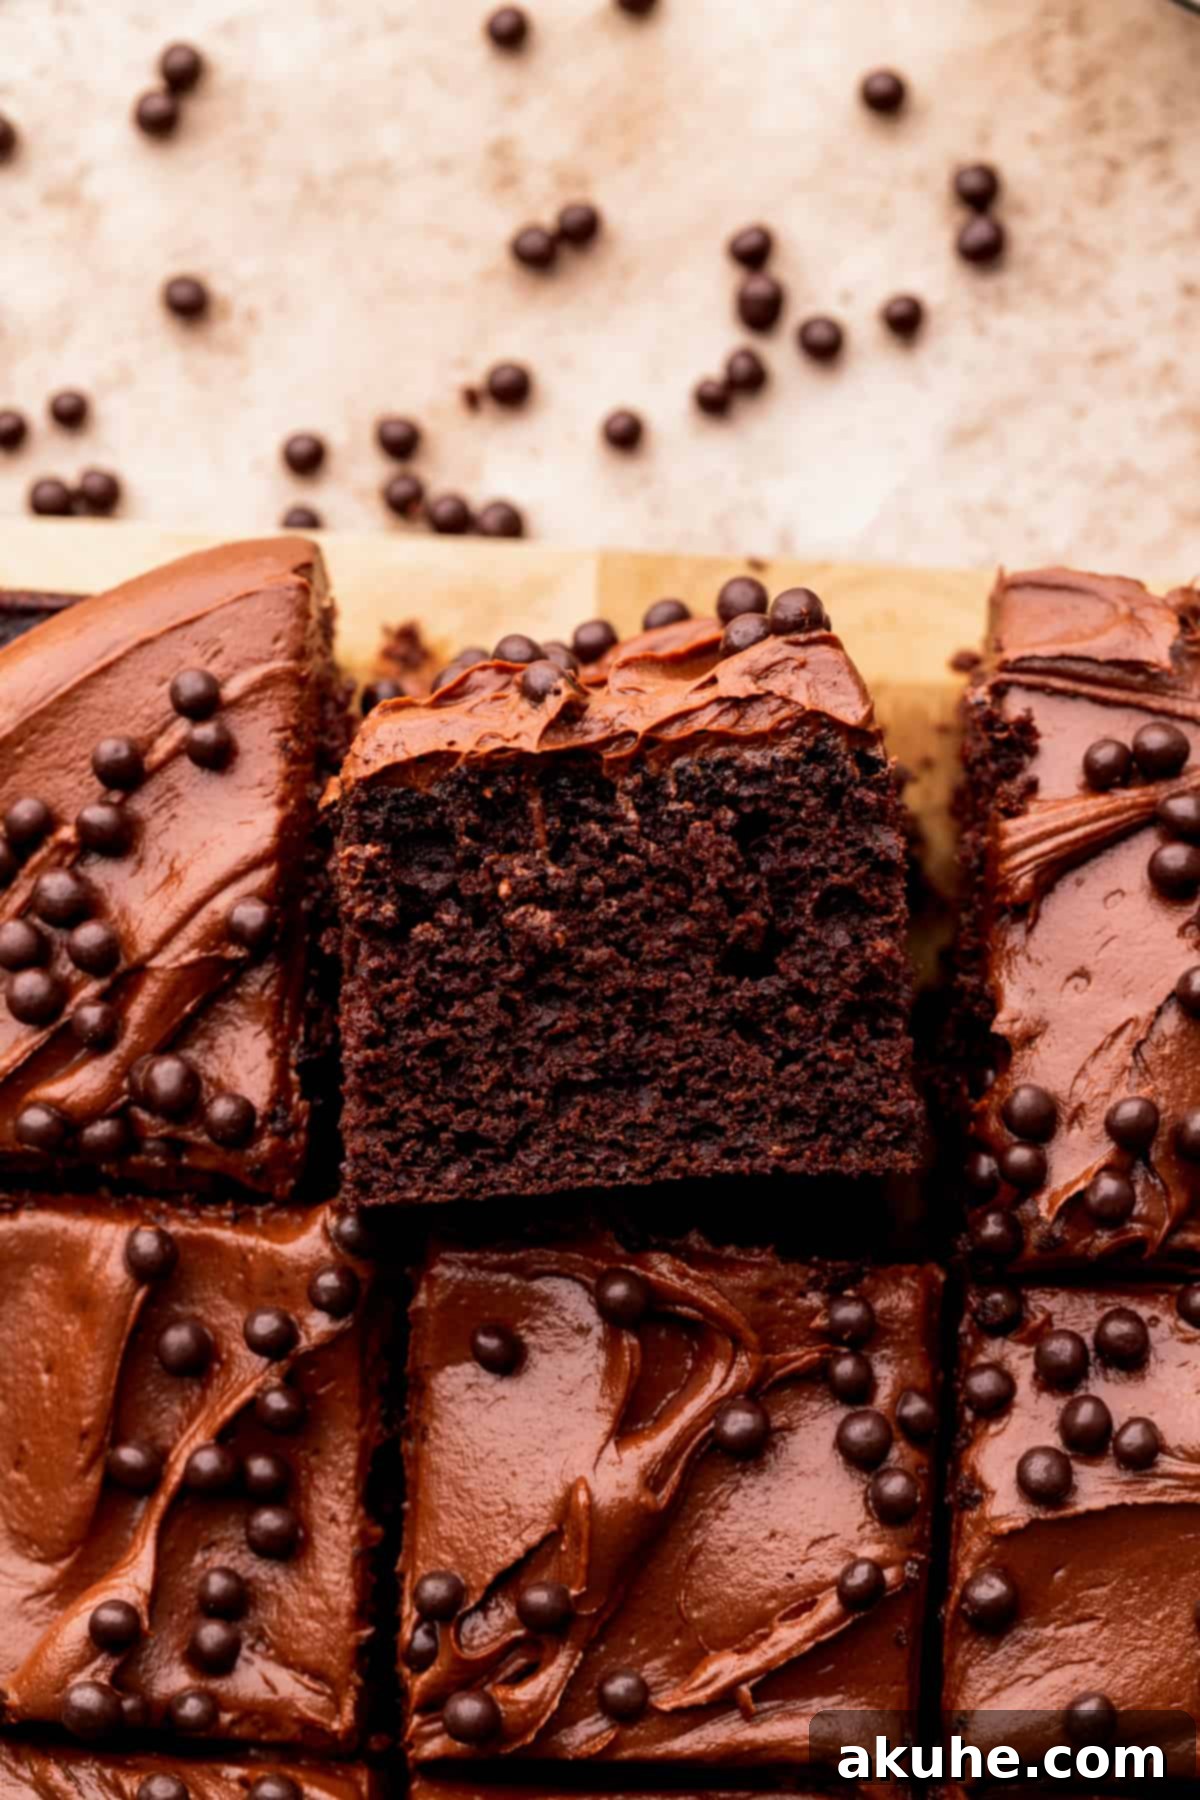
While the cake itself is a masterpiece, the chocolate ganache frosting truly elevates this dessert. Ganache is a luxurious, versatile mixture of chocolate and cream that, when prepared correctly, creates an incredibly smooth, glossy, and intensely chocolatey topping. Unlike traditional buttercreams that can be overly sweet, ganache offers a richer, more profound chocolate flavor with a velvety texture that simply melts in your mouth. Its elegance and depth transform a simple chocolate cake into a gourmet delight, making every slice feel like a special occasion. This recipe guides you to create a perfectly whipped ganache that’s light, airy, and spreadable, yet maintains that signature rich chocolate essence.
Essential Ingredient Notes for Perfection
The success of any great recipe lies in understanding its ingredients. Here are detailed notes on key components for your chocolate ganache cake. For a complete list of precise measurements, please refer to the comprehensive recipe card below.
- Unsweetened Cocoa Powder: For an exceptionally rich and deep chocolate flavor, we strongly recommend using Dutch-processed cocoa powder. Dutch-processed cocoa has been treated to reduce its acidity, resulting in a darker color and a smoother, less bitter chocolate taste, which significantly enhances the cake’s overall decadence. This is the specific brand I frequently use and highly recommend.
- Oil (Canola, Vegetable, or Light Olive Oil): Unlike butter, oil contributes to a truly moist and tender cake crumb, ensuring the cake remains soft and delicious for days. It creates a finer, more even texture by coating flour proteins, preventing excessive gluten development. Opt for a neutral-flavored oil like canola, vegetable, or a mild olive oil to avoid imparting any unwanted flavors to your chocolate cake.
- Large Eggs: It’s crucial for your eggs to be at room temperature. Cold eggs can cause the batter to seize, leading to an uneven texture. To achieve room temperature quickly, simply place them in a bowl of warm water for about 10-15 minutes before you begin baking. This helps them incorporate more effectively into the batter, creating a smoother, more uniform emulsion.
- Buttermilk: Full-fat or reduced-fat buttermilk works wonderfully in this recipe. Its acidity reacts with the baking soda, creating a lighter, more tender cake. Similar to eggs, bringing buttermilk to room temperature approximately 2 hours before baking is key for optimal mixing and a perfectly textured cake. If you don’t have buttermilk on hand, you can create a substitute by adding 1 tablespoon of white vinegar or lemon juice to a measuring cup, then filling it to the 1/2 cup mark with regular milk. Let it sit for 5-10 minutes until it slightly curdles.
- Hot Water (or Hot Coffee): The hot water plays a vital role in “blooming” the cocoa powder. This process releases the cocoa’s full flavor potential, intensifying the chocolate notes in the cake. Ensure the water is steaming hot, but not boiling. For an even deeper, more complex chocolate flavor, hot brewed coffee can be used as an excellent substitute, as it beautifully complements and enhances chocolate.
- Semi-Sweet Chocolate Chips (for Ganache): For the ganache, semi-sweet chocolate chips are the ideal choice. They provide a balanced sweetness and robust chocolate flavor that prevents the ganache from being overly cloying. Milk chocolate, while delicious on its own, would make the ganache too sweet and mask the rich cocoa notes we’re aiming for. High-quality chocolate chips will yield the best results for your silky ganache.
- Heavy Cream (for Ganache): This is the backbone of your luscious ganache. Use full-fat heavy cream (or heavy whipping cream) with at least 36% milk fat for the best results. The high fat content is essential for creating a stable, rich, and creamy ganache that whips up beautifully into a spreadable frosting.
Step-by-Step Instructions: Crafting Your Chocolate Ganache Masterpiece
Follow these detailed steps to create a show-stopping chocolate ganache cake that will impress everyone:
STEP 1: Prepare Your Baking Environment. Begin by preheating your oven to 350°F (175°C). This ensures the oven is at the correct temperature when your batter is ready, promoting an even bake. Next, prepare a 9×9 inch square baking pan. Generously spray the inside of the pan with a high-quality nonstick baking spray. For easy removal, line the bottom of the pan with a piece of parchment paper, allowing it to overhang slightly on two sides to create “handles.” Spray the parchment paper again to ensure absolutely no sticking. Set the prepared pan aside.
STEP 2: Combine Dry Ingredients. In a large mixing bowl, sift together the all-purpose flour, white granulated sugar, unsweetened cocoa powder, baking powder, baking soda, and salt. Sifting is an important step as it removes any lumps and aerates the dry ingredients, leading to a lighter, more uniform cake crumb. Whisk these ingredients thoroughly to ensure they are well combined.
STEP 3: Prepare Wet Ingredients. Heat 1/2 cup of water on the stovetop until it’s steaming hot (you can see wisps of steam rising from it, but it doesn’t need to be at a rolling boil). In a separate medium-sized bowl, whisk together the canola or vegetable oil, pure vanilla extract, room temperature large eggs, and room temperature buttermilk. Once well combined, slowly and carefully pour the steaming hot water into the wet ingredient mixture while continuously whisking at a low speed. It’s crucial to add the hot water gradually to prevent the eggs from cooking prematurely.
STEP 4: Gently Combine Wet and Dry Mixtures. Pour the entire wet ingredient mixture into the large bowl containing your dry ingredients. Using a whisk or rubber spatula, gently mix until just combined. Be careful not to overmix; overmixing can develop gluten in the flour, resulting in a tough or dry cake. A few small lumps are perfectly acceptable and will disappear during baking, yielding a tender crumb.
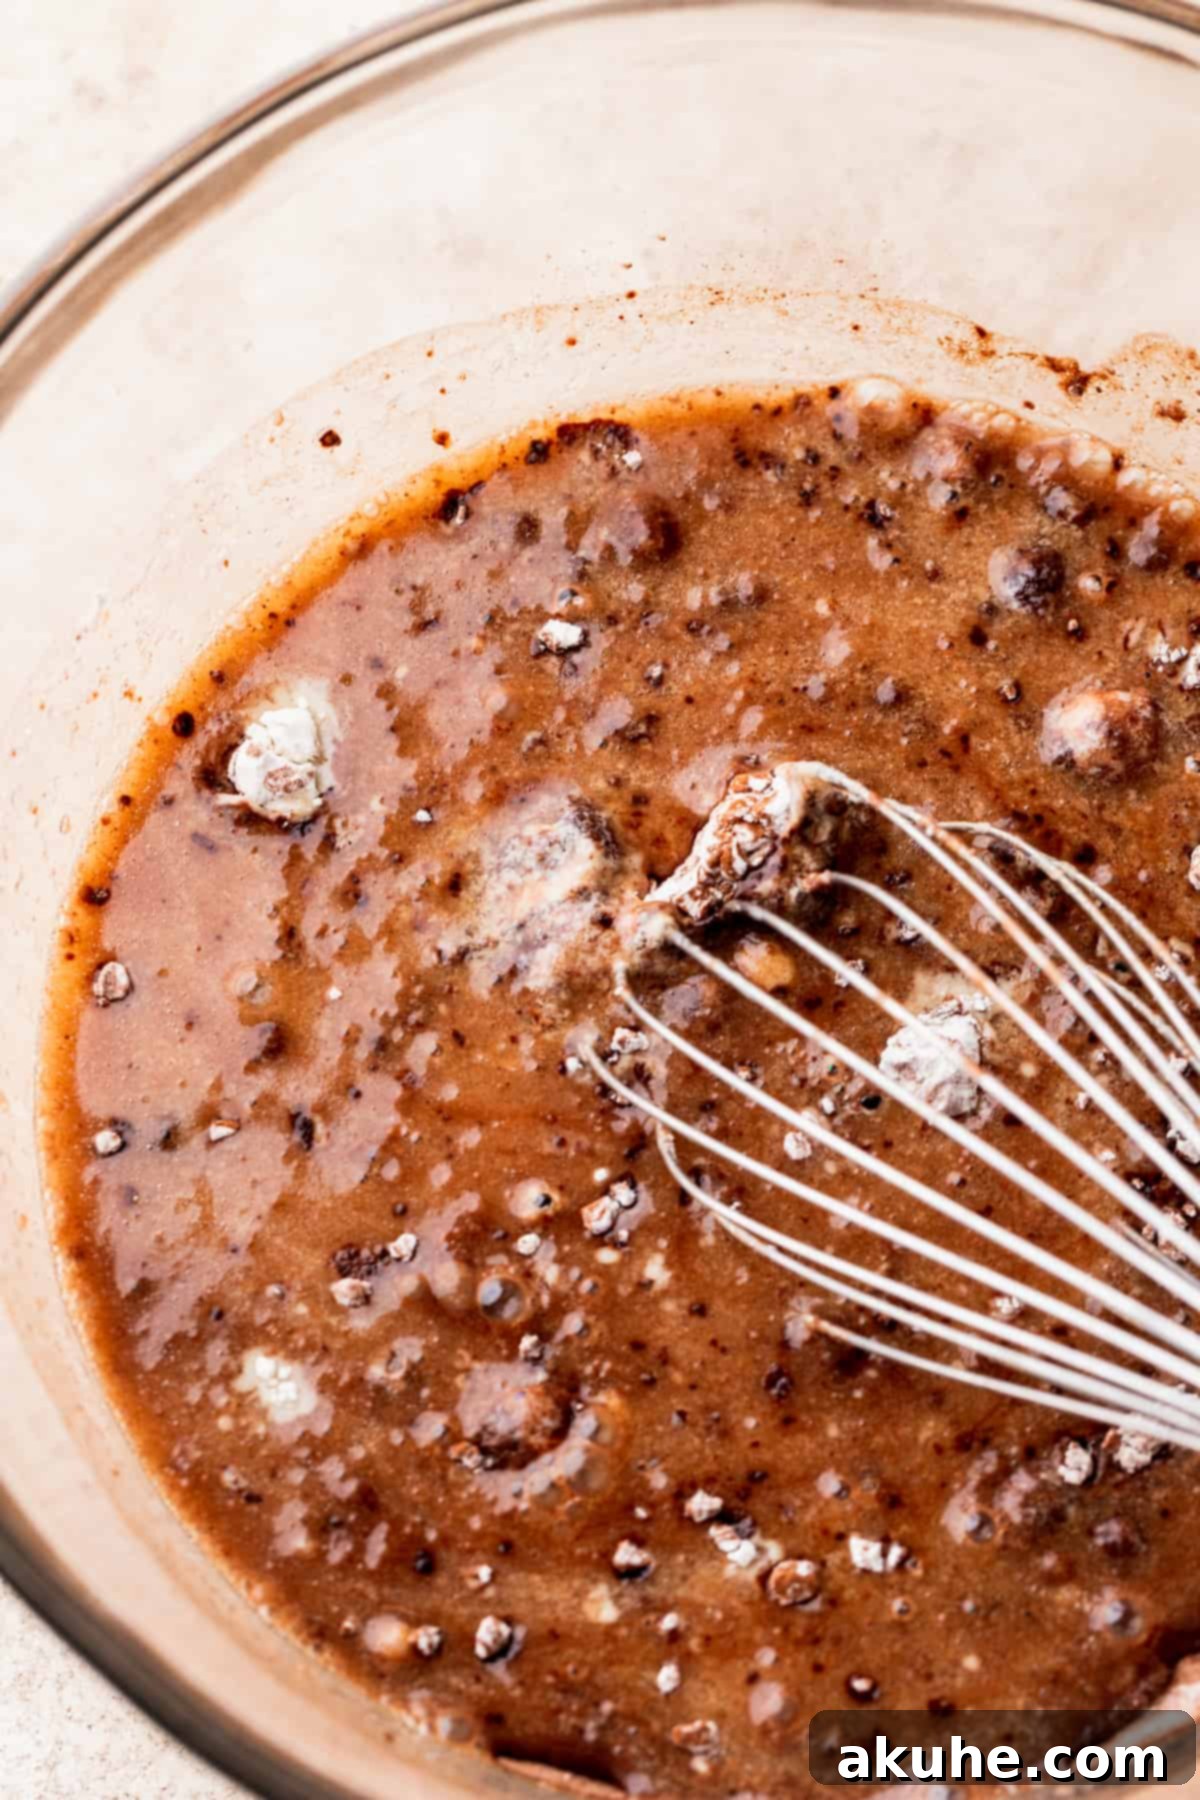
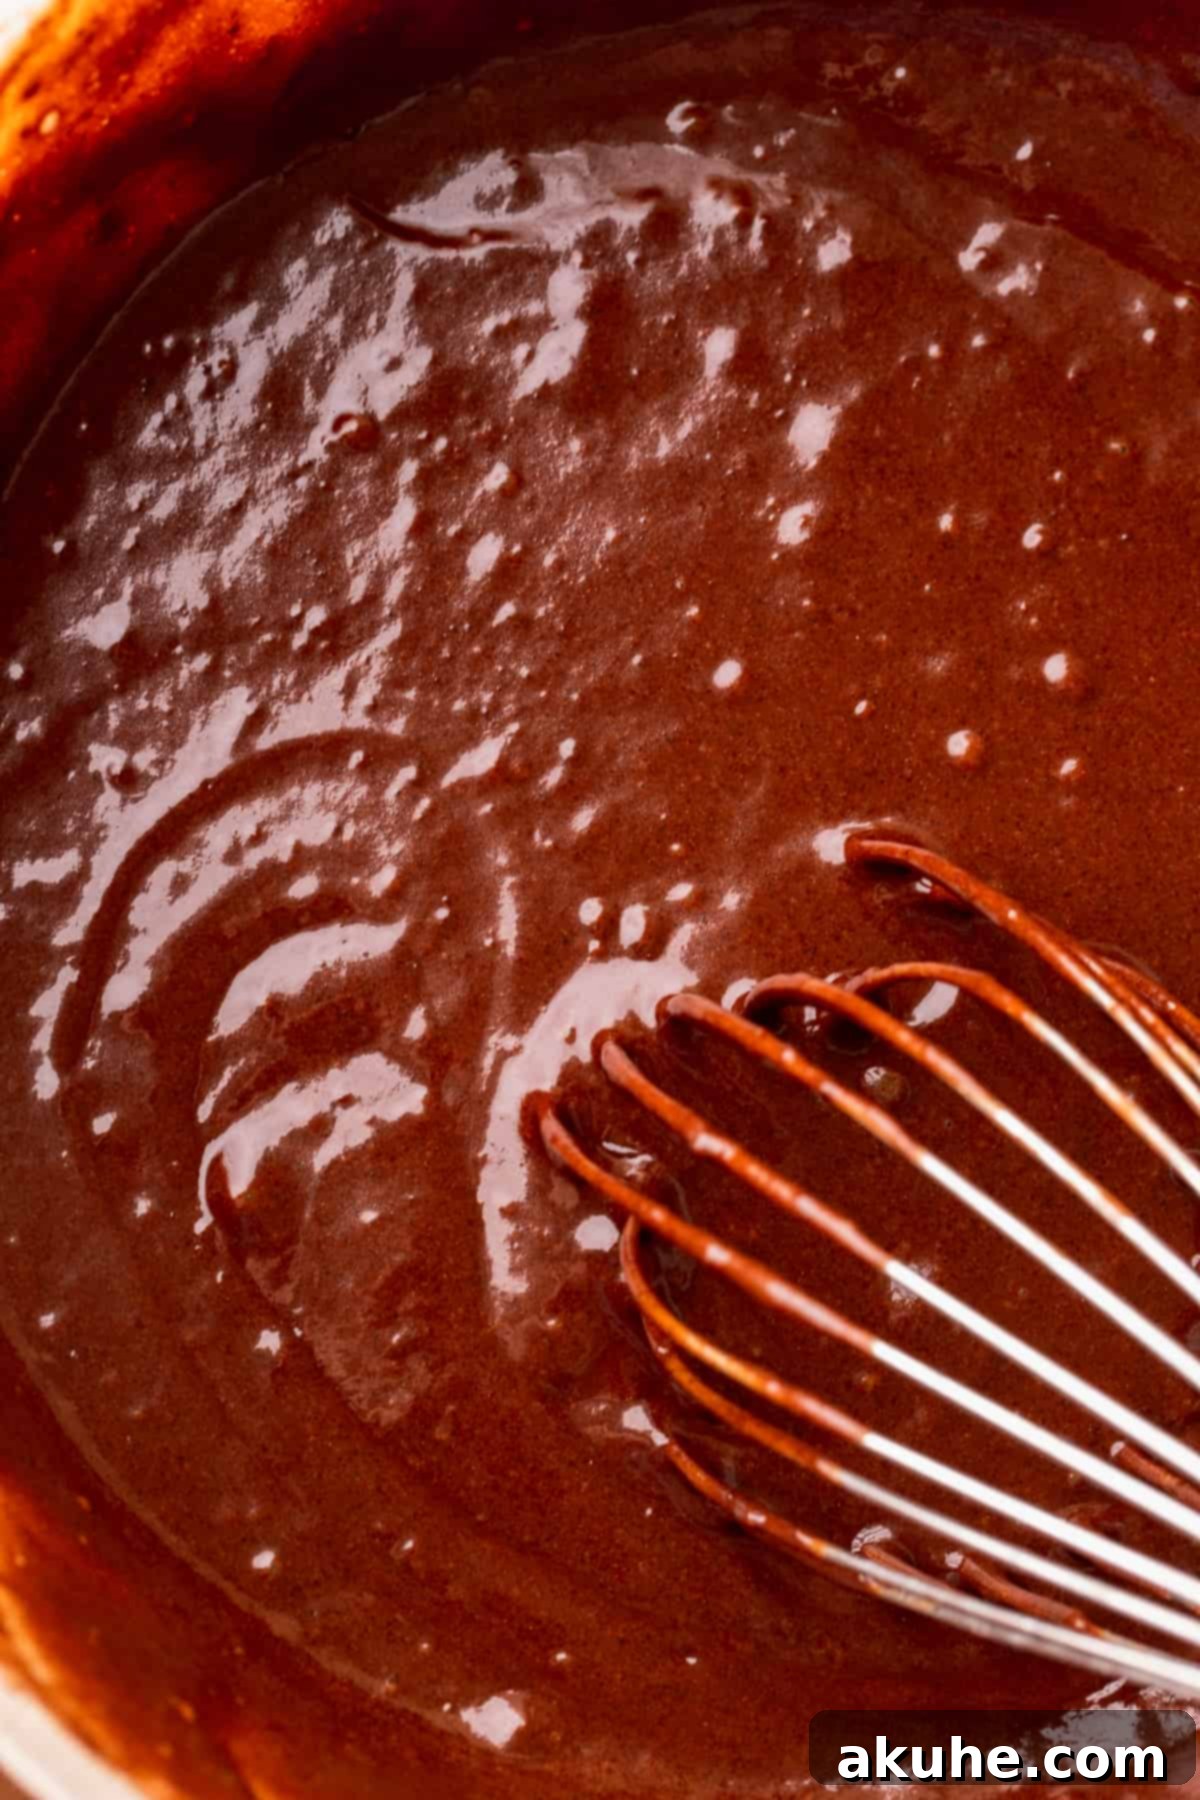
STEP 5: Bake to Perfection. Pour the prepared cake batter evenly into your greased and parchment-lined 9×9 inch square pan. Transfer the pan to the preheated oven and bake for approximately 25-30 minutes. The cake is done when a wooden toothpick or cake tester inserted into the center comes out clean or with only a few moist crumbs attached. Avoid opening the oven door too frequently during baking to prevent the cake from sinking.
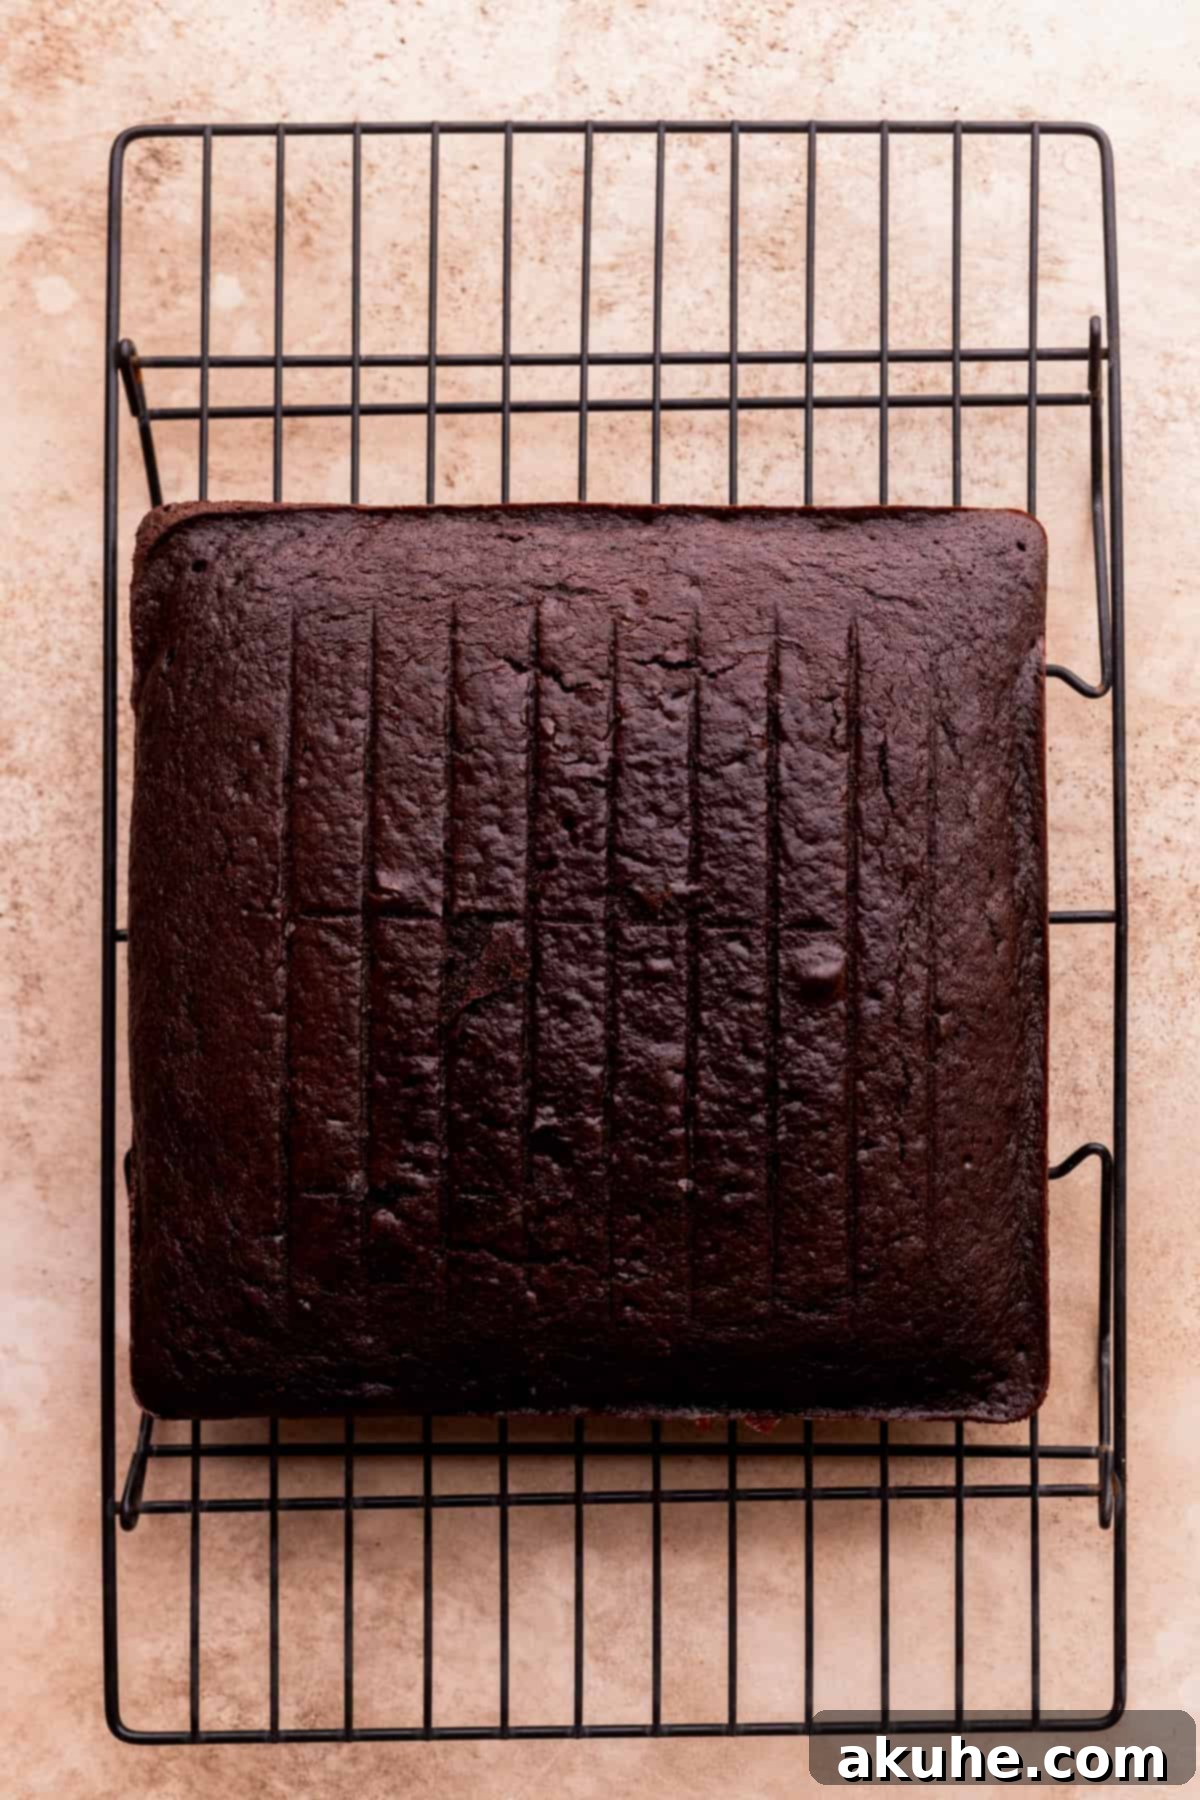
STEP 6: Cool Properly. Once baked, remove the cake from the oven. Allow the cake to cool in the pan for about 10 minutes. This resting period allows the cake to firm up slightly, making it easier to handle. After 10 minutes, carefully use the parchment paper overhang as handles to lift the cake out of the pan and transfer it to a wire cooling rack. It is absolutely essential for the cake to cool completely to room temperature before you even think about frosting it. Attempting to frost a warm cake will result in melted, messy ganache.
STEP 7: Prepare the Silky Ganache. While the cake cools, begin preparing your chocolate ganache. Place the semi-sweet chocolate chips in a heatproof bowl. In a small saucepan, gently heat the heavy cream over low to medium heat until it is steaming and small bubbles start to form around the edges, but do not let it boil vigorously. As soon as it’s steaming, remove it from the heat.
Pour the hot heavy cream directly over the chocolate chips in the heatproof bowl. Do not stir immediately; let it sit undisturbed for 2 minutes. This allows the hot cream to melt the chocolate chips thoroughly. After 2 minutes, gently mix the cream and chocolate with a rubber spatula, starting from the center and working your way outwards, until the mixture is smooth, glossy, and fully combined. If any small chocolate chunks remain, you can microwave the ganache in short 10-15 second bursts, stirring well after each burst, until completely smooth.
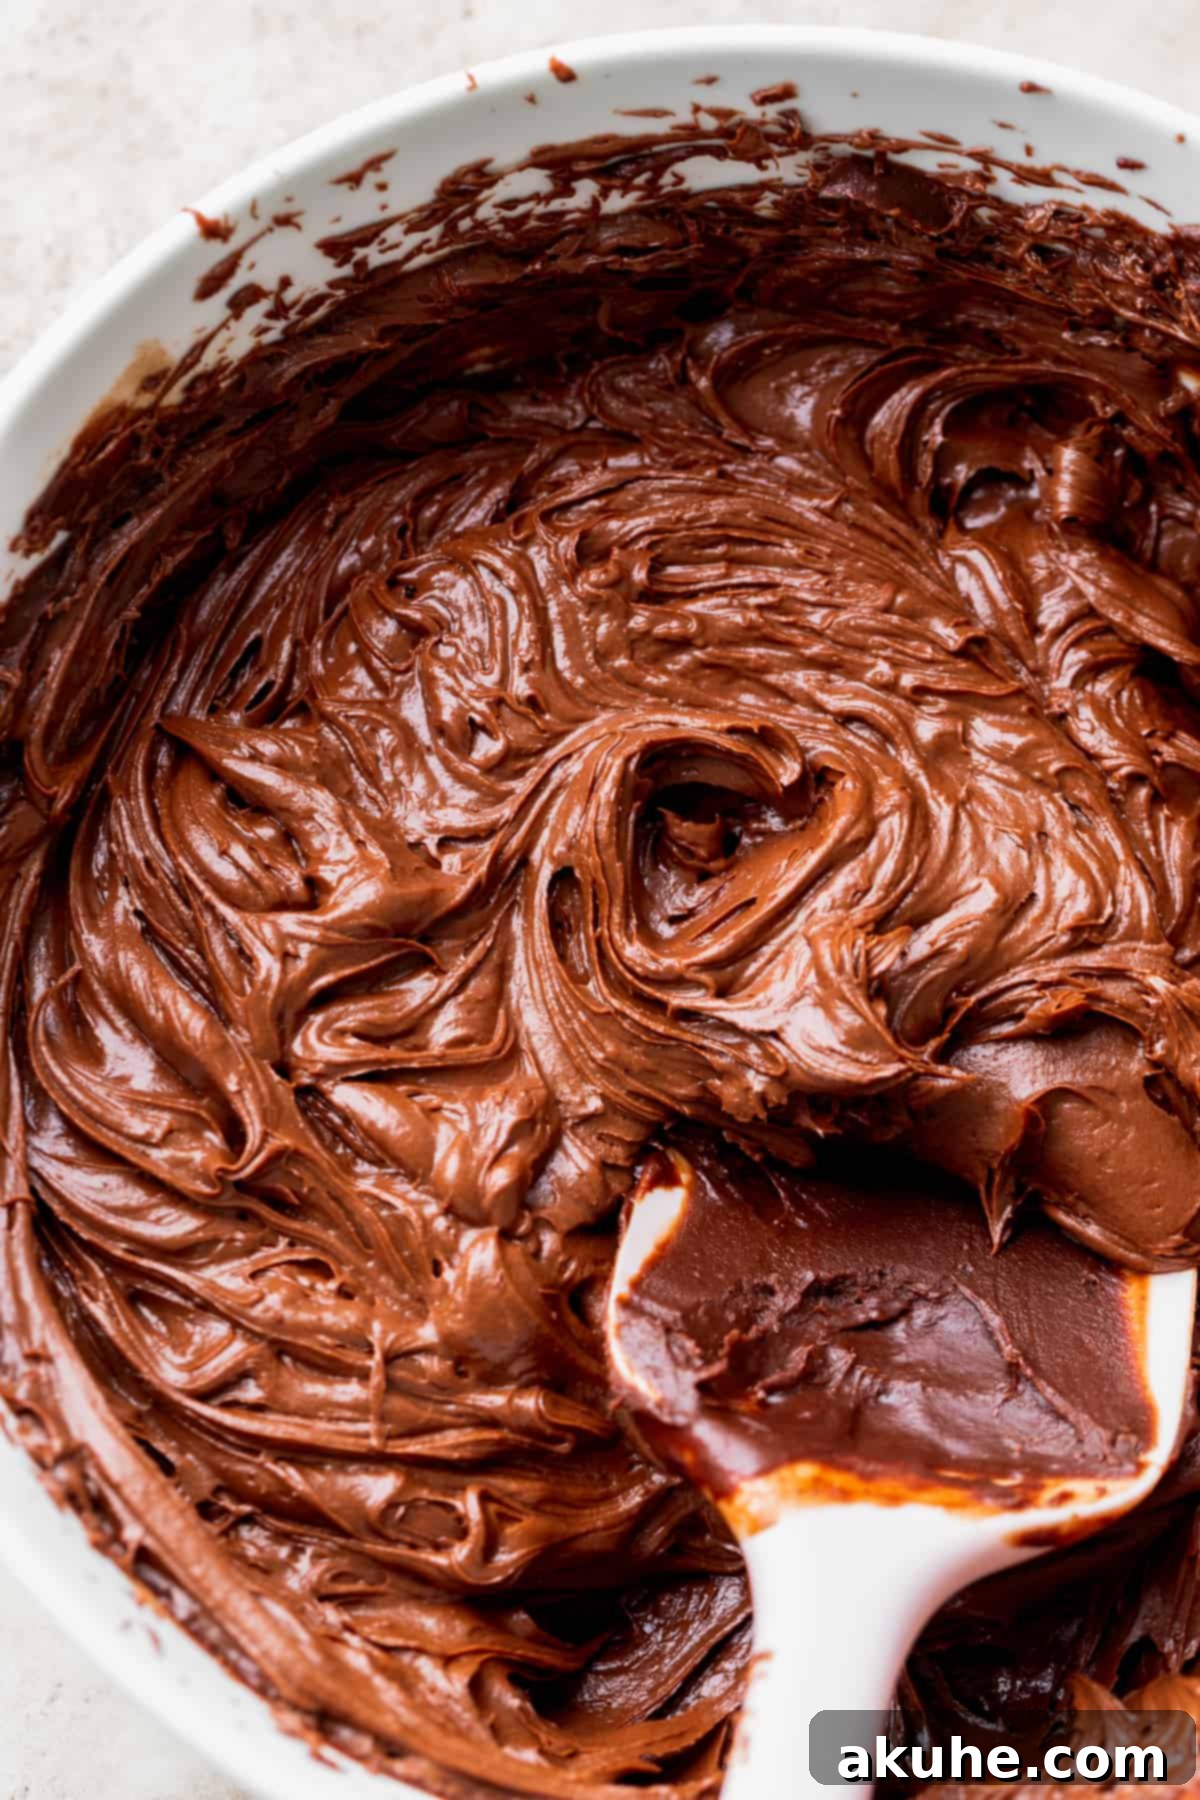
STEP 8: Whip the Ganache to Fluffy Perfection. Allow the prepared ganache to cool at room temperature for approximately 1 hour. During this cooling period, stir the ganache every 20 minutes to ensure even cooling and to prevent a skin from forming. The ganache should gradually thicken to a pudding-like consistency – thick, yet still creamy and pourable. Once it reaches this stage, use a hand mixer (or stand mixer with a whisk attachment) to beat the ganache on medium-high speed. Continue beating for several minutes until the ganache lightens in color, becomes fluffy, and achieves a spreadable frosting consistency. Be careful not to over-whip, as it can become grainy.
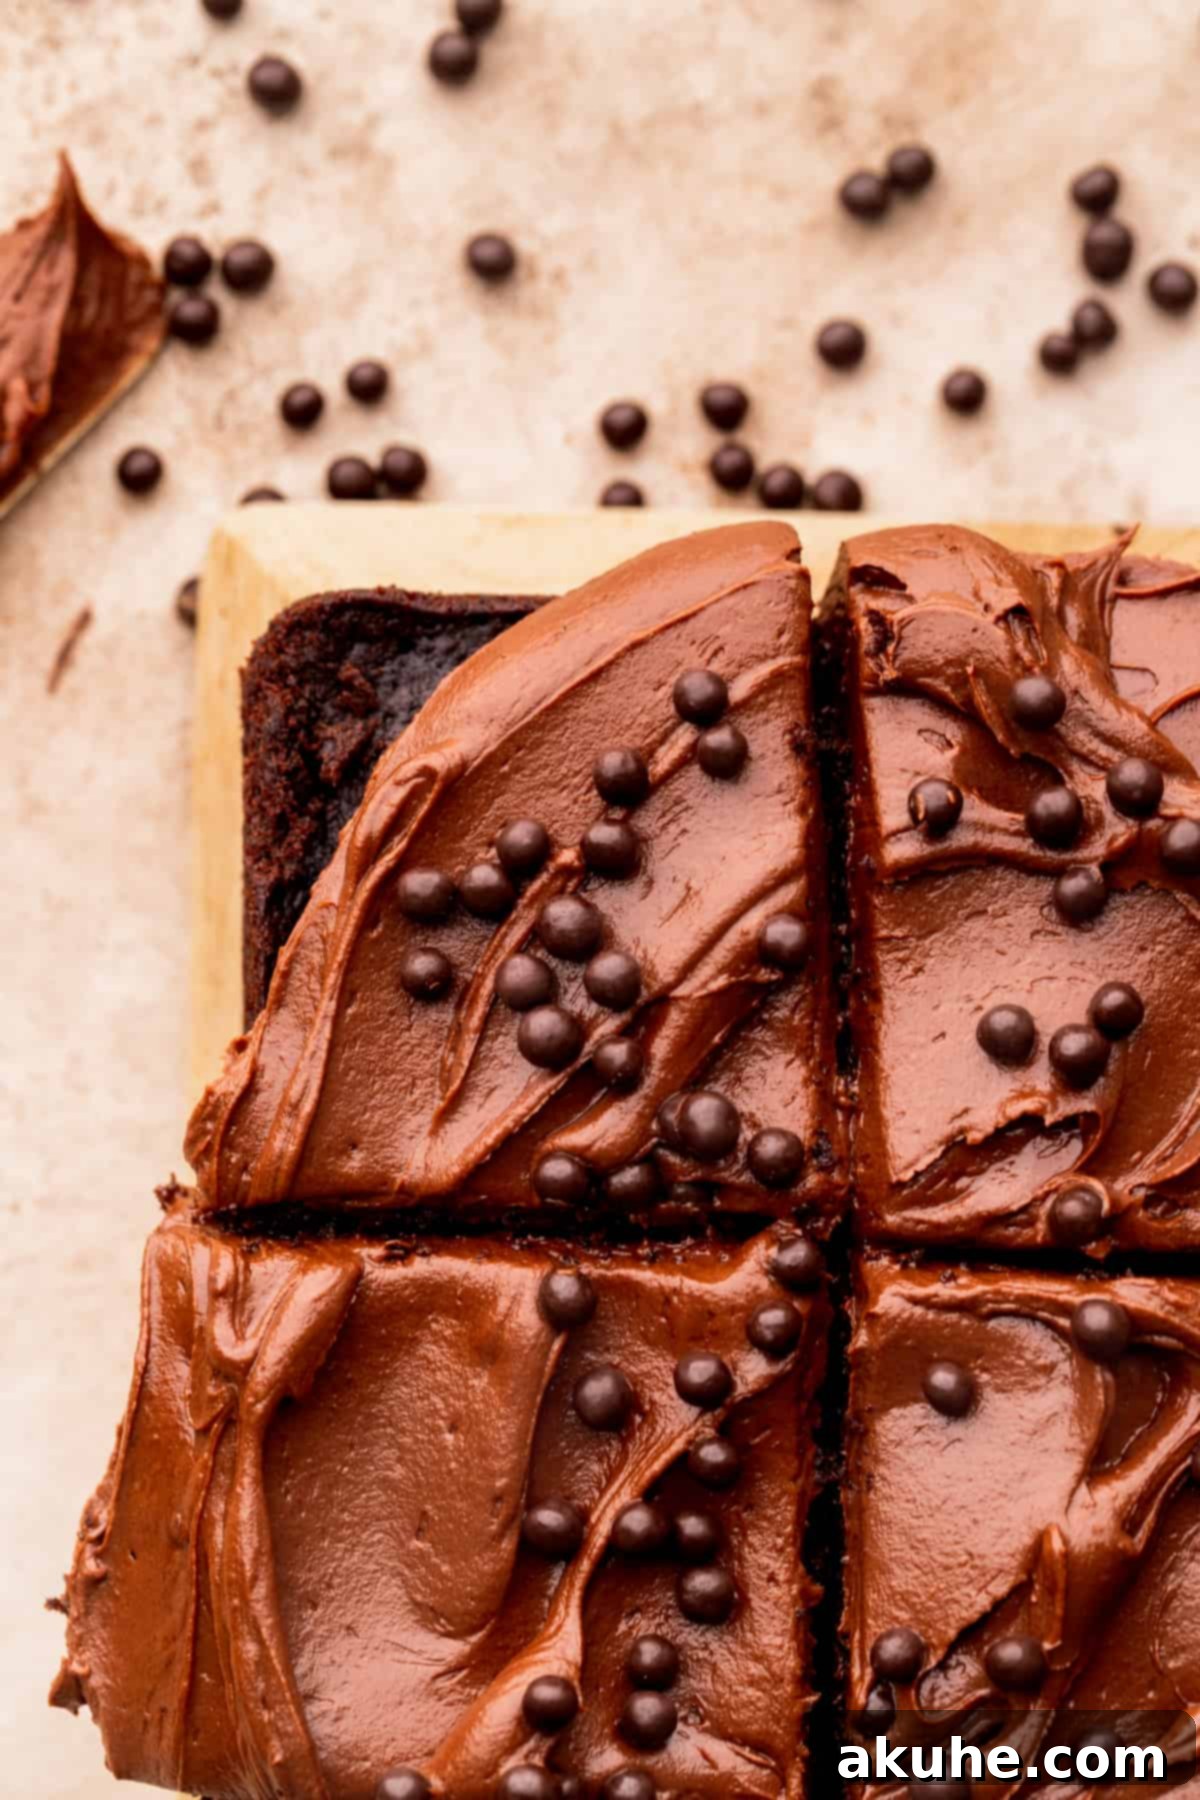
Once your cake is completely cool and your ganache is beautifully whipped, gently frost the top of the cake with the luscious chocolate ganache using an offset spatula or knife. Slice, serve, and savor every magnificent bite of your homemade chocolate ganache cake!
Expert Baking Tips for a Flawless Chocolate Ganache Cake
Achieve professional-level results with these essential baking tips and tricks:
- Accurate Flour Measurement is Key: Improper flour measurement is a common culprit for dry cakes. Always spoon the all-purpose flour into your measuring cup, then level it off with the straight edge of a knife. Never scoop directly from the bag, as this compacts the flour, adding too much to your recipe and leading to a dense, dry cake. For ultimate precision, use a kitchen scale to measure flour by weight.
- Effortless Cake Removal: To ensure your cake slides out of the pan beautifully every time, proper pan preparation is paramount. First, generously spray the baking pan with nonstick baking spray. Then, line the bottom of the pan with parchment paper. Crucially, allow the parchment paper to extend beyond two opposite sides of the pan, creating handy “handles.” This way, after baking and a short cooling period, you can easily lift the entire cake out of the pan without any fuss or damage.
- High-Altitude Baking Adjustments: If you’re baking at high altitudes (typically above 3,500 feet), slight adjustments are necessary. The lower atmospheric pressure causes baked goods to rise faster, which can sometimes lead to structural collapse or dryness. To counteract this, add an extra 1-2 tablespoons of all-purpose flour to your cake batter. This additional flour provides more structure and helps maintain the cake’s integrity.
- The Magic of an Offset Spatula: When it comes to frosting, an offset spatula is your best friend. Its angled blade allows you to spread the chocolate ganache frosting smoothly and evenly across the top and sides of the cake without your knuckles dragging through the frosting. This results in a much cleaner, more professional finish.
- Don’t Overmix the Batter: Once you combine the wet and dry ingredients, mix them until just combined. Overmixing develops gluten in the flour, which can lead to a tough, rubbery, and dry cake texture. A few small lumps are perfectly fine and will bake out.
- Patience with Cooling: It cannot be stressed enough – allow your cake to cool completely before attempting to frost it. A warm cake will melt your beautifully whipped ganache, turning your elegant frosting into a soupy mess. Patience is a virtue in baking!
- Use Room Temperature Ingredients: Ensure all your dairy ingredients (eggs, buttermilk) are at room temperature. This helps them emulsify better with other ingredients, creating a smoother, more homogenous batter and a finer cake crumb. Plan ahead by taking them out of the refrigerator 1-2 hours before you start baking.
Frequently Asked Questions (FAQ)
Absolutely! Preparing the cake layer in advance is a fantastic time-saver. Once the cake has fully cooled to room temperature, wrap it tightly in several layers of plastic wrap, ensuring no air can get in. You can then store it at room temperature for up to 2 days, or freeze it for up to 30 days. If frozen, transfer it to the refrigerator the night before, then let it sit at room temperature for about an hour before you plan to decorate and serve.
Yes, you can adapt the recipe to different pan sizes with slight adjustments. An 8×8 inch square pan will yield a slightly thicker cake, which may require an additional 5-10 minutes of baking time. A 9-inch round pan will also work well, resulting in a cake that is slightly thicker than the original 9-inch square pan and possibly needing a few extra minutes in the oven. Always perform the toothpick test to ensure doneness regardless of pan size.
Indeed, this versatile recipe translates beautifully into delicious chocolate ganache cupcakes! This recipe will yield approximately 12 standard-sized cupcakes. Line a 12-cup muffin tin with paper liners and fill each about two-thirds full with batter. The baking time will be significantly shorter, typically ranging from 18-22 minutes. Again, check for doneness with a toothpick inserted into the center of a cupcake.
While butter can be used, oil is specifically chosen for this recipe to ensure maximum moisture and tenderness in the cake, giving it a soft, velvety crumb that lasts longer. Butter tends to produce a cake with a slightly firmer texture and a richer flavor, but it may not be as moist as an oil-based cake. If you opt for butter, melt it and let it cool slightly before incorporating it into the wet ingredients.
A split ganache often looks greasy or lumpy, indicating the emulsion has broken. Don’t despair! You can usually fix it by slowly whisking in 1-2 tablespoons of warm milk (or room temperature heavy cream) until it comes back together and becomes smooth. Alternatively, if it’s too thick, gently warm it slightly over a double boiler or in short microwave bursts, then whisk vigorously until smooth again.
This cake is stunning on its own, but you can enhance its appearance with simple decorations. Consider sprinkling a dusting of cocoa powder or powdered sugar, adding fresh berries like raspberries or strawberries for a pop of color and tartness, or even some chocolate shavings or curls. A few edible gold or silver sprinkles can also add a festive touch for special occasions.
Storing and Freezing Your Chocolate Ganache Cake
To keep your exquisite chocolate ganache cake fresh and delicious, proper storage is essential. Store any leftover cake in an airtight container, such as a cake carrier, at room temperature for up to 2 days, or in the refrigerator for up to 5 days. The airtight seal prevents the cake from drying out and helps maintain its moist texture and rich flavor.
Freezing Instructions
For longer preservation, this chocolate ganache cake freezes beautifully. To freeze individual slices, place them on a baking sheet and freeze until firm (about 1-2 hours). Once firm, wrap each slice tightly in plastic wrap, then place them in an airtight freezer-safe container or a heavy-duty freezer bag. Frozen slices can be stored for up to 30 days. When ready to enjoy, simply thaw slices in the refrigerator overnight or at room temperature for a few hours.
Other Irresistible Cake Recipes To Try
If you loved this recipe, explore more delightful cake creations that are sure to satisfy your sweet tooth and impress your guests:
- Lemon Blueberry Cake
- Classic Vanilla Bean Cake
- Red Velvet Cake with Cream Cheese Frosting
- Carrot Cake with Brown Butter Frosting
We hope you adore this chocolate ganache cake as much as we do! Please remember to leave a STAR REVIEW if you loved this recipe. Your feedback is incredibly valuable! Don’t forget to tag me on Instagram @stephaniesweettreats when you make it. For more delicious baking ideas and inspiration, be sure to follow me on Pinterest.
Chocolate Ganache Cake
This chocolate ganache cake is a square, easy-to-make moist chocolate cake. It is topped with a rich chocolate ganache frosting.
Pin Recipe
Leave a Review
1 hr
25 mins
15 mins
1 hr 40 mins
16 slices
Ingredients
Chocolate Cake
- 1 1/4 cup All-purpose flour
- 3/4 cup White granulated sugar
- 1/2 cup Unsweetened cocoa powder
- 1/2 TBSP Baking powder
- 1/4 tsp Baking soda
- 1/2 tsp Salt
- 1/2 cup Oil (canola or vegetable oil)
- 1 tsp Pure vanilla extract
- 2 Large eggs (room temperature)
- 1/2 cup Buttermilk (room temperature)
- 1/2 cup Steaming hot water (or hot coffee)
Chocolate Ganache Frosting
- 2 cups Semi-sweet chocolate chips
- 1 1/4 cups Heavy cream
Instructions
Chocolate Cake
- Preheat the oven to 350°F (175°C). Spray a 9×9-inch square pan with nonstick baking spray. Place parchment paper on the bottom, allowing it to overhang on two sides, and spray again. Set aside.
- In a large bowl, sift and mix the all-purpose flour, white granulated sugar, unsweetened cocoa powder, baking powder, baking soda, and salt until well combined.
- Heat the water on the stovetop until steaming. In a separate mixing bowl, combine the oil, vanilla extract, eggs, and buttermilk. Then, slowly whisk in the hot water, ensuring not to add it too quickly to avoid cooking the eggs.
- Pour the wet ingredients into the dry ingredients. Whisk until just combined, being careful not to overmix. Minimal lumps are acceptable.
- Pour the batter into the prepared pan. Bake for 25-30 minutes, or until a toothpick inserted into the center comes out clean.
- Let the cake cool in the pan for 10 minutes. Then, use the parchment paper handles to transfer it to a wire cooling rack. Cool completely before decorating.
Chocolate Ganache
- In a heatproof bowl, add the semi-sweet chocolate chips. Heat the heavy cream in a medium saucepan over medium-low heat until steaming.
- Pour the hot cream over the chocolate chips and let it sit undisturbed for 2 minutes. Then, mix with a rubber spatula until smooth and combined. If any chocolate chunks remain, microwave in short intervals, stirring after each, until melted.
- Let the ganache cool on the counter for about 1 hour, stirring every 20 minutes, until it reaches a pudding-like consistency (thick yet creamy).
- Using a hand mixer, beat the cooled ganache until it becomes light, fluffy, and spreadable.
- Generously frost the top of the completely cooled cake with the whipped chocolate ganache and serve.
Notes
Flour: Ensure flour is spooned and leveled or use a kitchen scale for accuracy. Compacted flour can lead to a dry cake.
High-Altitude Baking: For altitudes above 3,500 feet, add an extra 1-2 tablespoons of all-purpose flour to the cake batter for improved structure.
Room Temperature Ingredients: Pull out dairy ingredients (eggs, buttermilk) at least 2 hours before baking to ensure they are at room temperature for optimal mixing and cake texture.
Carbohydrates: 31g,
Protein: 4g,
Fat: 23g,
Saturated Fat: 10g,
Polyunsaturated Fat: 3g,
Monounsaturated Fat: 9g,
Trans Fat: 0.04g,
Cholesterol: 23mg,
Sodium: 146mg,
Potassium: 207mg,
Fiber: 3g,
Sugar: 19g,
Vitamin A: 297IU,
Vitamin C: 0.1mg,
Calcium: 62mg,
Iron: 2mg
Did you make this recipe?
Please leave a star rating and review below!
