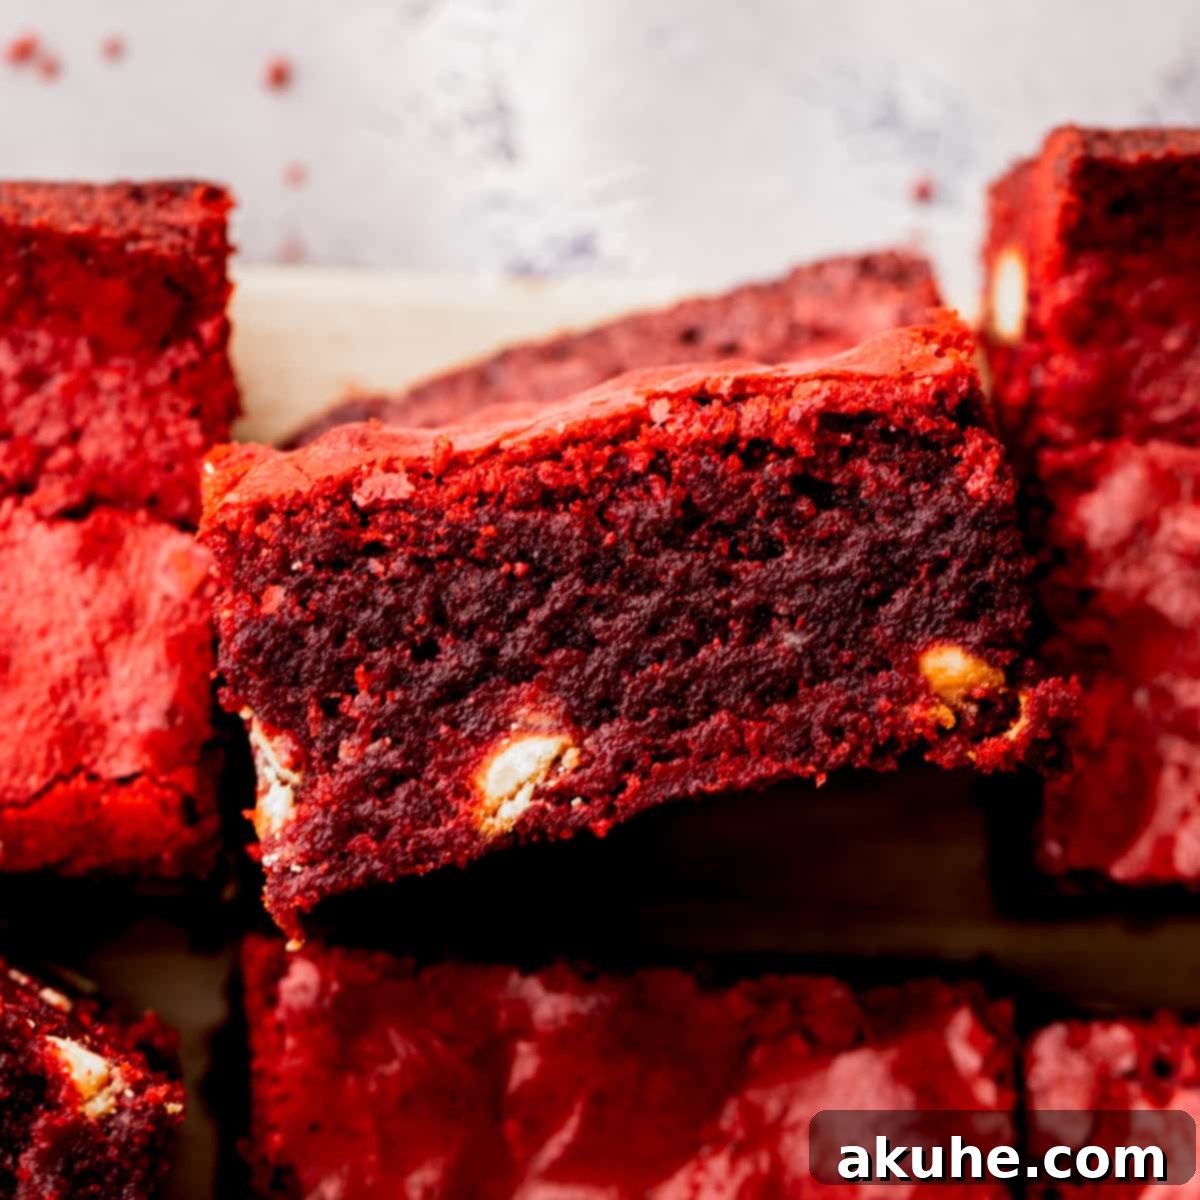
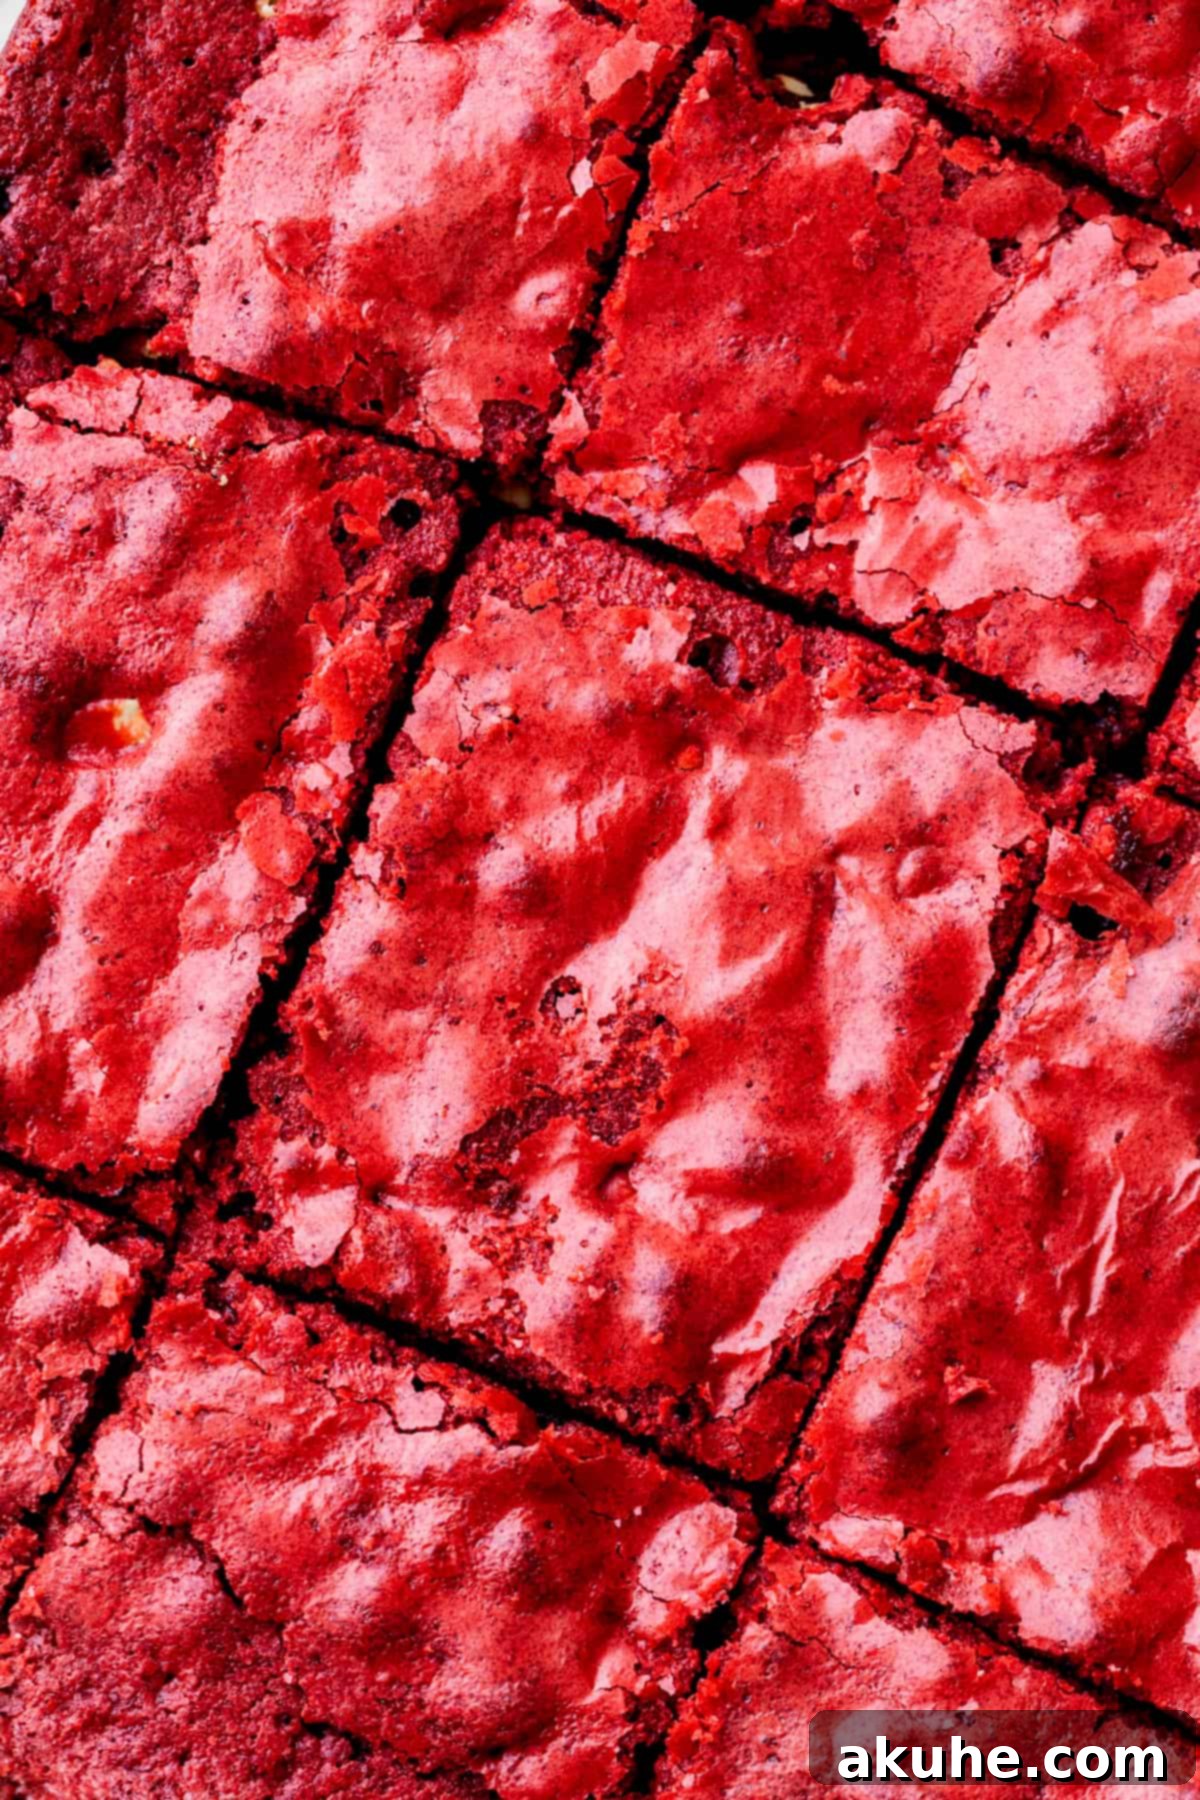
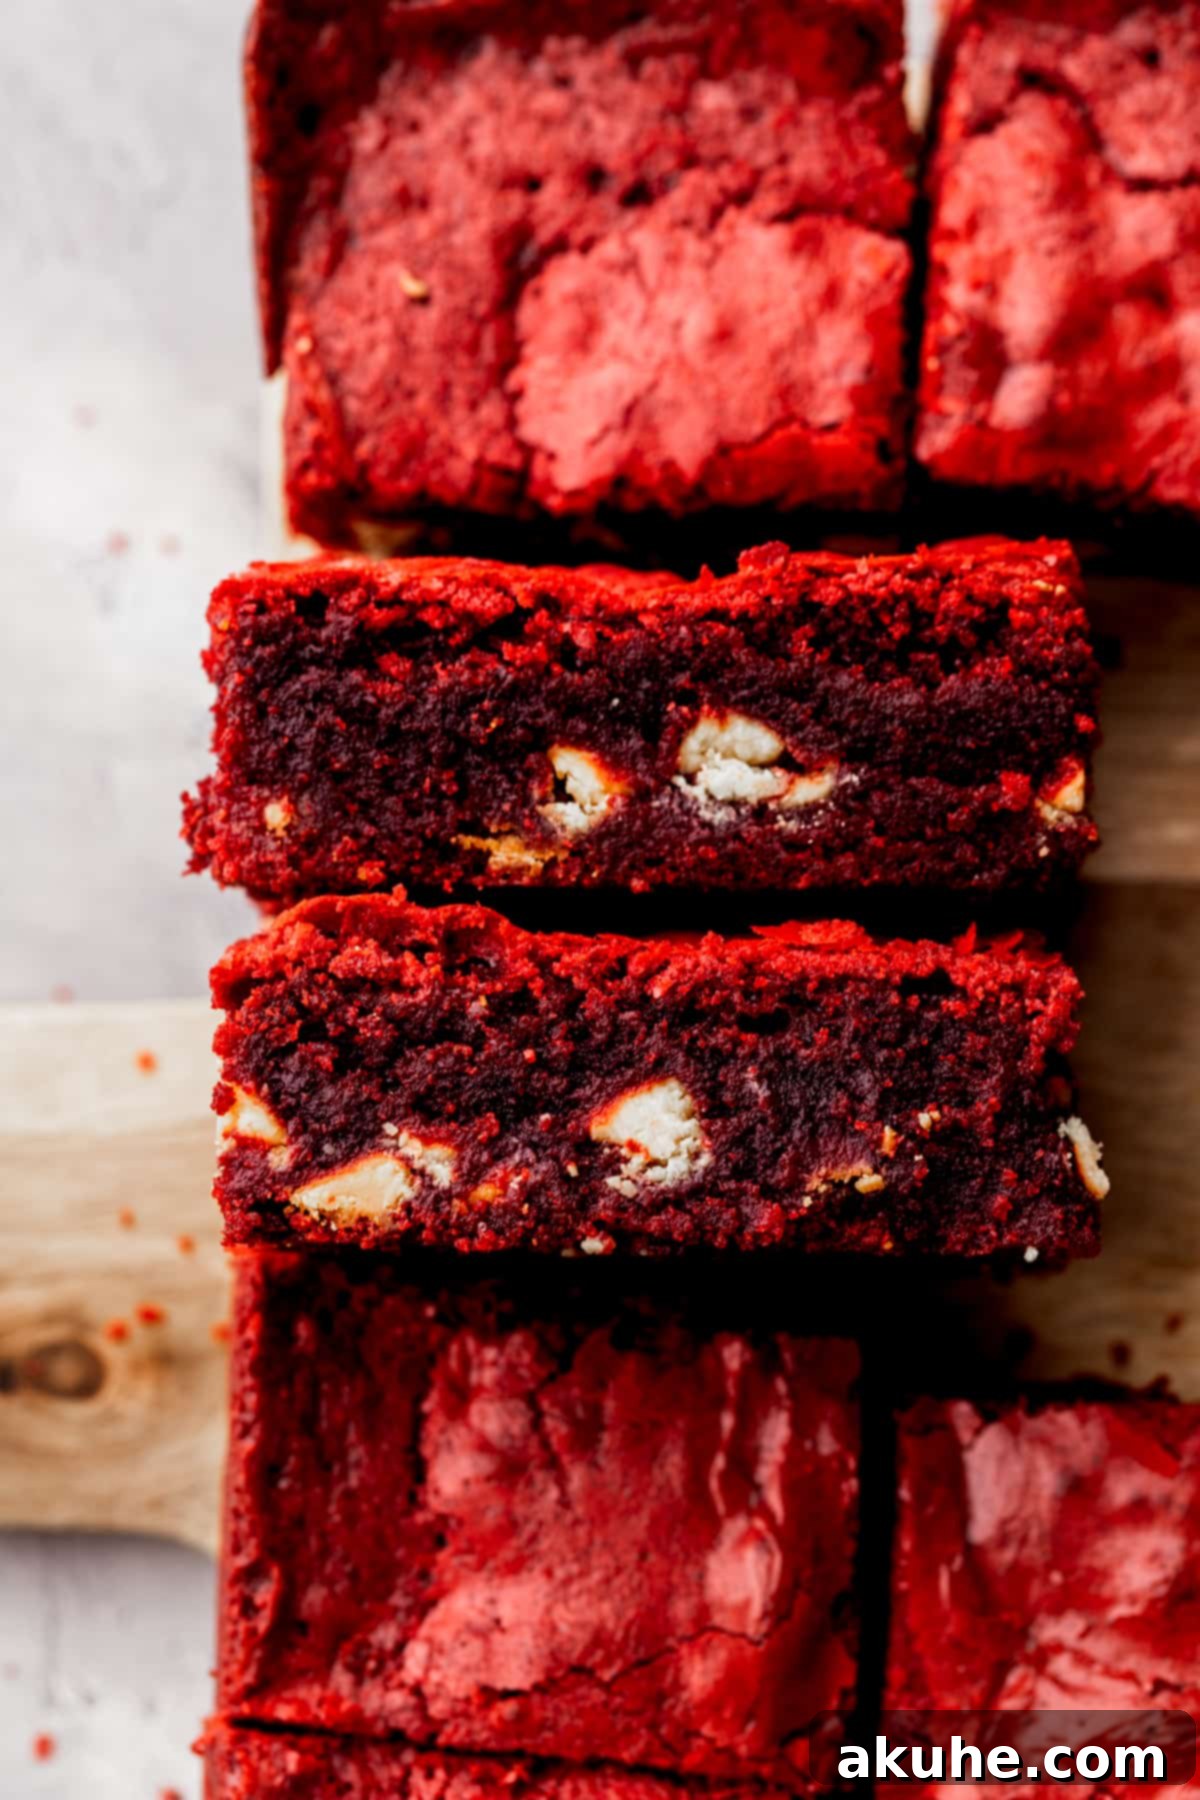
Indulge in the ultimate homemade treat with these super fudgy Red Velvet Brownies, boasting delightful crinkle tops and studded with luscious white chocolate chips. Far from your average chocolate brownie, these beauties offer a distinct red velvet chocolate flavor coupled with a captivating vibrant red hue, signaling that you’re in for something truly special. Perfectly balancing richness and chewiness, these brownies are destined to become a beloved staple in your baking repertoire.
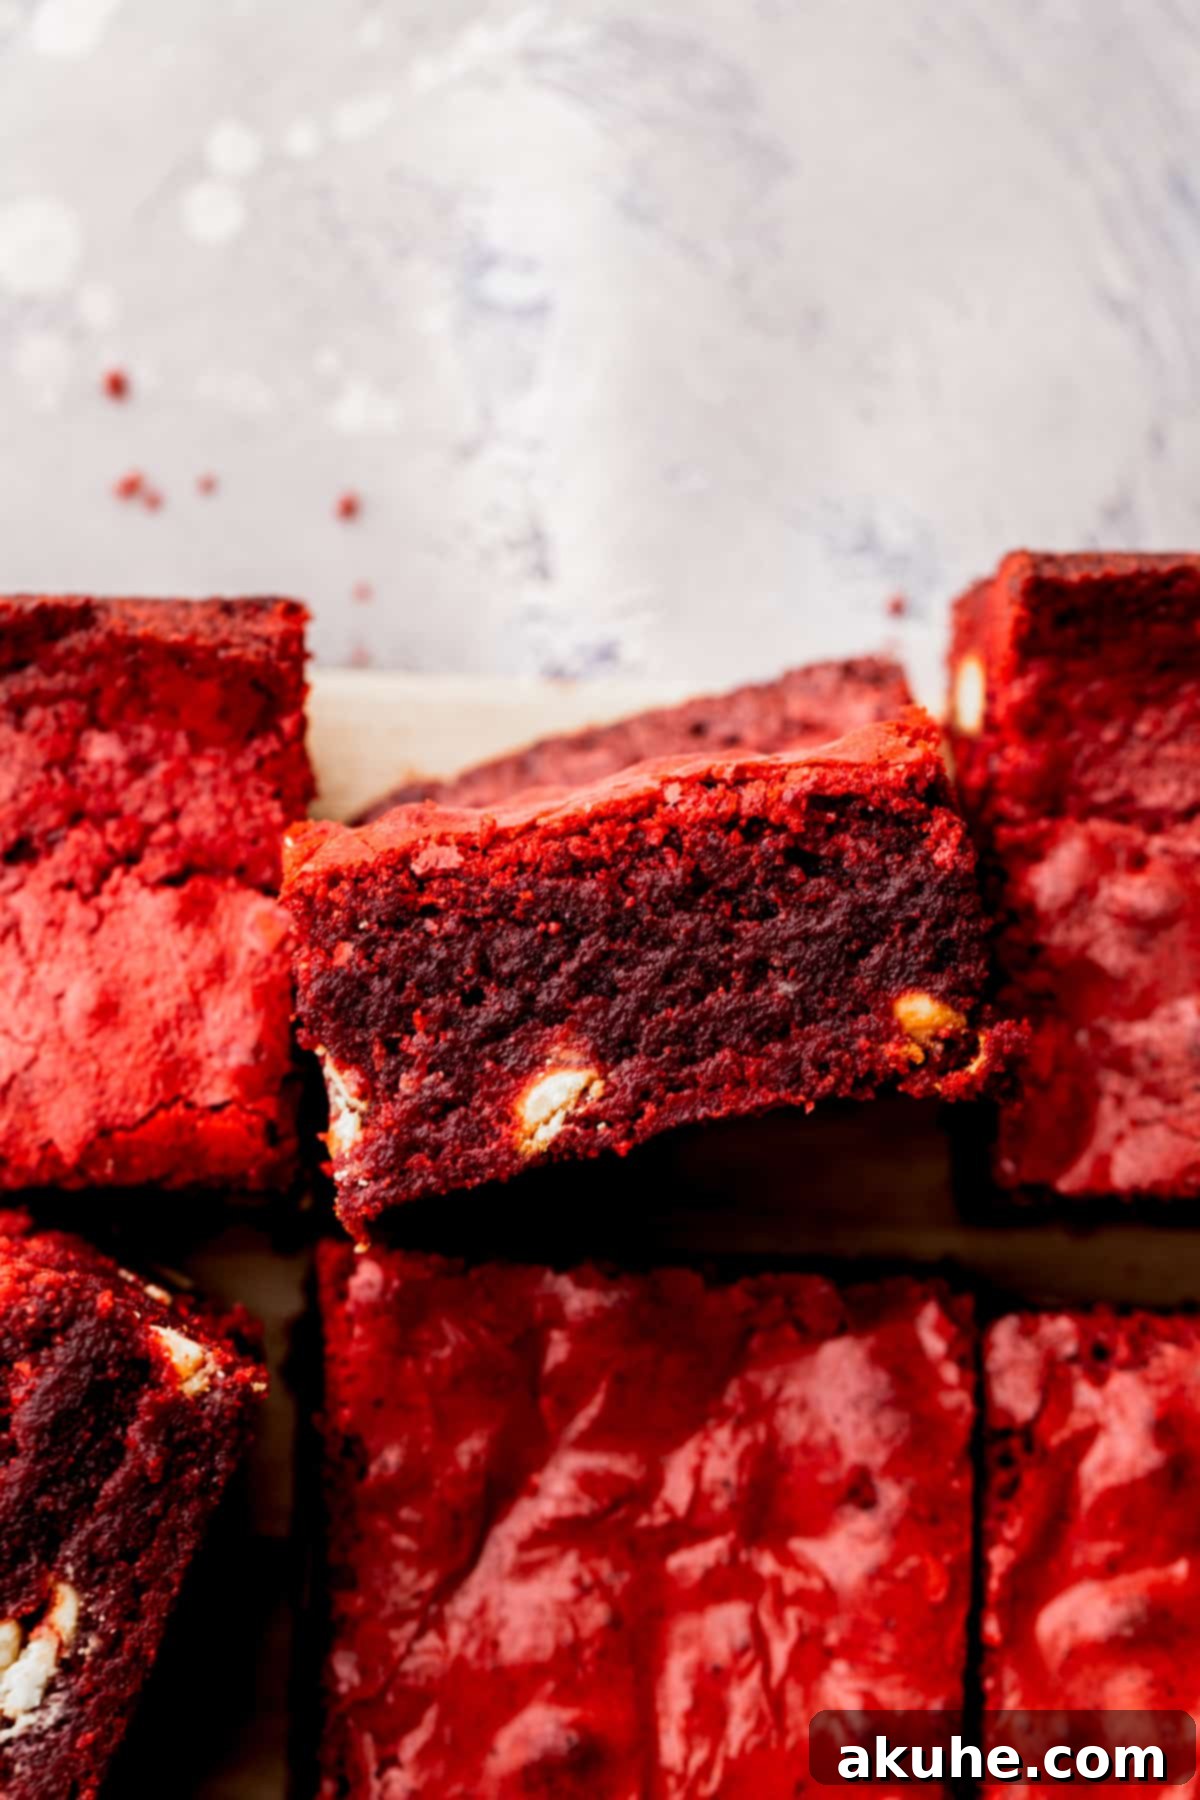
Crafting the best Red Velvet Brownies means achieving that quintessential red velvet flavor profile—a subtle blend of chocolate with a hint of tang—and a texture that’s impossibly fudgy and moist. Imagine ending a cozy evening or celebrating a special occasion like Valentine’s Day with these exquisite homemade brownies. They’re surprisingly easy to make, nearly as straightforward as using a boxed mix, yet deliver an unparalleled gourmet taste and texture. This recipe offers a fantastic way for novice bakers to create an impressive romantic dessert, or for seasoned bakers to enjoy a decadent treat without the extensive effort of a full-sized red velvet cake.
If you’re a fan of indulgent brownies, be sure to explore other delectable recipes such as Turtle Brownies, Oreo Brownies, and Snickers Brownies for more sweet inspiration.
Why This Red Velvet Brownie Recipe Stands Out
This easy Red Velvet Brownie recipe isn’t just another dessert; it’s a carefully crafted experience designed to deliver maximum flavor and satisfaction with minimal fuss. Here’s why these brownies are simply the best:
- Authentic Red Velvet Flavor Profile: Experience the classic, irresistible taste of red velvet. This unique flavor is a delightful spin on traditional chocolate, featuring a slight cocoa bitterness perfectly balanced by sweetness, often with a hint of buttermilk-like tang (even without actual buttermilk in this specific brownie recipe, the combination creates a similar profile). Transformed into a rich, fudgy brownie, this flavor becomes even more intense and enjoyable, offering a sophisticated dessert experience that’s anything but ordinary.
- Irresistibly Fudgy Texture: If you adore brownies that are dense, moist, and delightfully gooey in the center, then these are for you. We steer clear of dry, cakey brownies, aiming for that melt-in-your-mouth, almost truffle-like consistency that defines a truly exceptional brownie. The careful balance of ingredients and precise baking instructions ensures every bite is a dreamily fudgy delight with those signature crinkly tops.
- Effortless Baking Process: Don’t let the gourmet results intimidate you; this is an easy brownie recipe! Designed for simplicity, you’ll find the steps straightforward and manageable, making it perfect for both beginners and experienced bakers seeking a quick yet impressive dessert. Say goodbye to complicated techniques and hello to homemade perfection that will make you forget about boxed brownie mixes forever.
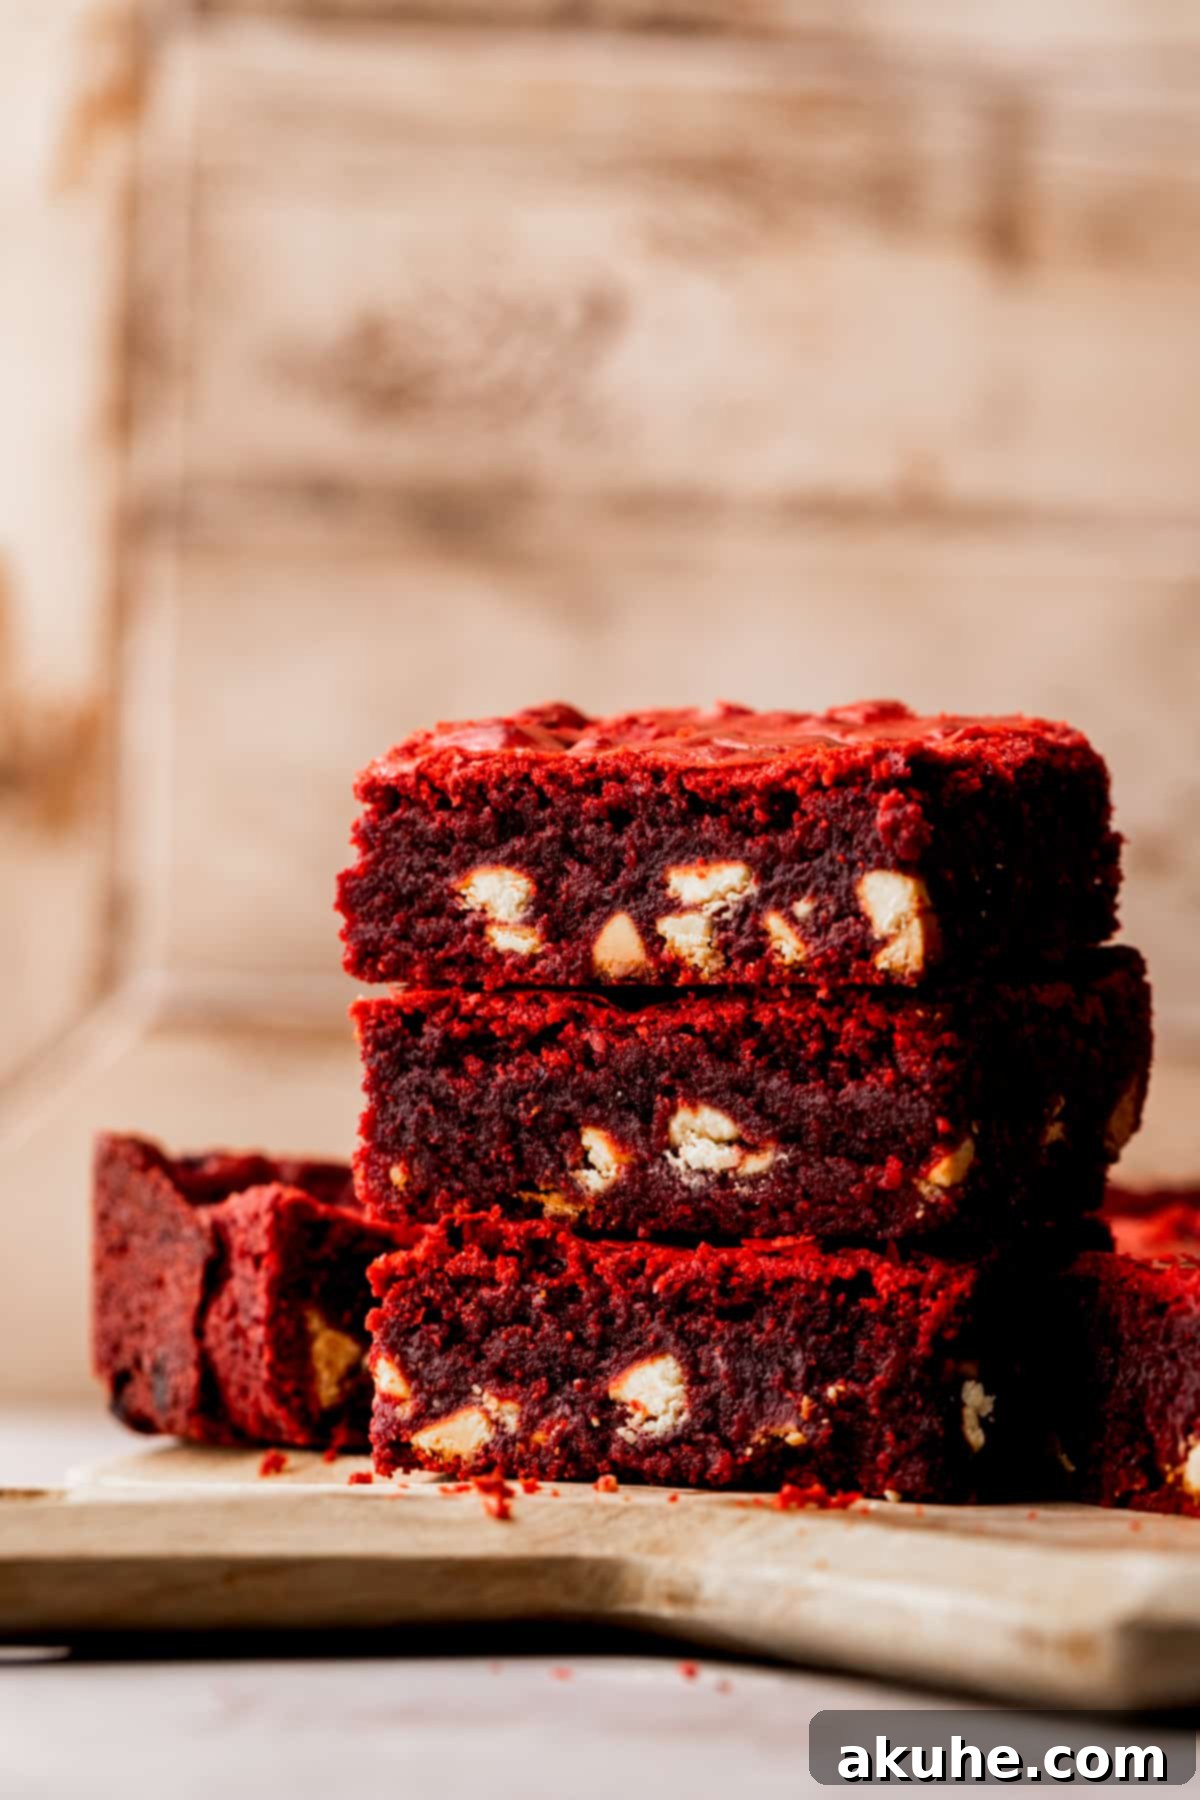
Essential Ingredient Notes for Perfect Red Velvet Brownies
Understanding the role of each ingredient is key to achieving flawless fudgy Red Velvet Brownies. Here are some detailed notes to guide you. For a comprehensive list of all ingredients and their exact measurements, please refer to the recipe card below.
- Extra Large Egg Yolk: This seemingly small addition makes a huge difference! The extra egg yolk contributes significantly to the brownies’ luxurious fudginess and richness by increasing the fat content without adding too much liquid, which could make them cakey. It helps create that dense, chewy texture everyone loves.
- Unsalted Butter (Melted and Slightly Cooled): Using unsalted butter allows you to control the overall saltiness of your brownies. It’s crucial that the butter is melted but then allowed to cool slightly before being incorporated into the batter. If the butter is too hot, it can prematurely cook the eggs, leading to a scrambled texture in your batter. Melt it ahead of time to ensure it reaches the ideal temperature.
- Neutral Oil (Canola or Vegetable Oil): Incorporating a neutral-flavored oil like canola or vegetable oil alongside butter provides consistent moisture and enhances the chewy texture of the brownies. While butter adds flavor, oil keeps the brownies moist and tender for longer, preventing them from drying out too quickly. Olive oil can also be used if it’s a very light, mild variety.
- Unsweetened Cocoa Powder (Dutch-Processed Recommended): For the most profound and rich chocolate flavor that complements the red velvet profile, I highly recommend using Dutch-processed cocoa powder. Dutch-processed cocoa has been treated to reduce its acidity, resulting in a darker color and a smoother, less bitter chocolate taste compared to natural cocoa. This enhances the depth of flavor in your brownies without making them overly sweet. This is the one I used.
- Cornstarch: A secret weapon for fudgy, chewy brownies! Cornstarch works by interfering with gluten development in the flour. Less gluten means a more tender crumb and a chewier bite, exactly what you want in a truly fudgy brownie. It’s a simple addition that significantly improves the texture.
- High-Quality Red Food Dye (Gel Preferred): To achieve that iconic, vibrant red color without affecting the taste or requiring excessive amounts, opt for a concentrated gel food coloring. Liquid food colorings are often diluted and may require larger quantities, which can introduce an unwanted flavor or thin out your batter. I personally recommend Americolor Super Red for its intense color payoff and neutral taste.
- White Chocolate Chips: These chips are a delightful addition, adding pockets of creamy sweetness that beautifully contrast with the rich red velvet base. They also provide an extra textural dimension, making each bite even more exciting.
- All-Purpose Flour: Ensure your flour is measured correctly. Using a kitchen scale for accuracy or employing the “spoon and level” method (spooning flour into a measuring cup and leveling it off) will prevent over-measurement, which can lead to dry, cakey brownies.
- Pure Vanilla Extract: A crucial flavor enhancer, vanilla extract deepens the chocolate notes and adds a warm, aromatic complexity to the red velvet flavor. Always use pure vanilla for the best results.
Step-by-Step Instructions: Crafting Your Fudgy Red Velvet Brownies
Get ready to bake these incredible homemade Red Velvet Brownies! You’ll need an electric mixer with a whisk attachment to ensure your batter comes together beautifully.
STEP 1: Prepare Your Baking Environment. Begin by preheating your oven to 350°F (175°C). Next, take a 9×9-inch (23×23 cm) square baking pan. Lightly spray the entire inside of the pan with a nonstick baking spray. For easy removal of your brownies, line the bottom and two opposing sides of the pan with parchment paper, creating a “sling.” This paper should extend up past the edges of the pan, providing handles to lift the cooled brownies. Once the parchment is in place, spray it again with nonstick baking spray to prevent sticking.
STEP 2: Combine Dry Ingredients. In a medium-sized mixing bowl, thoroughly sift together the all-purpose flour, unsweetened cocoa powder, cornstarch, and salt. Sifting helps to aerate the ingredients and remove any lumps, ensuring a smooth, uniform batter. Set this bowl aside.
STEP 3: Whip Eggs and Sugar to Perfection. In the bowl of your electric mixer fitted with the whisk attachment, combine the granulated sugar, large eggs, and the extra large egg yolk. Beat these ingredients on high speed for a full 5 minutes. During this time, the mixture will transform into a pale, thick, and airy consistency. This step is crucial for developing the crinkly top on your brownies.
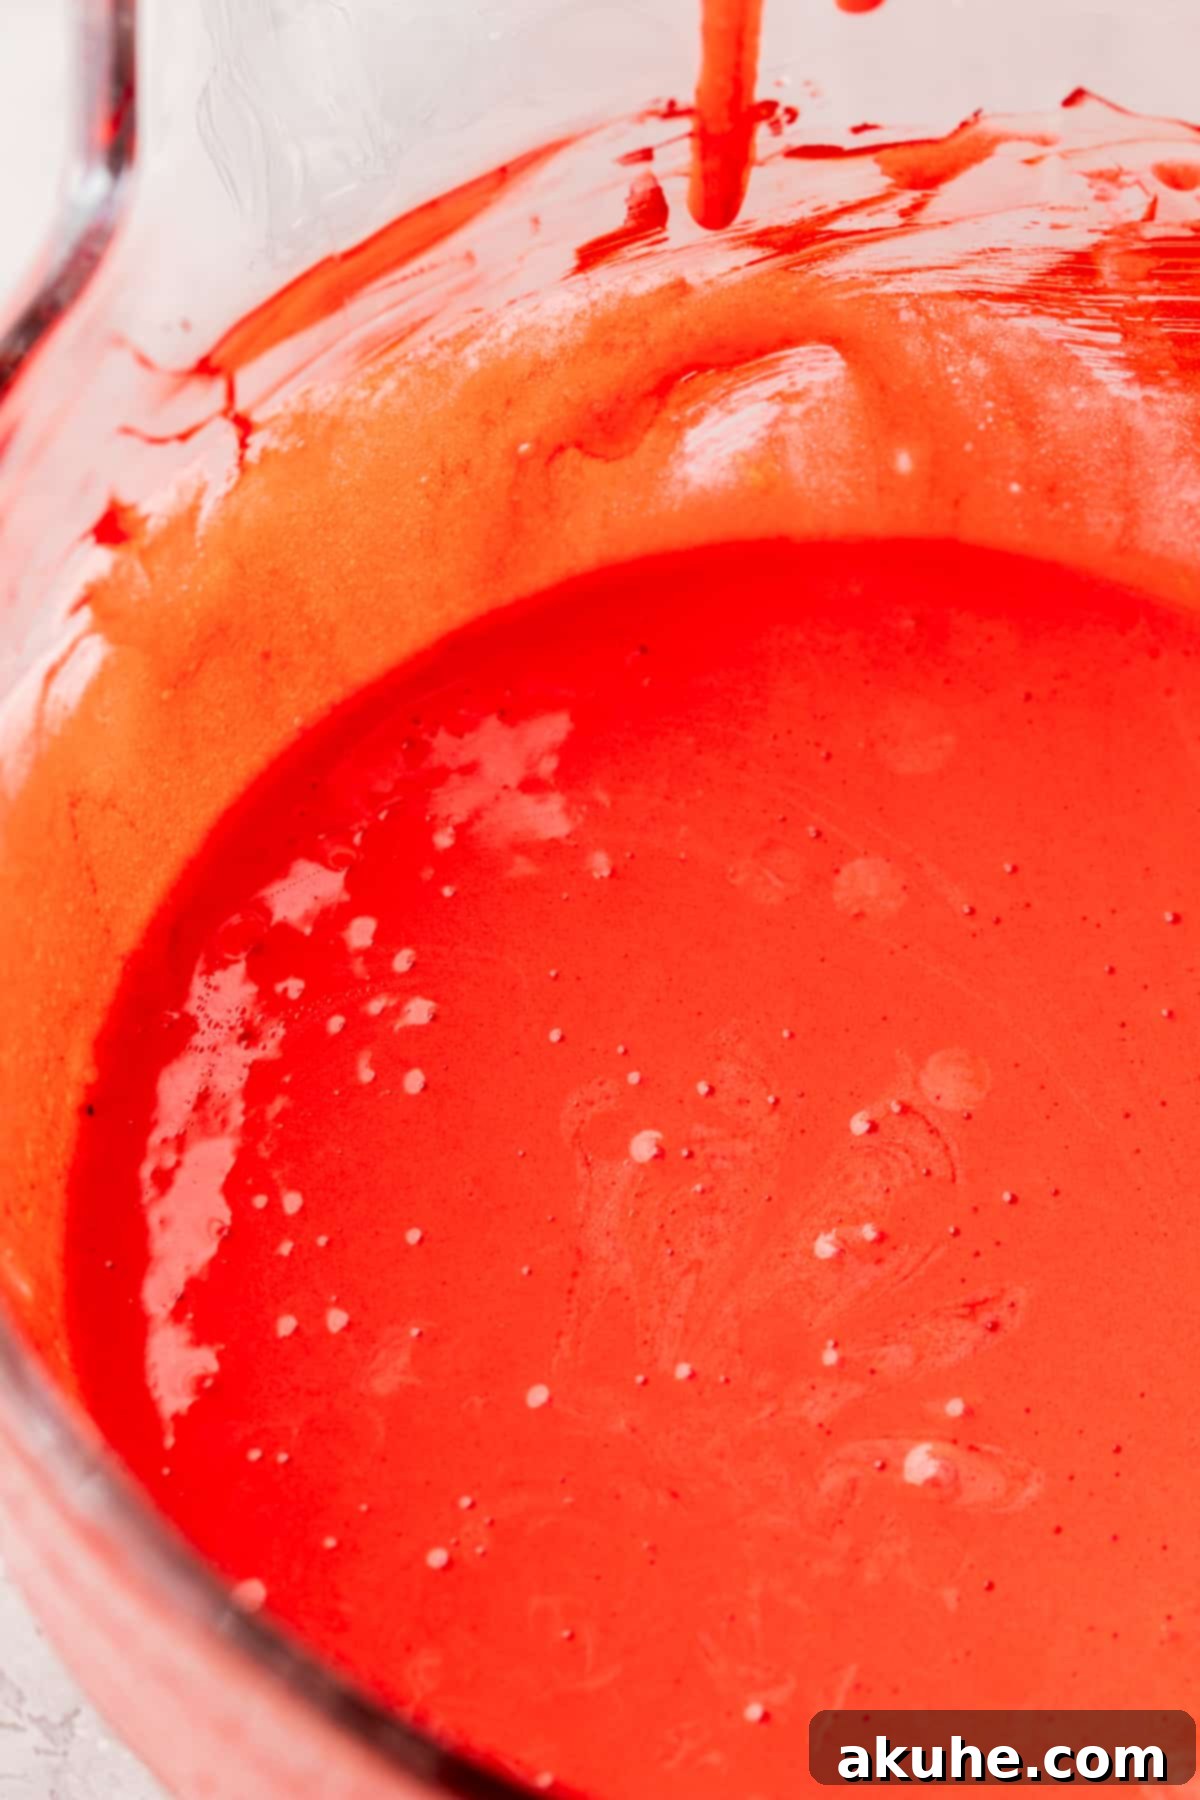
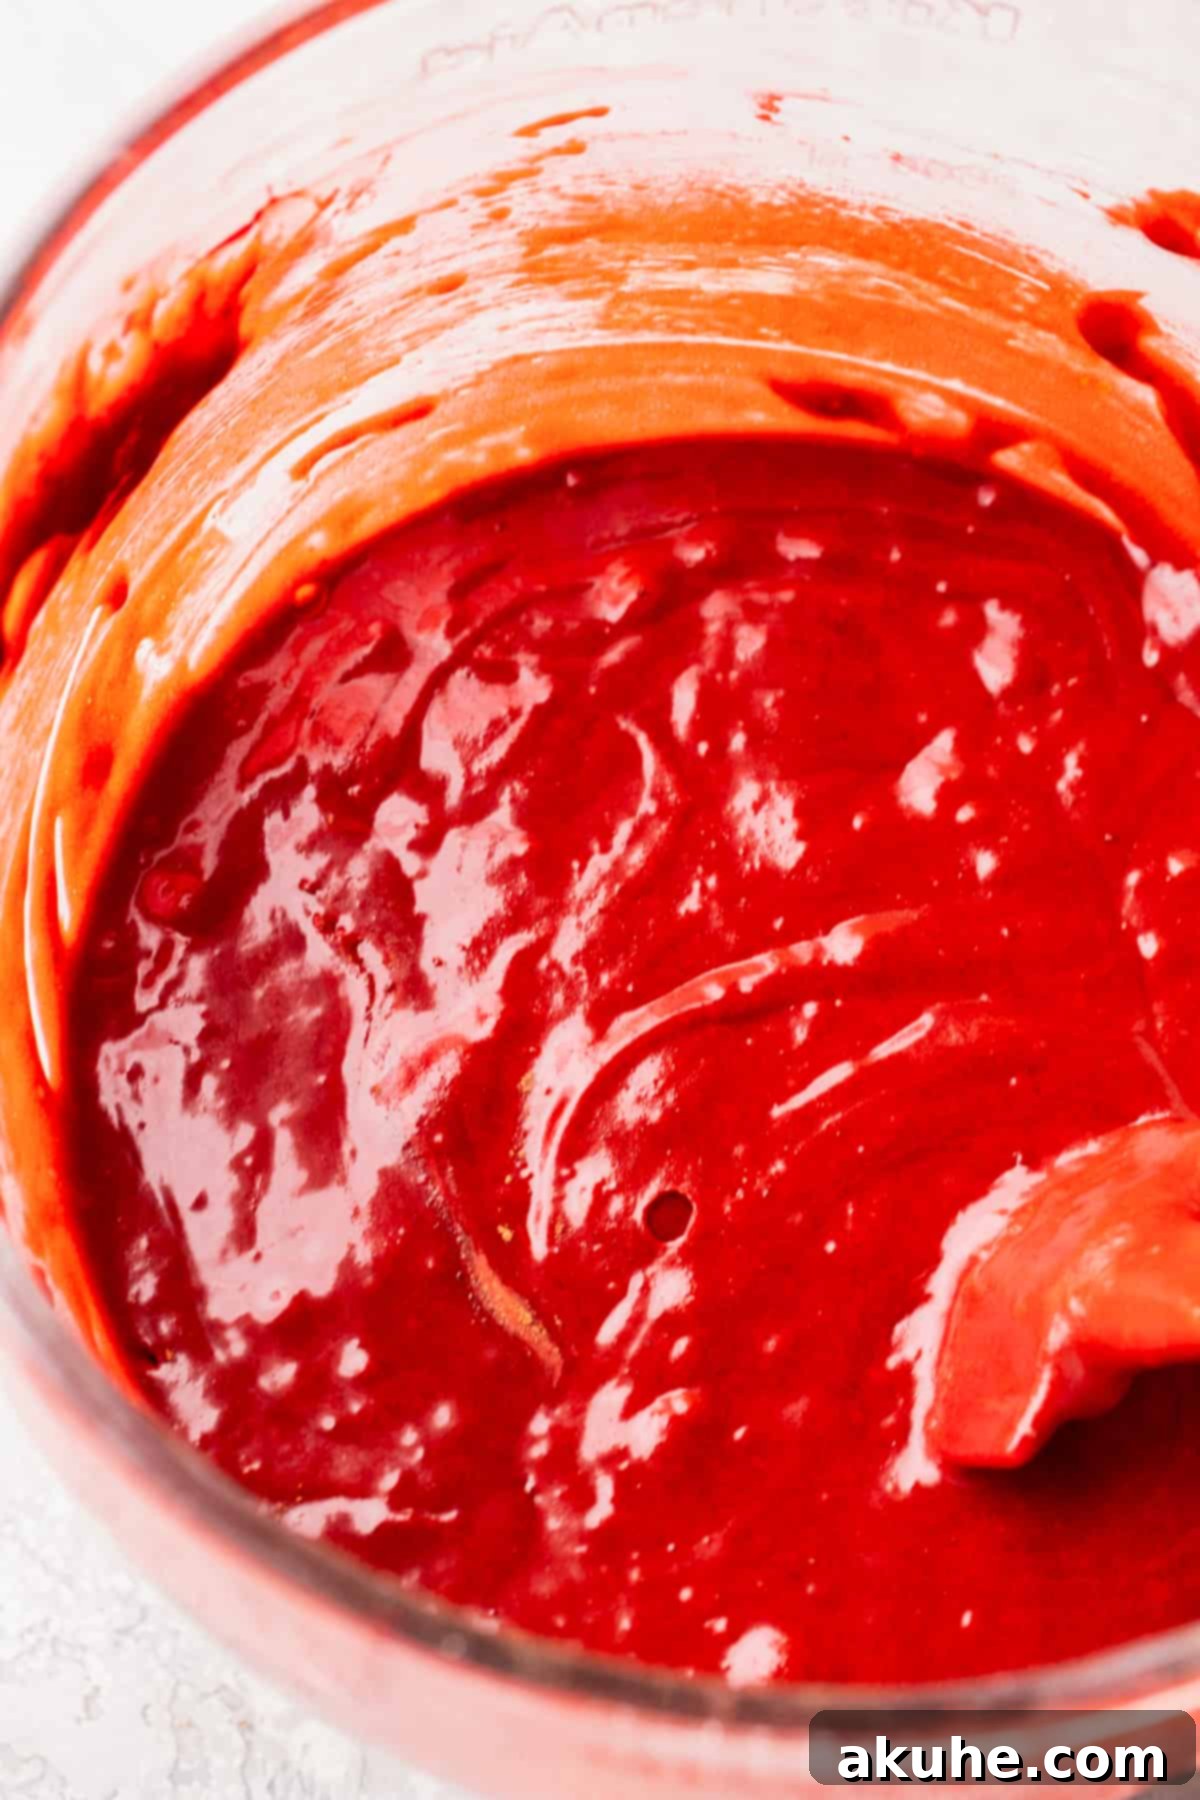
STEP 4: Incorporate Wet Ingredients. Reduce the mixer speed to low. Carefully add the slightly cooled melted unsalted butter, neutral oil, pure vanilla extract, and the red food coloring to the egg mixture. Mix on low speed just until these wet ingredients are fully combined and the batter is uniformly red. Be careful not to overmix at this stage, as you want to preserve the air you’ve beaten into the eggs.
STEP 5: Gently Combine Wet and Dry, Then Fold in Chips. With the mixer still on low speed, gradually add the reserved dry ingredients (flour, cocoa powder, cornstarch, salt) to the wet mixture. Mix until just combined—meaning no streaks of dry flour remain. Overmixing the flour will develop too much gluten, resulting in tough, cakey brownies. Once the dry ingredients are incorporated, remove the bowl from the mixer. Add the white chocolate chips and gently fold them into the batter using a rubber spatula. Ensure they are evenly distributed.
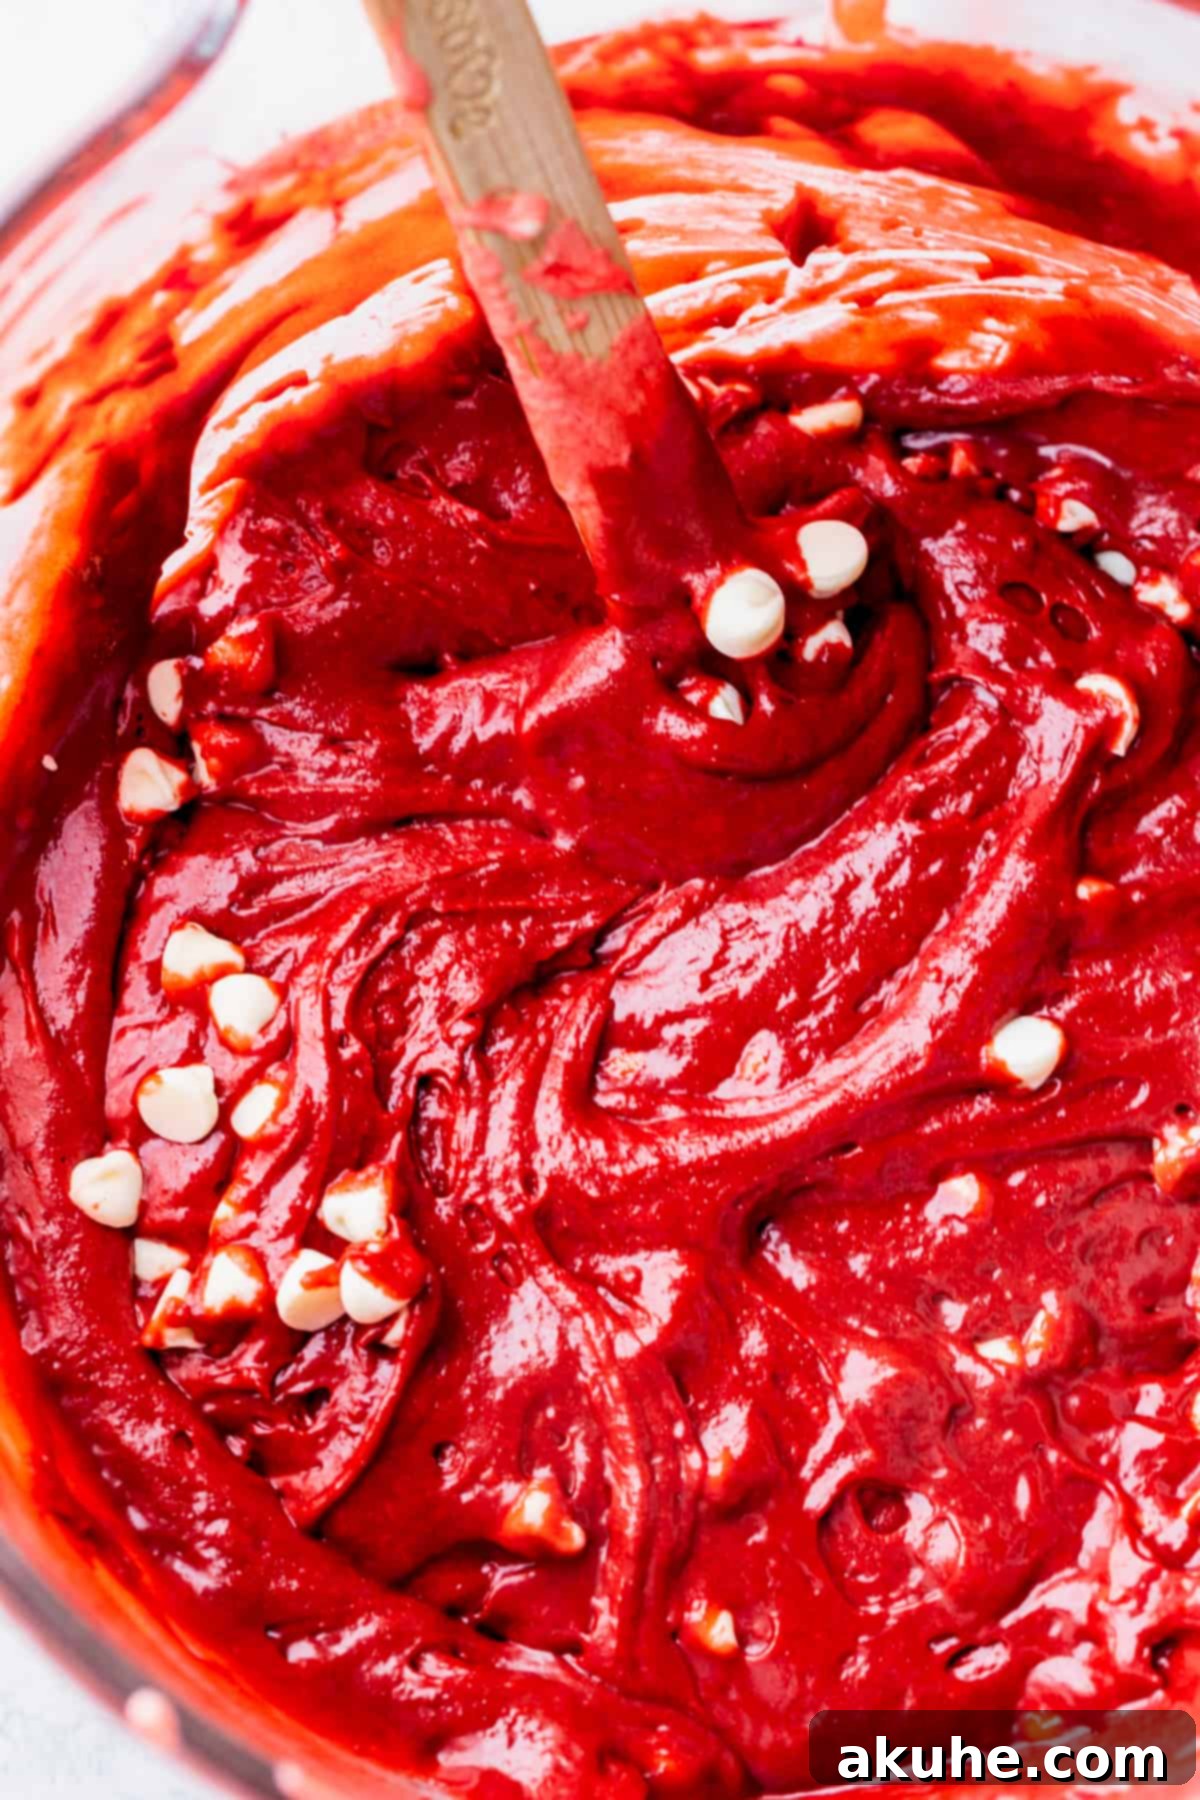
STEP 6: Transfer Batter to Pan. Carefully pour the thick, vibrant red batter into your prepared 9×9-inch baking pan. Use the rubber spatula to spread the batter evenly to all corners of the pan.
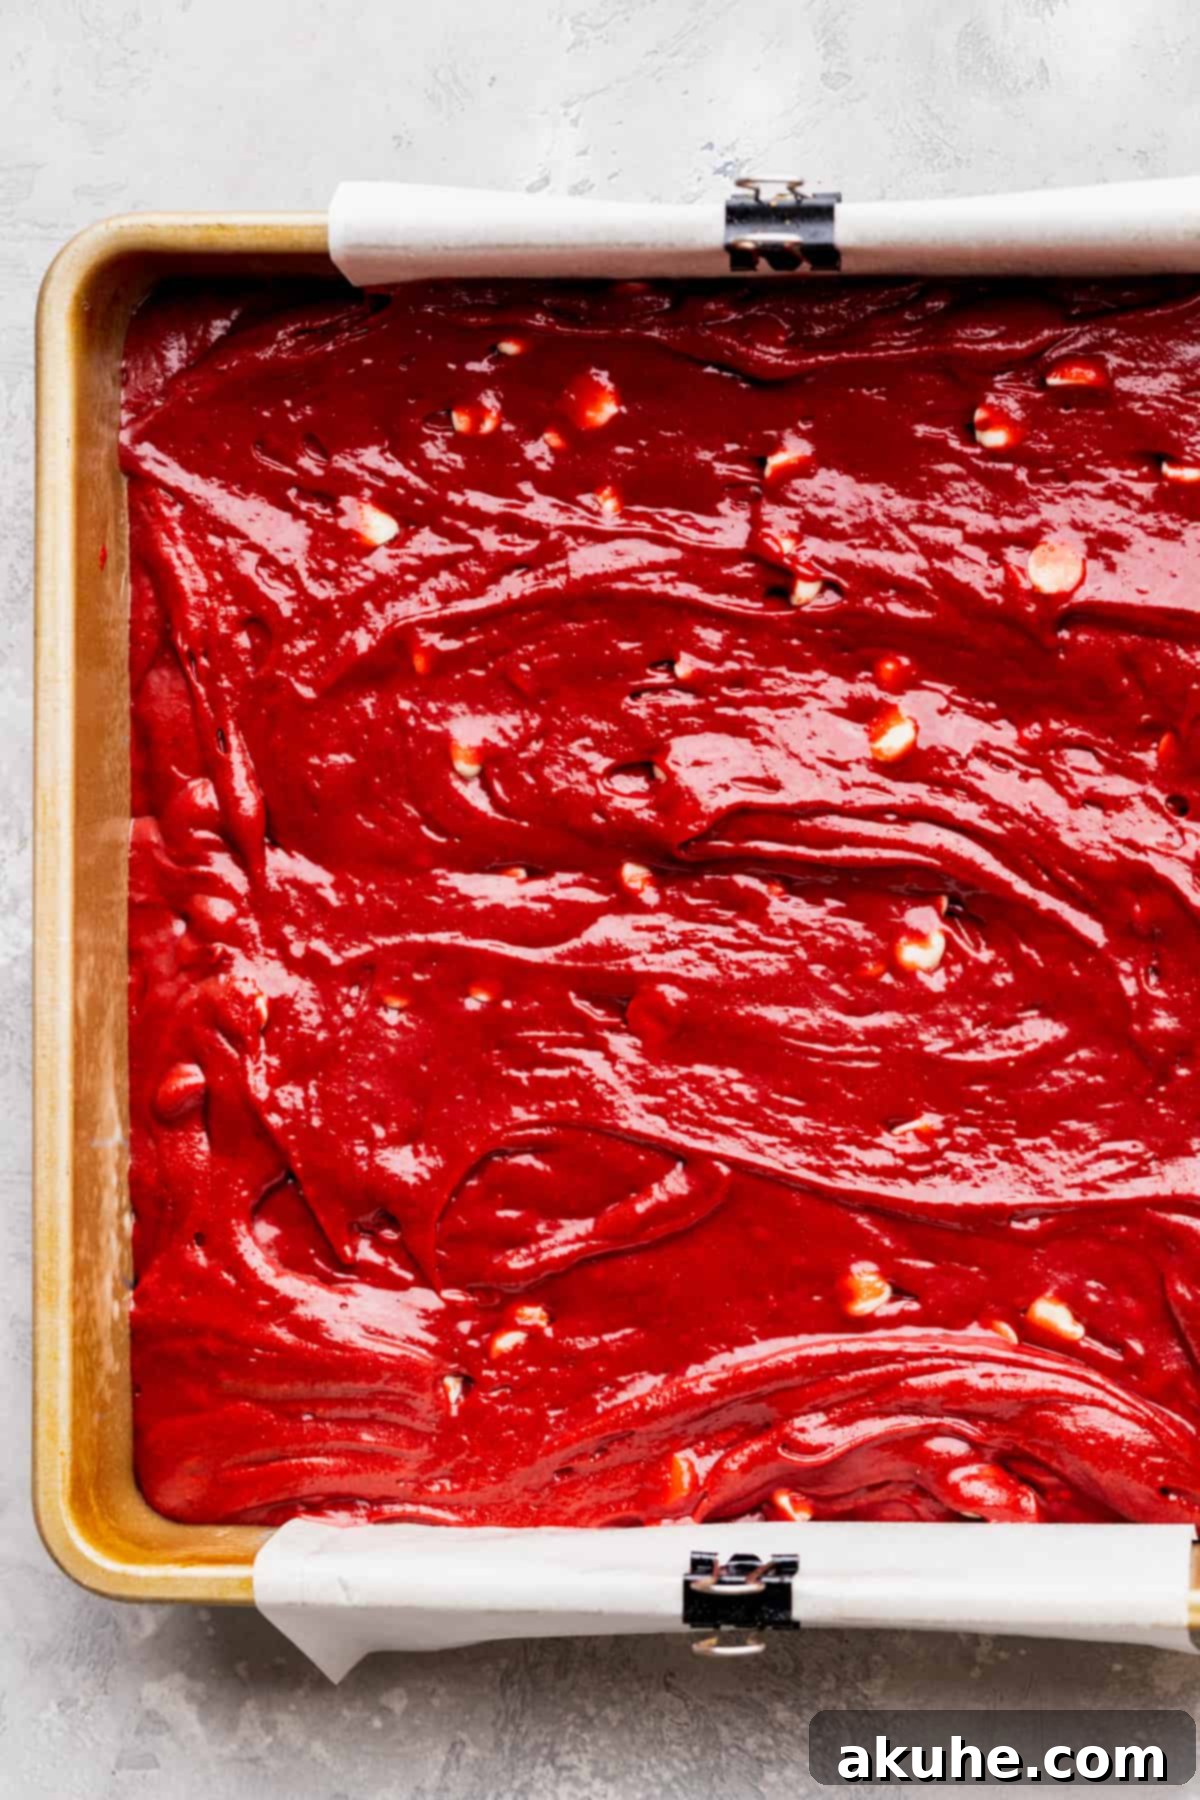
STEP 7: Bake to Fudgy Perfection. Place the pan in the preheated oven and bake for approximately 45-50 minutes. To check for doneness, insert a toothpick into the center of the brownies. It should come out with moist crumbs attached, but not wet batter. If you see raw batter, continue baking for another 5 minutes and re-test. Remember, slightly under-baking is key to achieving that signature fudgy texture.
STEP 8: Cool Completely for Best Results. Once baked, remove the pan from the oven and immediately place it on a wire cooling rack. It is absolutely vital to let the brownies cool completely in the pan before attempting to cut them. This allows the brownies to finish setting, firms up their texture, and prevents them from falling apart. Patience here will be rewarded with perfectly structured, fudgy Red Velvet Brownies.
Expert Baking Tips for Flawless Red Velvet Brownies
Achieving the perfect fudgy Red Velvet Brownies with those desirable crinkle tops requires attention to a few key details. Here are some expert tips to ensure your brownies turn out perfectly every time:
- Gentle Mixing After Eggs Are Beaten: The crucial step of beating the eggs and sugar for 5 minutes incorporates a lot of air, which contributes to the brownies’ rise and the formation of those beautiful crinkle tops. When you add the melted butter, oil, vanilla, and red food coloring, and especially the dry ingredients, mix on a *very low speed* and only until just combined. If you add these ingredients too quickly or overmix, you risk deflating the air from the eggs, resulting in denser brownies without that signature crinkle.
- Proper Pan Preparation is Non-Negotiable: Don’t skip the pan preparation step! Spraying the pan with non-stick baking spray and then lining it with parchment paper (creating a sling) is essential. The non-stick spray ensures no sticking, while the parchment paper sling makes it incredibly easy to lift the entire batch of cooled brownies out of the pan, allowing for clean, precise cuts.
- Room Temperature Ingredients: For most baking recipes, and especially for brownies, using room temperature eggs and egg yolks allows them to incorporate more evenly with other ingredients, creating a smoother emulsion and a more uniform batter. Cold ingredients can cause the batter to seize up. Pull your eggs out of the refrigerator about 30-60 minutes before you plan to bake.
- Don’t Overbake: This is perhaps the most critical rule for fudgy brownies. Brownies continue to cook slightly after they are removed from the oven due to residual heat. When checking for doneness with a toothpick, you want it to come out with moist crumbs, not liquid batter, but also not completely clean. A clean toothpick indicates overbaking, which leads to dry, cakey brownies. Erring on the side of slightly underbaked is always better for fudginess.
- Cool Completely: As mentioned in the instructions, allowing your brownies to cool completely in the pan is non-negotiable. This isn’t just about avoiding burnt fingers; it allows the brownies to set fully, firm up their structure, and enhances their fudgy texture. Cutting into warm brownies will result in a messy, crumbly outcome.
Frequently Asked Questions About Red Velvet Brownies
If your brownies have sunk significantly in the middle, it generally indicates that they were underbaked. The center did not have enough time to set properly, causing it to collapse as it cooled. While they might still be incredibly fudgy (perhaps even extra fudgy!), they won’t have the desired structure. The best solution is to ensure you bake them until a toothpick comes out with moist crumbs, not wet batter. If you find them sinking, you can try baking them again for another 15-20 minutes at a lower temperature (e.g., 325°F/160°C) to cook them through without over-browning the edges, though they may never fully recover their shape.
Hard or dry brownies are typically a sign of overbaking. The excessive heat causes too much moisture to evaporate from the batter, and the gluten in the flour can become too developed, leading to a tough texture. To avoid this, always aim for the center to be slightly underdone when you remove them from the oven. Remember, a toothpick should come out with moist crumbs, not entirely clean. Baking time can vary slightly depending on your oven, so always use the visual and toothpick test.
This particular recipe relies heavily on eggs (both whole eggs and an extra yolk) for its structure, rise, and signature fudgy texture. Eggs act as a binder, leavening agent, and contribute to the richness. I have not specifically tested this recipe with egg substitutes, and replacing them would likely alter the texture and outcome significantly. If you require an egg-free version, I recommend seeking out a dedicated vegan or egg-free red velvet brownie recipe that has been specifically developed and tested for such substitutions.
Yes, you absolutely can! Using an 8×8-inch (20×20 cm) pan will result in thicker brownies, which some people prefer for an even more substantial bite. However, because the batter will be deeper, you will need to increase the baking time. Start checking for doneness around 50-55 minutes, and be prepared to bake for an additional 10-15 minutes or more, until a toothpick inserted in the center comes out with moist crumbs.
Yes, you can certainly use a 9×13-inch (23×33 cm) pan. If you use the same amount of batter for a 9×13 pan, your brownies will be much thinner, and the baking time will be significantly shorter (likely around 25-35 minutes). For a batch of brownies with a similar thickness to those made in a 9×9-inch pan, you will need to double the entire recipe. This will fill the larger pan adequately and maintain a similar baking time to the original recipe (around 45-50 minutes).
Storing and Freezing Your Red Velvet Brownies
To keep your Red Velvet Brownies tasting fresh and delicious, proper storage is essential.
Store these delectable brownies in an airtight container at room temperature. A well-sealed container is crucial, as exposure to air can quickly dry them out and make them hard. Avoid simply wrapping them in plastic wrap unless you can ensure a perfect seal, as any gaps will allow air to enter. Stored correctly, your brownies will maintain their wonderful fudgy texture and flavor for up to 3-4 days. They are often best enjoyed slightly warmed, perhaps with a scoop of vanilla ice cream.
Freezing for Longer Enjoyment
For longer storage, these fudgy Red Velvet Brownies freeze beautifully. To freeze, ensure the brownies are completely cooled. You can freeze them whole, in a slab, or cut into individual squares. Wrap them tightly in plastic wrap, then place them in an airtight freezer-safe container or a heavy-duty freezer bag. They will last exceptionally well for up to 30 days in the freezer without any loss of quality. When you’re ready to enjoy them, simply thaw the brownies at room temperature for about 1 hour. You can also warm them gently in the microwave for a few seconds for that freshly baked feel.
Other Recipes To Try
We hope you love this Red Velvet Brownie recipe! If you do, we encourage you to share your experience. For more delightful baking ideas, be sure to follow us on Pinterest and Instagram @stephaniesweettreats.
Red Velvet Brownies
These Red Velvet Brownies are incredibly fudgy, featuring delightful crinkle tops and rich white chocolate chips.
Print Recipe
Pin Recipe
Leave a Review
15 mins
45 mins
1 hr
16 brownies
Ingredients
- 2 cups White granulated sugar
- 3 Large eggs, room temperature
- 1 Large egg yolk, room temperature
- 1/2 cup Oil, canola or vegetable
- 1/2 cup Unsalted butter, melted and cooled
- 1 tsp Pure vanilla extract
- 1 tsp Red food dye, Use gel food dye. For best results, use Americolor super red food dye.
- 1 1/4 cup All-purpose flour
- 1/3 cup Unsweetened cocoa powder
- 1 TBSP Cornstarch
- 1 tsp Salt
- 1 1/2 cups White chocolate chips
Instructions
- Preheat the oven to 350°F (175°C). Spray a 9X9-inch pan (or 8X8-inch pan for thicker brownies) with nonstick baking spray. Line the bottom and 2 sides of the pan with parchment paper, allowing it to hang over the edges for easy lifting. Then, spray the parchment again.
- In a medium bowl, sift and mix together the all-purpose flour, cocoa powder, cornstarch, and salt. Set aside.
- Using an electric mixer with a whisk attachment, beat the granulated sugar, large eggs, and egg yolk on high speed for 5 minutes. The mixture will become noticeably pale, thick, and airy.
- Reduce the mixer speed to low. Add the melted butter (cooled), oil, pure vanilla extract, and red food dye. Mix only until just combined and the color is uniform.
- With the mixer still on low, gradually add the dry ingredients to the wet mixture, mixing until just combined and no streaks of flour remain. Remove the bowl from the mixer. Add the white chocolate chips and gently fold them into the batter with a rubber spatula. Pour the batter into the prepared pan, spreading it evenly.
- Bake for 45-50 minutes. The brownies are done when a toothpick inserted into the center comes out with moist crumbs attached, but not wet batter. If still raw, bake for another 5 minutes and re-test.
- Place the baking pan on a cooling rack and let the brownies cool completely in the pan before attempting to cut them. This ensures they set properly and are perfectly fudgy.
Notes
Flour: Always measure flour accurately. Spoon it into your measuring cup and level it off, or use a kitchen scale for best results. Compacted flour can lead to dry, cakey brownies.
High Altitude Baking: If you are baking at a high altitude, consider adding an extra 1 tablespoon of all-purpose flour to help with structure.
Room Temperature Ingredients: For optimal results, ensure dairy ingredients (butter, eggs) are at room temperature for at least 2 hours before baking.
Nutrition Information
Calories: 342kcal,
Carbohydrates: 44g,
Protein: 2g,
Fat: 19g,
Saturated Fat: 8g,
Polyunsaturated Fat: 2g,
Monounsaturated Fat: 8g,
Trans Fat: 0.3g,
Cholesterol: 19mg,
Sodium: 162mg,
Potassium: 89mg,
Fiber: 1g,
Sugar: 35g,
Vitamin A: 182IU,
Vitamin C: 0.1mg,
Calcium: 39mg,
Iron: 1mg
