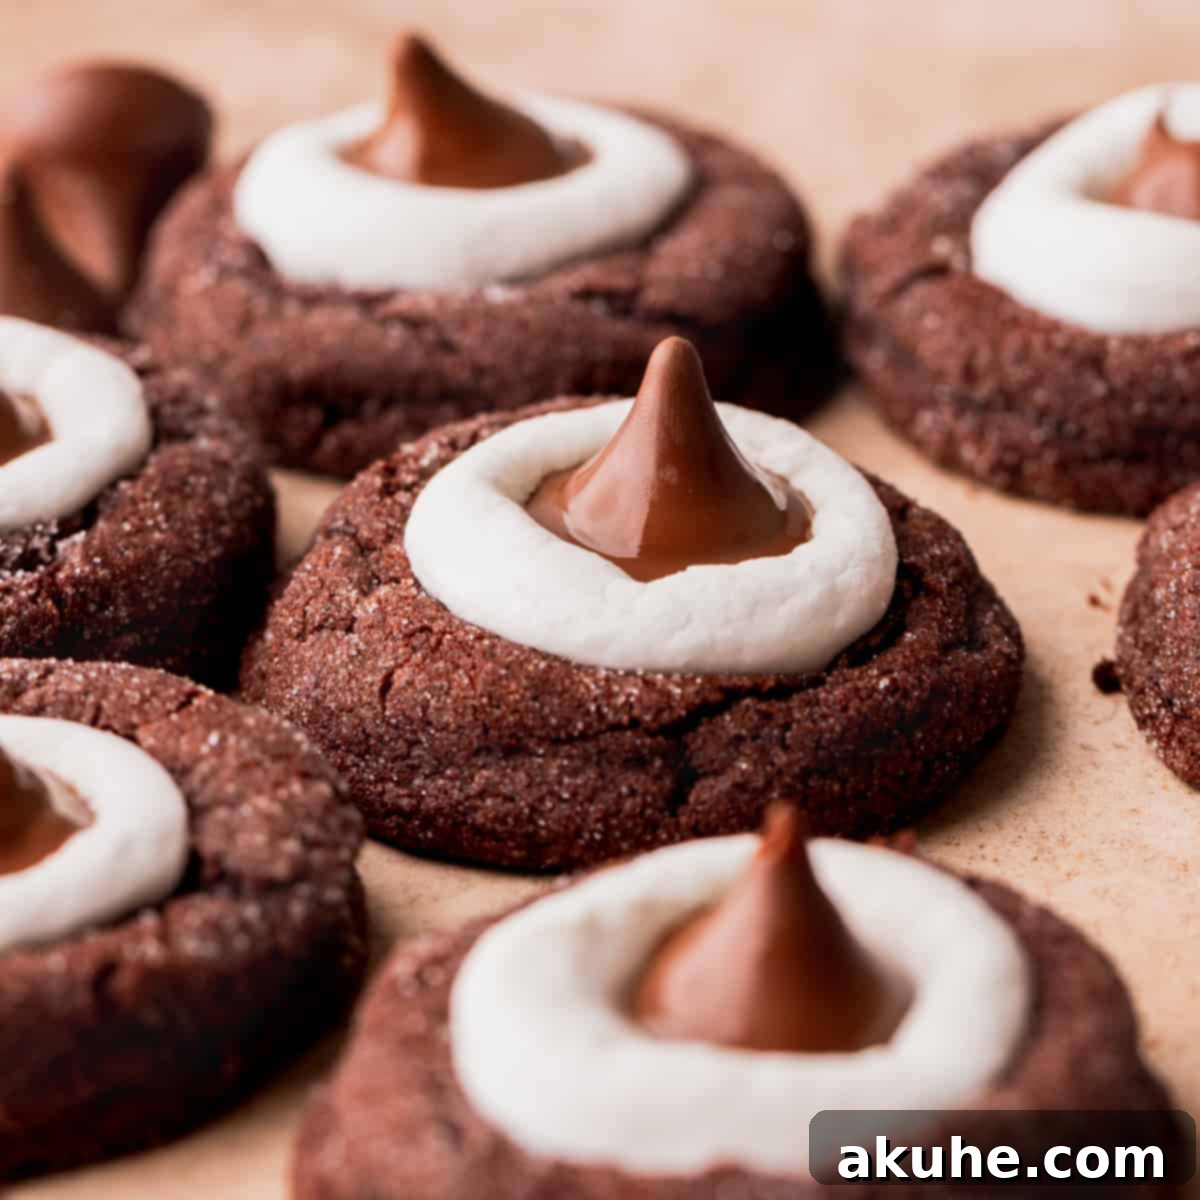
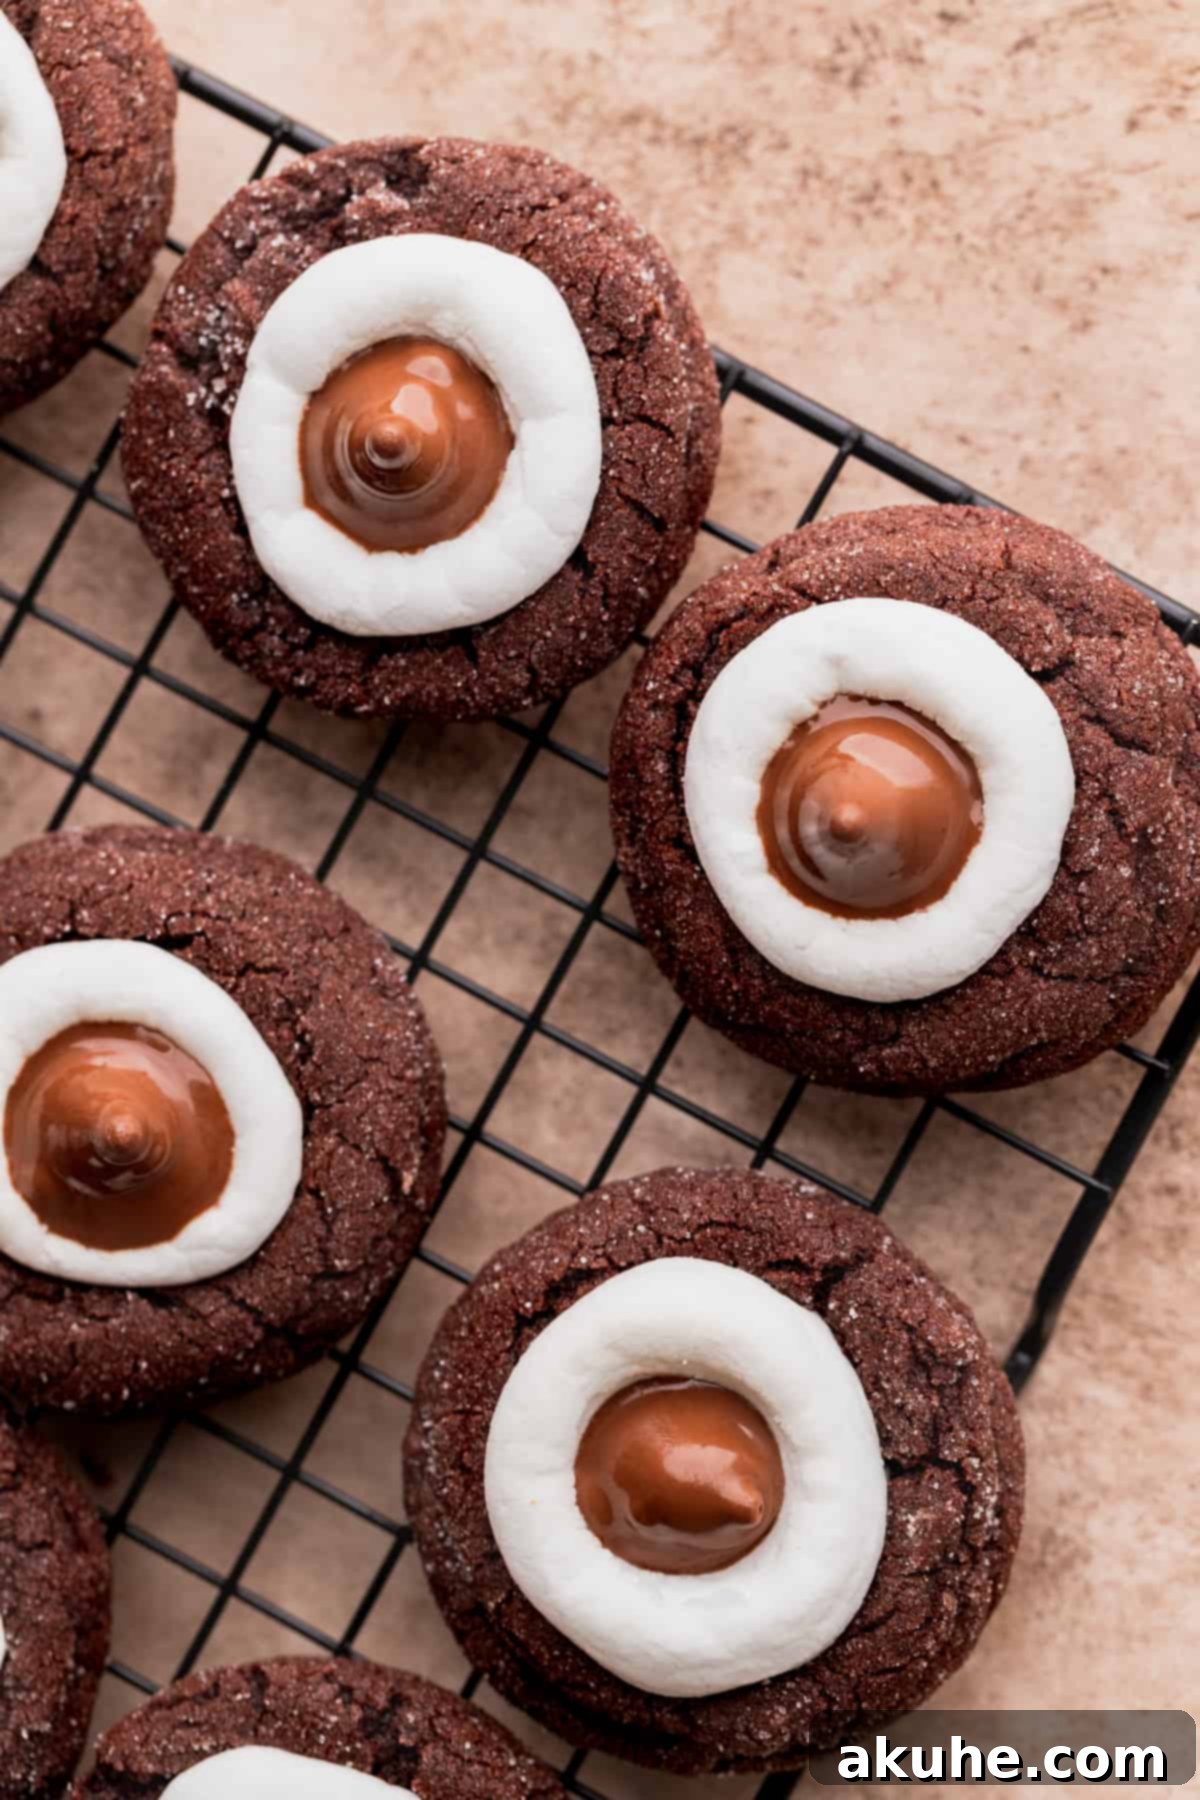
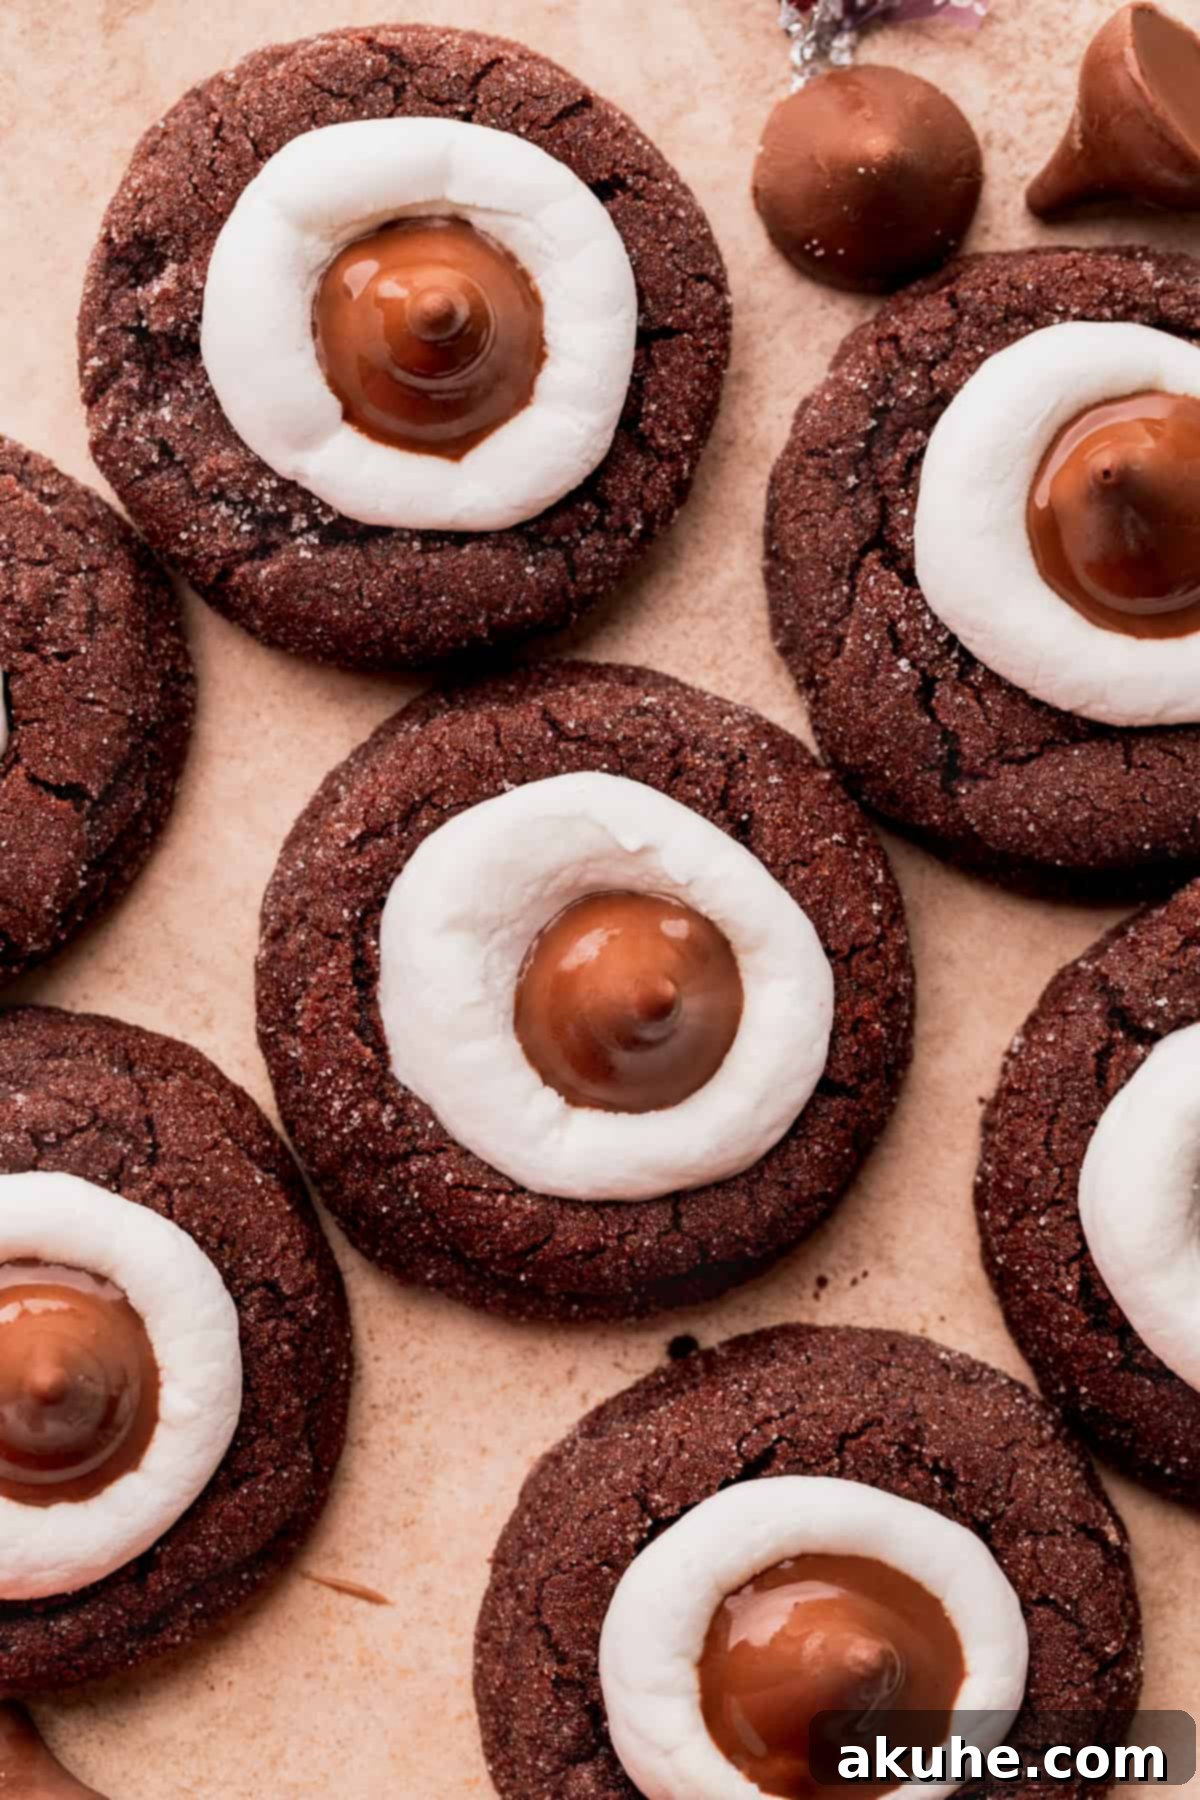
Indulge in the ultimate festive treat with these incredible Hot Cocoa Cookie Blossoms! Imagine the comforting warmth of your favorite hot chocolate transformed into a perfectly fudgy, soft, and chewy cookie. Each bite delivers a rich chocolate experience, crowned with a melt-in-your-mouth marshmallow and a delectable Hershey’s Hot Cocoa Kiss. These cookies aren’t just a dessert; they’re a celebration, bringing all the cozy flavors of winter into one irresistible package. Perfect for holiday gatherings, cookie exchanges, or simply a delightful moment by the fireplace, these blossoms are destined to become a cherished part of your seasonal baking traditions. Get ready to bake a batch of pure bliss that tastes exactly like a cup of hot cocoa, but in cookie form!
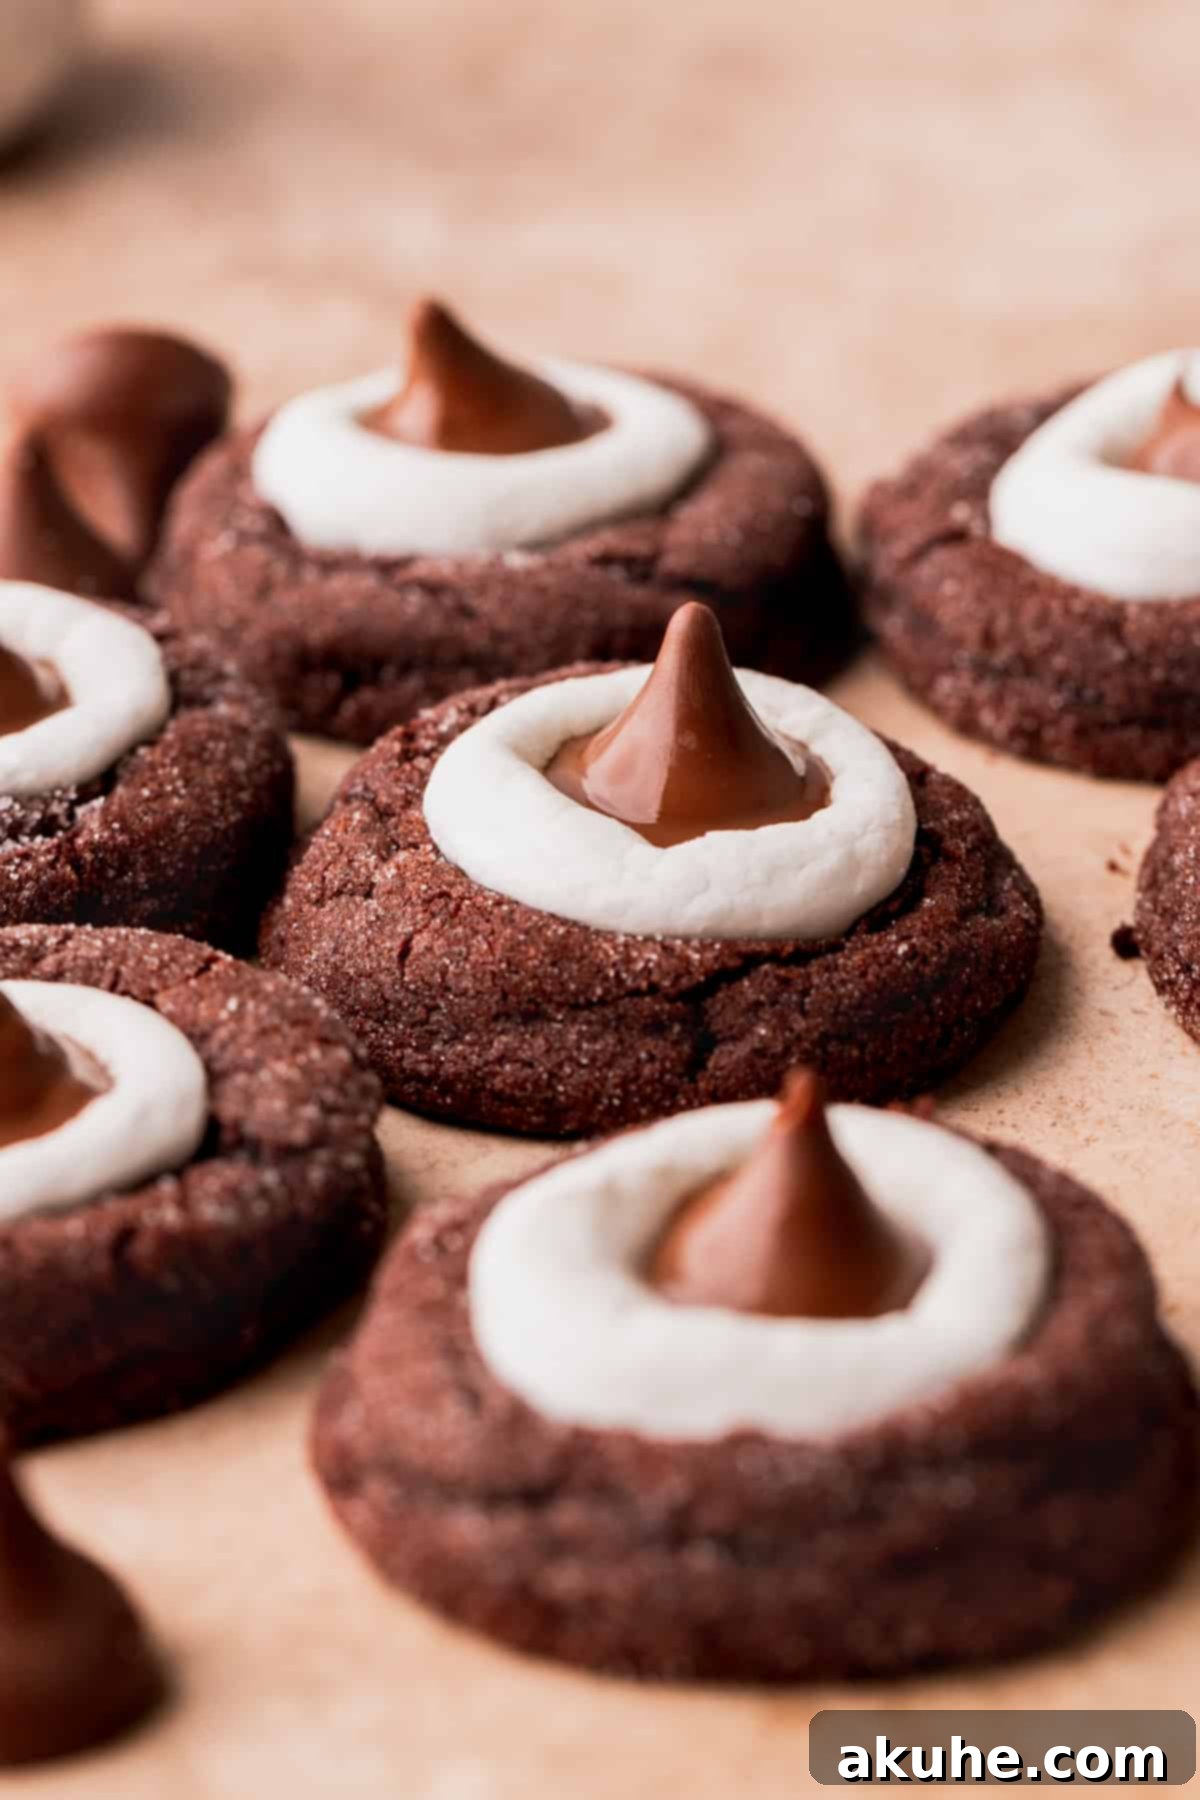
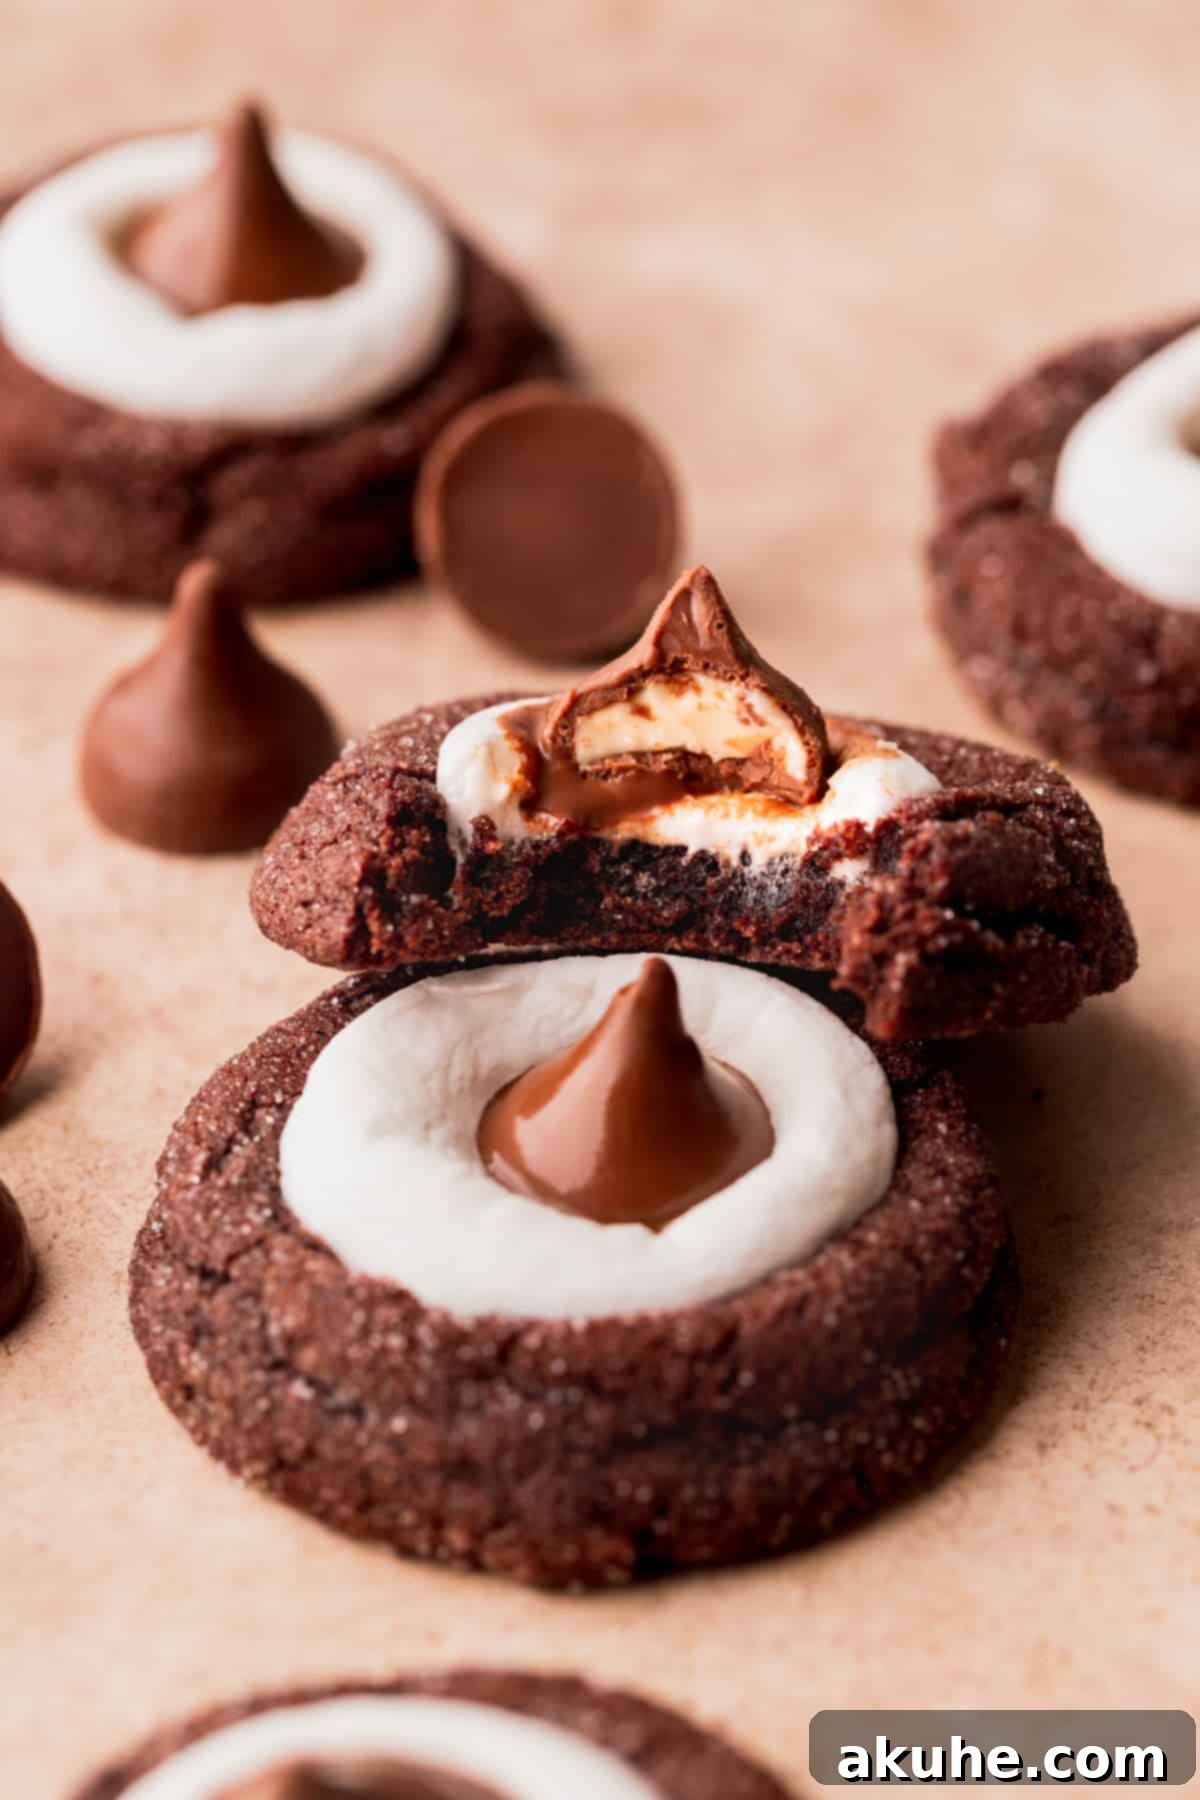
Crafting this Hot Cocoa Cookie Blossoms recipe was an absolute joy, driven by a vision to create a chocolate cookie that stood out. My goal was a cookie far more fudgy and wonderfully soft than your average cookie blossom, and after numerous tests, I achieved just that. The secret lies in incorporating an extra egg yolk into the cookie dough, which makes all the difference, yielding an unbelievably moist and tender texture that truly melts in your mouth. This thoughtful addition elevates the cookie from good to exceptional, ensuring every bite is a rich, chewy delight.
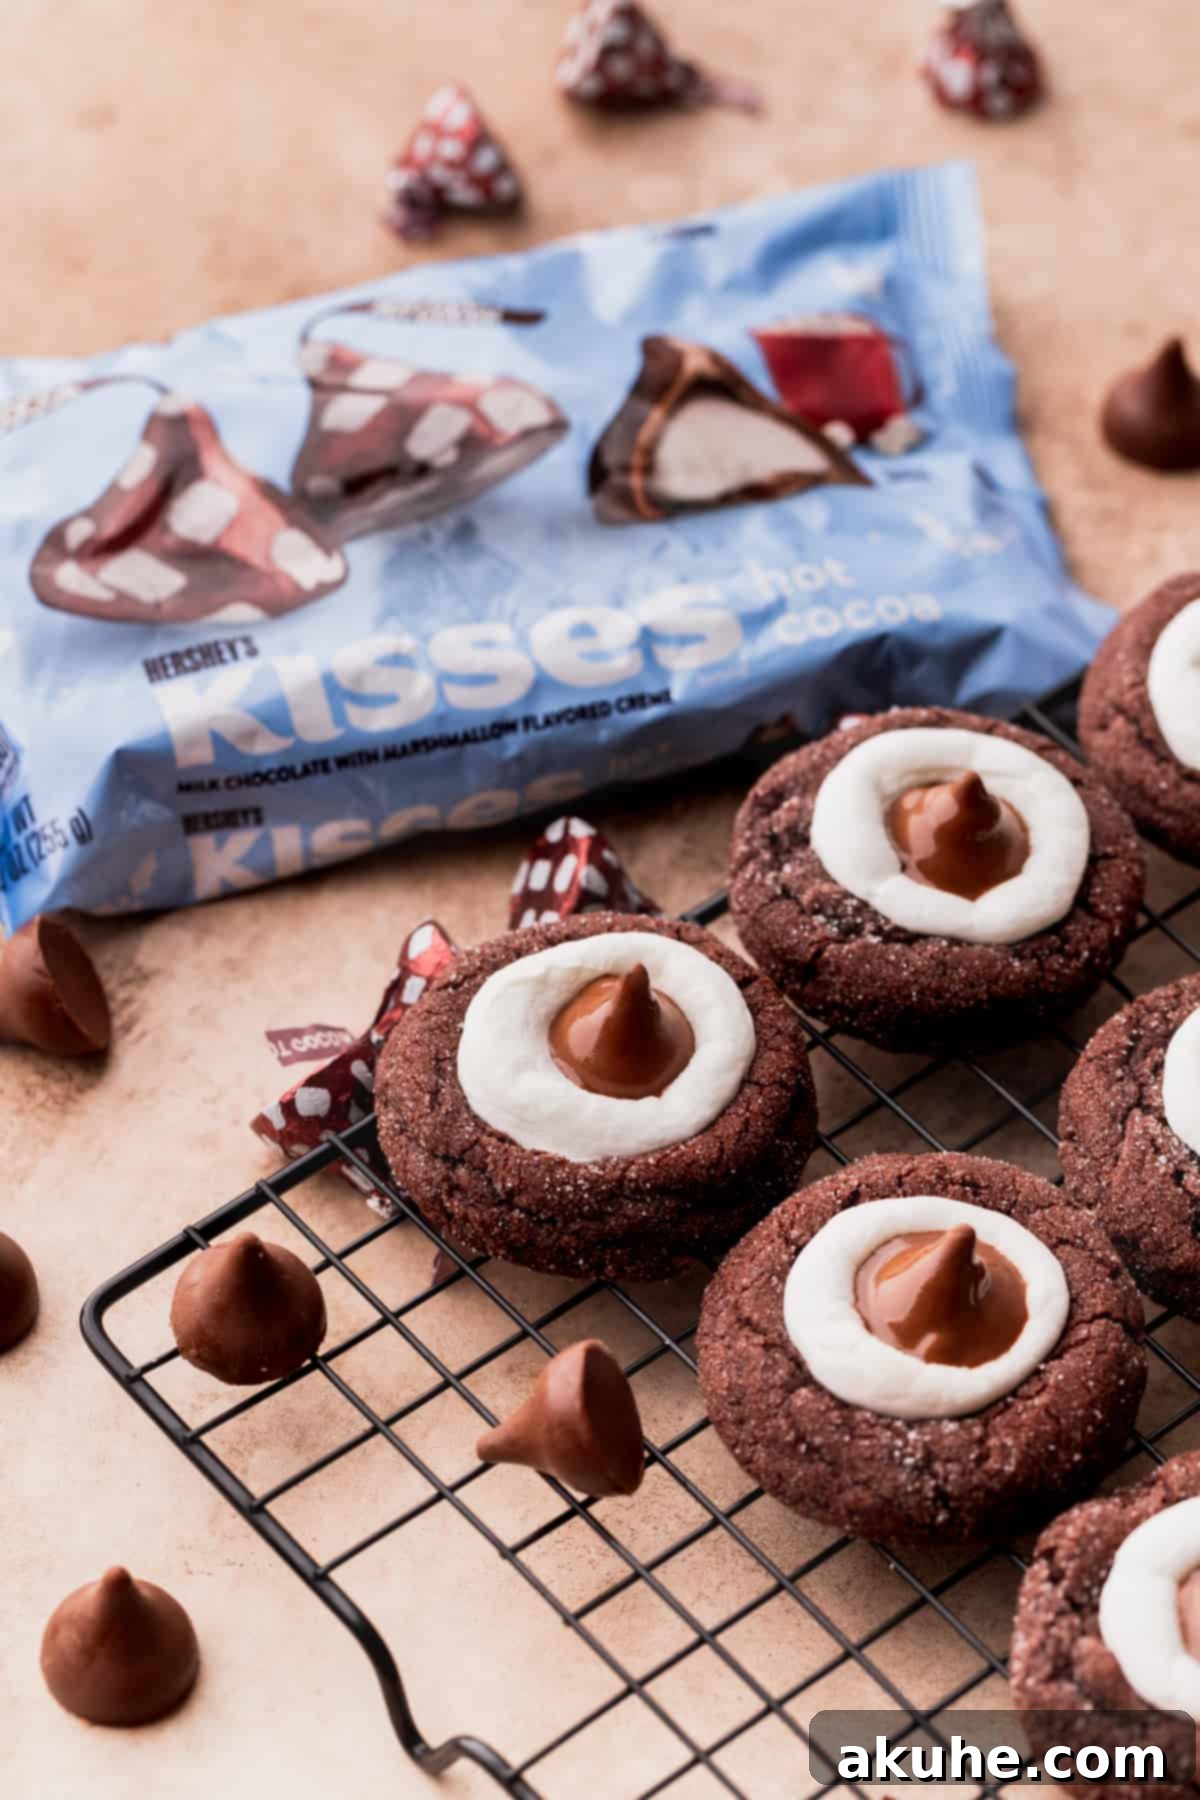
What makes this hot chocolate cookies recipe truly stand out is its incredible simplicity. Forget about dragging out heavy appliances or waiting endlessly for dough to chill. This is a no-mixer, no-chill recipe, designed for maximum ease and enjoyment. You can whip up a batch of these delightful cookies by hand in no time, making them perfect for spontaneous baking sessions or when you need a quick dessert fix. The true stars, however, are the Hershey’s Kisses Hot Cocoa Chocolates. Their creamy, rich flavor profile is the perfect complement to the fudgy cookie and soft marshmallow, uniting all the elements into a harmonious, unforgettable taste experience. These aren’t just cookies; they’re little bites of hot chocolate heaven!
These Hot Cocoa Cookie Blossoms are truly a baker’s dream, especially during the festive holiday season. Their charming appearance, rich flavor, and effortless preparation make them an ideal choice for holiday baking. Whether you’re planning a lively cookie exchange, assembling thoughtful edible gifts for friends and family, or simply seeking a comforting treat for a chilly evening, these cookies fit every occasion. They’re guaranteed to impress with their unique blend of classic holiday flavors and a delightful texture that everyone will love. Make sure to add them to your holiday baking list this year!
If you’re a chocolate lover eager to explore more delightful cookie creations, you’re in for a treat! Discover our tempting White Chip Double Chocolate Cookies, featuring a decadent blend of cocoa and sweet white chocolate chips. For those who adore a classic combination, our Chocolate Peanut Butter Stuffed Cookies offer a delightful surprise with every bite. And for an extra layer of soft, sweet indulgence, don’t miss our Chocolate Marshmallow Cookies. Each recipe promises a unique and satisfying chocolate experience!
Why You’ll Love This Hot Cocoa Cookie Blossom Recipe
These Hot Cocoa Cookie Blossoms aren’t just another cookie; they’re a carefully crafted treat designed for maximum flavor and minimal fuss. Here’s why this recipe will quickly become a cherished favorite in your baking repertoire:
- Effortless Preparation: Say goodbye to complex baking steps and lengthy waiting times. This recipe is intentionally designed for ease, requiring no chilling of the dough and no electric mixer. You can easily prepare the batter by hand with just a couple of bowls and a whisk, making it perfect for novice bakers or busy individuals. It’s also kid-approved, making it a wonderful activity to share with younger aspiring bakers!
- Unbelievably Fudgy Chocolate Cookies: The base of these blossoms is a rich, intensely chocolatey cookie with an unparalleled fudgy and chewy texture. Thanks to a special ingredient (an extra egg yolk!), these cookies remain incredibly soft and moist for days, staying fresh and delicious even after three days. This ensures every bite is a delightful experience, full of deep chocolate flavor.
- Sparkling Sugar Coating: Before baking, each chocolate cookie is rolled in white granulated sugar, creating a beautiful, sparkling exterior. This not only adds a lovely visual appeal, making them perfect for holiday platters, but also contributes a delicate crispy sweetness that perfectly contrasts with the fudgy interior.
- Warm, Melty Marshmallow Topping: A key element that brings the “hot cocoa” experience to life is the marshmallow topping. Half of a regular-sized marshmallow is placed atop each cookie during the final minutes of baking. It warms beautifully in the oven, becoming delightfully soft and gooey, mimicking the melting marshmallows on a cup of hot chocolate.
- Authentic Hot Chocolate Flavor Profile: With the combination of the rich chocolate cookie, the sweet, soft marshmallow, and the distinct Hershey’s Hot Cocoa Kiss, these cookies truly encapsulate the essence of a warm mug of hot cocoa. It’s a comforting, nostalgic flavor that’s perfect for the colder months and holiday celebrations, offering all the joy of your favorite winter drink in a convenient, handheld form.
Essential Ingredient Notes for Perfect Hot Cocoa Cookie Blossoms
Understanding the role of each ingredient is key to achieving the best possible results for your Hot Cocoa Cookie Blossoms. Here are some detailed notes to guide you. For the precise measurements, please refer to the comprehensive recipe card below.
- Unsweetened Cocoa Powder: For an exceptionally rich and deep chocolate flavor that truly elevates these cookies, I highly recommend using Dutch-processed cocoa powder. Unlike natural cocoa, Dutch-processed cocoa has been treated to reduce its acidity, resulting in a darker color and a smoother, less bitter chocolate taste. This enhances the overall “hot cocoa” experience significantly. This is the specific brand I used, and it yields fantastic results.
- Unsalted Butter: The butter in this recipe needs to be melted and then allowed to cool to room temperature. This crucial step prevents the cookies from spreading too much during baking. If you incorporate hot butter into your dough, it can quickly melt the sugars and negatively affect the flour’s gluten development, leading to flatter, greasier cookies. Ensure it’s cool enough to touch without feeling warm.
- Brown Sugar: I’ve opted for light brown sugar in this recipe. Brown sugar is vital for two reasons: it adds a lovely molasses flavor that complements the chocolate, and its higher moisture content contributes significantly to the cookies’ signature chewy and fudgy texture. You can also use dark brown sugar for an even richer, deeper flavor profile.
- Egg + Extra Egg Yolk: For the best texture, always pull your eggs out of the refrigerator at least two hours before you plan to start baking, allowing them to reach room temperature. Room temperature eggs emulsify better with other ingredients, creating a smoother, more uniform batter. The inclusion of an extra egg yolk is a game-changer here; it adds richness and moisture, directly contributing to the incredibly fudgy, soft, and dense texture that makes these cookies so special.
- Marshmallows: You’ll need nine regular-sized marshmallows for this recipe. To ensure they sit perfectly on top of each cookie and melt beautifully, cut each marshmallow in half horizontally. Kitchen scissors work wonderfully for this, making clean cuts and preventing stickiness.
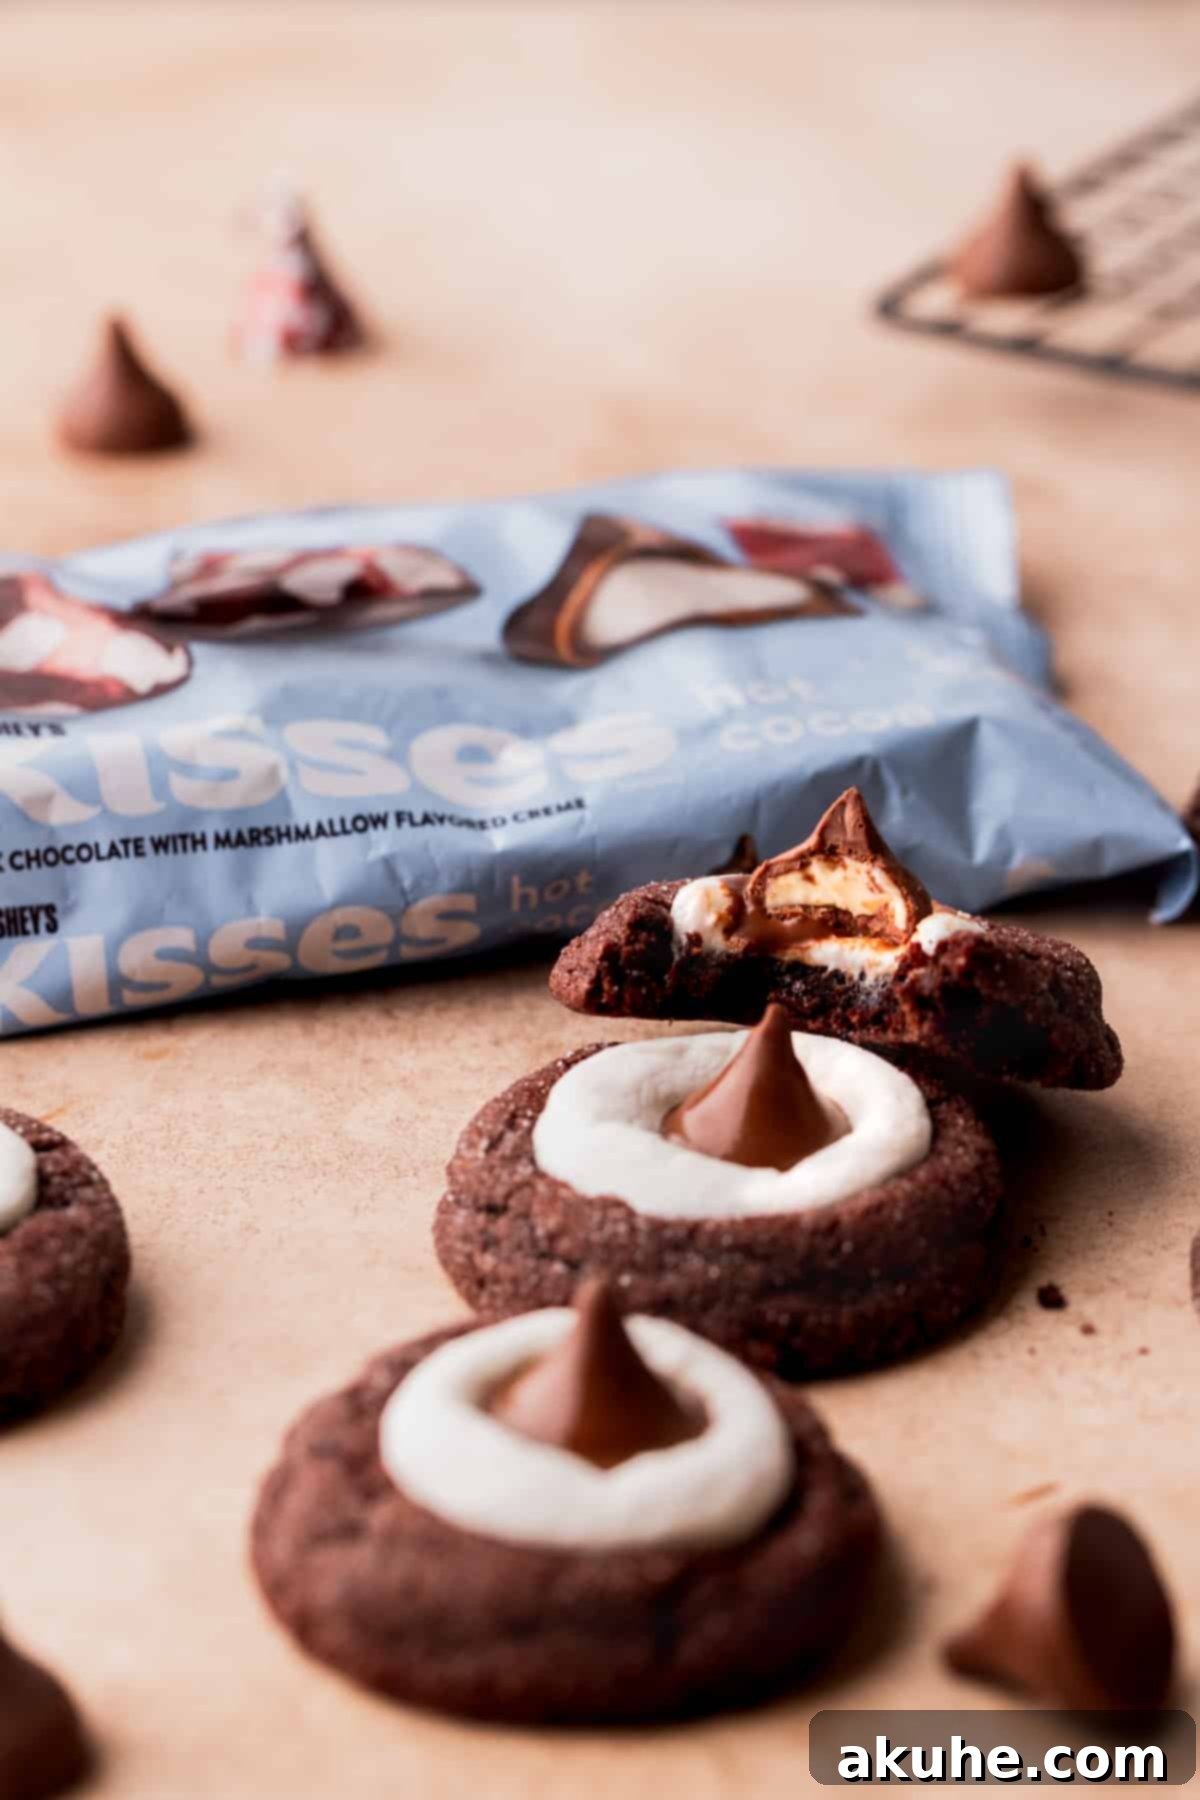
- Hershey’s Kisses Hot Cocoa Chocolates: These specific Kisses are the ideal finishing touch, as their flavor profile perfectly echoes the hot cocoa theme. However, if they’re unavailable, regular milk chocolate Hershey’s Kisses or even dark chocolate Kisses will also work beautifully, offering a slightly different but equally delicious chocolate note to your cookie blossoms.
Step-by-Step Guide to Baking Perfect Hot Cocoa Cookie Blossoms
Get ready to create these delightfully chewy chocolate cookies with ease! This recipe is incredibly straightforward and doesn’t require an electric mixer – just a few basic tools. Gather two medium-sized mixing bowls, a whisk, a sturdy rubber spatula, a 1-tablespoon cookie scoop, and your trusty cookie sheets. Let’s begin!
STEP 1: Prepare Your Dry Ingredients. In a medium-sized bowl, begin by sifting together the all-purpose flour and unsweetened cocoa powder. Sifting helps to eliminate any lumps and ensures a light, even texture in your cookies. Once sifted, add in the baking powder, baking soda, and salt. Whisk these dry ingredients together thoroughly until they are well combined. Set this bowl aside for now.
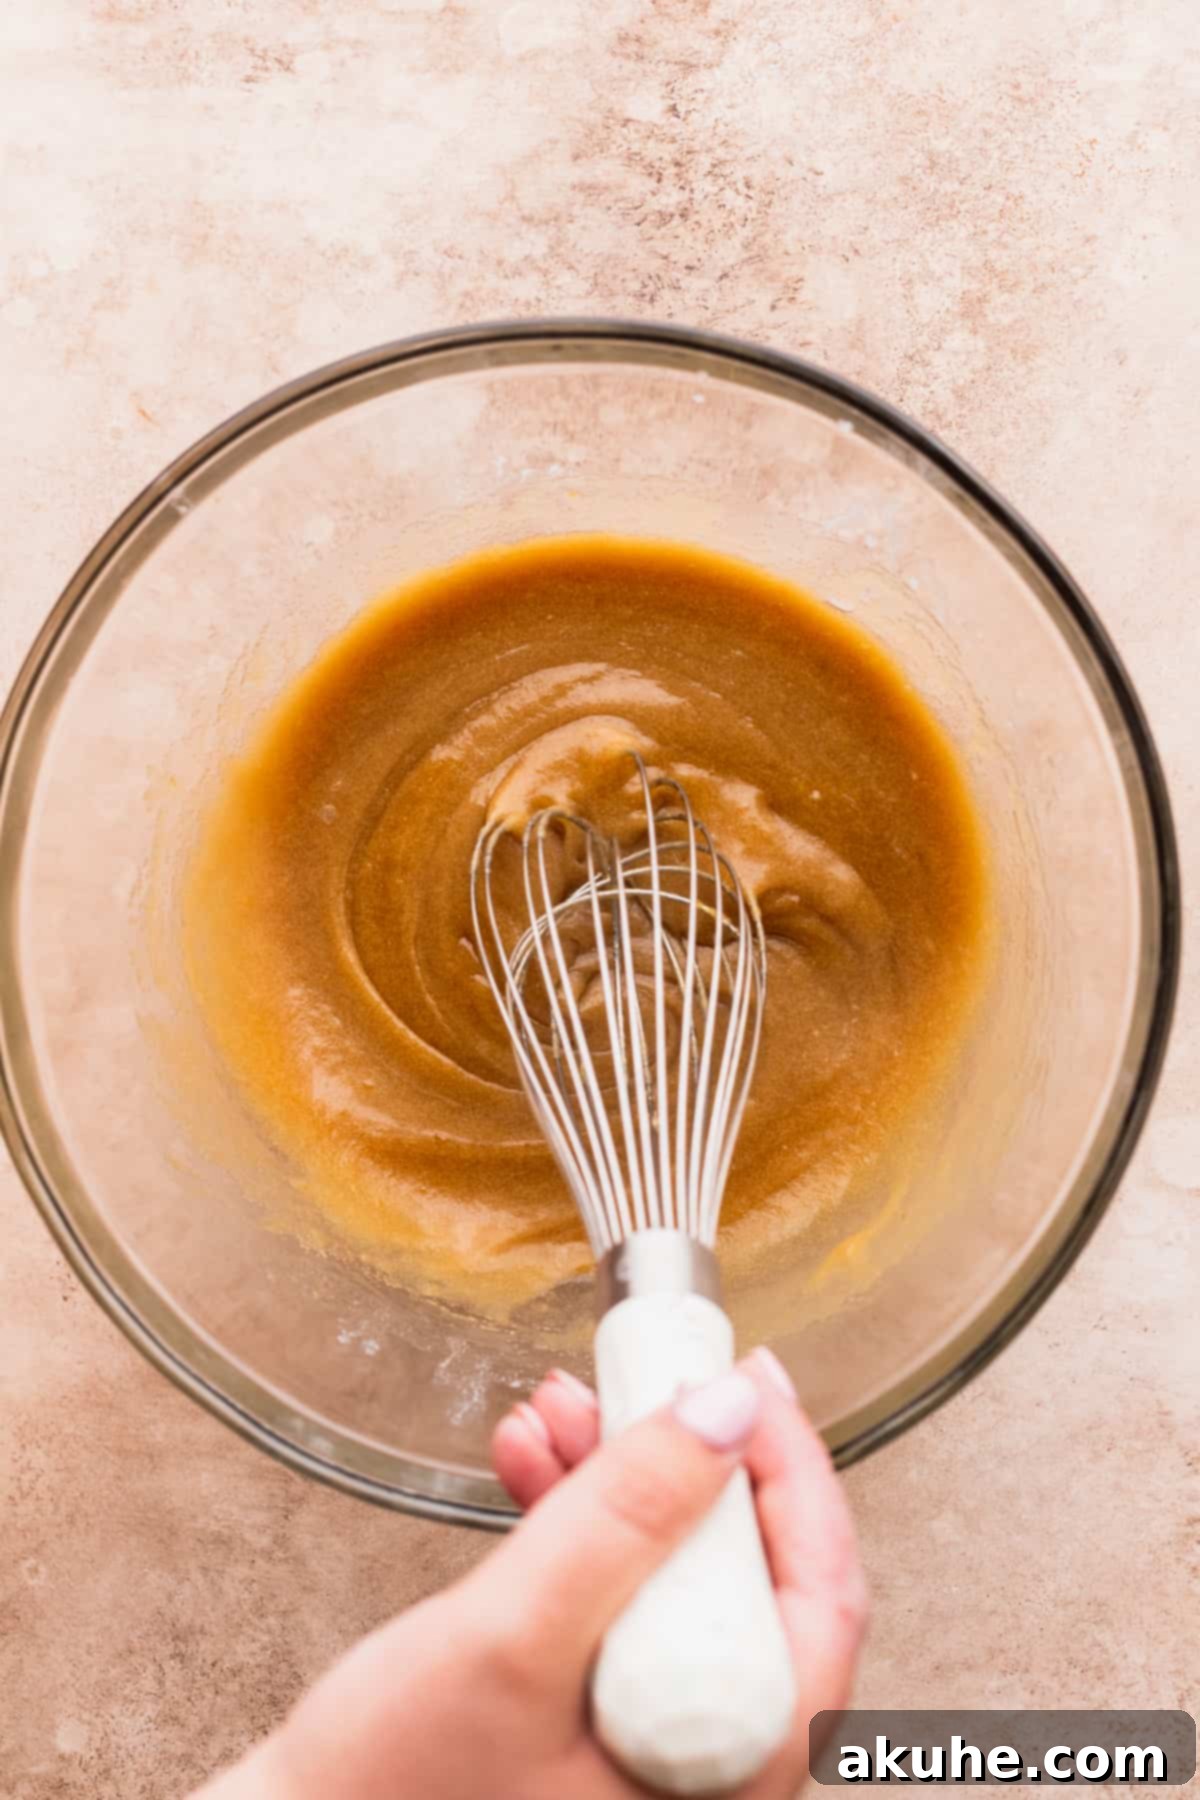
STEP 2: Combine the Wet Ingredients. In a larger mixing bowl, introduce the melted butter (ensuring it has cooled completely to room temperature – this is crucial for preventing excessive spreading!), light brown sugar, white granulated sugar, and pure vanilla extract. Next, crack in the large egg and add the extra egg yolk. Using your whisk, vigorously mix these ingredients until the mixture is smooth, creamy, and well emulsified. Take your time to ensure the sugars are mostly dissolved.
STEP 3: Gently Incorporate the Flour Mixture. Now, gradually add the reserved dry flour mixture into the wet butter mixture. Switch to a rubber spatula for this step. Mix carefully, using a folding motion, until the dry and wet ingredients are just combined. Be careful not to overmix, as this can develop the gluten too much, leading to tougher cookies. A few streaks of flour are perfectly fine at this stage.
Once your dough is ready, let it rest right there on the counter while your oven preheats. This brief resting period is important; it allows the flour to fully absorb the liquid, helping the gluten to relax and ultimately contributing to a chewier cookie and preventing excessive spreading during baking.
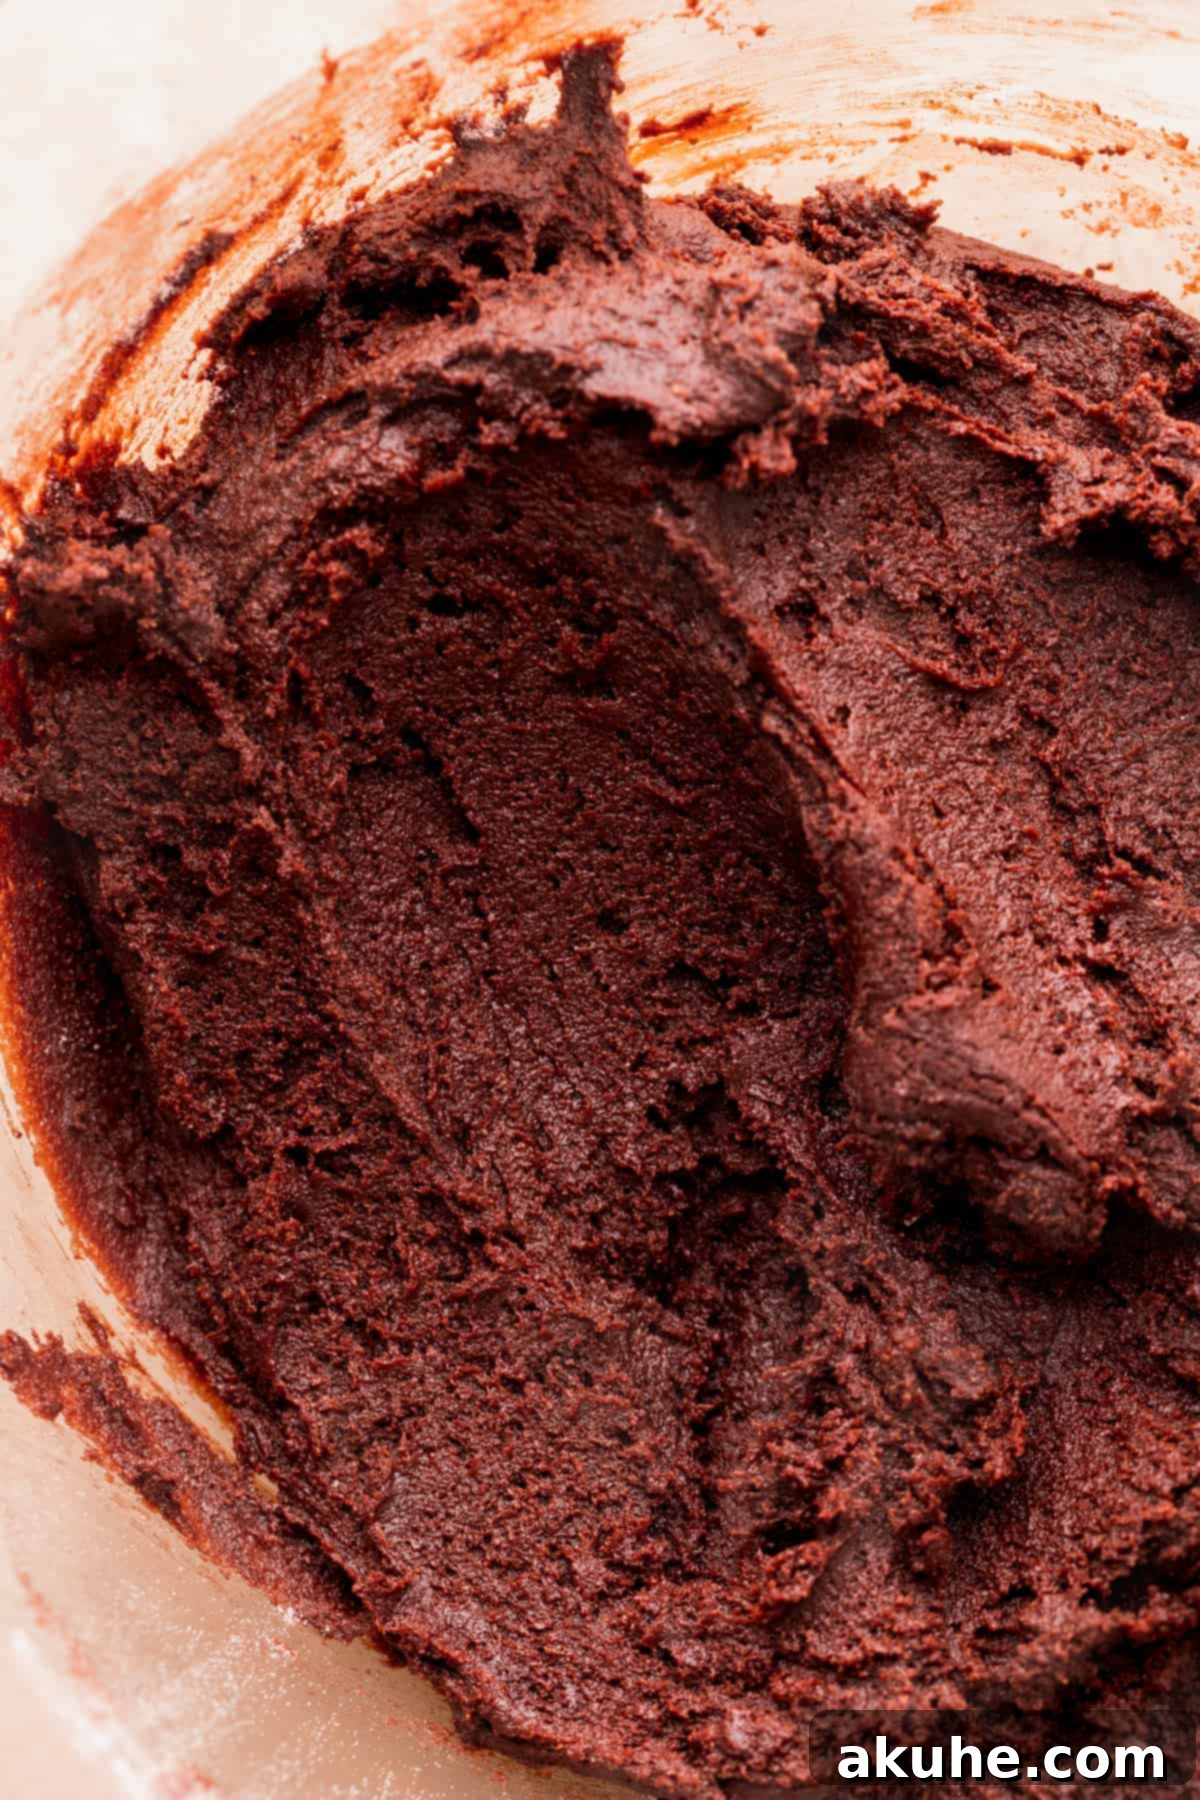
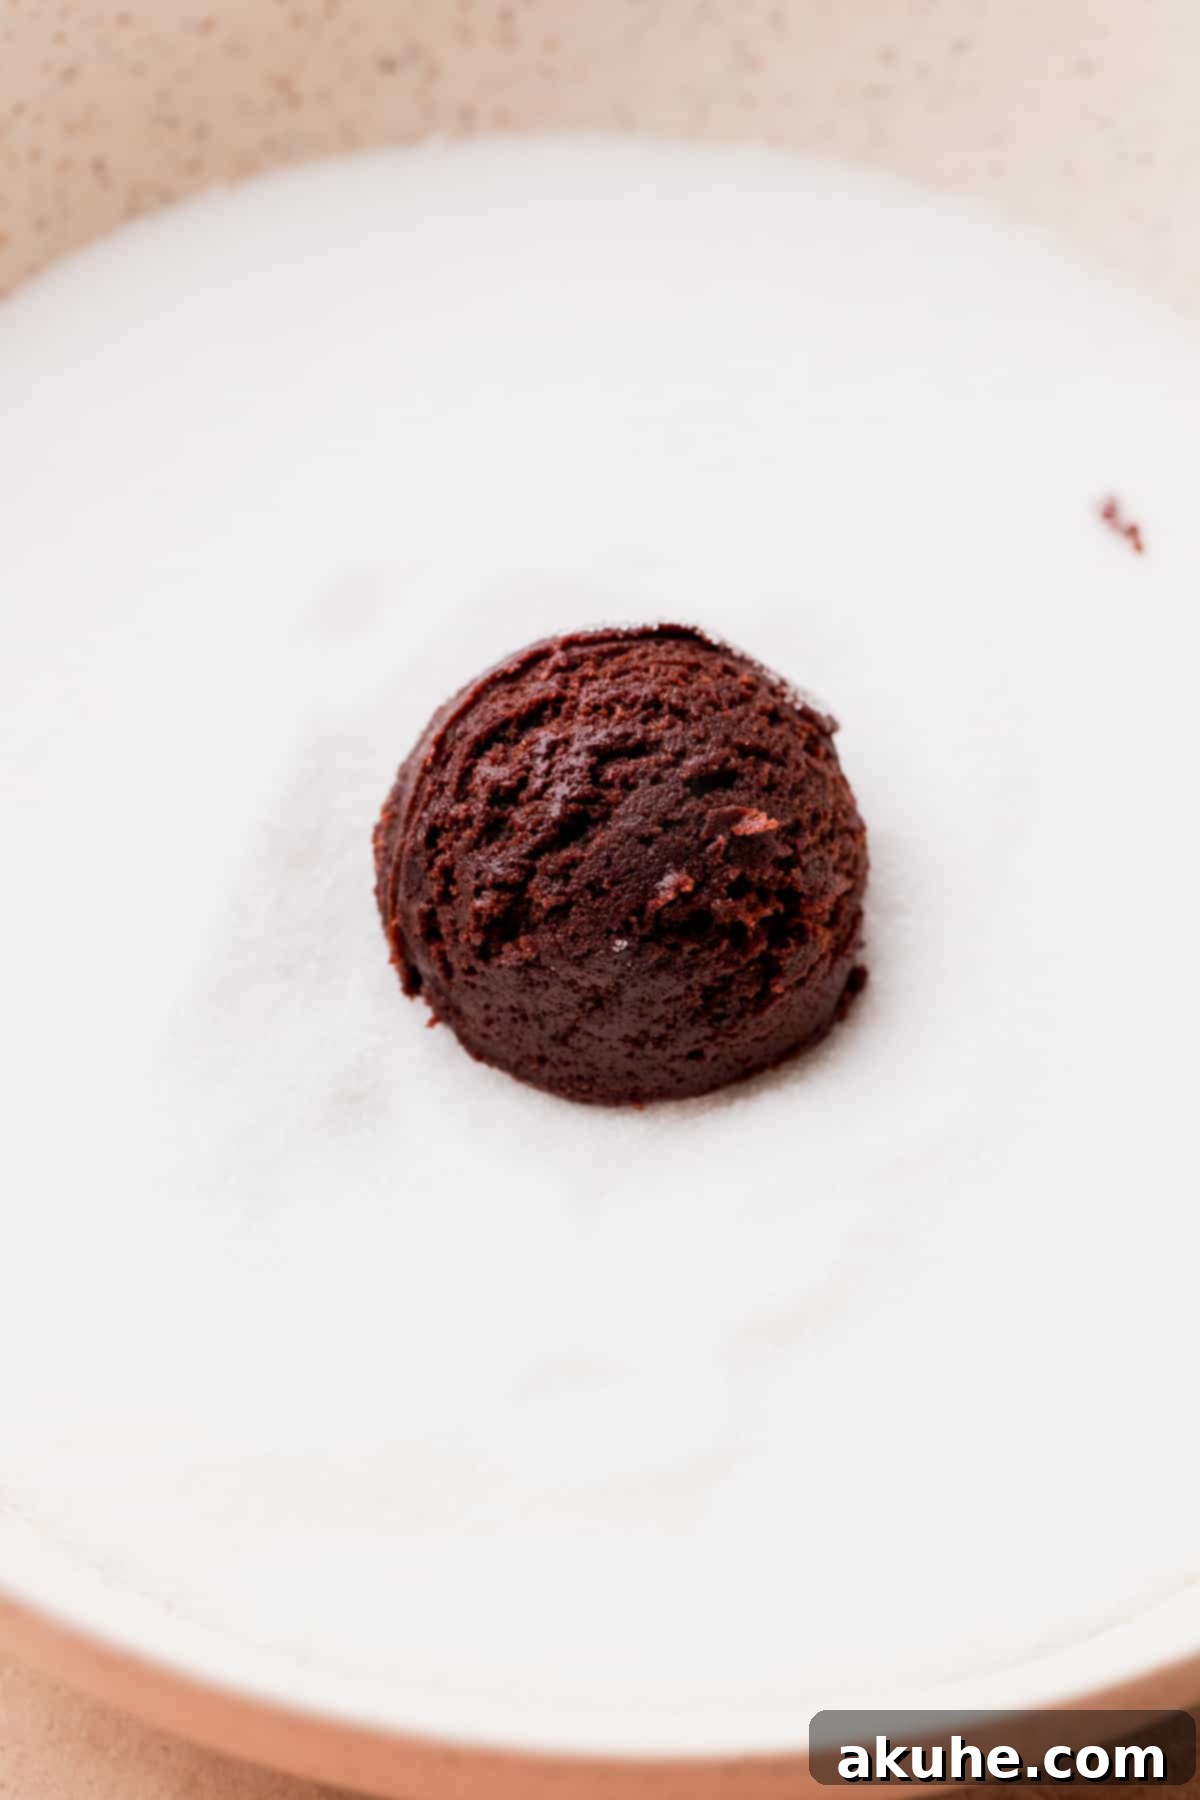
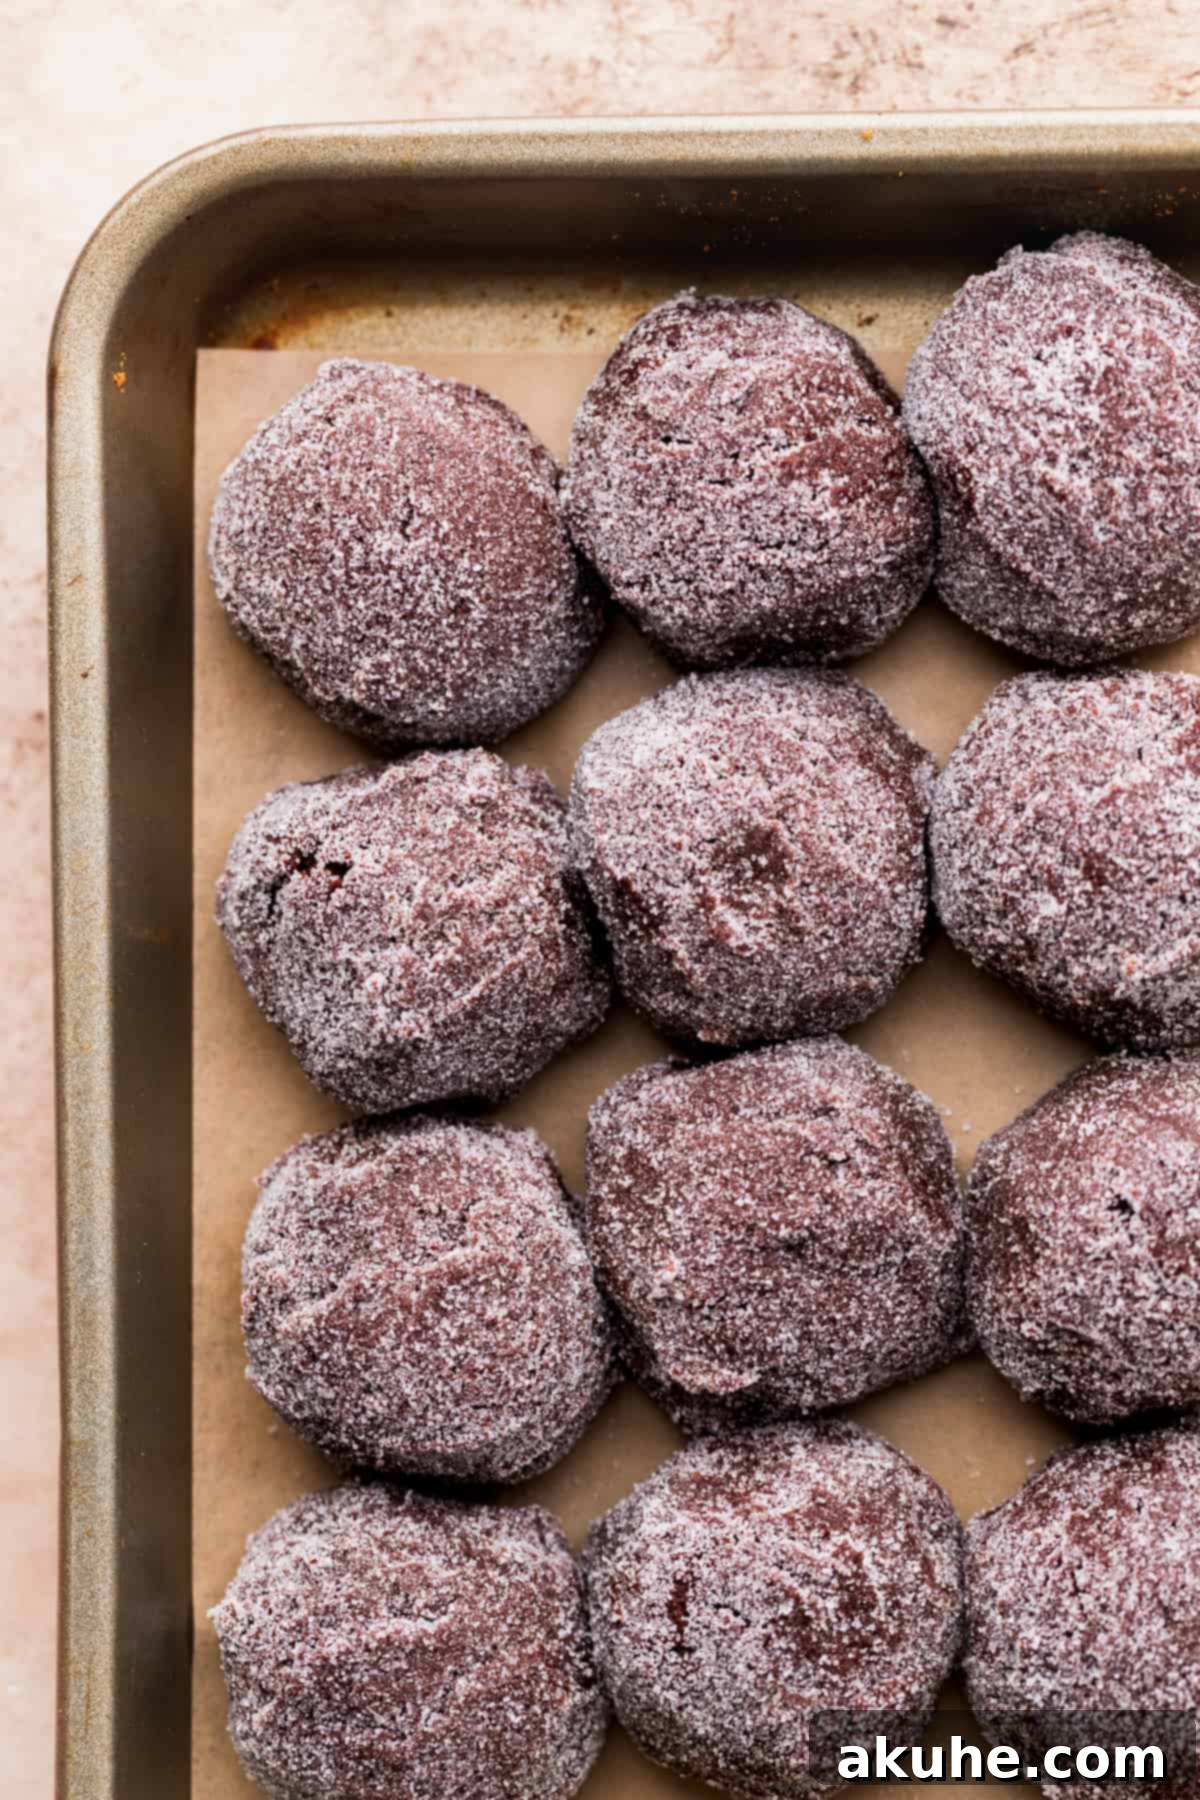
STEP 4: Scoop and Sugar Coat. Preheat your oven to 350°F (175°C). Line two cookie sheets with parchment paper; this prevents sticking and ensures even baking. Using your 1-tablespoon cookie scoop, portion out the dough. For optimal baking, aim for 12 evenly spaced cookie dough balls per cookie sheet. Once scooped, gently roll each dough ball in white granulated sugar, ensuring it’s completely coated. This sugar coating adds a delightful sparkle and a slight crispness to the finished cookie. Place the coated dough balls back onto the prepared cookie sheet, leaving enough space between them for spreading.
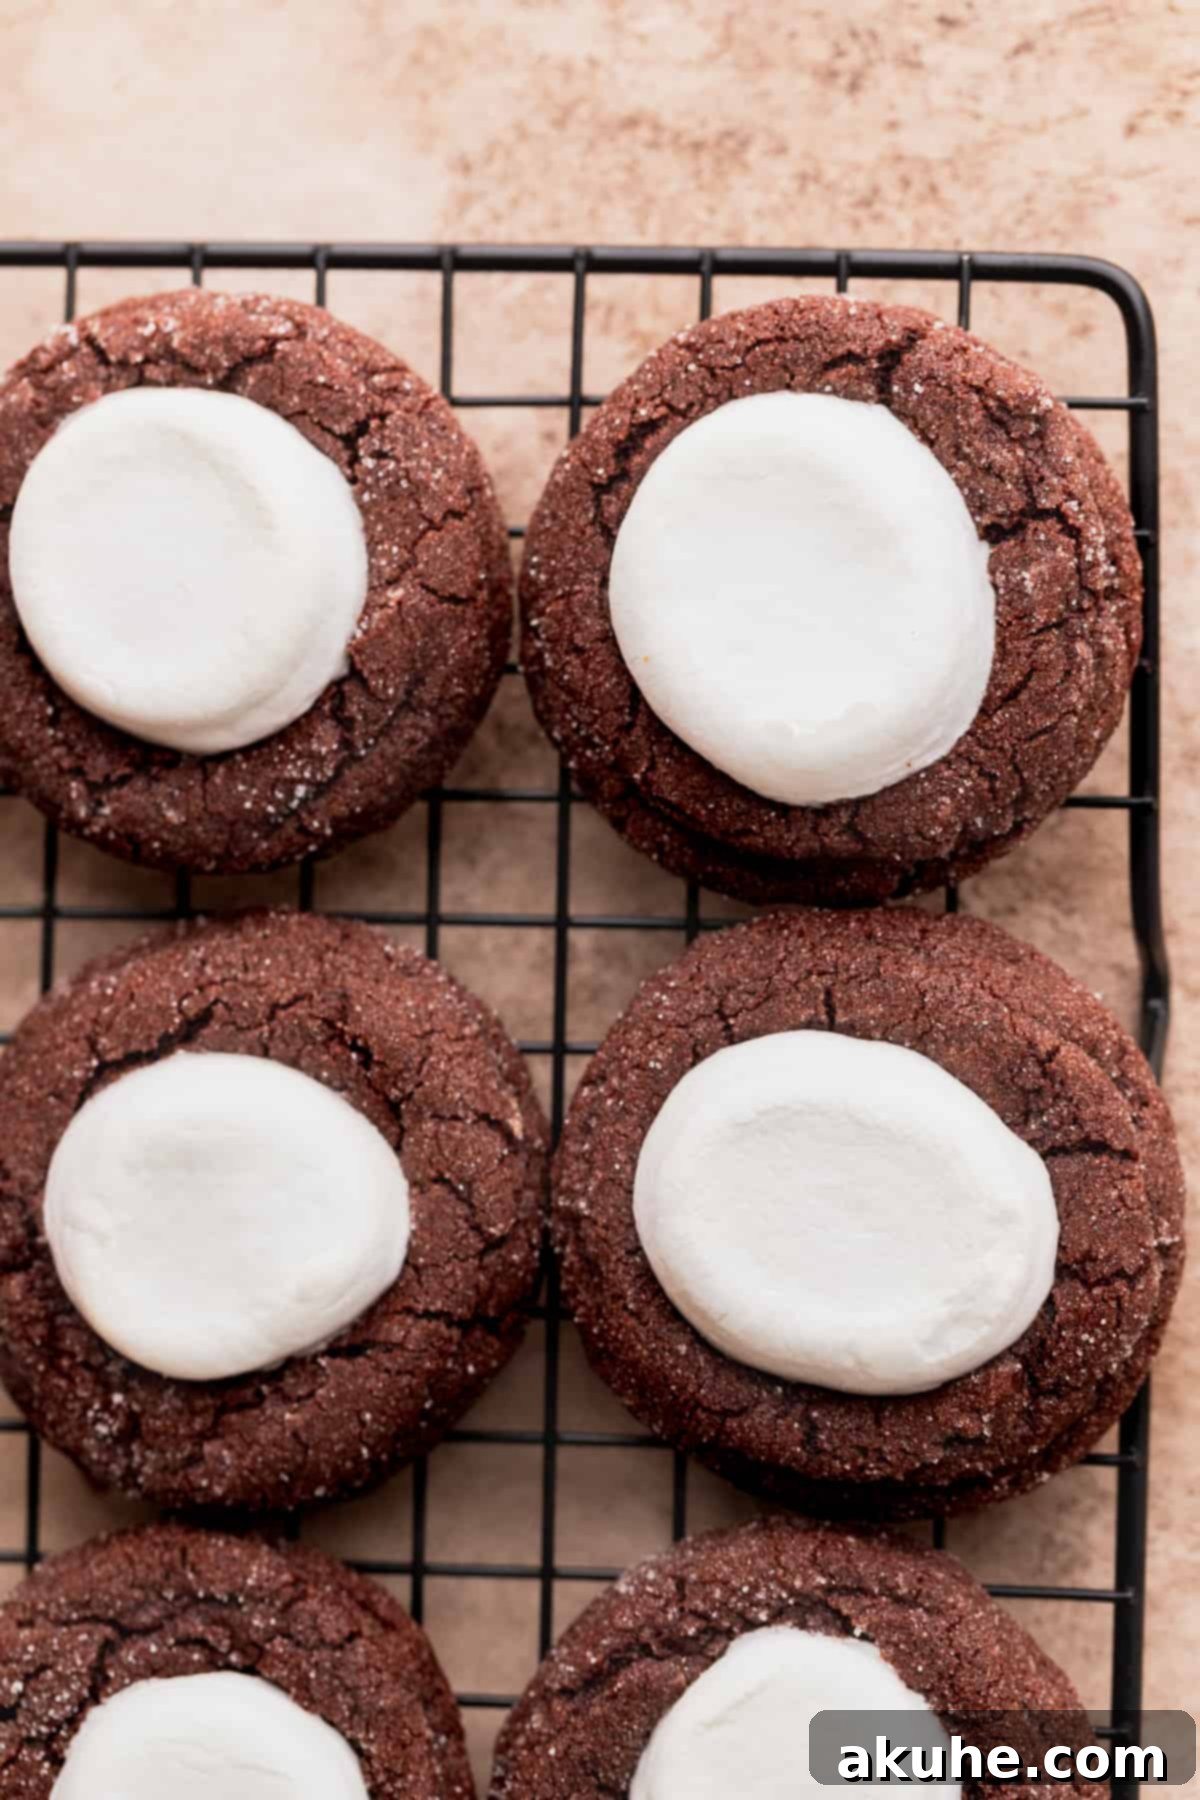
STEP 5: Initial Bake and Marshmallow Addition. Bake one cookie sheet at a time for approximately 6 minutes. After this initial bake, the cookies will be slightly puffed but still soft. Carefully remove the cookie sheet from the oven. Quickly, but gently, place half of a regular-sized marshmallow directly on top of the center of each partially baked cookie. Return the cookie sheet to the oven and bake for an additional 2-3 minutes, or until the marshmallows are beautifully soft, puffy, and just beginning to turn a light golden brown. Keep a close eye on them to prevent over-browning.
STEP 6: Cool and Crown with Kisses. Once baked, allow the cookies to cool on the hot cookie sheet for about 2 minutes. This brief resting period helps them set and prevents them from breaking when transferred. After 2 minutes, carefully transfer the cookies to a wire cooling rack to cool further. While they are still warm, immediately press a Hershey’s Hot Cocoa Kiss into the center of each marshmallow. The residual heat will slightly melt the chocolate, allowing it to adhere perfectly and create that signature blossom look. Let the cookies cool completely on the rack before serving or storing. This allows the Kisses to set and the flavors to fully meld.
Expert Baking Tips for Flawless Hot Cocoa Cookie Blossoms
Achieving bakery-quality Hot Cocoa Cookie Blossoms is easier than you think with these expert tips. Pay attention to these crucial details to ensure your cookies turn out perfectly every time:.
- Mastering Flour Measurement: Accurate flour measurement is paramount in baking. Never scoop your measuring cup directly into the flour bag, as this compacts the flour, leading to an excess amount. Instead, gently spoon the all-purpose flour into your measuring cup until it’s overflowing, then use the flat edge of a knife or a straight spatula to level it off. Alternatively, for the most precise results, use a kitchen scale to measure your flour by weight. Too much flour will result in a dry, crumbly dough and can cause your cookies to be tough and not spread adequately.
- Troubleshooting Cookie Spread: If you find your cookies are spreading more than desired, there are a few things to check. First, always use parchment paper on your cookie sheets; this provides a non-stick surface and helps regulate heat, contributing to even spreading. A common culprit for excessive spread is butter that was too warm when added to the ingredients. Ensure your melted butter has truly cooled to room temperature, or even slightly below, before mixing. If you’re still experiencing too much spread, a quick fix is to chill the formed cookie dough balls in the refrigerator for 10-15 minutes before baking. This solidifies the butter, allowing the cookies to hold their shape better.
- High Altitude Baking Adjustments: Baking at higher altitudes often requires slight modifications to recipes due to differences in air pressure and moisture. If you live in a high-altitude region, your cookies might spread more or become flatter than usual. To counteract this, add an extra 2 tablespoons of all-purpose flour to your dough. This small adjustment will help absorb excess moisture and provide additional structure, preventing excessive spreading and ensuring your Hot Cocoa Cookie Blossoms maintain their perfect shape and texture.
- Don’t Overbake: These cookies are meant to be soft and fudgy. Overbaking them will result in a dry, crumbly texture. The cookies should still look slightly underdone in the center when you pull them out of the oven, especially before adding the marshmallow. They will continue to set as they cool on the hot baking sheet.
- Room Temperature Ingredients: Beyond the eggs, ensure all your dairy ingredients (like butter if you’re not melting it) are at room temperature. This allows them to emulsify evenly, creating a smooth, consistent dough and better overall cookie texture.
Frequently Asked Questions About Hot Cocoa Cookie Blossoms
Absolutely, freezing cookie dough is a fantastic way to prepare ahead! Once you’ve scooped and rolled the cookie dough balls, place them on a baking sheet lined with parchment paper and flash freeze them for about 30-60 minutes until firm. Then, transfer the frozen dough balls to an airtight container or a heavy-duty freezer bag, ensuring they are well-sealed to prevent freezer burn. They can be stored in the freezer for up to 30 days. When you’re ready to bake, simply let the cookie dough balls thaw at room temperature for an hour or two until slightly softened before proceeding with baking as directed in the recipe.
Yes, you certainly can chill the cookie dough overnight, and in some cases, it can even enhance the flavor by allowing the ingredients to meld further. For best results, I recommend shaping the cookie dough into balls first before chilling them. Arrange the dough balls on a plate or small baking sheet and cover them tightly with plastic wrap to prevent them from drying out. Store them in the refrigerator overnight. Before baking, it’s essential to let the chilled dough balls come back to room temperature (this might take 30-60 minutes) to ensure even baking and prevent the cookies from spreading unevenly or baking too slowly.
Unfortunately, no, it’s not recommended to substitute hot chocolate mix for unsweetened cocoa powder in this recipe. Hot chocolate mix is formulated very differently; it contains a significant amount of sugar, powdered milk, and other additives, while cocoa powder is pure unsweetened chocolate solids. Using hot chocolate mix would drastically alter the sugar balance of the cookies, making them excessively sweet, and also disrupt the wet-to-dry ingredient ratio, leading to an inconsistent and potentially unappealing texture. For the best and most reliable results, stick to unsweetened cocoa powder as specified in the ingredient list.
Absolutely! While the Hershey’s Kisses Hot Cocoa Chocolates are perfect for the theme, you can easily substitute them with other varieties. Classic milk chocolate Kisses, dark chocolate Kisses, or even special holiday flavors like peppermint Kisses would make delicious alternatives. Just choose your favorite and enjoy the custom touch!
To make these Hot Cocoa Cookie Blossoms gluten-free, you can substitute the all-purpose flour with a 1:1 gluten-free baking flour blend that contains xanthan gum. Ensure the blend is specifically designed for baking. The other ingredients are naturally gluten-free. Follow the rest of the recipe as directed, but keep an eye on the texture, as gluten-free flours can sometimes absorb liquids differently.
Storing and Freezing Your Hot Cocoa Cookie Blossoms
To keep your Hot Cocoa Cookie Blossoms fresh and delicious for as long as possible, proper storage is key. Once completely cooled, store the baked cookies in an airtight container at room temperature. Placed in a cool, dry spot away from direct sunlight or heat, they will remain wonderfully soft and fudgy for up to 5 days. Layering them with parchment paper can also help prevent them from sticking together.
Freezing Baked Hot Cocoa Cookies
If you’ve baked a large batch or simply want to save some for later, these Hot Cocoa Cookie Blossoms freeze beautifully. Once the cookies are completely cool, place them in a single layer on a baking sheet and flash freeze for about an hour until solid. This prevents them from sticking together when stored. Then, transfer the frozen cookies to an airtight freezer-safe container or a heavy-duty freezer bag. Be sure to remove as much air as possible from the bag to prevent freezer burn. They can be frozen for up to 30 days. To enjoy, simply thaw the frozen cookies at room temperature for 1-2 hours. You can even warm them slightly in the microwave for a few seconds for that fresh-out-of-the-oven, melty marshmallow experience!
More Irresistible Cookie Recipes To Try
If you adored this recipe, please make sure to leave a STAR REVIEW below! Your feedback helps us share more delicious creations. Don’t forget to tag me on Instagram @stephaniesweettreats with your baking masterpieces. For endless inspiration and more delightful ideas, make sure to follow me on Pinterest. Happy baking!

Hot Cocoa Cookie Blossoms
Print Recipe
Pin Recipe
Leave a Review
Ingredients
- 1 1/3 cup All-purpose flour
- 1/4 tsp Baking soda
- 1/4 tsp Baking powder
- 1/2 cup Unsweetened cocoa powder
- 1/2 tsp Salt
- 1/2 cup Unsalted butter, melted and cooled to room temperature
- 3/4 cup Brown sugar, packed light or dark
- 1/4 cup White granulated sugar
- 2 tsp Pure vanilla extract
- 1 Large egg, room temperature
- 1 Egg yolk , room temperature
- 9 Marshmallows, regular sized, cut in half horizontally
- 18 Hershey’s Kisses Hot Cocoa Chocolates
Instructions
- In a medium bowl, sift together the all-purpose flour and cocoa powder. Add baking soda, baking powder, and salt. Whisk to combine and set aside.
- In a large bowl, combine the melted butter (cooled to room temperature), brown sugar, white granulated sugar, vanilla extract, large egg, and extra egg yolk. Whisk until smooth and well-combined.
- Gradually add the dry ingredients to the wet mixture. Use a rubber spatula to mix until just combined, being careful not to overmix.
- Preheat your oven to 350°F (175°C). Line two cookie sheets with parchment paper. Let the cookie dough rest on the counter while the oven preheats; this allows the gluten to absorb into the wet ingredients for better texture.
- Using a 1-tablespoon cookie scoop, portion out the cookie dough into 12 balls per cookie sheet. Roll each dough ball in white granulated sugar for a sparkling finish. Take the 9 regular-sized marshmallows and cut them horizontally in half (kitchen scissors work well for this). Set aside the 18 marshmallow halves.
- Bake one cookie sheet at a time for 6 minutes. Carefully remove from the oven and place one marshmallow half on top of each cookie. Return to the oven and bake for another 2-3 minutes, or until the marshmallows are puffed and slightly golden. OPTIONAL: If cookies are slightly uneven, use a biscuit cutter or glass larger than the cookie to gently scoot them into perfect circles immediately after removing from the oven.
- Allow the cookies to cool on the hot baking sheet for 2 minutes. Then, transfer them to a wire cooling rack. While still warm, press a Hershey’s Kisses Hot Cocoa Chocolate into the center of each marshmallow. Let the cookies cool completely on the rack before serving.
Notes
High Altitude Baking: If you’re baking at high altitude, consider adding an extra 1-2 tablespoons of flour to your dough. This helps maintain the cookie’s structure and prevents excessive spreading.
Temperature of Ingredients: For optimal results, pull out all cold dairy ingredients (eggs, butter if not melted) at least 2 hours before baking, allowing them to reach room temperature. This ensures better emulsification and a smoother dough.
Carbohydrates: 23g,
Protein: 2g,
Fat: 6g,
Saturated Fat: 4g,
Polyunsaturated Fat: 0.3g,
Monounsaturated Fat: 2g,
Trans Fat: 0.2g,
Cholesterol: 24mg,
Sodium: 93mg,
Potassium: 62mg,
Fiber: 1g,
Sugar: 14g,
Vitamin A: 172IU,
Calcium: 18mg,
Iron: 1mg
